jwhatley
|
| posted on 30/5/14 at 04:54 PM |

|
|
Hayabusa Gen1/Gen2 Transmissions - Quaife install
Hello All,
Id thought i would start a thread about the Hayabusa Transmission, as there doesn't appear to be much information regarding the two. And if you
are ever in the position where you need to replace parts of or the whole transmission this may help you.
I was unfortunate enough to have a gearbox failure last weekend. What it looks like the cause was a failure of the 6th driven gear cir-clip. My
gearbox is a generation 2 engine from 2010. This is a thread on the installation of a Quaife gearbox and comparisons between the Gen1 and Gen2 Busa
gearboxes.
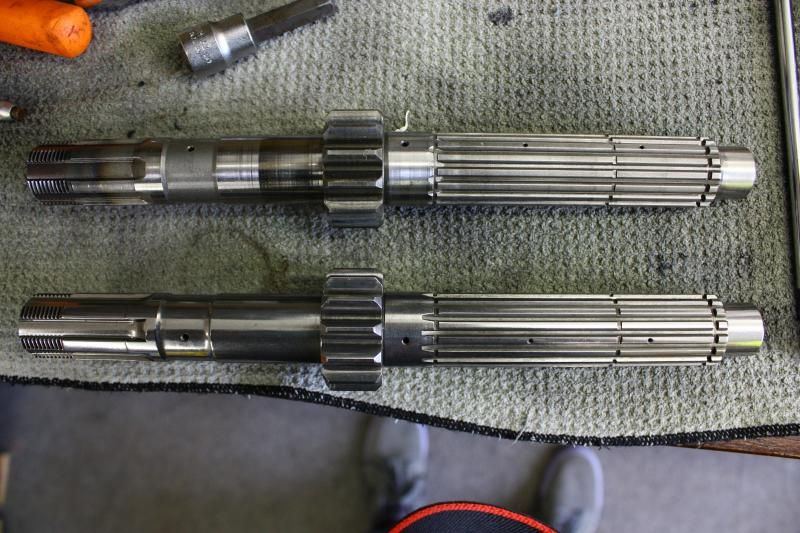
To start, the Gen1 engine has a 25mm dia output shaft, the Gen2 has a 28mm dia output shaft, the Quaife set has a 30mm dia output shaft. The Gen1 and
Quaife output shaft end (between output shaft bearing and prop adaptor) is approx. 5mm shorter than the Gen2. Bear that in mind if you have a fixed
length prop as you may need to have an adaptor to suit machined.
The Gen1 engine has 4 dog engagement, the gears are not undercut on the 2/6 drive dogs. This is where most of the problems occurred with the early
engines. The output shaft Cir-Clips are also slightly thinner.
Gen1 and Gen2 input and output shafts inside the engine are the same as far as oil holes, cir-clip positioning and bearing faces are the same.
The Gen2 engine has 5 dog engagement and undercutting on the 2/6 drive dogs. 2nd drive gear is different in the way it incorporates a friction washer
and a different gear bushing on the output shaft. Basically there is a shoulder on the output shaft by the bearing flange and a recess machined in to
2nd gear to suit. All dimensions of gears are exactly the same and ratios the same as the Gen1 engine. This is the reason why a Gen1 gear set will not
fit a Gen2 shaft and vice versa.
Quaife produce a complete super finished gear set with HD input and output shafts. This is in-fact cheaper than a complete gearset/shafts of genuine
Suzuki parts. This was designed for radical in the powertec engine and uses a stronger 30mm output shaft with a Z13 Honda splined drive on it which is
used on the blackbird and possibly the fireblade. This is the strongest gear set you will find.
Used in its entirety it will fit either engine as the gearbox casing itself is the same. They use 3 dog engagement, all gears are back cut, 2nd gear
is built as it is in the Gen1, with no friction washer. So if you are replacing a Gen2 transmission with Quaffe one, you will need a complete set of
sliding (not teethed) gear bushes, thrust washers and input shaft cir-clips from the Gen1.
The output shaft cir-clips on the Quaife transmission are bigger than the Gen1 and Gen2 and are supplied with the kit. Also available from RPE (not
quaife) are higher ratio 5/6th gears @£130 odd each, and these fit the Quaife shafts. Approx. 8% speed increase is quoted.
So to clarify, a generation 1 transmission can be used in a generation 2 engine case provided that you replace the entire gearbox. Why you would
actually want to do this is unknown as they are slightly weaker (highlighted above with 4 dog engagement, no dog back cutting and a 25mm output shaft
sprocket drive). But are far more readily available than the Gen2, which are A-like rocking horse poop and B-Bloody expensive!
The Quaife will also fit either, and uses Gen1 bushings.
I will update this with some pictures as i rebuild the gearbox. Currently waiting on the last bushings to arrive next week, then i will add a few
pictures to the descriptions of the differences.
John
|
|
|
|
|
Dopdog
|
| posted on 30/5/14 at 05:02 PM |
|
|
How much is the gearset kit?
|
|
|
jwhatley
|
| posted on 30/5/14 at 05:12 PM |
|
|
Approx. £1450 inc vat.
Pictures just uploading.
|
|
|
jwhatley
|
| posted on 30/5/14 at 05:23 PM |
|
|
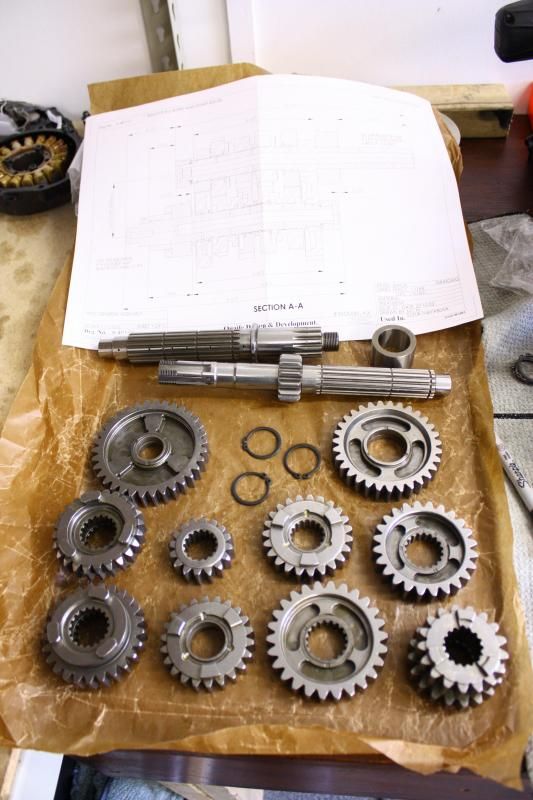
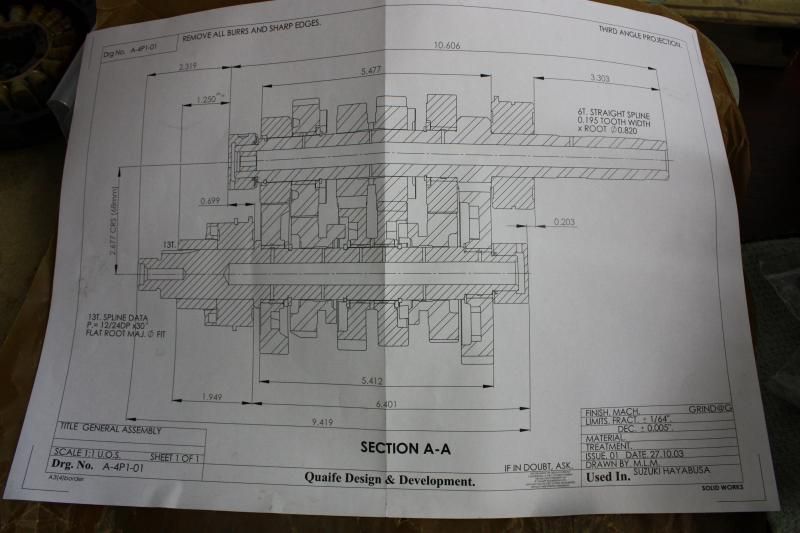
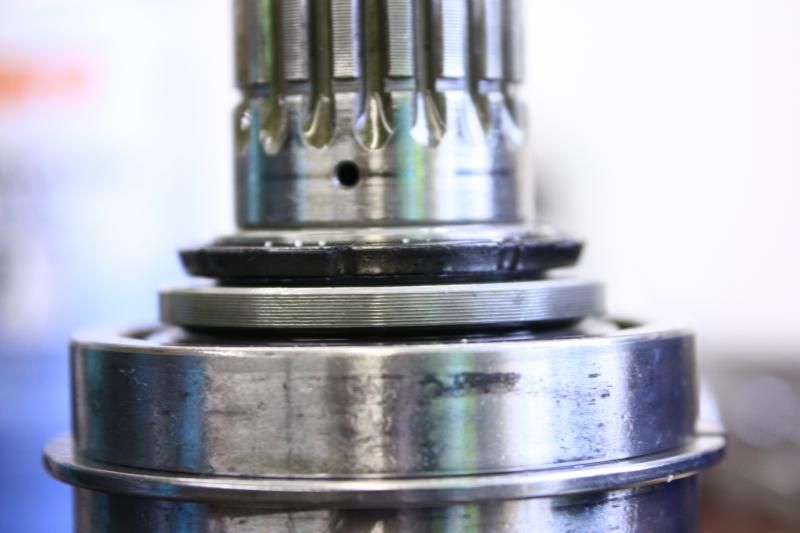
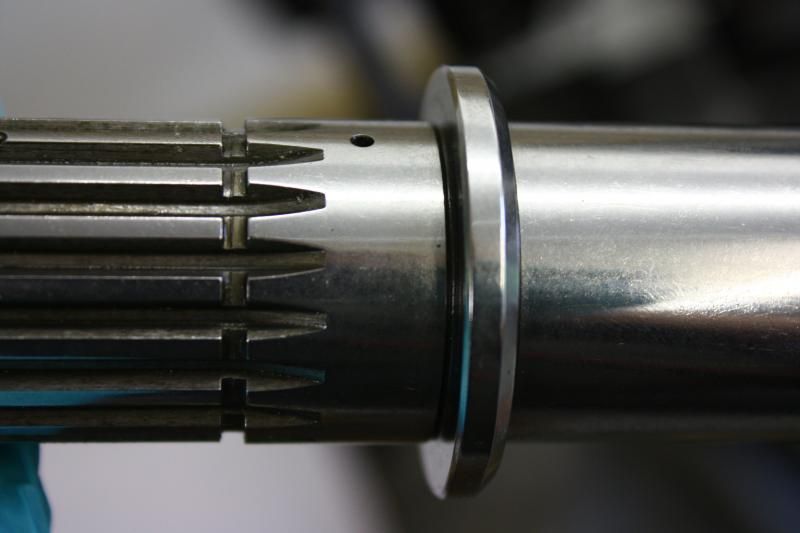
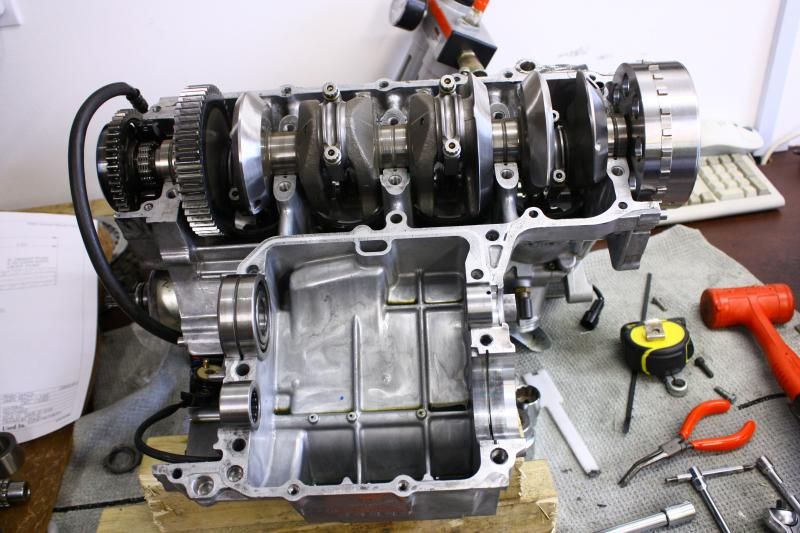
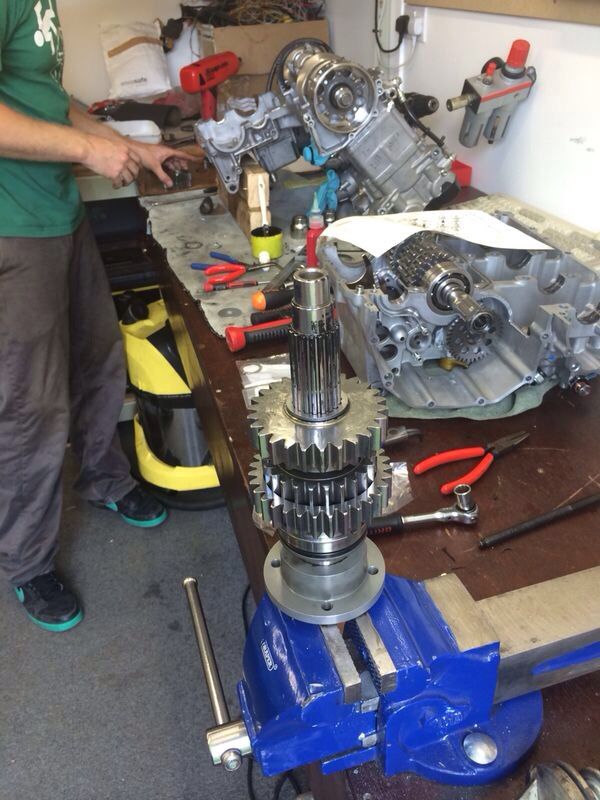
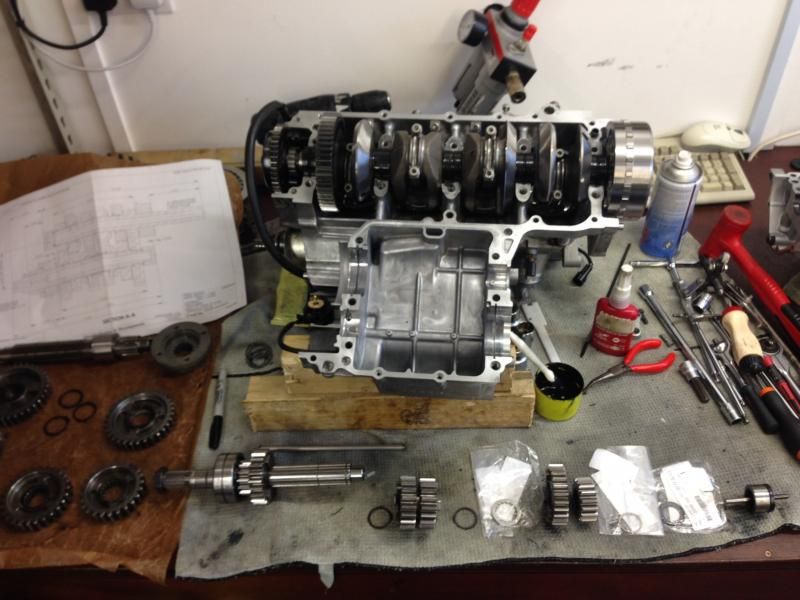
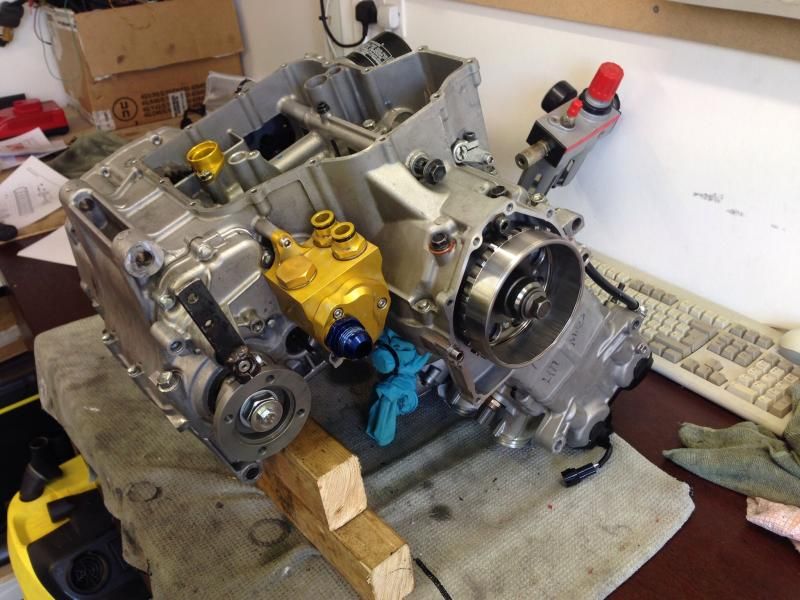
So this is what you get:
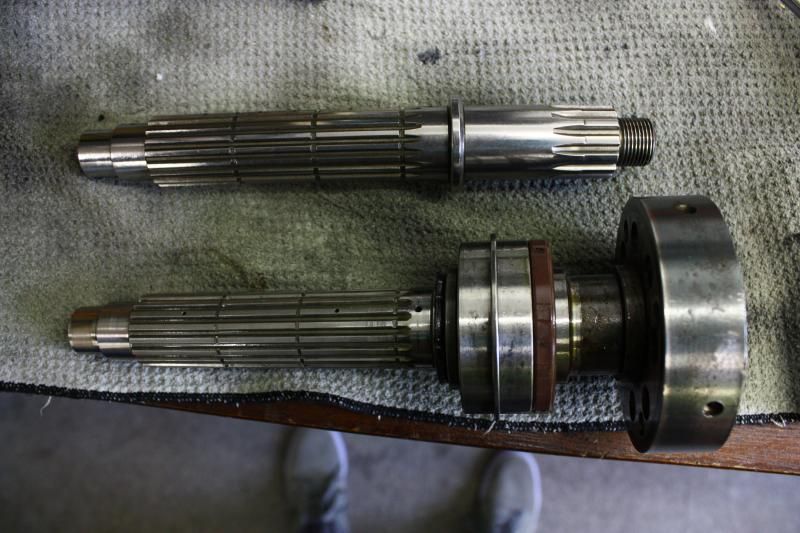
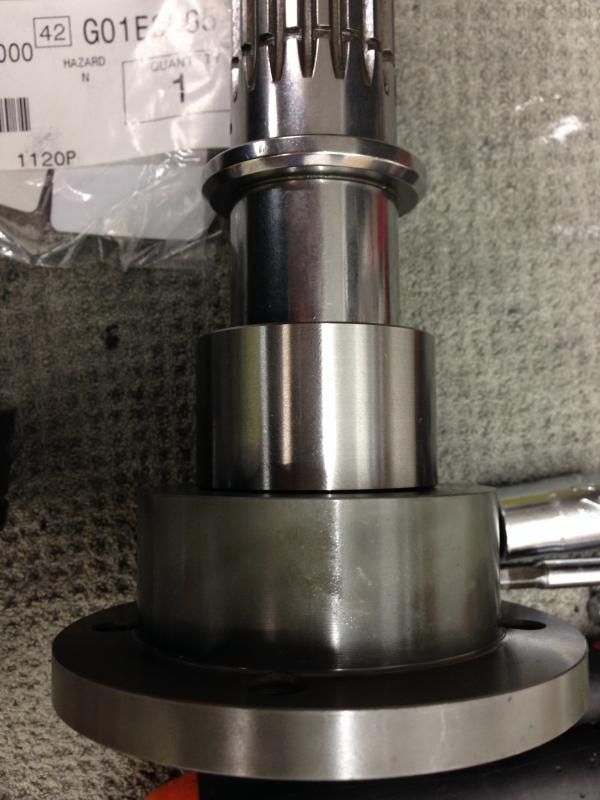
Output Shaft/2nd difference (can't remove the adaptor/bearing because ive lost my 35mm socket!):

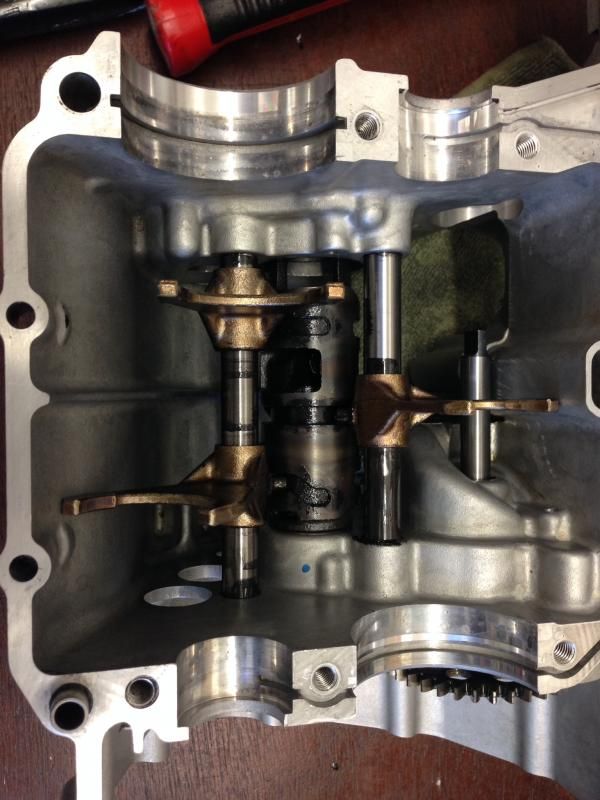
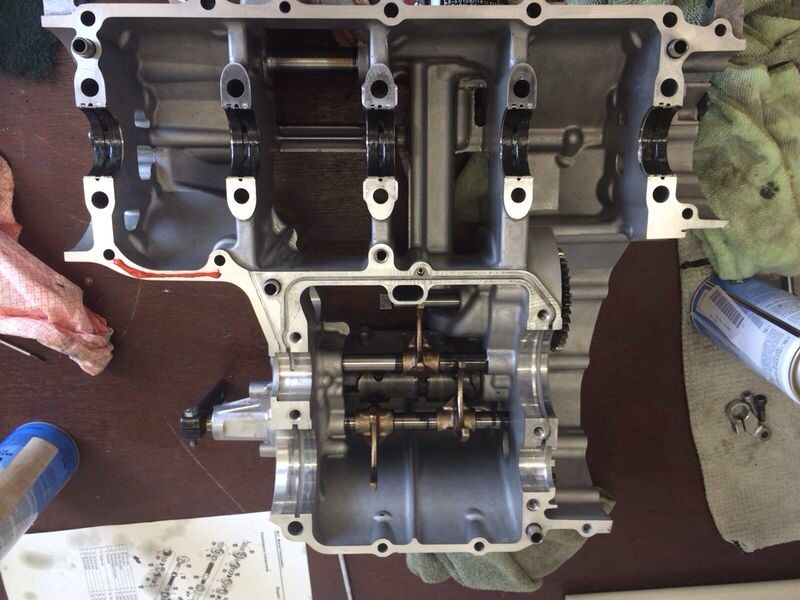
Empty Casing:
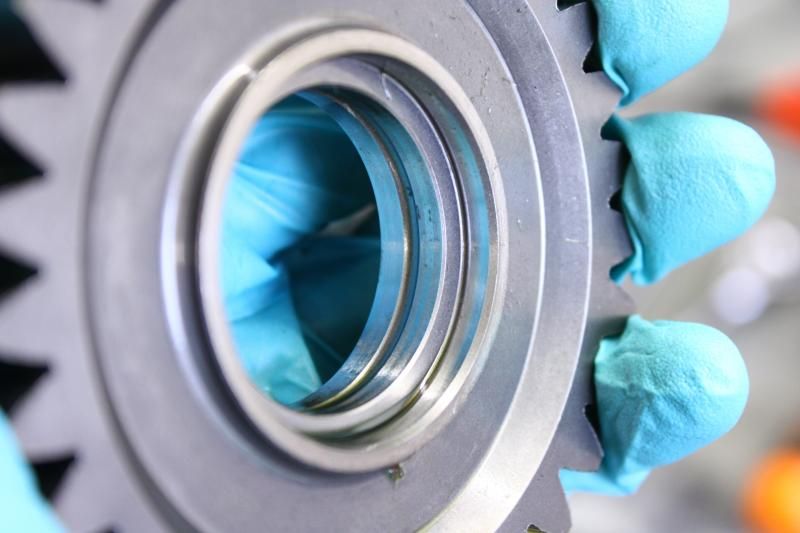
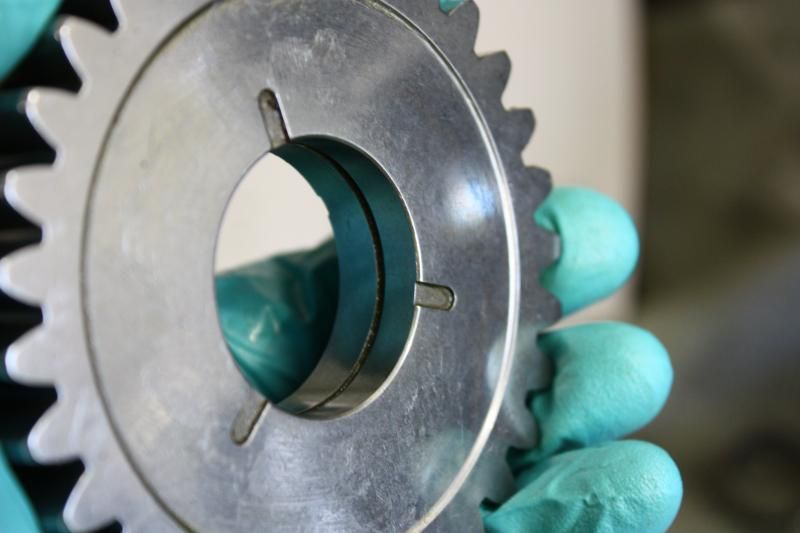
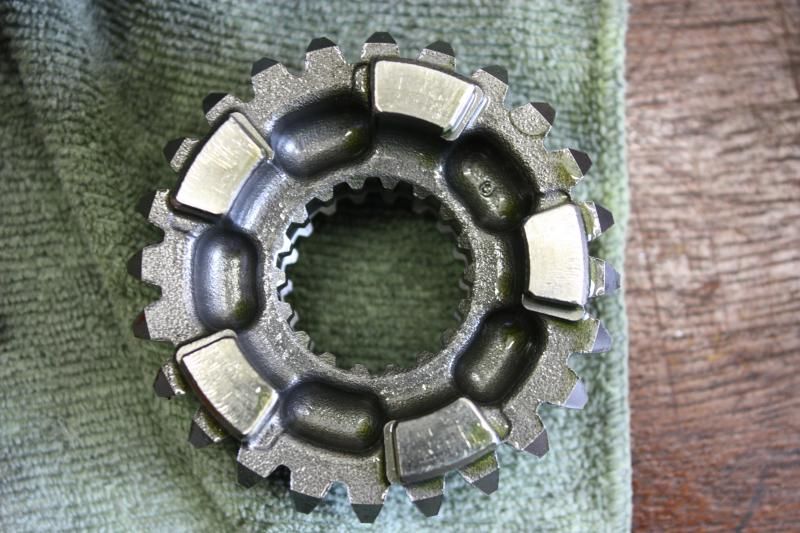
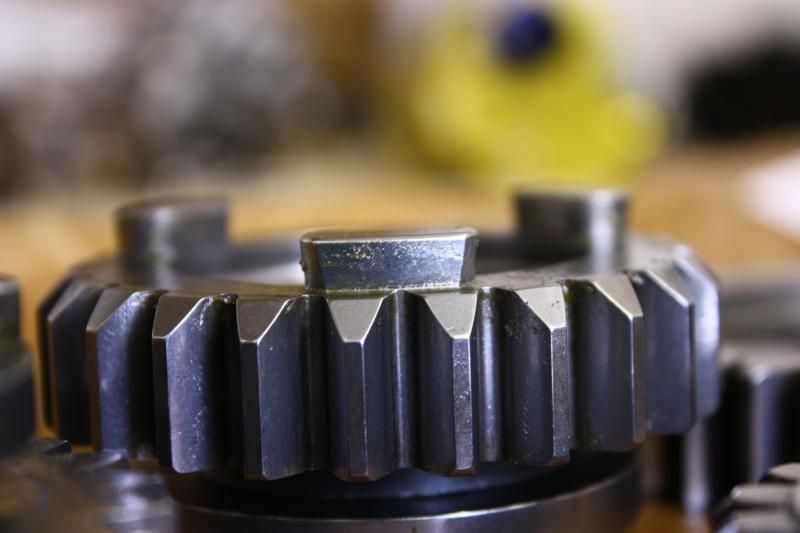
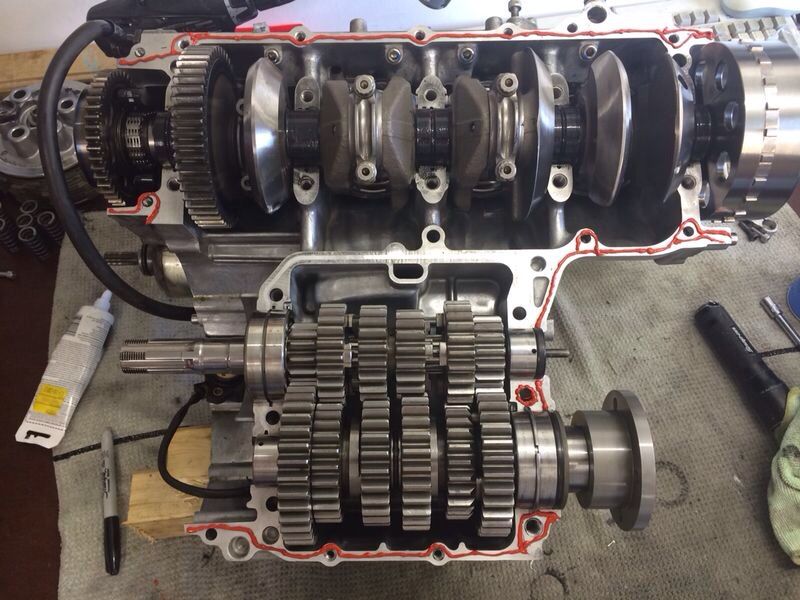
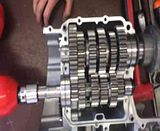
Gen 2 Gears:
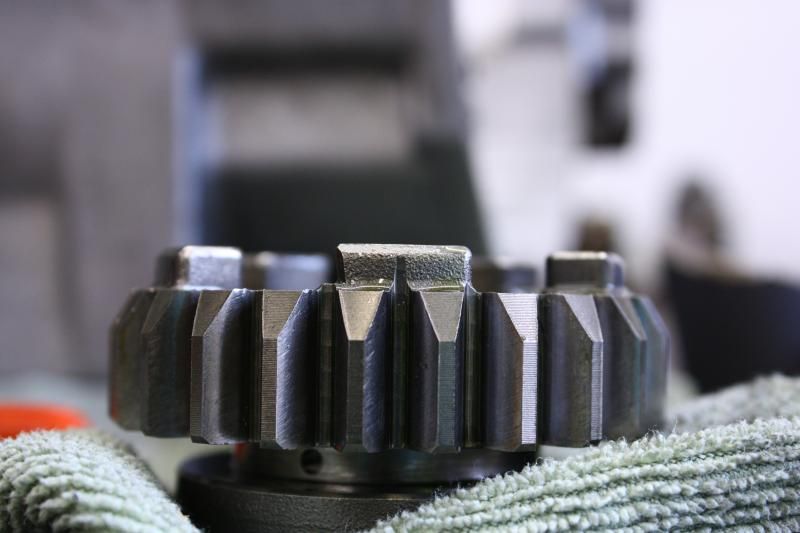
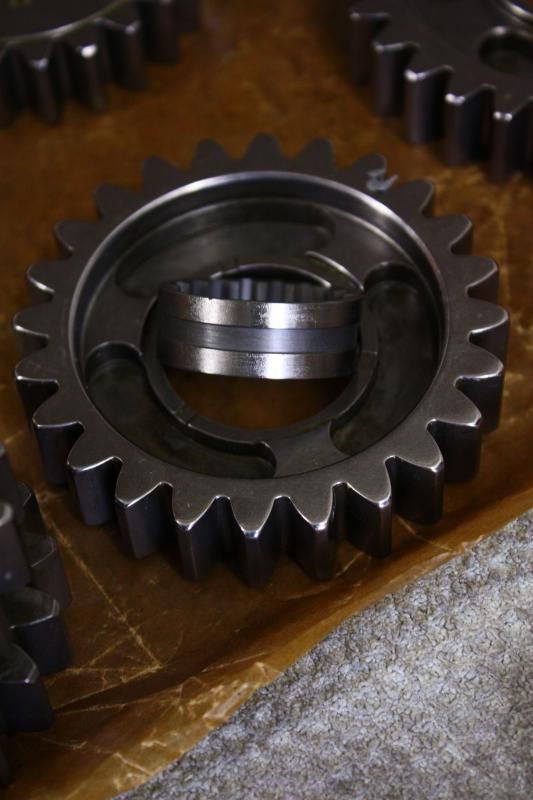
Quaife Gears:

[Edited on 30/5/14 by jwhatley]
|
|
|
dexion7
|
| posted on 30/5/14 at 05:54 PM |
|
|
very interesting write up.
on the subject of 2nd gear undercutting, its common practise in the states to have this done on gen1 boxes so i asked Nova racing about doing it. they
said that the amount of undercutting required usually means removing an amount of metal which is greater than the depth of case hardening thus
rendering the gear useless. and ideas what the yanks do to make this work?
|
|
|
jwhatley
|
| posted on 31/5/14 at 08:03 AM |
|
|
Im not sure on that, i spoke with a few companies about undercutting and they all seem to say they can do it. The transmission needs to have no damage
on it though. Which is to stop cutting right through the hardened surface.
Unless they harden them again after cutting? But it would have thought that would make the gears far too brittle.
John
|
|
|
jwhatley
|
| posted on 16/6/14 at 05:11 PM |
|
|
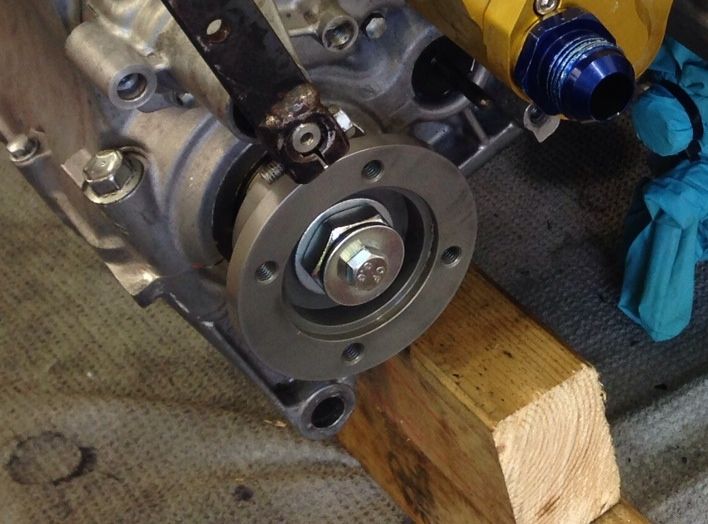
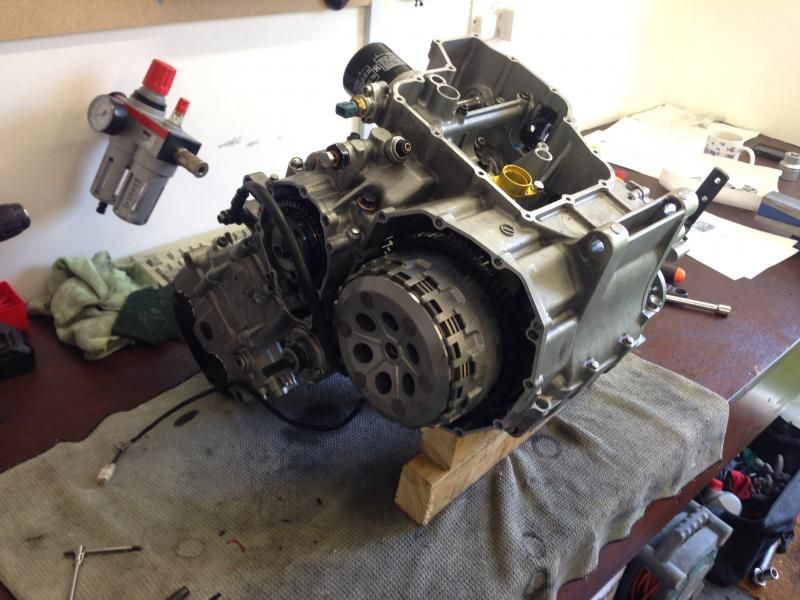
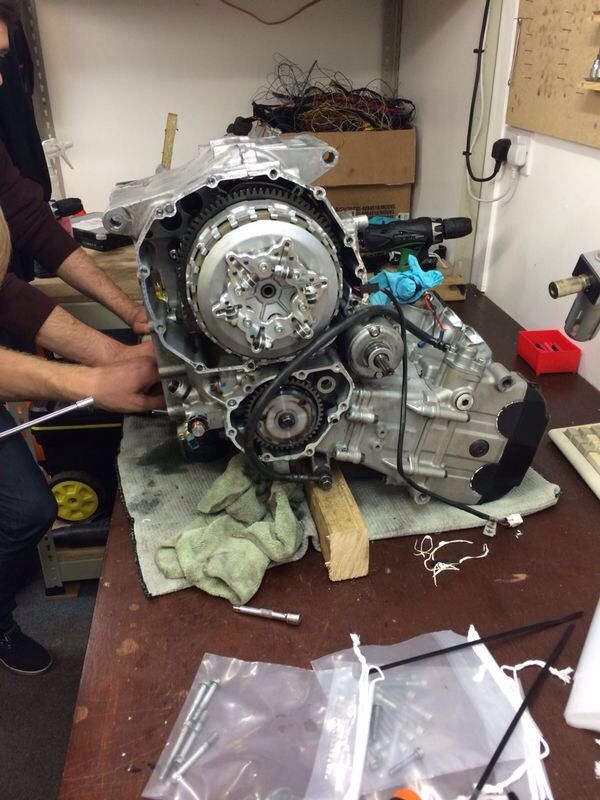
So a quick update just to it can be seen fitted and working.
So the gear set is fitted, Engine is back in and it all works fine.
I had to get a few of the GEN1 gear bushes and thrust washers as they are slightly different thicknesses than the GEN2. Measured out as 0.1mm here and
there difference. SO if you are going to use this set in a GEN2 then its best to buy the whole GEN1 set.
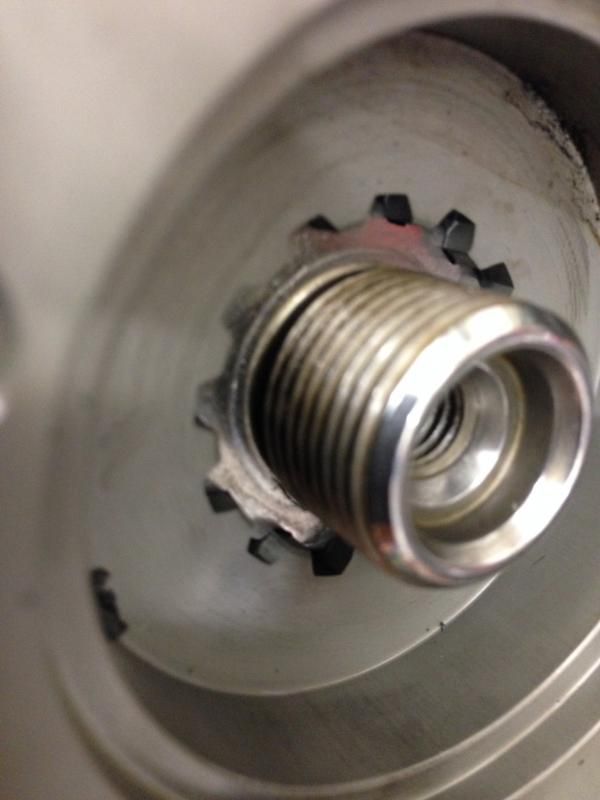
The 30mm output shaft uses a Blackbird prop adaptor. I had to machine the spacer down slightly so it engaged the full amount of spline that is could.
Then used a locking washer with a bolt in to the threaded end of the shaft for safety.
Build up was pretty simple. Follow the Suzuki guide and you can't go wrong. Make sure you install the cir-clips that are far larger in the
Quaife setup in the right direction. Square edge in direction of thrust.

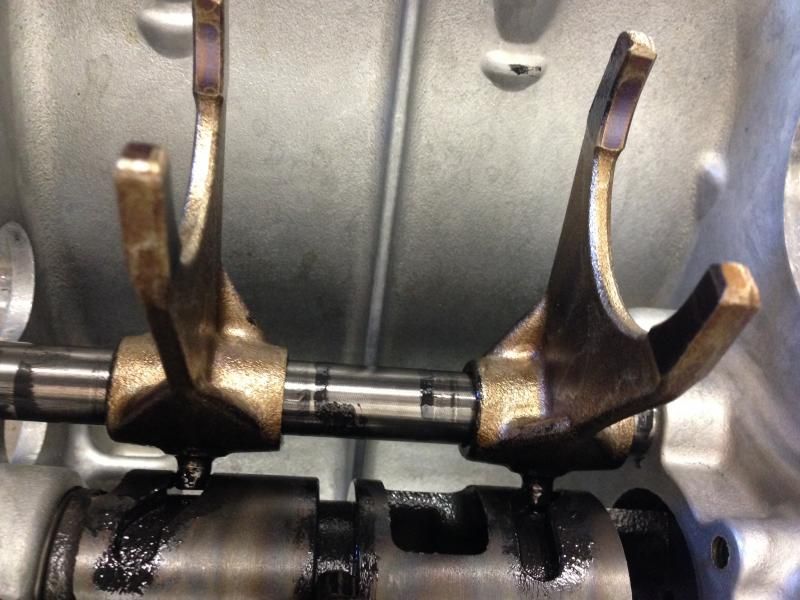
New shift forks as mine were bent and APE billet shift rods fitted as a matter of course.
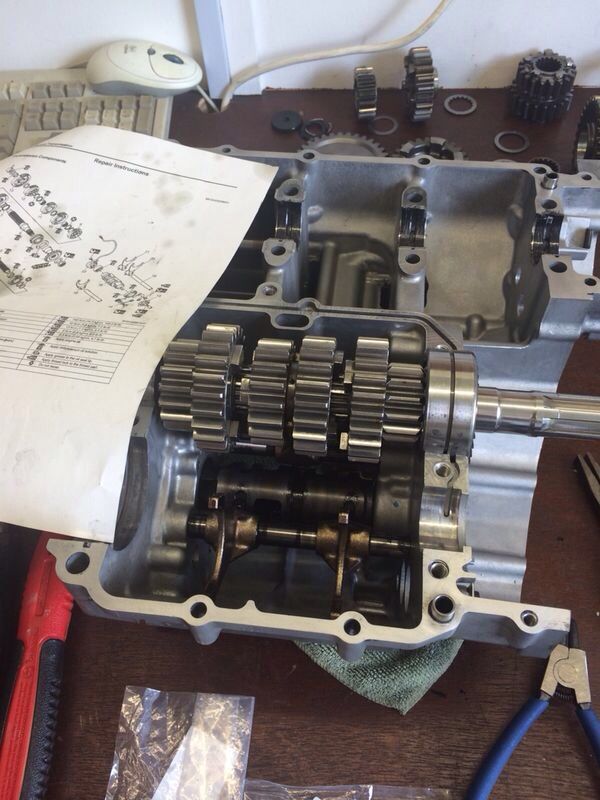
Building back up:
And a quick shifting video for you:
[Edited on 16/6/14 by jwhatley]
|
|
|


