Smoking Frog
|
| posted on 20/1/14 at 05:32 PM |

|
|
How to:Handbrake trim ring
How I made my Sierra handbrake trim.
Handbrake
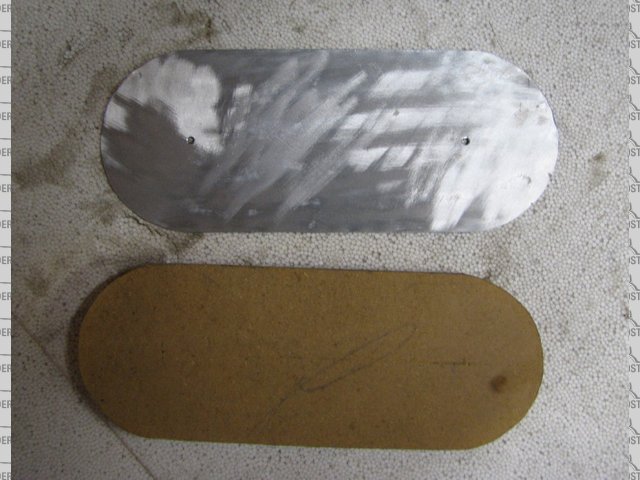
First the former, I used MDF it measures 210 x 80. The aluminium overlaps the former by 7mm in all directions and is 1.2mm thick (use thinner if
thats what you have).
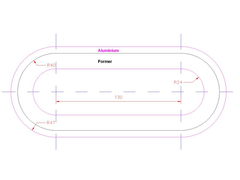 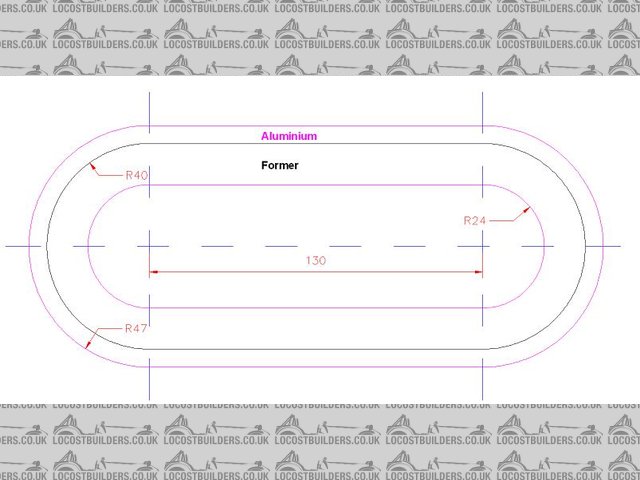
Handbrake trim ring drawing
The reverse side is roughed up to provide a key for the adhesive when fitting the gaiter.
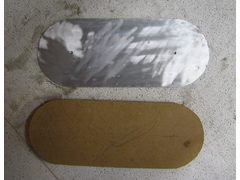 
How to:Handbrake trim ring 1
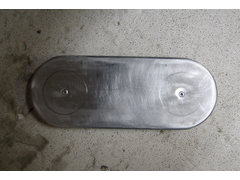
The aluminium is temporarily fixed to the former with a couple of rivets. Once riveted hold it in a vice. Use a soft headed hammer or mallet bend the
edges over the former. Take your time doing this, a bit at a time working around the edges gradually. Once done it should look something like this.
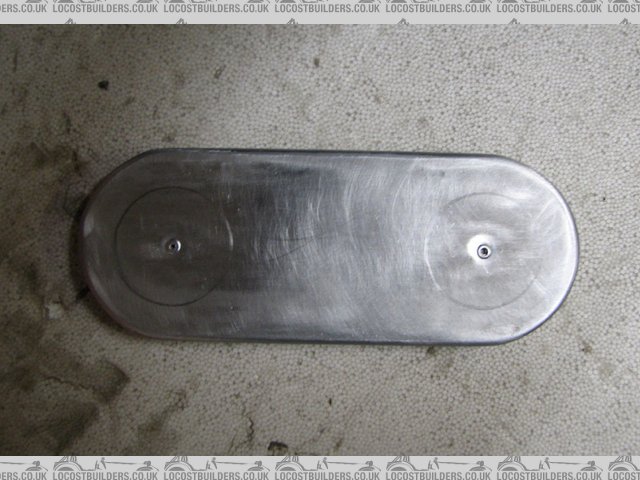
I used 48mm diameter circles to mark out the cut-out as drawing.
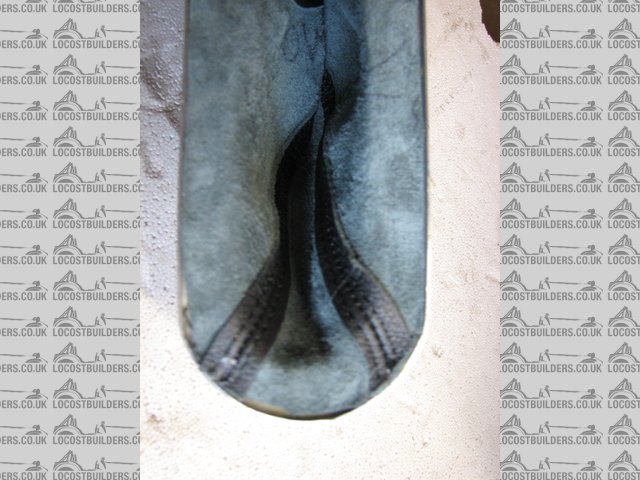
How to:Handbrake trim ring 2
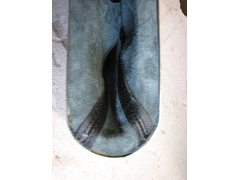
After cut-out is done the gaiter is fixed with contact adhesive.
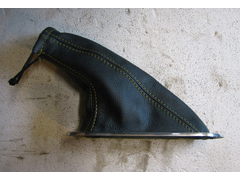
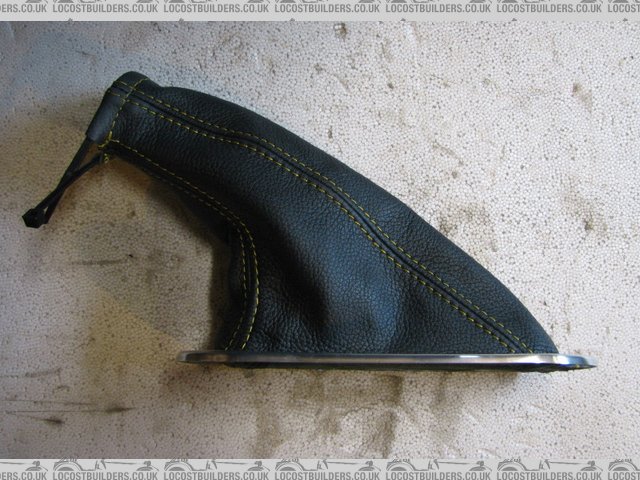
How to:Handbrake trim ring 3
All that remains is to fix it to the tunnel. I used m4 button head bolts and rivnuts. The leather gaiter is off fleabay and cost about a tenner.
How to:Handbrake trim ring 4
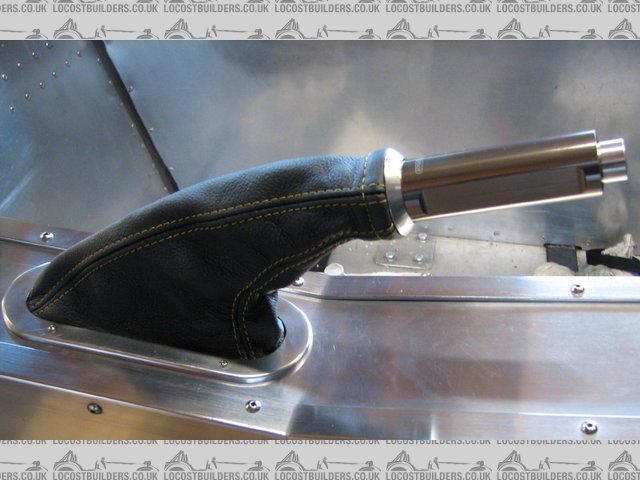
The same idea can be used for the gear stick gaiter too.
 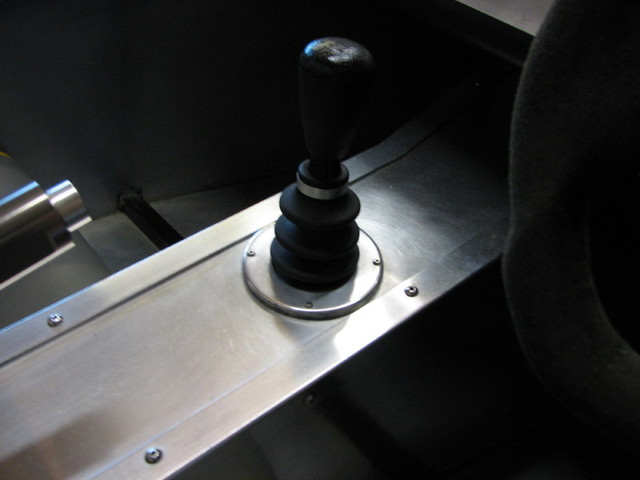
Gearstick trim ring
Have fun. Eddie
|
|
|
|
|
40inches
|
| posted on 20/1/14 at 05:51 PM |
|
|
Nicely done 
|
|
|
aerodynamix
|
| posted on 20/1/14 at 05:55 PM |
|
|
Nice job well done very good tip for others
|
|
|
mikeb
|
| posted on 22/1/14 at 12:58 PM |
|
|
That's a nice guide thanks!
I've hit a bit of pause on my build and to get myself going again without spending money on bigger things I might have a crack at my tranny
tunnel.
Did you hand cut the former with a jigsaw as that's all I've got for cutting mdf.
|
|
|
Smoking Frog
|
| posted on 22/1/14 at 03:57 PM |
|
|
Yes, just used a jigsaw. These penny projects help the build along when funds are low, good for motivation.
|
|
|
mikeb
|
| posted on 22/1/14 at 04:45 PM |
|
|
Do you have a link for the gater, found a load when I searched on ebay but wasn't sure which one you used.
Also what Lshape ali section do you use for the edges of the tranny tunnel?
Cheers
[Edited on 22/1/14 by mikeb]
[Edited on 22/1/14 by mikeb]
[Edited on 22/1/14 by mikeb]
|
|
|
Smoking Frog
|
| posted on 22/1/14 at 05:17 PM |
|
|
This was the one I got.
http://cgi.ebay.co.uk/ws/eBayISAPI.dll?ViewItem&item=280421254963
A bit more money from when I bought mine, the quality is good though. I did specify it was to fit a Sierra handbrake with a after-market Richbrook
handle which was no problem and no extra charge.
The L shape ali was just some 30 x 30 angle aluminium which I rounded the corner off with a router. Although it can be obtained already rounded from
some suppliers.
|
|
|
serieslandy
|
| posted on 22/1/14 at 09:10 PM |
|
|
Fantastic and simple, thanks. favourited.
|
|
|
rick q
|
| posted on 23/1/14 at 04:11 AM |
|
|
It's a very good way to make "factory" looking parts.
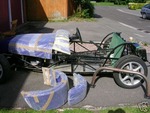
I used two bits of hardwood floorboards cut to the same shape to make these panels for a small brake air scoop. The aluminium is clamped between
them, and then you beat the aluminium to the upper or lower side depending whether you want a left or right handed part - and they'll both be
the same size :-

|
|
|
L1berator
|
| posted on 5/1/17 at 06:20 PM |
|
|
Hi there,
This looks excellent - I'd like to do the same thing with my Tiger.
Where did you get the gear lever gaiter from? It looks properly neat...
Thanks,
Pete
|
|
|
Smoking Frog
|
| posted on 5/1/17 at 10:11 PM |
|
|
MGA Gear Lever Gaiter / Boot, MG Part 14A1468. Slightly trimmed at base, alloy ring cut from tube. Glad you like it! Thanks.
|
|
|