the_fbi
|
| posted on 30/8/09 at 11:07 AM |

|
|
Plastering shower, help please.
I've been spending what seems like months revamping my en-suite and its literally half done. One side of the room is newly tiled, basin is in,
toilet plumbing is all complete, half the floor is done.
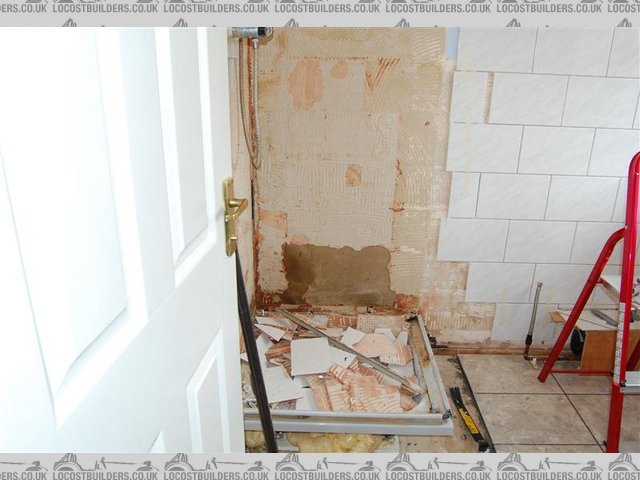
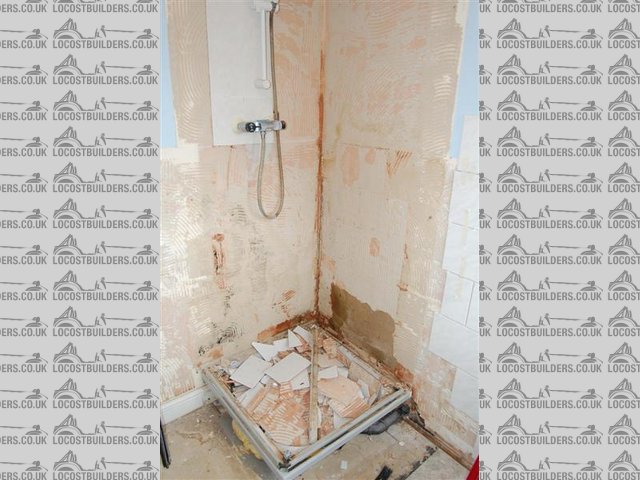
I only have the one shower in the house so I've waited till a long weekend to get the majority of the shower ripped out and re-installed.
Yesterday I got slightly (well totally) delayed in starting so I'm just ripping out now.
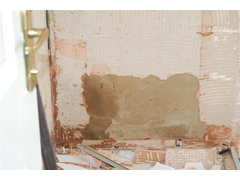
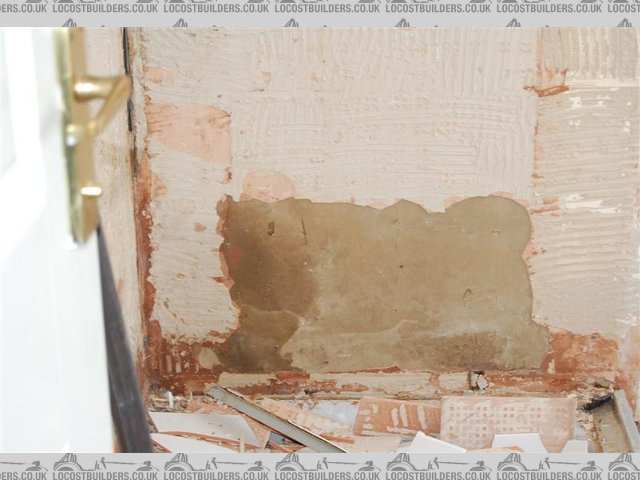
The bottom 40cm of one of the shower walls (which was tiled) has clearly been getting a bit damp. There's no mould (which is odd as the other
wall is dry yet slightly mouldy) but the plaster has come away from the wall so I want to know what I should do before re-tiling.
Can I just get some readymixed plaster(what type?) from Wickes and go over the affected area with a light coat? If so what prep work do I need to do
before hand?
Do I need to seal/treat the current surface with anything?
Also, when the old shower was installed, there was a little corner piece which went up the wall and onto the tray, sealing the corner totally. Is this
still good practice or do I just tile onto the top of the new tray and then grout/silicone seal the joint?
The slightly mouldy areas, do I just leave them to dry out for a few days and do I need to treat them with anything?
Any guidance appreciated.
Thanks
Chris
Description
Description
Description
|
|
|
|
|
MikeRJ
|
| posted on 30/8/09 at 11:22 AM |
|
|
I hate plastering  I just can't seem to leave it alone and spend ages trying to get lines out of it and tend up messing it up! I just can't seem to leave it alone and spend ages trying to get lines out of it and tend up messing it up!
I find the ready mixed plaster is very easy to use, but it takes absolutely ages to dry properly and I'm not sure if it would be suitable for a
shower area. However, if you are going to be tiling over the plaster then you don't need to get a perfect finish so I'd just use normal
plaster.
You are supposed to seal shower walls prior to tiling (called "tanking" ) but this seems to be a relatively modern idea and I don't
really understand why it's needed if your grouting is up to scratch. I tiled my bathroom about 14 years ago and I had to remove the
plasterboard from the other side of the cavity wall where the shower is mounted recently and found absolutely no signs of dampness in there.
[Edited on 30/8/09 by MikeRJ]
|
|
|
violentblue
|
| posted on 30/8/09 at 04:24 PM |
|
|
forget the plaster, find some good stain blocking sealing primer and give the entire area two good coats and allow to dry well. you want a 100%
acrylic latex primer. it will stick to anything, and will be tough as nails once dry.
the area in question will be covered by tile, so use mortar to build up the area with the missing plaster.
now considering that I'm in north America, so the products we use might be different. Done tiles a numer of times, both on the floor and on
walls, in the shower as well. having a good primer to seal up the walls before applying tile is the key. and allow it to cure for several days if
possible.
[Edited on 30/8/09 by violentblue]
a few pics of my other projects
|
|
|
Russell
|
| posted on 30/8/09 at 09:34 PM |
|
|
I recommend using Hardibacker board. It's not affected by water and is a treat to tile on to. You can screw the 6mm thick boards into the
existing plaster/wall floor to ceiling with a thin skim of tile adhesive to help it stick.
The only downside is that the wall will stick out an extra 6mm. Having said that, for a small area it's no great probs to plate the whole wall
and get a nice flat finish for the tiles.
I've used it for a bathroom and a shower room and it's brill. The shower room was in a similar state to yours with damp where the shower
had been.
Also, get yourself a Fugi tool for doing the silicone around the shower base. You won't believe how easy it is to get a pro finish.
Don't use that L-shaped sealing strip crap!
Have a Google for Hardibacker and Fugi. You won't regret using them!
I'm a bilingual illiterate. I can't read in two languages.
|
|
|
the_fbi
|
| posted on 30/8/09 at 10:07 PM |
|
|
Thanks for the tips guys.
The only issue I see with the Fugi tool is that as it collects the sealant up, it'll end up getting wider and wider along the collector, leaving
a thin smear of sealant.
That said, for the money, its worth a shot.
Looks like I'd need 6 sheets of 1500x900 hardibacker to do the short side of the shower (800) and the whole of the left wall behind the door,
which isn't too bad as I can trim the excess of the 900 at the shower frame edge and the only step will be 6mm for around 100mm above the frame
which I'm sure I can hide with a slightly angled tile.
Better to be safe than sorry, although its going to delay progress for a while
|
|
|