kimbo1982
|
| posted on 30/9/11 at 10:47 AM |

|
|
That is a stunning build, just spent half hour reading your thread on pistonheads!
|
|
|
|
|
SausageArm
|
| posted on 22/1/12 at 08:28 PM |
|
|
quote:
Originally posted by kimbo1982
That is a stunning build, just spent half hour reading your thread on pistonheads!
Thanks very much, glad you enjoyed reading it 
|
|
|
SausageArm
|
| posted on 22/1/12 at 08:41 PM |
|
|
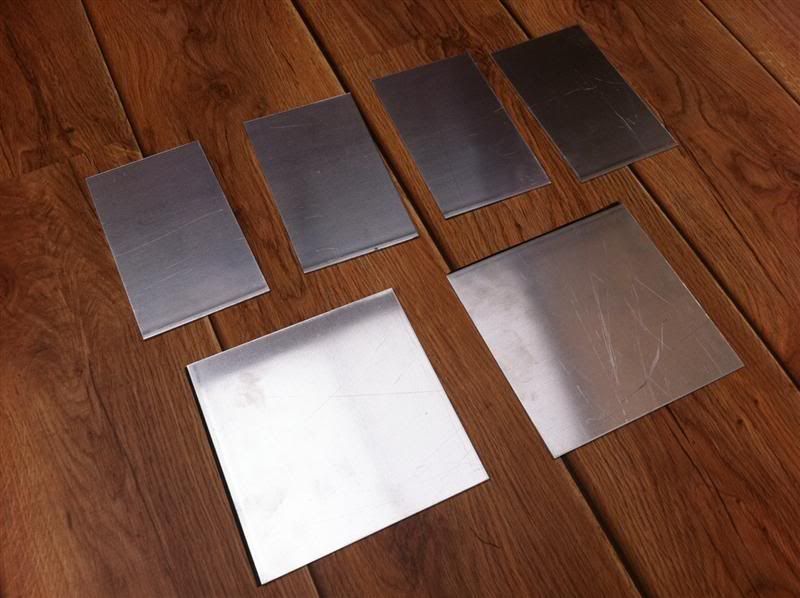
To further improve the cooling I decided to fit a second radiator in the boot area, I need a new header tank, with larger volume and more
inlet/outplet ports, so some aluminium sheet was bought and cut to size
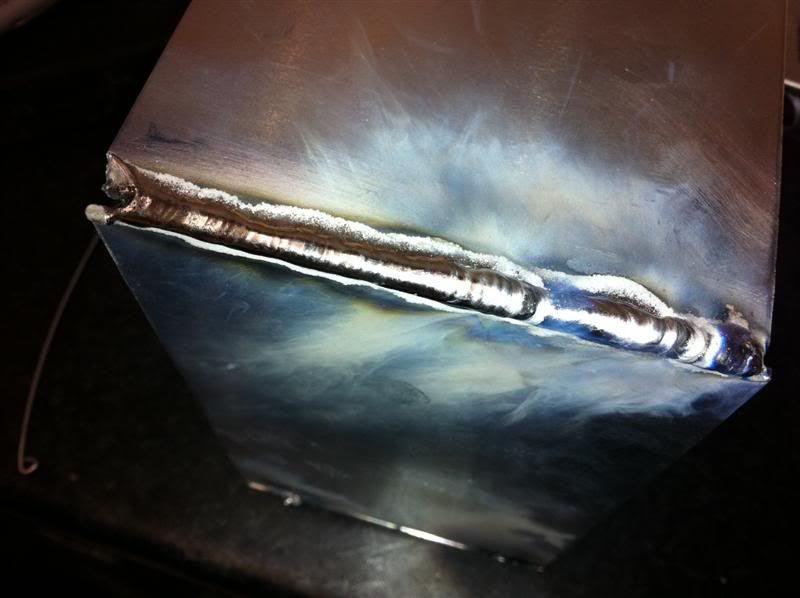
then the TIG set was fired up and i set about joining the bits together, my aluminium welding is far from perfect but it's improving
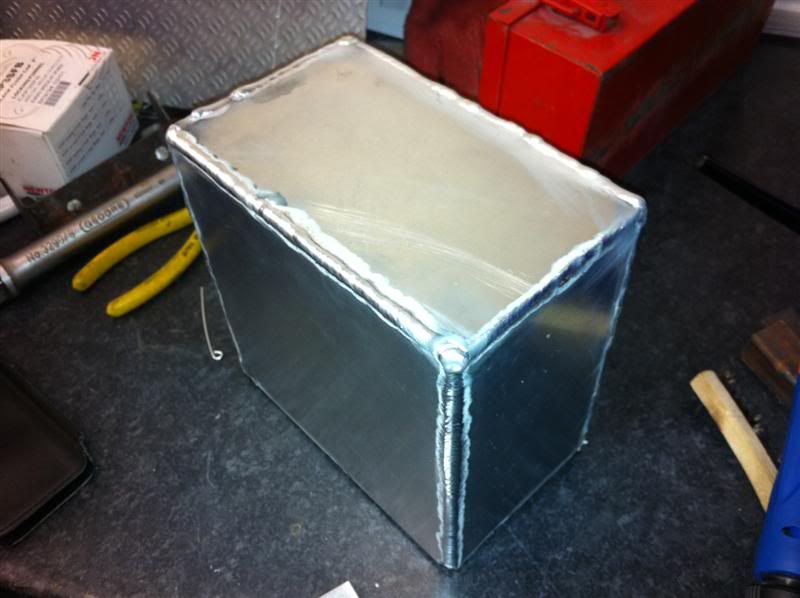
The header tank is progressing, still a long way to go but it's taking shape nicely
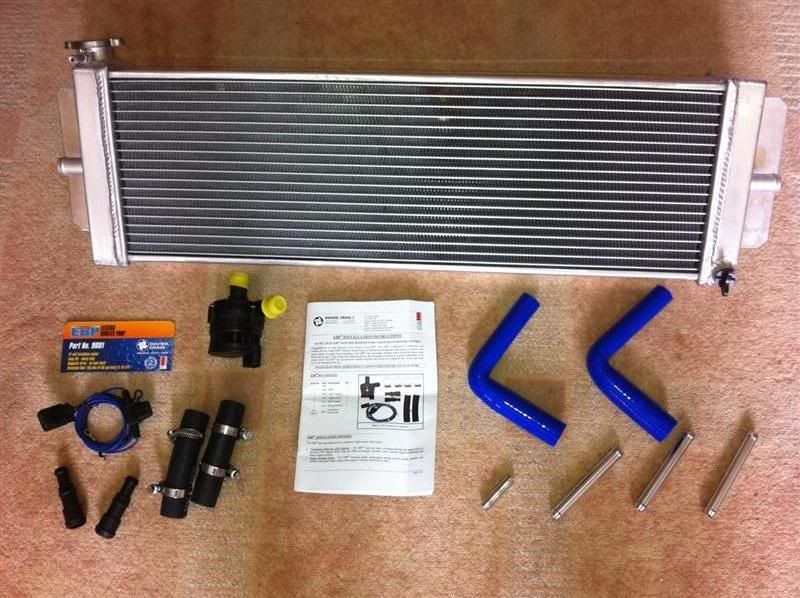
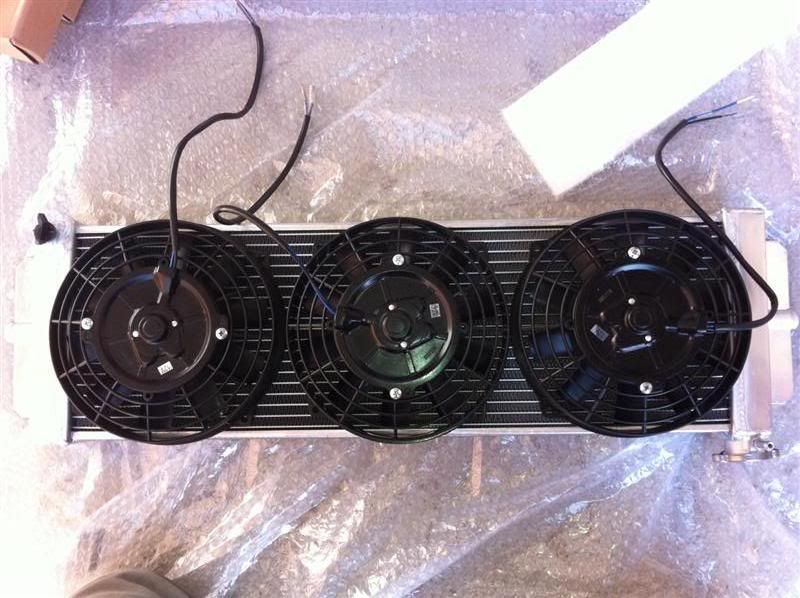
One radiator, Davies Craig water pump, hose elbows and hose adaptors/joiners.
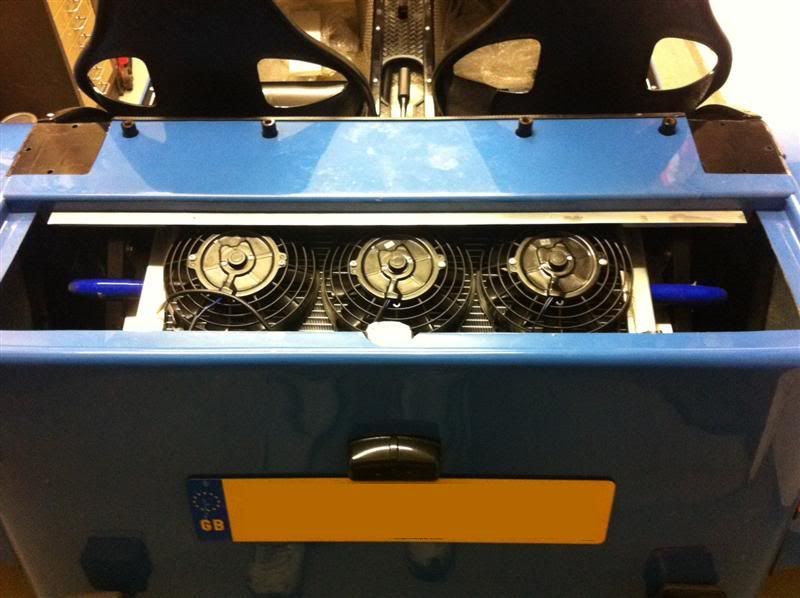
The radiator fans trial fitted them to the radiator, to double check they would actually fit as planned.
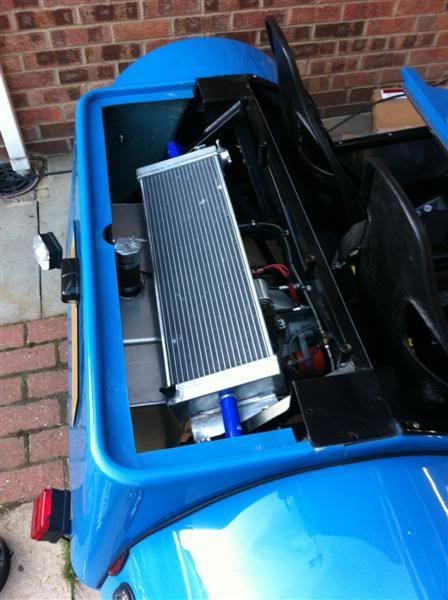
With the roll bar removed, it made access for fitting the radiator much better, some aluminium brackets were cut and welded to the radiator, rivnuts
fitted into the chassis, and the radiator mounted.
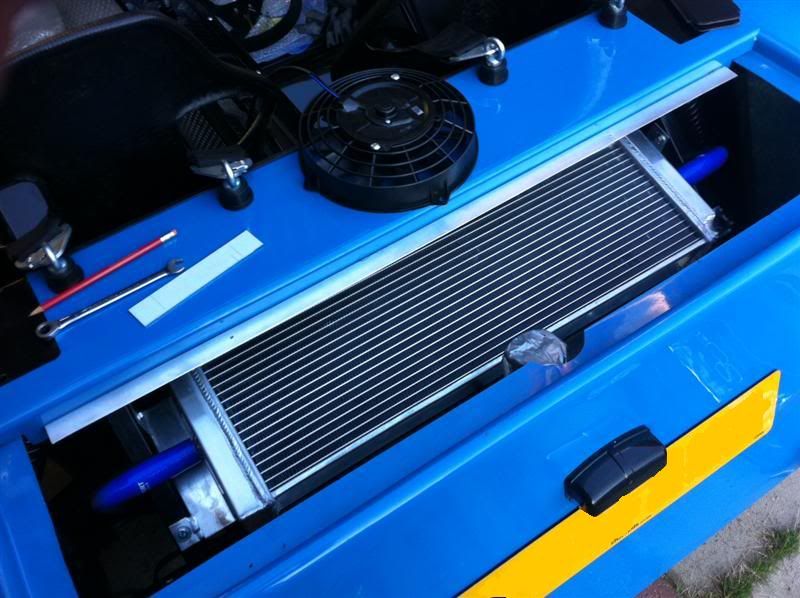
The radiator fits in the space rather nicely, happy days
Next up, the fans were trial mounted again, so the top panel could be fitted and see how much it needed to be cut to clear the three fans.
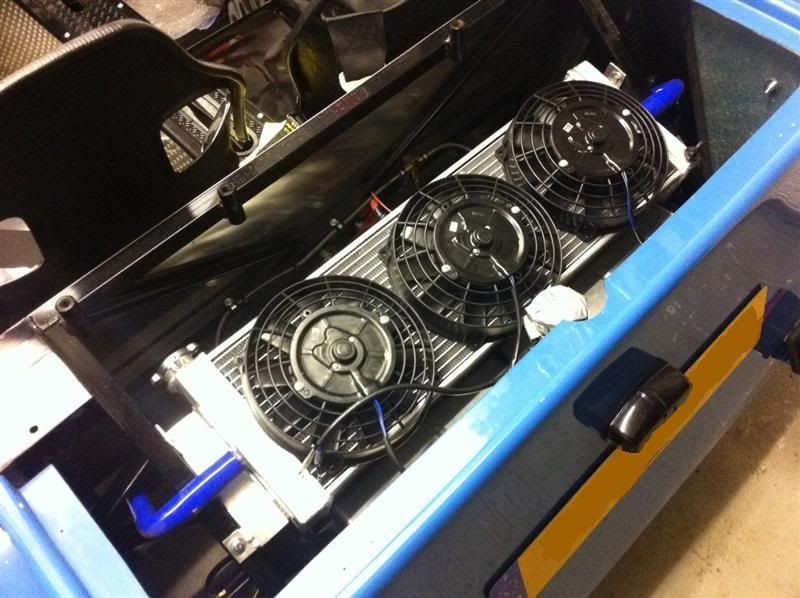
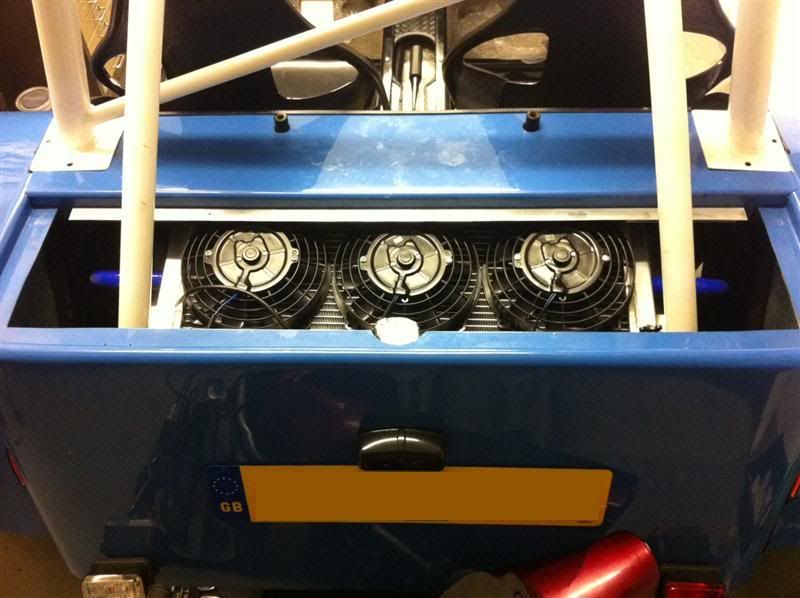
The angle grinder was fired up and a small amount was cut from the bottom area of the top panel, rested in position, clearance looks great.
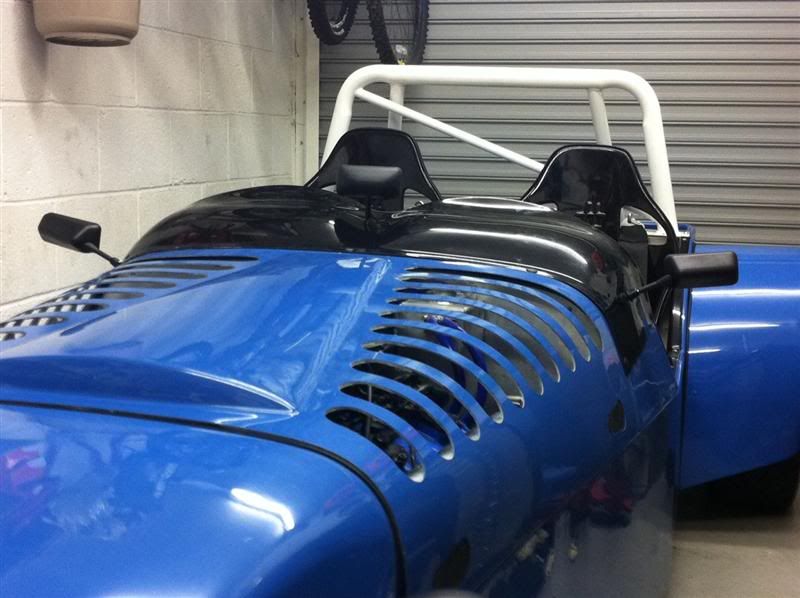
As I tidied the tools away for the night, I took the opportunity to rest the roll bar back in place, this is how it looks.
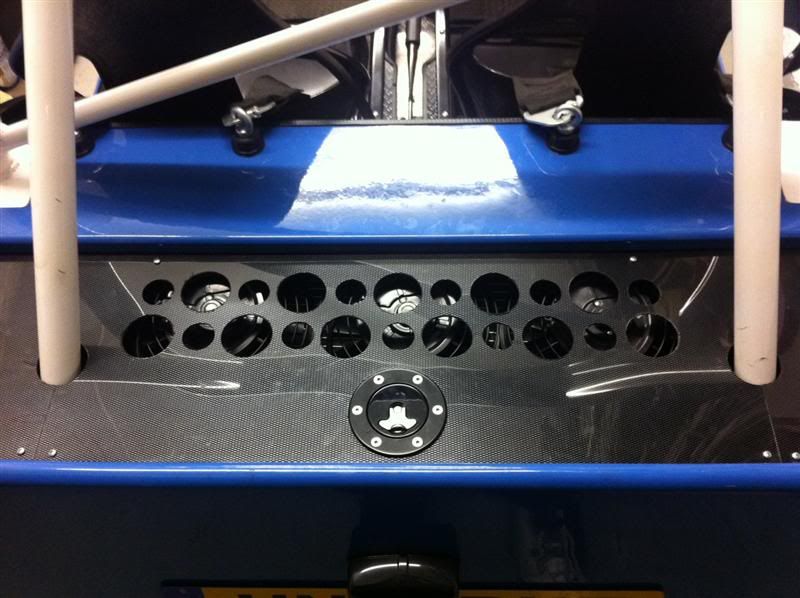
With the cover on the boot area of the car, this is all you can see of the radiator/fans inside. I'm planning on joining up the large and small
holes to make teardrop shaped vents, then meshing the holes from the underside, this will be done at the same time as the vents on the bonnet are
meshed up.
My DIY header tank has been pressure tested, found to be leak free and then installed
The cooling issues are now resolved , the new radiator in the boot has done the trick, on the move temps dont go above 90 deg C, through traffic temp
peaks at 95 deg C. 
|
|
|
SausageArm
|
| posted on 22/1/12 at 08:43 PM |
|
|
Racetech mirrors have now been fitted
|
|
|
SausageArm
|
| posted on 22/1/12 at 08:46 PM |
|
|
To overcome the issue of not being able to press the clutch in with the lockup clutch while the engine is doing high rpm's, I have invested in
one of these

http://www.flatshifter.com/flat-shifter-expert/
The Flatshifter Expert quickshifter provides effortless full or part throttle clutchless upshifts and auto throttle blipped downshifts without using
the clutch, so the car should be a real pleasure to drive once I get this kit strapped on, it should make it a tad quicker on track too according to
Flatshifters claims.
The Flatshifter Expert kit is now fitted, tested it in the garage and the blipper worked a treat, with the engine at idle changing up and down the
gears without the clutch was easy, if a little jerky, but the fitting instructions did mention this.
I've been out in the car today, first drive with the Flatshifter on the car, going up through the gears is so quick it's fantastic!
Changing down the gears while carrying reasonable speed is silky smooth, at lower speeds it's not quite perfect but this can be fine tuned to
your personal preference.
All in all i'm a happy man 
|
|
|
SausageArm
|
| posted on 22/1/12 at 08:48 PM |
|
|
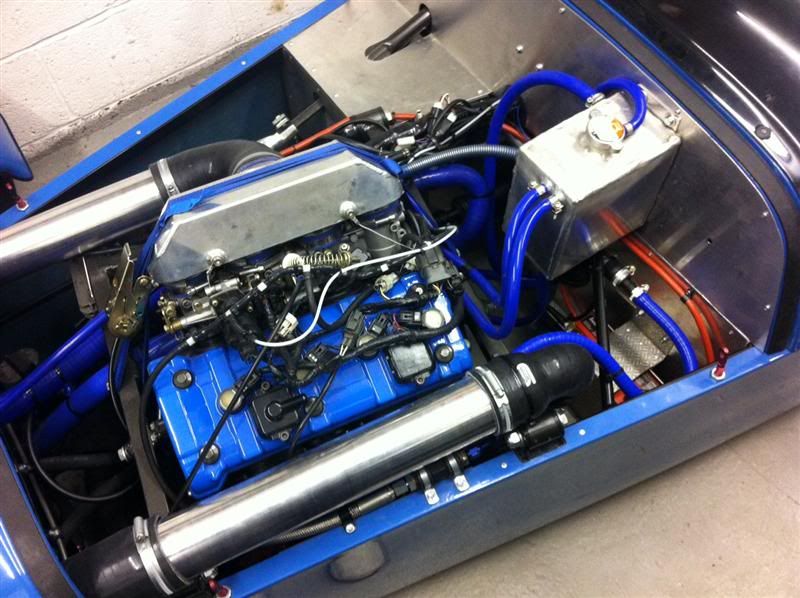
It was high time the horrid ratchet strap over the inlet manifold was removed, so without further ado it was taken off.
The motor/position sensor was also removed from the throttle bodies secondary butterflies, this made a nice space to allow some straps to be fitted to
secure the inlet manifold down.
Some aluminium strips were cut, bent and drilled, once fitted to the engine they look like this
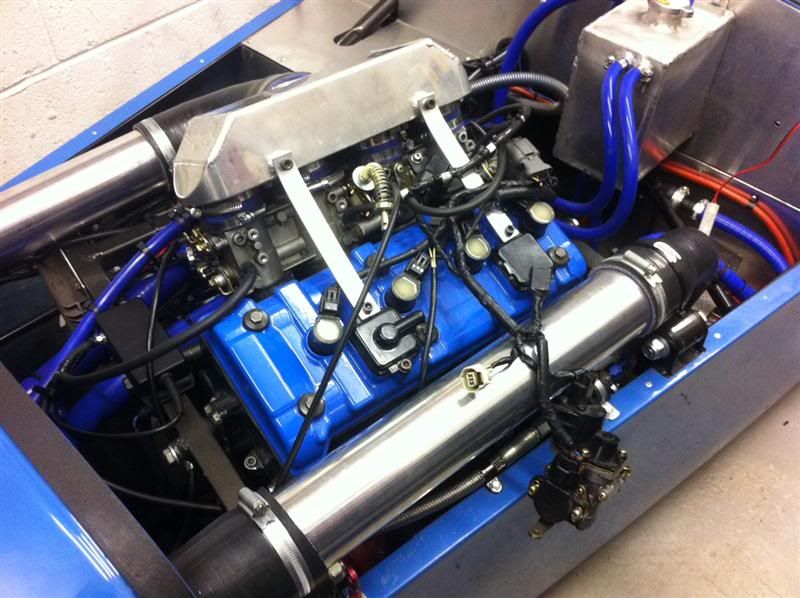

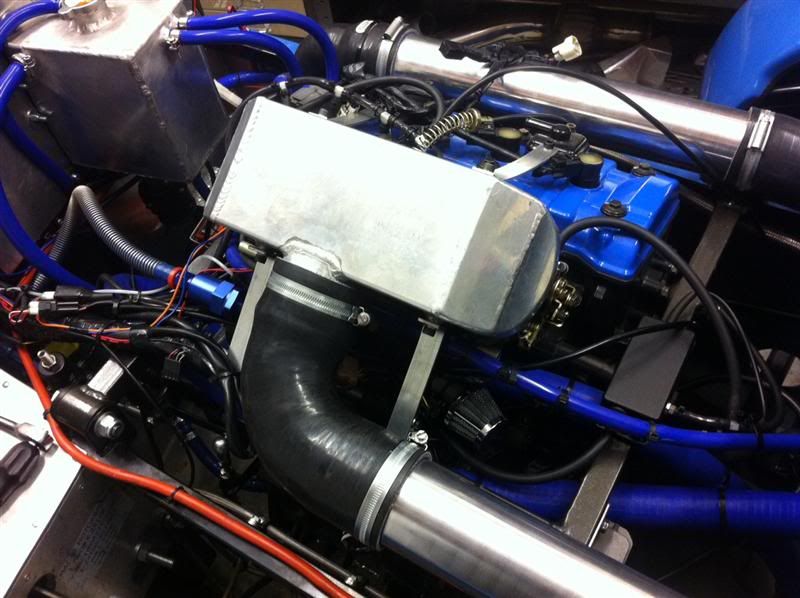
Looking at those last two photos, the wiring and vacuum hoses need some tidying because they look a right mess.
As agreed with Damien at Daytuner, the Power Commander has been fitted to the car but not connected up, that will be carried out when I get there.
Oil and water levels checked, tank filled up with V-Power, a set of NGK Laser Iridium spark plugs packed to be fitted prior to mapping, crash helmet
and warm clothing sorted, that's me set for the trip out to Daytuner in Harrogate tomorrow... fingers crossed the weathers good and the results
are even better! 
|
|
|
SausageArm
|
| posted on 31/1/12 at 09:58 PM |
|
|
A couple of videos from the mapping session, running 8psi (low boost)
Video 1 with a flame

Video 2 with more flames

|
|
|


