Padstar
|
| posted on 4/10/12 at 08:39 PM |

|
|
Padstar Build Blog
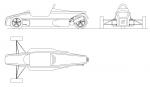
Right after several years (probably more like 10) i have finally decided to go for an attempt at building a kit car. I have chosen a Haynes Roadster
as i think that it will be the most challenging option and also allows initial progress to start will minimal outlay. This way if i find that it is
not for me then i will have had only a small investment to swallow.
Now that i have decided to go for the task of building my own car i wish to have a timeline of events throughout the project in a way of a build
diary. I would like to keep this on the forum as well as my own personal record so that people with far more knowledge than me can point me in the
correct direction if they spot anything that looks funny along the way.
Any constructive feed back or general banter along the way will be much appreciated. I have given myself a 2 year period with the first milestone of
christmas for the frame to be complete. (I started 2 months ago and due to a hectic schedule and long working hours have been restricted to build time
but here goes.
Thanks for watching.
|
|
|
|
|
carlknight1982
|
| posted on 4/10/12 at 08:48 PM |
|
|
Welcome to Roadster fraternity, Try looking on the haynes roadster forum for a weatlh of knowledge.
Carl
Logic will get you from a A to B
Imagination will take you everywhere.
|
|
|
Padstar
|
| posted on 4/10/12 at 08:59 PM |
|
|
2 Months ago i found a running gear and a load of steel on the bay for £150. Sounded too good to be true so i cleared the garage, hired a car and went
and collected it.
Description
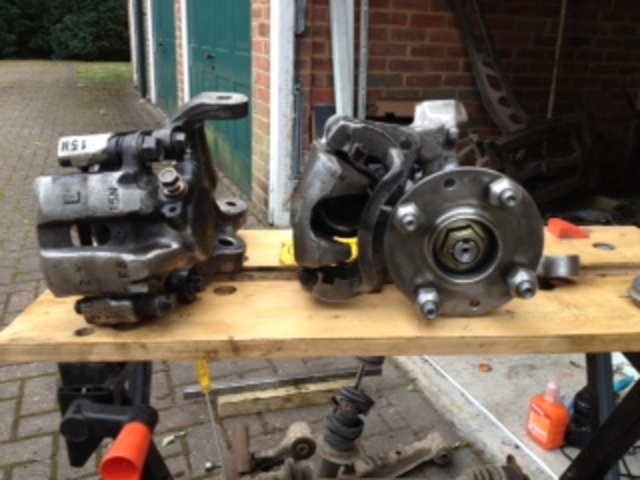
Cleaned garage - I dont have a pic from before but it was a mess.
 
Description
Garage a complete mess again after the running gear had been moved in. Still donor parts plus all the steel for the build for £150. I will live witha
bit of mess.
With the plan to take it slowly and with a monthly budget in mind, after the purchase of the donor i decided to strip it down to free up space in the
garage and see what was worth keeping and what wasnt.
 
Description
Rusty donor rear frame and hubs
After a bit of elbow grease and a lot of use of my angry wheel
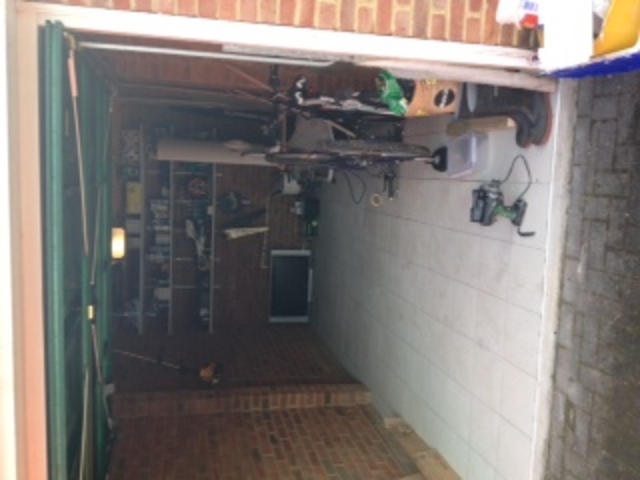
Description
Clean Hub
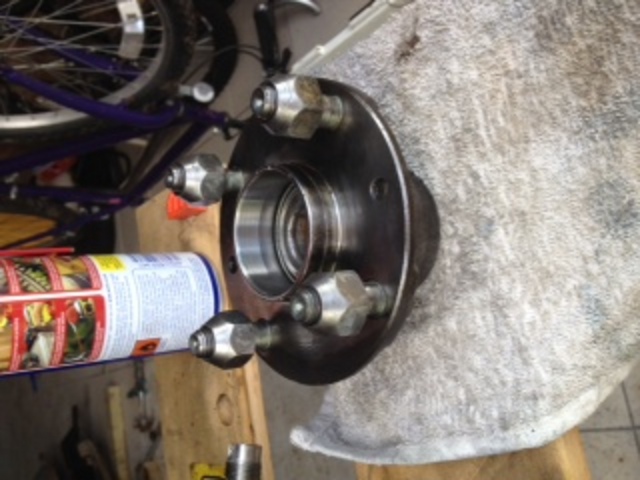
Description
and cleaned up front calipers and stub axles. All oiled up to prevent surface rust while i leave them on the shelf for a bit.
Month 2 and i have treated myself to a powder coat gun. Random purchase but it was cheap and i got carried away. Yet to use it but will show results
when i get round to it.
Also purchased the timber fro the build table
 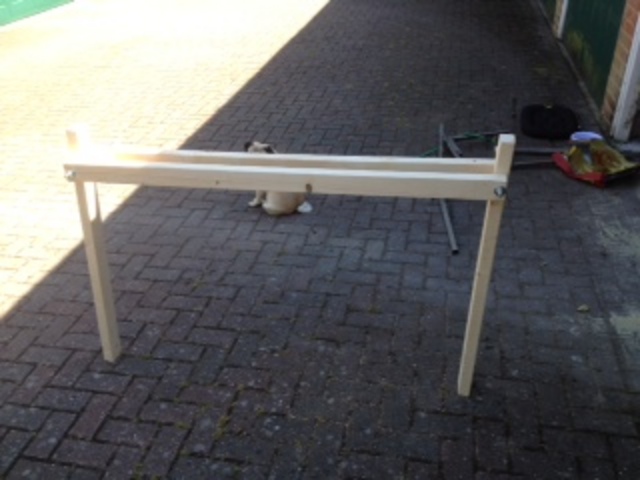
Description
Folding legs for easy storage
 
Description
Table top with bracing - should have run the supports at the end the full width as one but it seems to be holding good as it is so will leave for
now
 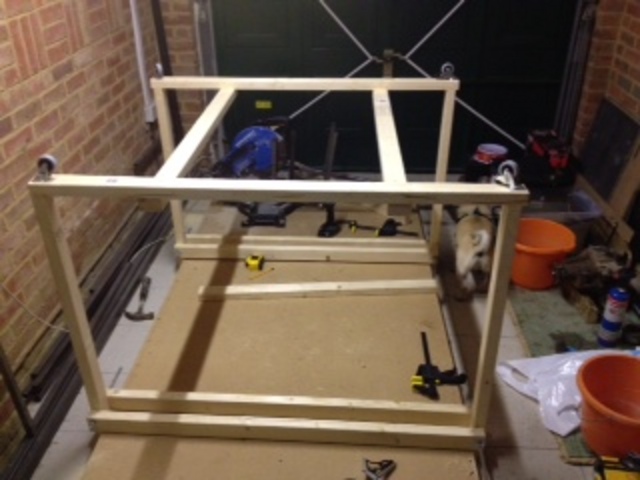
Description
Cross bracing to the legs and wheels to make it easy to move if i want to make space in the garage durring the build
 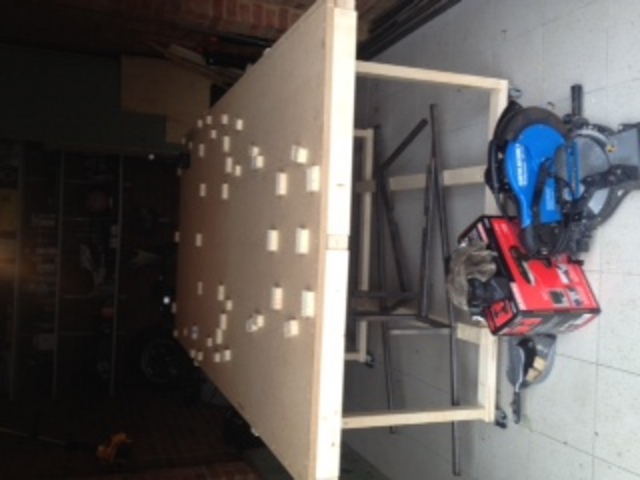
Description
Ta da - robust build table with it all jigged out for the lower rails.
Sorry for the long post but wanted to get this set up with the progress so far. I will then try and update every 2 weeks or so with progress.
|
|
|
Chippy
|
| posted on 4/10/12 at 10:30 PM |
|
|
Would greatly enhance the experience if you made sure the pictures were the right way up, I hate turning my screen on its side to look at pictures
 . Wish you the best with the build. Cheers Ray . Wish you the best with the build. Cheers Ray
To make a car go faster, just add lightness. Colin Chapman - OR - fit a bigger engine. Chippy
|
|
|
maccmike
|
| posted on 5/10/12 at 04:59 PM |
|
|
those hub assemblies look heavy
|
|
|
Padstar
|
| posted on 5/10/12 at 10:58 PM |
|
|
quote:
Originally posted by maccmike
those hub assemblies look heavy
Standard MX5 parts. Have been told I will gain nothing by buying new slightly lighter replacements?
|
|
|
scutter
|
| posted on 6/10/12 at 08:37 AM |
|
|
quote:
Originally posted by maccmike
those hub assemblies look heavy
I'm sticking a MX5 rear end on my locost, luckily we have a roadster racecar being built at the same time. The mx hubs are only 100g heavier
than the roadsters, they are a lot smaller.
ATB Dan.
The less I worked, the more i liked it.
|
|
|
designer
|
| posted on 6/10/12 at 09:17 AM |
|
|
I would use a lot thicker wood for the build table legs.
You could do with strengthening yours, and put in diagonals to stop flexing.
|
|
|
Padstar
|
| posted on 6/10/12 at 10:09 AM |
|
|
Diagonal cross braces have been added since the photo. The legs hold well with me and my dad sat on it 30+ stone. I plan to drop onto axle stands for
the heavy stuff after the chassis is fabricated.
|
|
|
Padstar
|
| posted on 10/11/12 at 08:43 PM |
|
|
Bottom rails welded. heat deflection/distortion sorted and it is now flat ready for the rest to be built up.
 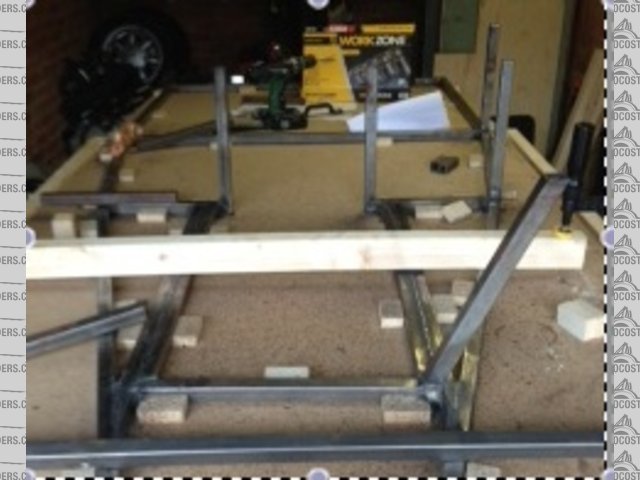
Bottom Rail
|
|
|
blakep82
|
| posted on 10/11/12 at 08:55 PM |
|
|
i didn't build my chassis, but i think its best to get the WHOLE chassis cut and tacked together, it allows for adjustment and stuff if needed,
and also give the frame a bit more ridgidity to help prevent heat warping the chassis when you come to weld it all fully. picture's difficult to
see, but looks like its just the bottom with some vertical tubes in place?
________________________
IVA manual link http://www.businesslink.gov.uk/bdotg/action/detail?type=RESOURCES&itemId=1081997083
don't write OT on a new thread title, you're creating the topic, everything you write is very much ON topic!
|
|
|
Padstar
|
| posted on 10/11/12 at 09:00 PM |
|
|
It is just the base rails. I made a mistake in doing it this way but plan to teh the rest of the chassis in the way you mention so as to allow it all
to pull together and to allow for movement where needed.
Not sure whats going on with the pictures and the locost logo over it.
|
|
|
Padstar
|
| posted on 18/2/13 at 01:20 PM |
|
|
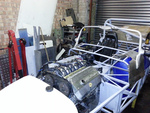
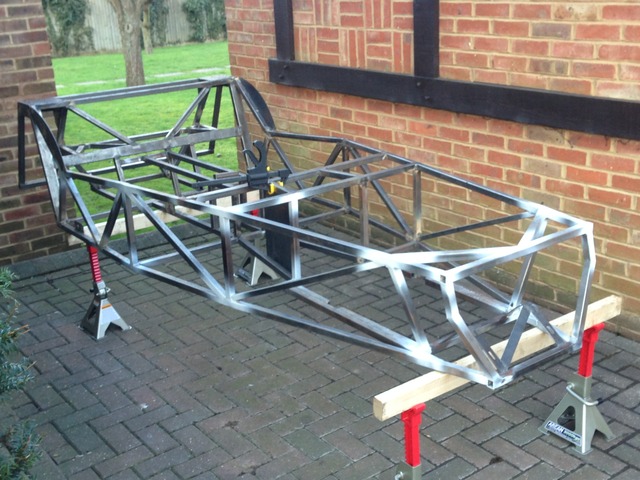
2 Months have passed so i thought i would give a bit of an update. With Christmas and all i have had only a little progress but its now starting to
look like it should.
What with it being a sunny sunday i decided to remove the car from the build table and reposition on axle stands which i think will allow me to
complete the next bits more comfortably.
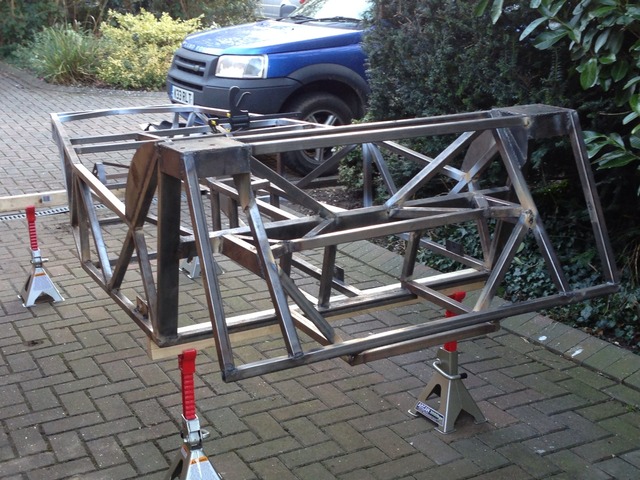
Anyway pics below. As you can see the chassis is all but finished. Just need a few more plates added then i can start trial fitting the engine and
gear box.
 
Rear end
In the garage
Chass 2
Outside in the sun
Chass 3
Rear View
Weighed more than i was expecting! Any comments please feel free to add them. I also have a large build table for sale if anyone is interested.
|
|
|