ralphy
|
| posted on 19/12/16 at 02:43 PM |

|
|
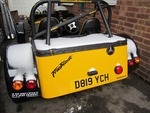
A pic of her before the owner started stripping it down:
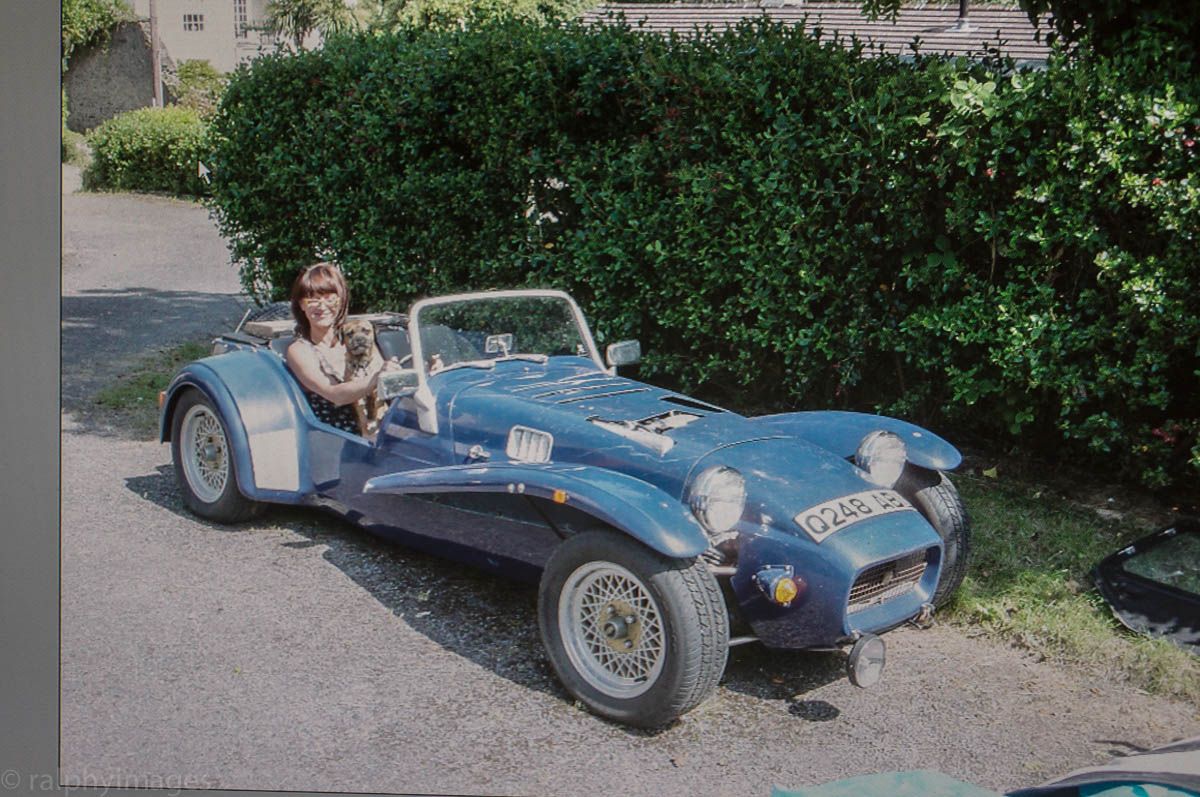
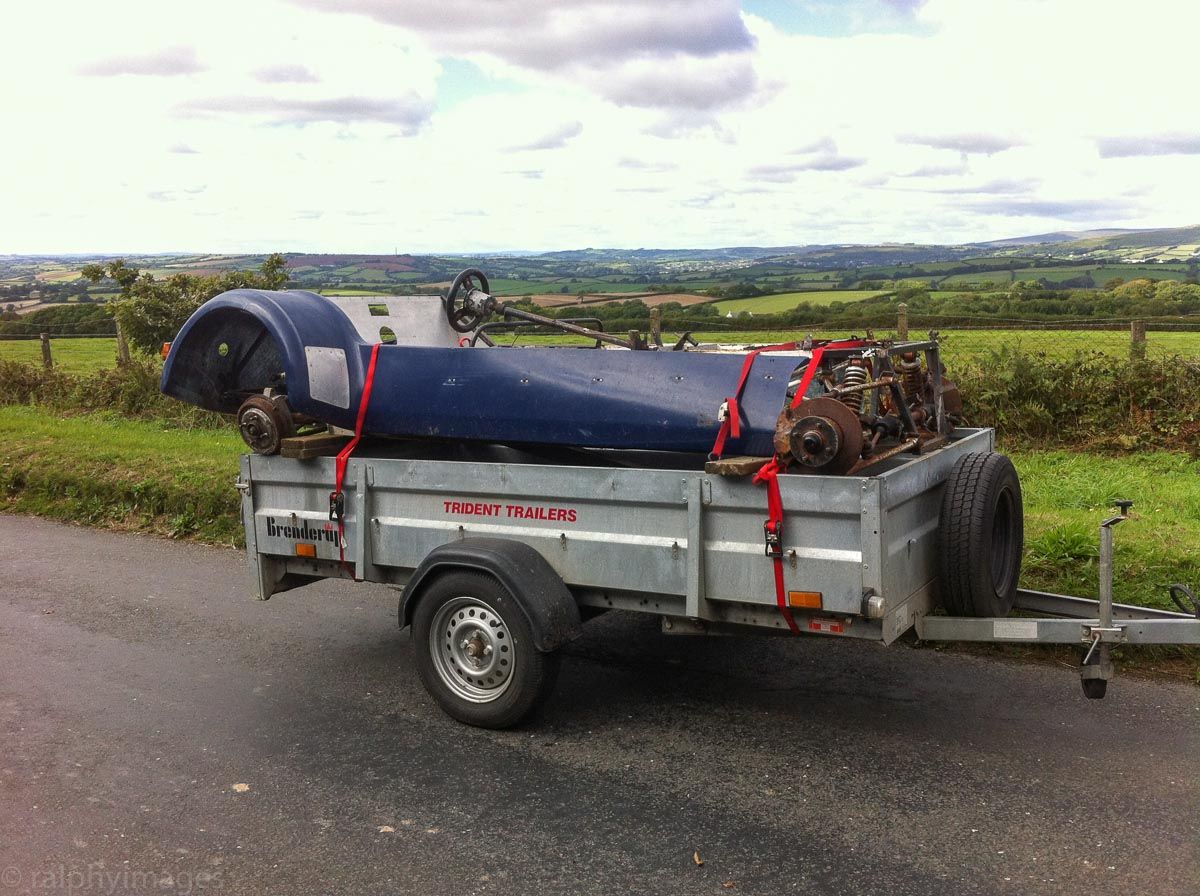
And here she is on the way back to my home:
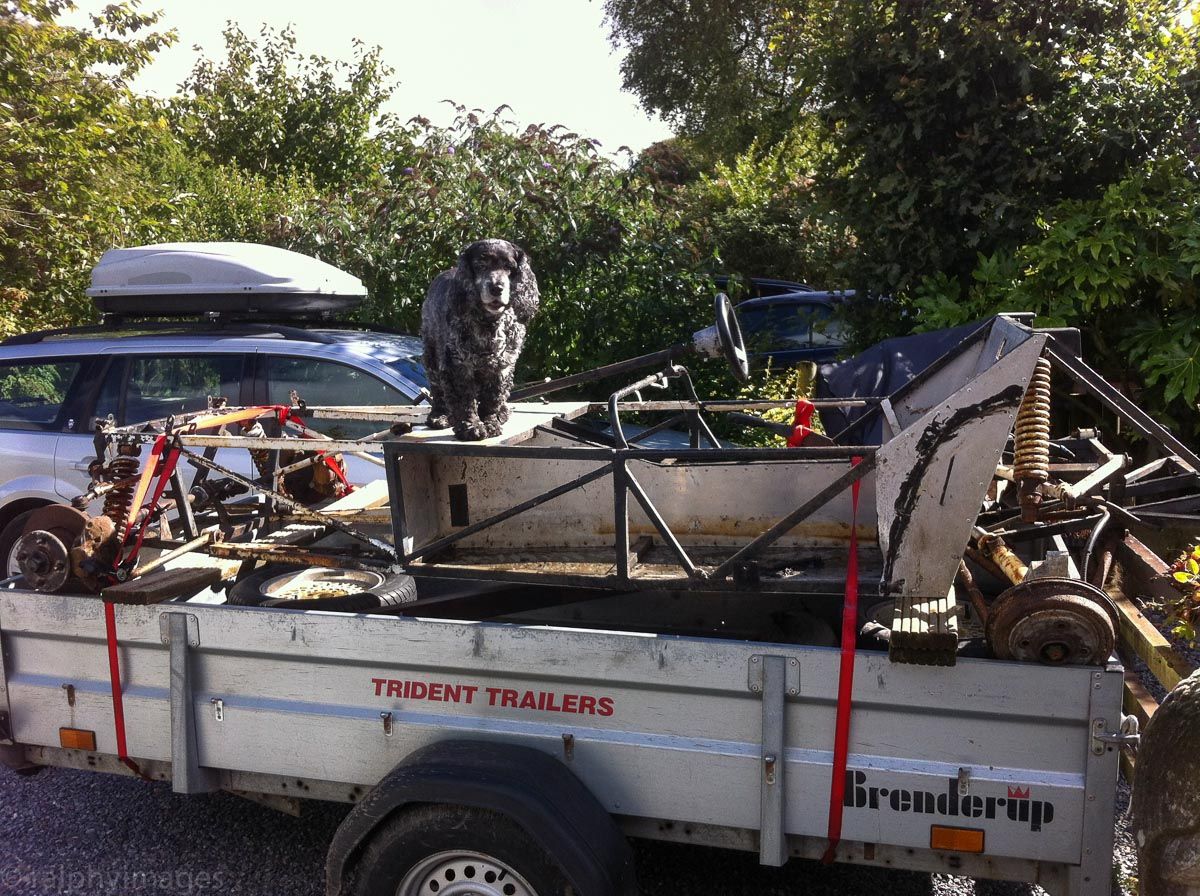
One of our pooches has forever been very defensive of whatever car she's in - and she's figured out the Westie is actually another car:
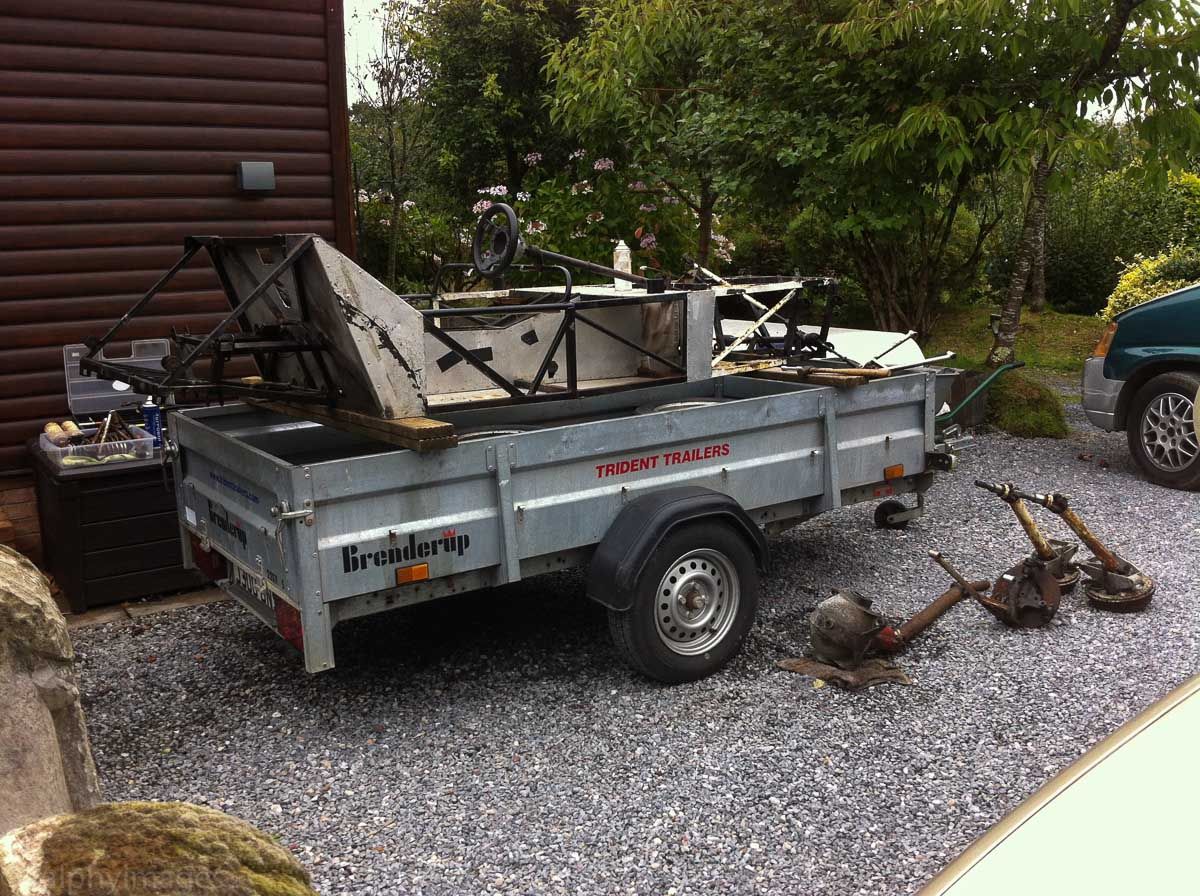
The disassembly began straight away, it was late summer and I wanted to get onto the chassis refurbish asap:
R
|
|
|
|
|
gremlin1234
|
| posted on 19/12/16 at 03:29 PM |
|
|
quote:
Originally posted by ralphy
quote:
Originally posted by gremlin1234
I think I must have misread the number plate
I now think it says Q248 ABL though difficult to read, hopefully Ralphy can check...
and that does make it a westfield ;-)
And confirmed.
But here's a funny thing, I looked up Pilgrim and discovered they make Cobra replicas, this sparked a vague memory in my mind & so I called
the friend who'd put me onto the Westie - and he confirmed that the original owner of my car had owned a Cobra replica - before he got
the Westfield!
But any thought I had of there having been a reg transfer were dashed when I found out you can't transfer 'Q' plates.
R
[Edited on 19/12/16 by ralphy]
thats good
sincere apologies for the confusion caused!
|
|
|
ralphy
|
| posted on 26/12/16 at 08:43 PM |
|
|
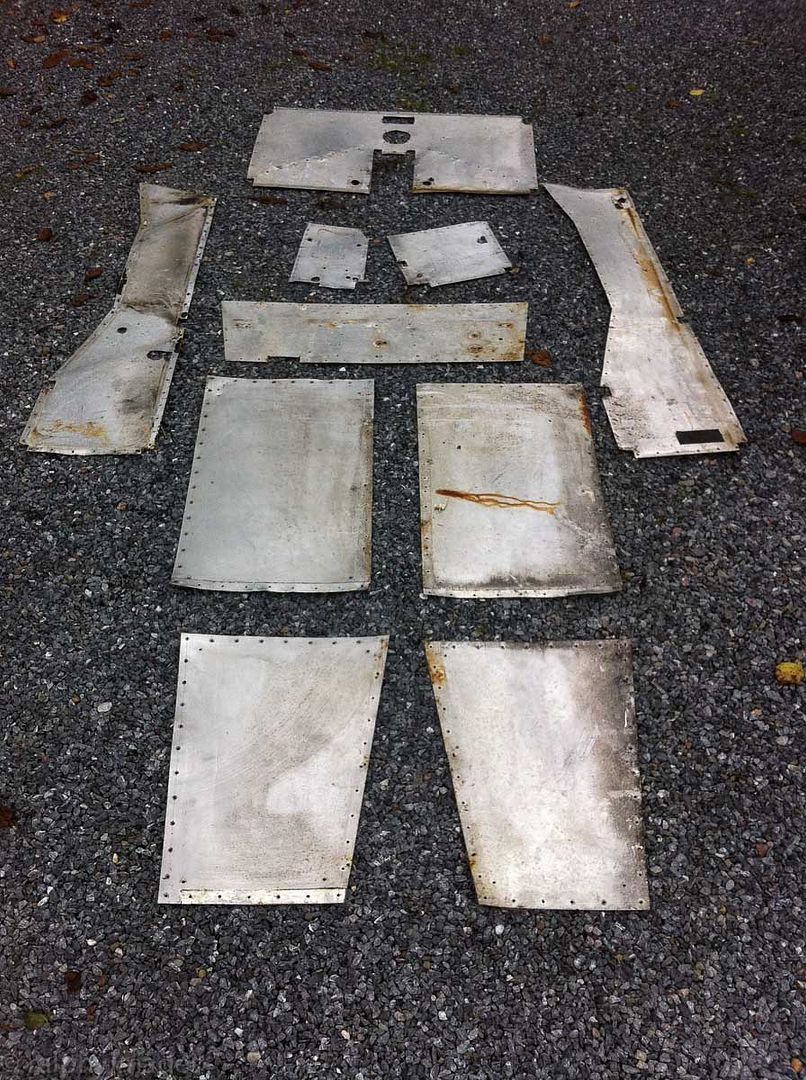
All the panels off and stored for future reference:
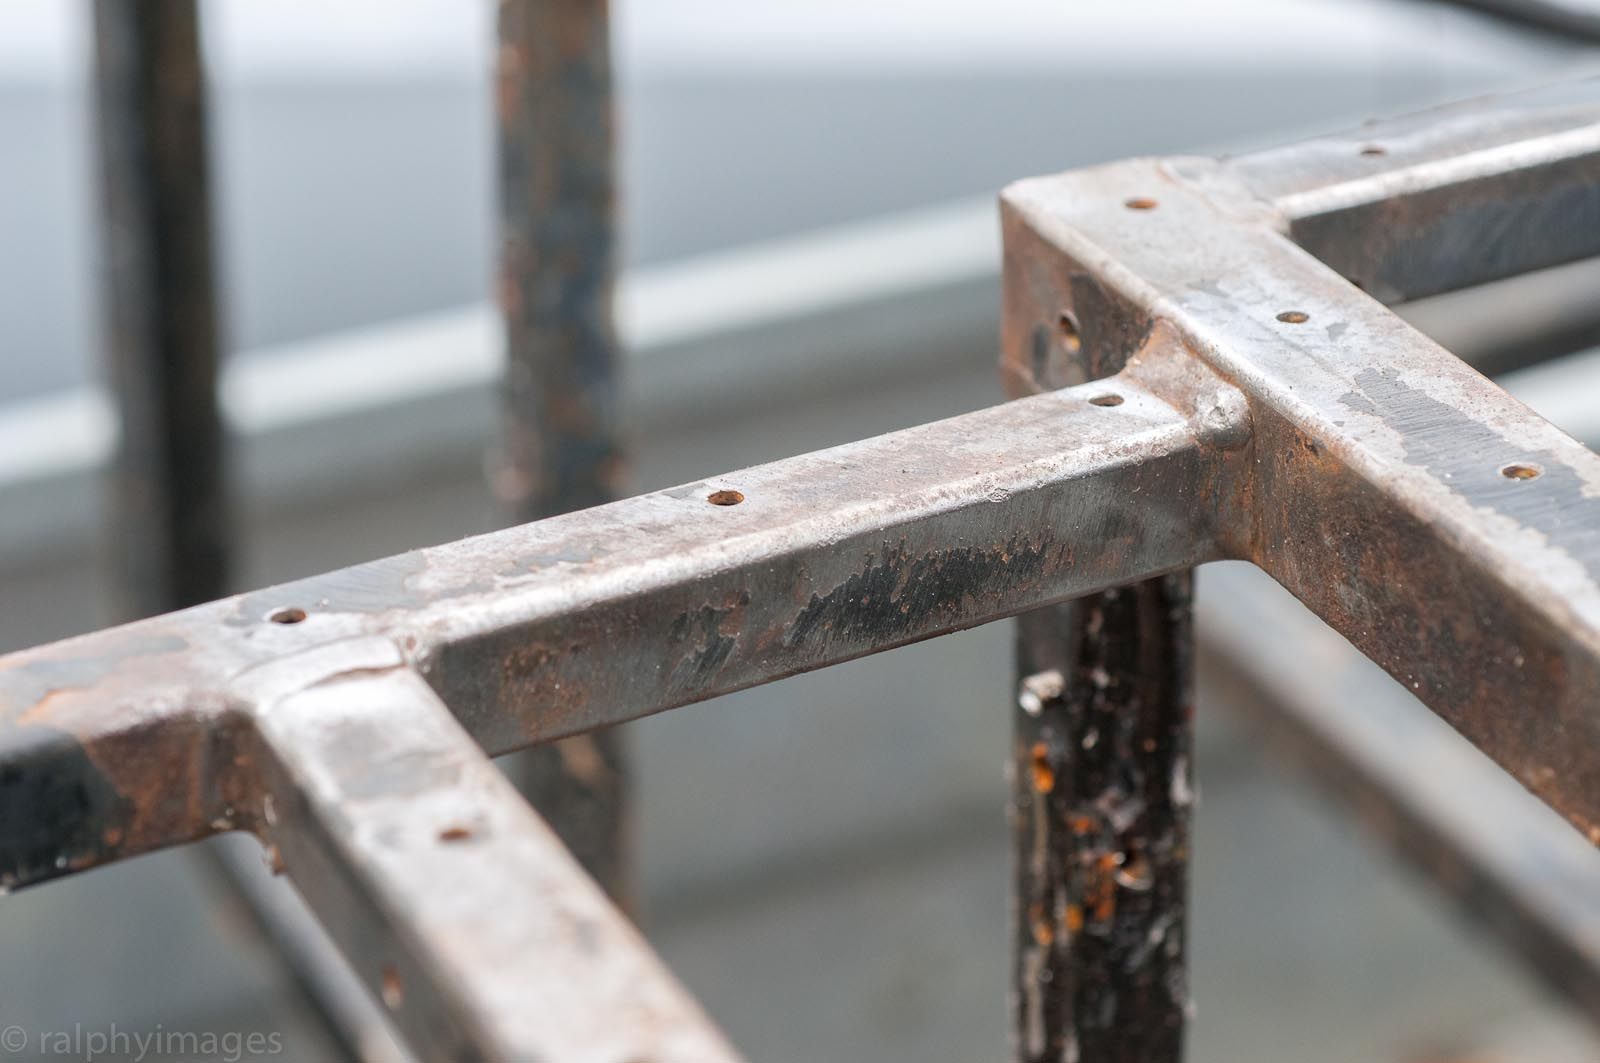
And the chassis ready for some treatment:
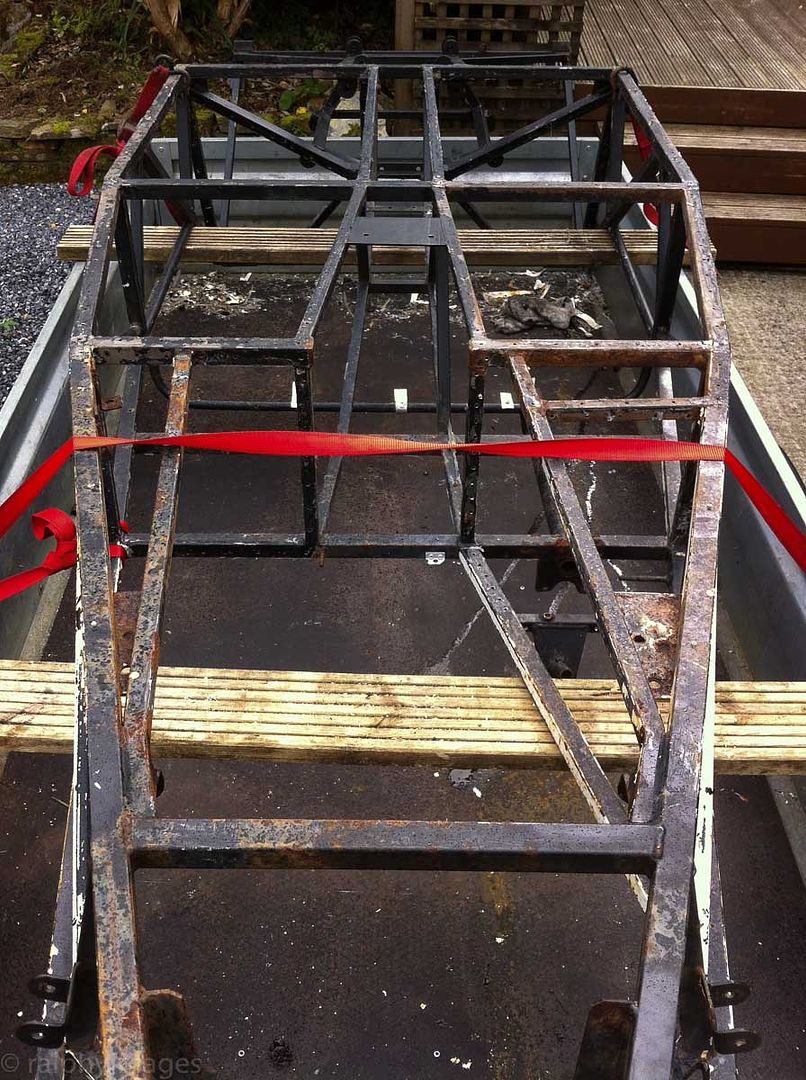
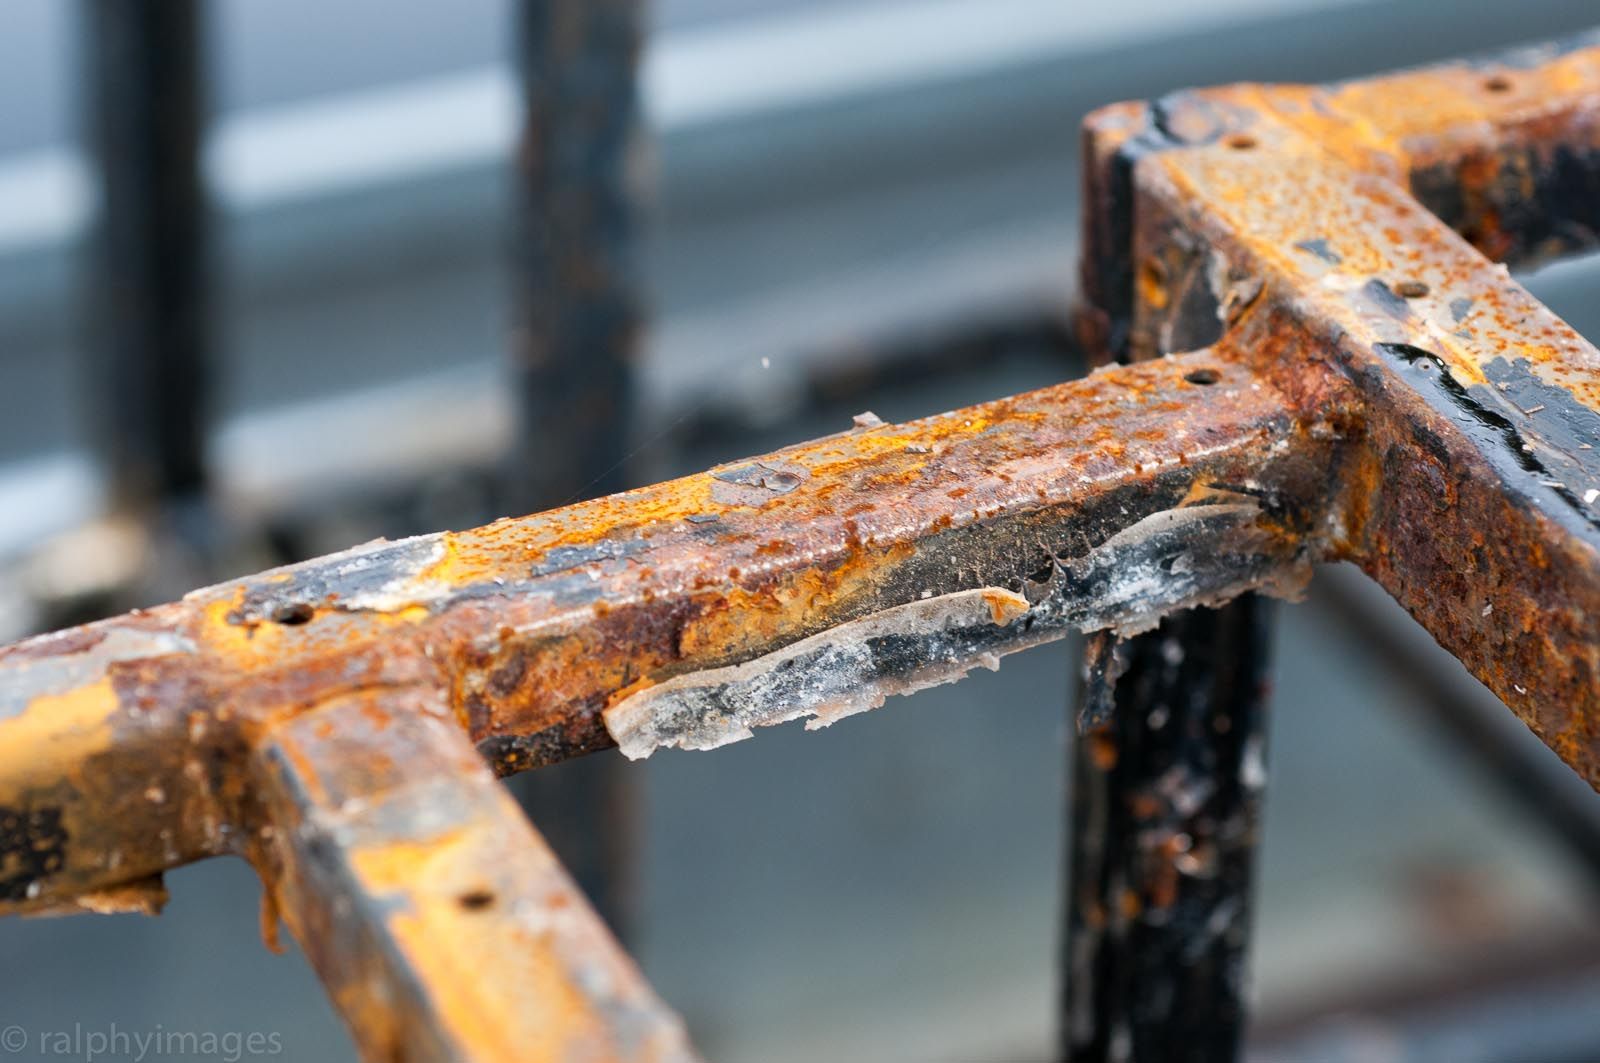
My initial concern of rust inside the frame was allayed by the use of a borescope: there was a bit, but not too much.
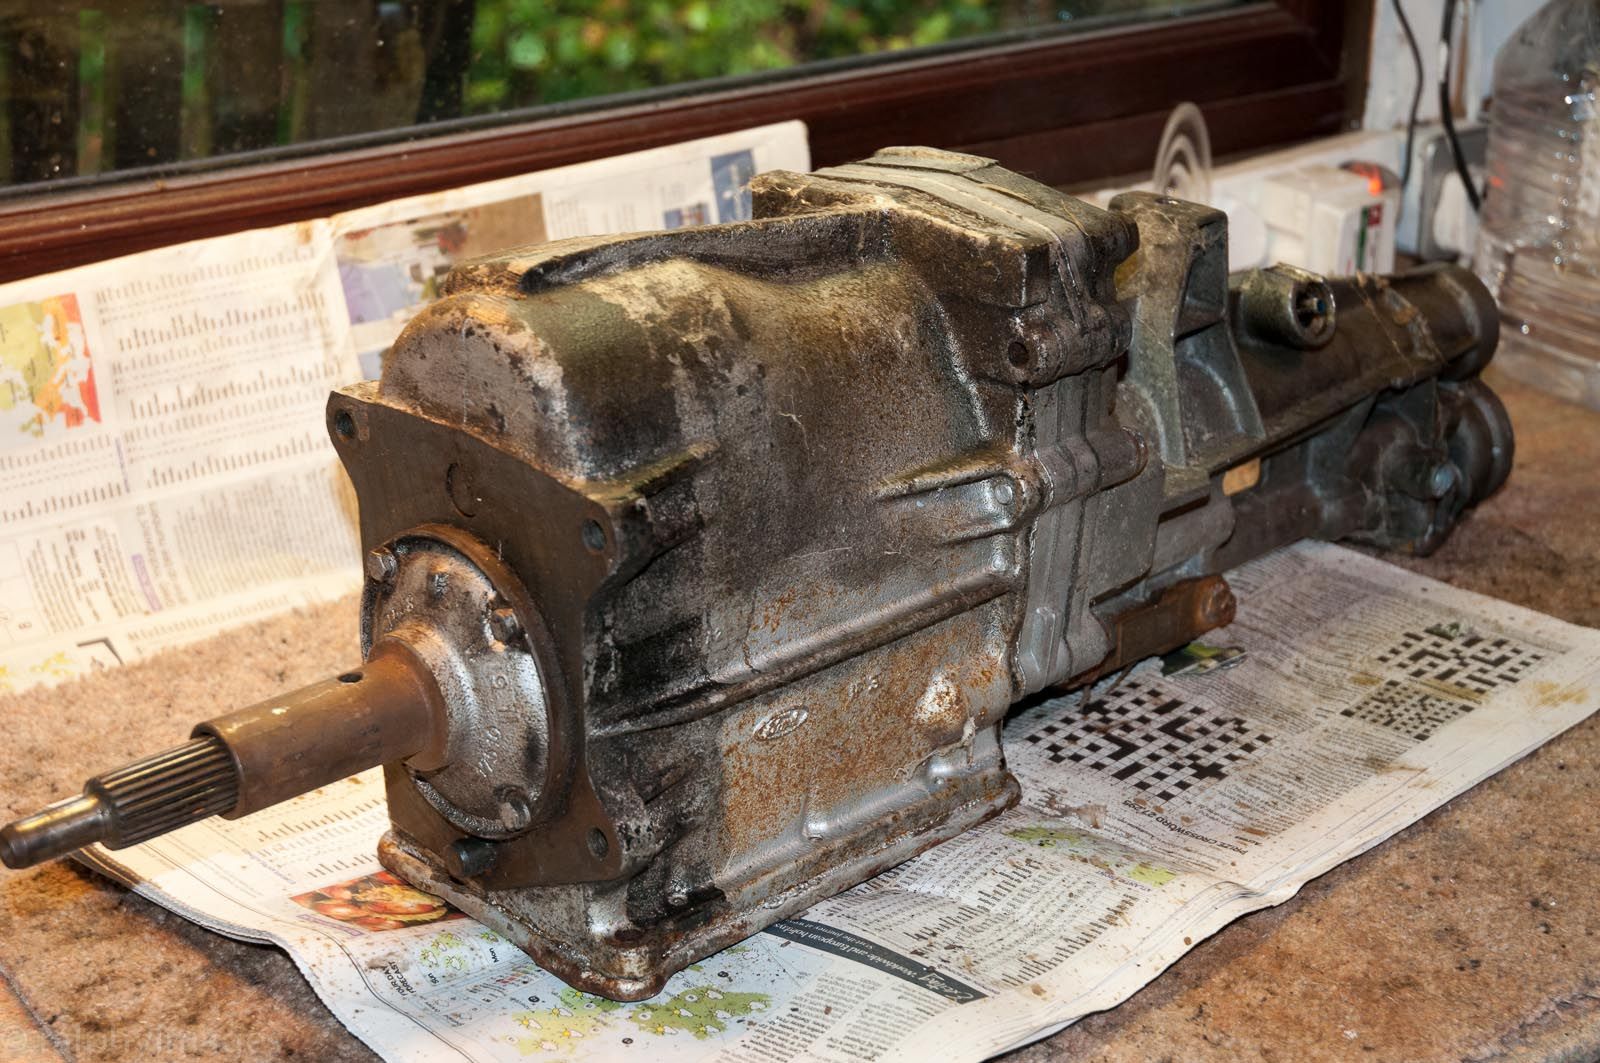
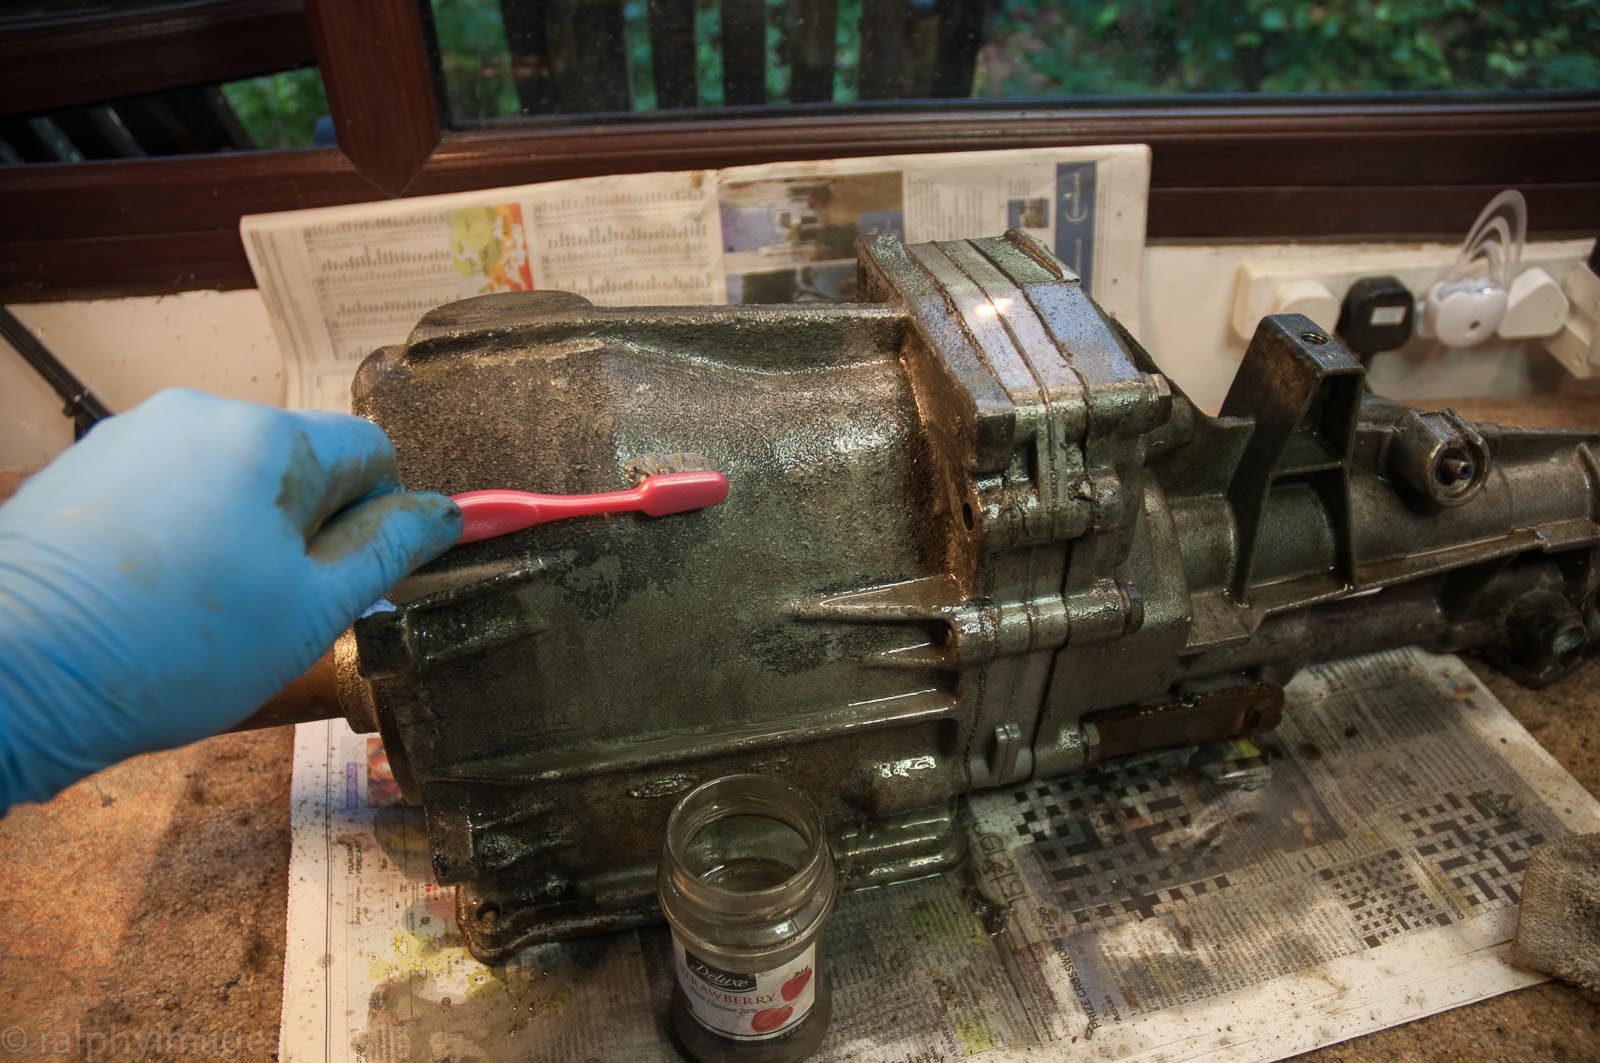
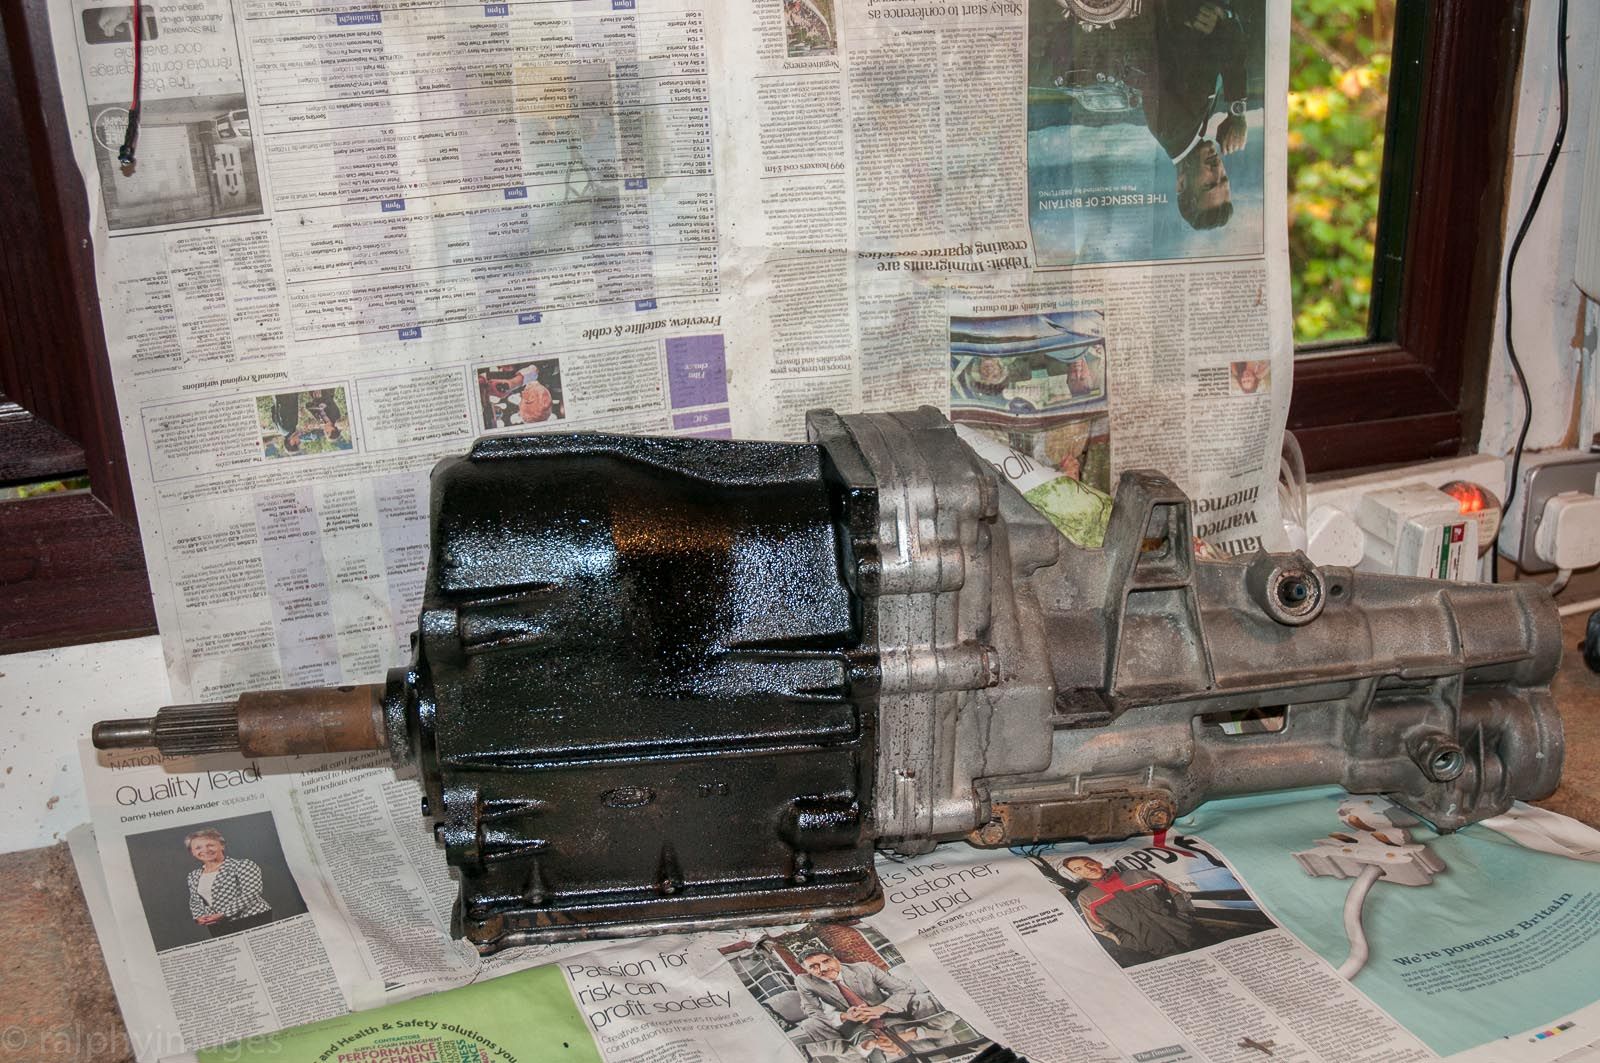
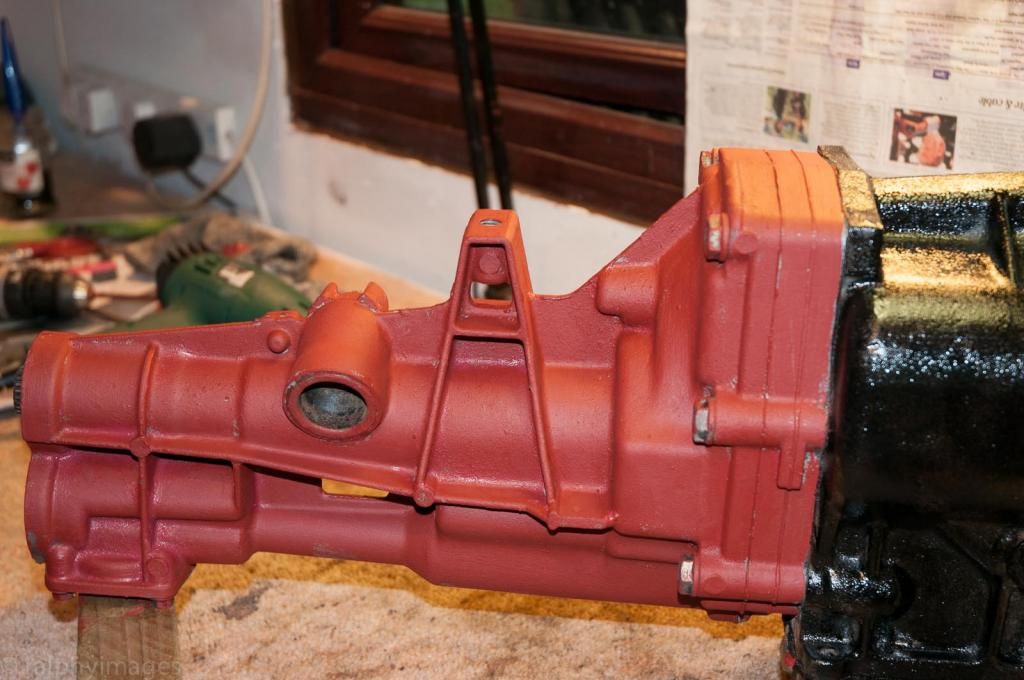
Gearbox getting a spruce-up:
R
|
|
|
ralphy
|
| posted on 2/1/17 at 09:01 PM |
|
|
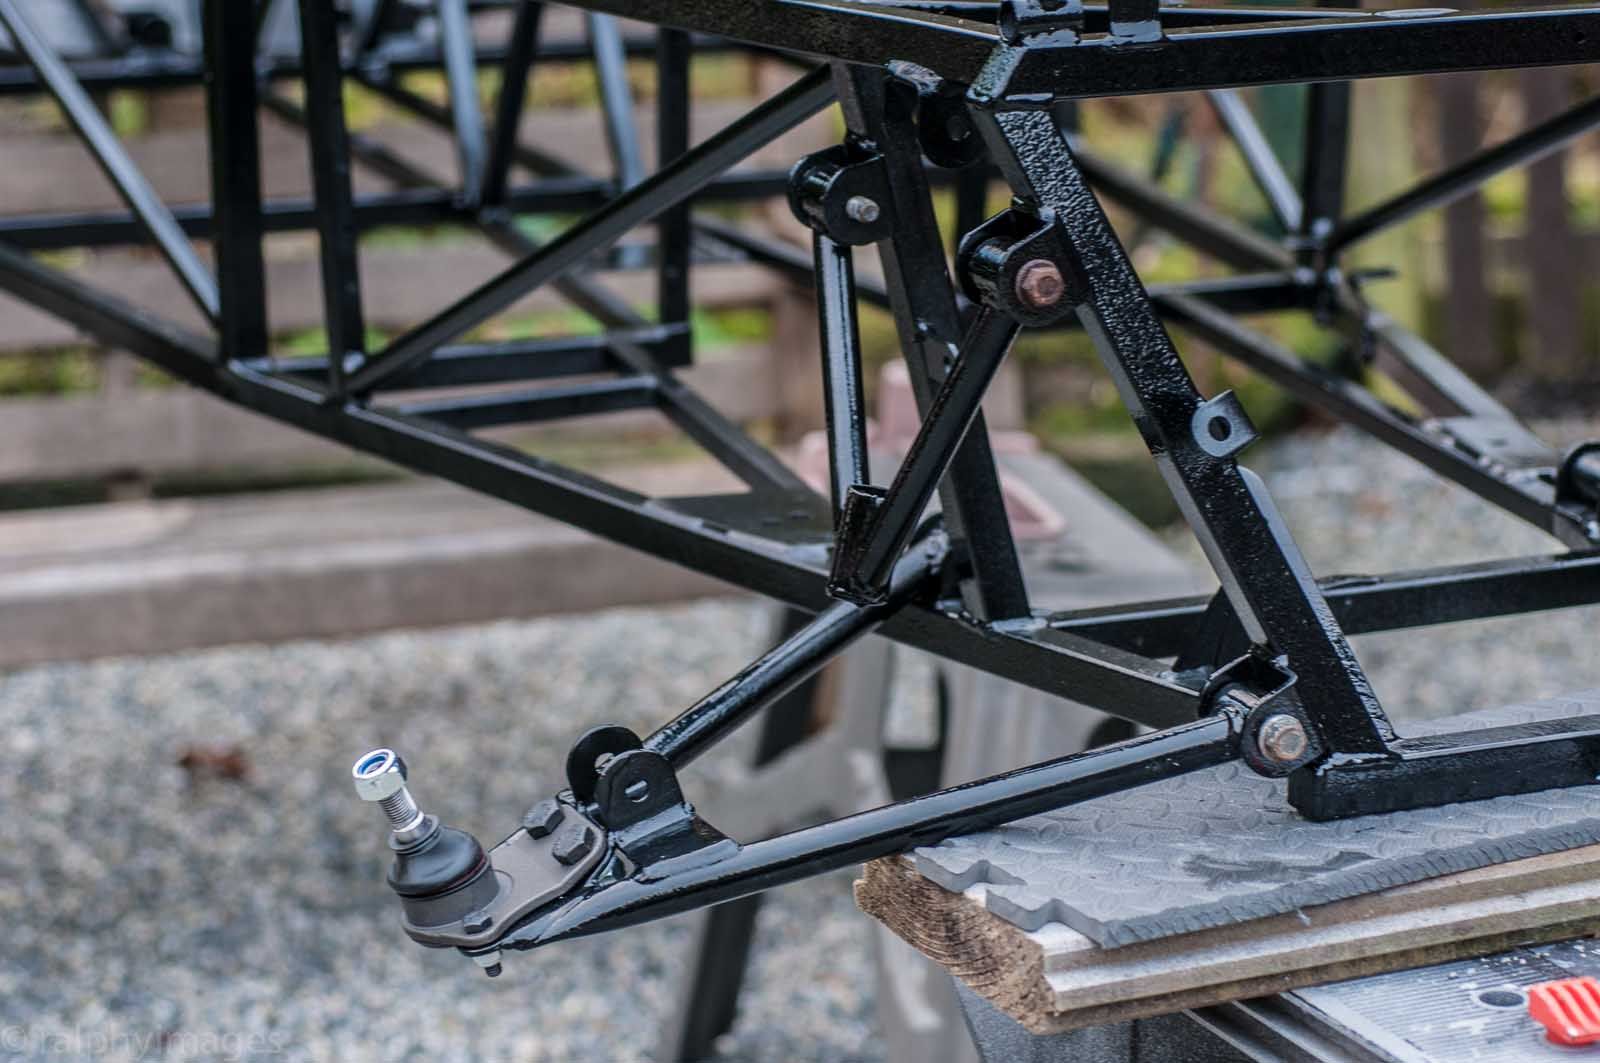
Chassis work.
All panels removed and some basic preparation to remove the panel bonding and surface rust:
Then off it went to be blasted clean:

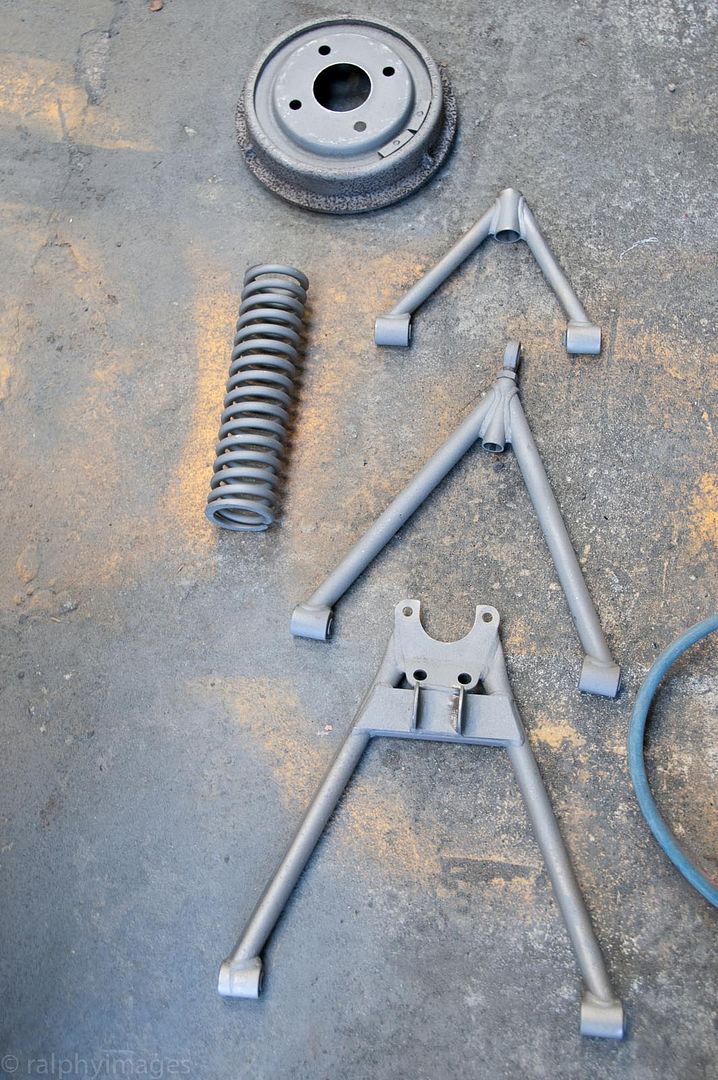
Along with various other components:
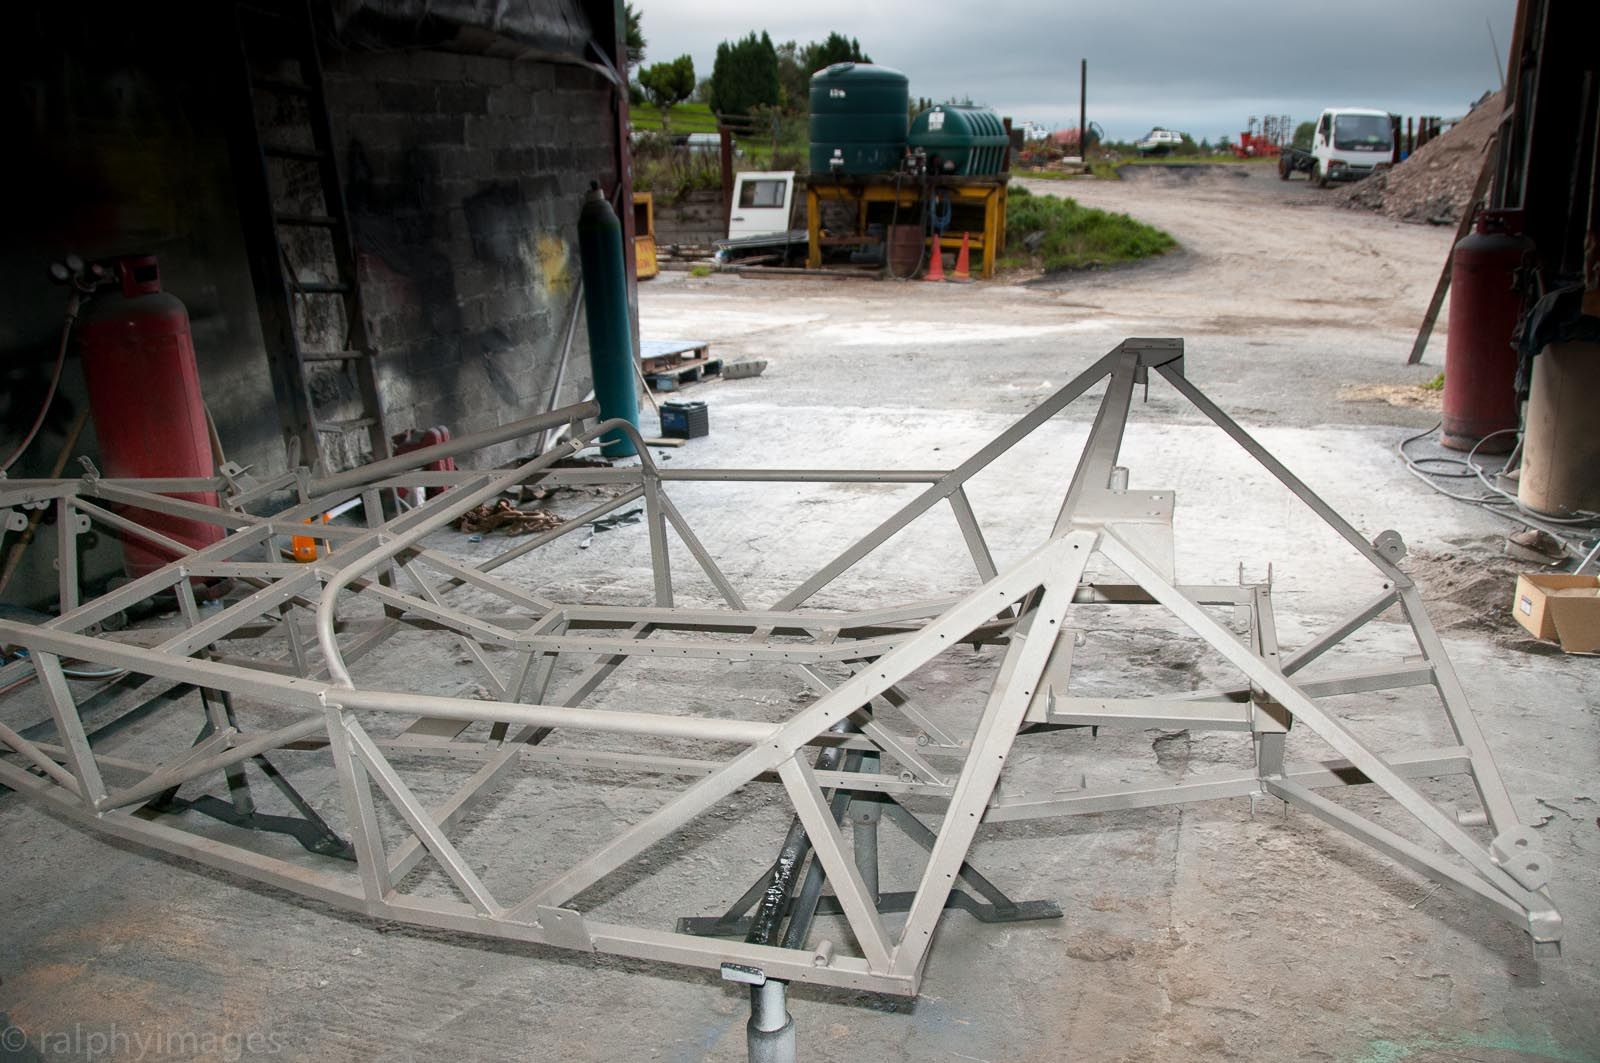
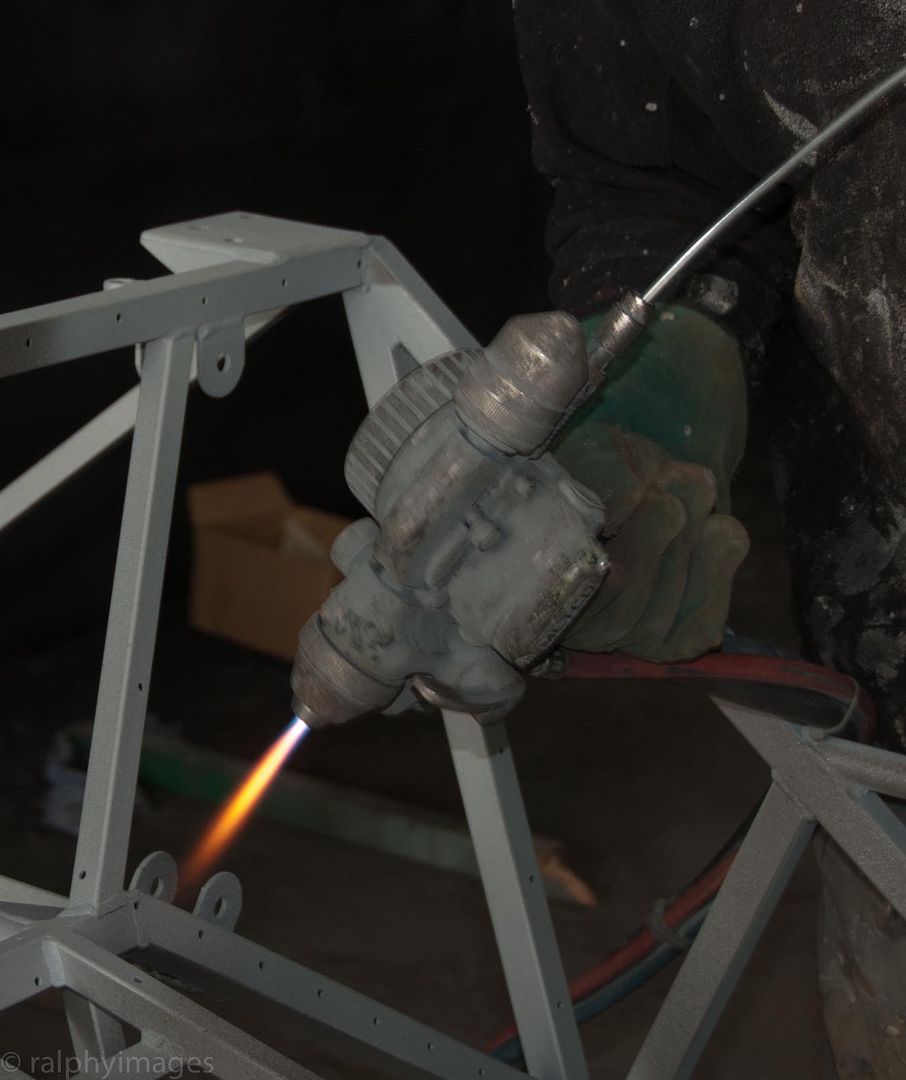
Then it was time for the coating, hot-sprayed zinc:
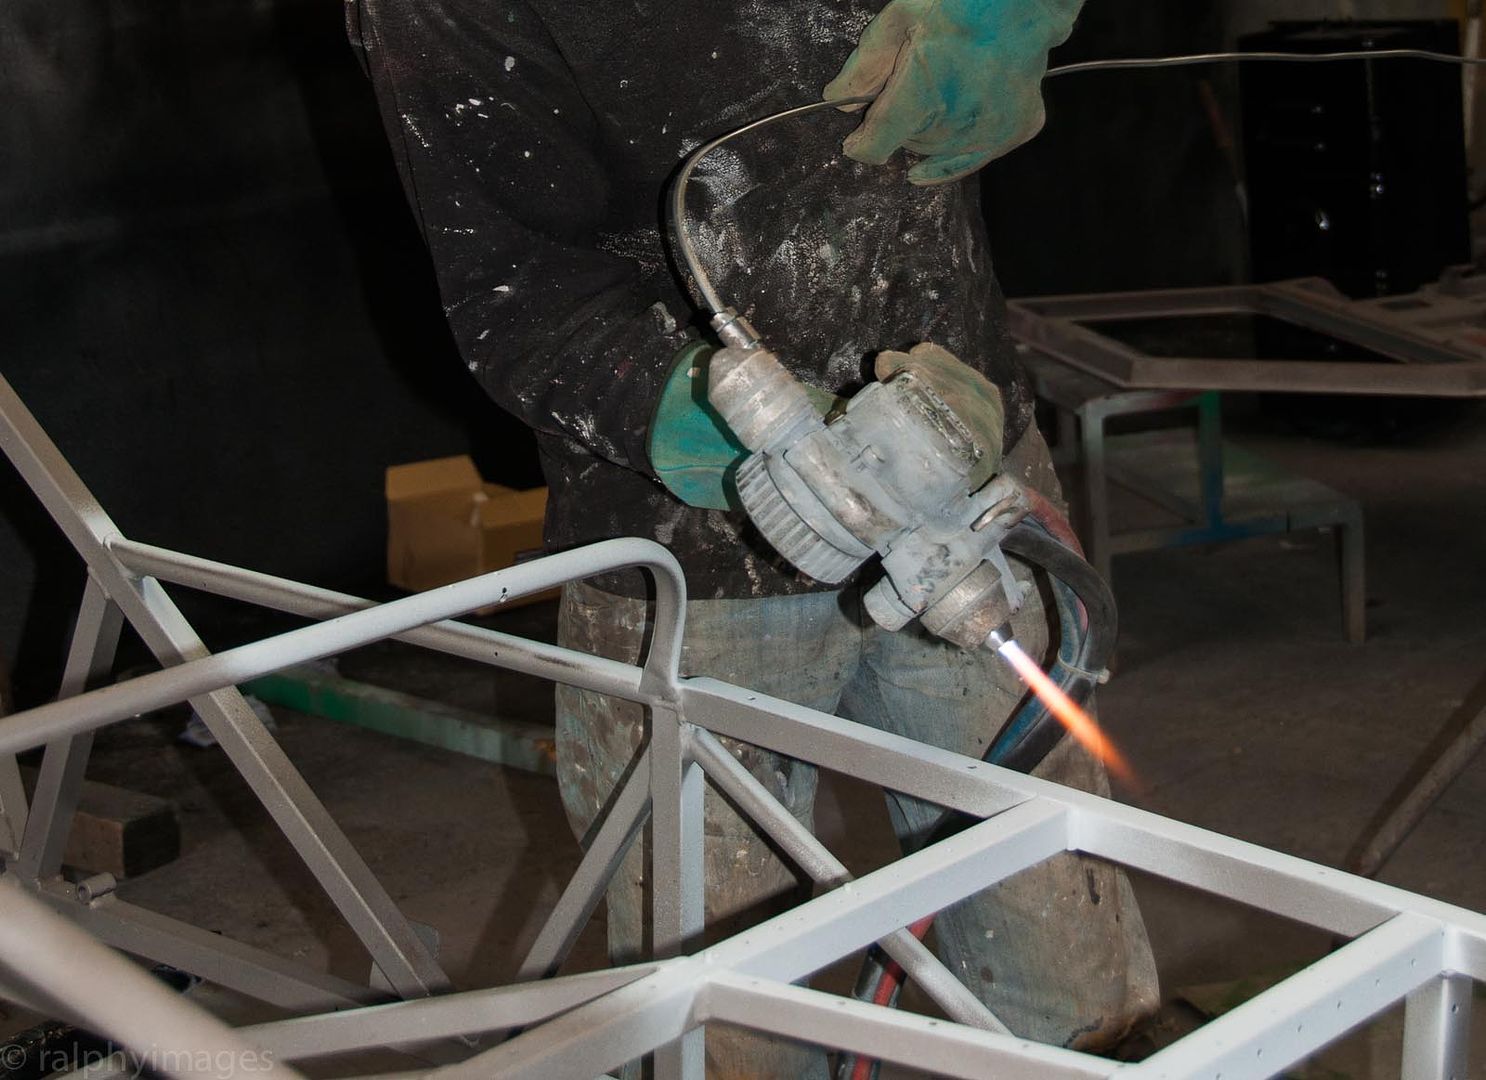
Zinc wire is fed into the torch and sprayed out:
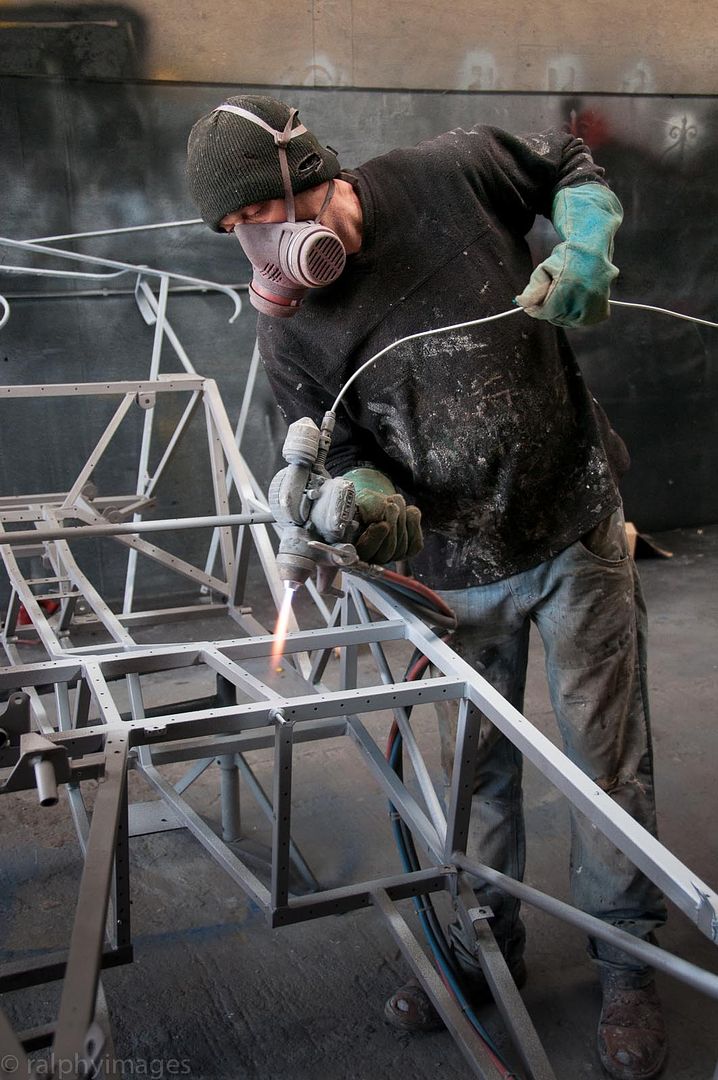
This method allows coats to be built up and avoids the distortion risk of heat dipping:
Then off for painting:
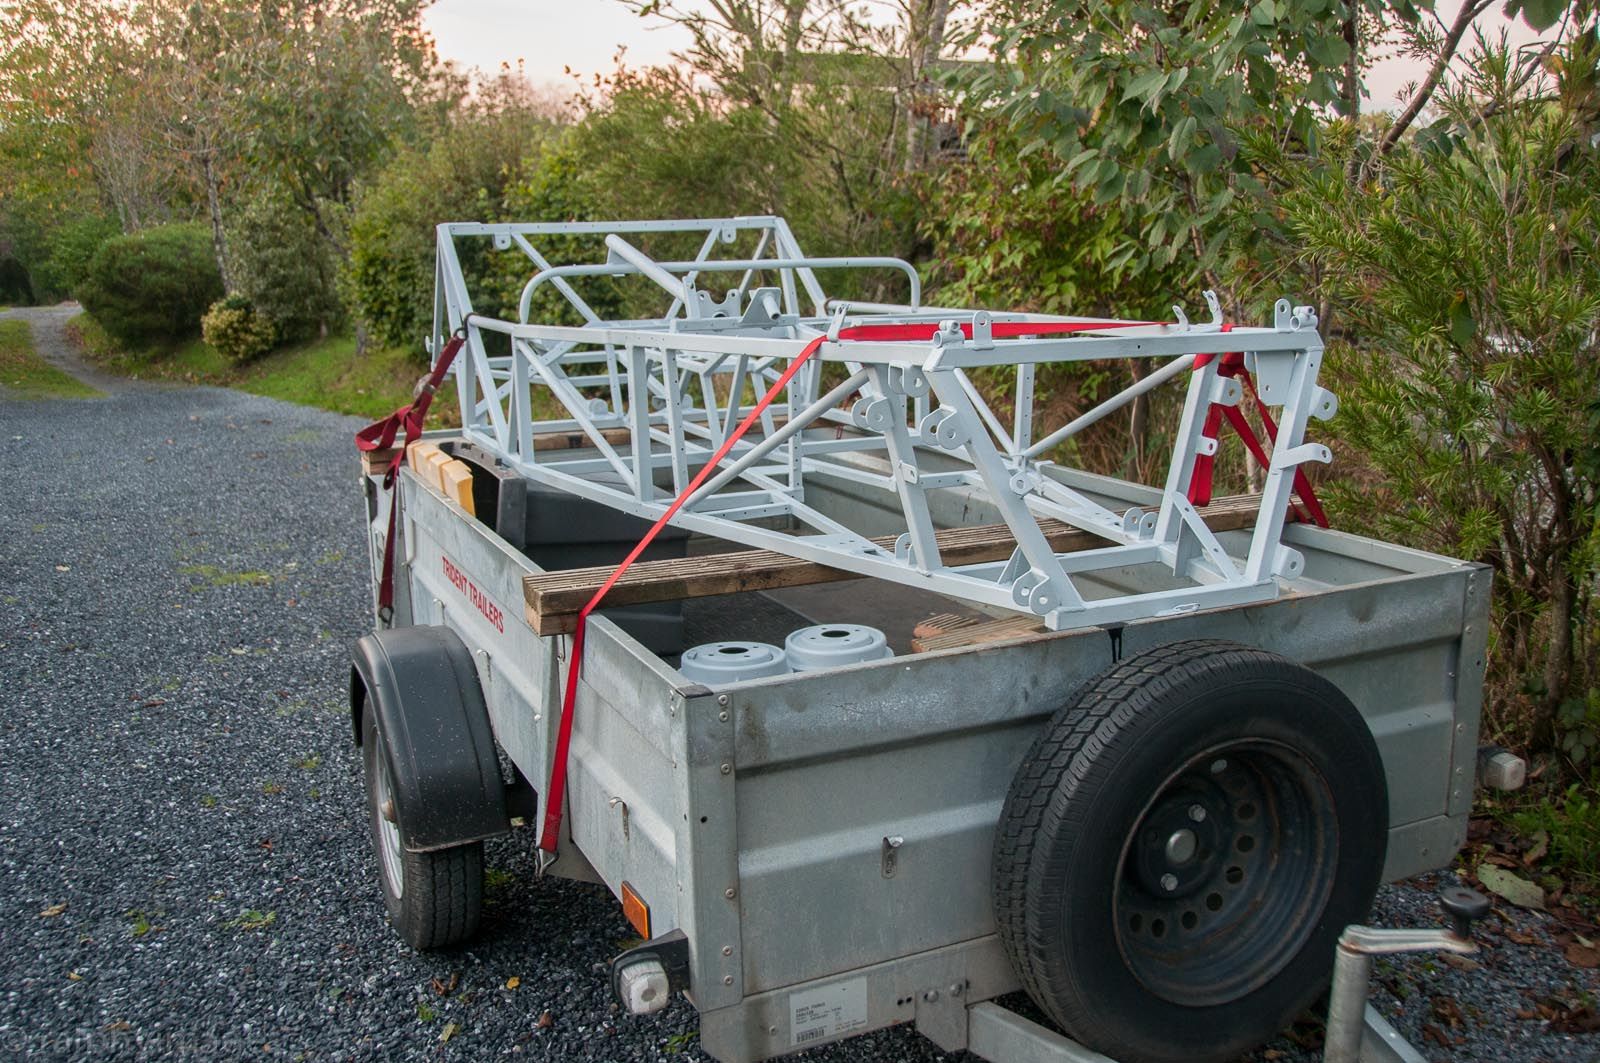
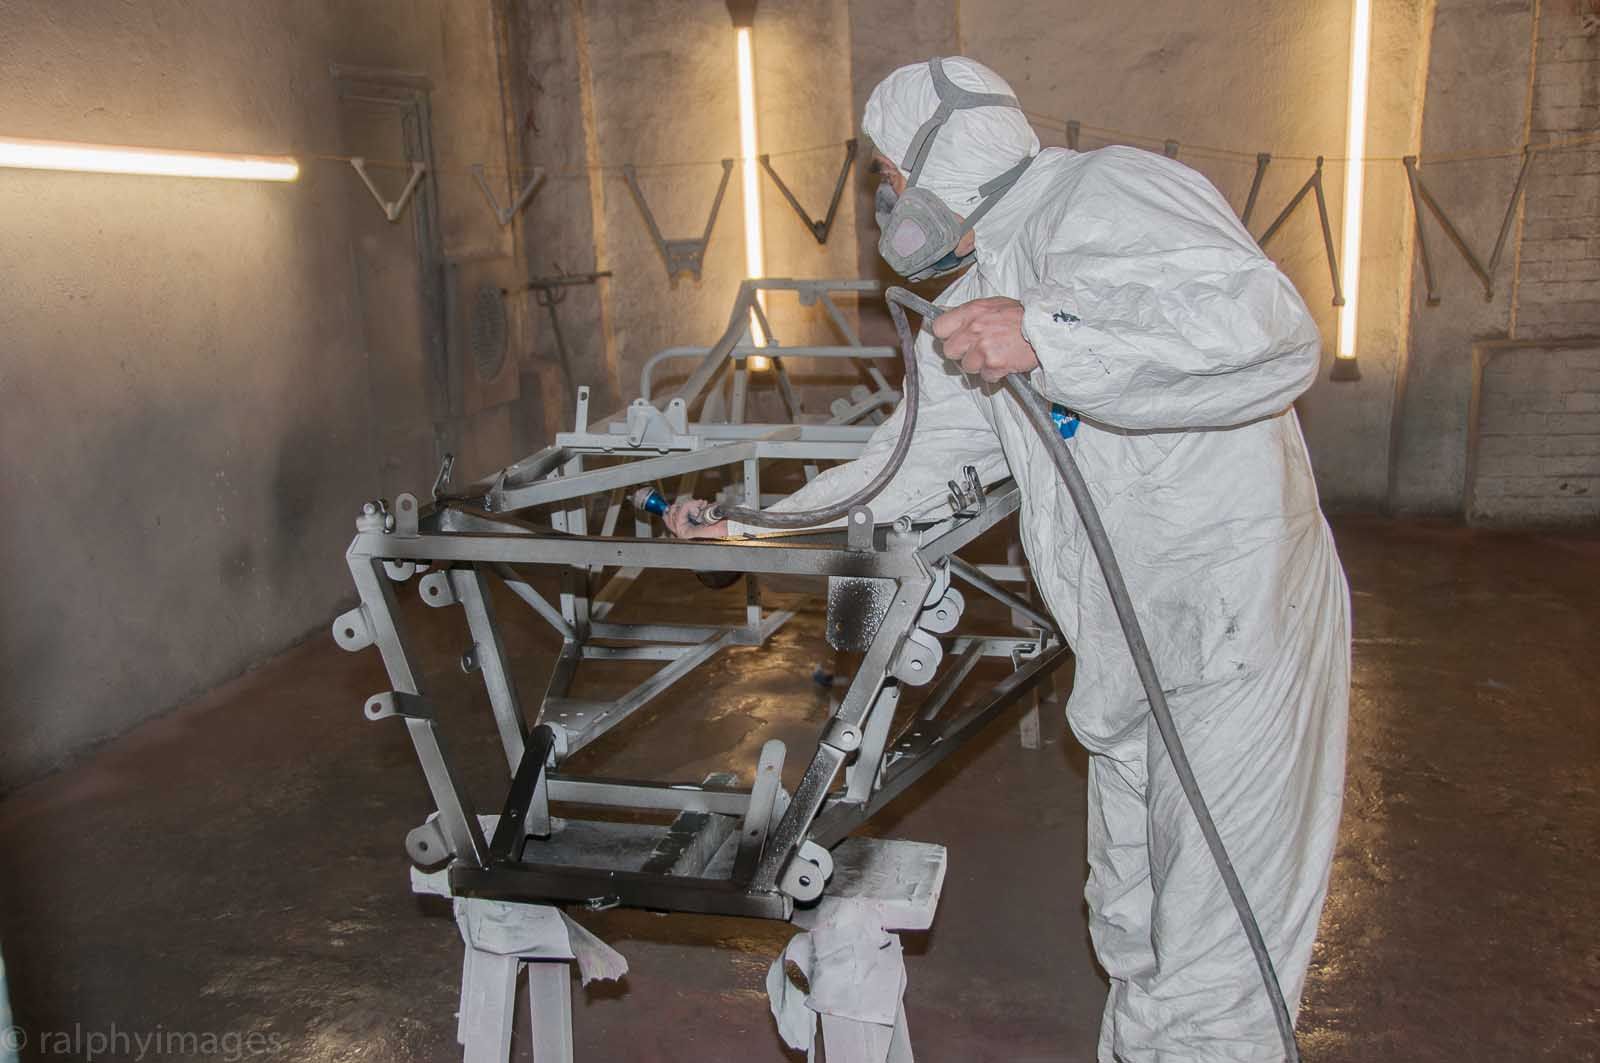
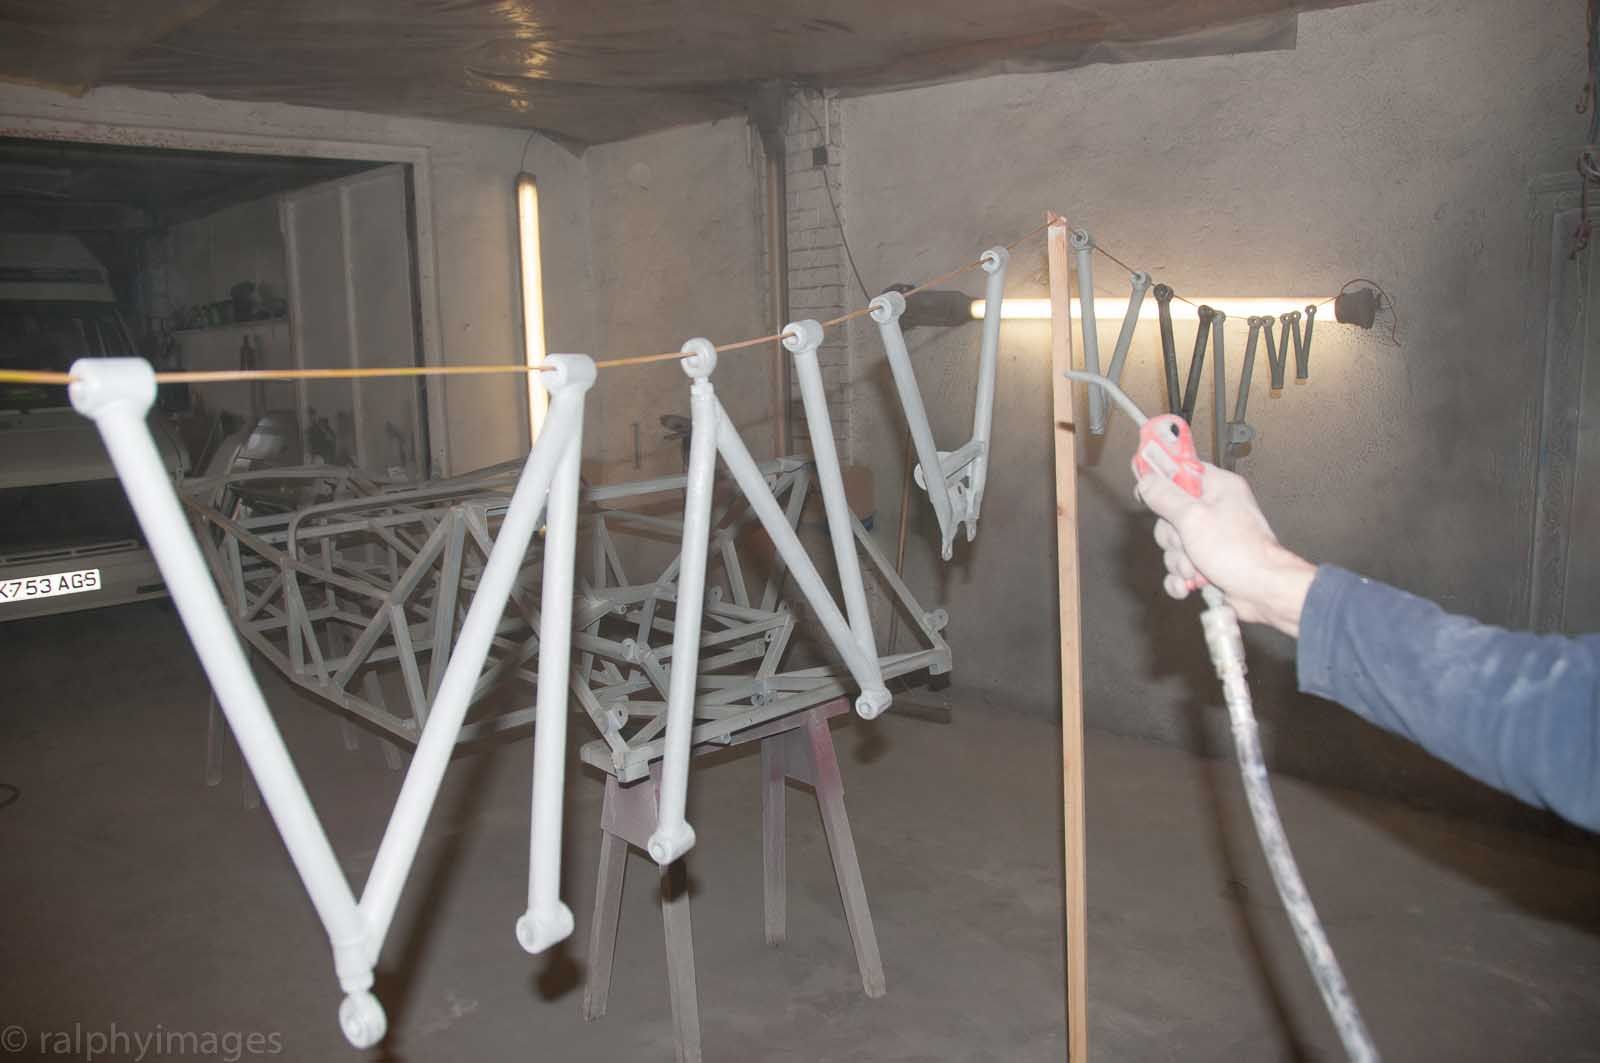
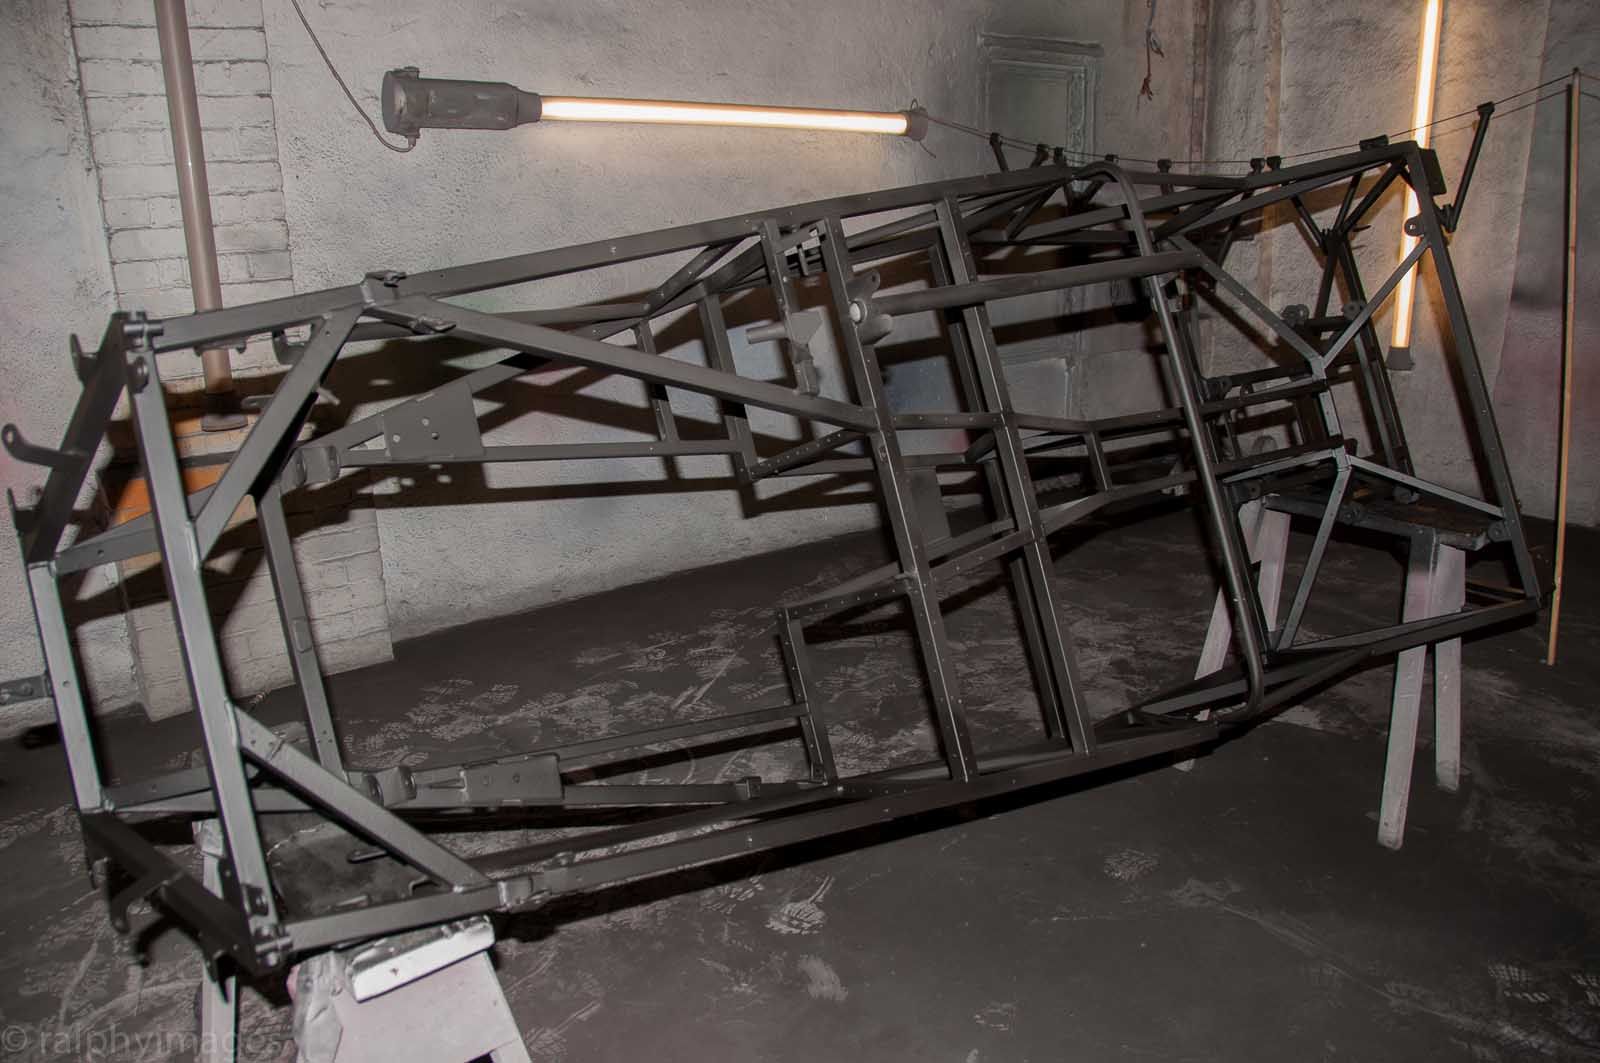
It was kept in the heated spray booth over a weekend and then back home:
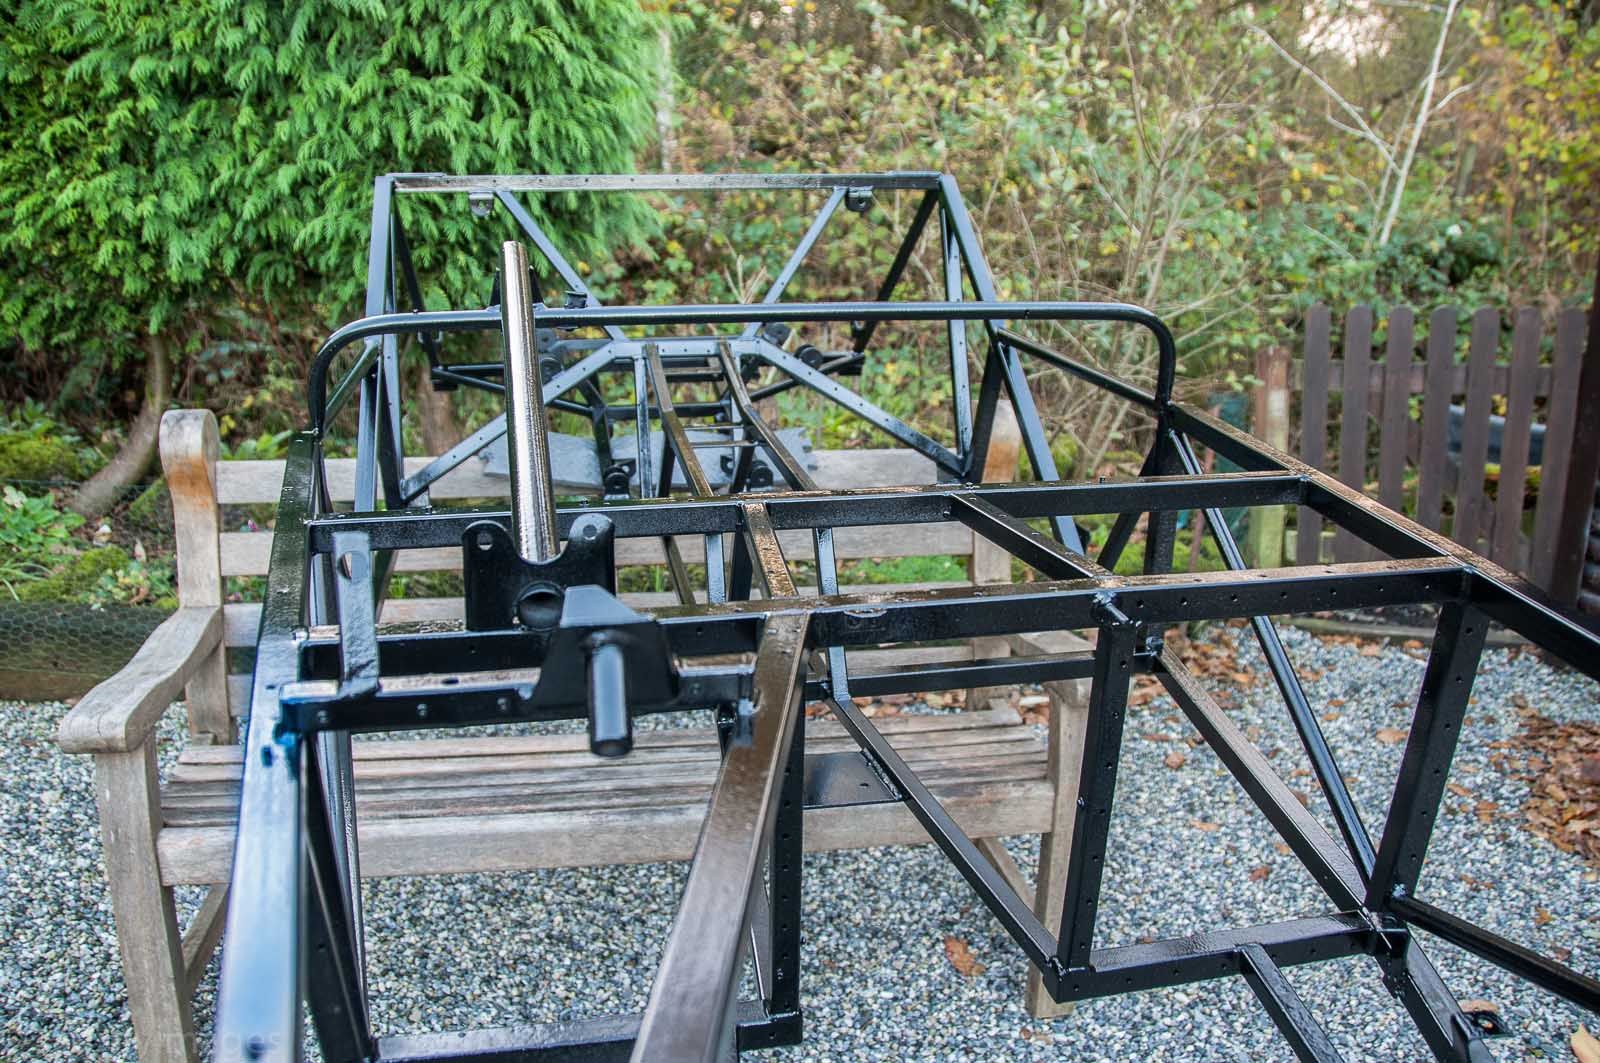
Some of the suspension was test-fitted (hence the old nuts & bolts) and all the internals was treated with Dynax S-50:
R
|
|
|
bi22le
|
| posted on 2/1/17 at 10:22 PM |
|
|
This is really interesting.
Are you going to try and use the same holes to rivet new panels on? What have you done with rivnuts that have been used on the chassis? They create
huge holes when drilled out.
Track days ARE the best thing since sliced bread, until I get a supercharger that is!
Please read my ring story:
http://www.locostbuilders.co.uk/forum/13/viewthread.php?tid=139152&page=1
Me doing a sub 56sec lap around Brands Indy. I need a geo set up! http://www.youtube.com/watch?v=EHksfvIGB3I
|
|
|
ralphy
|
| posted on 3/1/17 at 09:15 AM |
|
|
quote:
Originally posted by bi22le
This is really interesting.
Are you going to try and use the same holes to rivet new panels on? What have you done with rivnuts that have been used on the chassis? They create
huge holes when drilled out.
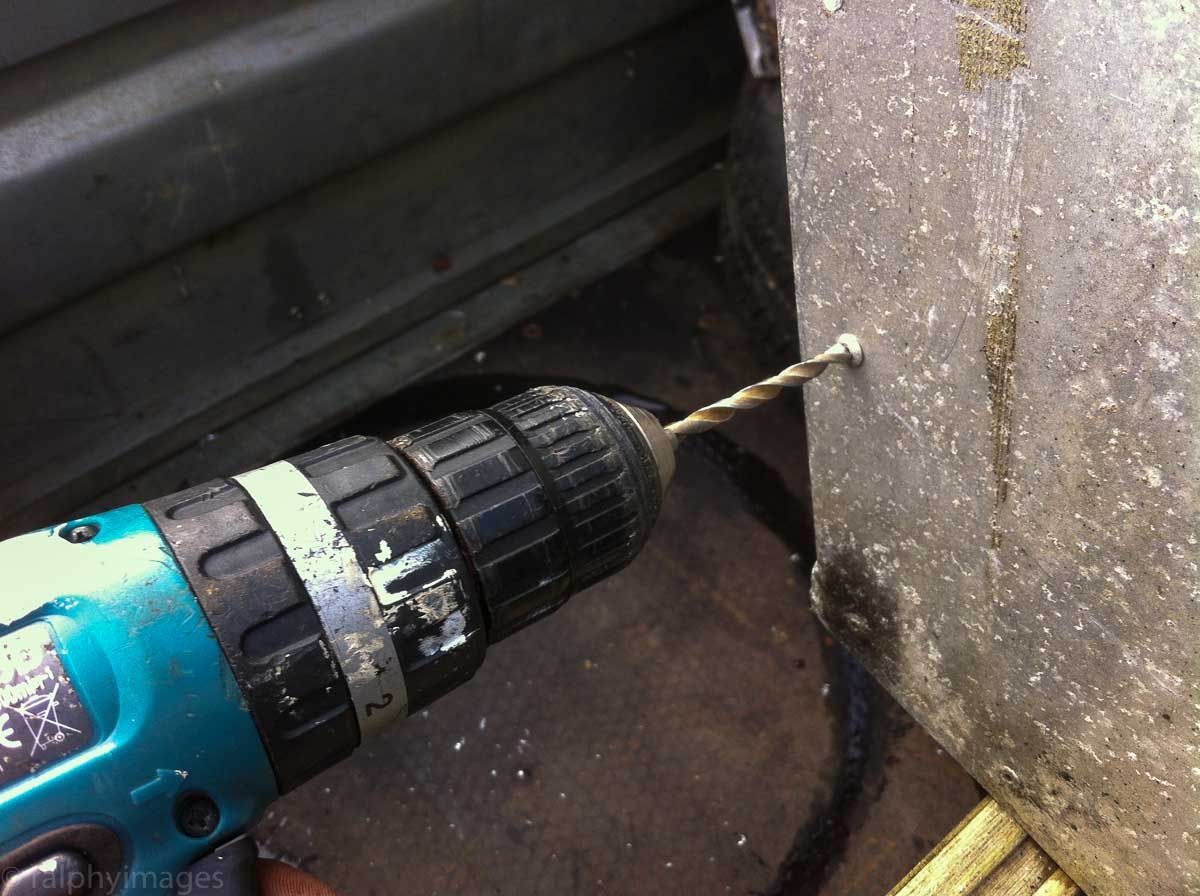
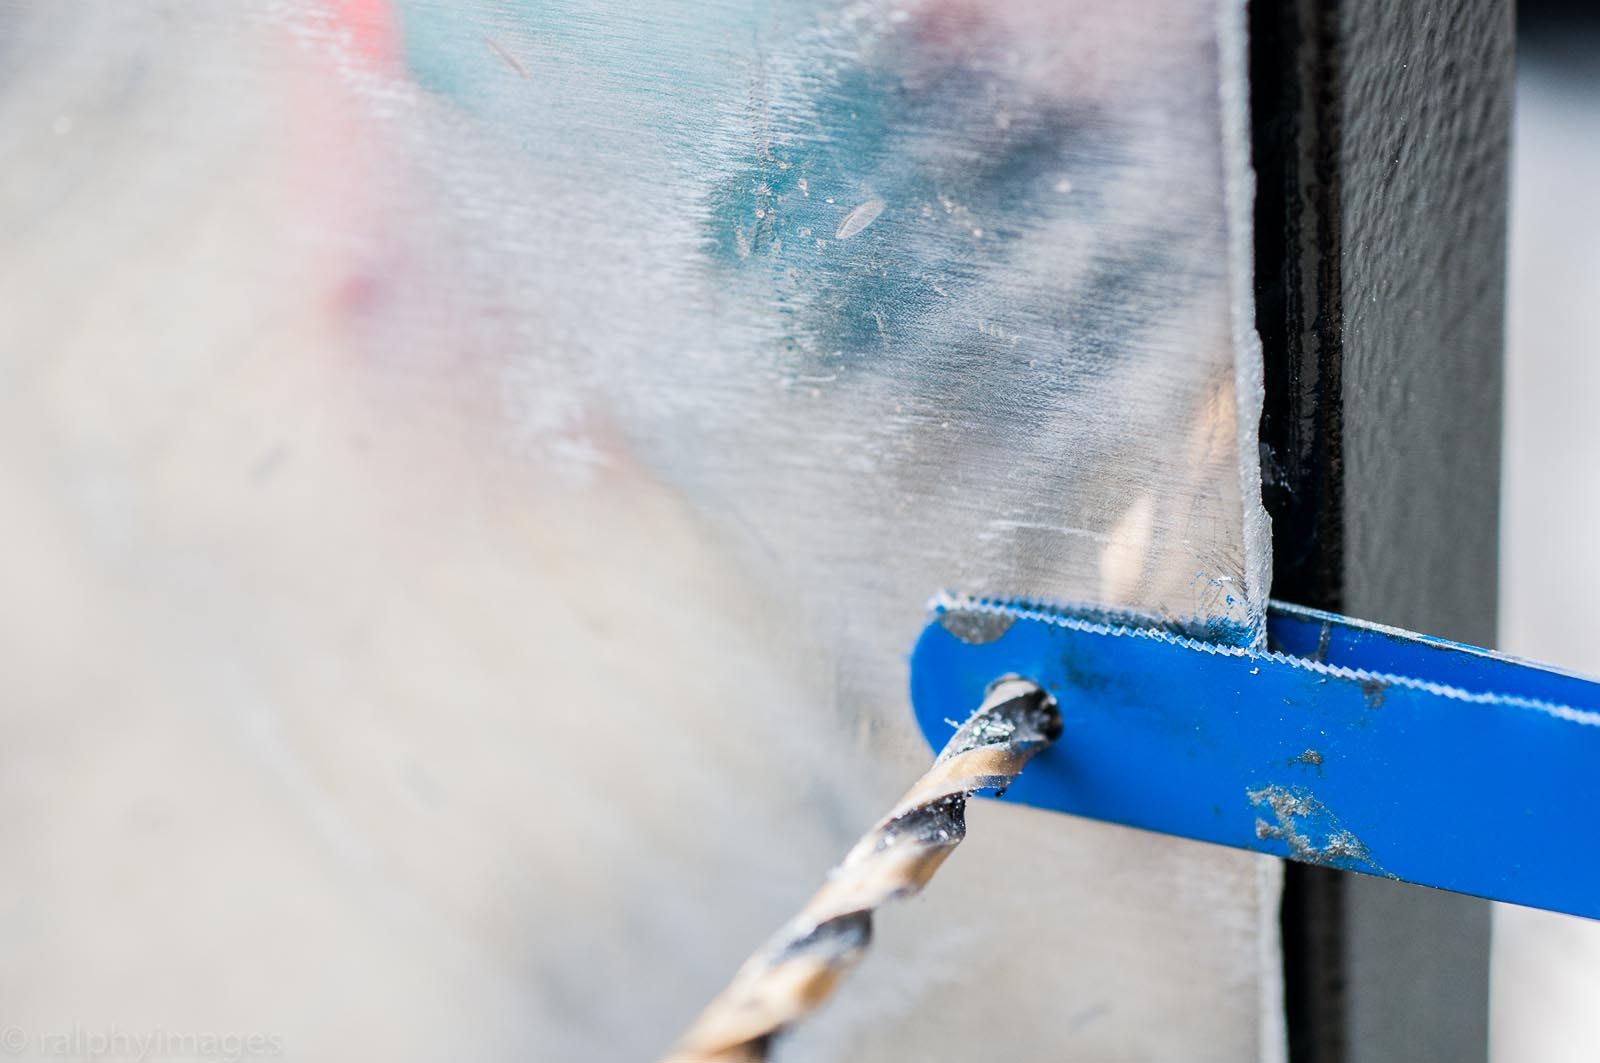
I did indeed use the existing holes.
Once I'd cut my new panels to size I made up a tool to locate the existing holes, using two hacksaw blades. Into the end of one I drilled out
the existing hole and Araldited a cut-off drill bit into it and with the other blade I drilled out the correct size to act as the drill guide.
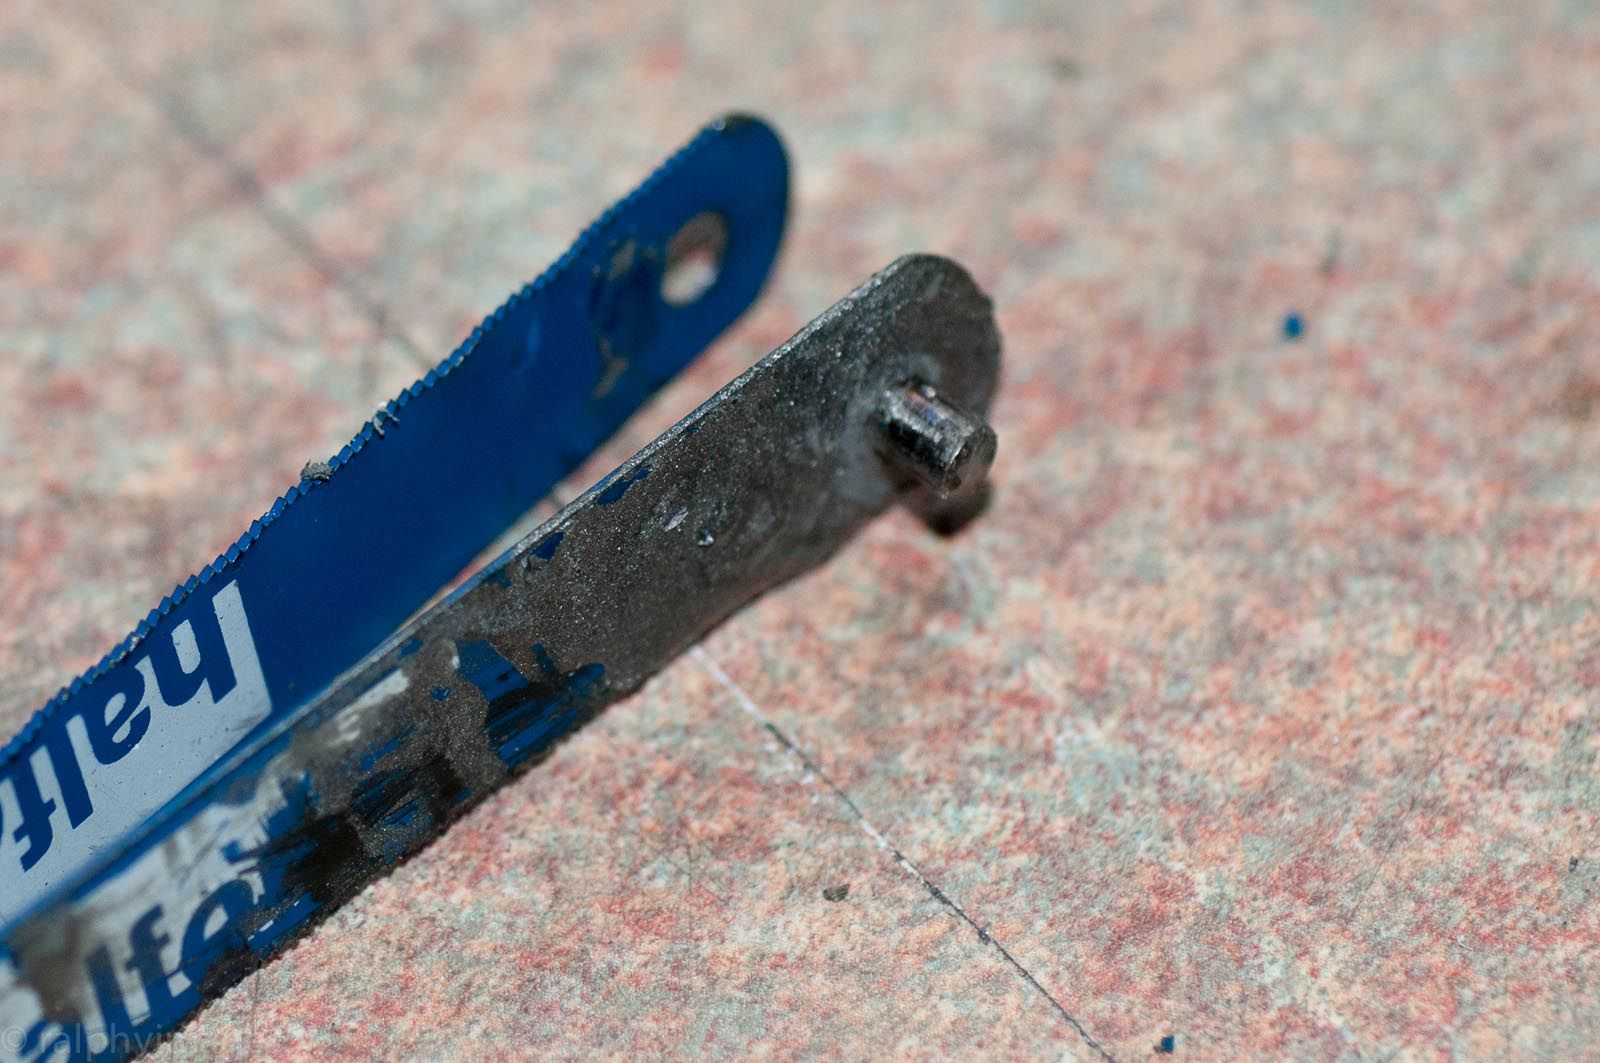
I joined both of the blades at the other end:
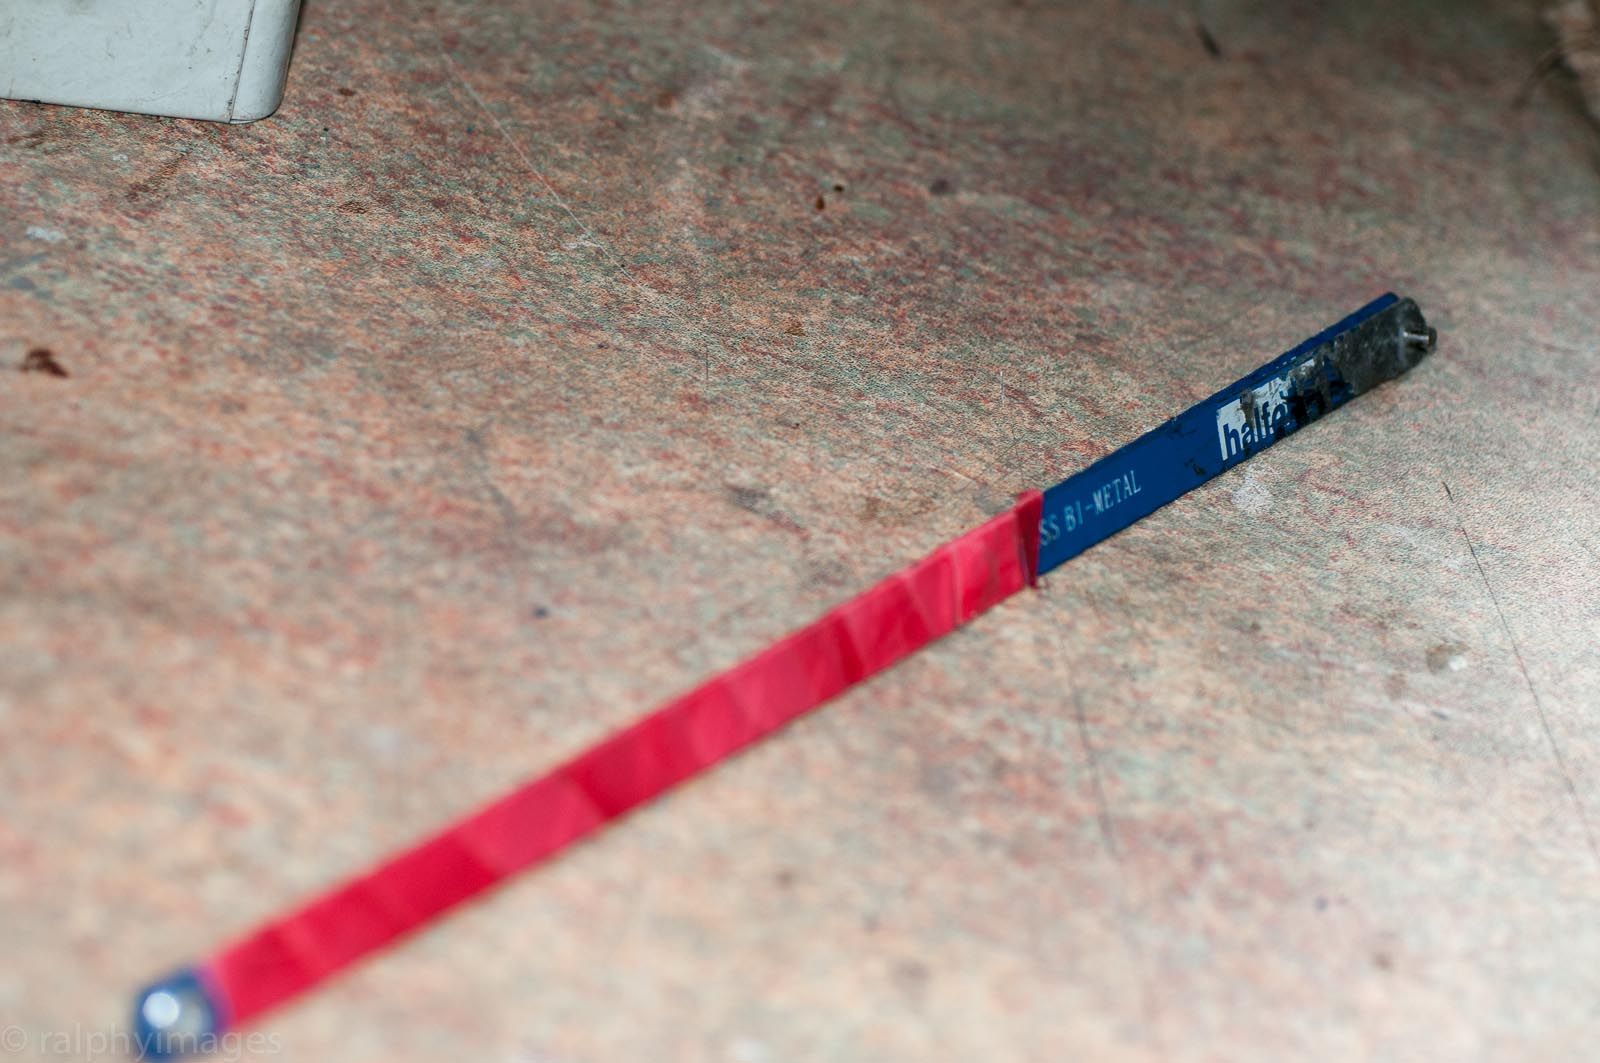
Then it was a case of putting the bit into the existing hole and drilling through the guide:
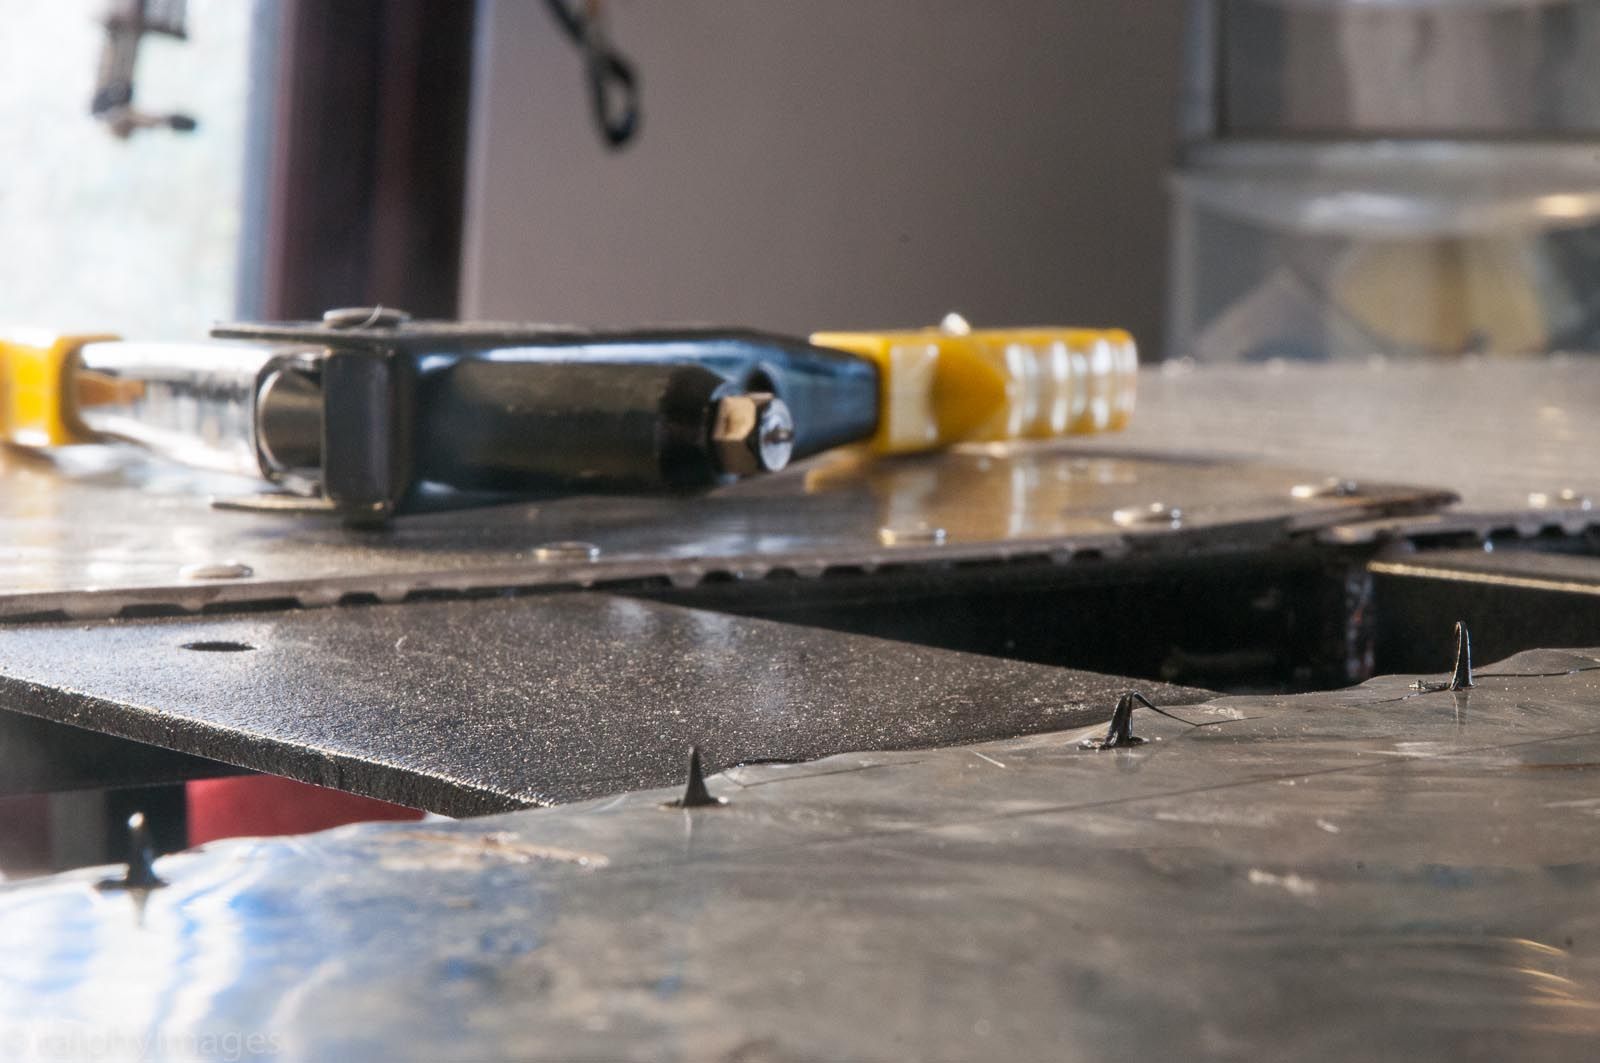
Once I'd got one done in the corner of each panel I'd fit a loose rivet in and then work my way around the rest of the panel. Once all
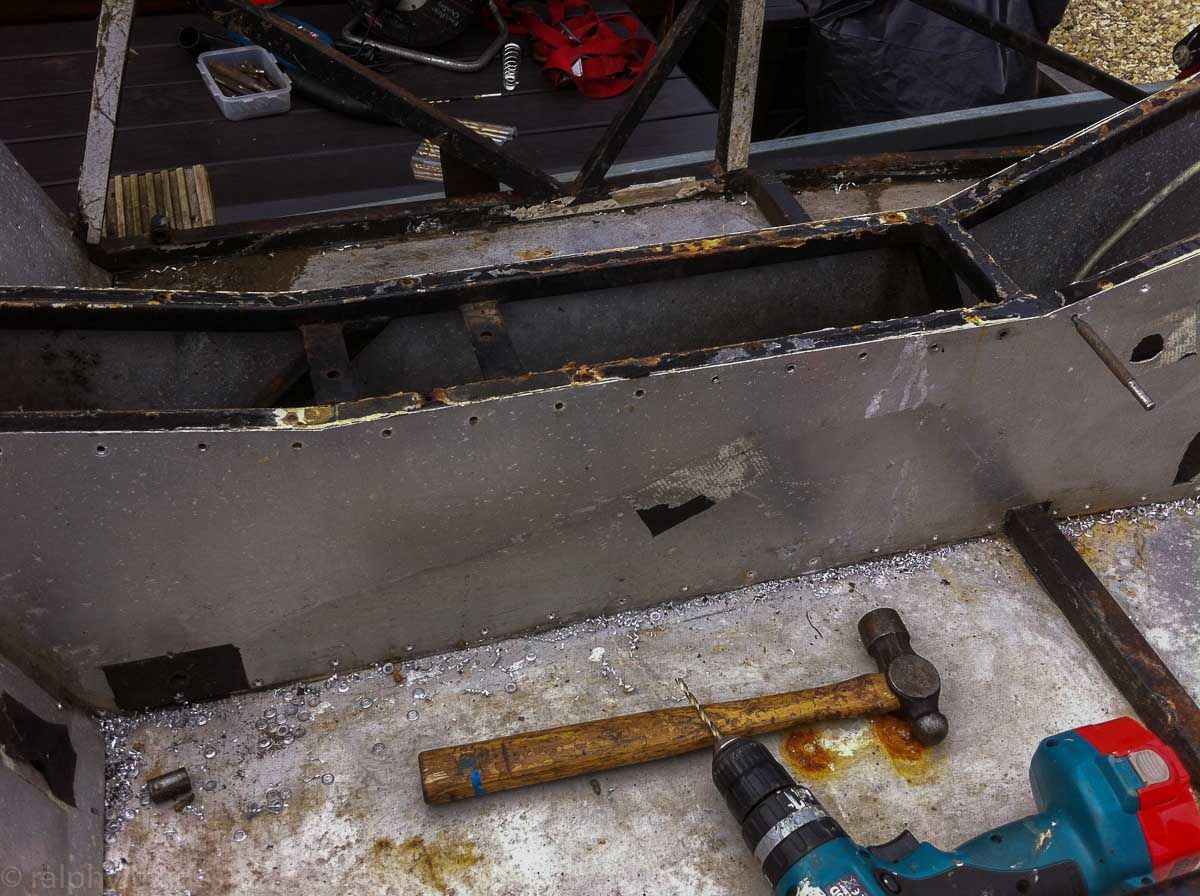
the holes were drilled I took off the panel and applied zinc paint to each hole to protect the bare metal of the cuts. Once that'd dried I
applied a generous bead of Sikaflex over the chassis, then replaced the panel and applied pressure along the edges to ensure a good seal. This forced
the Sikaflex both into the chassis and out through the panels:
Then it was riveting up time:
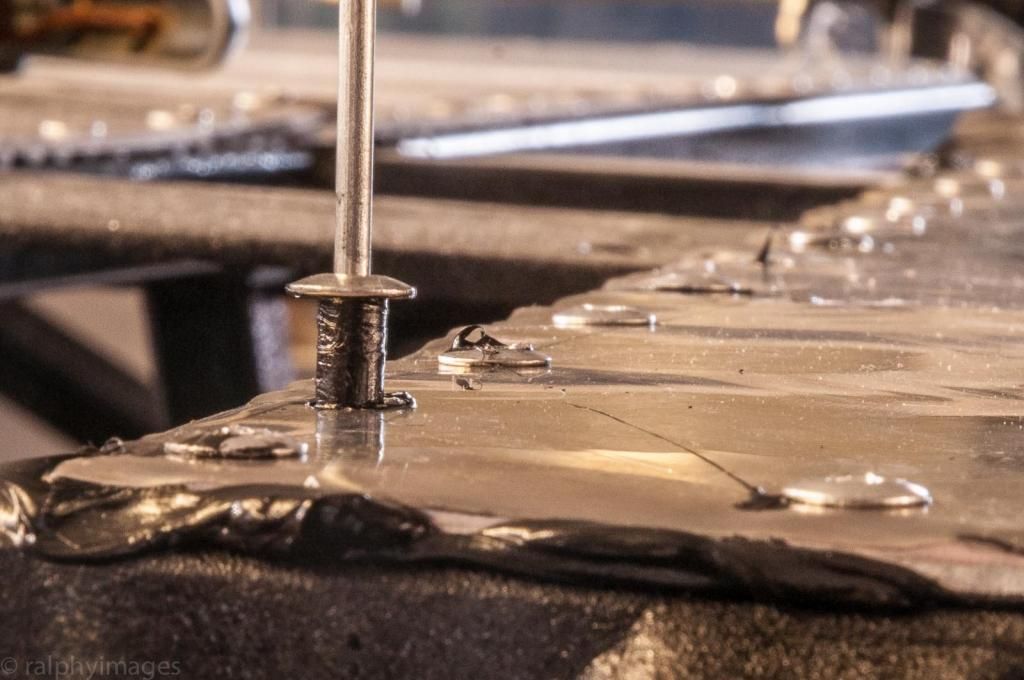
If there wasn't enough sealant extruded through the panel hole to my satisfaction I'd dip the rivet head into some and then fit:
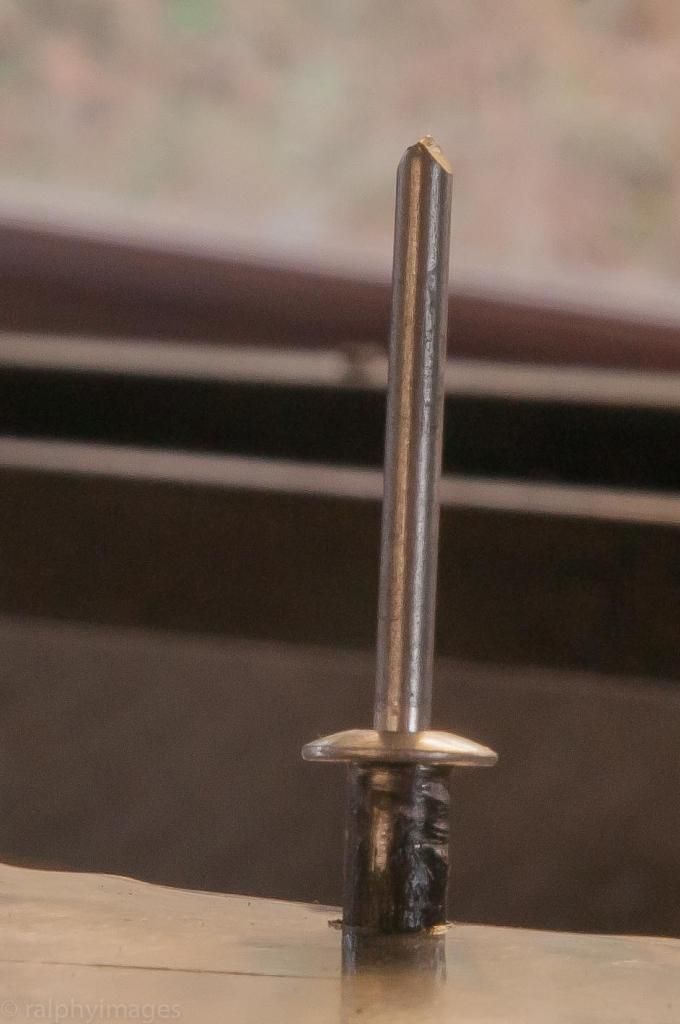
I kept the heat up in my shed overnight and then the next day I'd wipe off the excess Sikaflex.
And if only I'd known about airline riveting tools... doing them all by hand was bloody hard: but boy, have I got a firm handshake now!!!
R
|
|
|
ReMan
|
| posted on 3/1/17 at 10:40 AM |
|
|
hey that's a cracking little tool!
Good thinking
And great pics/progress
www.plusnine.co.uk
|
|
|
jps
|
| posted on 3/1/17 at 12:33 PM |
|
|
Really interesting to see your 'action' pics of Sikaflexing the floor on. I'm hopefully going to fit a floor and some internal
panels in the next few weeks (although the temperatures are perhaps a bit low at the moment...!)
How thick would you say the Sikaflex was between the chassis rails and the panels?
And how flush were the panels against the chassis rails?
The reason I am asking is that i'm finding gaps between rail and panel due to some slight variations in the surface of the rails - nothing more
than 1mm - but enough to see a line of light through in a few places... Not sure whether it matters or not given the thickness of the PU though!
|
|
|
ReMan
|
| posted on 3/1/17 at 01:24 PM |
|
|
Seeing the OP is using treadplate, which is going to mean 2-3 mm? thick in some places and 0 in others, where the point hists the chassis.
Others, self included us plain flat sheet for the floor and then bond tread plate inside the footwalls separately.
Sikflex iis pretty resilient stuff though, so a good layer to fill your gaps will not hurt!
www.plusnine.co.uk
|
|
|
jps
|
| posted on 3/1/17 at 02:06 PM |
|
|
quote:
Originally posted by ReMan
Seeing the OP is using treadplate,
Doh!!! Yeah - really good point - I had not thought of that! I guess that would actually make a fairly meaningful difference to the grip length of the
rivets compared to a plain sheet too (depending whether a treadplate thickness is considered to the peak or the trough - so to speak...)
OK - so general message is, a bit of a gap (1-2mm) between a rail and a panel is not going to matter for the Sikaflex.
Cheers!
|
|
|
Matt21
|
| posted on 3/1/17 at 08:49 PM |
|
|
what an absolutely ingenious way to locate holes behind sheet metal! :O
Instagram: @matt211988
Photobucket
My YouTube
|
|
|