
Simple way to widen cycle wings (a how too)
Mr Whippy - 14/3/07 at 01:05 AM
I was asked a wee while ago by someone on this site how I had widened my front cycle wings to fit over the 225's. Well I have decided to fit
cycle wings to the back as well so tonight I did one and took some photo's of the process encase it was of use to someone
I don't as yet know how to post all the pictures at once so give me a chance to get them on here first, then I'm off to tescos to get the
shopping, no really I do my shopping very late at night...
Oh yeah it's a 4 inch increase in the width.
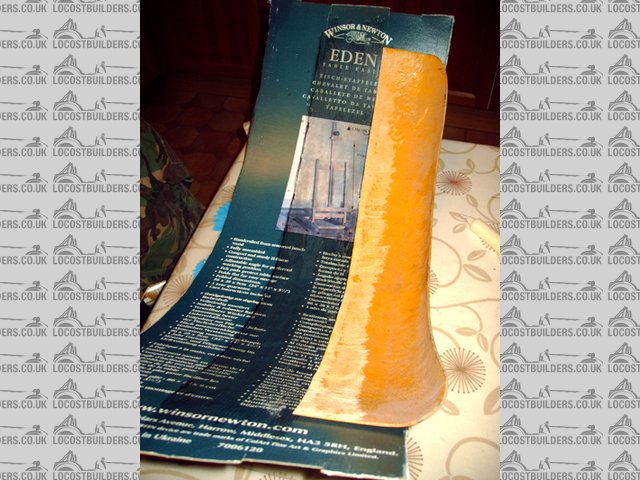
So step 1 - cut the wings in half with an angle grinder (best do that along their length than straight across,  )
)

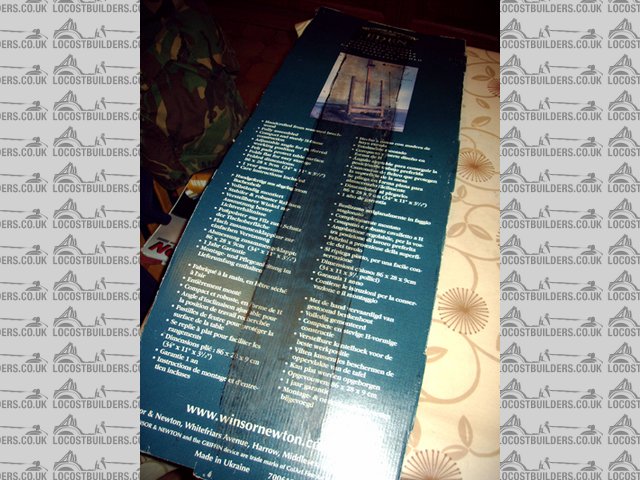
Rescued attachment 1.JPG
Mr Whippy - 14/3/07 at 01:06 AM
Step 2 – chamfer the edges and clean the area around the join.
Step 3 – get a nice piece of cardboard (best use one with a shiny side) and rub candle wax onto the card in the area of the gap, then melt the wax
with say a hair dryer and do this a few times.
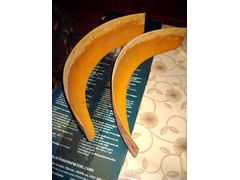
Rescued attachment 2.JPG
Mr Whippy - 14/3/07 at 01:07 AM
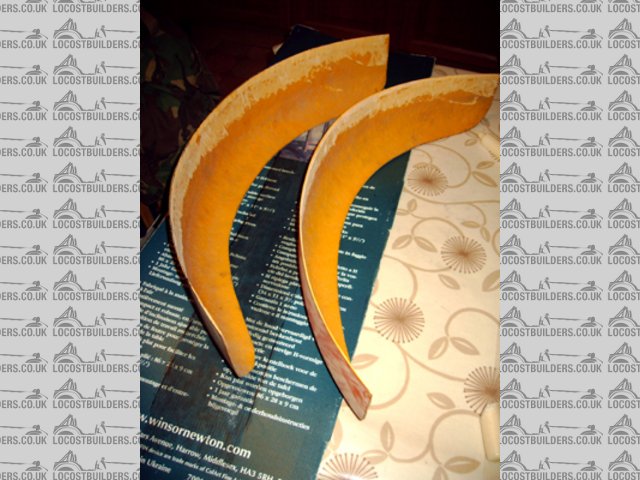
Step 4 – using superglue attach each half of the wing to the card carefully rolling the card over the wing so there is no creases. Then do the same
for the other side making sure the two halves a parallel (worth spending a bit of time on this… ) I have fitted two bits of balsa wood across either
end on the backside of the card. I have a photo but that’s out of focus, sorry.
) I have fitted two bits of balsa wood across either
end on the backside of the card. I have a photo but that’s out of focus, sorry.
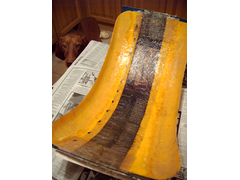
Step 5 – Next cut the glassfiber mat, one to go inside the gap, another to go on top of the first but an inch or so wider than the first. Plus two
small pieces to beef up the ends. Best look at the pictures…
Rescued attachment 3.JPG
Mr Whippy - 14/3/07 at 01:08 AM
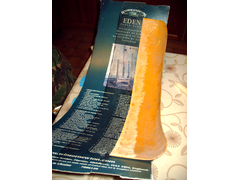
Step 6 – Mix up your resin and merrily stipple away till all is nice and soaked. Then leave in a warm place on a flat surface. Once cured carefully
remove the card and wipe down with white-sprit before finishing off with some paint a filler (red stuff is over spray in case you were wondering).
[Edited on 14/3/07 by Mr Whippy]
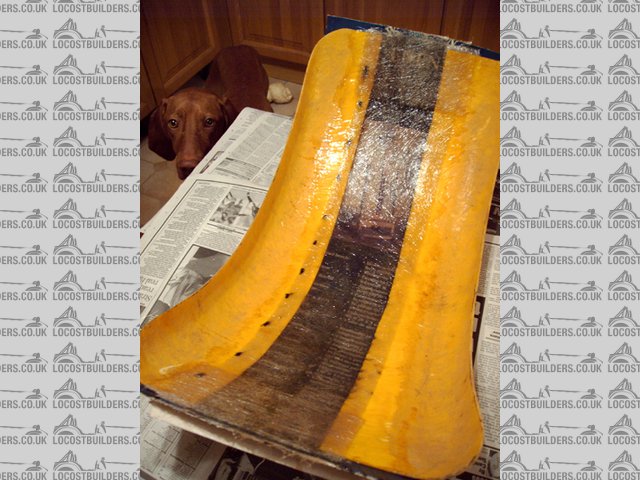
Rescued attachment 4.JPG
Mr Whippy - 14/3/07 at 01:09 AM
So there you go dead easy, hope this helps someone. Bye

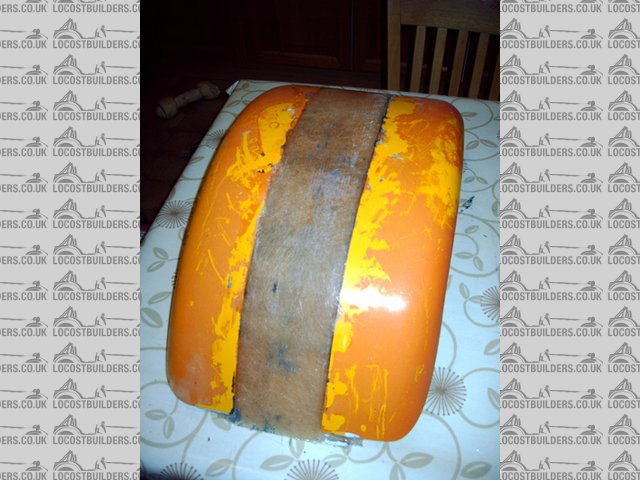
Rescued attachment 5.JPG
Macbeast - 14/3/07 at 04:50 AM
Nice job - well done. Thanks for sharing.
nitram38 - 14/3/07 at 07:06 AM
Nice, but ever thought of using gelcoat first?
This would ensure that you had a relatively smooth surface when you removed the cardboard.
02GF74 - 14/3/07 at 07:22 AM
good job - hoipe you kep all windows open or did it outsdie to keep out of the fumes 
I've done something similar - filling a hole in nose cone.
Same method but got some of the acetate sheet that I stuck down and then card on top to keep the shape.
Unlike you I used gelcoat then my first piece of GF was cut to be eact size for the hole so no overlapping edings; then build up from below like you
have done.
the gel coat give a better finish; still have to use a bit of filler to get it nice 'n' smooth.
RazMan - 14/3/07 at 07:45 AM
Another tip is to use packing tape to cover the cardboard instead of candle wax - it gives you a glossy finish and the resin won't stick to the
tape.
Mr Whippy - 14/3/07 at 07:59 AM
Hi guys,
Yes there's no reason I couldn't have used gel coat to preserve the colour but as I'm painting them mat black (as will most of the car
be) it's not really worth it and a coat of filler primer tends to get a good finish for paint.
It certainly smells a bit but since I'm a model builder everyone’s used to that, even the dog.
Mr Whippy - 14/3/07 at 08:02 AM
oh yeah,
Raz that car of yours does look simply stunning, I'm off to get the mag at lunchtime. Nice one
redeye - 14/3/07 at 09:45 AM
wish Id have Known how to do that when I put a dirty big hole in my back panel 
Thread
02GF74 - 15/3/07 at 11:39 AM
searvh the archive - I'm sure I wrote up with photo of how I patched up my nose cone.
build it up from the inside where you cannot see the "mess"; the hardest part is getting a totally flat fnish - easeir for you since your
panel is flat and mine wasn't.
redeye - 15/3/07 at 06:41 PM
quote:
searvh the archive - I'm sure I wrote up with photo of how I patched up my nose cone.
thanks for the help but I jus bought a new one in the end


