Matt_C
|
| posted on 1/7/12 at 01:01 PM |

|
|
Build up date - Rolling chassis
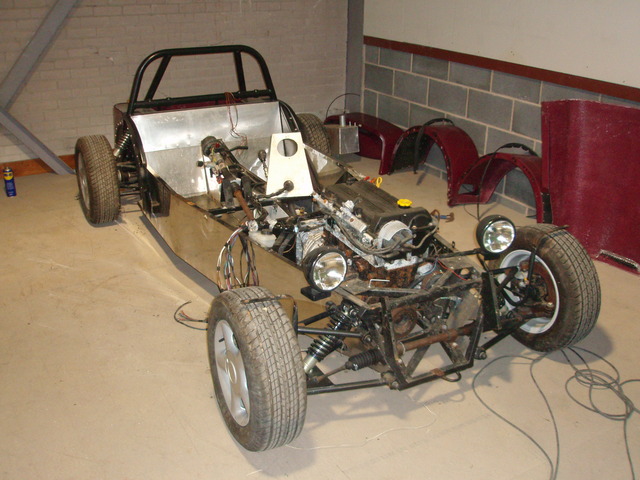
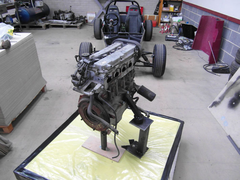
I though I would finally get around to posting a few new photos of my build while having a quiet Sunday. 6 months down the line my Velocity unfinished
project has been completely stripped, re-powder coated and has now been built back up to a braking chassis.
Description
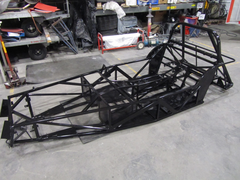
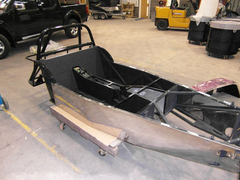
The original state the project was purchased in, not sure I really appreciated how far back it required stripping and restoring. Don't want to
cut corners through the build so it has maybe taken longer than expected but I'm happy with final results thus far.
Description
Description
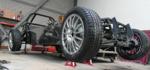
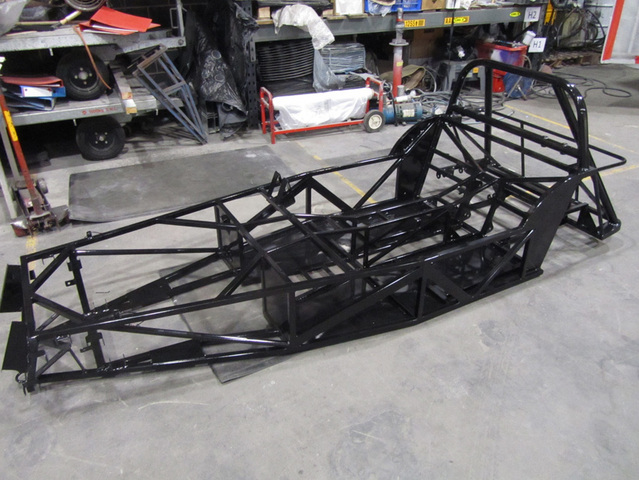
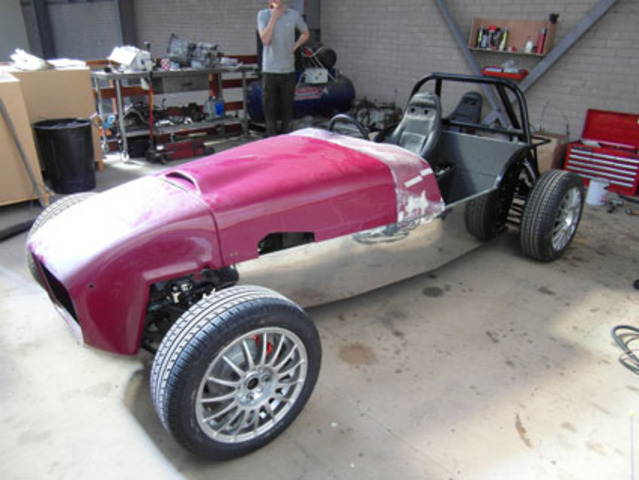
Stripped, blasted and powder coated. Then the engine bay has been stone guarded and the underbelly tetroseal stone chip protected.
Description
Description
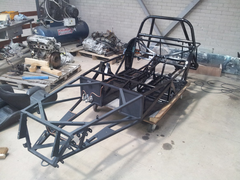
Paneled and coated on the inside. Now completely water tight on the inside (need to remember to add some holes so I do not create myself my won mobile
paddling pool!). Loads more photos in my achieve if people are interested.
 
Description
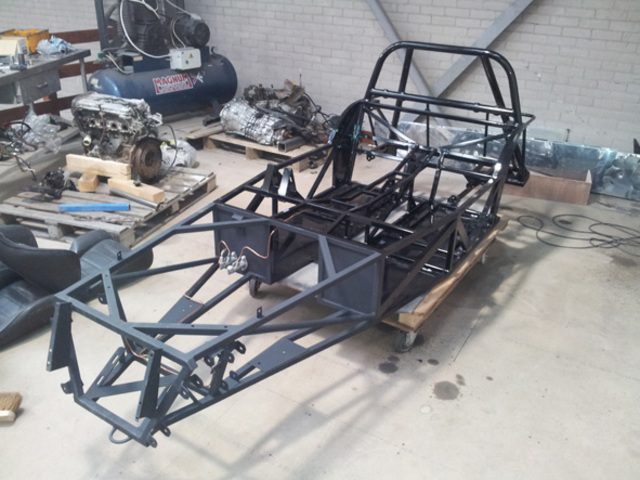
Plenty of time wasted, installing drums then changing to rear calipers. Prefer to do it now, as thought it would be one of the first changes after it
was on the road anyway.
Description
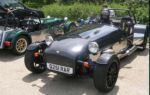
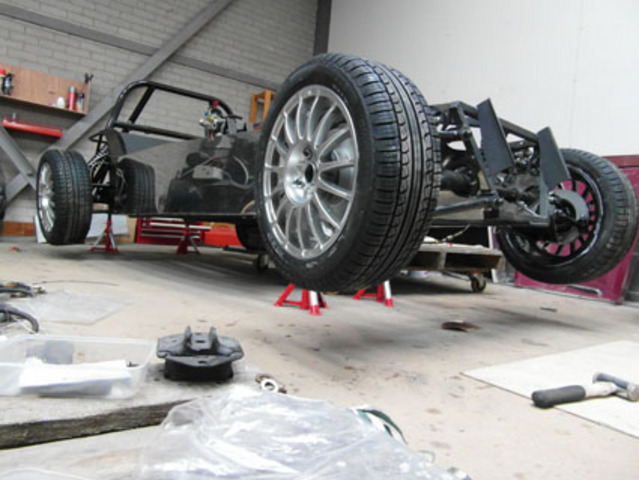
Everyone needs a studily angled (artistic?!) photo. Thanks to chris_harris_ for the new wheels, look much better than the original Sierra/Granada
wheels.
Description
Description
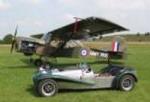
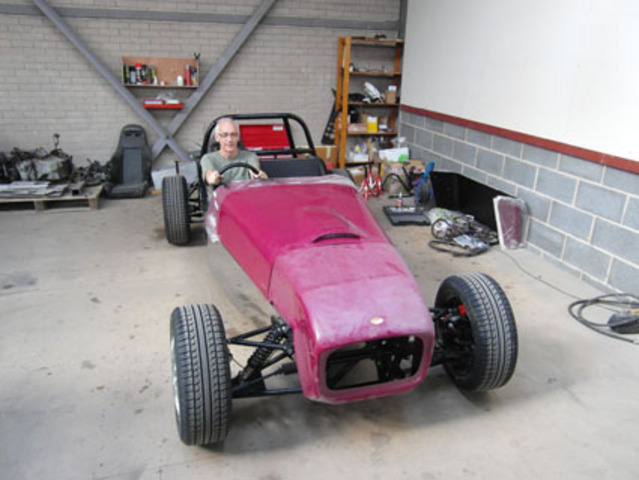
Always nice to pretend it is a real car every now and again. Got to thank my dad (in the car) for providing the extra man power. He is happy having
another little project to work on after the completion of a restoration of an Auster AOP9. Guess I have to blame him for the engineering and building
bug.
Description
The next part of the project.
Always nice to hear other peoples opinion on my build and any advice people can give me. Hope this is of some interest to some of you. Would have
really struggled without help from articles on here, nice to have all the advice close to hand.
Cheers,
Matt
|
|
|
|
|
JeffHs
|
| posted on 1/7/12 at 03:06 PM |
|
|
Looking good, Matt. Your Dad has already volunteered me to help with the wiring - happy to do so
Jeff
|
|
|
Andybarbet
|
| posted on 1/7/12 at 08:39 PM |
|
|
Looking good 
Keep the updates coming, it helps us fellow Velocity builders.
|
|
|
Matt_C
|
| posted on 2/7/12 at 07:55 AM |
|
|
Thanks Jeff. Help with the wiring is much appreciated, not really sure where to start with it all.
|
|
|
wilkingj
|
| posted on 4/7/12 at 09:30 AM |
|
|
As for the electrical work...
Take it steady.
Treat the different parts as ONE circuit at a time. eg lights (subdivided into side, dip, main, flash, and indicators (and hazards), ignition, fuel,
wipers, washers etc etc.
Make sure all earth returns are to bare metal and a good connection, (I covered mine with a dob of grease to stop them rusting later on)
Label as much of the wiring as possible, BEFORE you put the loom in the car.
I spent 2 evenings with my loom on the kitchen table testig and identifying every wire, then labelling it.
This is SO MUCH EASIER on the kitchen table than it is in the car. Trying to test wires on opposite ends of the car is not easy on your own!
The other advantage of doing this, it that you start to become familiar with the loom and what every wire does / goes.
This will help when things arent going well!
As said, treat the loom as lots of individual circuits, NOT as one big lump of wires. Or it will do your head in.
I was a BT engineer for 41 years, and if you have looked in those green boxes on the side of the road, you will know its a lot of wires to sort
out!
Take it steady, and do a piece at a time.
You will get there in the end.
Make sure you have a VERY thick earthing Braid between the engine, and the chassis... Its often overlooked and will be a fire hazard if you dont have
one.
Good luck

1. The point of a journey is not to arrive.
2. Never take life seriously. Nobody gets out alive anyway.
Best Regards
Geoff
http://www.v8viento.co.uk
|
|
|