mk85
|
| posted on 7/12/15 at 10:19 AM |

|
|
The dash was next but will need to be redone at some point as I made a small tear in the material just as I finished.
|
|
|
|
|
mk85
|
| posted on 7/12/15 at 10:23 AM |
|
|
Fitted the carbon wind
breaker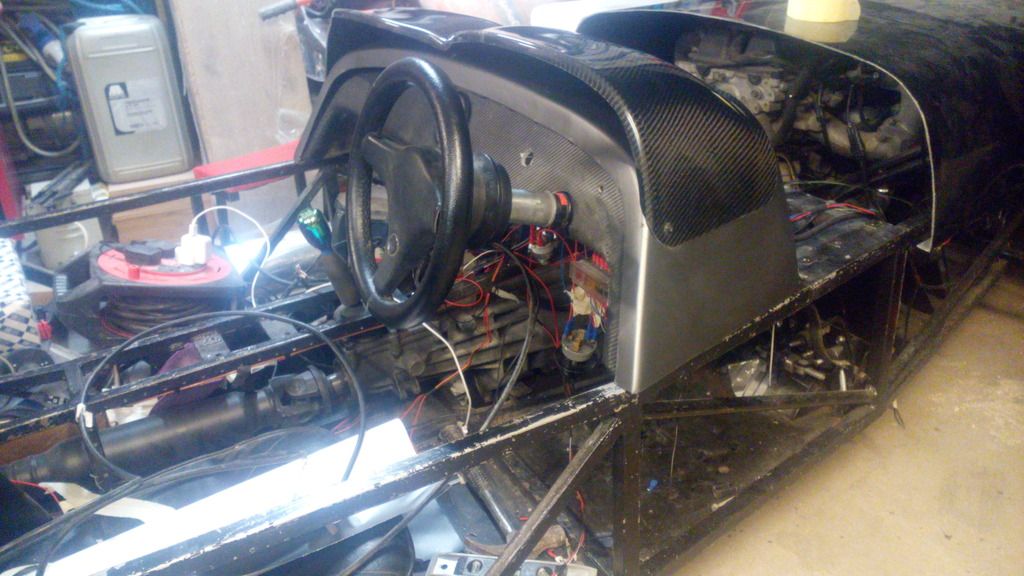
|
|
|
mk85
|
| posted on 11/12/15 at 07:48 AM |
|
|
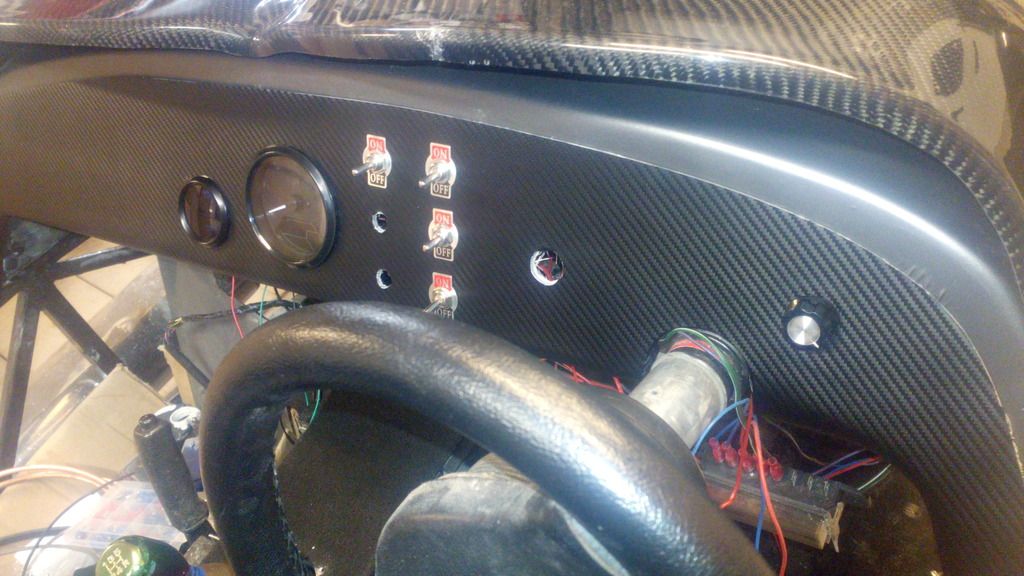
I drilled and set my dash out ready to be wrapped. I've got a water temp sensor to the left. The centre gauge is for the Speedo and mileage
counter. It's a nifty but of kit that has lots of indicators built in for my headlights, indicators oil pressure and more.

|
|
|
mk85
|
| posted on 25/12/15 at 01:46 PM |
|
|
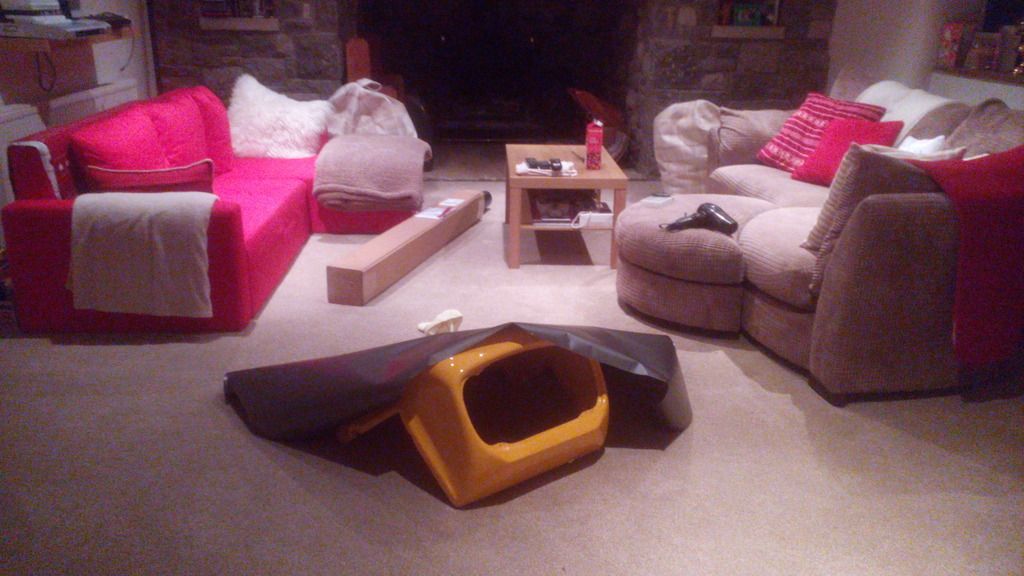
The carbon wrap i had purchased for the dash wasn't as i liked so i ordered afew samples i decided on a new vynal. I even managed to do this in
the living room with the wifes hairdrier!!!!!!!!!!!!!!!!
Cut to size from the roll
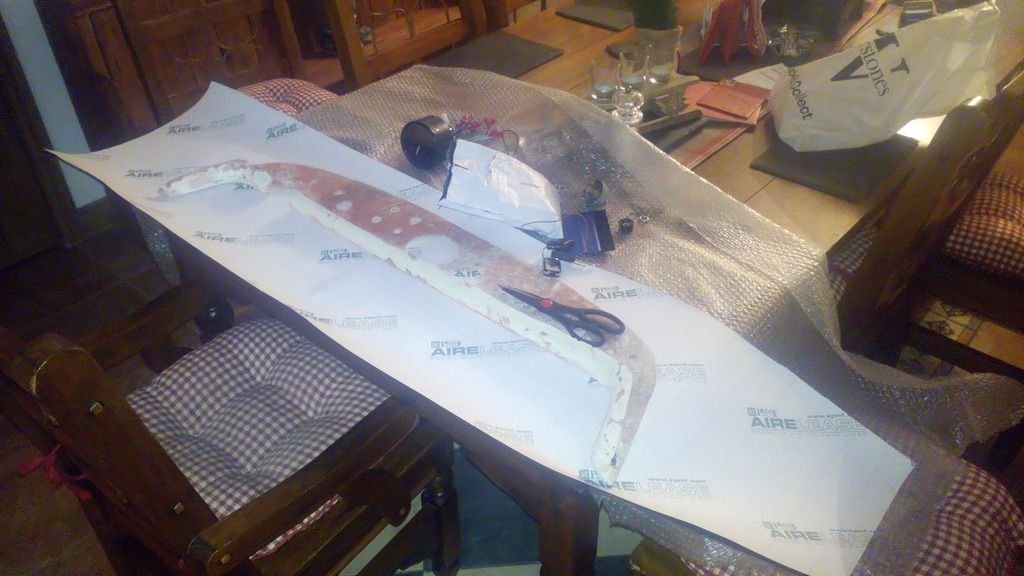
peeled and placed onto the dash
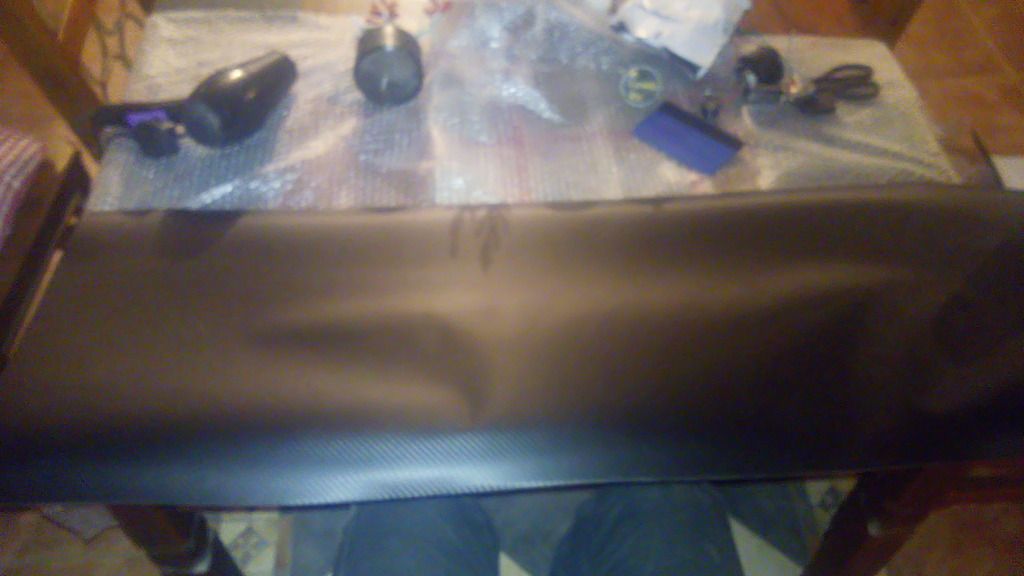
Clocks and switches fitted
|
|
|
mk85
|
| posted on 25/12/15 at 01:47 PM |
|
|
A little video of the clocks wired up
[IMG]http://i63.photobucket.com/al
bums/h131/munroshaun/Mobile%20Uploads/2015-12/th_VID_20151224_164801_zpsmf35ri7f.mp4[/IMG]
|
|
|
mk85
|
| posted on 29/12/15 at 10:47 PM |
|
|
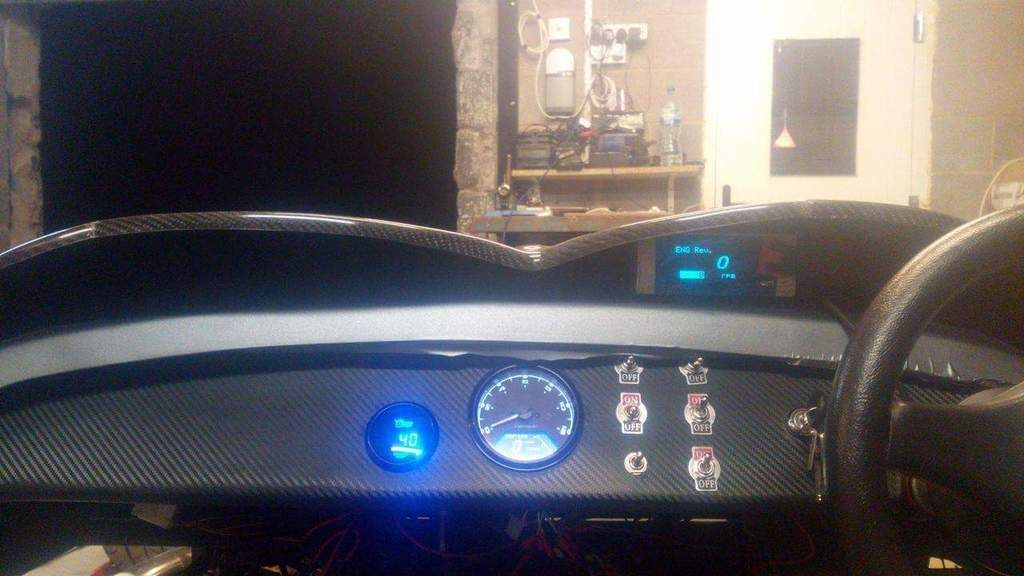
just about have the dash ready to fix into position just a few little bits to sort before its fixed into place. Really made up with the finish and
outcome. Overall it cost me roughly 25quid to make and wrap myself in a carbon finish wrap. I need to trim the excess vynal from the grey wrap and
reheat one side as it has lifted slightly.
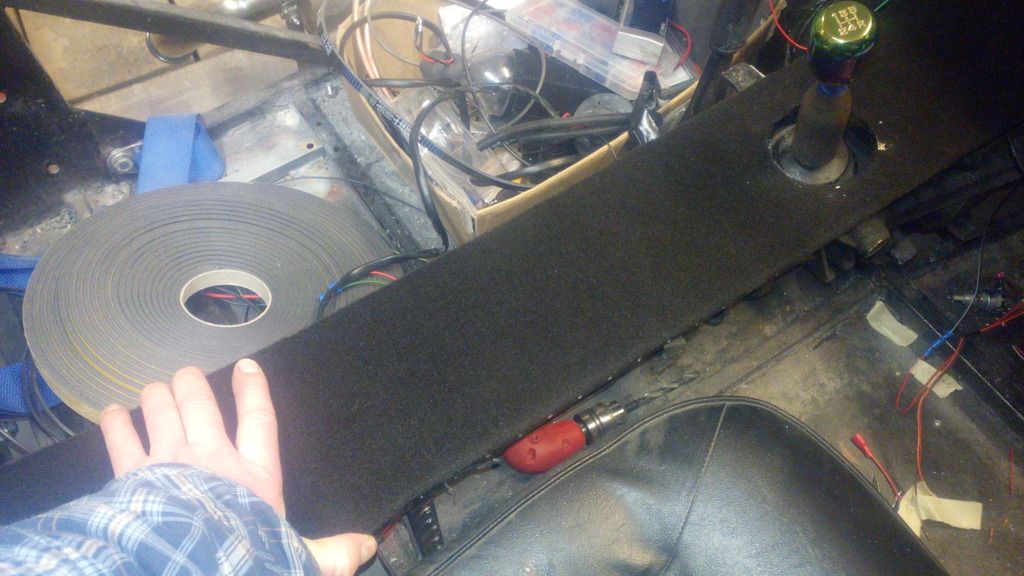
Tried the carpet i have chosen on the top tunnel and made up with the colour and feel of it.
|
|
|
mk85
|
| posted on 29/12/15 at 10:50 PM |
|
|
better view of the dash

|
|
|
mk85
|
| posted on 3/1/16 at 09:11 PM |
|
|
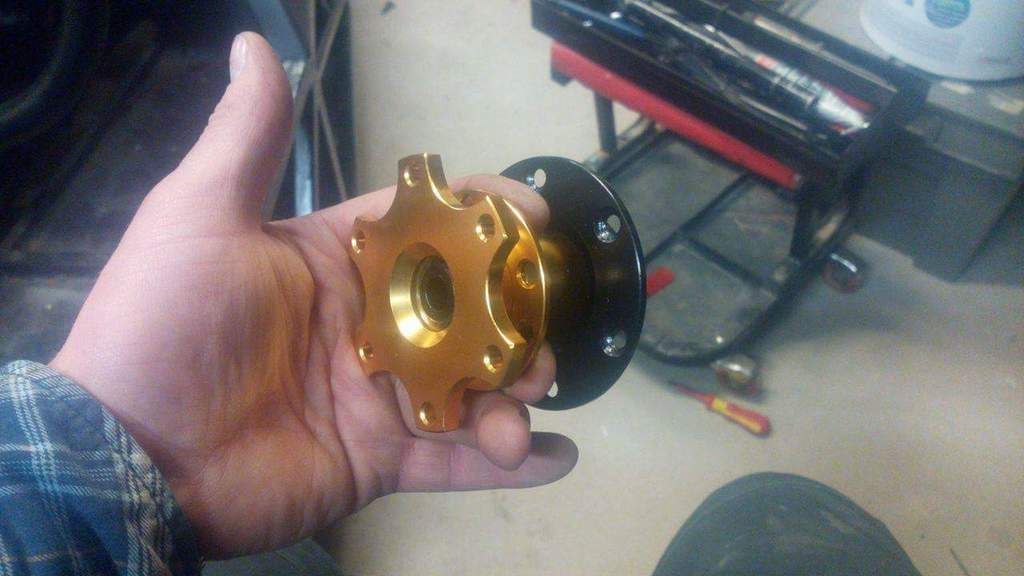
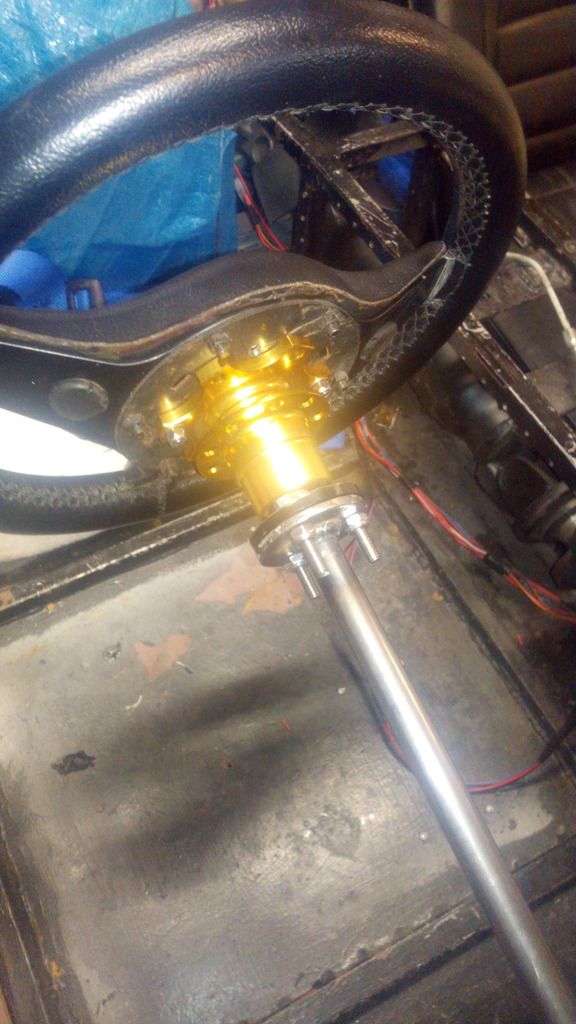
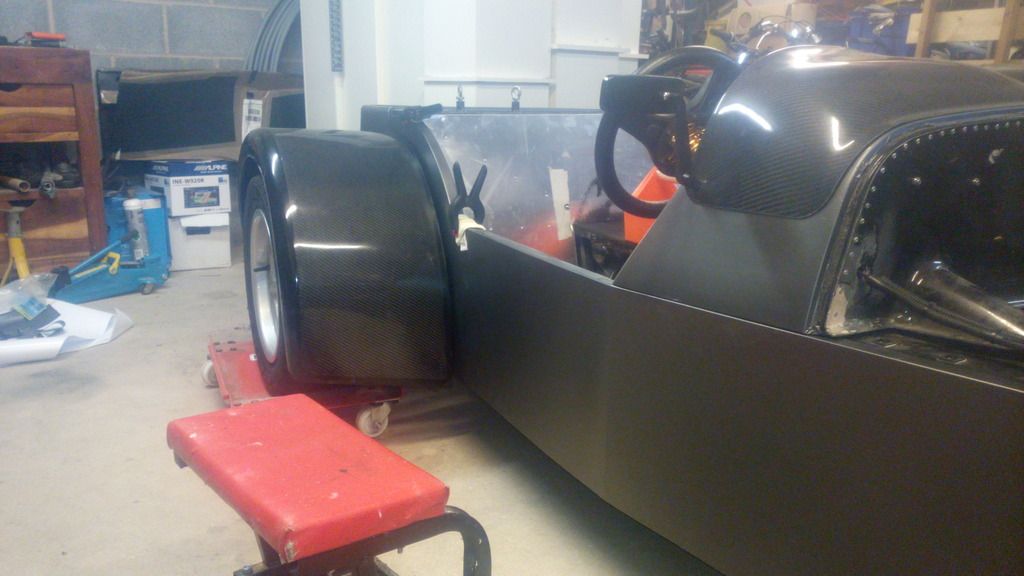
after trying a sitting in the car a few times and knowing how i like to drive i decided i wanted to bring the steering wheel closer to myself. I
ordered some 15mm steel pole and started with the new column.
I had a snap of boss i wanted to use so i trimmed down the flange down to a 50mm radius. I welded a 50mm flange onto the steel rod for the quick
release to bolt to.
|
|
|
mk85
|
| posted on 3/1/16 at 09:15 PM |
|
|
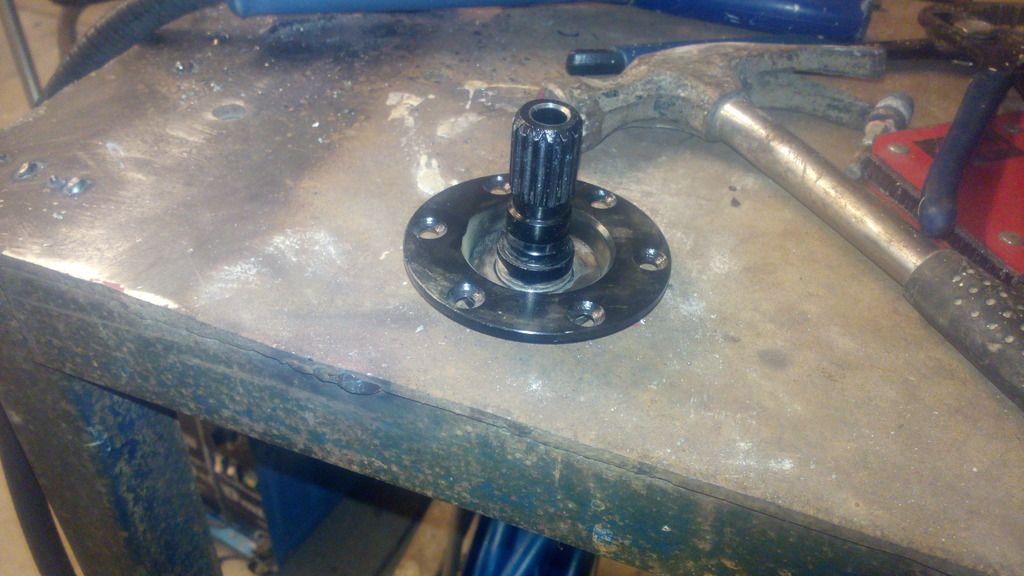
Just waiting for some bearing to arrive so i can get this mounted.
|
|
|
mk85
|
| posted on 3/1/16 at 09:20 PM |
|
|
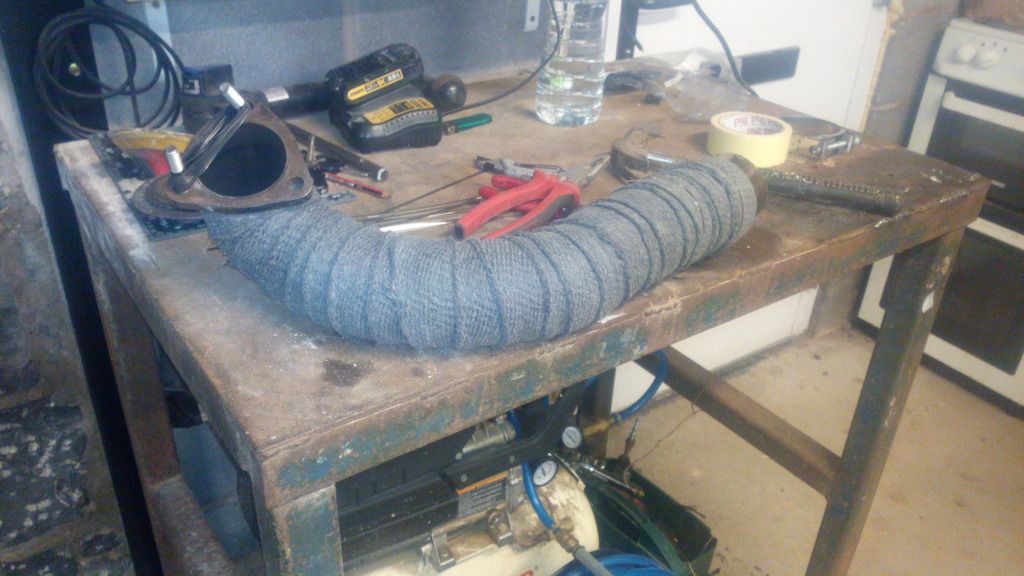
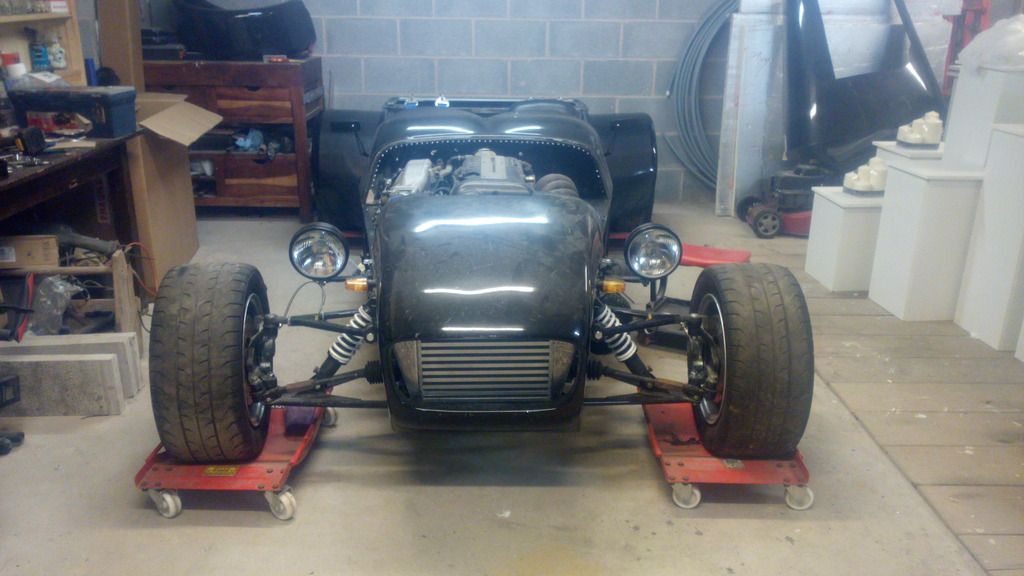
Knowing the engine and how the like to kick some heat out once they have some energetic running I wrapped the down pipe in a heat proff wrap to help
try keep the engine bay temps down.
|
|
|
mk85
|
| posted on 3/1/16 at 09:24 PM |
|
|
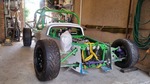
Really liking the width and stance of how the car sits
|
|
|
DRC INDY 7
|
| posted on 23/1/16 at 05:15 PM |
|
|
Sounds like it is coming on a treat, do you have any upto date progress pictures.
https://www.facebook.com/groups/462610273778799/
Puddle Dodgers Club
|
|
|
mk85
|
| posted on 24/1/16 at 04:03 AM |
|
|
The car is doing really well. The list is very short now. Basically it's just finishing touches to get it ready. I have just rebuilt a new
steering column set up bringing the wheel much closer to me.
My job list is
repair the nose cone
Refit the steering column
Mount the body panels and wrap them as I go
Trim the interior
Make my foam seat
Plate up the tunnel
Make a boot lid for the rear tub
Make some brackets for the front arches
|
|
|
mk85
|
| posted on 27/2/16 at 10:50 PM |
|
|
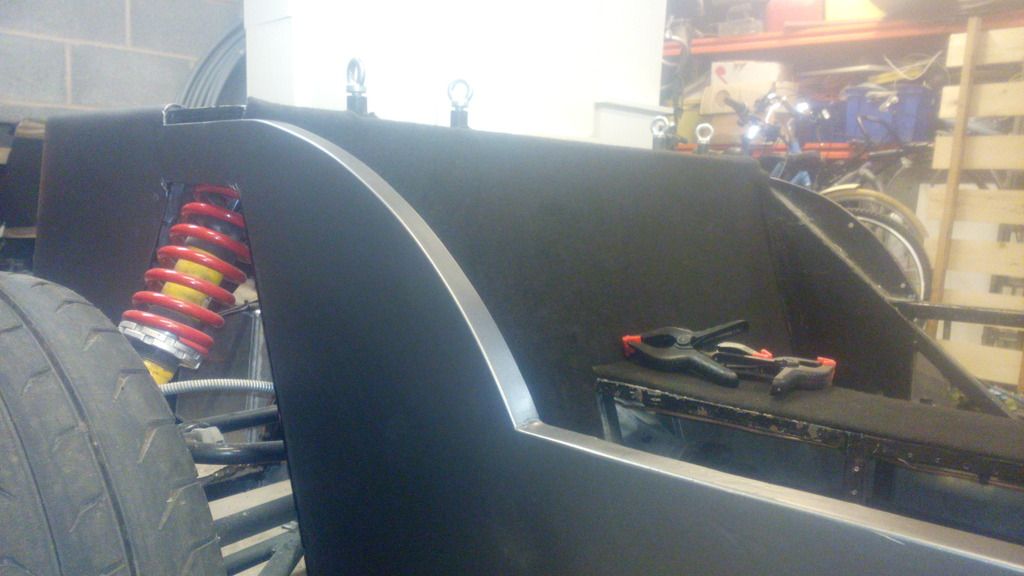
Managed to get a few hours in in the car last weekend. wrapped the drivers side panel and had a little look at the finish.
|
|
|
mk85
|
| posted on 27/2/16 at 10:52 PM |
|
|
|
|
|
mk85
|
| posted on 27/2/16 at 10:54 PM |
|
|
|
|
|
Rossmcleod2012
|
| posted on 28/2/16 at 07:35 AM |
|
|
Looking good mate
It's coming together
|
|
|
mk85
|
| posted on 28/2/16 at 11:04 AM |
|
|
I picked up some hallway mats from a local hardware home shop they where only a couple of pounds each and have a rubber bottom to them so with a
little spray adhesive they will hold nicely in place

|
|
|
mk85
|
| posted on 28/2/16 at 11:11 AM |
|
|
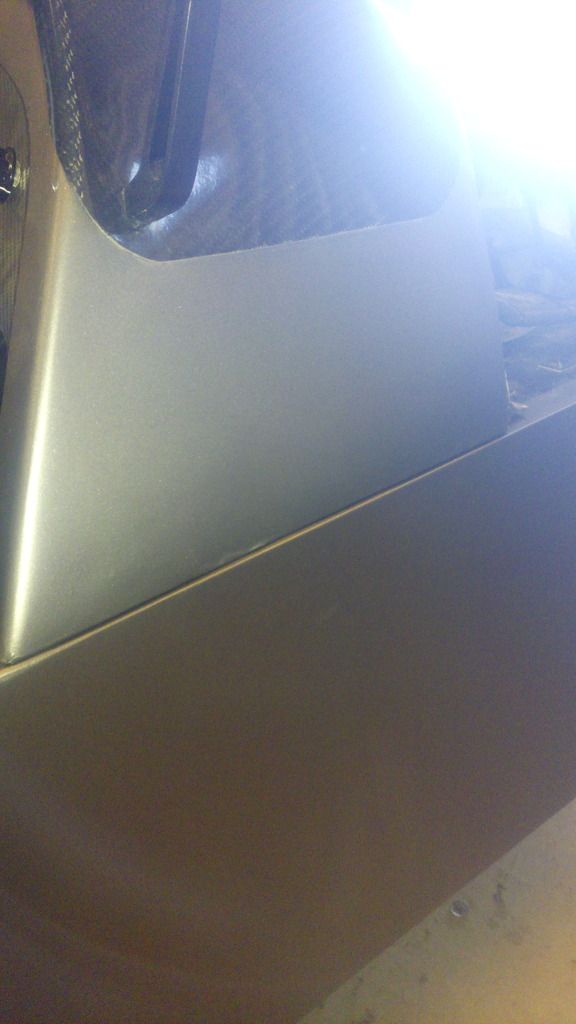
I got the dash lined up with my side panel's and really like the silver and carbon colour combo brakes the car up nicely
|
|
|
Wolf1e
|
| posted on 28/2/16 at 10:03 PM |
|
|
Hi mk85
Great build mate. Looking very nice. Going to be a quick one!!!
Quick question, what did you use for your boot panel pieces? Is it carbon dipped?
Thanks
Wolfie
|
|
|
mk85
|
| posted on 28/2/16 at 10:33 PM |
|
|
Hi wolf1e what panel are you referring to. The panel behind the drivers seat is just covered in fabric
quote:
Originally posted by Wolf1e
Hi mk85
Great build mate. Looking very nice. Going to be a quick one!!!
Quick question, what did you use for your boot panel pieces? Is it carbon dipped?
Thanks
Wolfie
|
|
|
Wolf1e
|
| posted on 29/2/16 at 01:16 PM |
|
|
Hi mk85
The panel you used for the top panel where you mounted your fuel filler cap?
Regards
Wolfie
|
|
|
mk85
|
| posted on 13/3/16 at 01:02 PM |
|
|
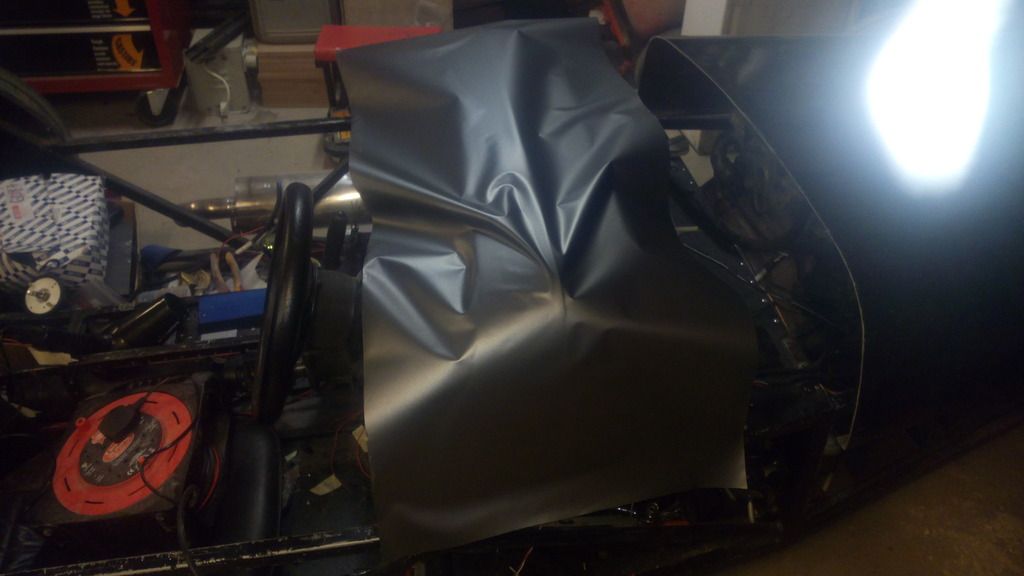
I purchased another nose cone with a slightly different shape to the one I had. I gave it a little clean up and started to wrap it in the vynal. After
reading a review in the recent kit car magazine I followed there advice and have wrapped the nose in two sections. The bottom will be done in a
separate section as to do it in one would over stretch the material
|
|
|
mk85
|
| posted on 13/3/16 at 01:03 PM |
|
|
|
|
|
mk85
|
| posted on 28/3/16 at 06:15 PM |
|
|
I've been really busy lately but managed to make some great progress on the car.
I've trimmed the whole drivers side with fabric and and mats in the floor. I went for a grey pattern as this over time will hide any dirt marks
left behind
|
|
|