Mudchute
|
| posted on 15/5/17 at 03:56 PM |

|
|
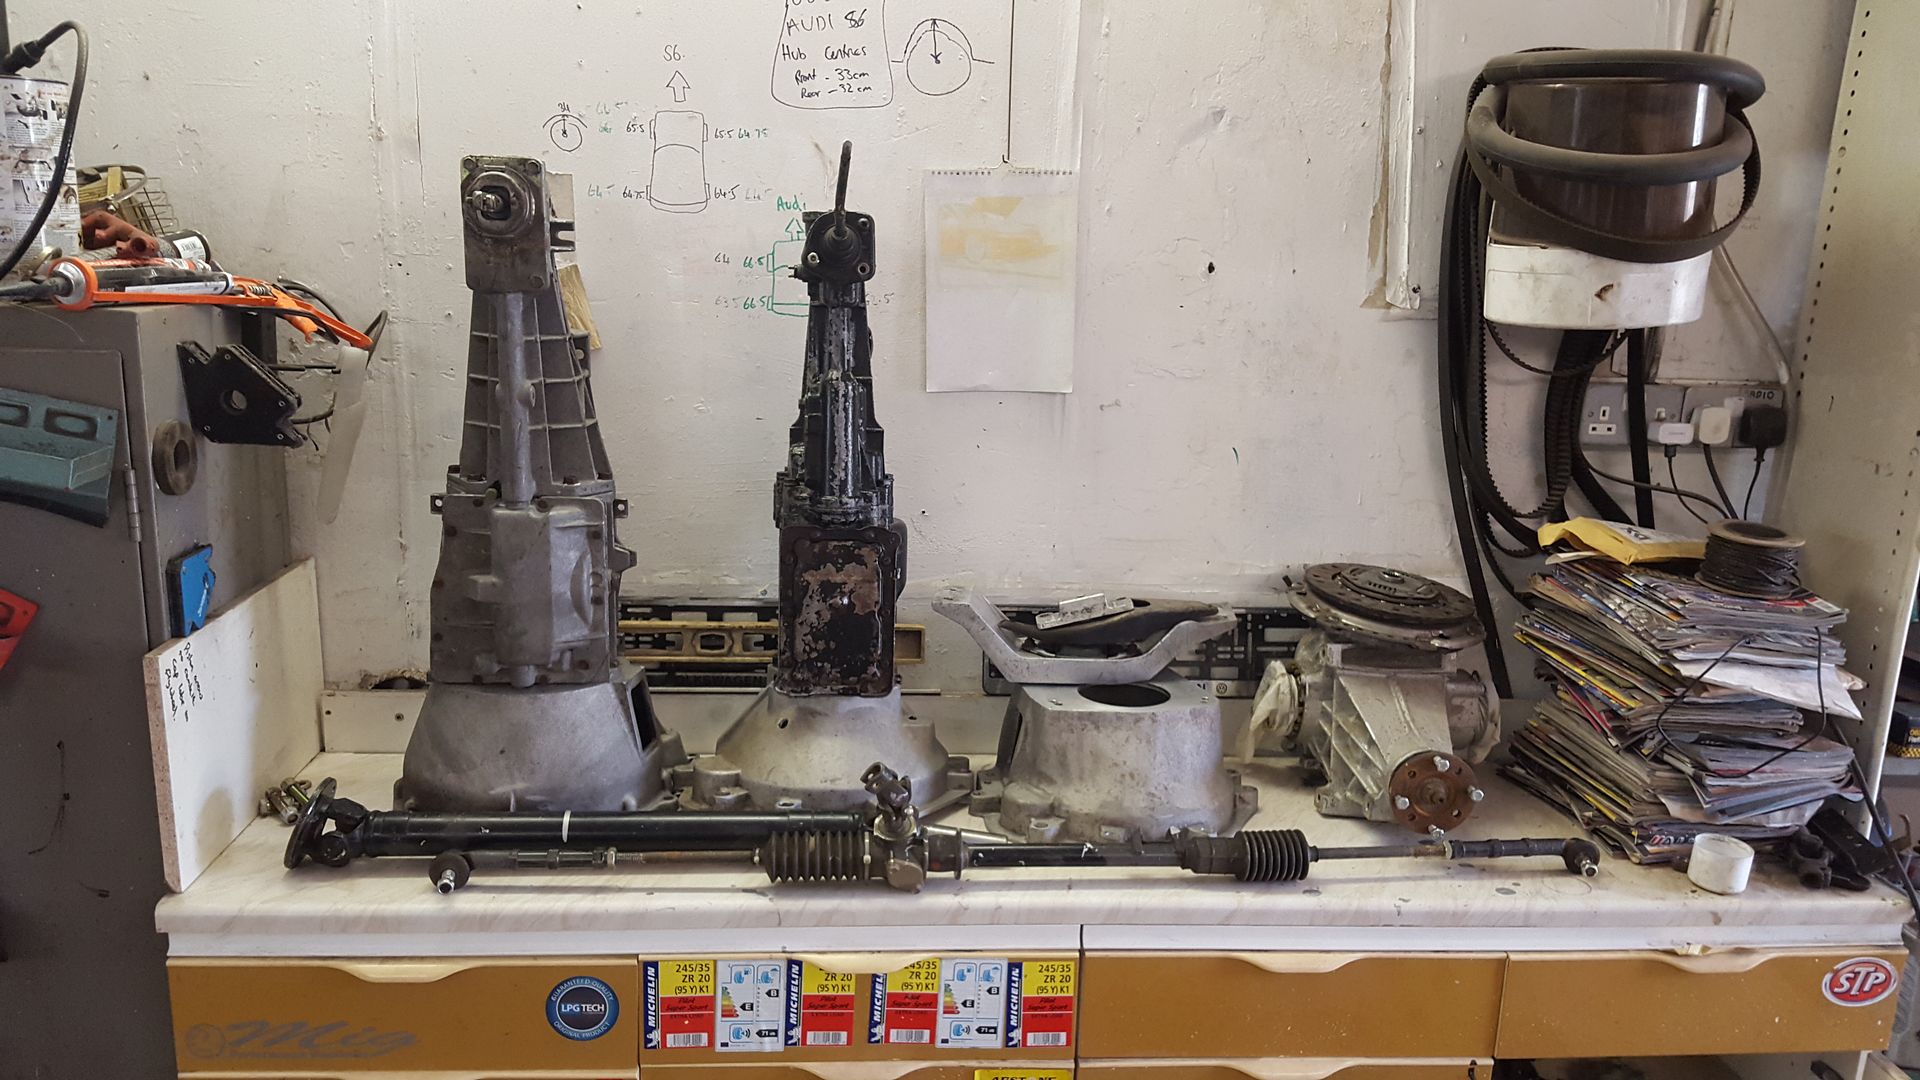
My 2p, an MX5 box is virtually identical to the rx8 and can be had for free in some cases (I've bagged and passed on a couple when searching for
one) and will likely fit with an adaptor plate. There is a chap on ebay making adaptor rings for all manner of combos for the mazda boxes.
The Mx5 box fits perfectly in the Haynes chassis. Not sure if that applies to the locost tunnel but mine has bags of room all around it (in my Haynes
chassis).
|
|
|
|
|
ettore bugatti
|
| posted on 15/5/17 at 08:58 PM |
|
|
Stick to the T5 and enjoy that you got a bargain with that. Furthermore, the right gear ratios will make it a nicer drive too.
An BGH E6 Type 9 might do the trick ratio wise (similair to the T5), but that's 1320 pounds (although similar type 9s are offered on Ebay for
less). A Type 9 from a V6 does have a first gear of 3.36 but they probably do a premium over a 4 pot Type 9.
Besides, isn't a std Type 9 a bit marginal for a 2l 16V on itbs? Surely you close to 200hp with that setup?
Just keep the T5 and upgrade the engine to turbo spec...
Cost more, but seems very logical to me. Using parts to their capability etc.
|
|
|
super-ron
|
| posted on 8/6/17 at 08:39 PM |
|
|
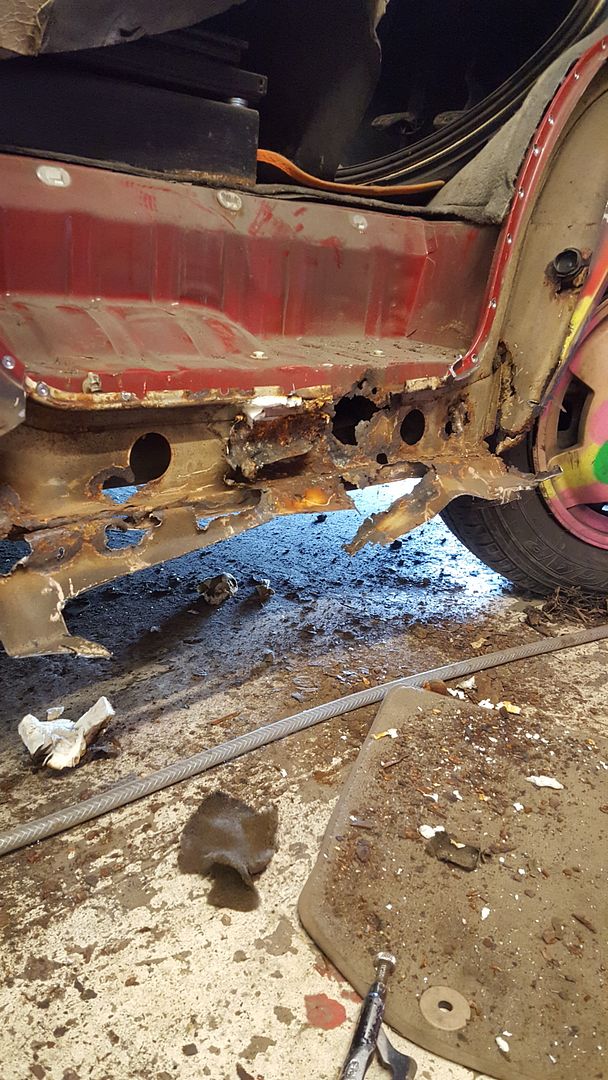
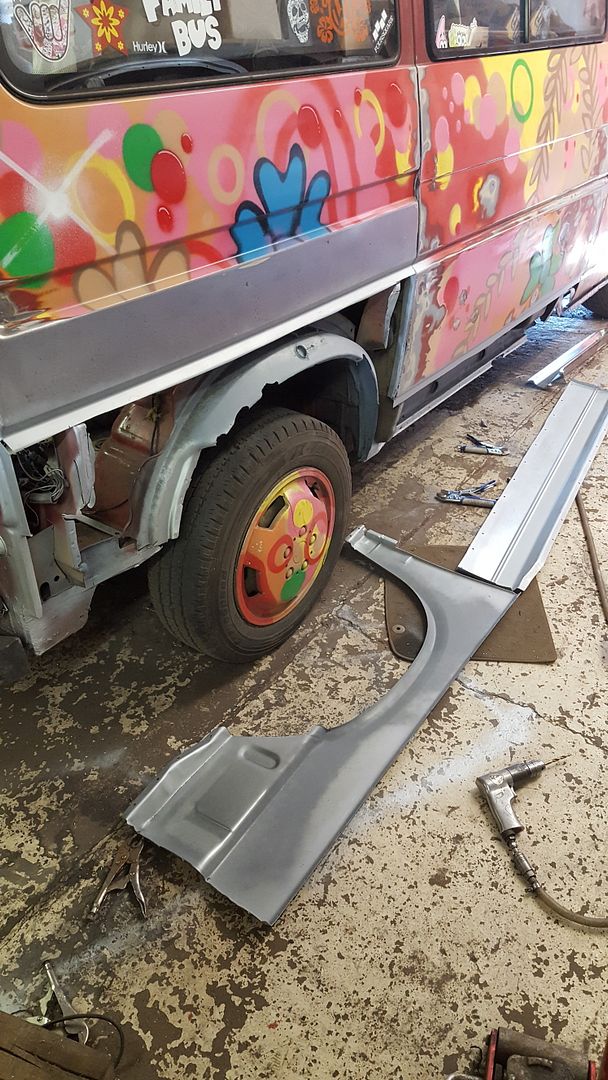
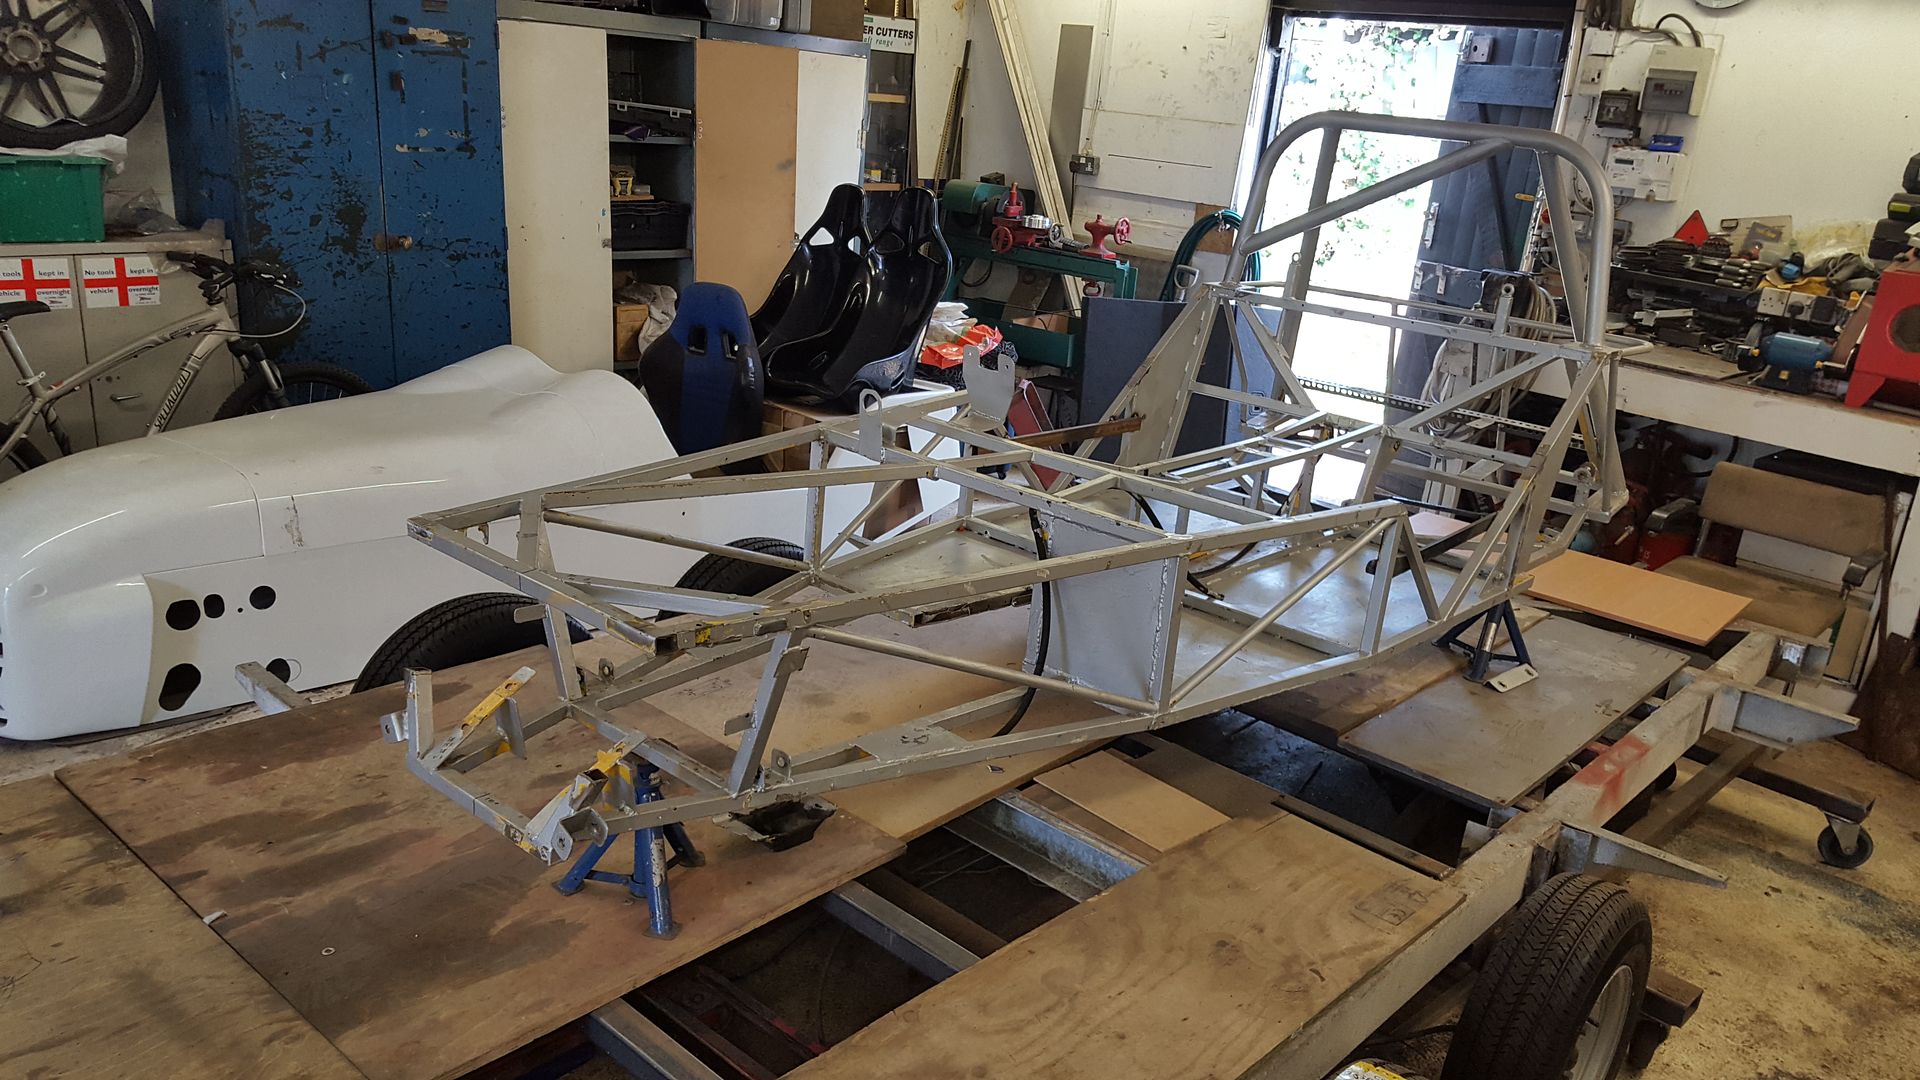
ok update time. there has been a bit of a gap as i got involved in a quick restoration on my friends T4 camper van. which turned into a balls deep 50
plus hours resto,
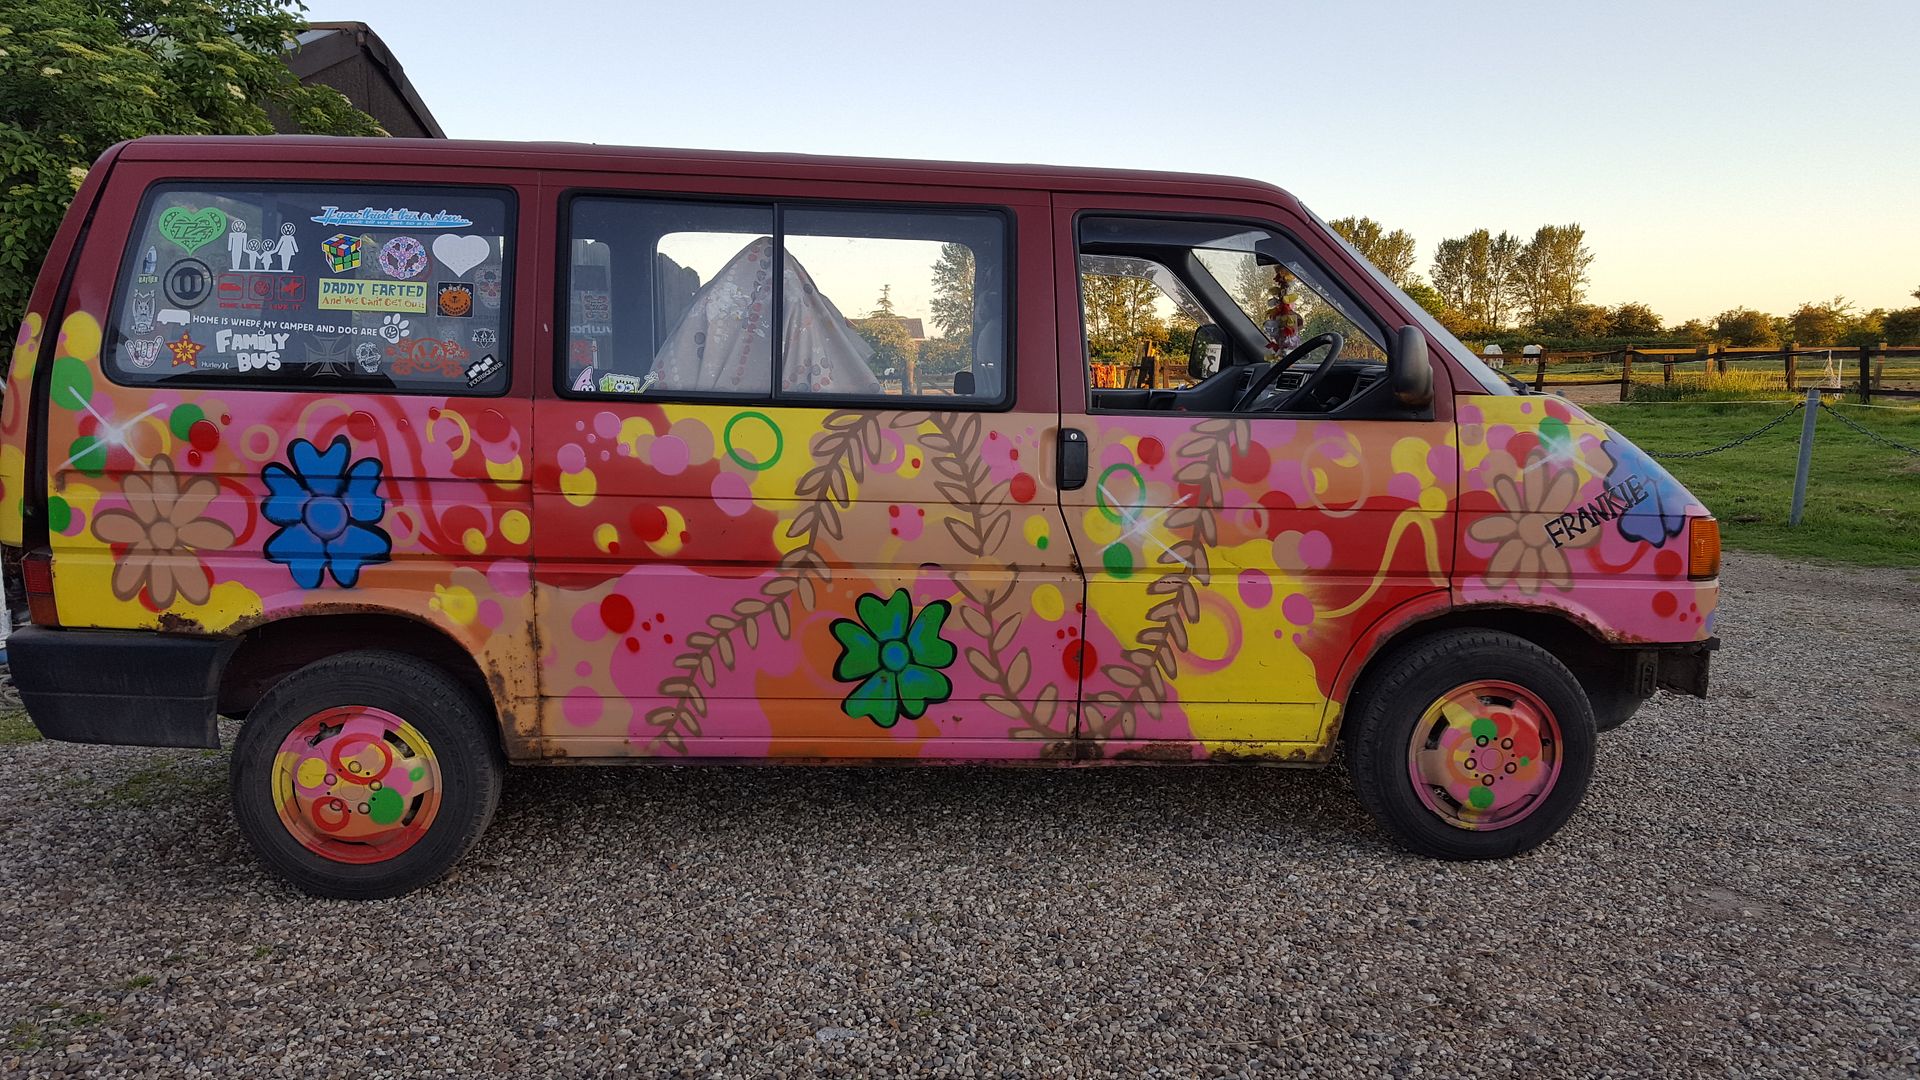
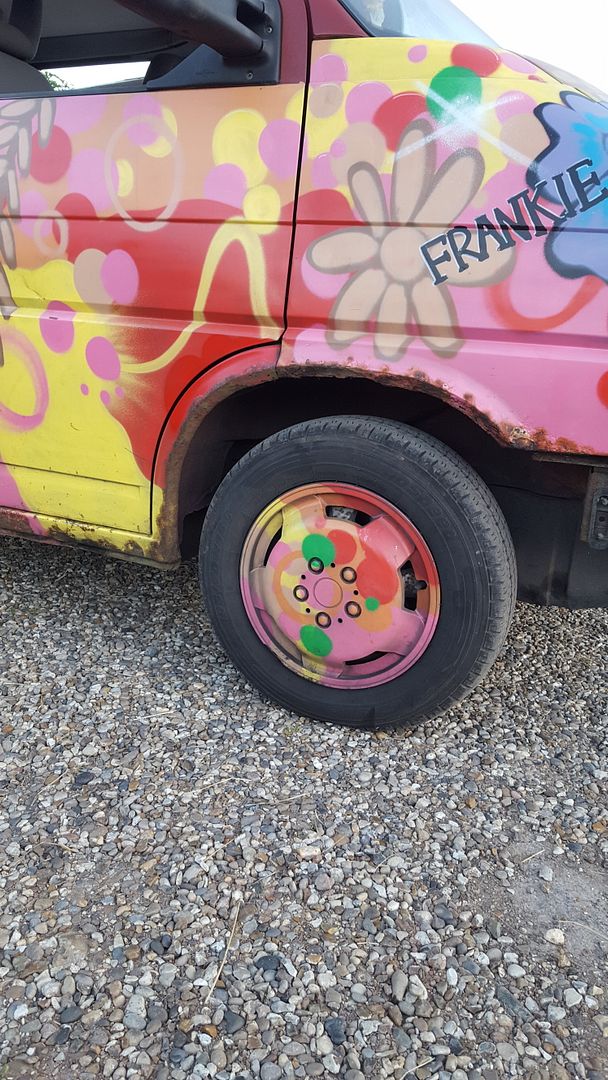
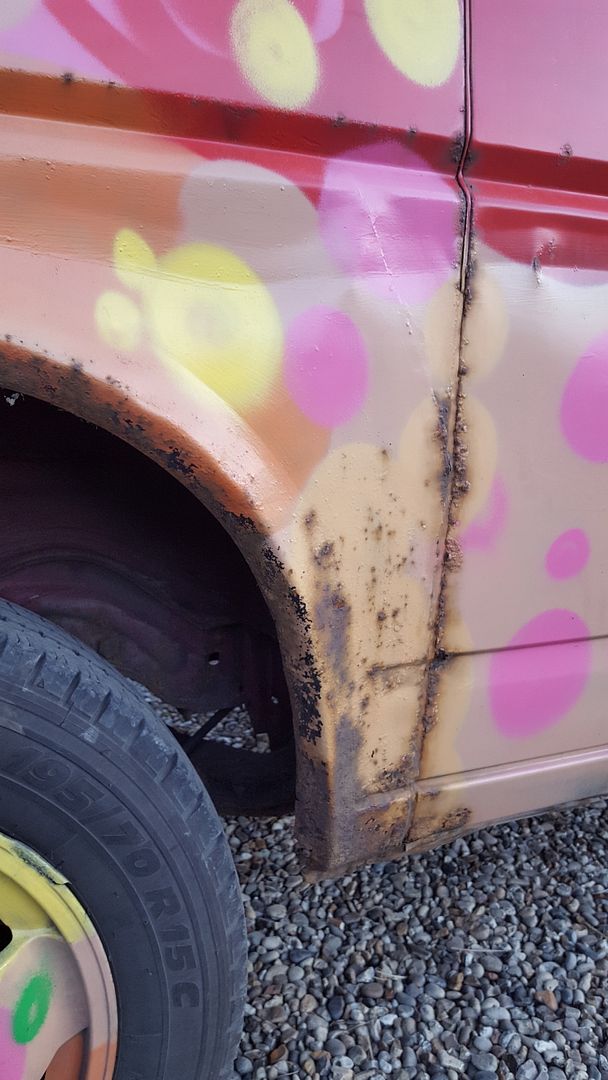
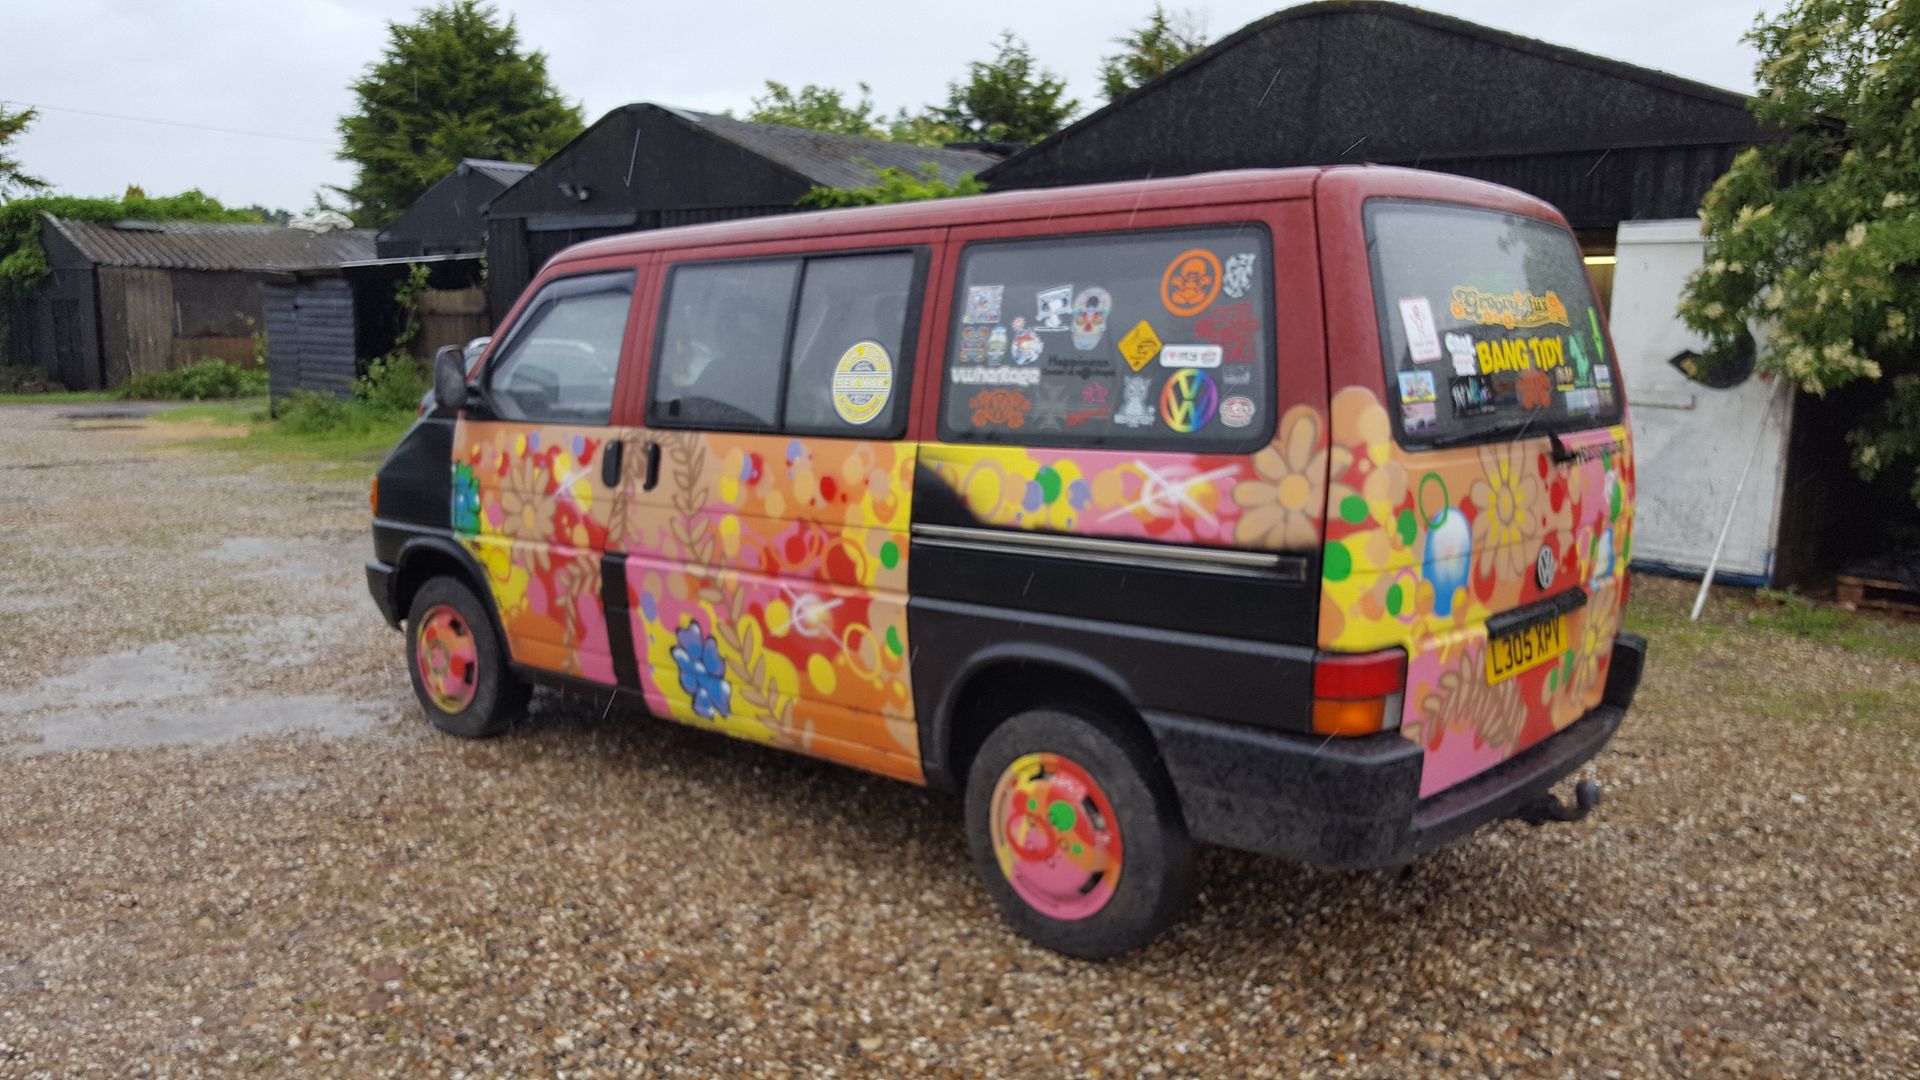

and he got it graffiti'd up this week. he's not shy of being noticed LMAO
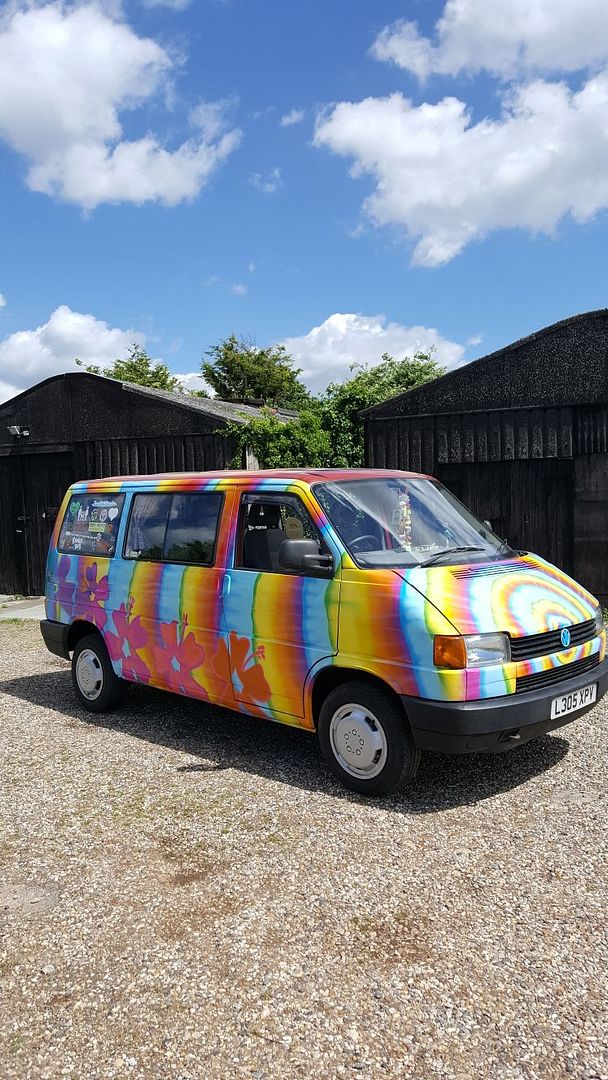

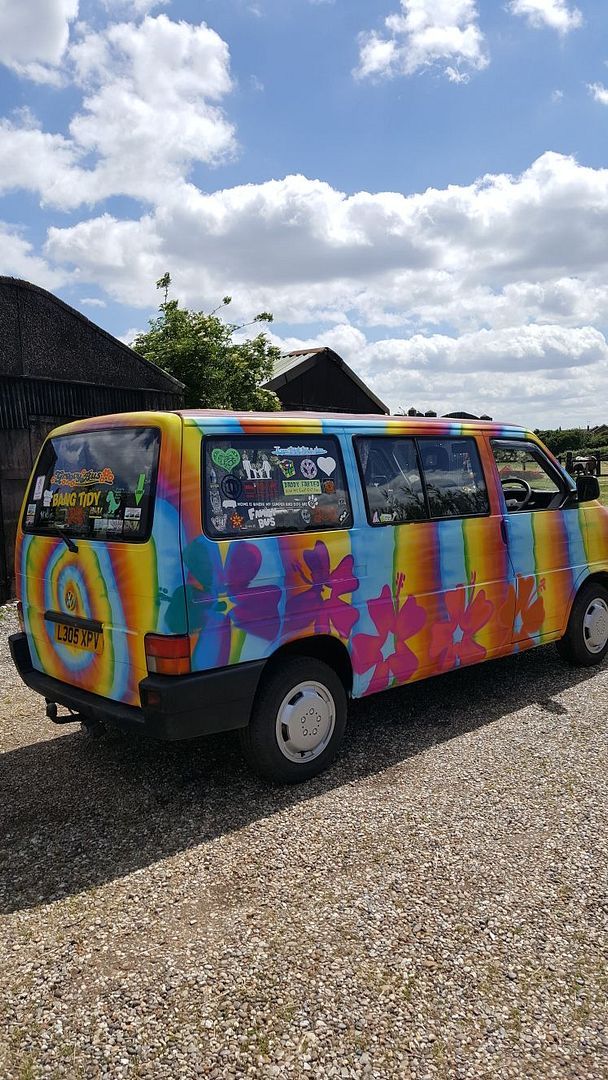
so that is out of the unit and it back to playing kit cars 
I have been browsing gearboxes on eBay and forums over the last few weeks. I decided to keep it ford and go with a type 9 as i really do want to try
and get a sierra age relate plate when I go for the IVA. it may all change in the future as i do like the look of the mazda boxes, or even dropping
the ratios in the type 9, but this will be the starting point. I spotted this one on eBay and came to a deal.
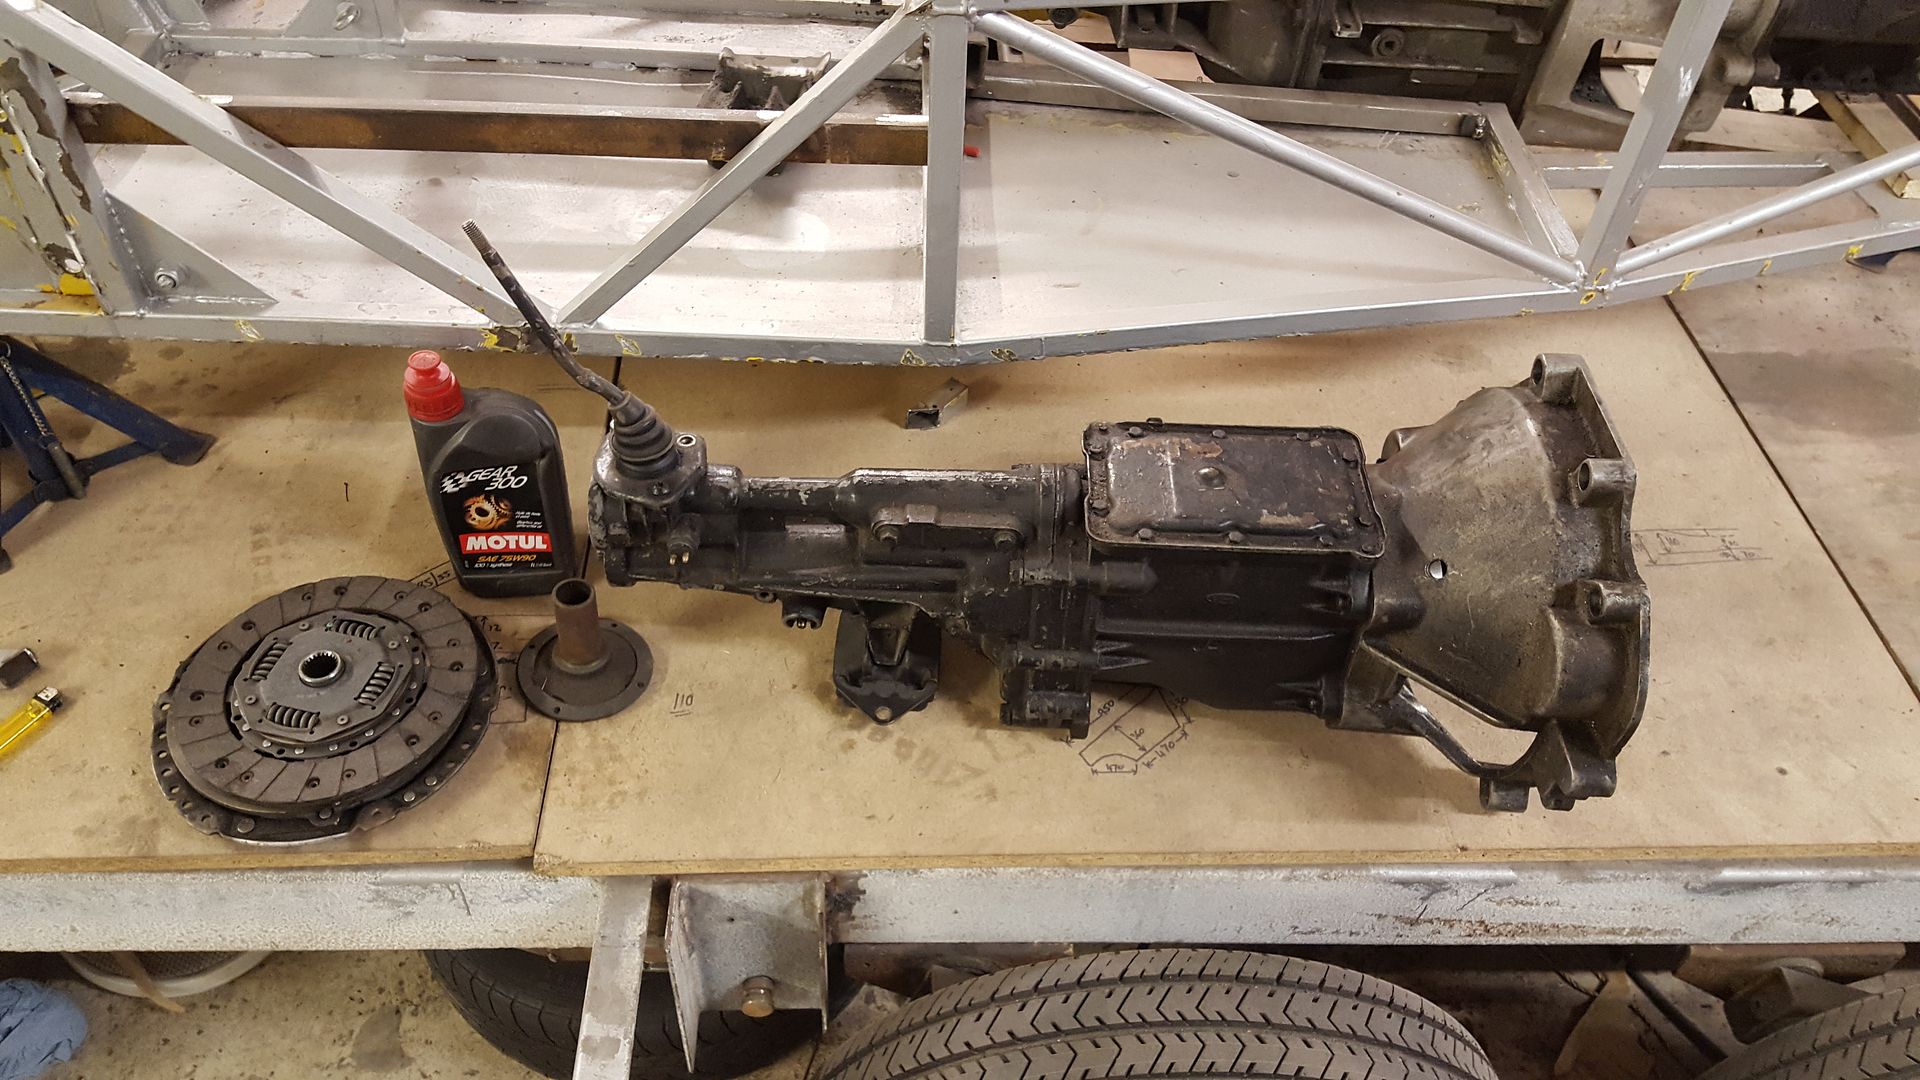
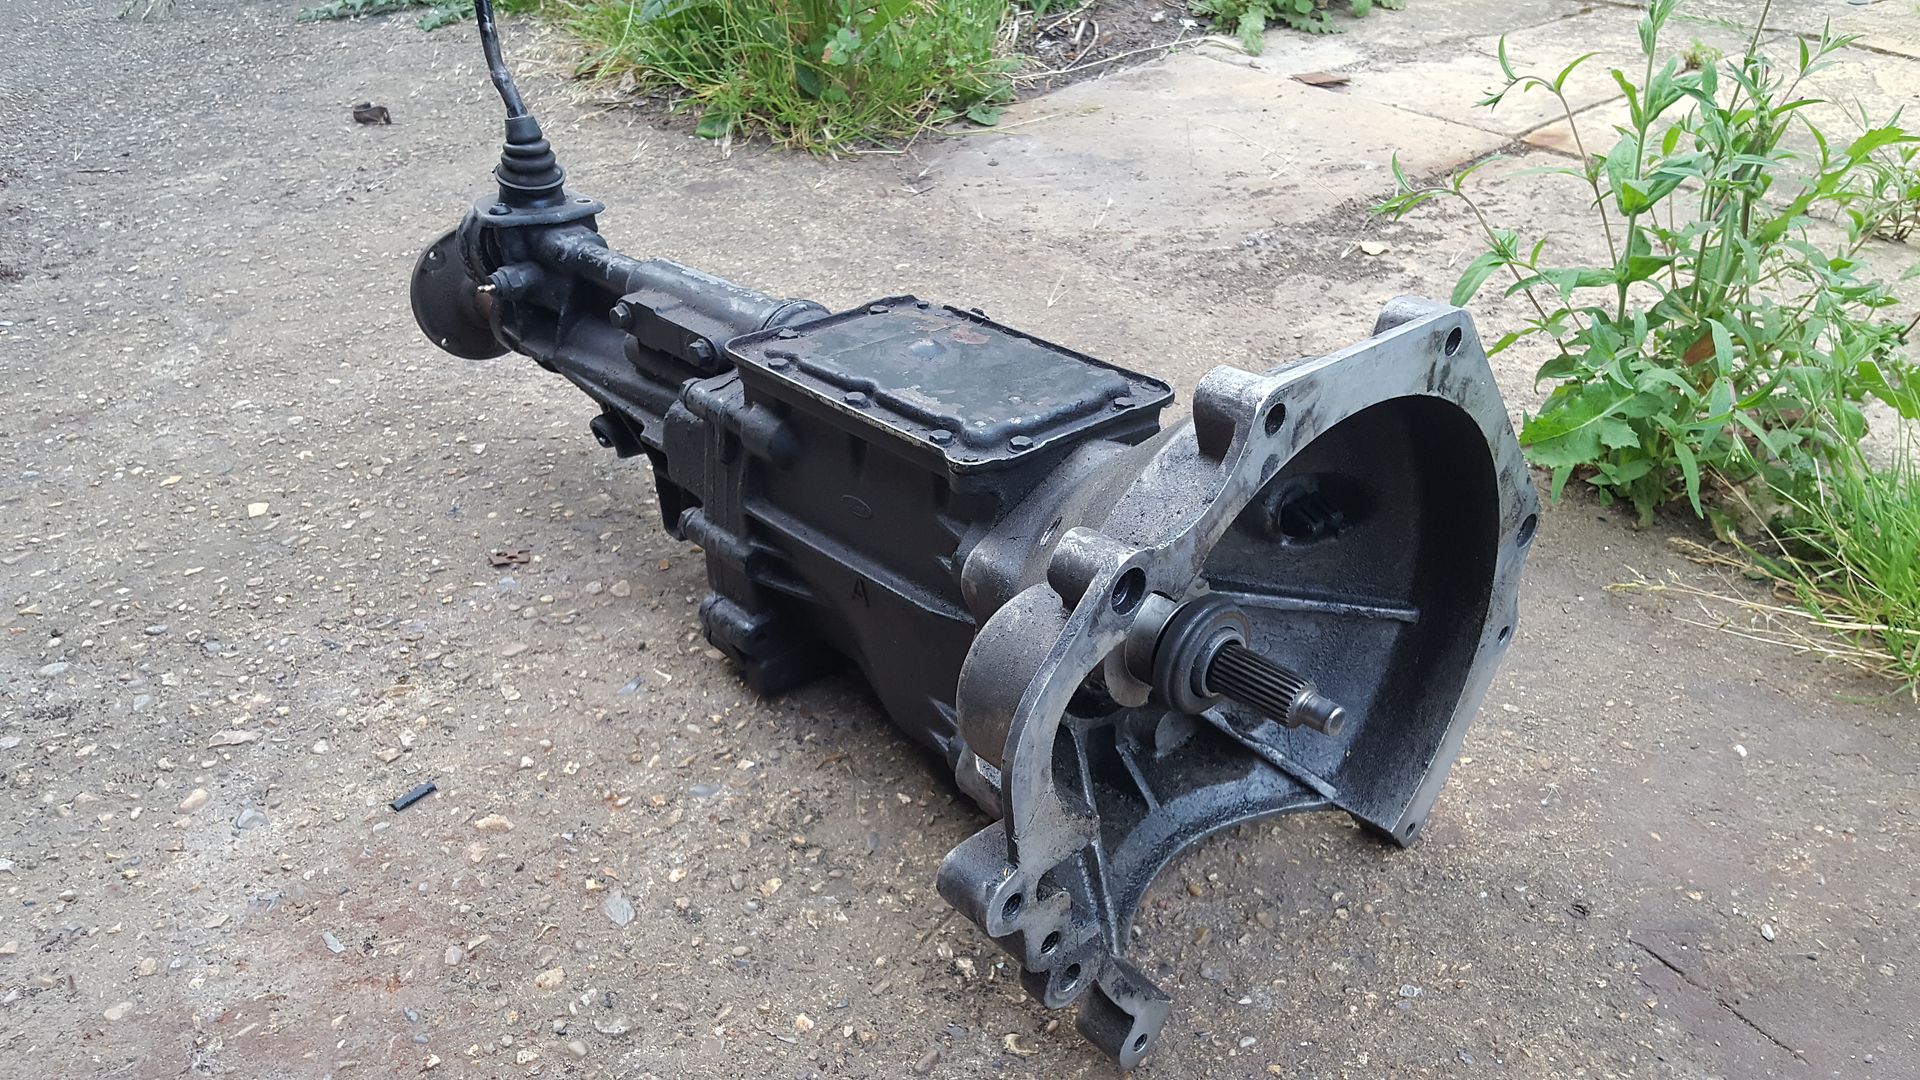
It's a V6 type 9 gearbox that's been modified to fit a 4 cylinder. usually the V6 variant of the gearbox can't be used due to the
fact they have a longer input shaft suited for a much deeper bellhousing compared to the 4cylinder. this one has had the input shaft machined down to
the same dimensions as a 4 cylinder one, and has the C20XE conversion bellhousing. it has a hydraulic clutch release bearing (favoured over the
external hydraulic clutch lever that's on the car) and came with a mix of vauxhall and ford clutch plates for the conversion to all work. I
think he said the friction plate is ford galaxy. it has a modified gearstick to move the lever further back (will see if I keep this or do the
original plan of the relocator) and an uprated rear mount. The advantage with it being a V6 gearbox (it seems) is they have a better ratio in 1st than
the 4cylinder of 3.36:1 compared to the 3.65:1. if it makes a great deal of difference I don't know, but it's better. it's been in a
haynes roadster for the last 2000 miles so the configuration all works well together.
I paid £400 for the lot and he chucked in a bottle of fluid too 
next step will be to get the T5 out cleaned up and sold and this will bolt straight in.
there's quite a size difference :lol:
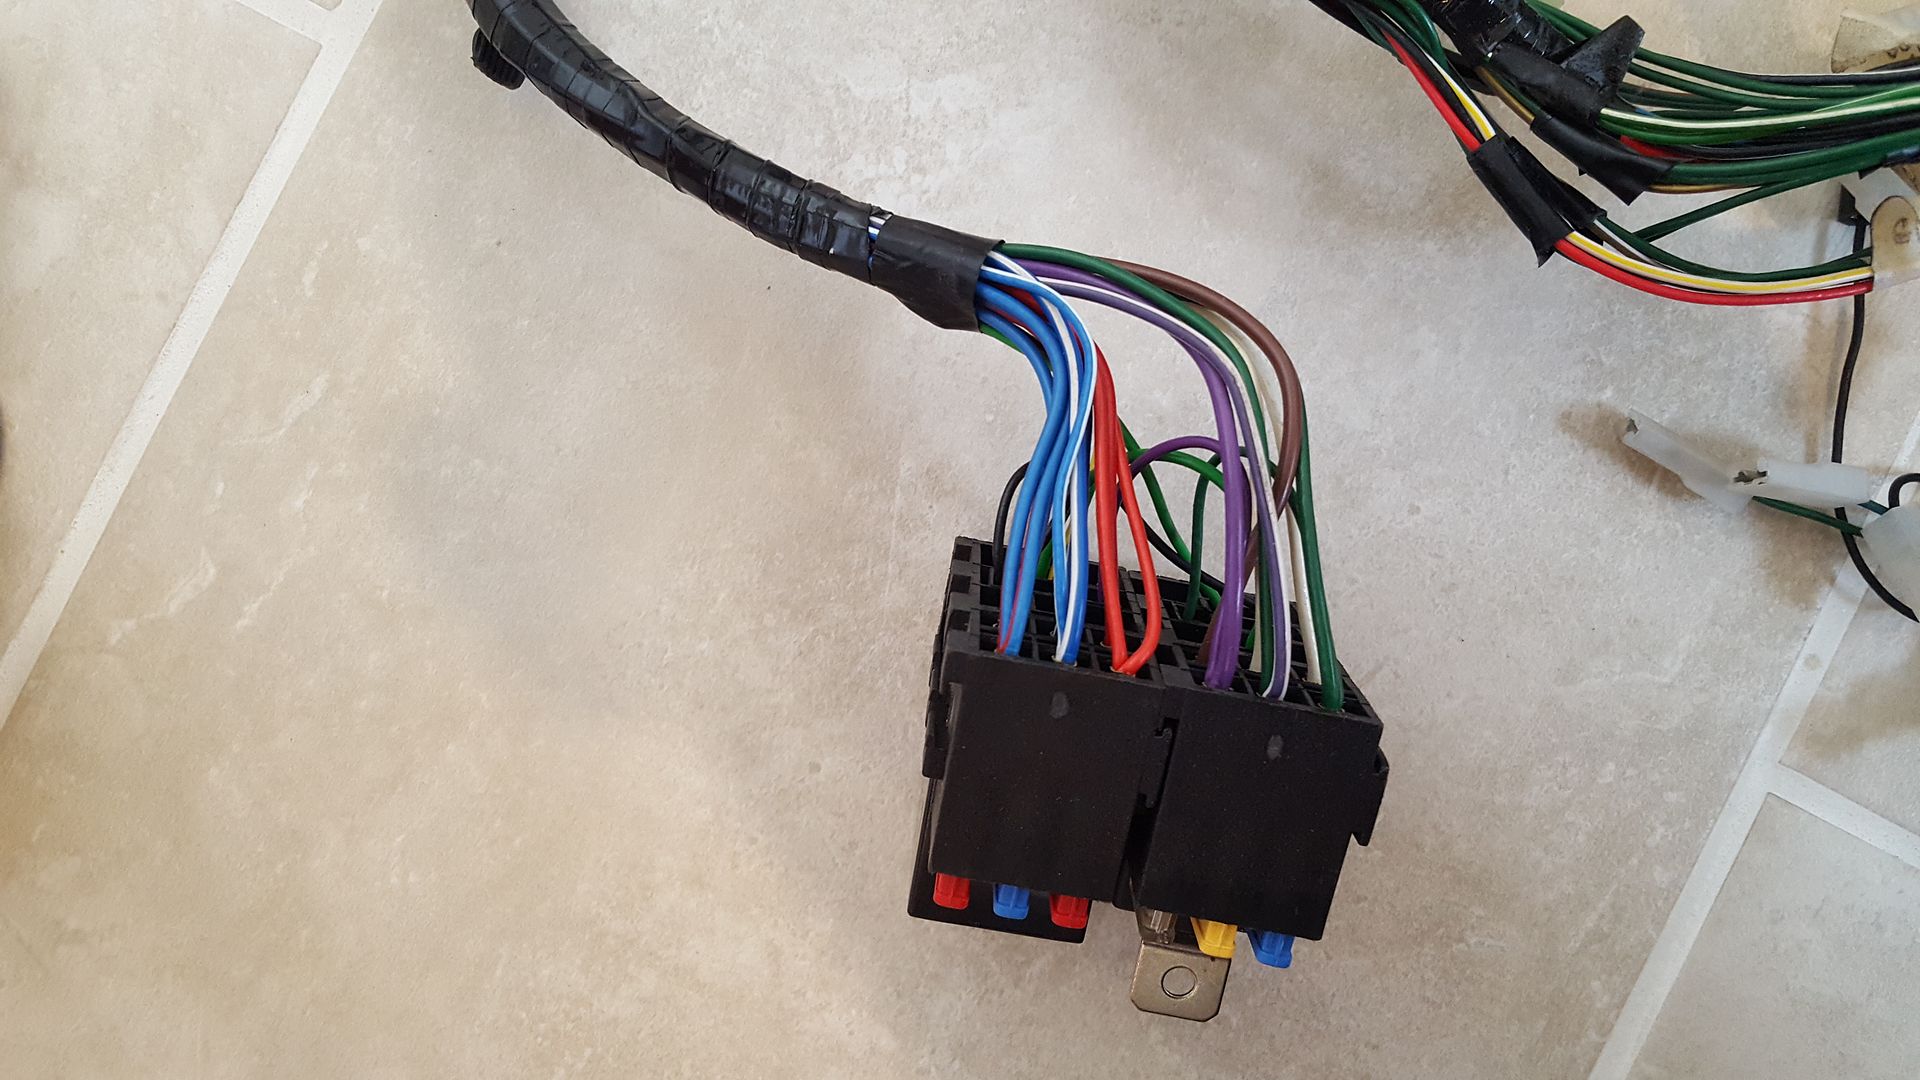
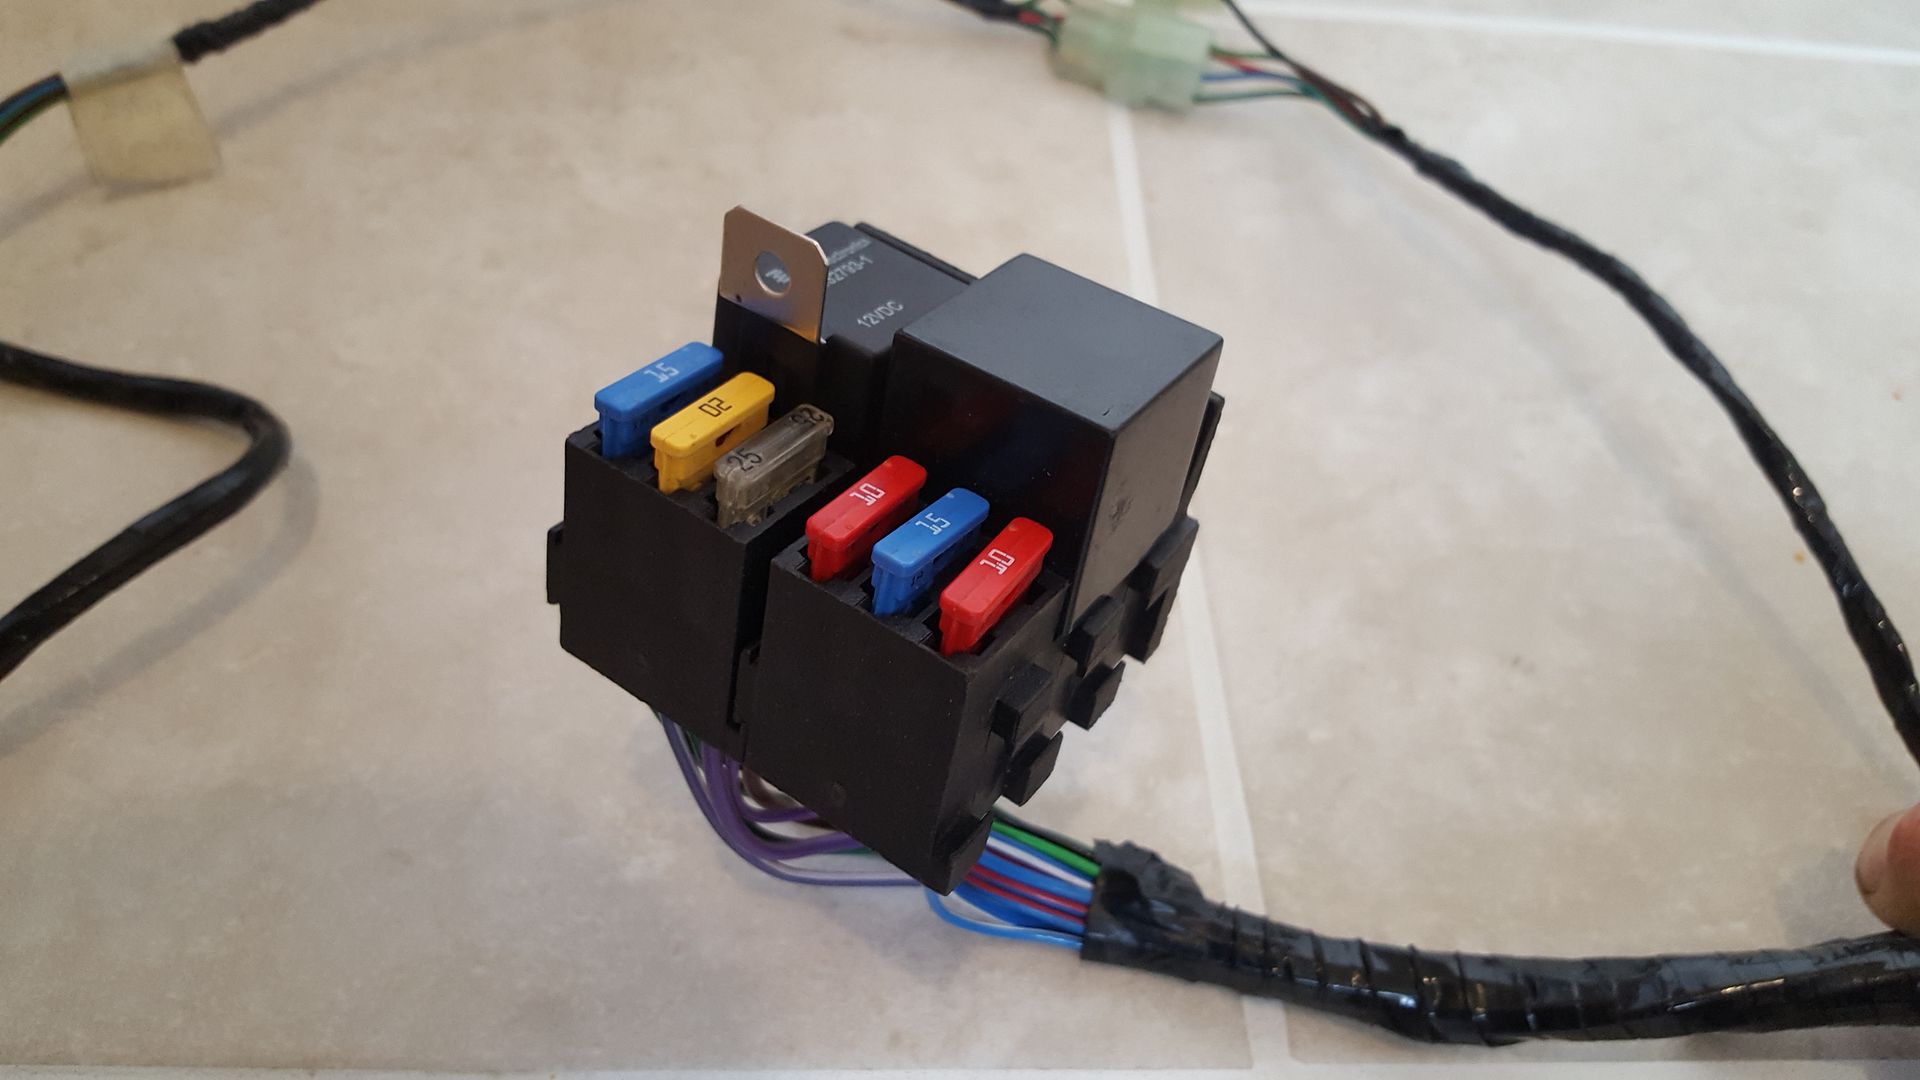
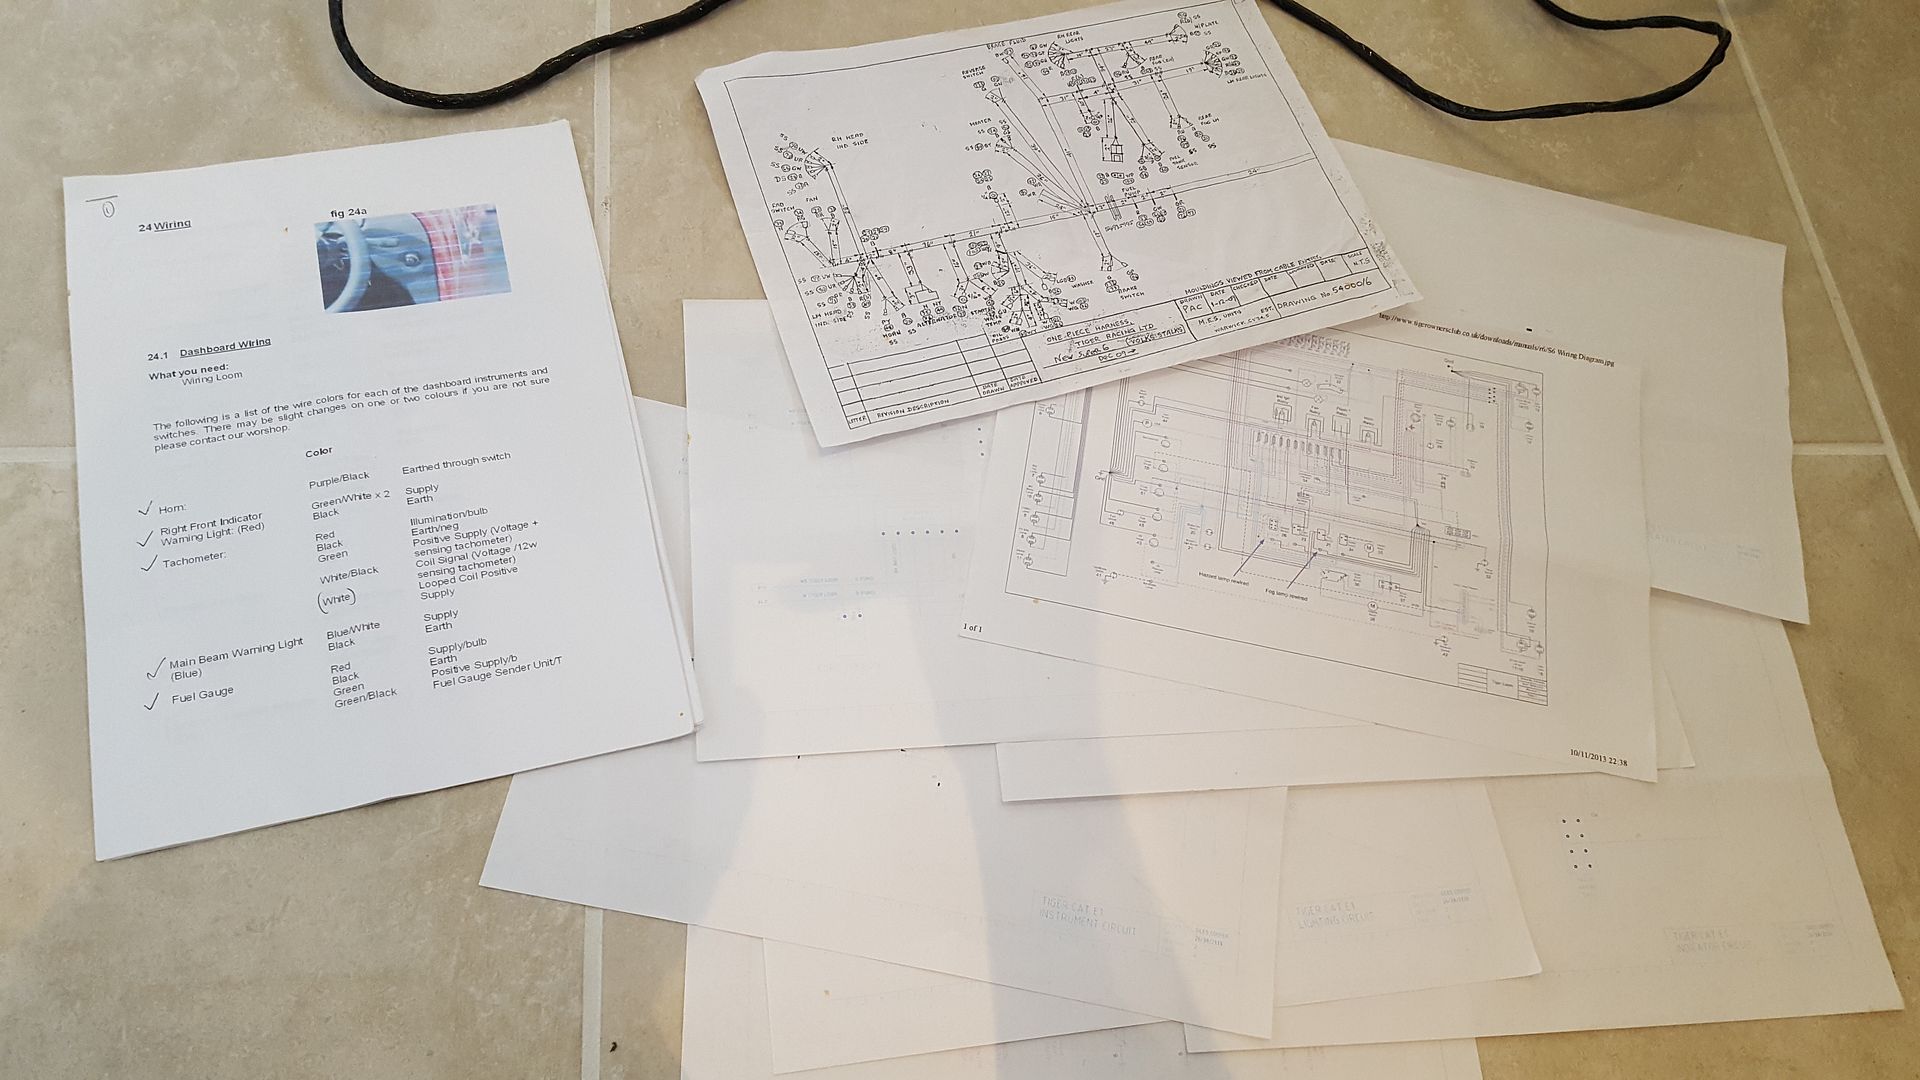
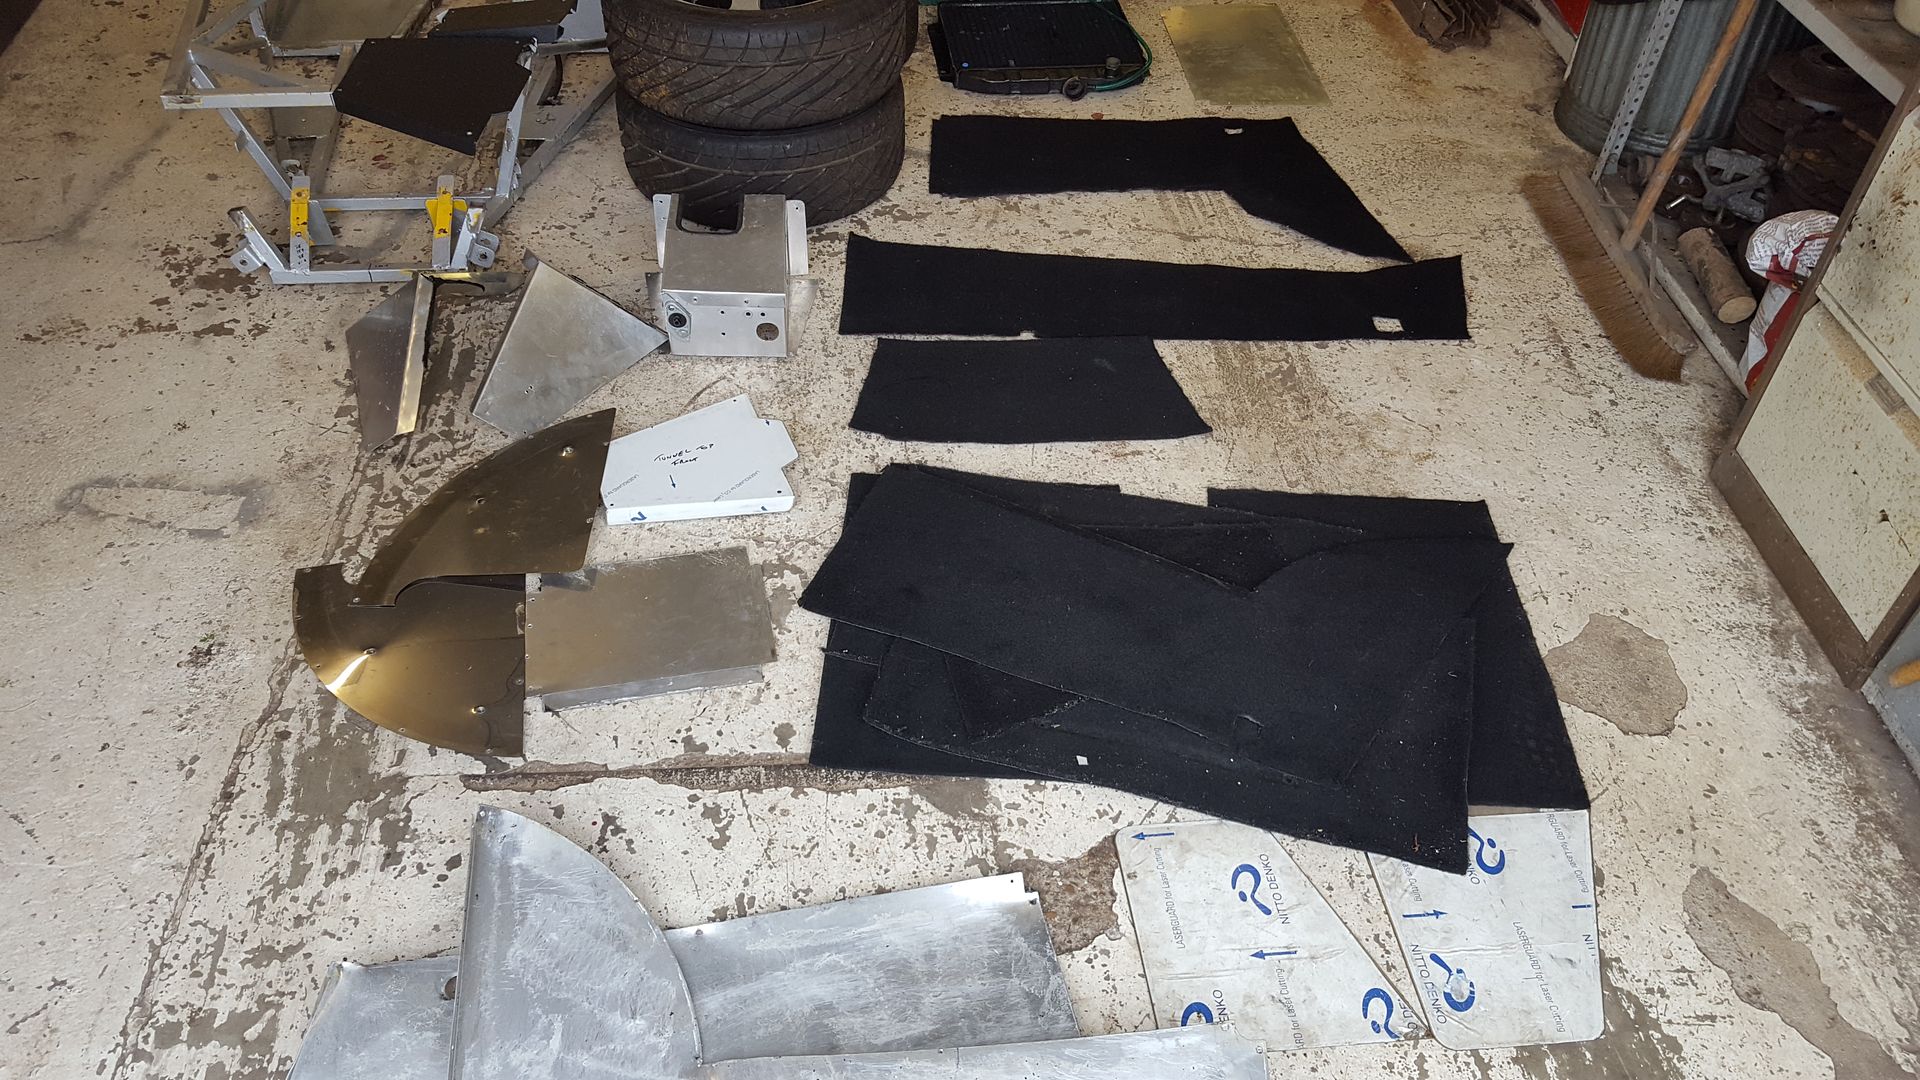
made some other purchases, I spotted a full brand new seven'esqe type loom (suposedly a Tiger) for sale on locost builders so came to a deal. I
was going to make my own loom from scratch, vehicle electrics is a bit of a speciality of mine, but this came up for £100 delivered and I would have
easily spent that on parts. I'm sure some bits will need modifying but it's a start, its very nicely made and has everything, lights,
indicators, horn, fan, fuel pump, dash, switches, charging, starting, even has wipers.
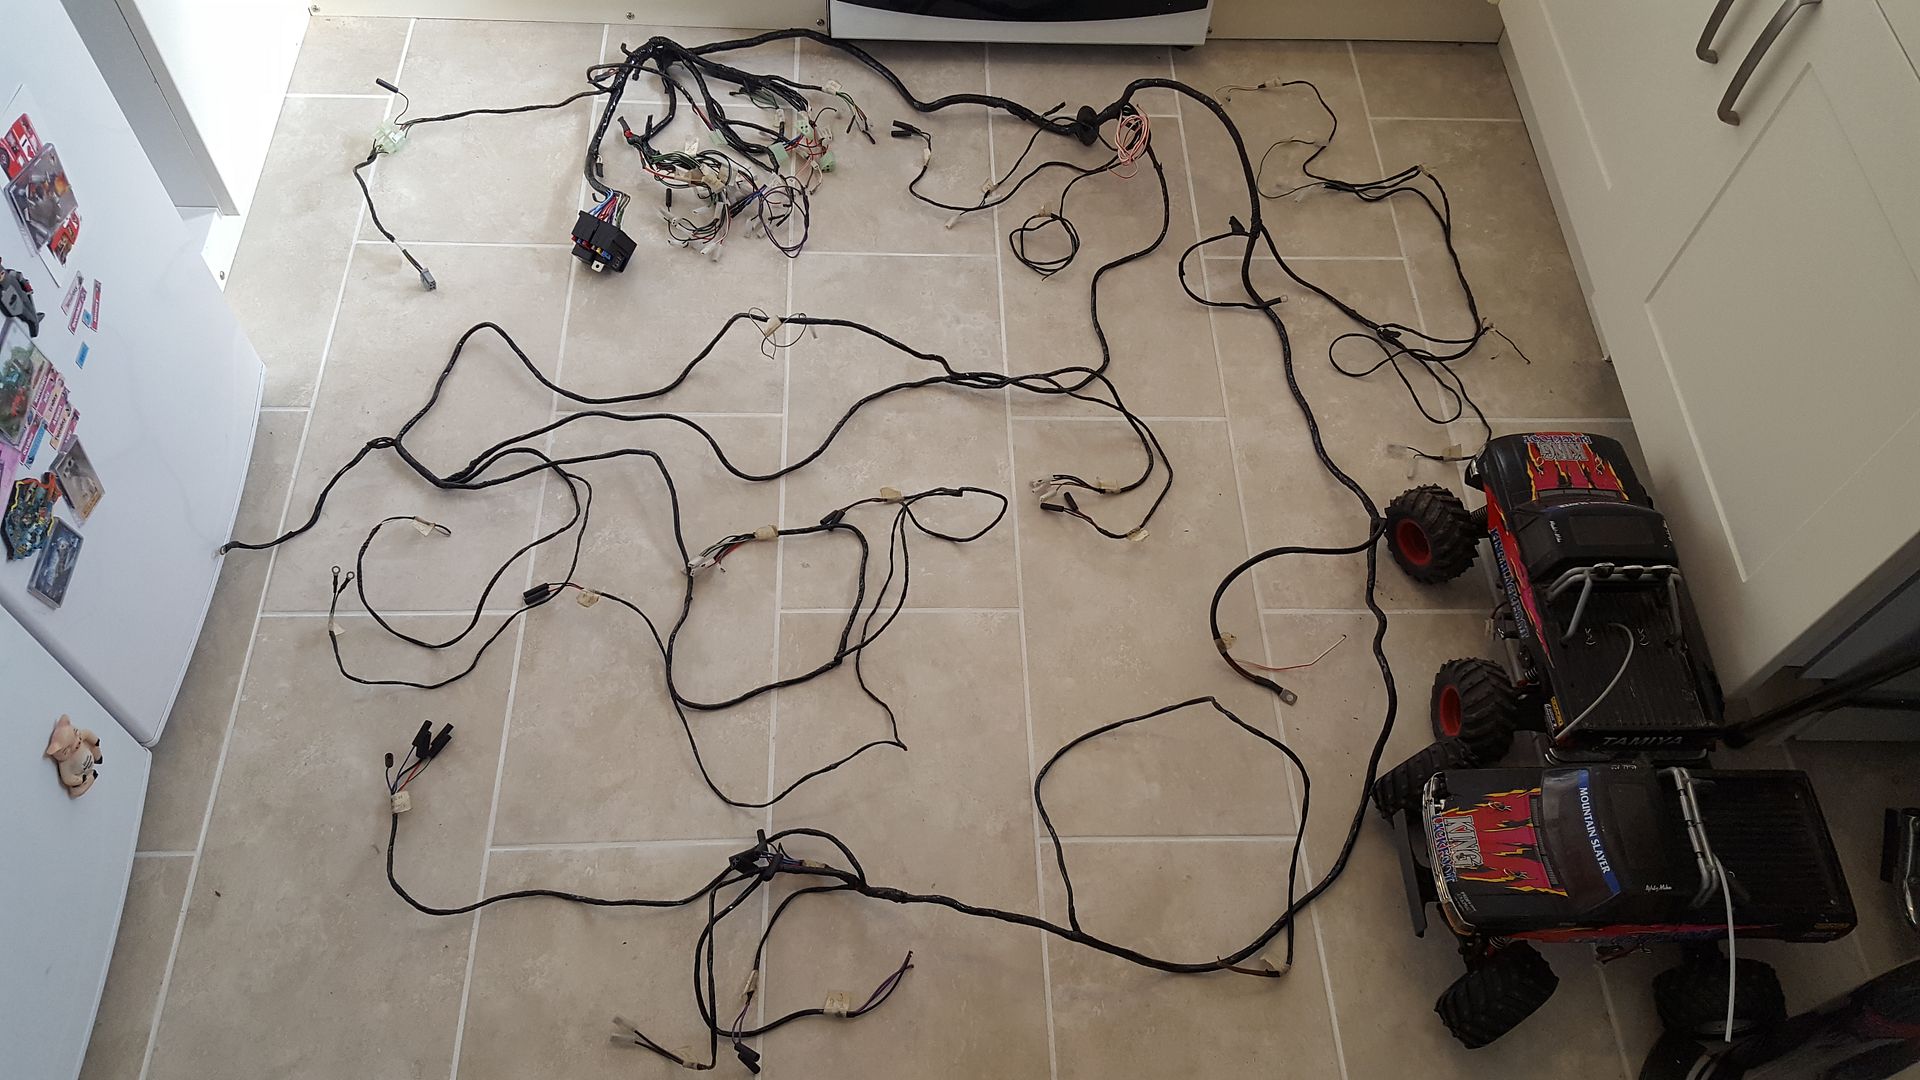

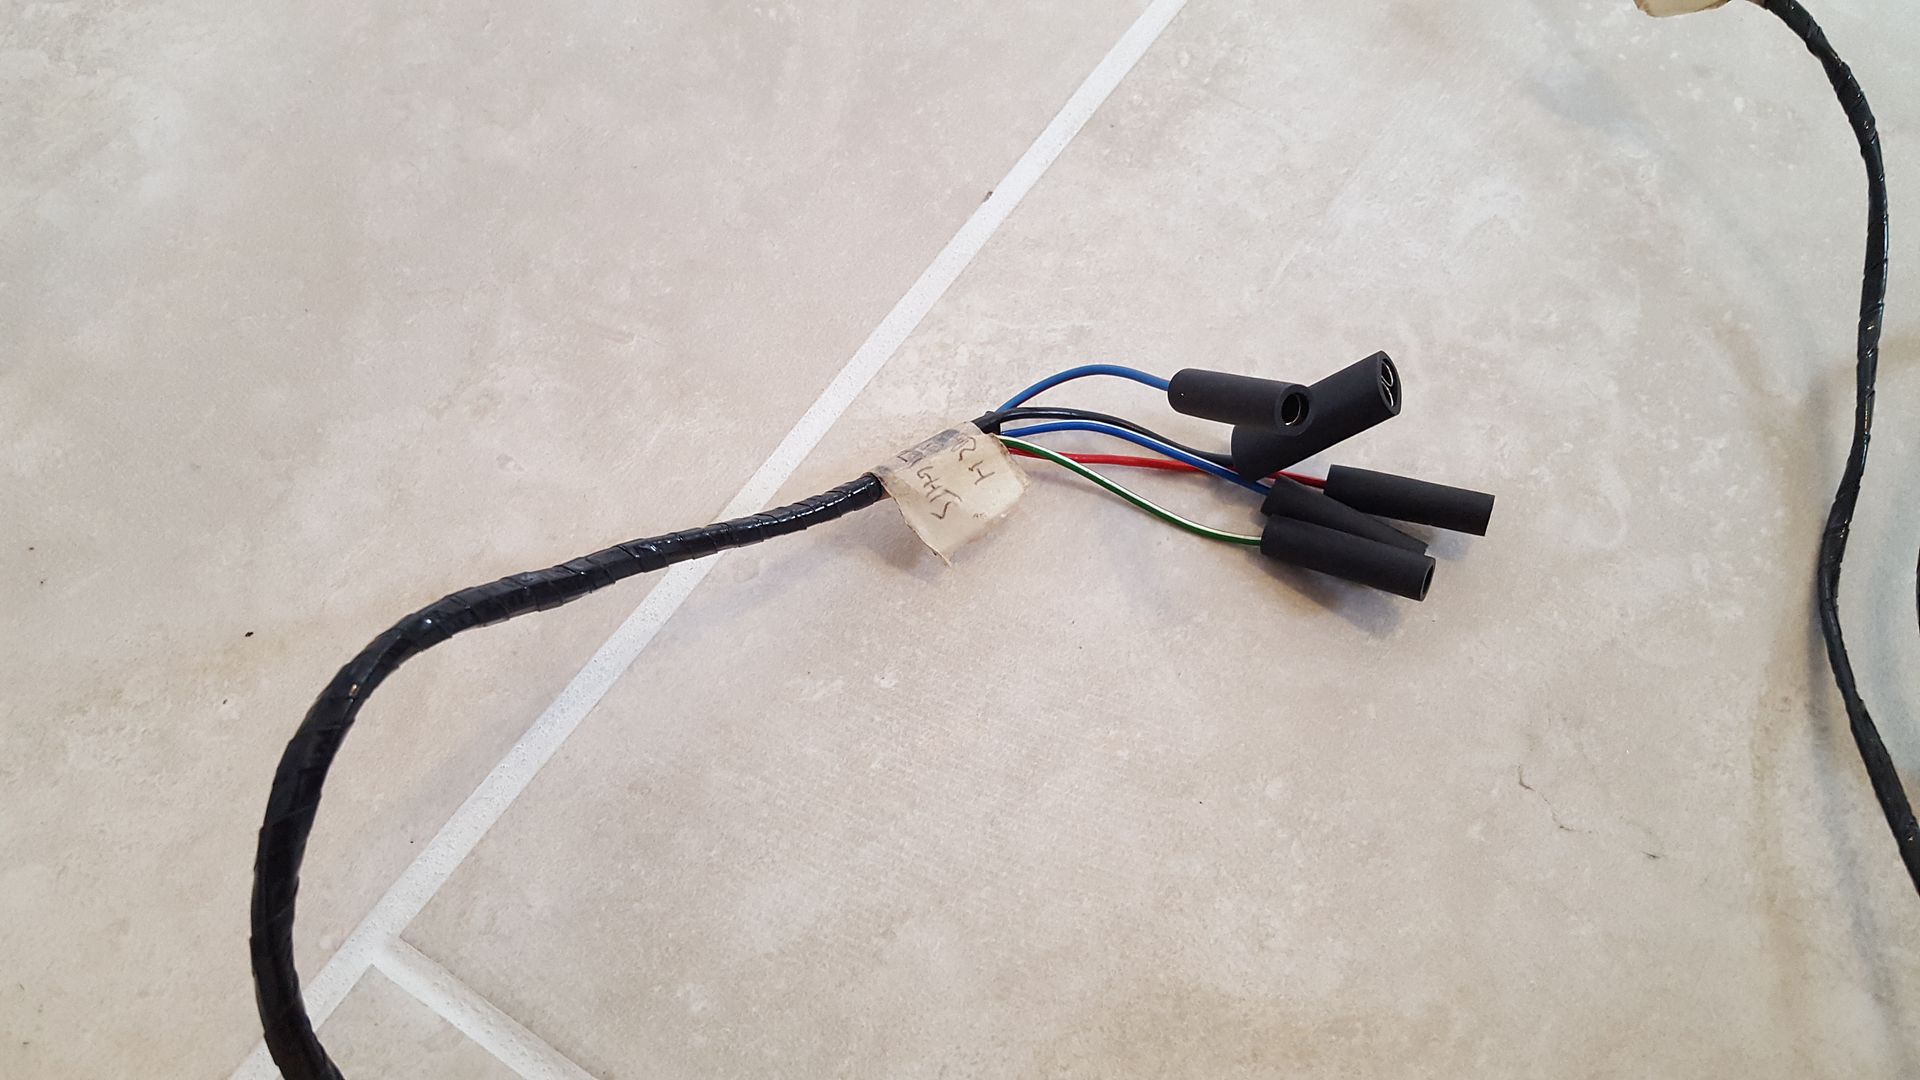
these must be for some marques indicator wiper stalks
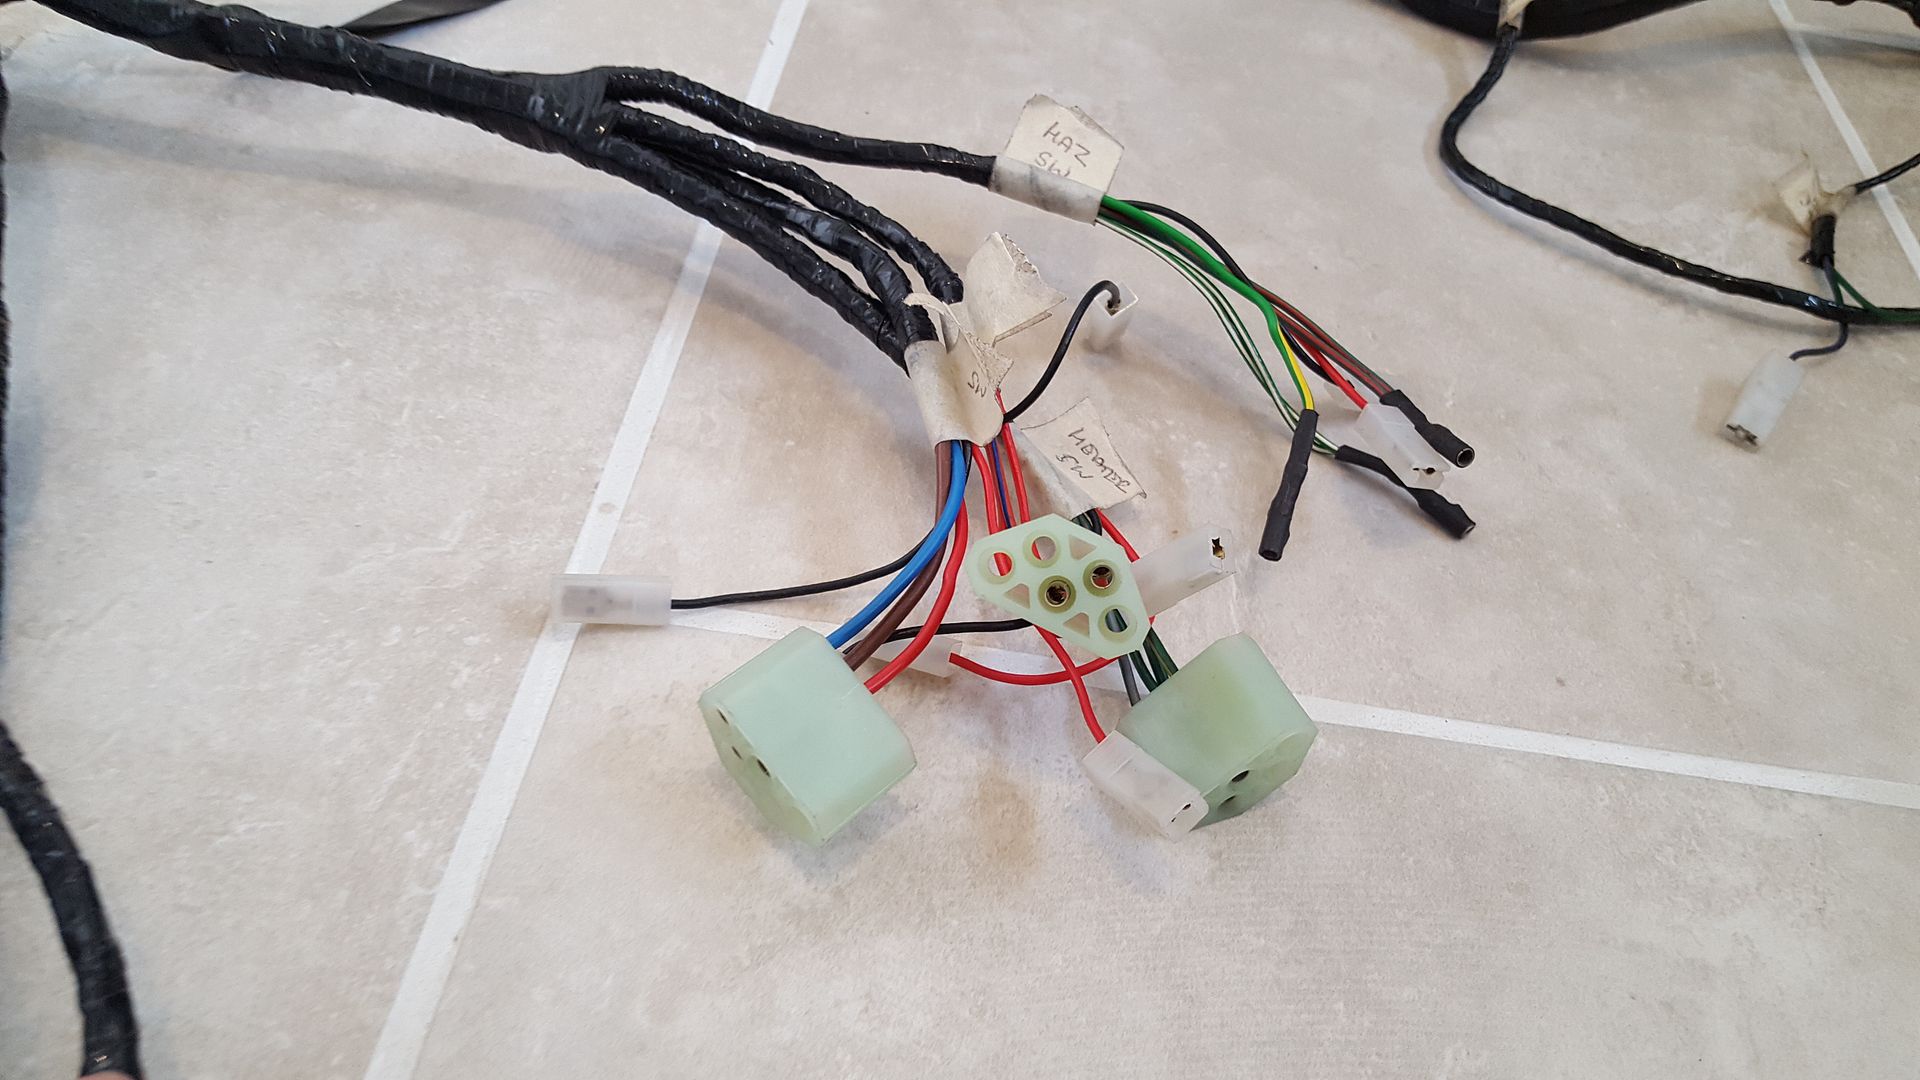
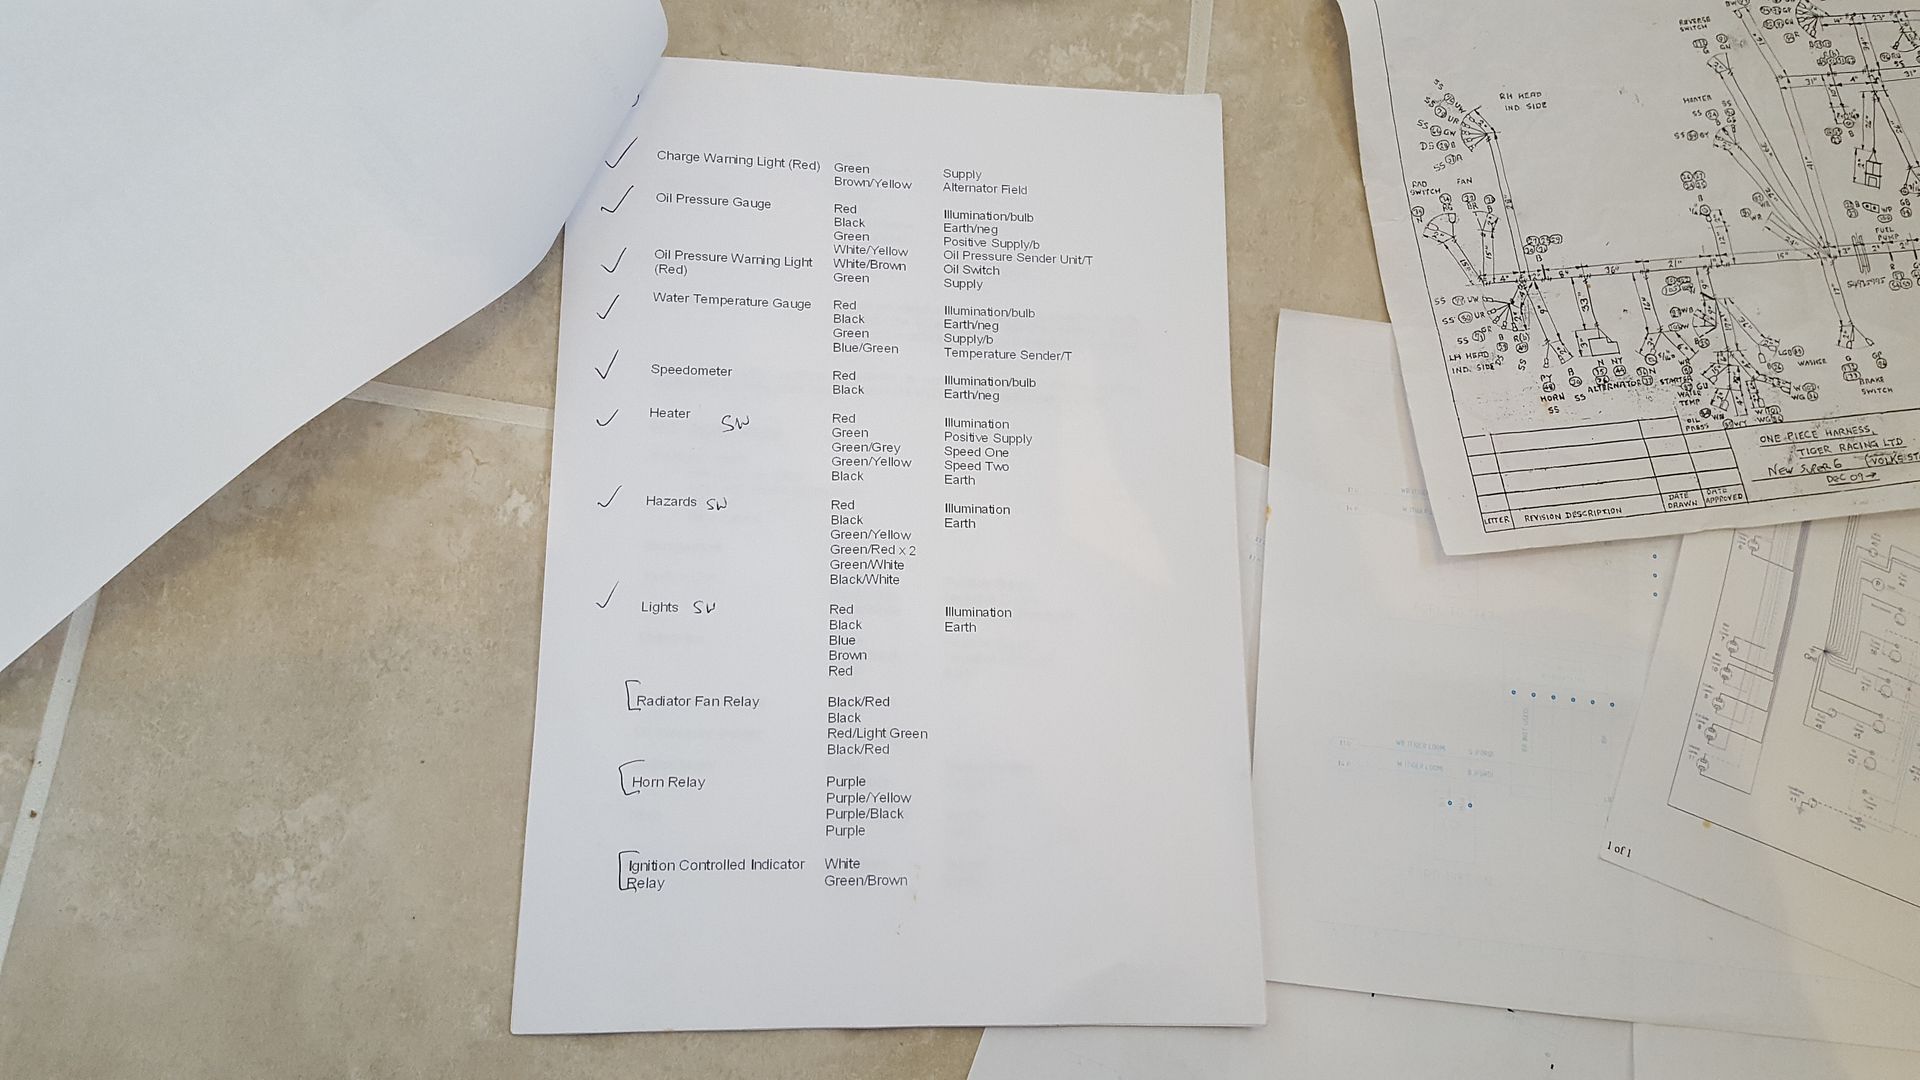
came with all the wiring diagrams too which is super helpful!
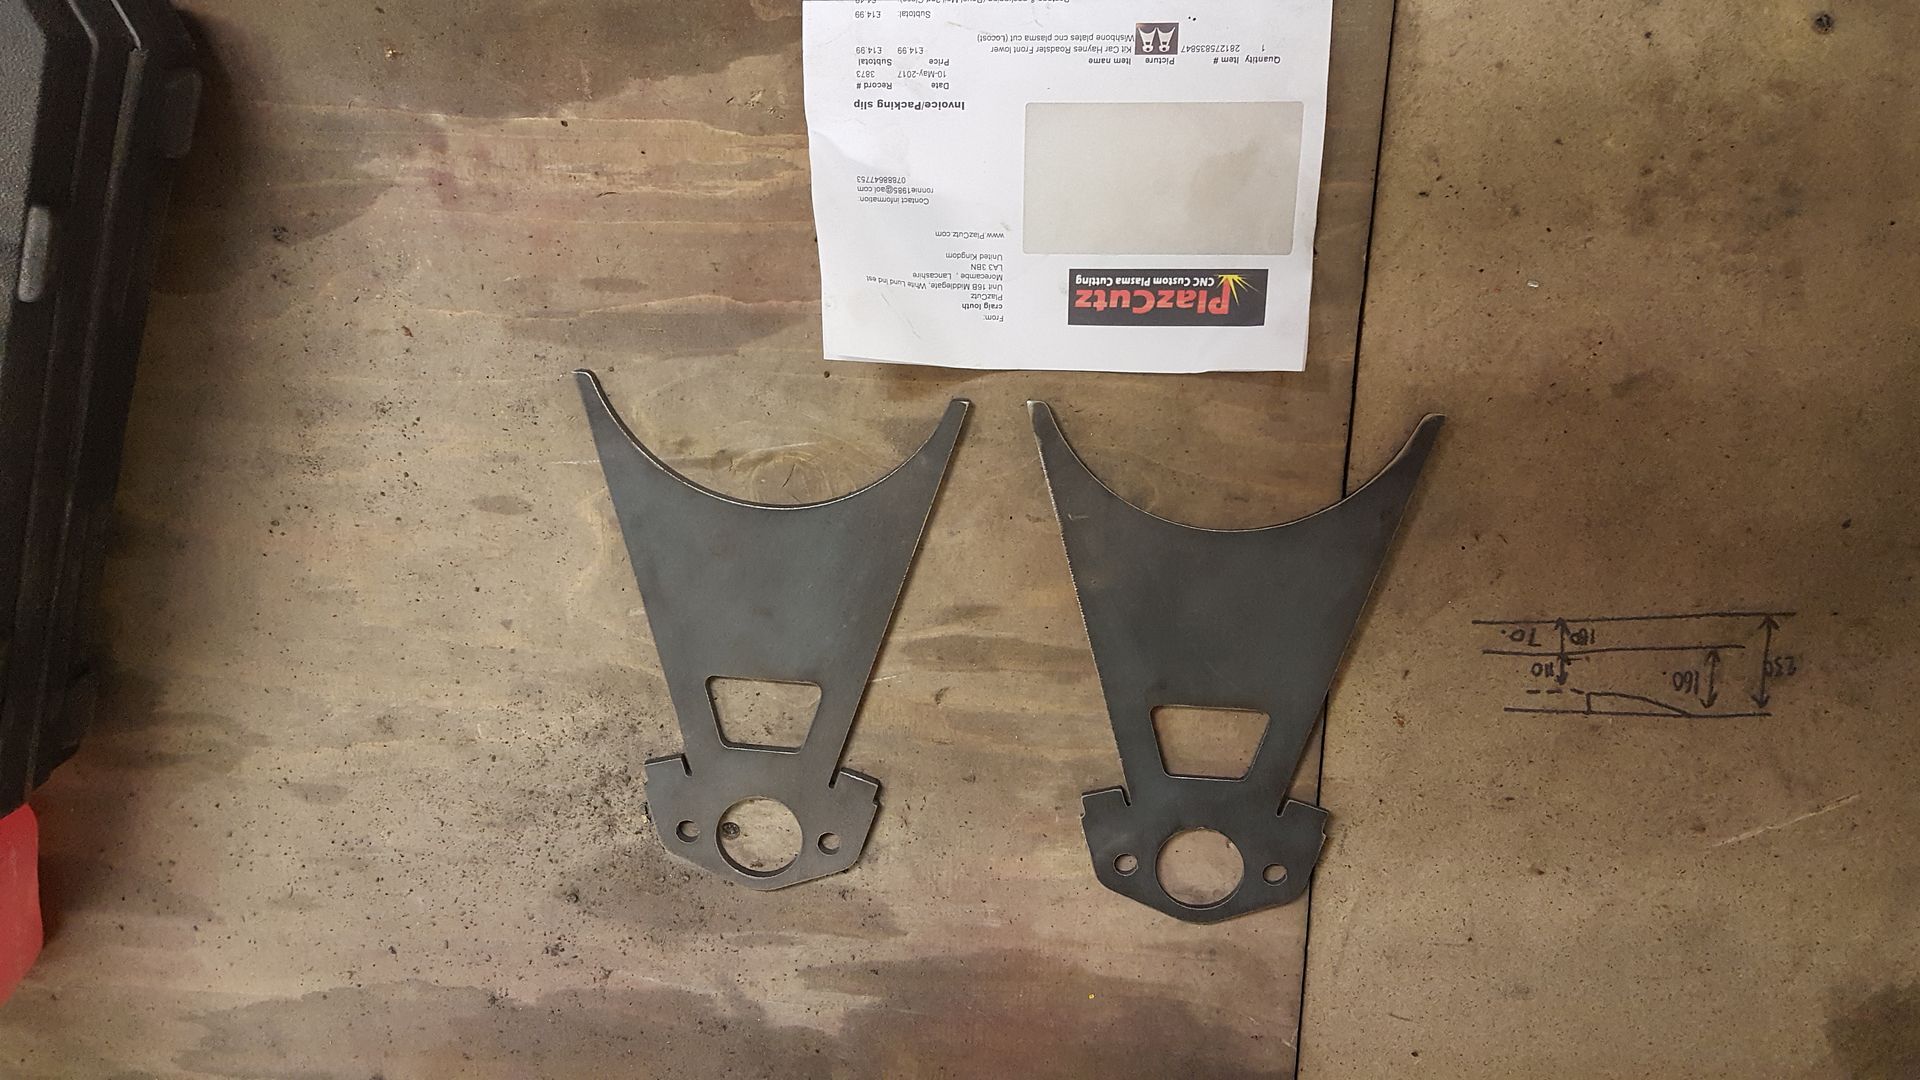
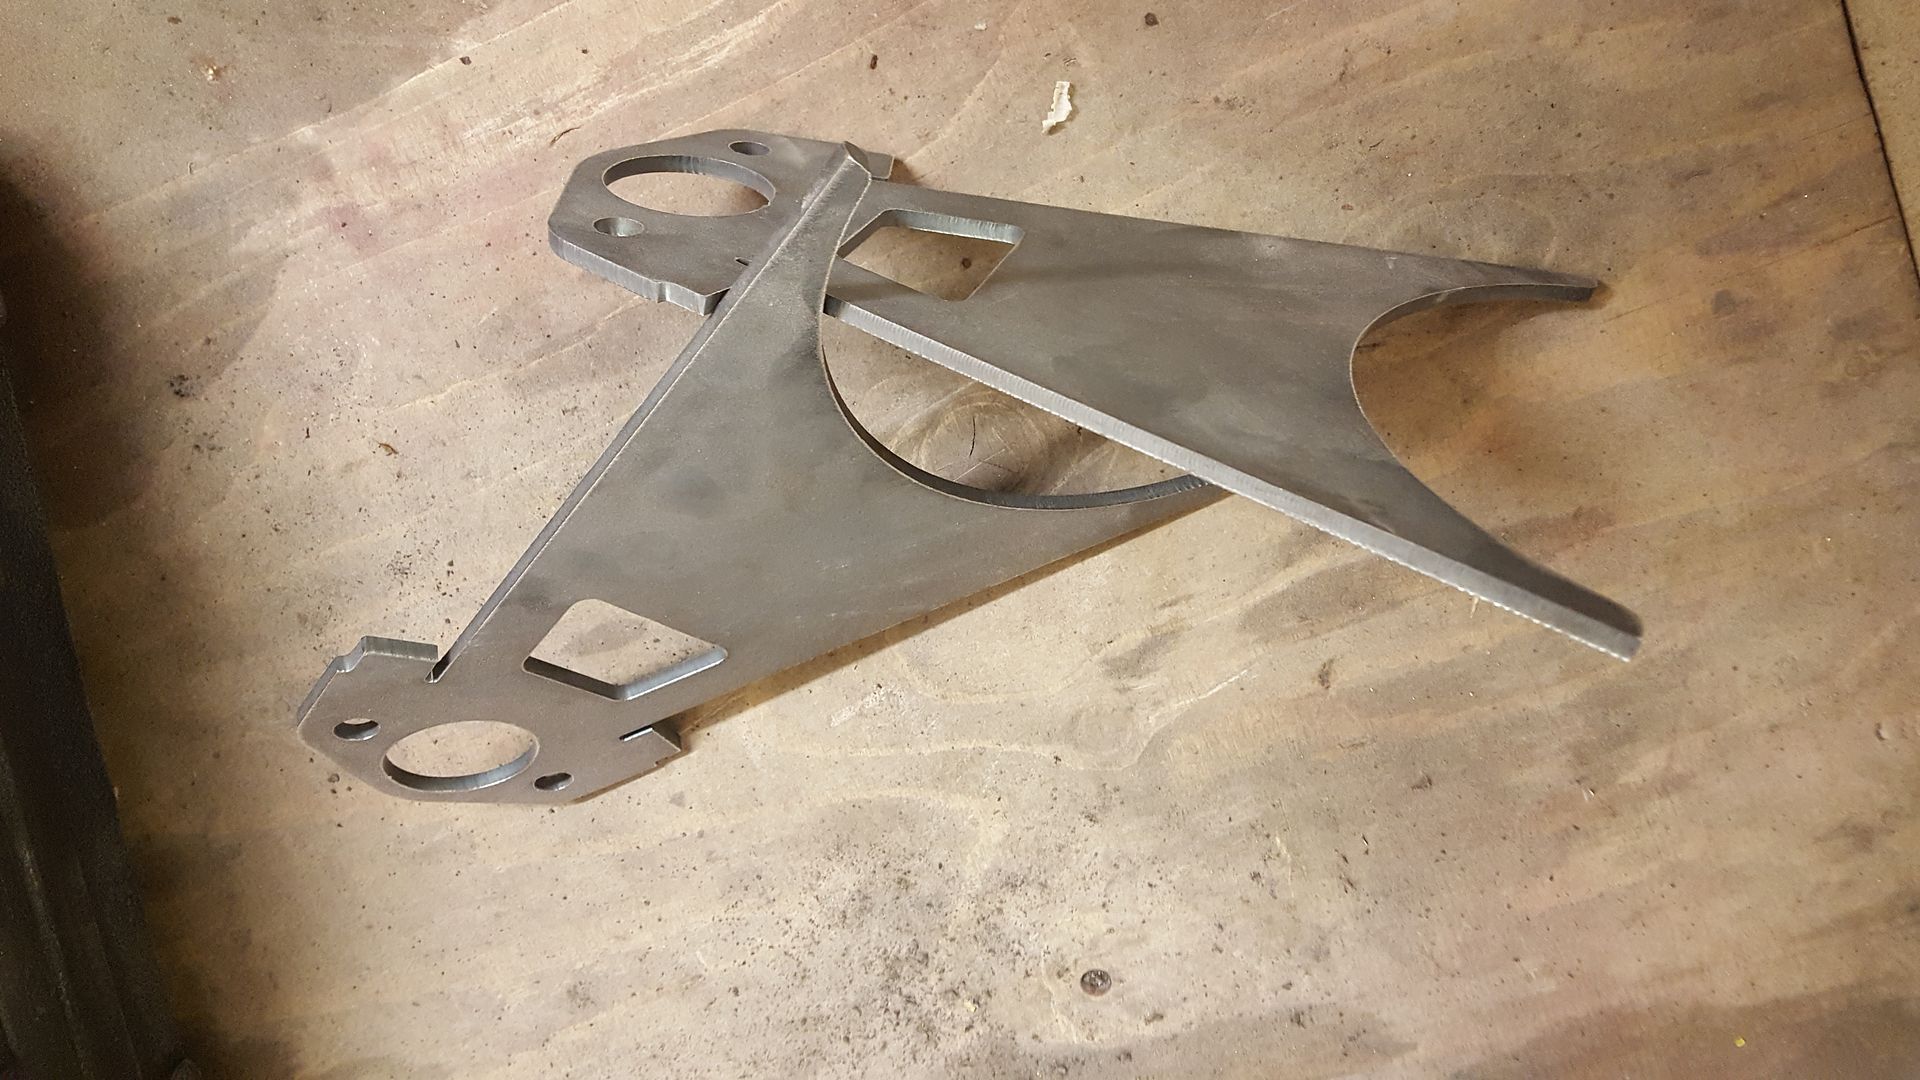
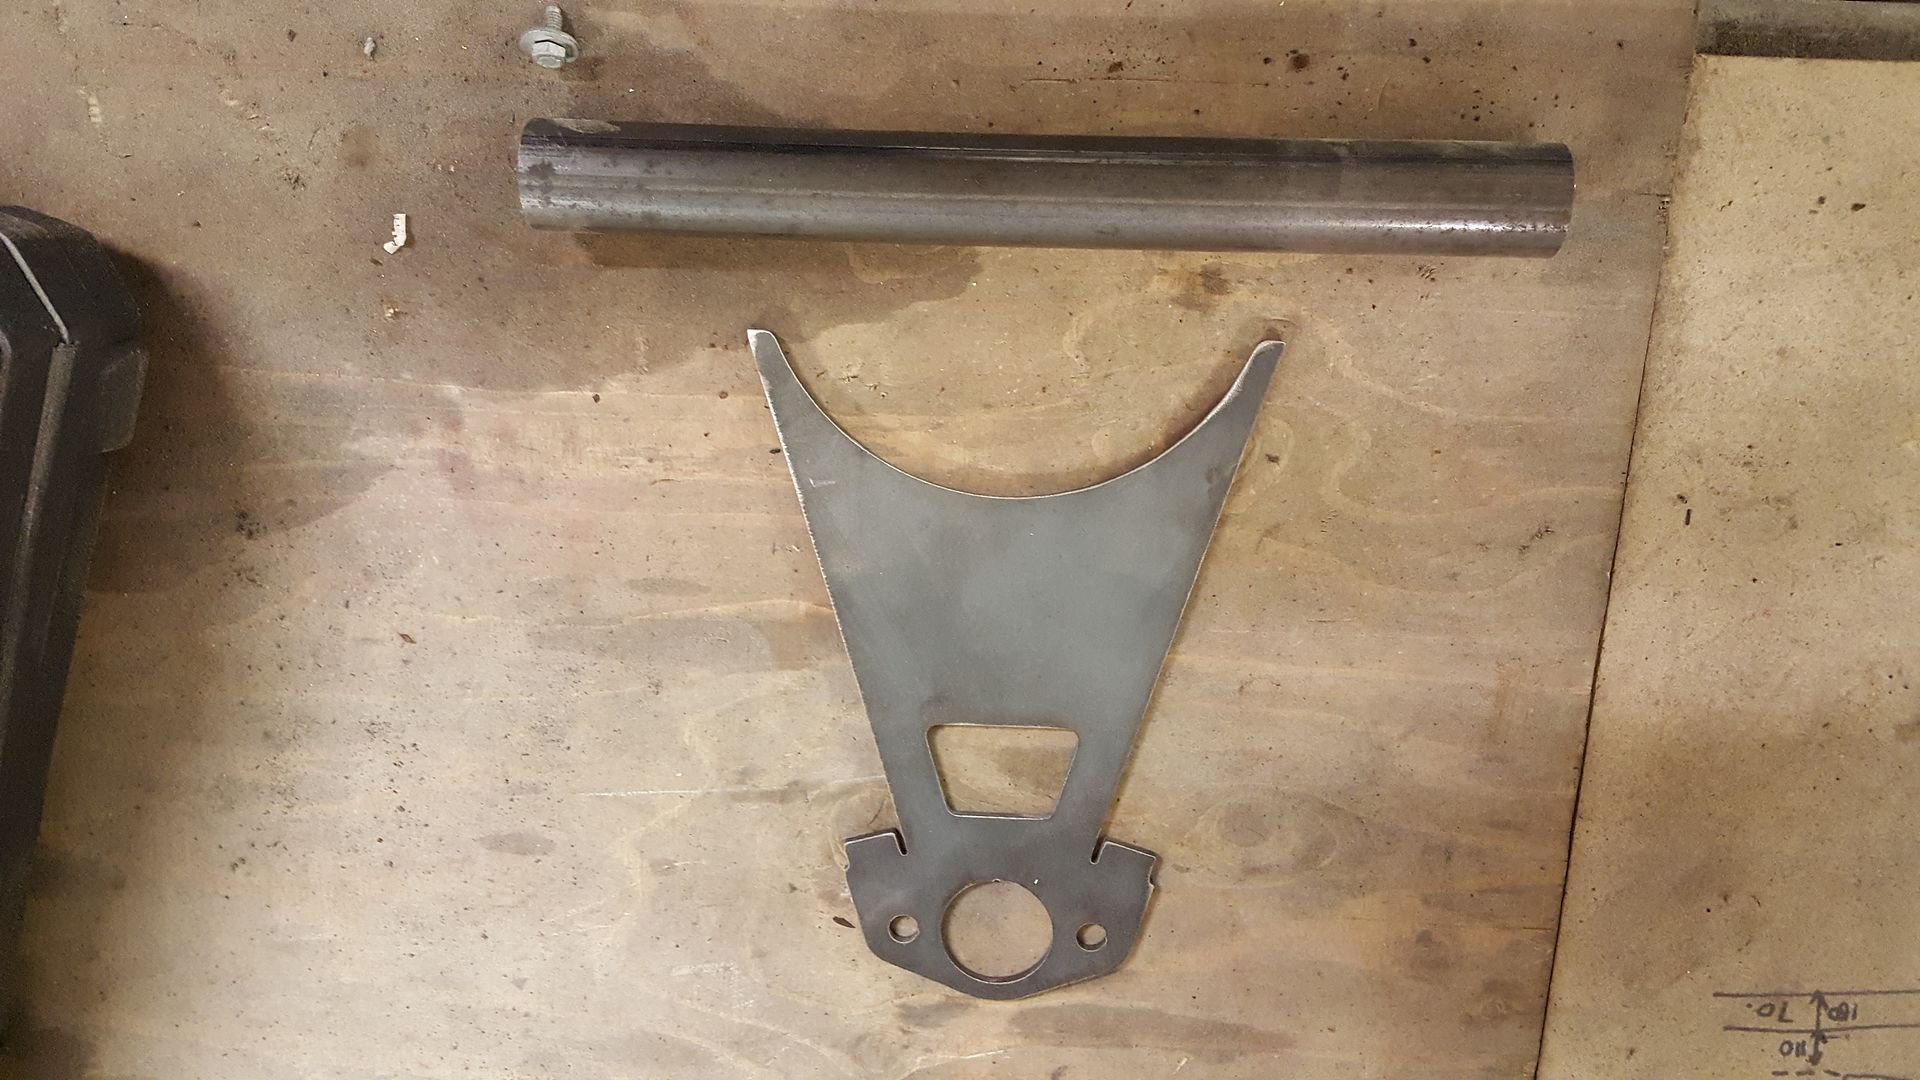
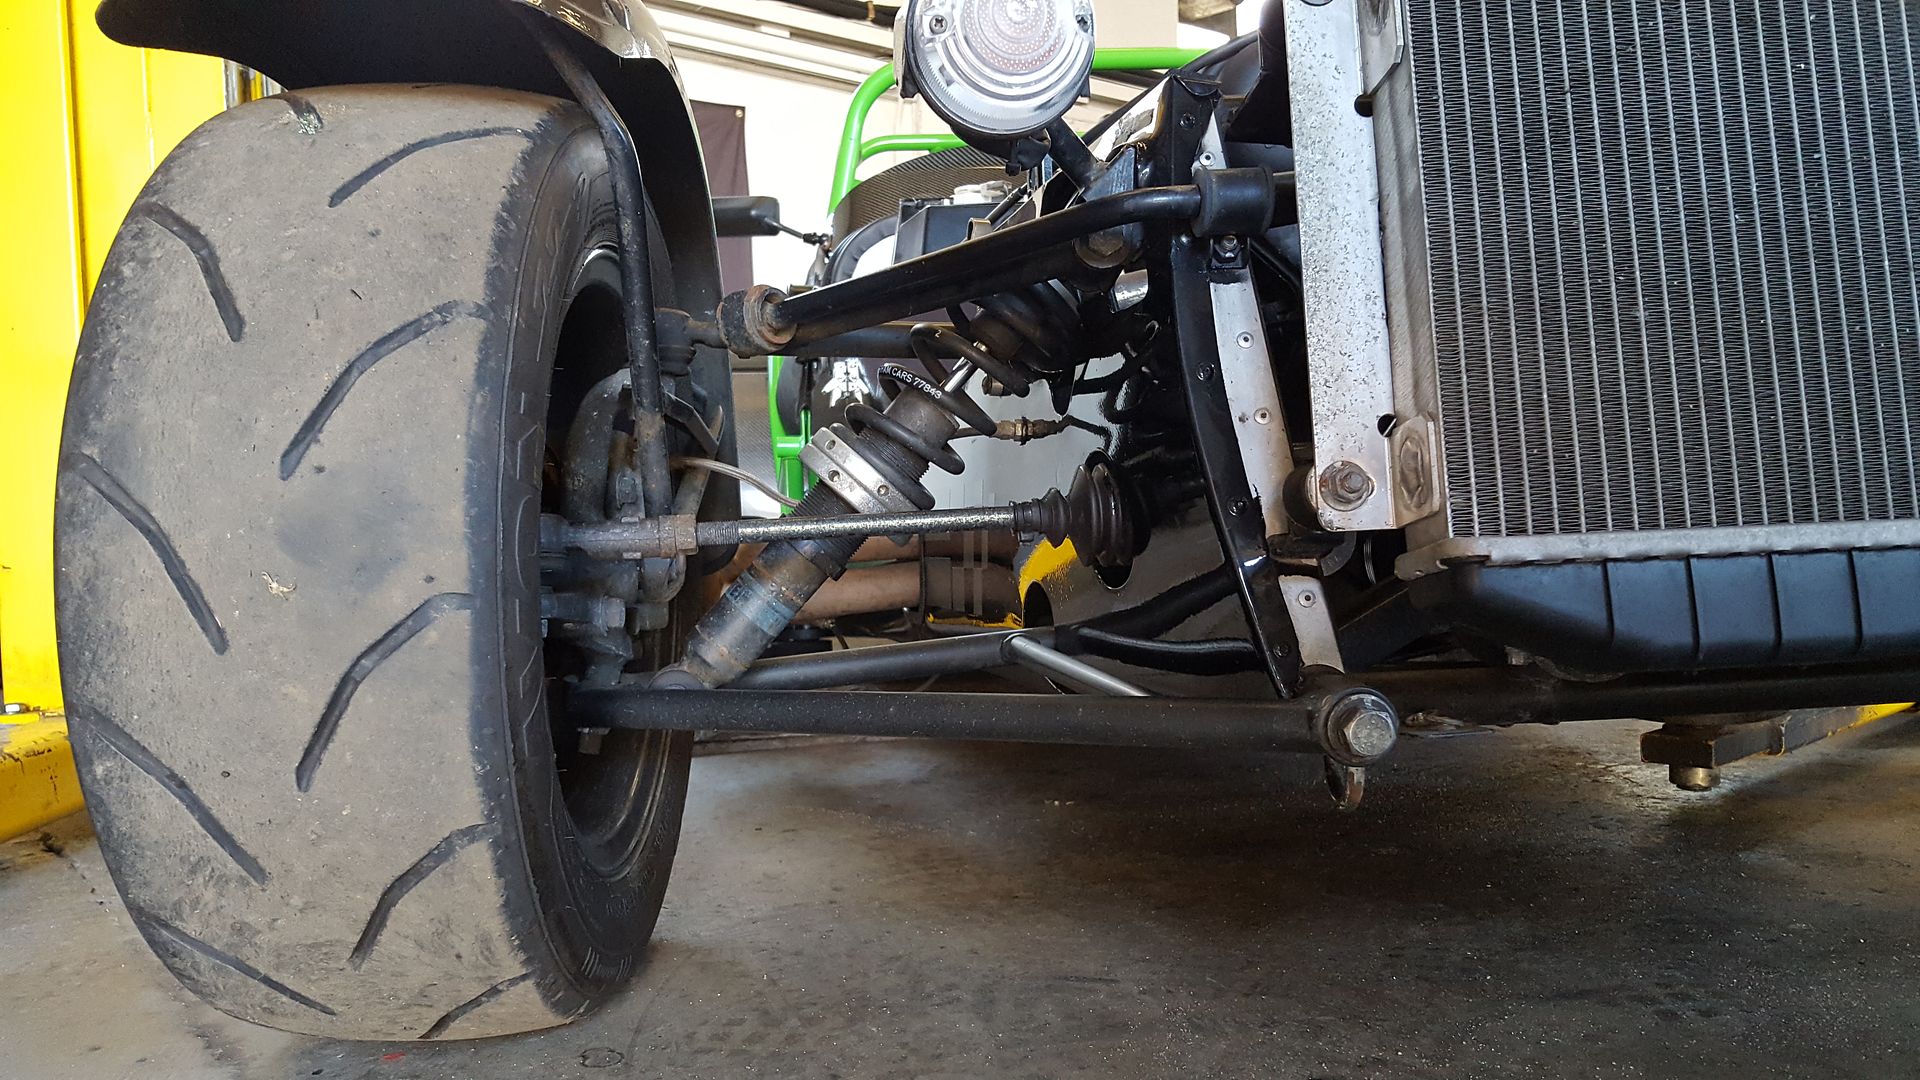
I will basing my front suspension on the haynes roadster, I saw these on eBay for £14.99 for the pair. it would have taken me a whole day to make
these using an angle grinder and they still wouldn't have looked as good as these. great quality and only £7.50 a side!
and bought some tube to cut down for the bushes, you have to get a wierd size for the bushes to fit. 33.7mm od with 2.6mm wall.

will chop it into the 4 lower Bush tubes (i plan to rosejoint the top)
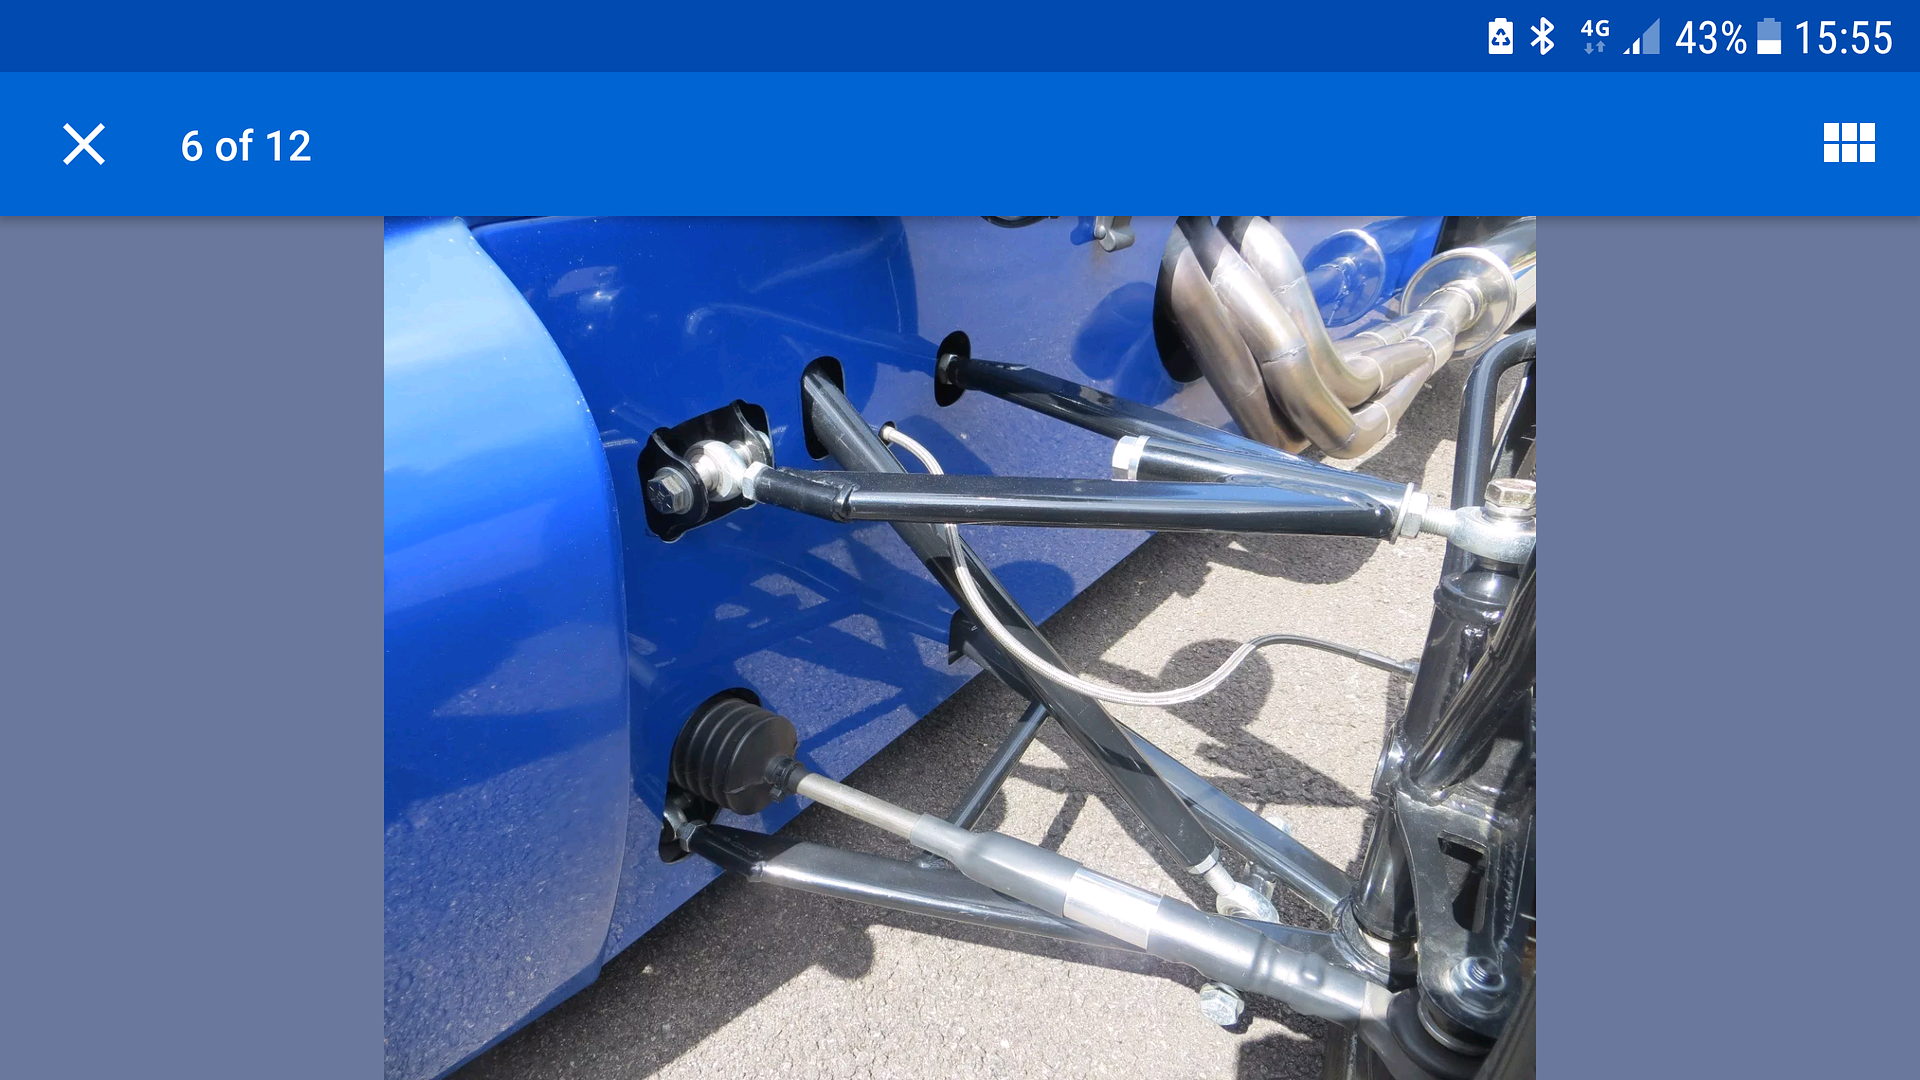
the thing I'm stuck on and can't really get an answer on is the long main wishbone tubes. book spec says use 25mm od tube for them. I
really like the look of the newest kit cars that use oval wishbone tubes rather than round, but a lot of older theads through Google suggest that this
is not a good idea as they will bend. still trying to look for a difinative answer because I'd really like to use oval tube. it is only a looks
thing and I will use 25mm round if that's the only answer.
|
|
|
Charlie C
|
| posted on 9/6/17 at 08:03 AM |
|
|
Morning
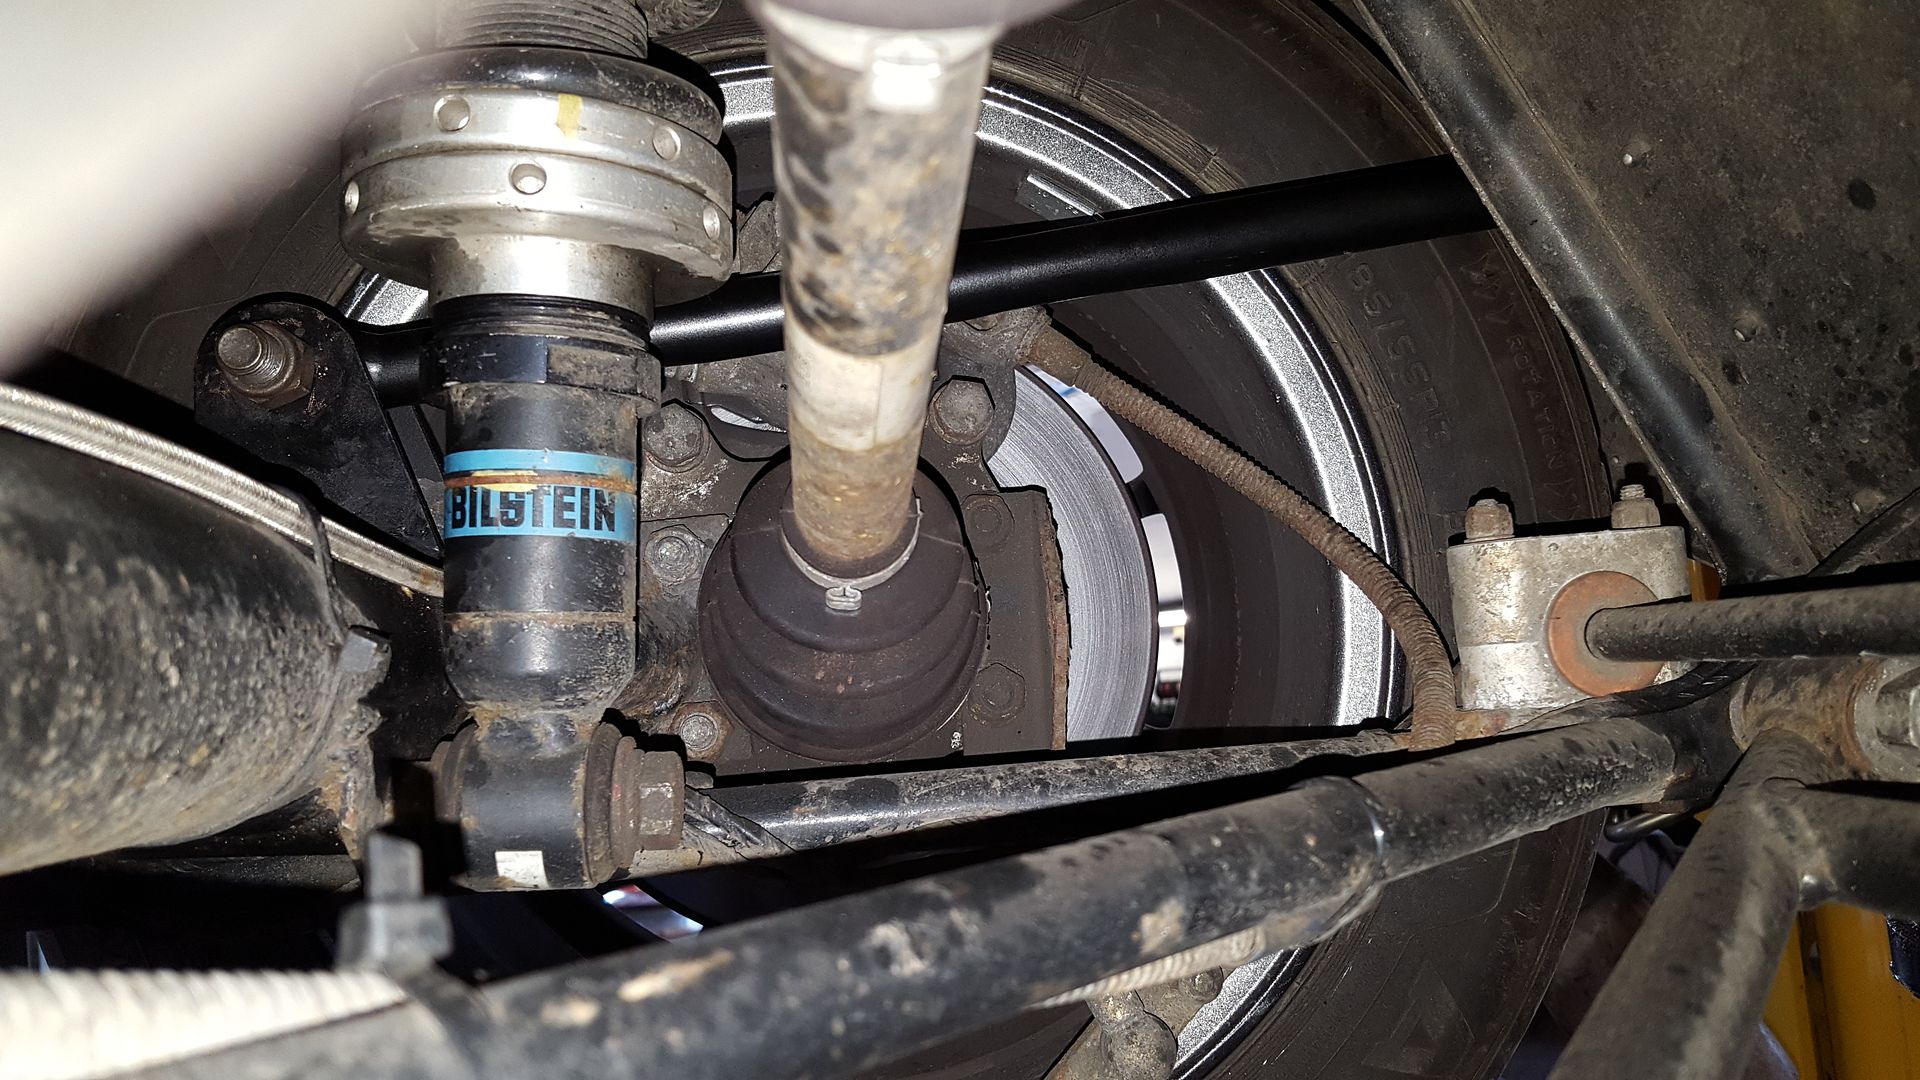
Not long ago I had my Haynes roadster suspension set up Procomp and I was told (i know very very little about suspension design) that the cast angle
isn't great and the top front wishbone would be better 10mm backwards. I'm over coming this by having the top wishbone rose jointed and
spacing the rose joint towards the back of the suspension brackets, I've got the wishbone I just need to save up for the rose joints.
The other issue with the front suspension is the angle of the front shock, it would be better more vertical by either move the top mount out or the
bottom in, or a mixture of both i suppose. I've got quite high poundage springs on the front to counter the angle of the shock.
You mentioned that you wanted to keep the sierra gearbox to get and age related plate, I have to admit that on the IVA application i put my car was
MX5 based and I had the V5 from a scraped MX5 but in reality i had a sierra front, rear axle and diff, no one checked or appeared to care as I had the
V5 and a proof of age letter for the engine.
Regards
Charlie
|
|
|
super-ron
|
| posted on 9/6/17 at 12:13 PM |
|
|
quote:
Originally posted by Charlie C
Morning
Not long ago I had my Haynes roadster suspension set up Procomp and I was told (i know very very little about suspension design) that the cast angle
isn't great and the top front wishbone would be better 10mm backwards. I'm over coming this by having the top wishbone rose jointed and
spacing the rose joint towards the back of the suspension brackets, I've got the wishbone I just need to save up for the rose joints.
The other issue with the front suspension is the angle of the front shock, it would be better more vertical by either move the top mount out or the
bottom in, or a mixture of both i suppose. I've got quite high poundage springs on the front to counter the angle of the shock.
You mentioned that you wanted to keep the sierra gearbox to get and age related plate, I have to admit that on the IVA application i put my car was
MX5 based and I had the V5 from a scraped MX5 but in reality i had a sierra front, rear axle and diff, no one checked or appeared to care as I had the
V5 and a proof of age letter for the engine.
Regards
Charlie
Thanks very much for the input Charlie. That is also my plan to use rose joints on the upper arms so I can fine tune the castor forward and back.
also with the finer thread it will give better camber adjustment over than a full turn of the drag link every time. I may consider moving the upper
mounts 10mm back as well then if that's what yours showed. what size rose joints are you using out of interest?
IVA tests seem to vary so much, I've read threads on people having so much trouble getting through, and others like yours who flew through.
I'd rather be over prepared than under.
[Edited on 9/6/17 by super-ron]
|
|
|
Charlie C
|
| posted on 9/6/17 at 01:22 PM |
|
|
Hi
I spoke to Autosport bearing and they said most 7 type car use M12 or 1/2inch rose joint, they were
really helpful and recommended that at least 2/3 of the rose joint thread should used.
I'm using rose joints with m14 thread and m12 bore, all the Haynes suspension bolts are m12 and I wanted the threads to be a bit thicker at M14
as my car is a road car all be it a few sunny days a year but a bit of over engineering wont hurt.
Charlie
[Edited on 9/6/17 by Charlie C]
|
|
|
super-ron
|
| posted on 10/6/17 at 04:51 PM |
|
|
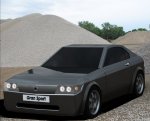
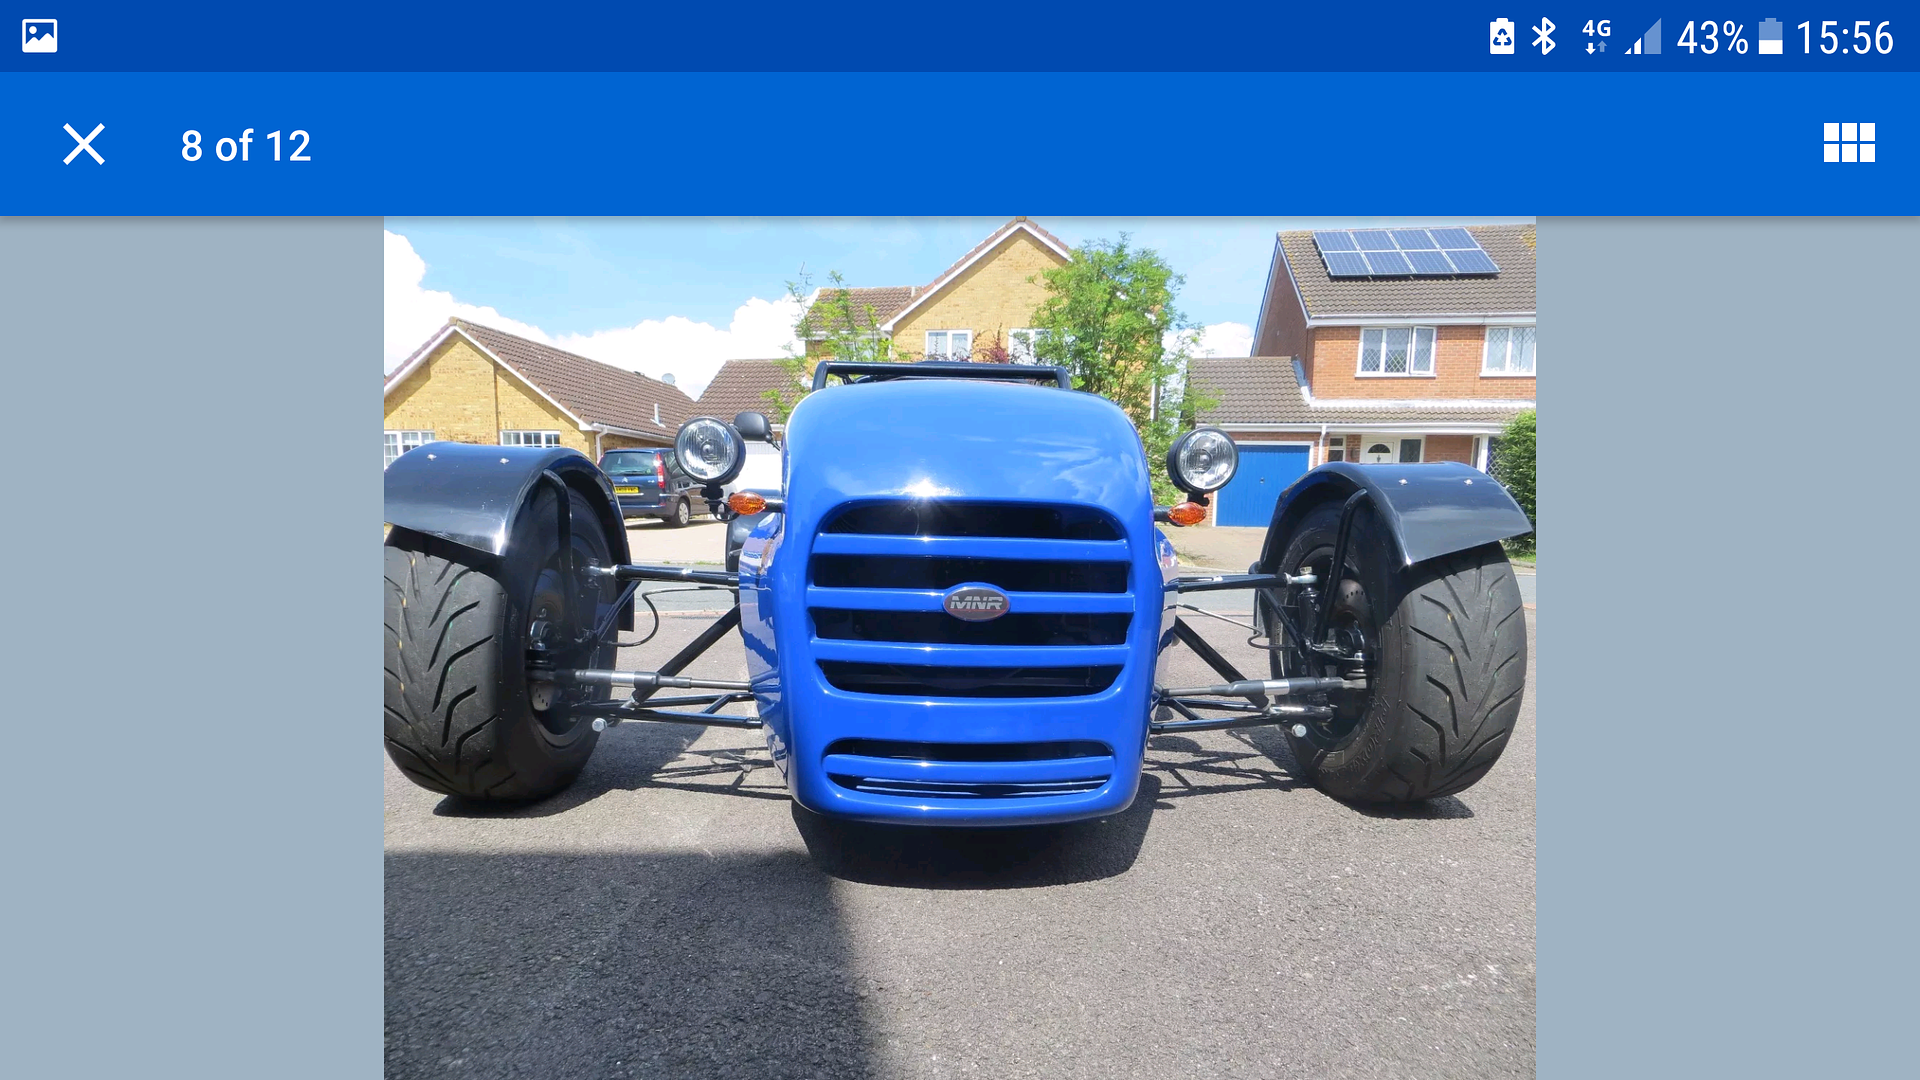
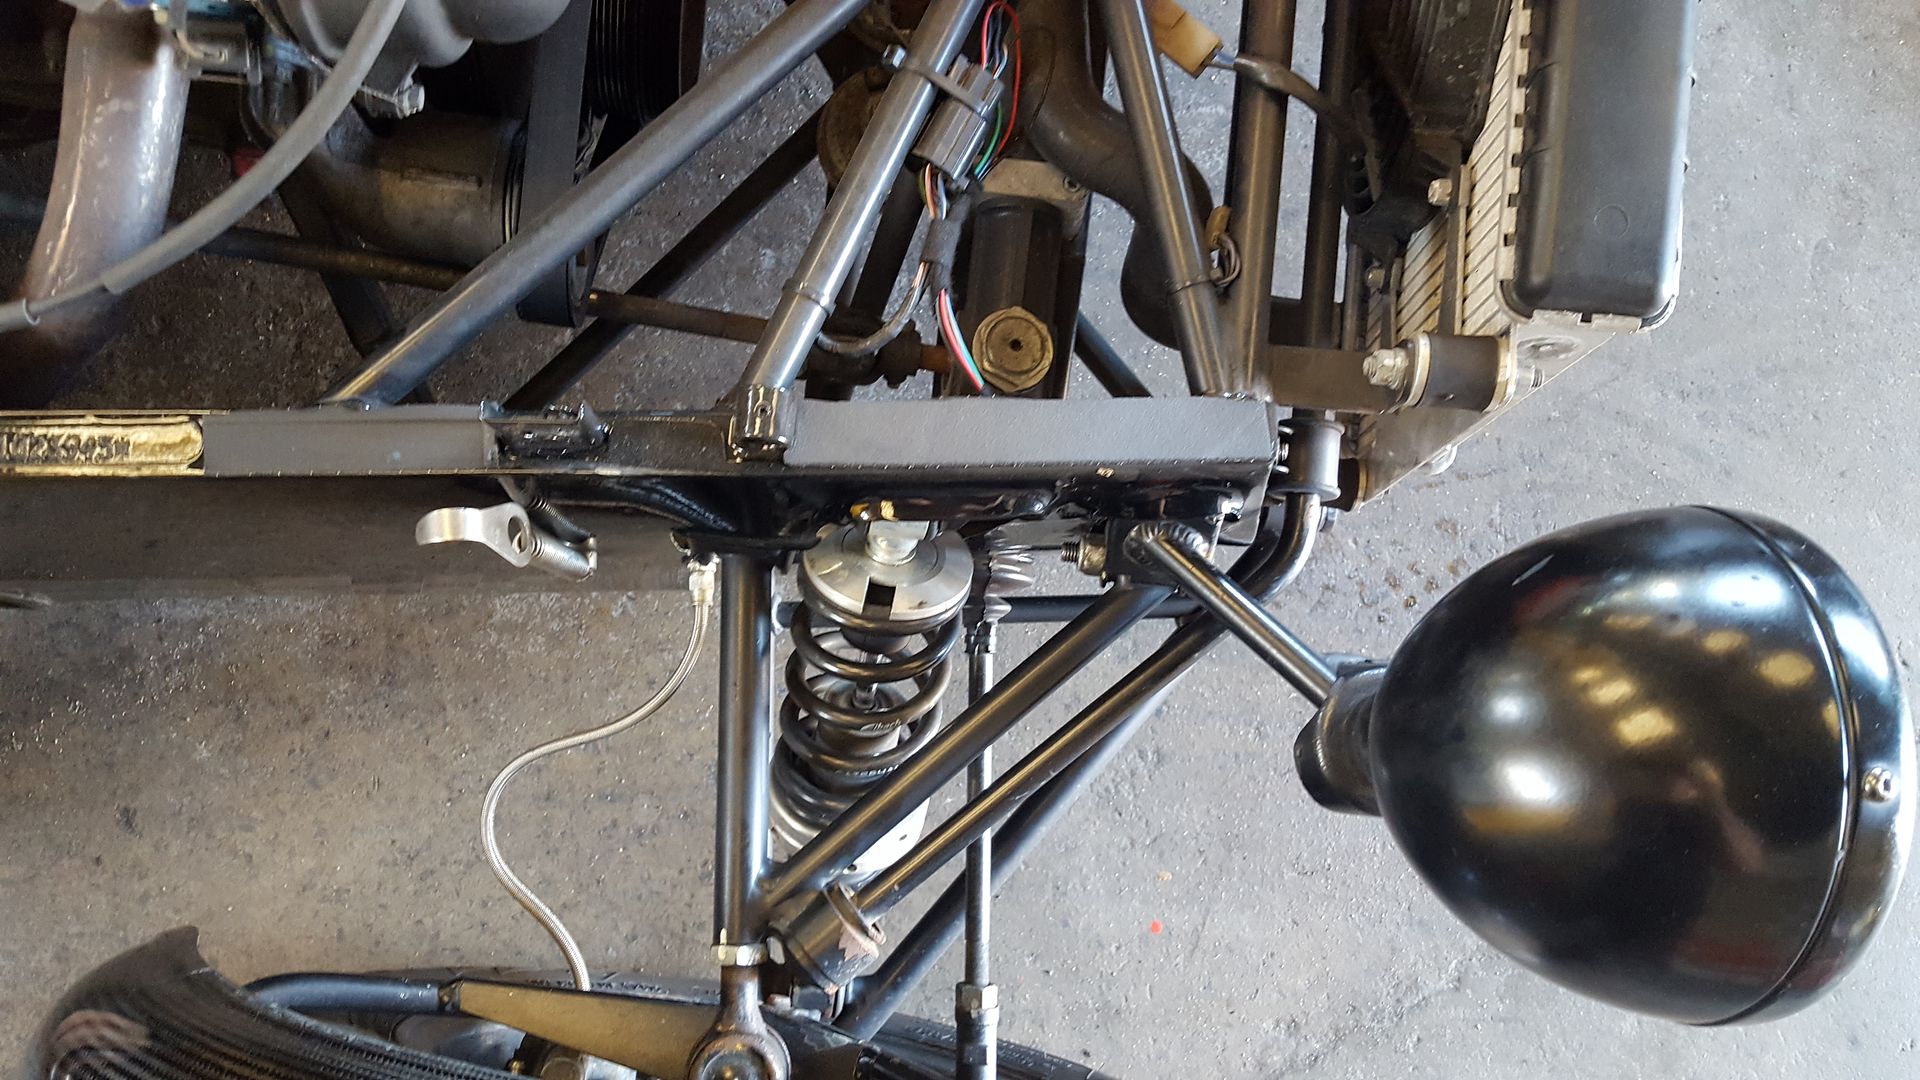
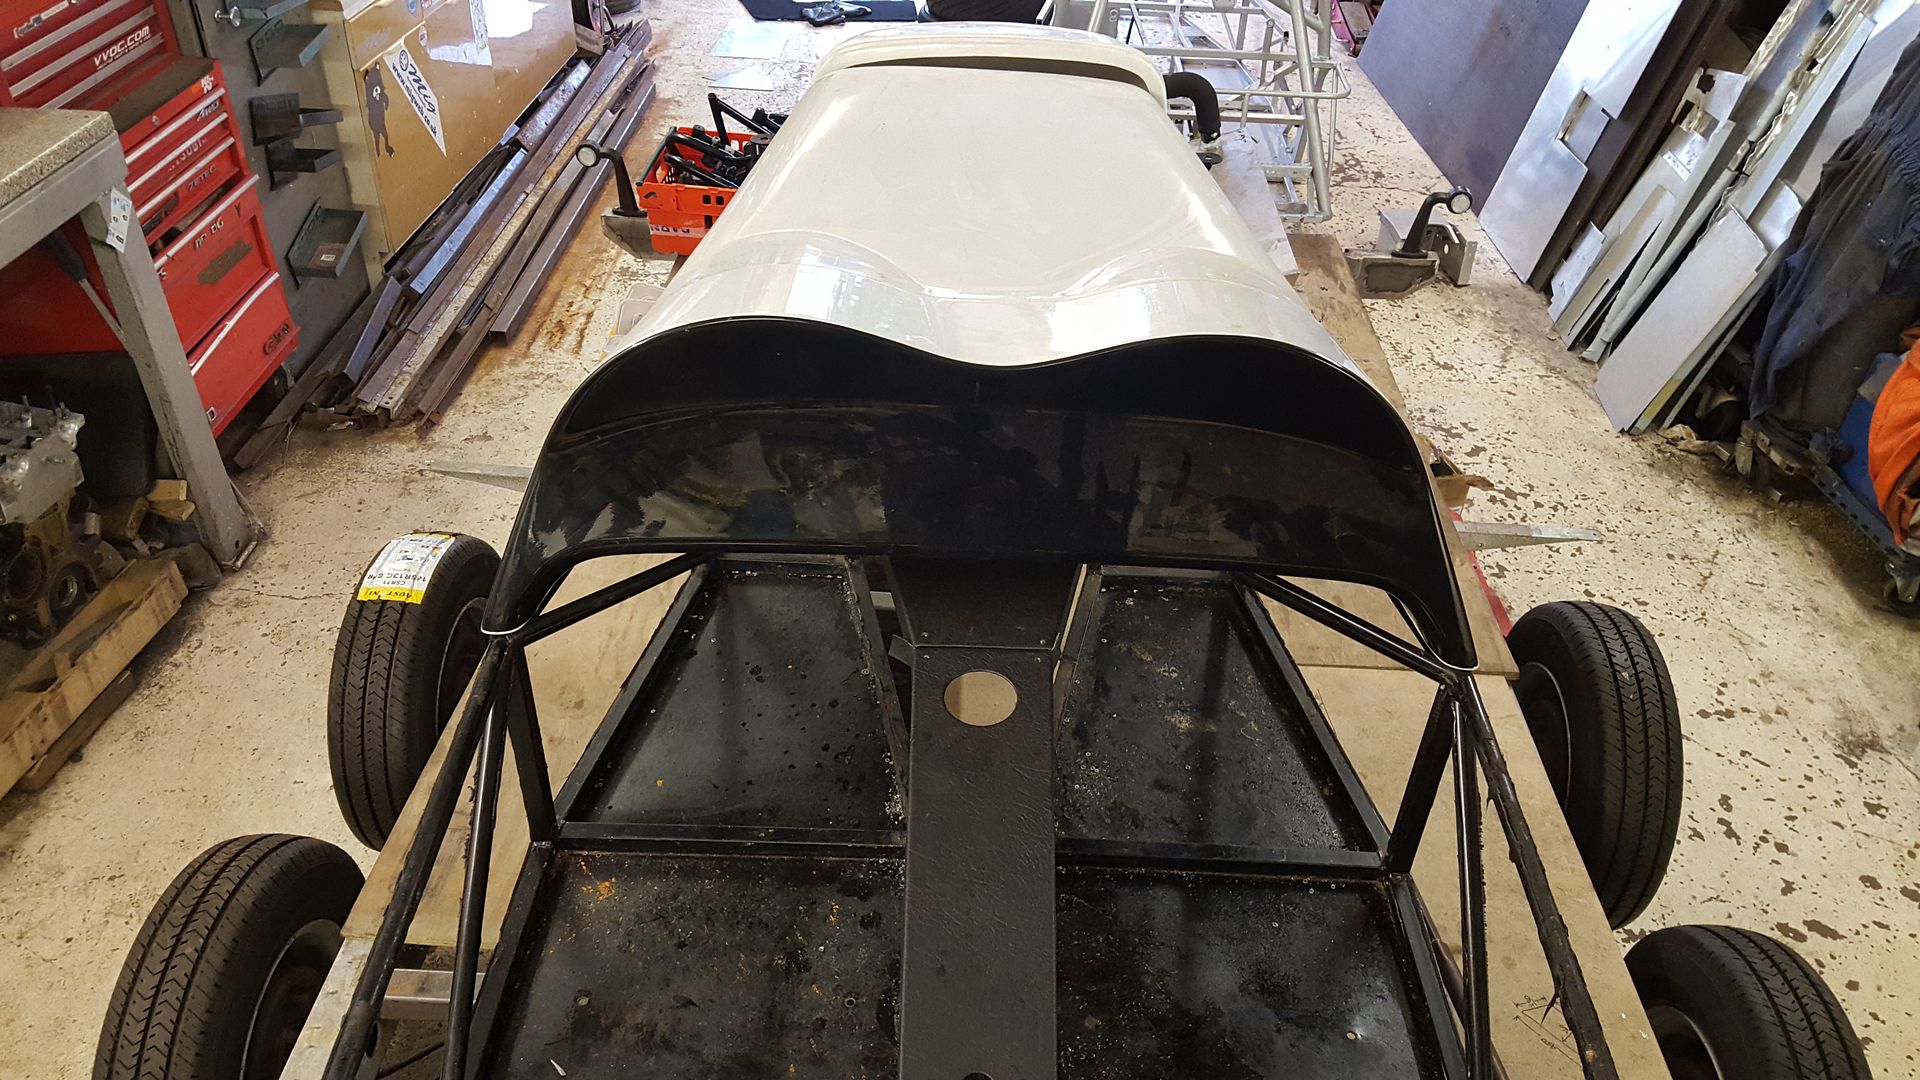
I'm wanting my wishbones (the upper at least) to look like the real MNR Vortx ones. need to find suitable tube if anyone has any suggestions on
size and thickness. book haynes roadster uses 19mm tube for the upper and 25mm for the lower with a wall thickness of 2-3mm I think I read
so mine will pretty much look like this with the MNR body and wider track
|
|
|
super-ron
|
| posted on 27/6/17 at 08:54 PM |
|
|
I did a service on a proper Caterham supersport today so I could have a poke around a proper one to see how they do it.

the A'frame and dedion I plan to copy.
it is a sweet car!
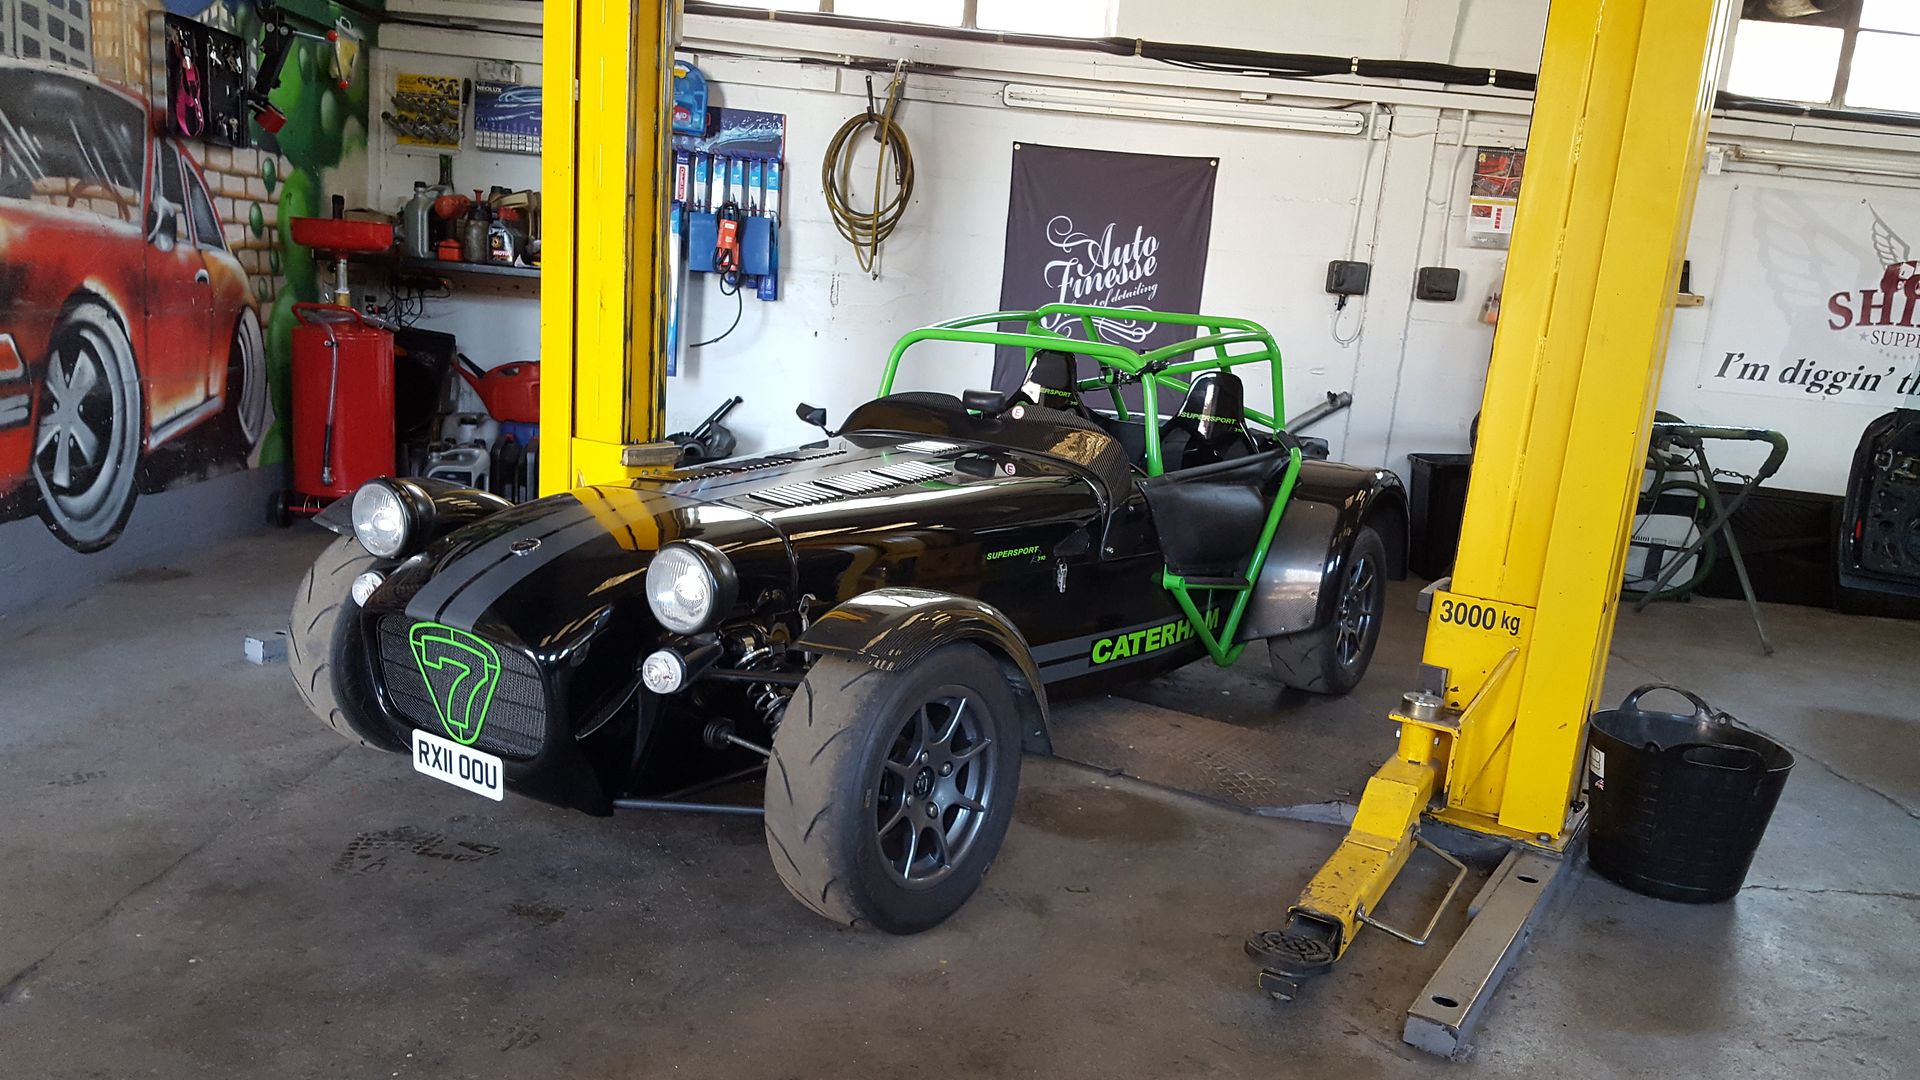
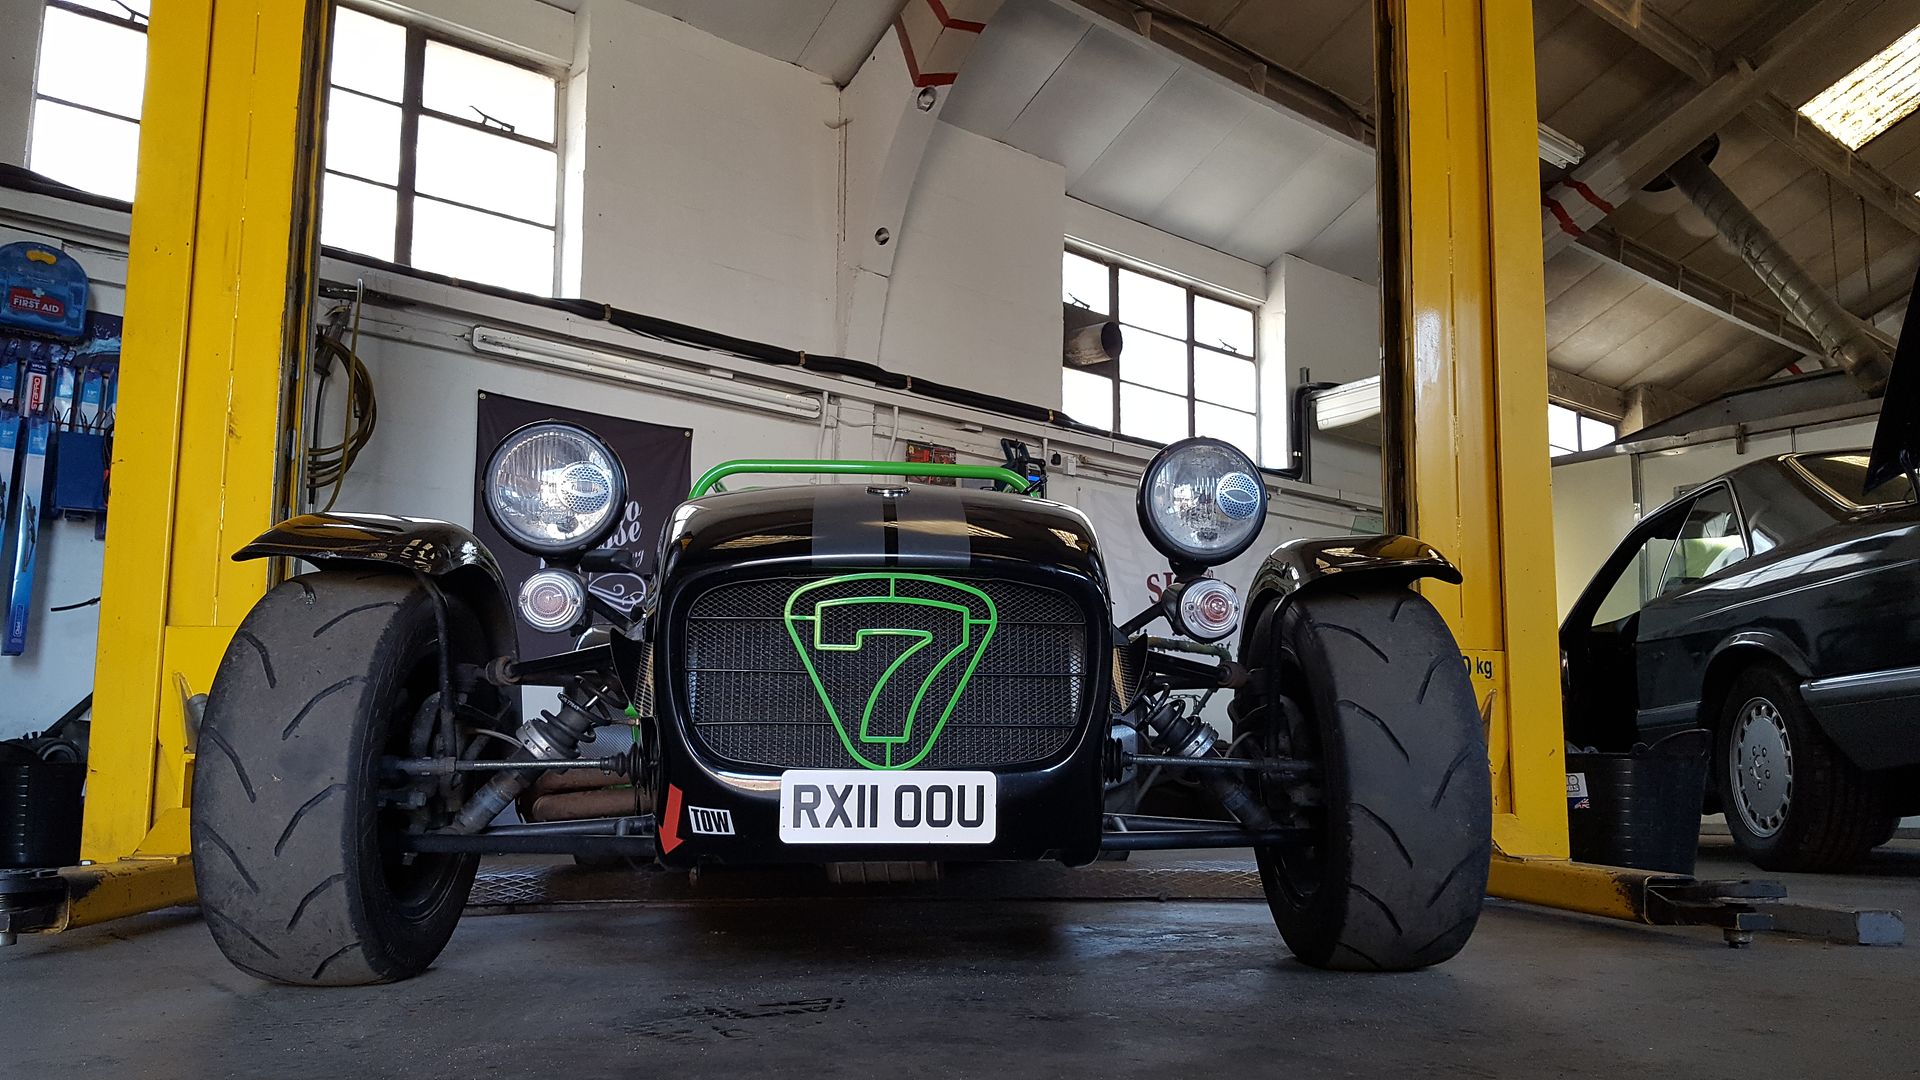
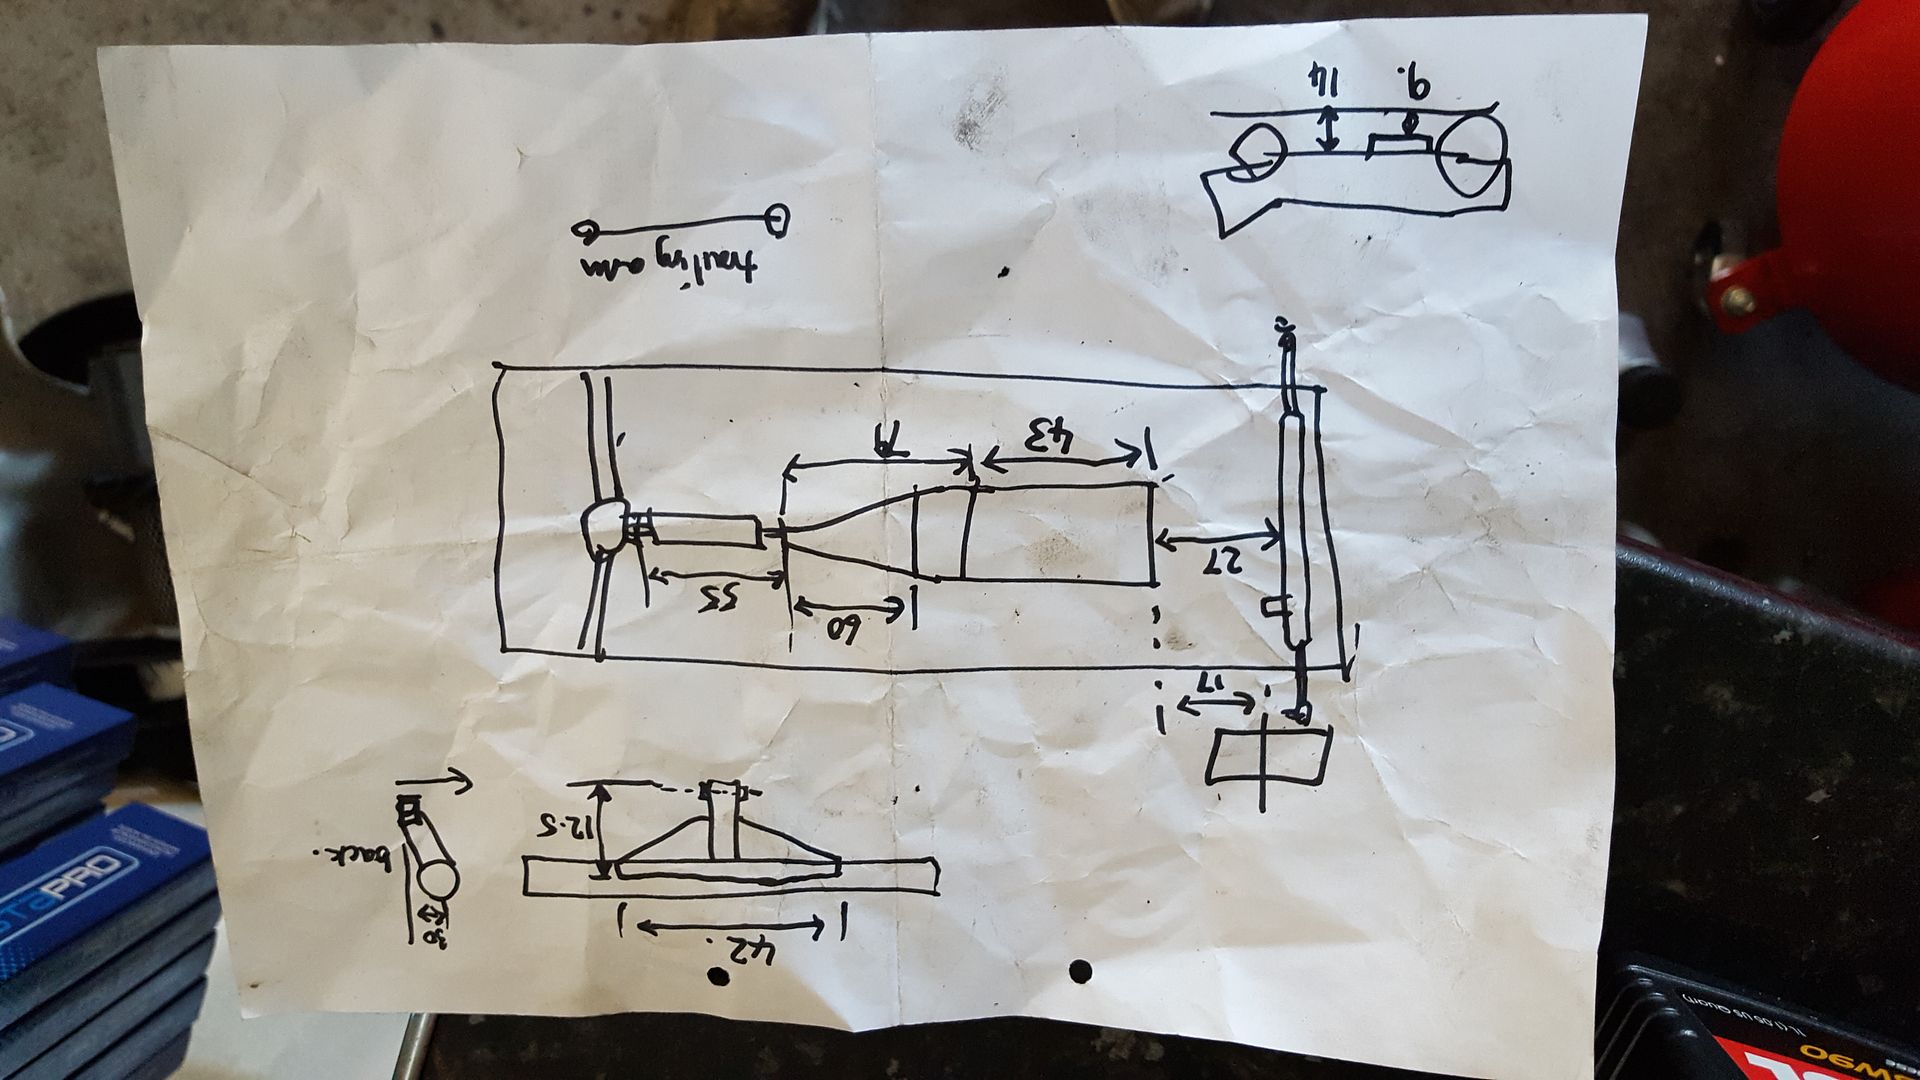
took a load more measurements too
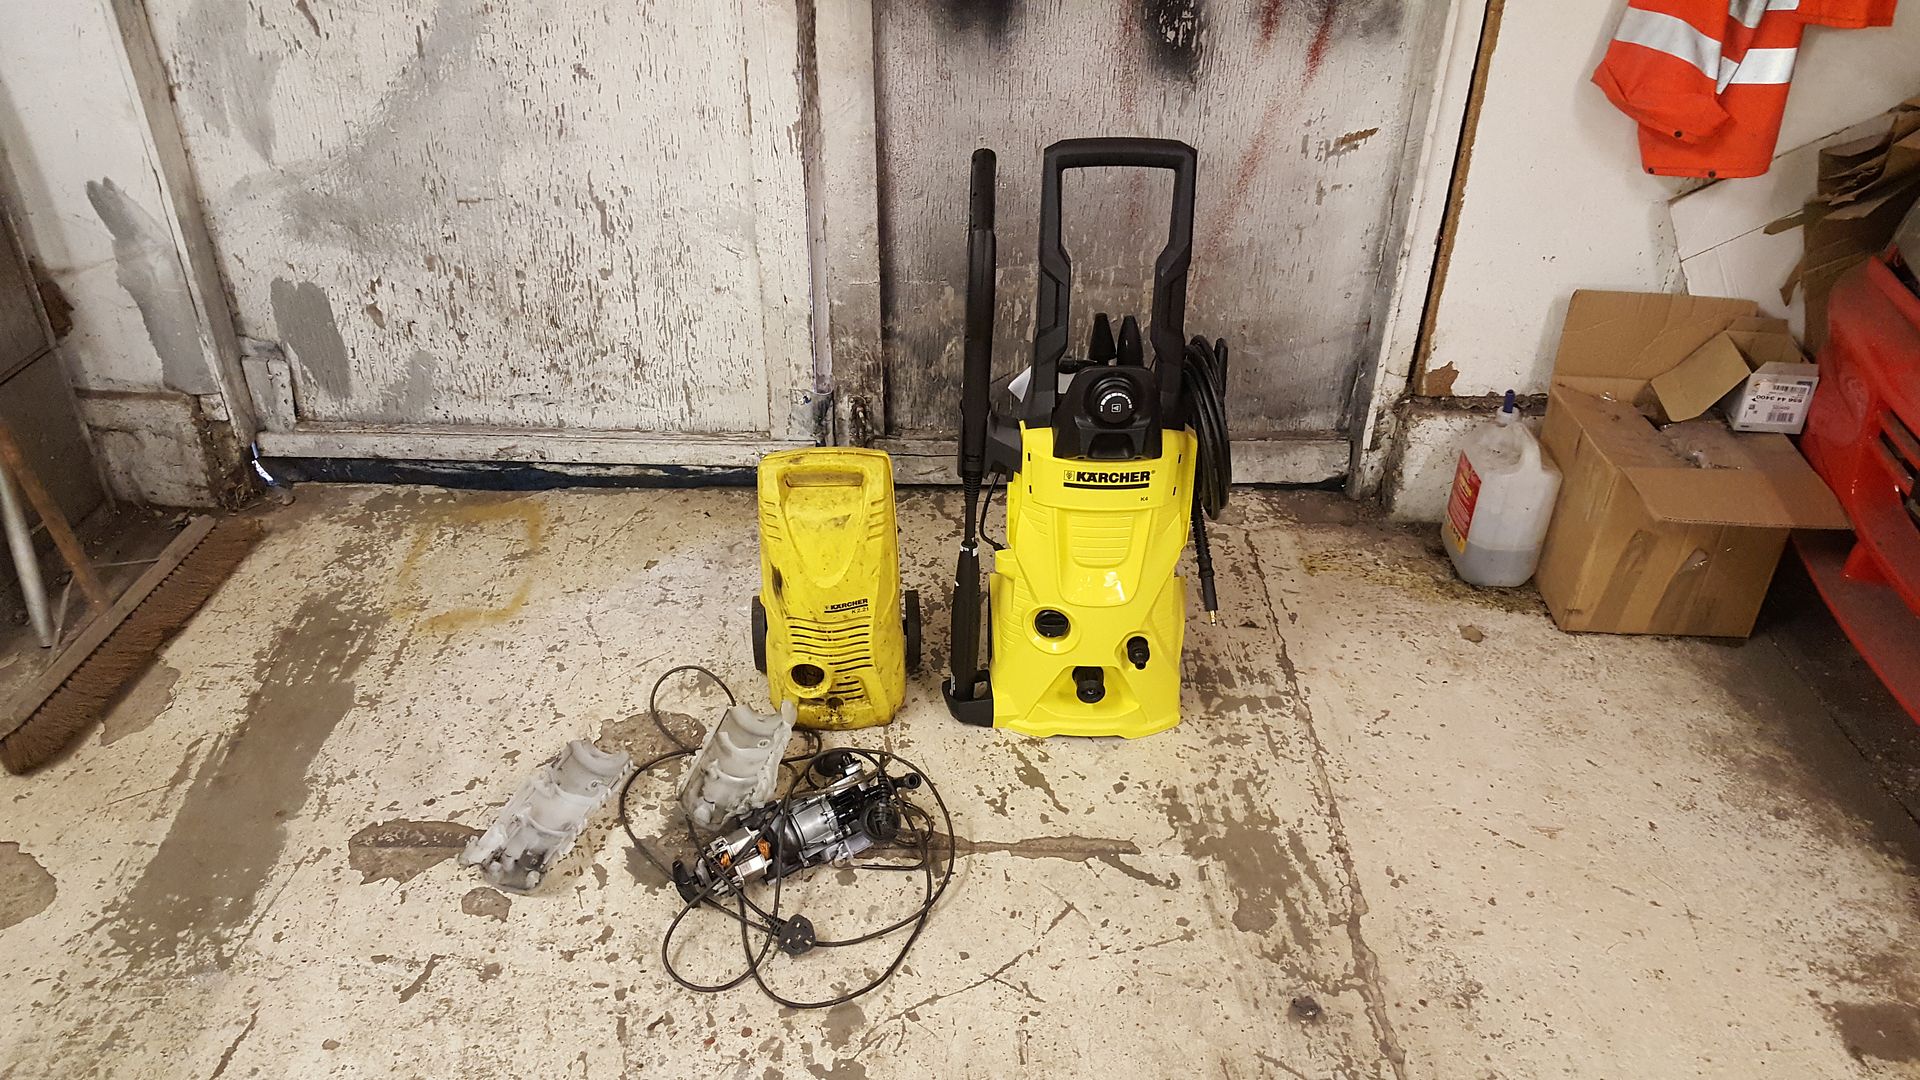
My pressure washer dies a few weeks ago so had a little upgrade, K2 to K4
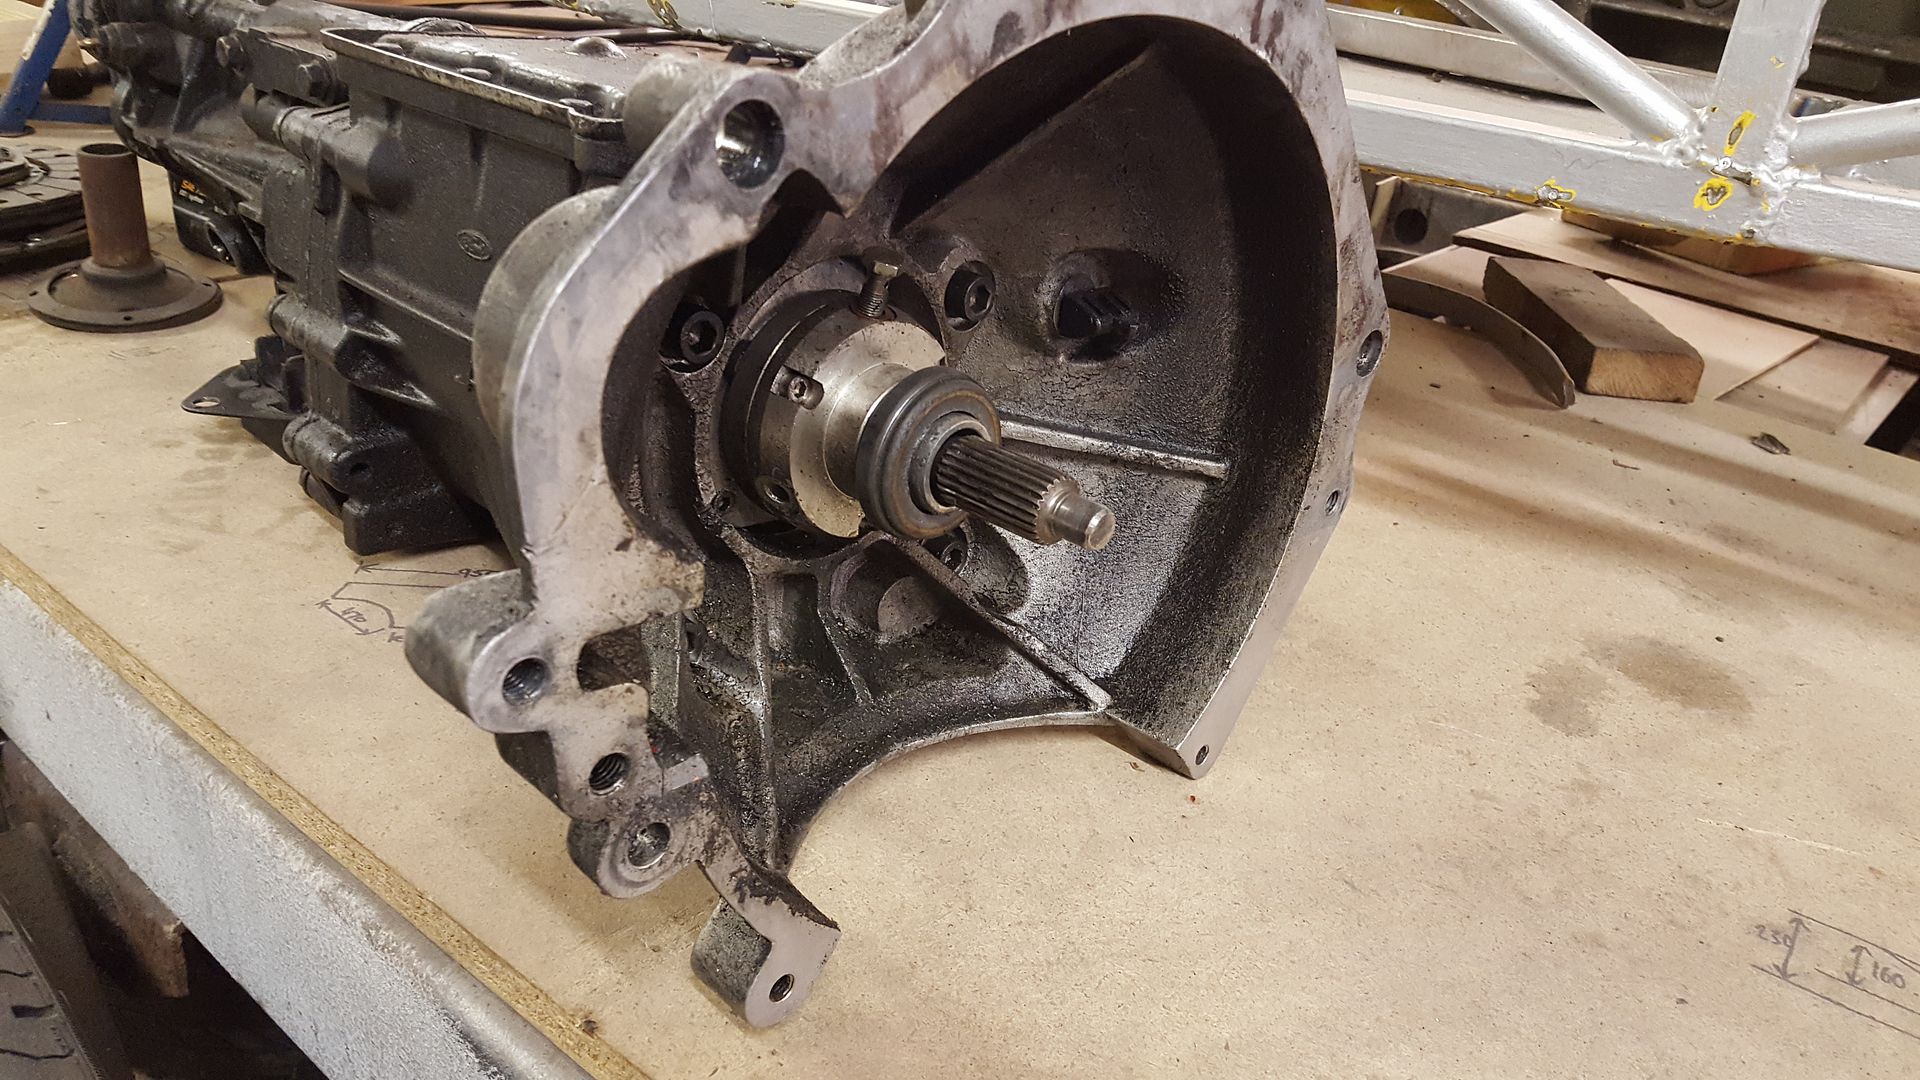
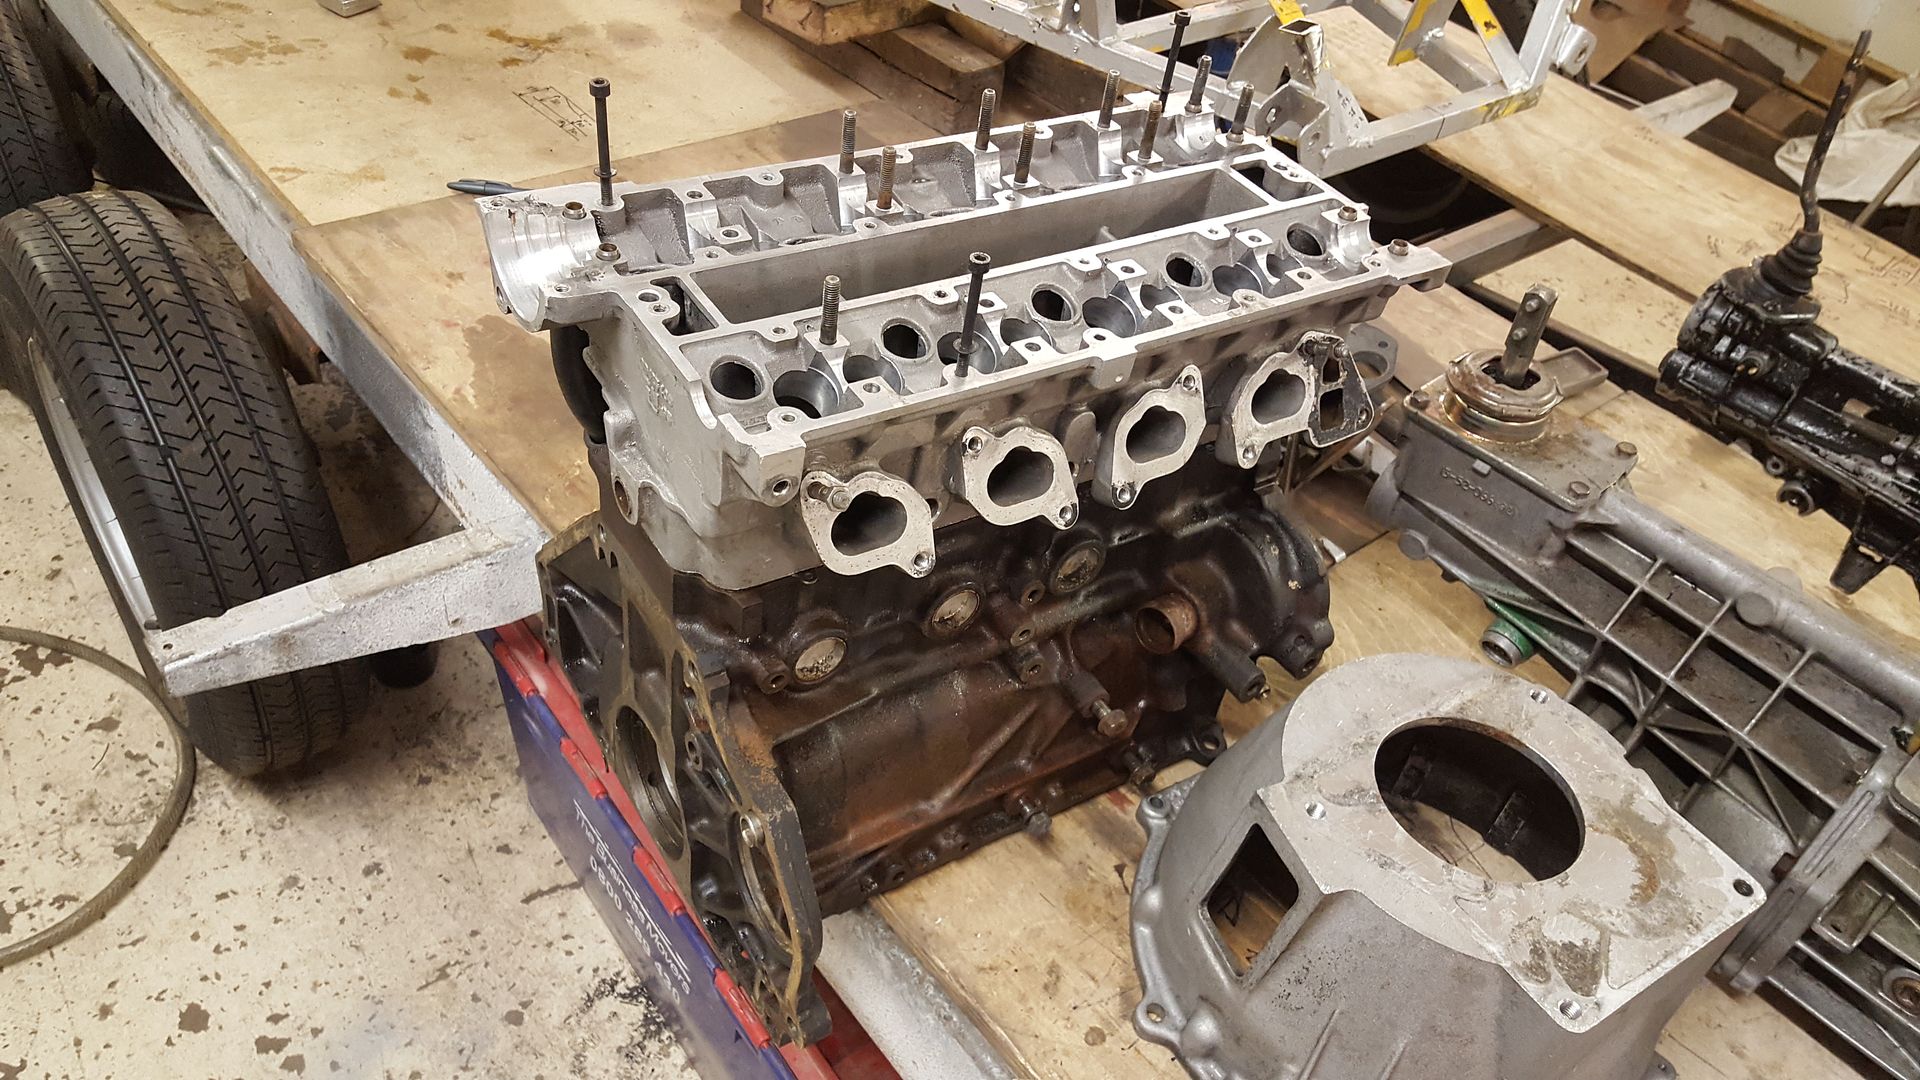
everyone like to test a new pressure washer out so I thought I'd clean up the new type 9 of bought.
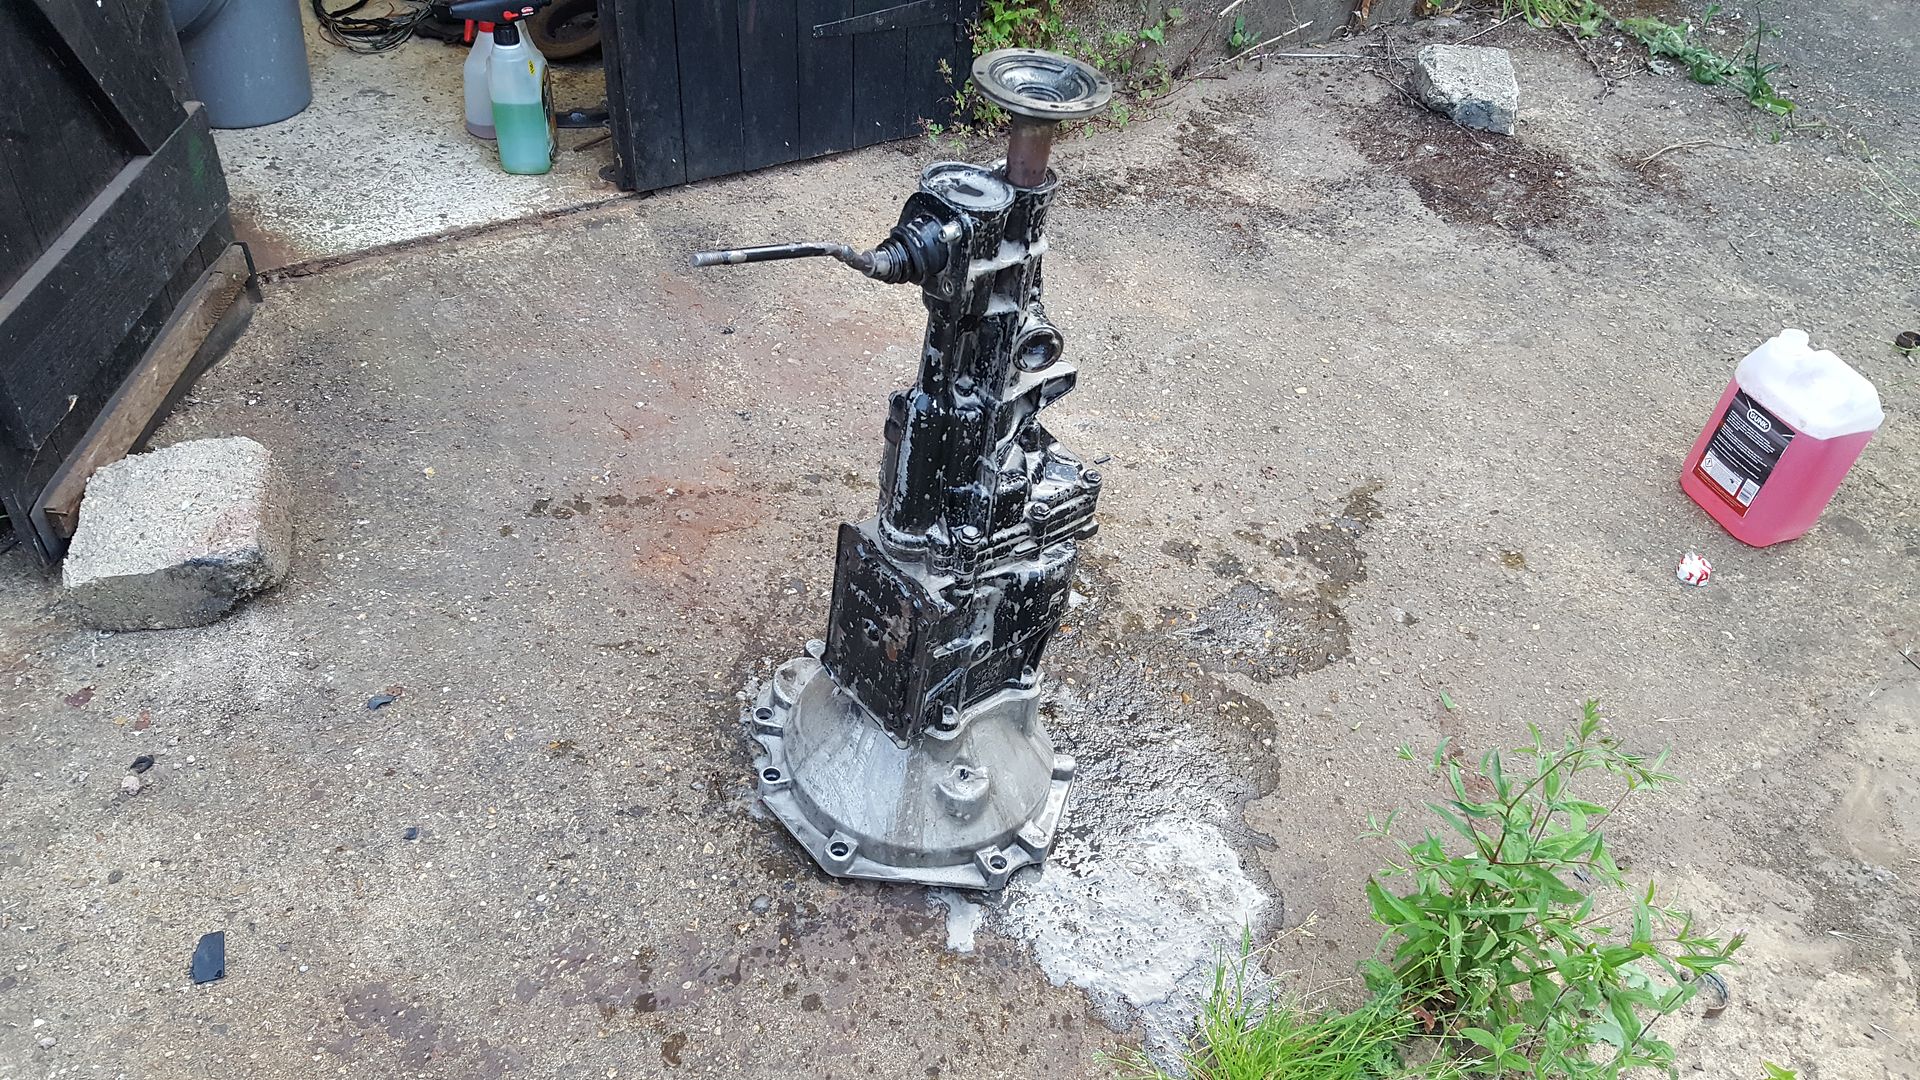
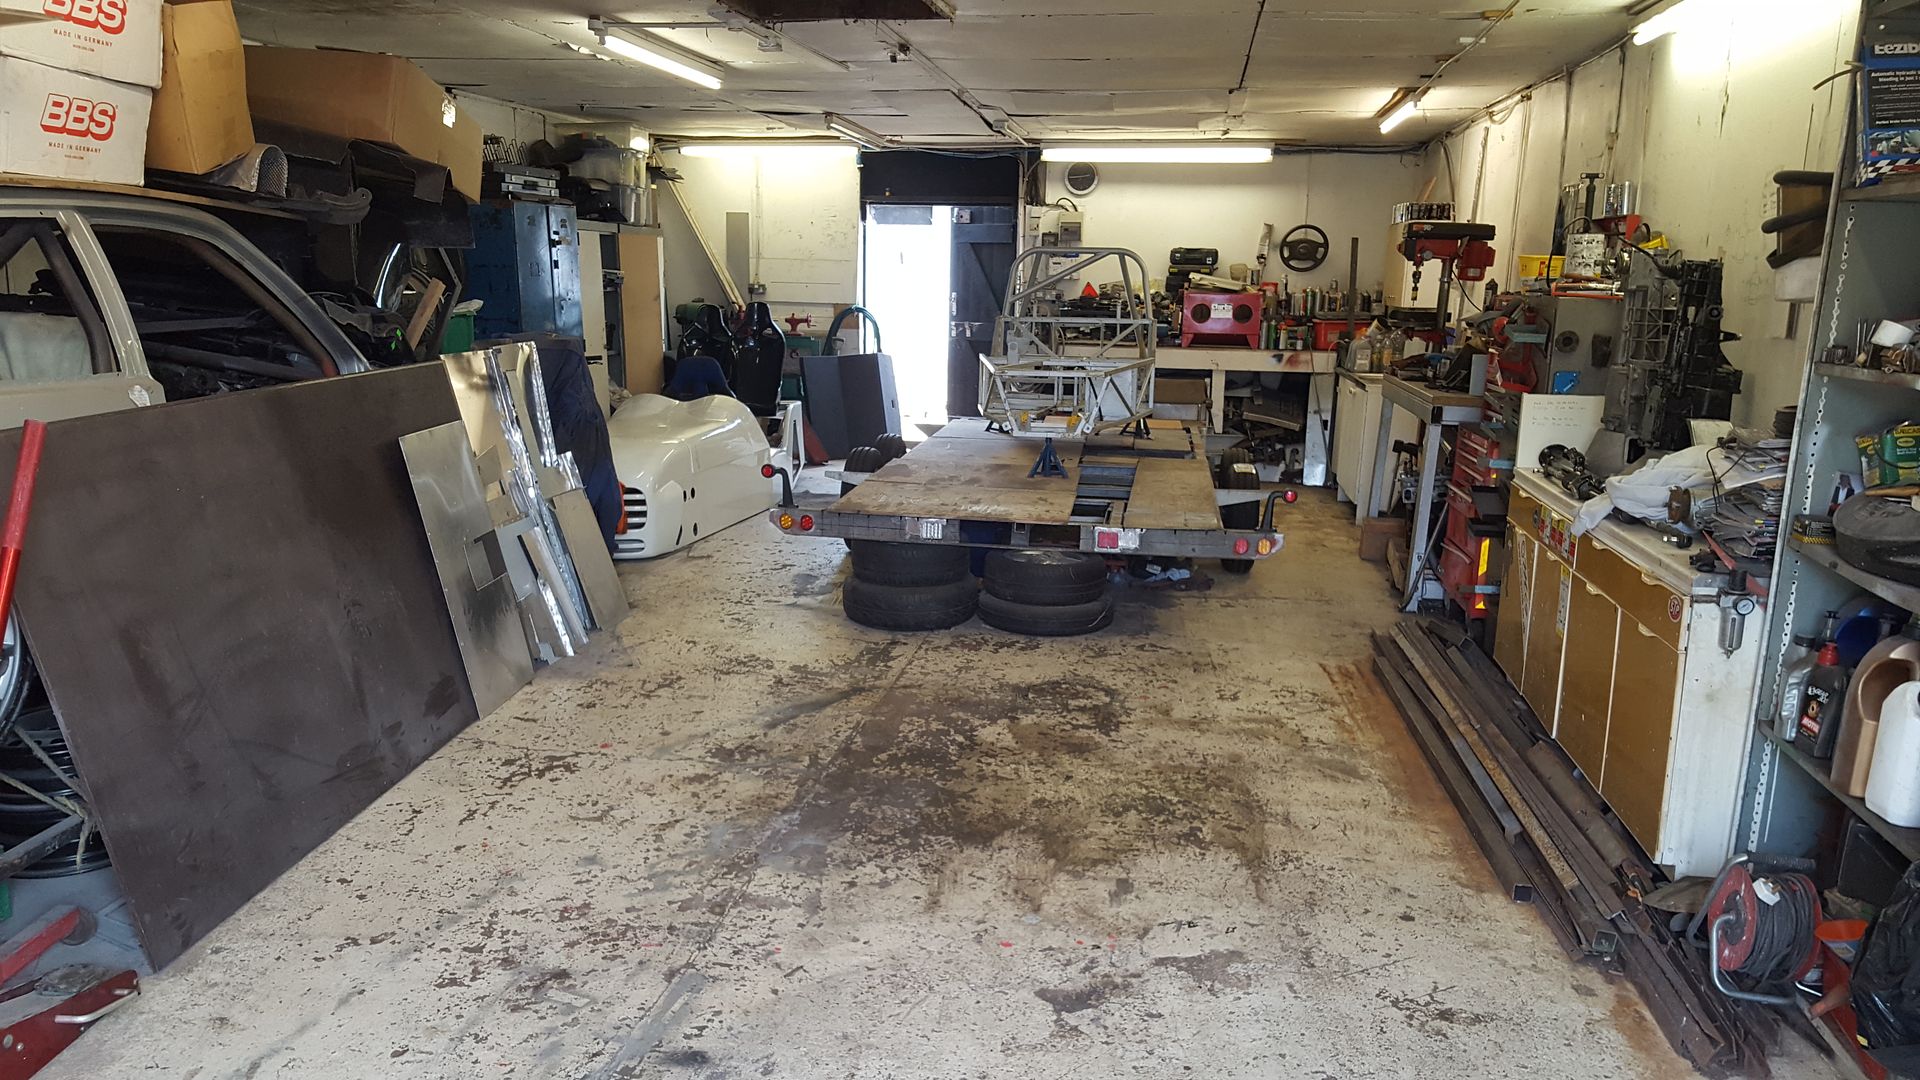
still with the pressure washer bug I took out the mock up engine and the T5 out and asperated them
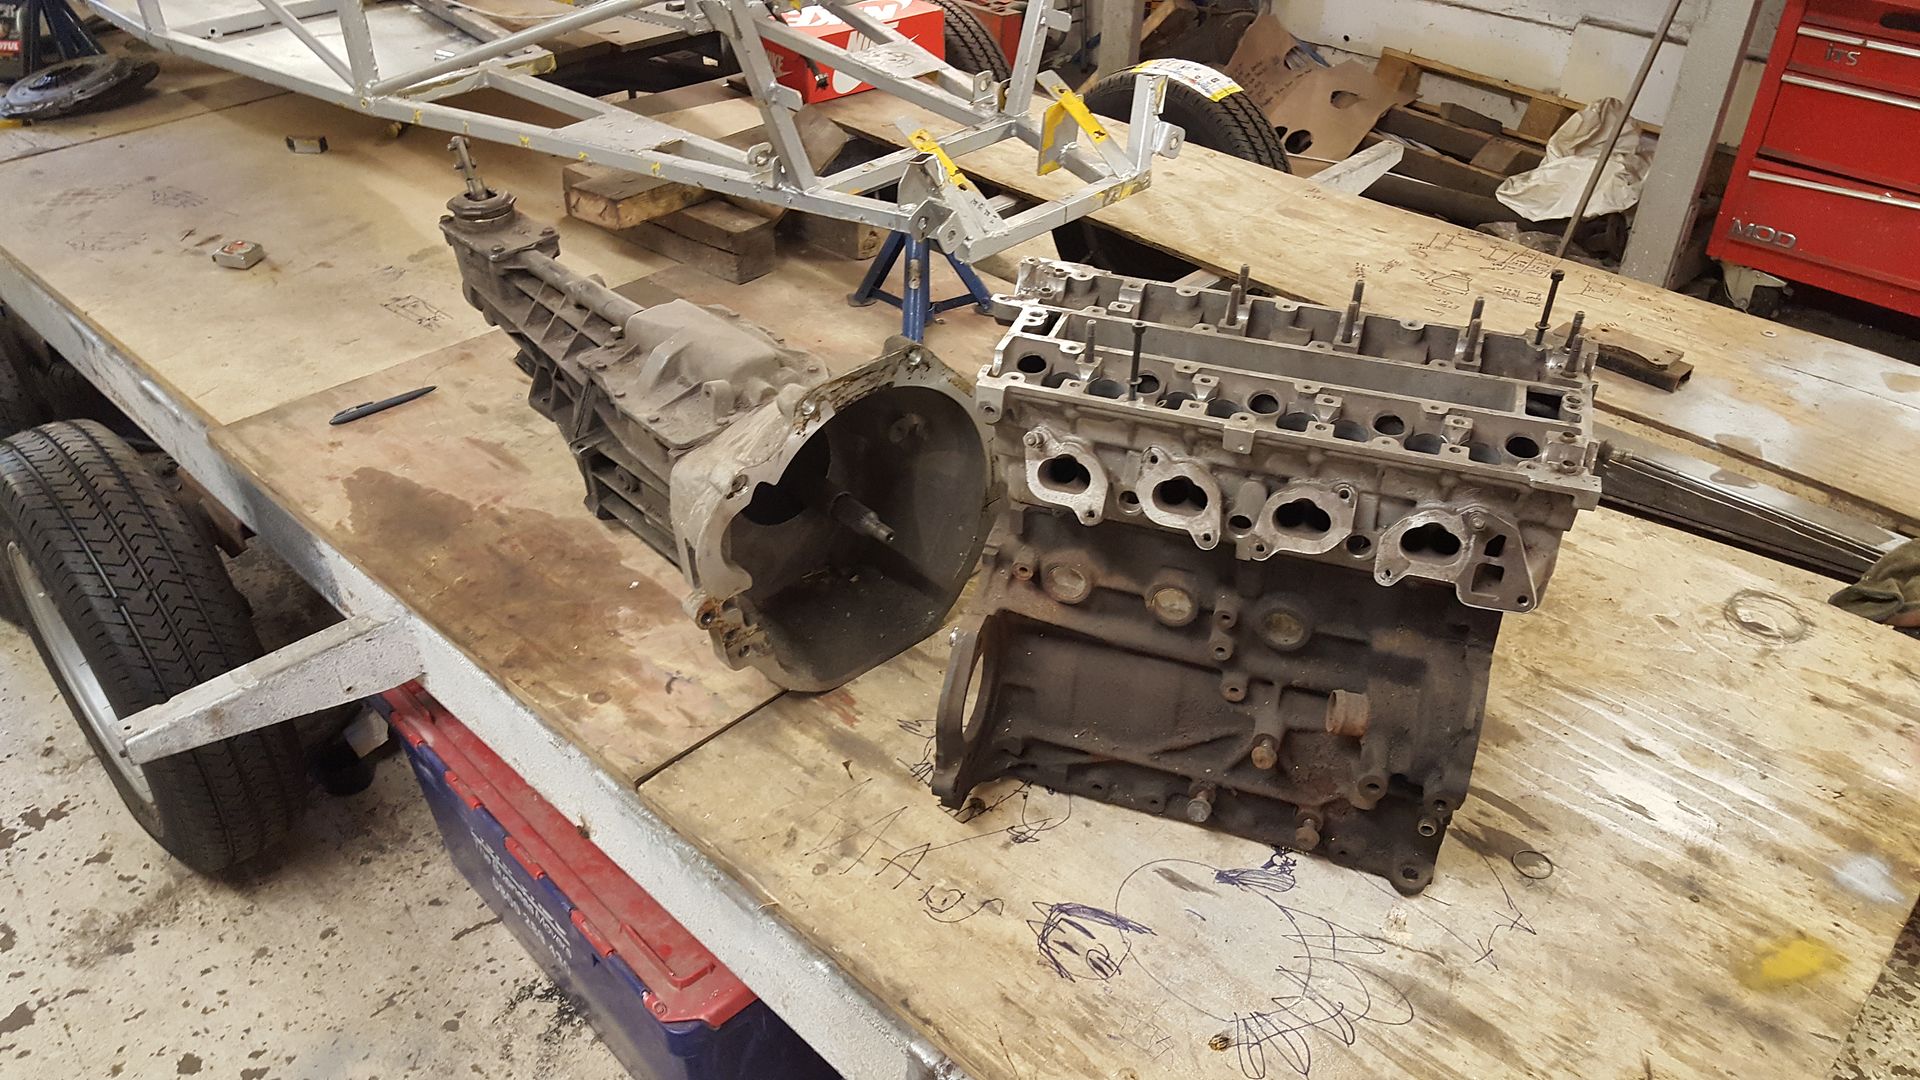
they've been bolted together for 8 years sitting under the bench both with no oil in them, but still filthy :lmao:
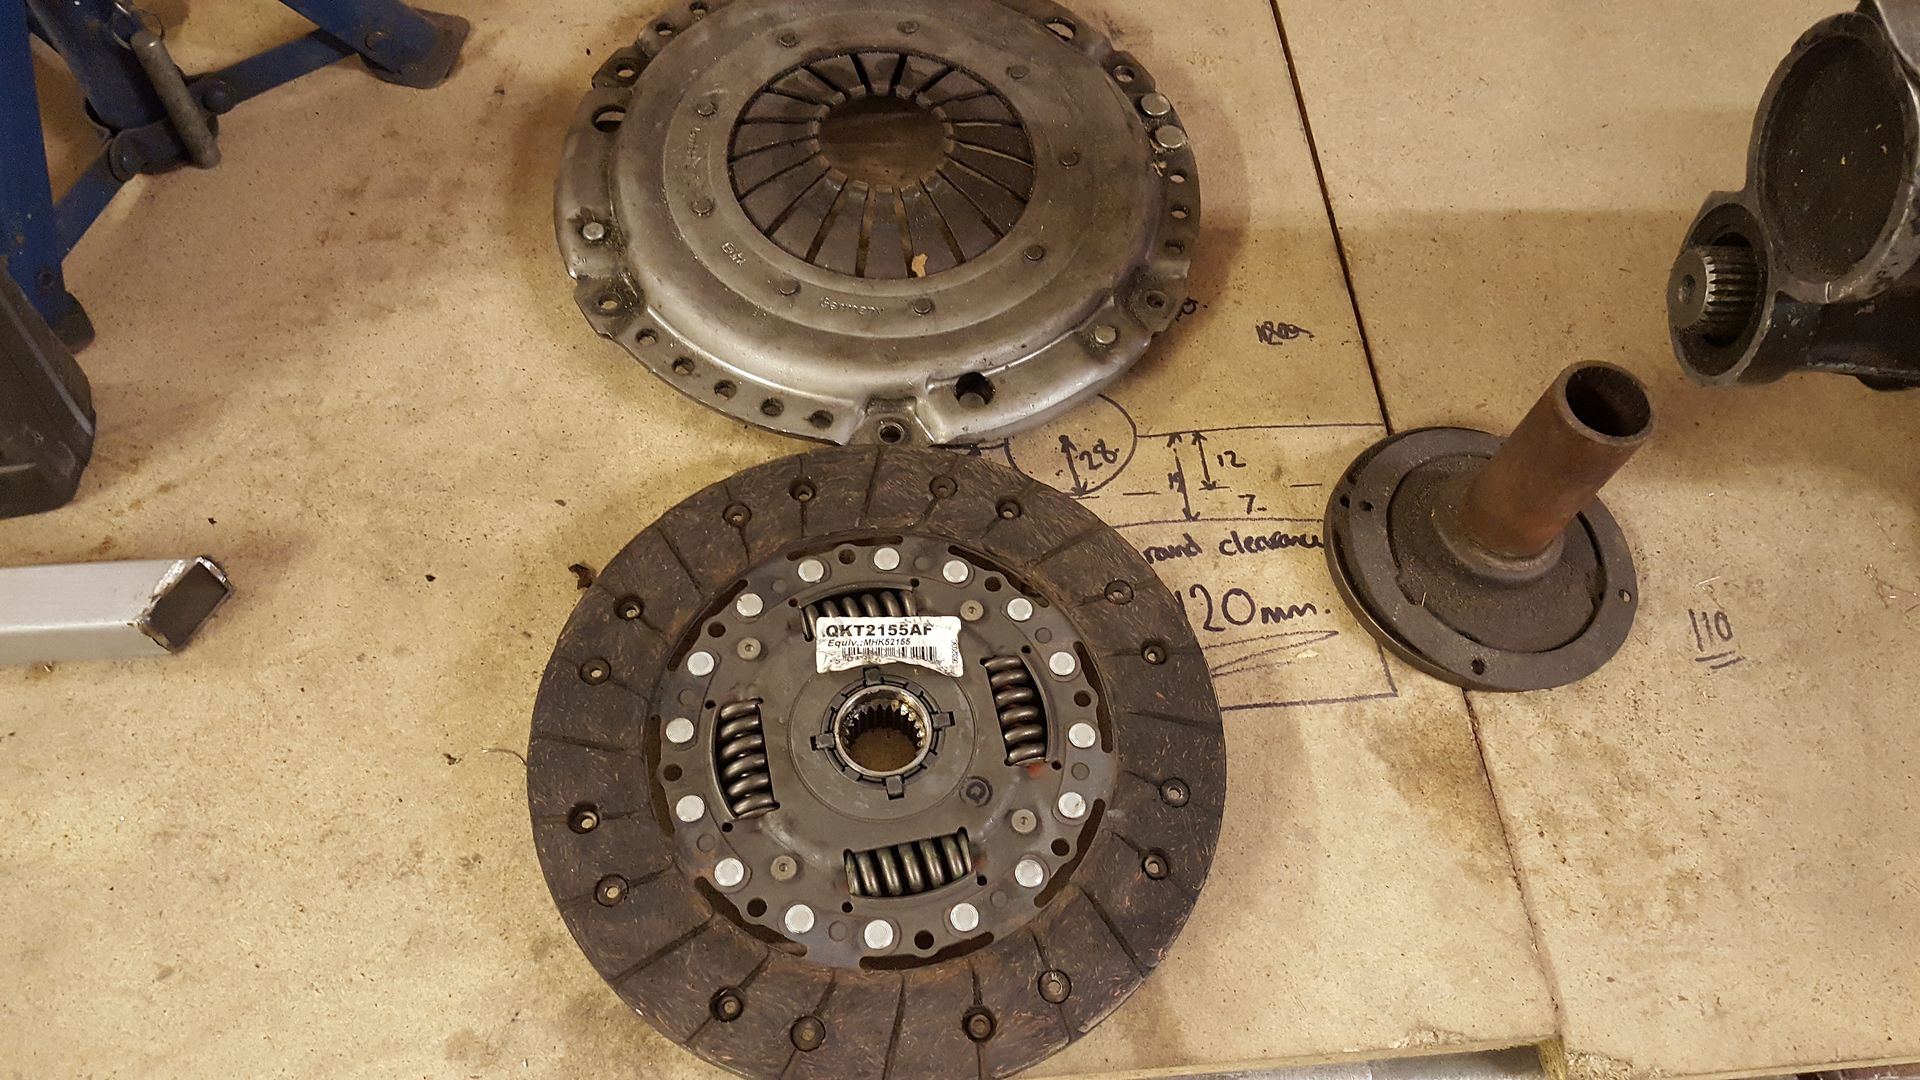
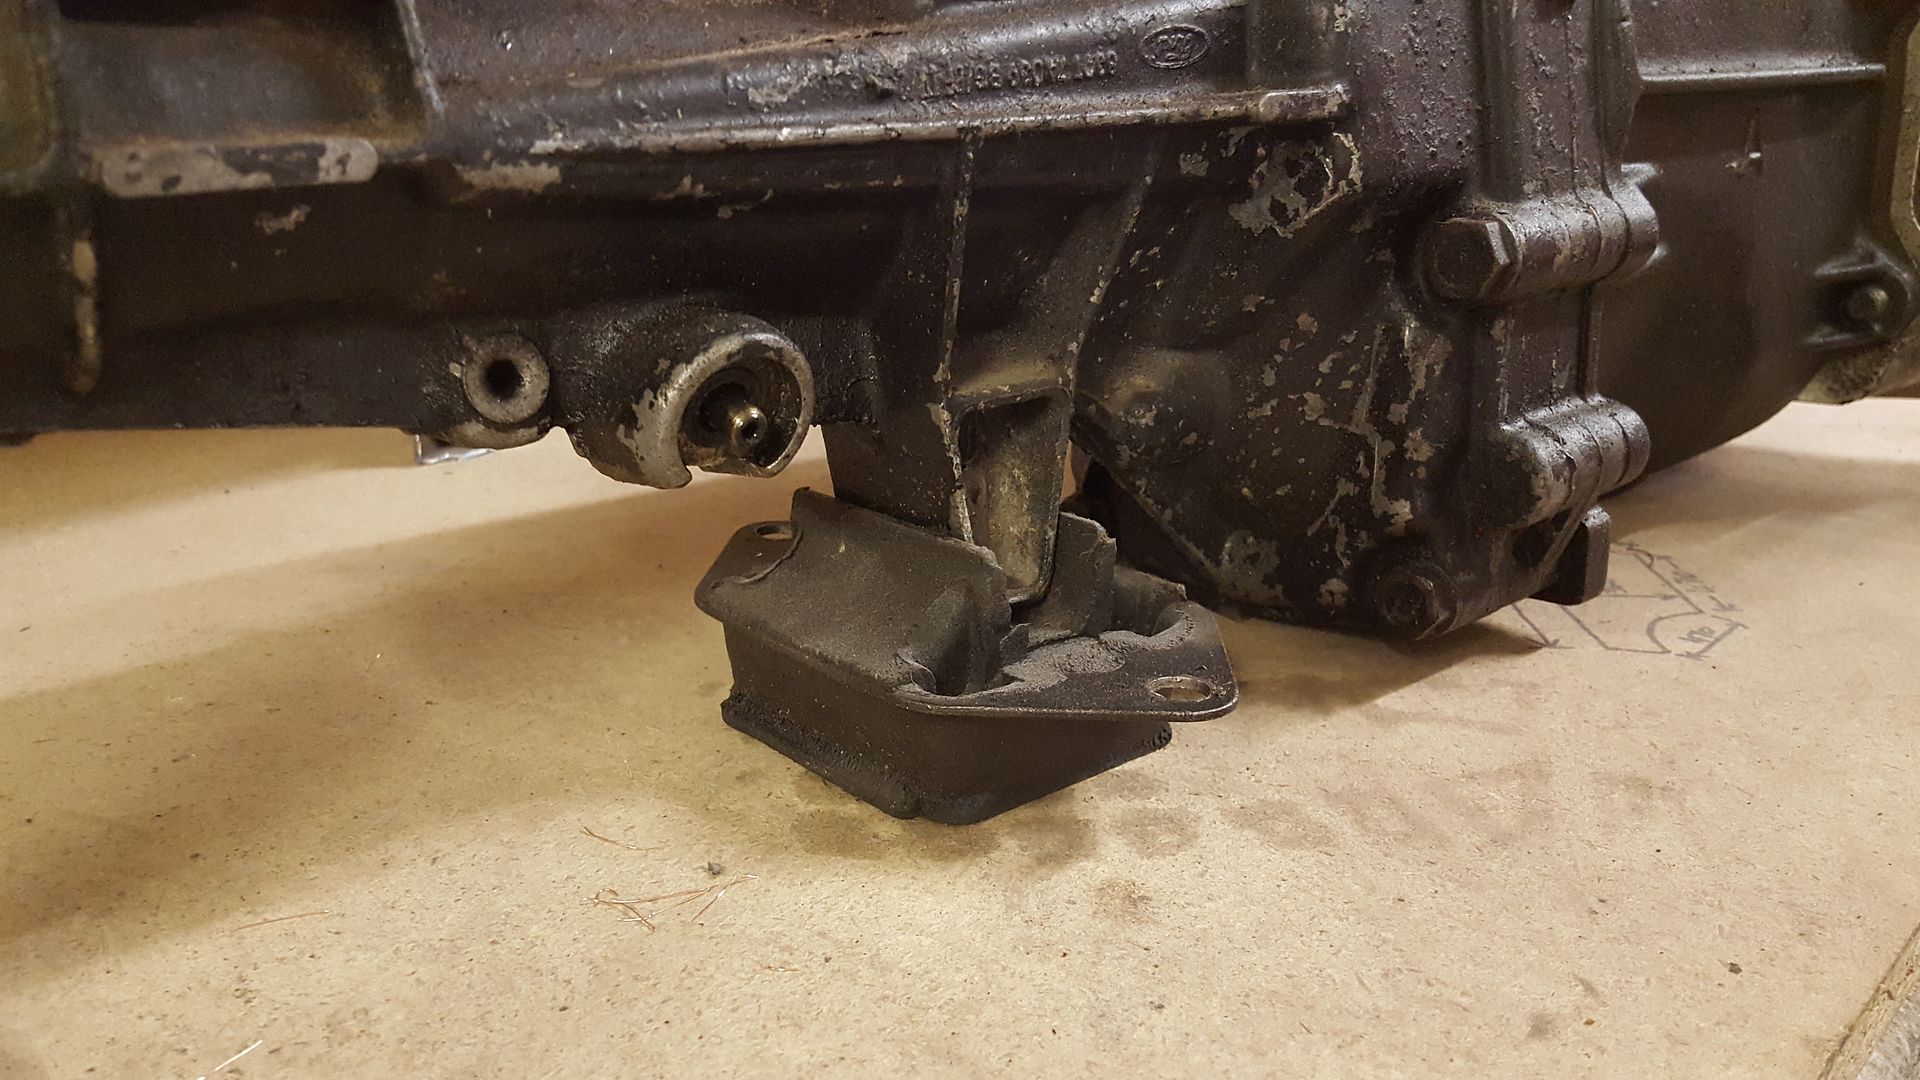
dug out the sierra cosworth bellhousing, transmission mount and clutch fork too and got scrubbing!
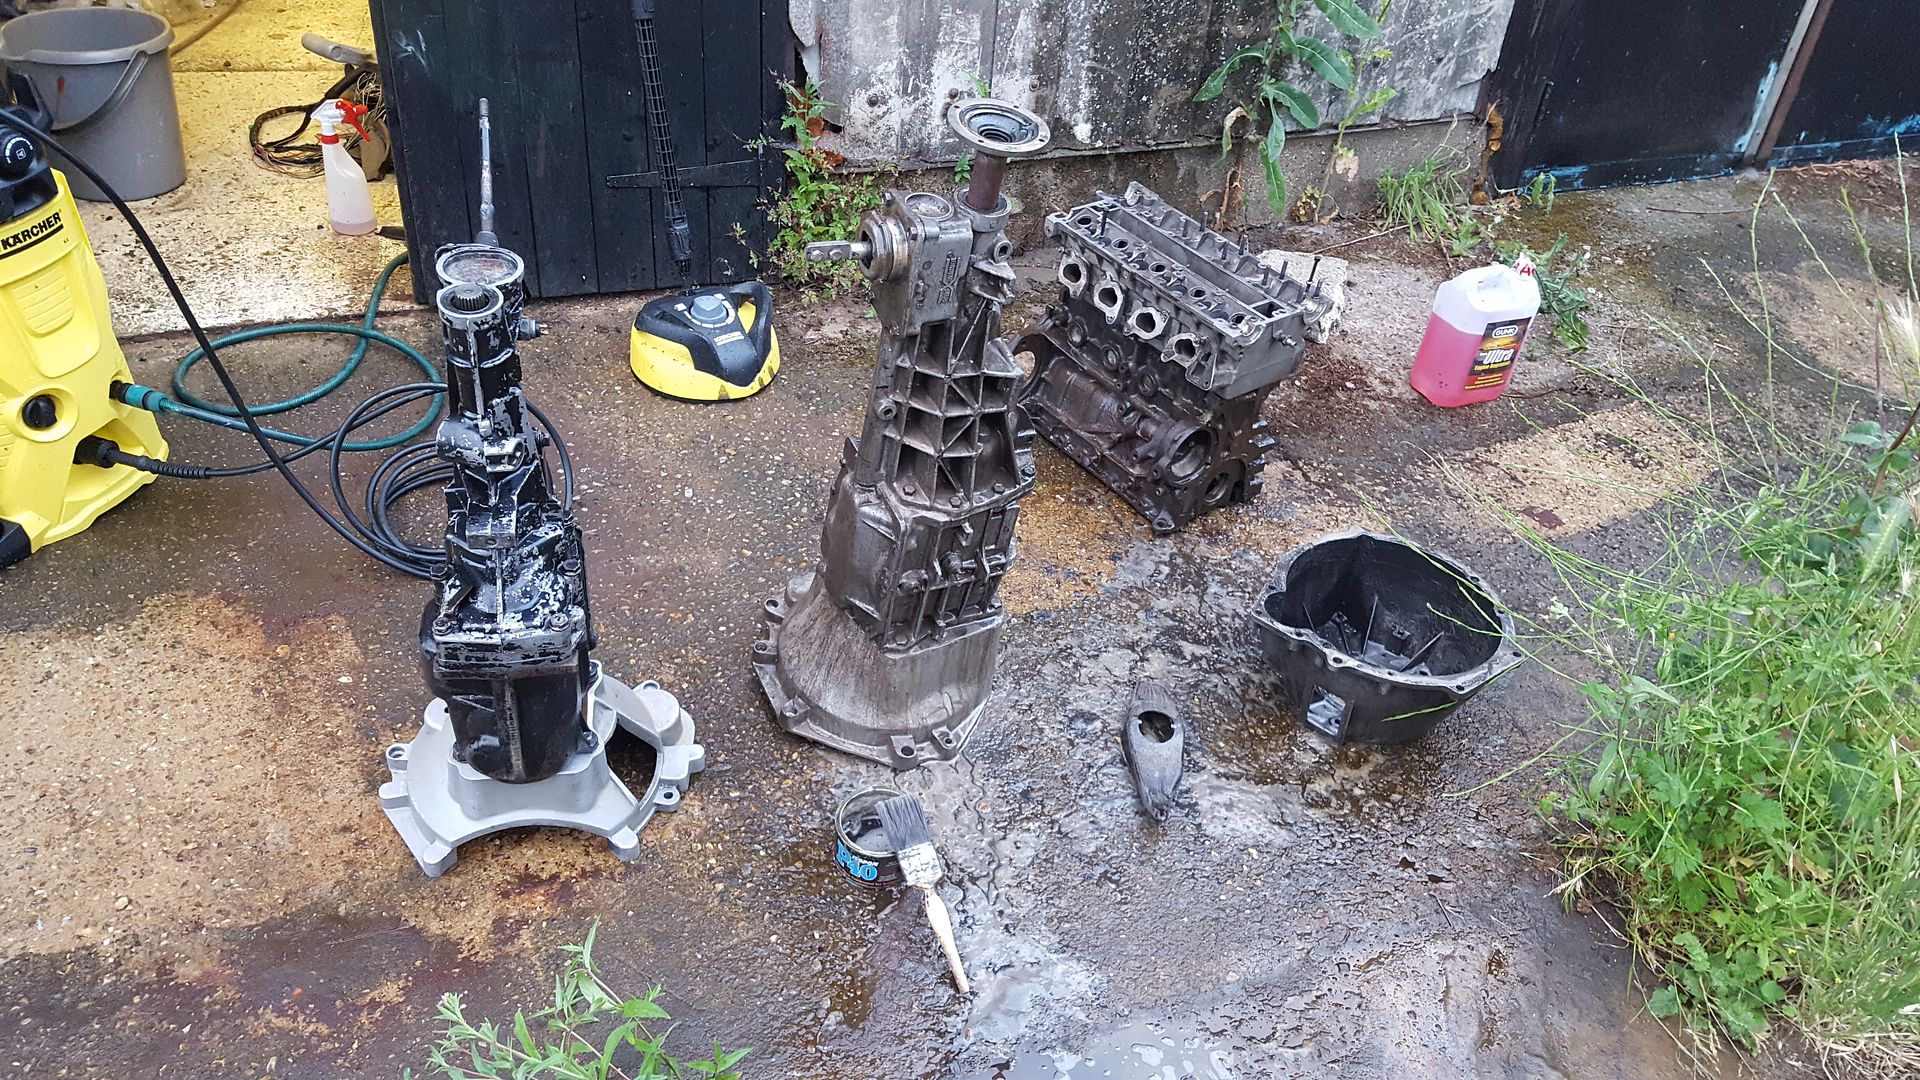
all came up like new genuine cosworth oil is a great preserver! hope it hasn't knocked the value by washing it off 
even the vauxhall oil did ok!
actually got a c20let block and COSCAST head, but both no good.
so ford stuff all pretty much ready for eBay unless anyone needs one?
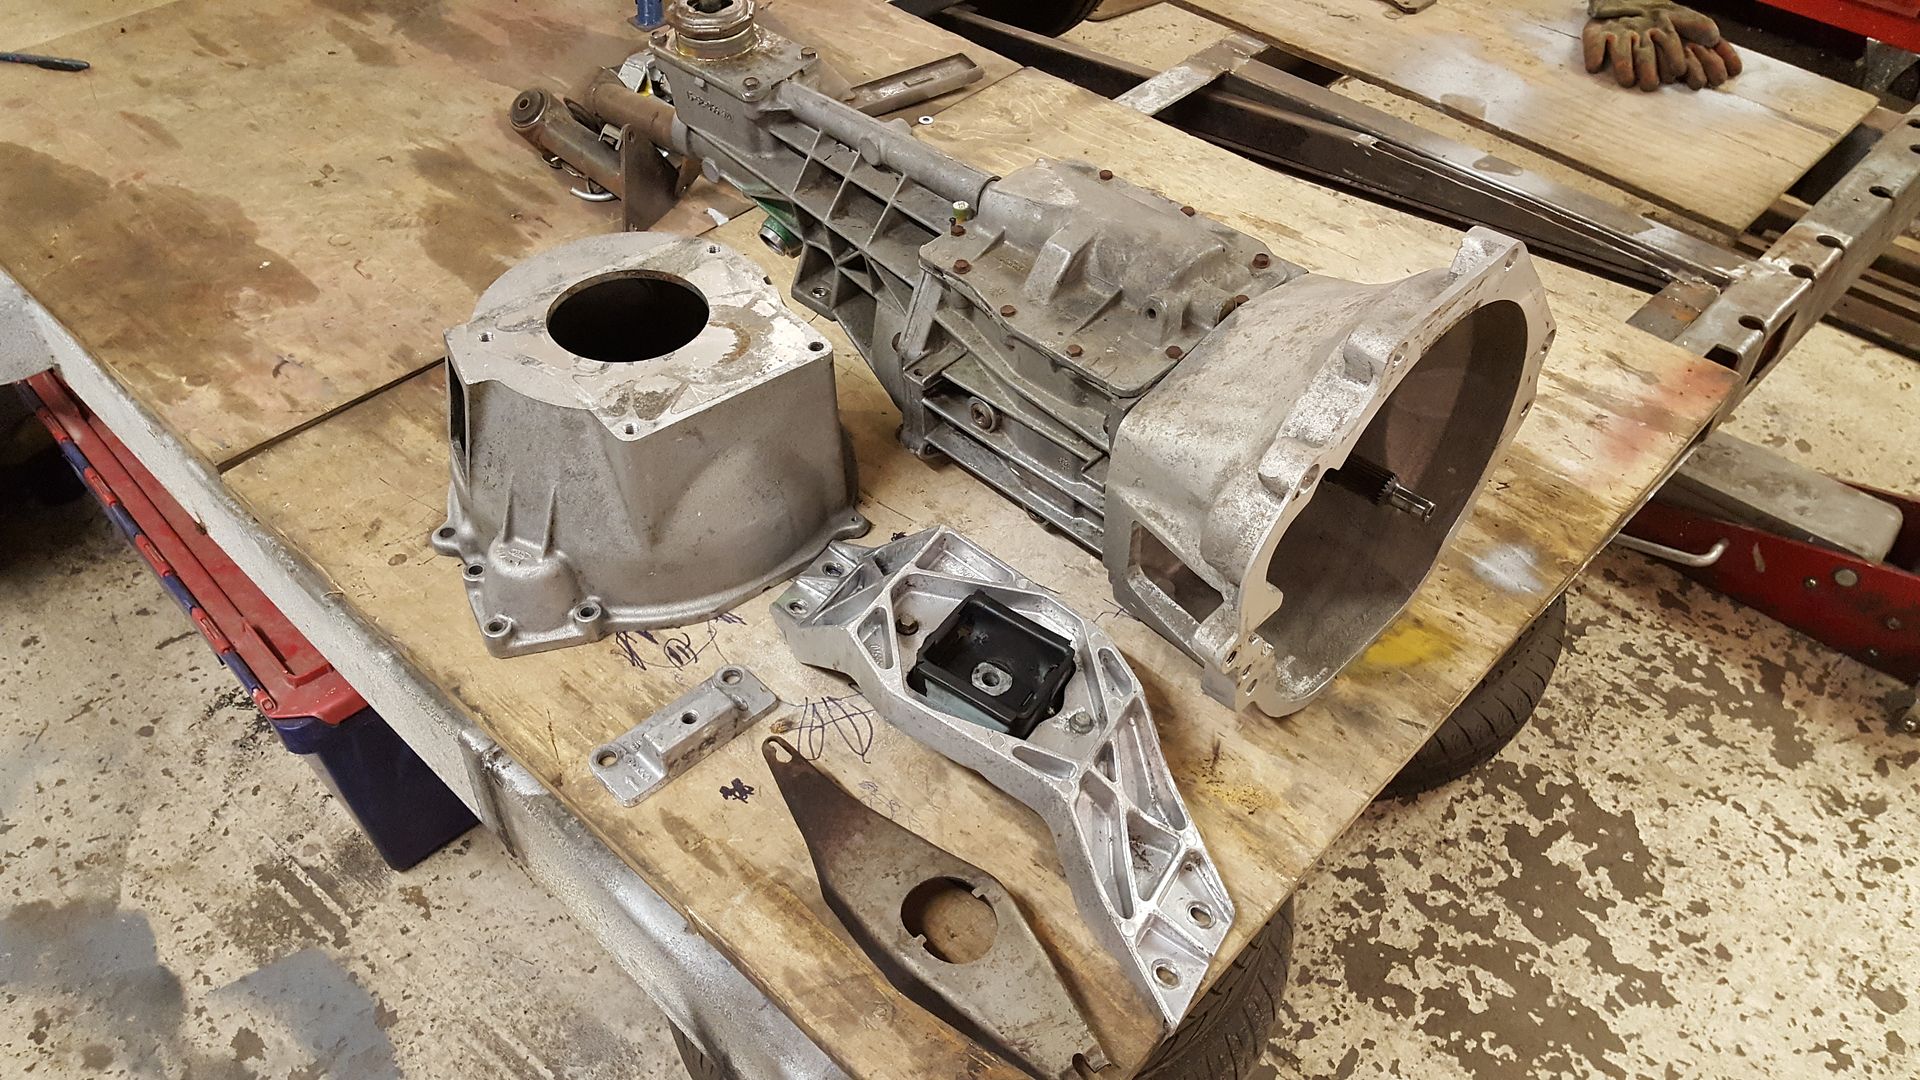
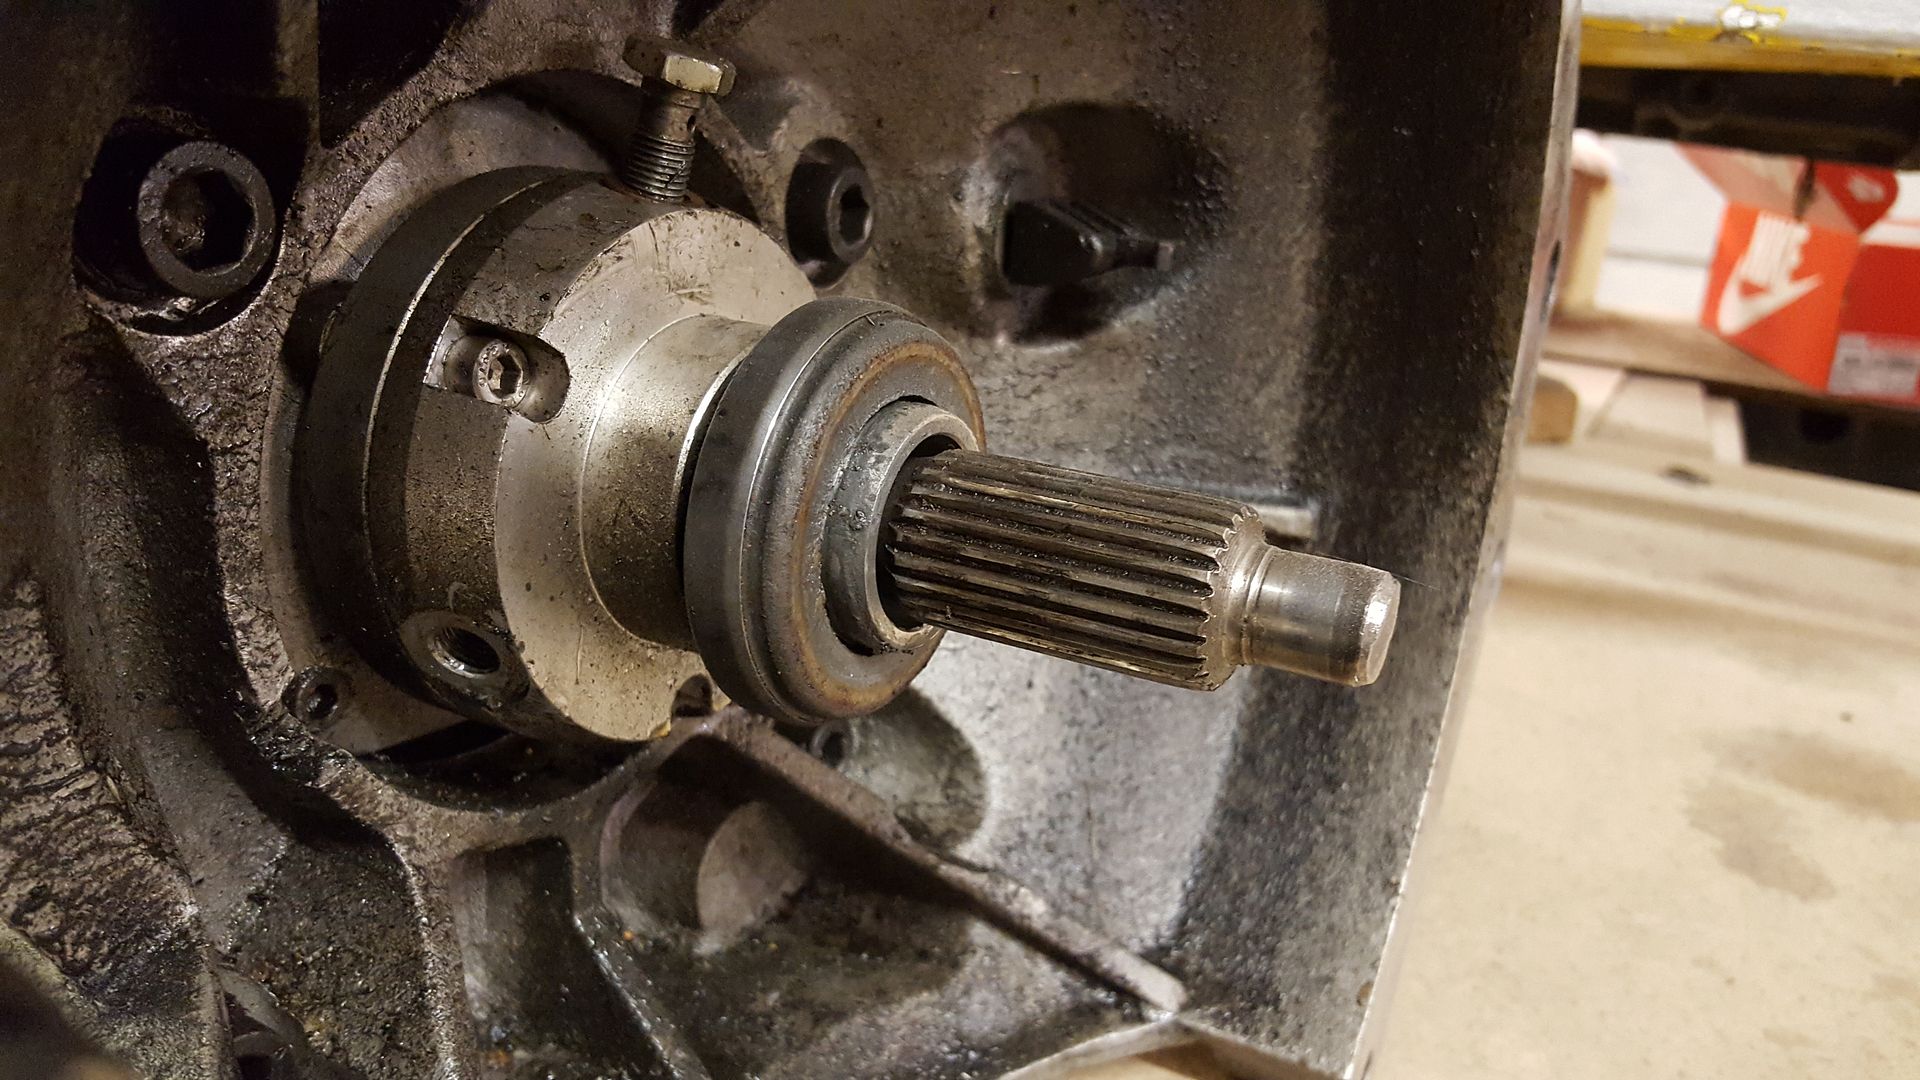
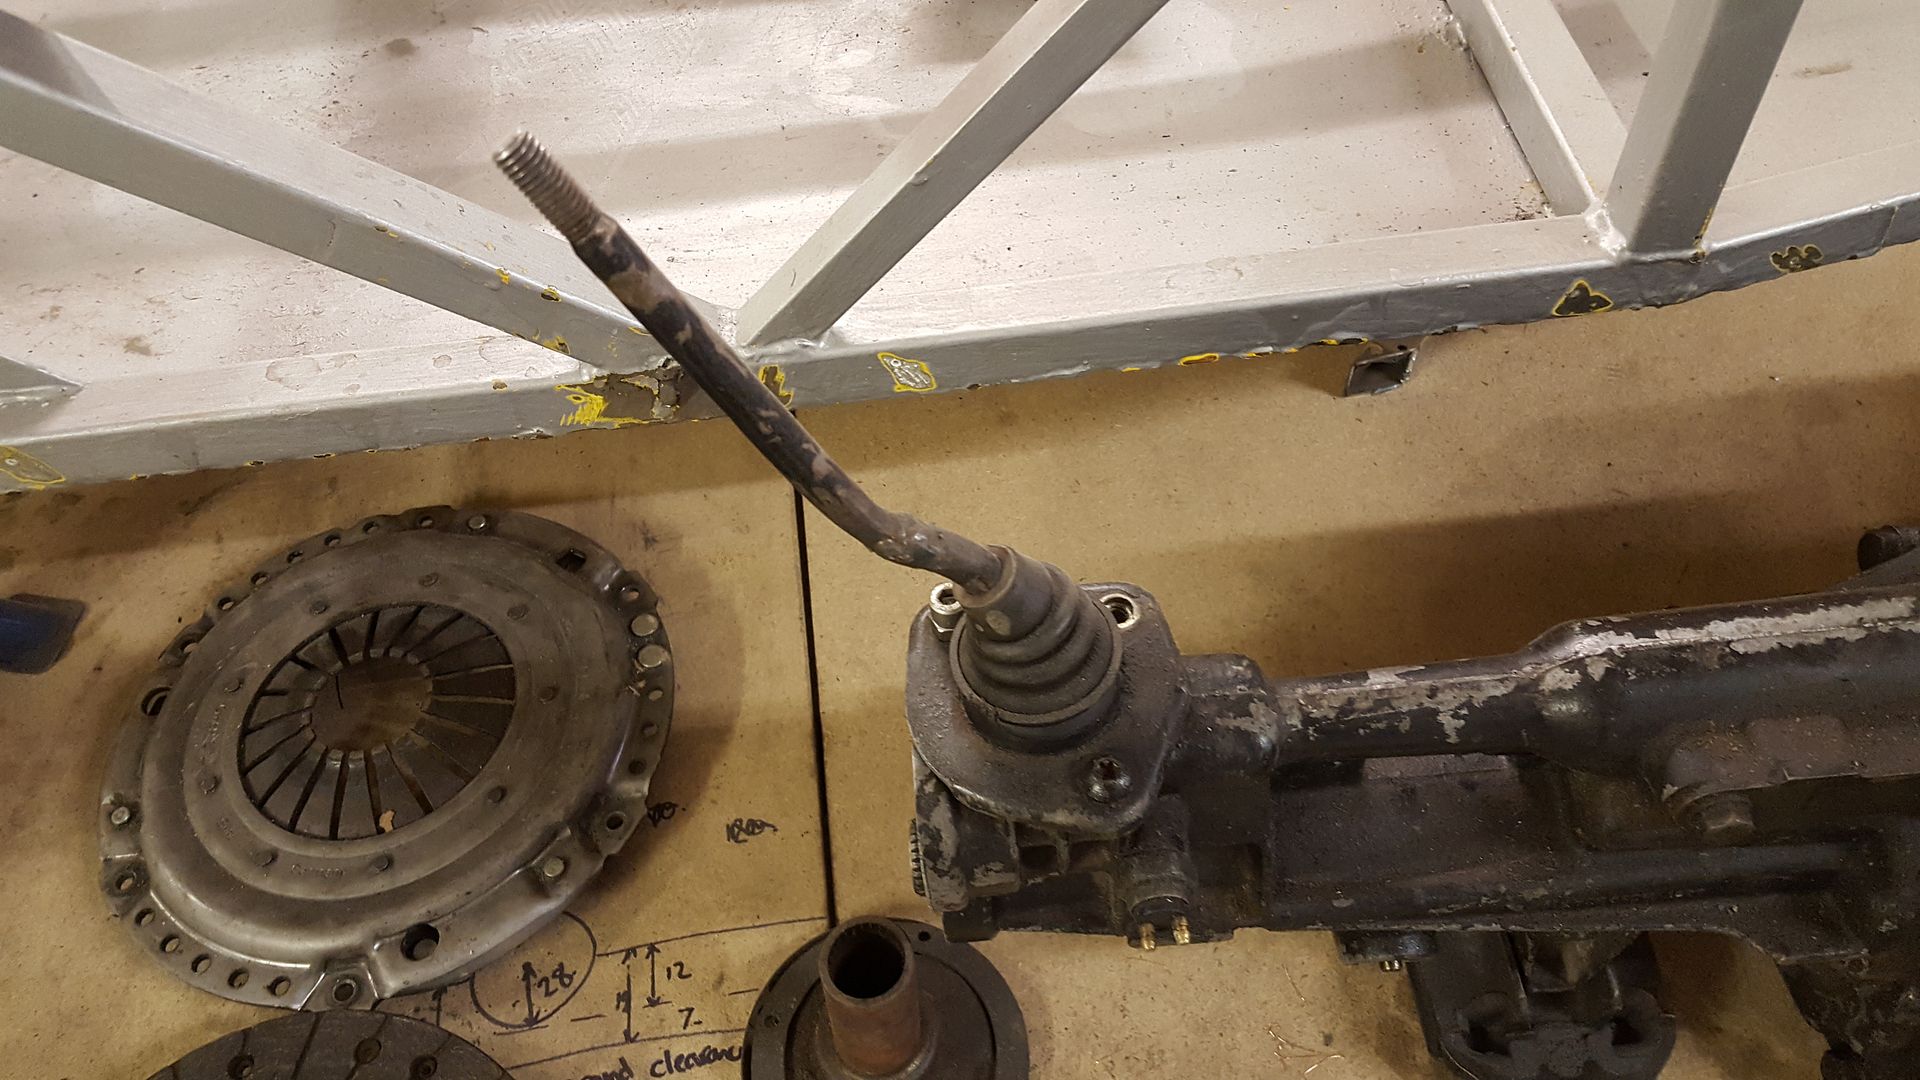
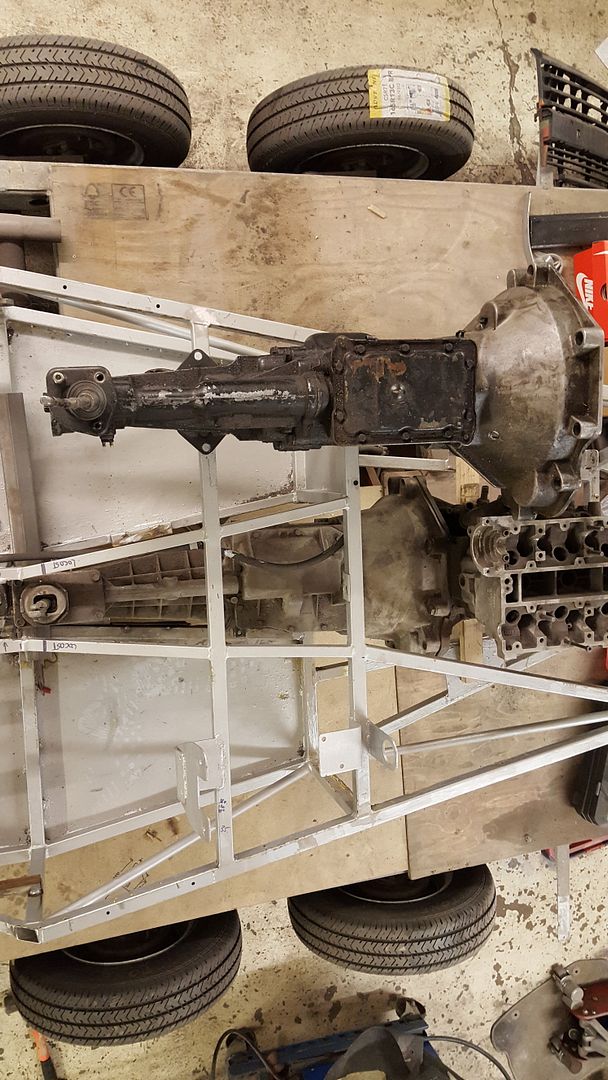
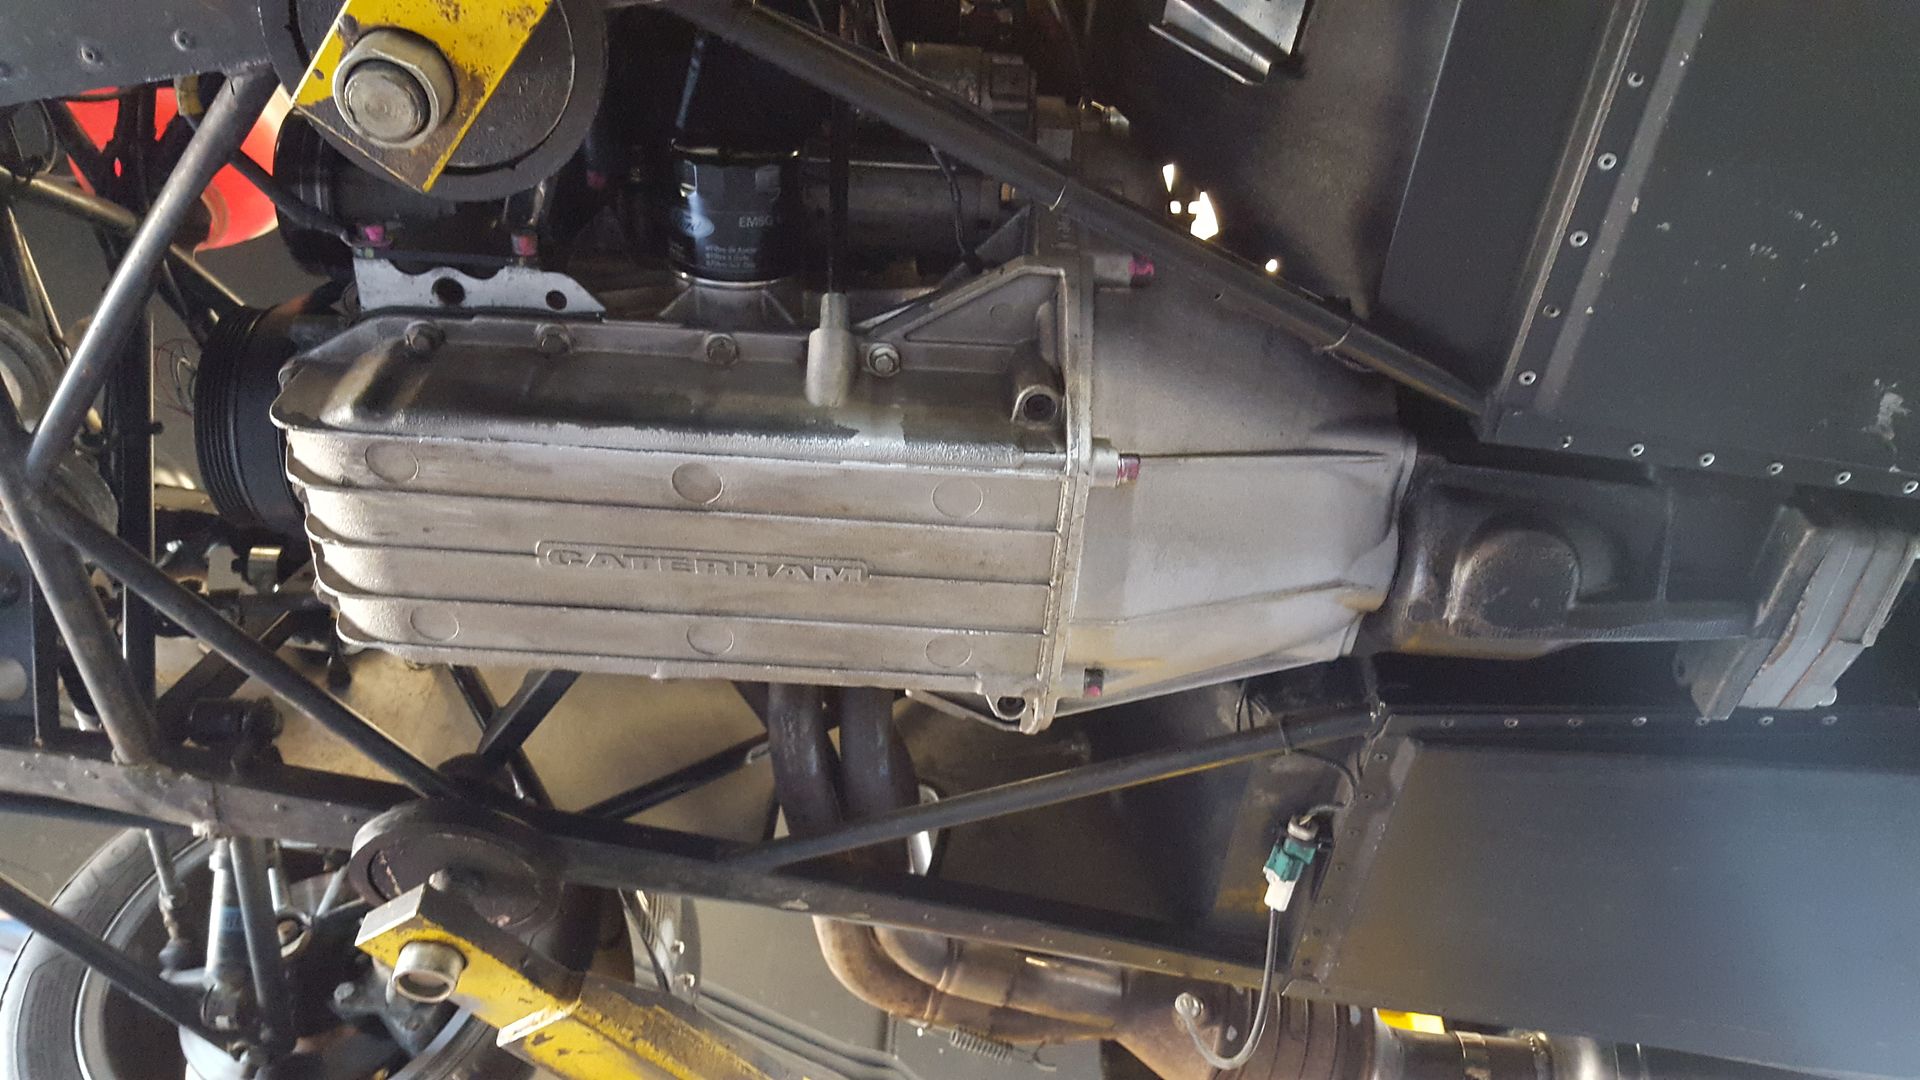
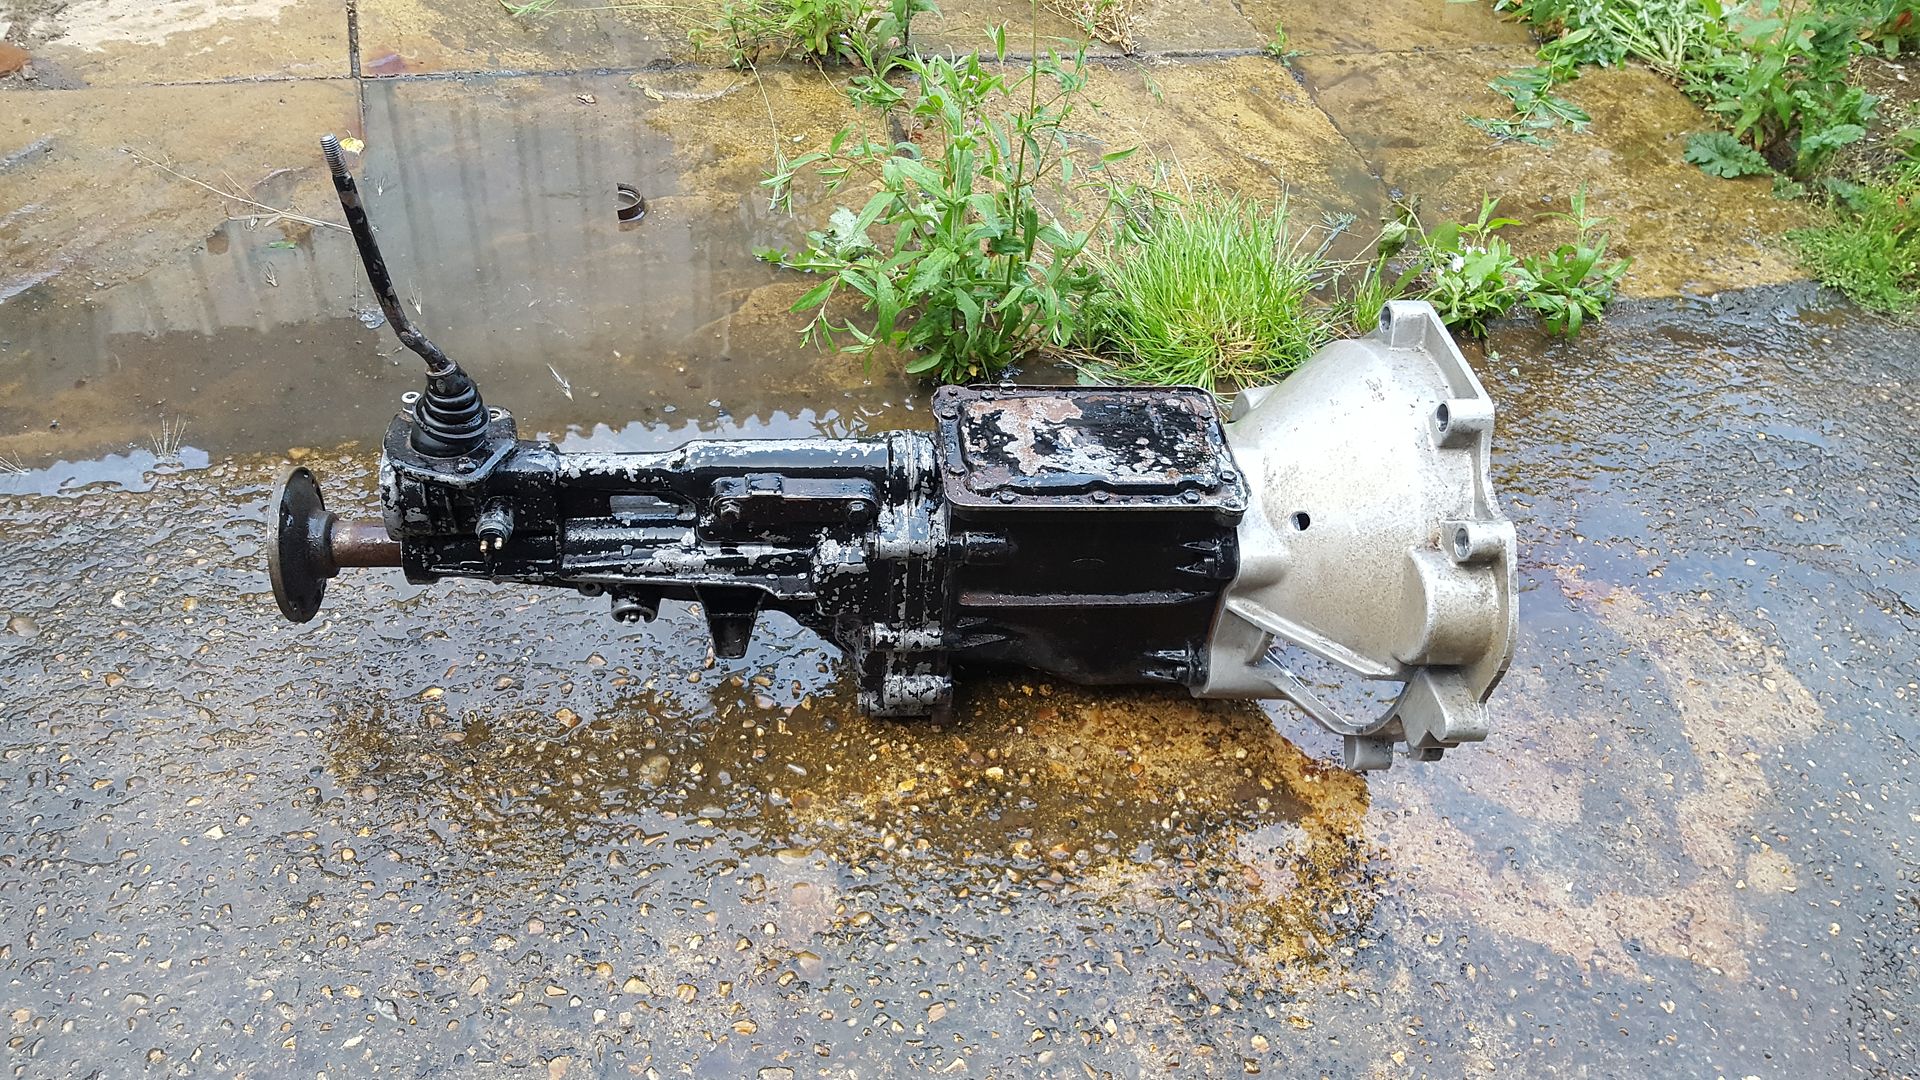
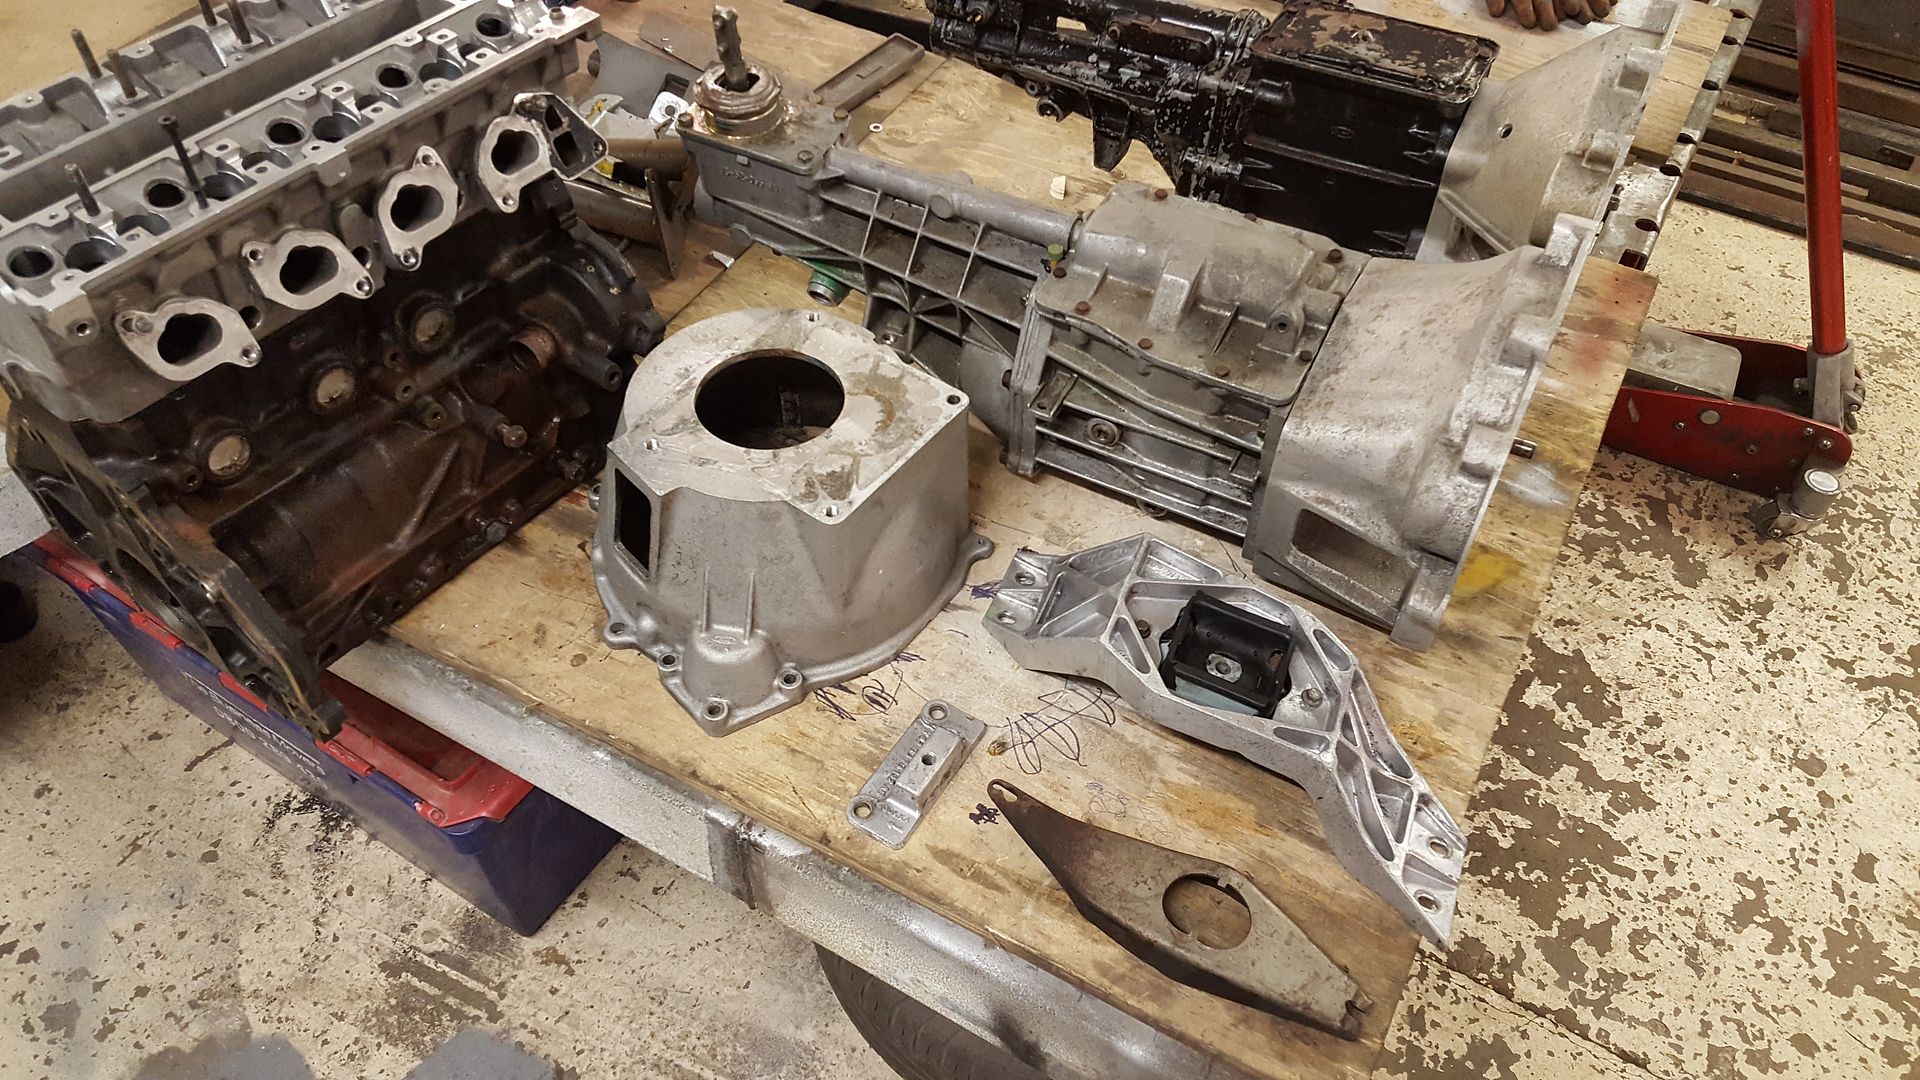
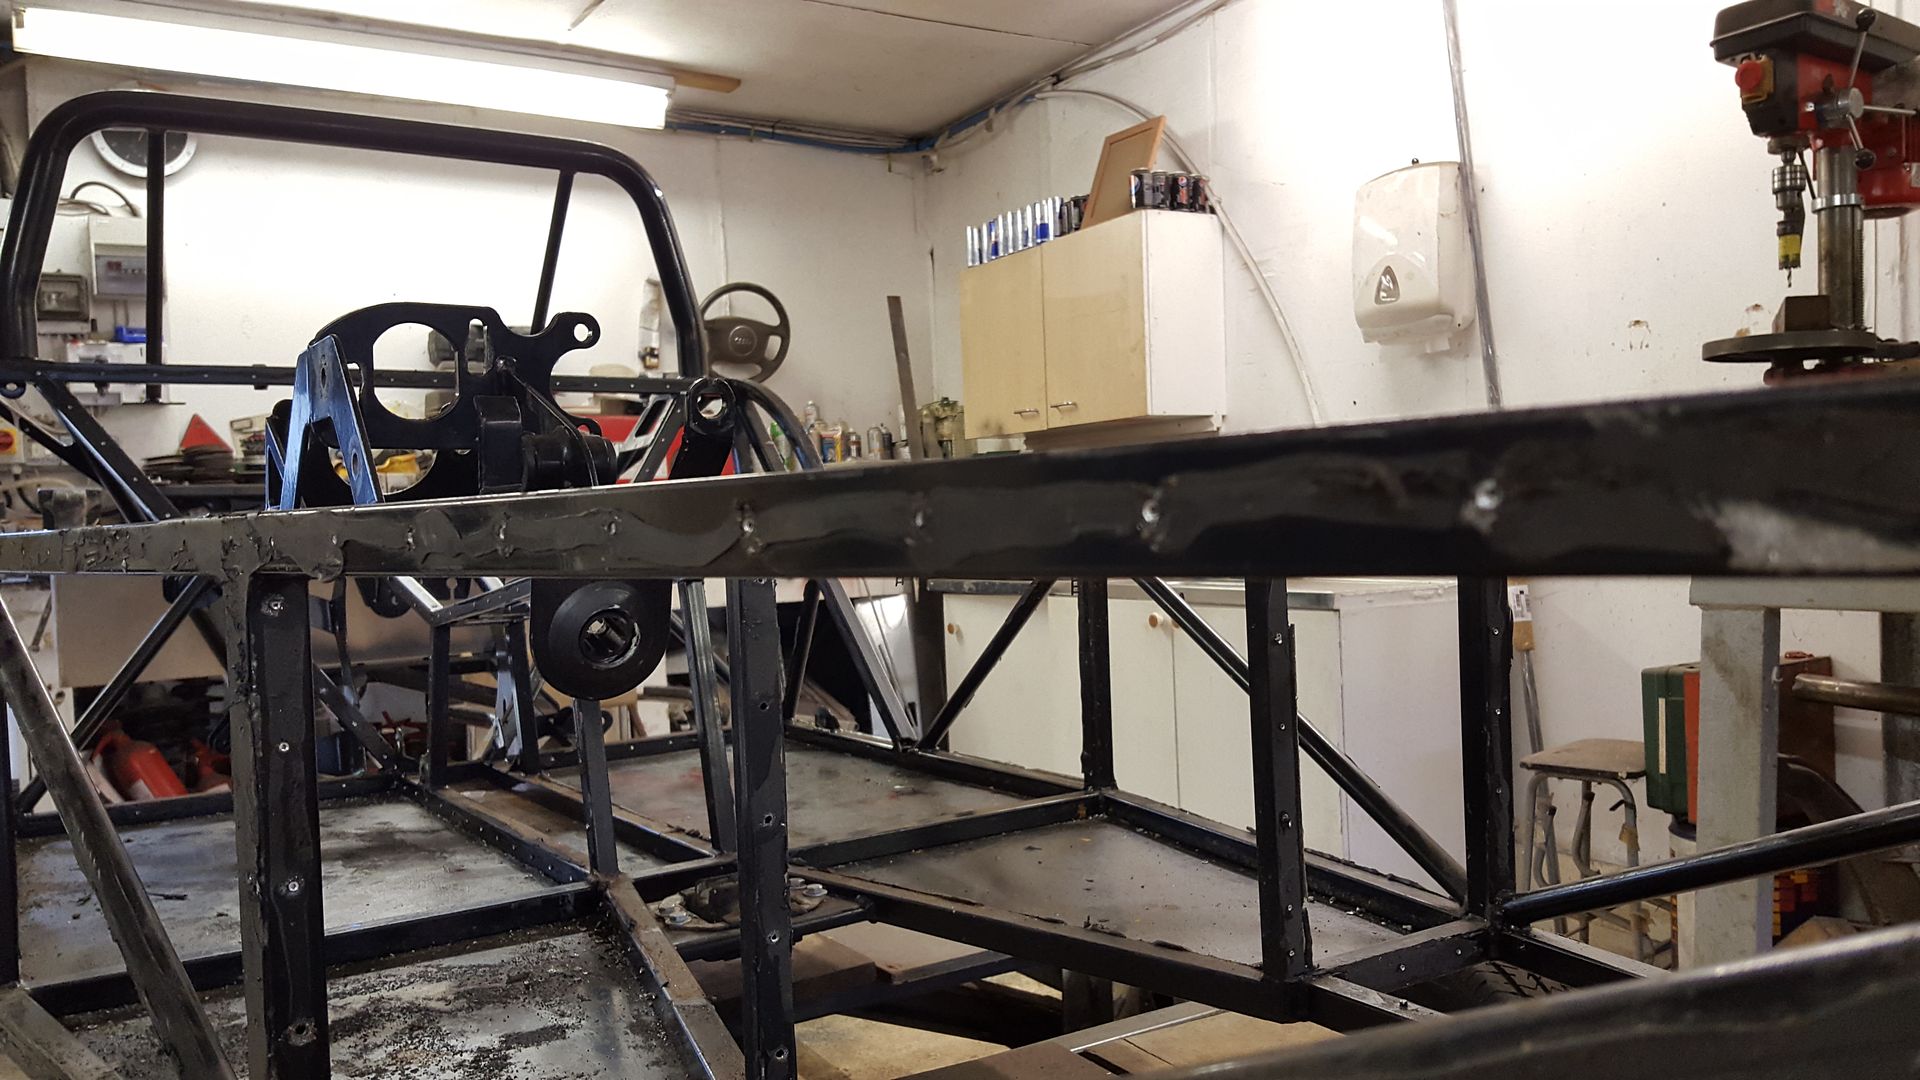
the difference between the T5 and type 9 is now apparent! no wonder it was a squeeze!

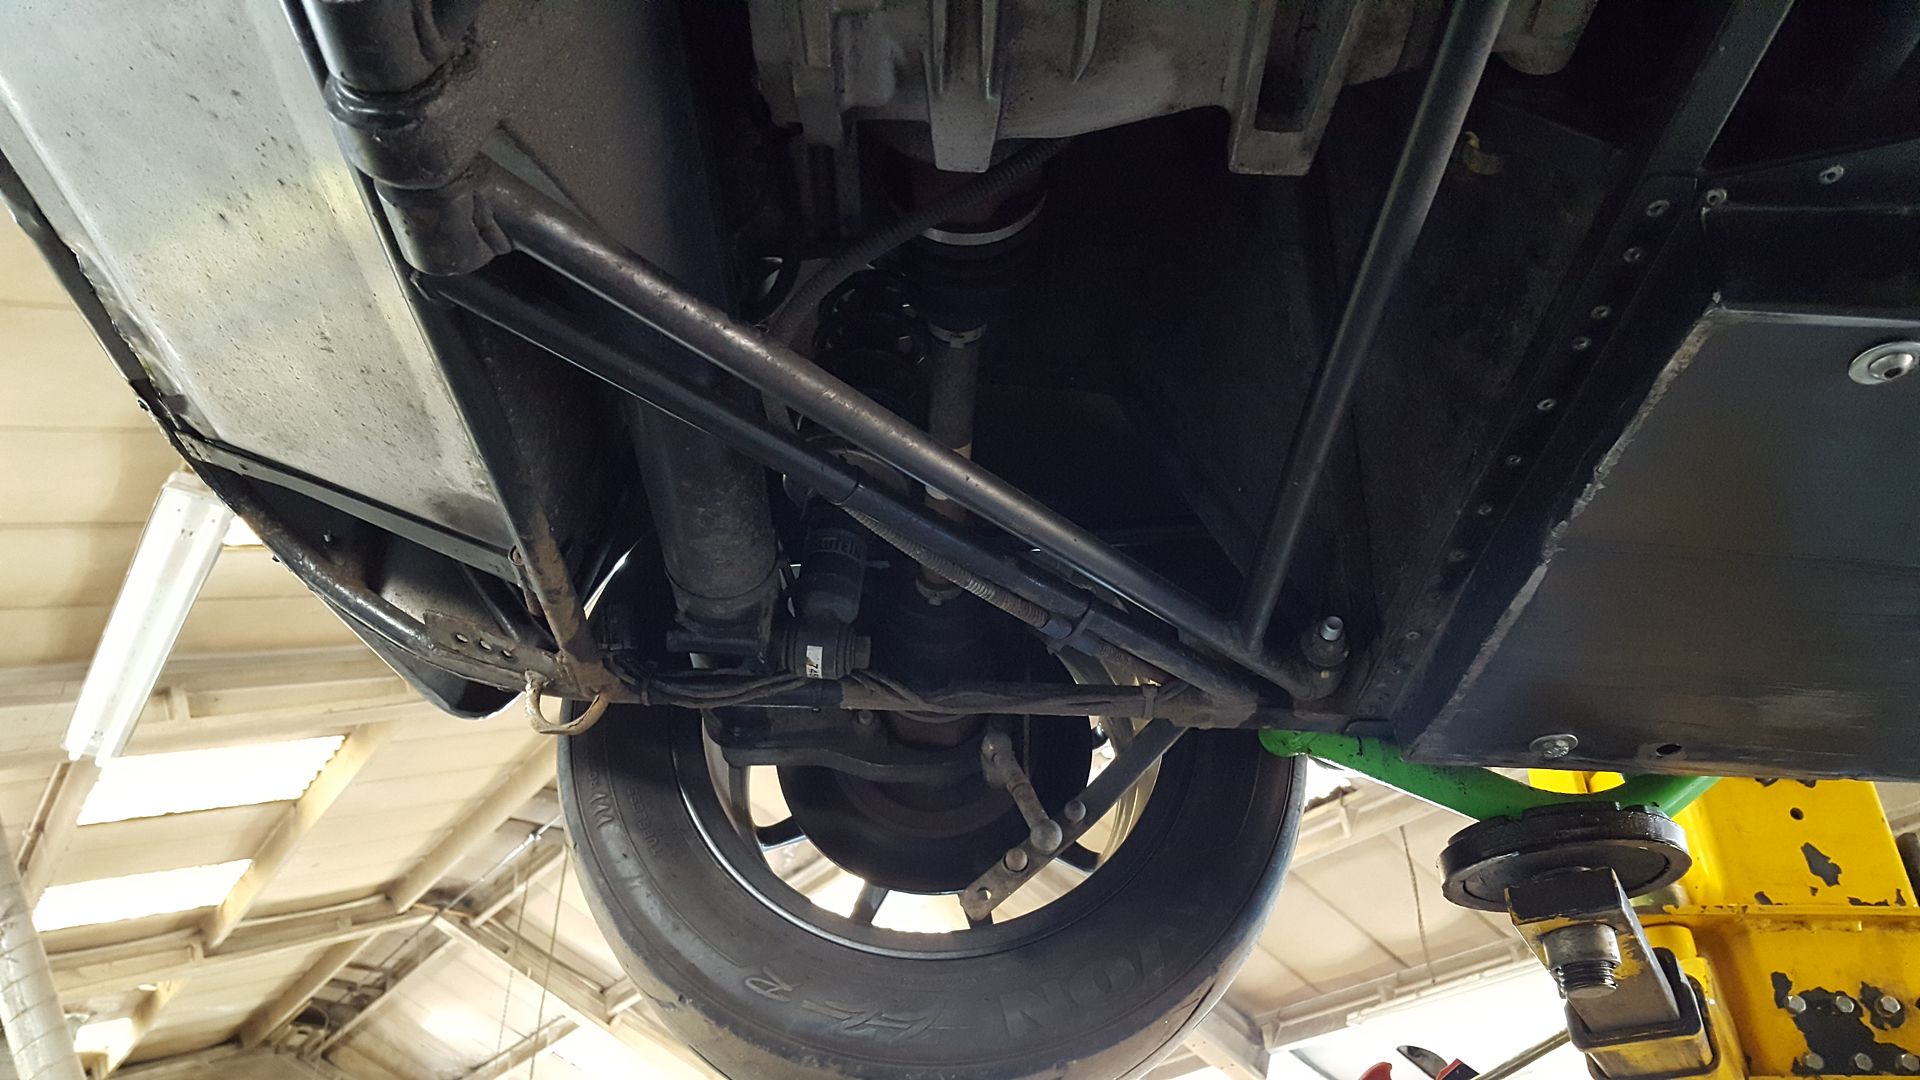
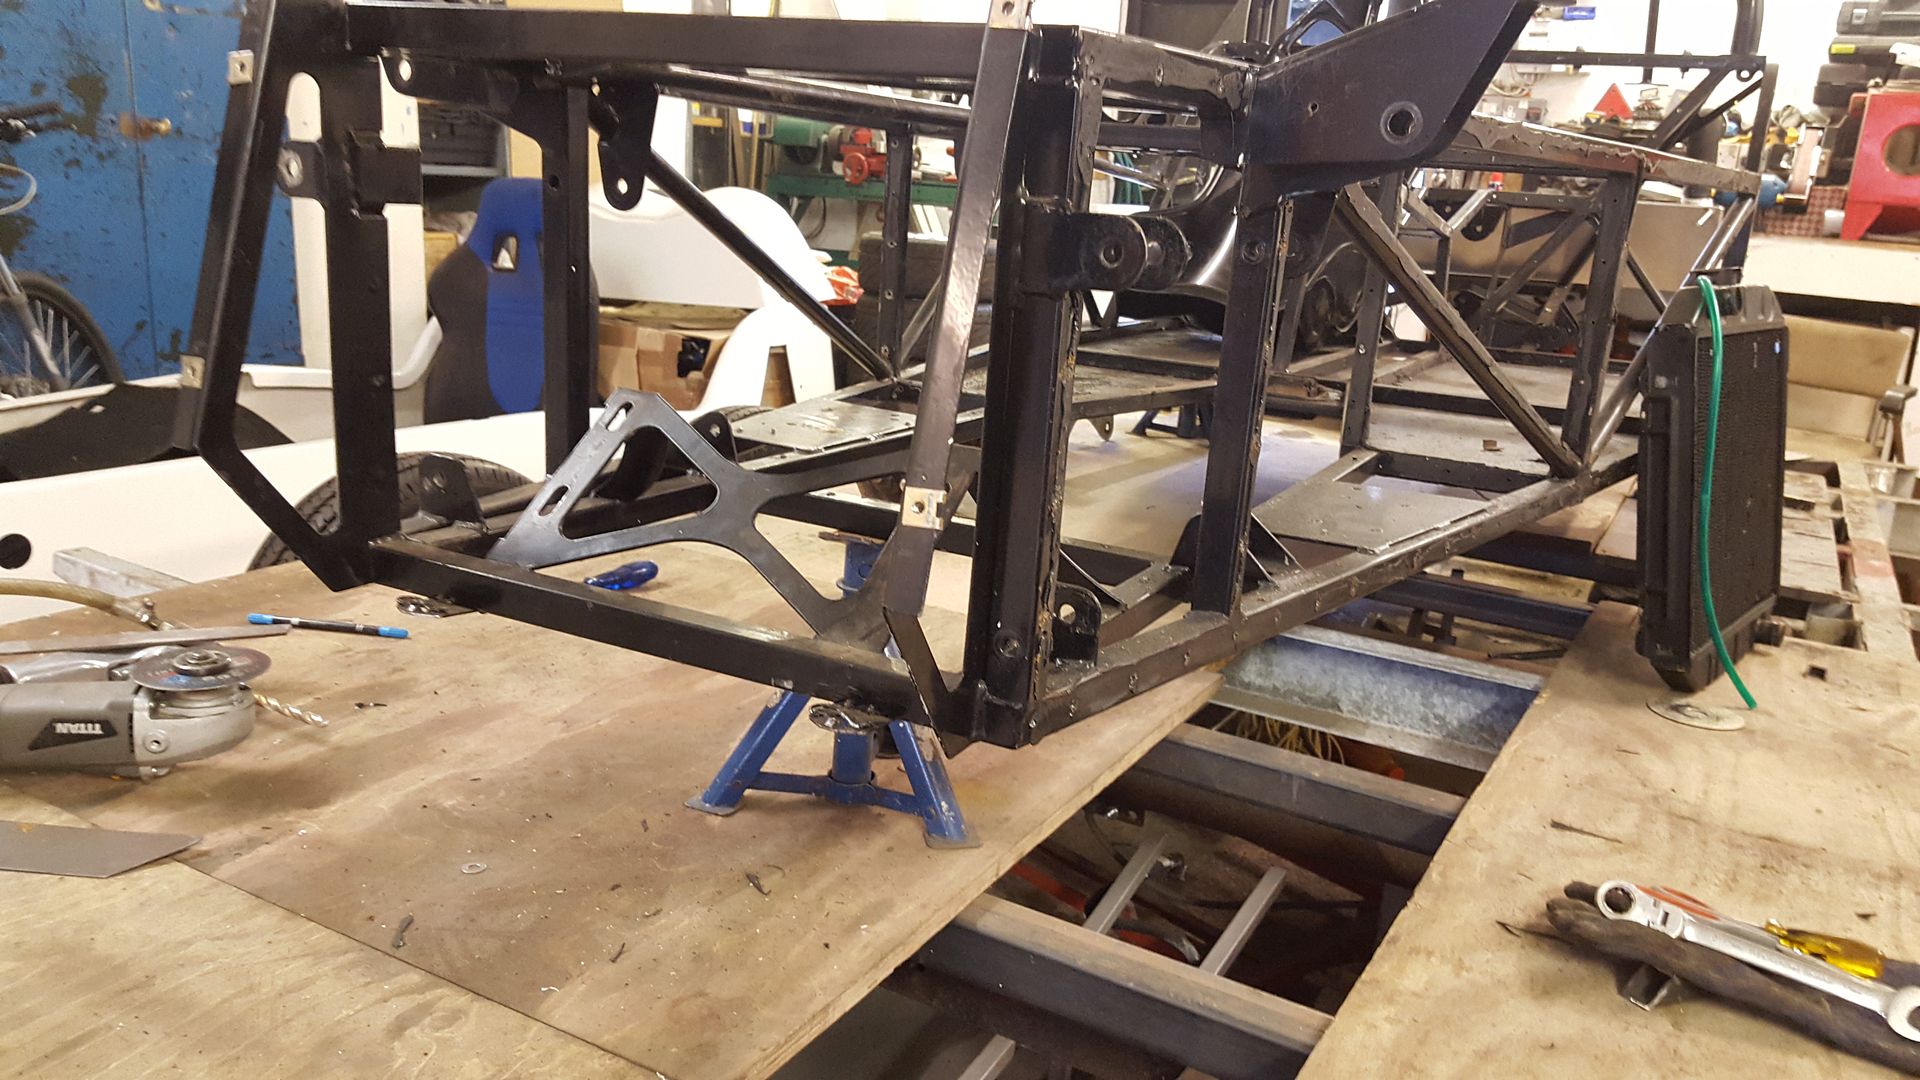
so put the mock up c20 back in with the new Type 9 and as the chassis already had a type 9 in it mounted before I bought it I put the mount it came
with back in the same place as a datum
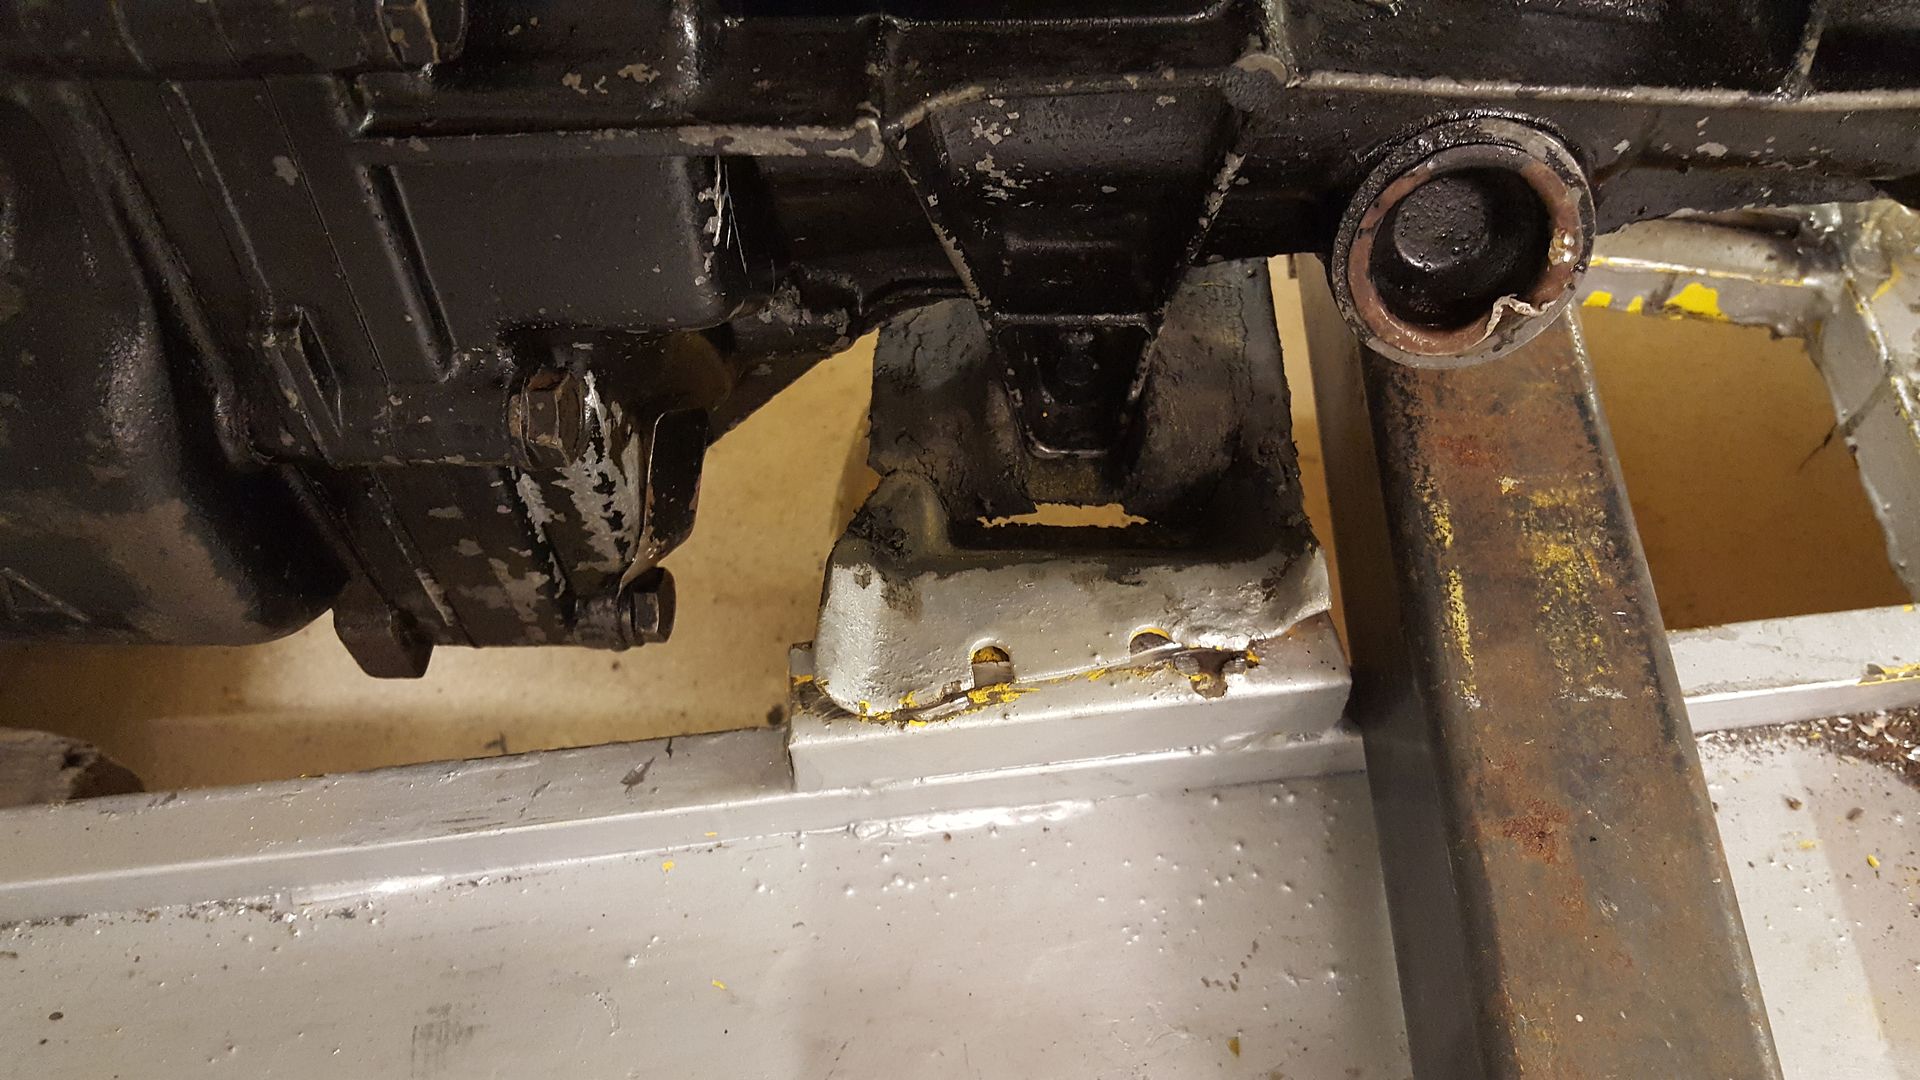
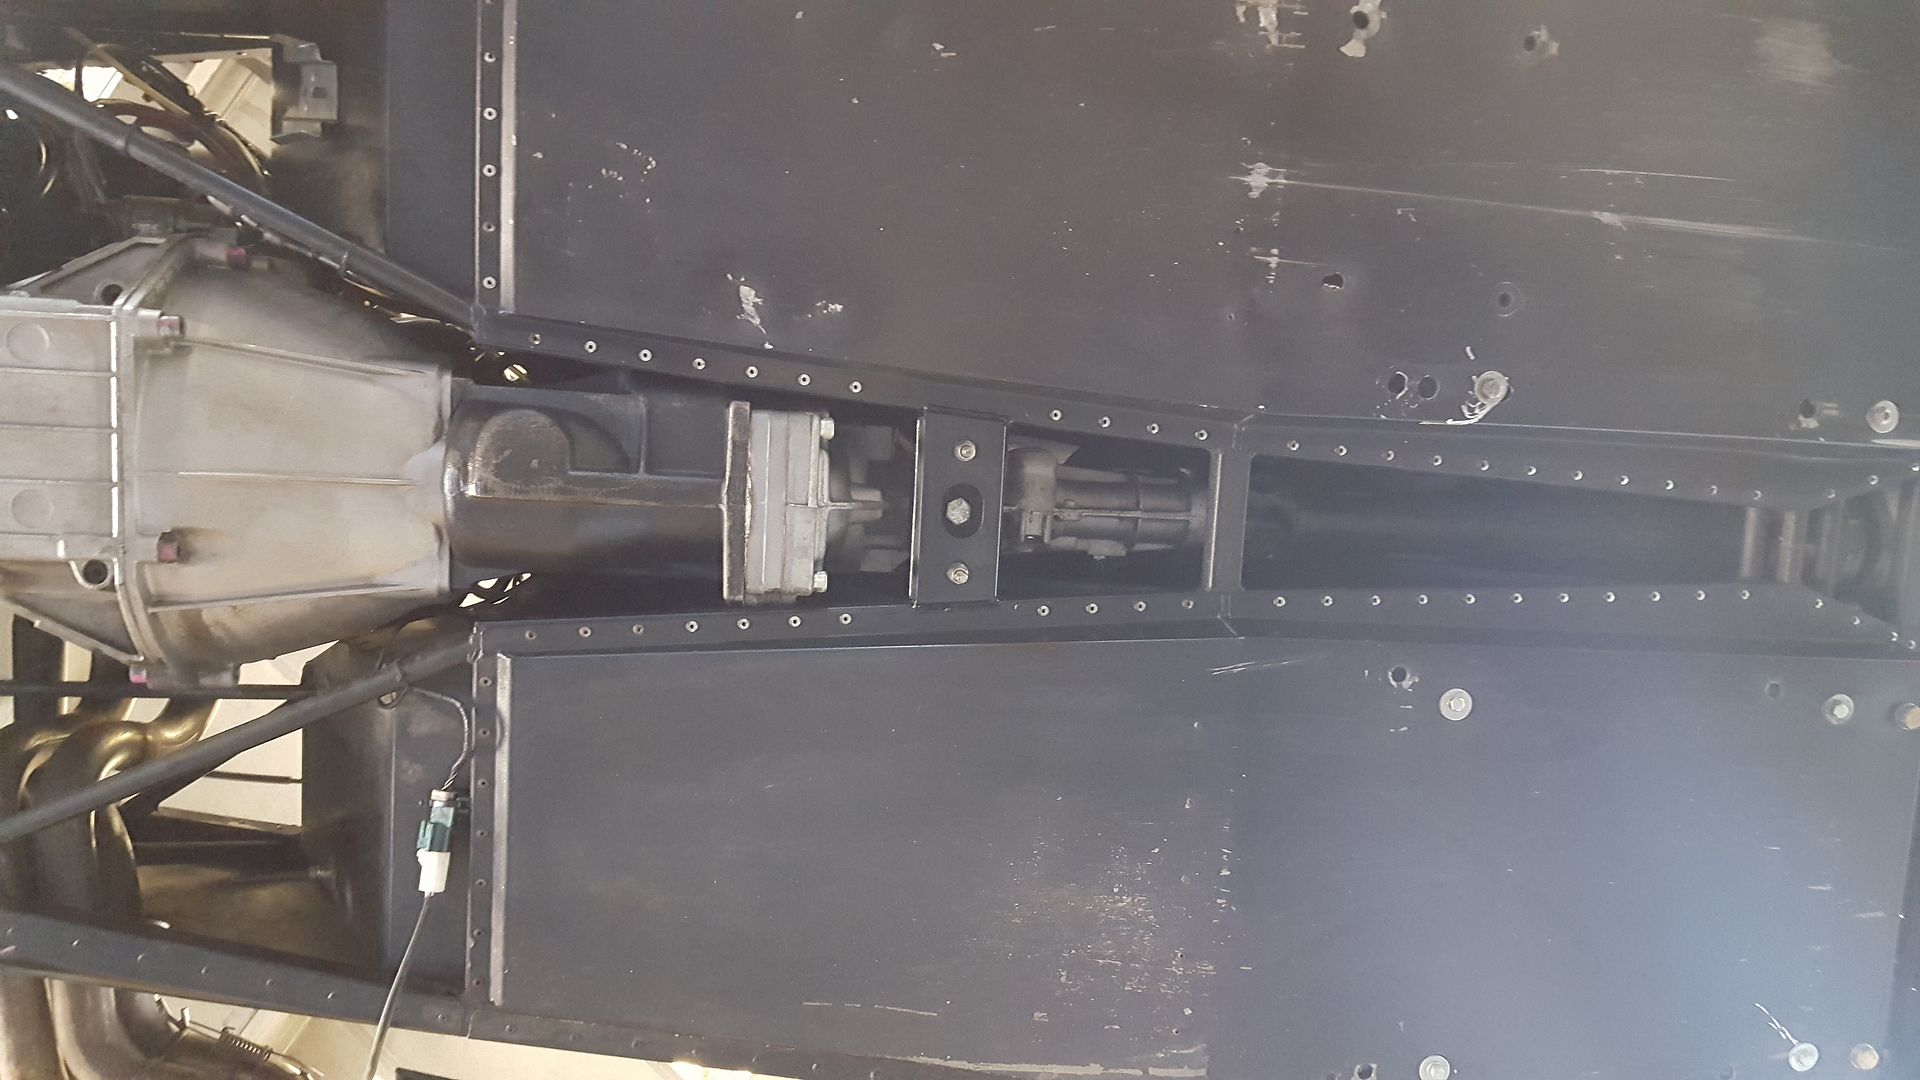
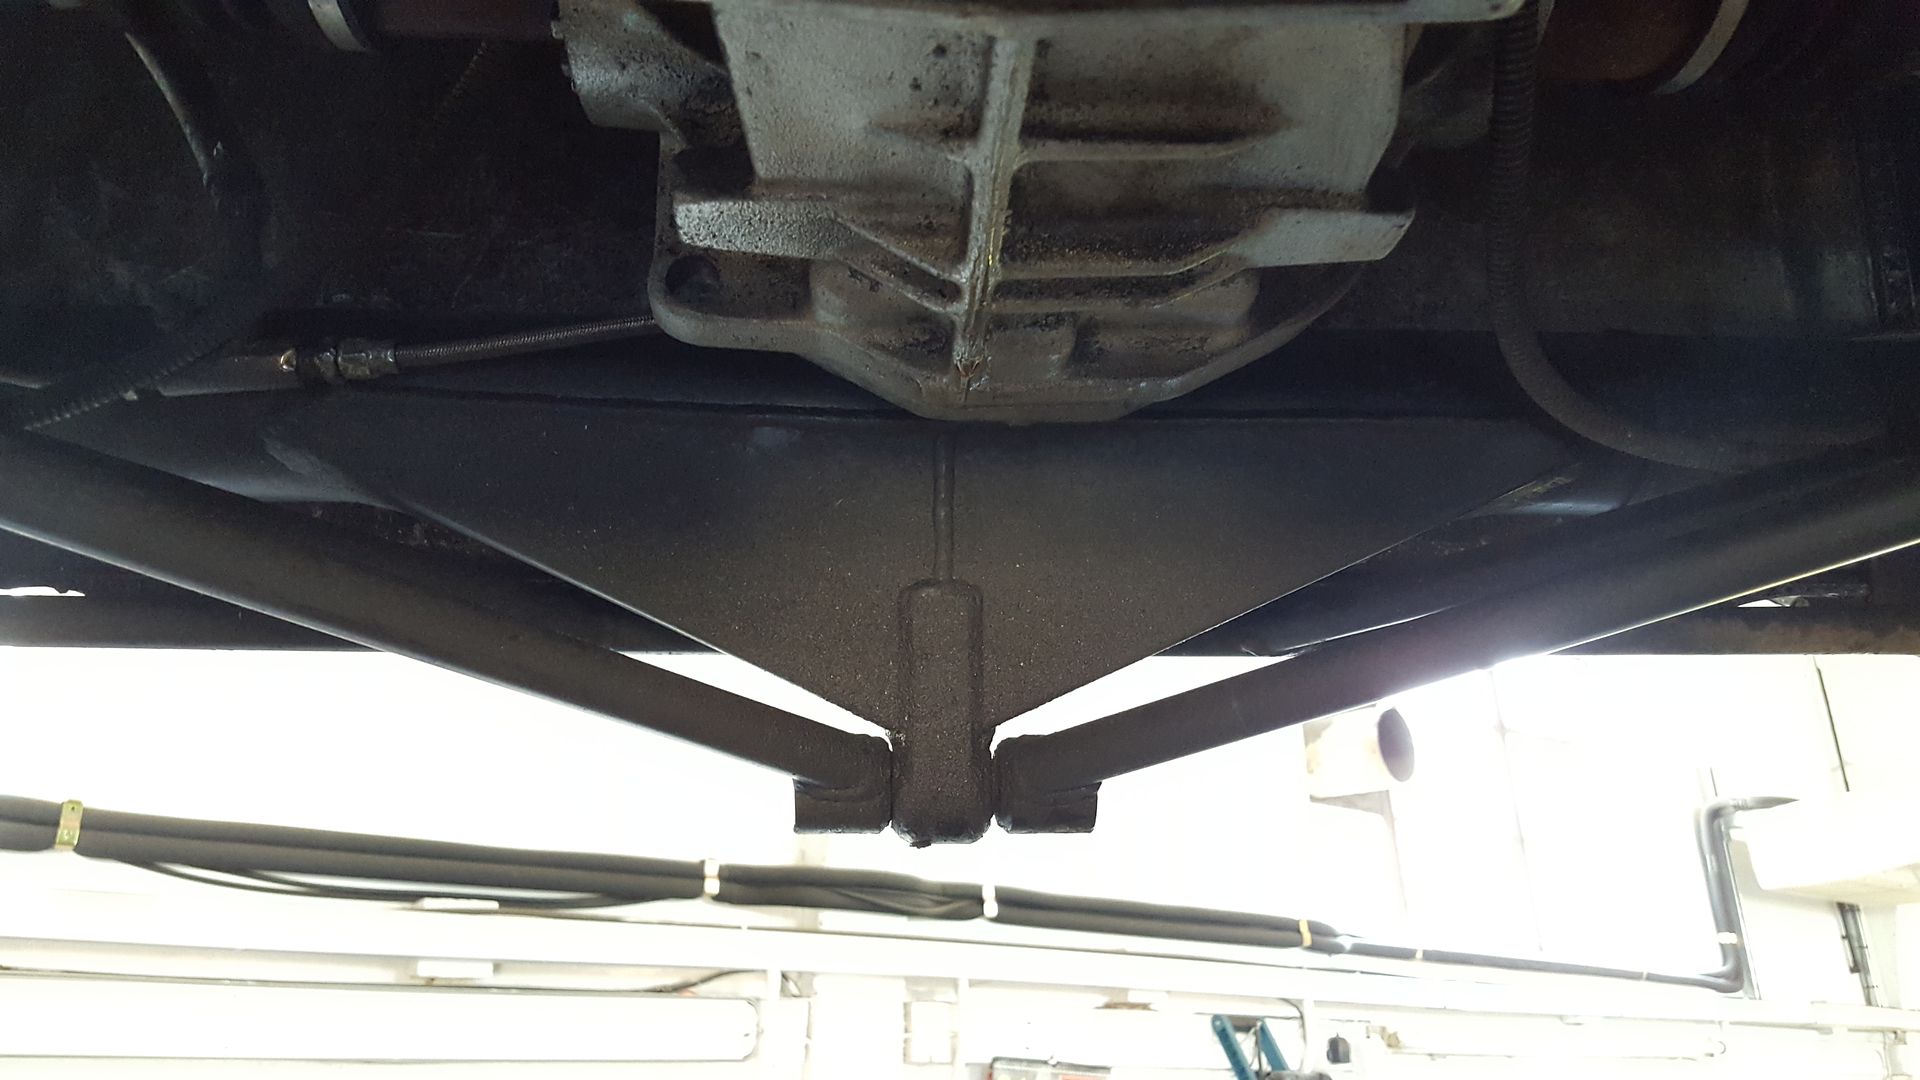
but this left loads of prop hanging out?? surely all of the clan bit of the prop should be in the tail section?
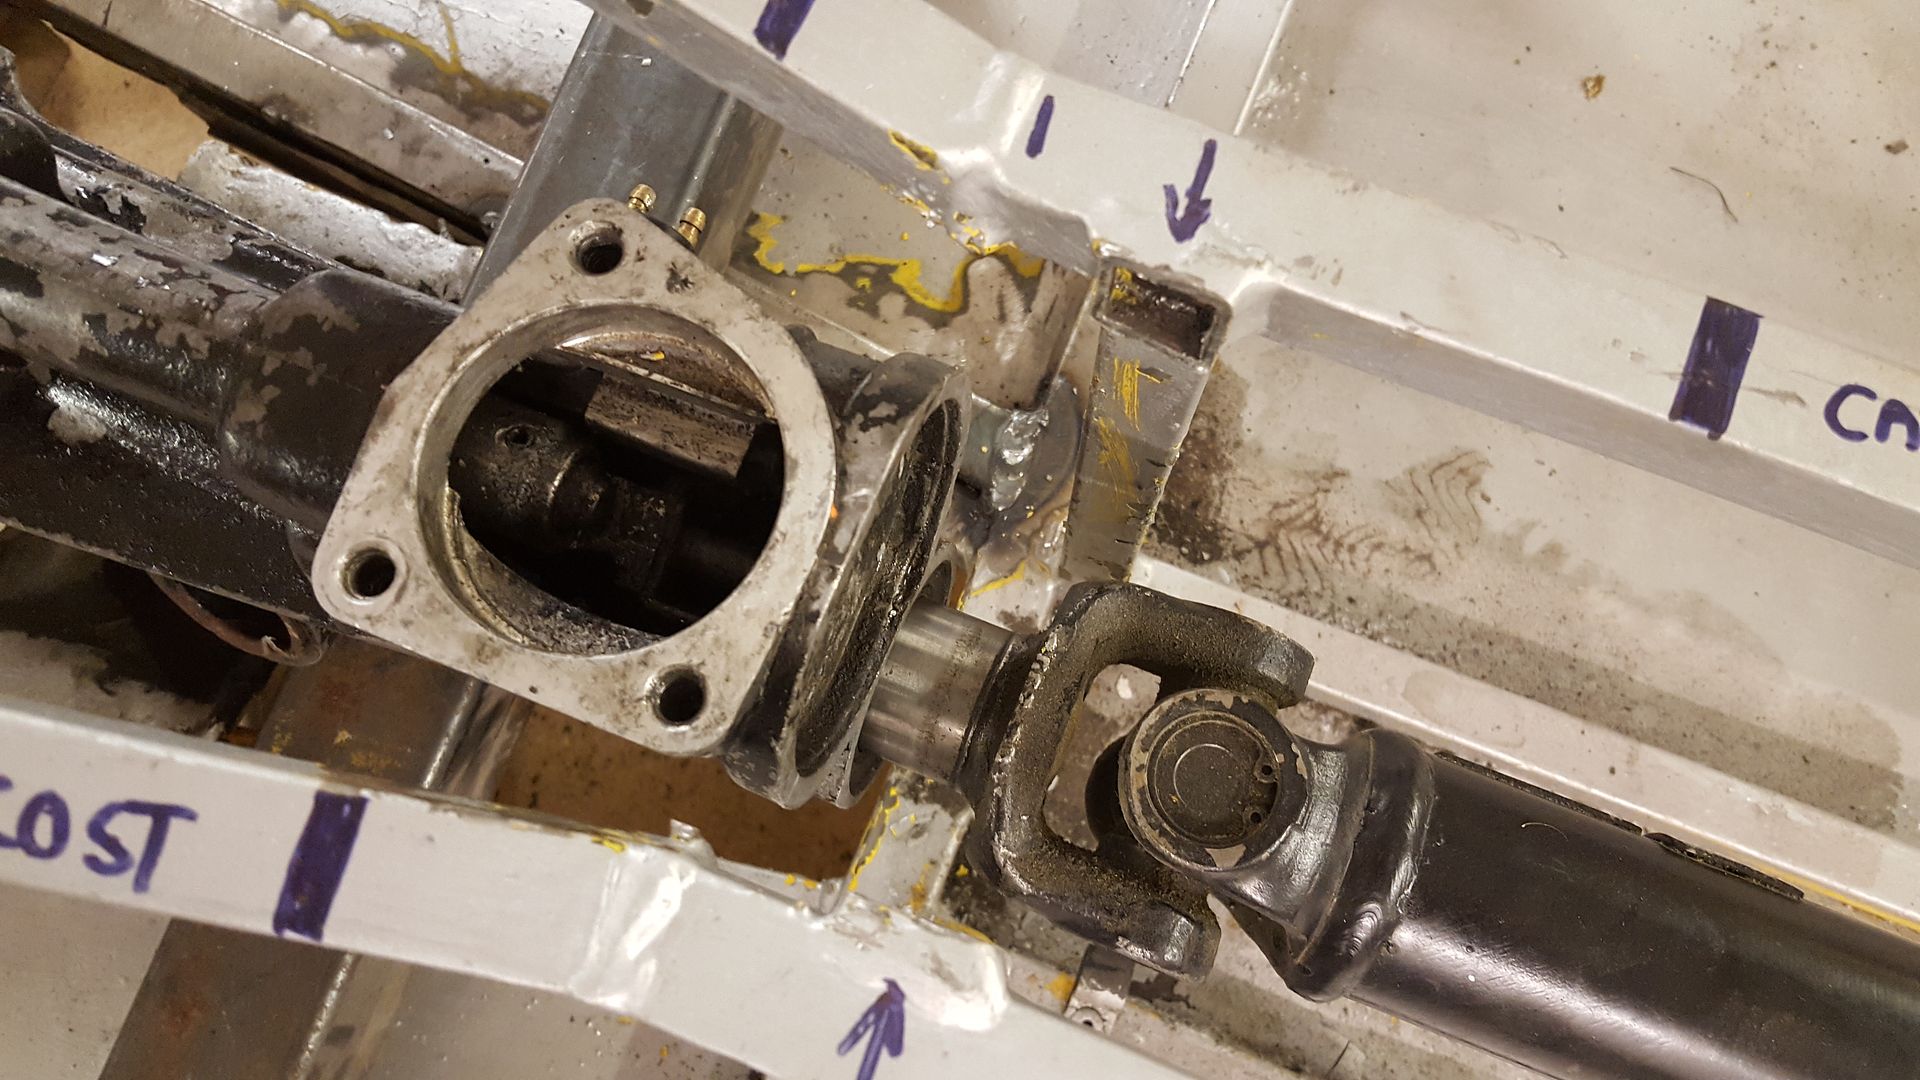
so moved it back in till the prop sat nicely
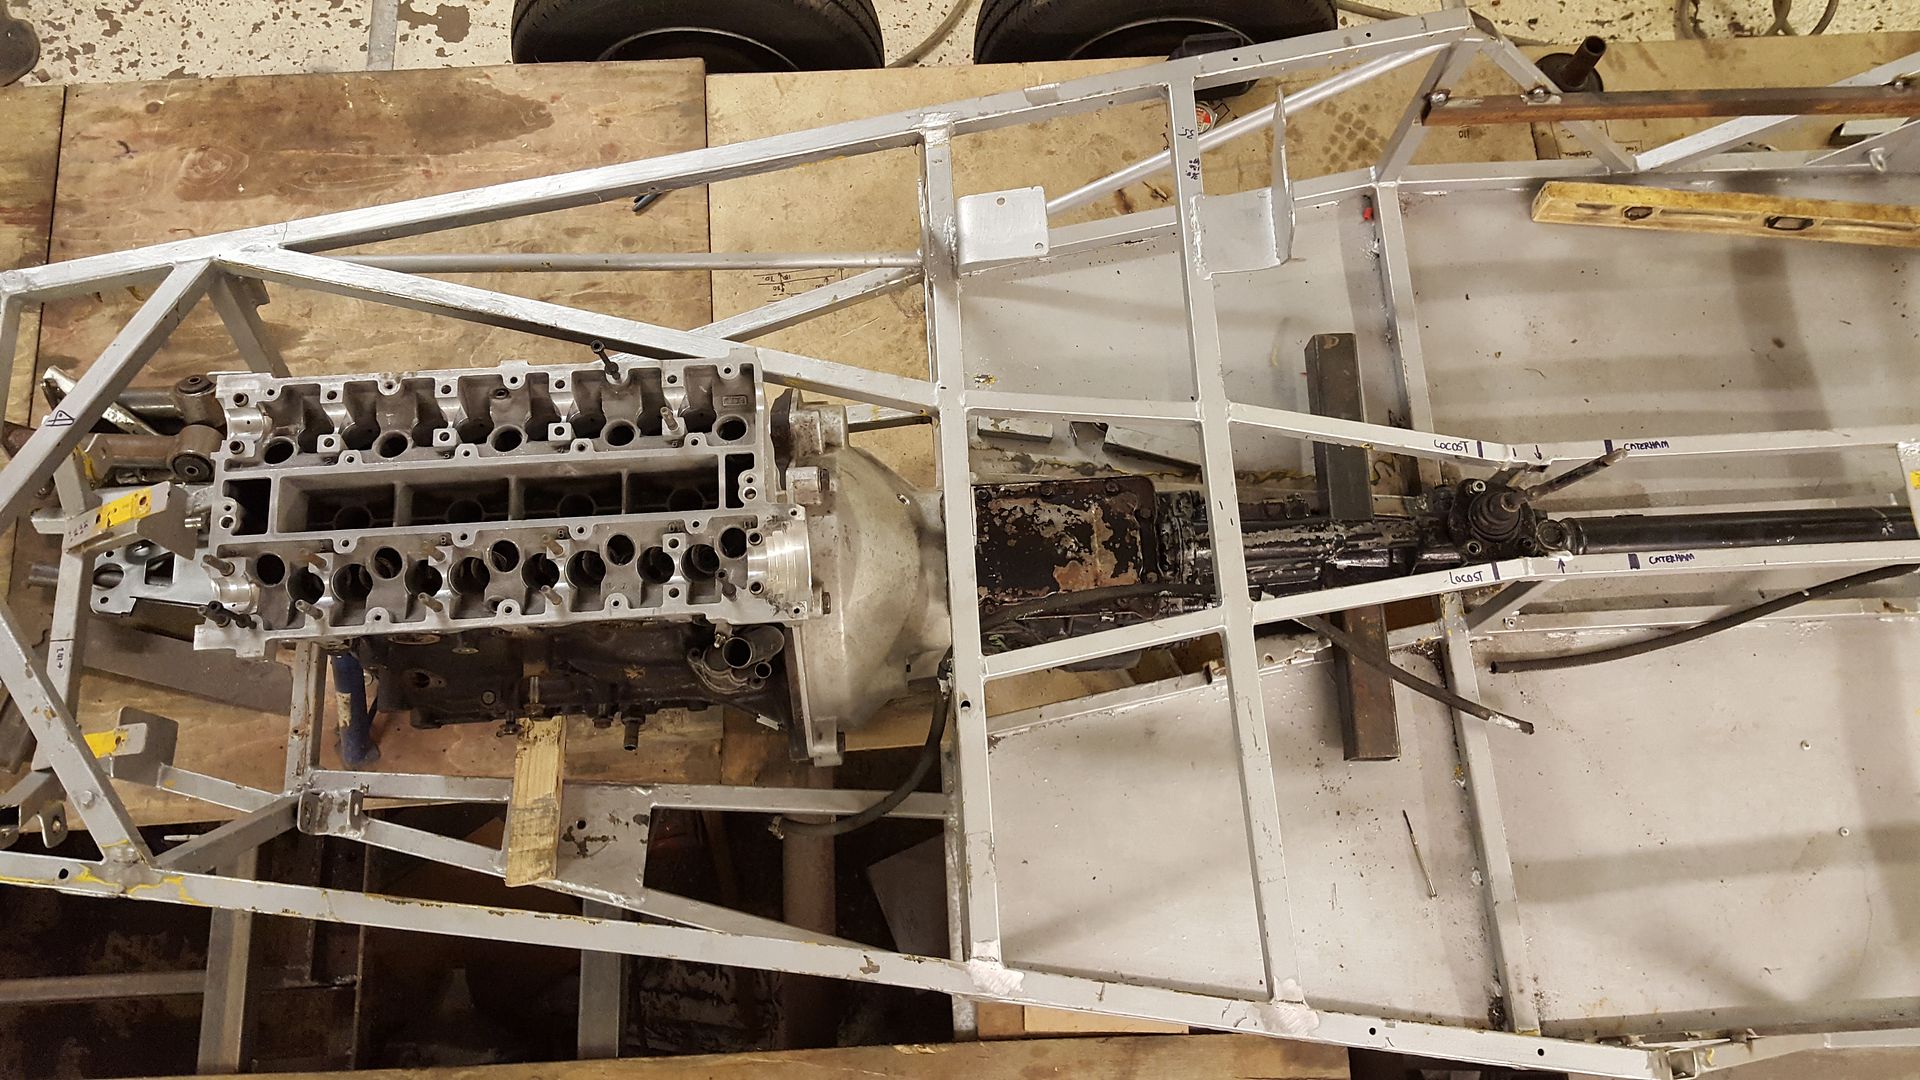
Soooooo much room for activities on the drivers side now!
even with the modified gear stick it's still not back where I'd like it to caterham spec
but there is is, back in and level
next will be to think about position of the engine for ground clearance vs bonnet clearance, then make some mounts.
|
|
|
Schrodinger
|
| posted on 28/6/17 at 12:20 PM |
|
|
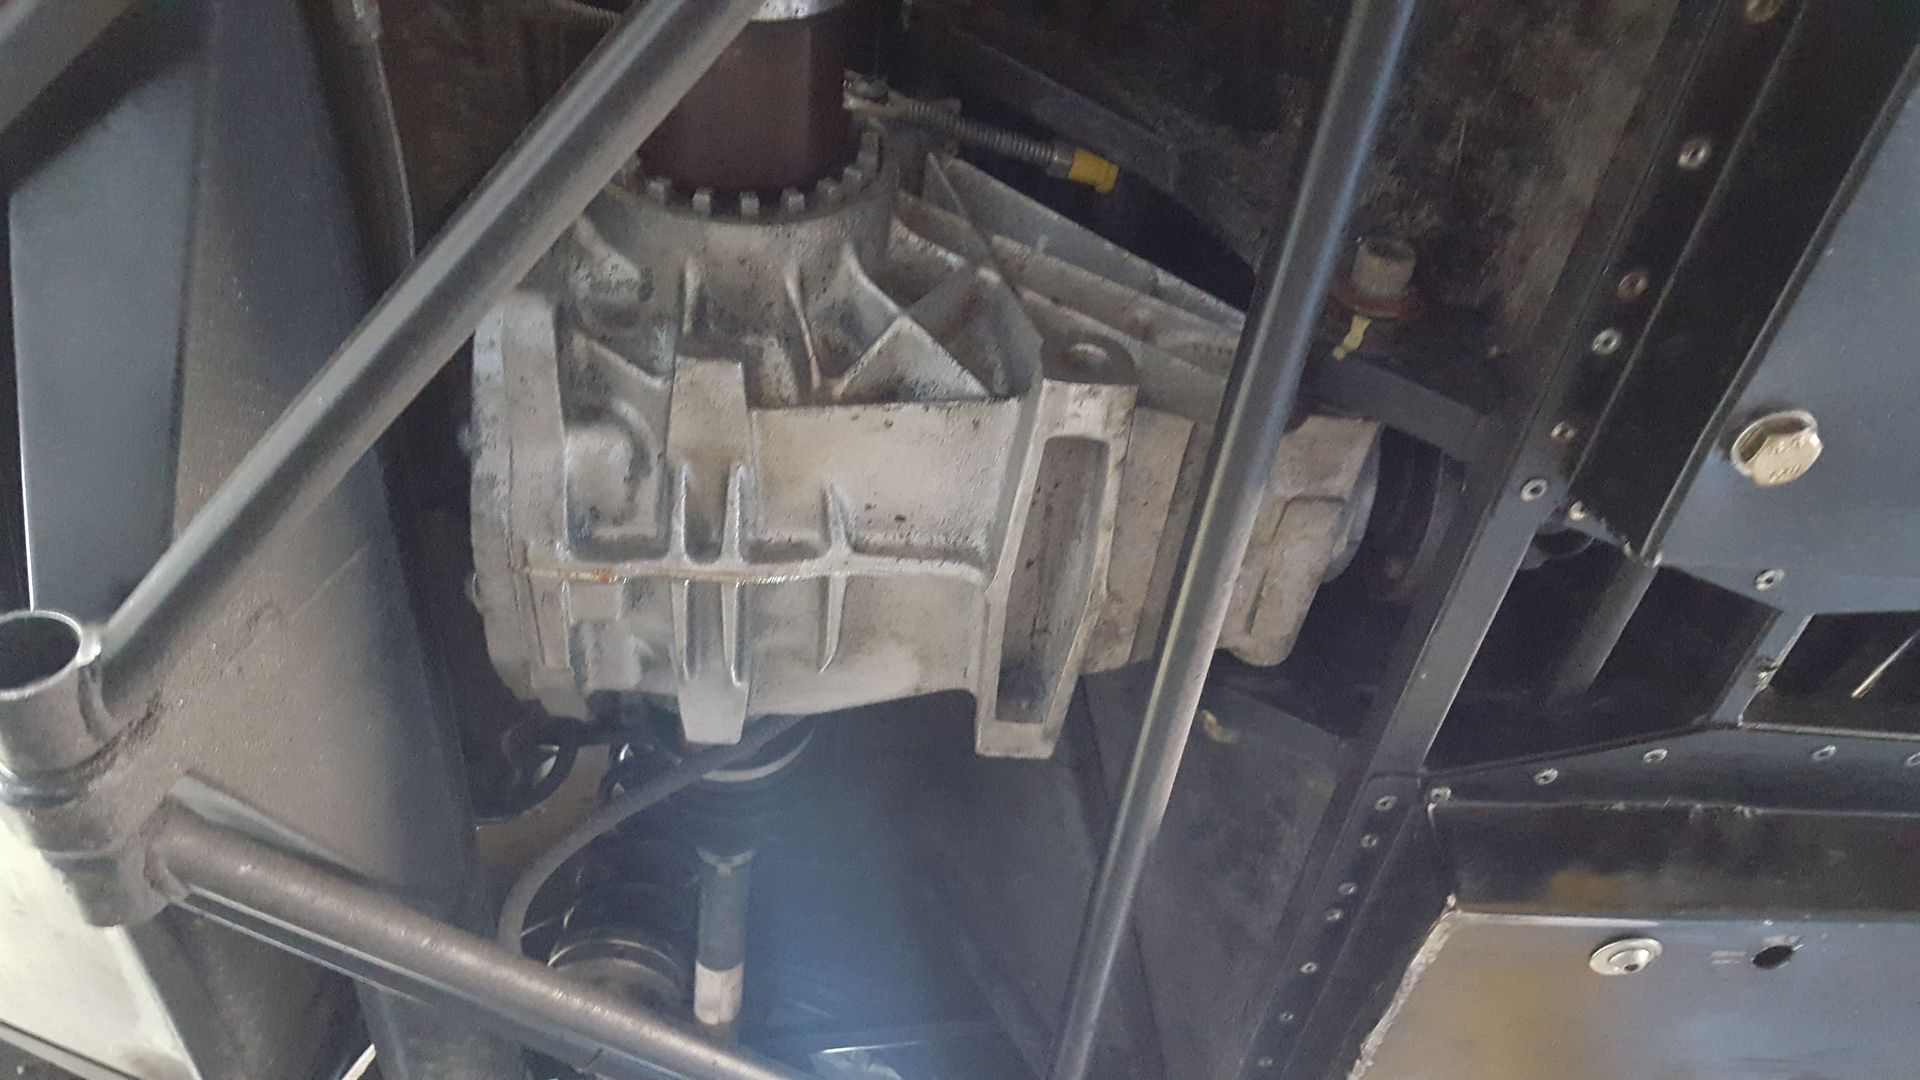
ISTR that there should be room for some movement in the engine and dif so the nose of the propshaft should not be all the way into the gearbox.
Keith
Aviemore
|
|
|
Gre3D
|
| posted on 8/7/17 at 07:53 PM |
|
|
nice work man!
loving this!
----------------------------
running a duratec ST engine'd locost for belgian slalom championship
|
|
|
super-ron
|
| posted on 28/9/17 at 06:19 PM |
|
|
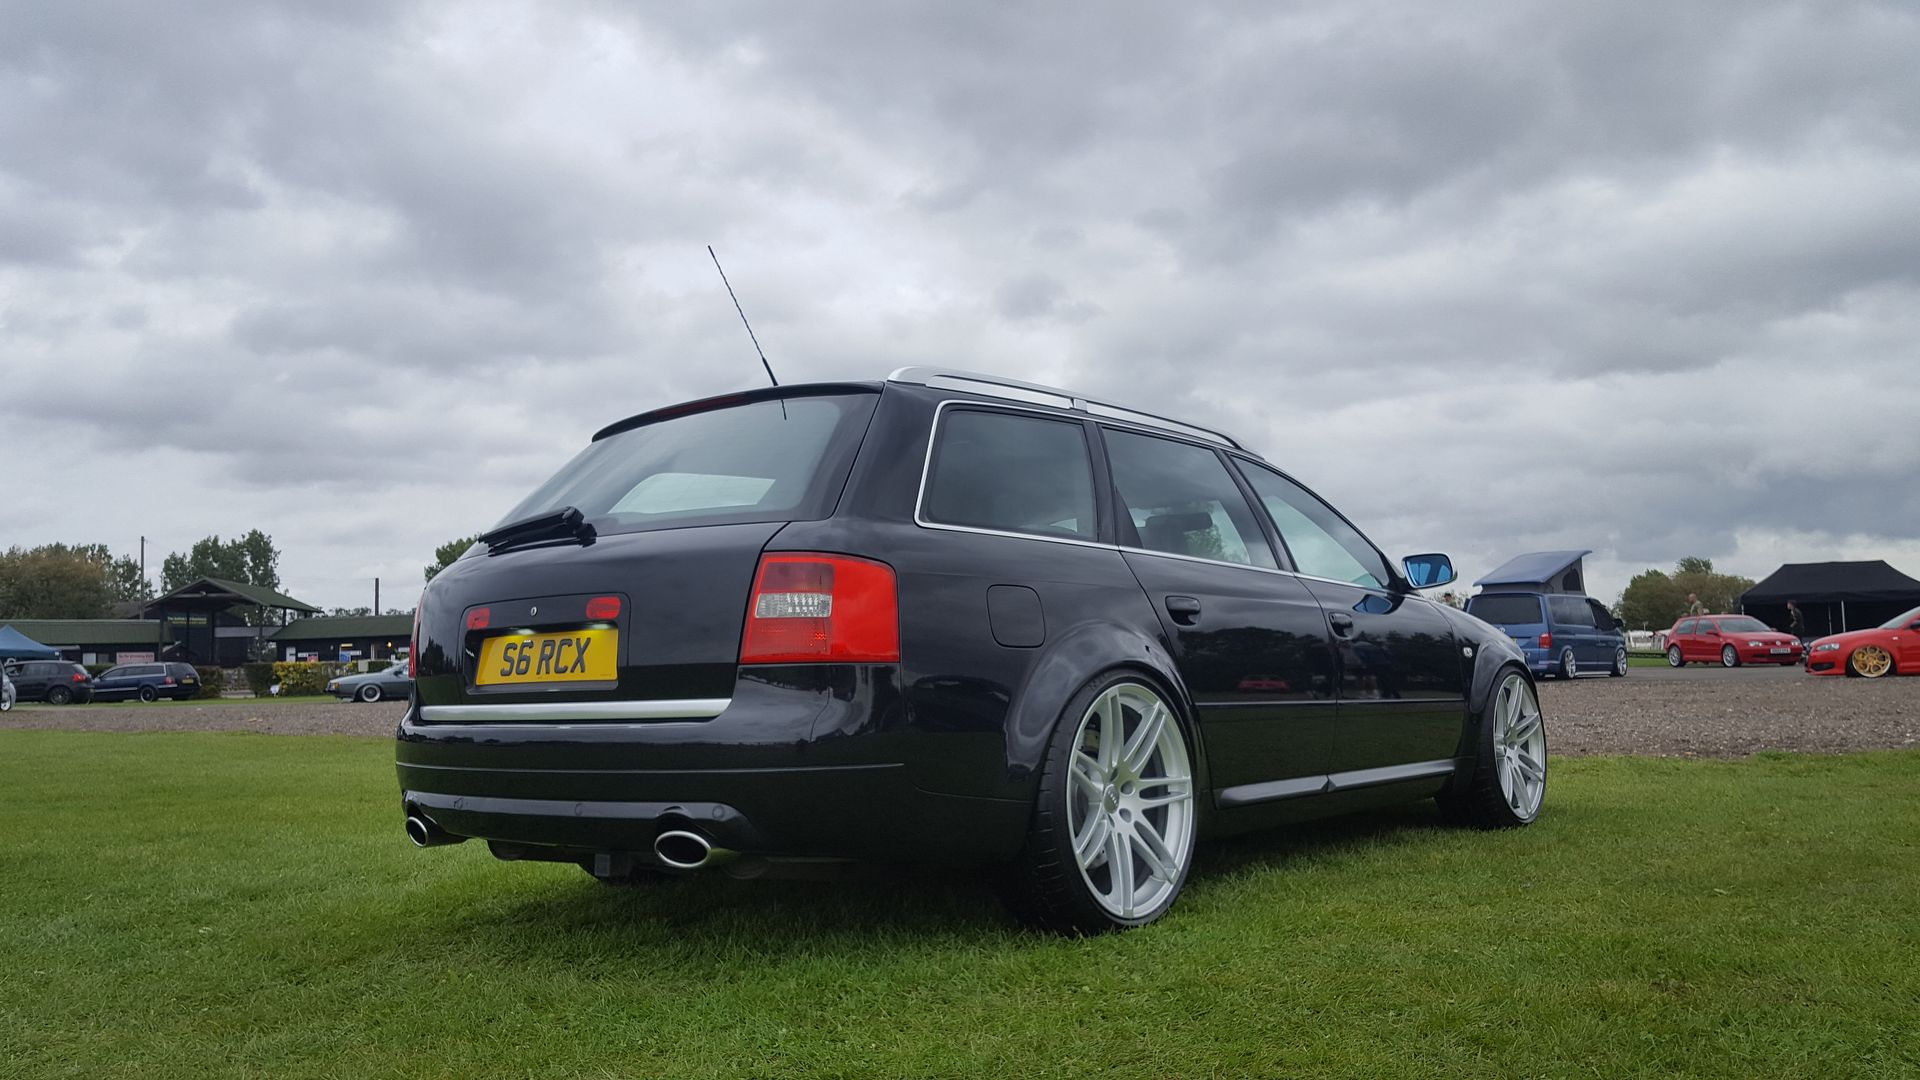
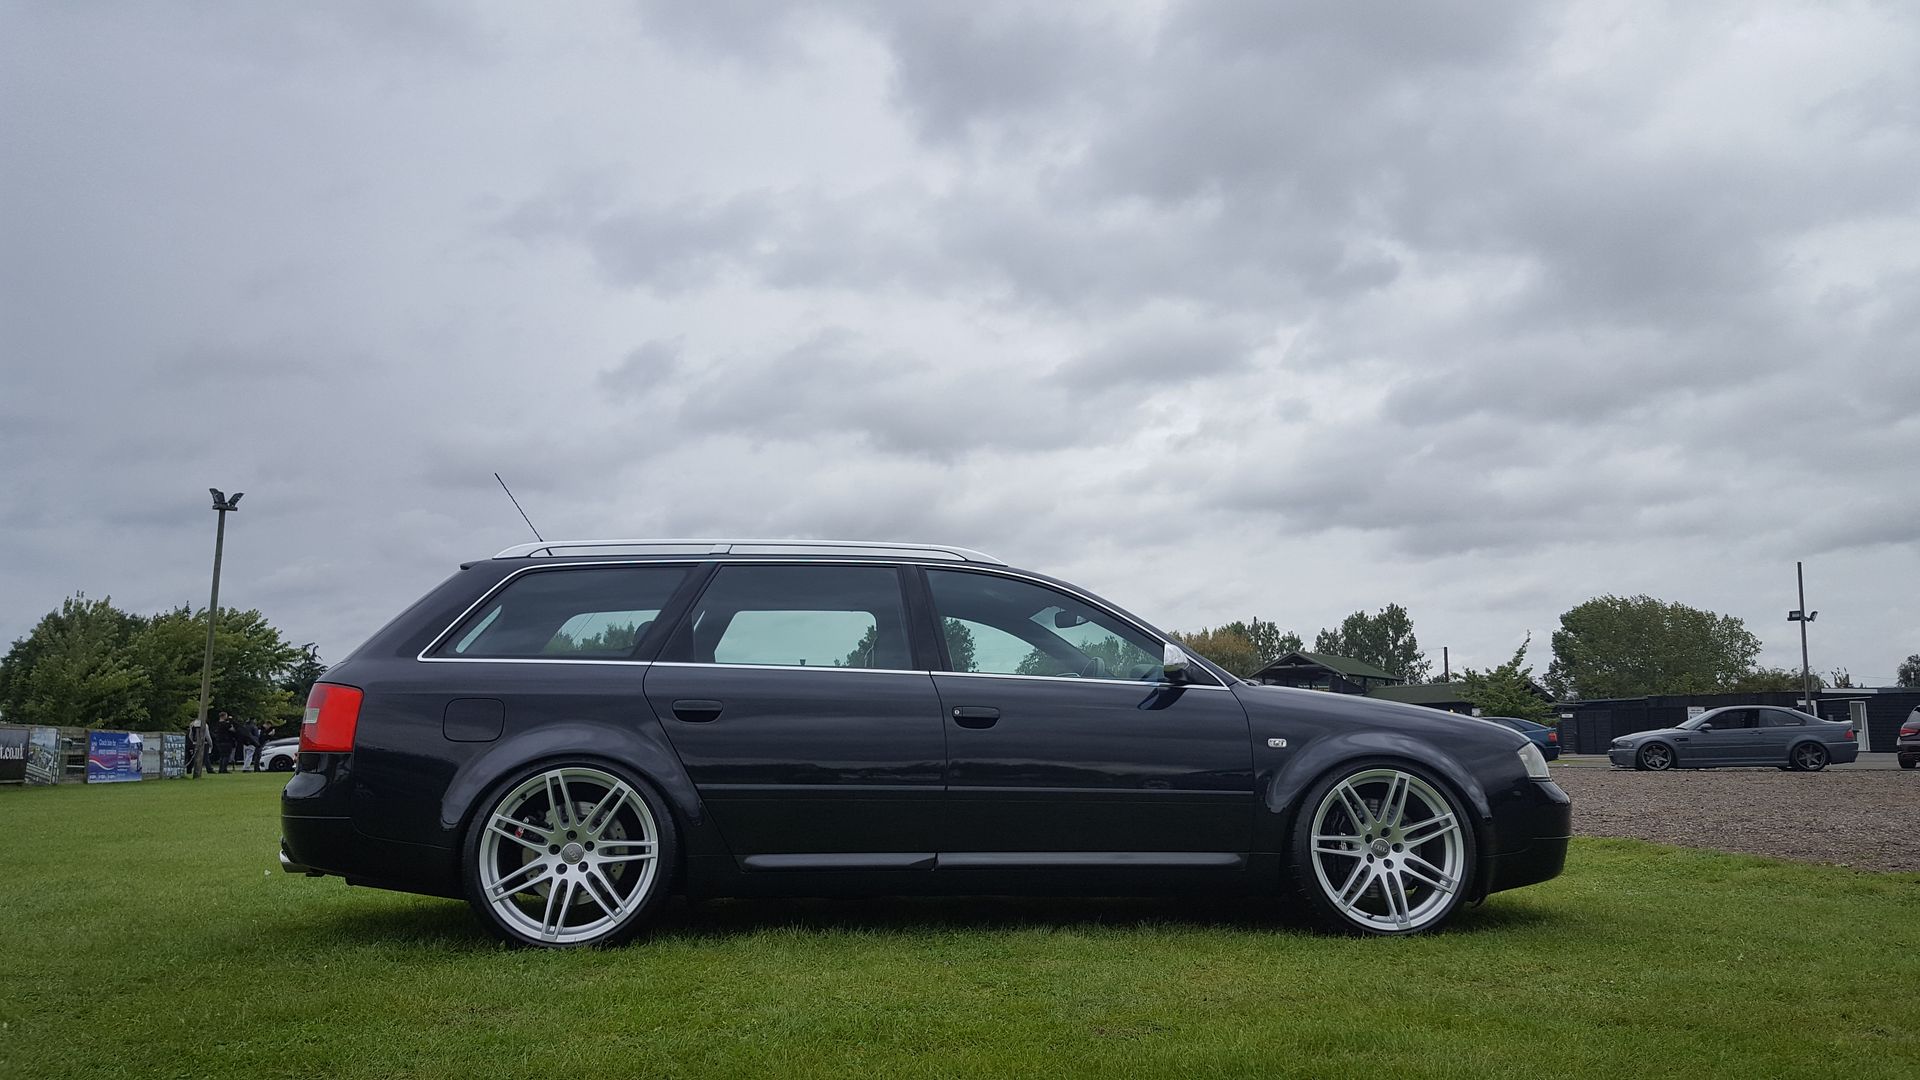
so this had to take ANOTHER back seat while I did the resto on the S6, but now that's finished and looking bad ass 

so it's back on the kit car
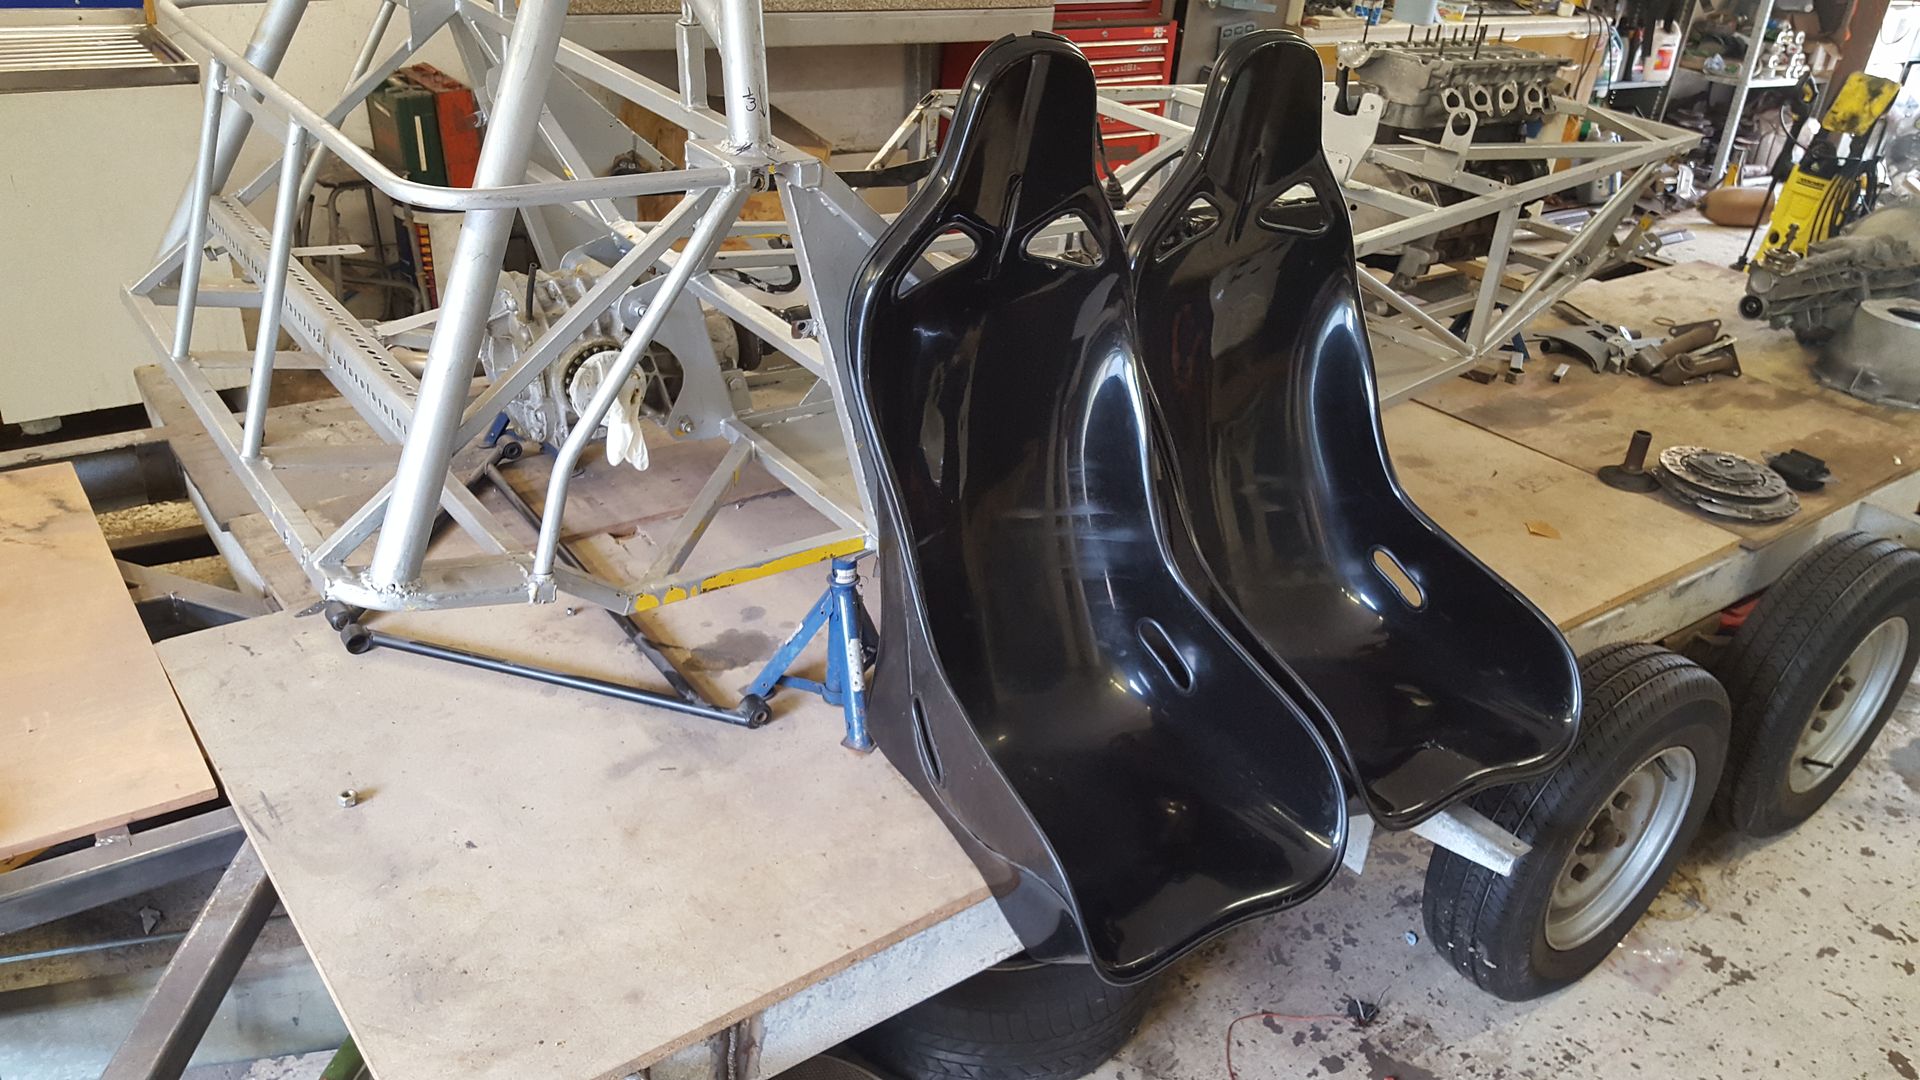
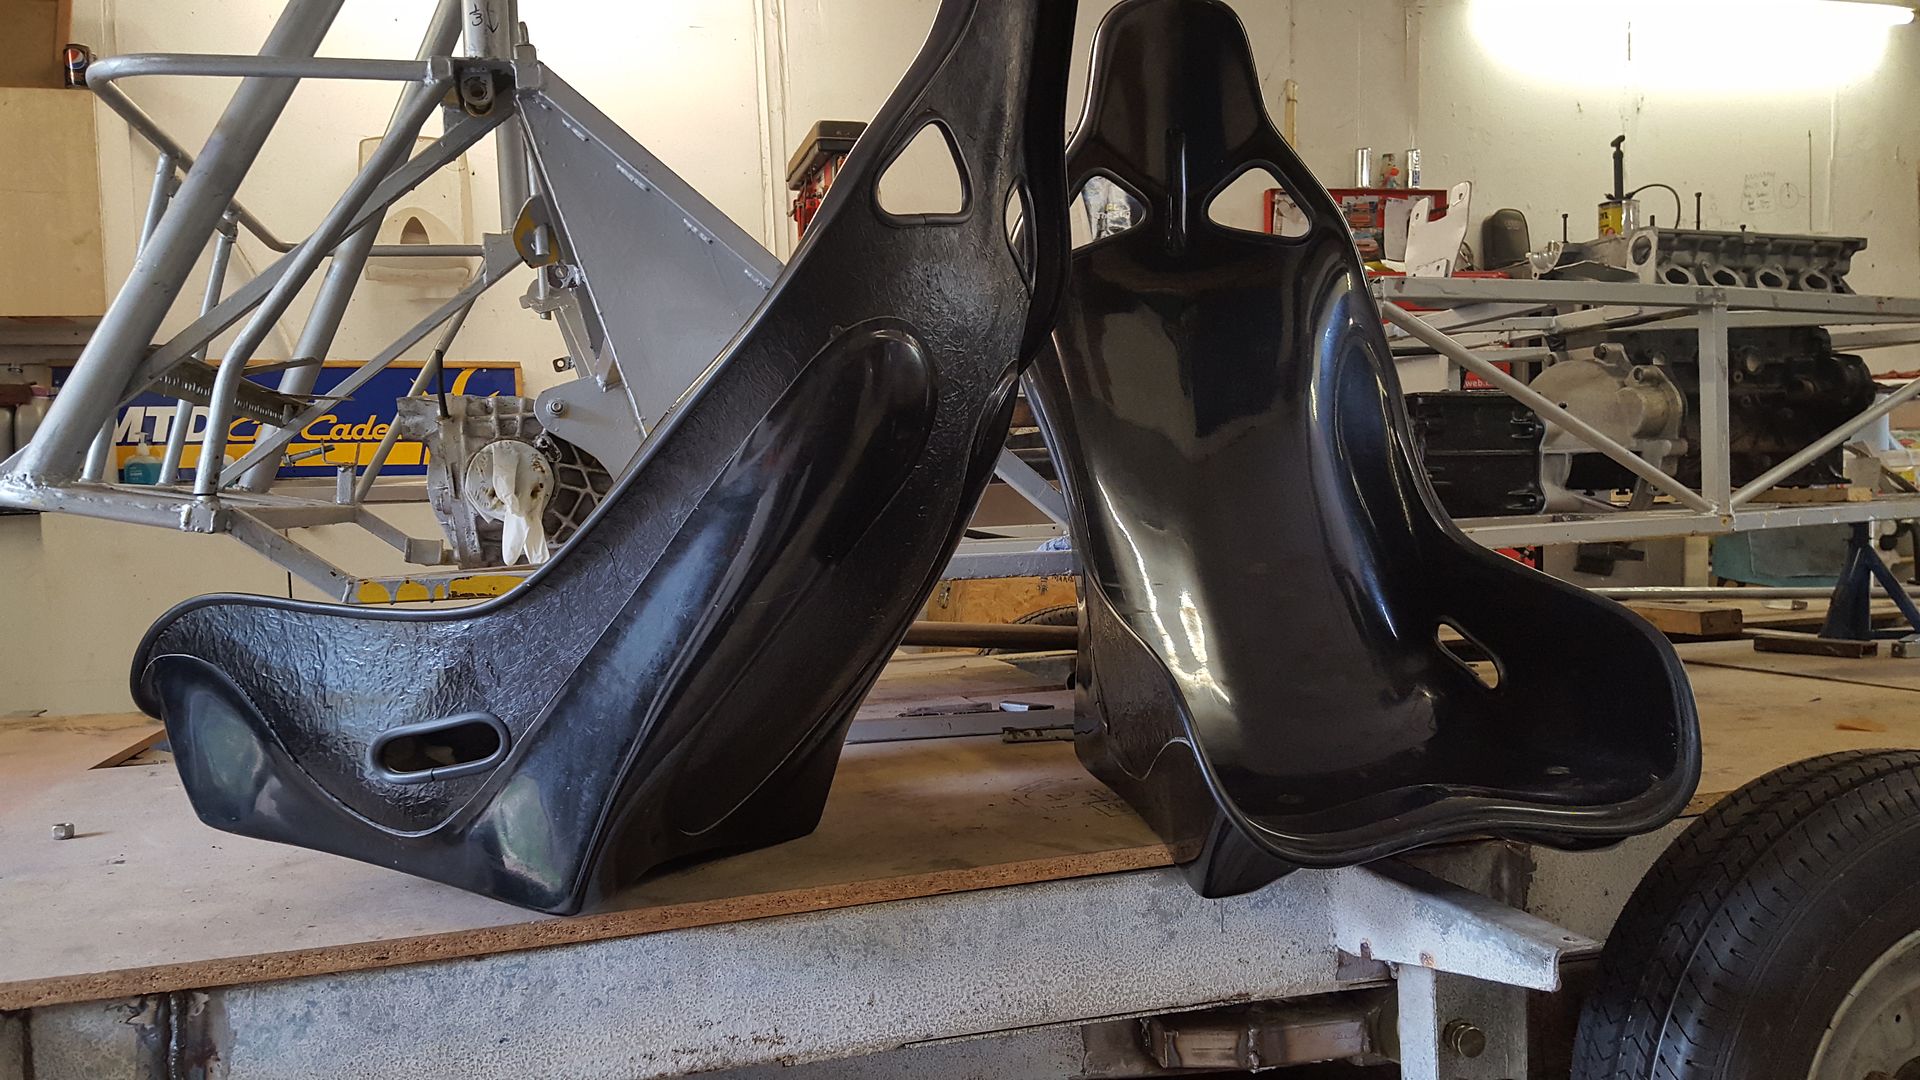
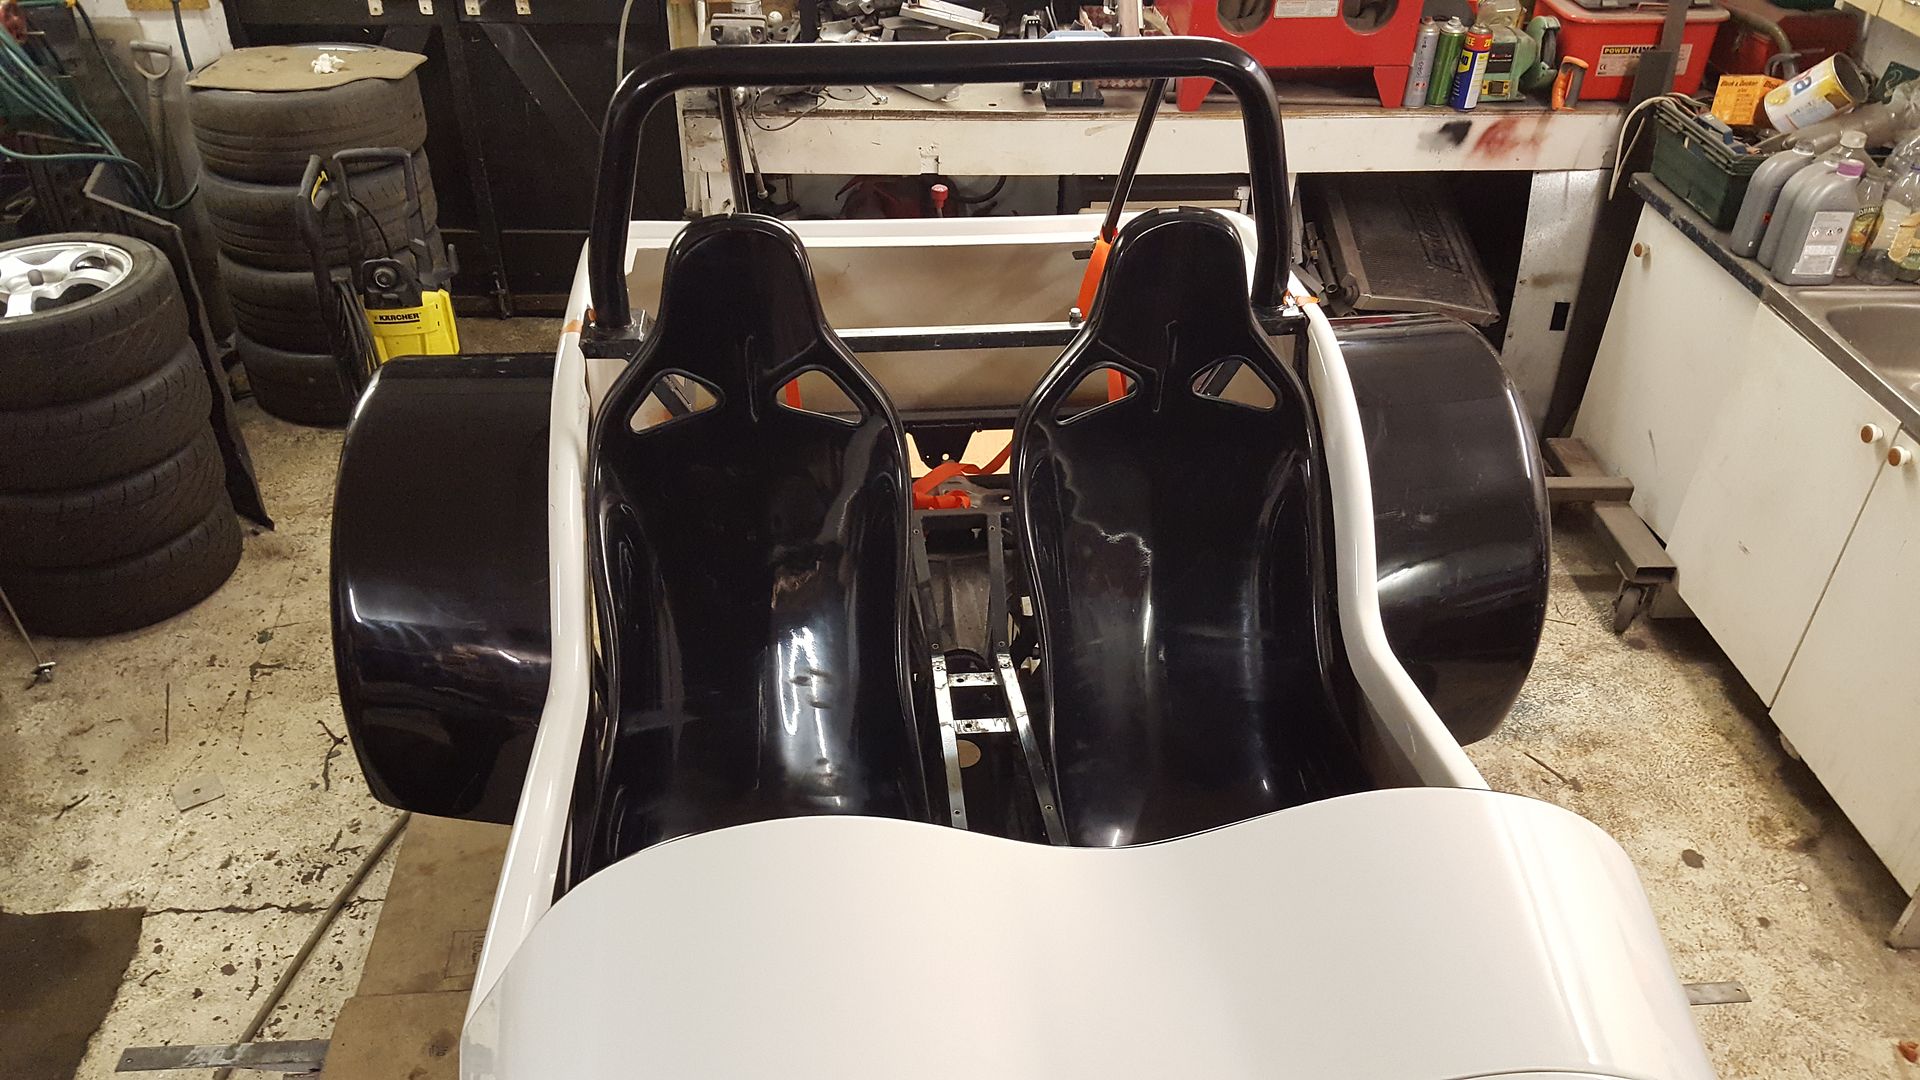
I bought some seats the other day
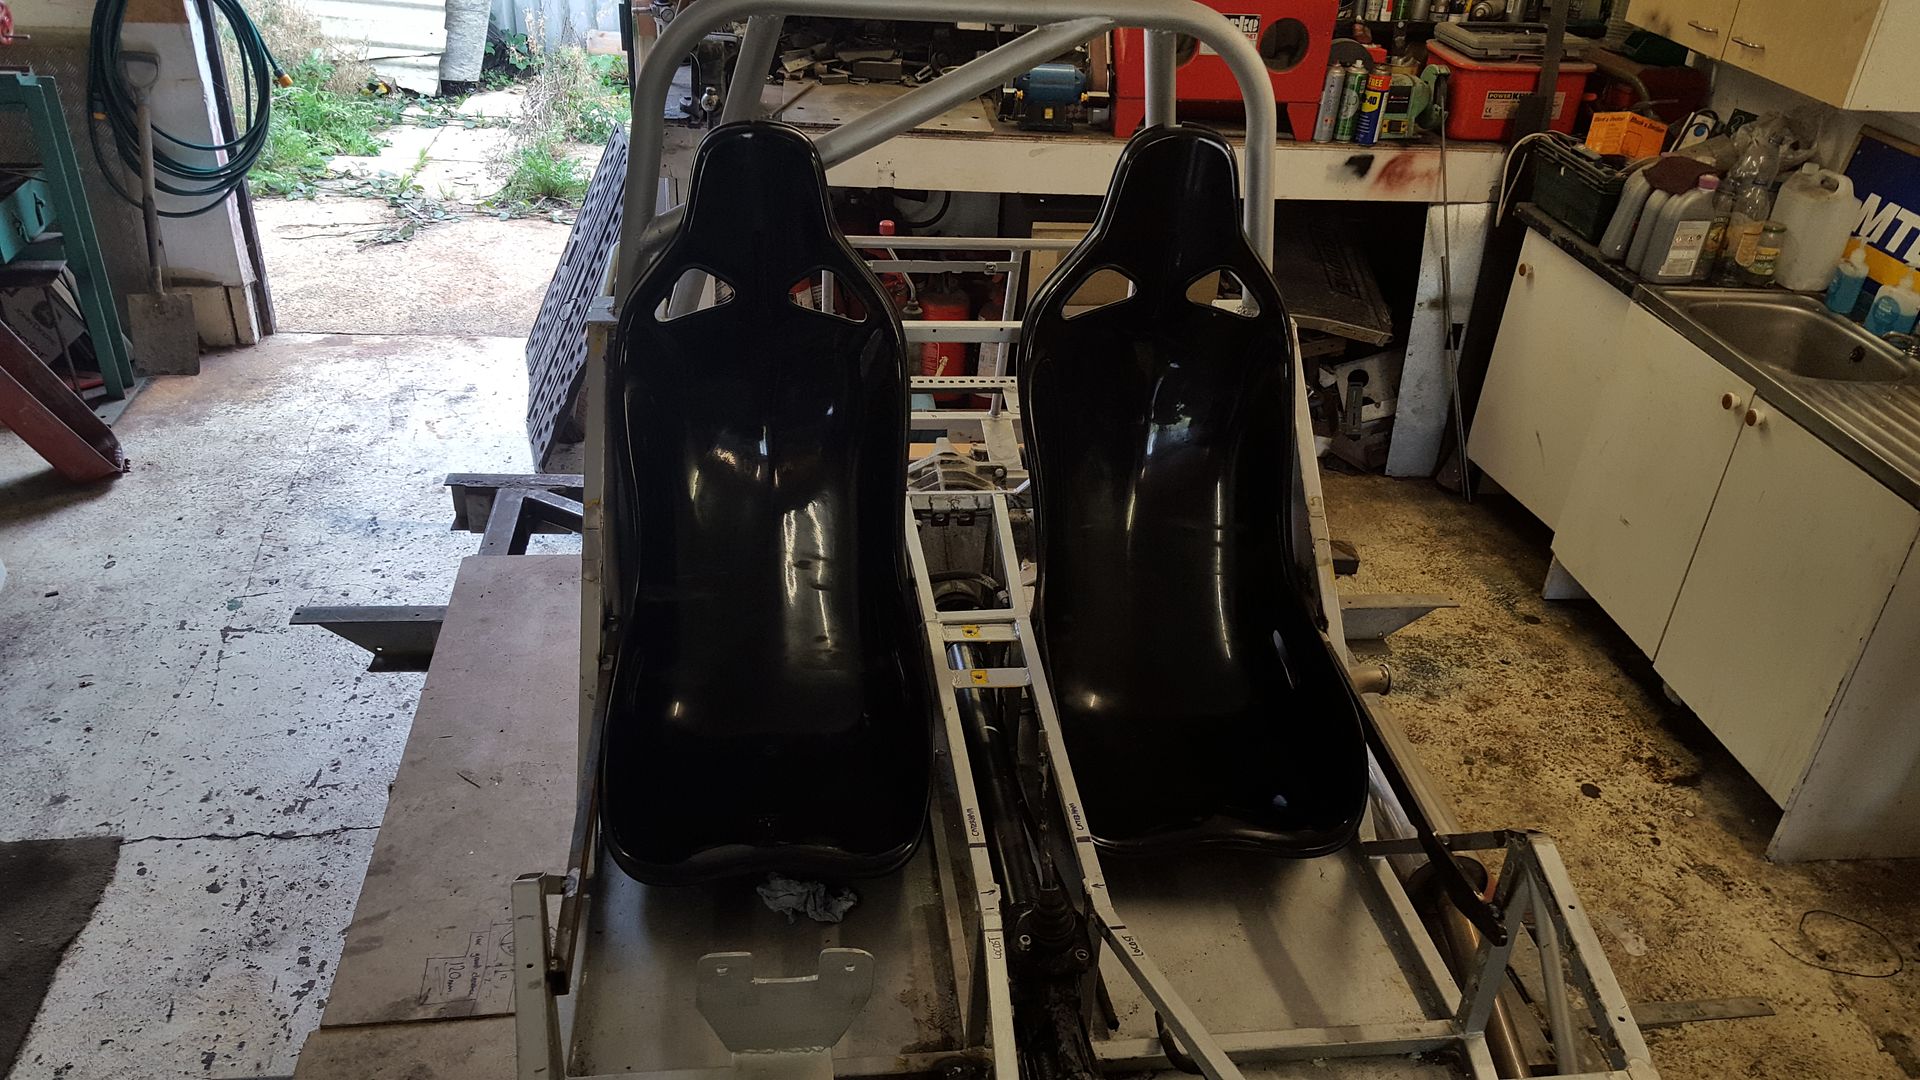
but now there has been a bit of a change of plan............
everything off!
a big pile of ford bits removed, and the T5 still sitting there
and a bare bare chassis
cryptic!
|
|
|
super-ron
|
| posted on 1/10/17 at 07:05 PM |
|
|
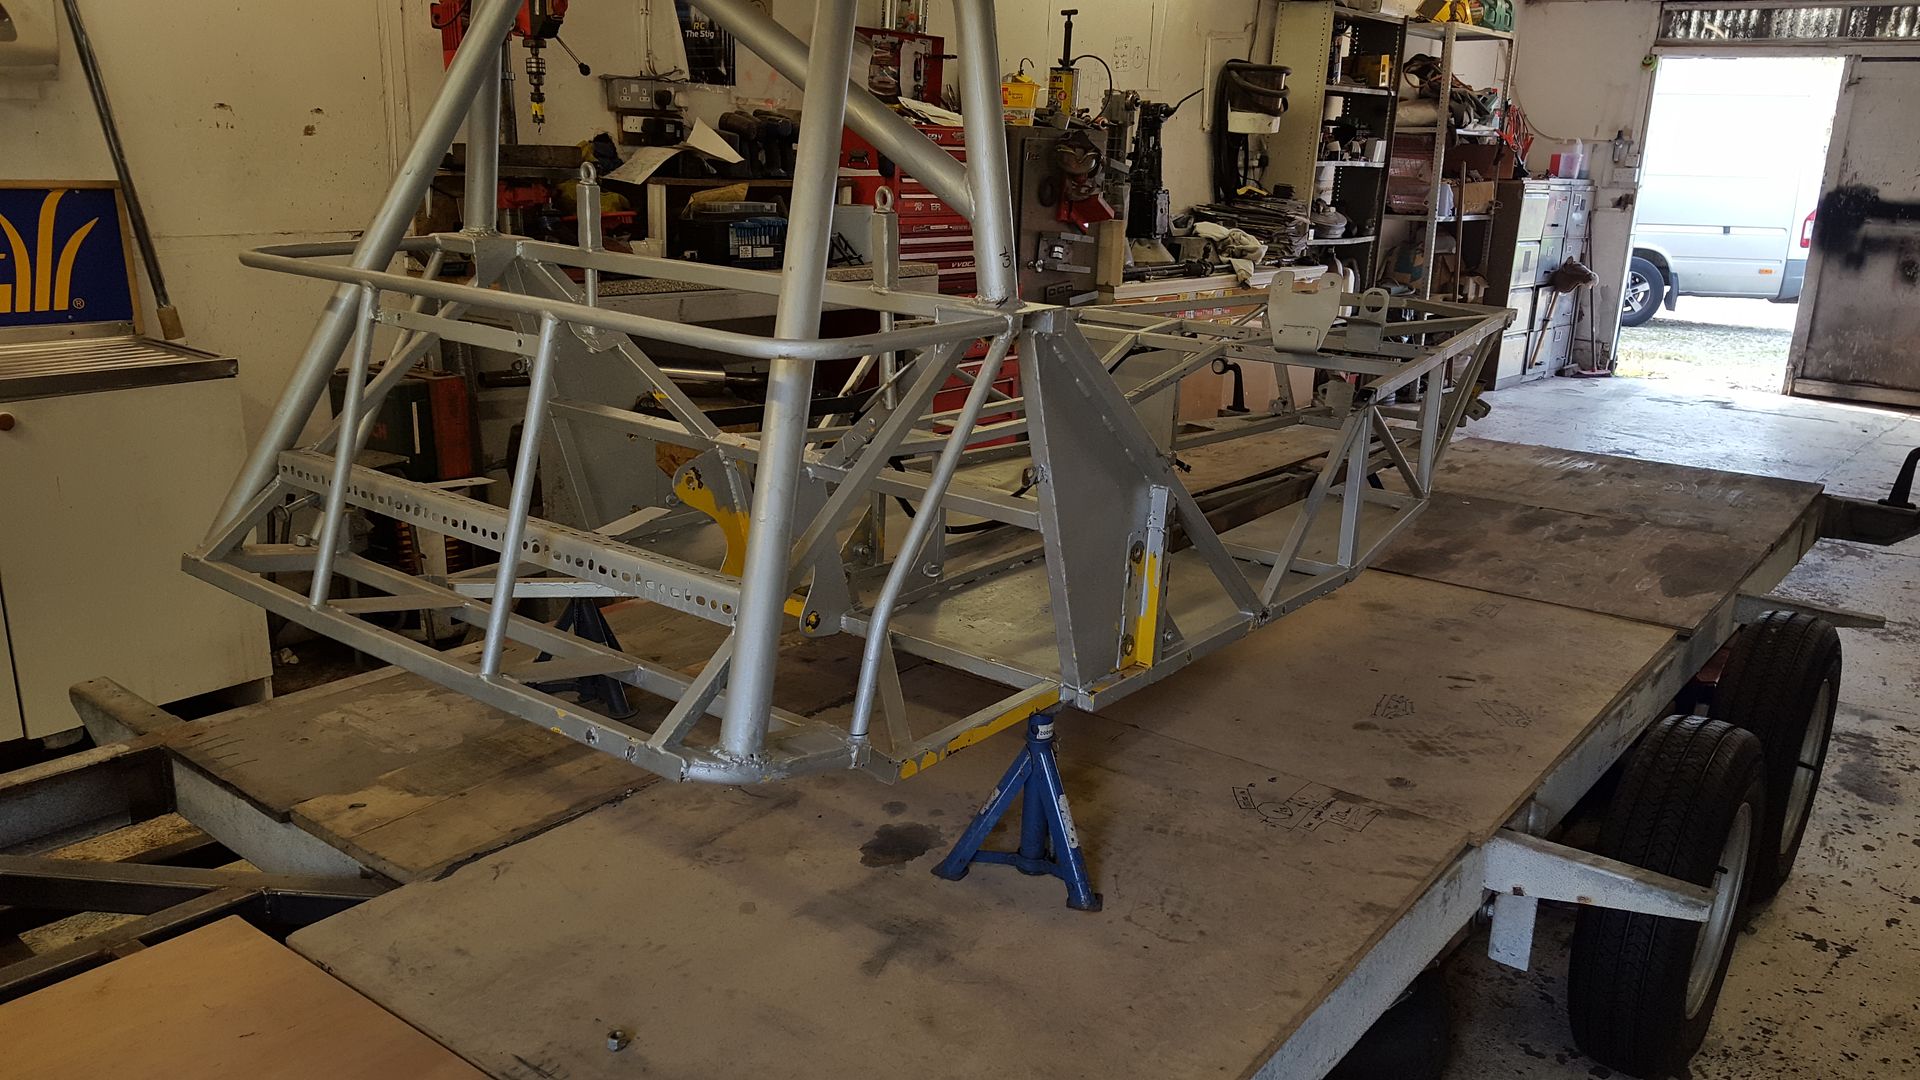
ok, so the situation is I got into conversation with a guy called Ron on the locost builders forum, cool name, cool guy. he had lost the love so
cutting his losses with his project and breaking it. a deal was made and me and my dad shot up to Leicester in the stealth Passat (2.8 V6 4motion
tiptronic highline) with the trailer to pick up my purchase.
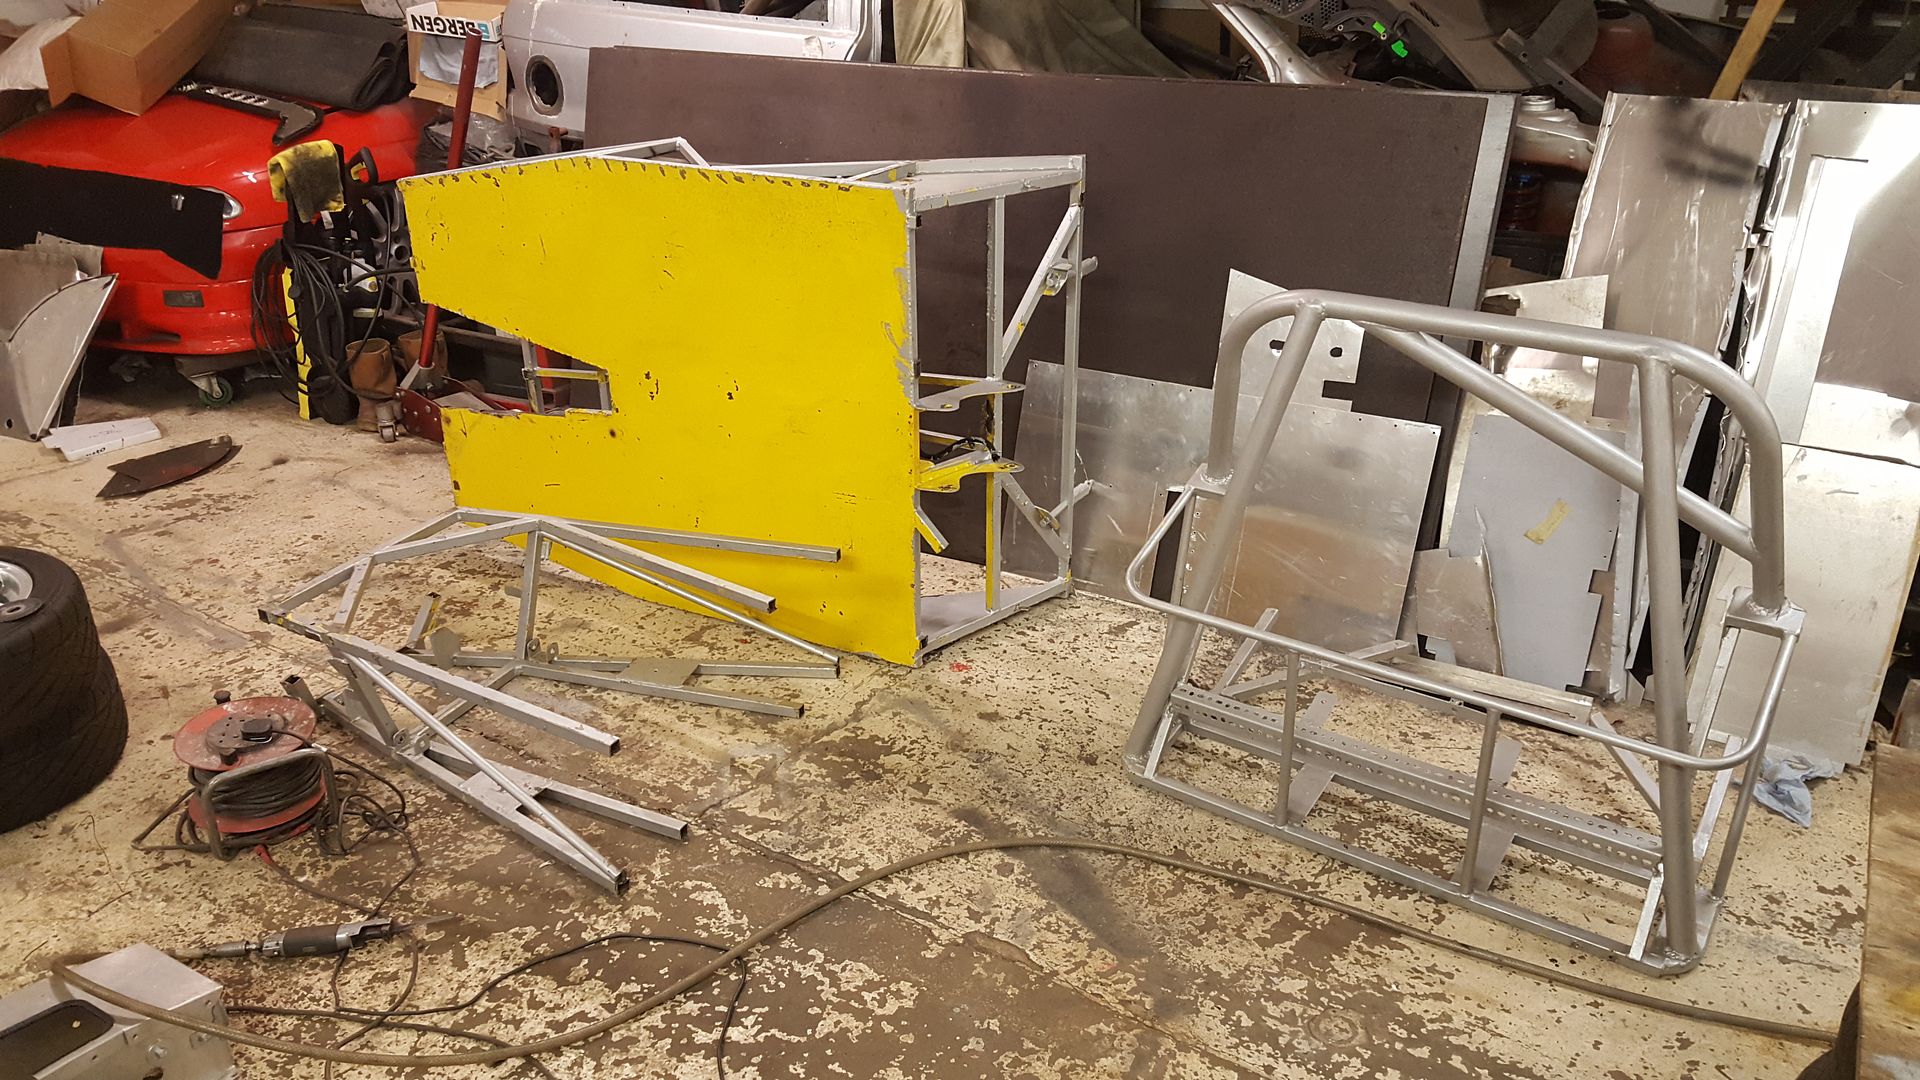
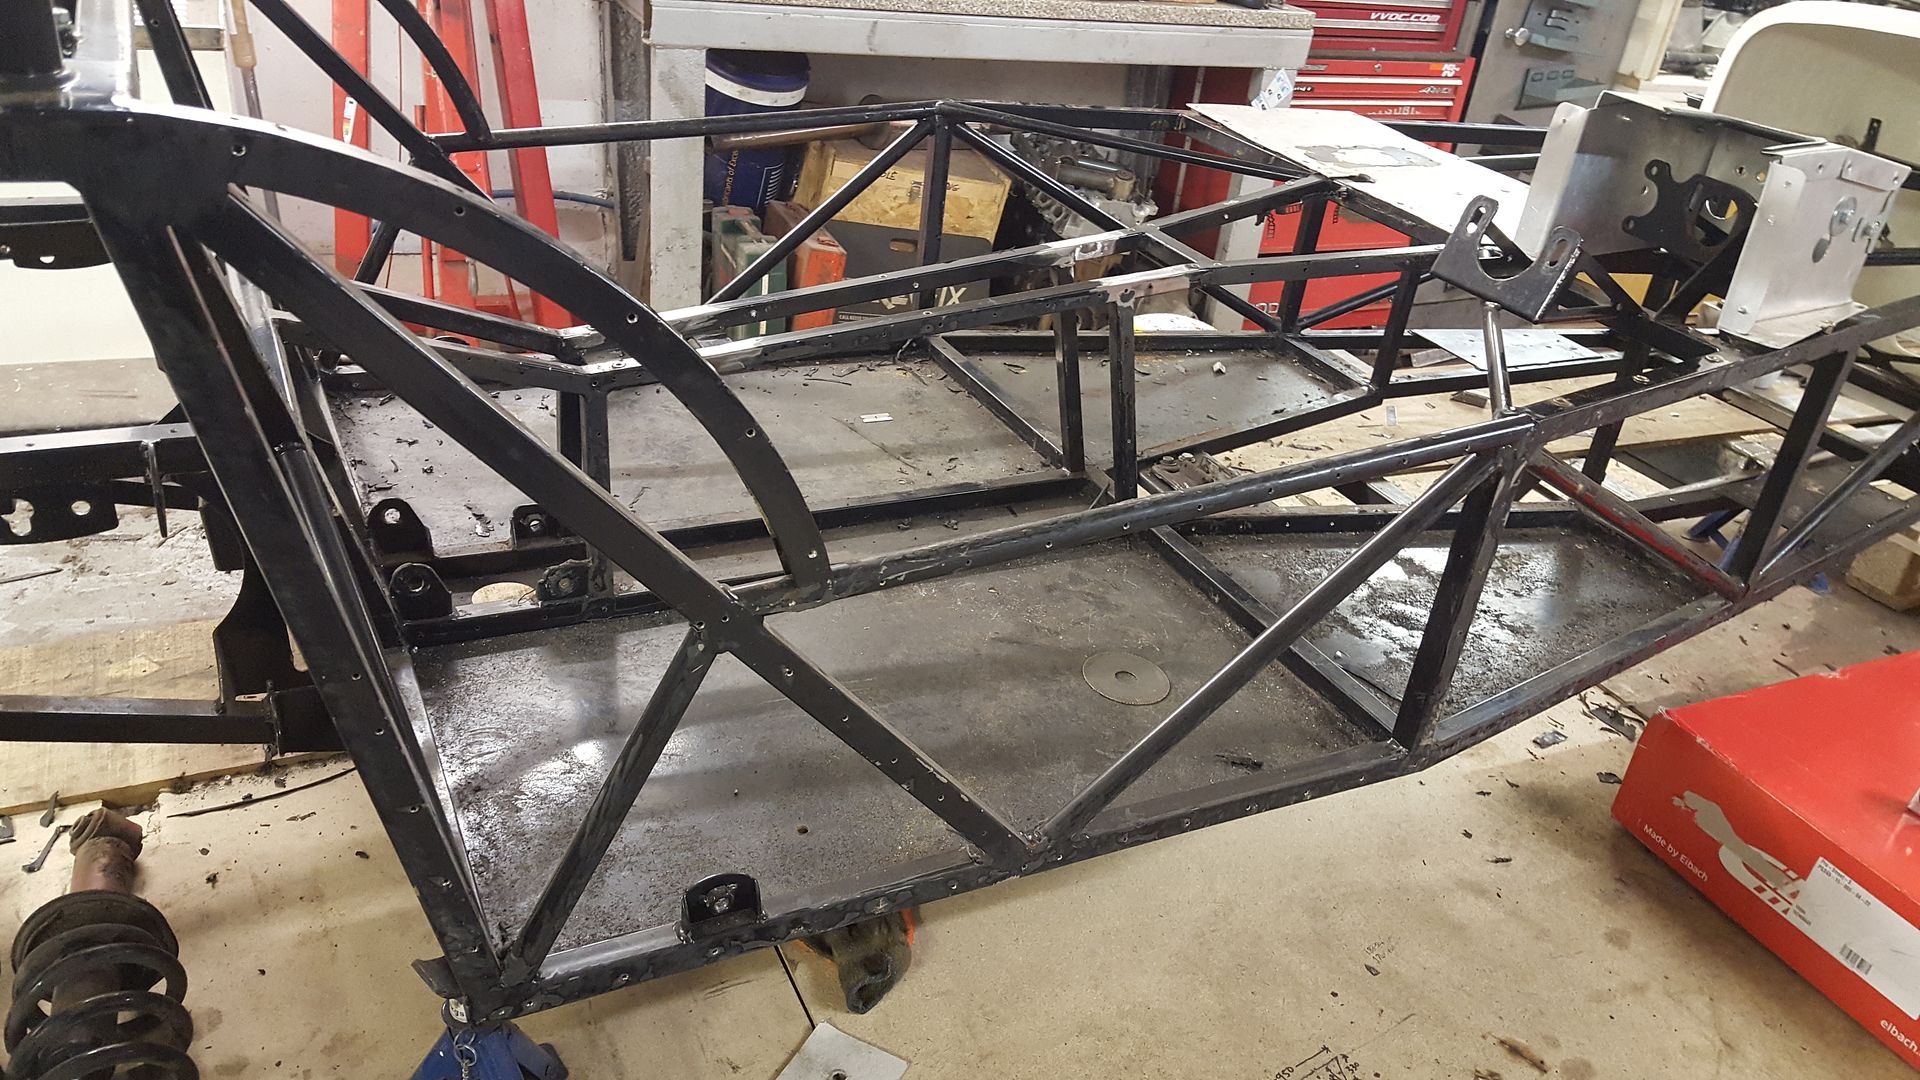
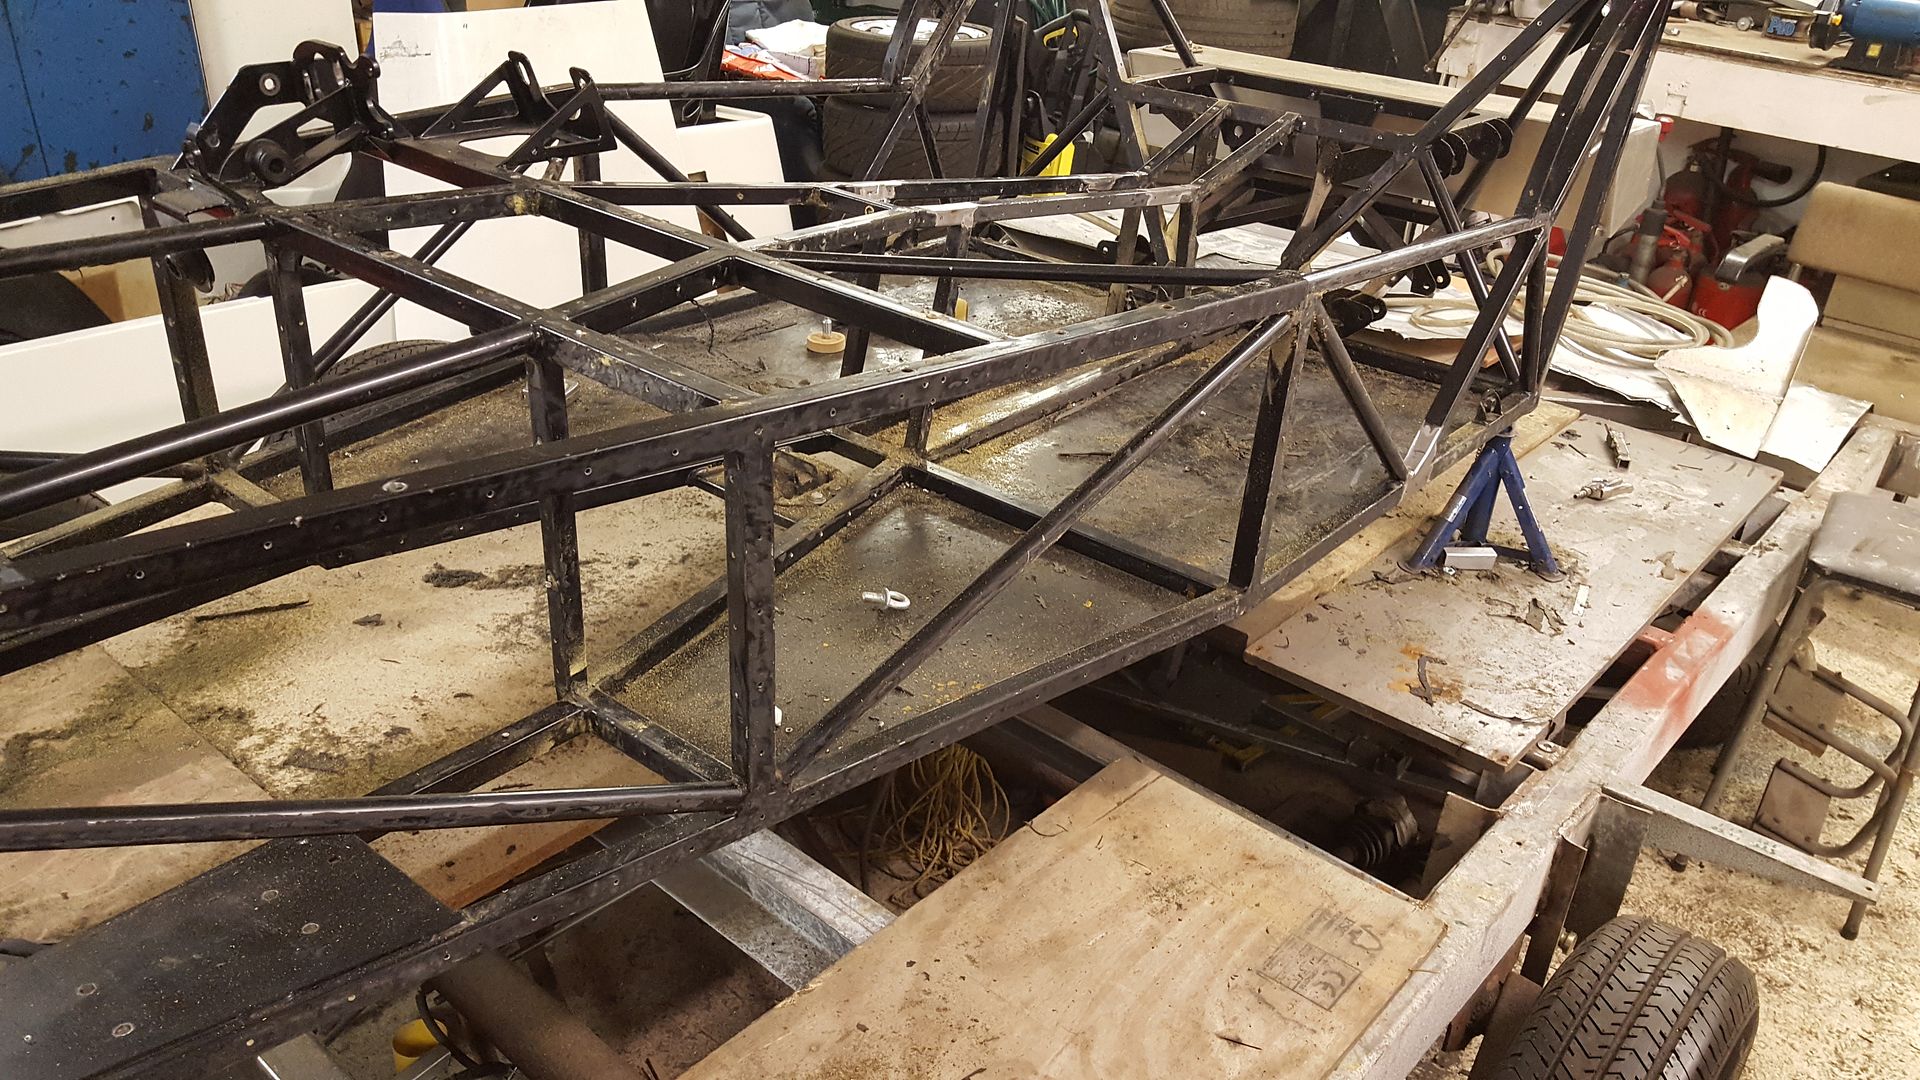
it's a GBS ZERO chassis, i did a bit of googling and they are very well respected as being fantastic all round, handling and build quality. we
took the trailer and I was very happy when we picked it up
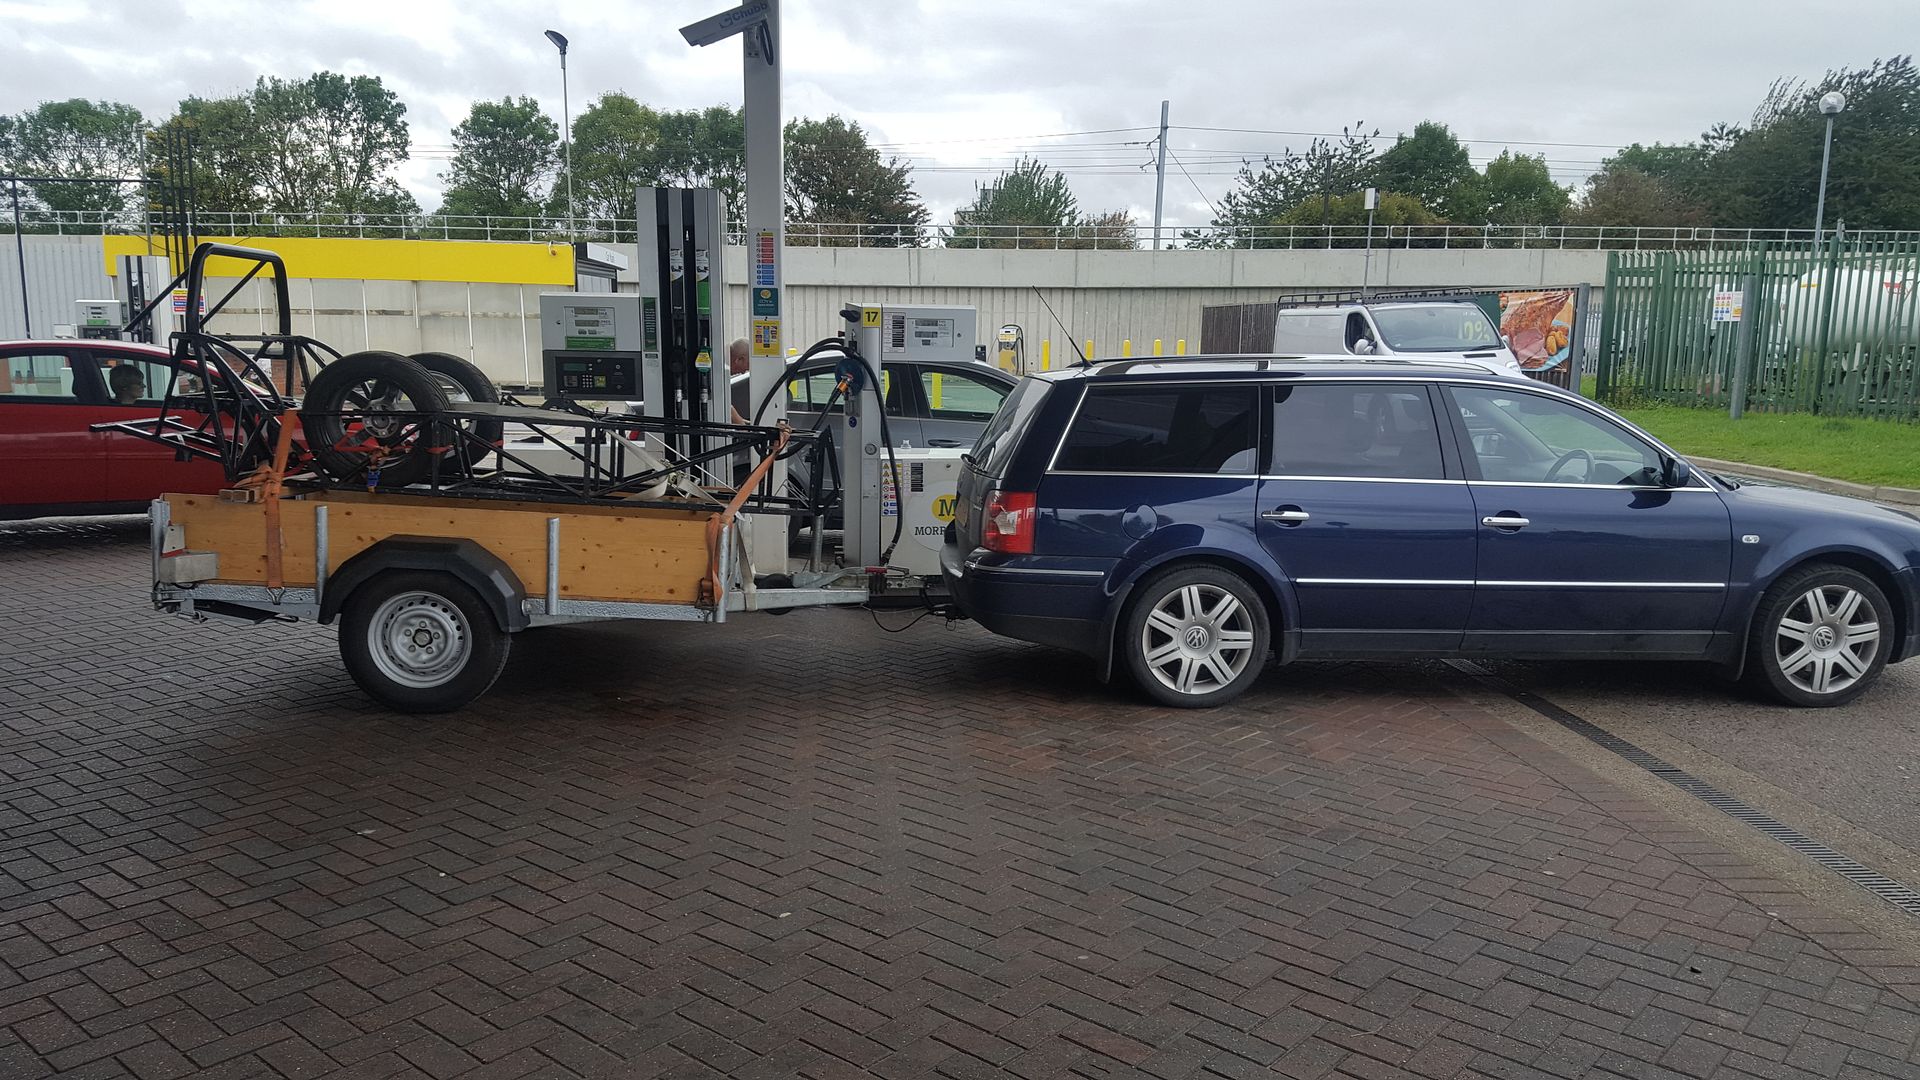
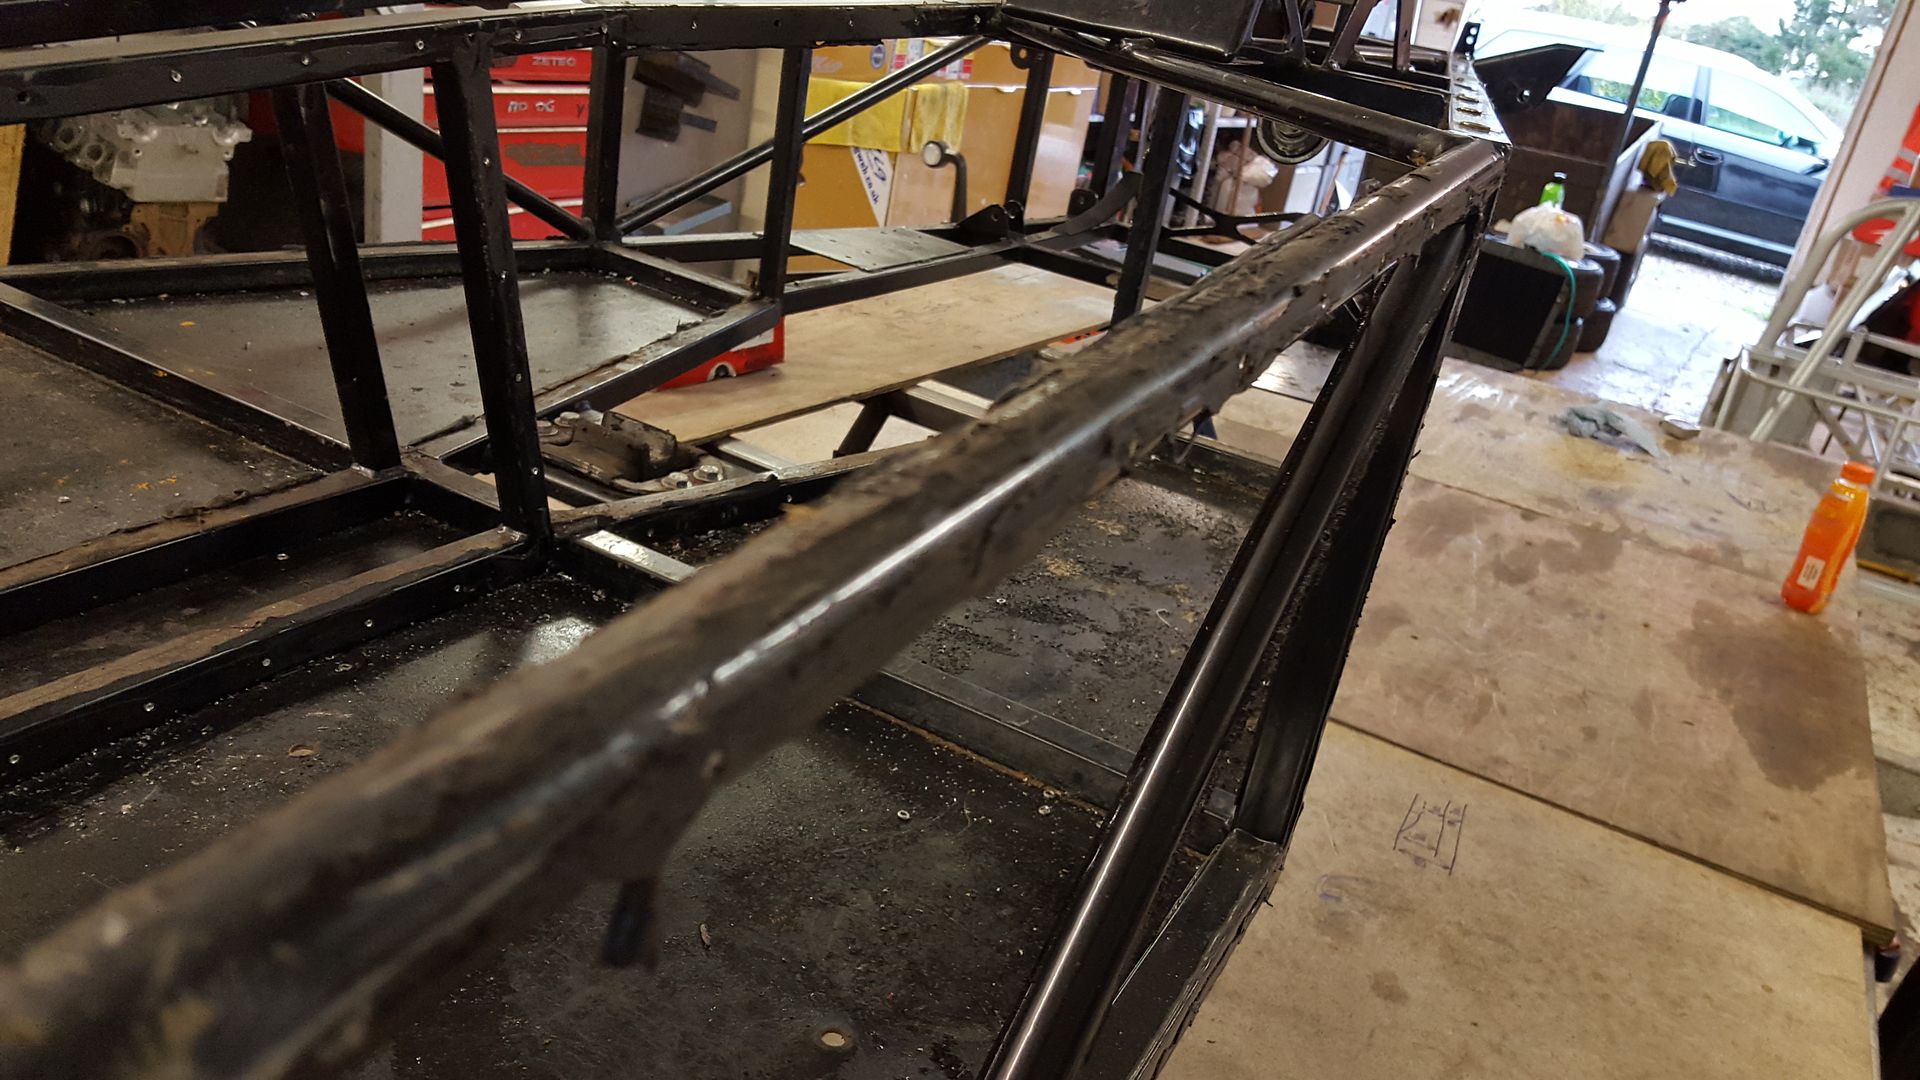
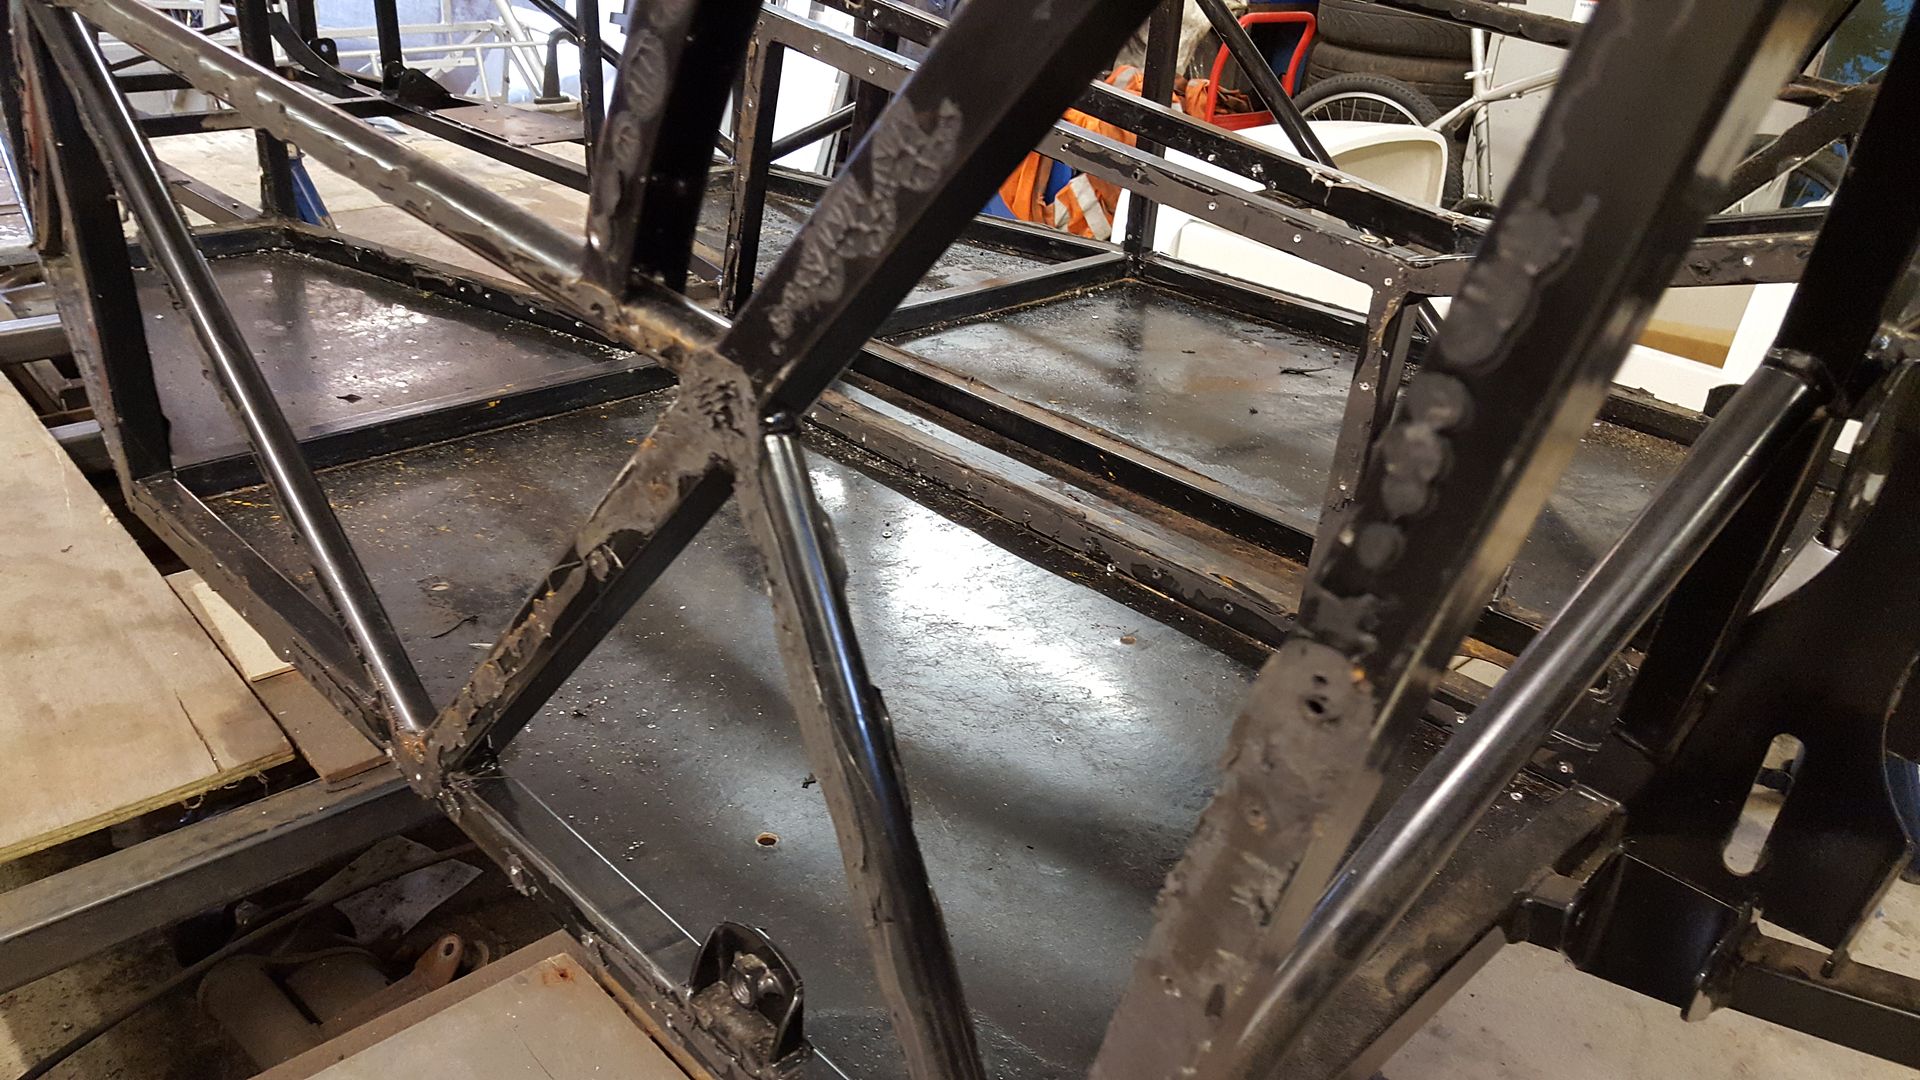
round trip of about 6 hours was well worth it. the chassis is very very well made. everything fits nice, the welding is perfect! not even I would have
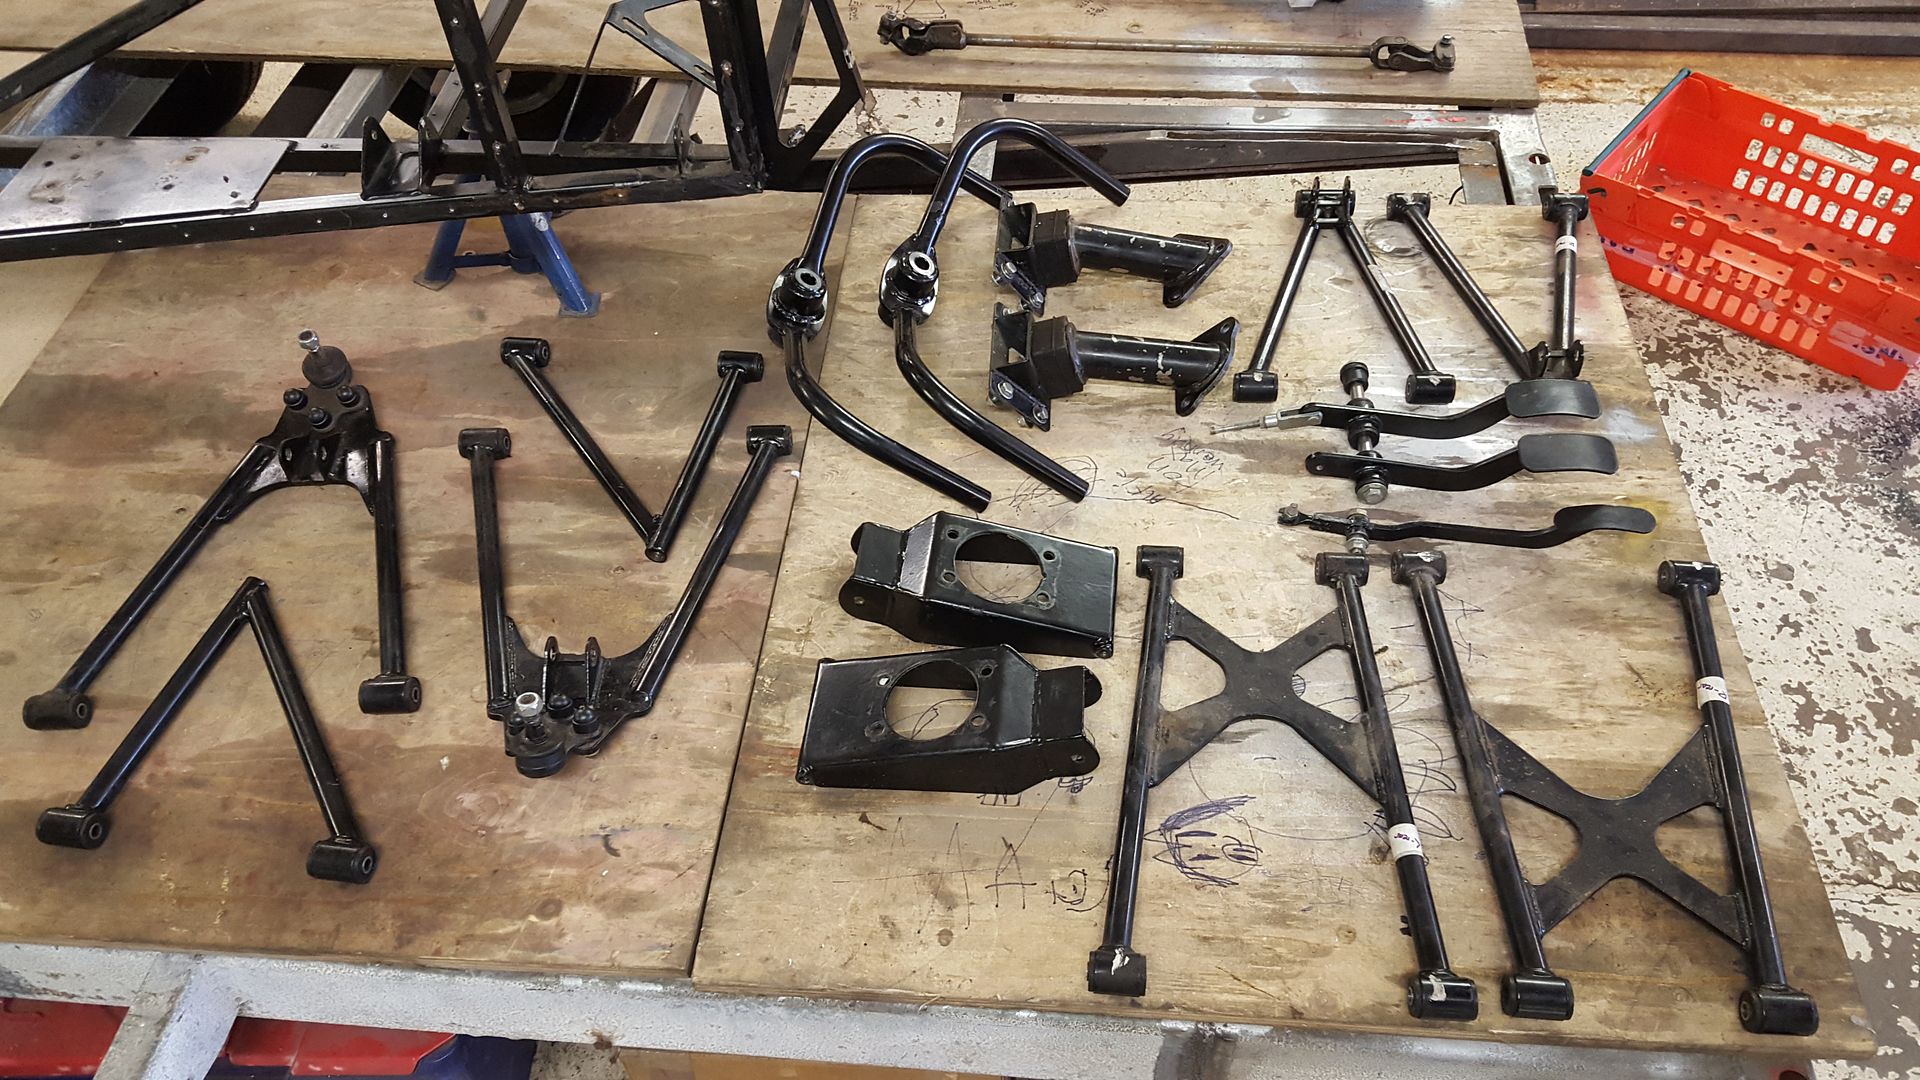
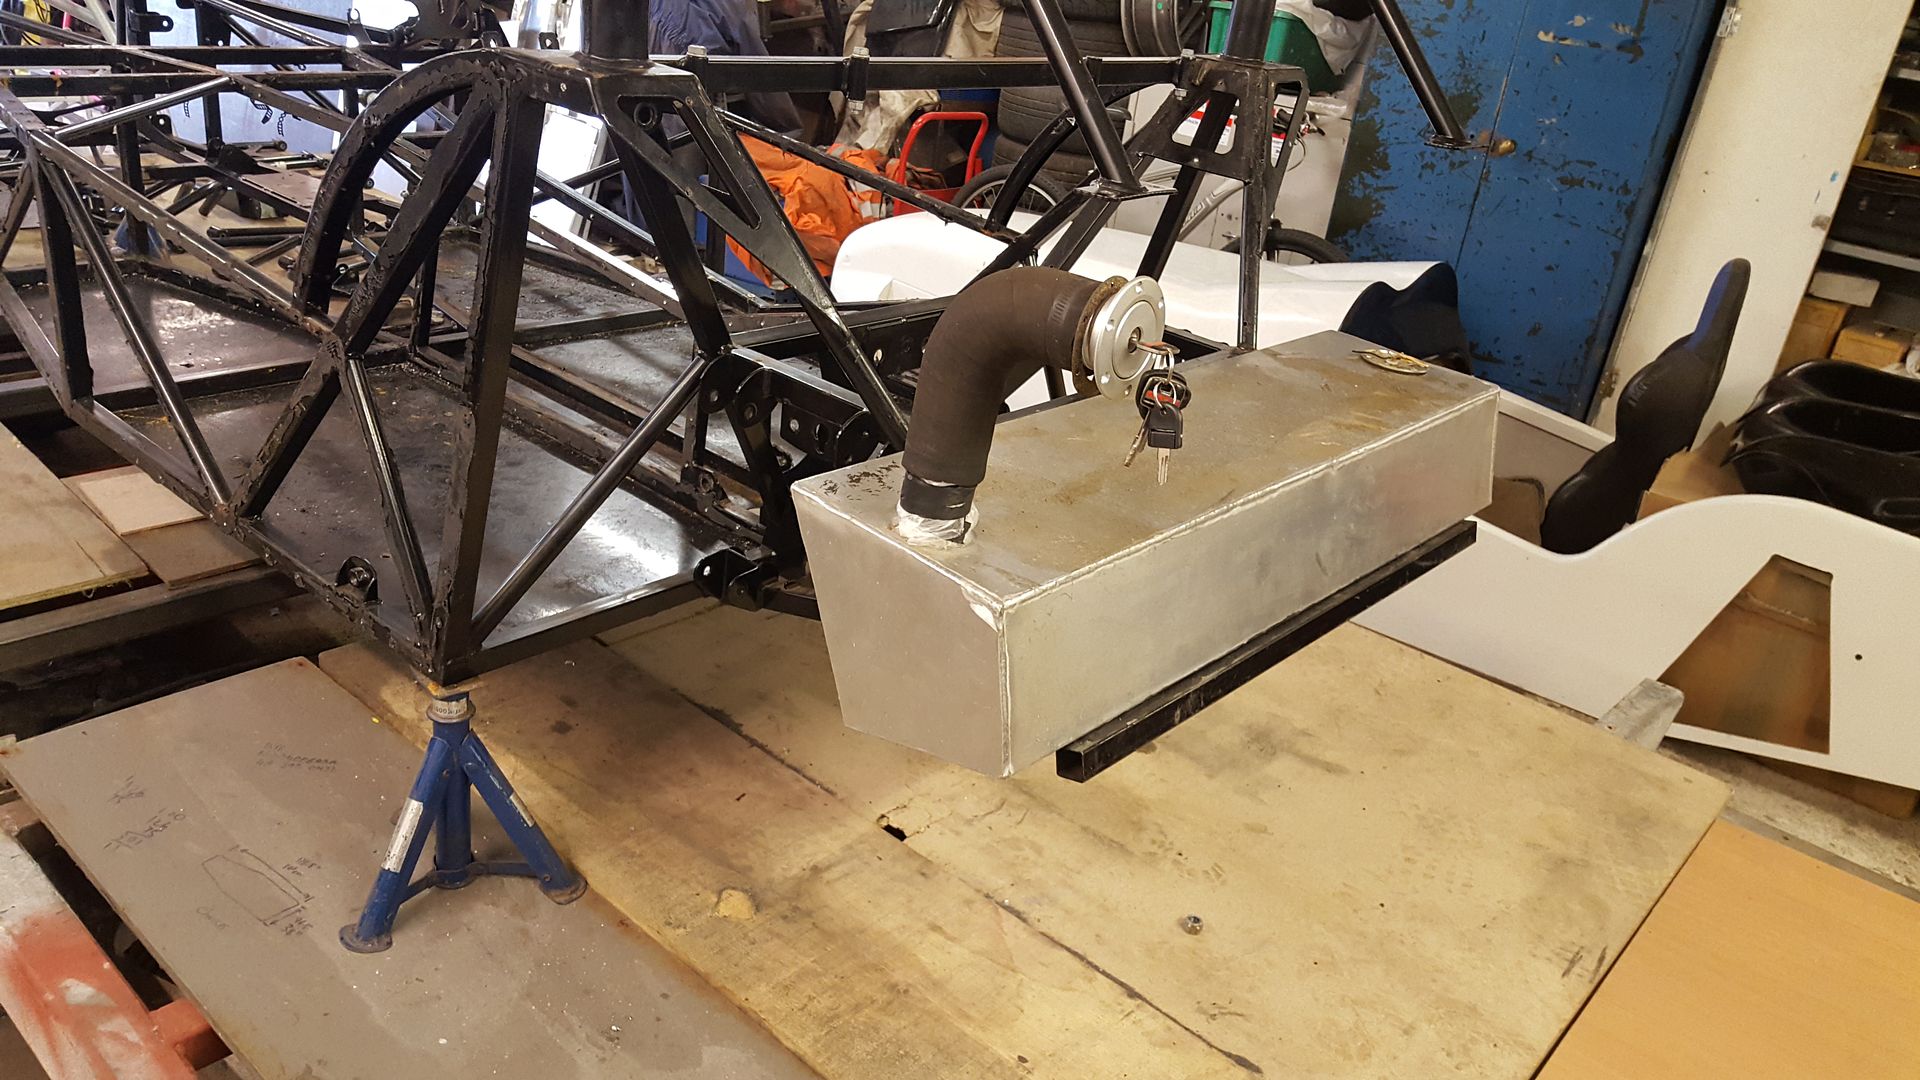
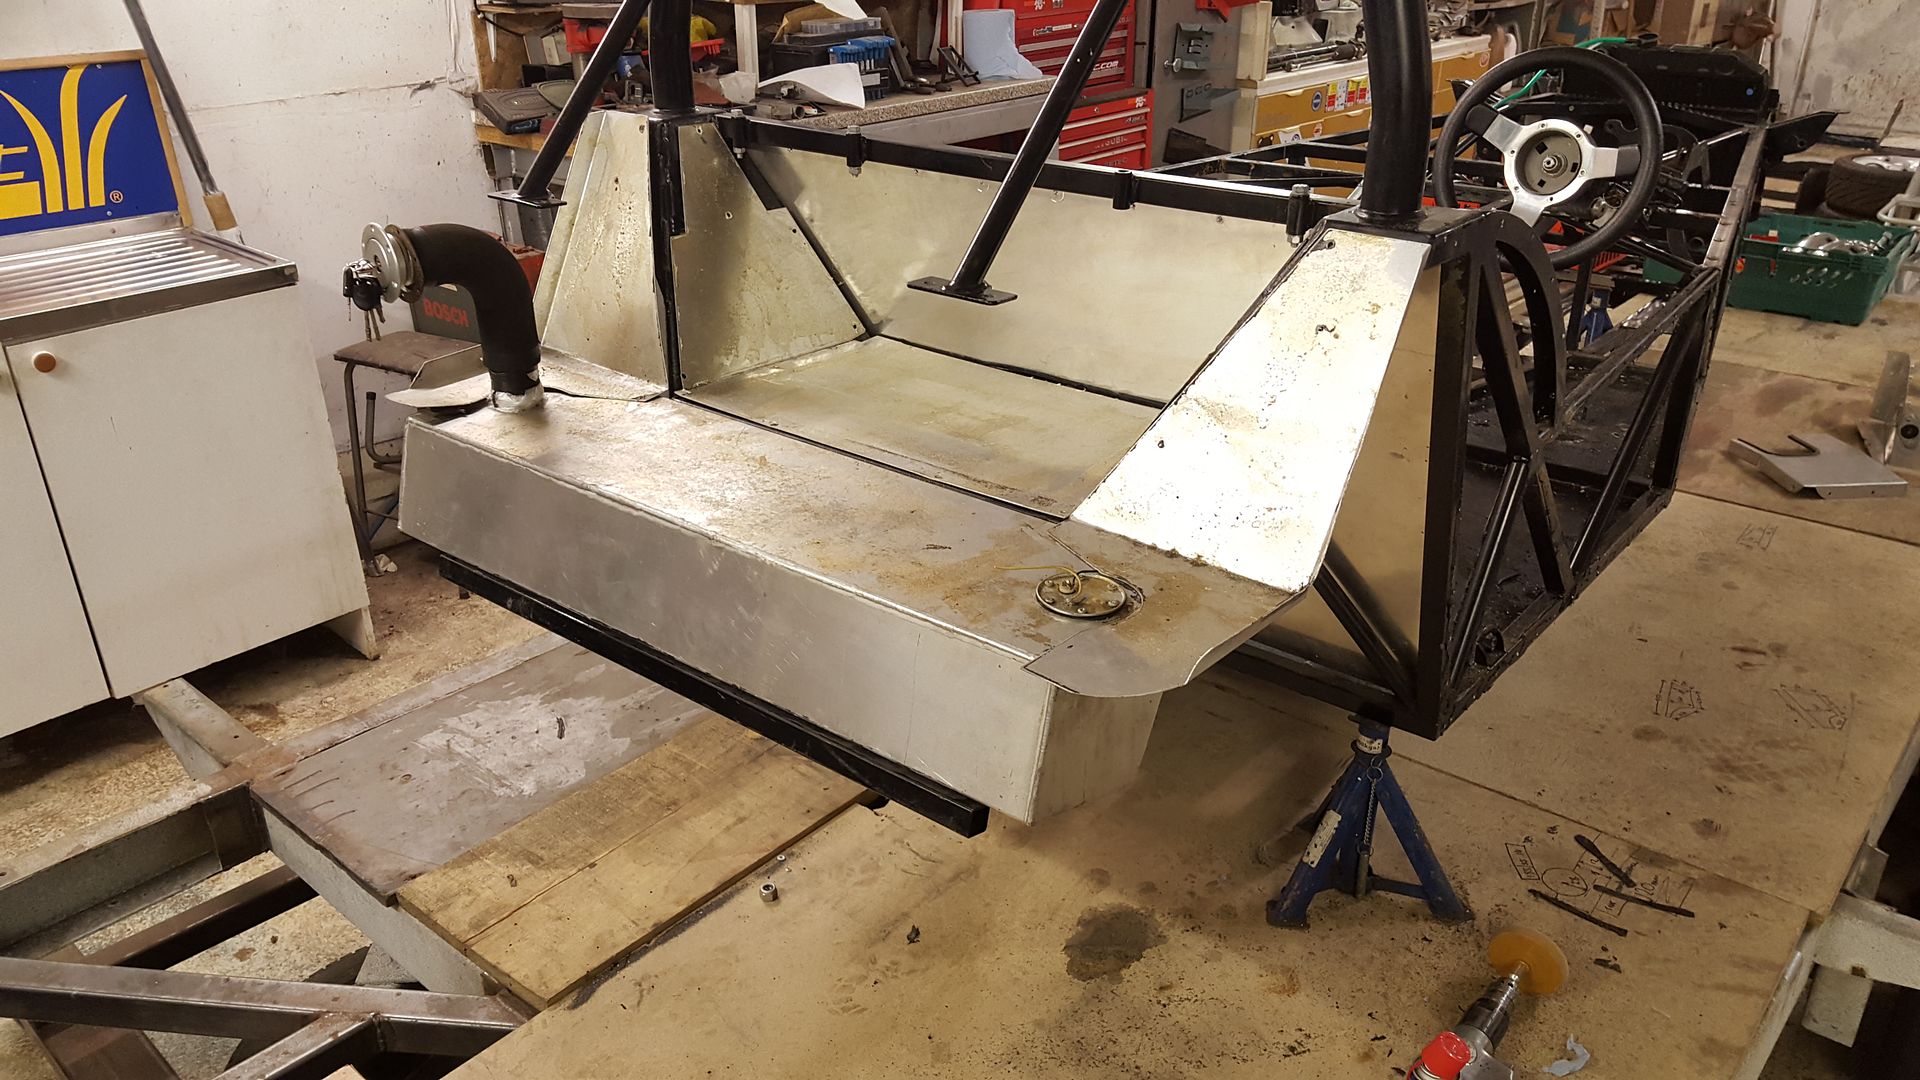
got it that nice. came with all the suspension arms, cycle wing arms, engine mounts, pedal box , all powdercoated, and fuel tank, and all the bits and
bolts..... for £400.

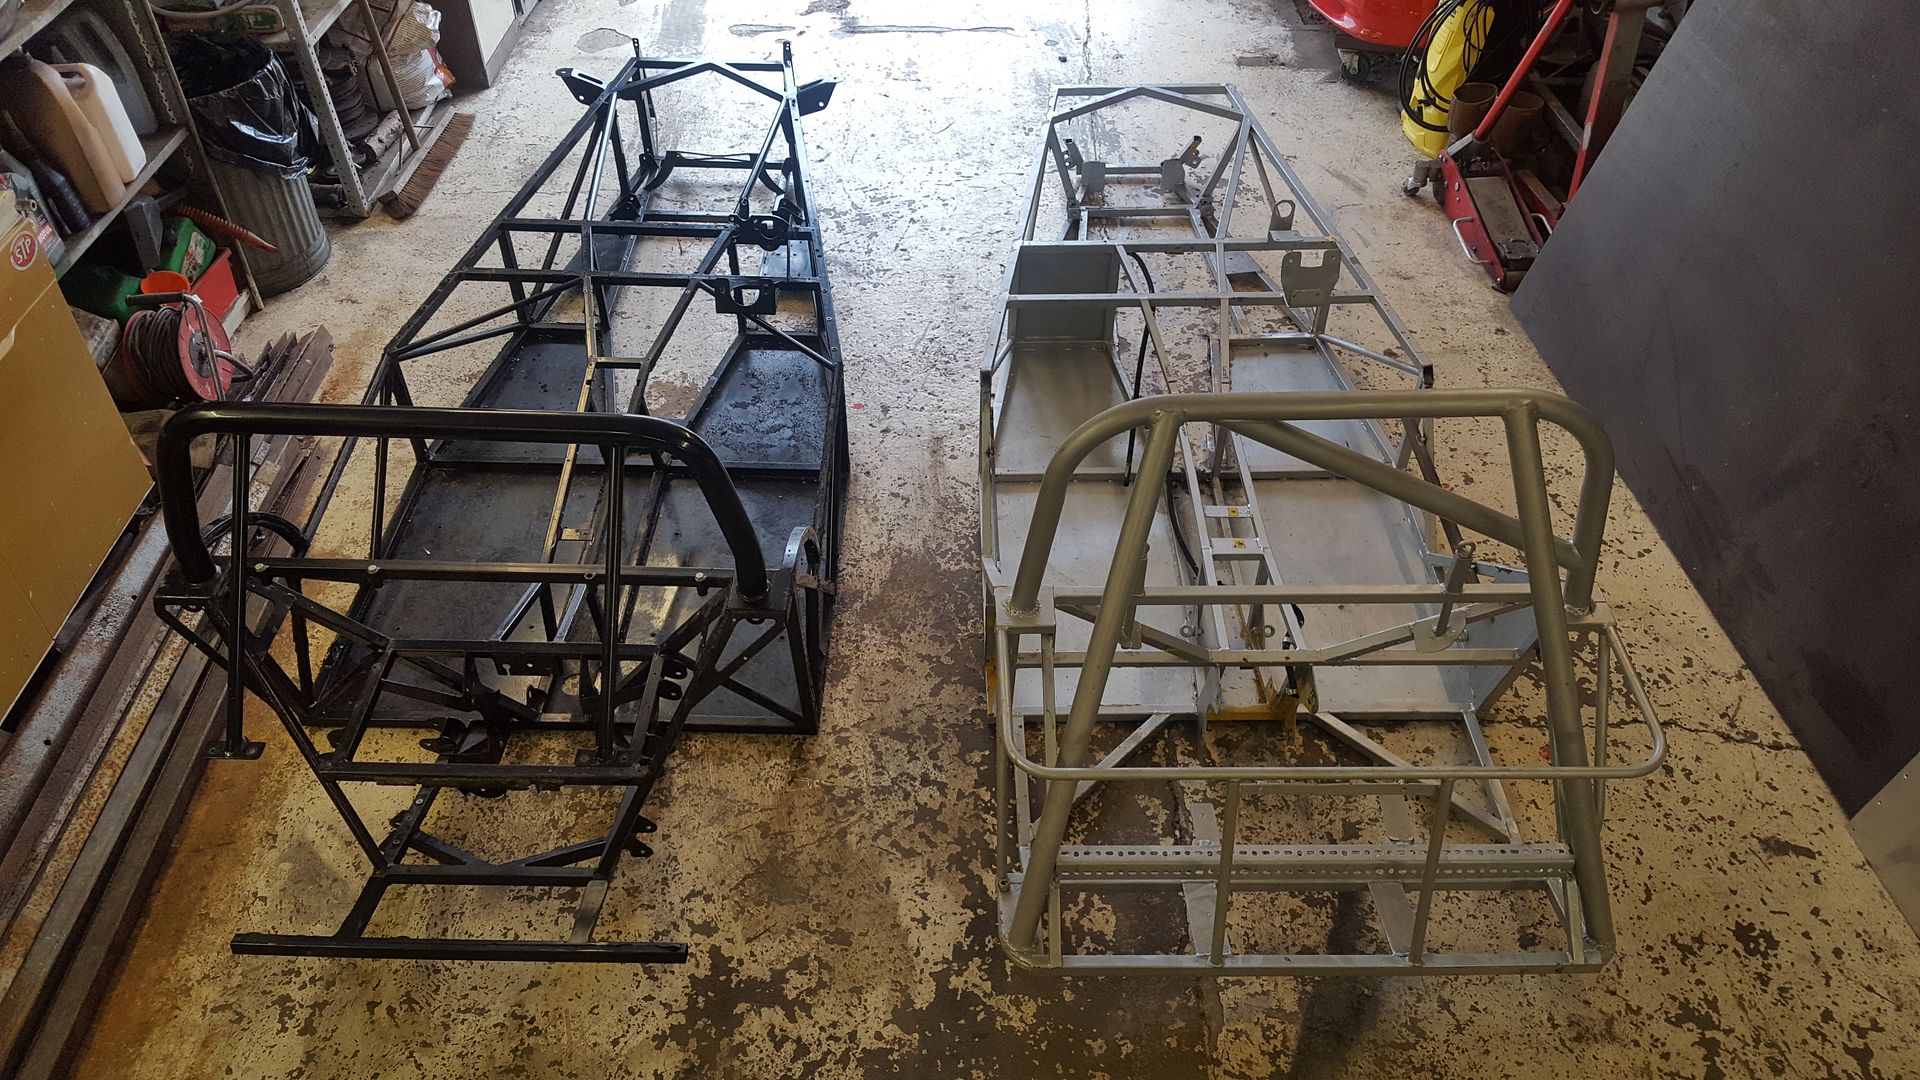
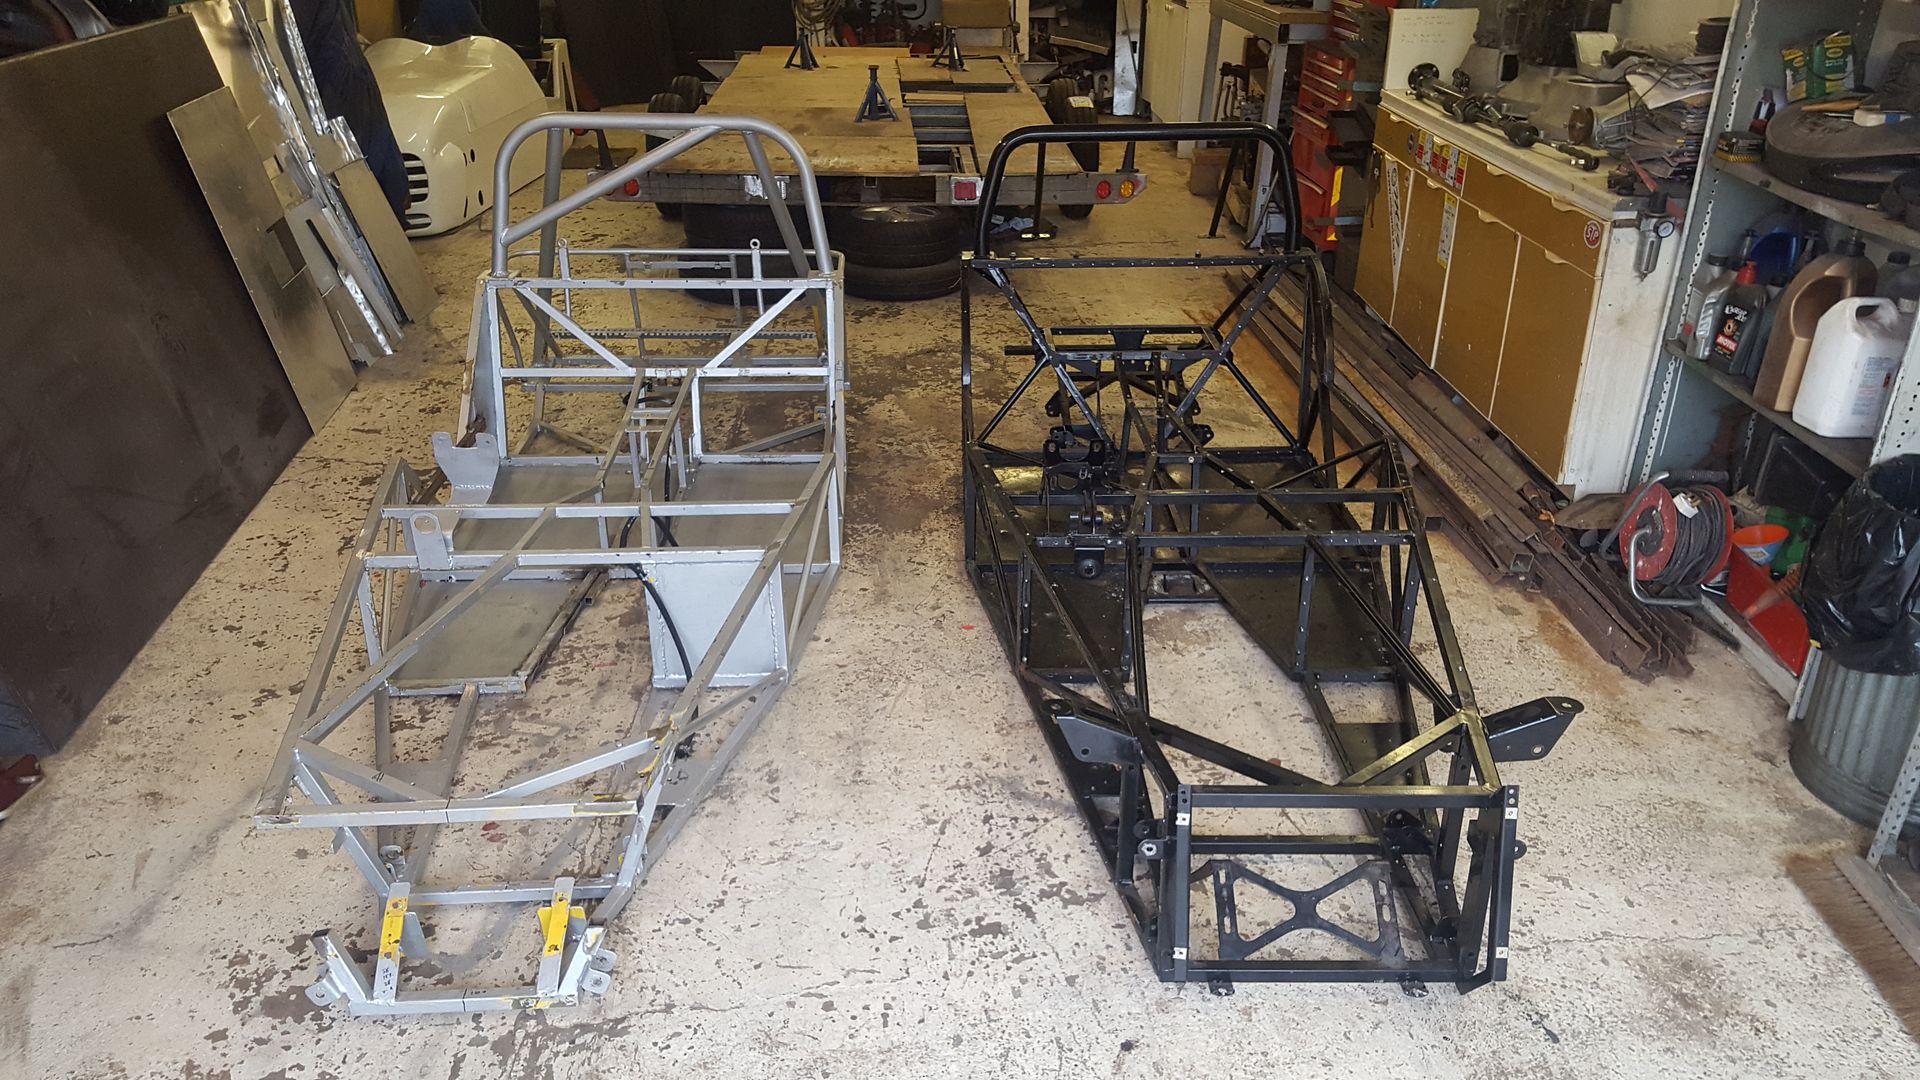

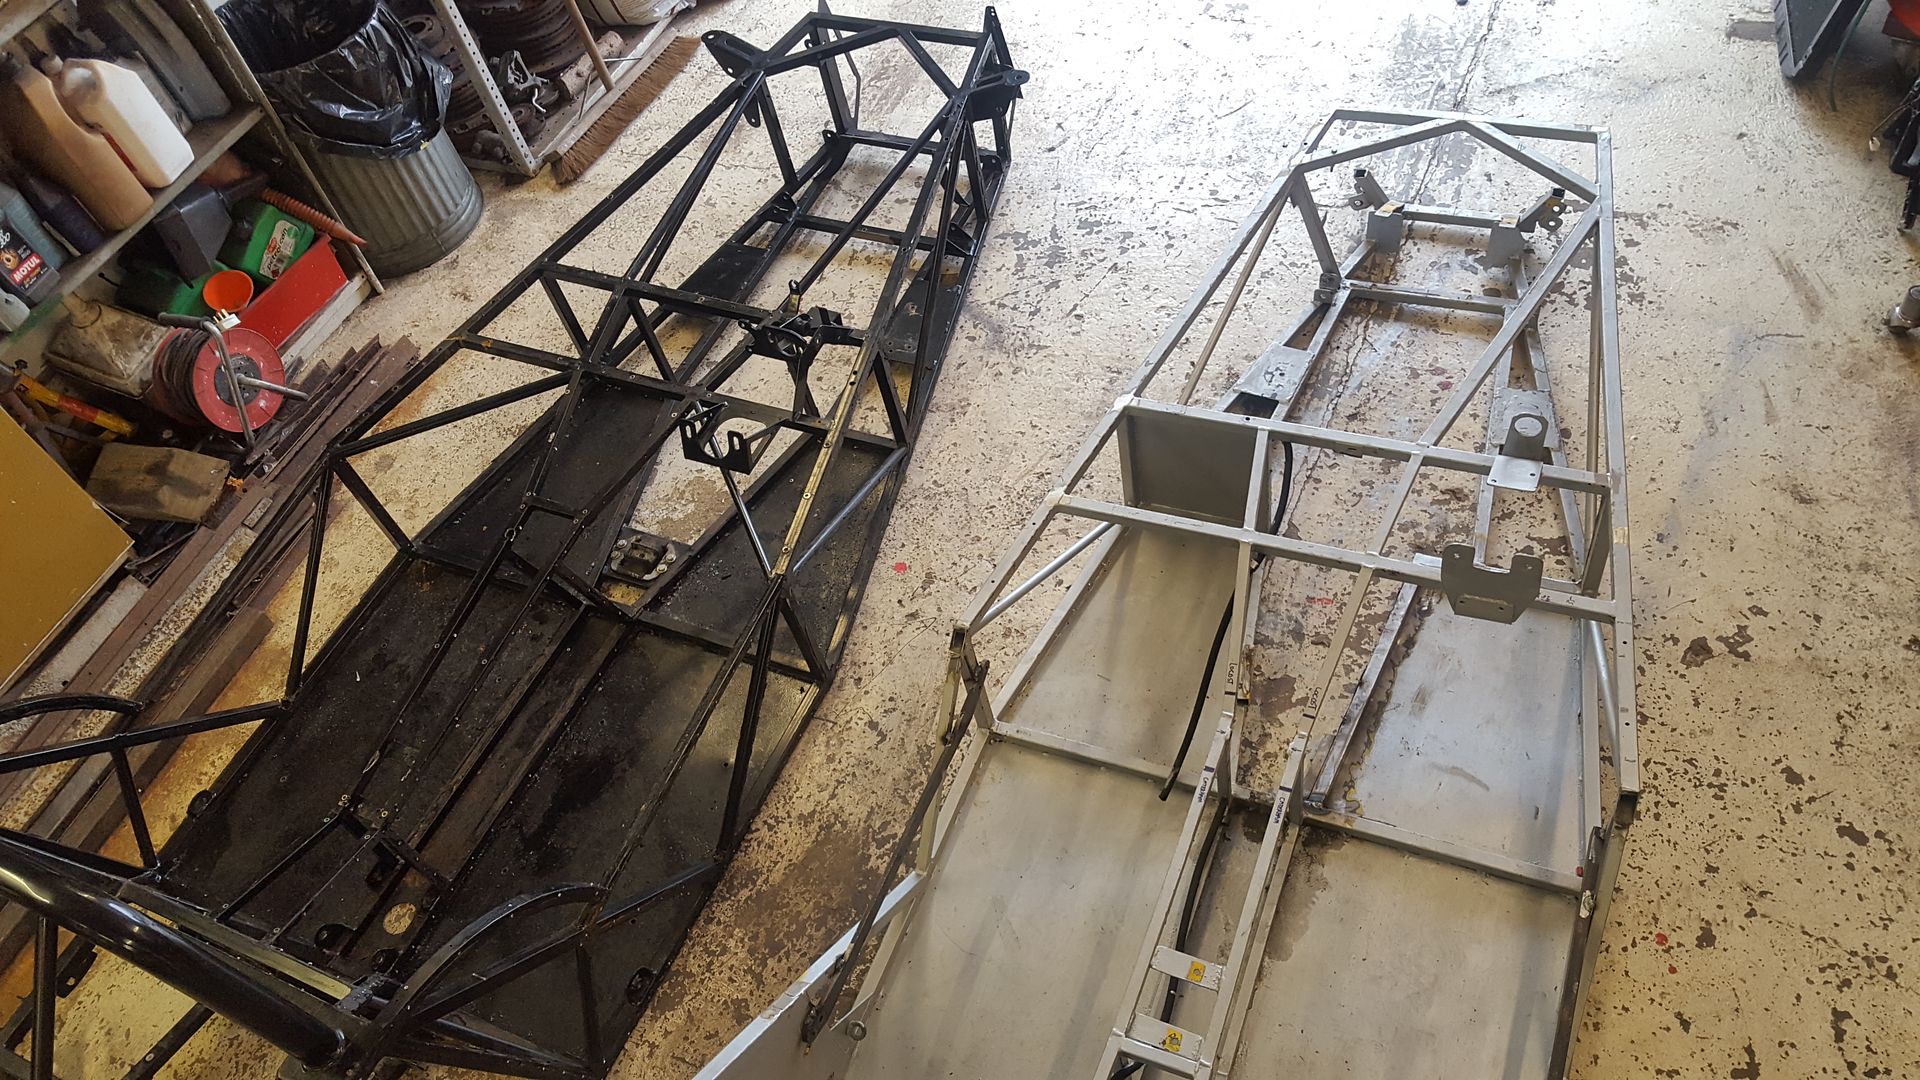
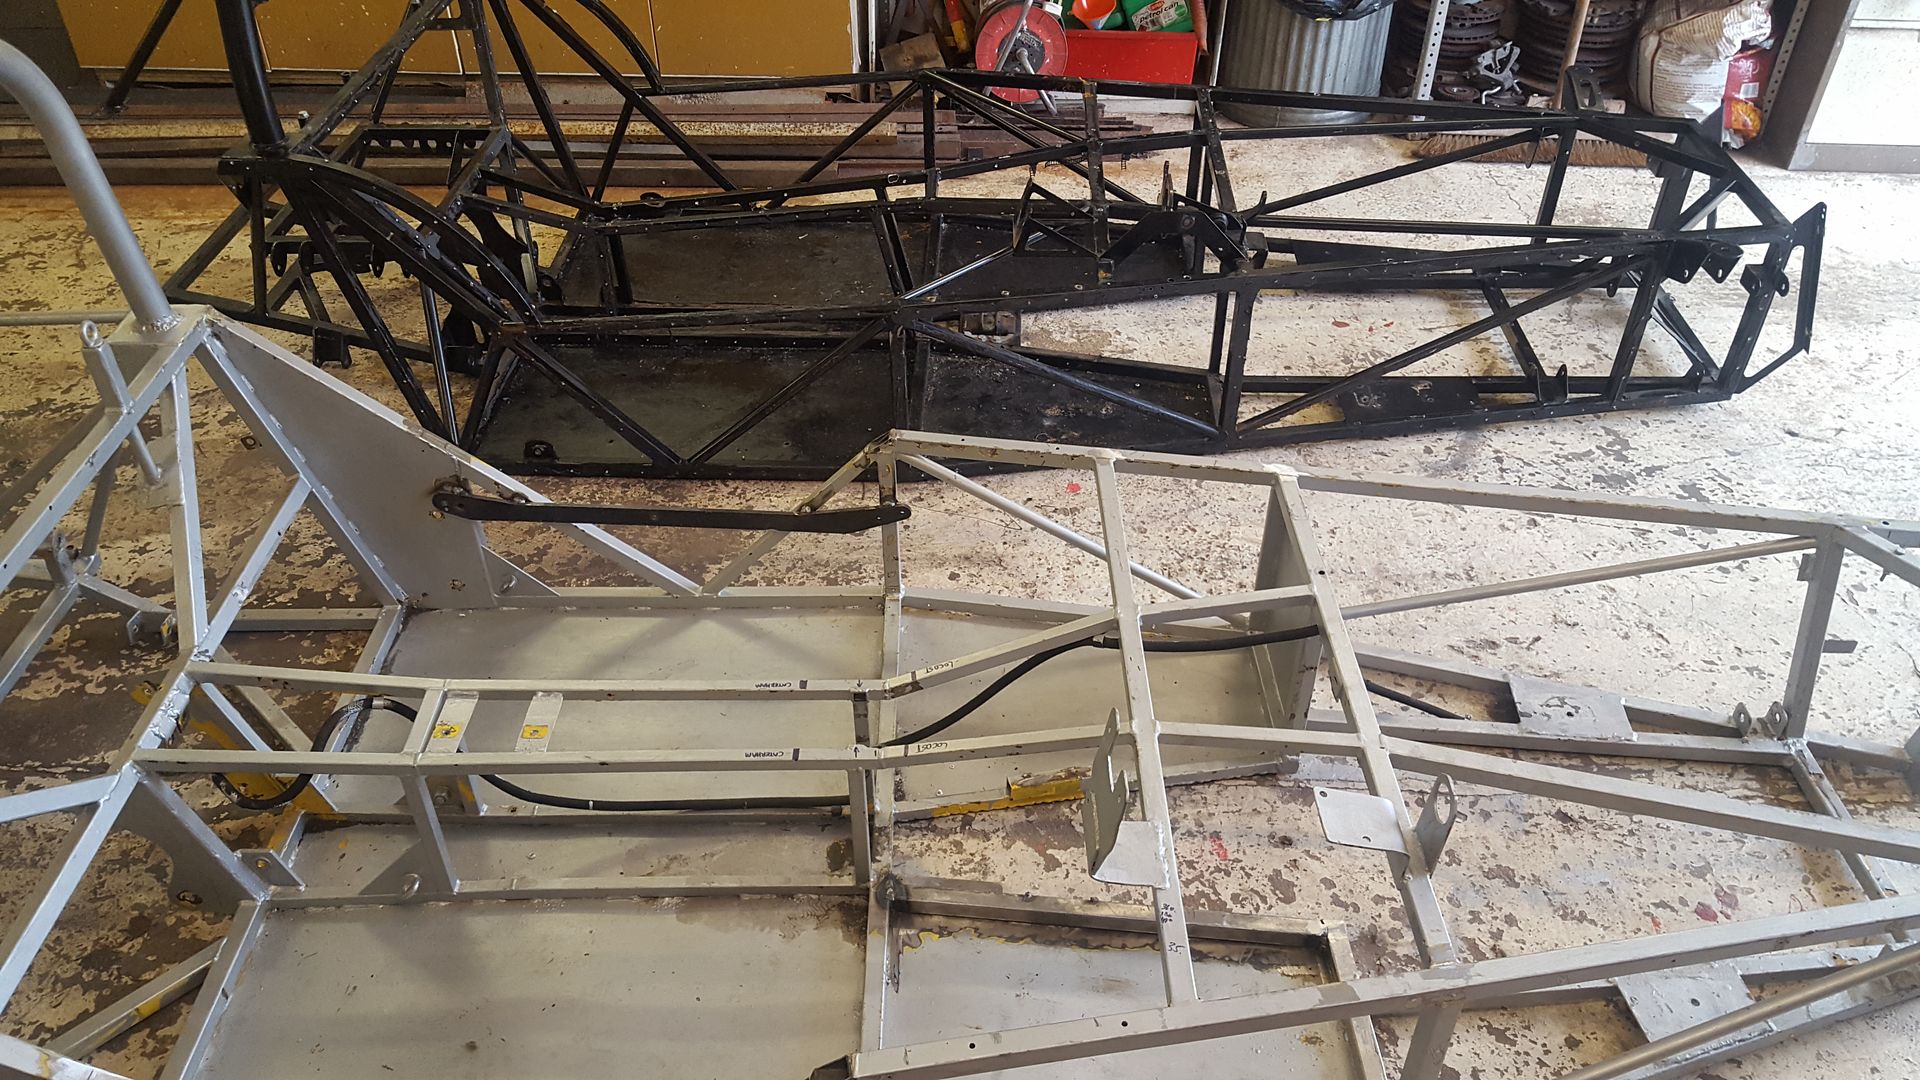
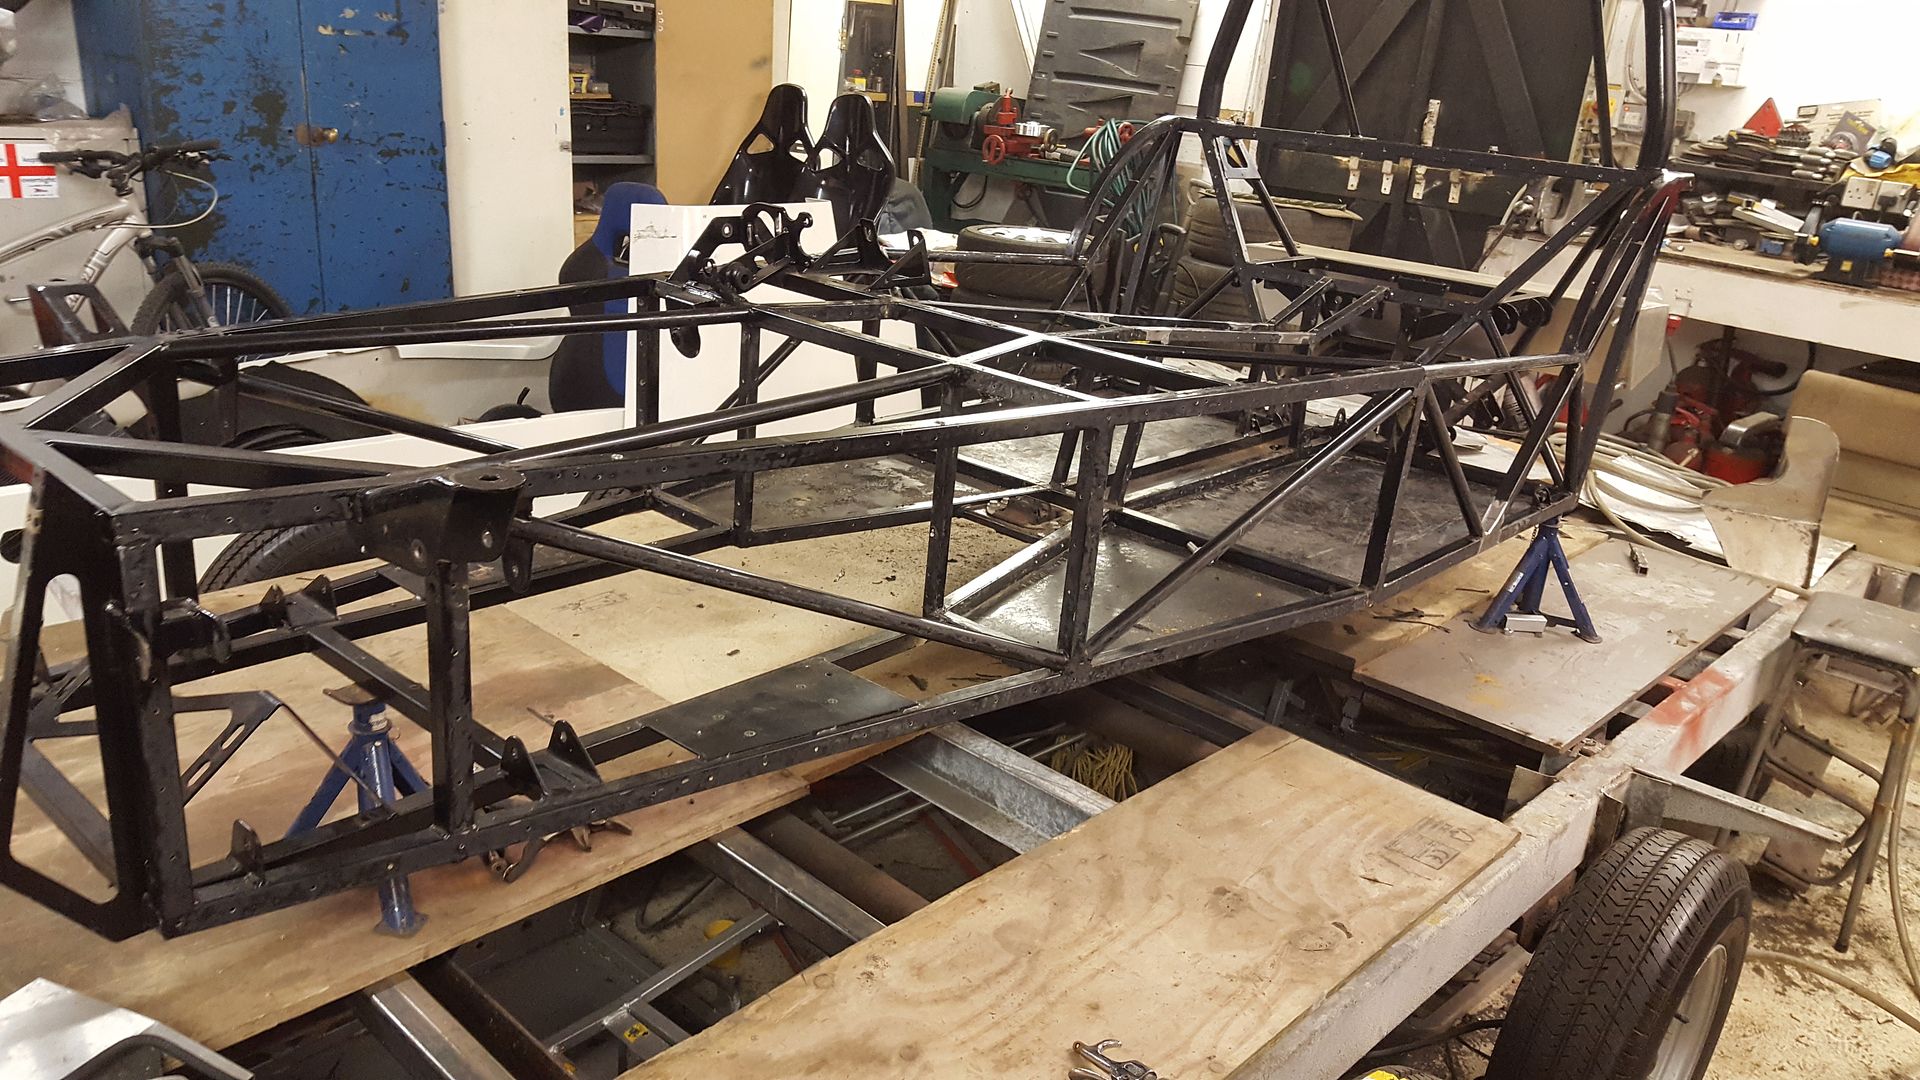
so side by side they don't look much different, they're pretty much exactly the same size, but it's all on the detail, all the
suspension mounts are better positioned and better designed, everything is stronger where it needs to be, all the pieces are nicely laser cut and
true.
got it up on the 'tressle'
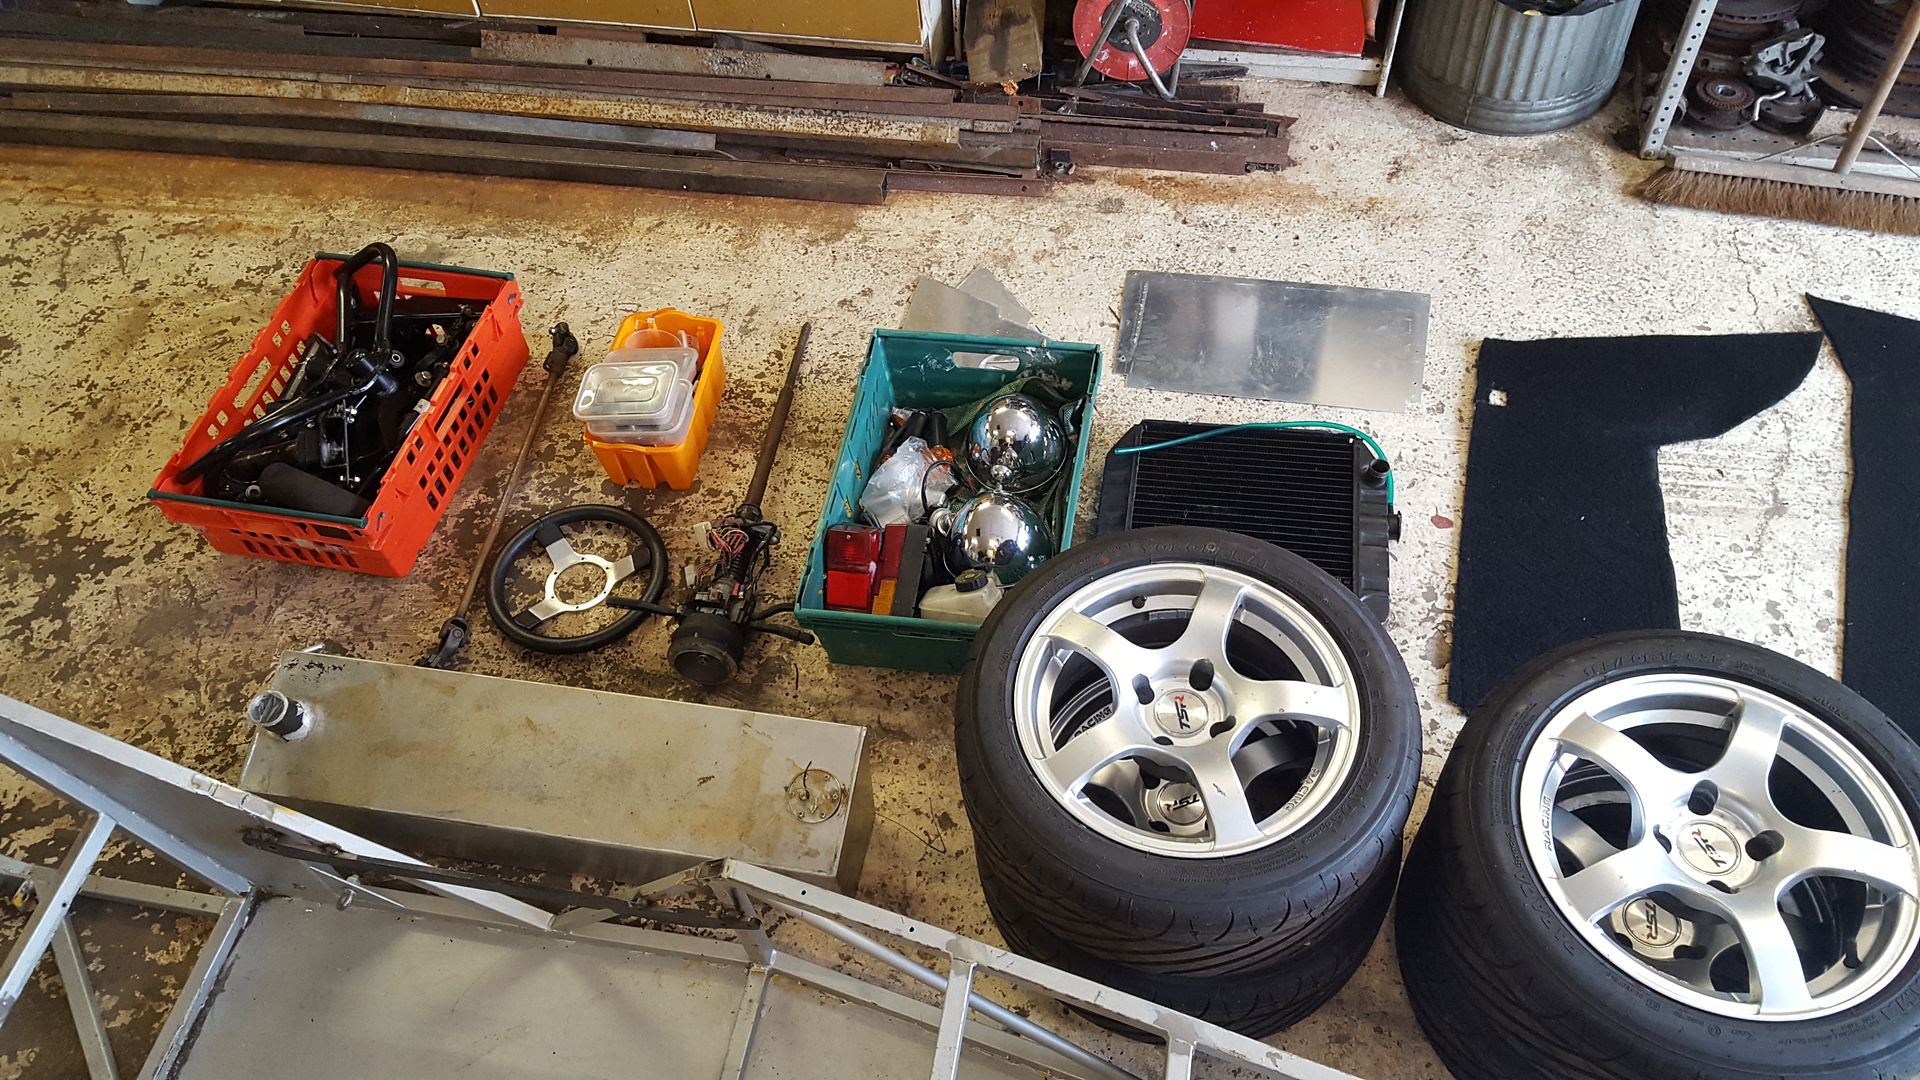
and then unloaded all the other bits I bought whilst up there :lol:
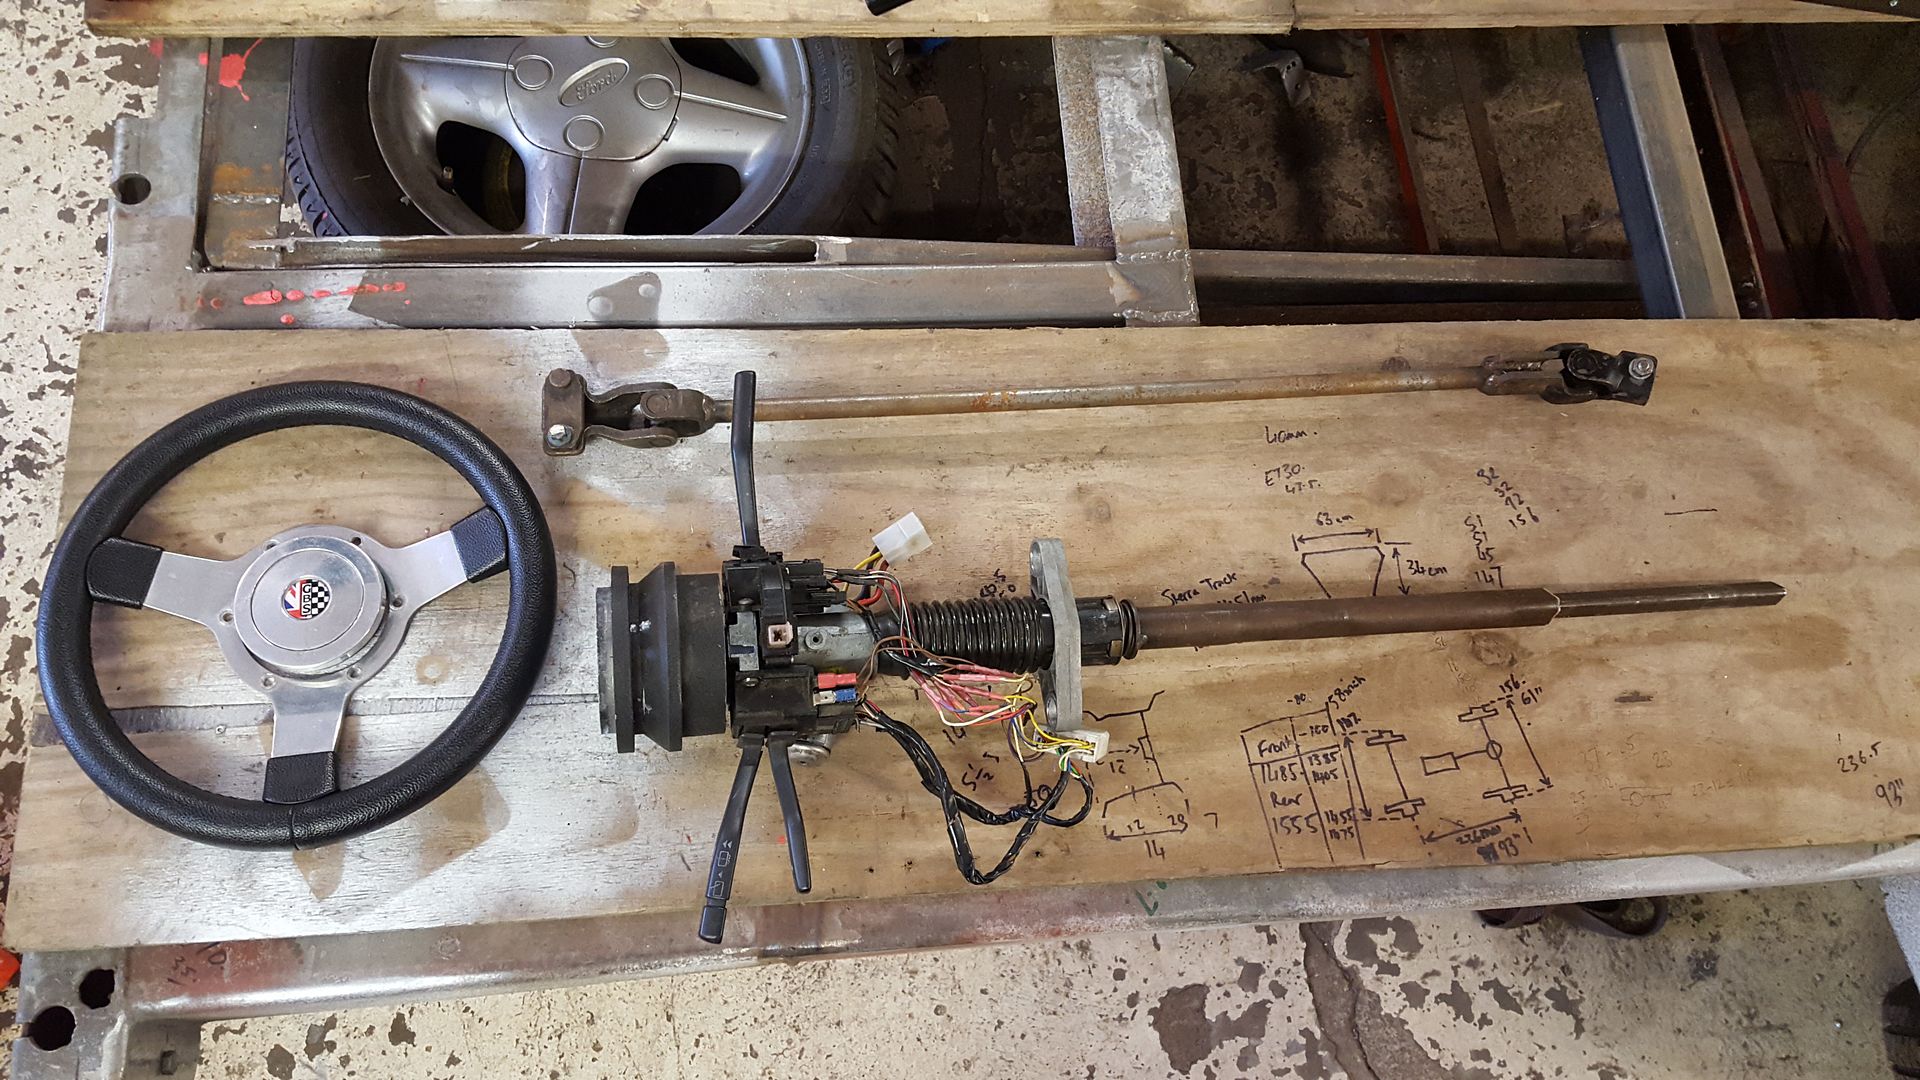
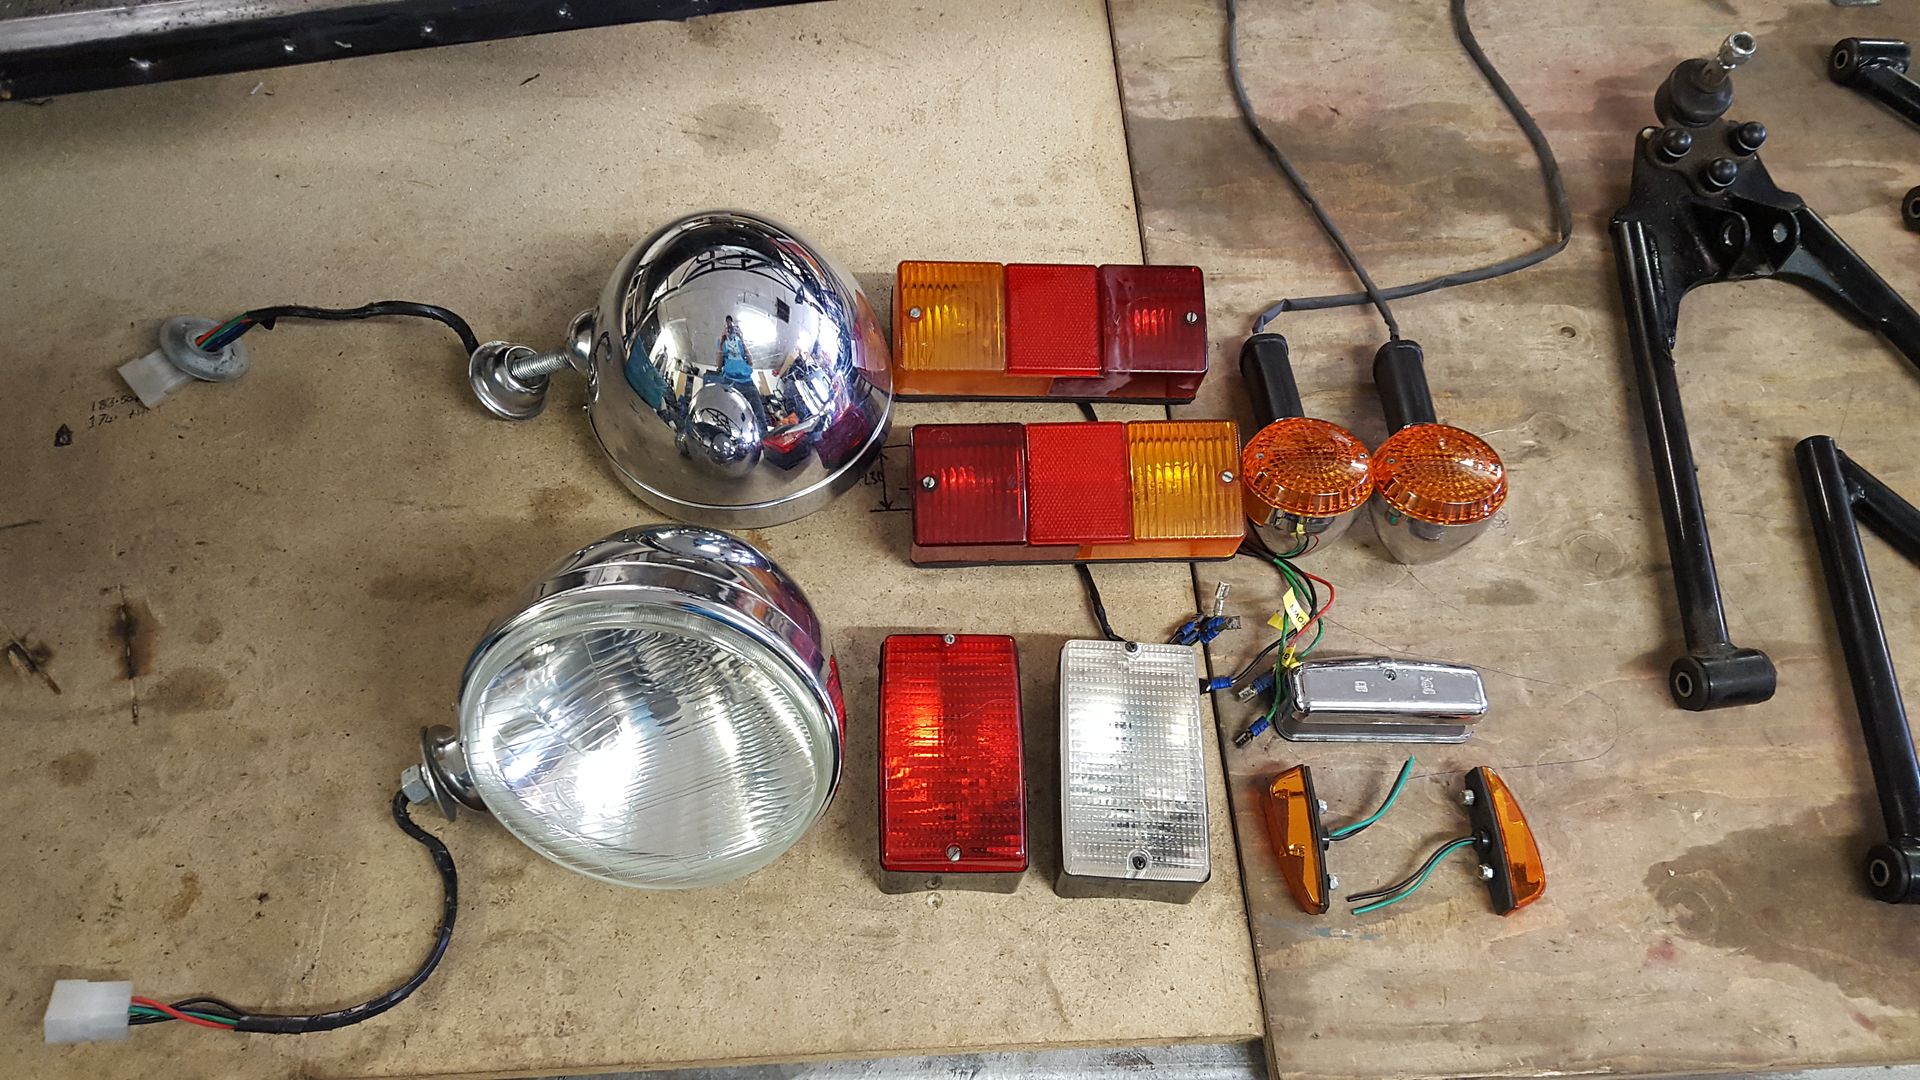
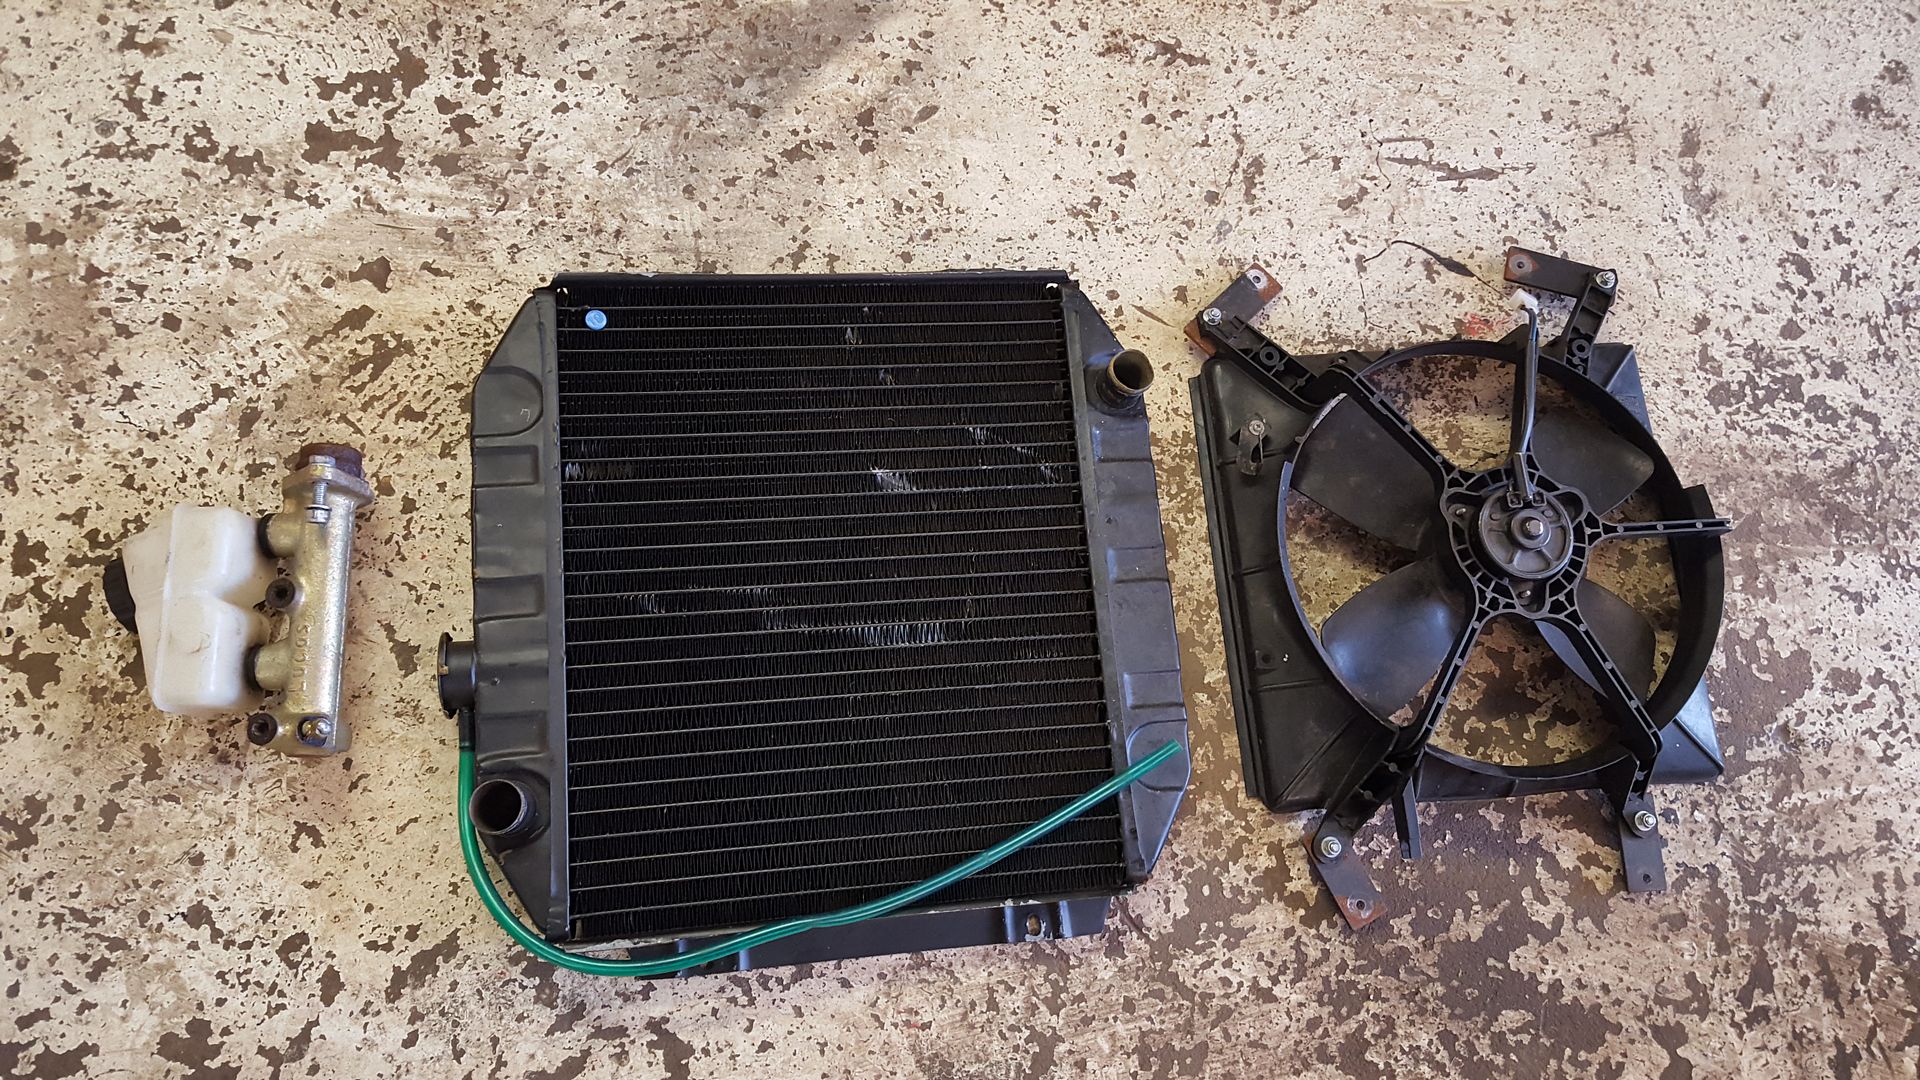
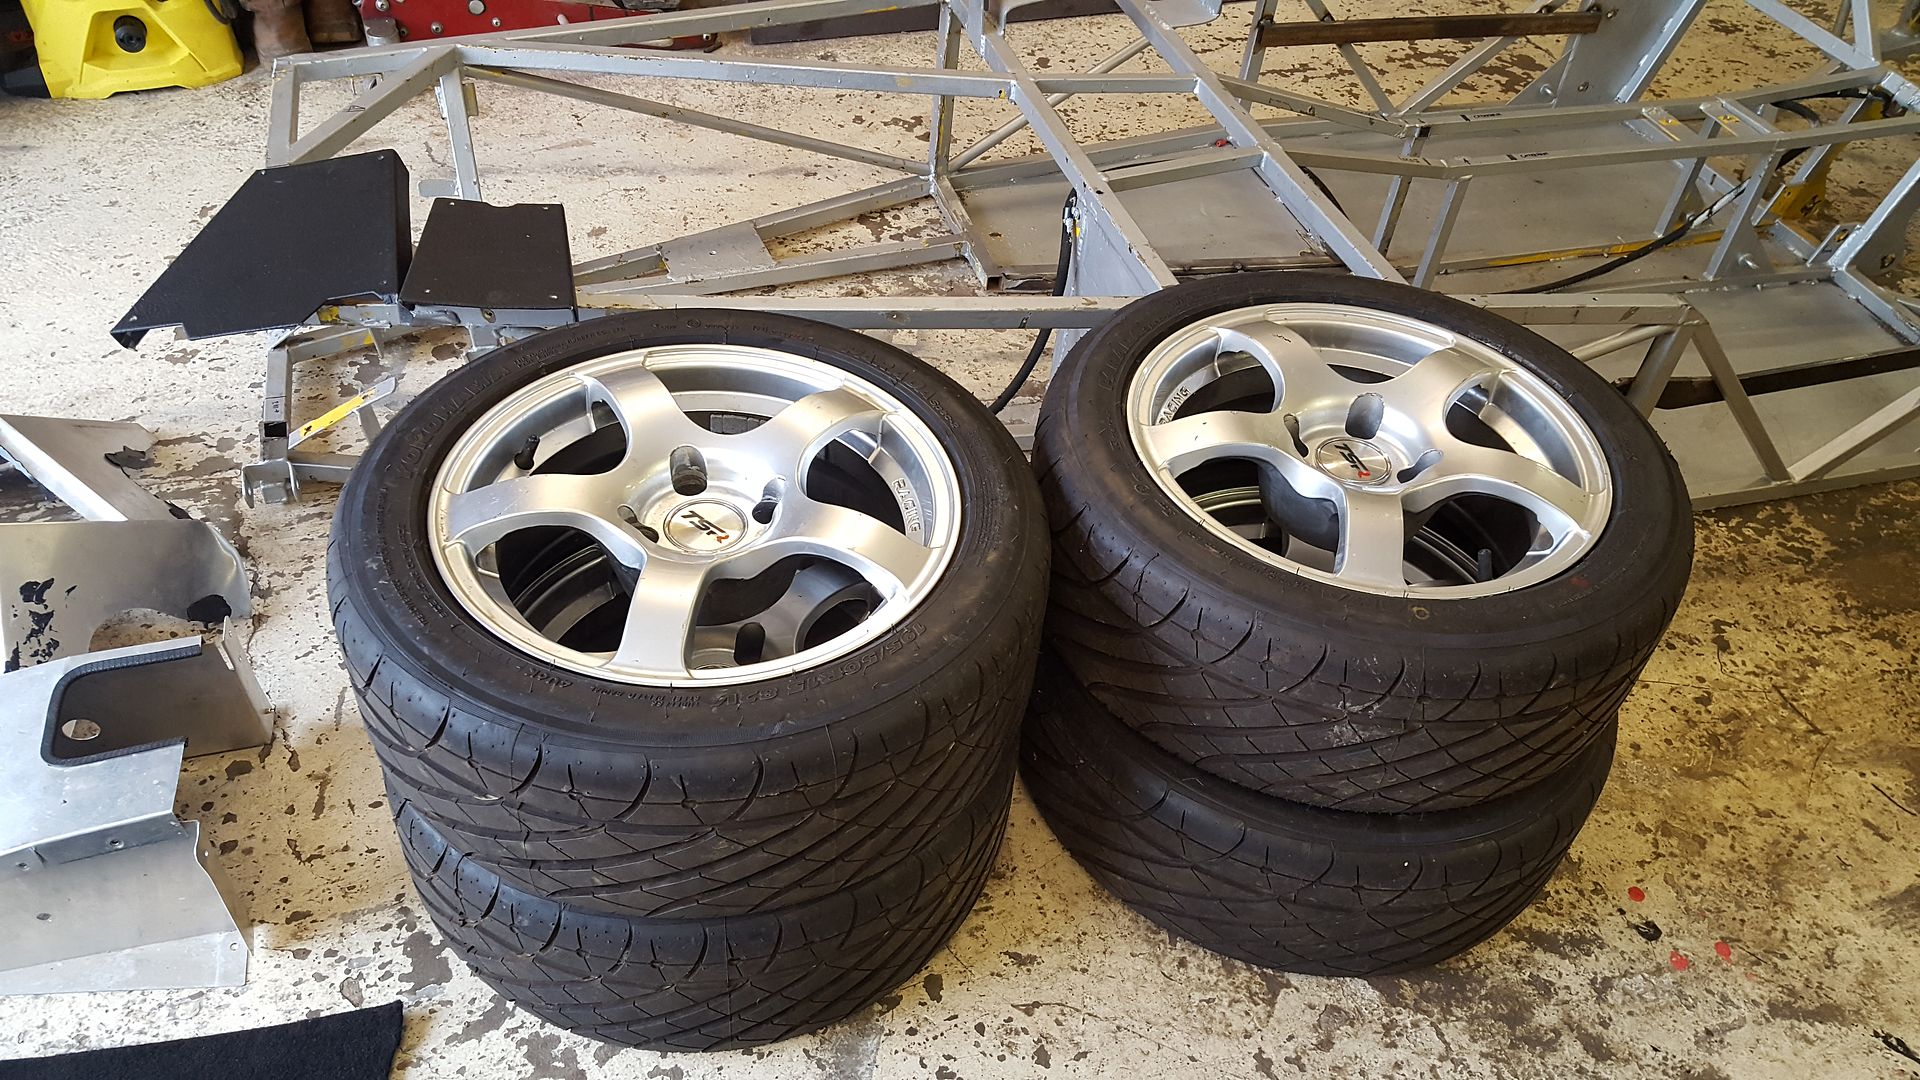
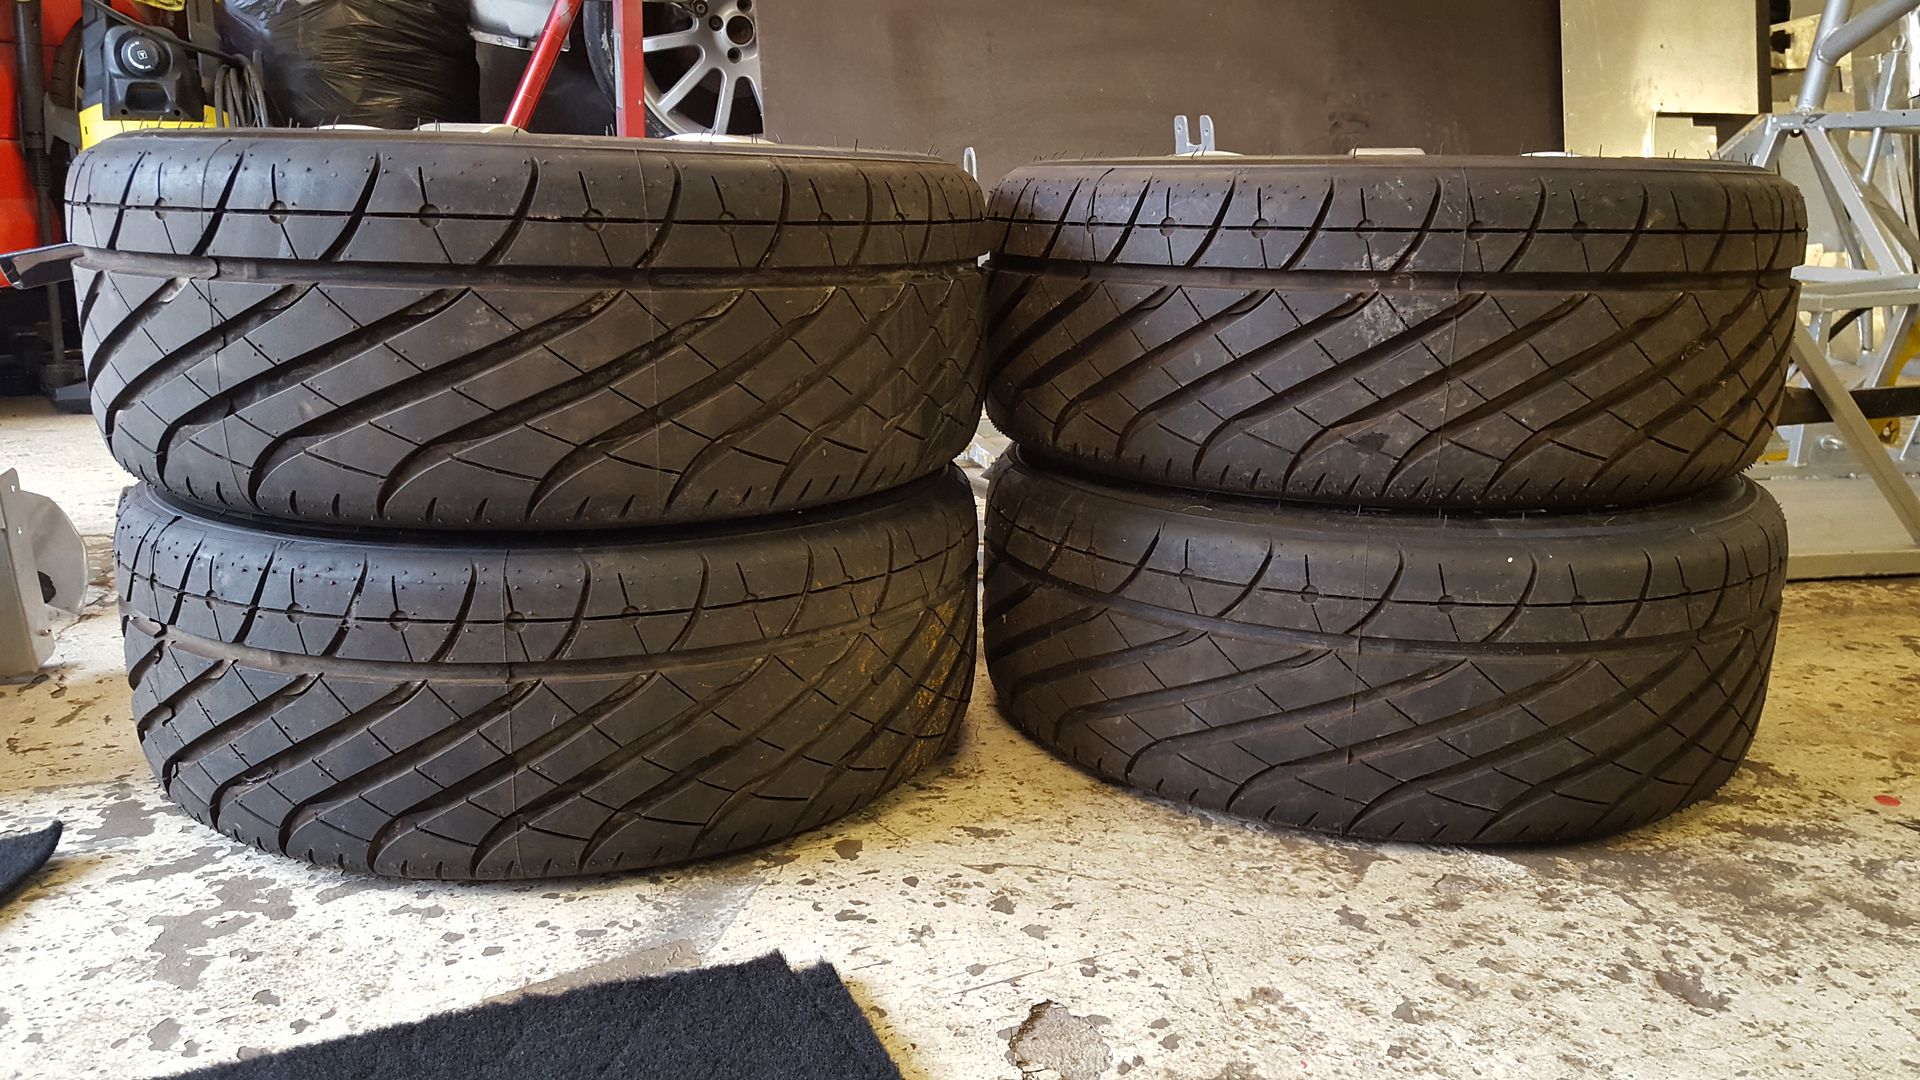
full sierra steering coloum with keys and switches, extended steering bar, steering wheel, brake master cylinder, radiator, fan, full light set, fuel
tank, fuel filler cap, loads of interior panels, full carpet set, set of wheels and new yoko prada tyres..... for another £450.

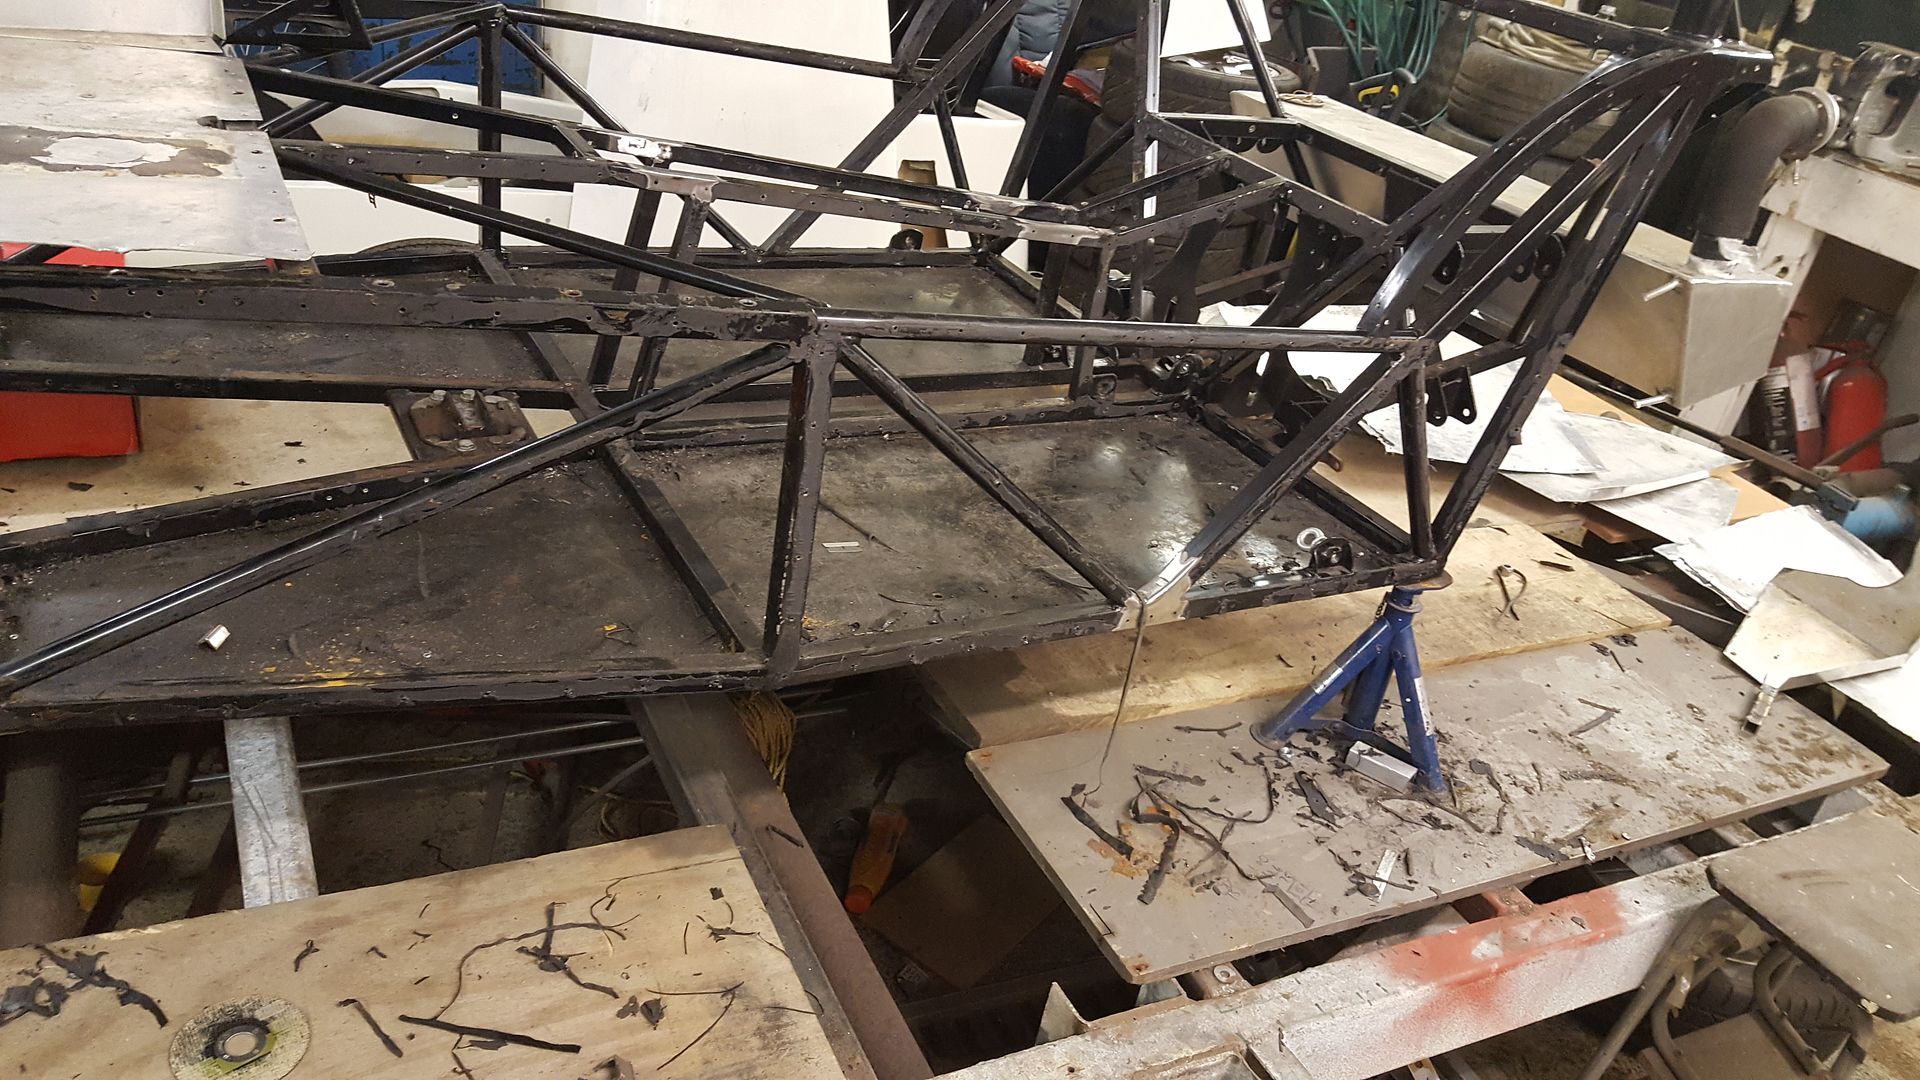
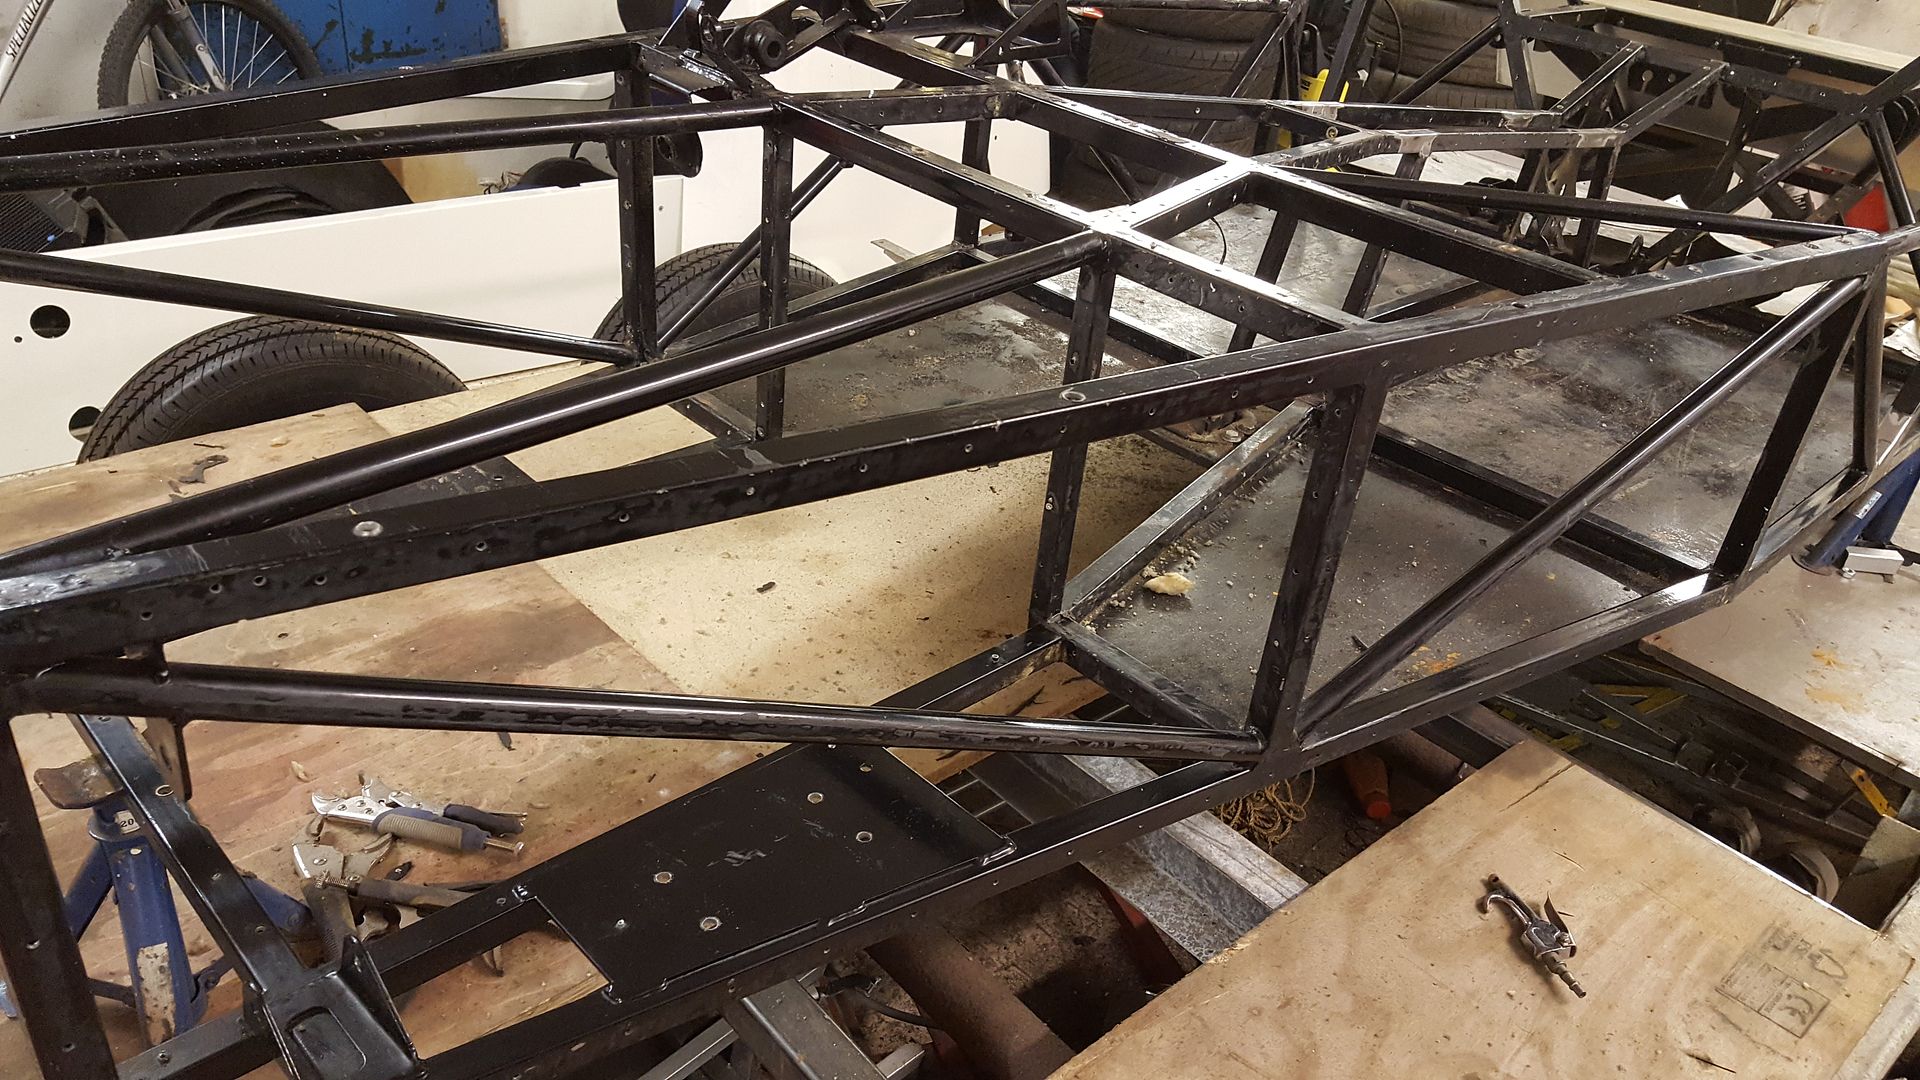
all the welding and plates are so nicely done


the only bits that need a quick buzz of welding are here where I think someone's tried getting the wrong handbrake fitted
here where they've tried getting a different shifter or something
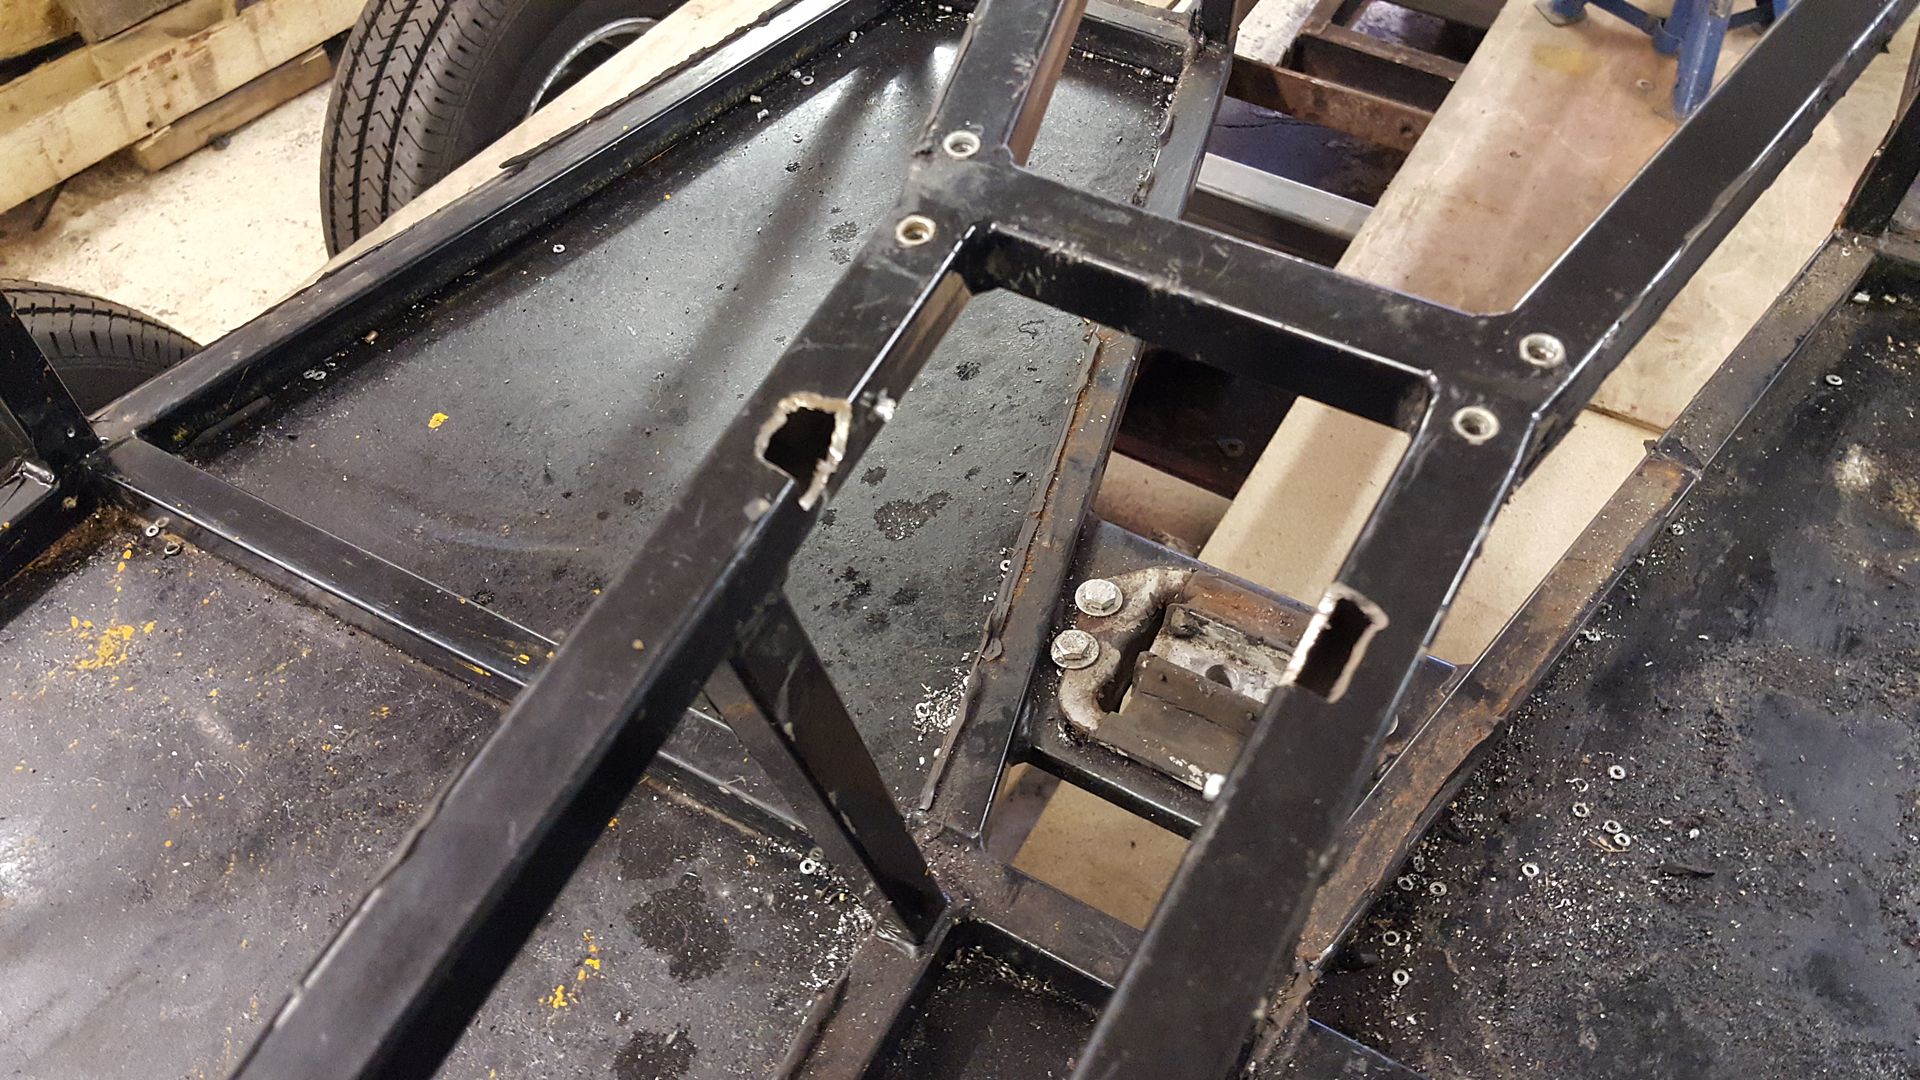
and here where they've bolted the exhaust on
nice and easy
as you can see all the panels were bonded and every pole is covered in sealer
but a quick whizz with a toffee wheel and comes off nice and easy
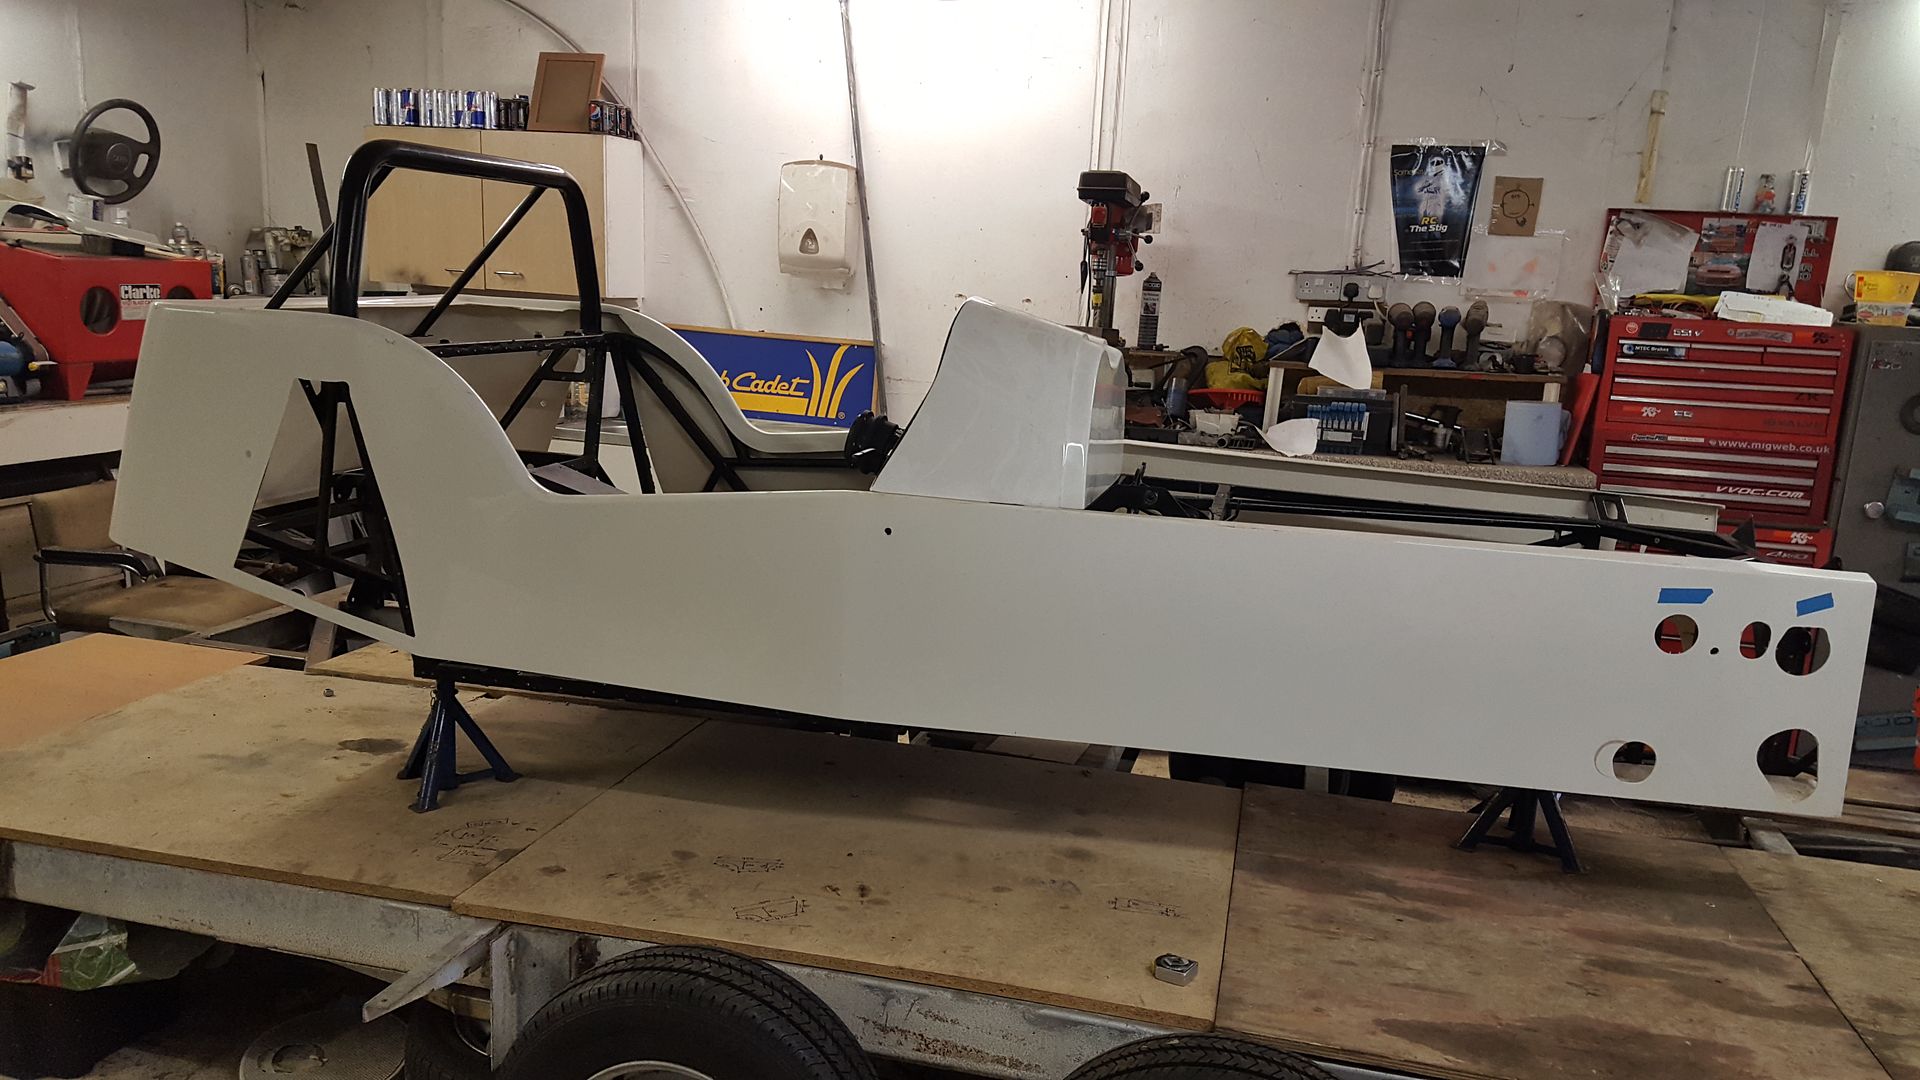
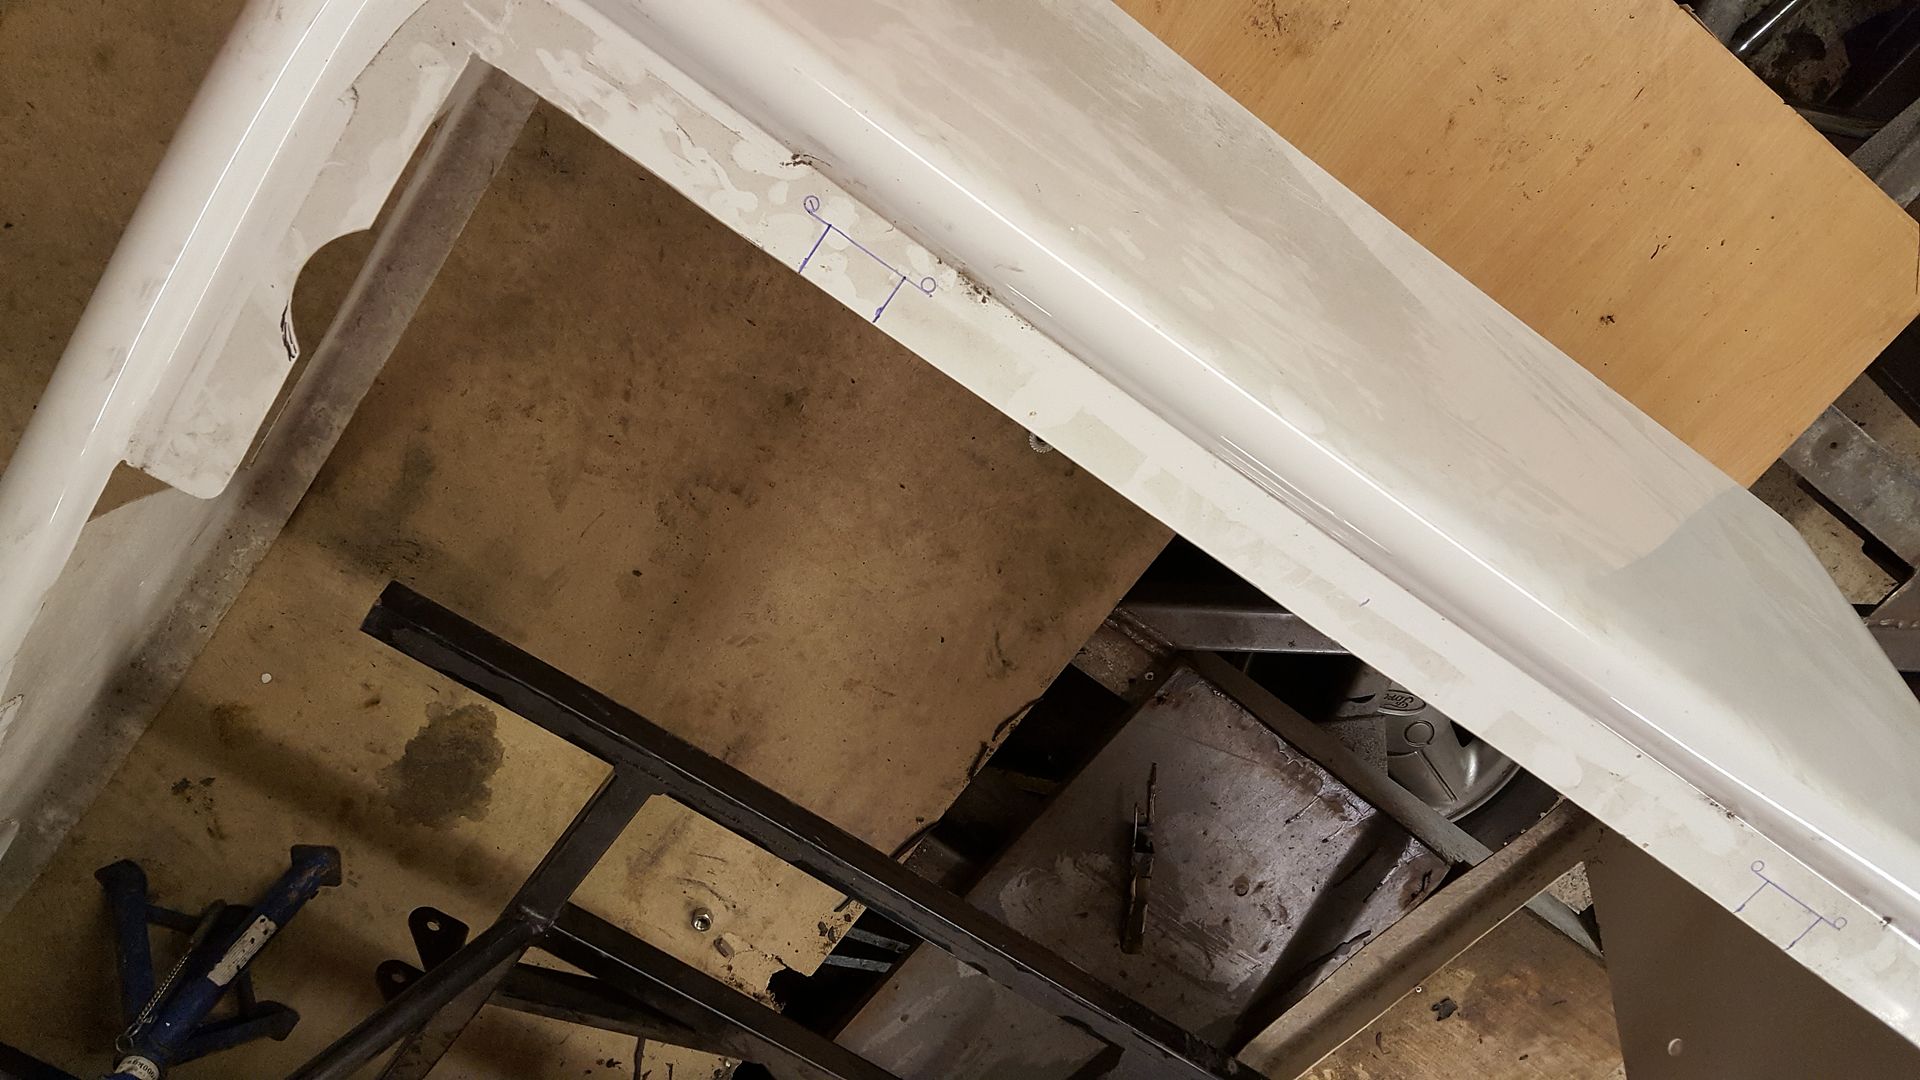
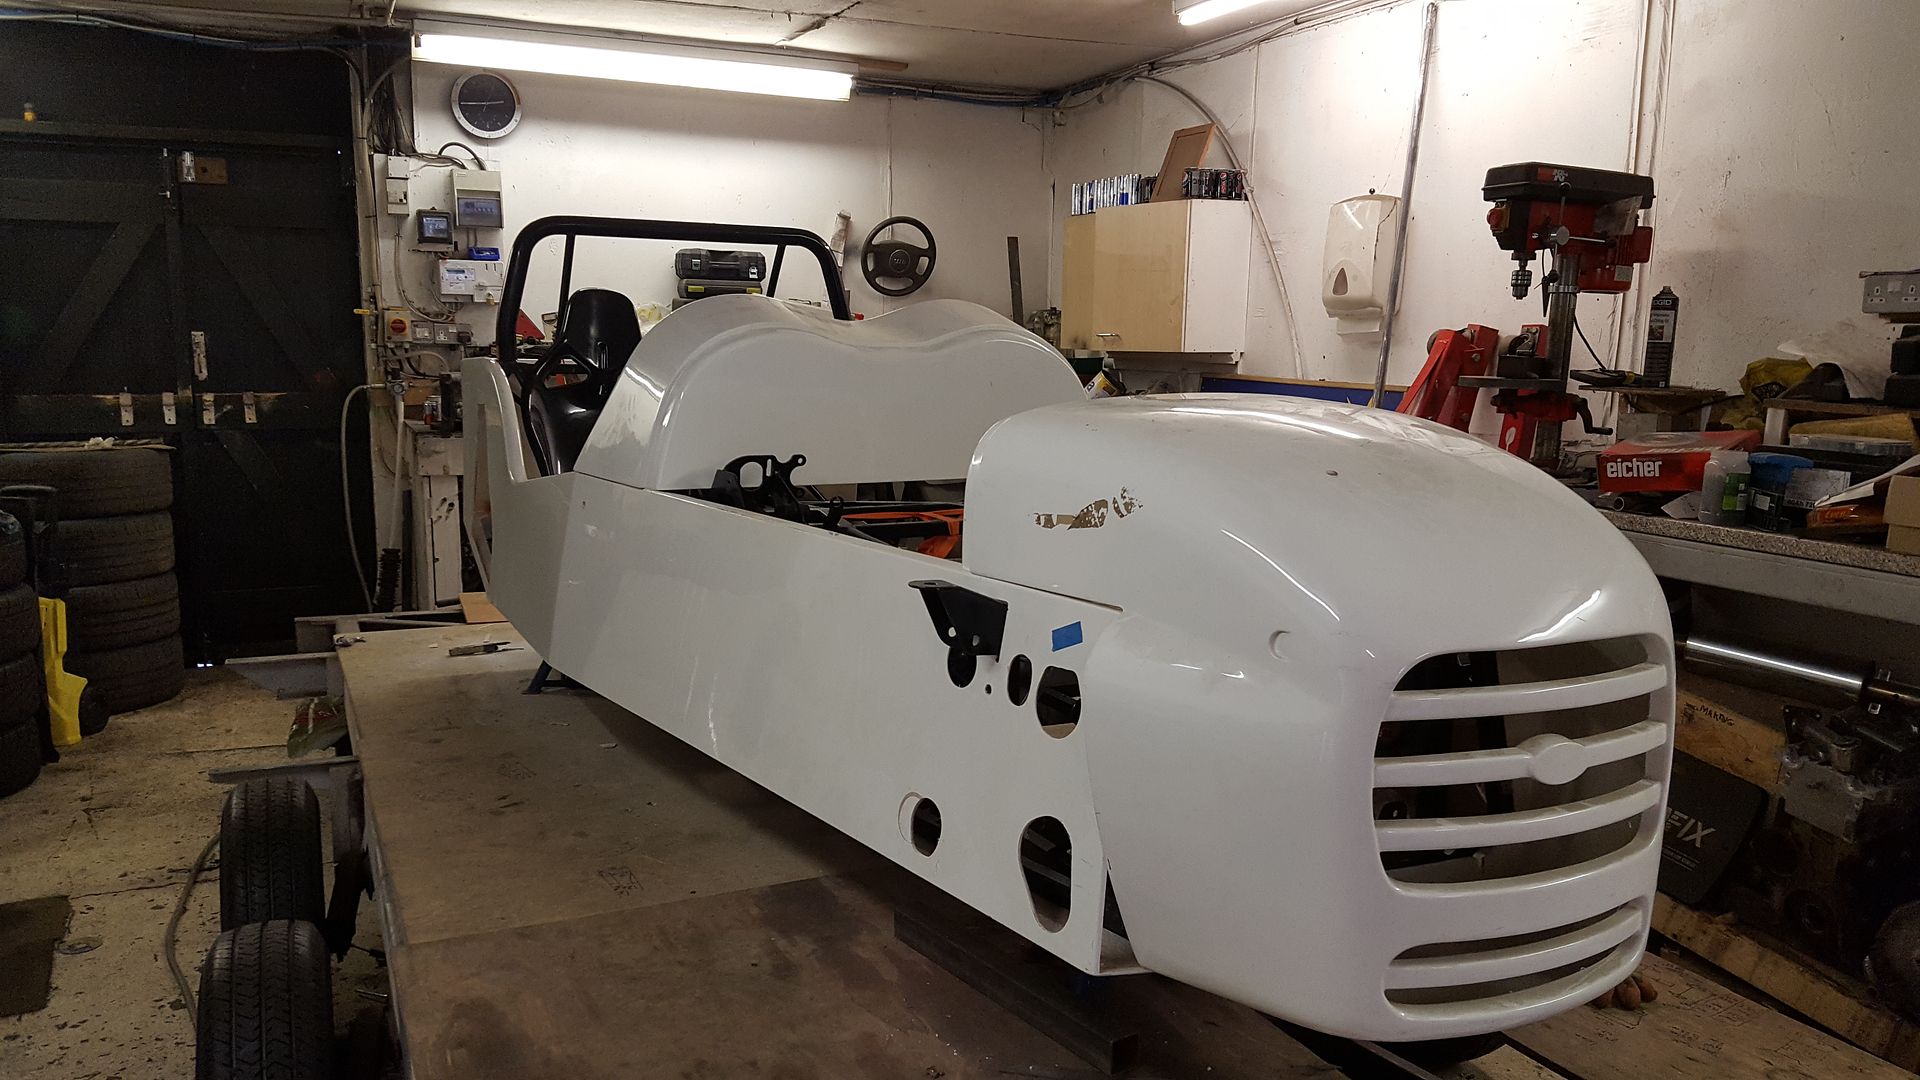
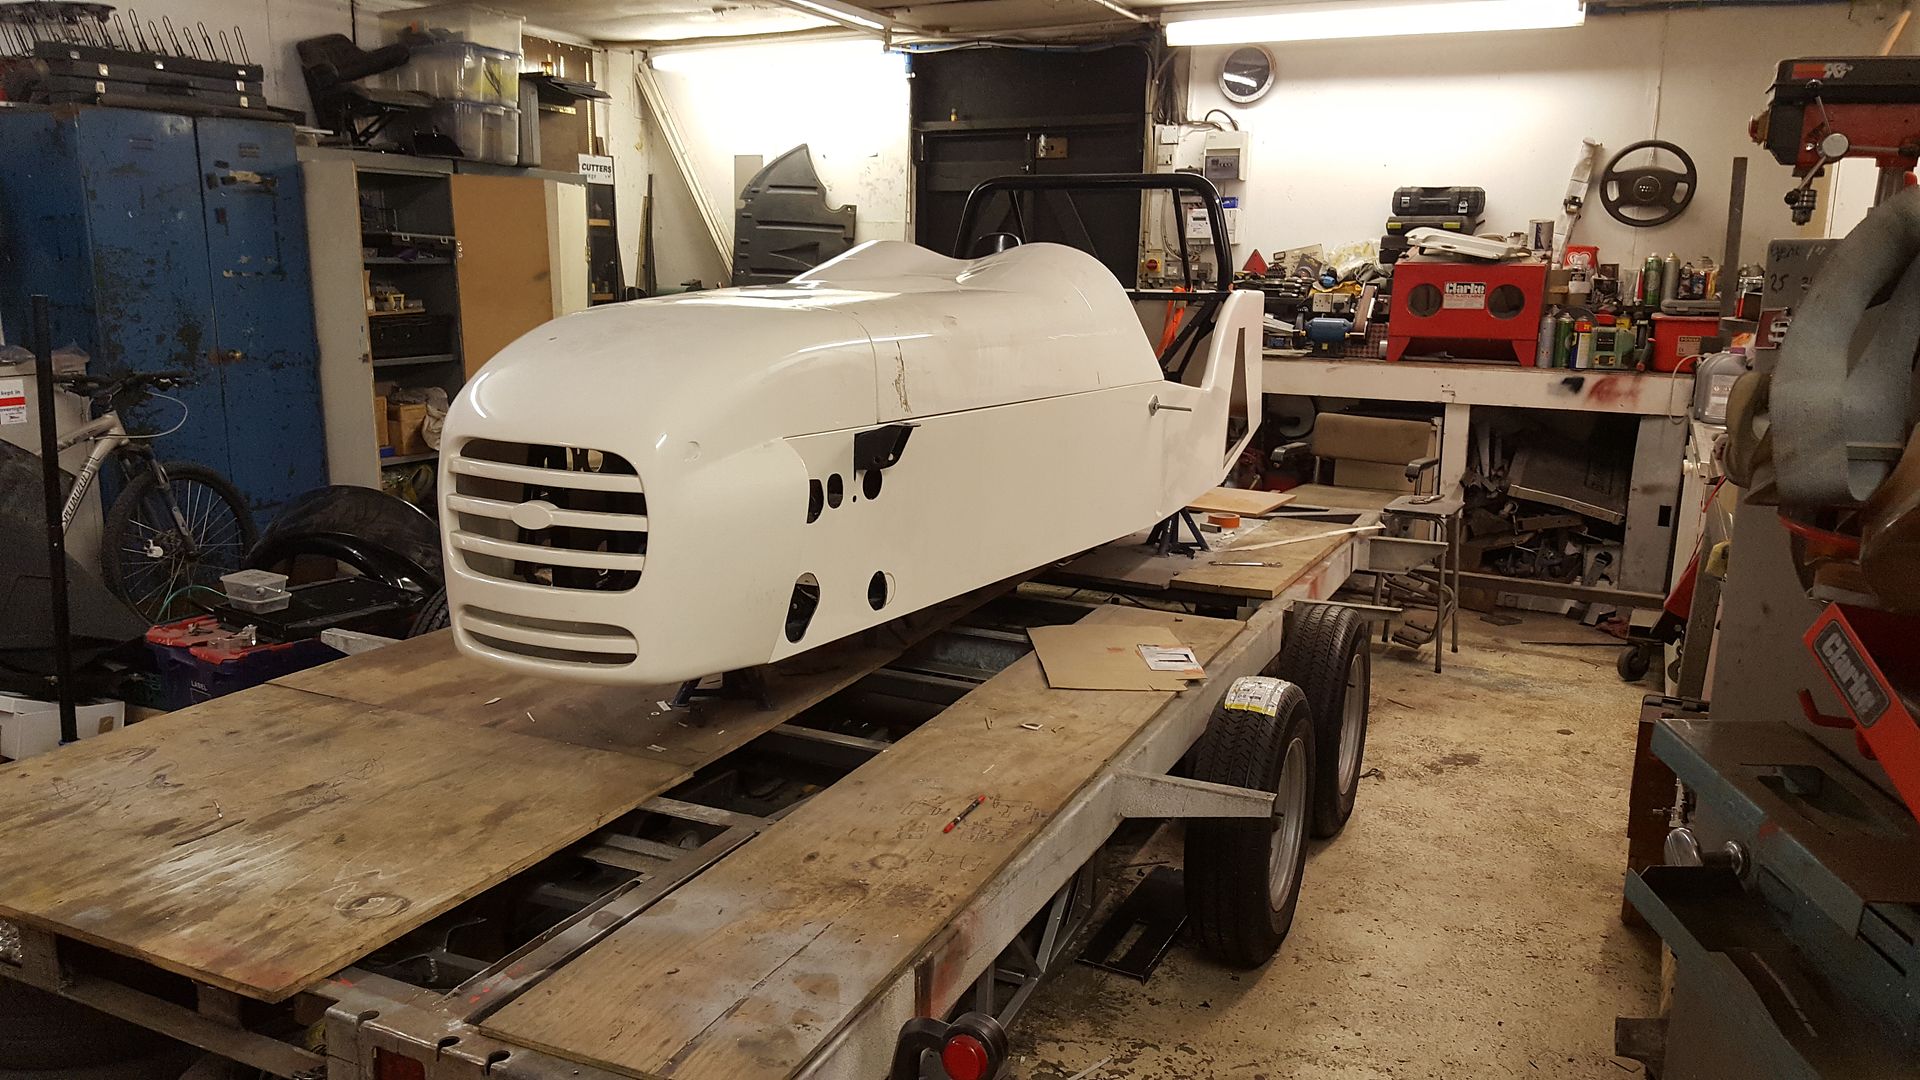
so all my mechanical bits from the locost will all bolt on to this as it's also sierra based and will still be using all the white MNR VORTX grp
body. laid the body on and it's pretty close, just need to trim it around the front shock mounts and radiator brackets.

, very happy
[Edited on 1/10/17 by super-ron]
|
|
|
super-ron
|
| posted on 2/10/17 at 06:42 AM |
|
|
I guess the build needs a new name now. can someone change the title?
GBS ZORTX
|
|
|
super-ron
|
| posted on 2/10/17 at 07:47 PM |
|
|
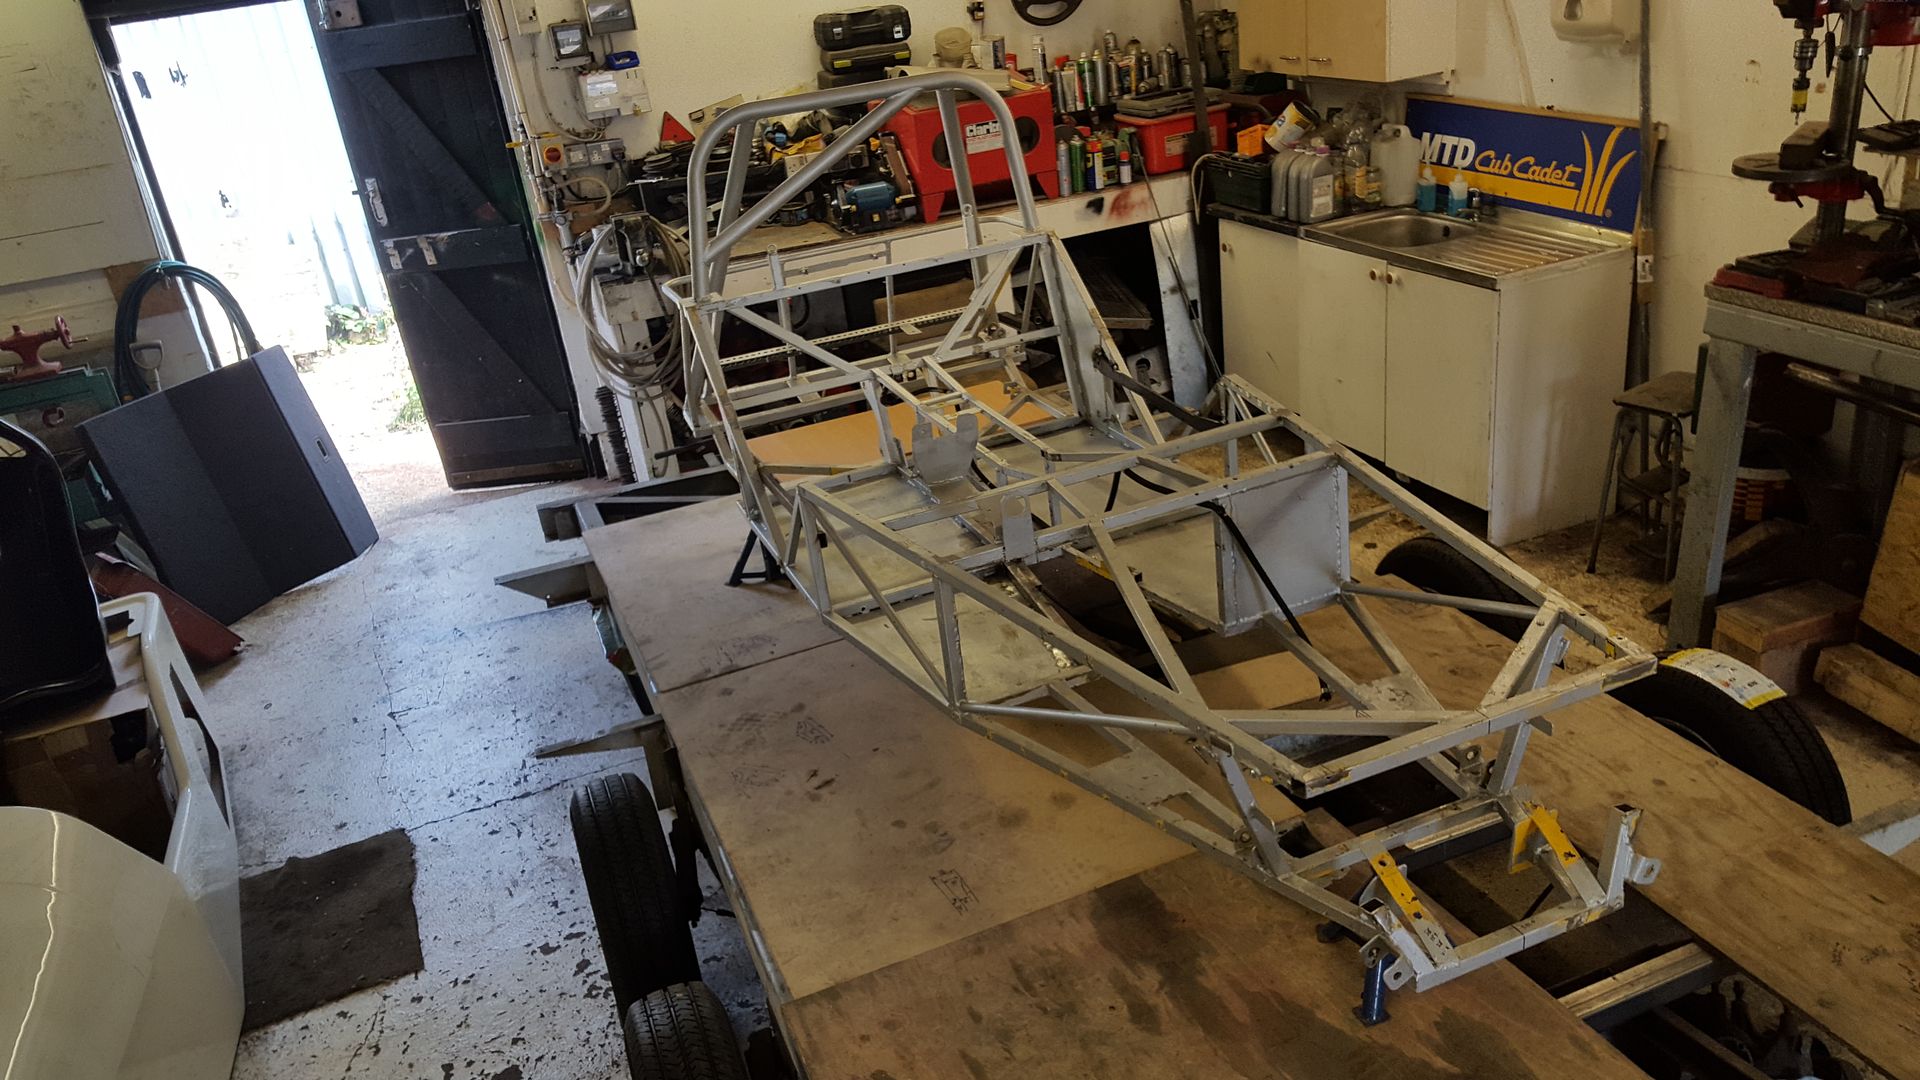
popped in to pick up some keys and couldn't resist having a quick tinker. started trying to work out where all the panels go, it's
actually a lot trickier than it looks lol. seems the these have quite a practical boot!
|
|
|
daveb666
|
| posted on 2/10/17 at 07:59 PM |
|
|
hello Ron. Nice to see you on here (DaveB )
I have a 300bhp ca18det Locost. Yours is going to be a monster
2007bc Photography - Commercial and Wedding Photographer based in West Yorkshire
http://www.2007bc.co.uk / http://www.huddersfieldcommercialphotographer.co.uk
|
|
|
Schrodinger
|
| posted on 2/10/17 at 09:11 PM |
|
|
Some good buys there, do you know what model the wheels are? They look similar to the TSW Big Deeps that I had on my Tiger.
Keith
Aviemore
|
|
|
Bluemoon
|
| posted on 3/10/17 at 08:16 AM |
|
|
looks good, the chassis mods photos on here some were. would consider adding some rear protection in case someone runs into the back of the car GBS
zero has nothing there at all...
|
|
|
super-ron
|
| posted on 10/10/17 at 07:19 PM |
|
|
quote:
Originally posted by daveb666
hello Ron. Nice to see you on here (DaveB )
I have a 300bhp ca18det Locost. Yours is going to be a monster
fancy meeting you here
|
|
|
super-ron
|
| posted on 10/10/17 at 07:21 PM |
|
|
quote:
Originally posted by Schrodinger
Some good buys there, do you know what model the wheels are? They look similar to the TSW Big Deeps that I had on my Tiger.
they're TSR Racing wheels, apparently they came with the GBS ZERO kit, they're very light.
|
|
|
super-ron
|
| posted on 10/10/17 at 07:21 PM |
|
|
so a little break in Aiya Napa getting over a divorce

came back much happier :lol:
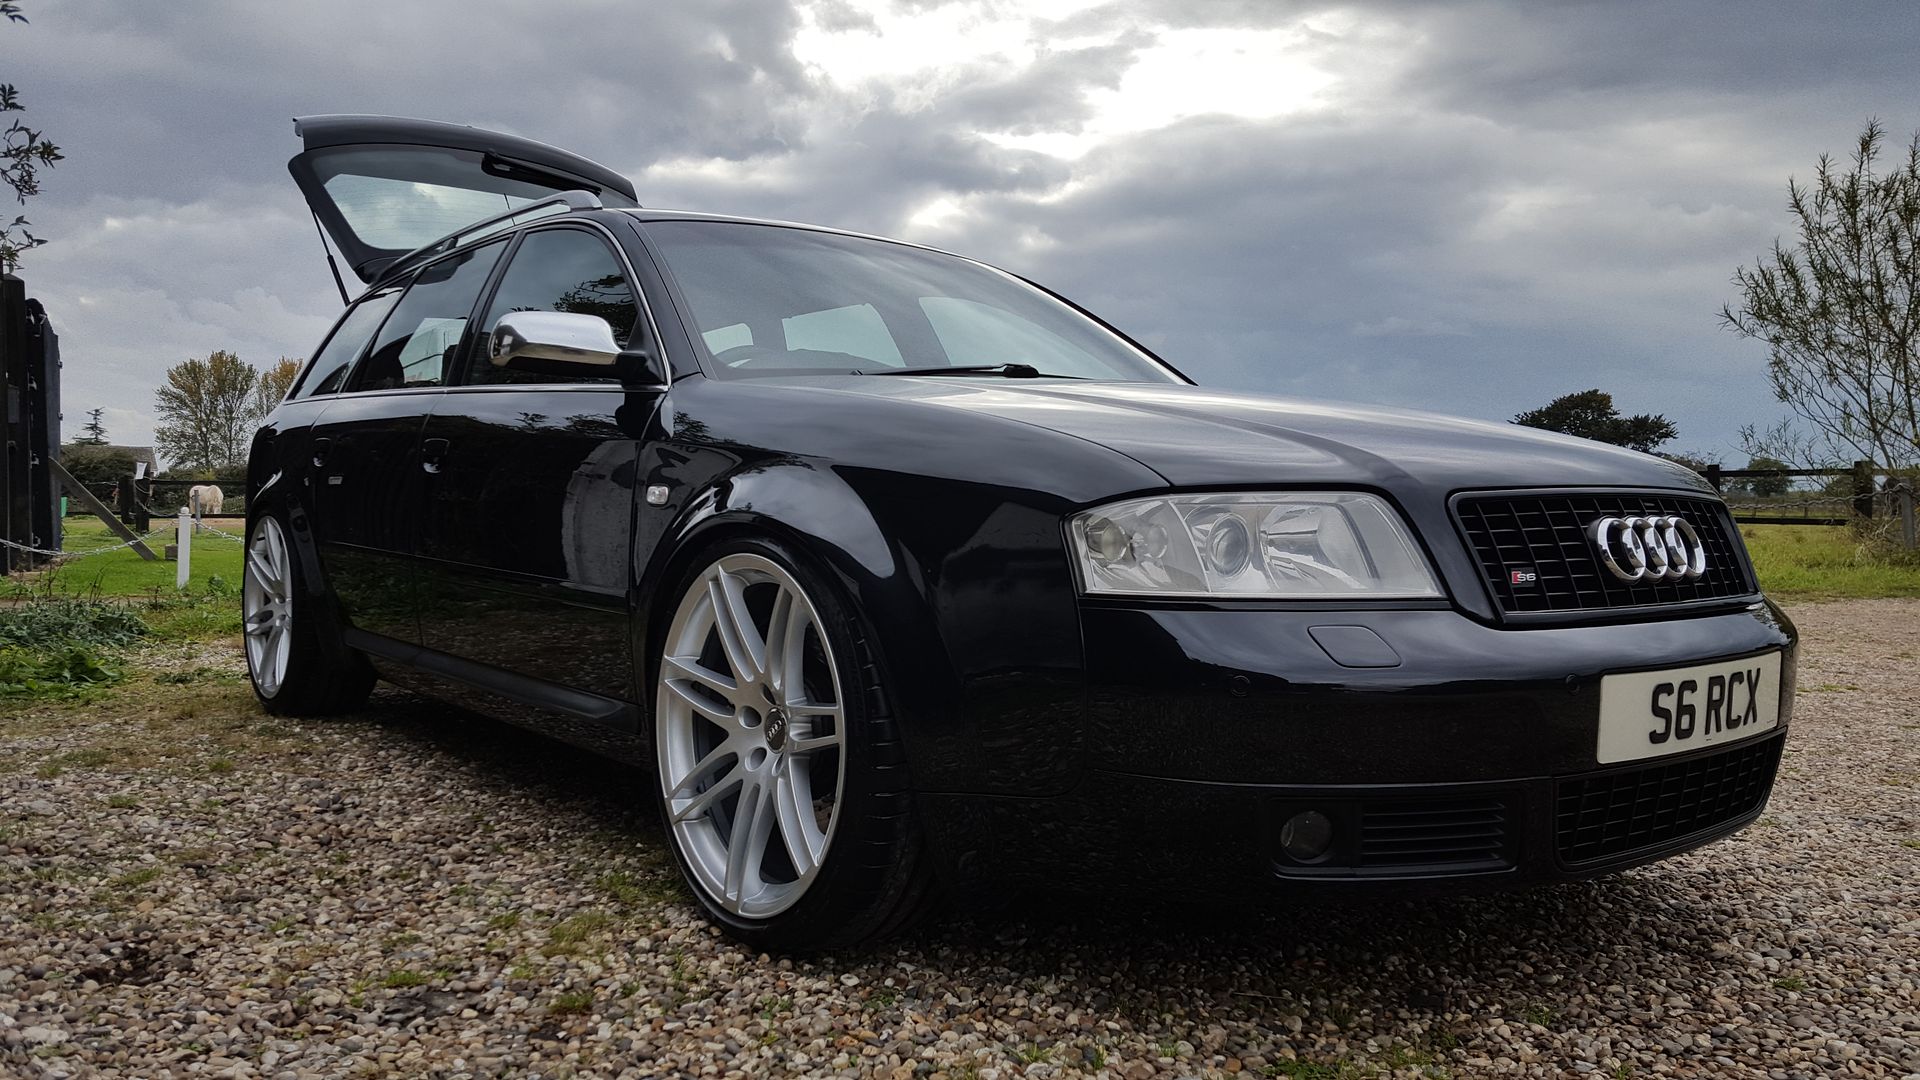
the audi was pretty grotty sitting for a while

so first job was to give that a bling up
then it was straight back onto the kit car
first up the old chassis was getting in the way, so made it into more manageable pieces, I'll keep it around for when I need some metal box.
where all the old zero body panels were bonded on there is sealer on pretty much every piece of box section
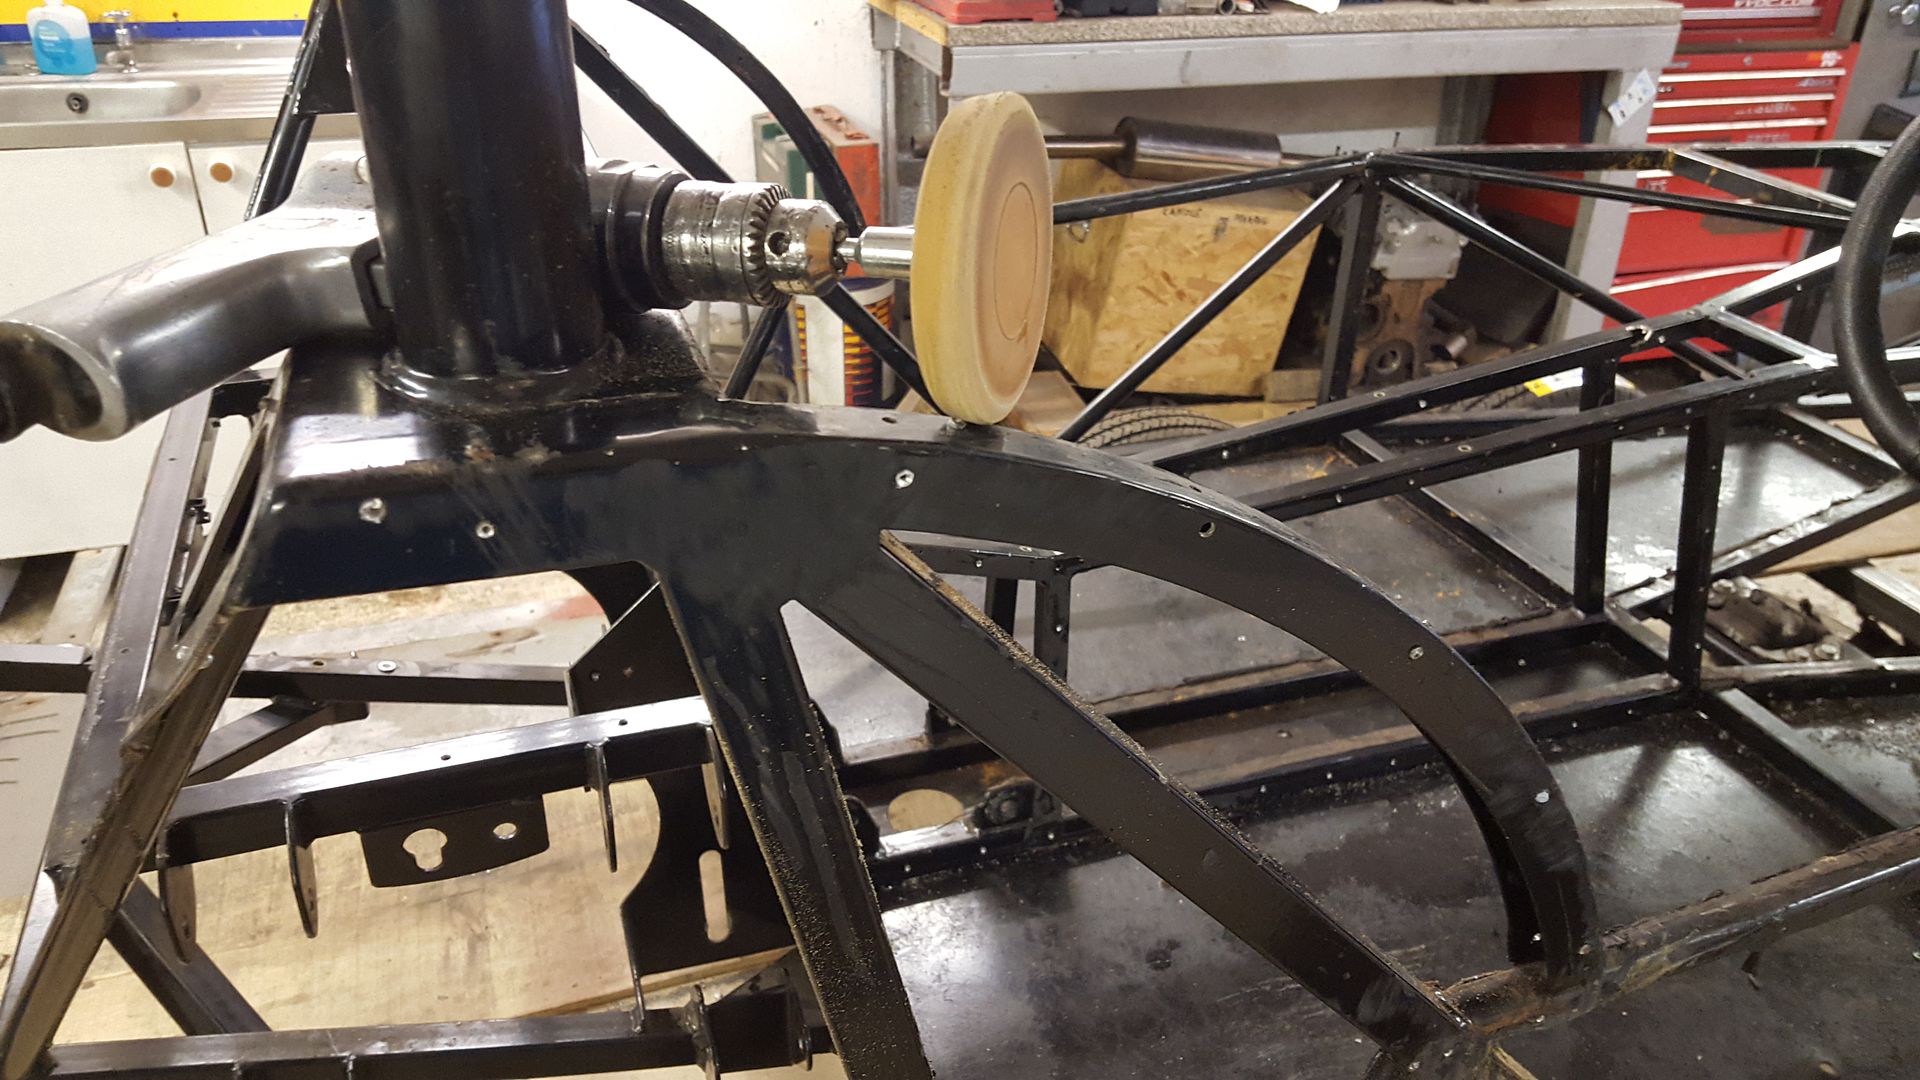
I don't want to scrape it and off and cut through all the powder coating as the chassis is in great condition, so used a toffee wheel on a
drill
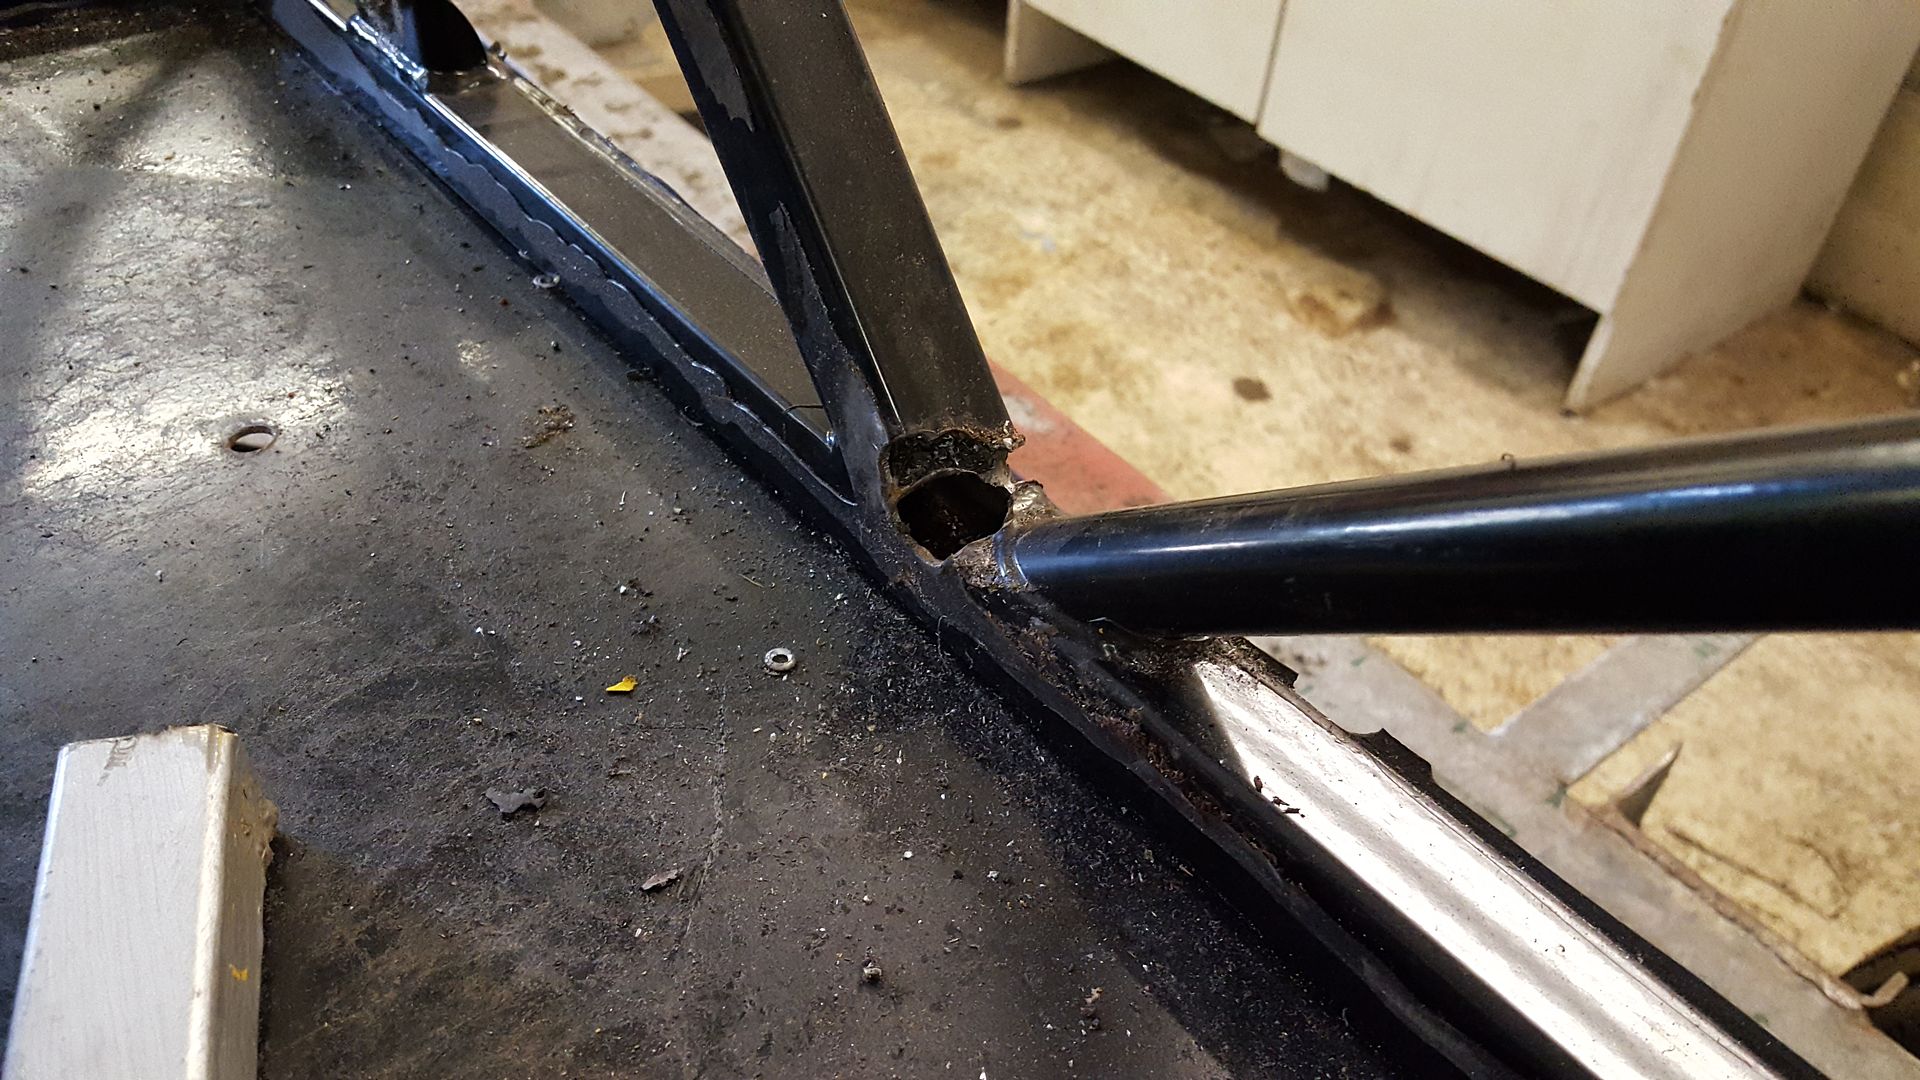
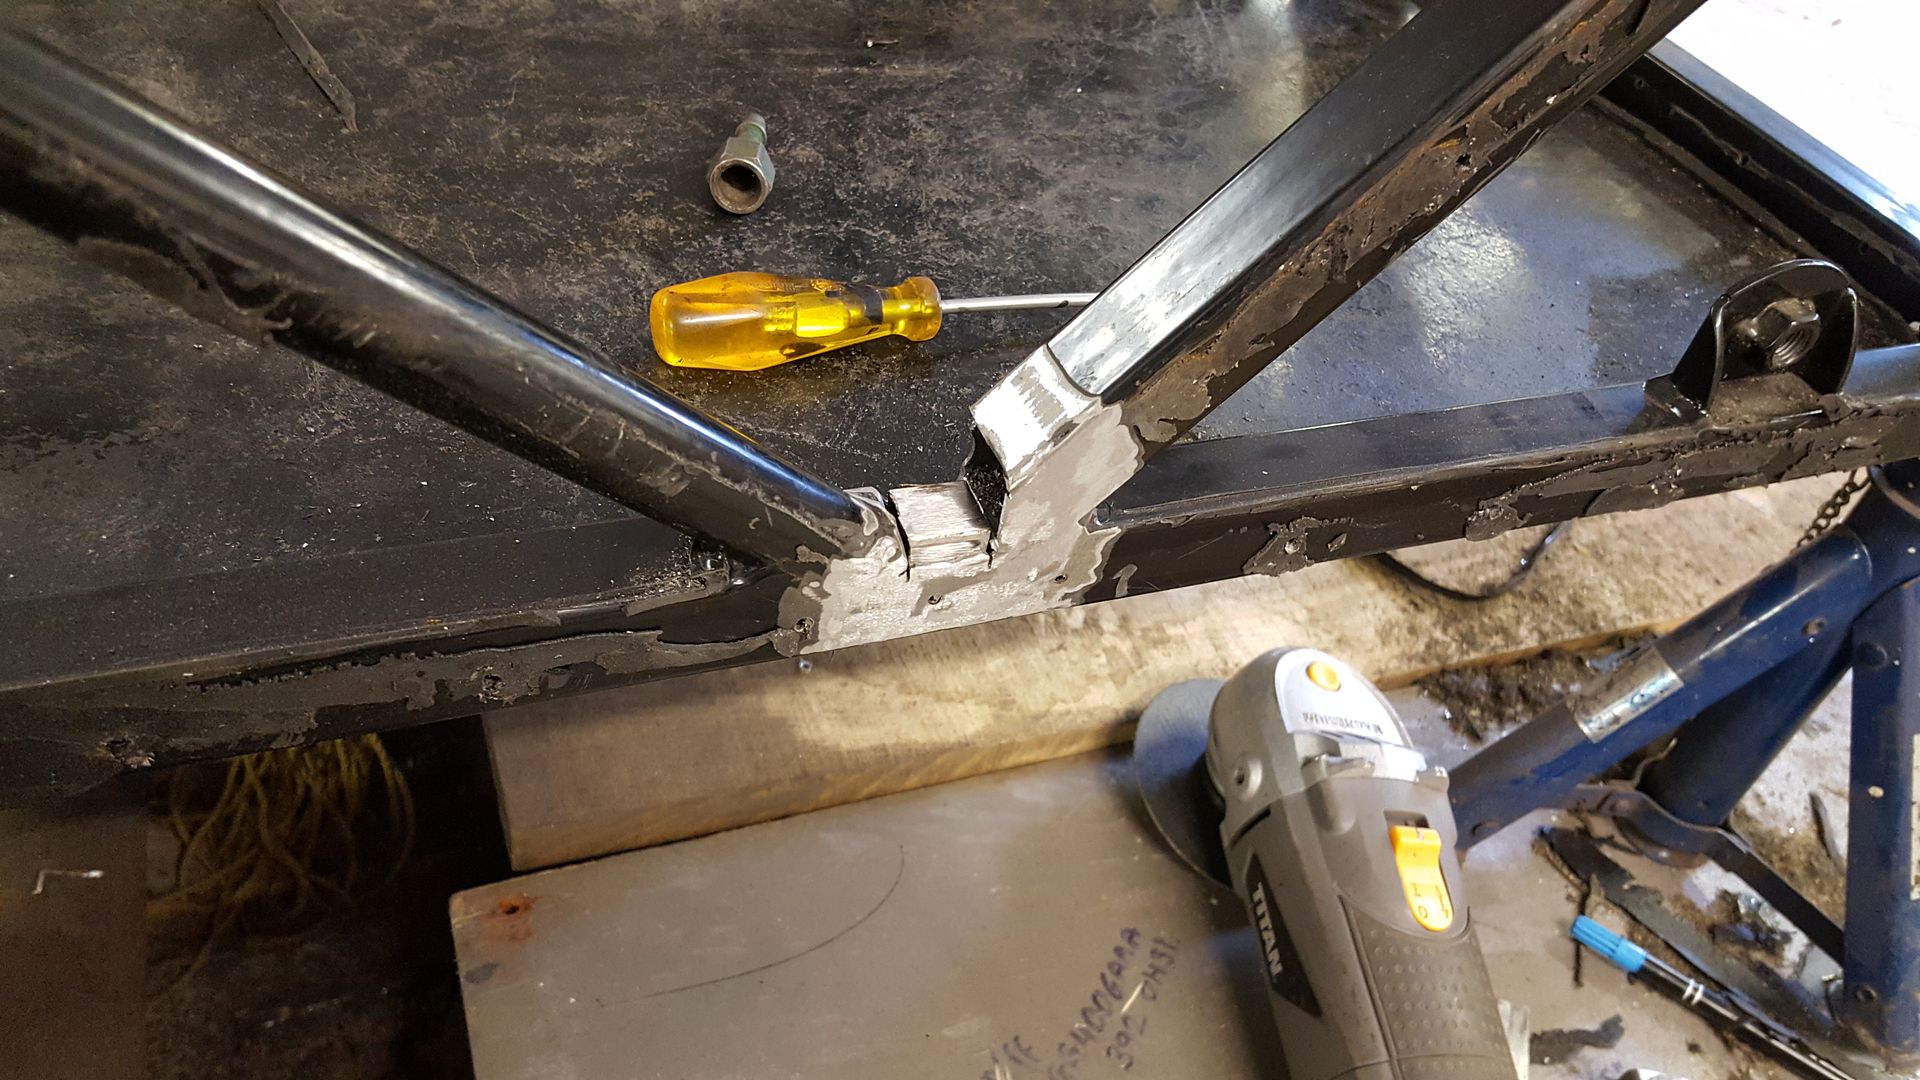
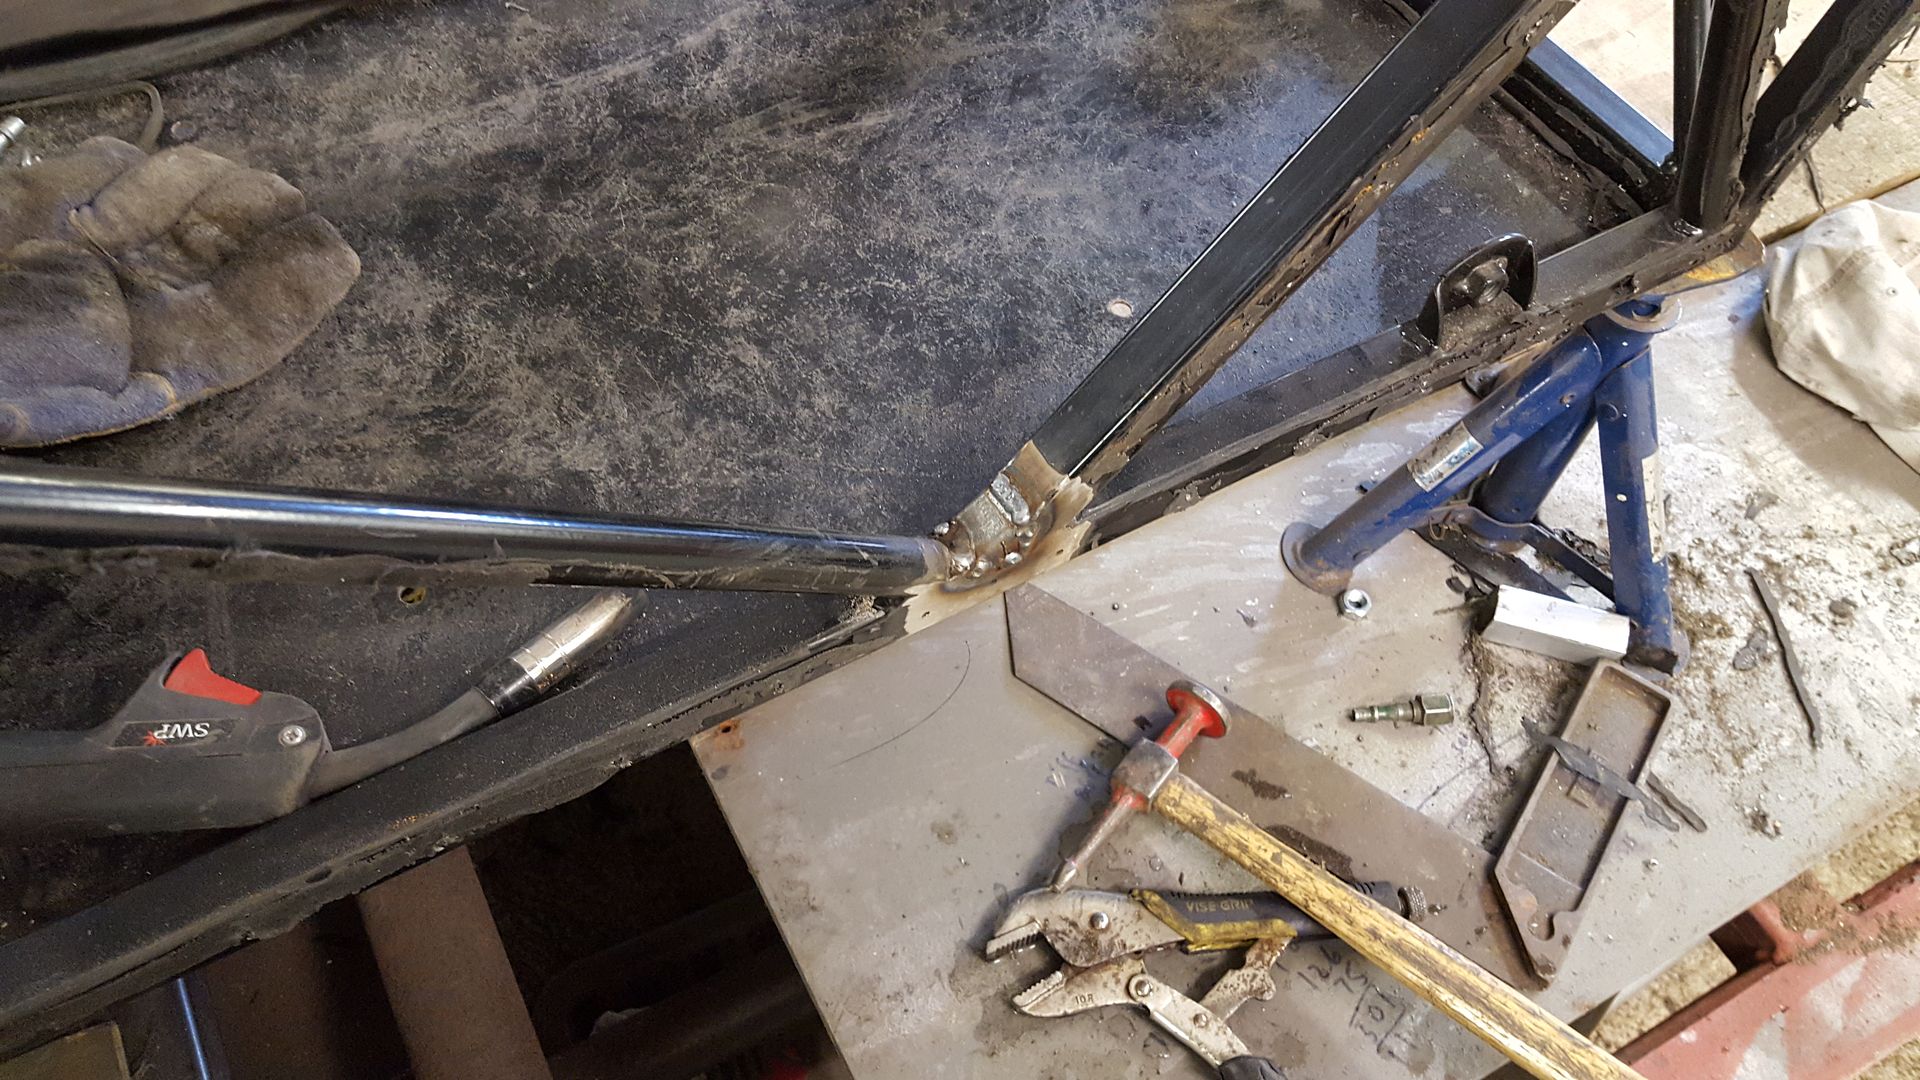
that corner took about an hour so was truly bored of that, i moved onto the metal work that needed fixing
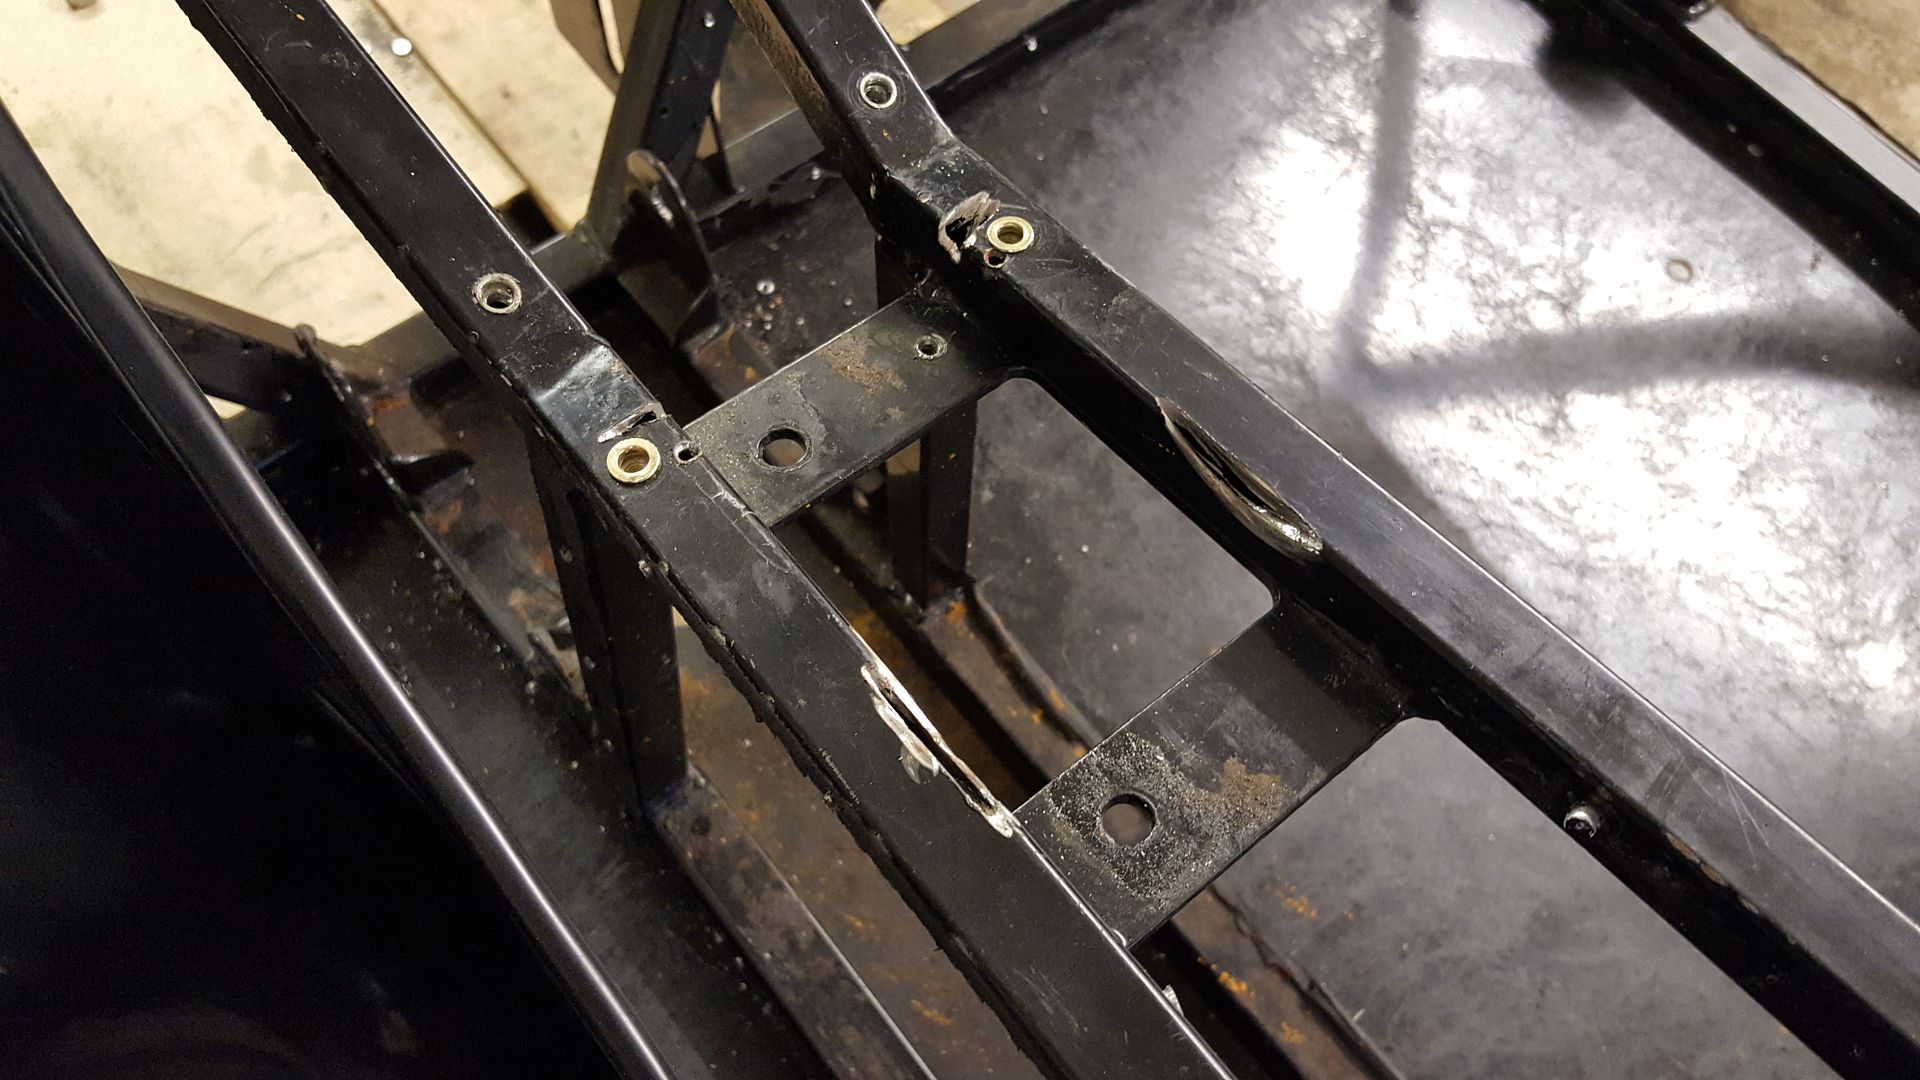
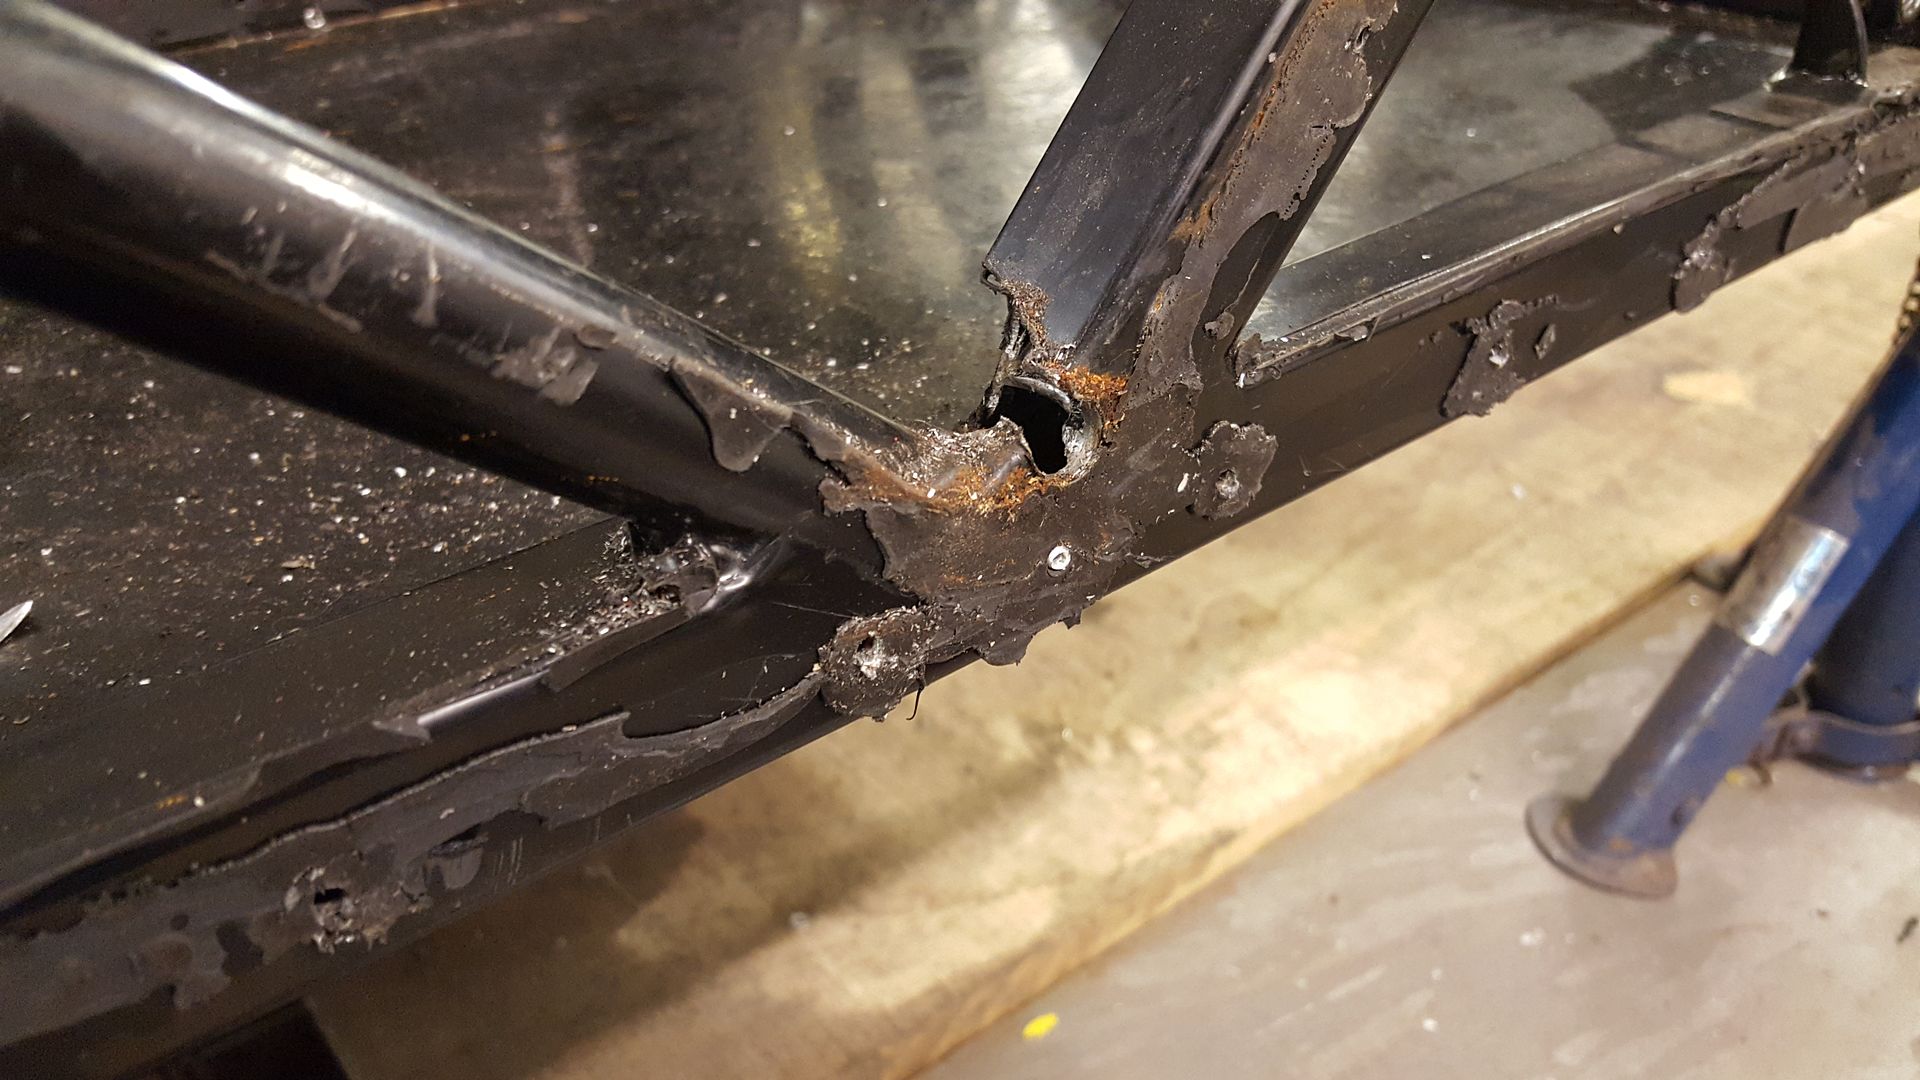
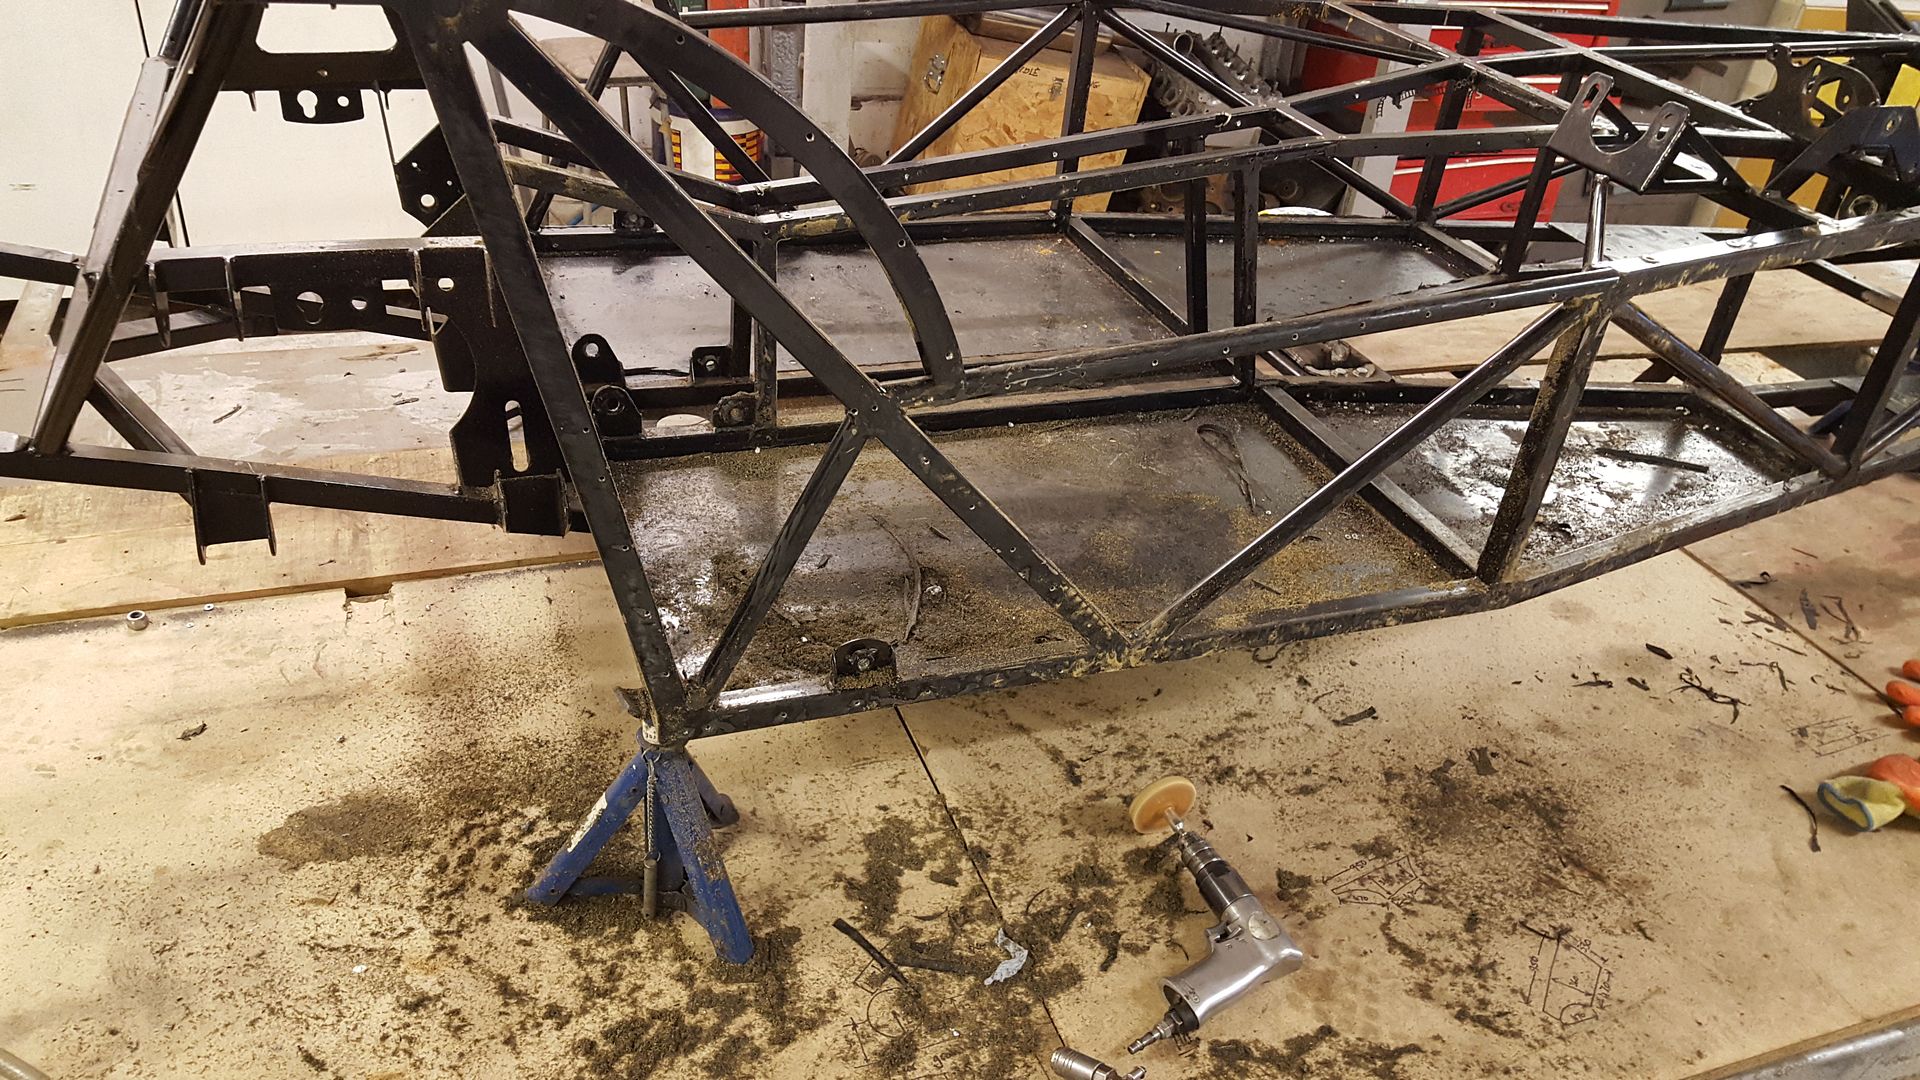
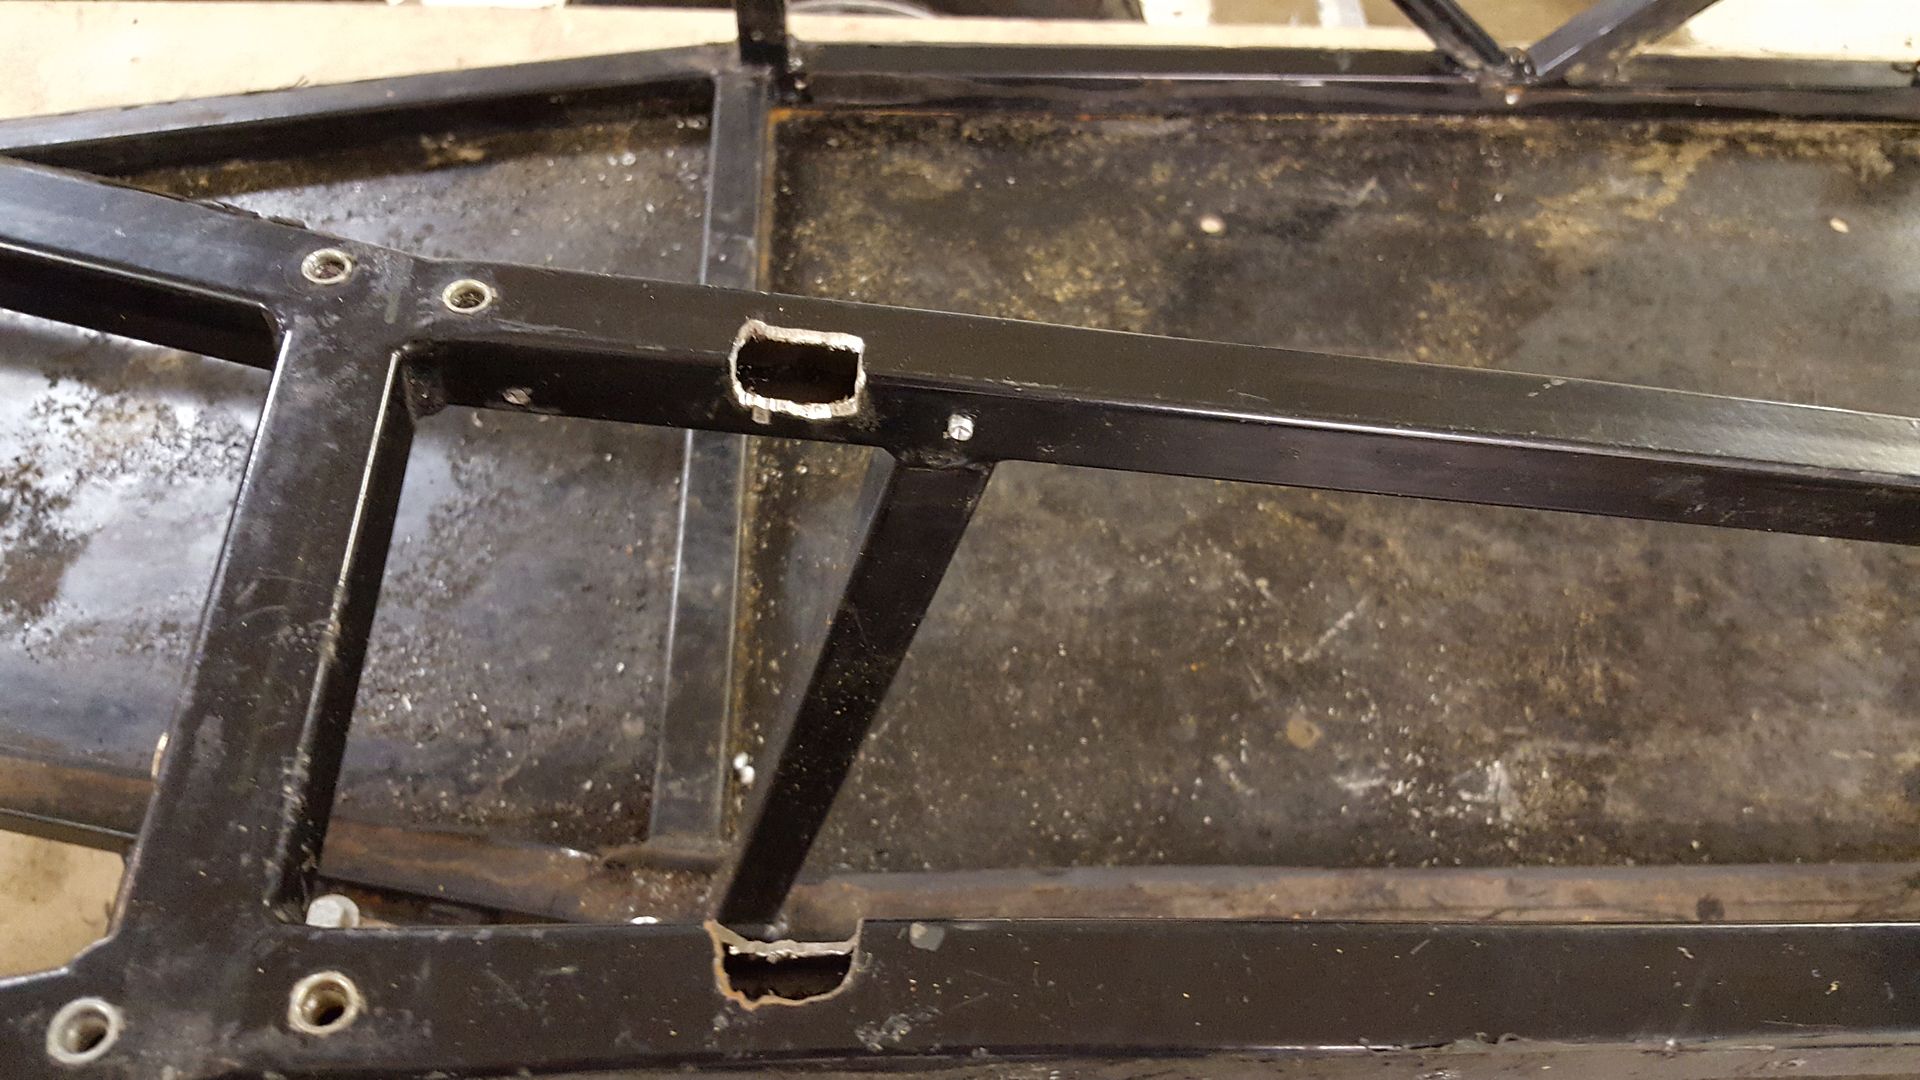
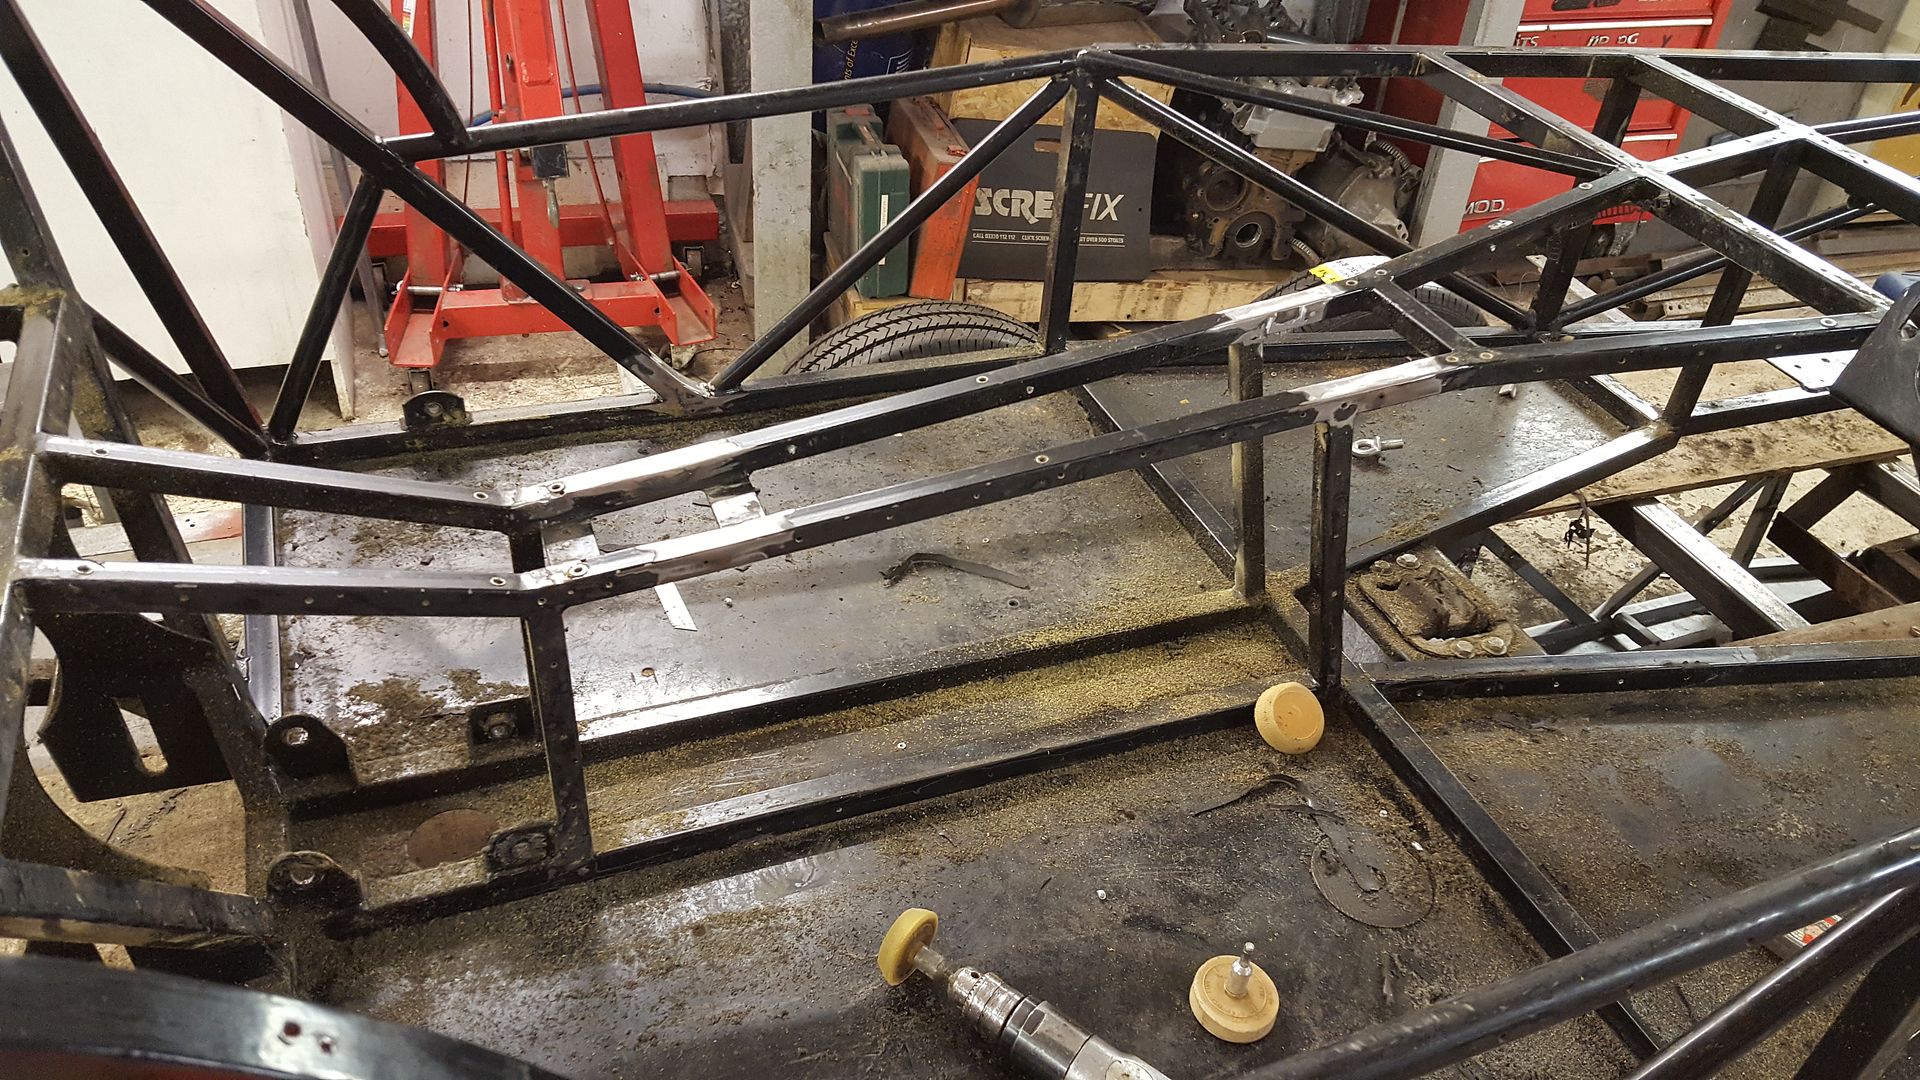
the very poorly chopped out sections here
and the cuts at the back
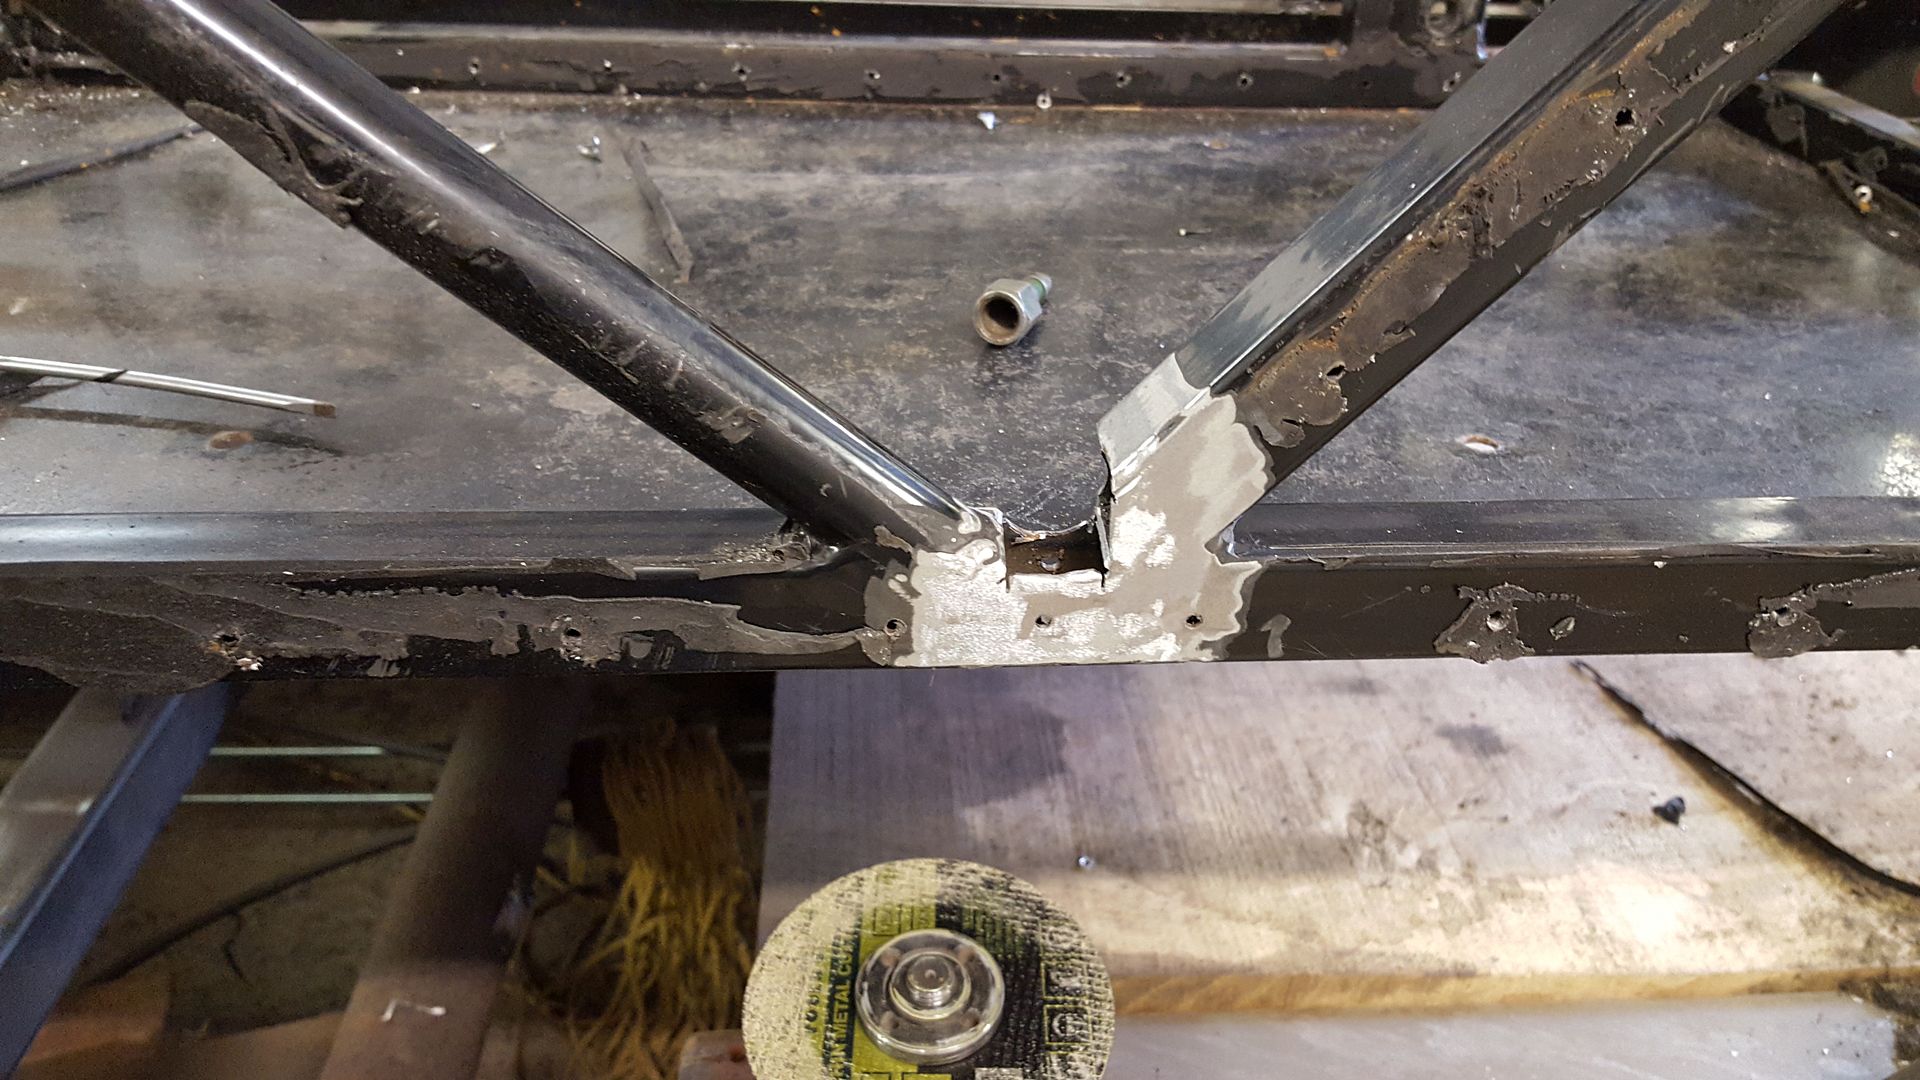
I squared up the holes
made up some infill pieces
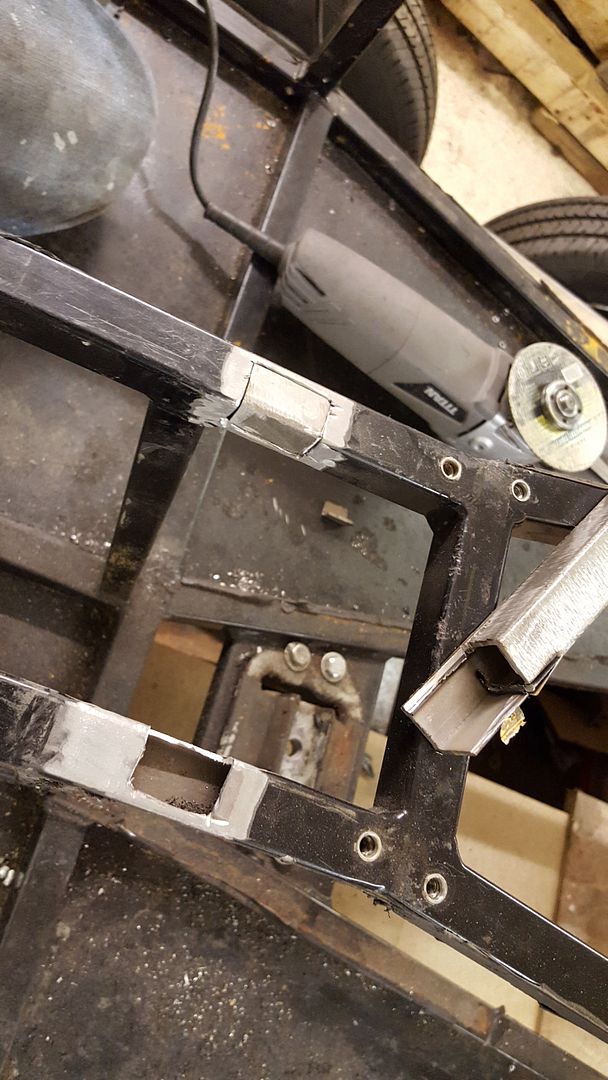
and welded them in

and migged up the rear
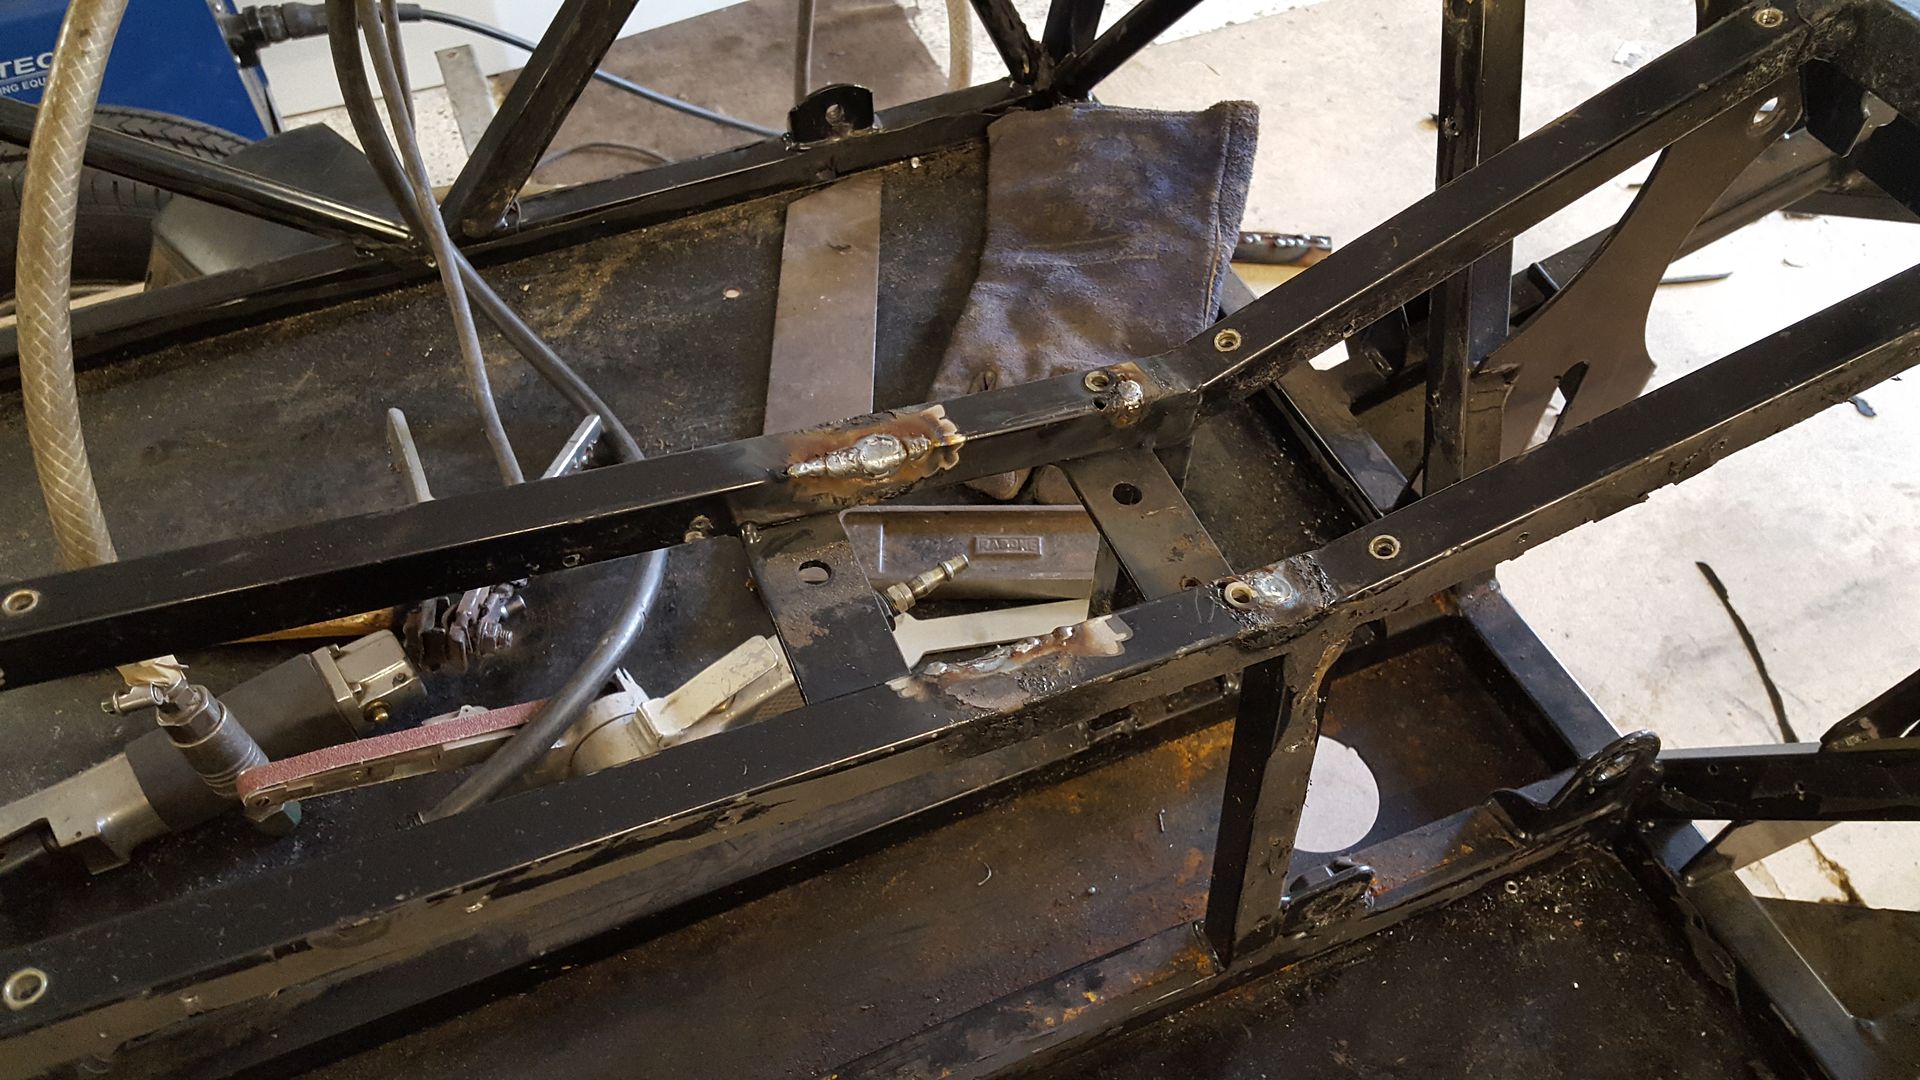
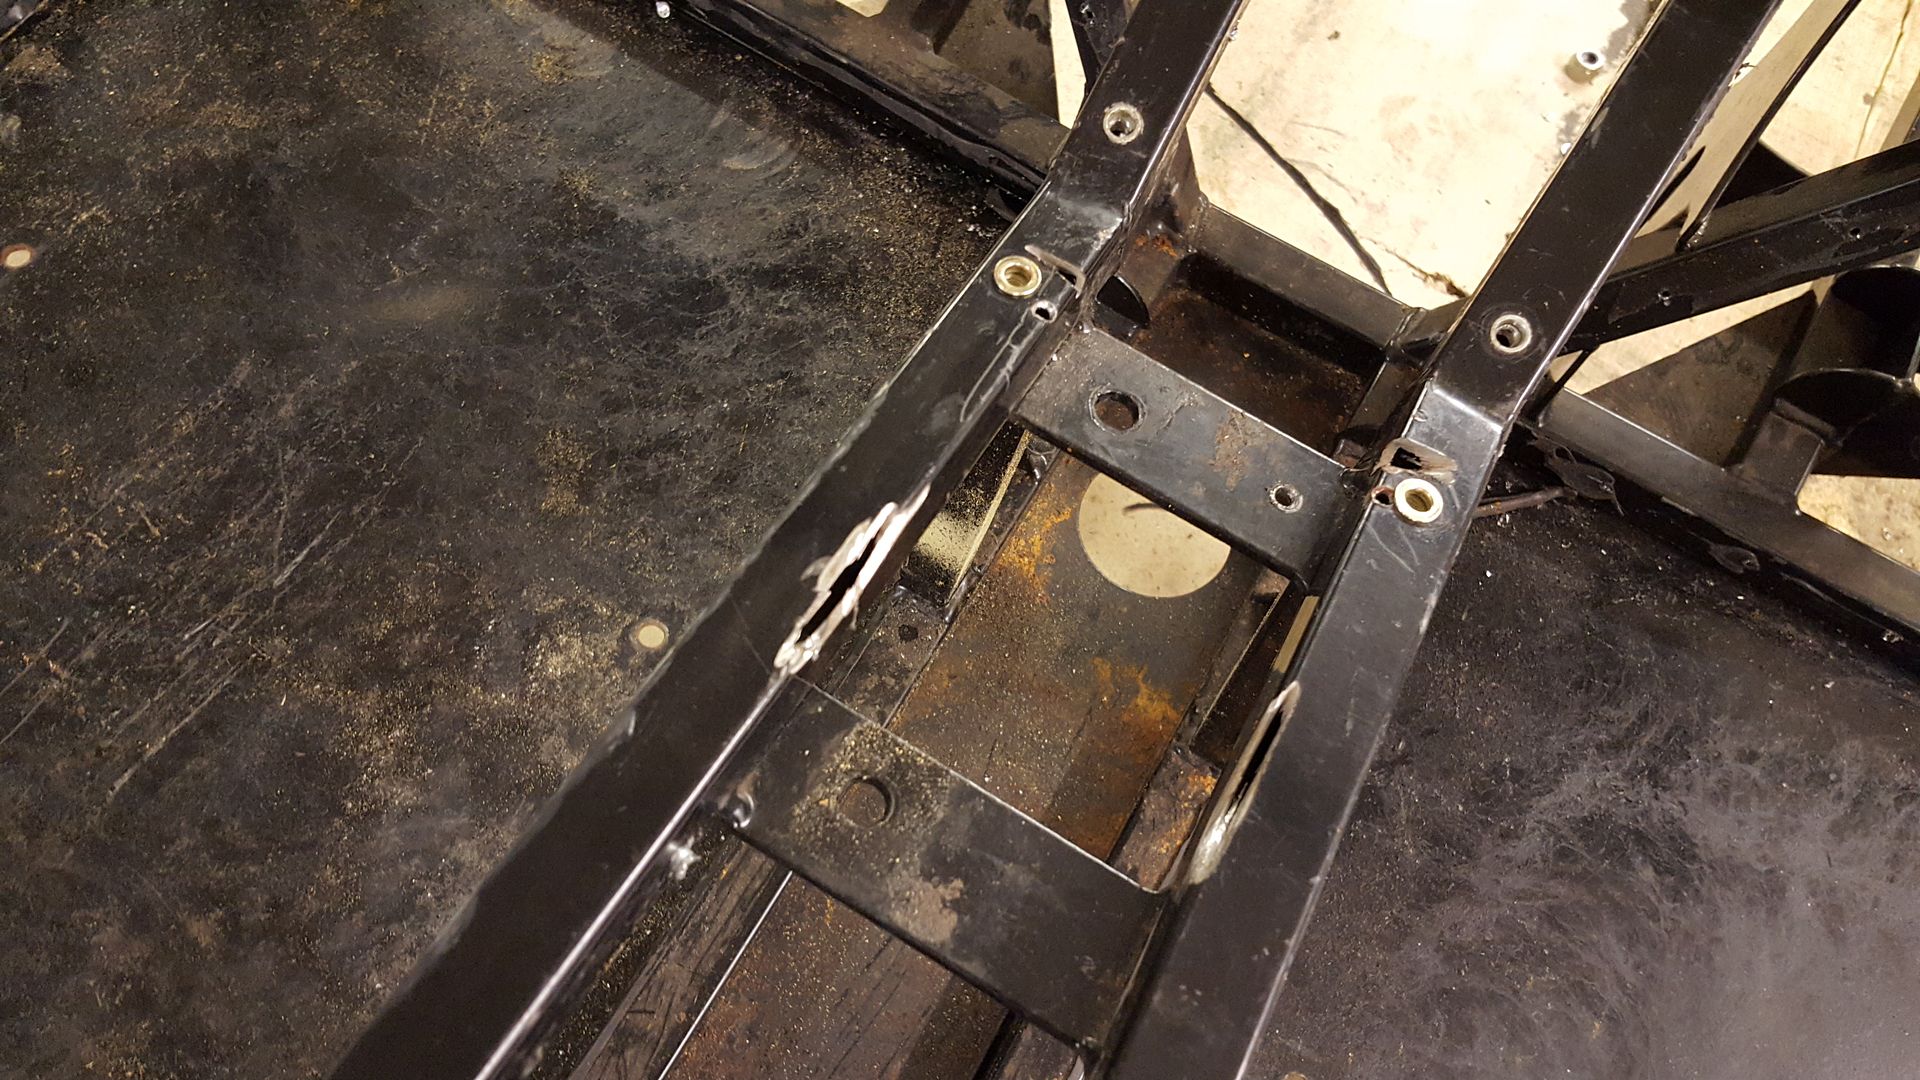
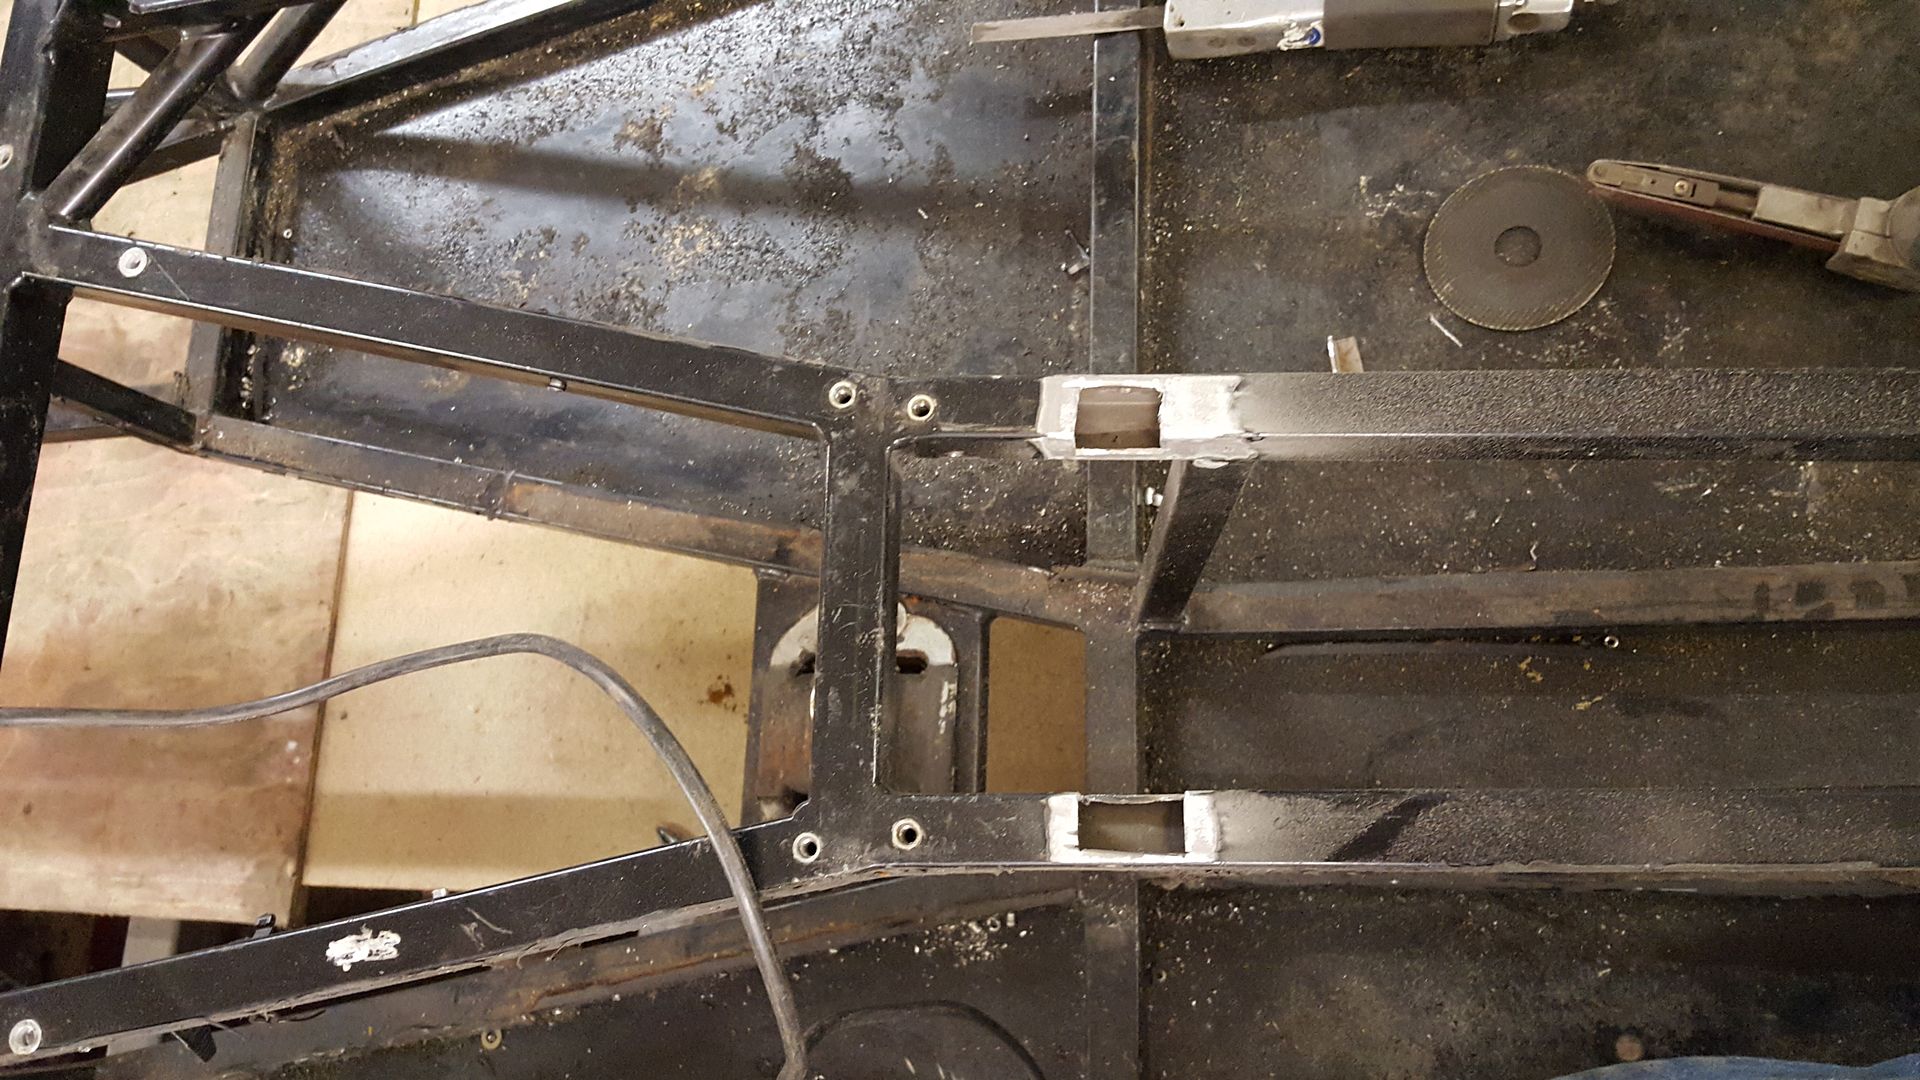
next was the mess they'd made bolting the exhaust on
squared it up first
made up a piece to infill the lower rail
welded that in
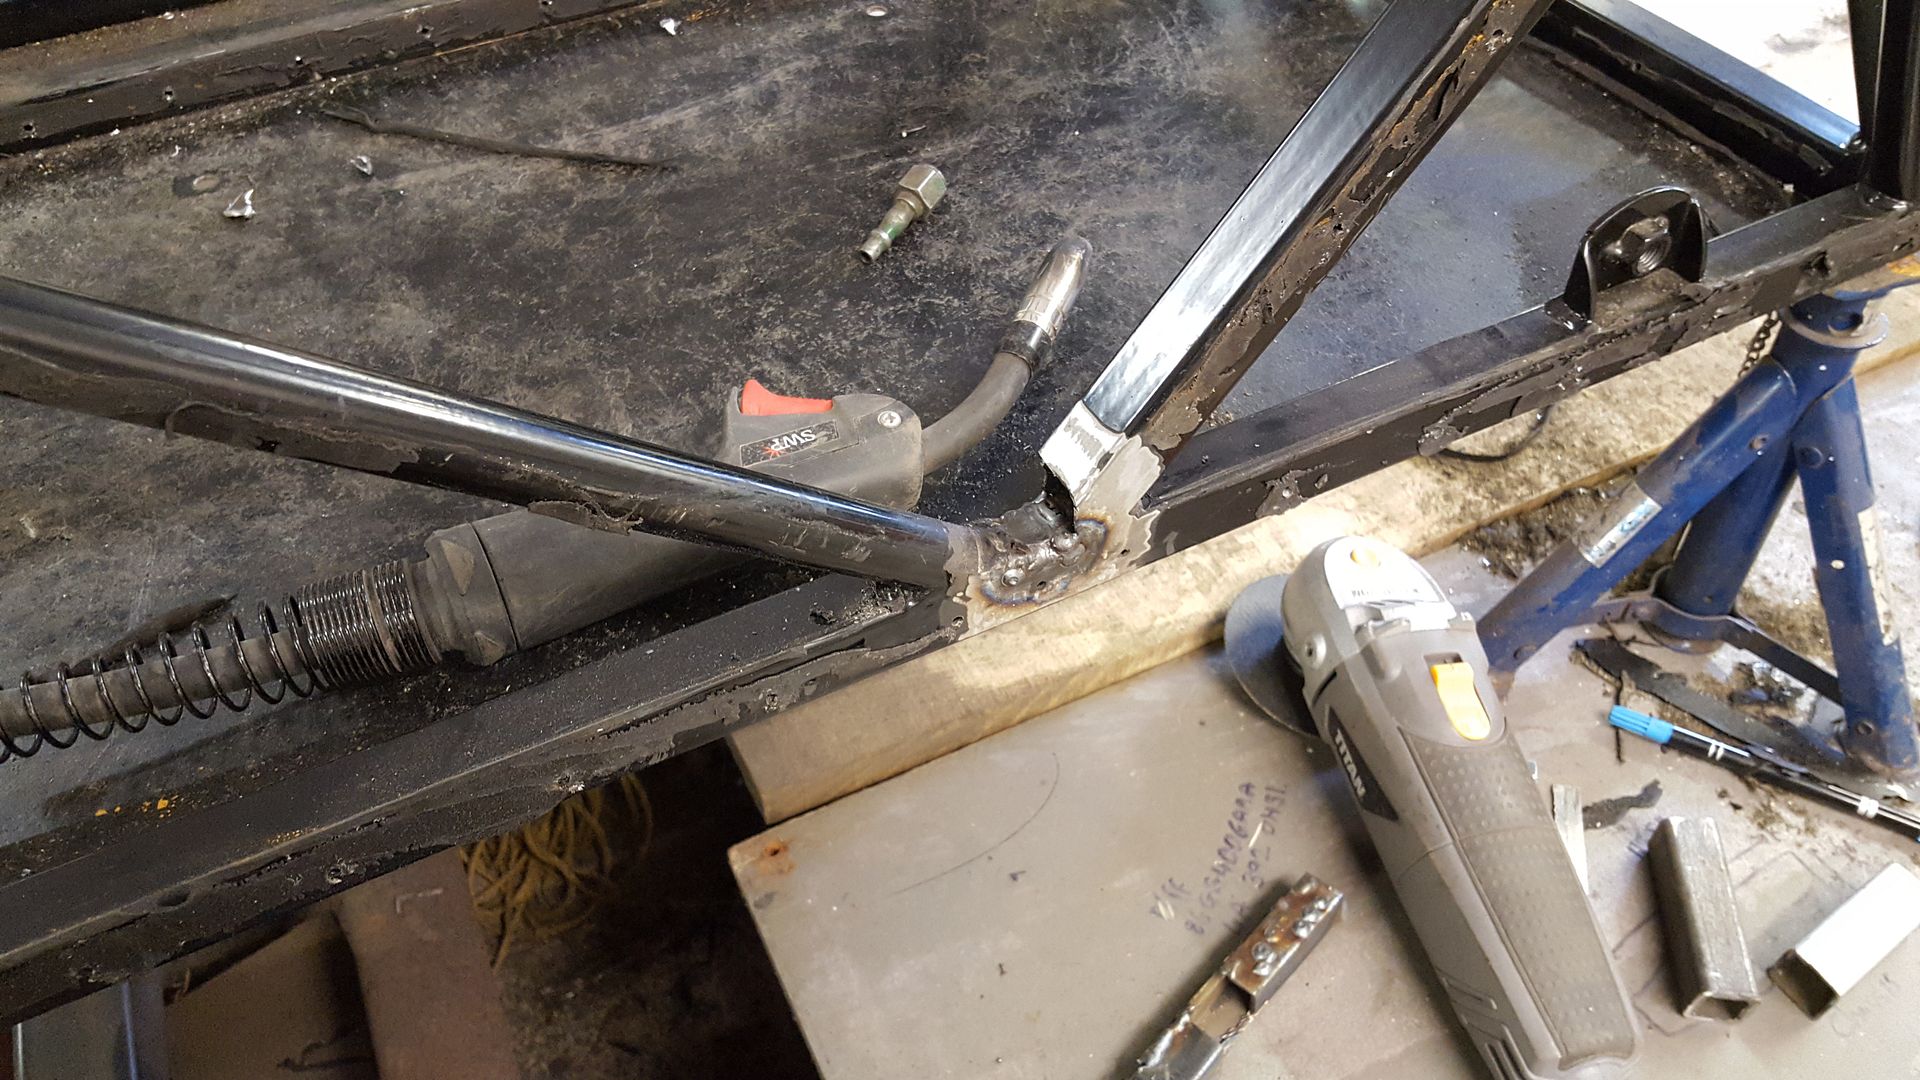
then made an infill for the diagonal
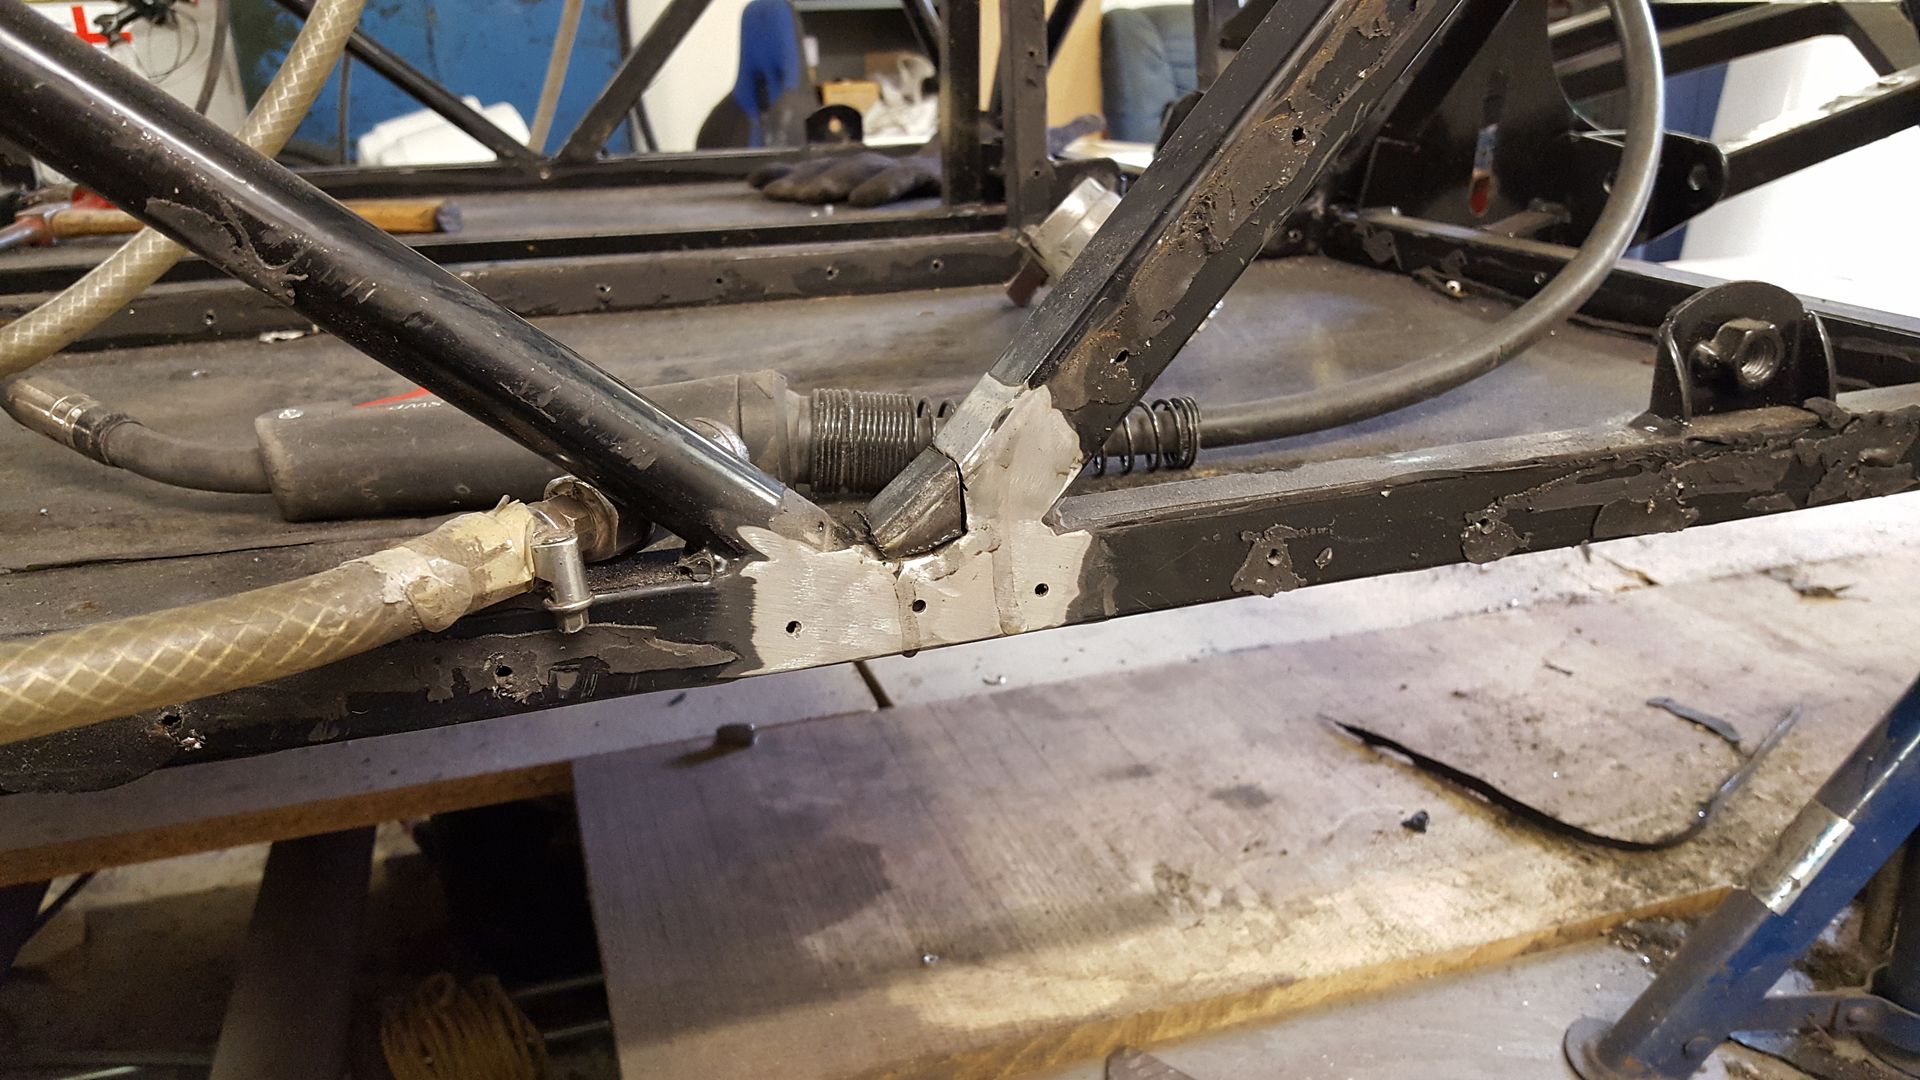
welded that in
and ground everything down
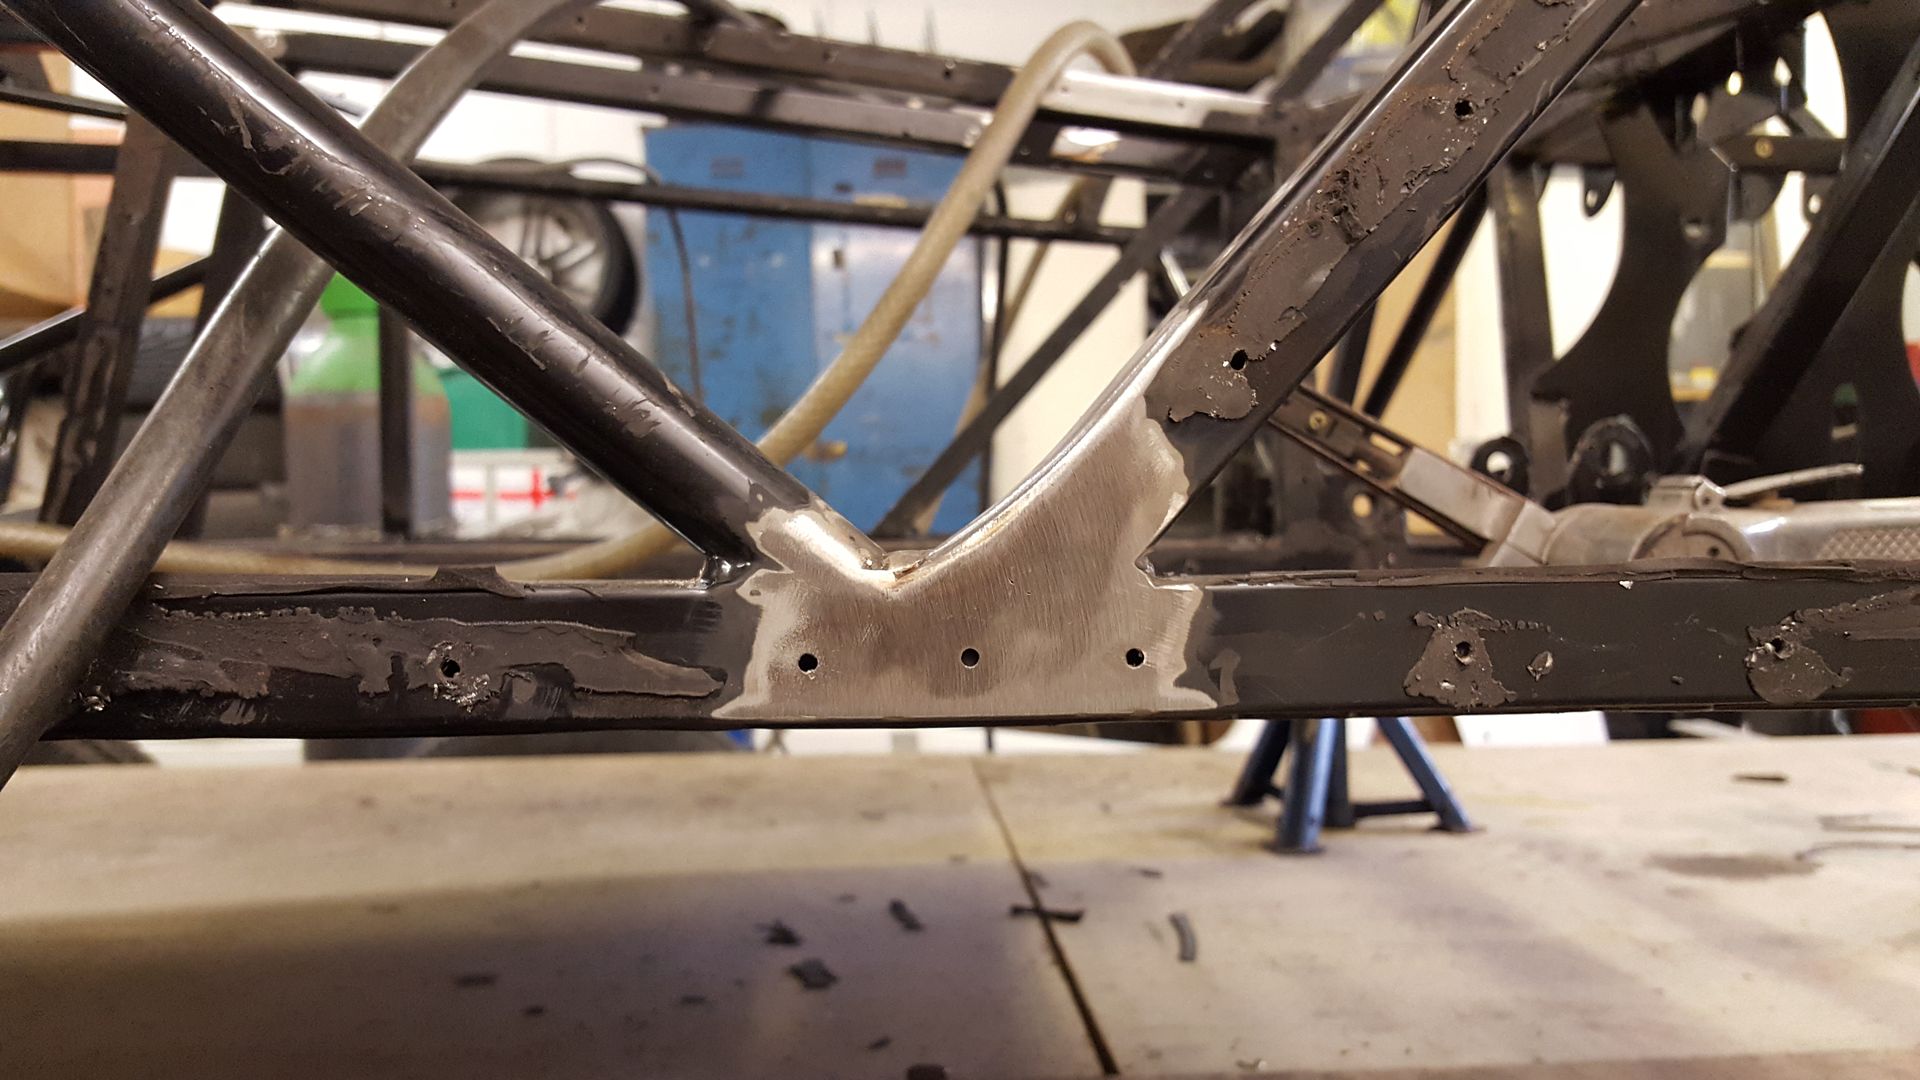
Will just be painting those sections.
got to carry on getting all that sealer off next, then try on the body properly
|
|
|
super-ron
|
| posted on 18/10/17 at 06:57 PM |
|
|
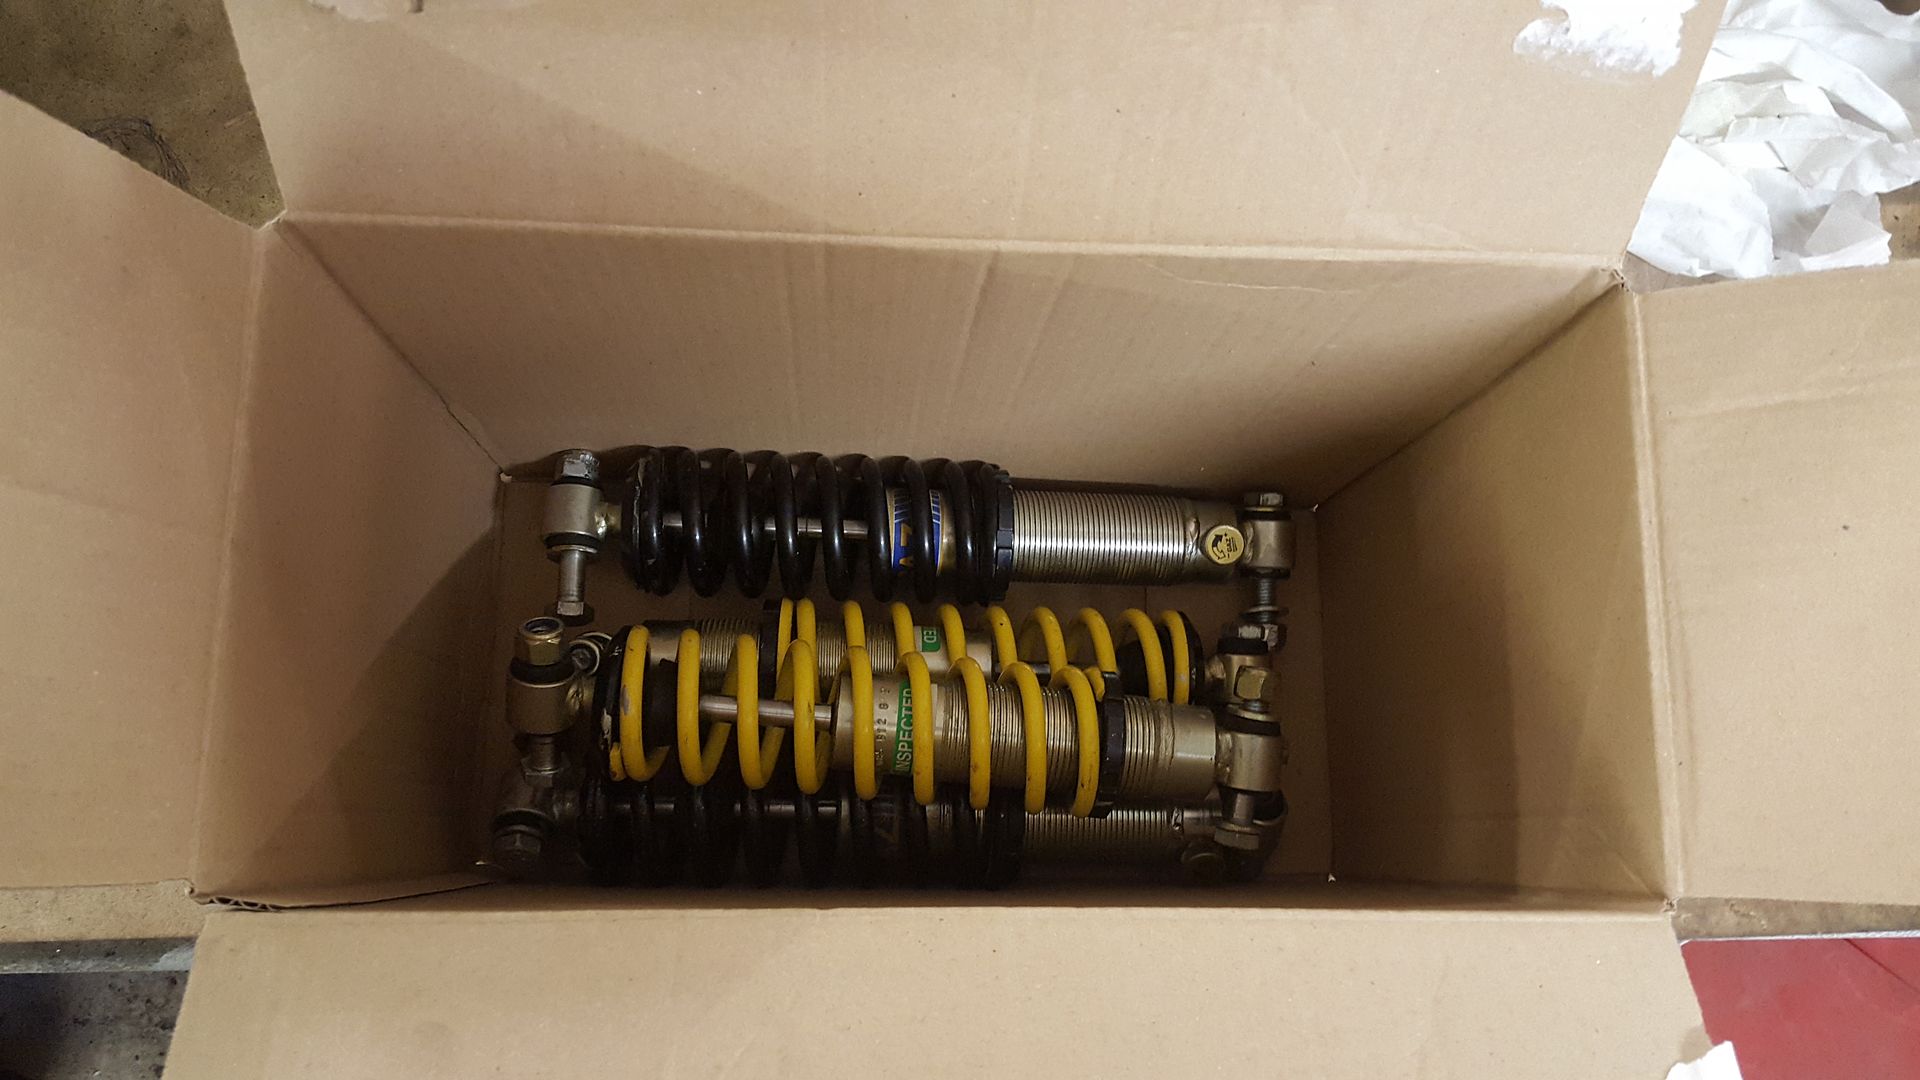
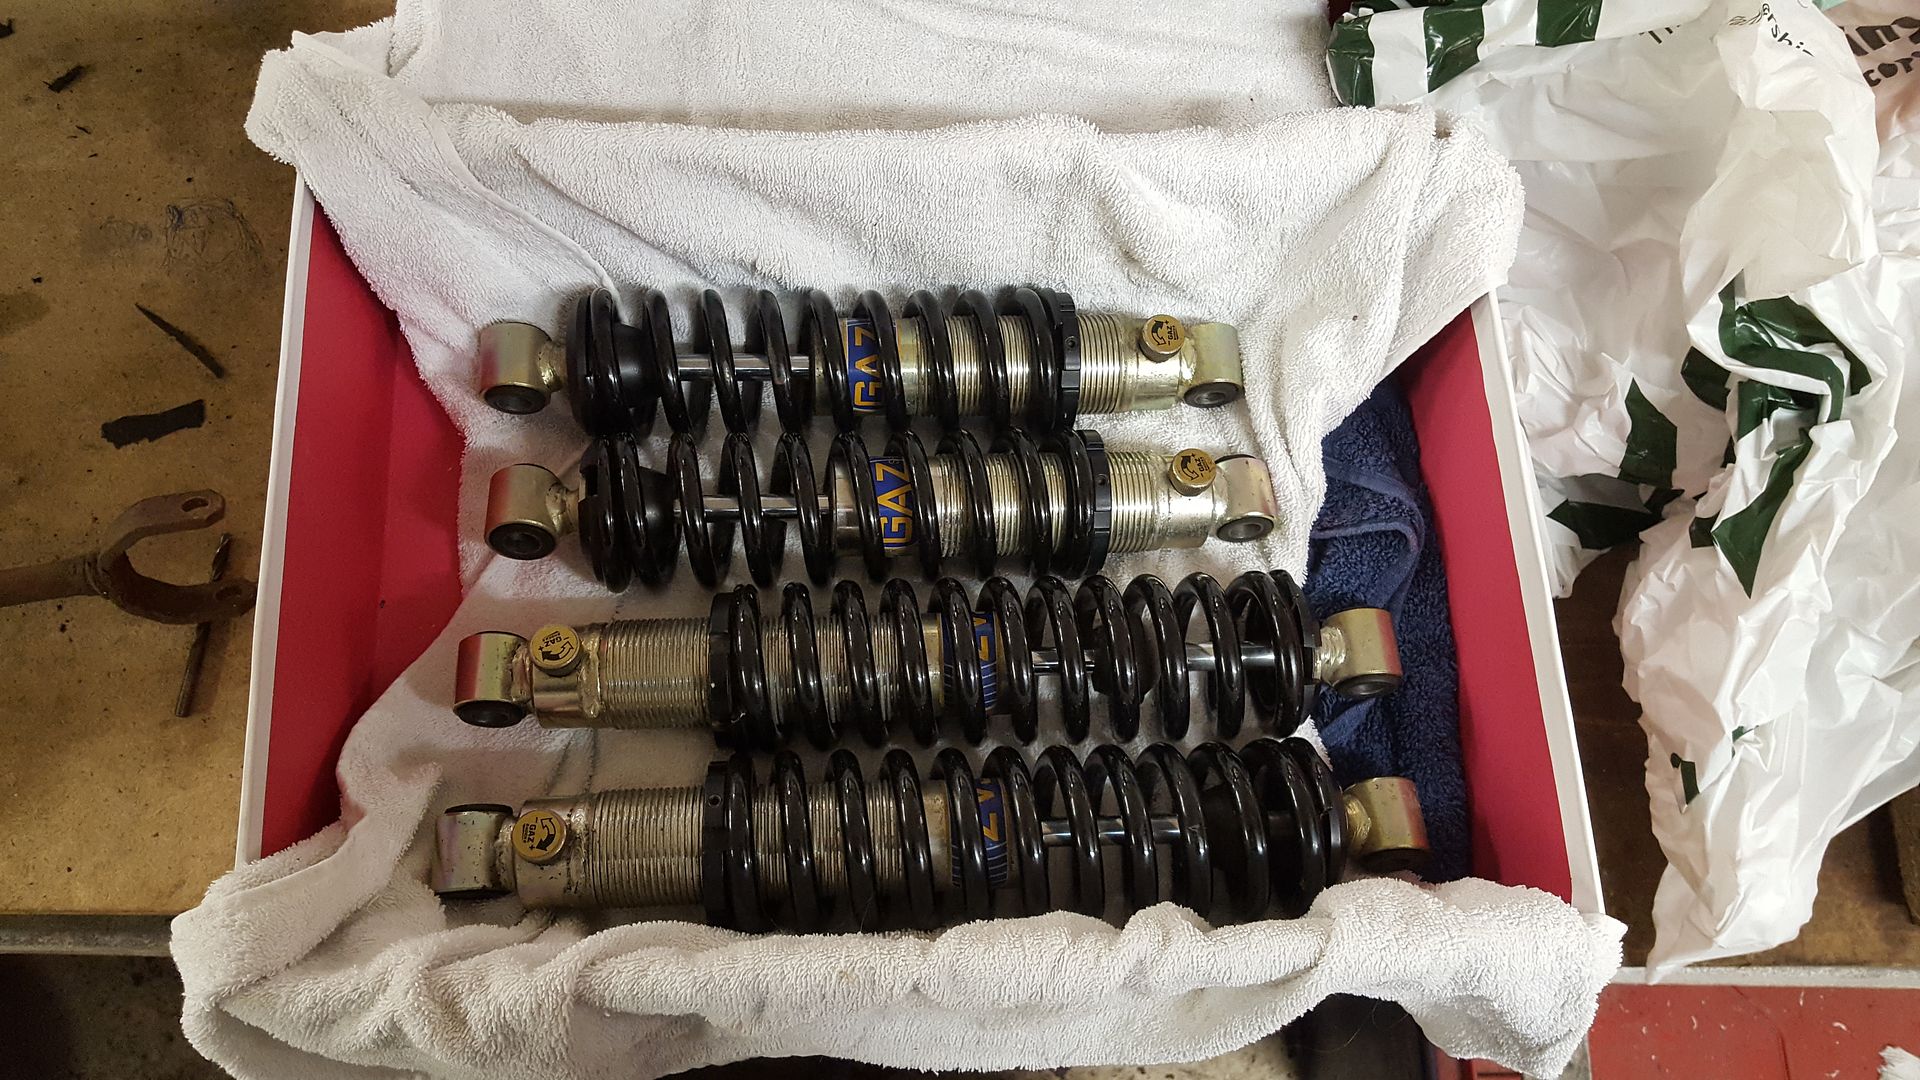
when I picked up the chassis the guy did have some brand new gaz coilovers for the gbs zero which he offered me, but I already had the new ones that
came with the locost at home. I did a little research and found the fronts are a inch shorter on the locost and the rear springs are a different
length, but I was going to make do as they were pretty close so was going to see if they work.
Then I spotted someone asked Ron86 if his gbs zero gaz coilovers would fit a locost.... a plan was hatched, I'd sell my locost coilovers to him,
then buy the gbs coilovers, all for the money. result
so popped down there today to pick up my locost coilovers to send out.
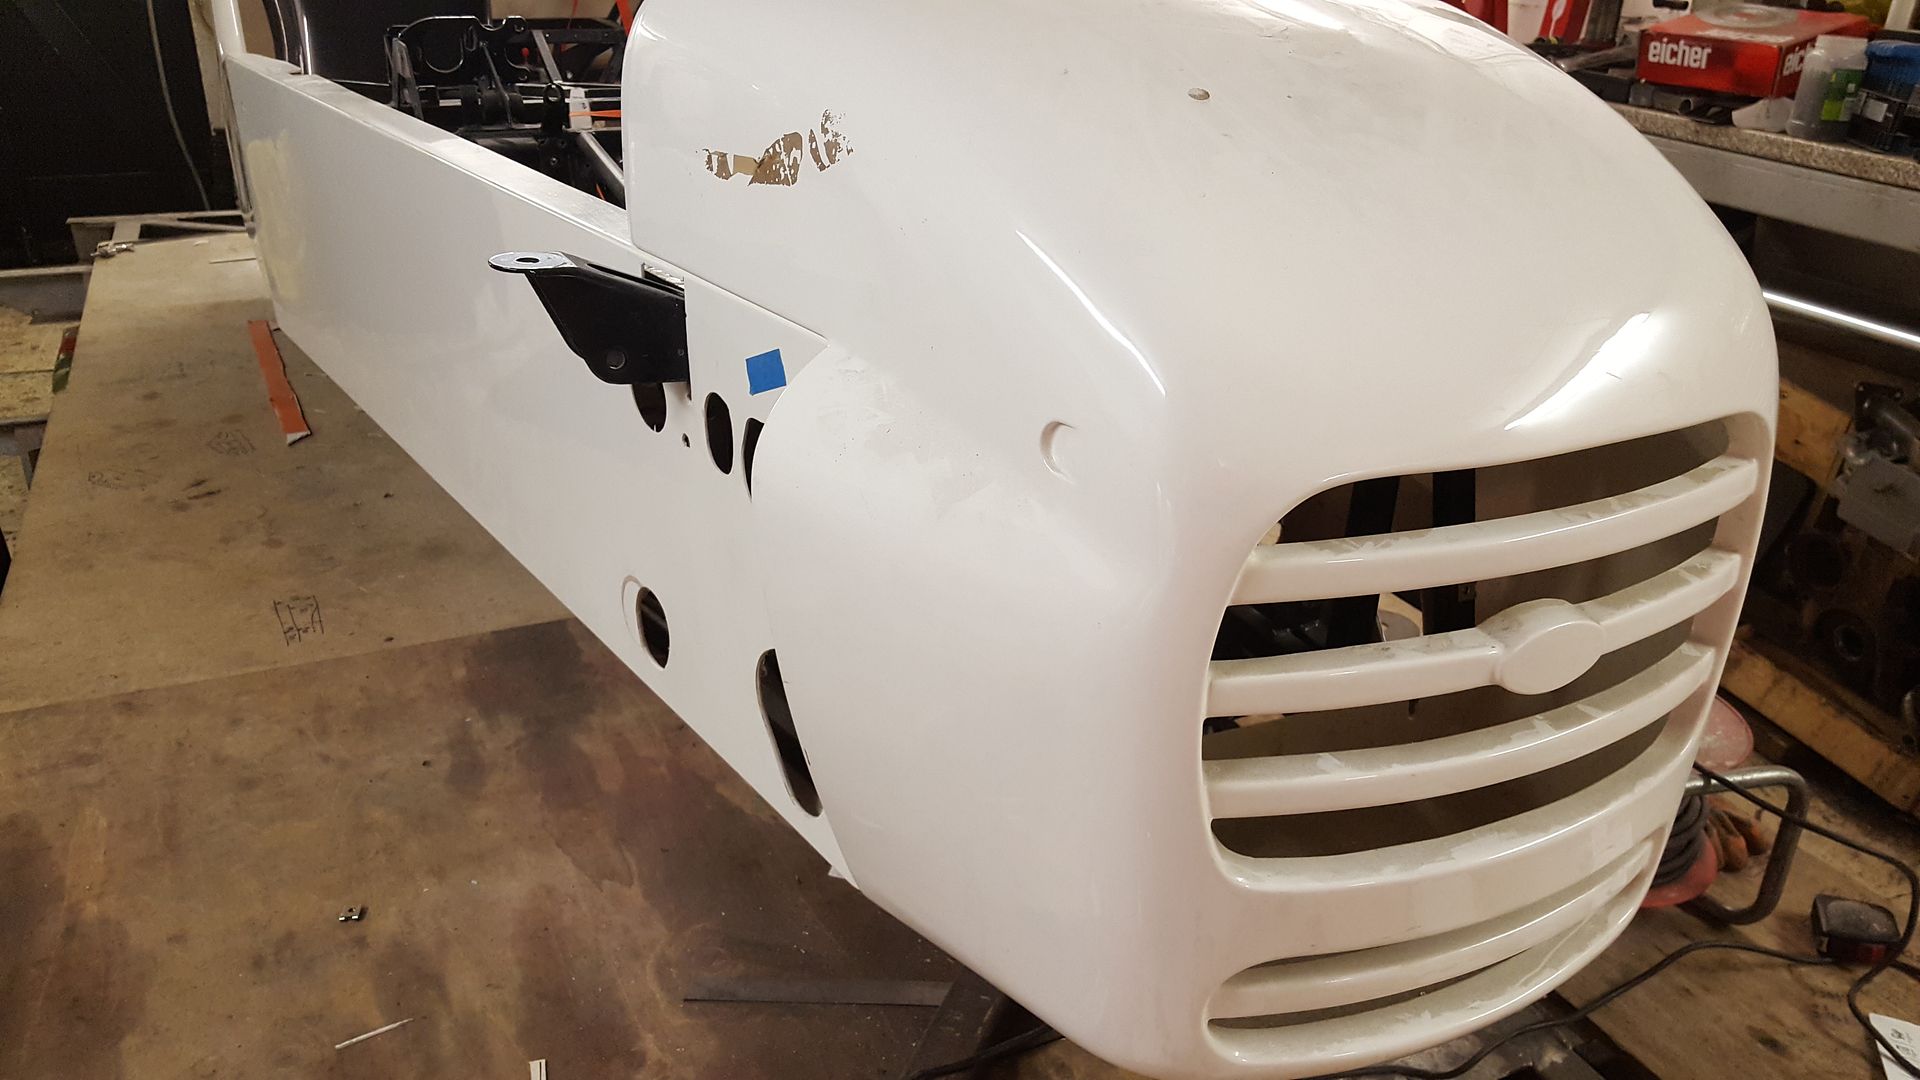
while I was there I couldn't resist a little tinker, i wanted to try the nose cone on a bit better, but it fouled the radiator brackets at the
bottom
so did a little measuring and chopped a slot
and it slides right on now
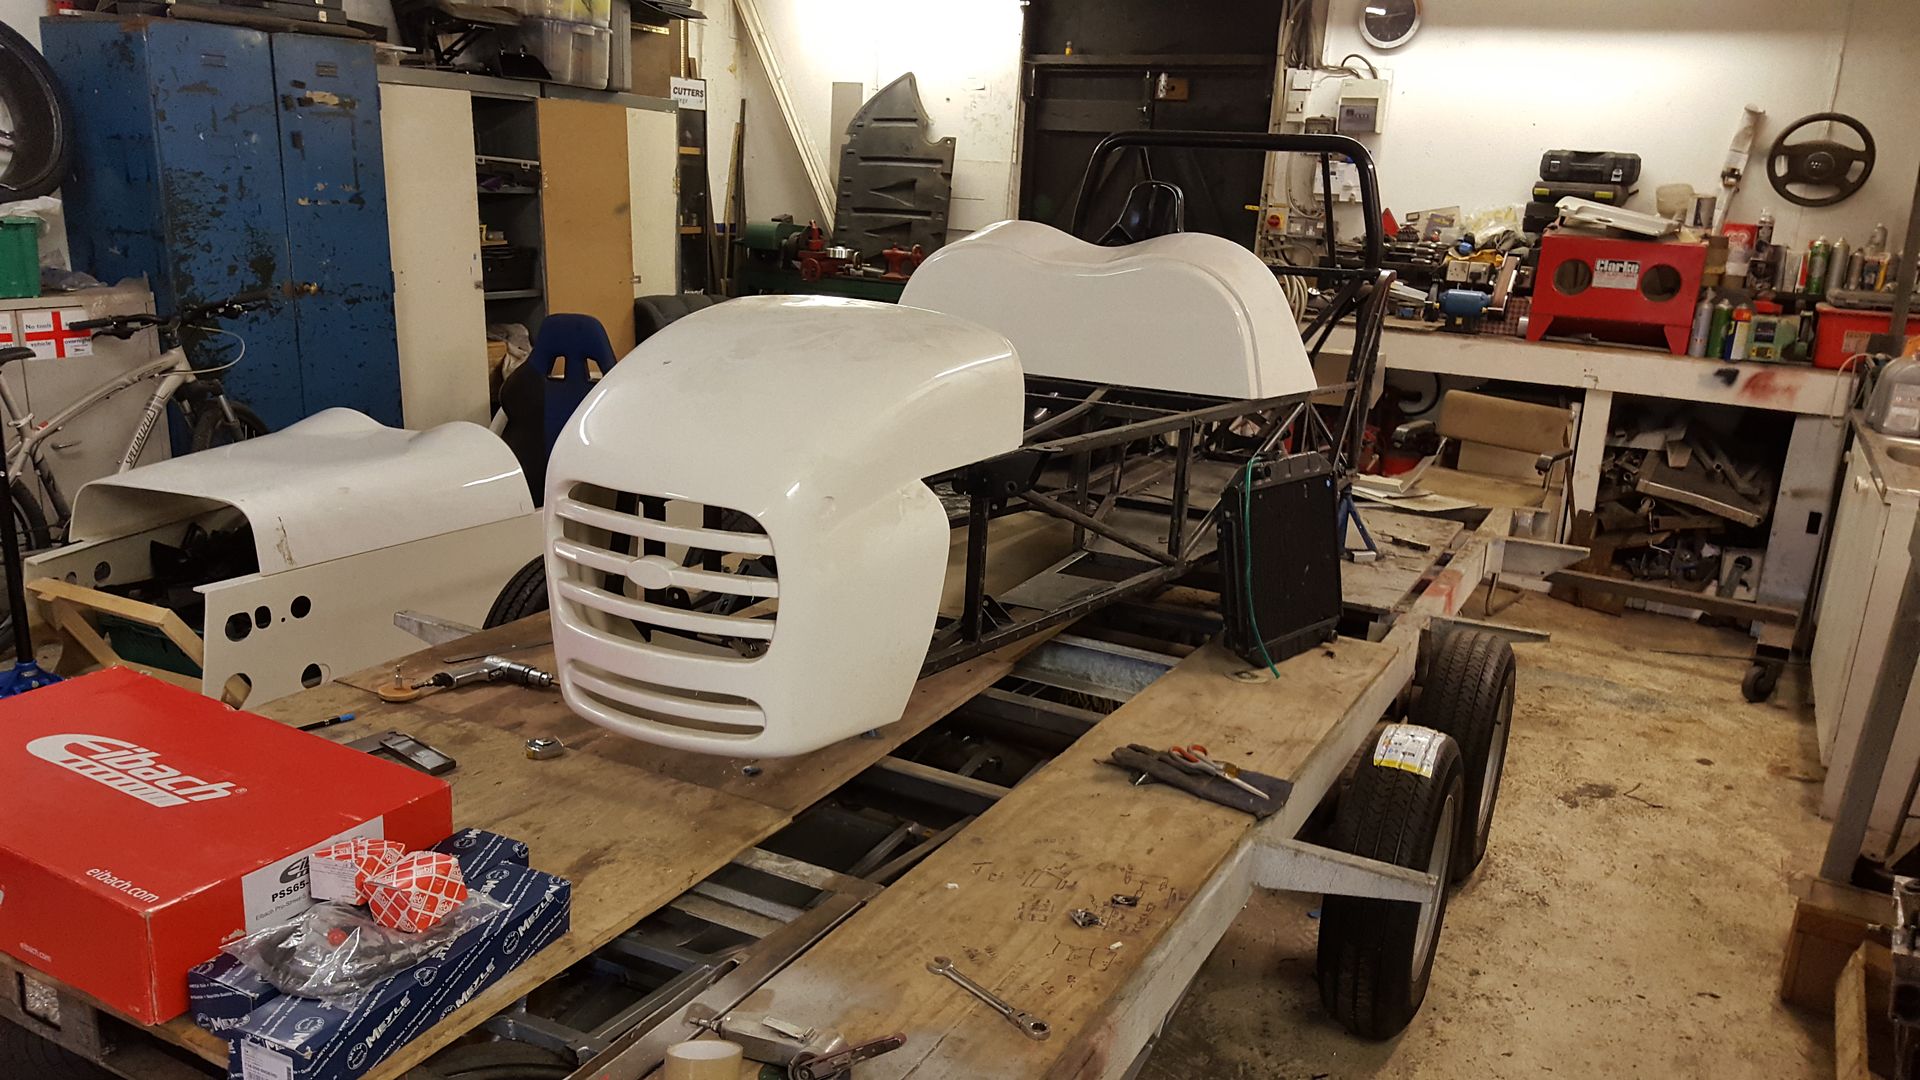
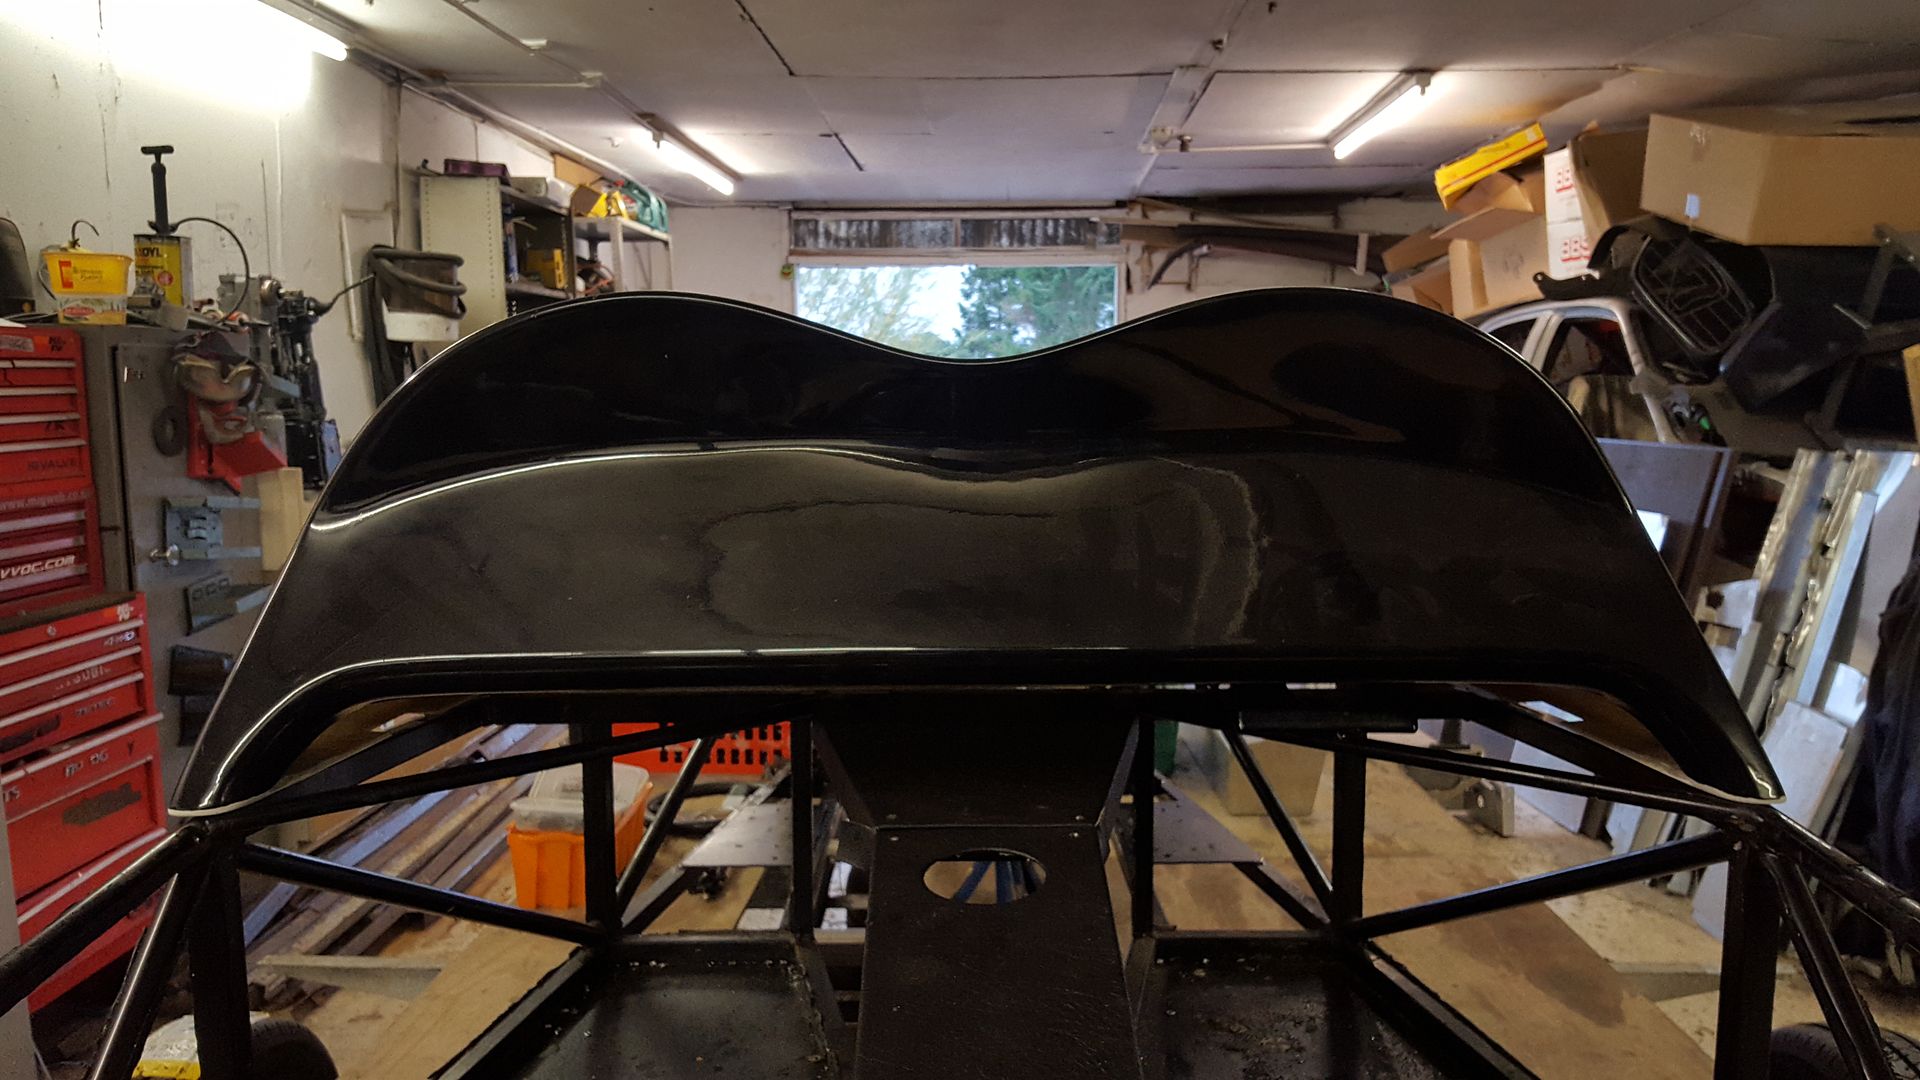
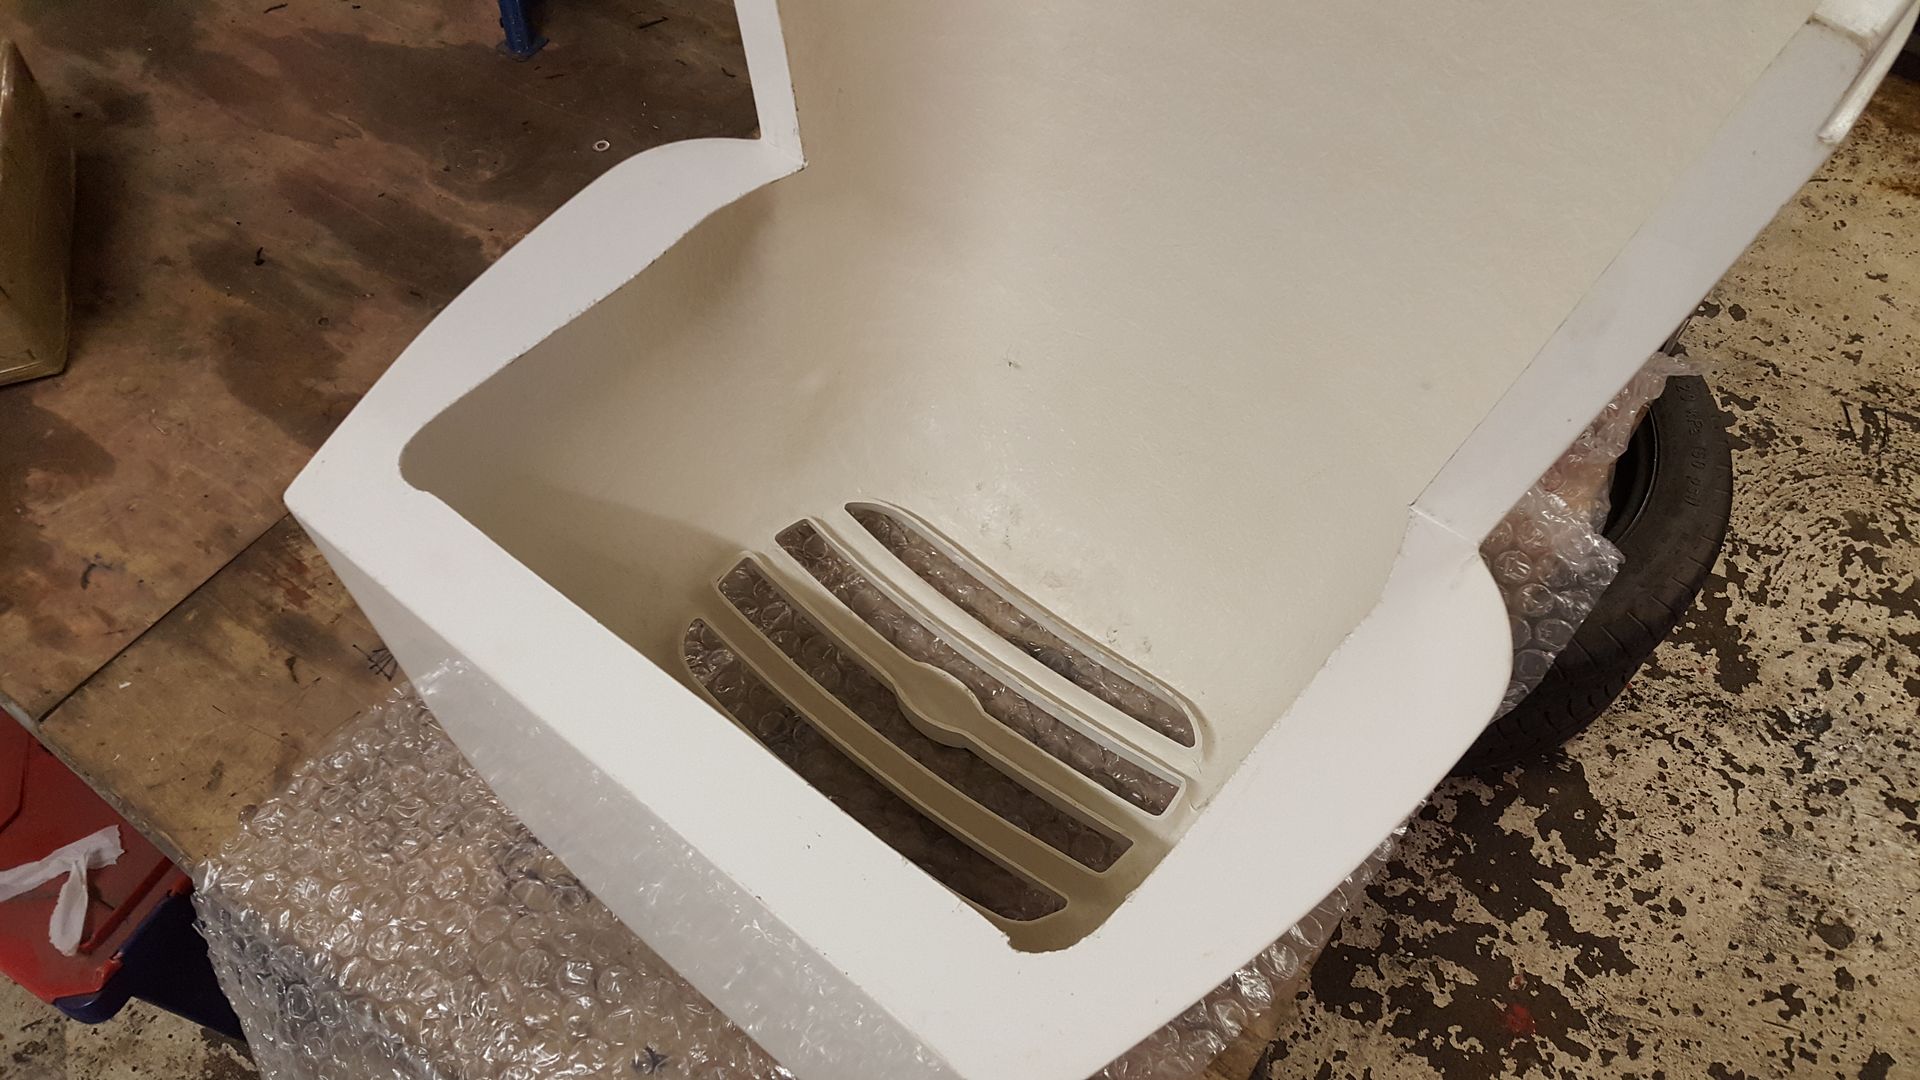
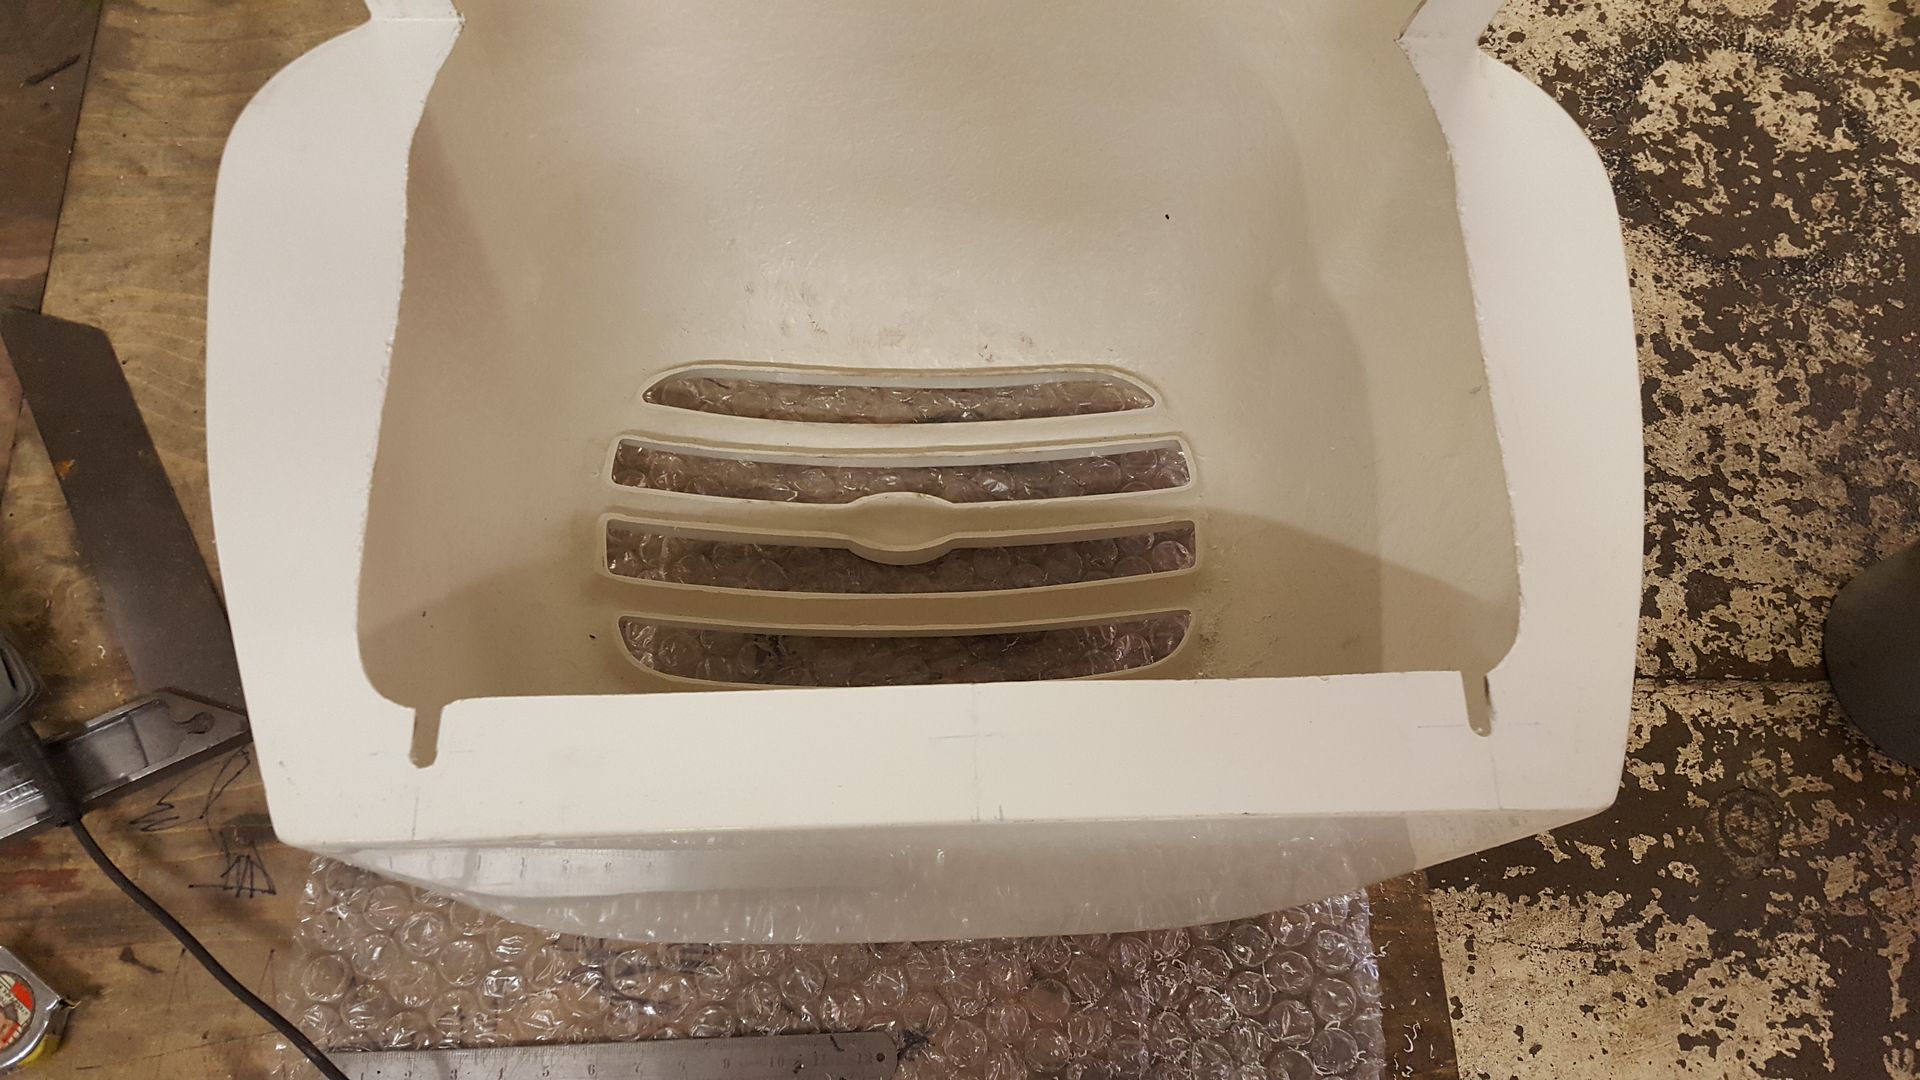
I do love the vortx scuttle
in fact I do love the whole vortx kit. it is a bit marmite, especially as all the other kits copy the caterham very closely (including the Gbs
Zero).
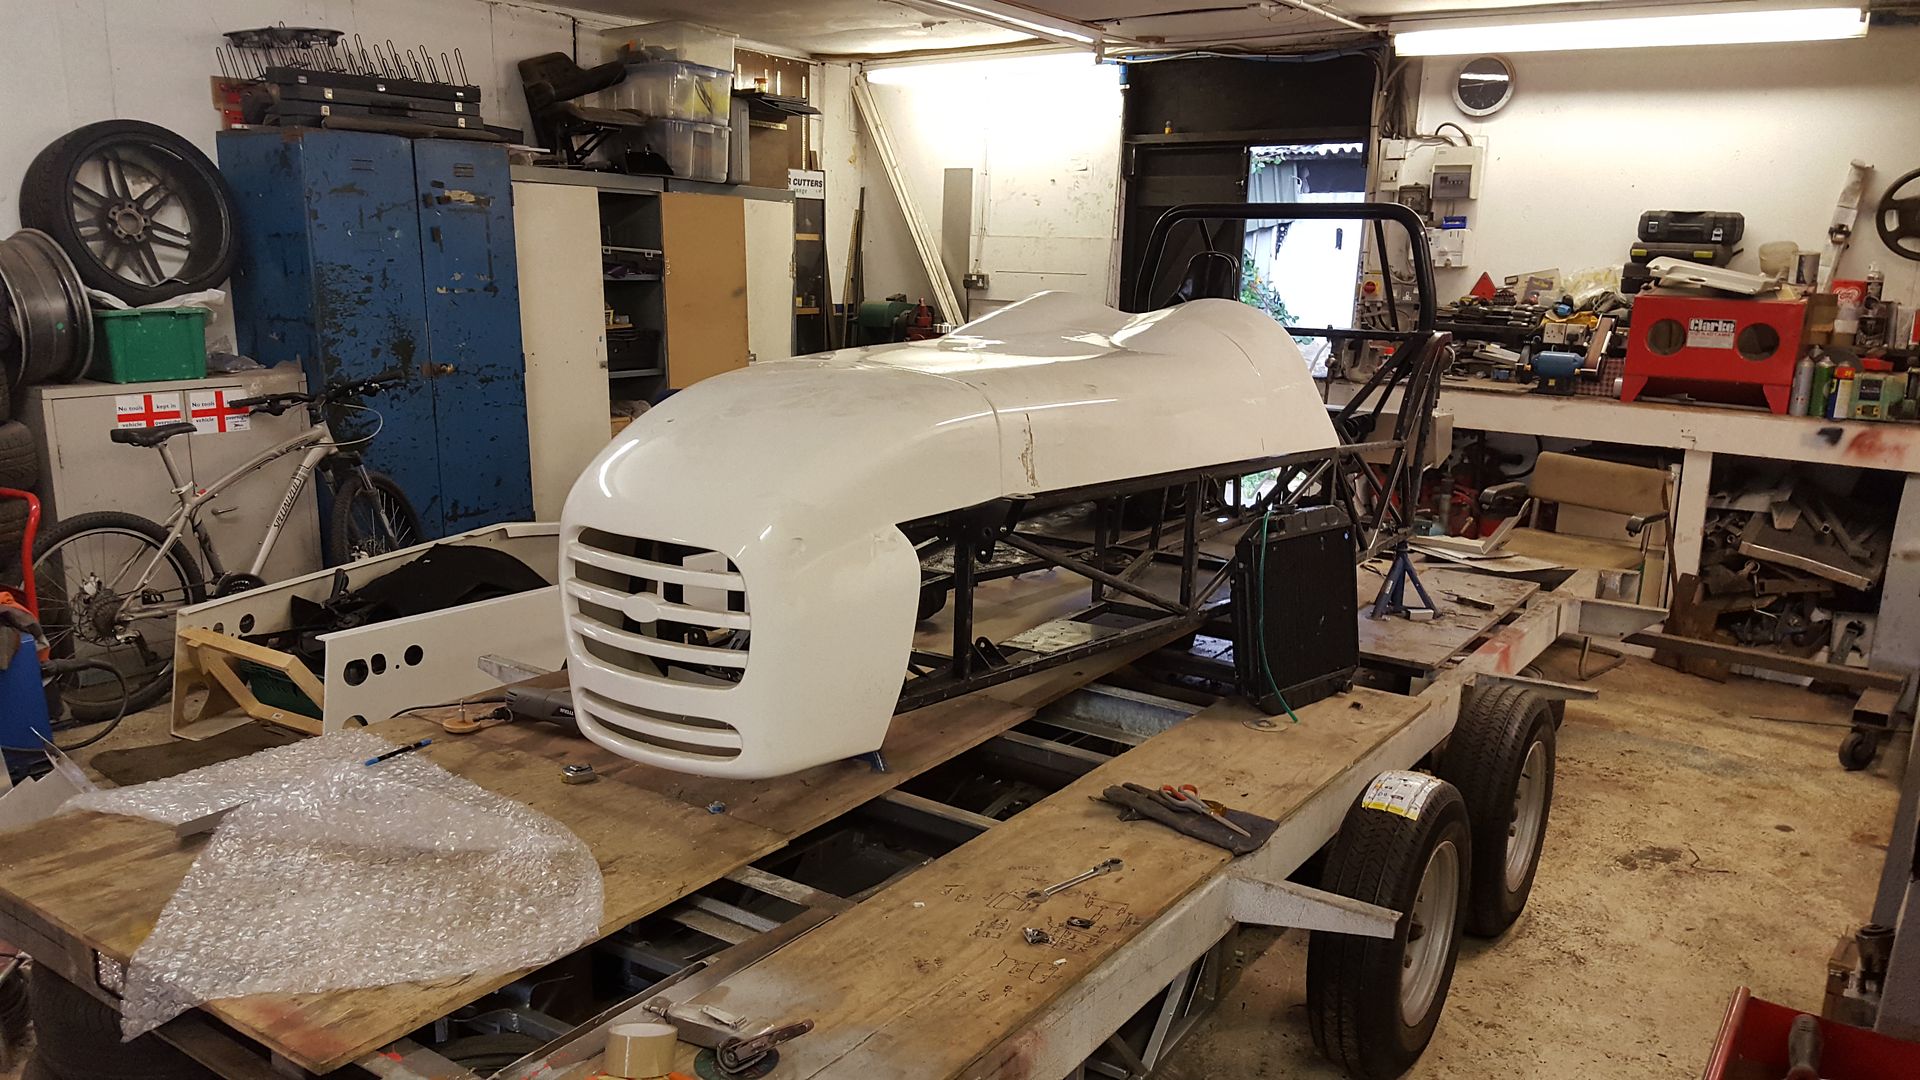
I'm going to need to make a cut out in the nose cone to fit over the headlight brackets, not very much, it just sits up on them a few mm
but I want to get the cut as tight as possible, so before I do I will put the full body on so I can get the forward and back measure spot on.
all in all its not going to be too hard to get it to fit well and look just like a Vortx the front suspension holes don't look like they will
line up, so once I get the body on the right place I'll make new holes for my wishbones then fibreglass the old ones up.
before all that happens I need to get the rest of this sealer off with the toffee wheel 
|
|
|
super-ron
|
| posted on 9/11/17 at 01:34 PM |
|
|
My old locost gaz coilovers arrived in america within a few a few days, and the GBS spec gaz coilovers arrived from the guy I bought the chassis from
a few days later.
Also someone was looking for a dedion beam on the locost forum so got mine all packed up ready for them, result
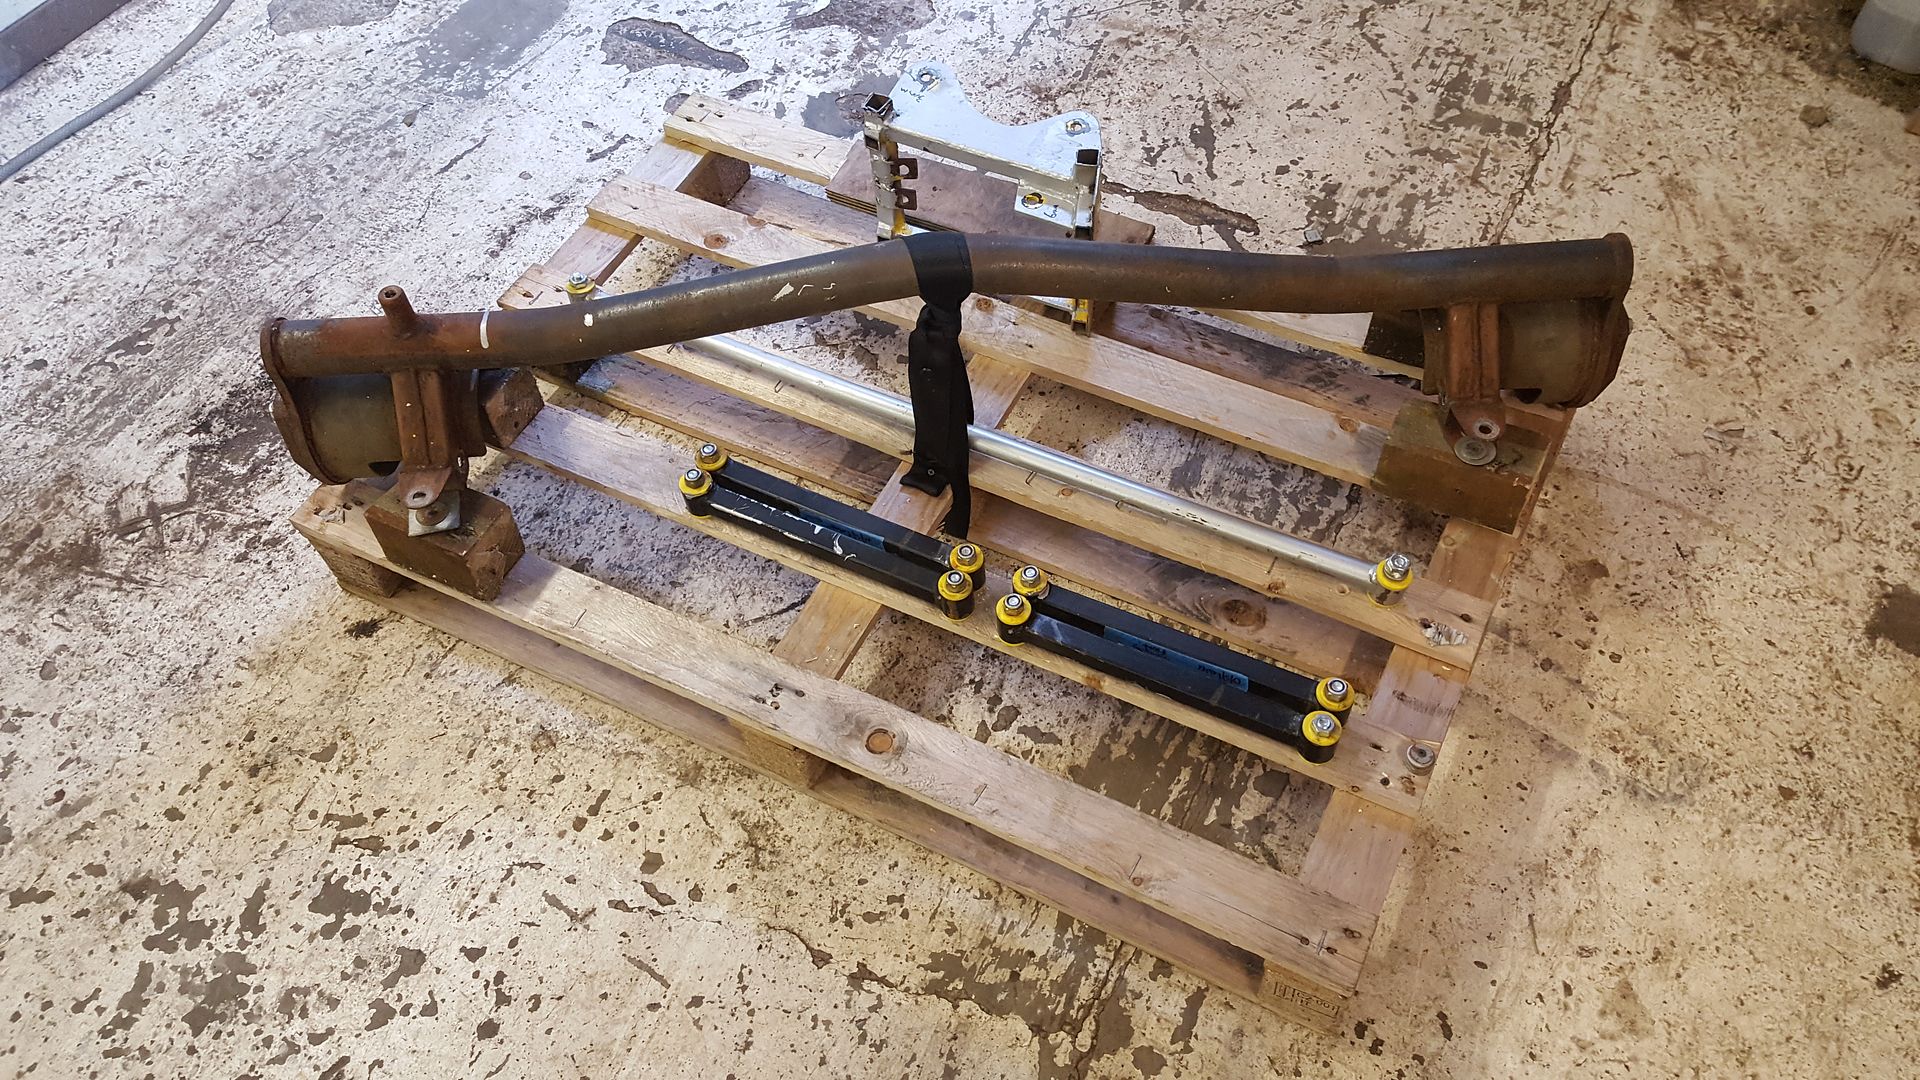
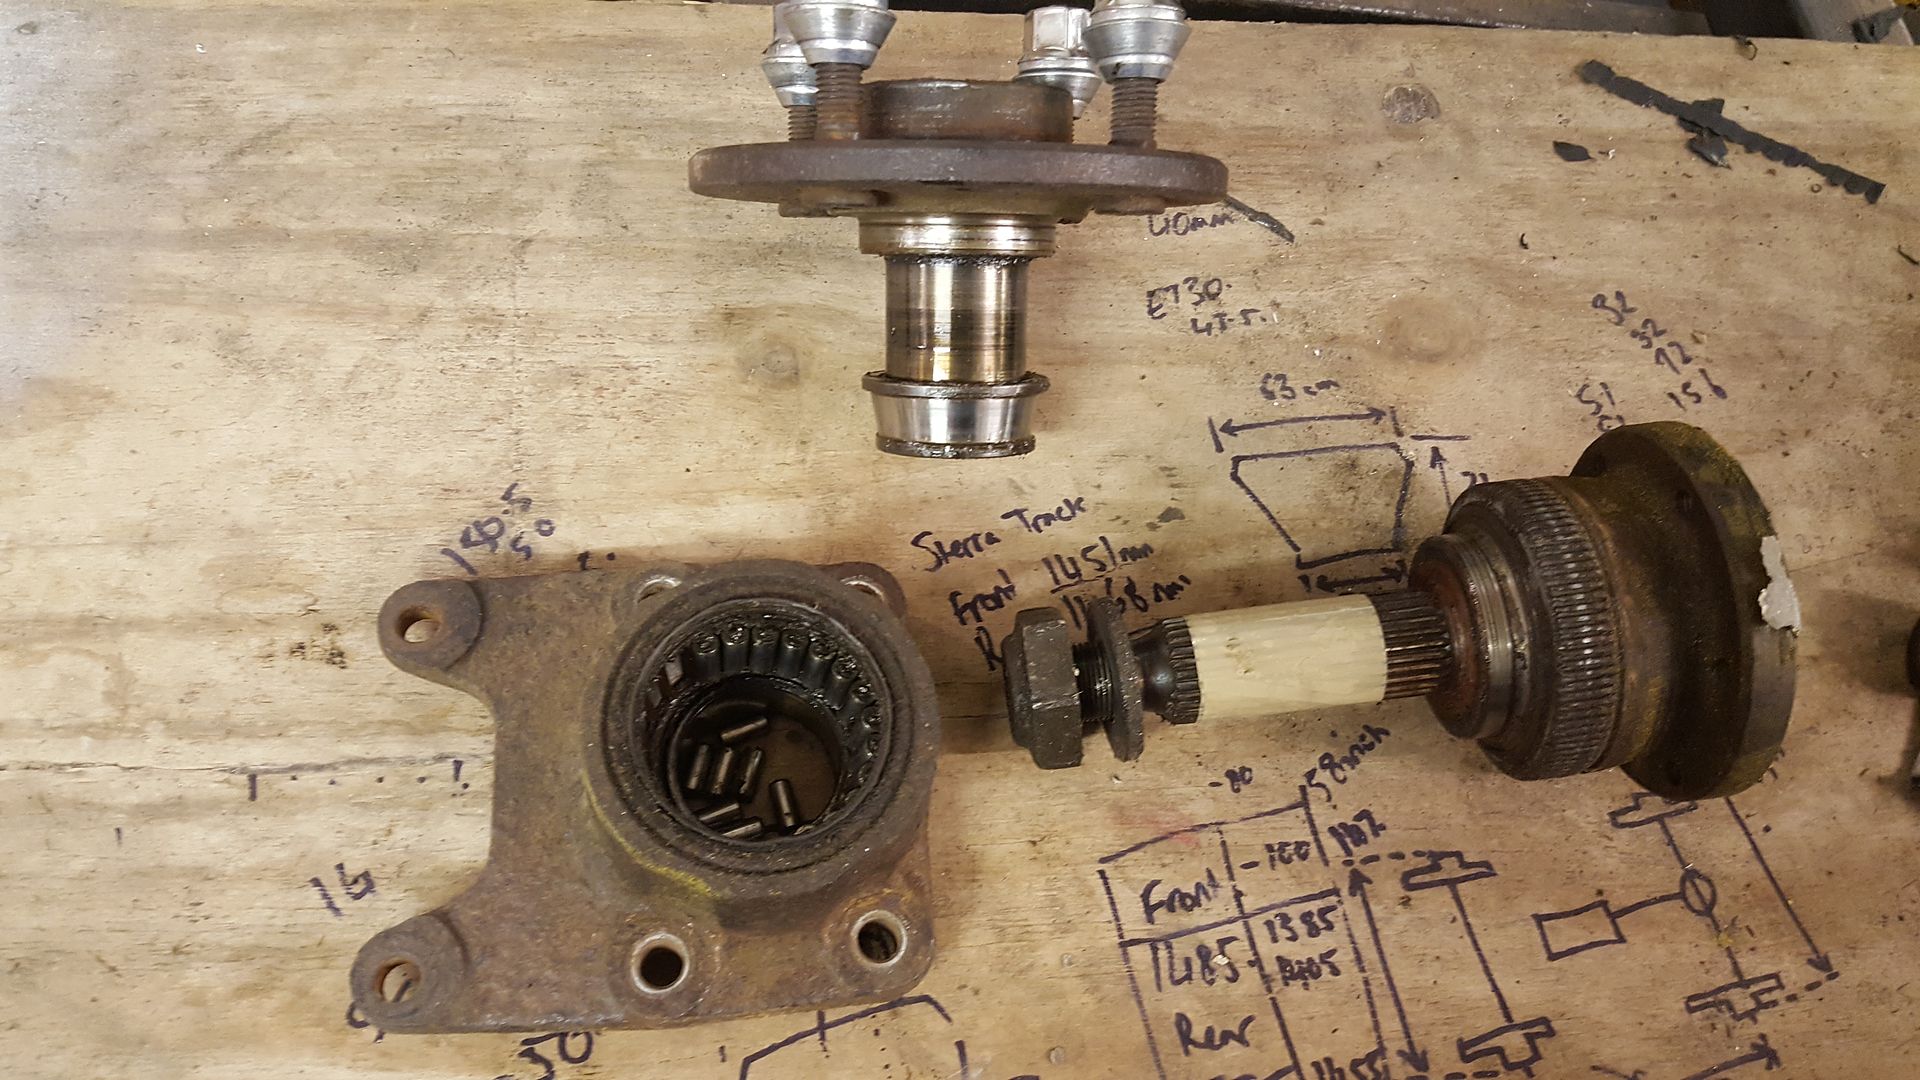
One of the wheel bearings fell apart when I unbolted the beam so will have to get a new one before bolting them to the GBS uprights. Had a measure up
and Sierra cosworth ones like up
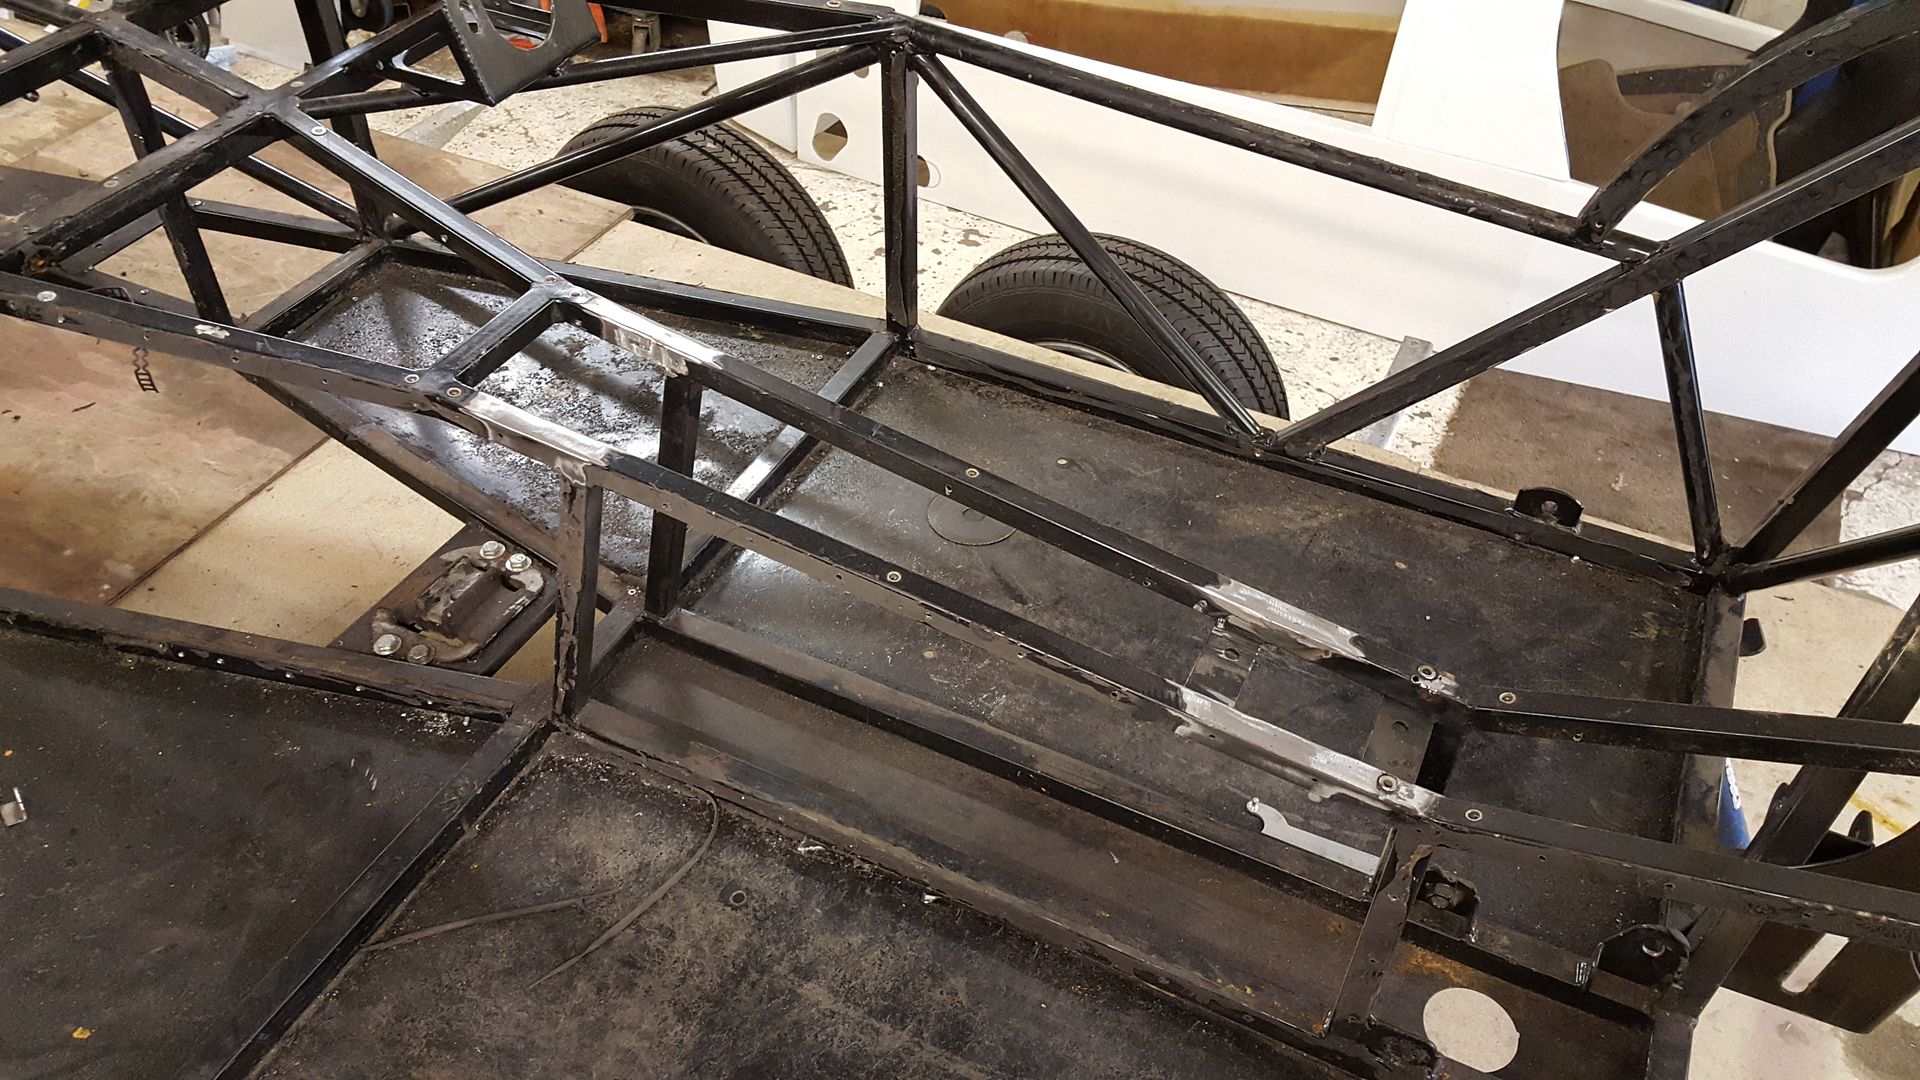
Not had a lot of progress, took a bit more of the sealer off the chassis
|
|
|
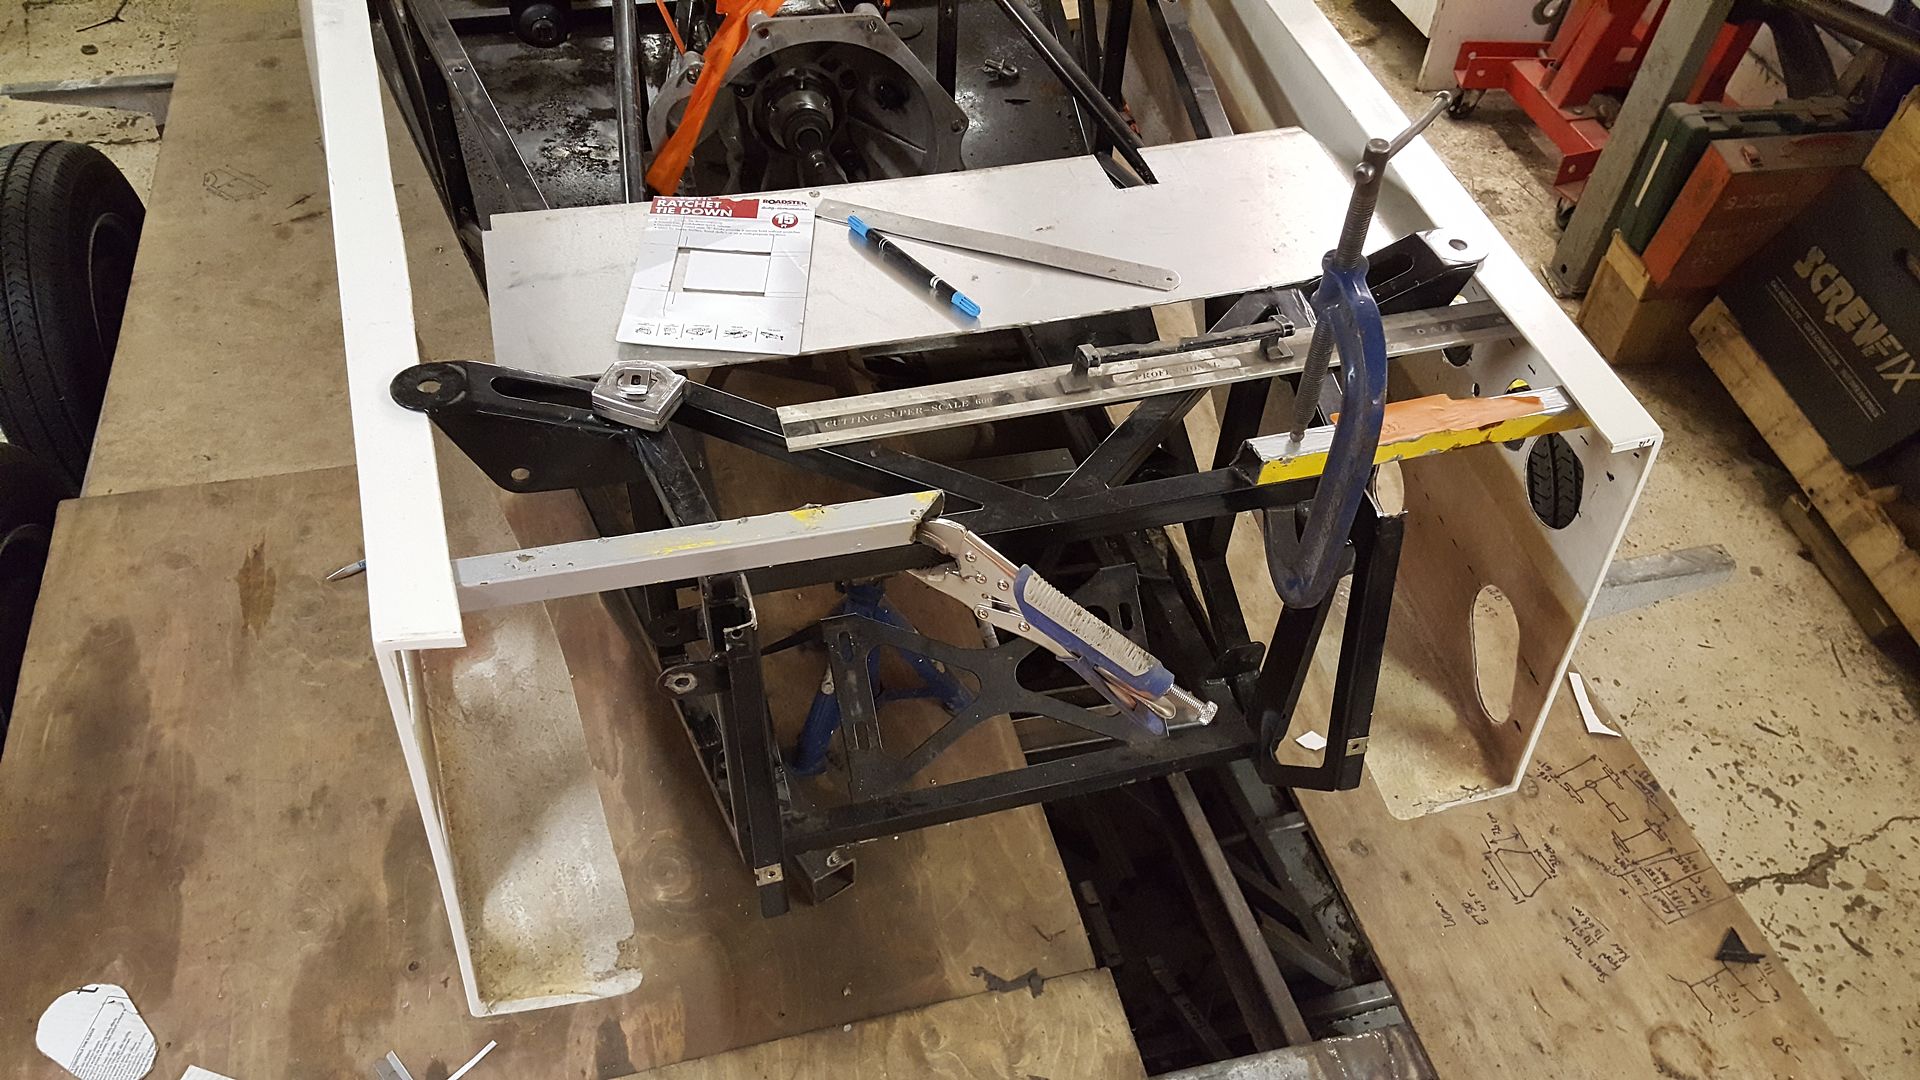
super-ron
|
| posted on 13/11/17 at 09:31 PM |
|
|
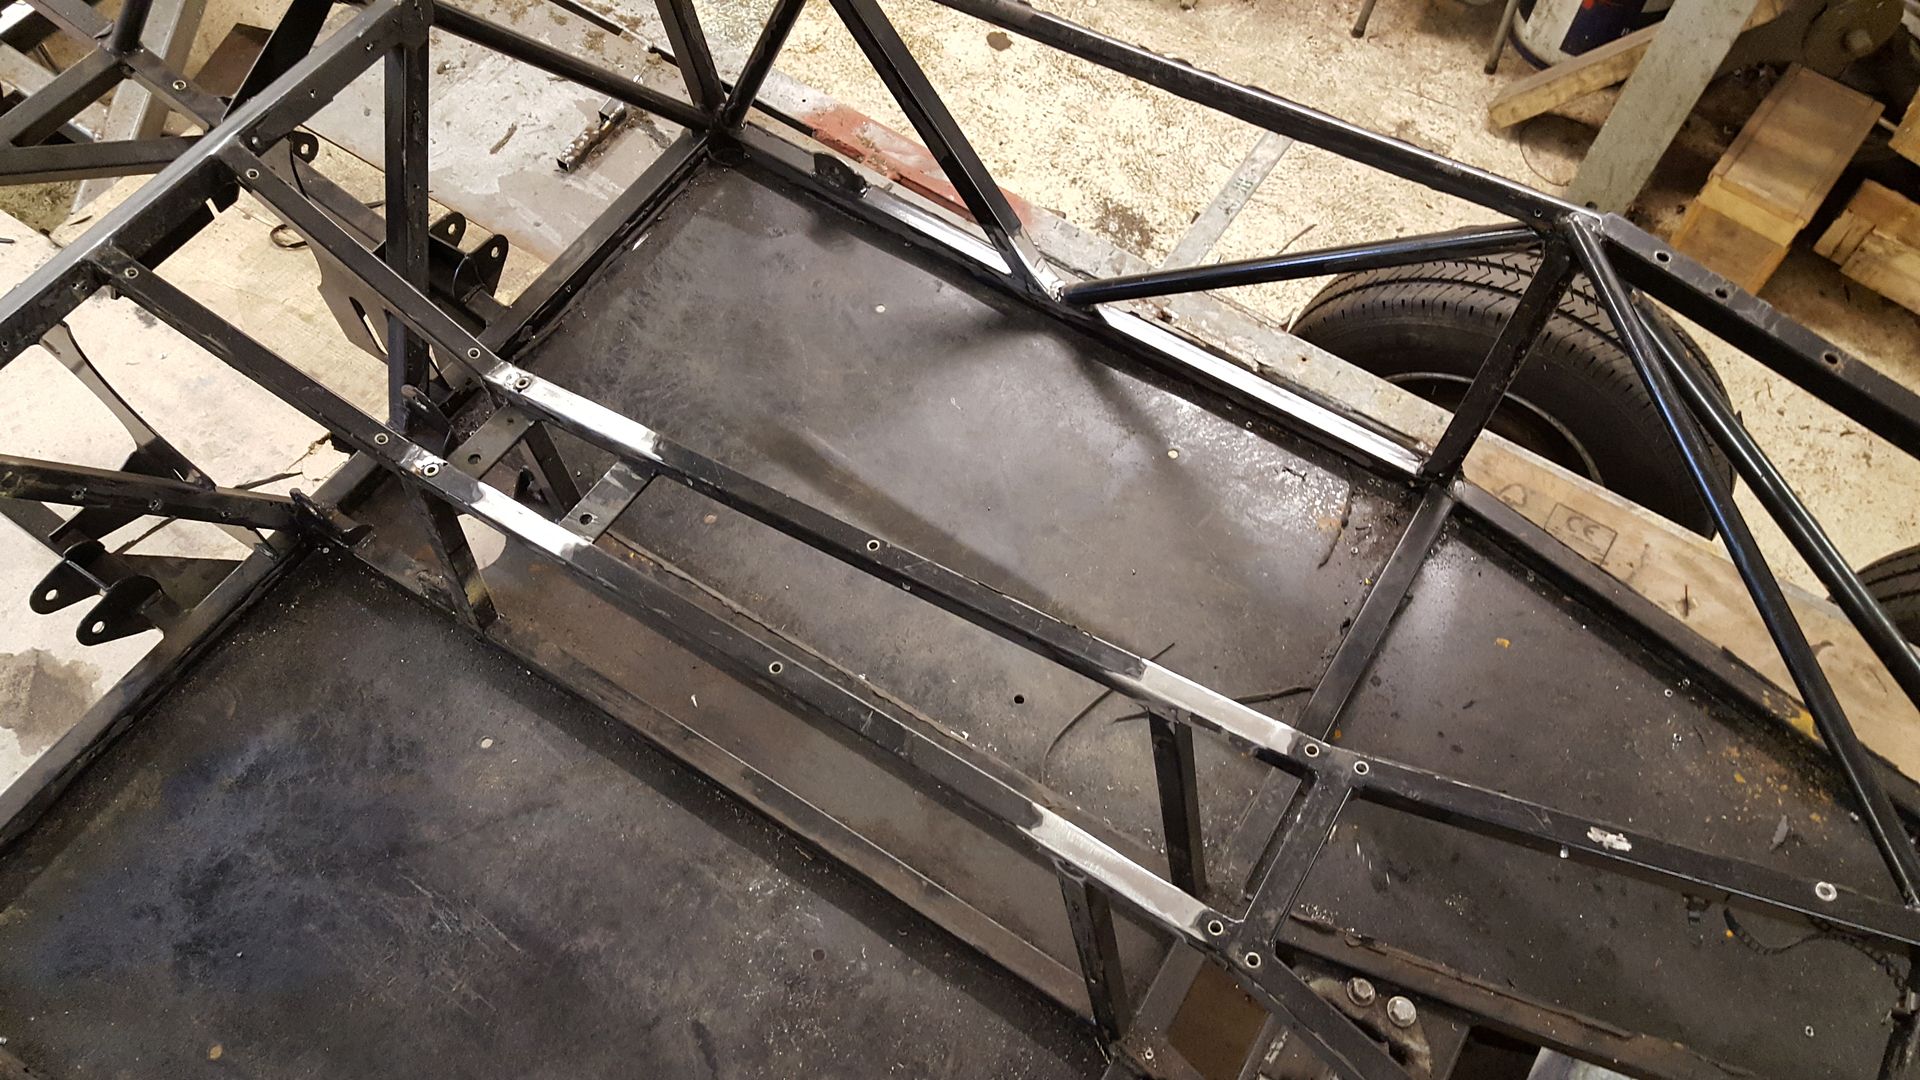
Had a bit of tinker time. Finally got all the sealer off the chassis. I got some toffe wheels off eBay, just the cheapest unbranded ones, and I had a
few old half cut 3M ones. The 3M ones were so much better. The cheapo's left it all smudgy where it had started to melt itself, but still got it
all off anyway.
And a good blow off and clean up
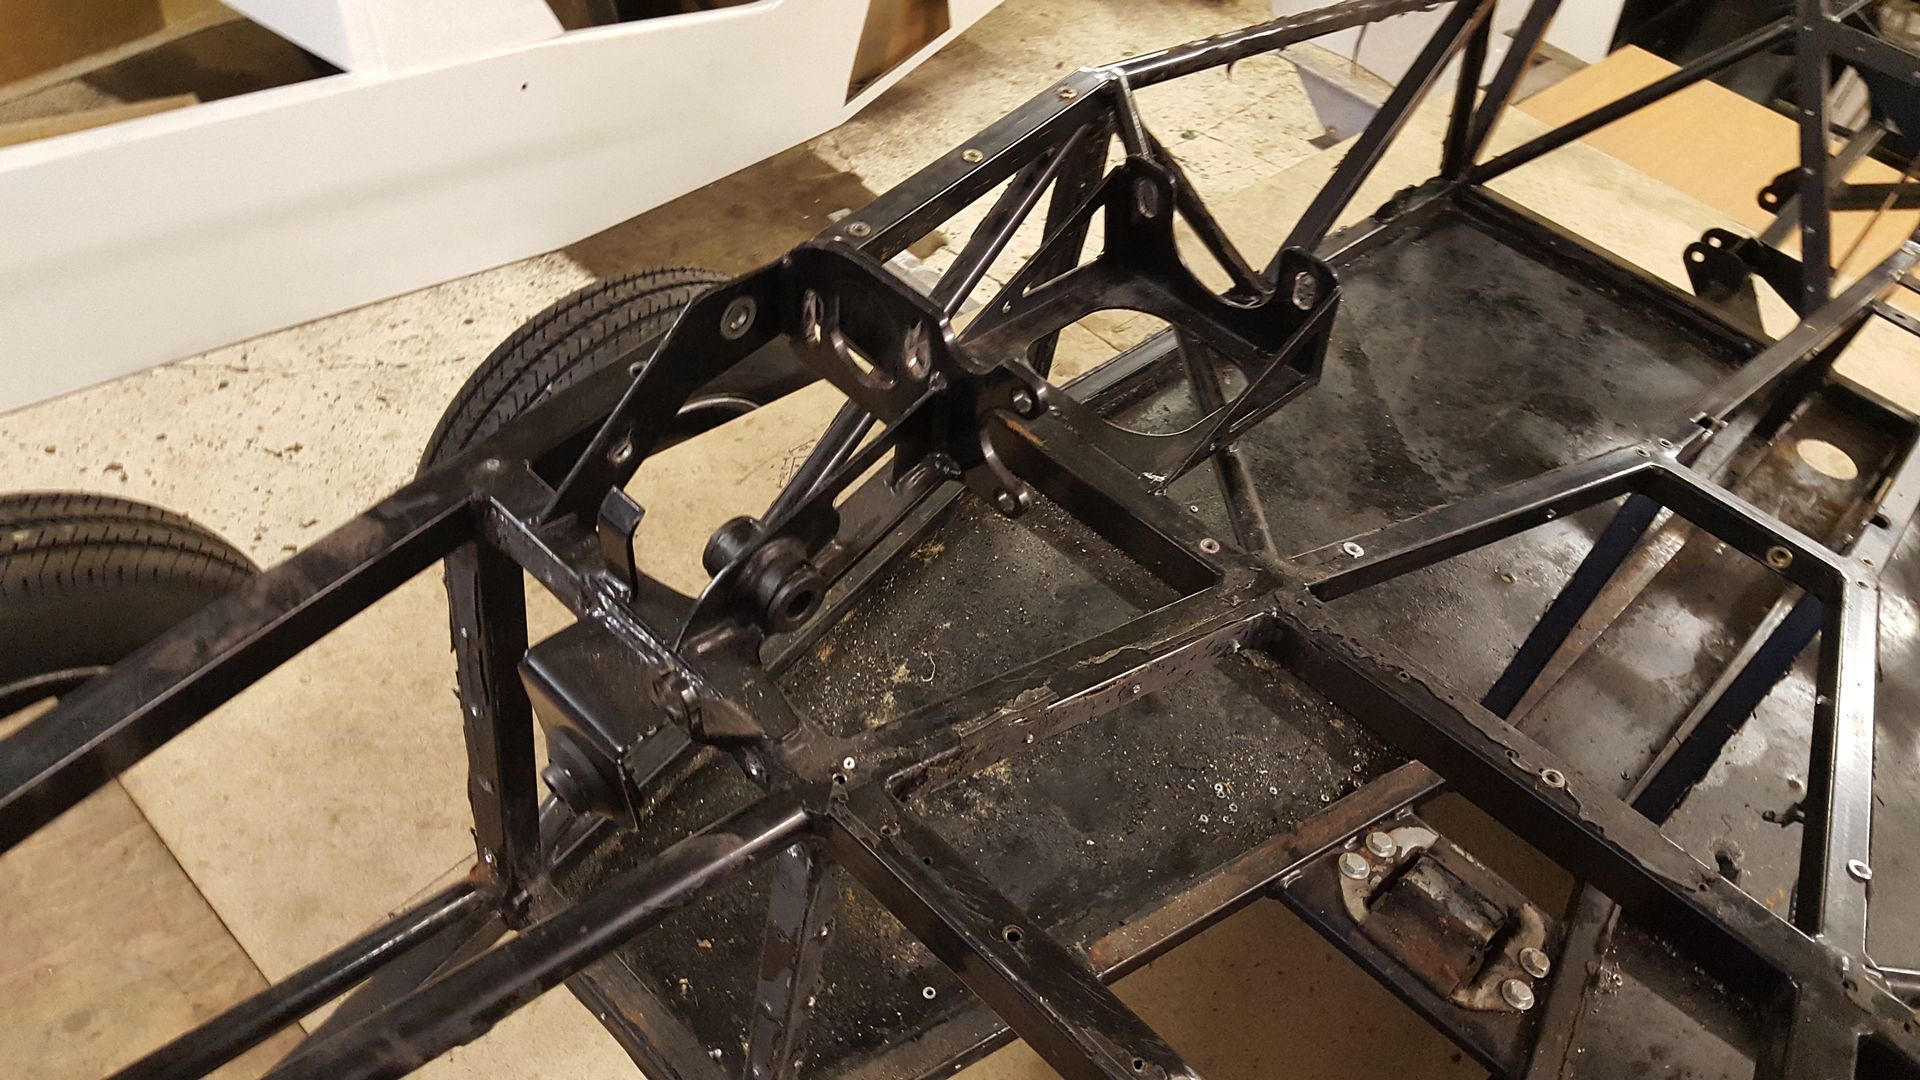
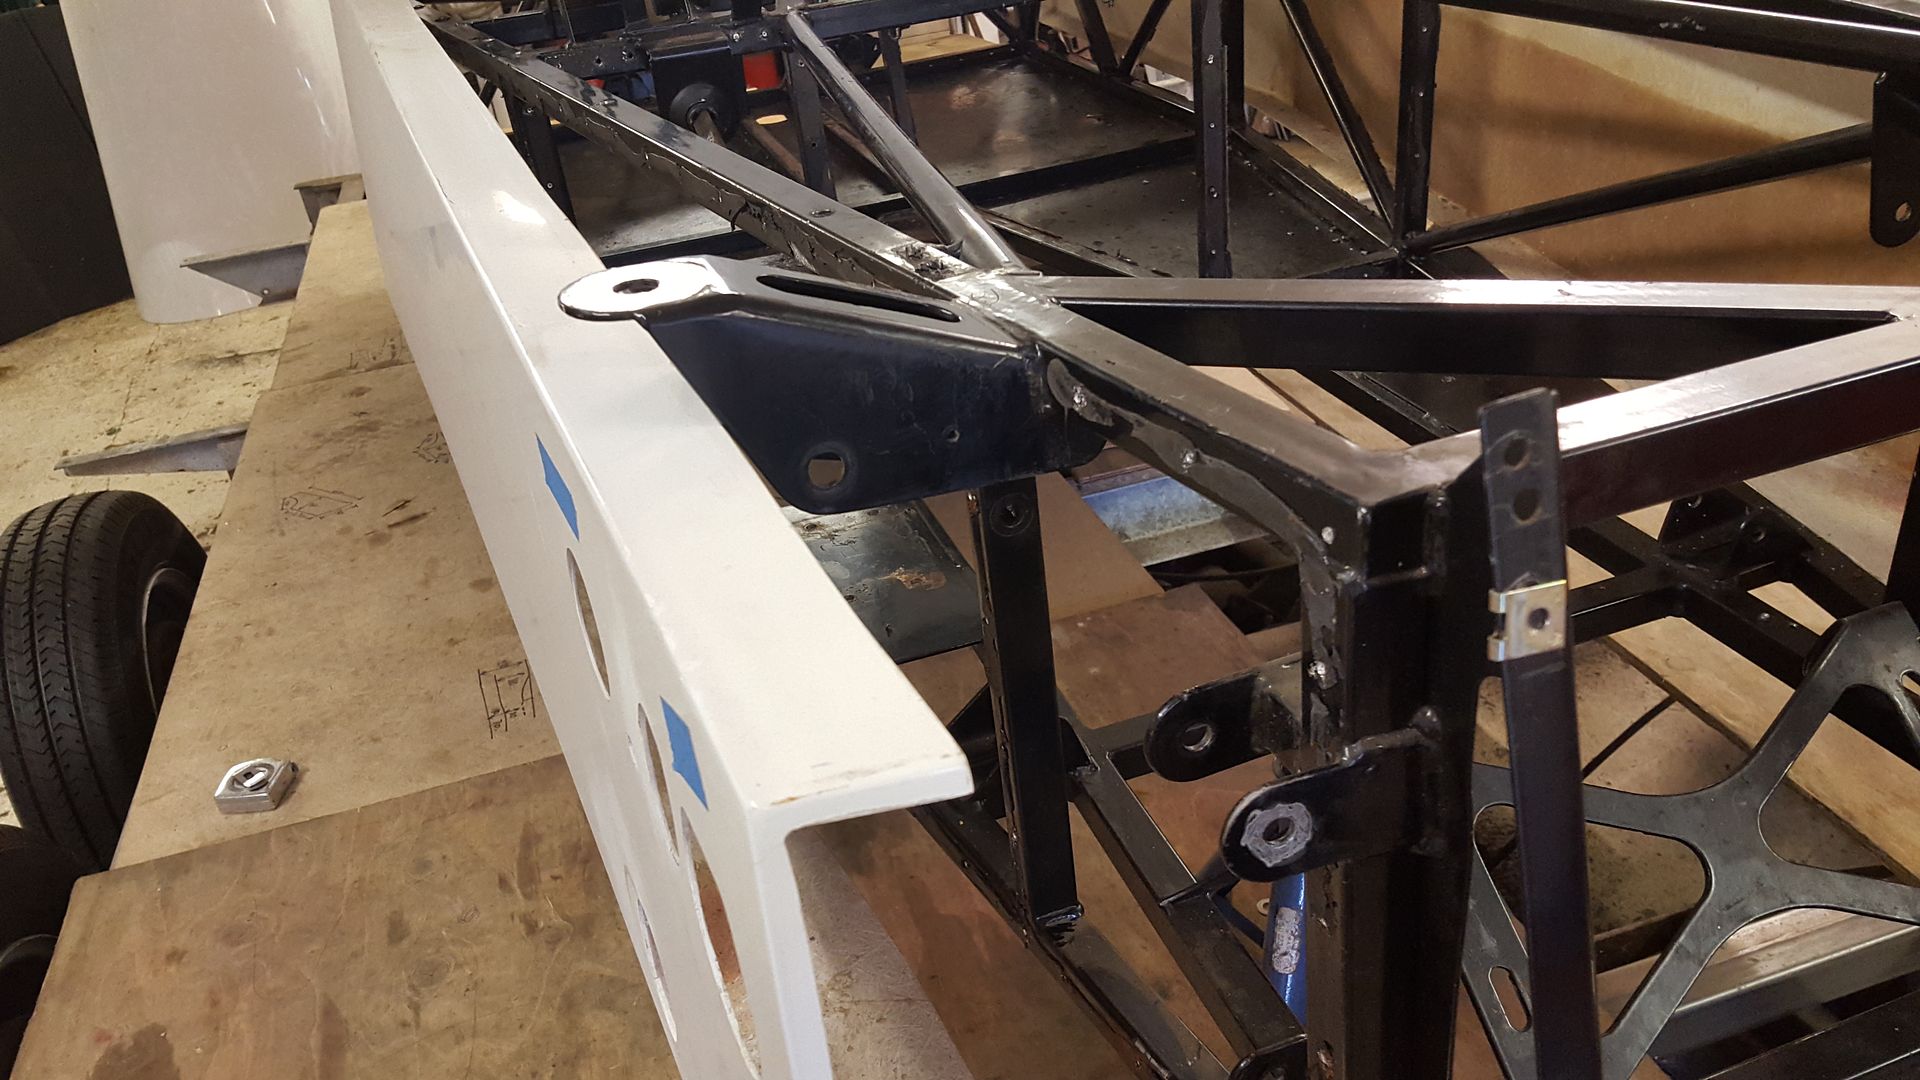
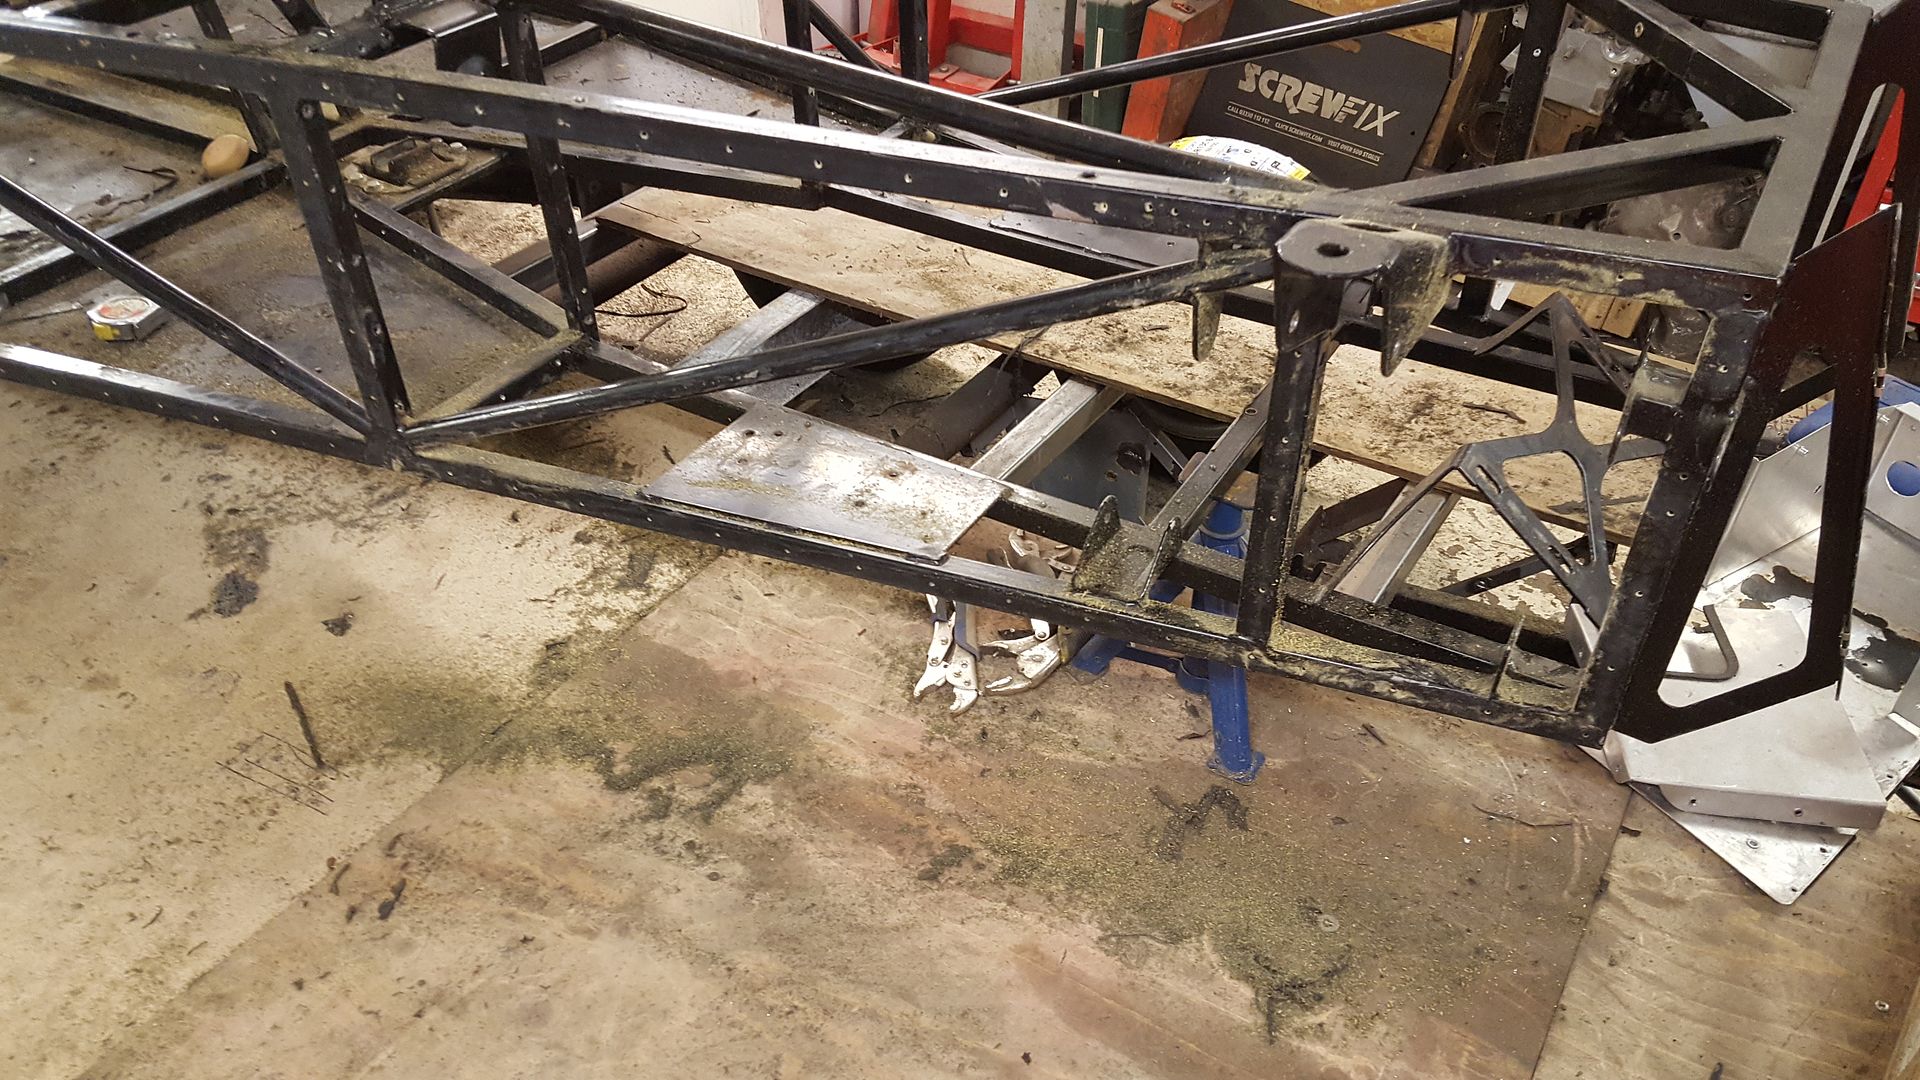
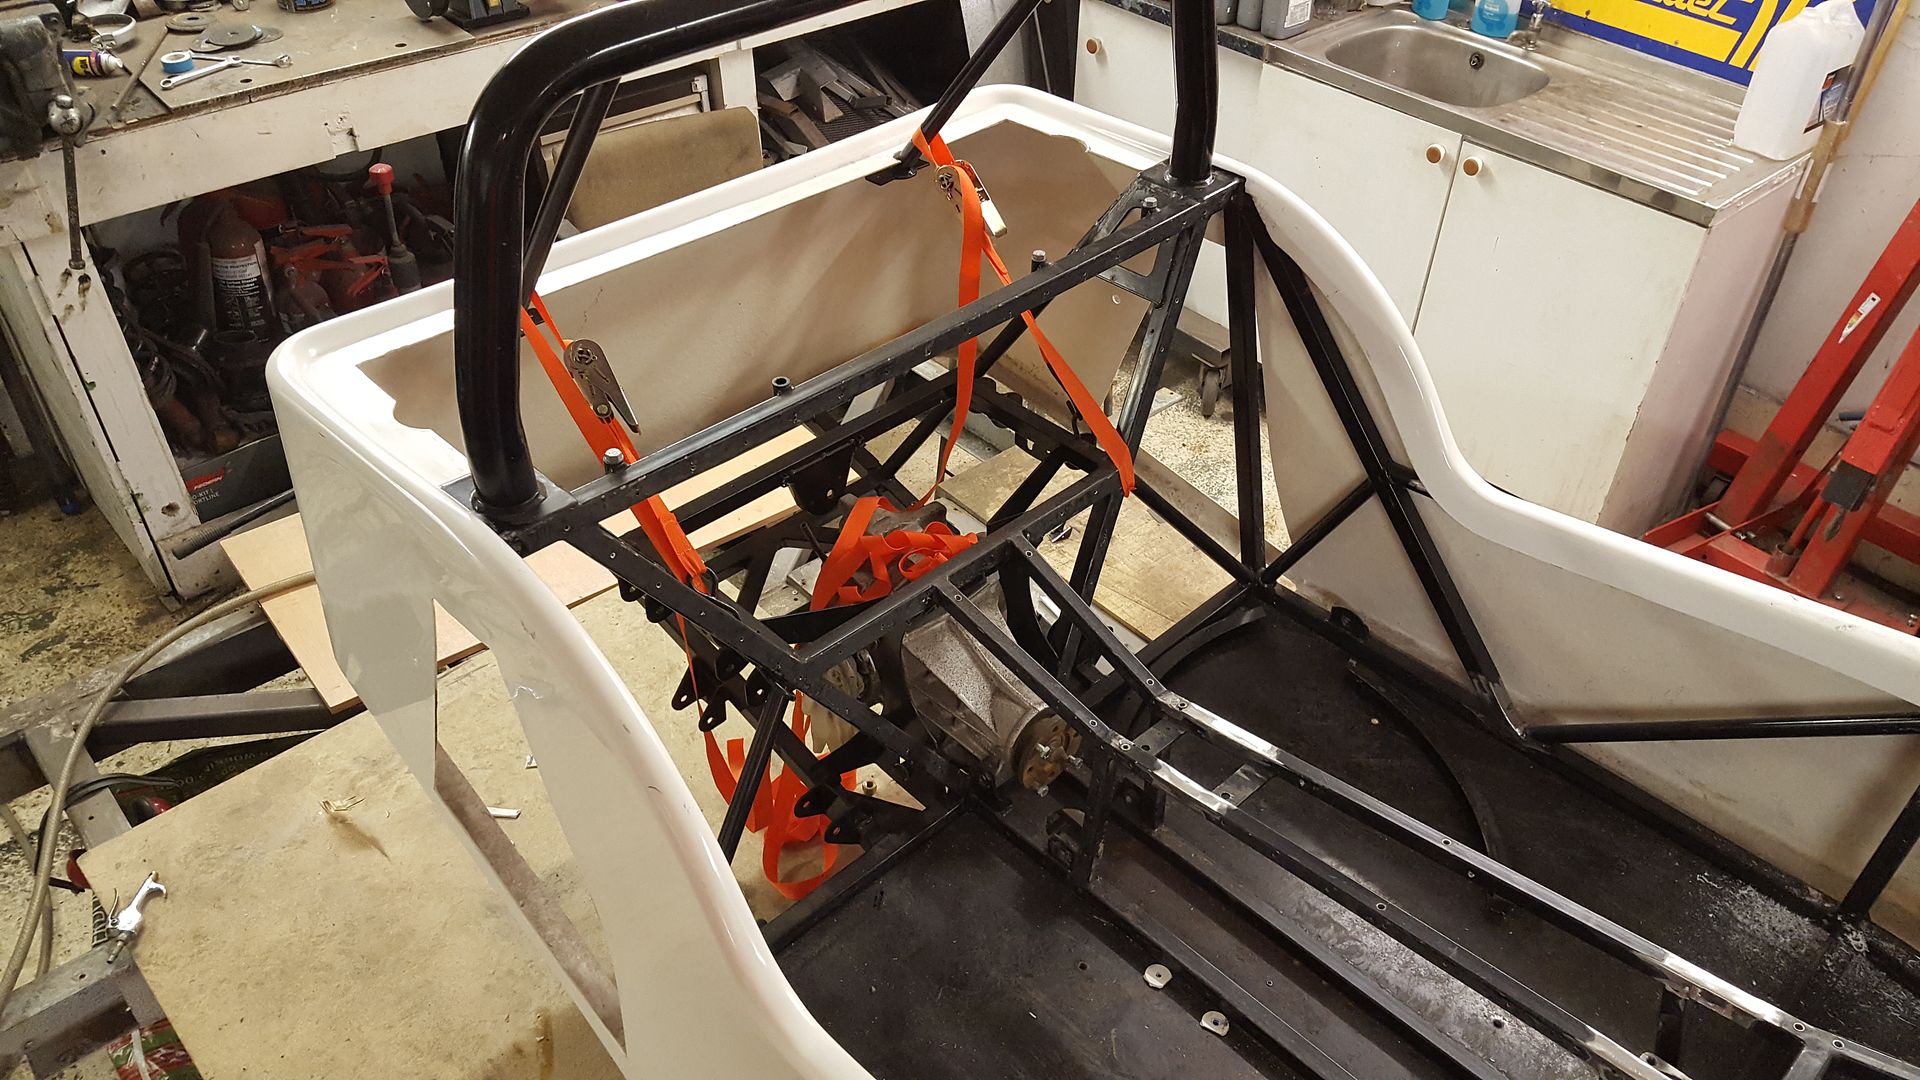
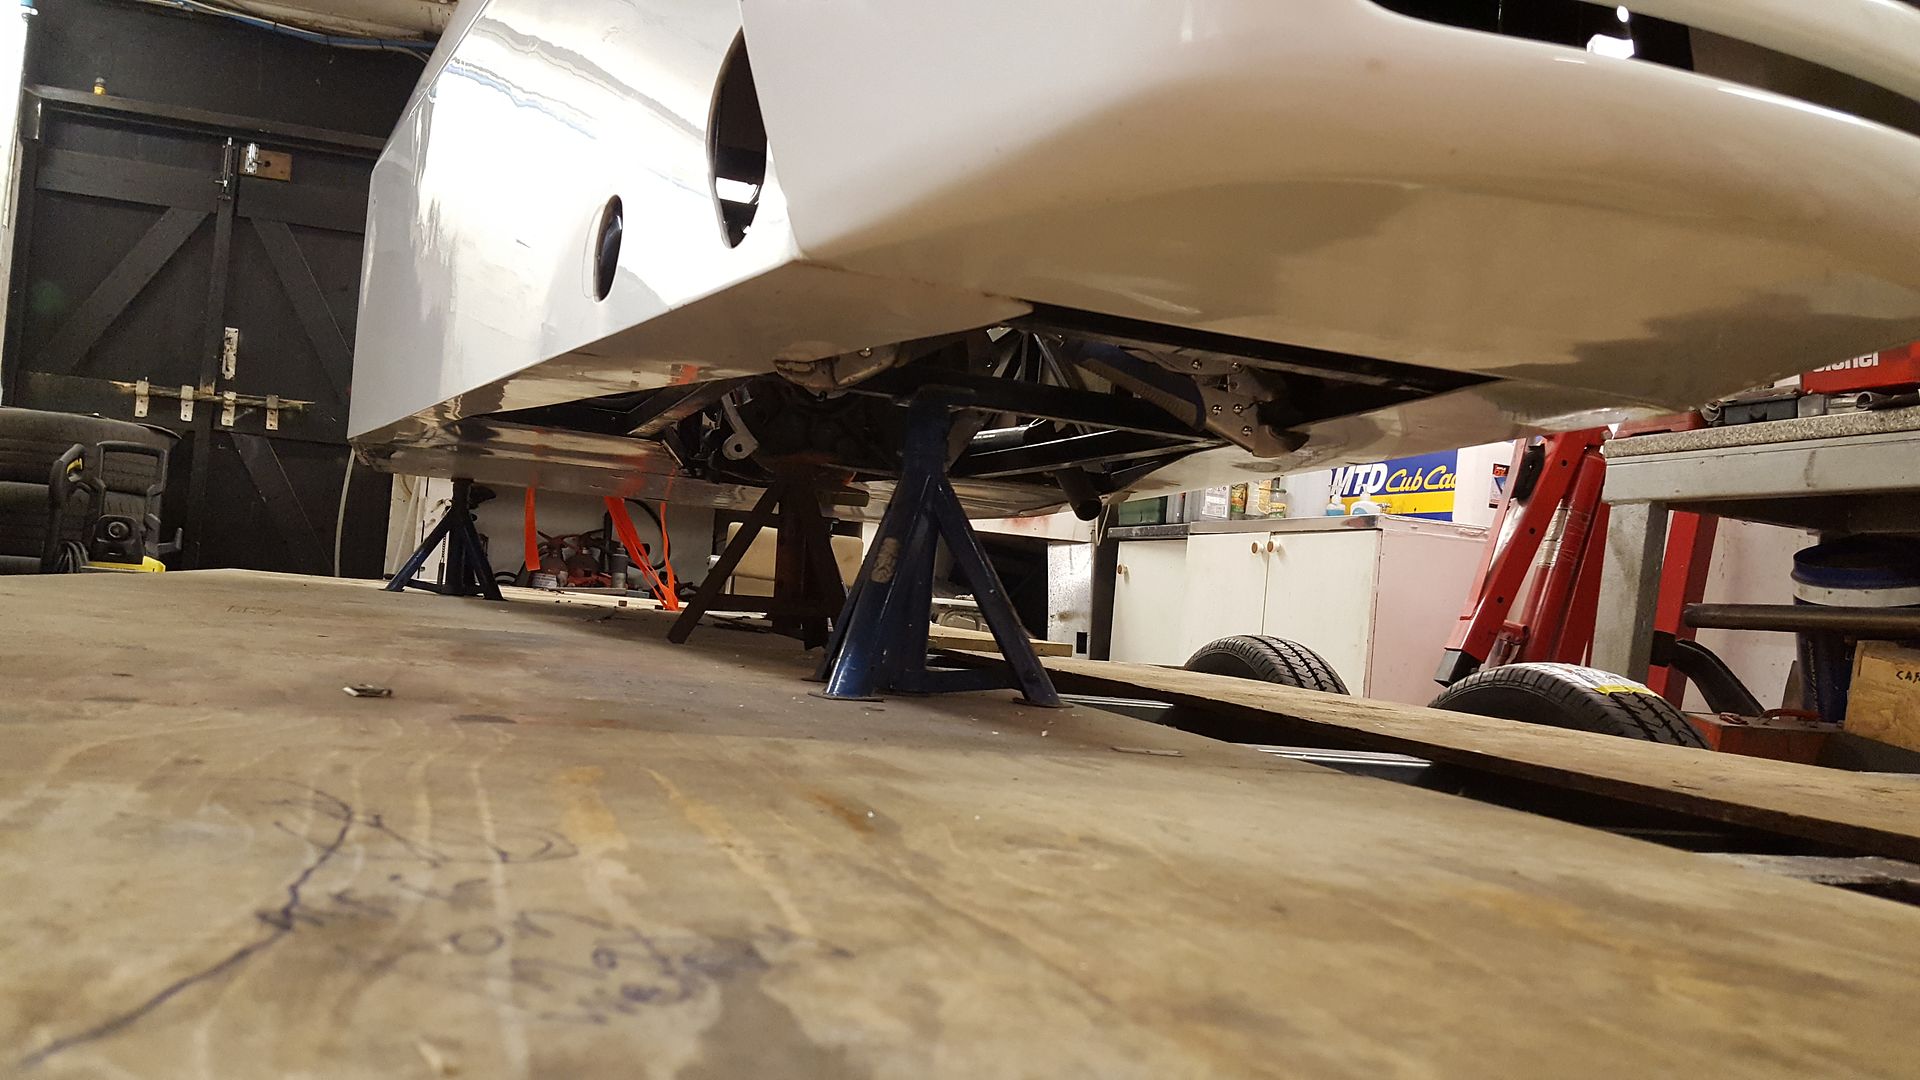
Next I tried the diff and gearbox in to see how much hangs below the the chassis and where the rear wheels will sit. This also confirmed that the prop
I have is 2inches too long. So will either have to get a proper GBS one or get this shortened, which ever is cheaper

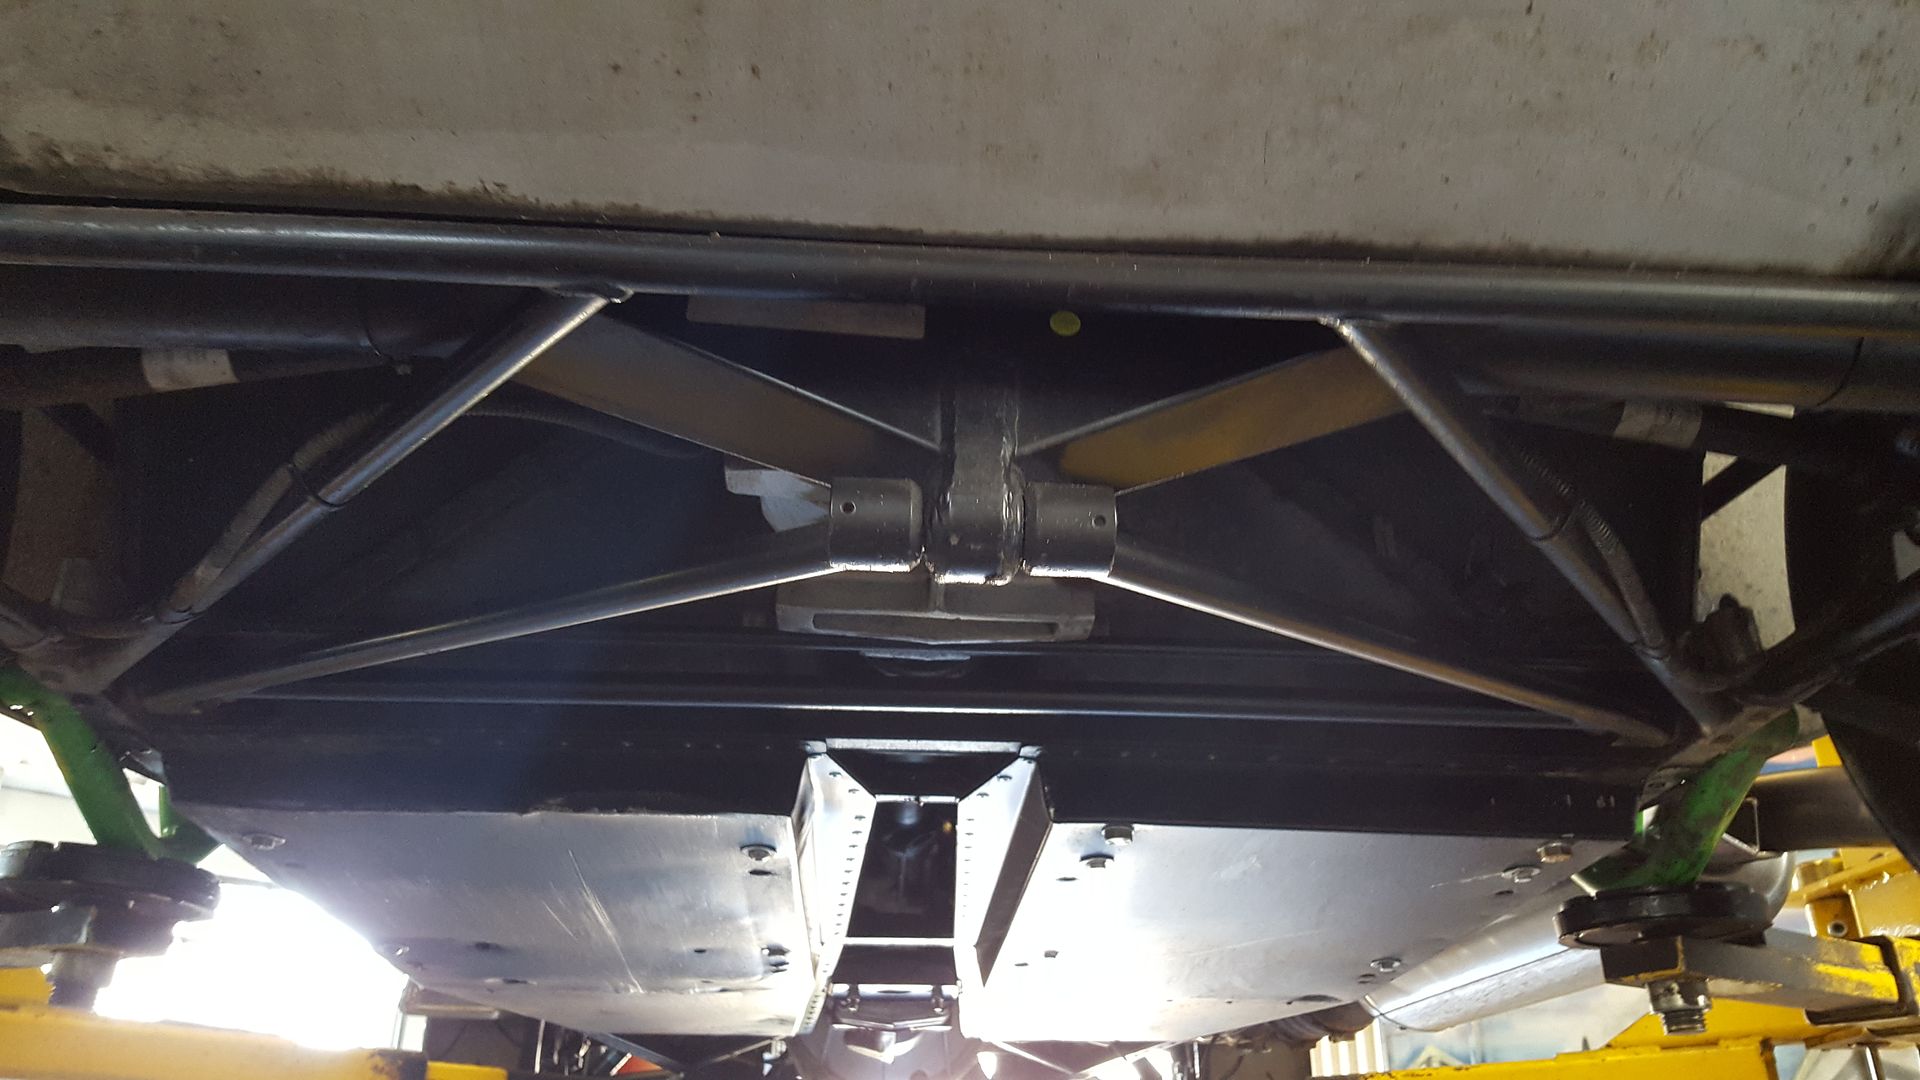
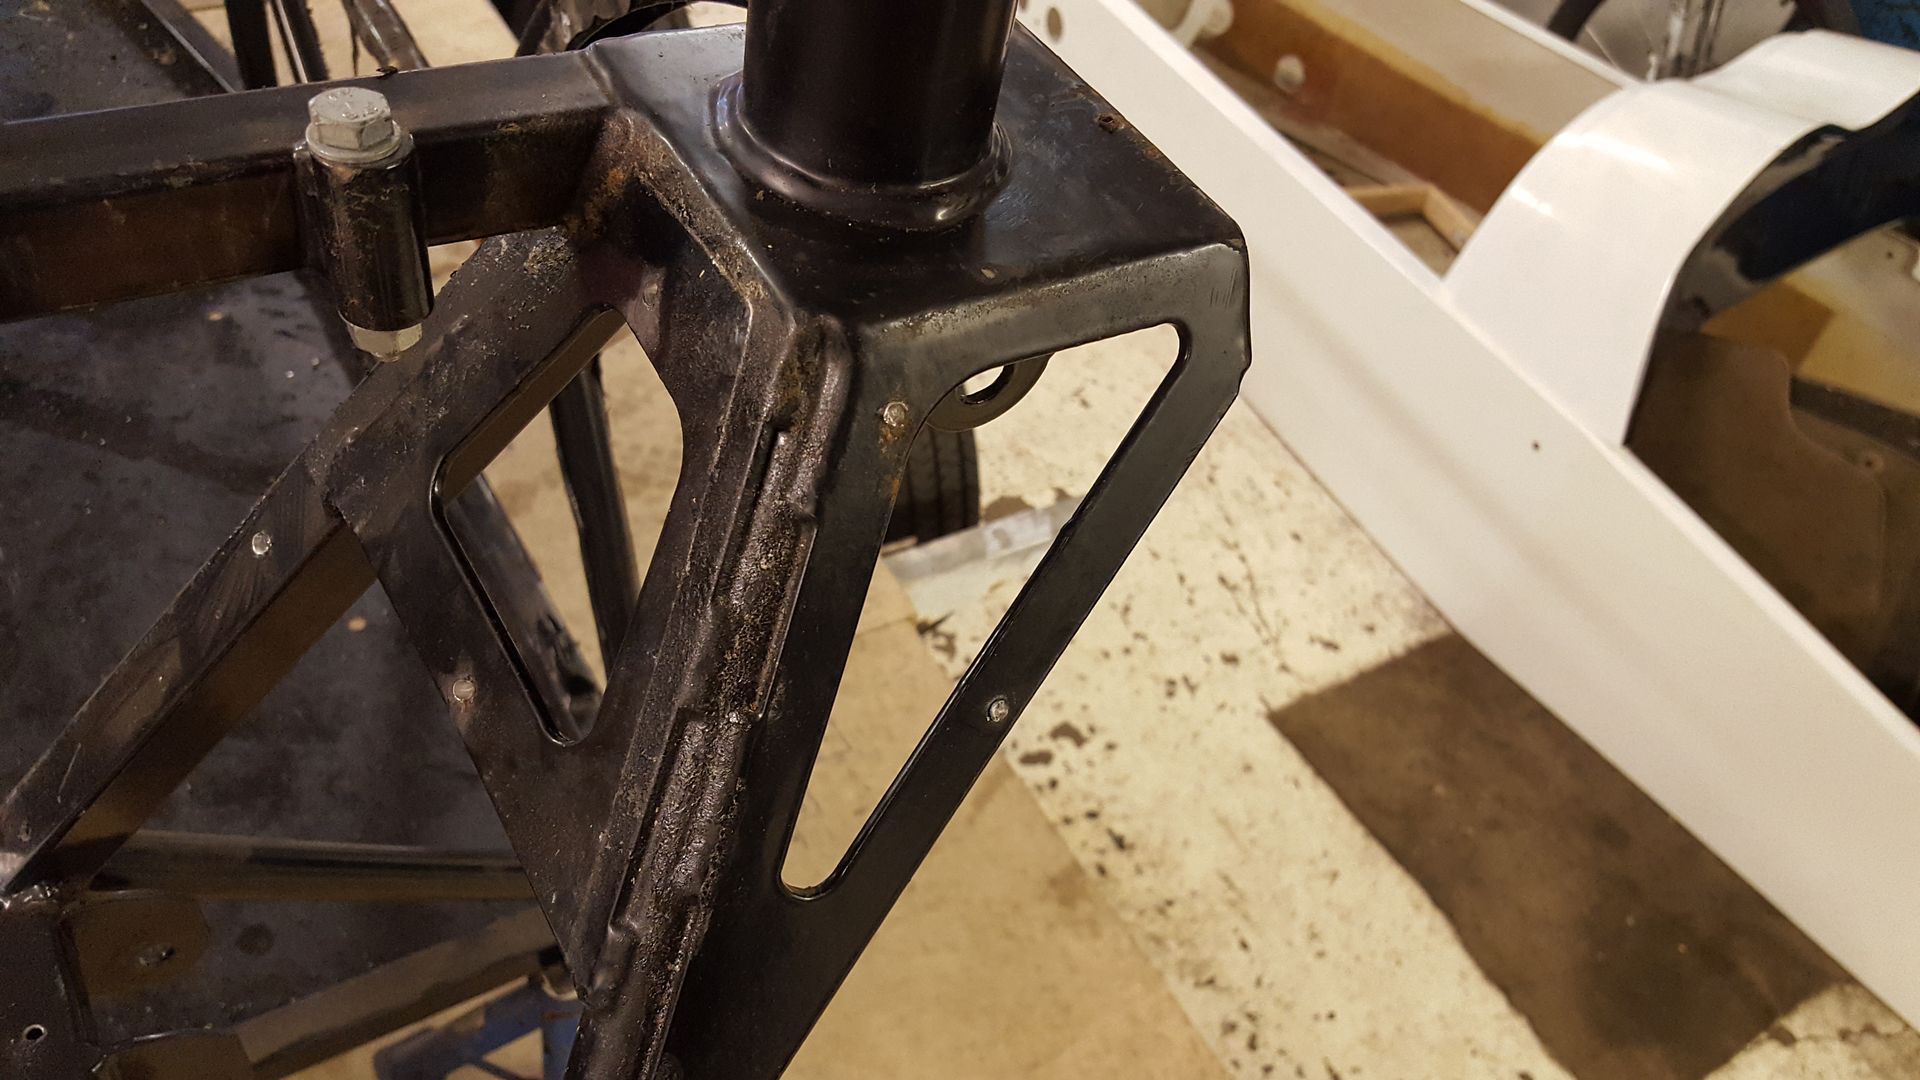
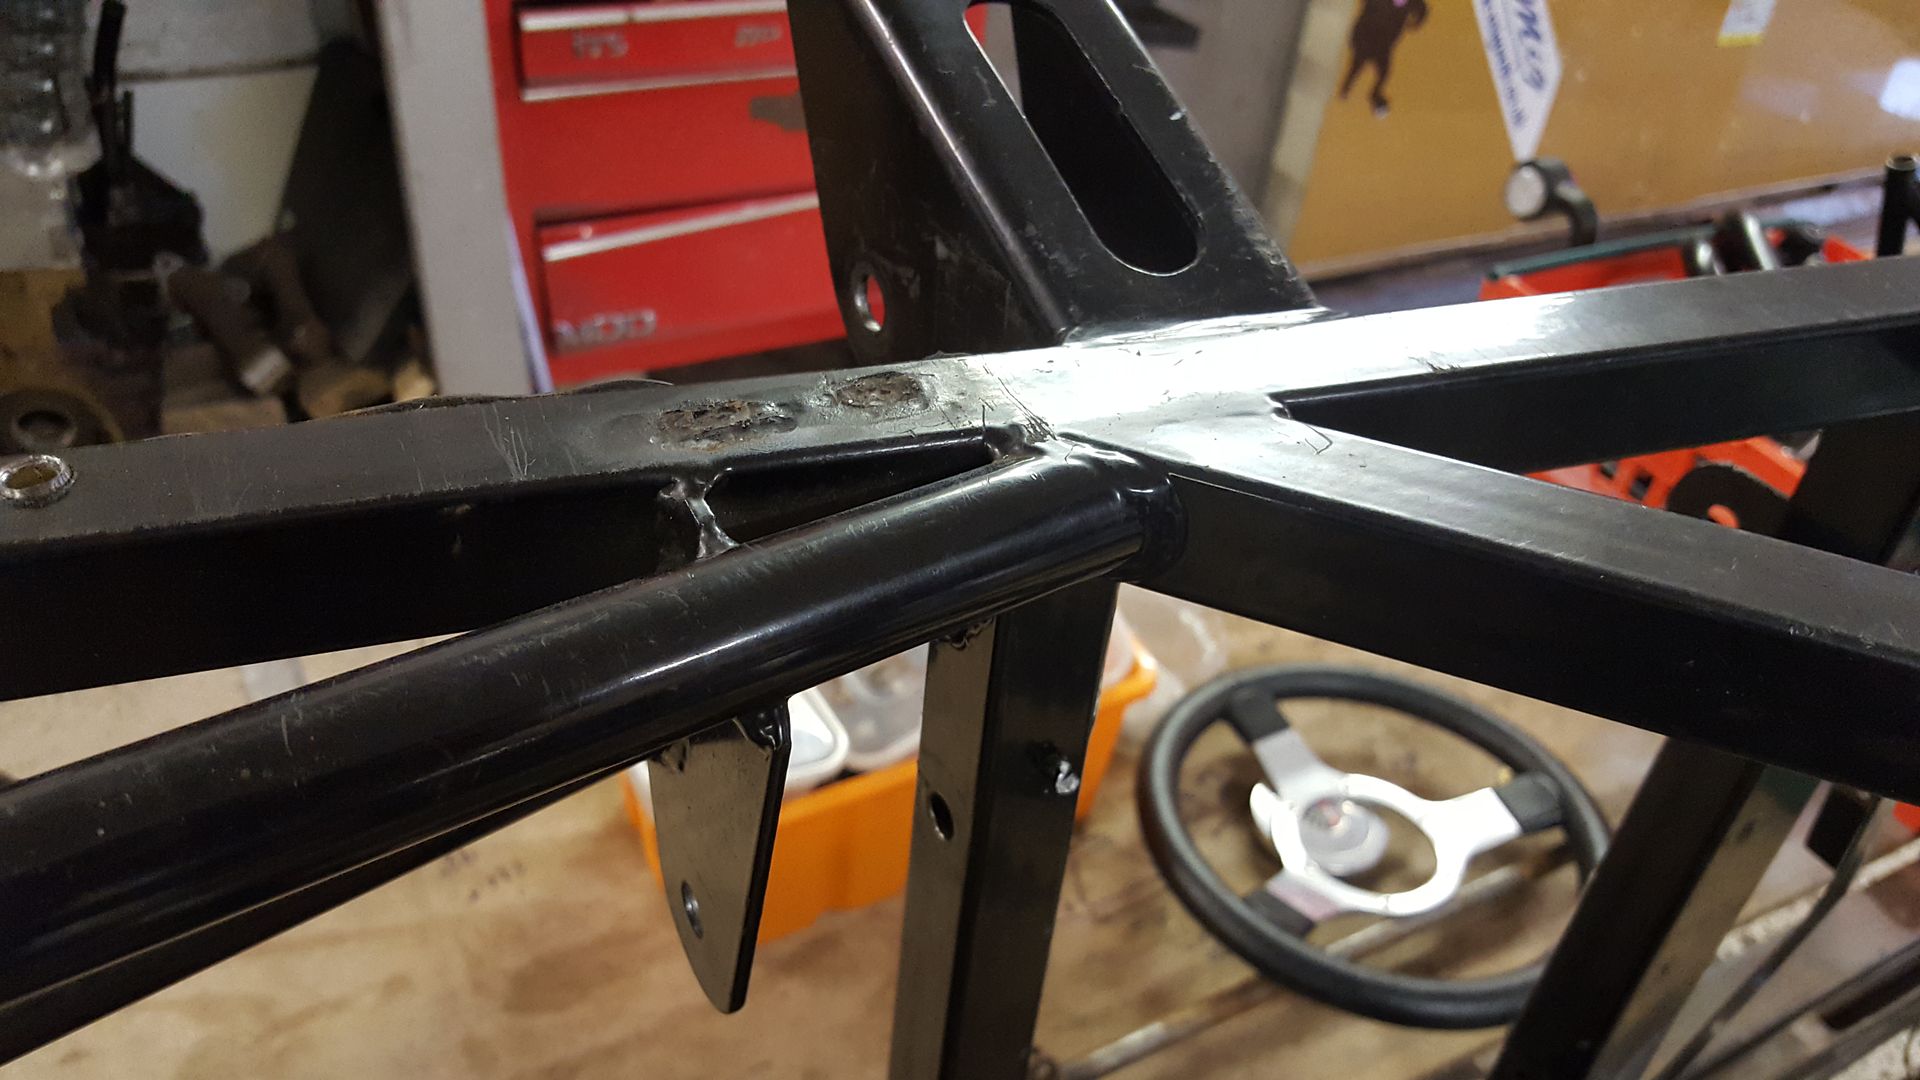
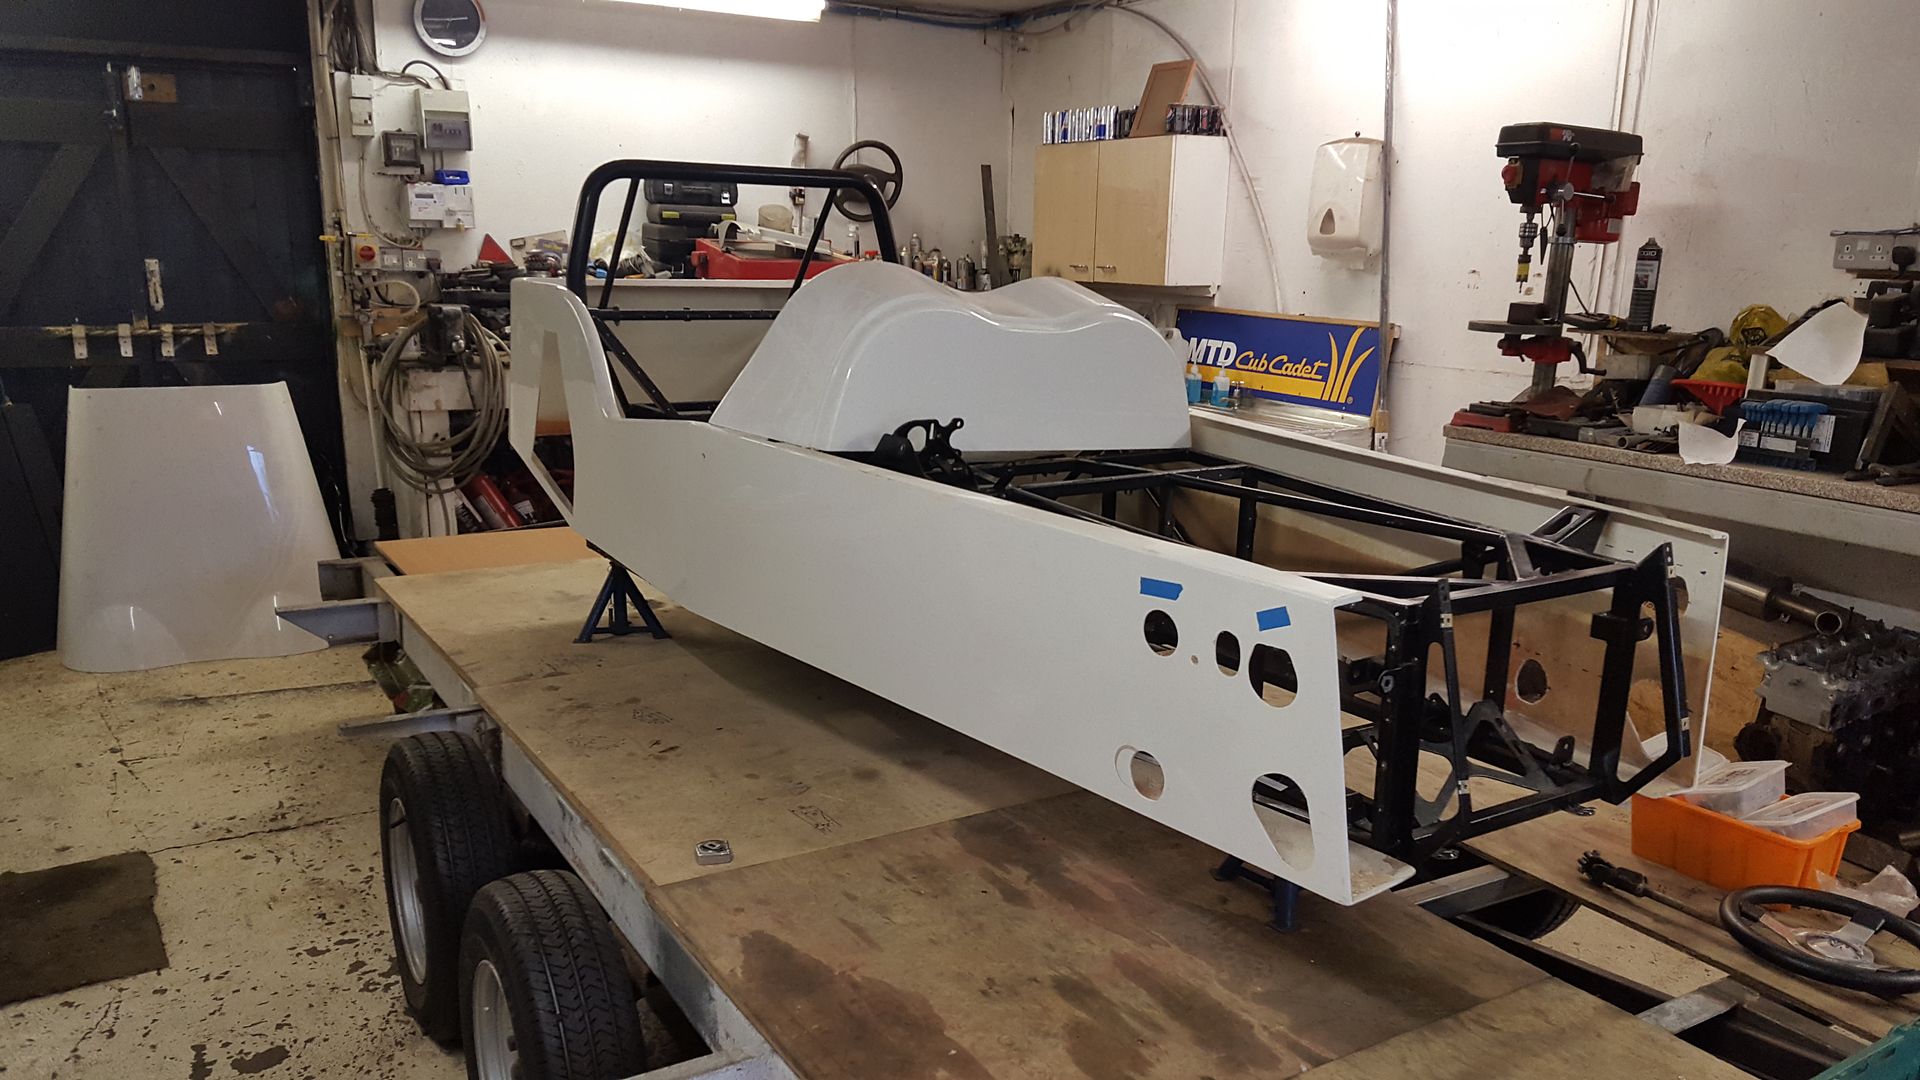
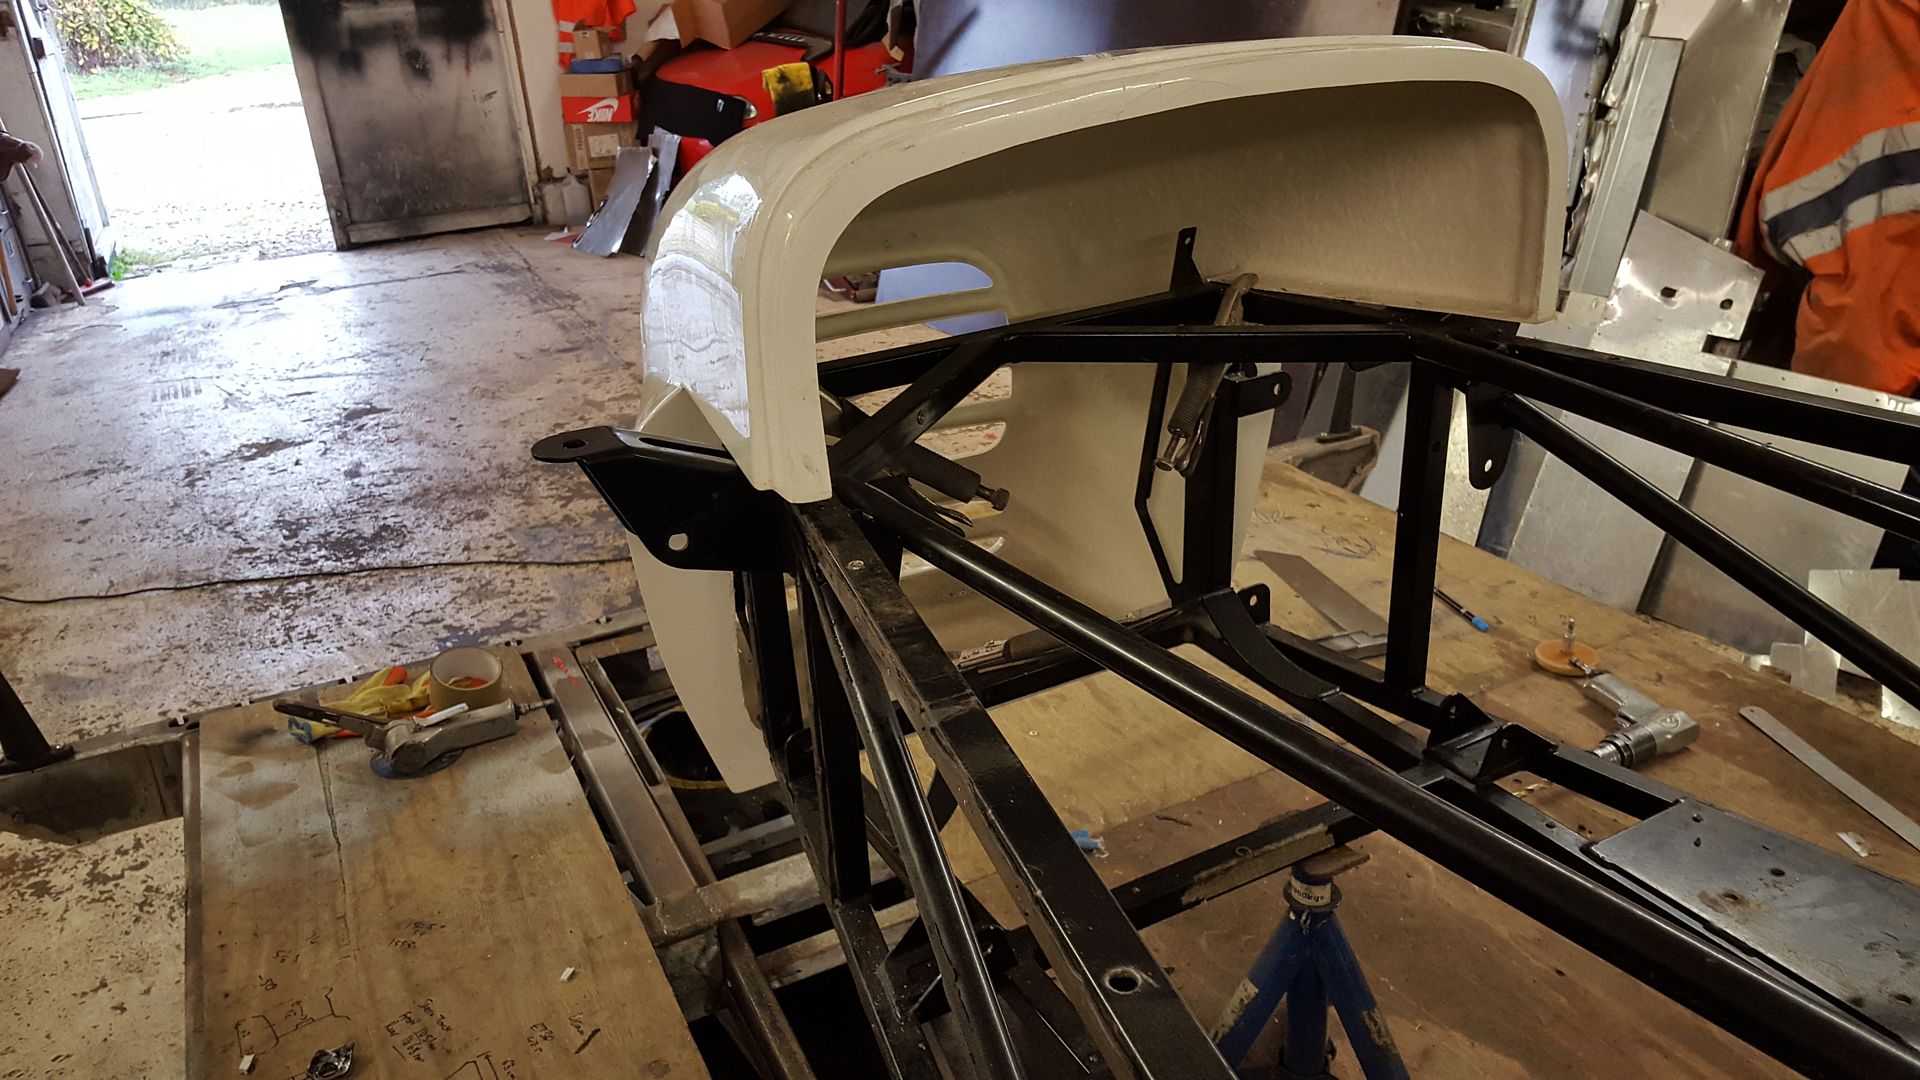
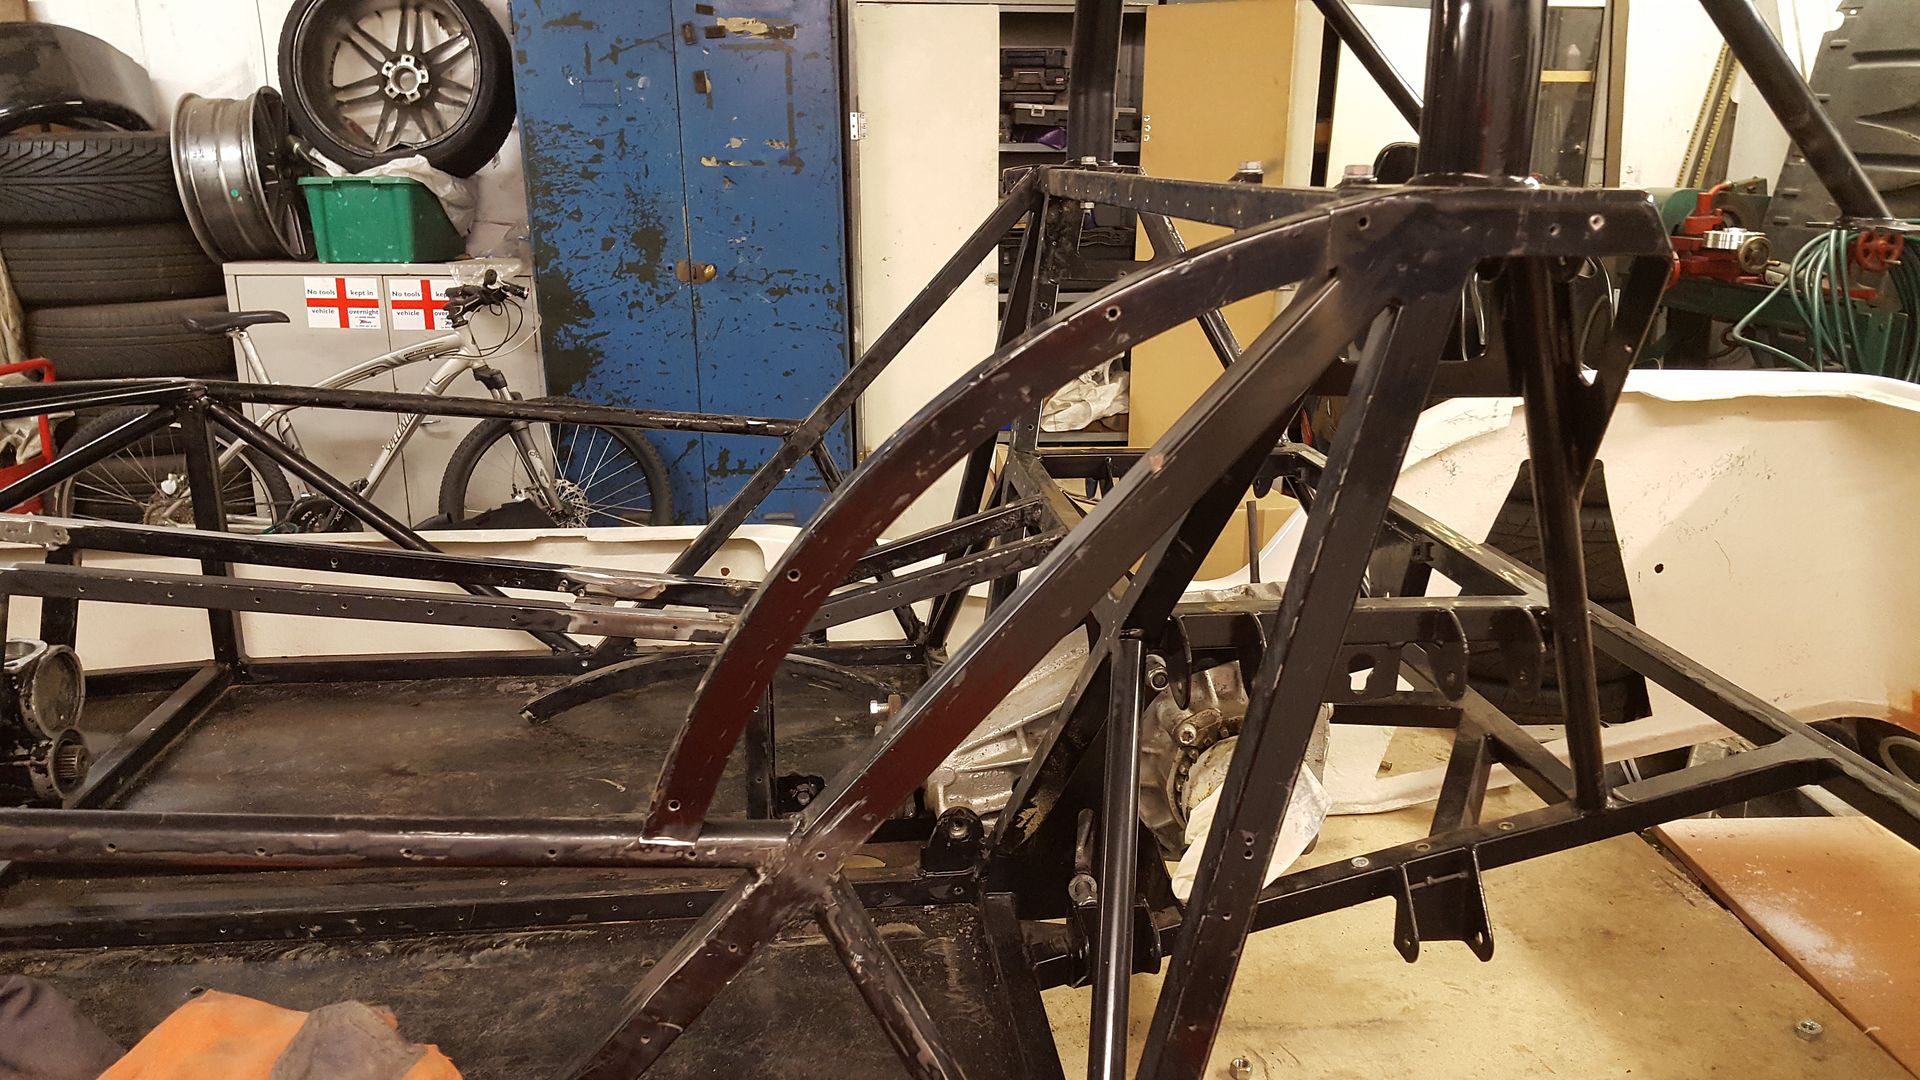
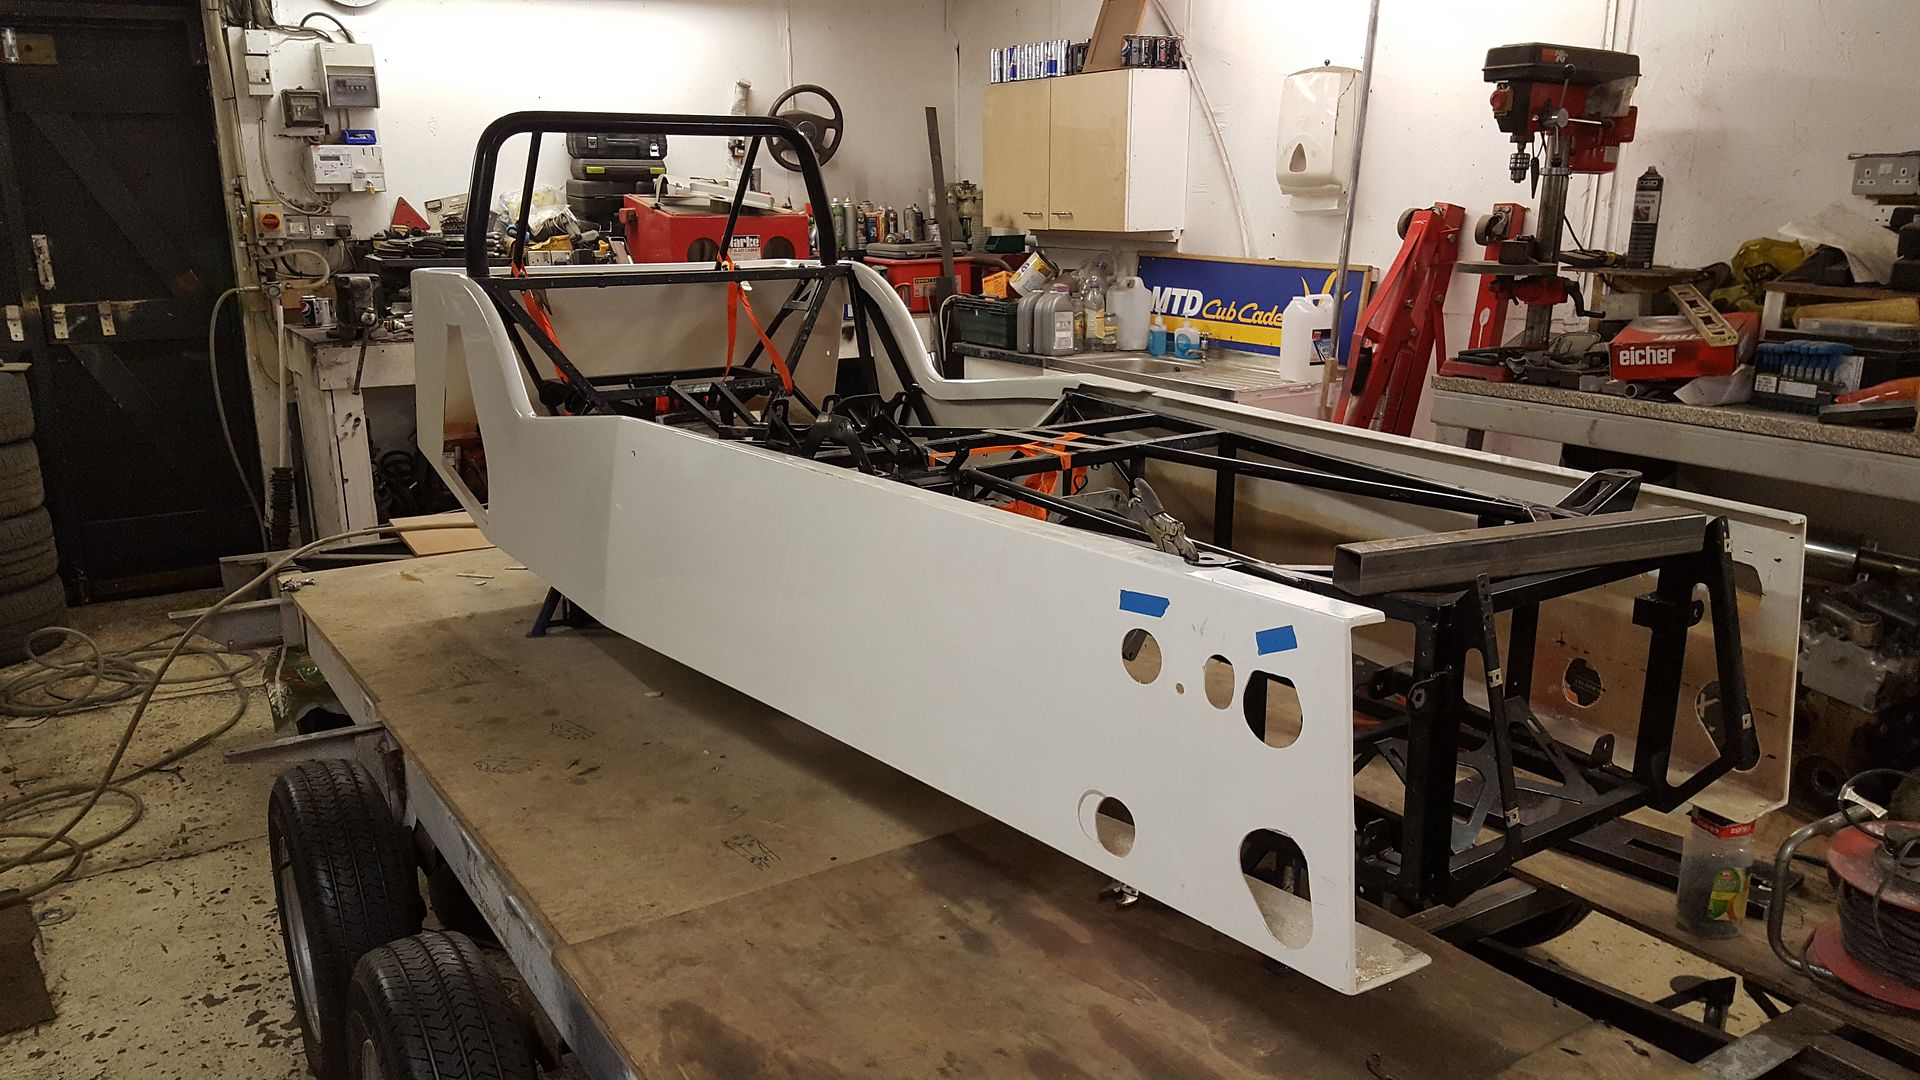
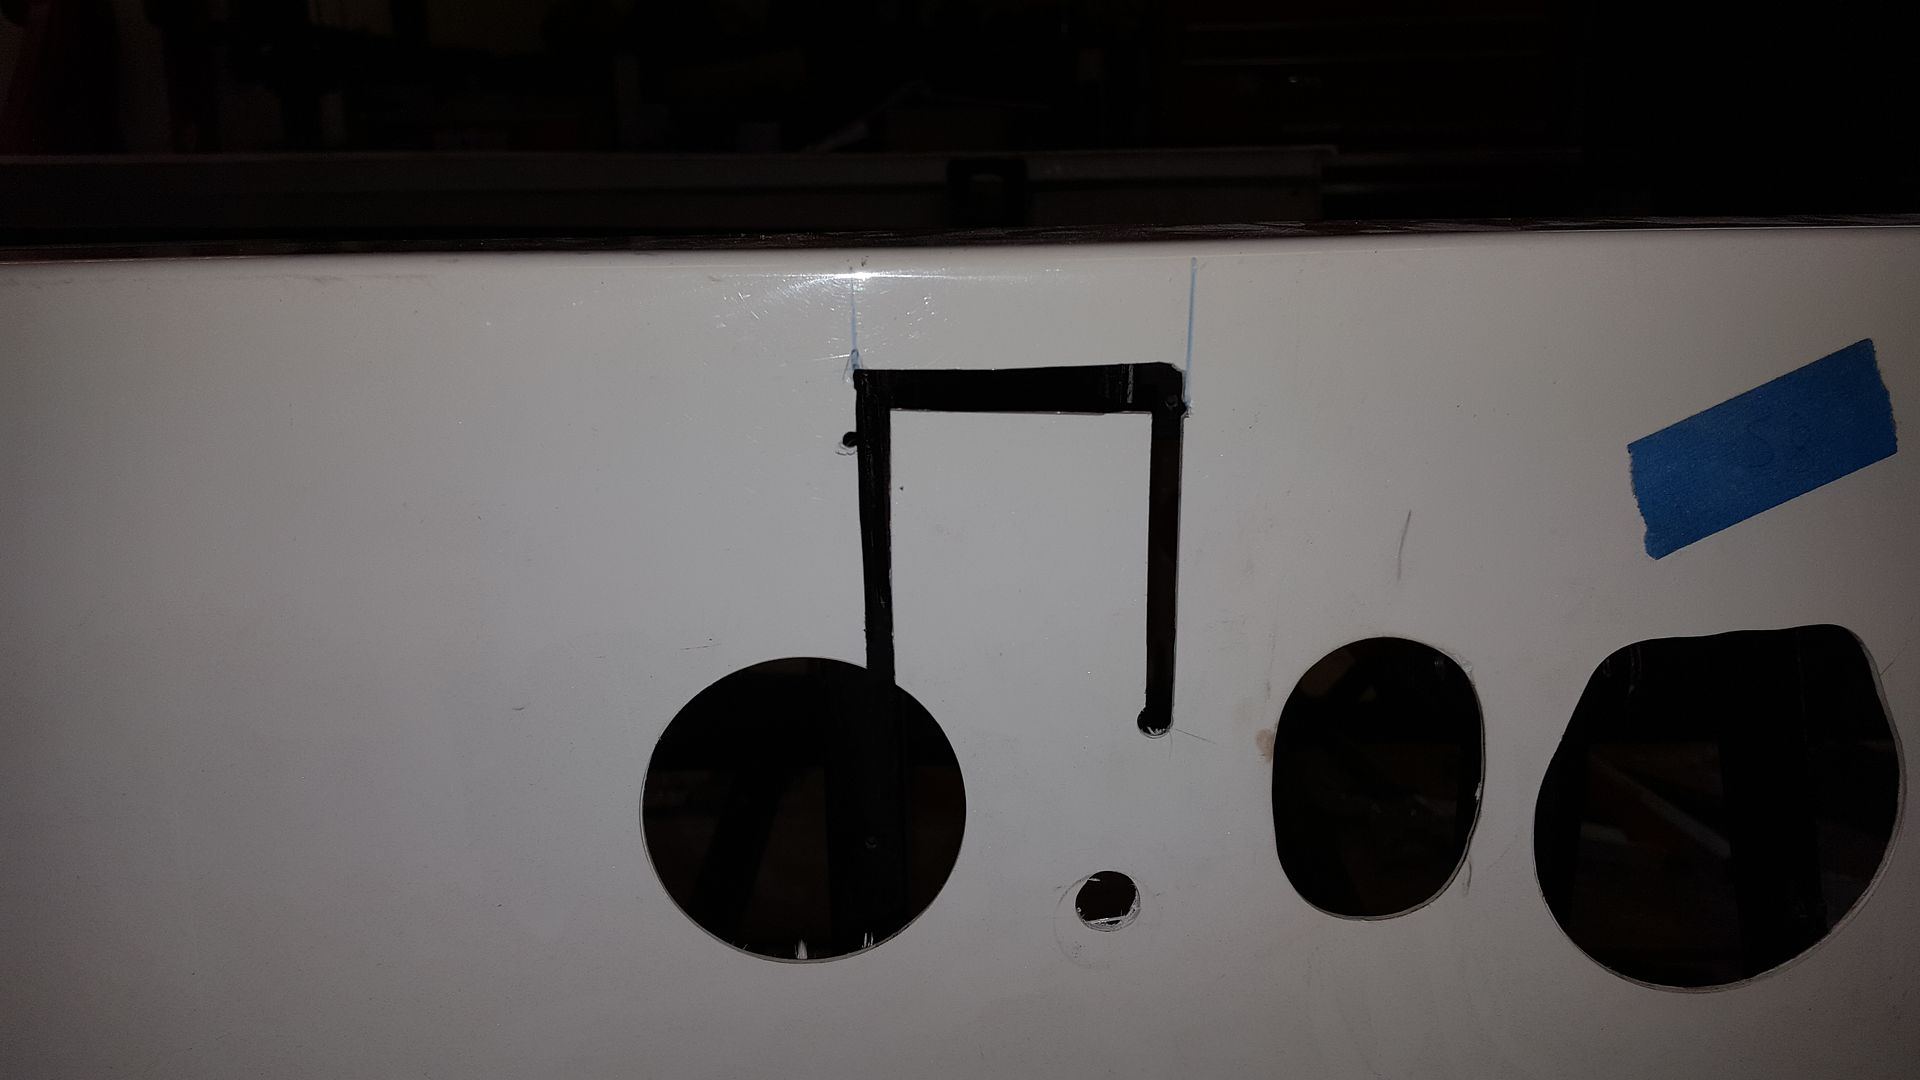
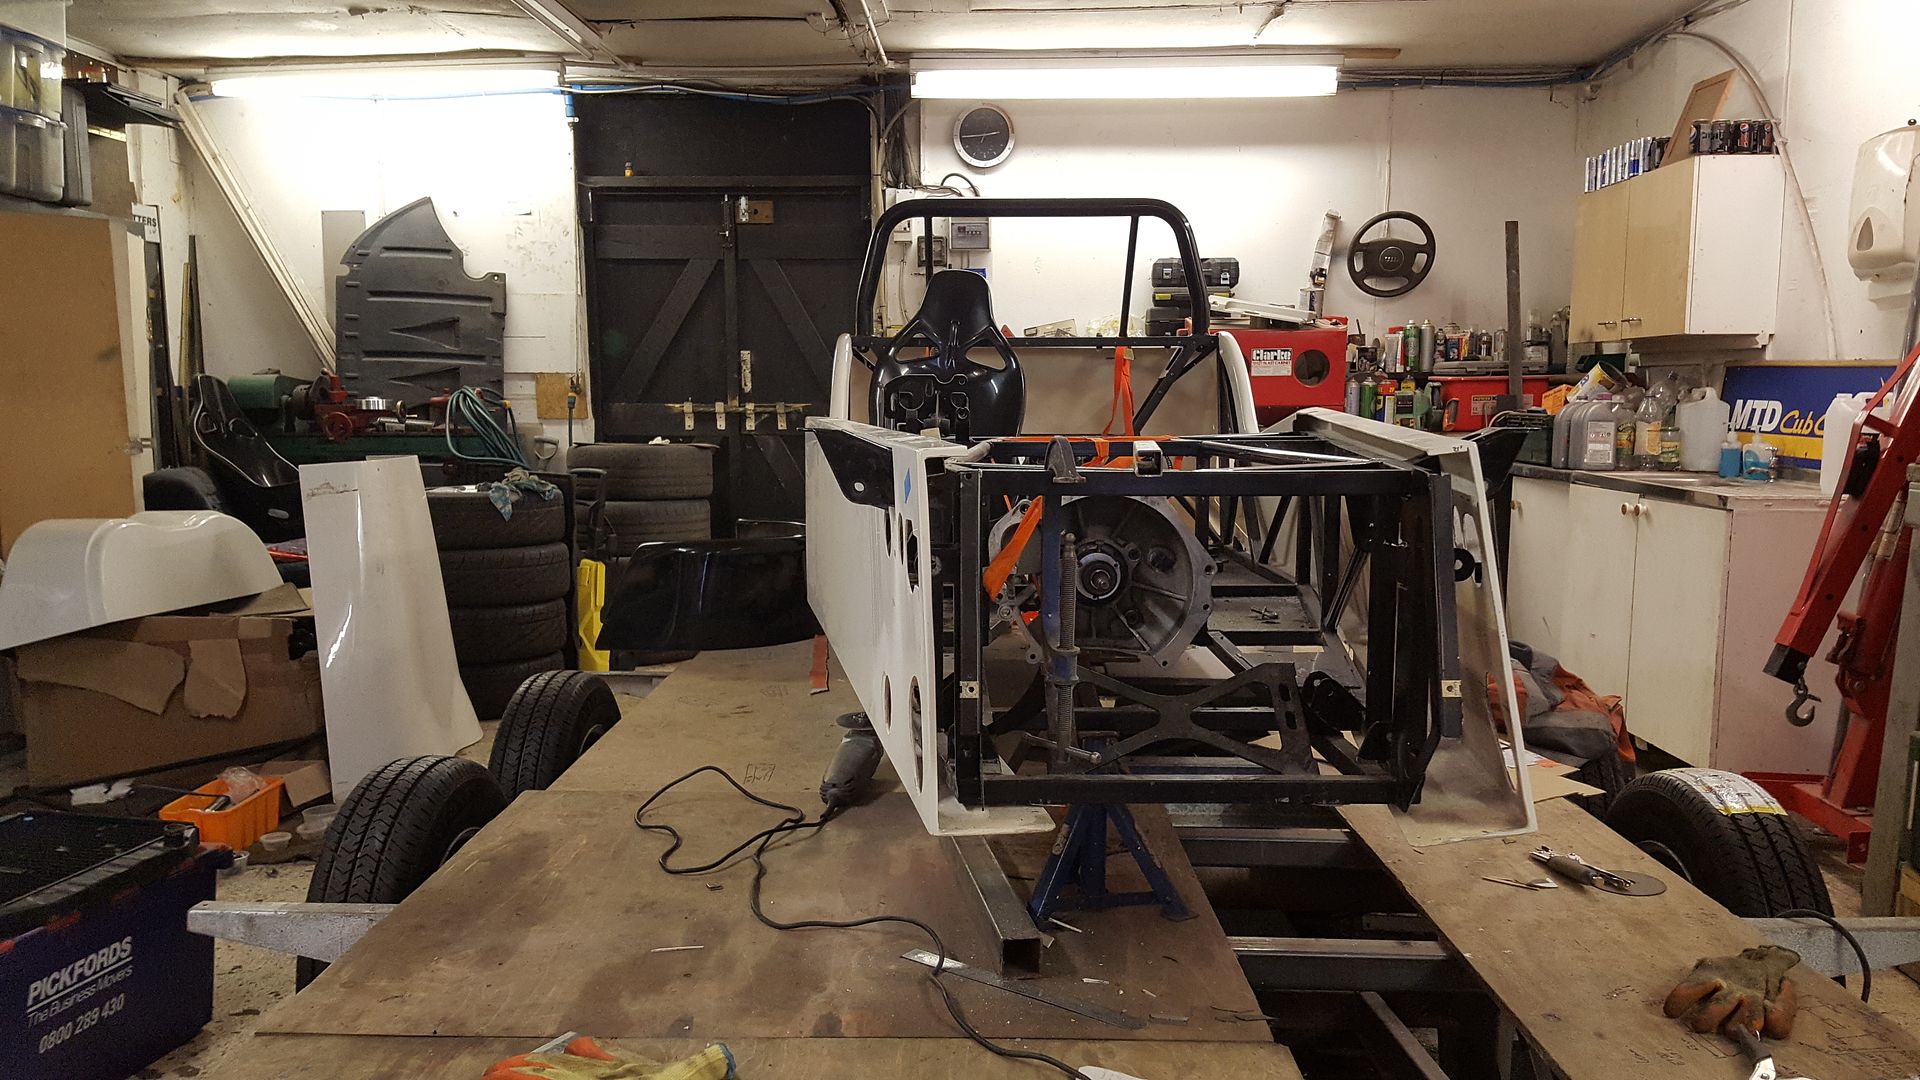
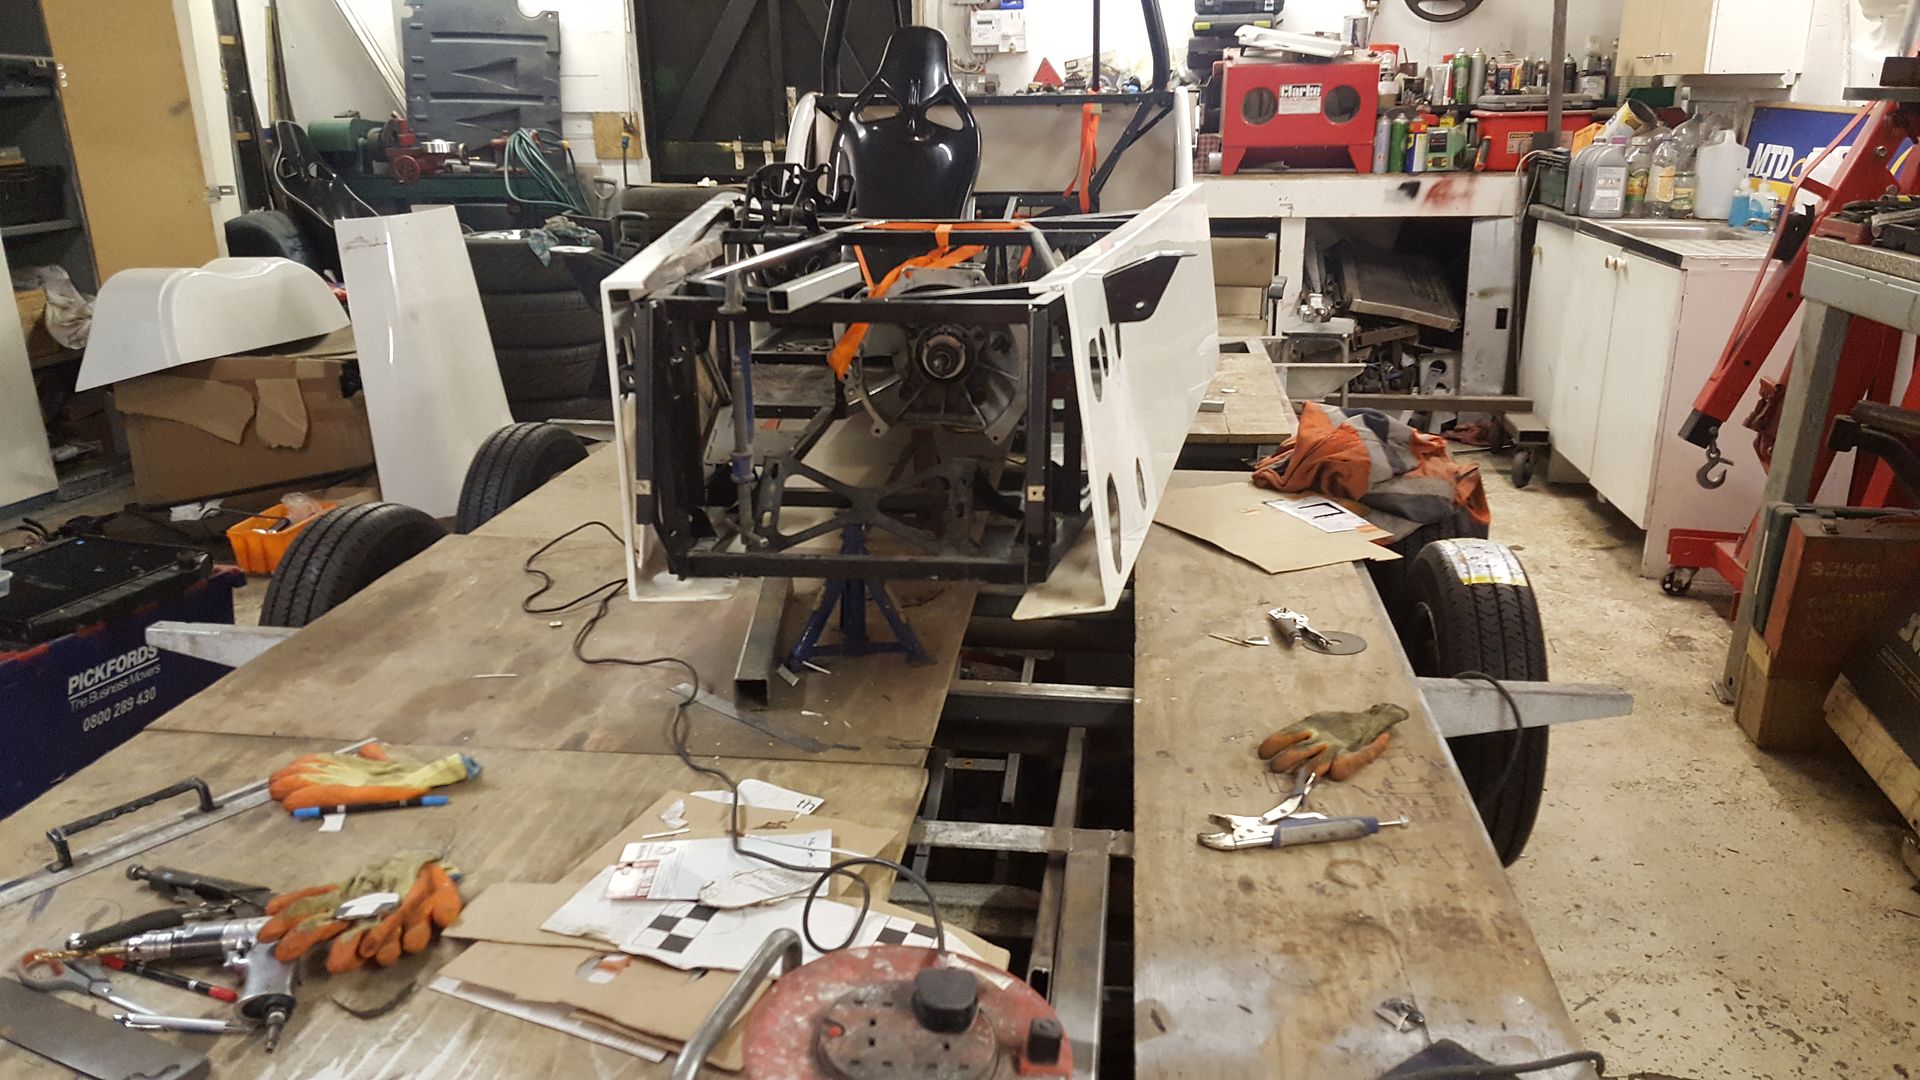
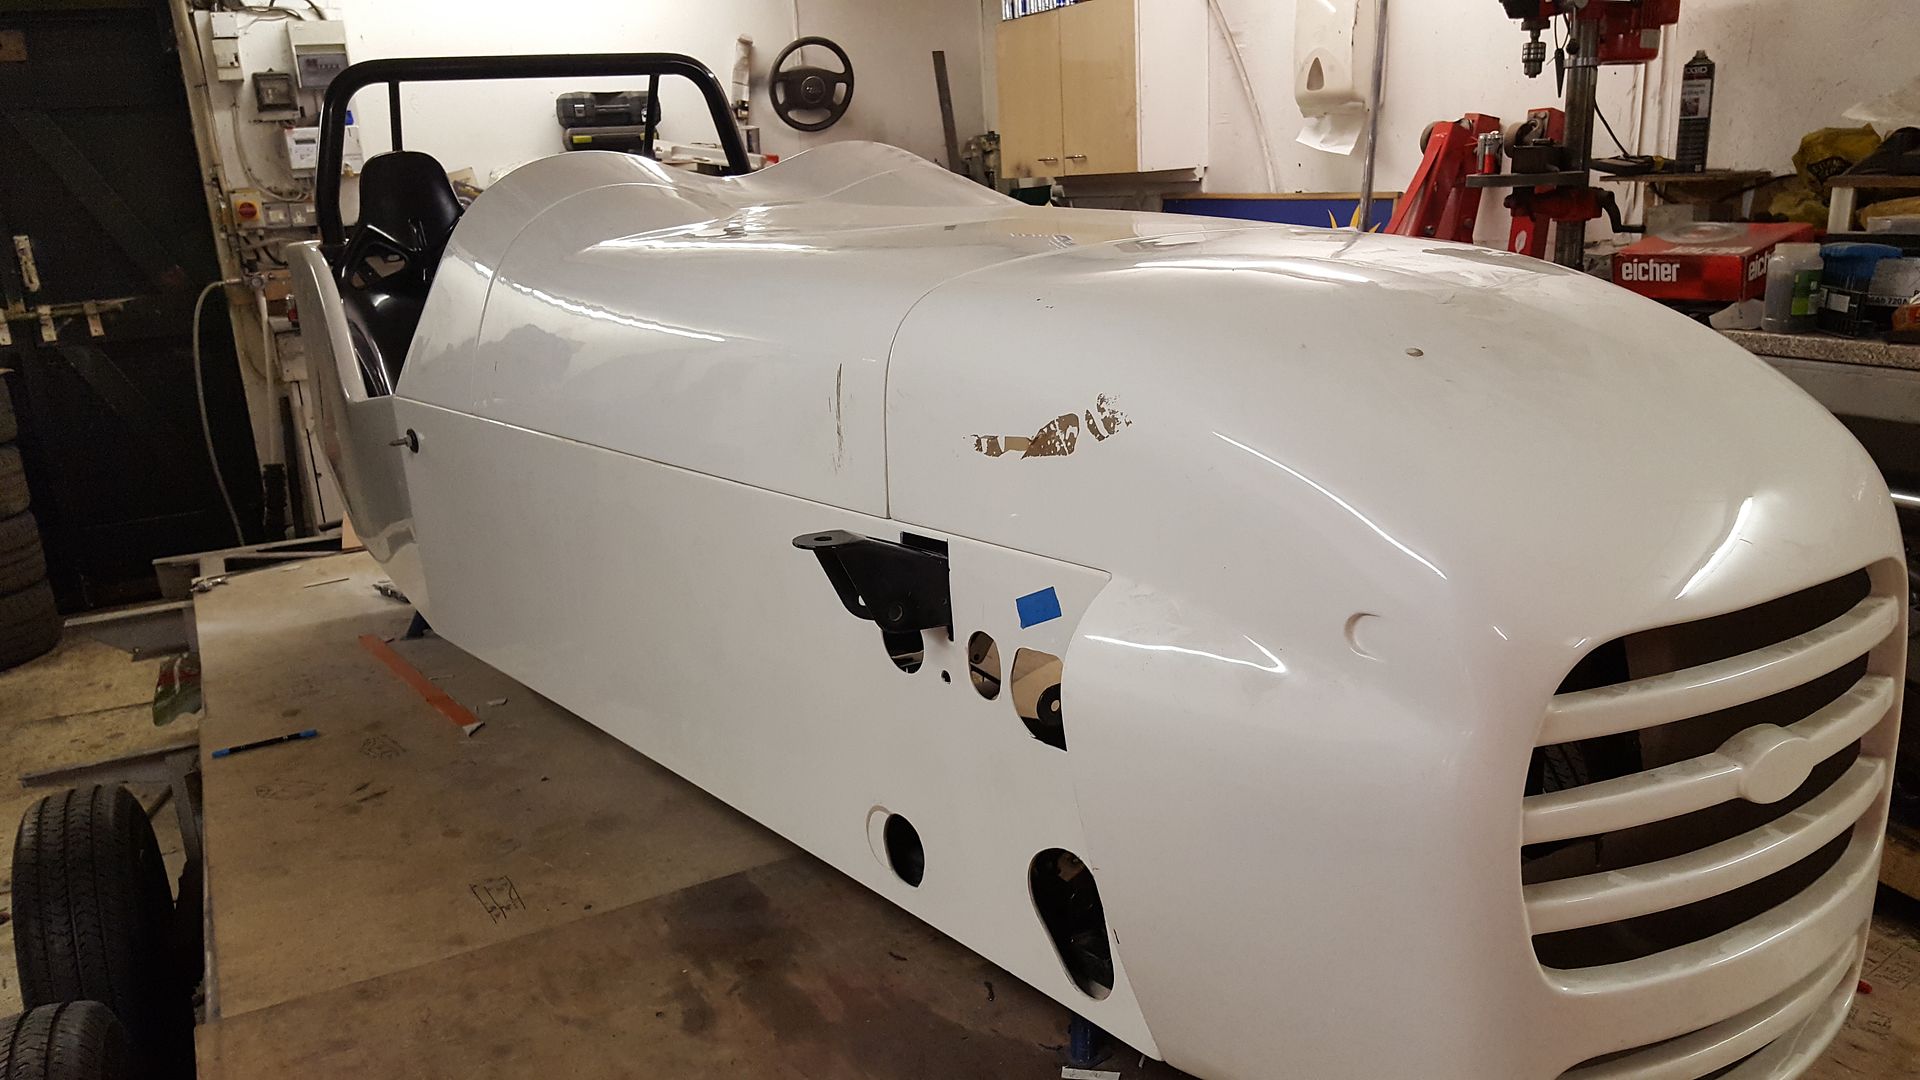
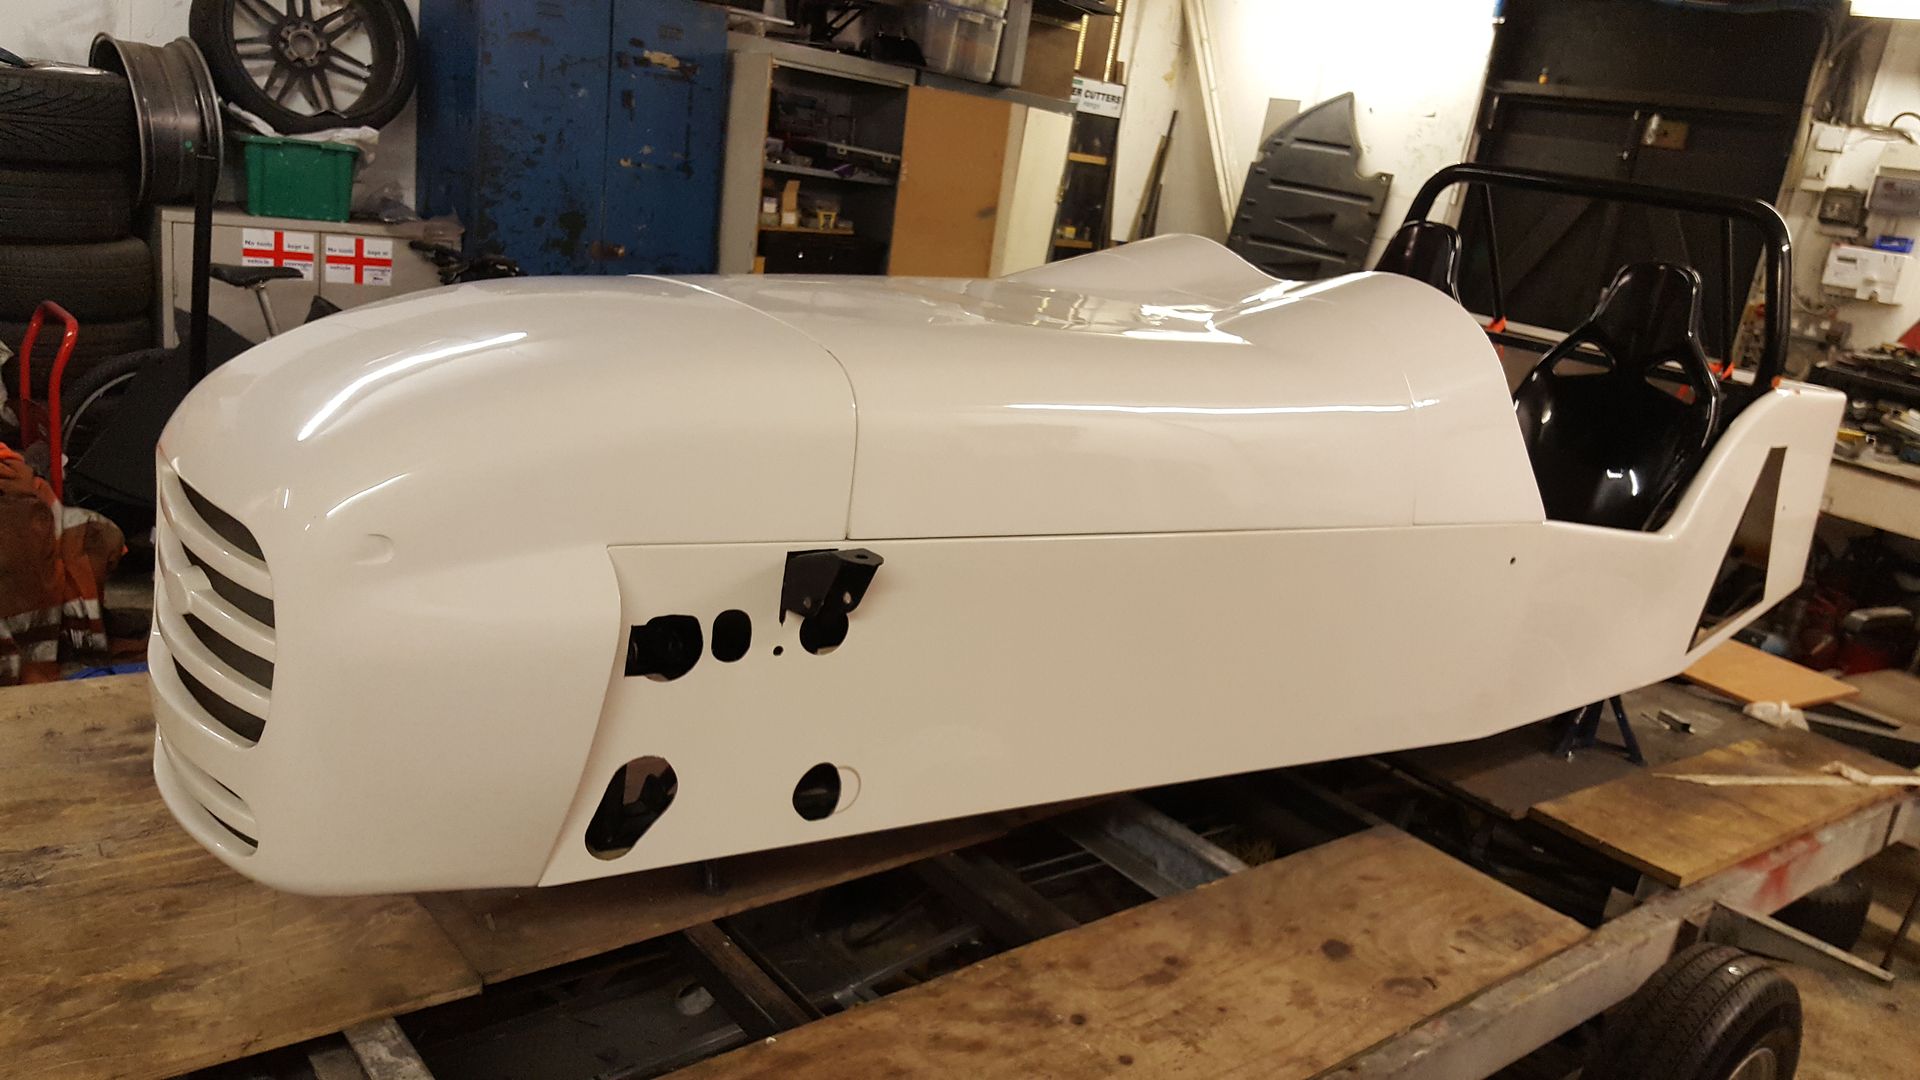
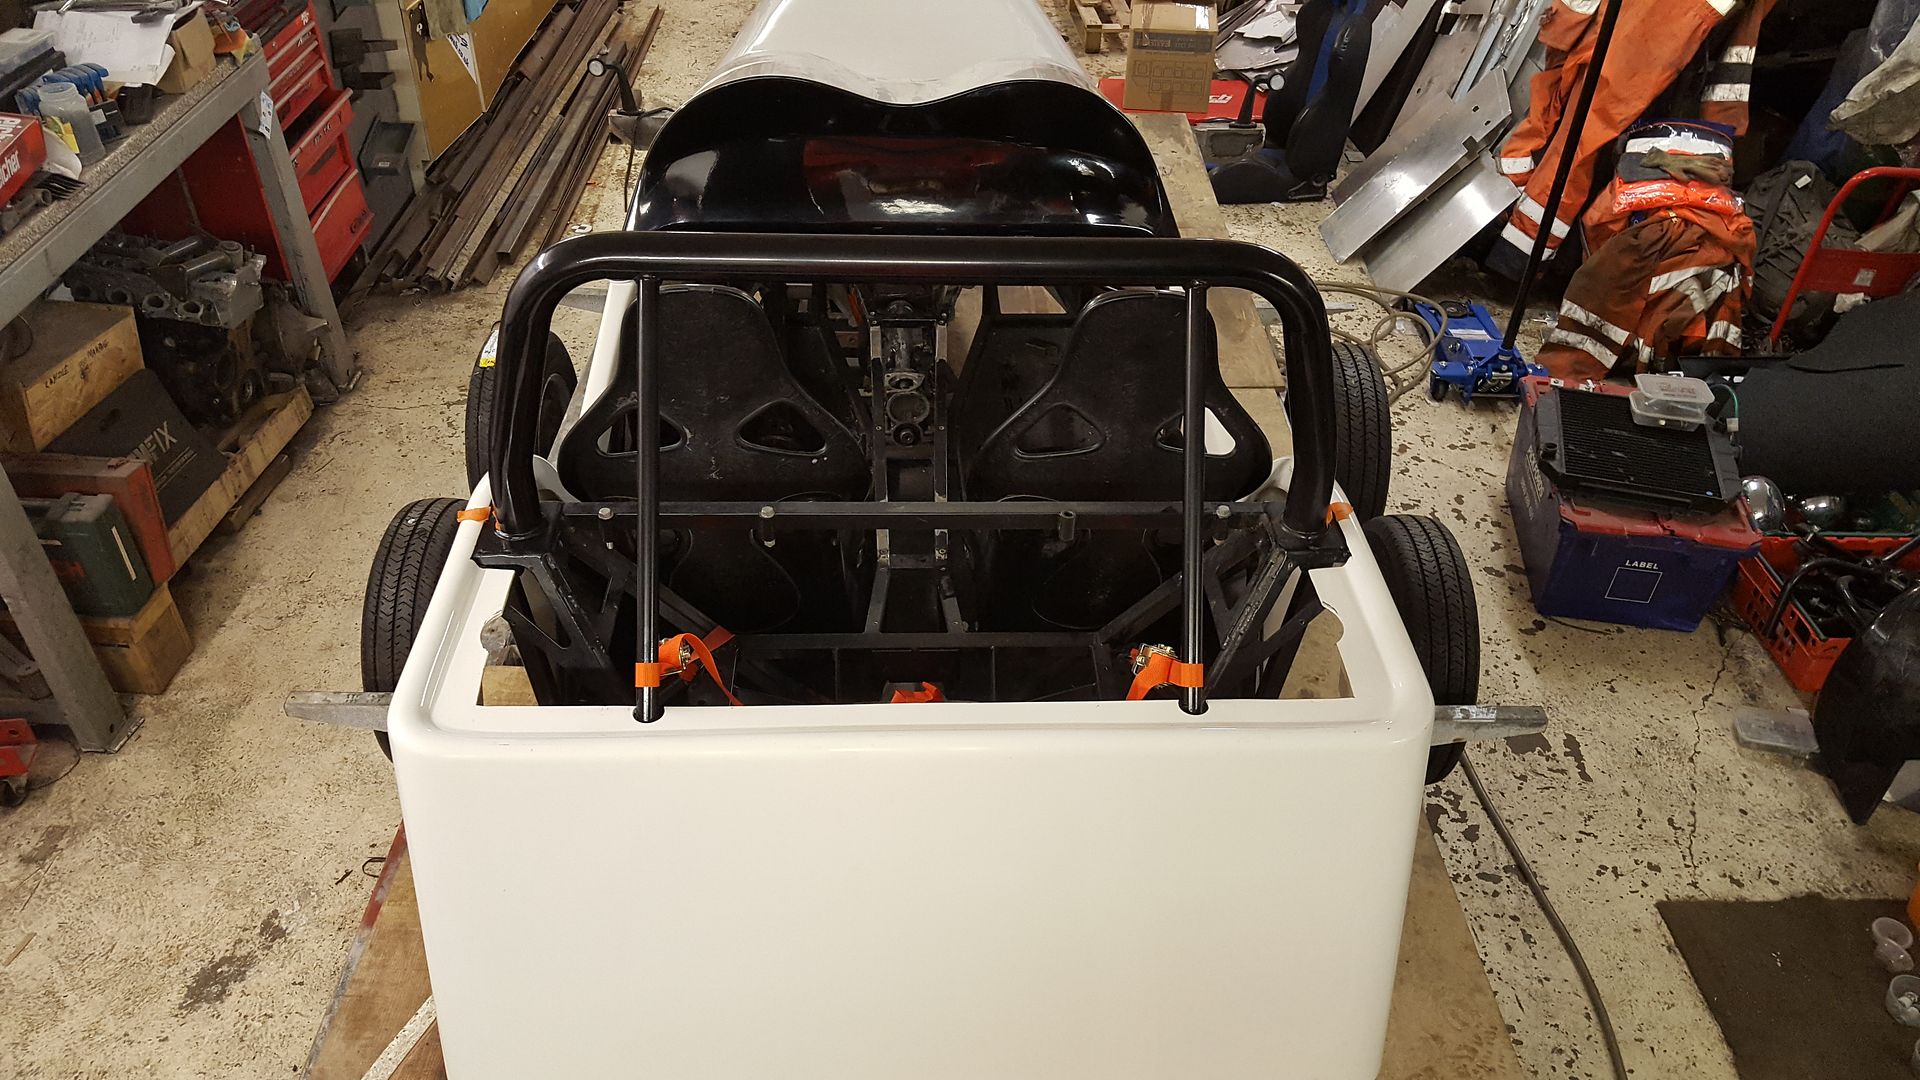
Next was trying to get the MNR VORTX body to fit. First off the GBS has it' roll cage in a different place to the MNR so needed some cut outs
Check
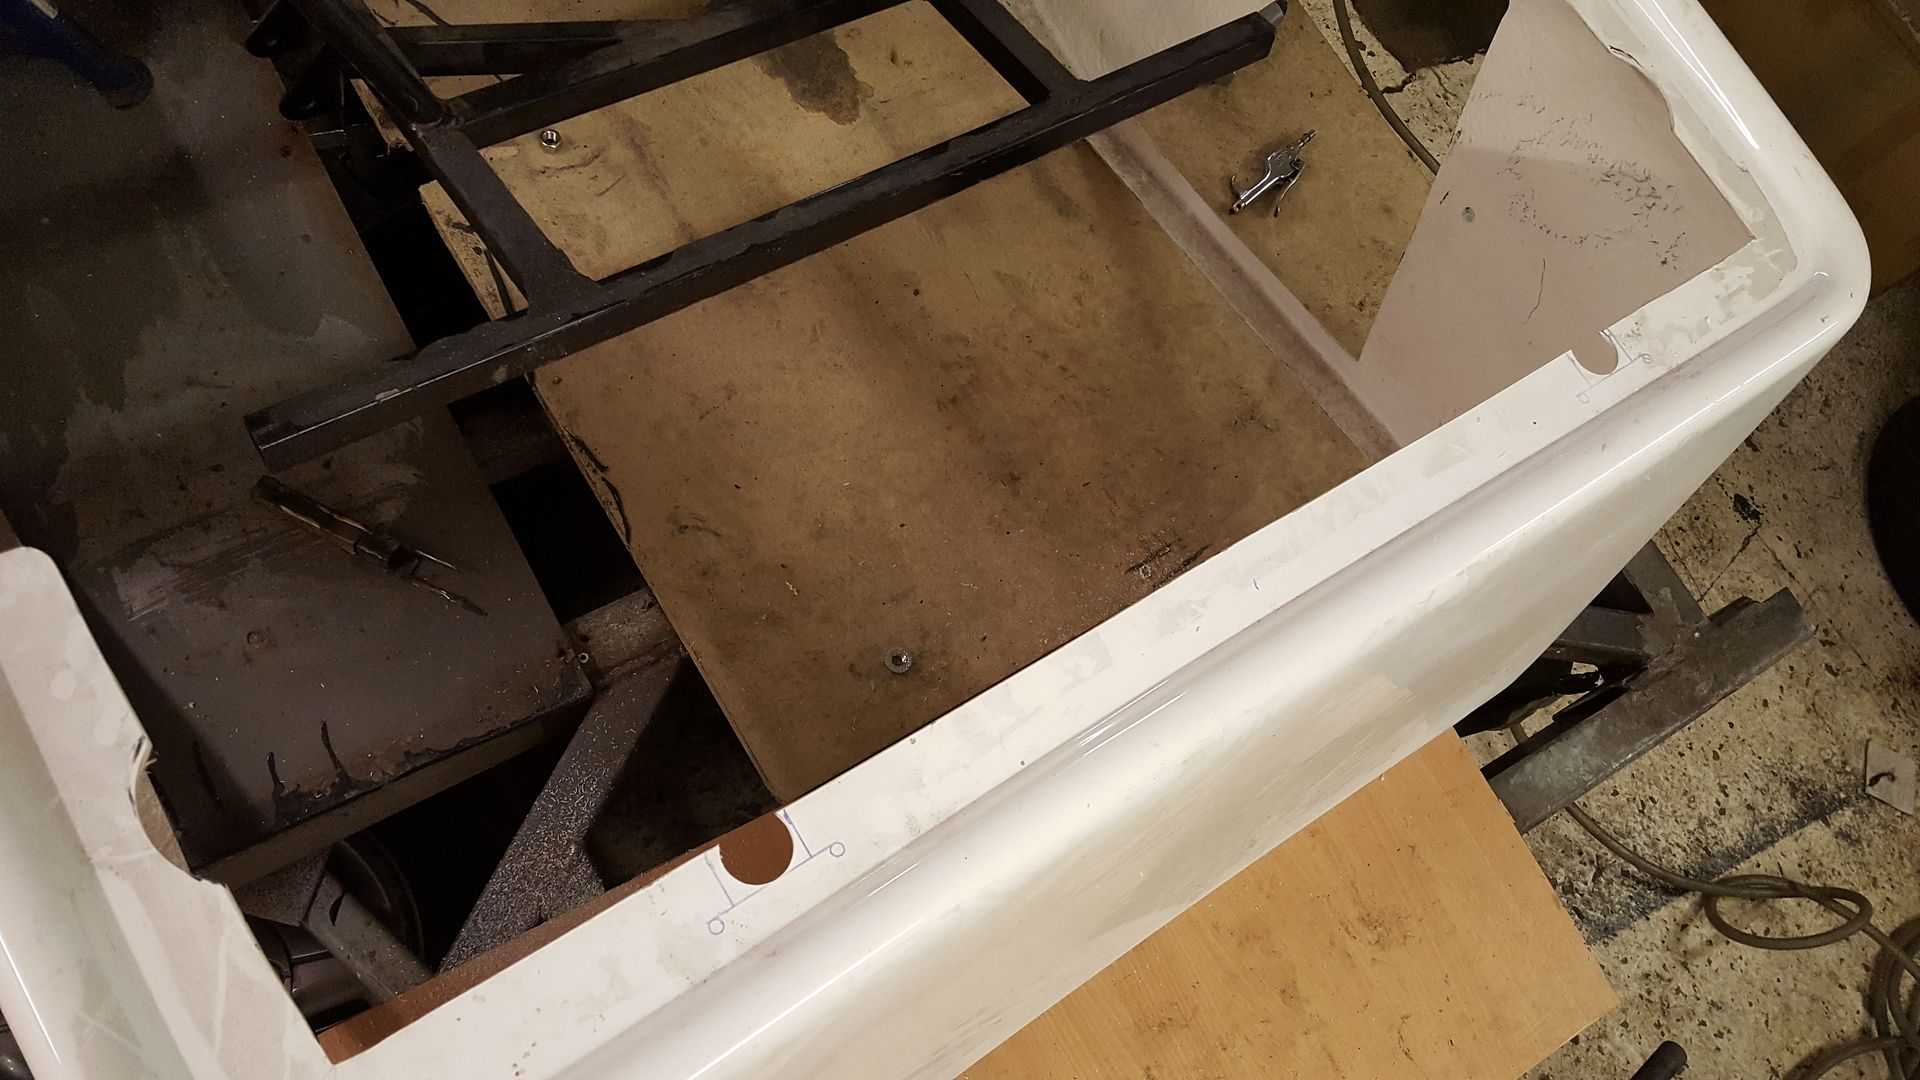
Next was these curved supports were fouling the inside of the tub. They are only there for the sheet metal work of the GBS body.
And off
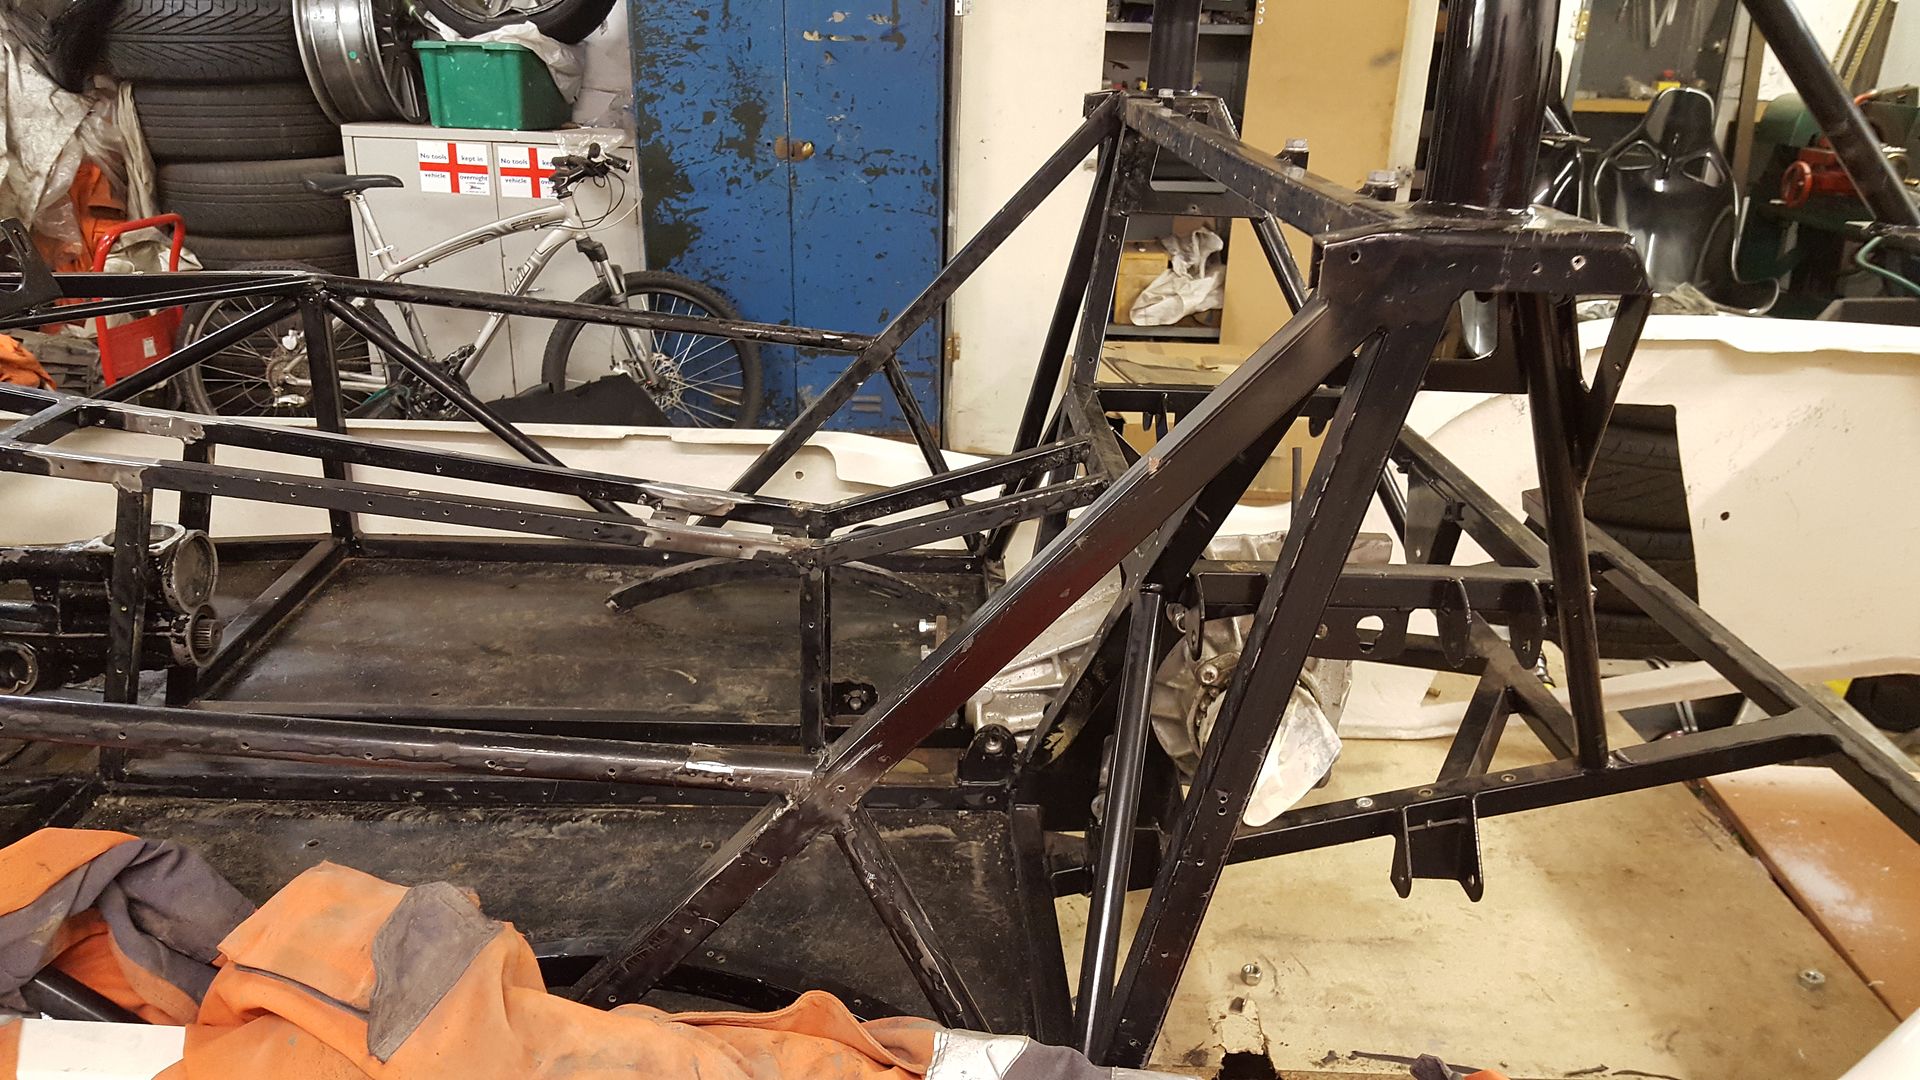
It was also fouling on the extra diagonal the GBS has
So a little trimming of the fibreglass
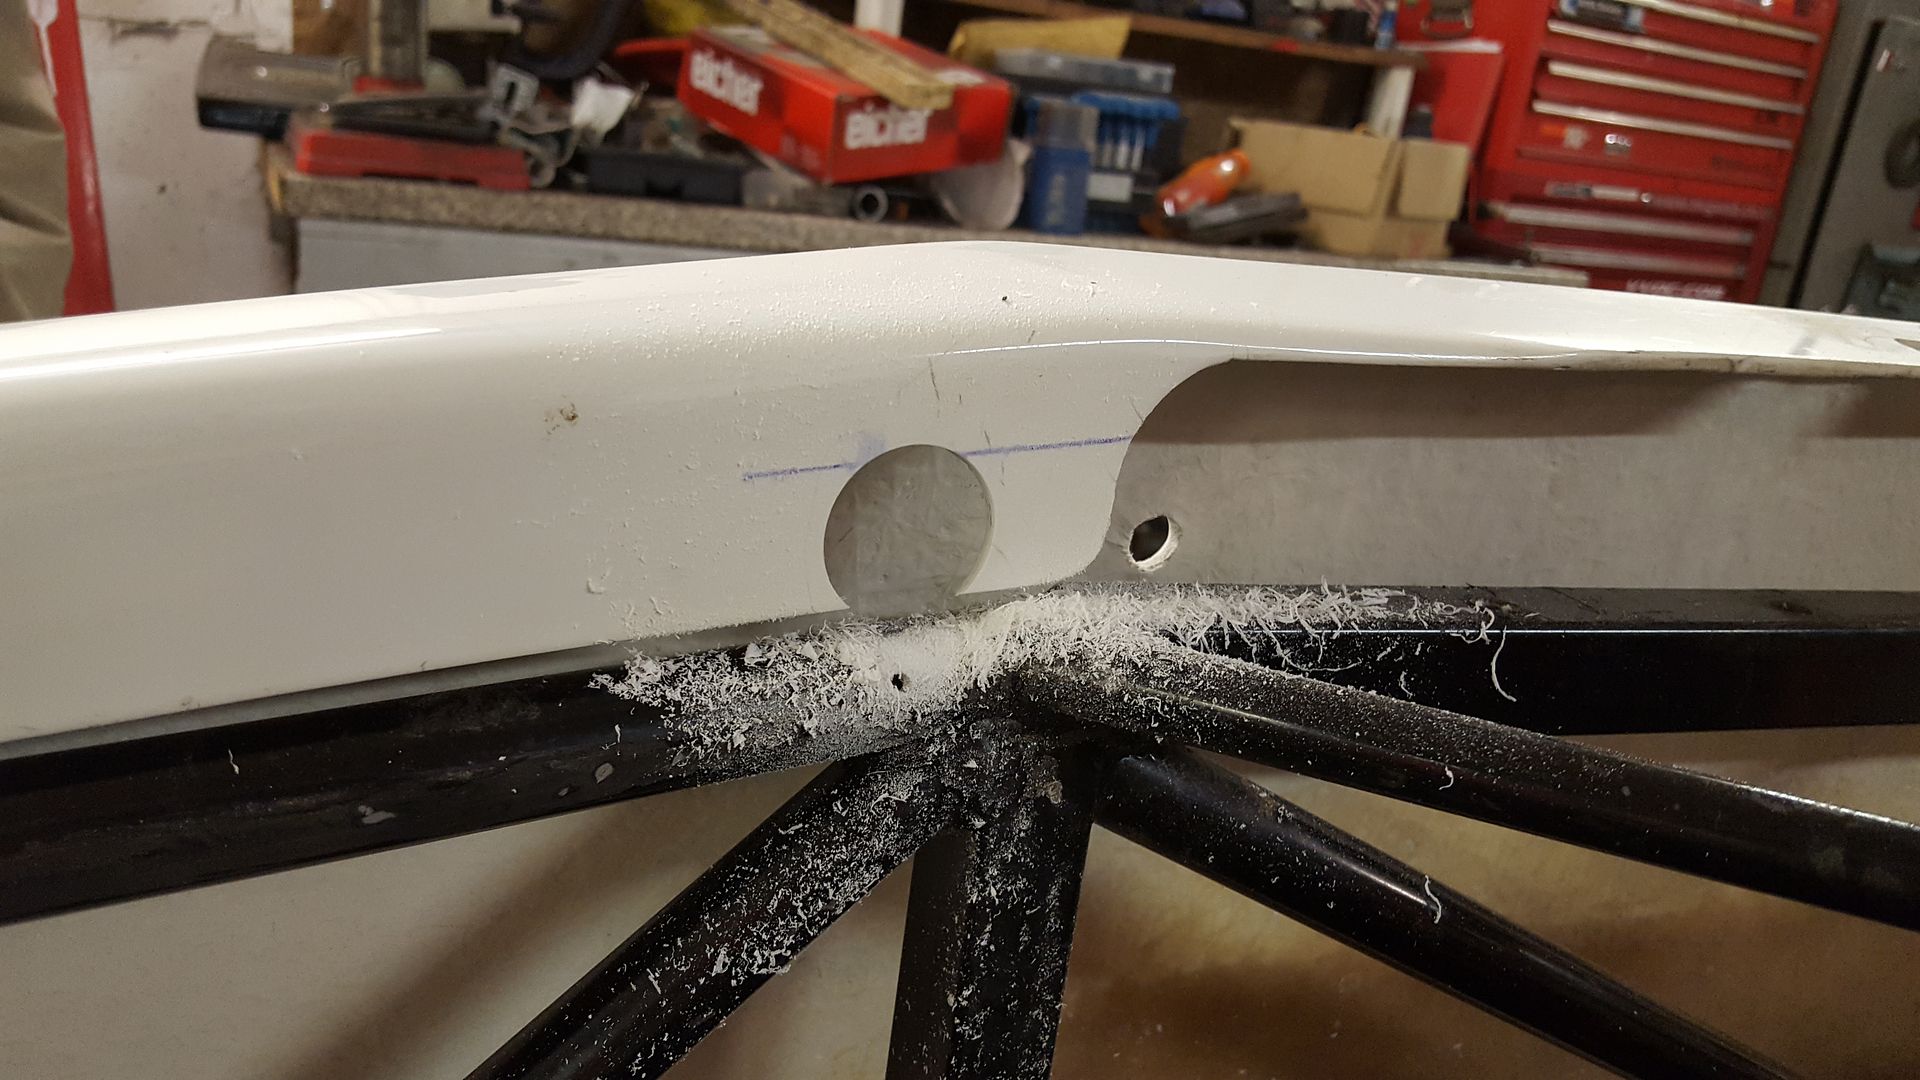
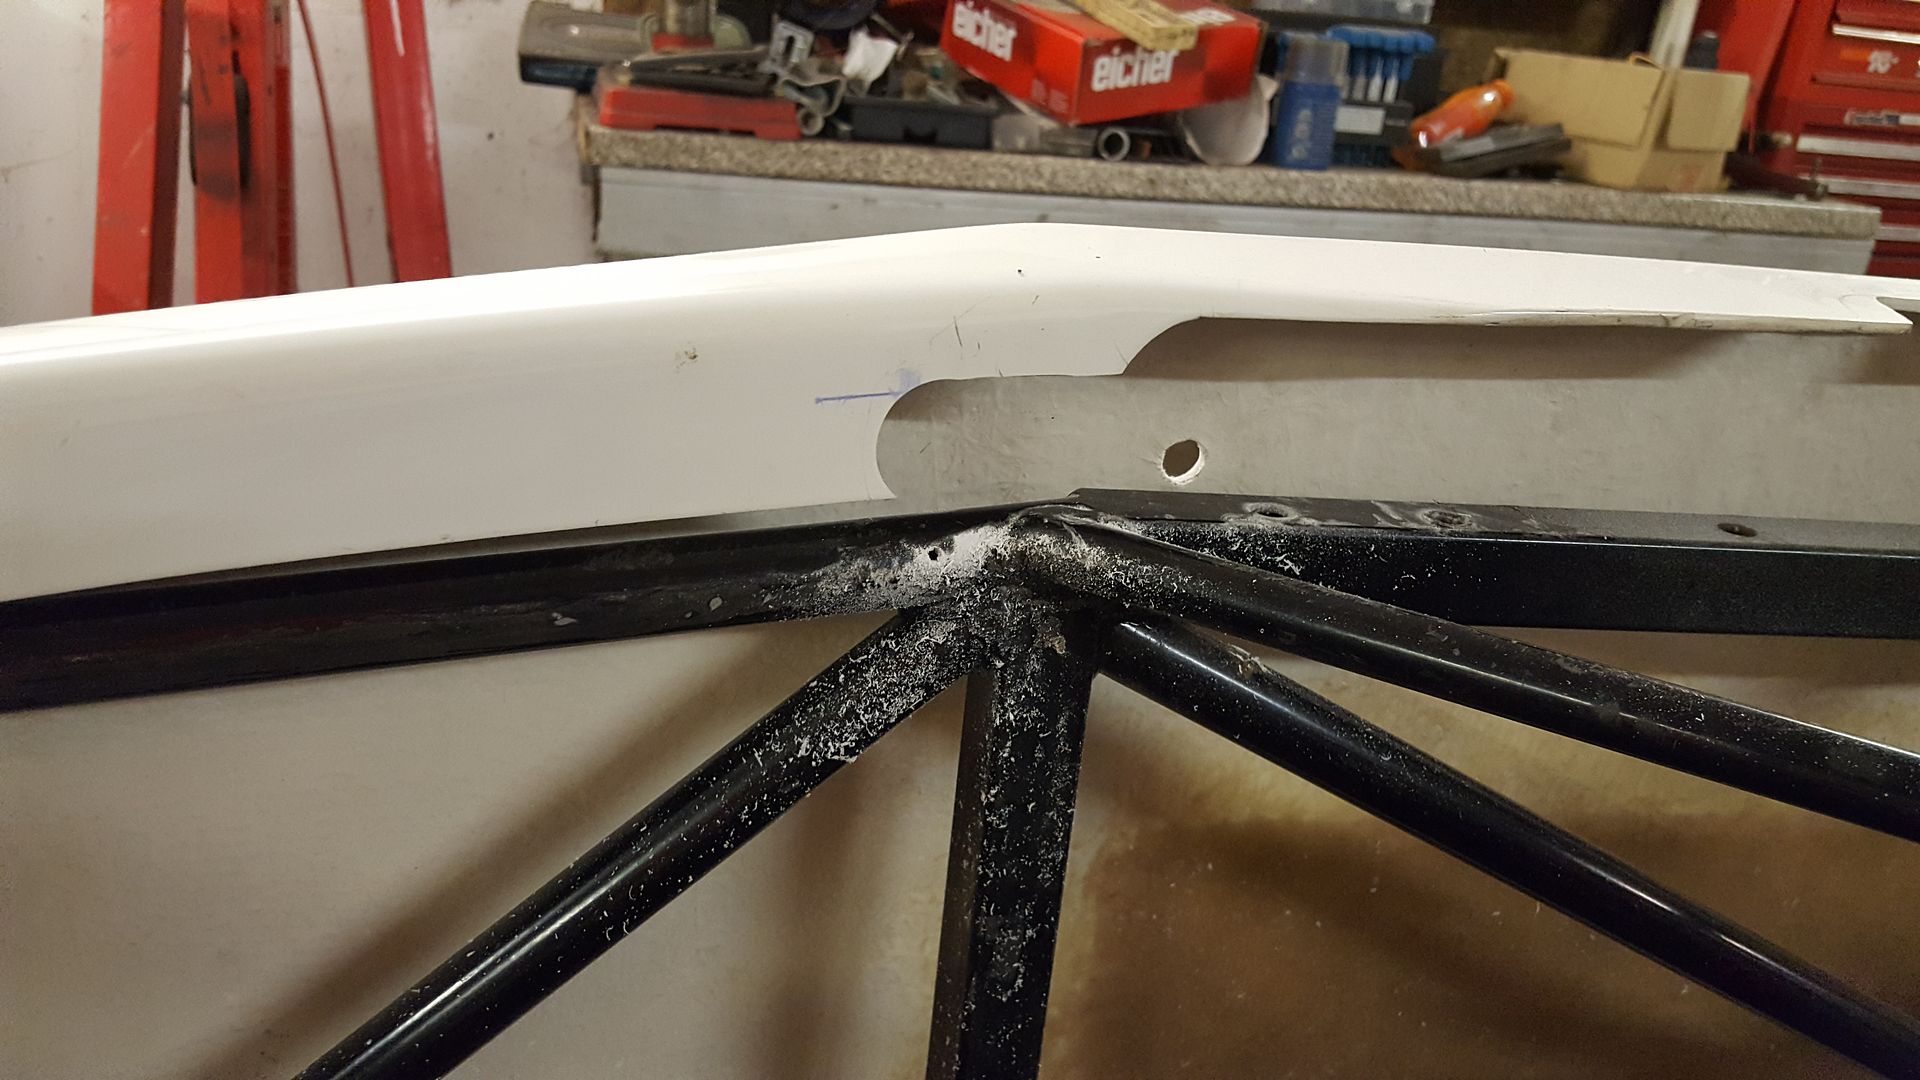
And had to shave a bit more off around the turrets
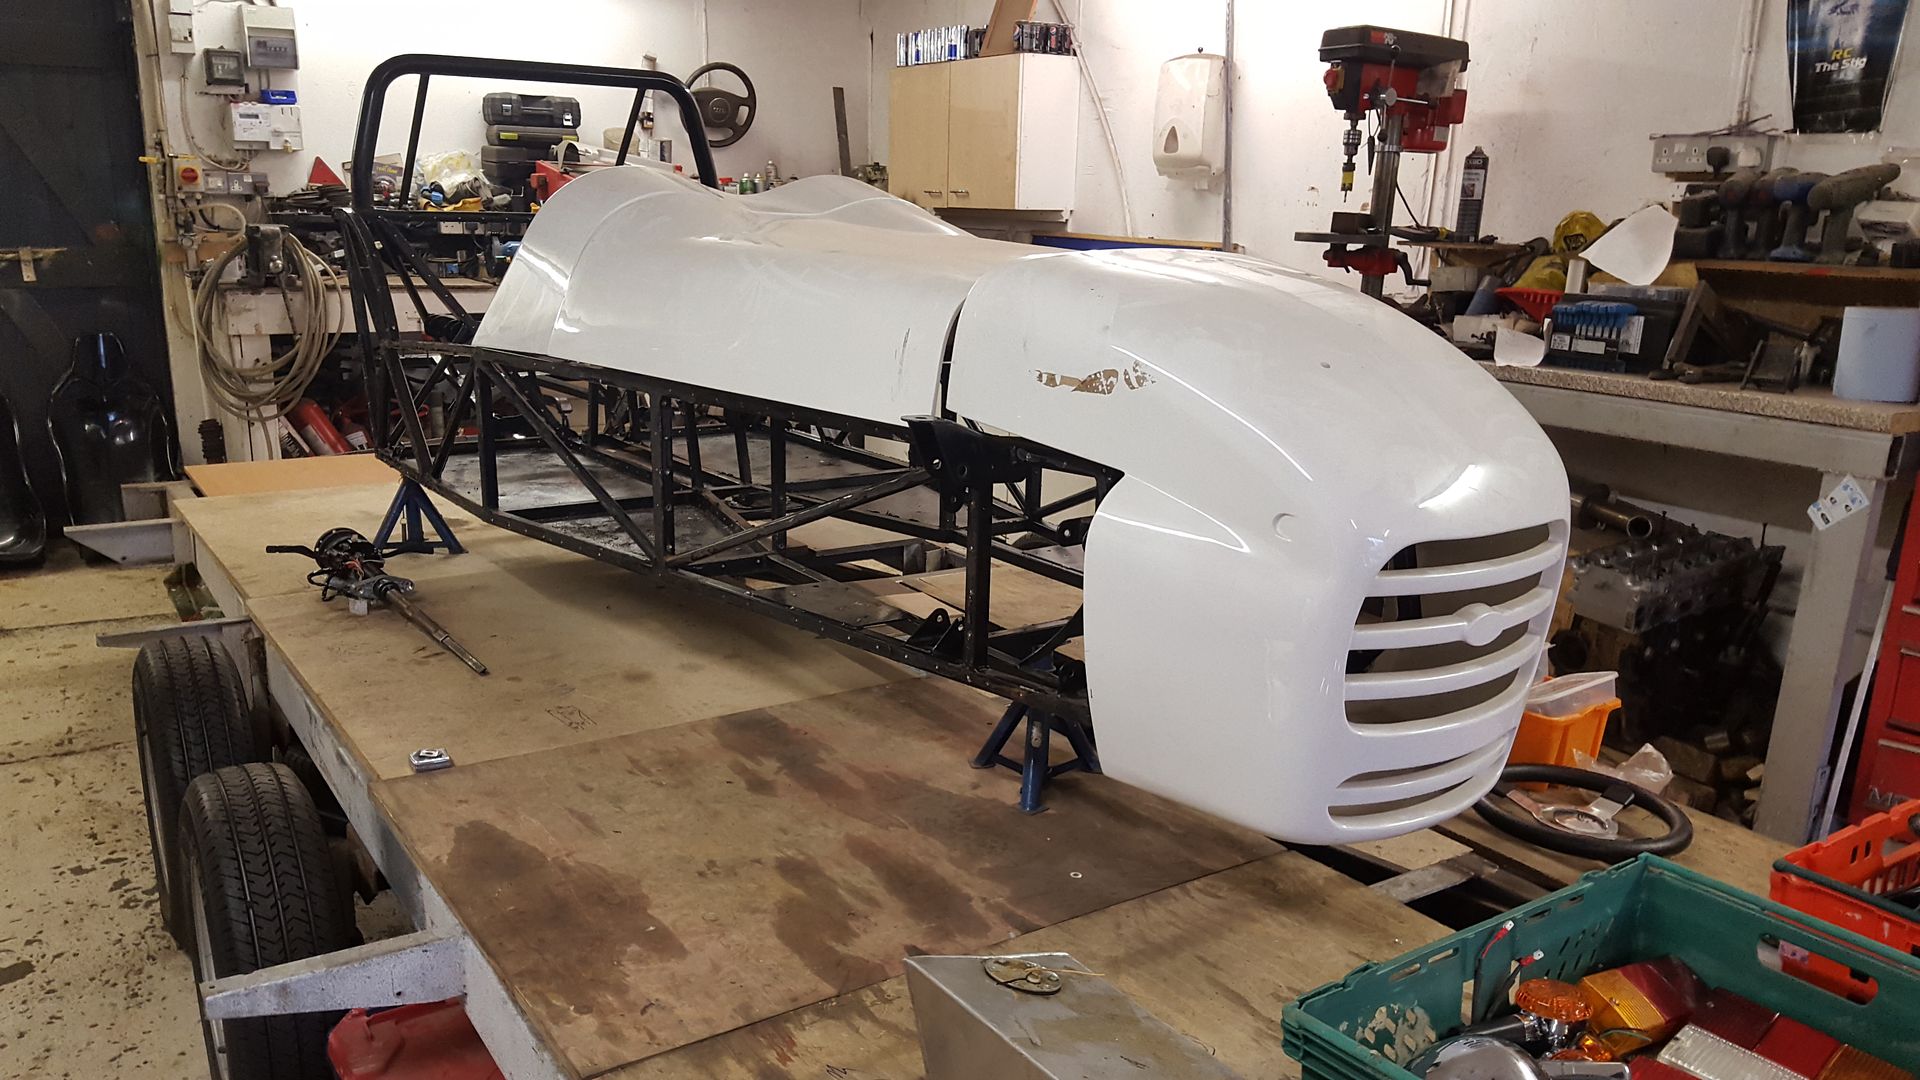
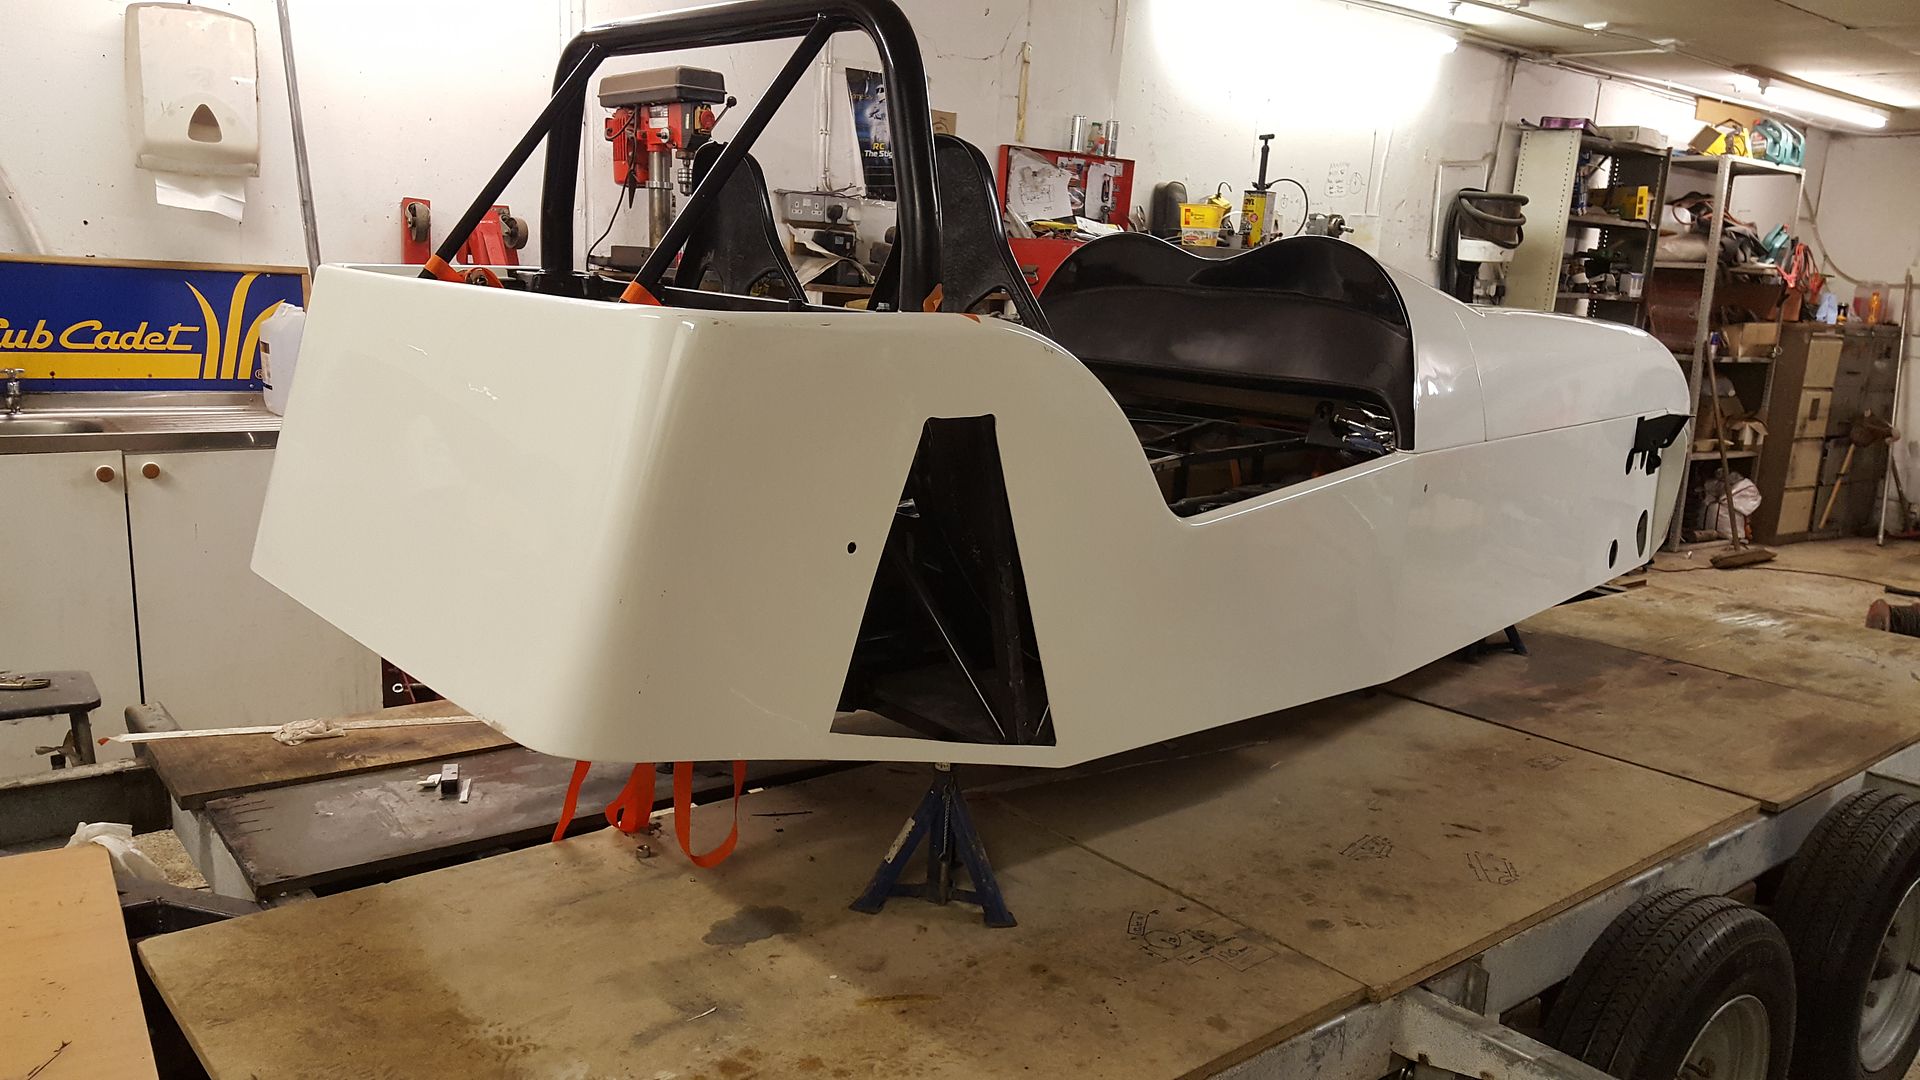
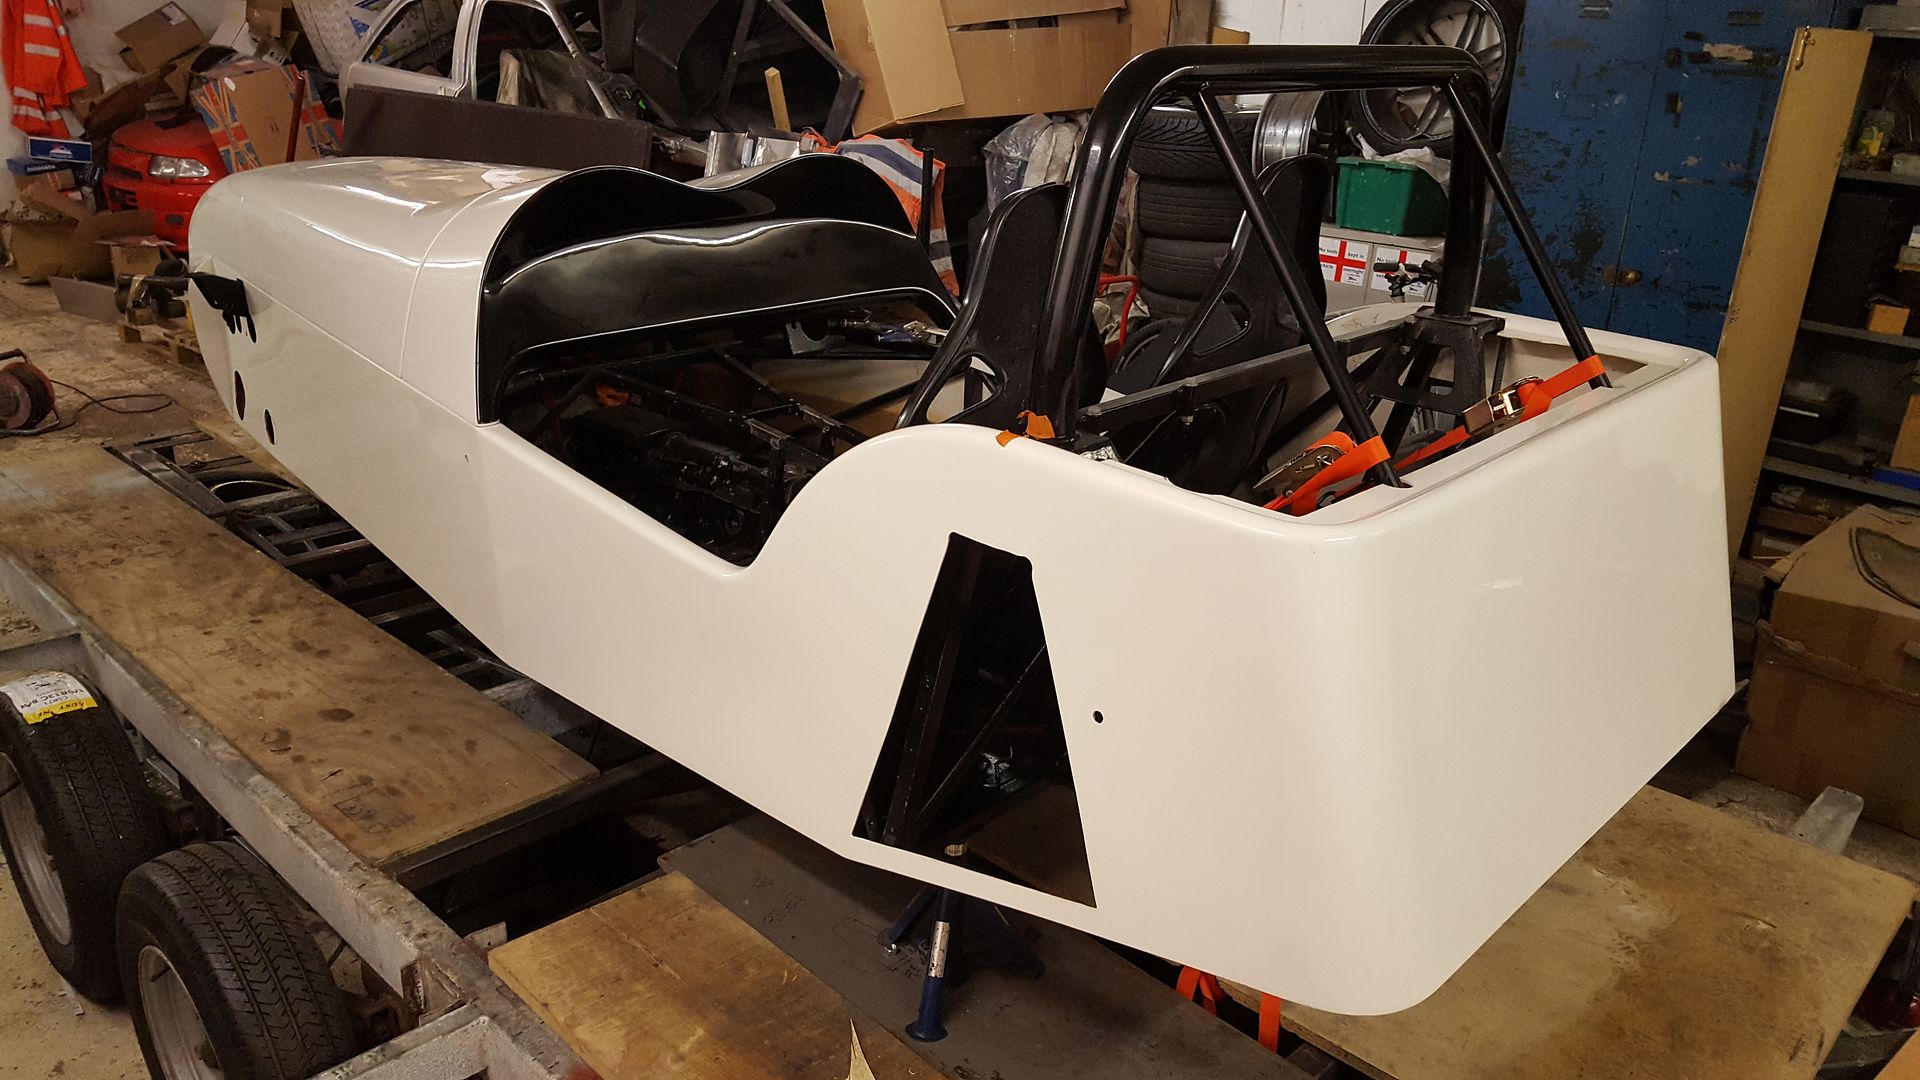
And whalla the rear of the body is On!
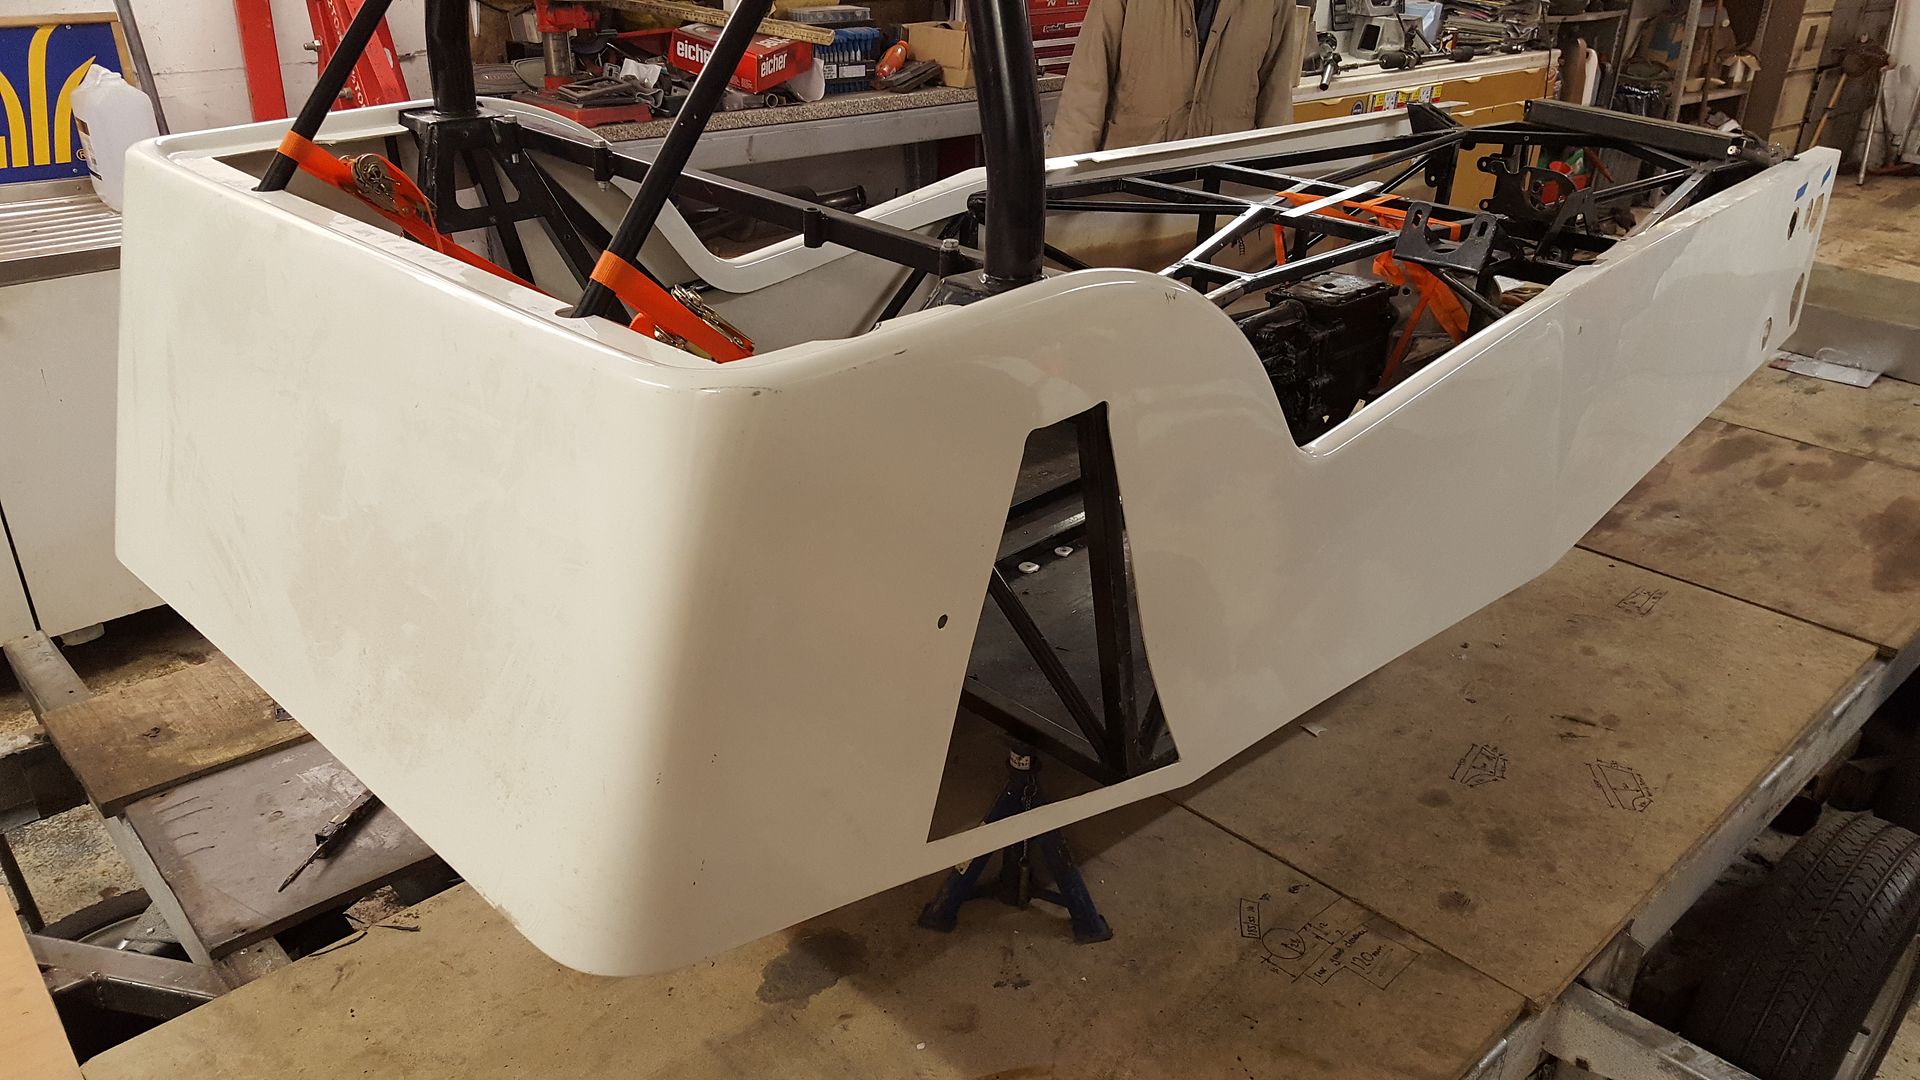
The front though was being held out by the headlamp/shock mounts still
I wanted to see if any of the MNR holes in the body lined up with the GBS suspension, so out came the CAD
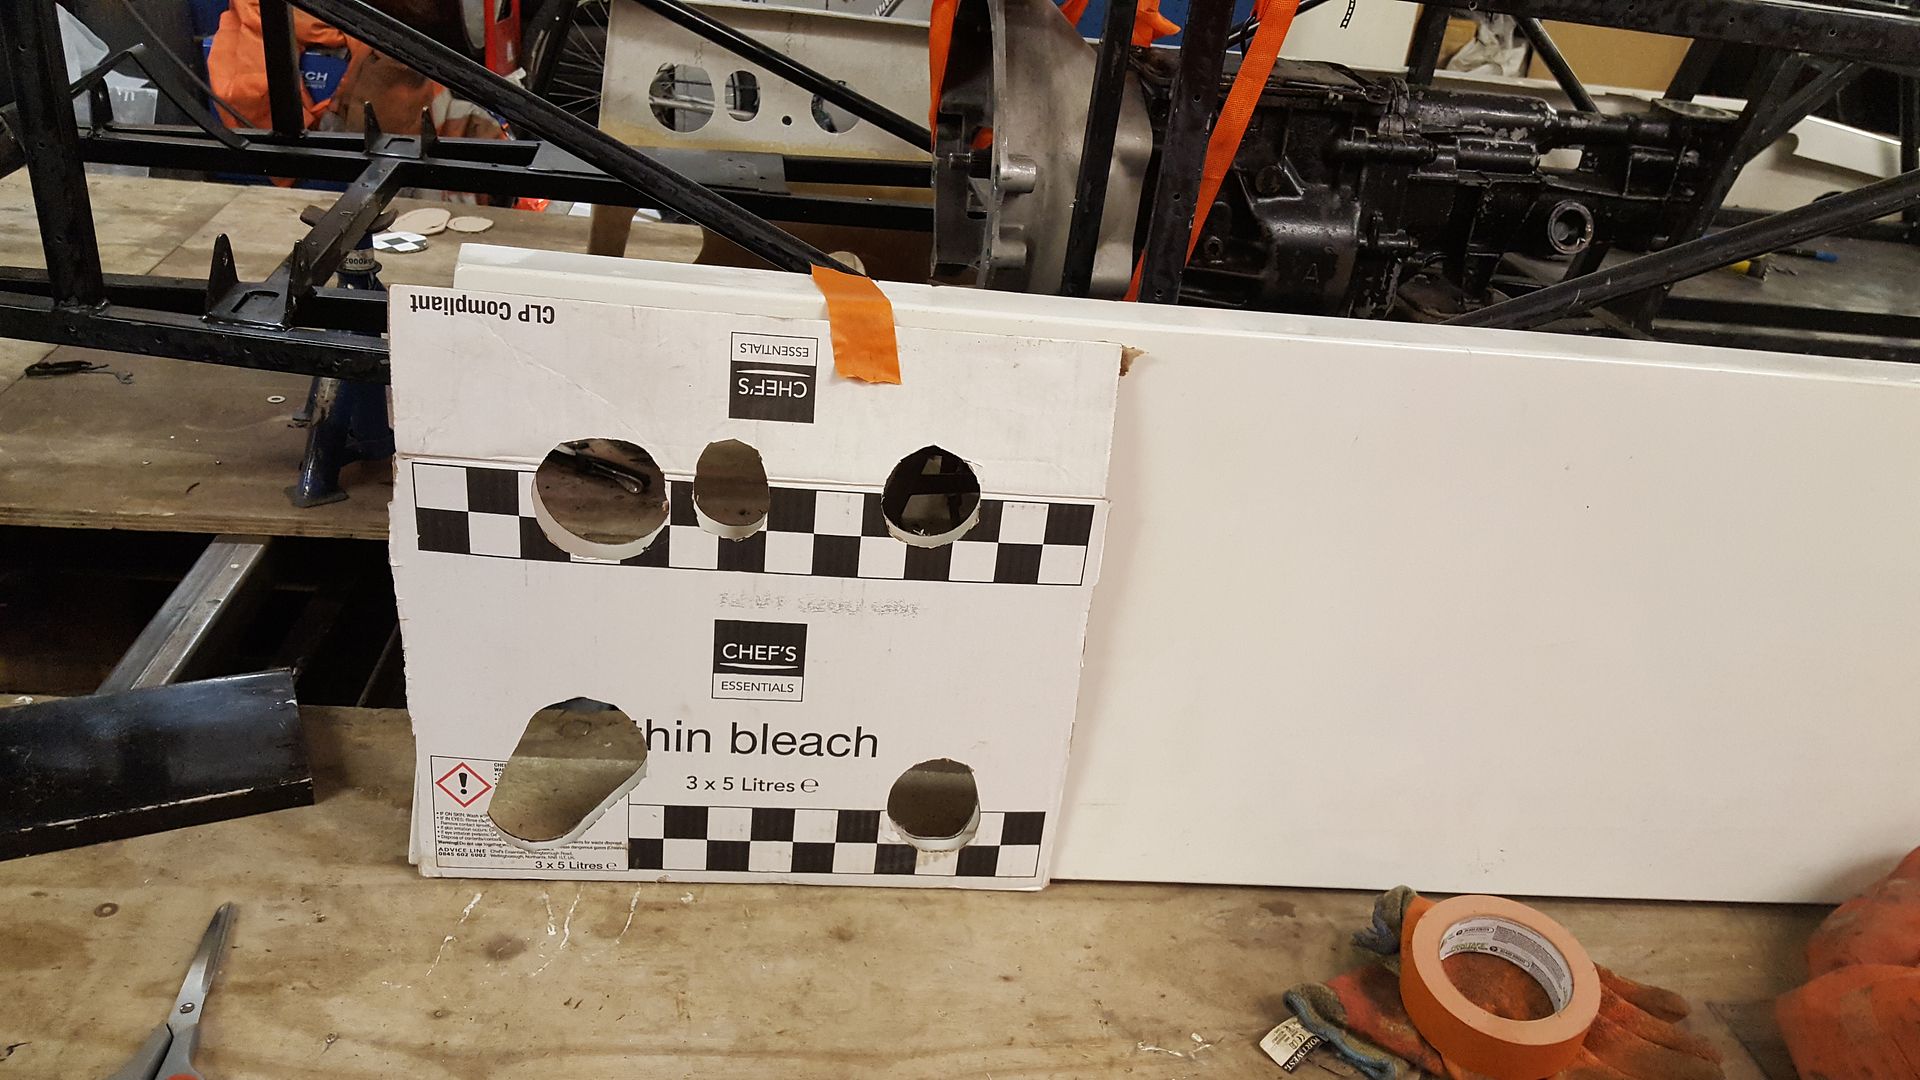
with a bit of jiggering you could maybe get one to line up, but not really.
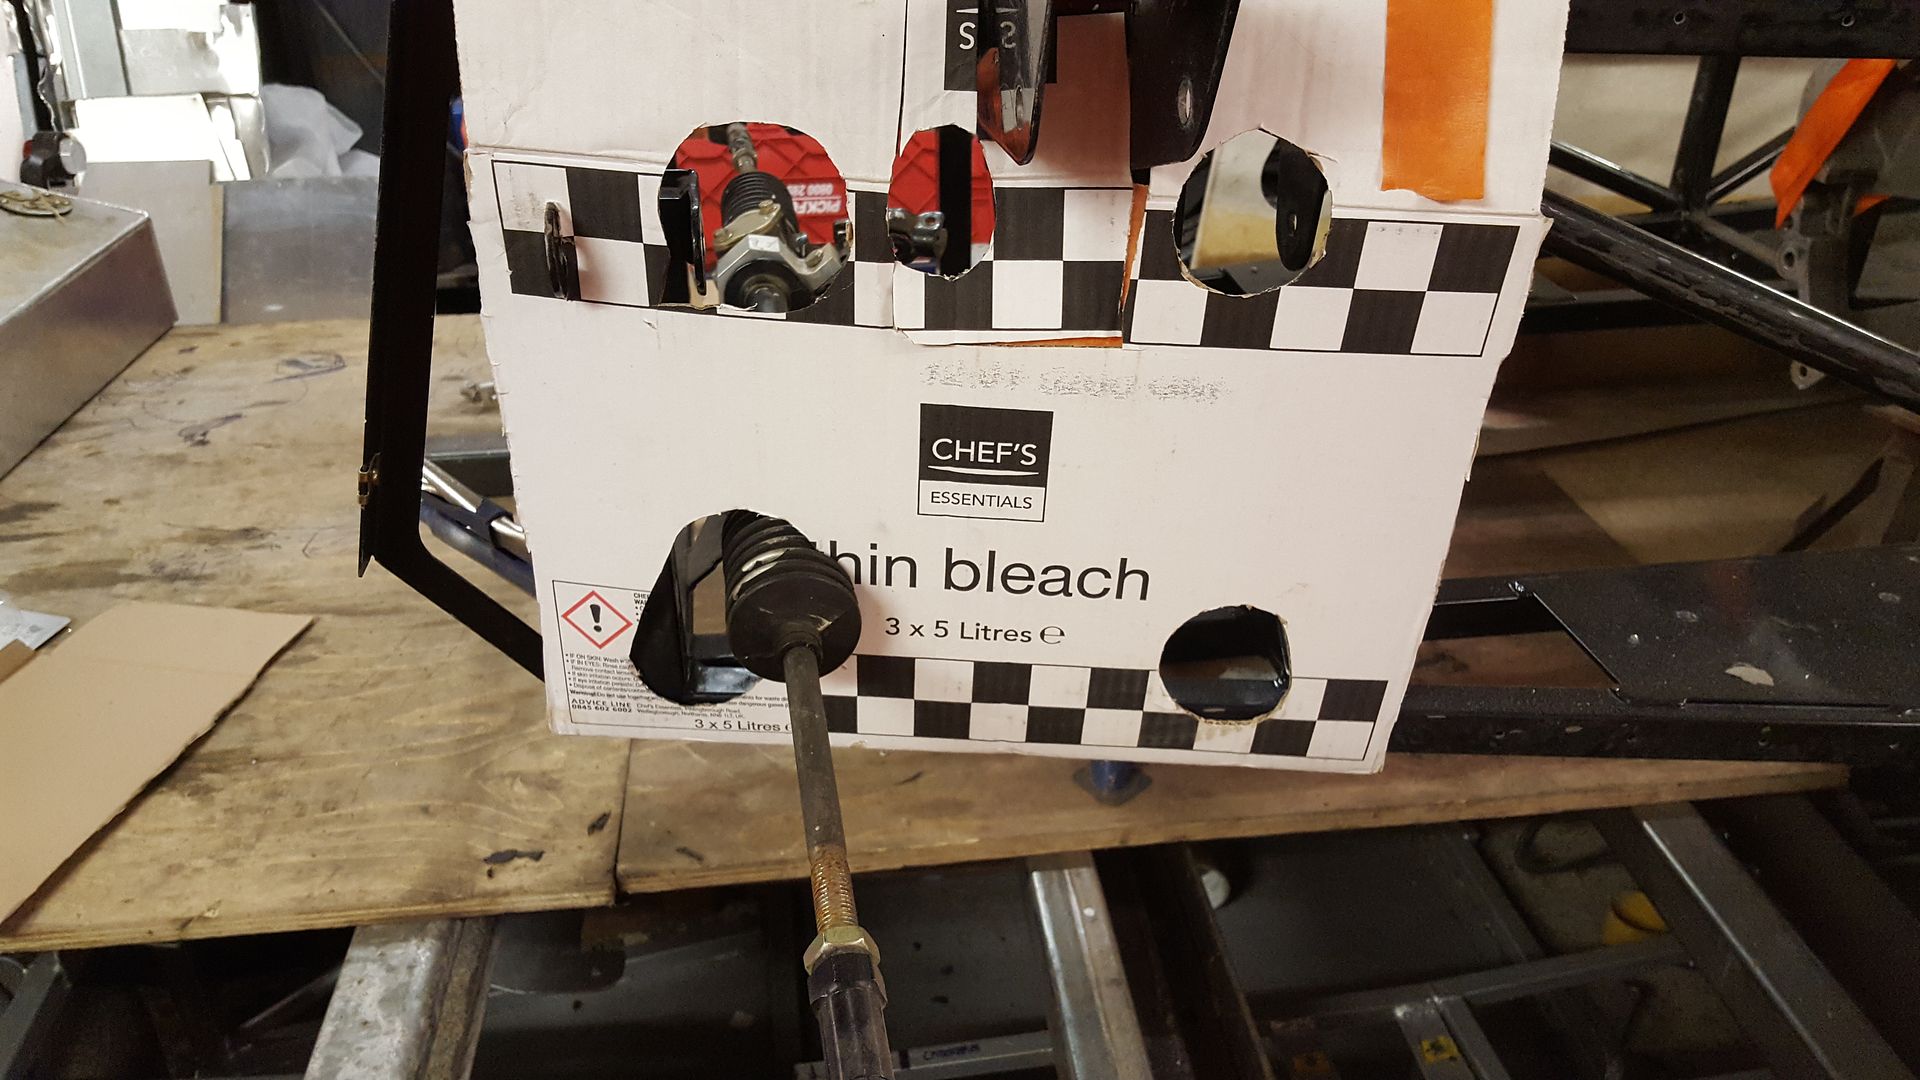
Tried on the rest of the suspension
With the Ford bits from the locost
But the top ball joints are smaller so will have to find what GBS use
Loosely assembled it all and looked at a quick template
I think I'm pretty much just going to fiberglass the whole front and cover it all flush then start again.
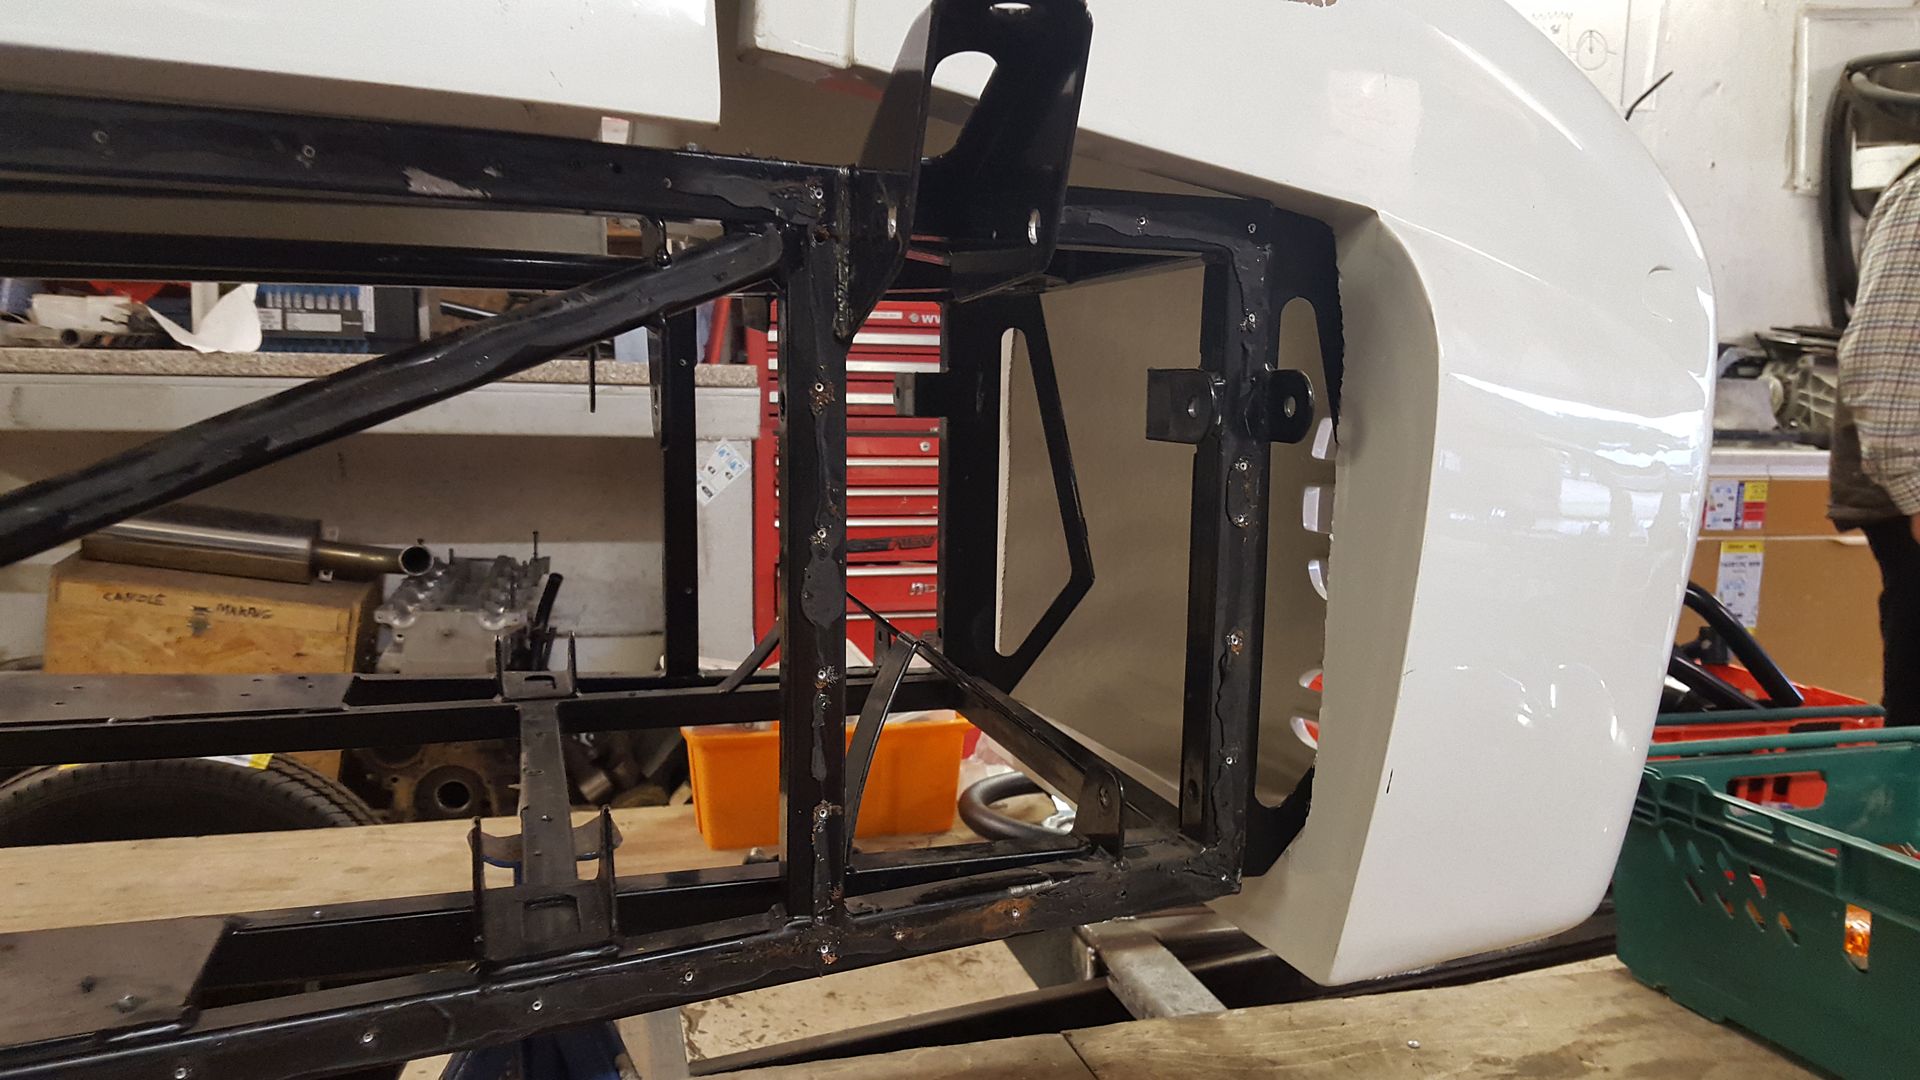
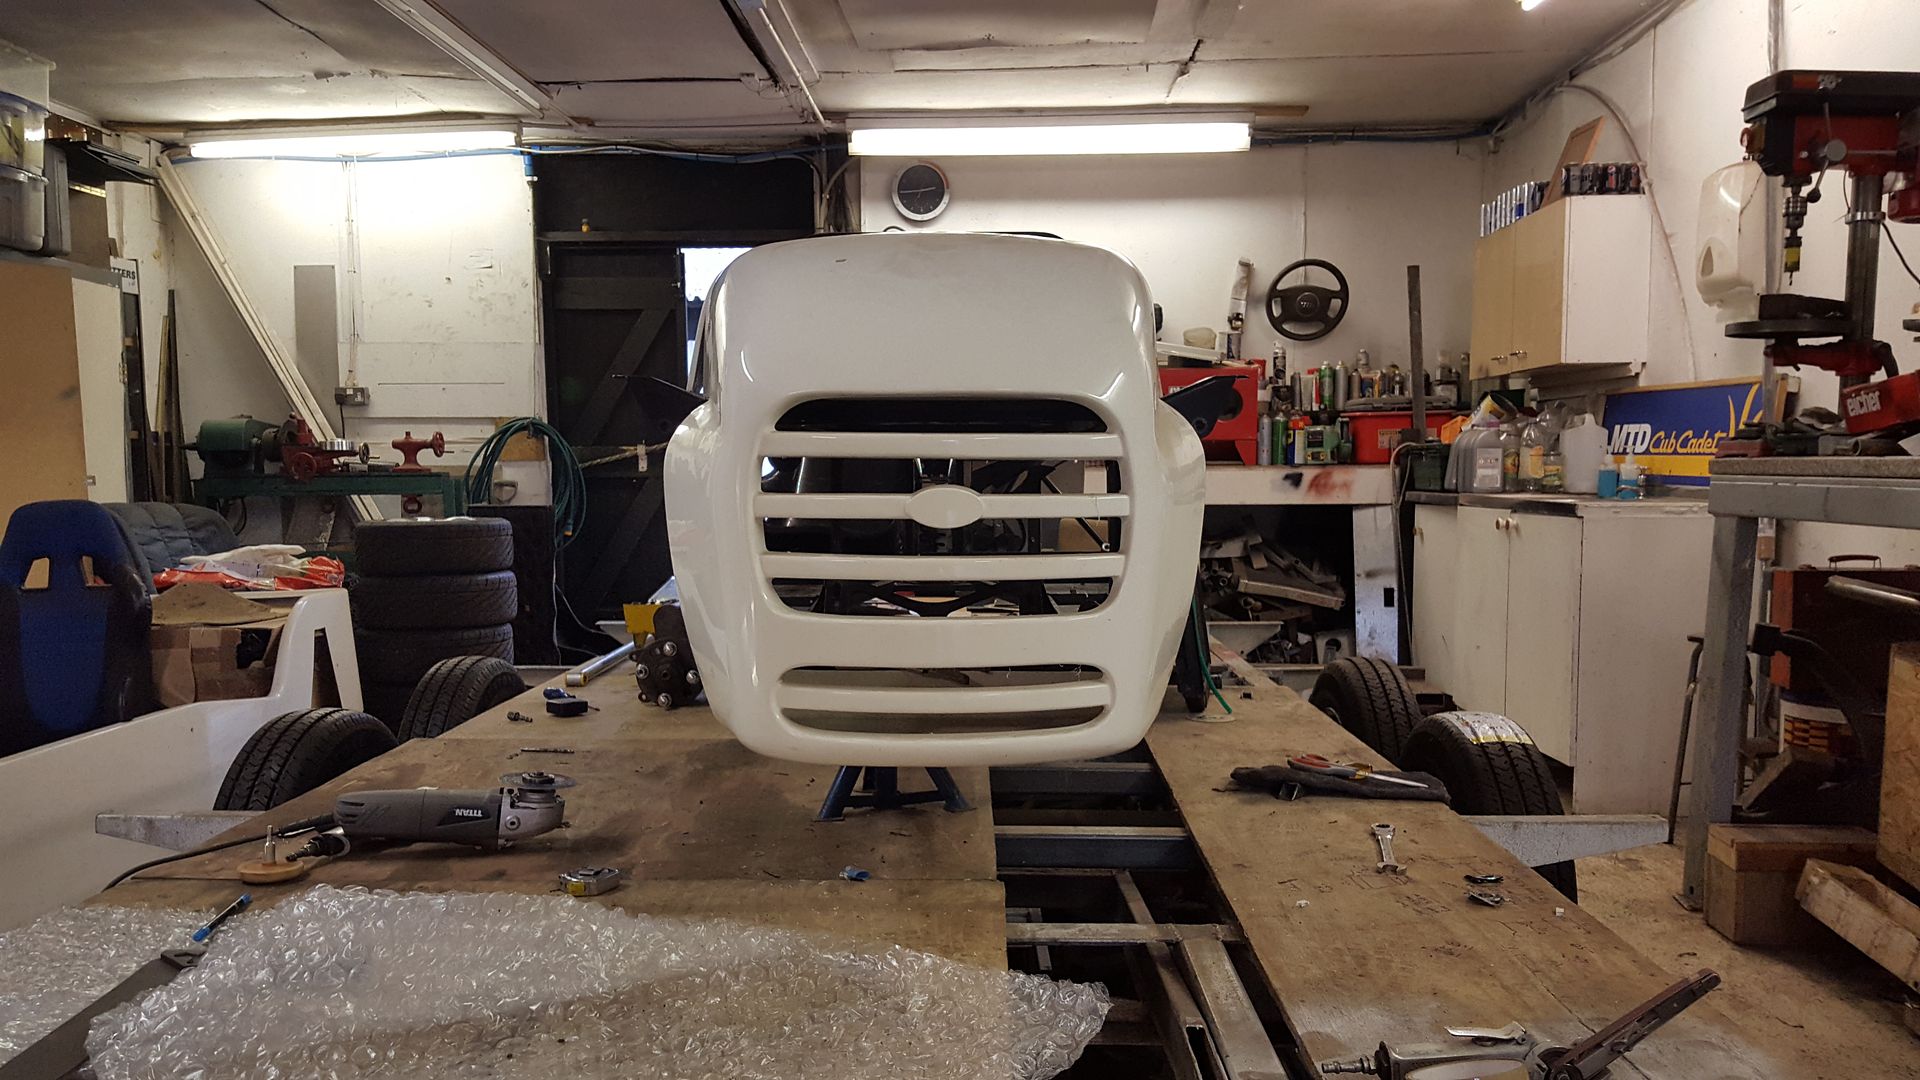
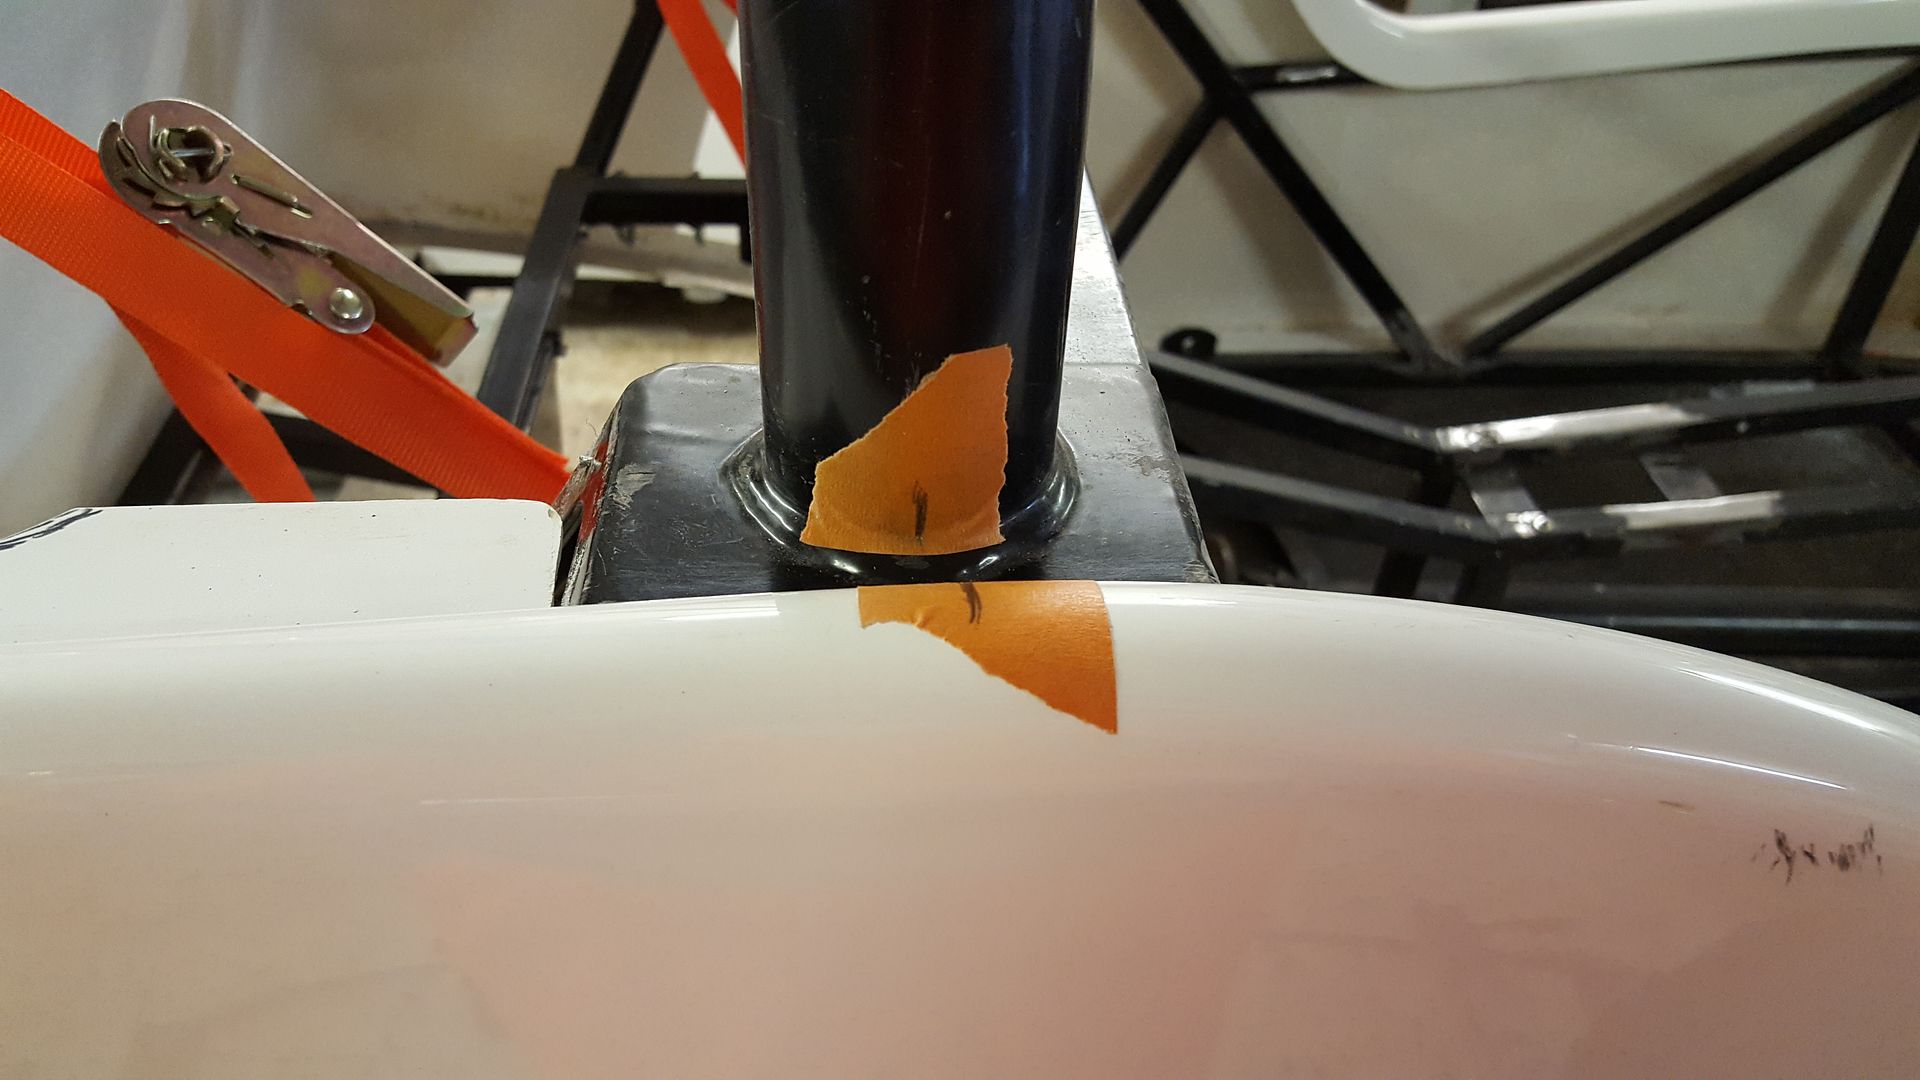
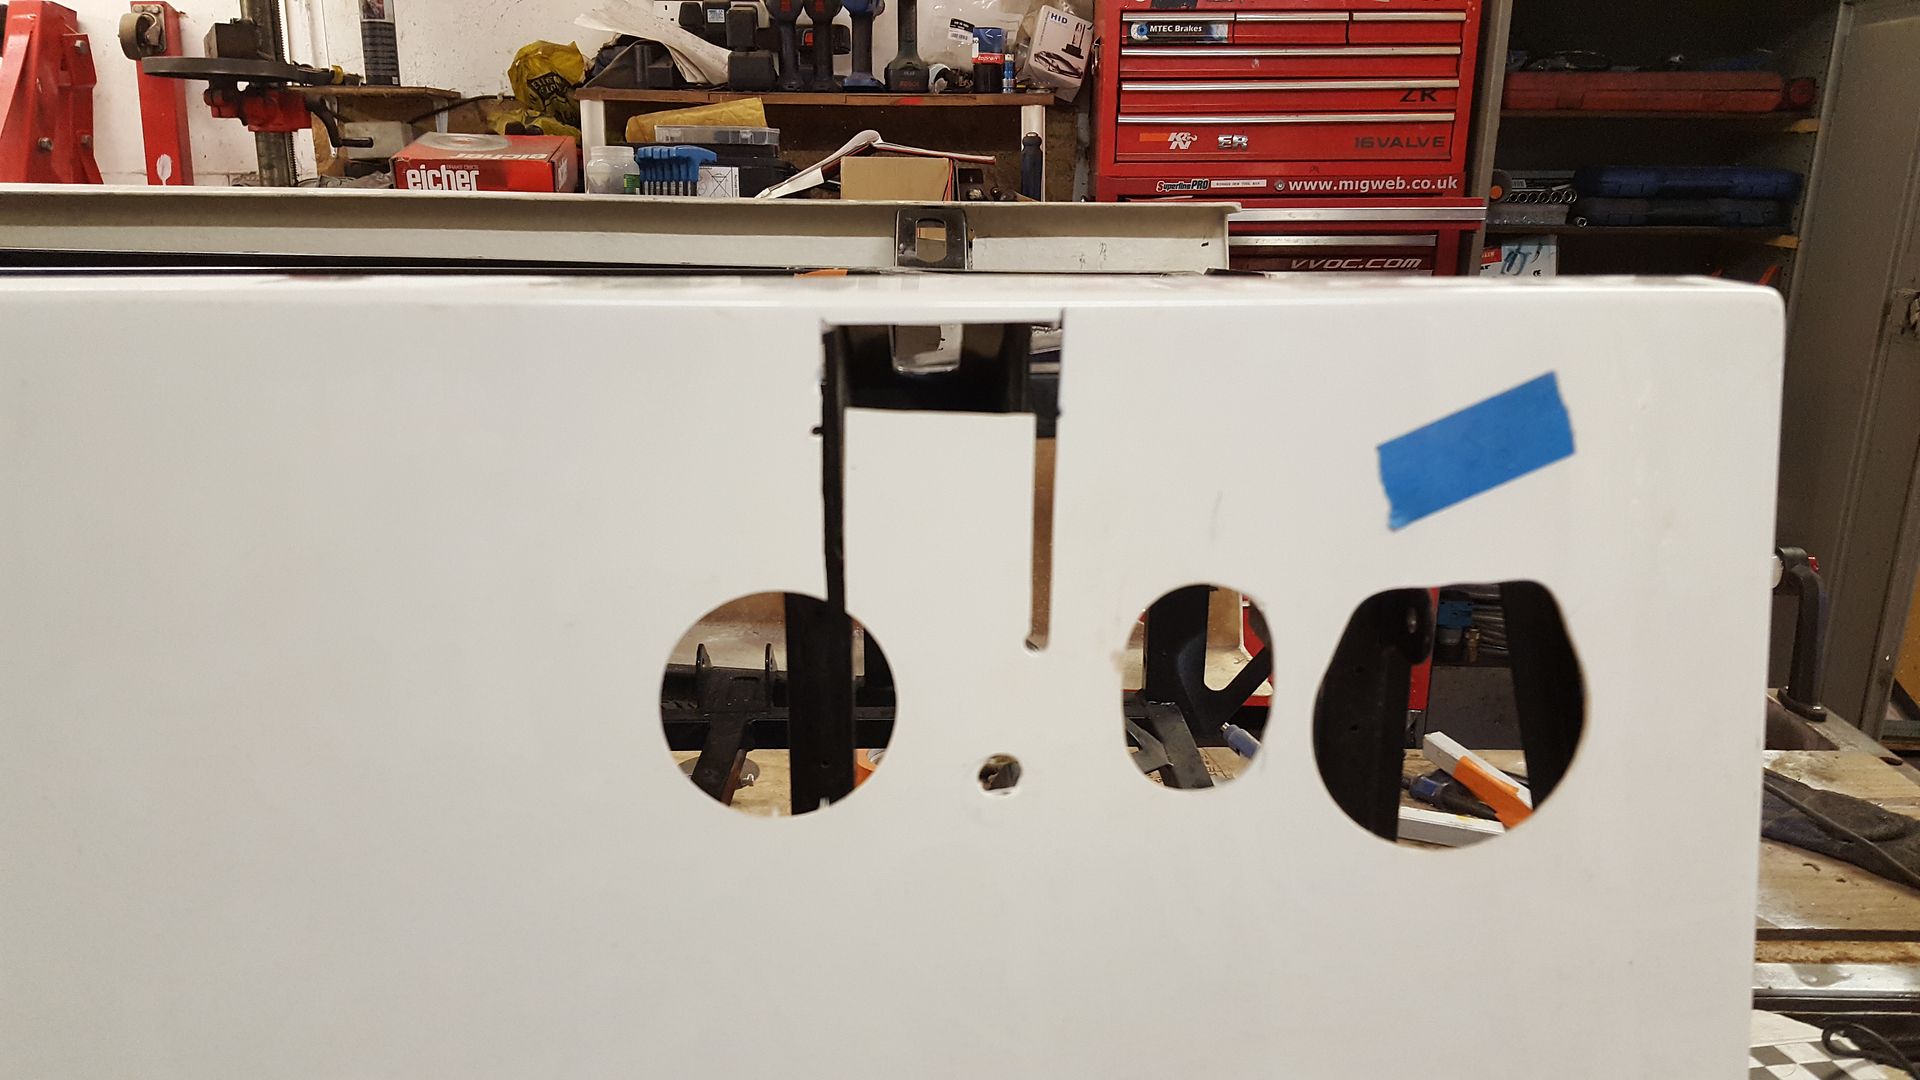
Next was to cut out the headlights brackets. I could have cut a great big hole and just slotted it over but I wanted it to tuck in nice and snug.
Out came the CAD again
And that just slides over
And down
Next was to transfer this onto the body. Tricky because the headlamp brackets are slant up, so the cut out is in a different place depending how wide
the body will sit and at what height. And you can't get the body anywhere near the chassis to offer it up in the right place
Lots of measurement later I committed
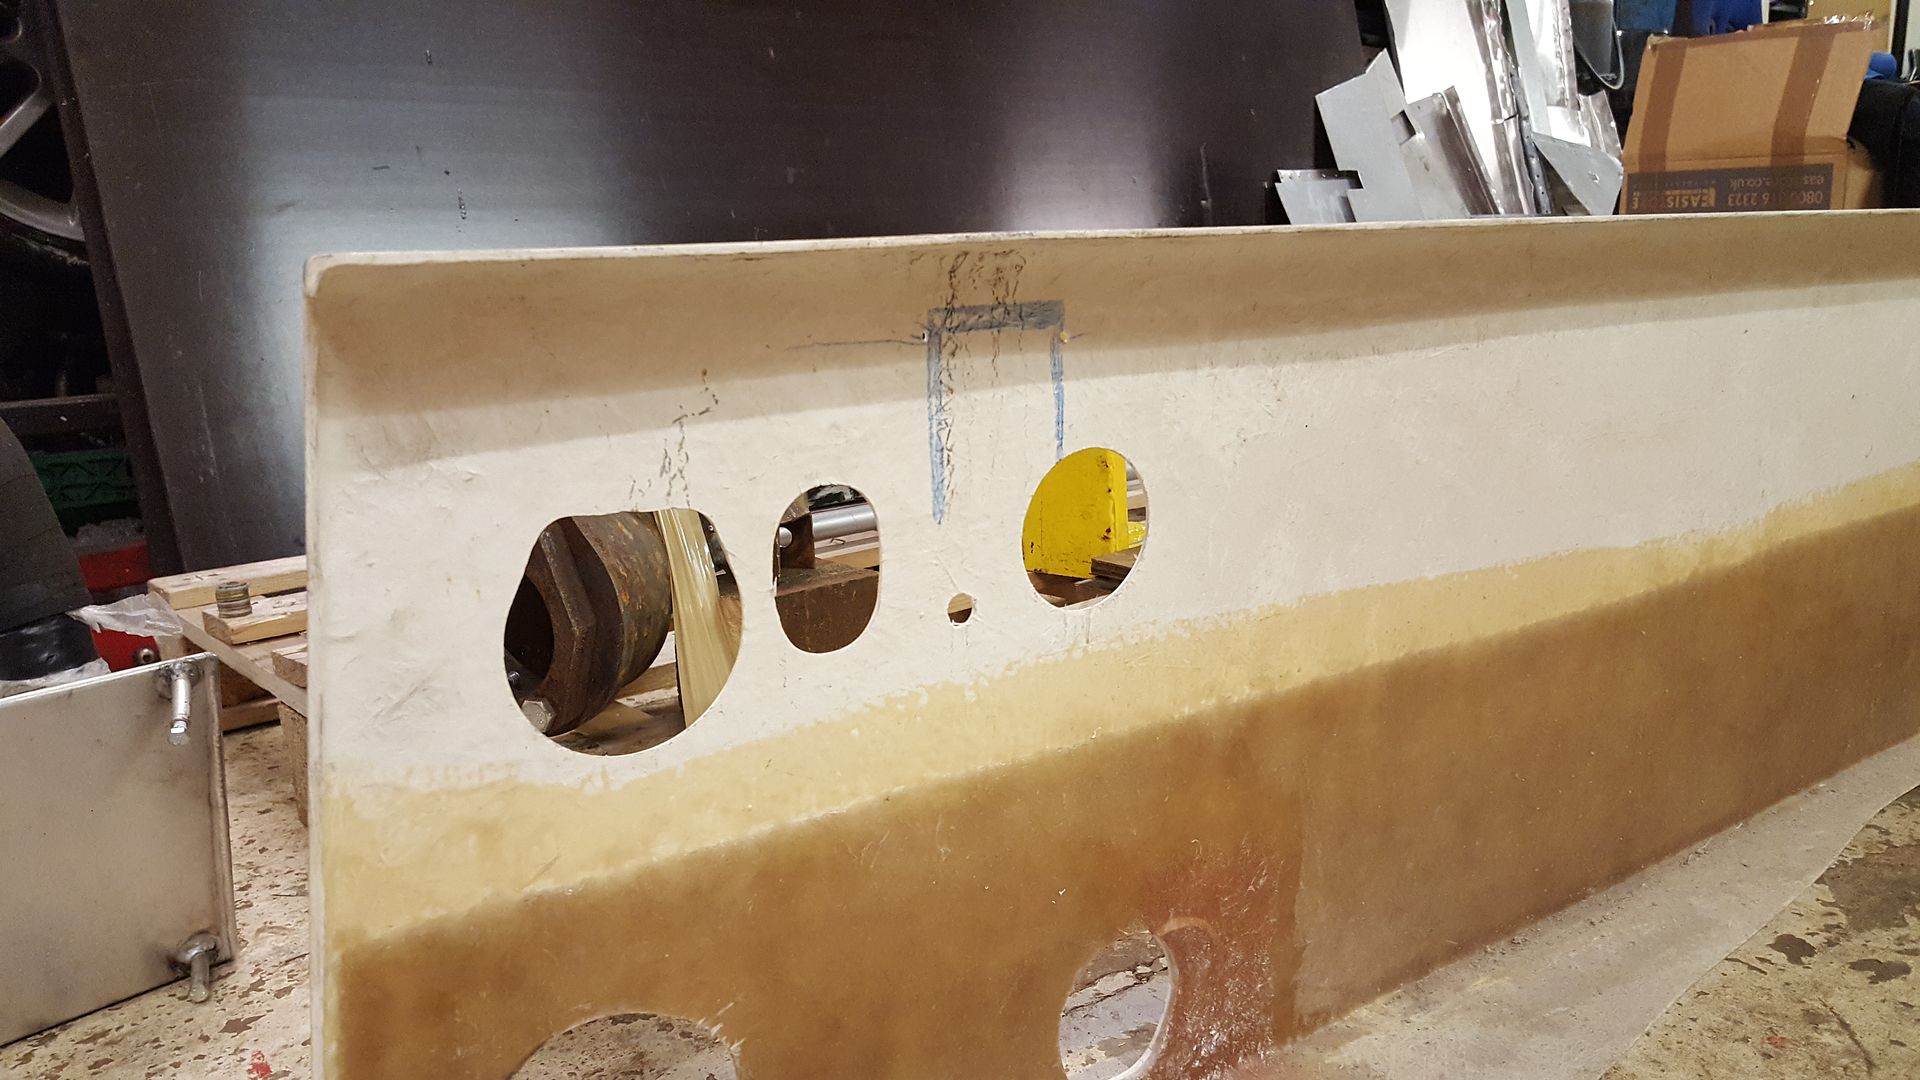
And chopped
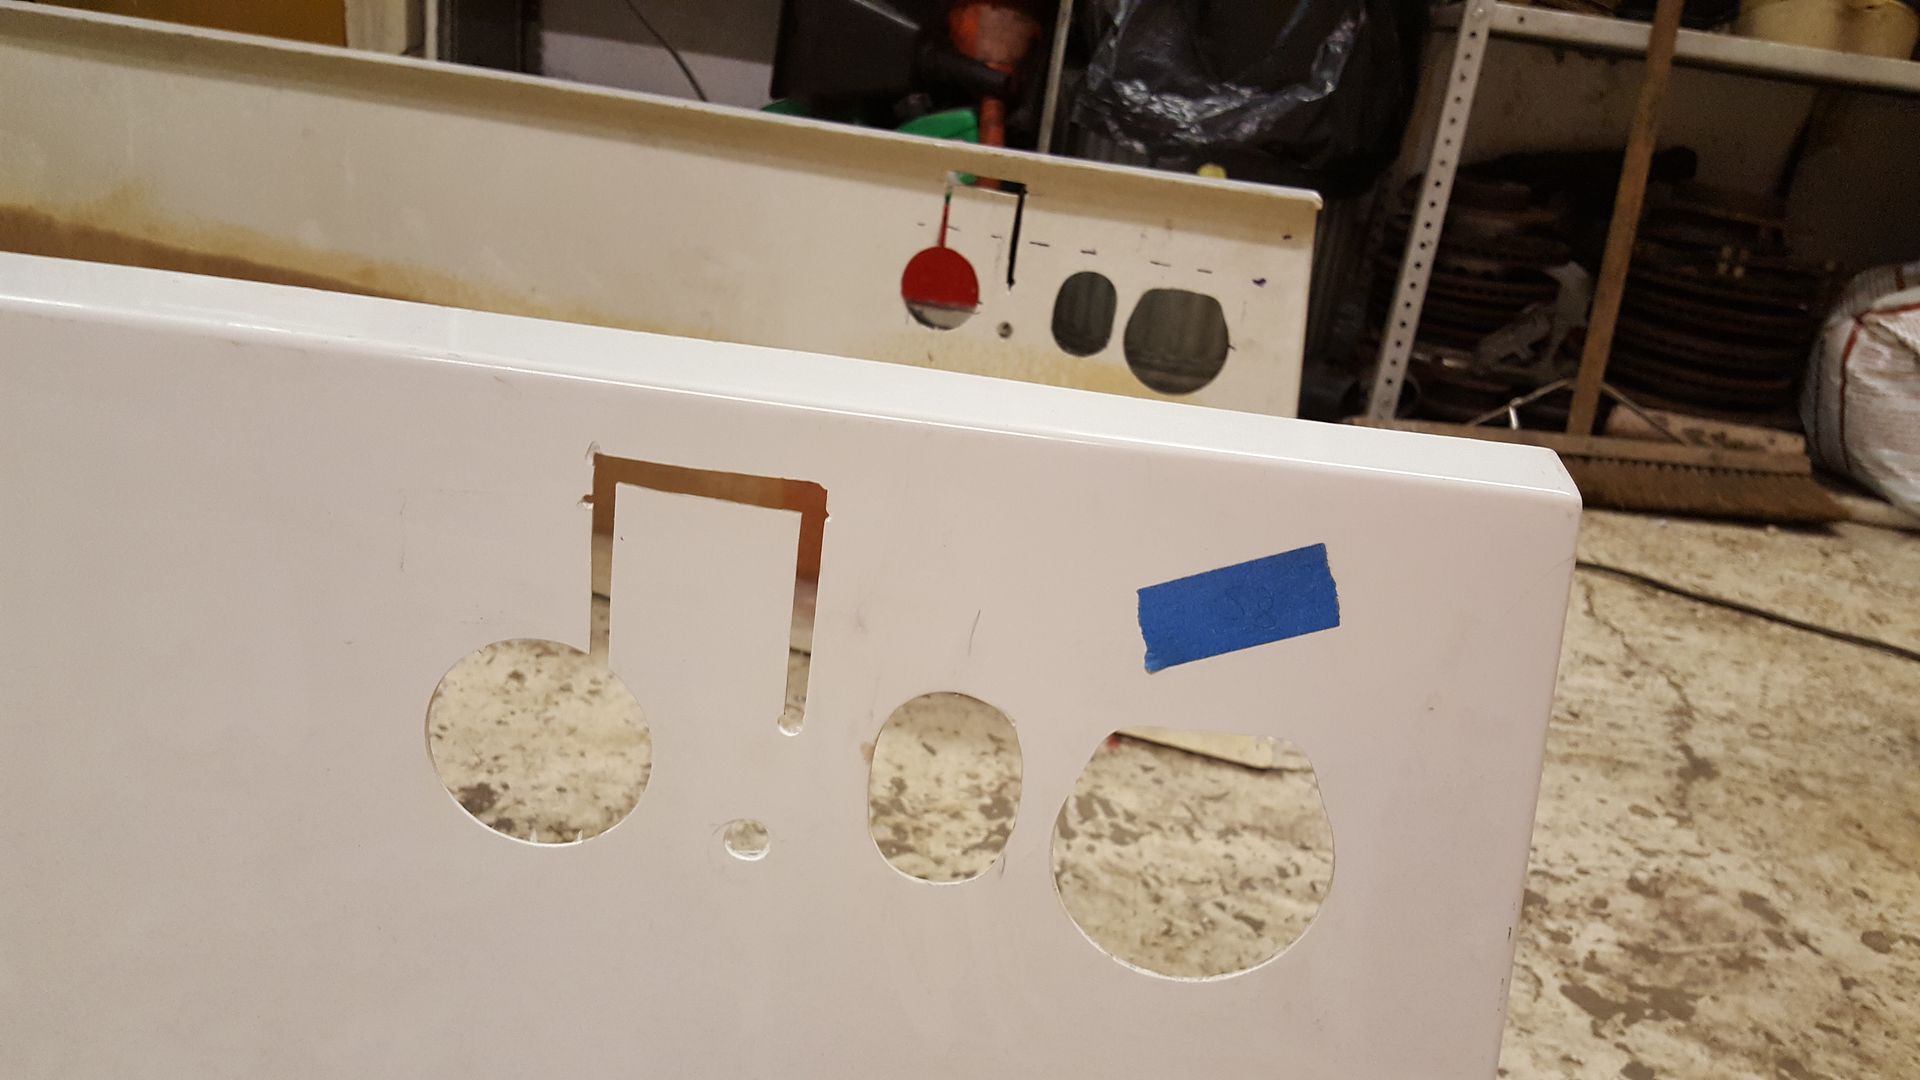
And it fits perfectly!
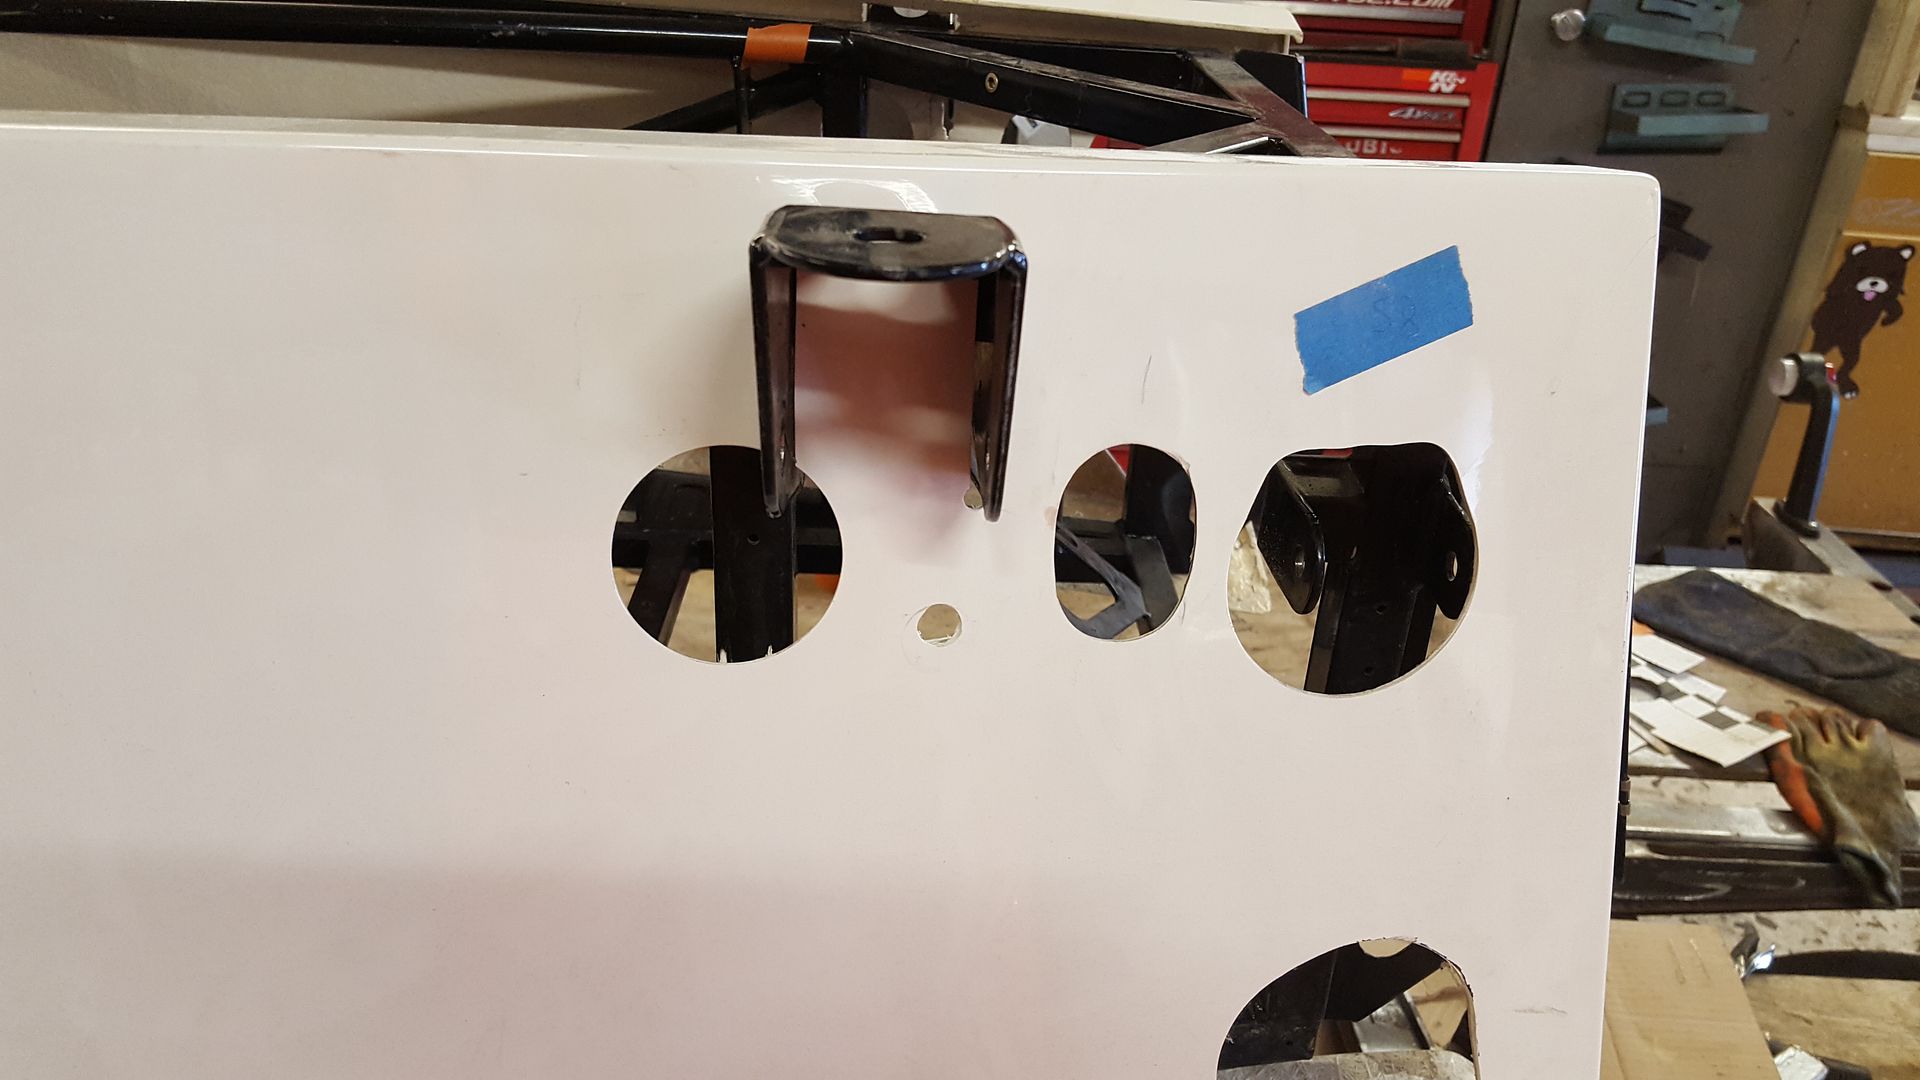
Exactly what I wanted. The only thing it's
done is because the front of the car is narrower than the rear, as the front has gone in over the headlights brackets it's pulled the whole
body forward a few mm.
So will need a bit more trimming here and there. But it's nearly there now I love the one piece body compared to what it should have.
|
|
|
CosKev3
|
| posted on 14/11/17 at 11:47 AM |
|
|
Looking really good
Nice job on cut outs for headlight brackets !
|
|
|
super-ron
|
| posted on 16/11/17 at 01:48 PM |
|
|
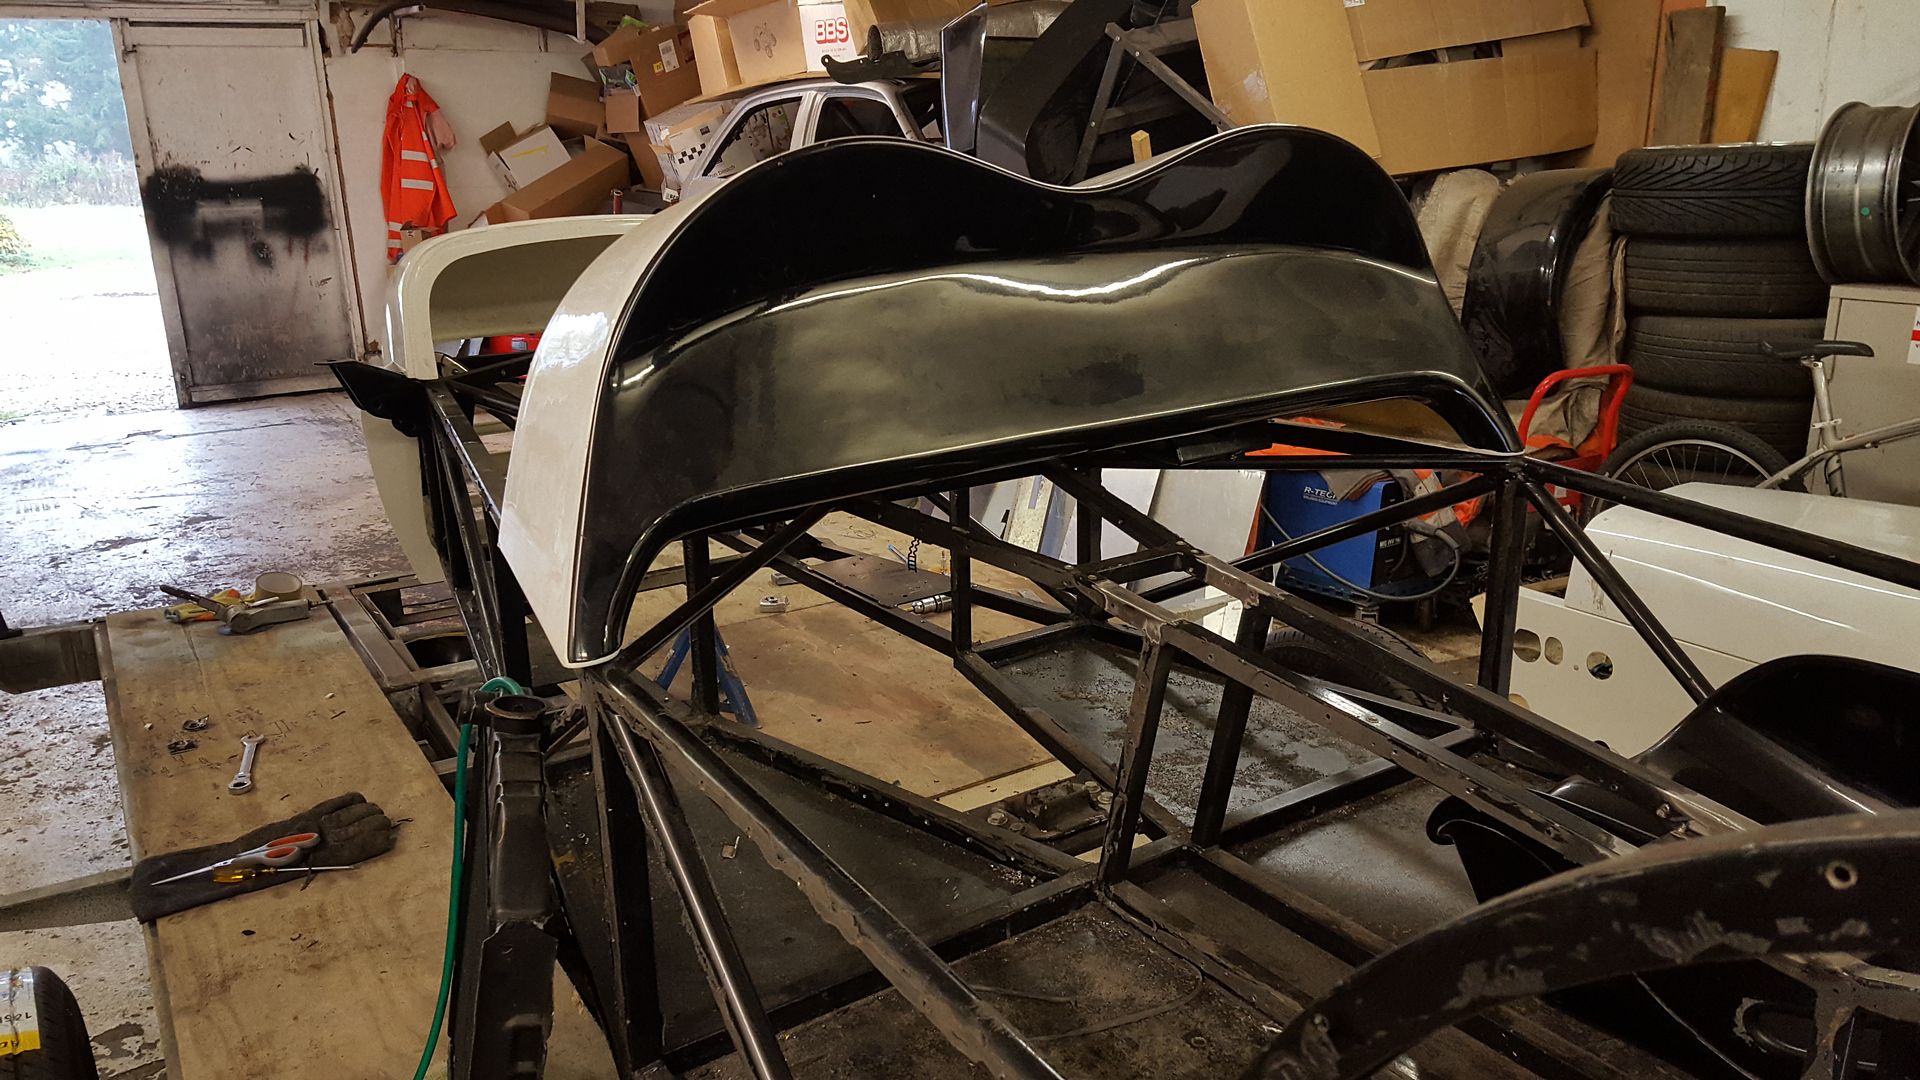
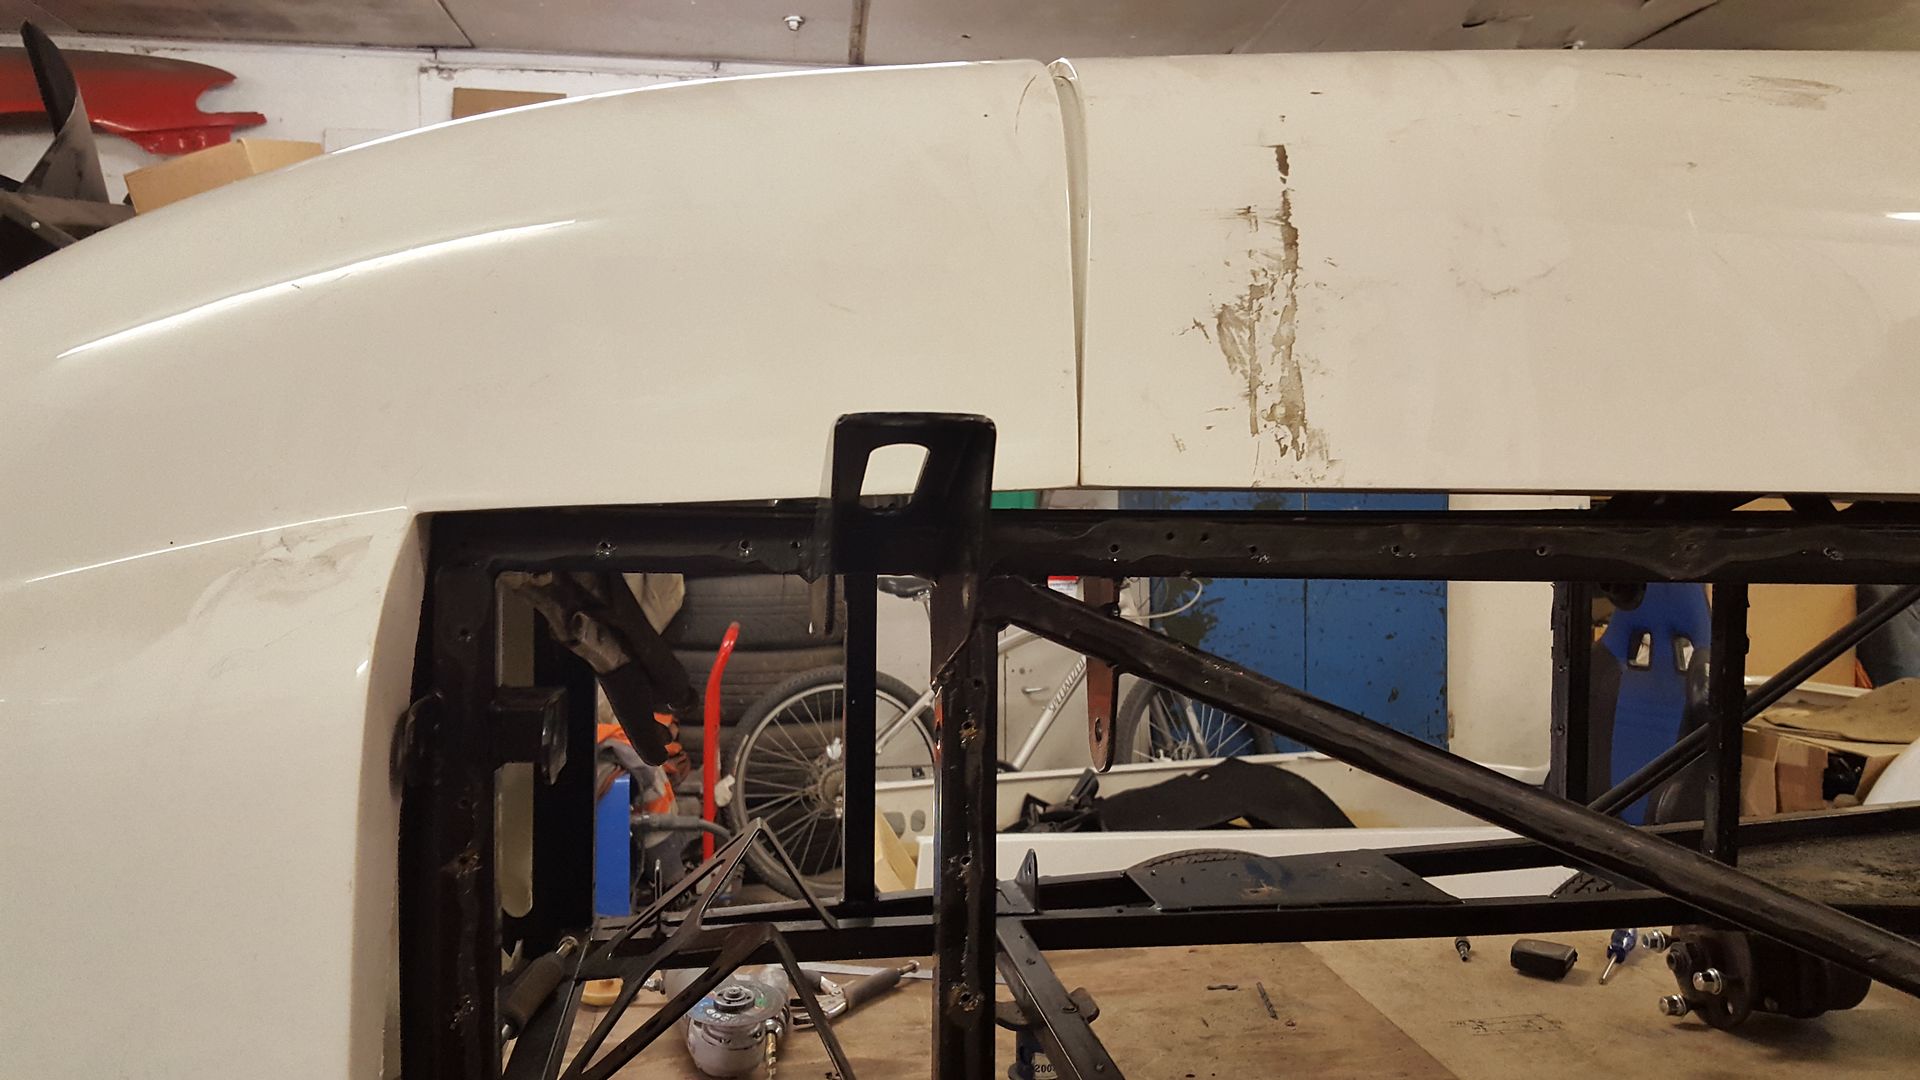
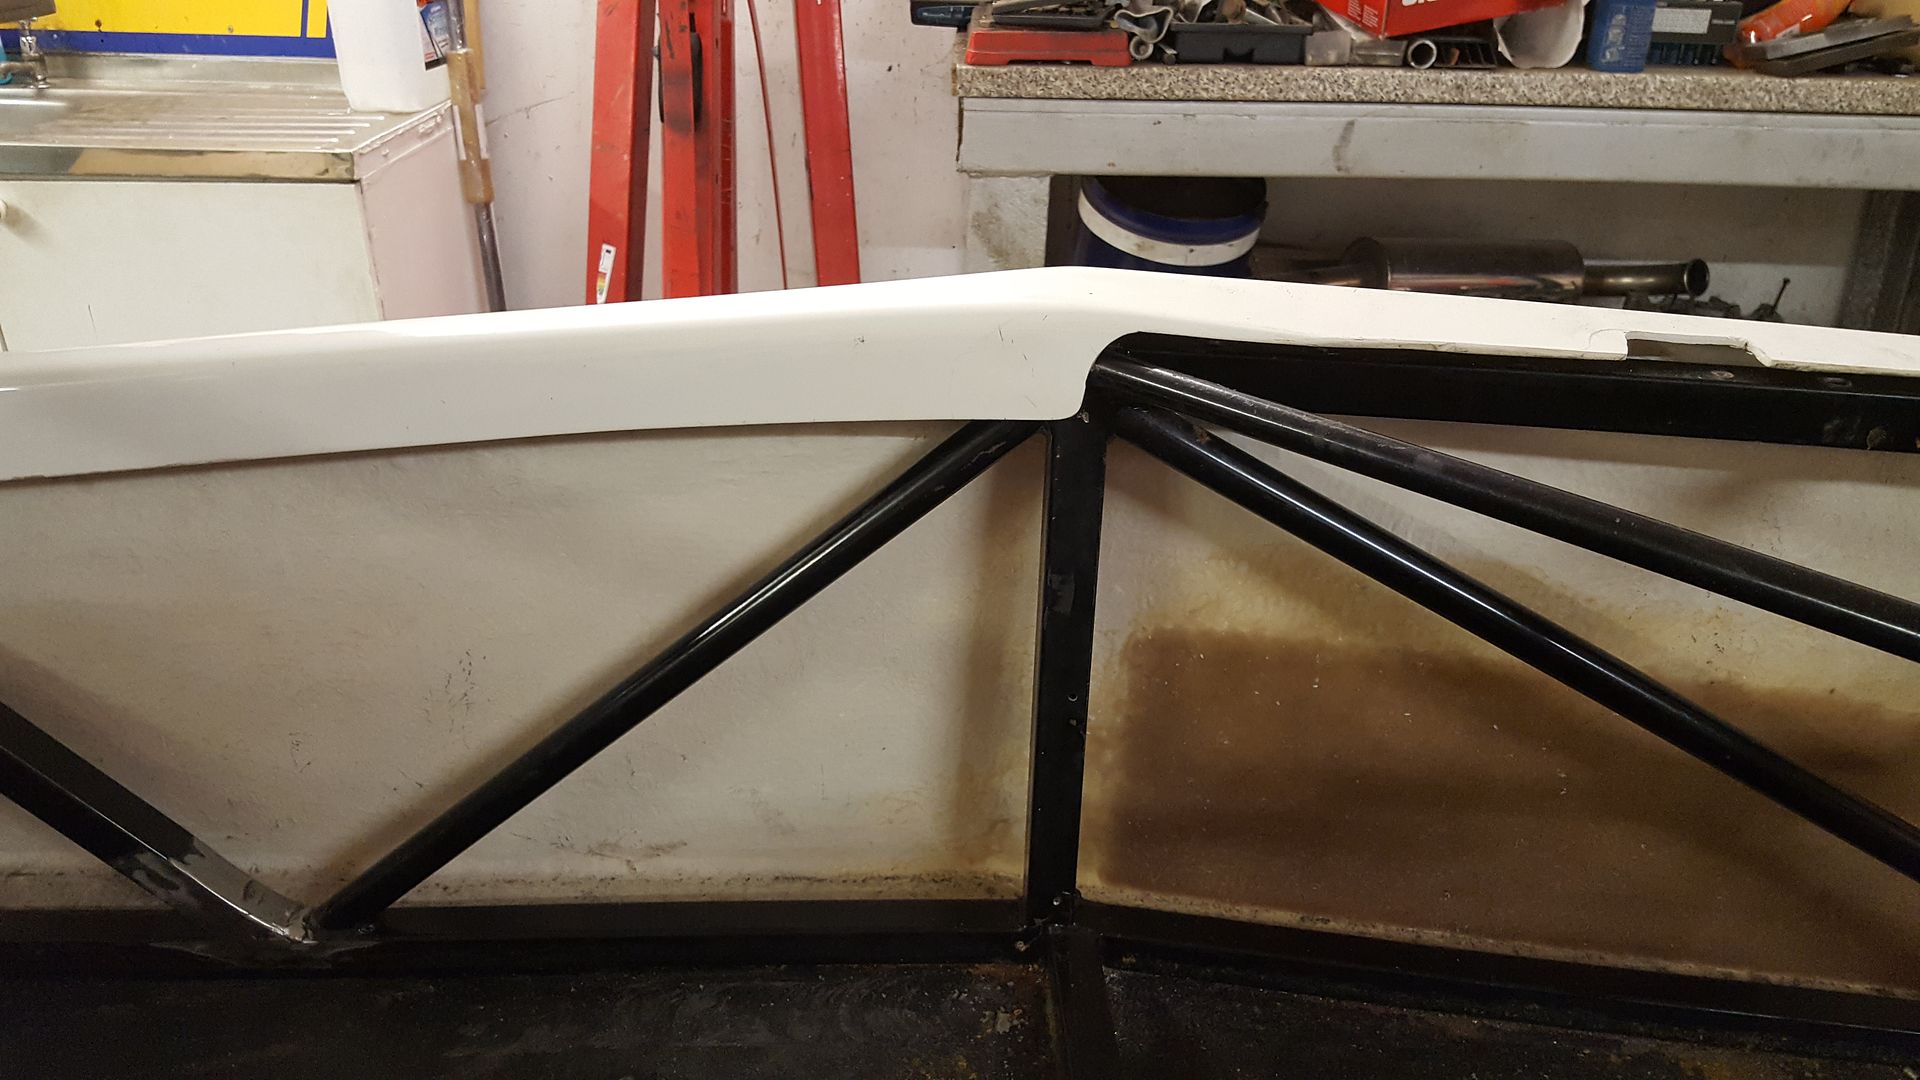
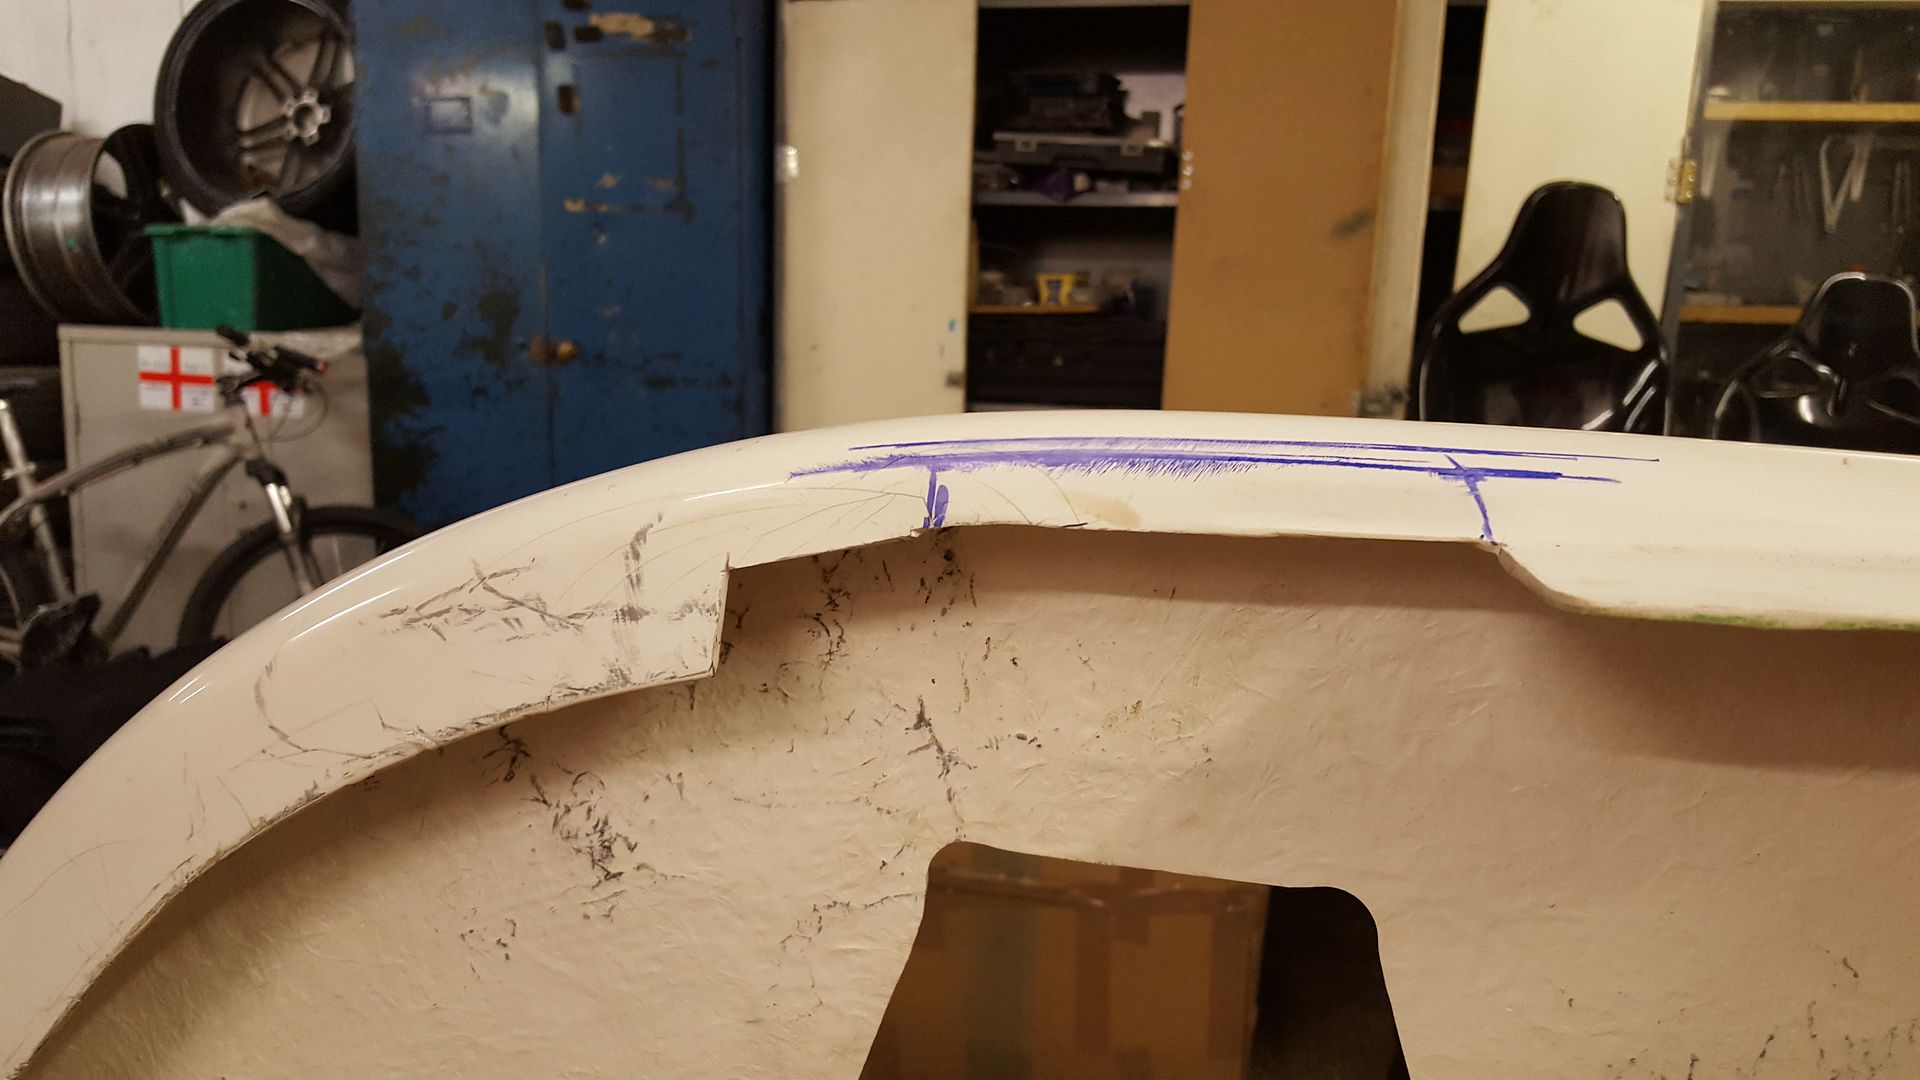
Bit more fettling and trying the bonnet and scuttle on to gauge the widths
Still struggling for height at the rear, can' get it to slot under the floor
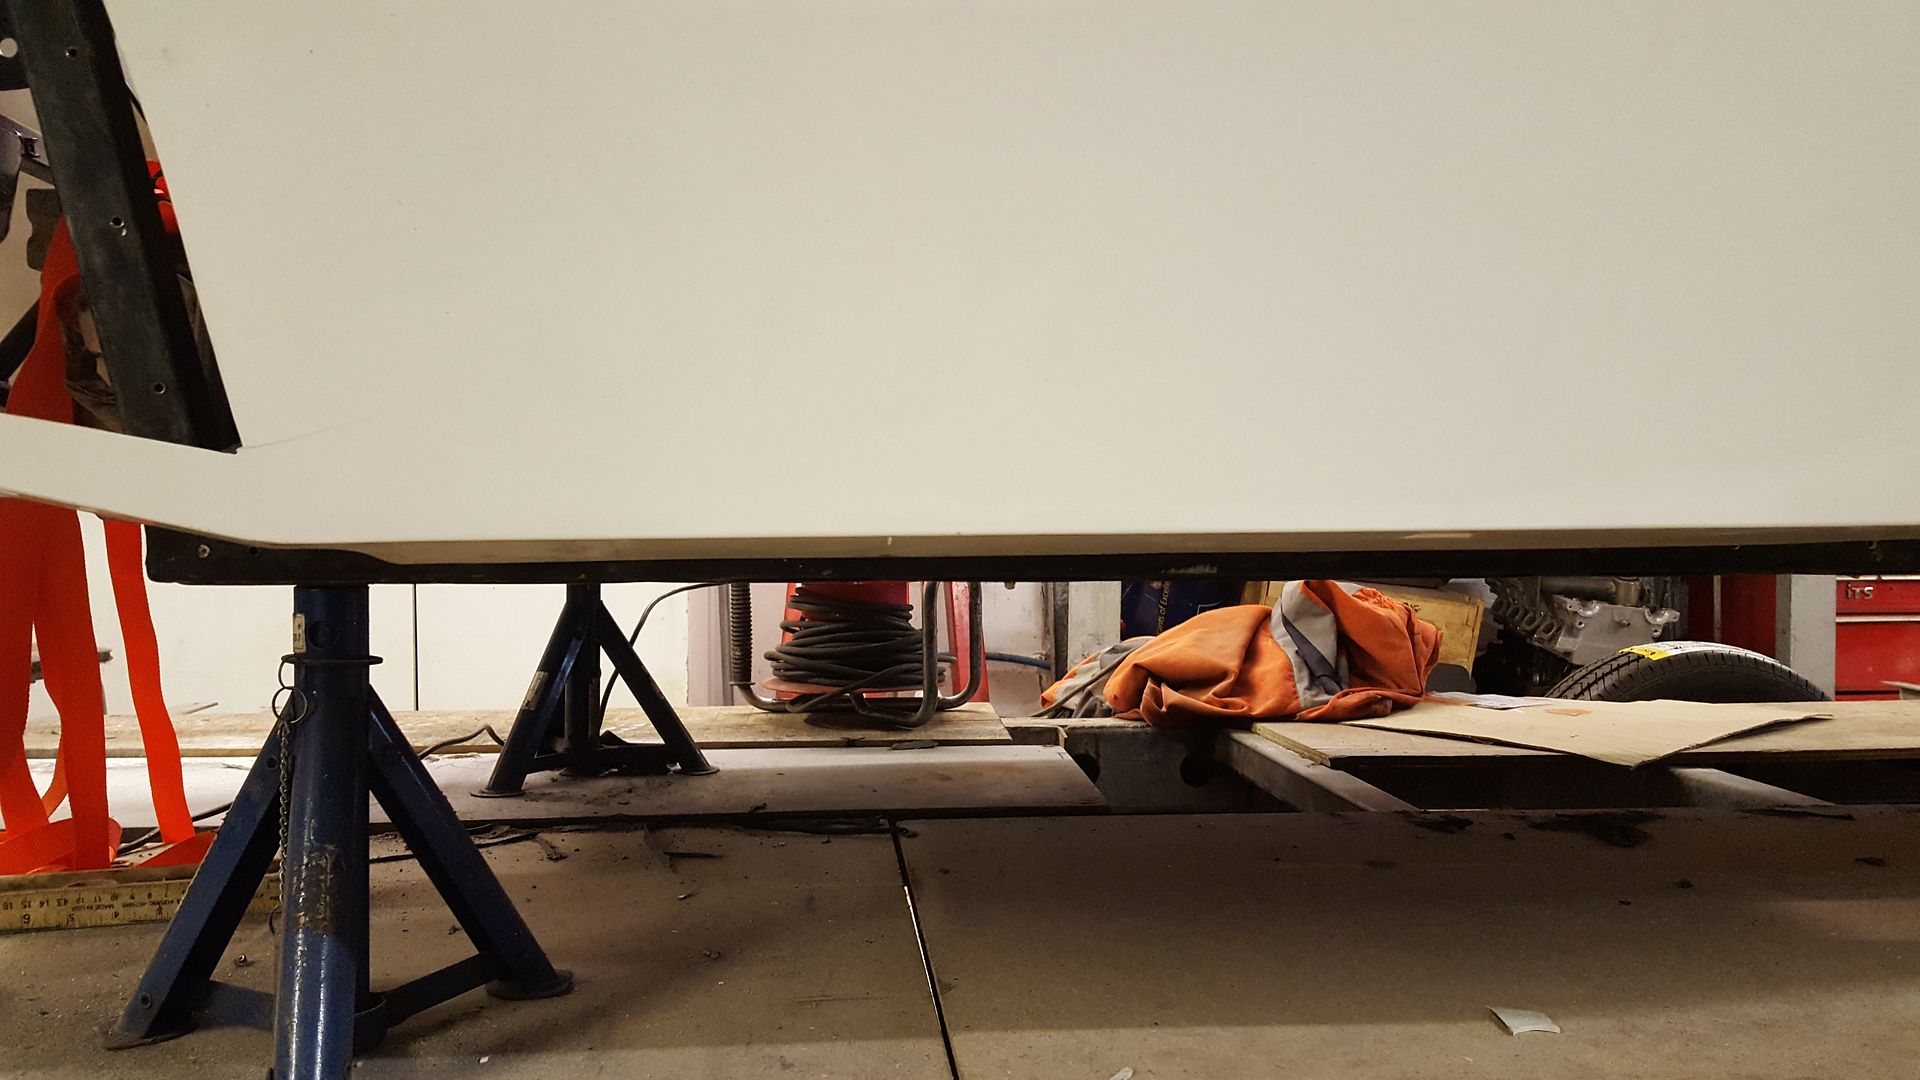
The turrets are defiantly taller and wider on the GBS chassis compared to the VORTX. I've trimmed out as much as I can from the top without the
turrets showing and it's wedged
(View up from under the turret)

As none of the front suspension holes line up I'm going to fibreglass matt it all up im not so worried about elongating holes to get it to
fit.
So I needed to adjust the front down a bit to fit under the chassis
And could then get it to slot under, drivers side fits nicely straight now
Lines up nicely with the nose
Needed to do the same the other side
And got the panels on with loads of mole grips
Nice and flush underneath
It's not perfectly placed, still needs lots of trimming, but it's getting there, chuffed with myself I gave it a good clean up
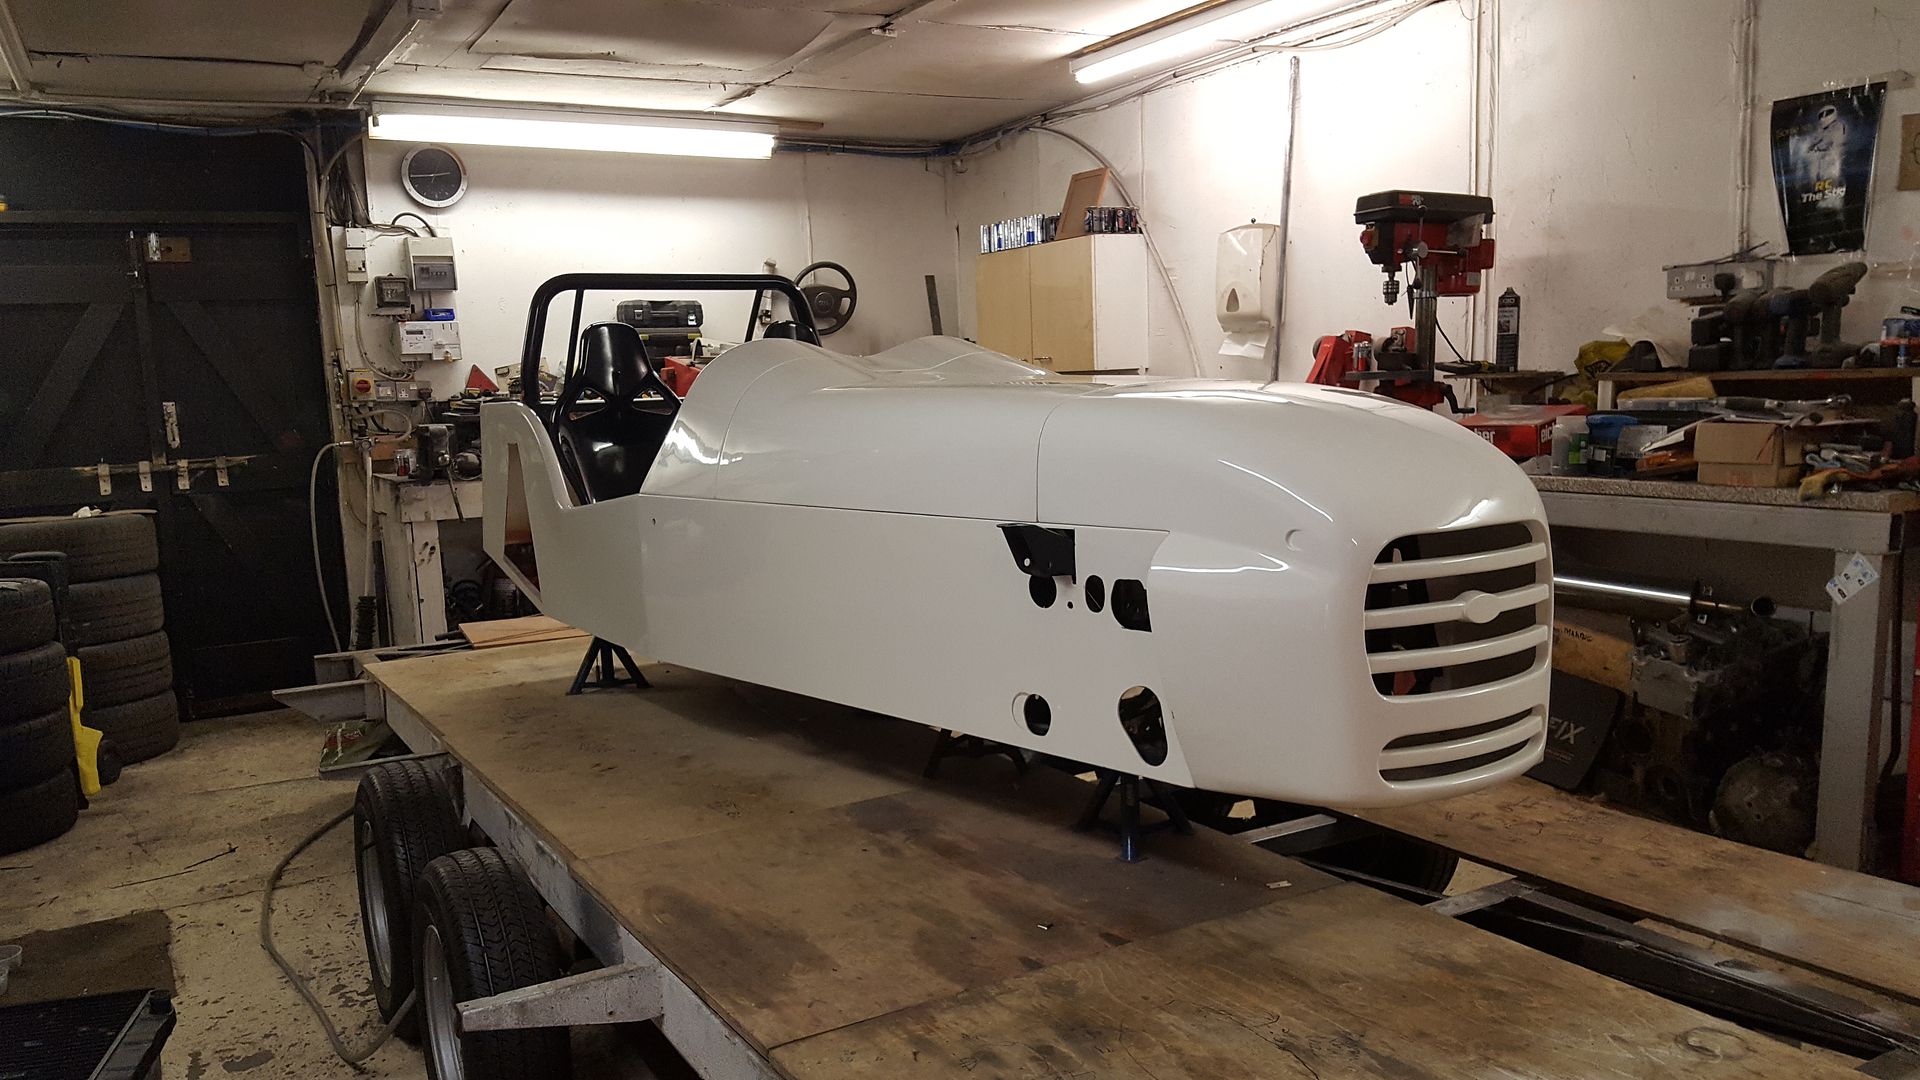
Tried the rear arches on just to see. Think they might be the wrong way round here
|
|
|