ceebmoj
|
| posted on 20/3/13 at 09:52 PM |

|
|
Thanks for the update, it looks great. I love following your project.
|
|
|
|
|
smart51
|
| posted on 20/3/13 at 10:28 PM |
|
|
Looking good Fred. I admire your patience. I'd be itching to pull it from the mould.
|
|
|
Fred W B
|
| posted on 23/3/13 at 11:42 AM |
|
|
Thanks for the kind responses Guys.
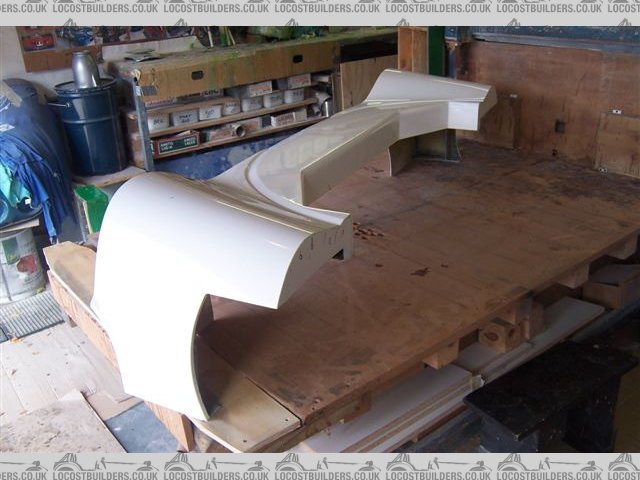
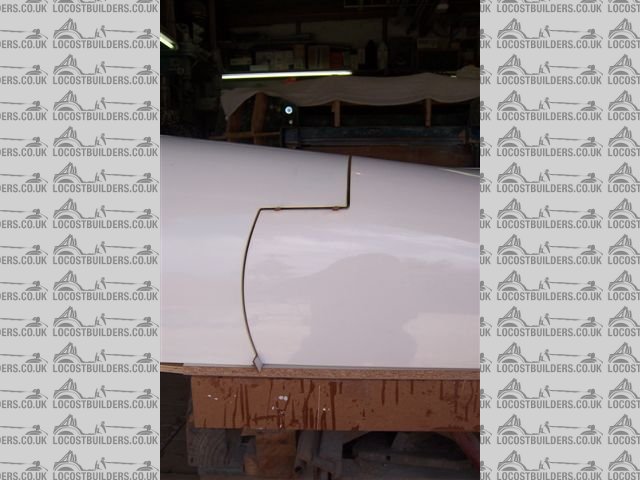
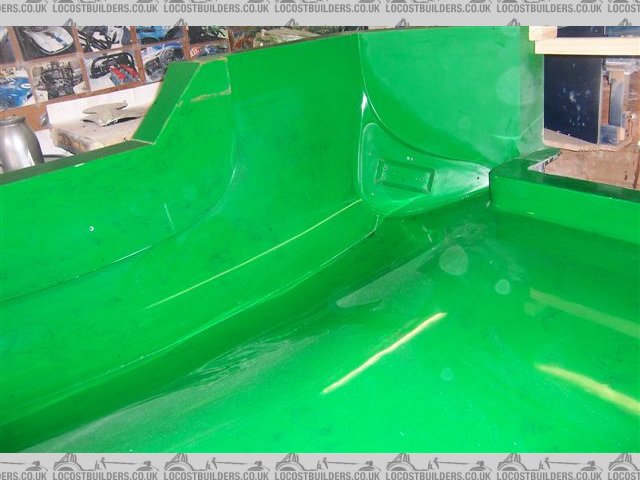
The scuttle is now out of the mold, and I could not resist mocking it up with the doors. Does it look like part of a car yet?
Cheers
Fred W B
You can do it quickly. You can do it cheap. You can do it right. Pick any two.
|
|
|
ceebmoj
|
| posted on 23/3/13 at 12:53 PM |
|
|
wow.
I cant weight to see the rest. I think you may have been asked before, but do you intend to sell bits when you are done?
|
|
|
Fred W B
|
| posted on 24/3/13 at 07:24 AM |
|
|
Hi Ceeb
Certainly if their is interest I will look at selling bits. Think that I might have to investigate getting a commercial concern to make parts in my
moulds though as it takes me so long.
Cheers
Fred W B
You can do it quickly. You can do it cheap. You can do it right. Pick any two.
|
|
|
Fred W B
|
| posted on 24/3/13 at 07:34 AM |
|
|
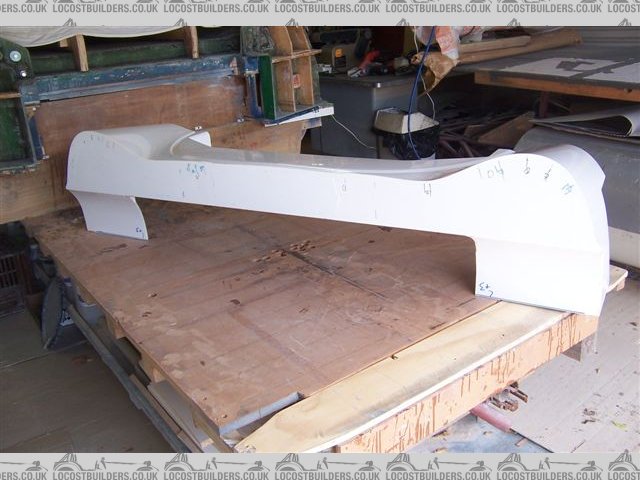
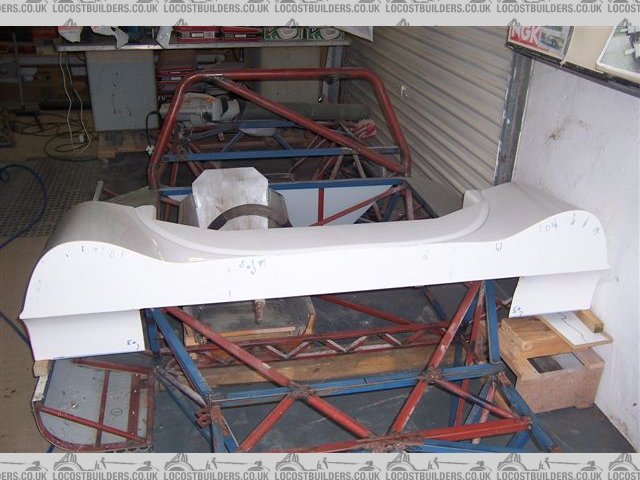
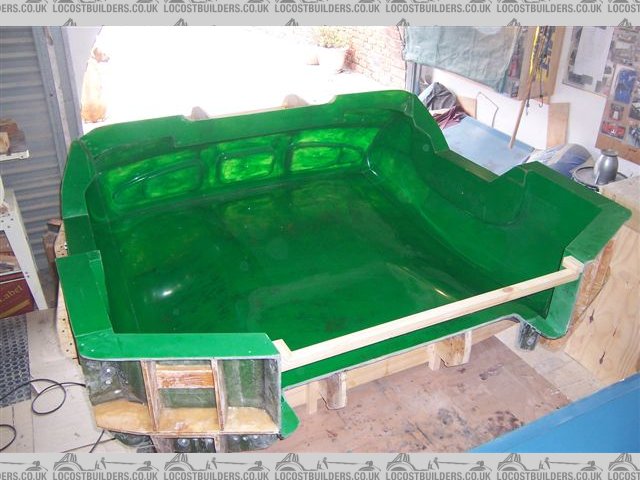
All this time the mock up chassis has been supporting the cutting table. I pulled the top off, cleaned up the huge accumulation of sanding dust and
glass fibres and tried the scuttle on the mock up chassis. It doesn't fit badly considering that when I made the mock up I did not know what
body I might use.
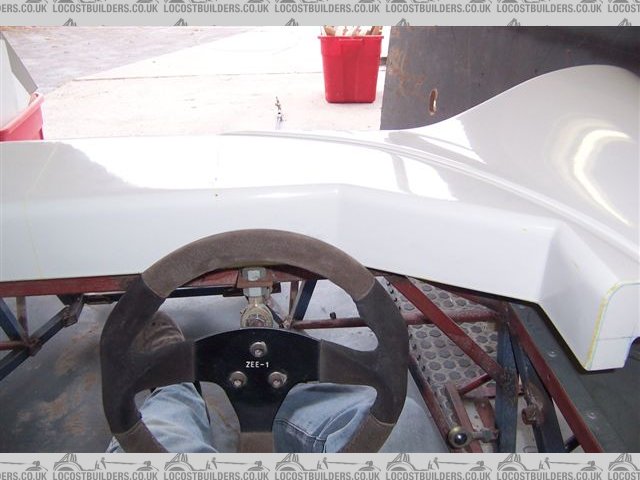
And yes I tried sitting it and just sat there contemplating the progress for a while. I didn't make motor noises though
Cheers
Fred W B
[Edited on 24/3/13 by Fred W B]
You can do it quickly. You can do it cheap. You can do it right. Pick any two.
|
|
|
andygtt
|
| posted on 26/3/13 at 04:44 PM |
|
|
quote:
Originally posted by Fred W B
And yes I tried sitting it and just sat there contemplating the progress for a while. I didn't make motor noises though
[Edited on 24/3/13 by Fred W B]
Sorry Fred, but thats a crime... you must go back into the garage right now and make some brum brummm noises while sitting in the driver seat
parts look fantastic, really looking forward to seeing the complete body 
Andy
please redefine your limits.
|
|
|
chrsgrain
|
| posted on 27/3/13 at 08:51 PM |
|
|
Wow - its always difficult to tell in photos, but those parts look SMOOTH... lovely work, nice panel gaps... awesome.
I thought I remembered that you've got the chassis all done and dusted, but that last post suggested that you've still got to make it??
Chris
Spoing! - the sound of an irony meter breaking...
|
|
|
adithorp
|
| posted on 27/3/13 at 09:09 PM |
|
|
Hasn't anybody ever told you kit cars can't have a finish like that. Panel gaps are supposed to be huge and uneven.
I'm just glad it's taking you so long, Fred... 'Cos when it's done everyone else's car's will look crap by
comparison.
"A witty saying proves nothing" Voltaire
http://jpsc.org.uk/forum/
|
|
|
Fred W B
|
| posted on 30/3/13 at 02:27 PM |
|
|
Thanks for the complimentary comments guys
Andy - As for making engine sounds while sat in the chassis, if I did make some it would be how a V8 engine sound was depicted in writing in those
wonderful "CARtoons" 70's comics, like this ..... Duga Duga Duga Duga.... .If you say it right it does sound like a V8 with open
exhausts at idle.
I still have some of the comics
Chris - The chassis so far is a roughly built mock up protoype that I put together to sort the ergonomics and the layout of the running gear. I welded
it almost fully and tested the torsional stiffness. I stopped working on it as I needed to sort out the overall width over the wheels and for that I
need the body confirmed. The idea now is to finish the body, and then hang it over this mock up chassis to finalize things like where the radiator
mounts, suspension etc. Once that is done I will then build a real "final" chassis. Some of the frame parts or subsections used in this
exercise could become part of the final chassis.
Adithorp - I'm sure it wont be that easy to get the panel gaps right once I have to hang the panels and actually make them open and close.
Cheers
Fred W B
[Edited on 30/3/13 by Fred W B]
[Edited on 30/3/13 by Fred W B]
You can do it quickly. You can do it cheap. You can do it right. Pick any two.
|
|
|
Fred W B
|
| posted on 30/3/13 at 02:36 PM |
|
|
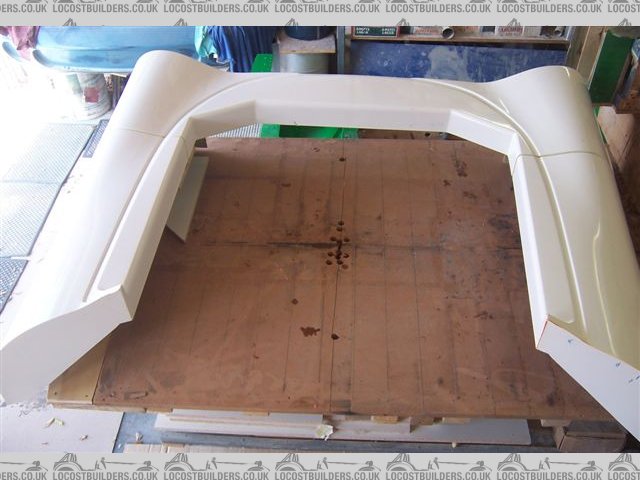
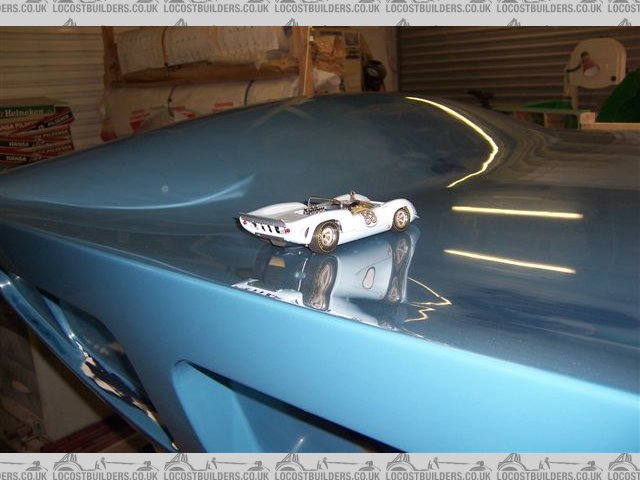
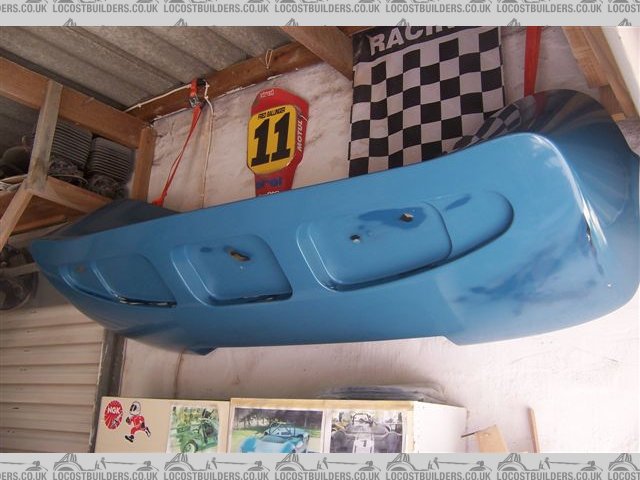
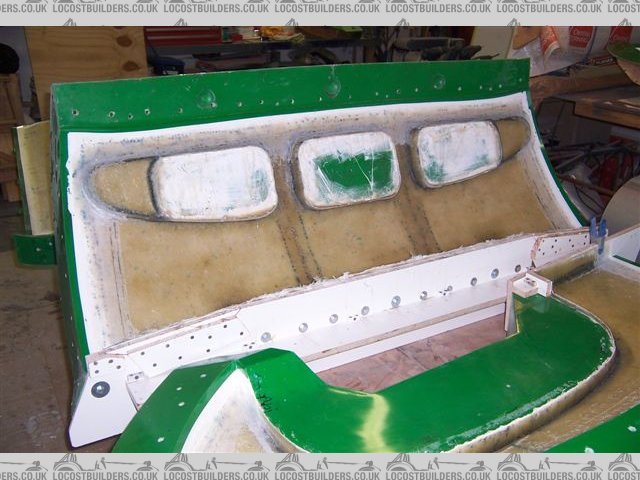
In further news, now that the scuttle is out of the way, a friend helped me pull the tail mold off what is left of the pattern.
We bolted it tougher roughly to get an idea of the scale of the next step. It's a big part, the surface area is over 6 m2. Now to get on with
preparing this. Some more return fences to make, then more polishing, matt cutting etc etc.
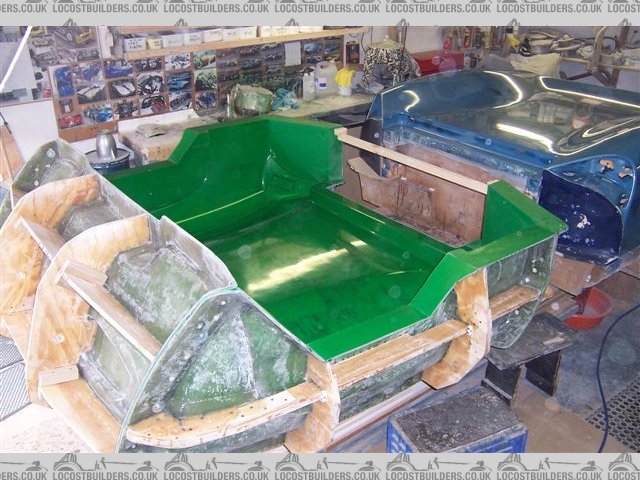
My gell coat application does not look so good when the rear panel is backlit in the open door like that
Feels like I've come a long way since I bought the model to copy!
Cheers
Fred W B
[Edited on 30/3/13 by Fred W B]
[Edited on 30/3/13 by Fred W B]
[Edited on 30/3/13 by Fred W B]
[Edited on 30/3/13 by Fred W B]
You can do it quickly. You can do it cheap. You can do it right. Pick any two.
|
|
|
Ivan
|
| posted on 30/3/13 at 02:53 PM |
|
|

|
|
|
Fred W B
|
| posted on 5/5/13 at 06:37 PM |
|
|
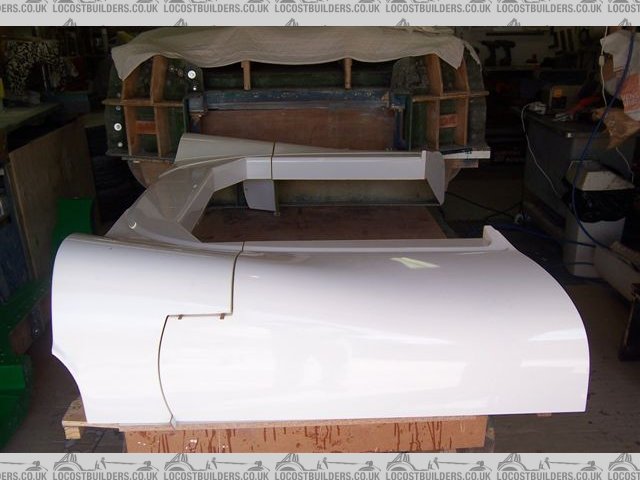
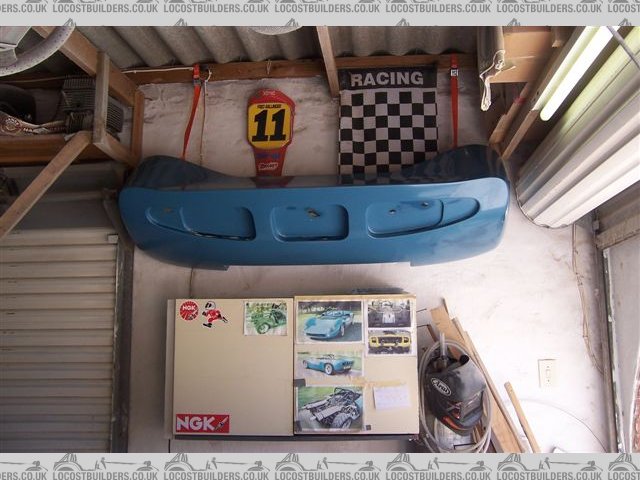
Made a bit more progress, scrapped out the rest of the pattern. I saved the rearmost portion of the tail and hung it on the wall.
You can do it quickly. You can do it cheap. You can do it right. Pick any two.
|
|
|
Fred W B
|
| posted on 5/5/13 at 06:41 PM |
|
|
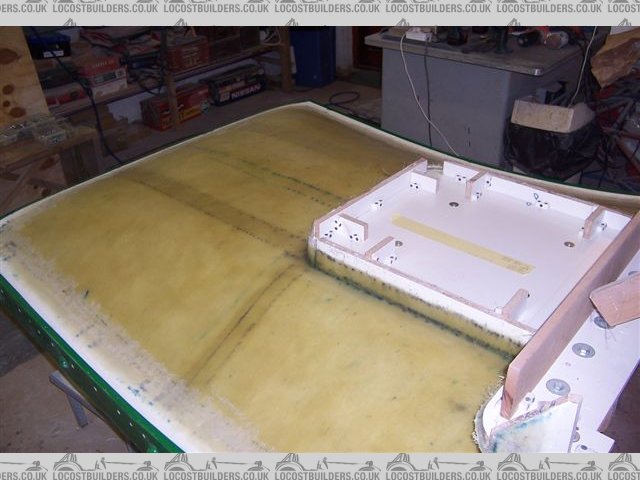
Finished the returns on the edges of the tail, and made the former for the hole above the engine.
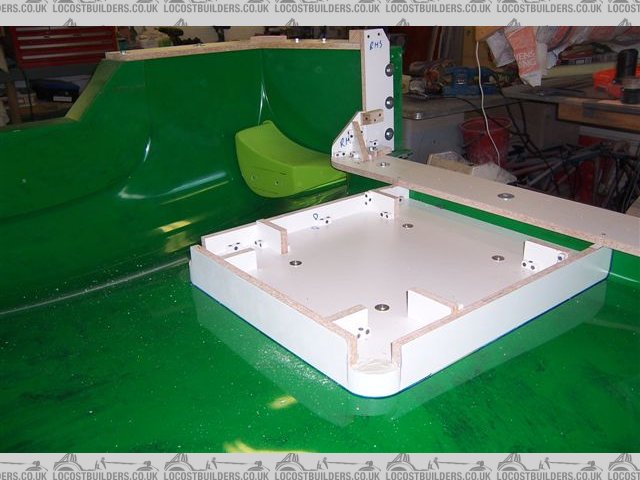
I made this a separate piece so that I can change the size of hole, or omit it altogether on future parts
Cheers
Fred W B
[Edited on 5/5/13 by Fred W B]
You can do it quickly. You can do it cheap. You can do it right. Pick any two.
|
|
|
smart51
|
| posted on 5/5/13 at 07:19 PM |
|
|
You've got a nice shine on that mould Fred. Good work! How are you planning to seal the engine recess to the mould to stop the new gelcoat
seeping underneath?
|
|
|
Fred W B
|
| posted on 6/5/13 at 11:11 AM |
|
|
quote:
You've got a nice shine on that mould Fred. Good Work!
Thanks Smart, considering that I have not yet even polished the surface 
quote:
How are you planning to seal the engine recess to the mould to stop the new gelcoat seeping underneath?
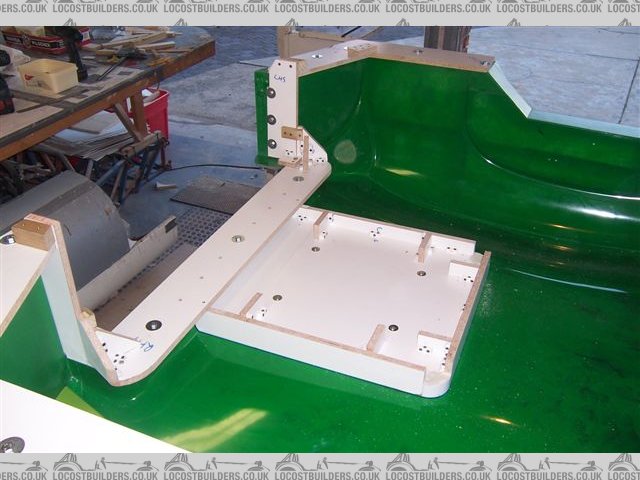
I will run the usual plastacine fillet along the corner, to give me a 4 mm radius. The former actually fits tightly against the surface, what looks
like a gap in the pictures is a thick blue felt tip pen line I drew around the former to mark the position.
Cheers
[Edited on 6/5/13 by Fred W B]
You can do it quickly. You can do it cheap. You can do it right. Pick any two.
|
|
|
Fred W B
|
| posted on 30/6/13 at 07:25 PM |
|
|
I've made some progress on the tail section. Because of the size of the part, difficulty of access and as I work mostly on my own I have to make
the part in sections.
I laid up the side sections first
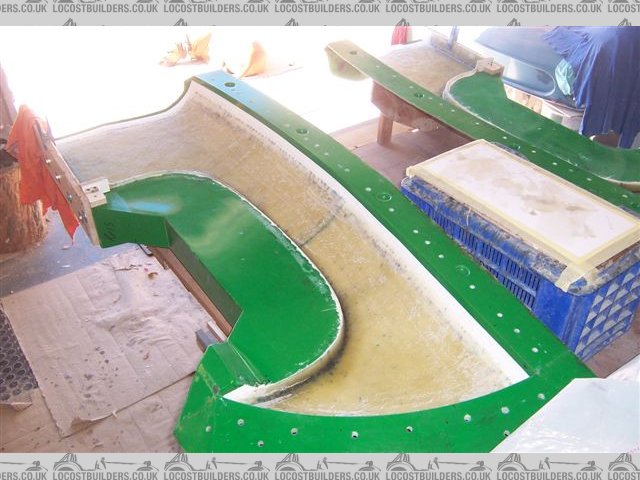
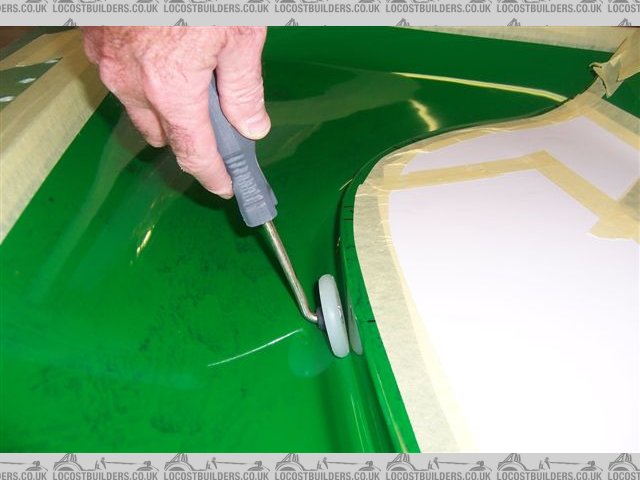
I made this tool to help work the matt into the tight corners of the wheel arch lip
You can do it quickly. You can do it cheap. You can do it right. Pick any two.
|
|
|
Fred W B
|
| posted on 30/6/13 at 07:27 PM |
|
|
Then I laid up the rear section
You can do it quickly. You can do it cheap. You can do it right. Pick any two.
|
|
|
Fred W B
|
| posted on 30/6/13 at 07:31 PM |
|
|
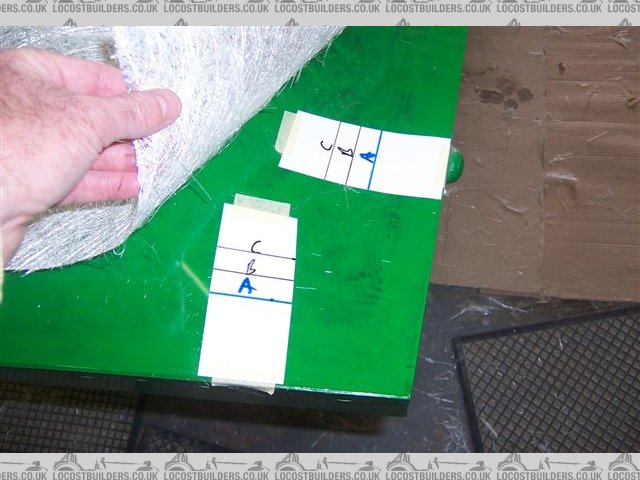
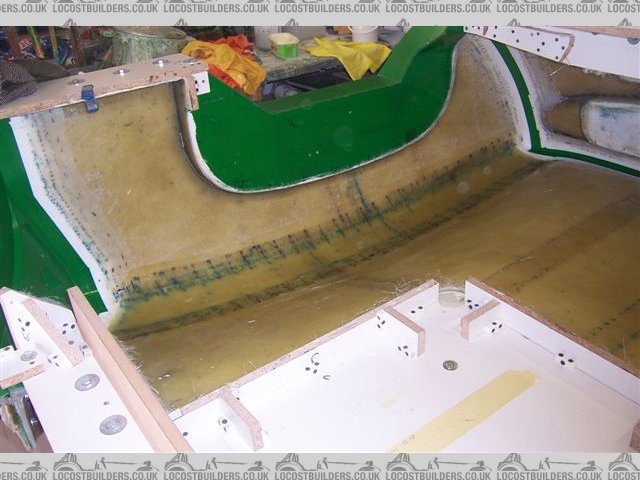
Then the main top surface
I masked the 2 layers of gell edges and staggered the edges of the 3 layers of matt to enable me to blend in the joining sections
You can do it quickly. You can do it cheap. You can do it right. Pick any two.
|
|
|
Fred W B
|
| posted on 30/6/13 at 07:38 PM |
|
|
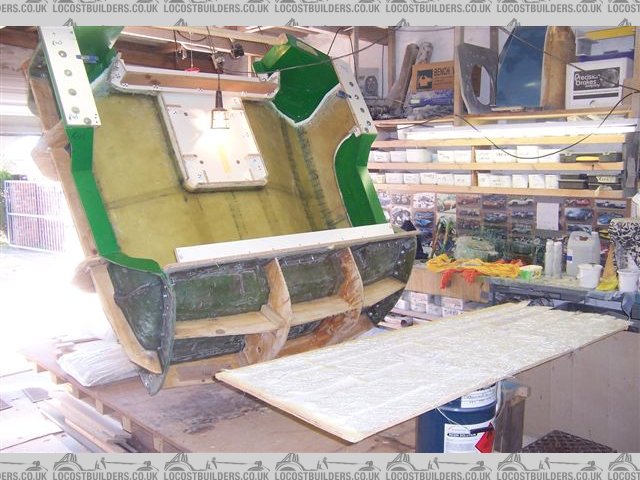
Then I dressed the edges of the part sections and bolted the 6 outer pieces of the mould together. The next step was to glass over the join between
the sides and the top section. Again the joining pieces of matt were staggered in width to give an even thickness across the join. The dark marks in
the layup are pen marks I use to align the matt pieces
[Edited on 30/6/13 by Fred W B]
[Edited on 30/6/13 by Fred W B]
You can do it quickly. You can do it cheap. You can do it right. Pick any two.
|
|
|
GonzoRacer
|
| posted on 30/6/13 at 07:42 PM |
|
|
Very nice work, Fred! And, as you said, a LOT of work for one man with only two hands. (I assume you've got two?)
Well done, Sir!
JDK
"And it wasn't even a full moon."
|
|
|
smart51
|
| posted on 30/6/13 at 07:44 PM |
|
|
Good to see your progress. I can't wait to see the finished result.
|
|
|
Fred W B
|
| posted on 30/6/13 at 07:47 PM |
|
|
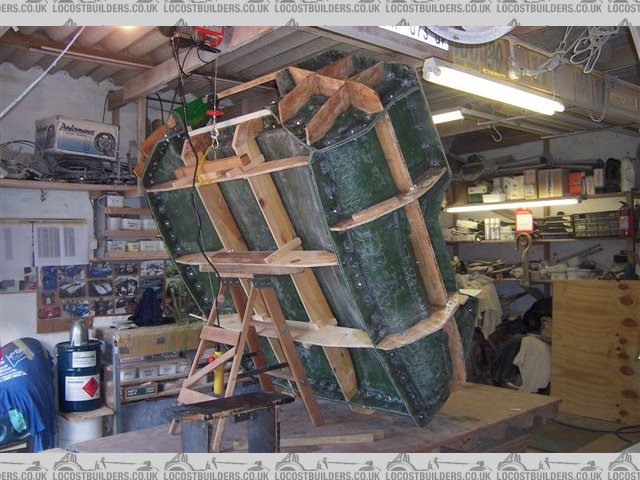
Thanks for the comments guys
This weekend I had to position the mould almost vertically to make it possible to reach all of the top edge of the tail to top section join area.

You can do it quickly. You can do it cheap. You can do it right. Pick any two.
|
|
|
Fred W B
|
| posted on 30/6/13 at 07:48 PM |
|
|
and here you see the prepared matt to make that top edge join
That was laid up today. My hamstrings are going to feel it tomorrow!
Cheers
Fred W B
[Edited on 30/6/13 by Fred W B]
[Edited on 30/6/13 by Fred W B]
You can do it quickly. You can do it cheap. You can do it right. Pick any two.
|
|
|
ceebmoj
|
| posted on 30/6/13 at 10:05 PM |
|
|
looks great cant be long till you get the first rear clip
|
|
|