bart
|
| posted on 11/3/15 at 01:48 AM |

|
|
Nice lathe
Make a good job of the slides and nuts and it will out live you
Consider covers ion to quick change tool post. Worth it in the long run
BE ALERT > BRITAIN NEEDS LERTS
|
|
|
|
|
Rosco86
|
| posted on 20/3/15 at 07:26 PM |

|
|
quote:
Originally posted by bart
Nice lathe
Make a good job of the slides and nuts and it will out live you
Consider covers ion to quick change tool post. Worth it in the long run
Cheers pal, yeah it's on my never ending list!
|
|
|
Rosco86
|
| posted on 20/3/15 at 07:36 PM |

|
|
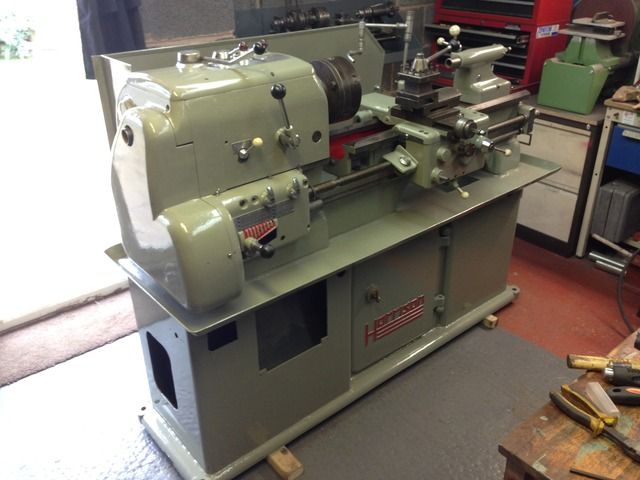
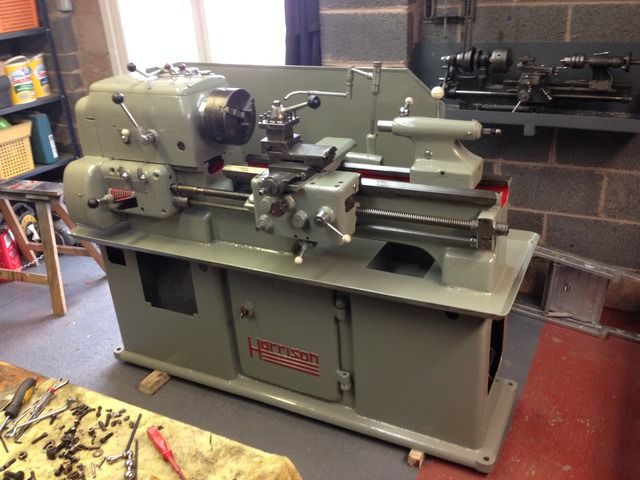
Well the lathes almost there, new motor fitted, just a bit of wiring up to do
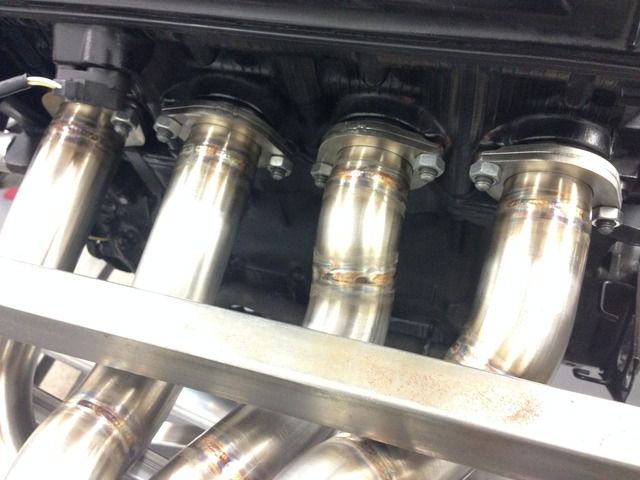
Also I've got my exhaust back all welded up
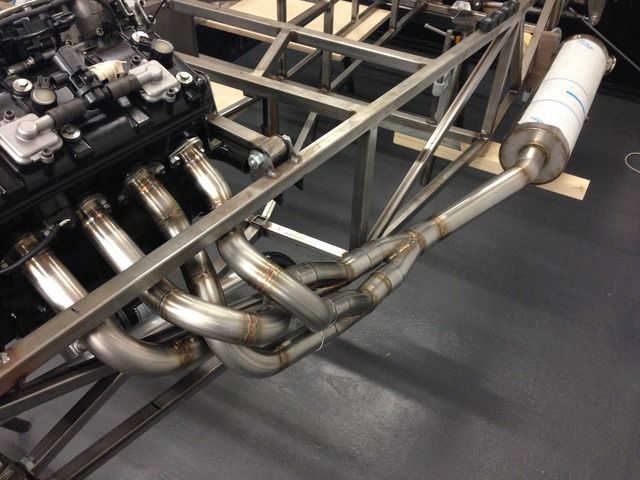
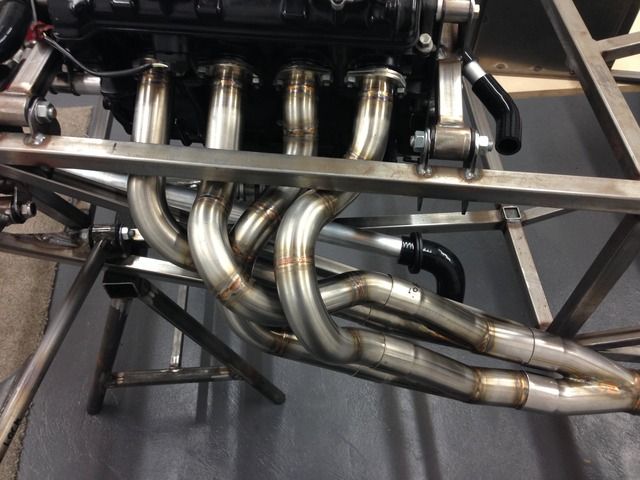
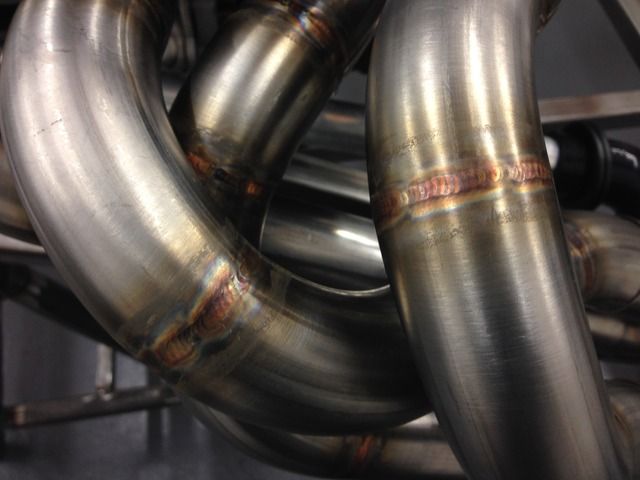
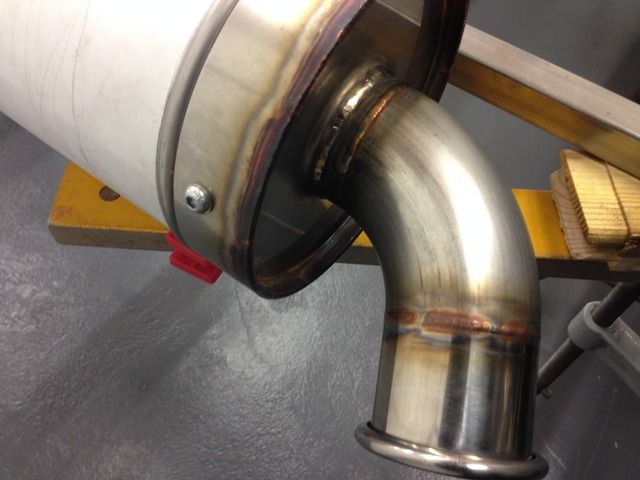
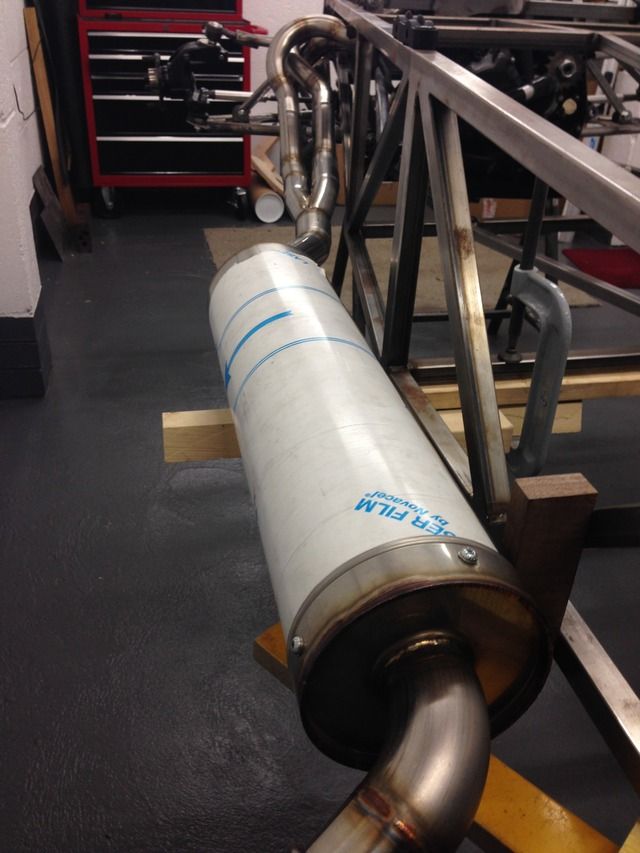
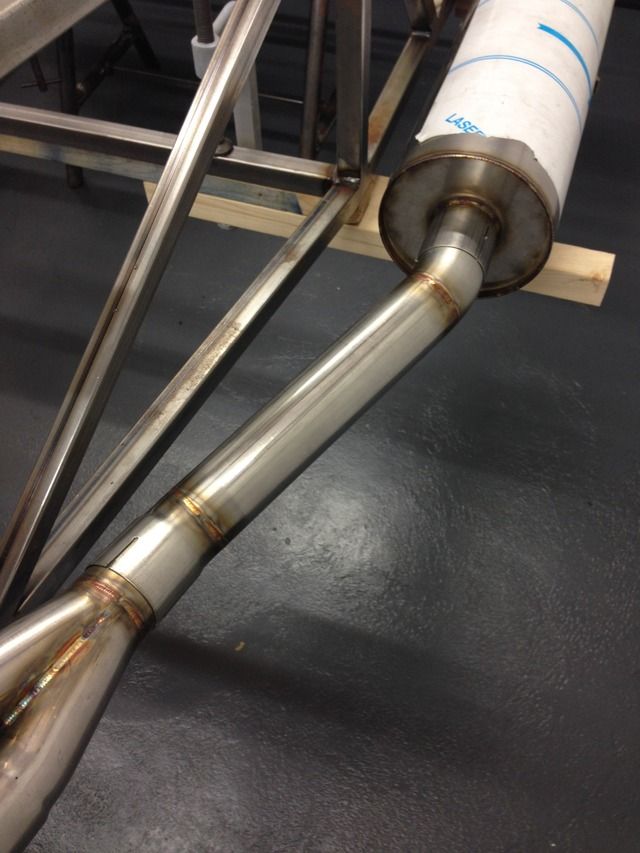
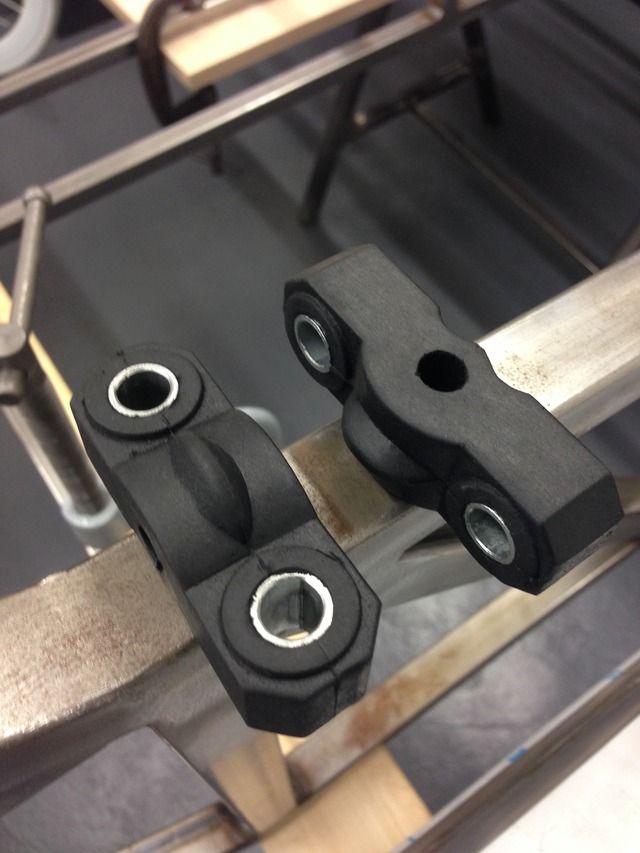
Going to use these rubber mounts I think
I'm a little worried about the clearance between the exhaust and my grp side panel, the gaps 15mm at the min
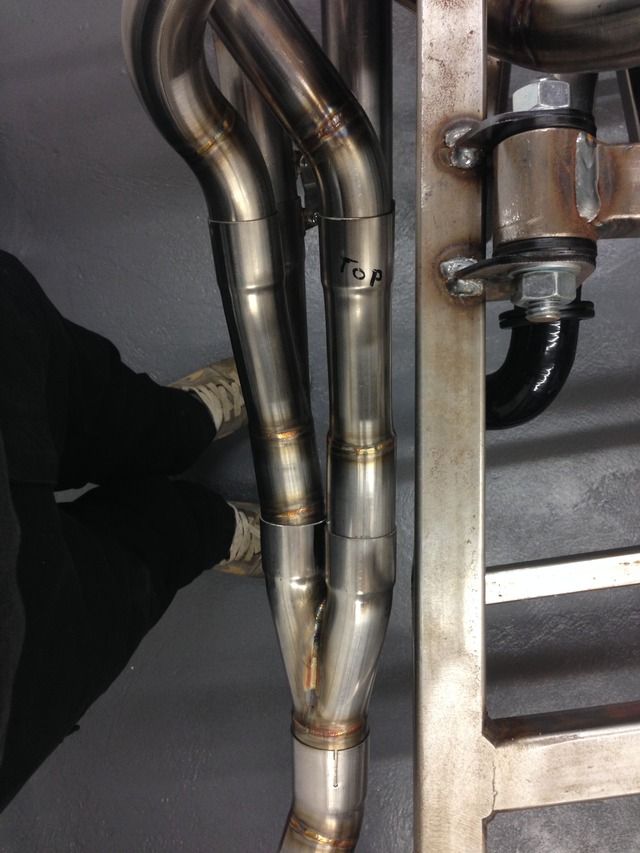
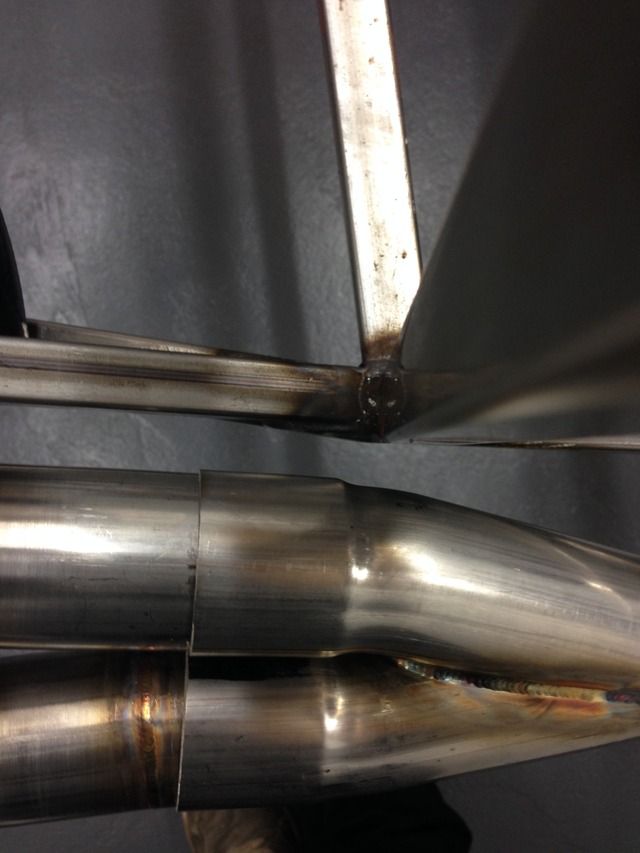
I'm happy with the silencer position though
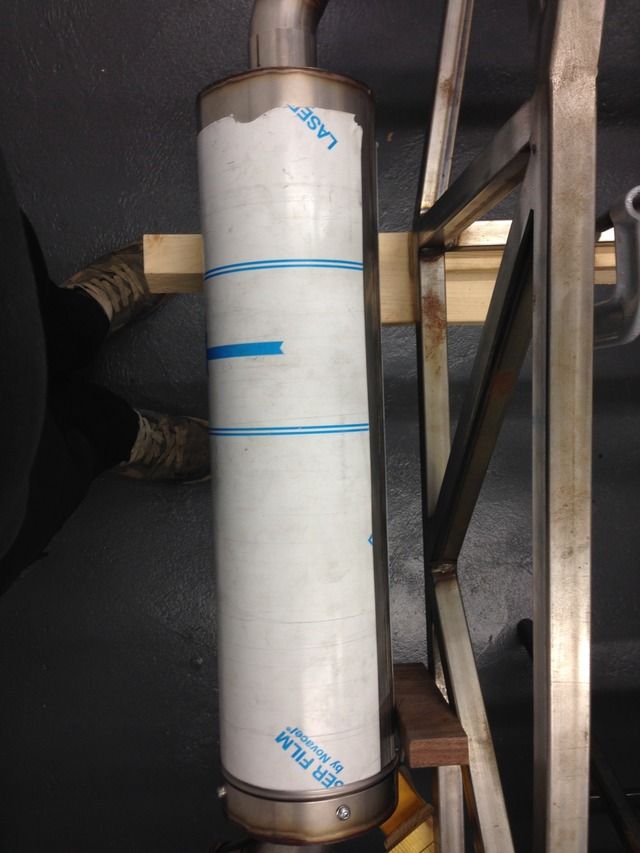
Can anyone comment on my clearance issue?
|
|
|
bart
|
| posted on 20/3/15 at 07:51 PM |

|
|
Nice lathe
Nice exhaust
Looking good
BE ALERT > BRITAIN NEEDS LERTS
|
|
|
big_wasa
|
| posted on 20/3/15 at 08:34 PM |

|
|
Lathe looks great.
|
|
|
Rosco86
|
| posted on 24/3/15 at 10:22 PM |

|
|
Cheers guys
|
|
|
Rosco86
|
| posted on 30/3/15 at 07:53 PM |

|
|
A bit of an update tonight, I was looking on speedhunters today like I do most days, and they decided to do a little wright up with some pictures I
sent in
http://www.speedhunters.com/2015/03/iamthespeedhunter-your-bike-powered-builds/
It's about half way down
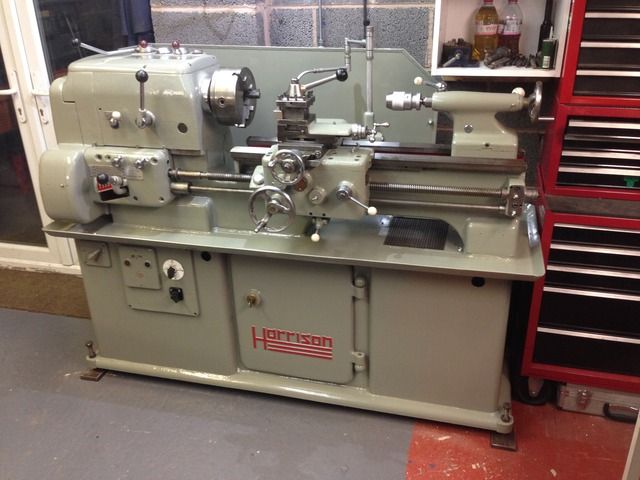
Next on the list, the lathes all finished
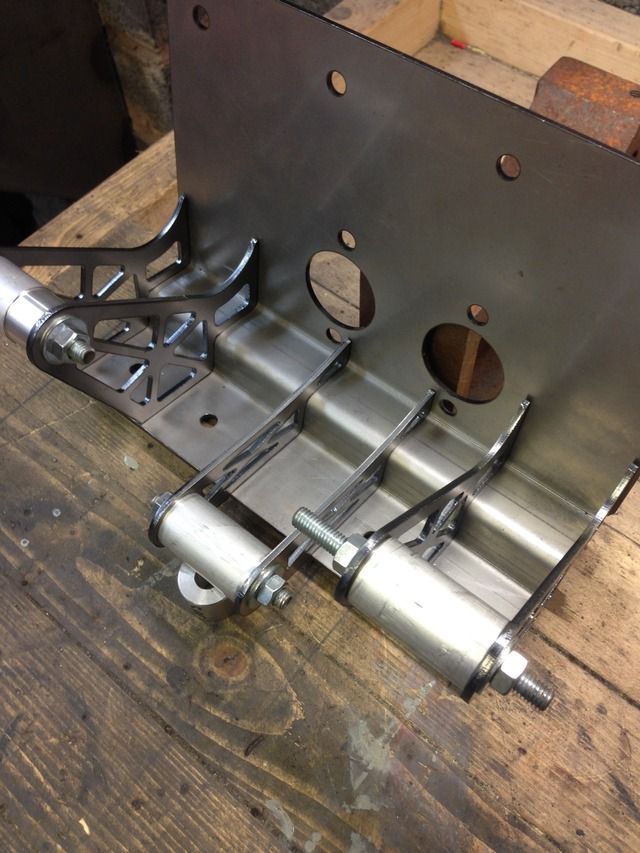
Also I'm back on my pedal box, should get it all tacked up this week
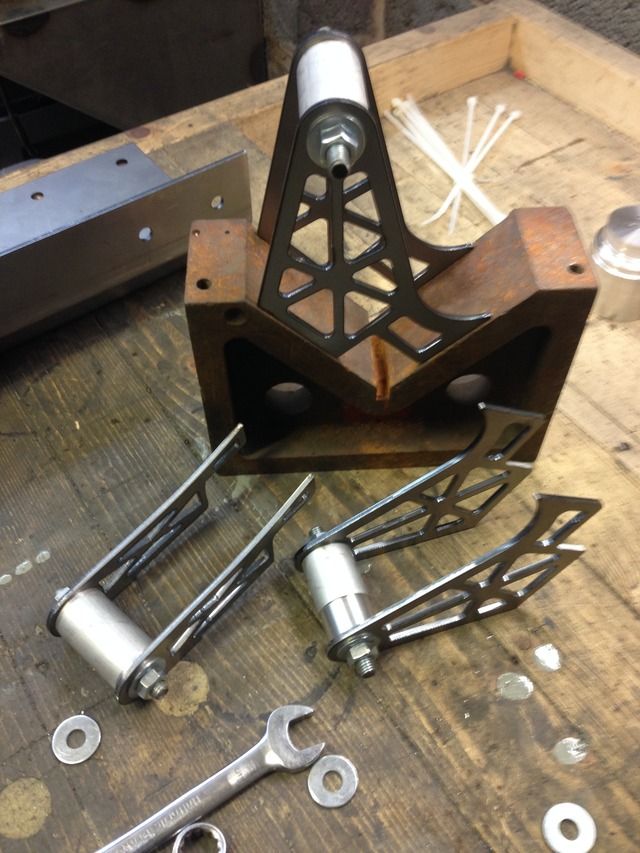
Clamping the sides up square
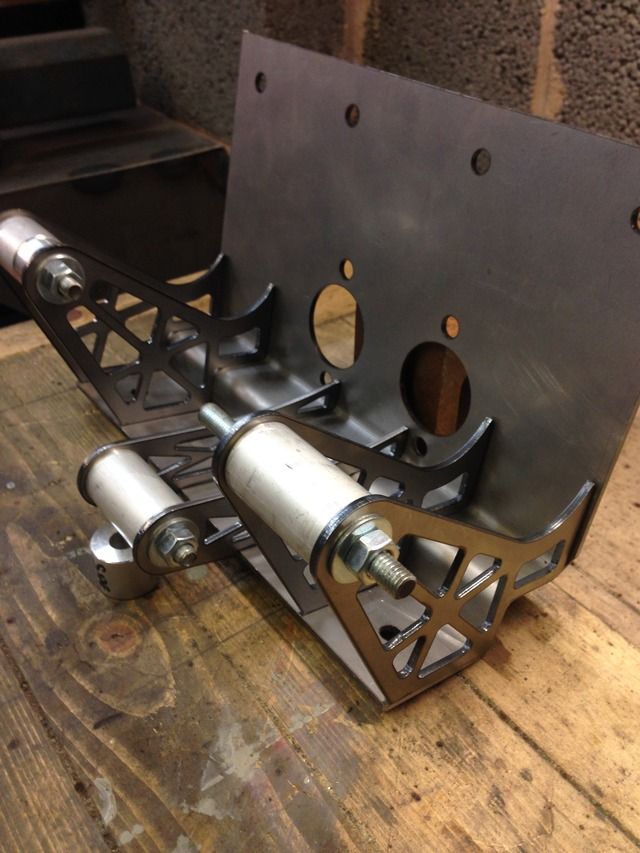
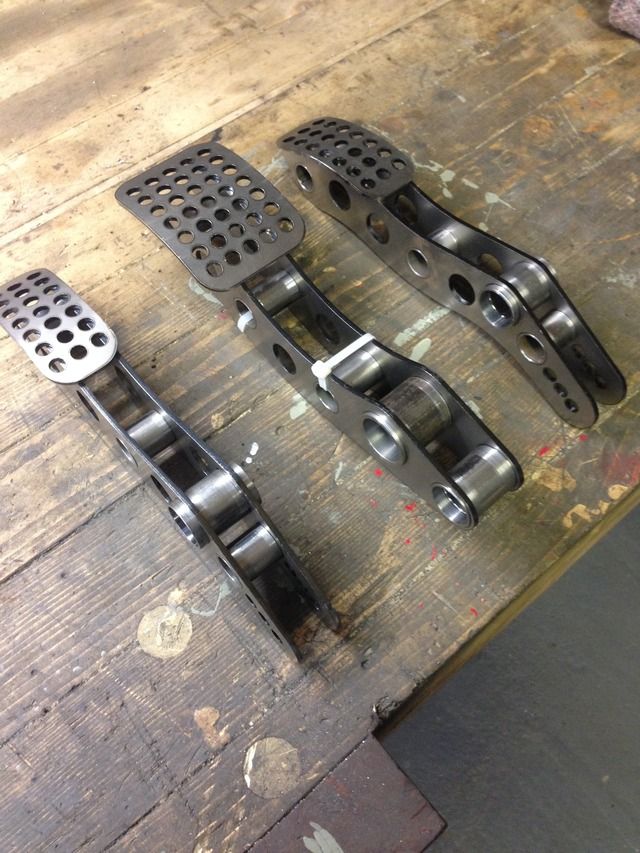
Pedals
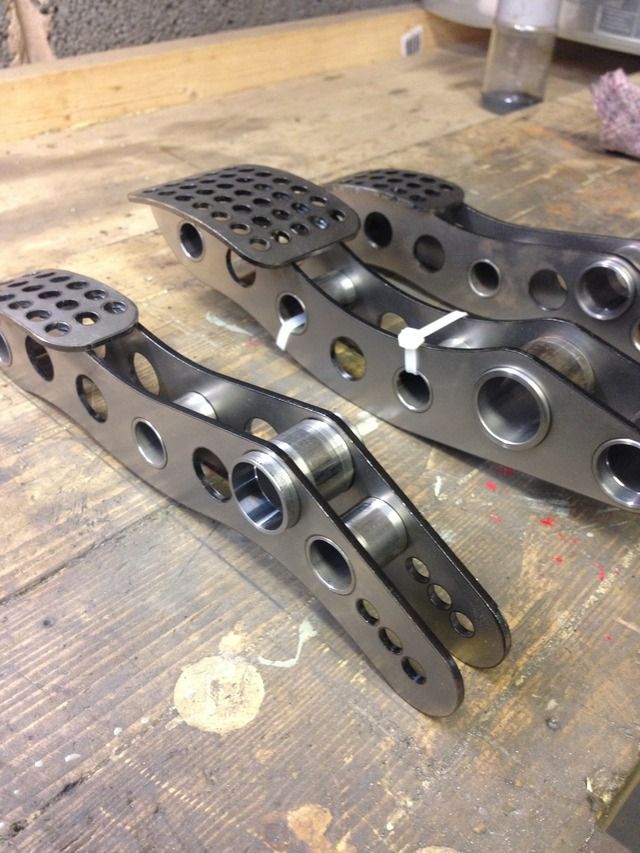
Flange bearings for the pivots
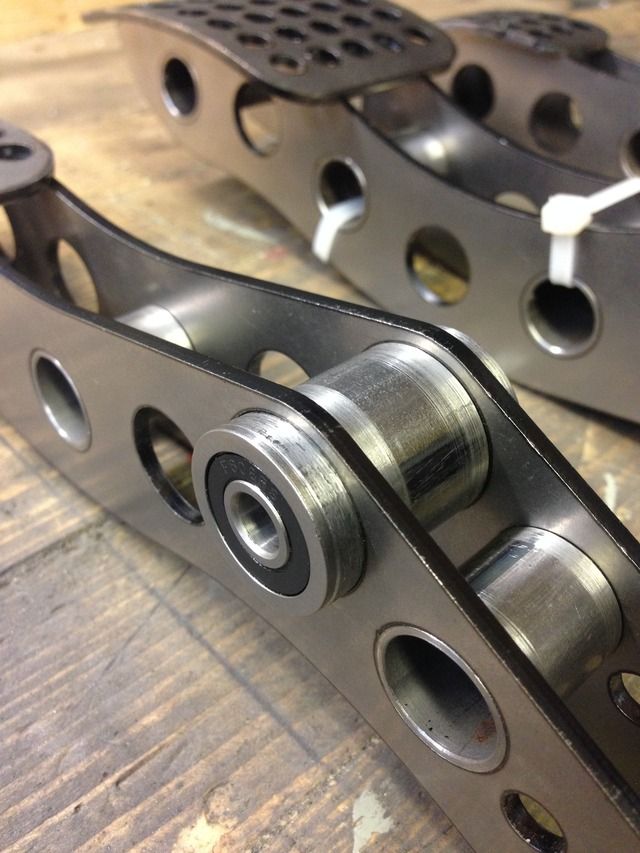
All the tubes will be tig welded in
And that's it for now
|
|
|
Andybarbet
|
| posted on 30/3/15 at 08:07 PM |

|
|
Oooooh - I like that a lot :-)
Give a man a fish & it will feed him for a day, give him a fishing rod & you've saved a fish.
|
|
|
rdodger
|
| posted on 30/3/15 at 08:56 PM |

|
|
Very nice!
|
|
|
Rosco86
|
| posted on 1/4/15 at 09:18 PM |

|
|
A bit more done tonight, I made some exhaust hangers at the weekend and my rubber mounts came today so got it all mounted and tacked up
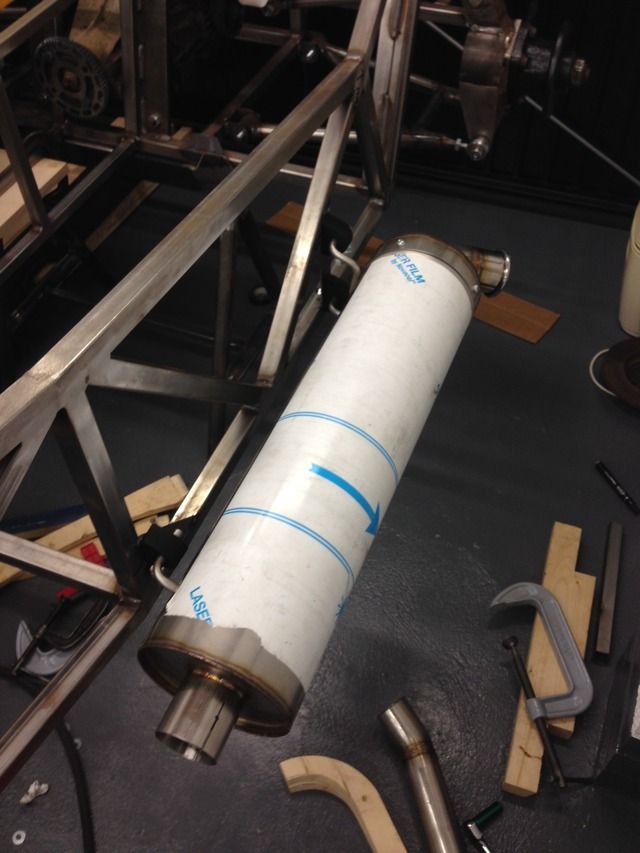
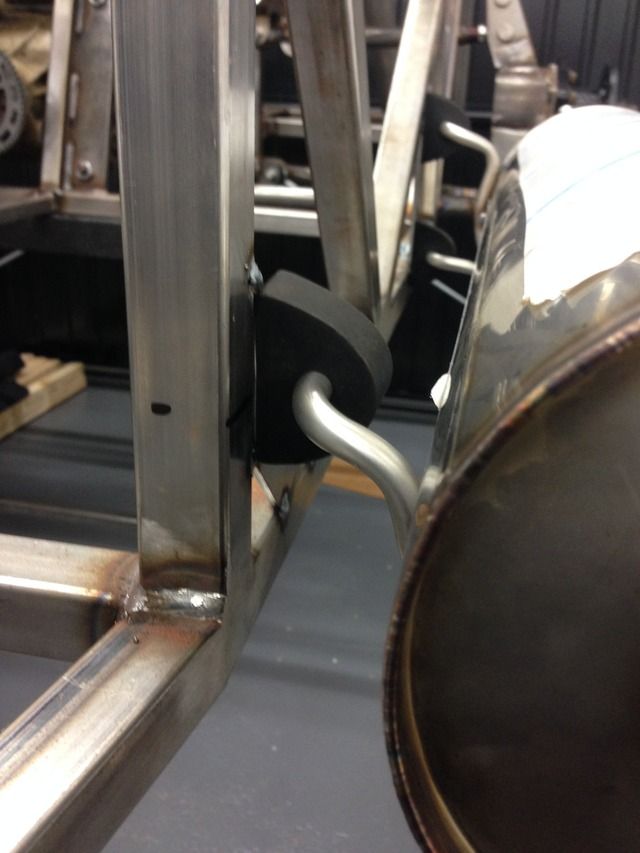
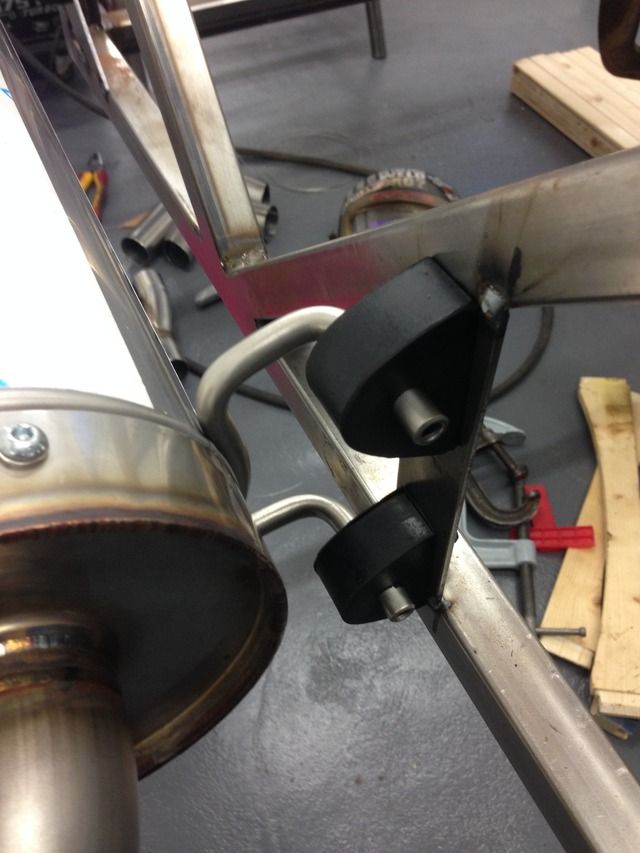
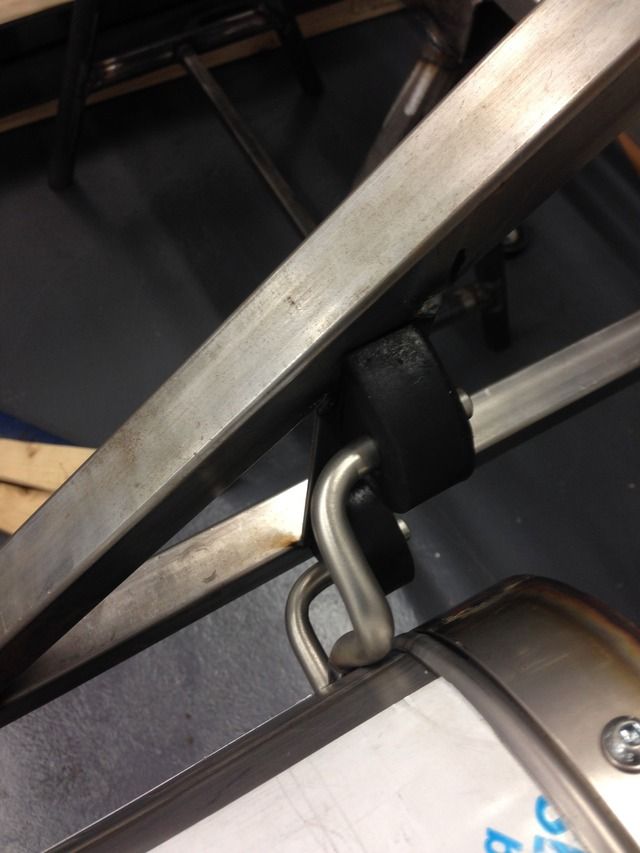
Pretty happy with how it's worked out, sits where I want it to which in good
[Edited on 1/4/15 by Rosco86]
|
|
|
Rosco86
|
| posted on 6/4/15 at 04:10 PM |

|
|
Had a good few days on the car this weekend, got a bit done
Pedal box tacked up and in the car, there's still a bit to do on it but at least I no where my seats going
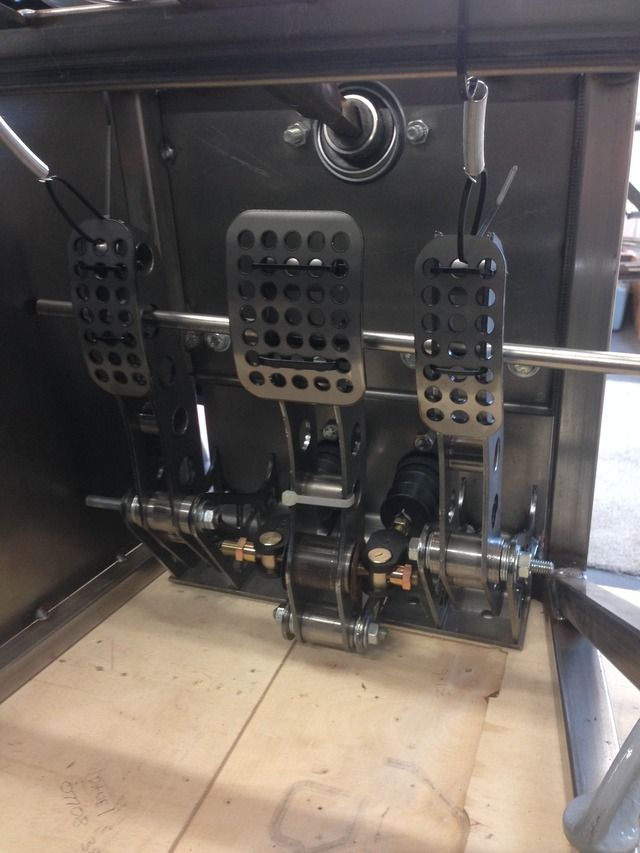
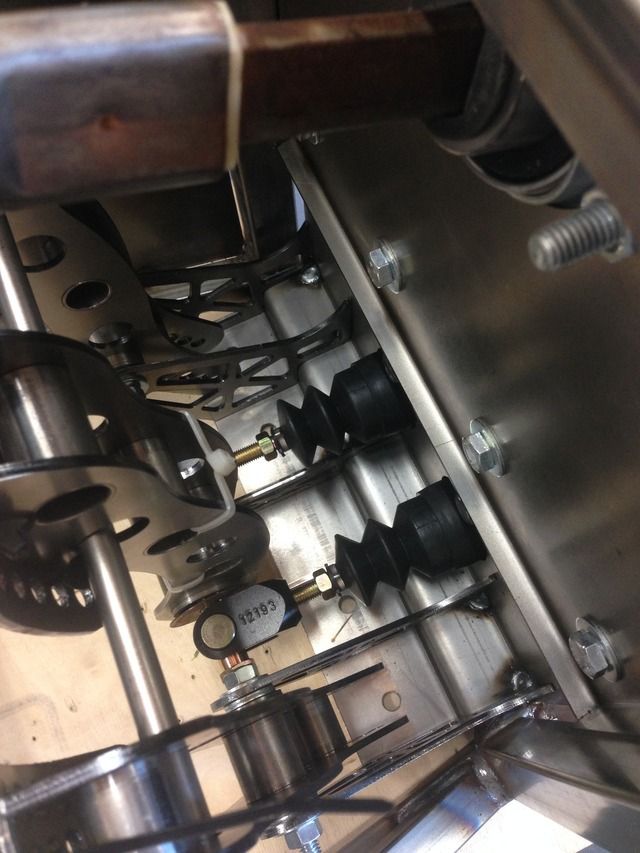
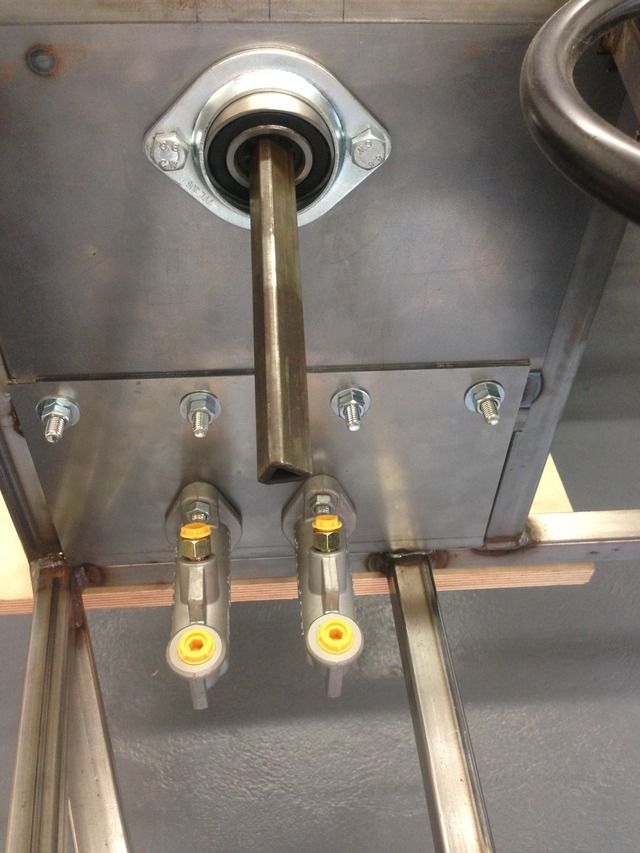
Front seat rails done, I've raised the front of the seat to lower the harness holes at the rear
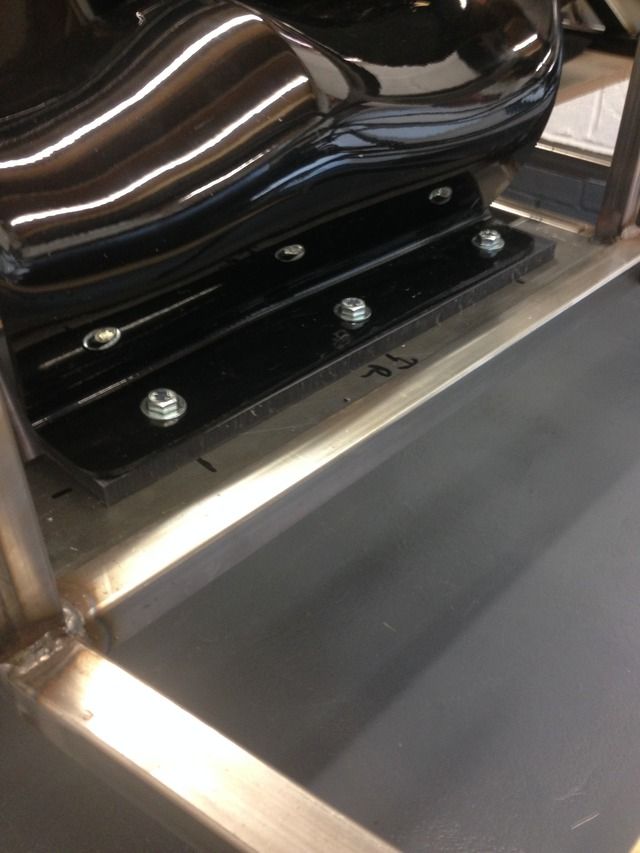
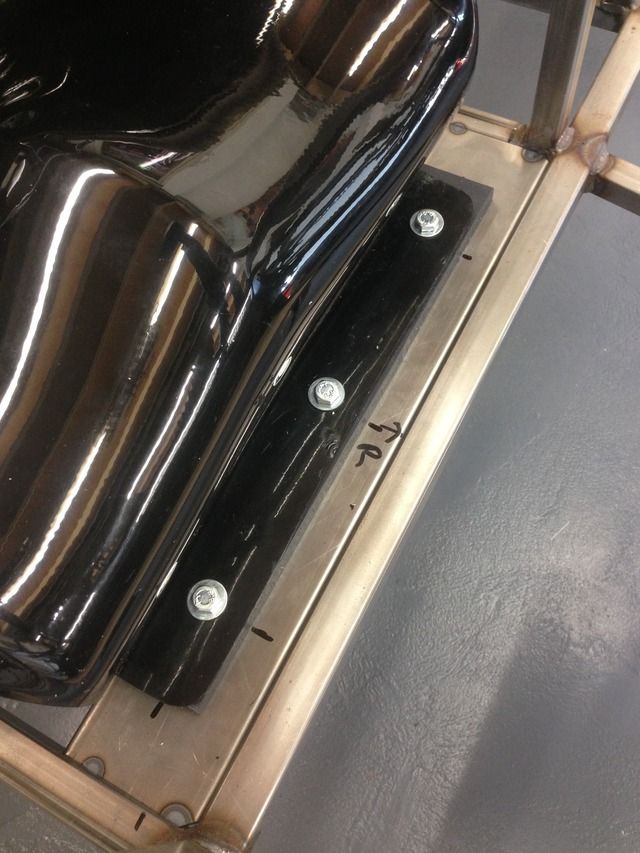
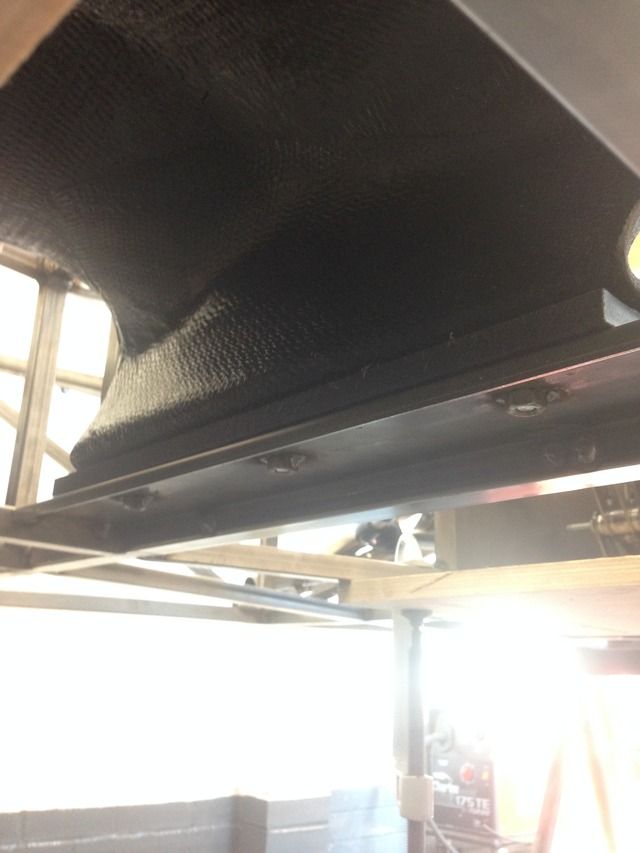
Nuts welded underneath
Harness mounting bosses made
Rear diagonal done
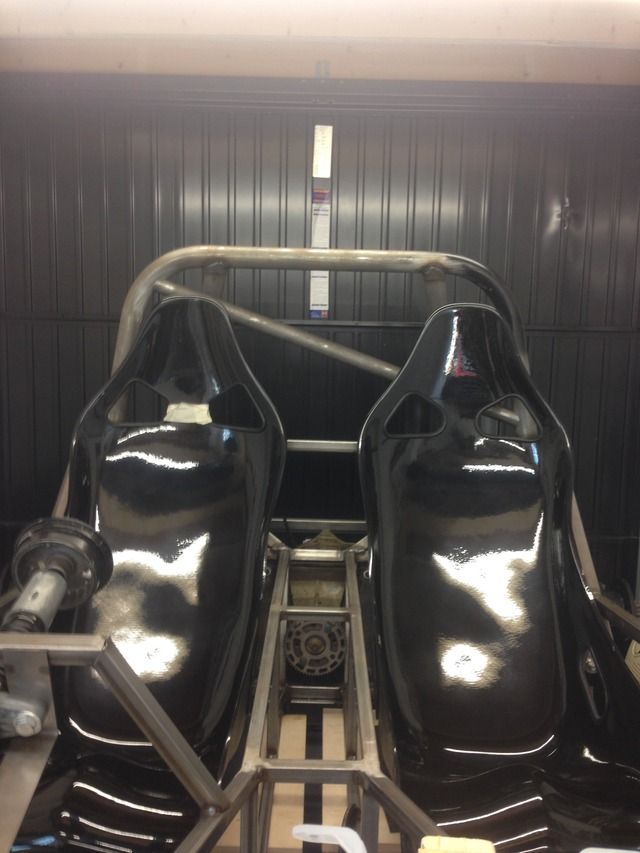
A shot from the rear, also a bit of artwork put up!
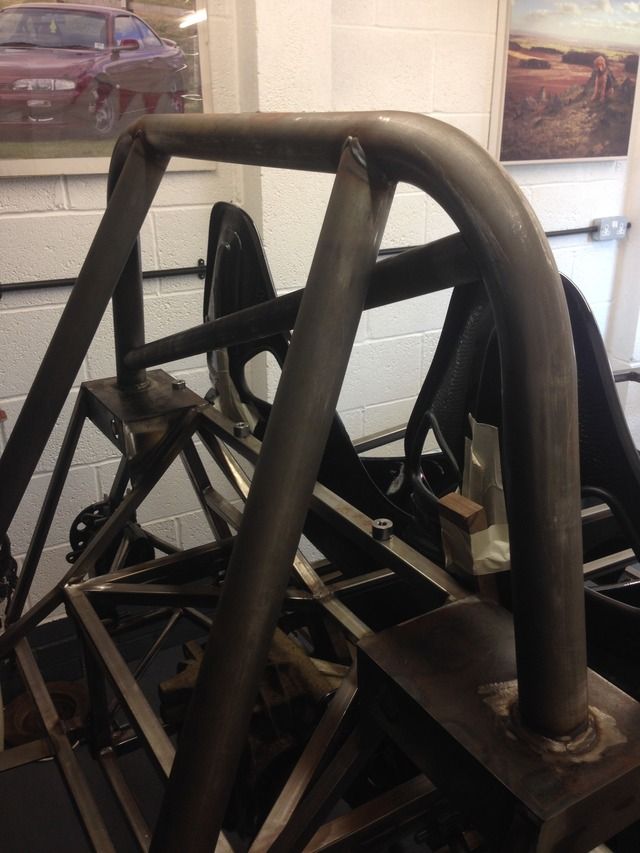
Also I've set my self a date of Easter next year to be Iva'ed and on the road
|
|
|
Rosco86
|
| posted on 12/4/15 at 12:46 PM |

|
|
This weeks progress
I started working out where my lower harness mounts were going according to the msa blue book
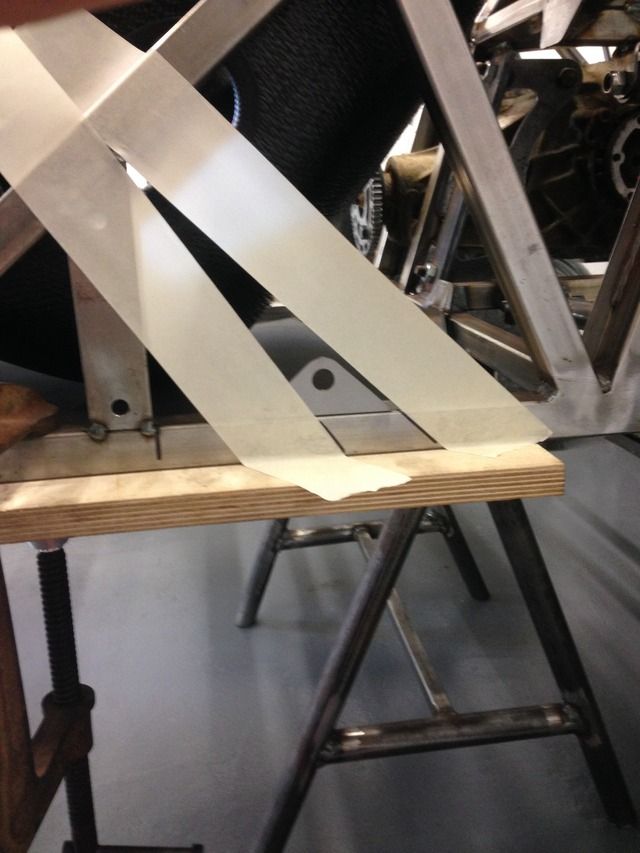
I've changed the book design a little, tacked in
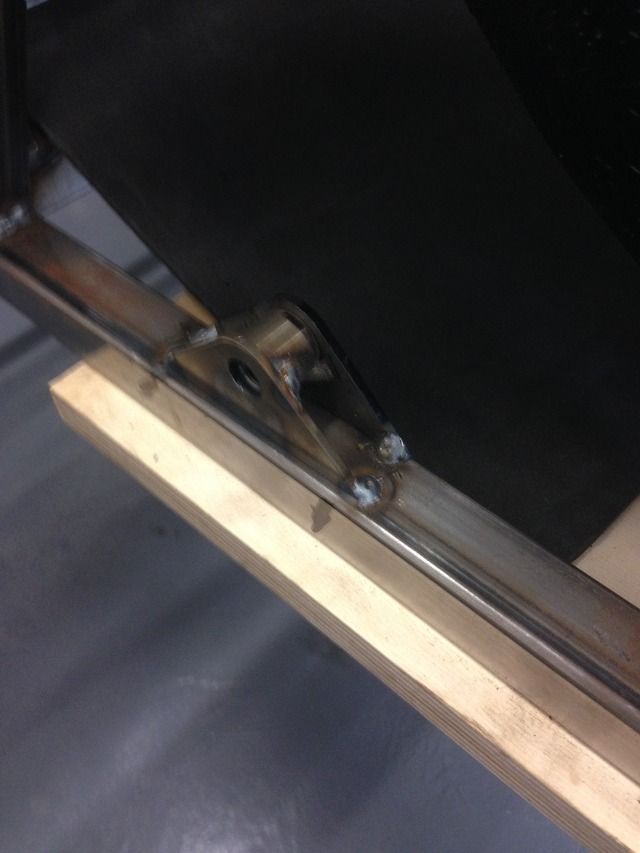
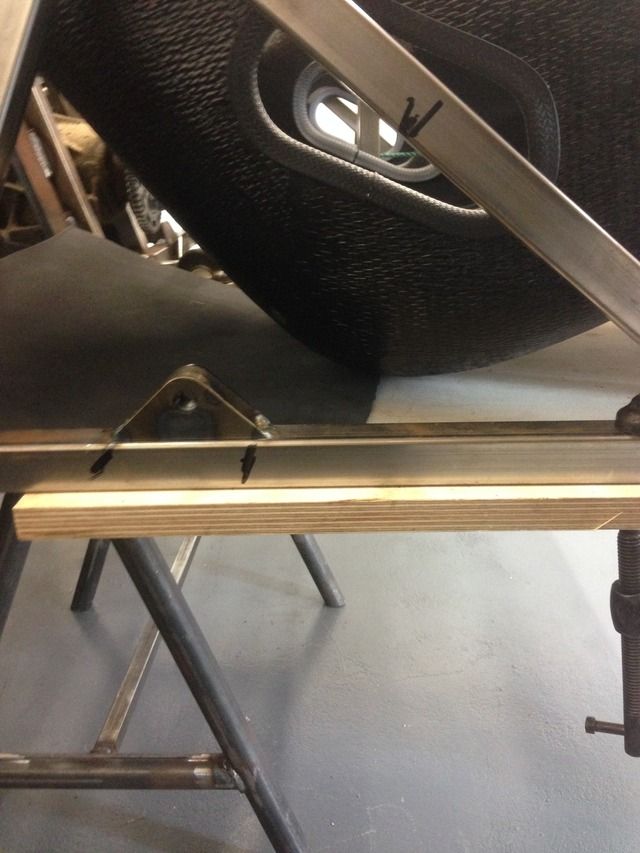
Centre two
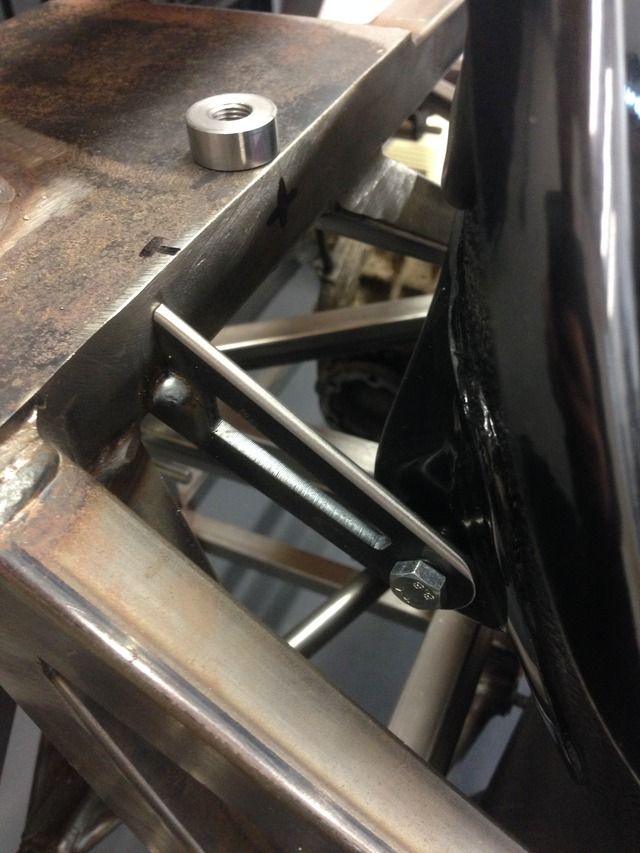
Upper seat brackets done, I no the top edge doesn't need a radius behind the seat, but it looks neater I think
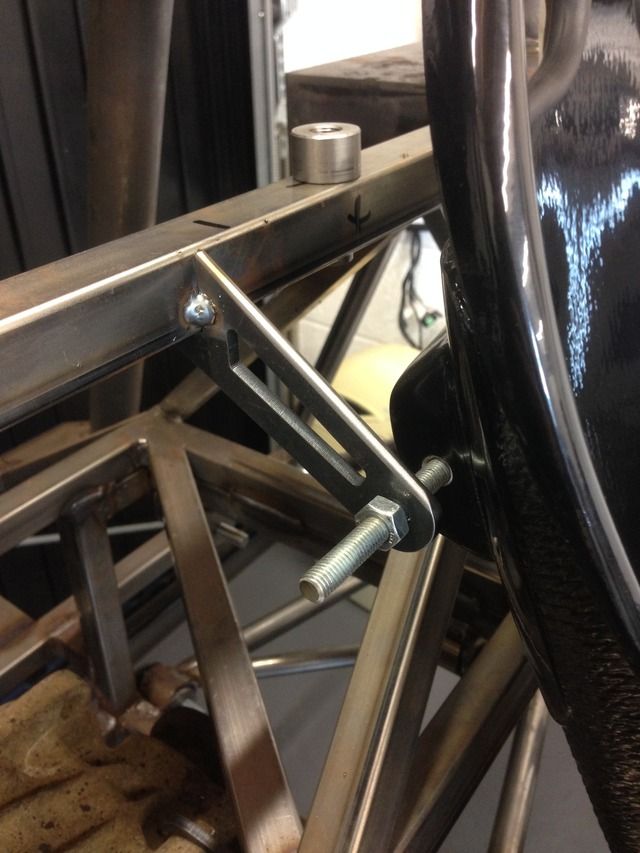
Just need some side to side spacers sorting and some correct length bolts
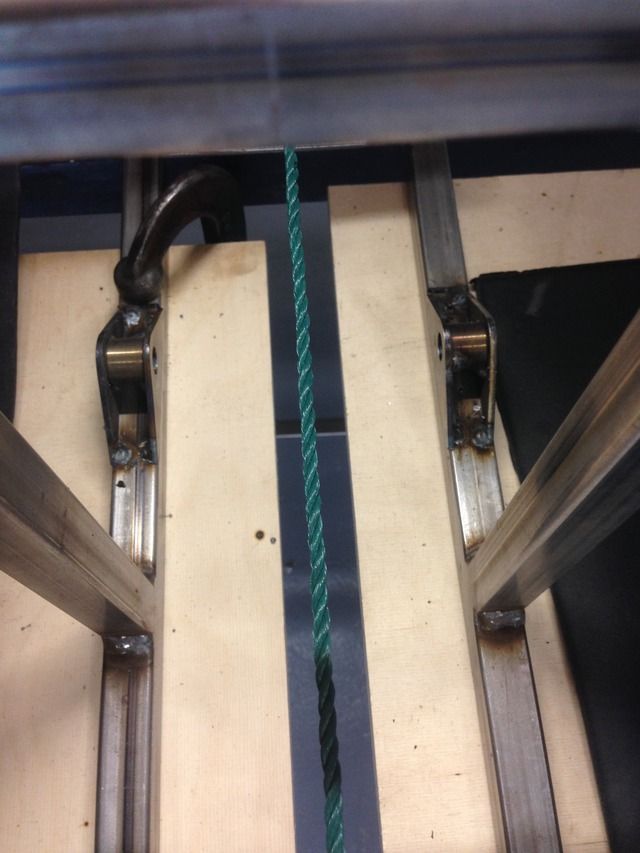
Next throttle cable sorted and temp return spring and the studding through the top is a temp forward stop
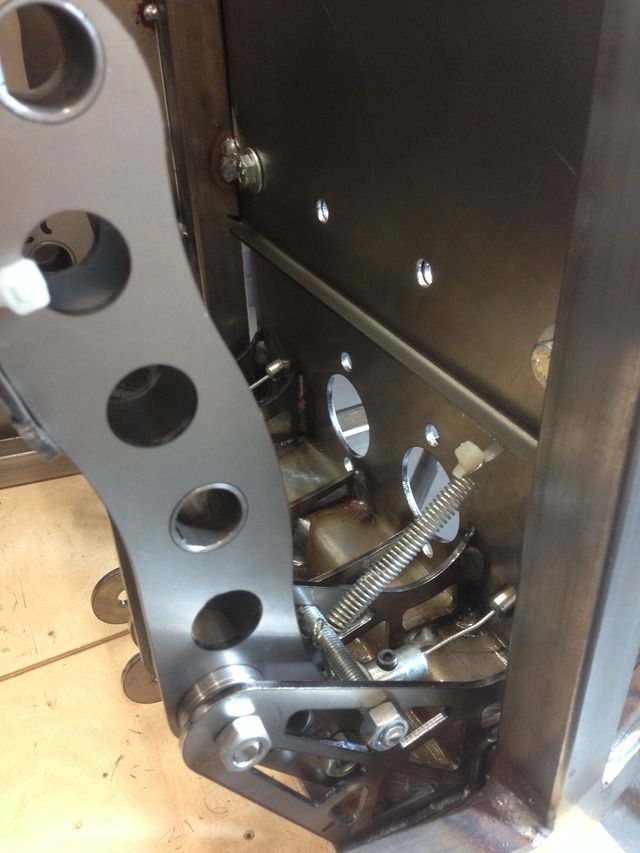
Full throttle
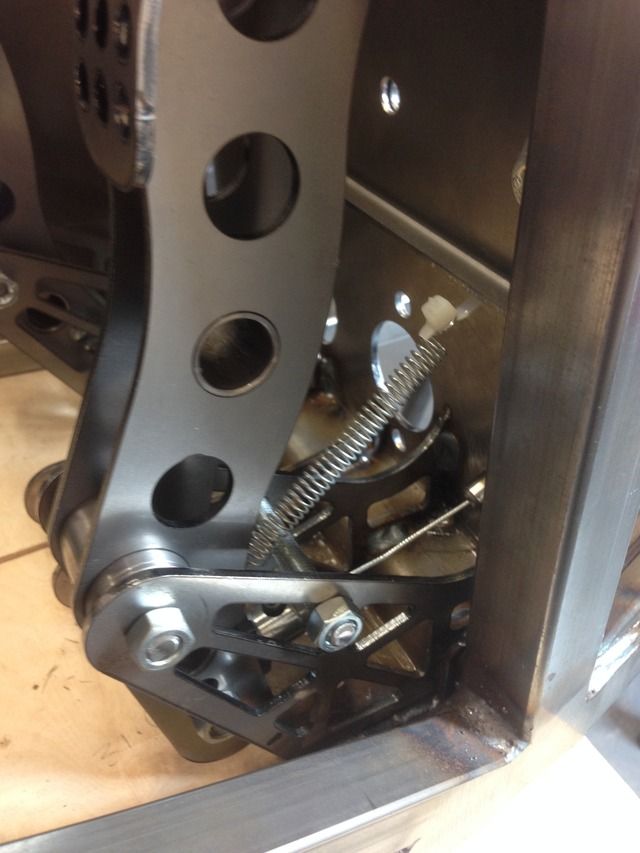
Clutch cable
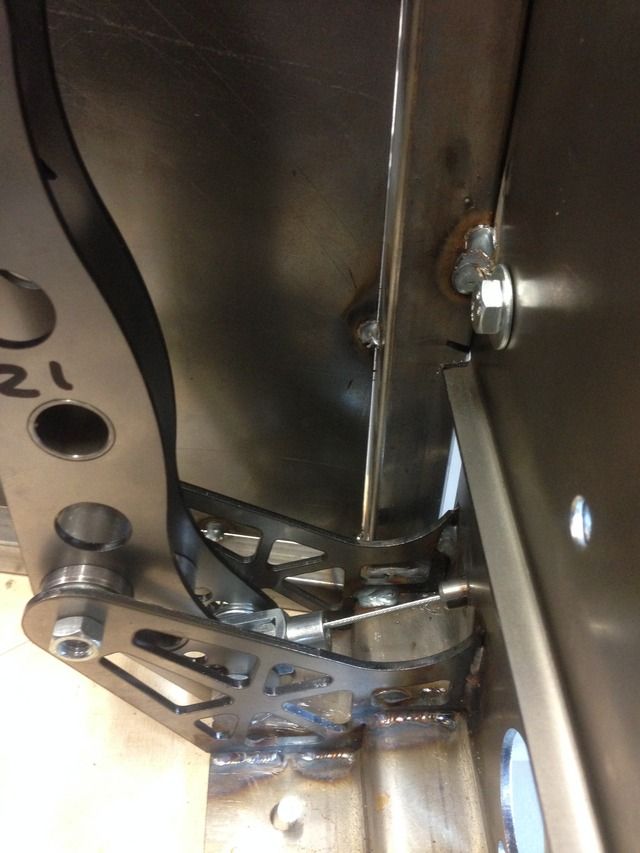
Full clutch
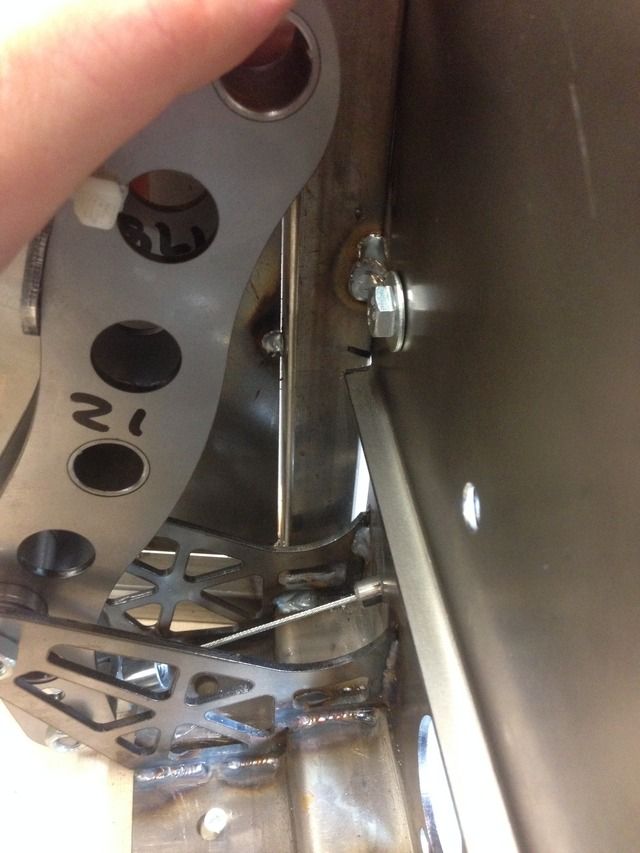
I made two tubes to hold the outer cables
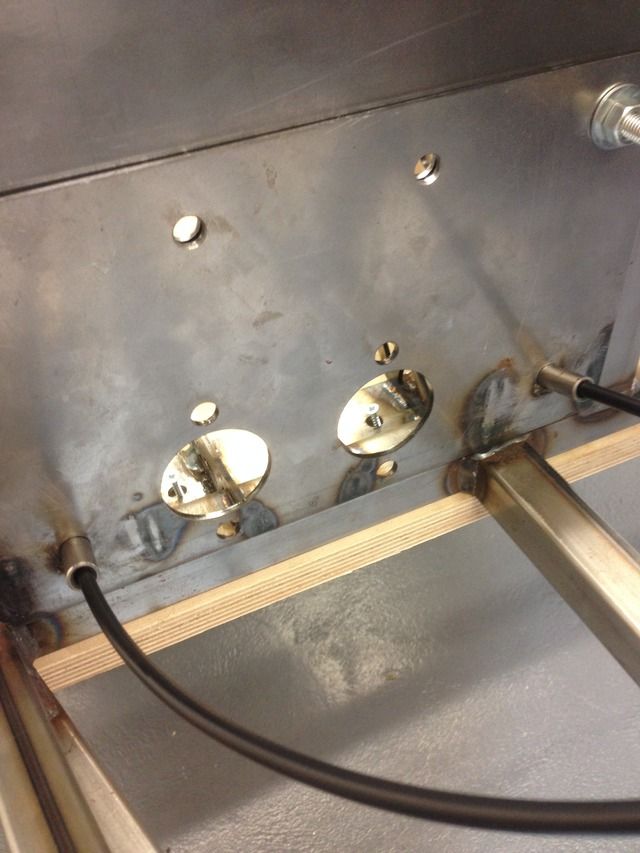
Next job, the rest of the roll cage, I've decided to mount the front hoop on the outside, as bashing my leg on it all the time not my idea of
fun
I mocked up the scuttle panel, and worked out a mounting plate
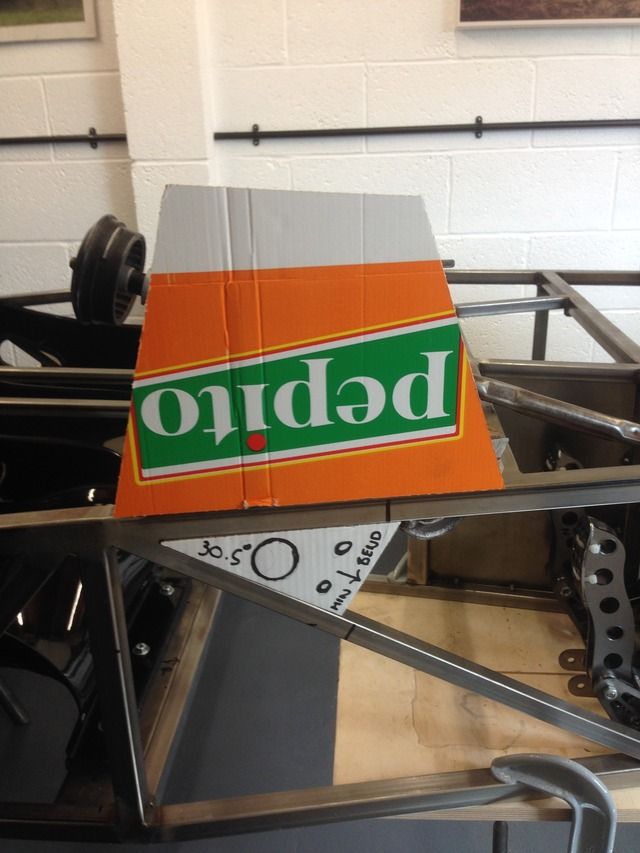
The tube will mount to a bit of tube on end with two more bolts so it meats msa spec, once the front hoops in place I will sort my roof bars and door
bars out
[Edited on 12/4/15 by Rosco86]
|
|
|
davidimurray
|
| posted on 12/4/15 at 02:25 PM |

|
|
Be careful with those upper seat belt mounts. I can't remember if you're going for IVA, but if the belts touch the seats they will fail.
Mine are on a cross bar on the roll hoop about 4 inches higher and it was just right for IVA.
Cheers
Dave
Gallery 1 http://www.facebook.com/media/set/?set=a.116893465324.130778.601005324
Gallery 2 http://www.facebook.com/media/set/?set=a.245243755324.181913.601005324&l=a9831a9319
Gallery 3 http://www.facebook.com/media/set/?set=a.440671625324.232627.601005324&l=3f0d42c523
Gallery 4 http://www.facebook.com/media/set/?set=a.490098255324.297598.601005324&l=efb083b7df
Gallery 5 http://www.facebook.com/media/set/?set=a.10150244028550325.366987.601005324&l=583fd5cd3a
Gallery 6 http://www.facebook.com/media/set/?set=a.10150550640070325.430417.601005324&type=3&l=fe779b358c
Duratec Engine Swap https://www.facebook.com/media/set/?set=a.10152527759580325.1073741828.601005324&type=1&l=40aae5e72f " target="_blank"> https://www.facebook.com/media/set/?set=a.10152527759580325.1073741828.601005324&type=1&l=40aae5e72f
|
|
|
Rosco86
|
| posted on 12/4/15 at 05:10 PM |

|
|
quote:
Originally posted by davidimurray
Be careful with those upper seat belt mounts. I can't remember if you're going for IVA, but if the belts touch the seats they will fail.
Mine are on a cross bar on the roll hoop about 4 inches higher and it was just right for IVA.
Cheers
Dave
Yeah im going for iva, ive tilted the seat back a bit and the mounts are going to have a spacer ontop to bring the mounts up a little, they dont need
a lot
|
|
|
Rosco86
|
| posted on 13/4/15 at 07:03 PM |

|
|
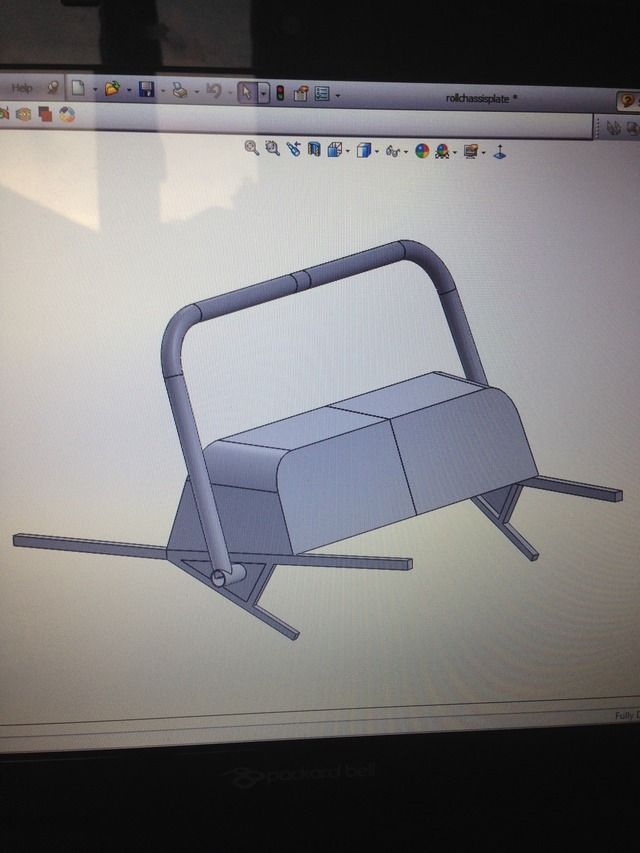
Just been looking at my front roll bar hoop, I think I'm going to mount it on the outside i think and welded on, I've had a quick draw up
of it, but I'm going to mock it up with plastic pipe while I'm sat in the car
|
|
|
CosKev3
|
| posted on 14/4/15 at 09:16 PM |

|
|
Nice.
Have you planned for a stop on your clutch pedal?
As you can pull bike clutches too far when using a pedal.
|
|
|
Rosco86
|
| posted on 14/4/15 at 09:44 PM |

|
|
quote:
Originally posted by CosKev3
Nice.
Have you planned for a stop on your clutch pedal?
As you can pull bike clutches too far when using a pedal.
Cheers, yeah I'm going to have an adjuster in the backplate on the clutch and throttle, and forward stops,
Does anyone no if you need a forward stop on your brake?
Also when I put the engine in first gear the output shaft obviously is turning the engine instead of spinning but when I dip the clutch it
doesn't spin
|
|
|
Rosco86
|
| posted on 26/4/15 at 05:33 PM |

|
|
Good progress the last few weeks, pedal box and pedals are getting finish welded and then off for powder coat
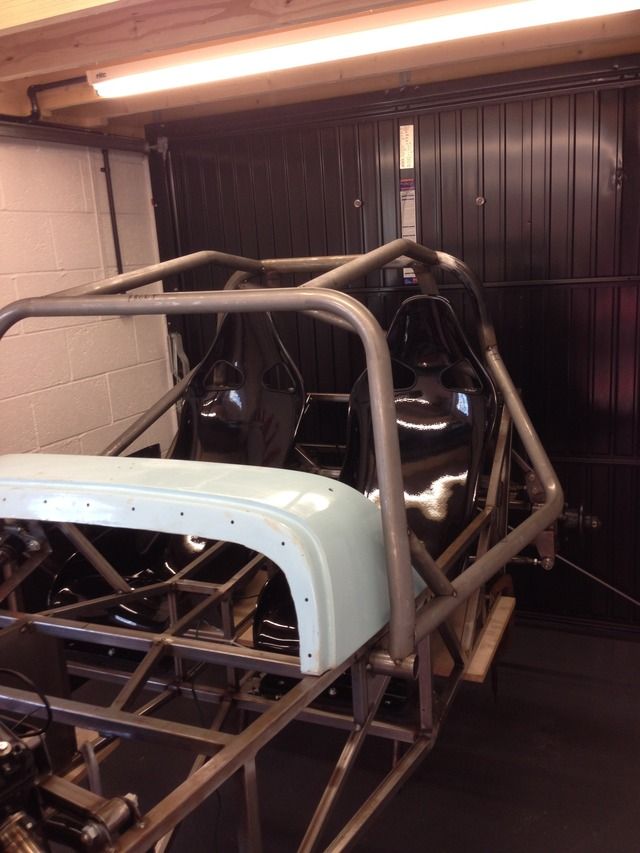
Front hoop in position, roof bar in plastic
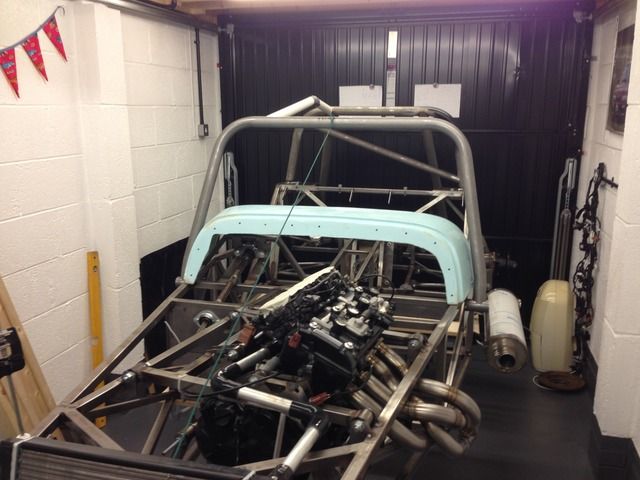
Side mounts
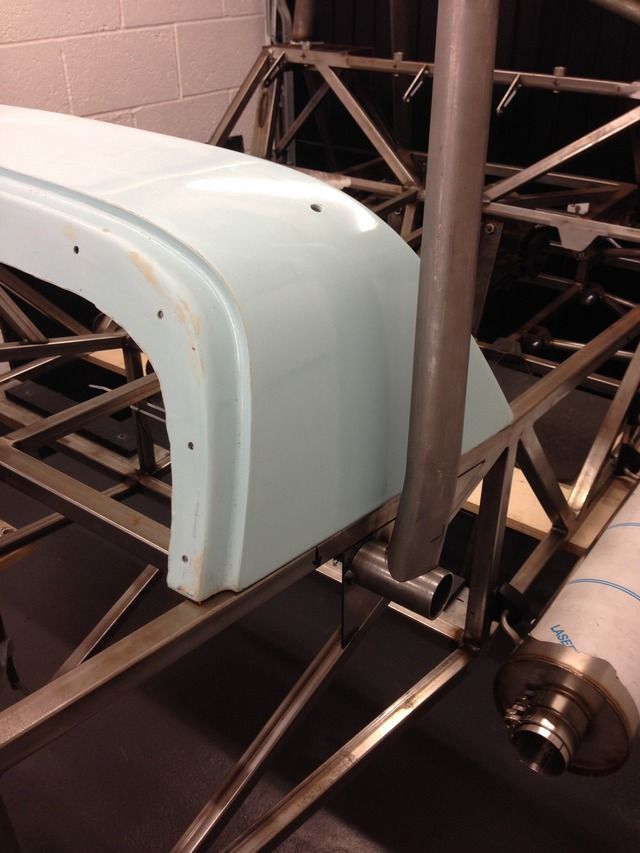
Door bar mocked up
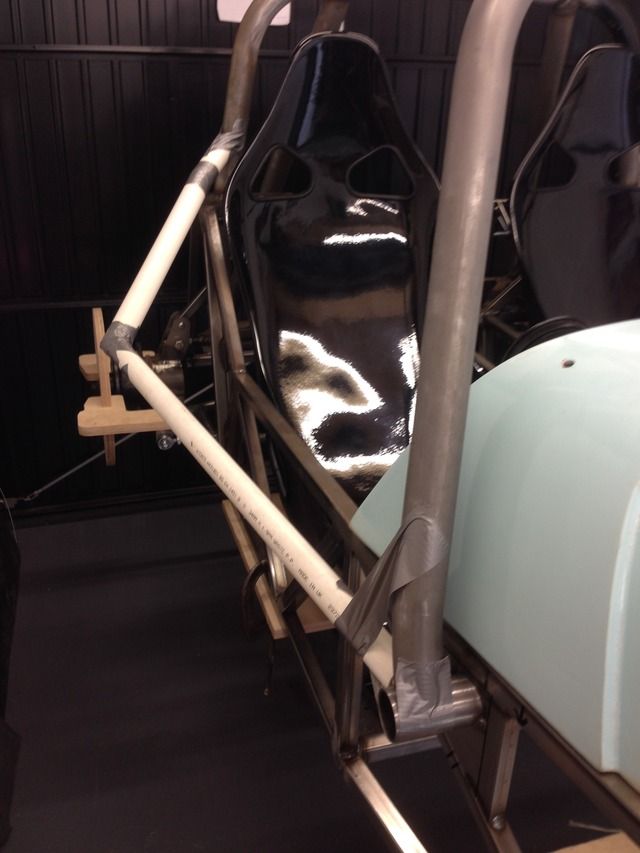
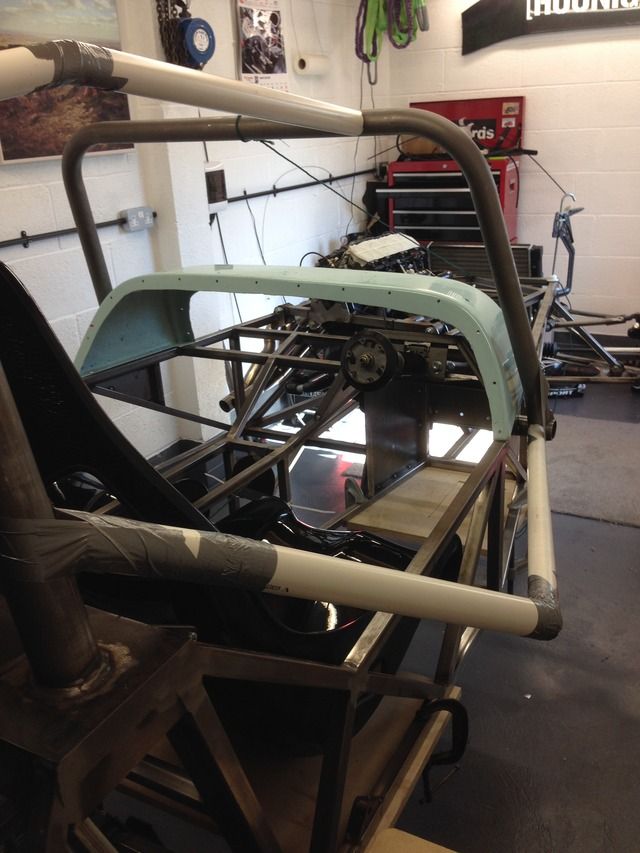
Exhaust altered and posted back to my mate to tig weld
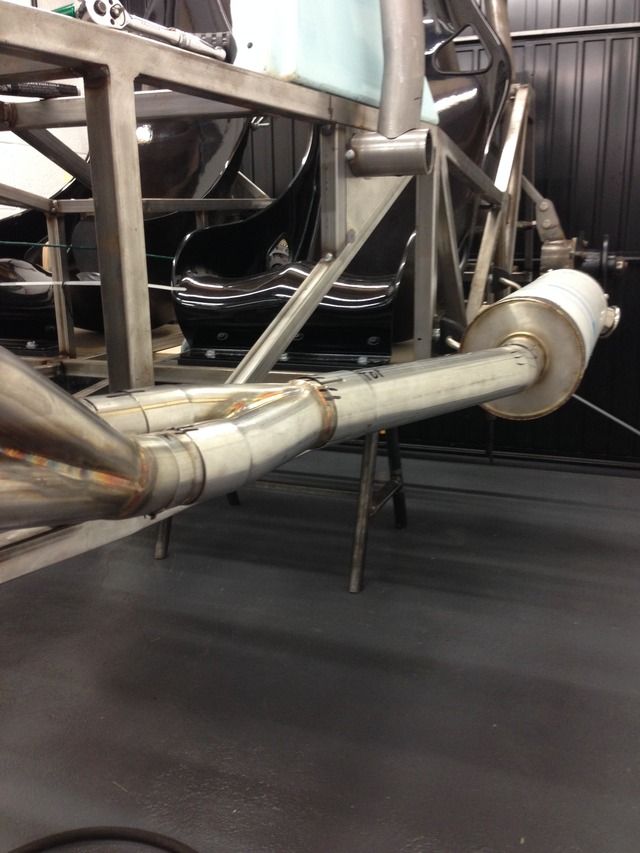
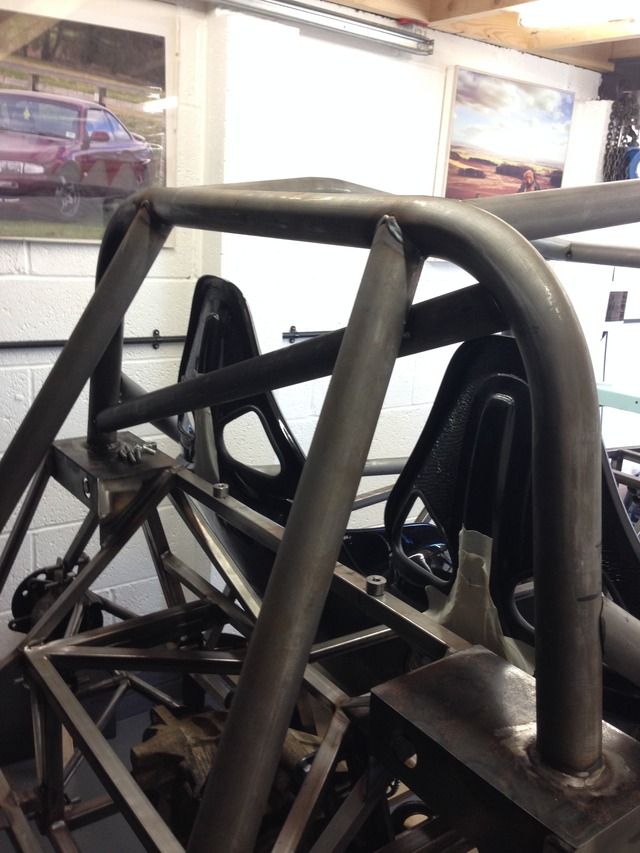
Door and roof bars fitted, notching the door bars what a bit tricky to get them both the same!
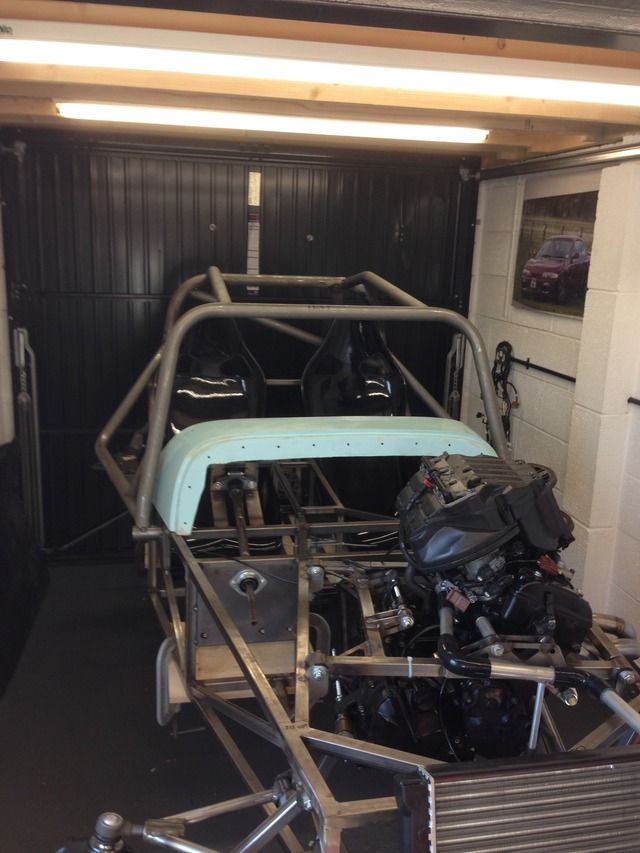
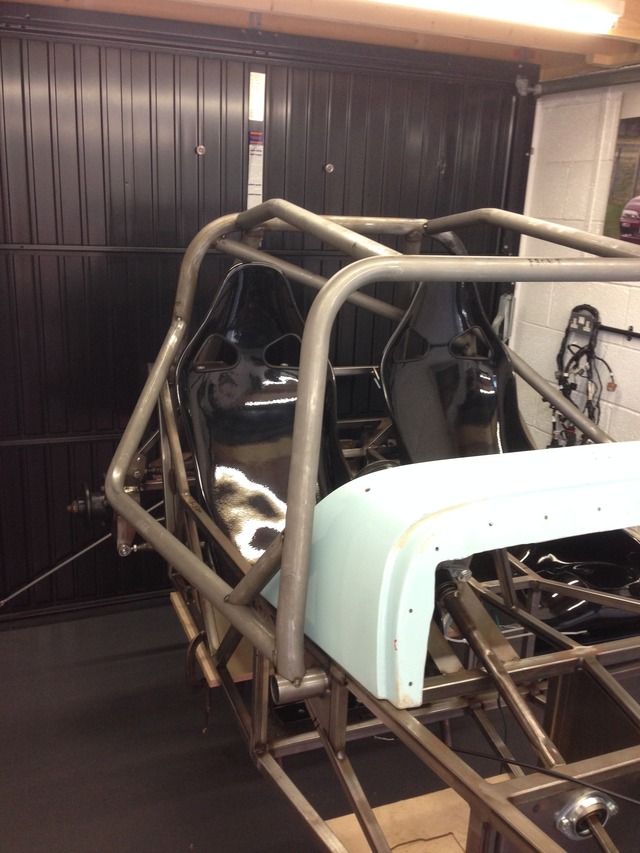
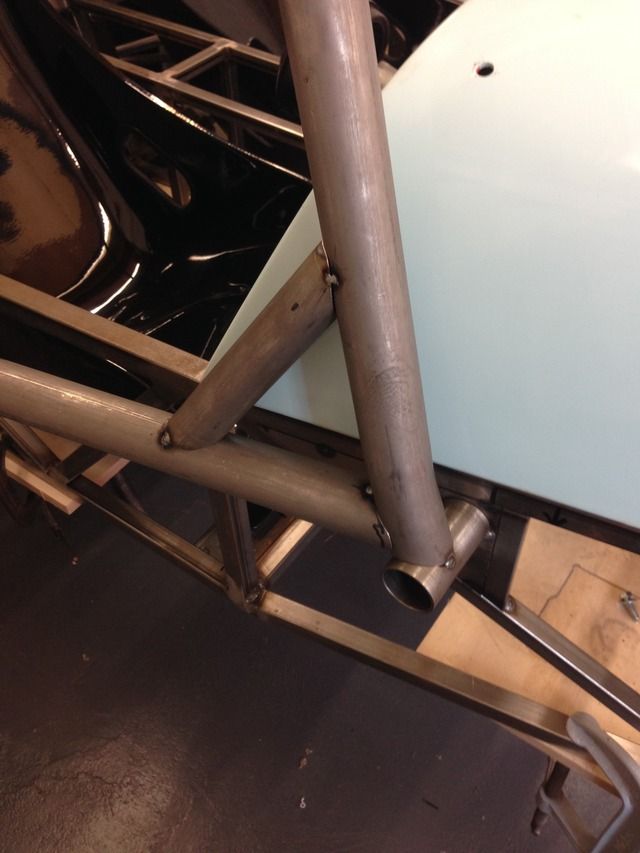
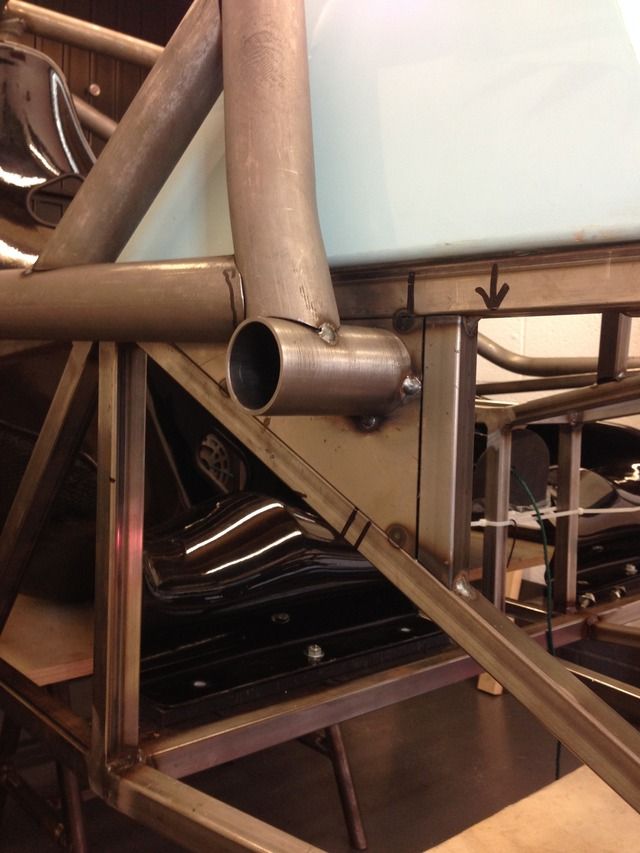
Rear diagonal redone in 45mm cds
|
|
|
Rosco86
|
| posted on 9/5/15 at 08:22 PM |

|
|
Bit of an update, didn't have much to do last week, I went stonleigh and brought all my lights,
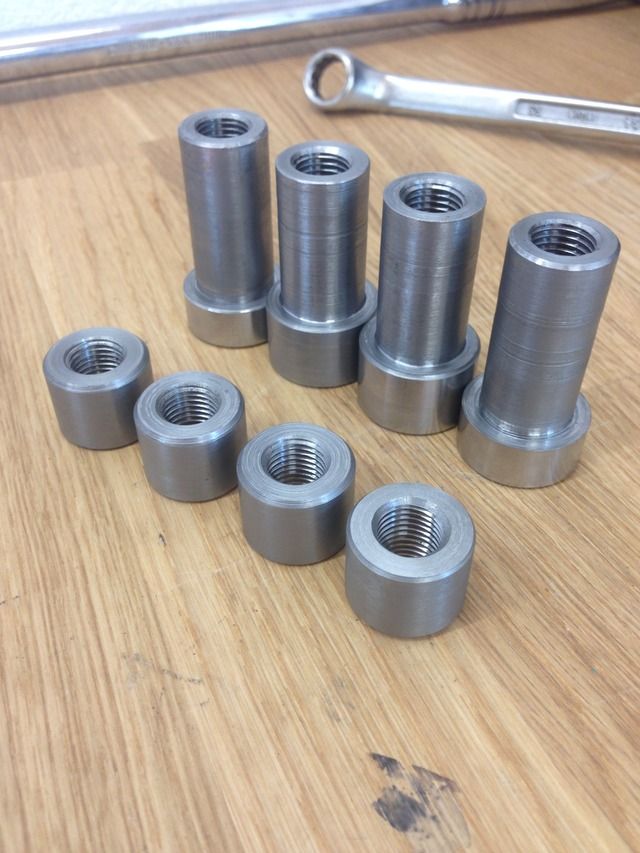
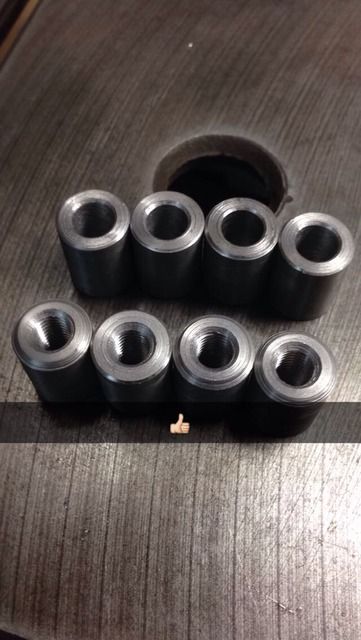
Made these threaded slugs
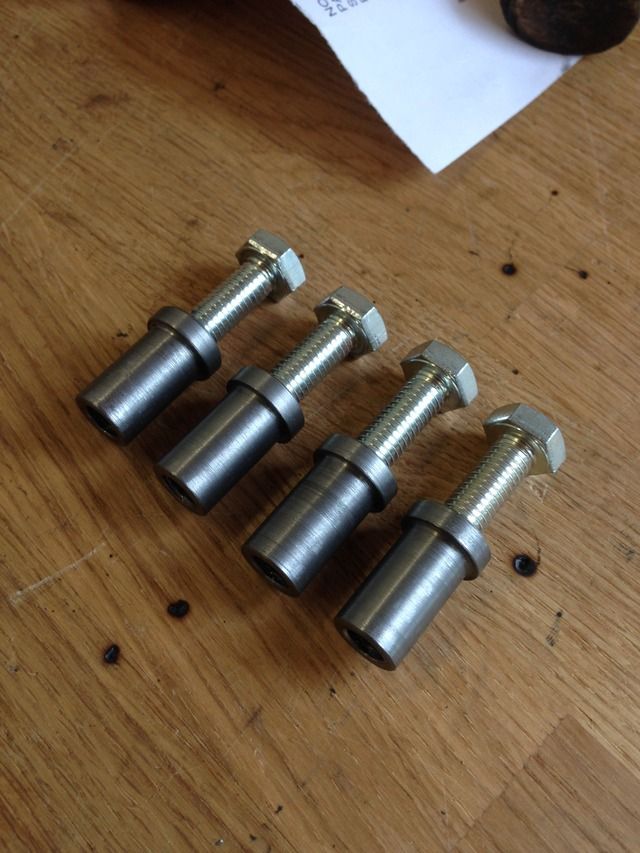
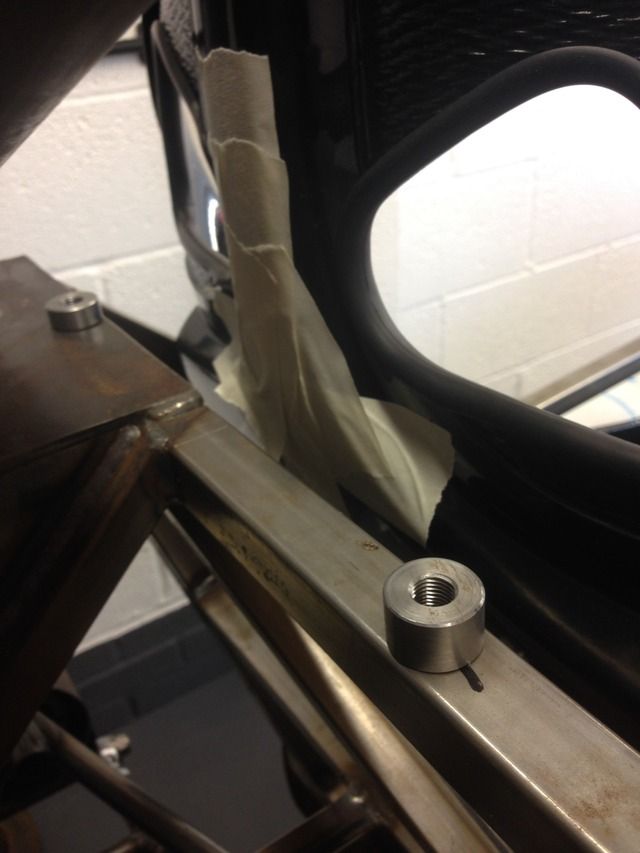
Drilled and fitted here
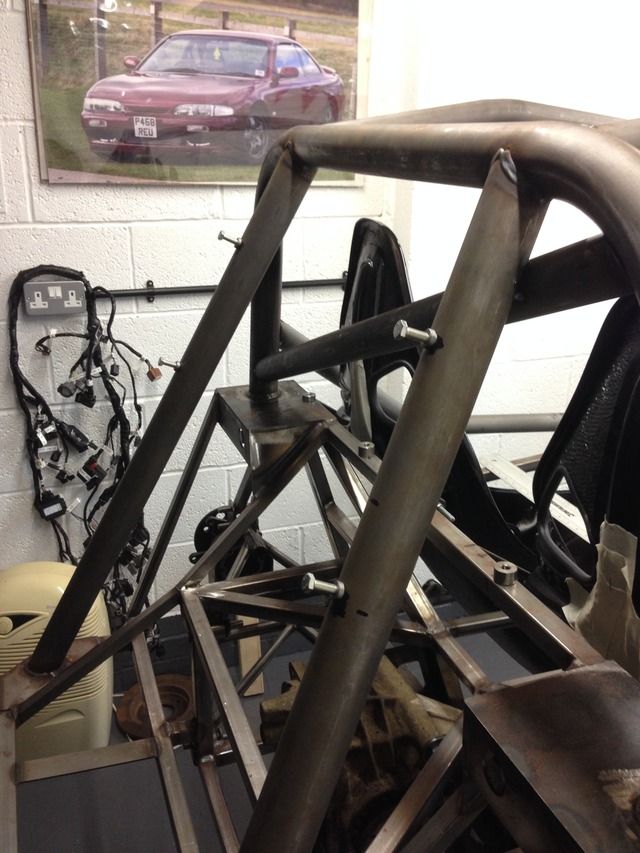
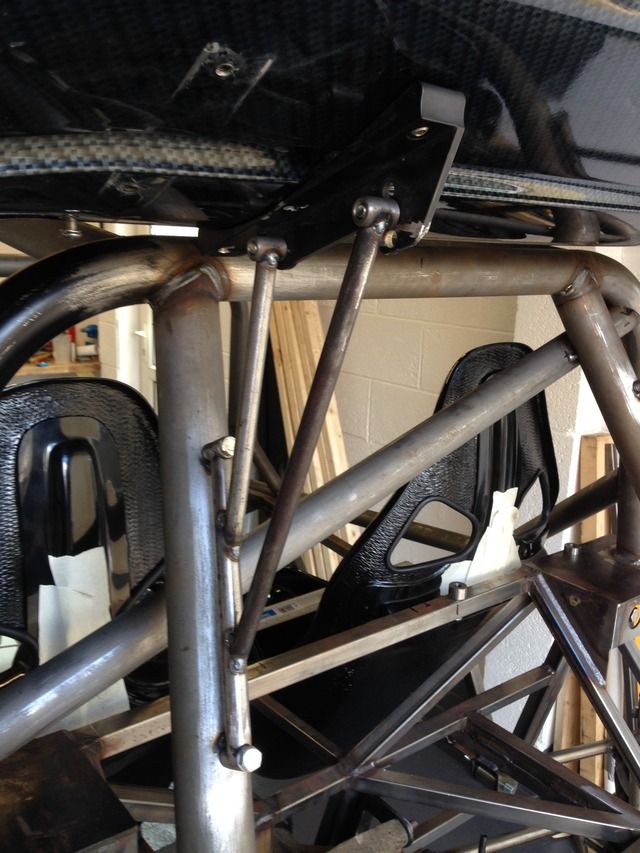
Rear spoiler held in position
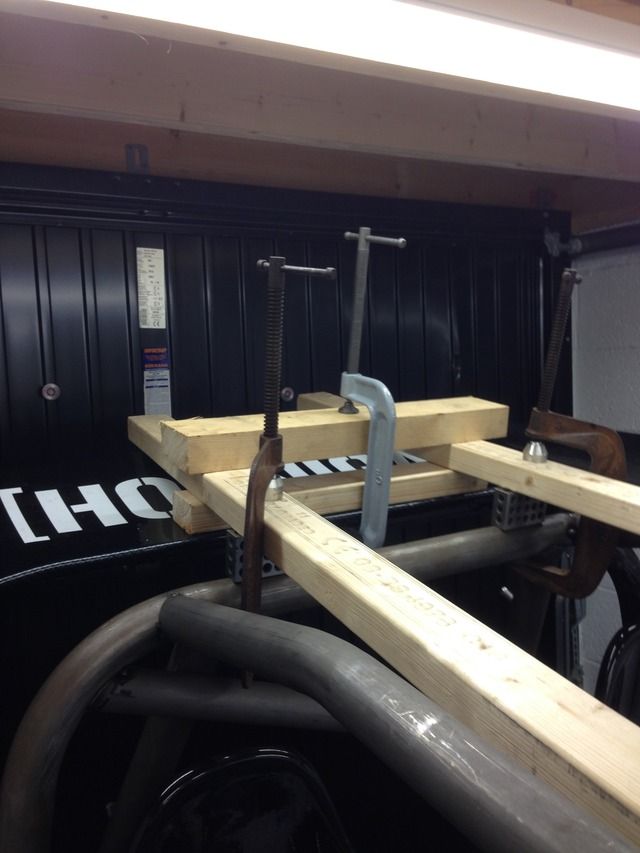
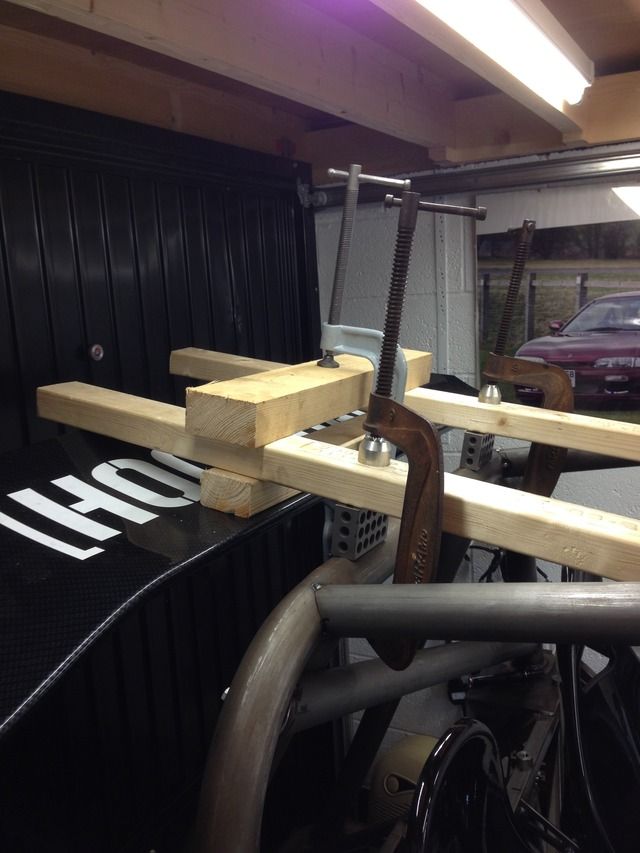
More slugs made
Stays made
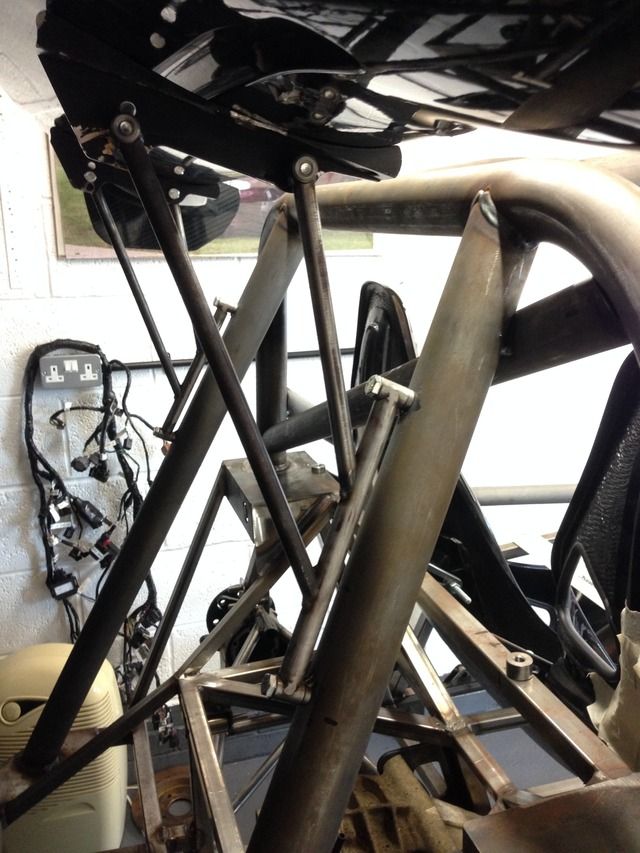
All done
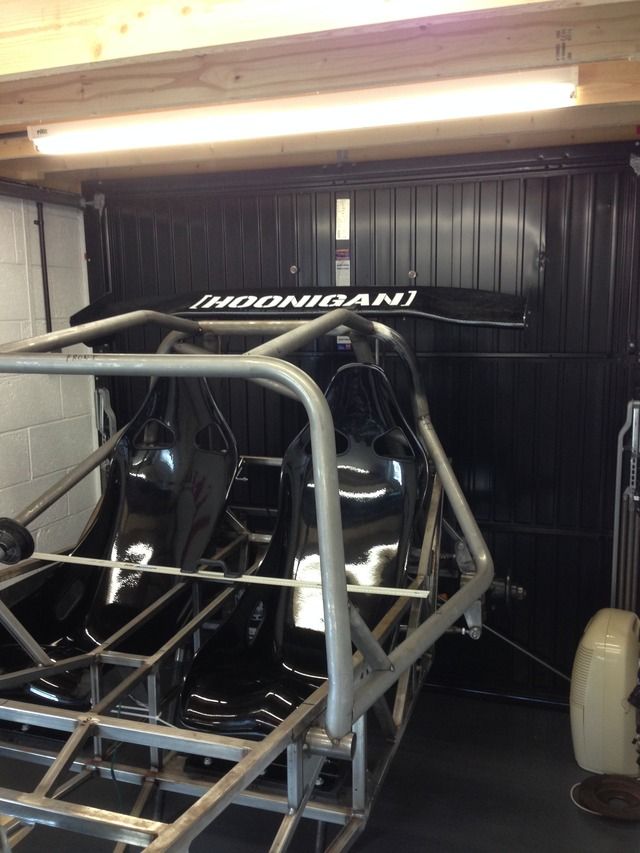
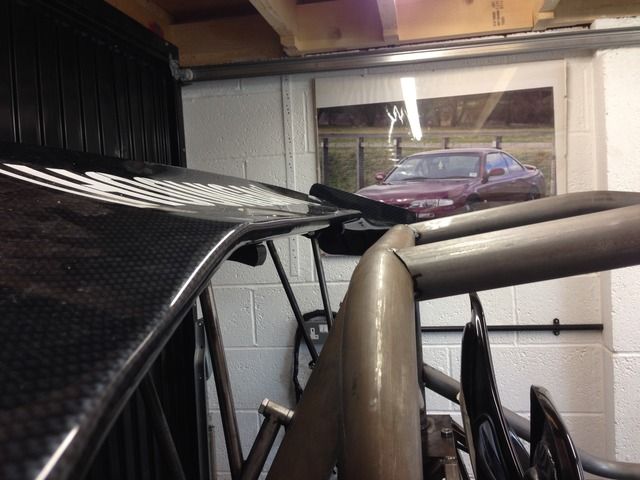
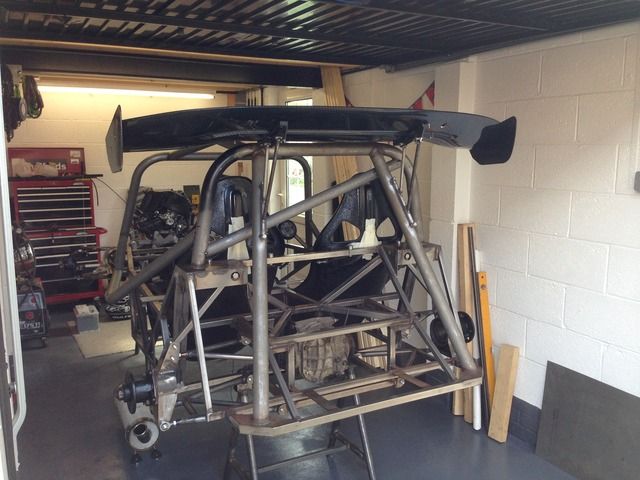
I no some people won't like it, but I got the spoiler for nothing, it's only for a mess about, that's why I've done it to bolt
on and off easily
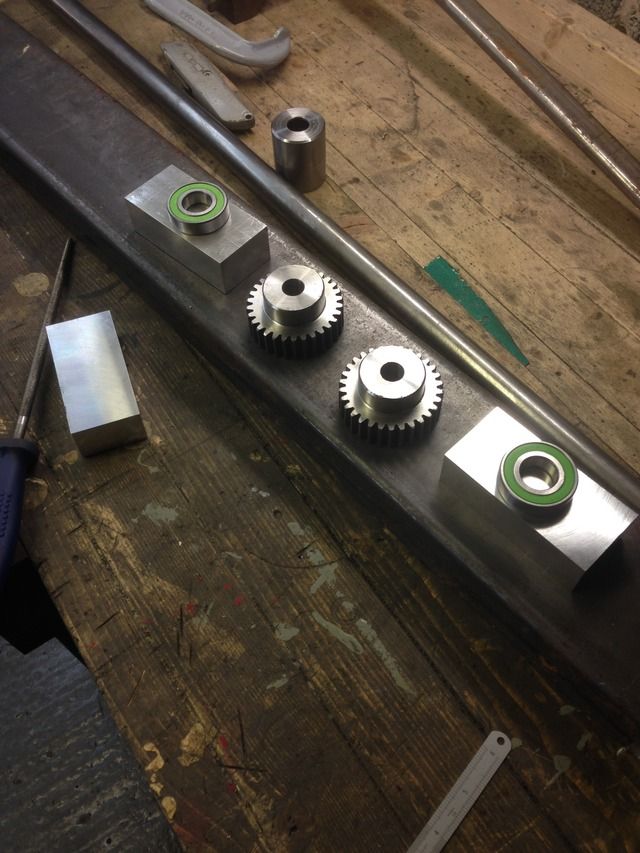
Today's job was to start making a bead roller like below
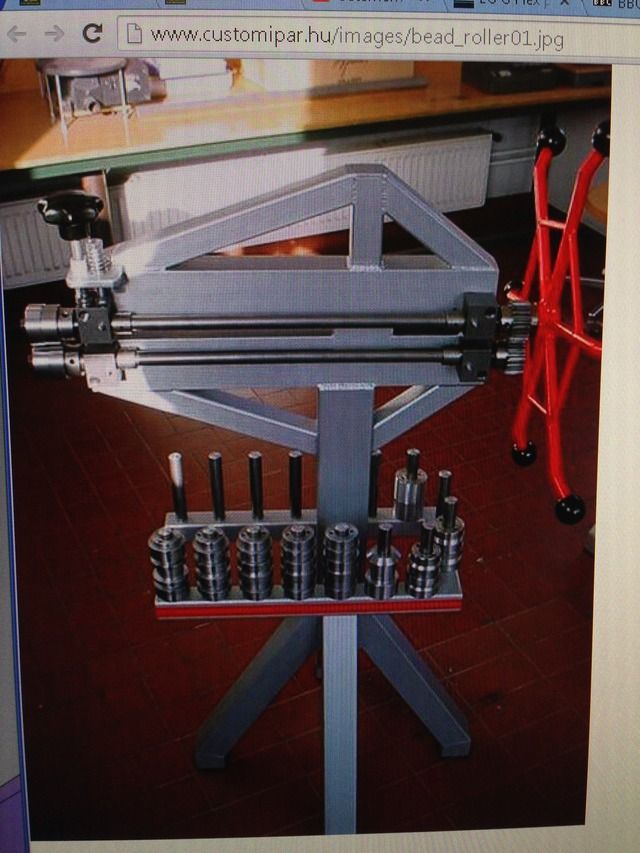
Bits required
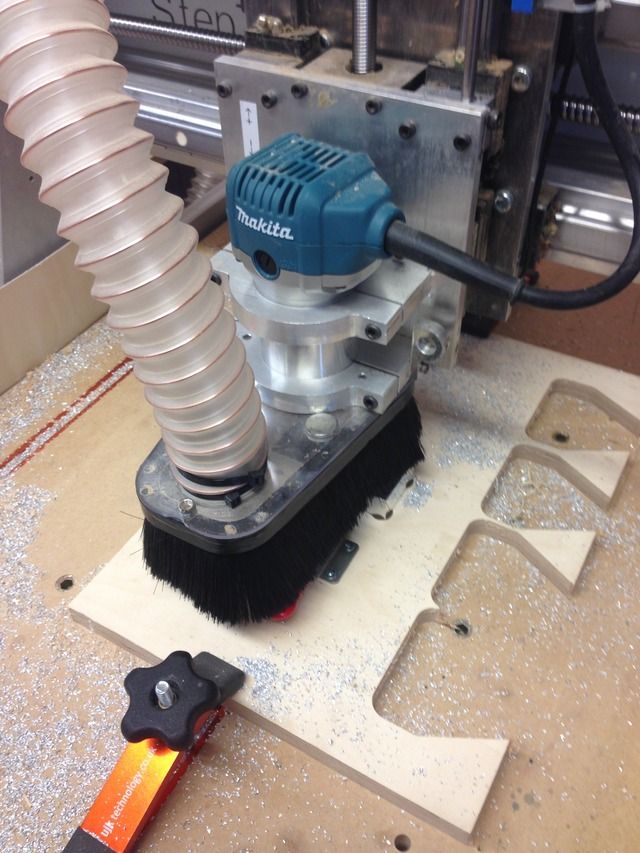
Machining the blocks to house the bearings on my dad's home built cnc
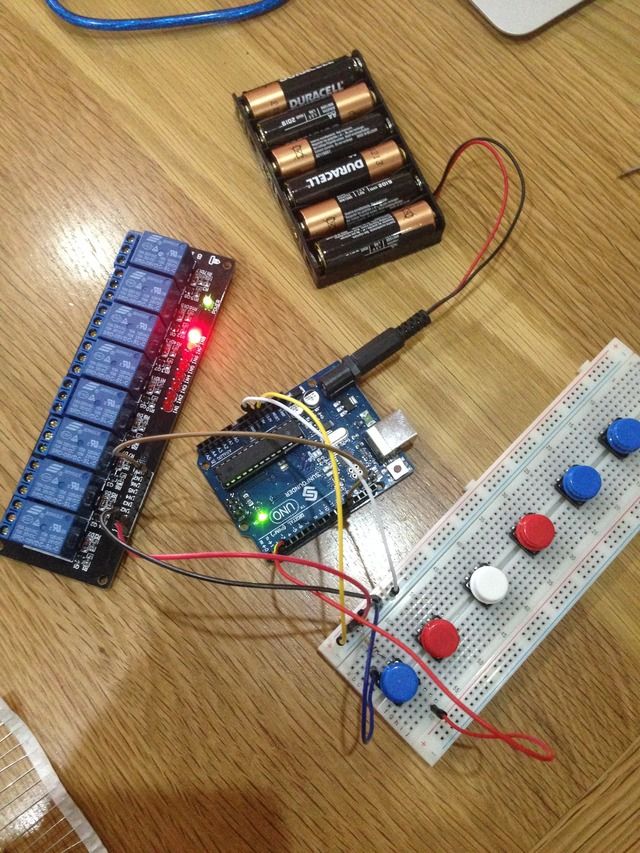
Last up my dads started on my dash buttons, we're having a go using an ARDUINO, it's a programable chip with ins and out, they can be used
with switches, sensors, relays just have a look on ebay to see what's available, the boards are about £8 and everything else like switches are
pence, it's programmed from a PC through USB, so things like indicator flashing can be programmed, if it works out ok it will all be soldered
and put in a little project box
|
|
|
dubzter
|
| posted on 10/5/15 at 08:41 AM |

|
|
quote:
Originally posted by Rosco86
Last up my dads started on my dash buttons, we're having a go using an ARDUINO, it's a programable chip with ins and out, they can be used
with switches, sensors, relays just have a look on ebay to see what's available, the boards are about £8 and everything else like switches are
pence, it's programmed from a PC through USB, so things like indicator flashing can be programmed, if it works out ok it will all be soldered
and put in a little project box

Awesome work, not sure about the spoiler but it will be good to see it once there is some bodywork in place.
I've been looking at Arduino for building a boost type gauge for my other car, should be a nice cheap control unit for what you are planning if
it works out.
_______________________
Blog
Facebook Build Thread
Haynes Forum Build Thread
Locost Builders Build Thread
|
|
|
Lew The Machine
|
| posted on 14/5/15 at 09:49 PM |

|
|
looking really good dude! I'd keep the wing, looks awesome! although i think the stays could do with a few tweeks!
I've just finished Uni for the summer so hoping to make some decent progress on mine over the next few months!
Pedal box looks INSANE... pretty sure you could sell those all day long!
Keep it up!
ITS FINE! i welded it!
|
|
|
Rosco86
|
| posted on 15/5/15 at 06:39 PM |

|
|
quote:
Originally posted by dubzter
I've been looking at Arduino for building a boost type gauge for my other car, should be a nice cheap control unit for what you are planning if
it works out.
Yeah that should be doable, I'm sure you could get a pressure sensor linked up, I've got my dad on it so see how he gets on
|
|
|
Rosco86
|
| posted on 15/5/15 at 06:40 PM |

|
|
quote:
Originally posted by Lew The Machine
looking really good dude! I'd keep the wing, looks awesome! although i think the stays could do with a few tweeks!
I've just finished Uni for the summer so hoping to make some decent progress on mine over the next few months!
Pedal box looks INSANE... pretty sure you could sell those all day long!
Keep it up!
Cheers pal, what do you think needs doing to the stays then?
Cool, get cracking then!
|
|
|
Lew The Machine
|
| posted on 15/5/15 at 09:30 PM |

|
|
quote:
Originally posted by Rosco86
quote:
Originally posted by Lew The Machine
looking really good dude! I'd keep the wing, looks awesome! although i think the stays could do with a few tweeks!
I've just finished Uni for the summer so hoping to make some decent progress on mine over the next few months!
Pedal box looks INSANE... pretty sure you could sell those all day long!
Keep it up!
Cheers pal, what do you think needs doing to the stays then?
Cool, get cracking then!
The angles of the stays look like they're "triangulated" the wrong way?
I can see why you need the distance between the top stay and the bolt as the acuteness of the angle would stop the bolt coming out, but the bottom one
could be much nearer the bolt head?
It just "looks wrong" and as most of the guys at work tell me... If it looks wrong it usually is!
It's a minor detail though and the whole build is beyond awesome!
I'm doing my best to play catch up... But I'm being side tracked by real life, buying a house! Solicitors don't appreciate that I
need time in the shed haha!
ITS FINE! i welded it!
|
|
|
Rosco86
|
| posted on 16/5/15 at 07:59 PM |

|
|
Yeah I see what your saying, it's because that's how long the tube was that I used lol, I didn't want to buy any as it's only
for a mess around, I'm going to put some fancy laser cut gussets in it I think
|
|
|


