Ian2812
|
| posted on 9/10/17 at 08:23 PM |

|
|
Westfield Megabusa - Modifictions and Upgrades
Just thought I'd start sharing the work I have done to my Megabusa...
Hopefully you all agree that they are improvements...
Feel free to browse my other photo's that I haven't got round to posting yet or may be in other threads.
Boot lid - very kindly done after I had already bought it from James. He had this professionally done in Northern Ireland before I picked it up.
 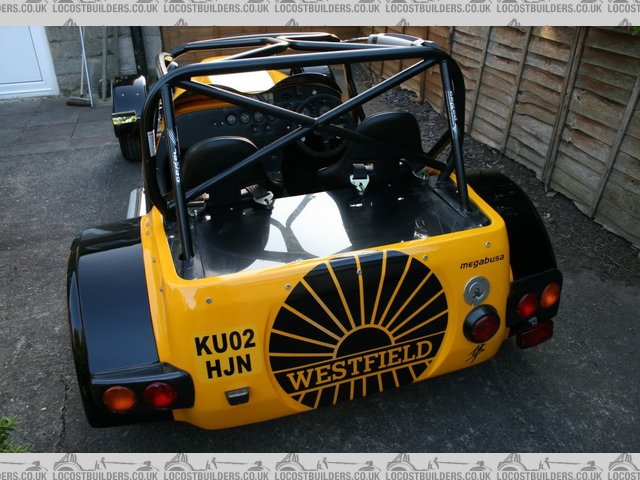
Boot lid - Before (plastic)
 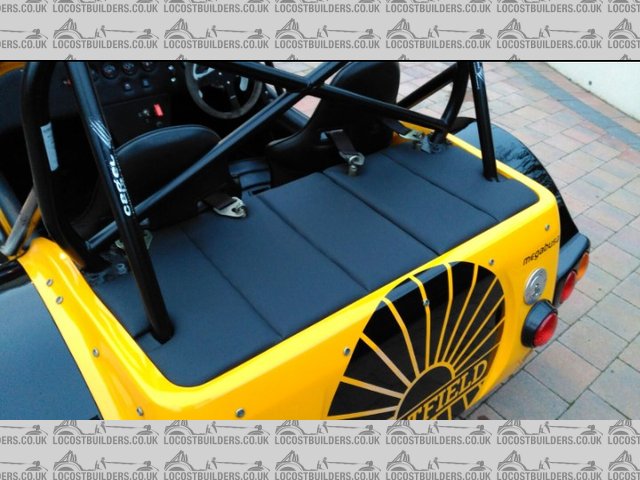
Boot lid - After (Upholstered)
Number Plates & WESTFIELD badge- Rear plate was illegal sticker type and front was massive blocking air flow and WESTFIELD badge which was also
sprayed black
Rear Plate - Before
 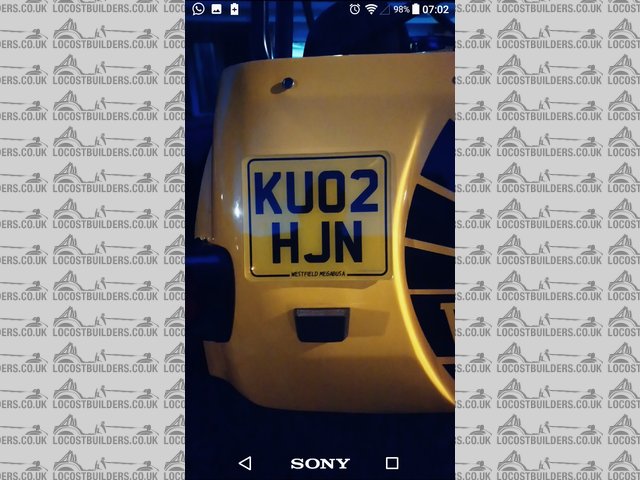
Rear Plate - After
 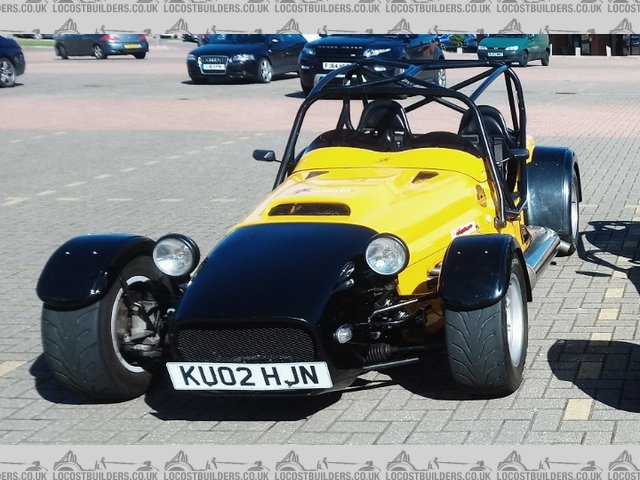
Front Plate & Mesh - Before
 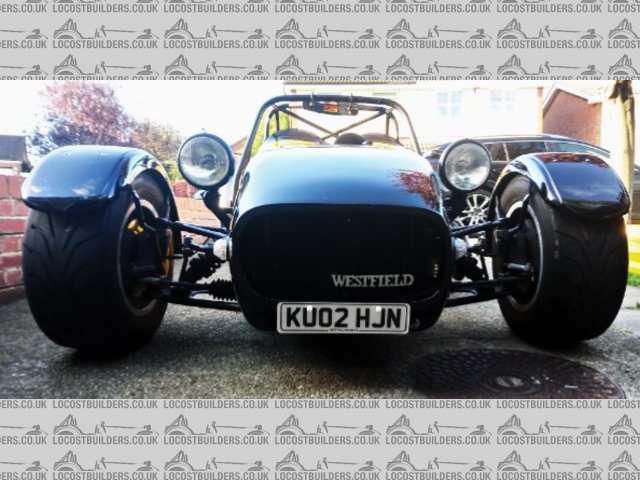
Front Plate & Mesh - After
Rear View Mirror - Was a plastic effort mounted on the dash, very limited shaky view... Now a Longacre 14" Roll Bar mounted wide angle view.
 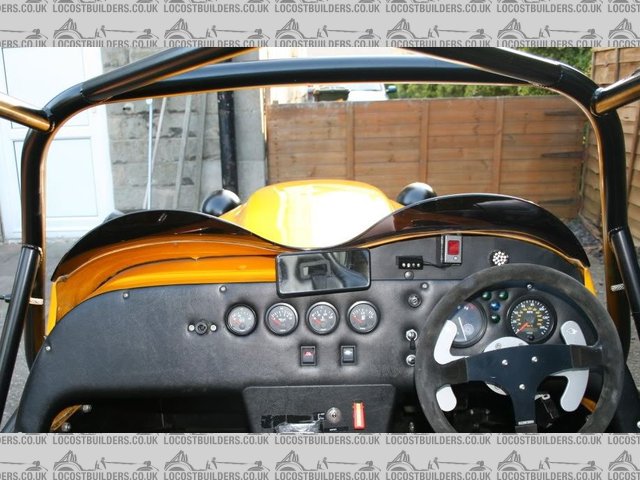
Before - Plastic Rear View
Before - Plastic Rear View
 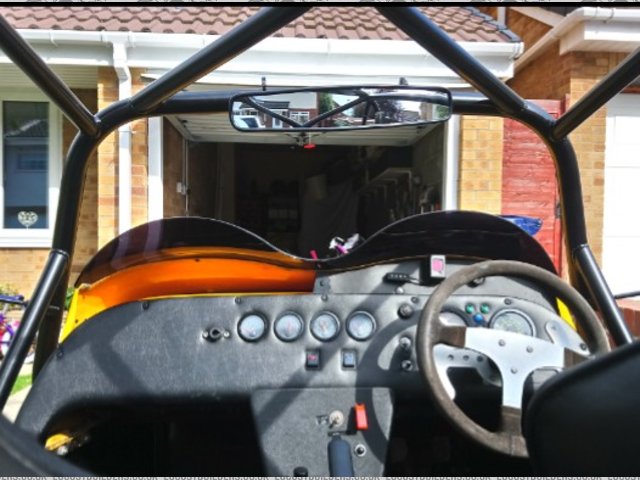
After - Longacre Wide Angle Rear View
Exhaust System next.
Heat damage to the fibreglass where manifold leaves engine bay.
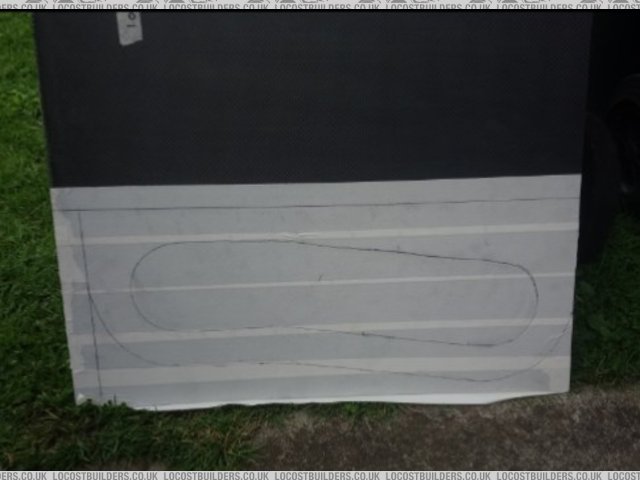
Carbon fiber purchase from Fibre-Lyte Stokesley for a very reasonable price.
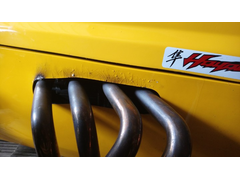 
Exhaust 1
 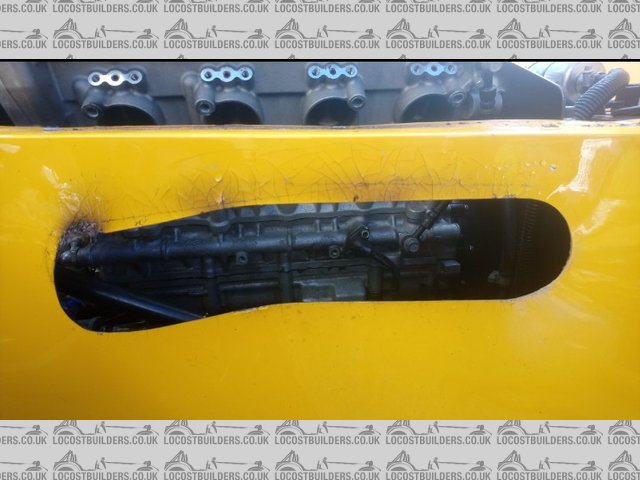
Exhaust 2
 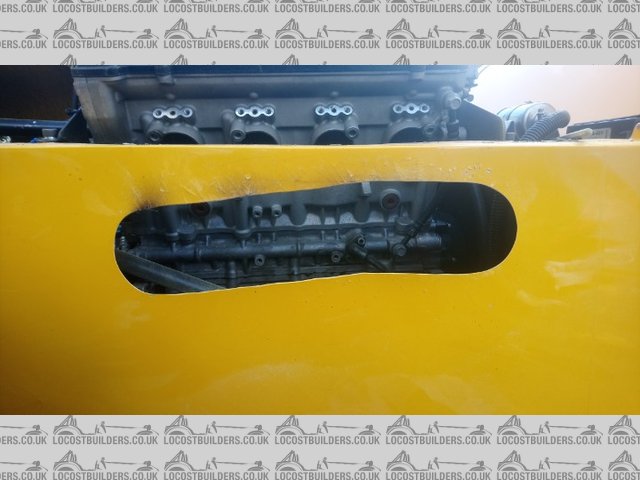
Exhaust 3
Exhaust 4
Exhaust 5
Going to Wrap the manifold with exhaust heat wrap and upgrade silencer to Carbon Fiber. Will post photo's when completed.
|
|
|
|
|
madteg
|
| posted on 9/10/17 at 09:45 PM |

|
|
Very nice
|
|
|
jrod
|
| posted on 10/10/17 at 11:40 AM |

|
|
Great job on the exhaust trim.
|
|
|
CosKev3
|
| posted on 10/10/17 at 03:36 PM |

|
|
Lovely car 
As above,trim around cut out looks good.
Can't believe someone would do such a bodge job to start with though!
|
|
|
Ian2812
|
| posted on 16/10/17 at 01:51 AM |

|
|
Thanks guys.
forgot to add this one. This is where I'm at just now.
 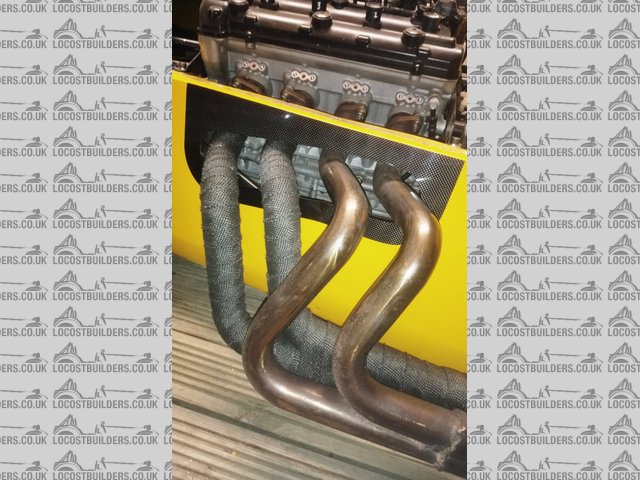
Exhaust 6
|
|
|
Ian2812
|
| posted on 9/11/17 at 01:43 PM |

|
|
Still waiting on my carbon exhaust so a bit more maintenance and cosmetics.
Replaced the boots on my track rod ends, £3.90 from ebay if any one needs to do this.
Westfield Rubber Boots Dust Cover - FREE Metal Securing Clamps x 2
Also, the car is covered in HAYABUSA stickers, I know its a Hayabusa engine but the car is a MEGABUSA.
I looked everywhere and searched through multiple threads trying to source a font to make a MEGABUSA decal in the same style as the Hayabusa text, all
unsuccessful.
Ended up making one on good old Microsoft Paint on a quiet night. Sent image to local sticker shop and got 2 made. One for the rear, and one for the
hood. Took a while to remove existing rear sticker, and the left over sticky residue. (GOO-GONE purchased and this helped dissolve the glue)
 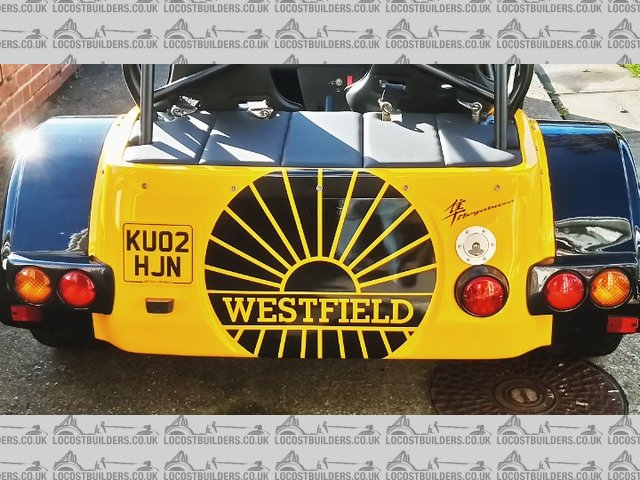
New rear decal
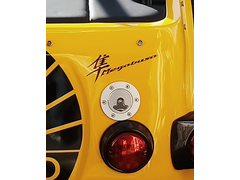 
Megabusa decal design & fit.
Hood decal next, when I get a spare hour or two to remove the stickiness... and finish the exhaust when ever the carbon arrives...
|
|
|
CosKev3
|
| posted on 9/11/17 at 03:27 PM |

|
|
Sticker looks great.
Where is your carbon exhaust coming from?
As Motad that make them for Westfield have closed down according to a couple of users on the WSCC forum
[Edited on 9/11/17 by CosKev3]
|
|
|
Ian2812
|
| posted on 9/11/17 at 04:57 PM |

|
|
Thanks again CosKev3.
Yeah, I got it from the same place as the trim around the manifold.
Business is called Fibre-Lyte, in Stokesley, North Yorkshire.
Website: - http://www.fibre-lyte.co.uk/
I have a re-packable exhaust, they are making a sleeve for me using high temperature resin. (all custom made to measure, £80)
Very nice chaps to deal with and very reasonable prices. £40 for the piece for the manifold trim, and I could have got 4 trims out of the size I
purchased.
|
|
|
CosKev3
|
| posted on 9/11/17 at 05:27 PM |

|
|
Ah right that sounds a bargain for a one off piece!
Hopefully it's as good as you are expecting it to be, will look forward to pics 
[Edited on 10/11/17 by CosKev3]
|
|
|
Ian2812
|
| posted on 27/12/17 at 08:29 PM |

|
|
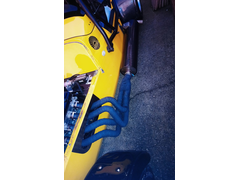
Finally had a spare morning to progress my exhaust.
Do you reckon the carbon can looks fine the way it is or would be better with stainless steel end caps fitted over the ends of the carbon?
Thoughts appreciated please...
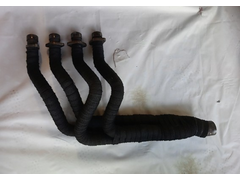 
Description
 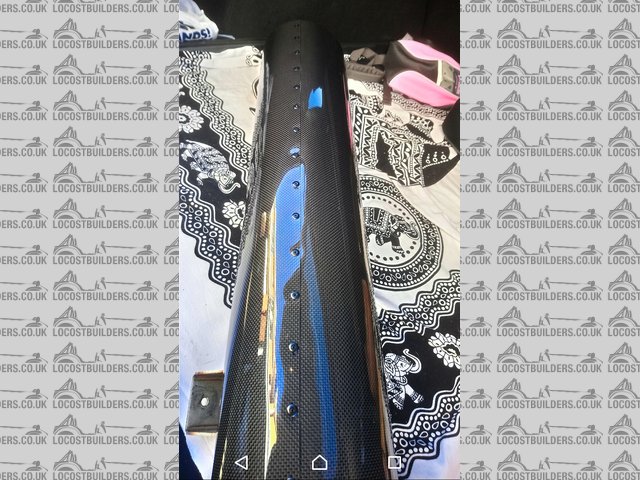
Description
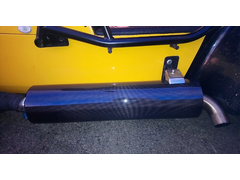 
Description
Description
|
|
|
Ian2812
|
| posted on 11/2/18 at 05:30 PM |

|
|
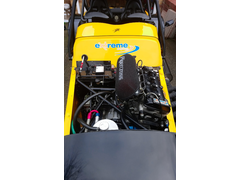
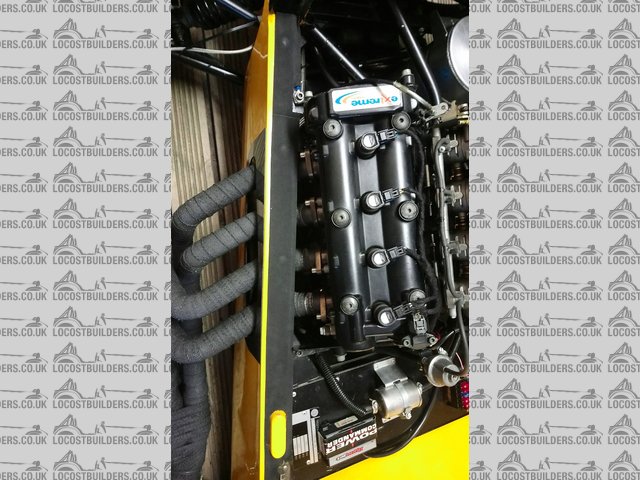
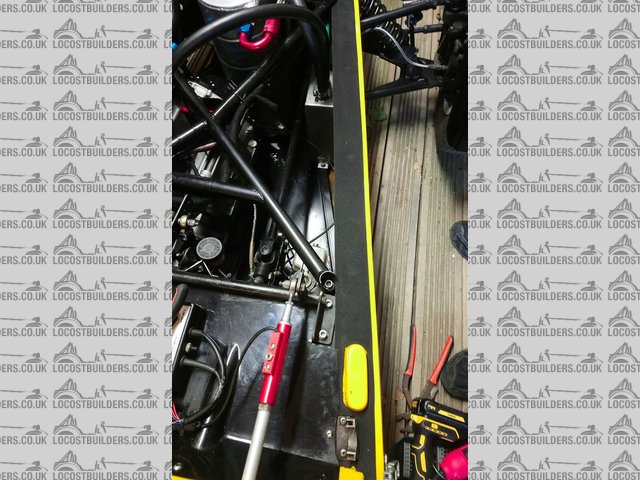
Now exhaust completed, moving on to body work / engine bay tidy up.
Issues:
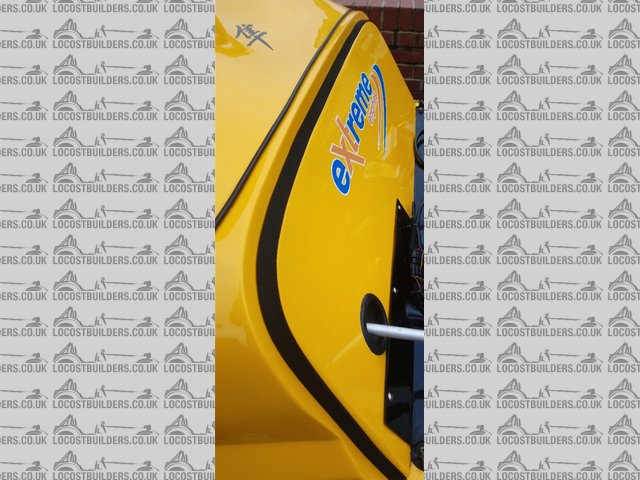
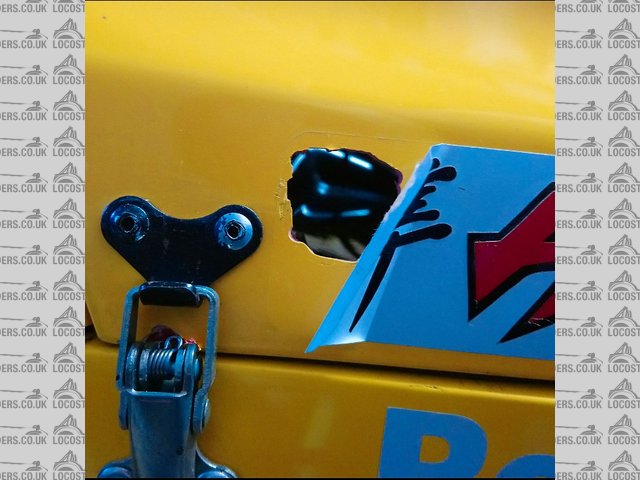
Bonnet - 2x 20mm holes for the original locks still there (just stickered over), a bit of fibreglass lift, 3 vent grills require repainting.
Nose cone - stress cracks in the paint, uneven cut outs around the anti roll bar, indicators don't suit the car so will replace.
Foam strip seals - all seen better days, missing, burnt etc.
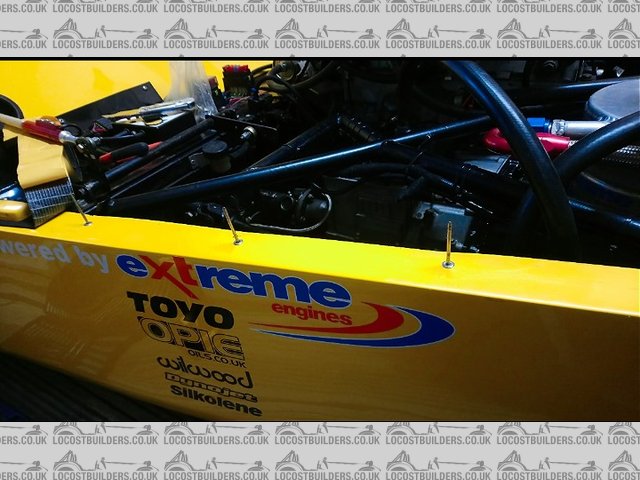
Rivets loose on some of the panels.
New horns required - Only a high tone fitted.
Wiring - Made a good dent in the wiring, will continue this over time.
Some progress photo's...
Description
Description
Description
Description
Description
Description
Description
 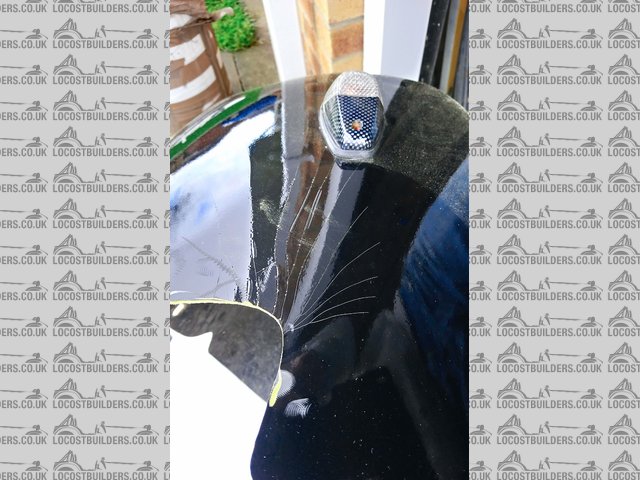
Description
 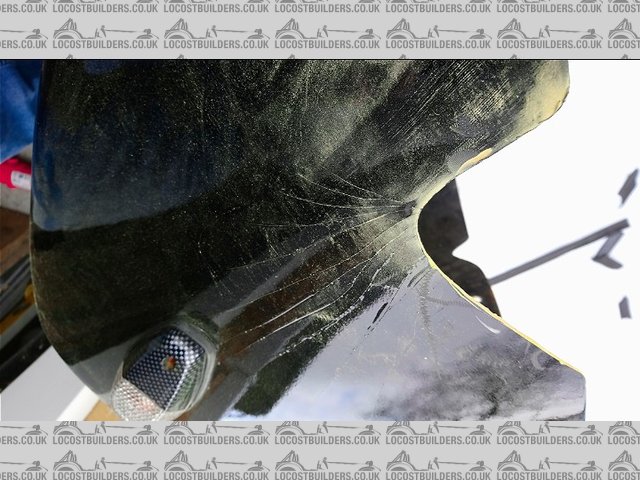
Description
 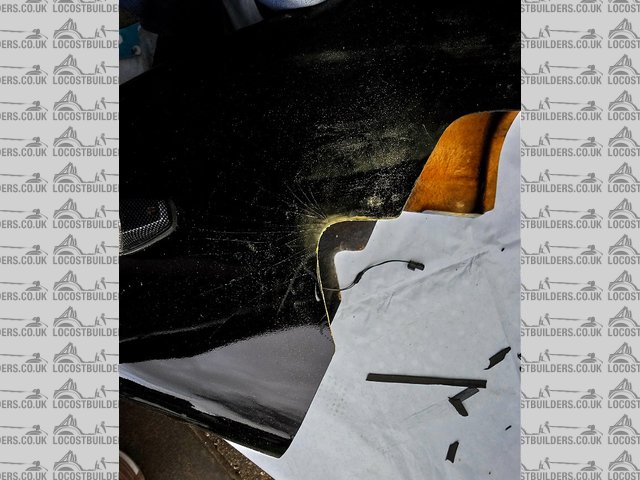
Description
Bonnet and nose cone now away getting repaired / re-sprayed hopefully ready by the end of the month.
More photo's to follow once completed...
|
|
|
CosKev3
|
| posted on 11/2/18 at 08:28 PM |

|
|
Going to be really nice when you've finished 
Exhaust looks good,what have you done to the ends of the carbon cover,sealed it etc?
|
|
|
Ian2812
|
| posted on 11/2/18 at 09:12 PM |

|
|
The ends are sealed with extreme high temp 'flue' sealant designed for log burner stoves. It's a nice tidy job, just think it would
would look a bit better with some stainless end caps riveted on. Don't know where or if I I can buy them though. Again, advice / ideas welcomed
by all.
KosCev3, I like the look of the headlights on your car, they look a bit more modern, smaller / neater than the ones on mine, may be the next purchase.
Do you know the size?
|
|
|
CosKev3
|
| posted on 11/2/18 at 10:57 PM |

|
|
quote:
Originally posted by Ian2812
The ends are sealed with extreme high temp 'flue' sealant designed for log burner stoves. It's a nice tidy job, just think it would
would look a bit better with some stainless end caps riveted on. Don't know where or if I I can buy them though. Again, advice / ideas welcomed
by all.
KosCev3, I like the look of the headlights on your car, they look a bit more modern, smaller / neater than the ones on mine, may be the next purchase.
Do you know the size?
They are what's known as dominator's, think they are 4.5inch diameter.
They do look the best size IMO on seven type cars,but they don't perform very well!
If you only get caught out in the dark on the odd occasion they work OK, but if you use the car a lot in the dark they would become a pain.
|
|
|
Ian2812
|
| posted on 30/3/18 at 09:43 PM |

|
|
Whilst nose cone away for filling / paint...
Only one horn fitted and this was the high tone. Sounded terrible and embarrassed to use, so never did. (Found the usual hand gestures to be just as
effective.)
2 new horns bought and fitted, High and Low tone. Now sounds much better.
 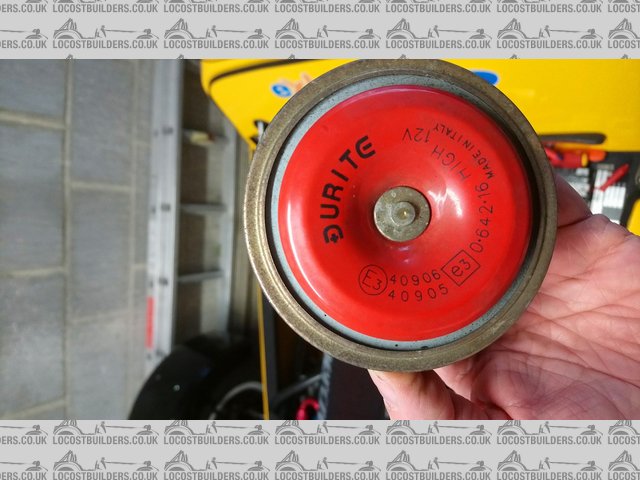
Description
Description
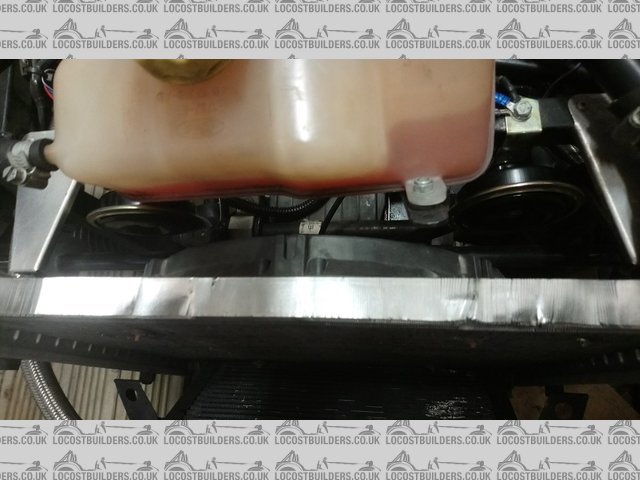
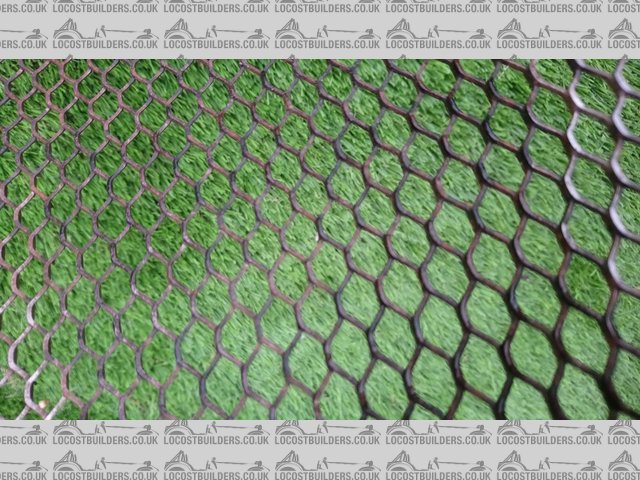
The front grille was looking tired and required a strip back to bare metal, primer, undercoat, paint and lacquered up.
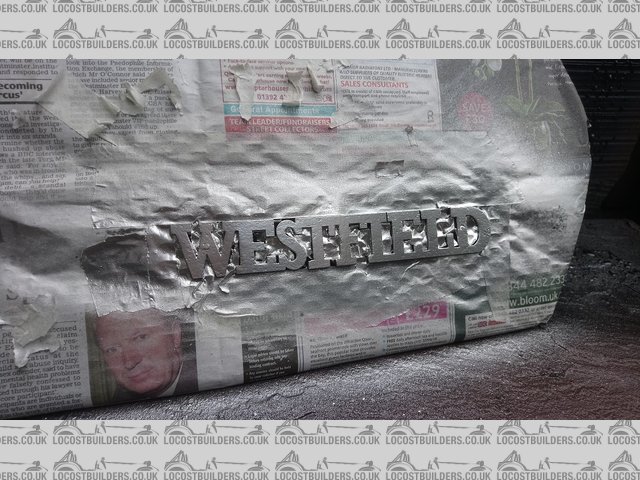
Masked off the rest of the grille and done the 'WESTFIELD' in a chrome coloured paint. Think it looks better than blending in with the
rest of the black.
Description
Description
 
Description
 
Description
Description
|
|
|
Ian2812
|
| posted on 30/3/18 at 11:42 PM |

|
|
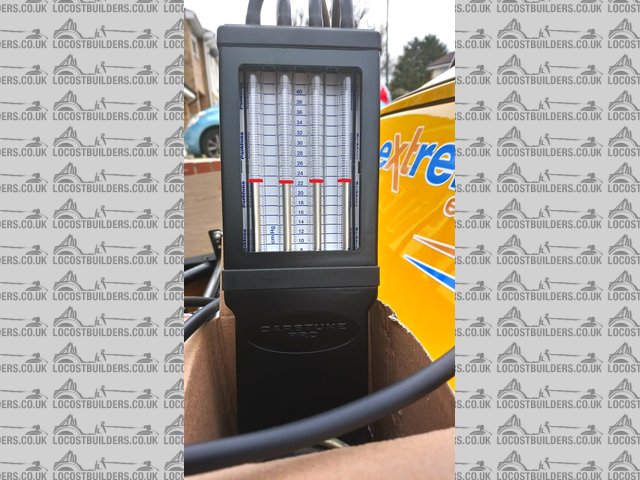
Bought a Morgan Carbtune Pro to check / balance my throttle bodies as it was running a little lumpy at idle.
I've done this as a separate thread in the BEC forum as well.
I followed the Haynes manual for the Hayabusa engine on a bike so a quite a few steps were not required and they seemed to over complicate the
procedure. Couldn’t find a how to on the forum so thought I’d knock this up.
I’ll try and shorten it and make it a ‘dummies guide’.
Firstly check your idle speed is correct.
Let the engine warm up to a normal operating temperature.
Turn off the engine.
Remove your air filter / box and use some old tights and elastic band to secure around the top of the trumpet to act as a temporary filter.
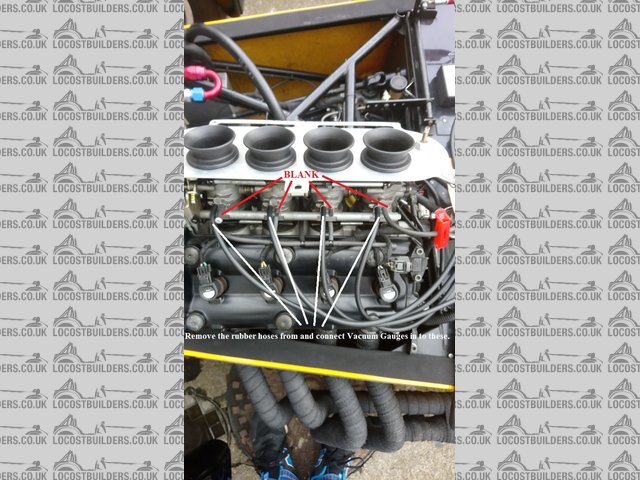
Disconnect the vacuum hoses from the throttle bodies, they might be unwilling to come off due to the heat. (See pic)
Fit the vacuum hoses. (See pic)
Fit blanks as per pic.
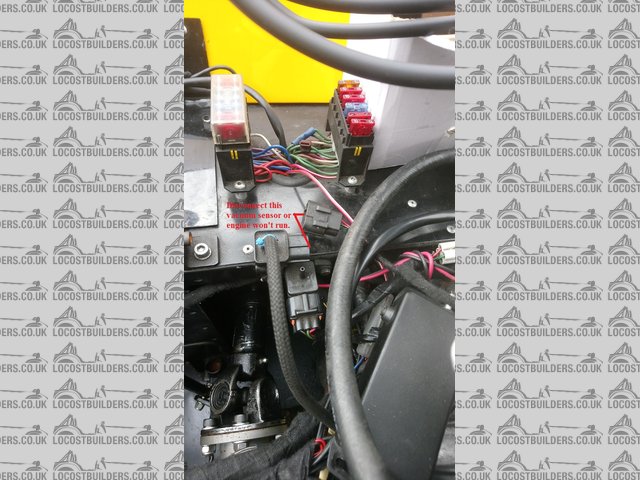
This where I struggled as when I was trying to start the car, the engine just wouldn’t fire up and run.
You have to disconnect the vacuum plug from the sensor, think officially it is called IAP sensor.
Once this is disconnected the engine should start.
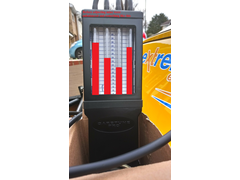
Check on your gauge to see how balanced they are with each other. The actual reading doesn’t matter as long as all balanced.
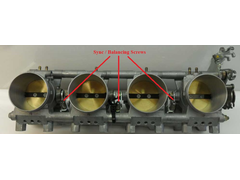
There are 3 little screws, 1 between 1+2, 1 between 2+3 and 1 between 3+4. See Pic.
You balance butterfly valves 1+2 with each other by turning the screw between 1+2 valves.
Then balance butterfly valves 3+4 with each other by turning the screw between 3+4 valves.
Then you turn the screw between 2+3 to balance valves 1+2 with 2+3.
I adjusted my idle speed after balancing up as idle speed had lowered off.
Once happy, put at all back as was before you started.
I am very annoyed as took a picture of my vacuum gauge before I set mine up and they were way out as expected as my engine sounded a bit lumpy on tick
over / idle, revs hunting a little.
I deleted it by accident when I was deleting some of the blurry photos I took of the vacuum gauges after I had set them up! So done a little Microsoft
Paint job to show approximately where they were before adjustment.
My throttle bodies are now within 0.5cmHg of each other. Engine sounds sweet as a nut now. Can’t believe what a difference that 30mins of relatively
easy tinkering has made…
Hope this helps somebody out.
Description
Description
Description
Description
Description
|
|
|
Ian2812
|
| posted on 1/4/18 at 03:30 AM |

|
|
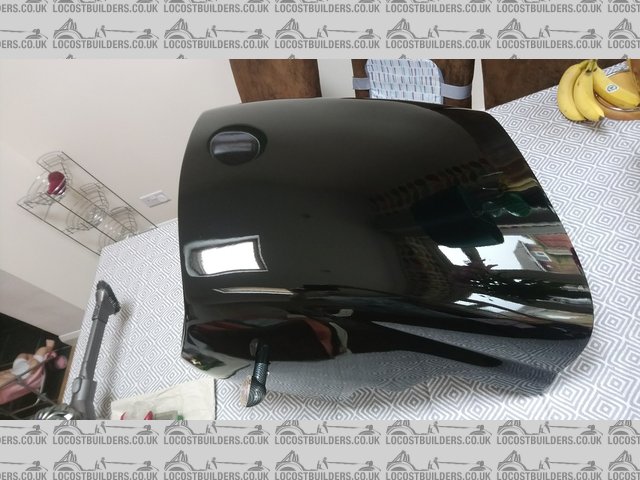
Nose cone repairs and re spray completed.
New indicators fitted, grille fitted and now back on car.
Description
Description
Description
Took for MOT with bonnet not fully completed yet (repaired but not sprayed), and weather not the best... Freezing and raining however, passed with no
advisories!
Job well done!
Summer here we come... Soon... Hopefully... Maybe...
|
|
|
CosKev3
|
| posted on 1/4/18 at 09:27 AM |

|
|
Looks a good paint job,lovely deep finish 
|
|
|
Ian2812
|
| posted on 1/4/18 at 08:25 PM |

|
|
Yeah, its a decent job. Hope the colour match for the yellow is ok...
|
|
|
Ian2812
|
| posted on 1/4/18 at 08:27 PM |

|
|
Just a link to a post I have just done for oil pressure sender / gauge fault finding for '0' and 'full scale' reading.
http://www.locostbuilders.co.uk/viewthread.php?tid=212062
Cheers!
|
|
|
Ian2812
|
| posted on 4/4/18 at 08:40 PM |

|
|
Came across a few photo's from when Top Secret Evolution had the car to do the fixed boot lid.
Top job guys!
 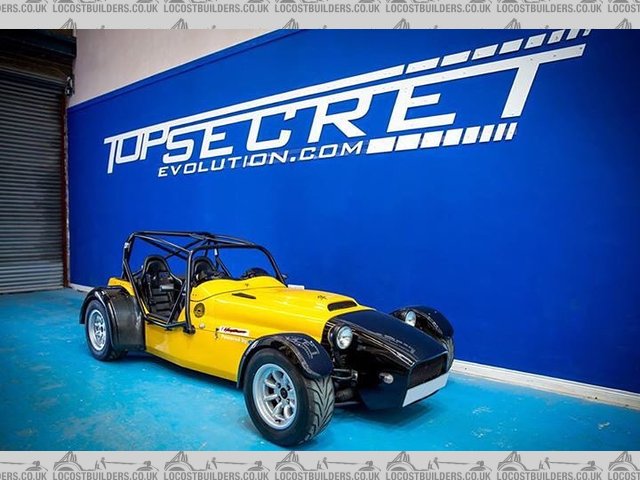
Description
 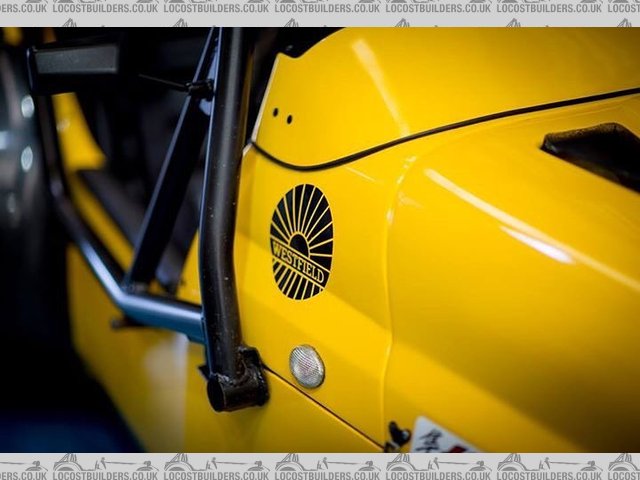
Description
 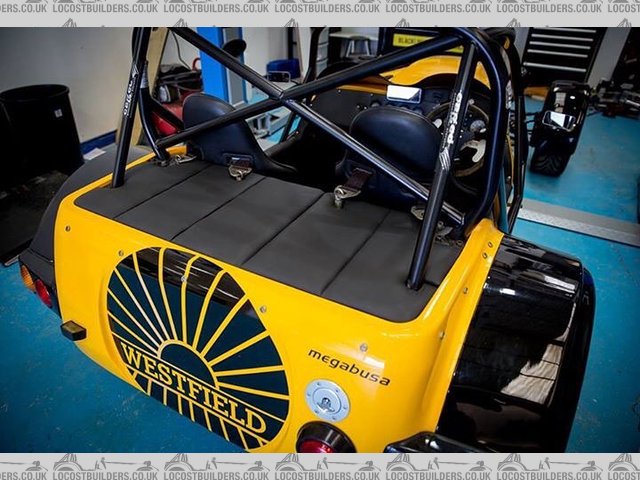
Description
 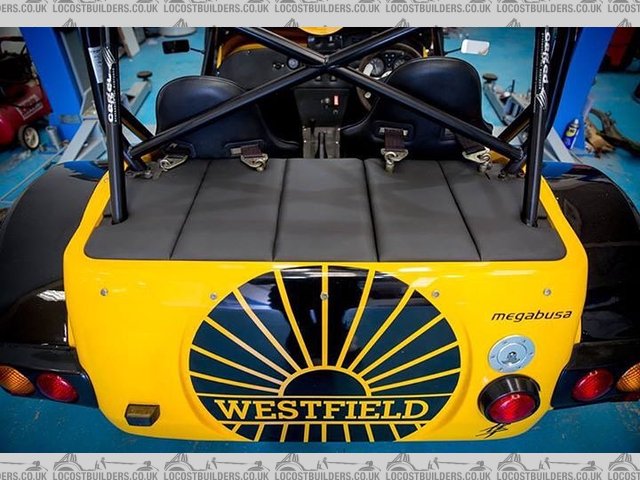
Description
|
|
|
gaz_gaz
|
| posted on 5/4/18 at 06:24 AM |

|
|
Great looking car.
It's really come on in your ownership. Top job!!
|
|
|
Ian2812
|
| posted on 5/4/18 at 11:53 PM |

|
|
Thank gaz_gaz. Bit of time, money and effort paying off.
|
|
|
Ian2812
|
| posted on 7/4/18 at 09:52 PM |

|
|
A copy of my other post for Megabusa decal file in the text of the hayabusa font.
'Megabusa' Hayabusa style text font decal sticker
Just wondered if any 'BUSA' BEC owners would be interested in this?
When I bought my Westfield Megabusa, the car is covered in HAYABUSA stickers, I know its a Hayabusa engine but the car is a MEGABUSA. This was one of
them little inaccuracies that really bugged me and felt the true identity of the car was not being advertised.
I looked everywhere and searched through multiple threads trying to source a font to make a MEGABUSA decal in the same style and font as the Hayabusa
text, all unsuccessful.
I ended up making one myself one quiet night.
Sent image to local sticker shop and got 2 made. One for the rear, and a slightly bigger one for the hood.
 
Megabusa decal design & fit.
If anyone is interested I can forward the file on via email so you can get them made locally to your size requirements, just get in touch.
Cheers, Ian.
|
|
|
Ian2812
|
| posted on 22/4/18 at 09:47 PM |

|
|
FOR SALE
Well, the time has come, too soon and unexpected...
I will be putting my Westfield Megabusa up for sale.
I will put all details on this page as well as the for sale forum.
Please U2U message me if you require more info or photo's.
Many thanks. Ian.
|
|
|


