hkp57
|
| posted on 6/7/13 at 01:55 PM |

|
|
MK Indy R Hayabusa Build
Ok due to working abroad i am not the one screwing this together but my chassis arrived at the Scottish Kit Car Center and the build has began. 
Inboard front Shocks
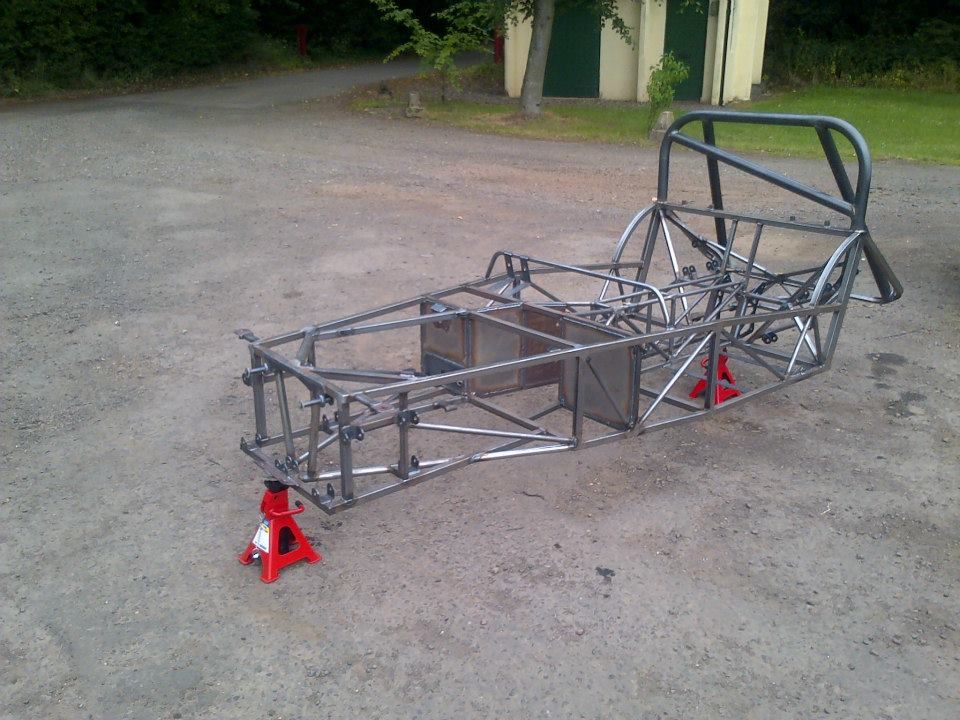
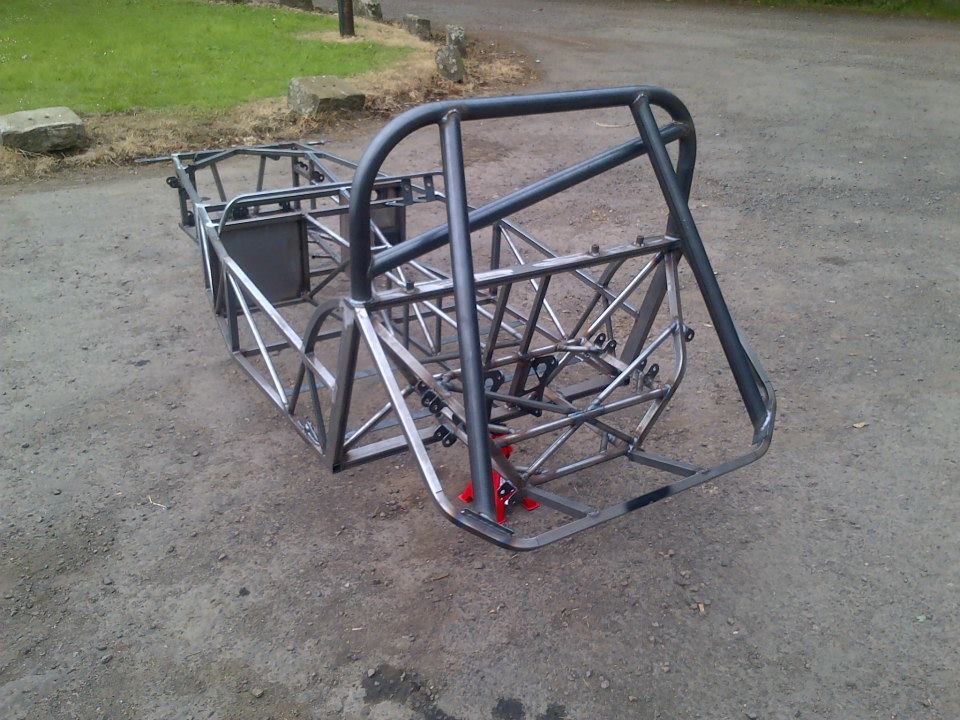
Took the option of a Half cage
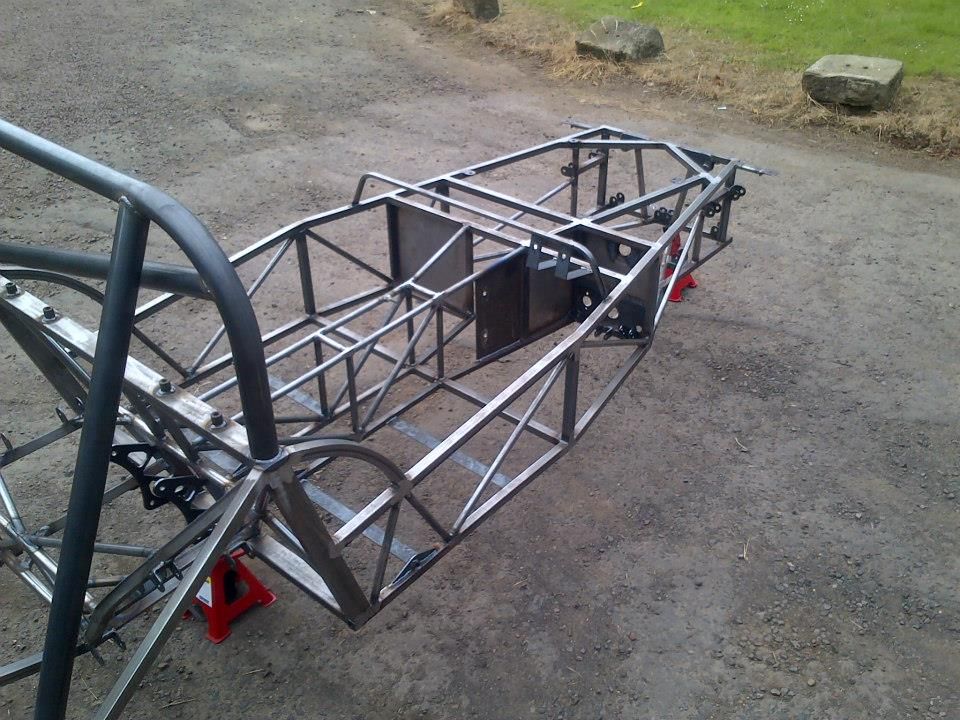
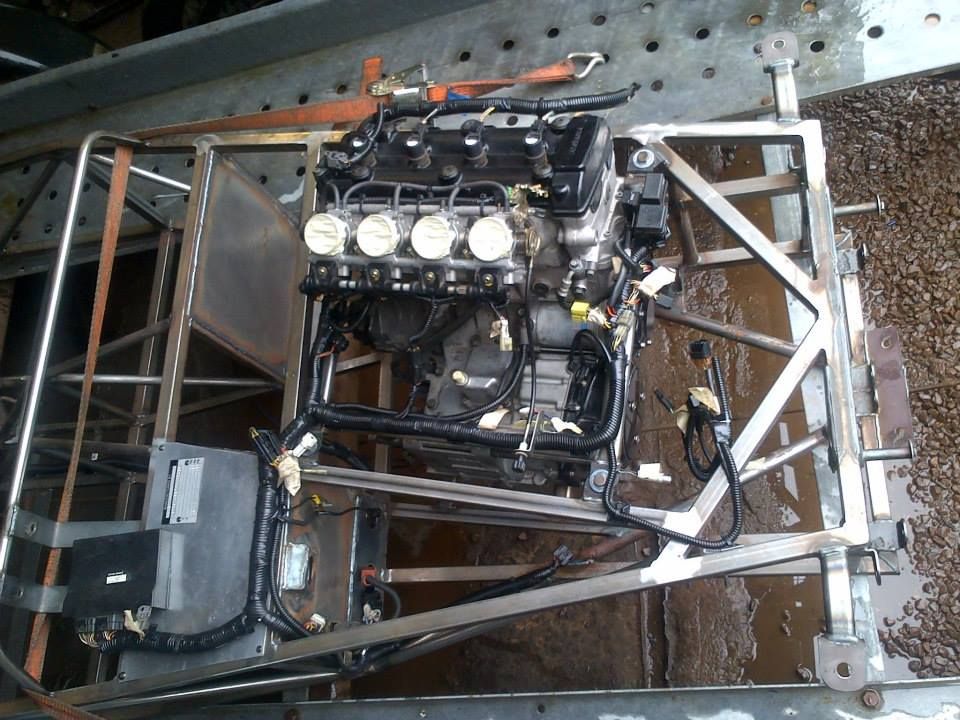
Test Fit of the Engine and doing some bracket work for fuel lines, ECU etc before powder coating.
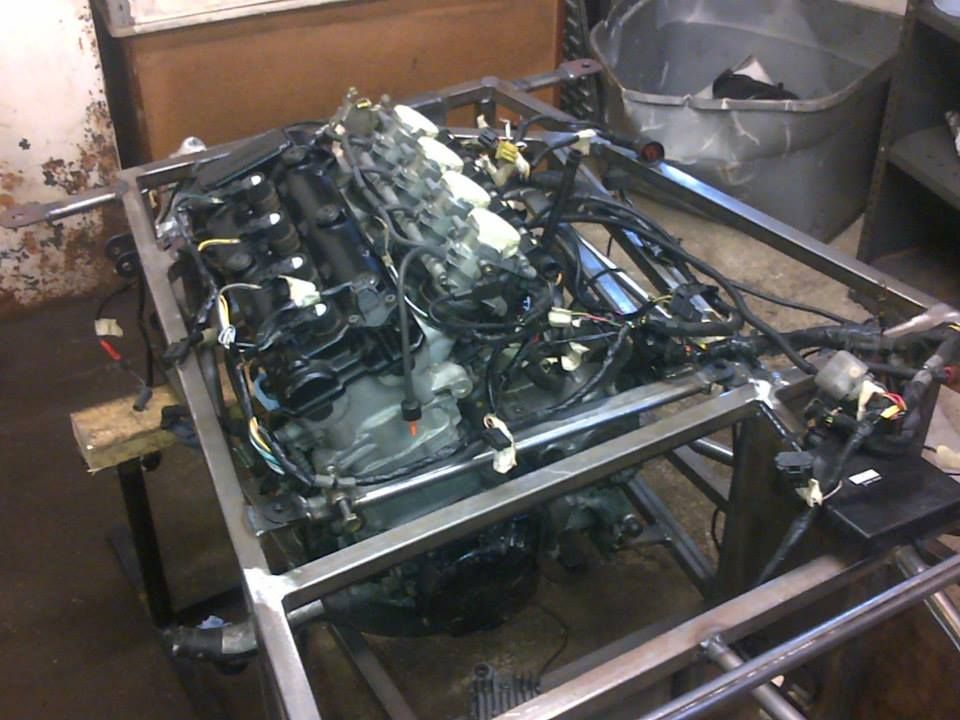
[Edited on 6/7/13 by hkp57]
|
|
|
|
|
jacko
|
| posted on 6/7/13 at 02:31 PM |

|
|
You have the foot well shorter on the N/S so why are you not moving it engine back to it ?
|
|
|
sdh2903
|
| posted on 6/7/13 at 03:12 PM |

|
|
With a bec I always thought it was the wiser option to get a bit of weight up over the front end to help turn in? Also they tend to be slightly rear
weight biased. Mine is pushed well forward.
|
|
|
hkp57
|
| posted on 6/7/13 at 03:19 PM |

|
|
quote:
Originally posted by jacko
You have the foot well shorter on the N/S so why are you not moving it engine back to it ?
And its a nice clean space for the dry sump tank
|
|
|
MK chippy
|
| posted on 6/7/13 at 08:48 PM |

|
|
May be wise to get that chassis treated/powder coated before starting the build?
|
|
|
hkp57
|
| posted on 7/7/13 at 07:50 PM |

|
|
Once some brackets and small bits of welding are done the engine is coming out and its going to be powder coated.
[Edited on 7/7/13 by hkp57]
|
|
|
Custardpants
|
| posted on 15/7/13 at 10:45 PM |

|
|
Before you fit the shocks I'd recommend you get them balanced on procomp's shock dyno, and fit rose jointed rear suspension. They are both
jobs which are so much easier to do during the build.
|
|
|
hkp57
|
| posted on 3/8/13 at 01:41 PM |

|
|
Update -
Engine loom cleaned up and brackets fitted.
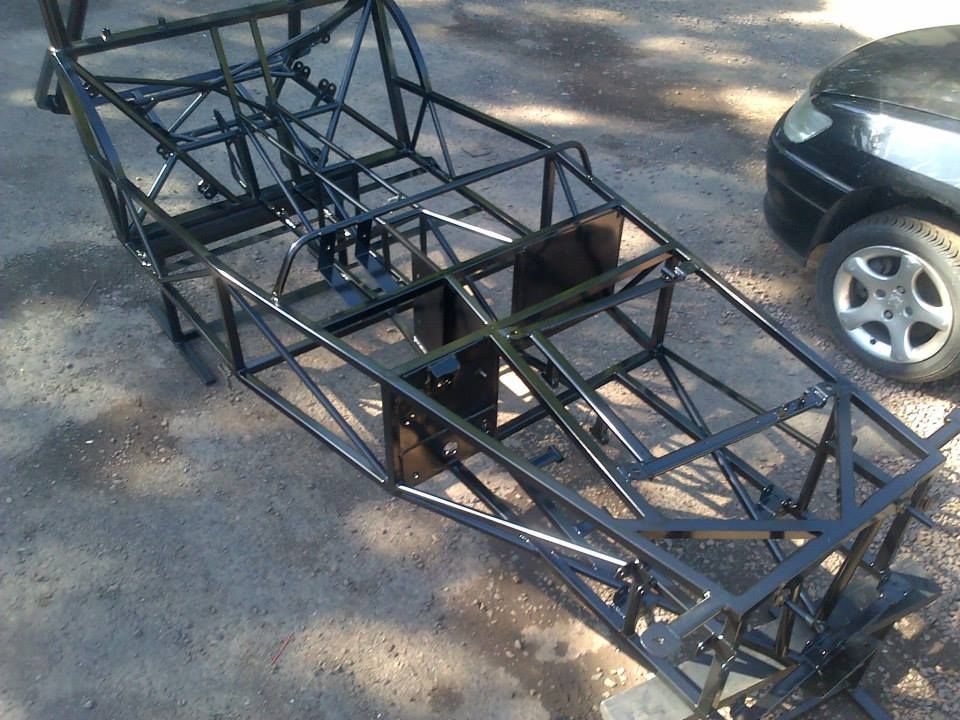
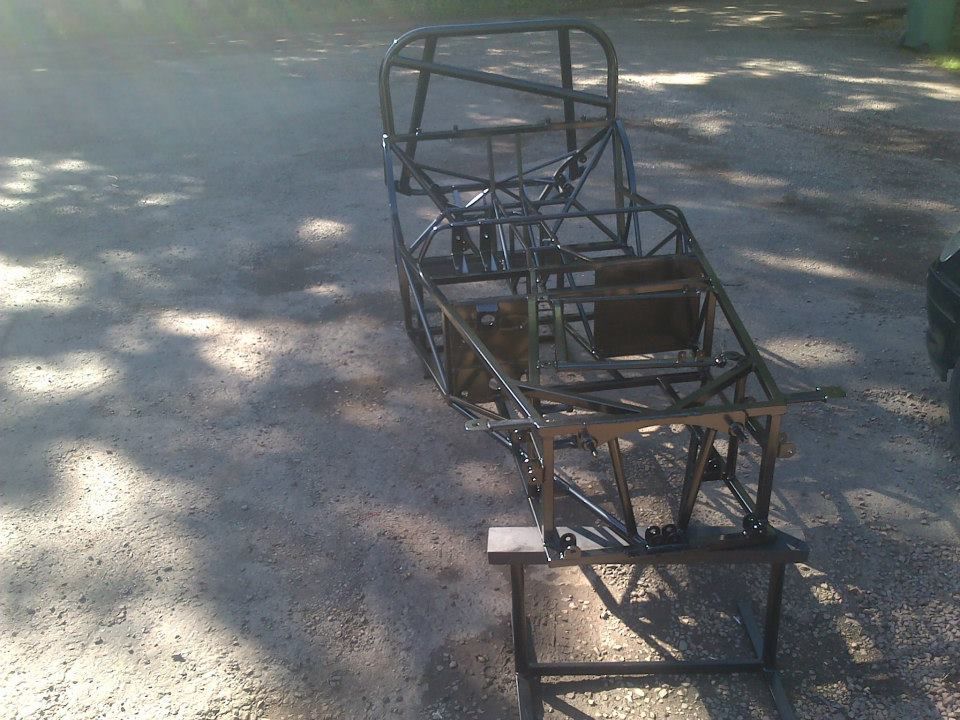
Chassis powder Coated ready to build now.
|
|
|
TimC
|
| posted on 3/8/13 at 02:02 PM |

|
|
quote:
Originally posted by sdh2903
With a bec I always thought it was the wiser option to get a bit of weight up over the front end to help turn in? Also they tend to be slightly rear
weight biased. Mine is pushed well forward.
I'm with you on this - but to try to get steering feel as much as anything.
quote:
Originally posted by hkp57
Update -
Engine loom cleaned up and brackets fitted.
I've got to be honest, I was reading the thread thinking, that people were:
- Being a bit unnecessary critical
- Not reading what you'd already written
However, I now think you have a problem - all sensible theory/content that I've ever read on propshafts says that the gearbox output and
differential input should be parallel. I can't see how that is the case on your build where the engine is parallel to the outer chassis rail
rather than an imagined line running longitudinally down the middle of the car. It's not the first car I've seen like this but I'm
pretty sure it's far from ideal.
ETA: I've just checked and this seems to be standard MK practice - even going back to when I had one... ooops. On that basis, I guess
you'll be fine.
[Edited on 3/8/13 by TimC]
|
|
|
sdh2903
|
| posted on 3/8/13 at 02:18 PM |

|
|
Not sure why MK do that with engine angle, theres plenty of room to get it parallel??
|
|
|
hkp57
|
| posted on 3/8/13 at 04:25 PM |

|
|
TimC
I don't have a definitive answer but based on my engineering understanding and the proven track record of MK I would say the following.
To have the gearbox output inline with the diff flange would mean moving the engine even further towards the near side of the chassis due to the
offset between the crank center and gearbox flange (not sure this is physically possible without moving the top chassis rail)
To have a dead straight prop-shaft is probably the worst thing you could do to the bearings in the UJ, they need a bit of misalignment to make the
bearing caps work and self lubricate or they will self destruct.
Provided the diff and gearbox are parallel in at least one plane (both vertical) I don't see this as being a problem, the included angle on all
three universal joints as this is a 2 piece prop should not exceed the manufacturers tolerance 7deg misalignment there should be no issue. The
universal joint does not know if the 7deg is created because the engine has been rotated around its horizontal axis or if its due to a height change
in the drive train. All the UJ knows is it has to deal with 7deg included angle provided the engine and diff flanges are plumb to each other.
Maybe Danny can pitch in here
|
|
|
hkp57
|
| posted on 27/8/13 at 08:11 PM |

|
|
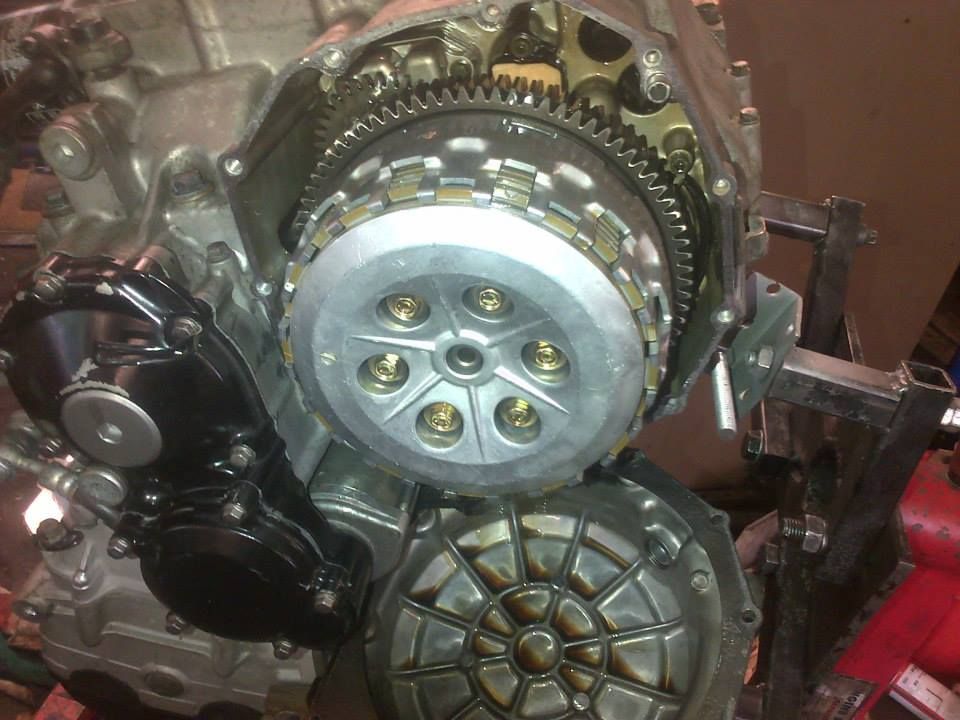
Health check on the engine.
Out with the standard clutch
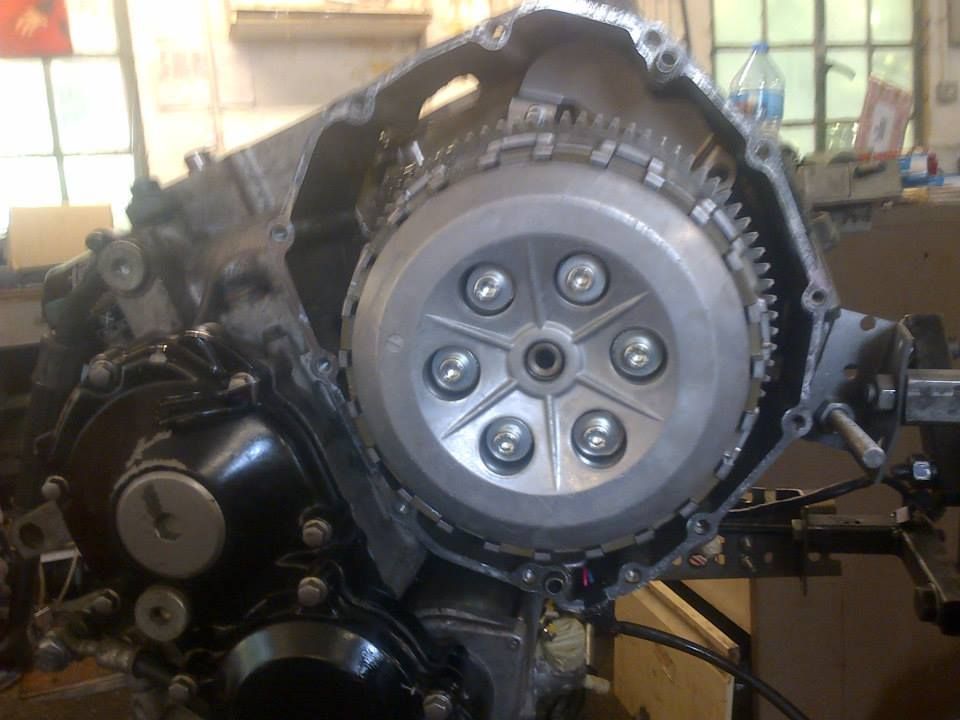
In with a new set of plates
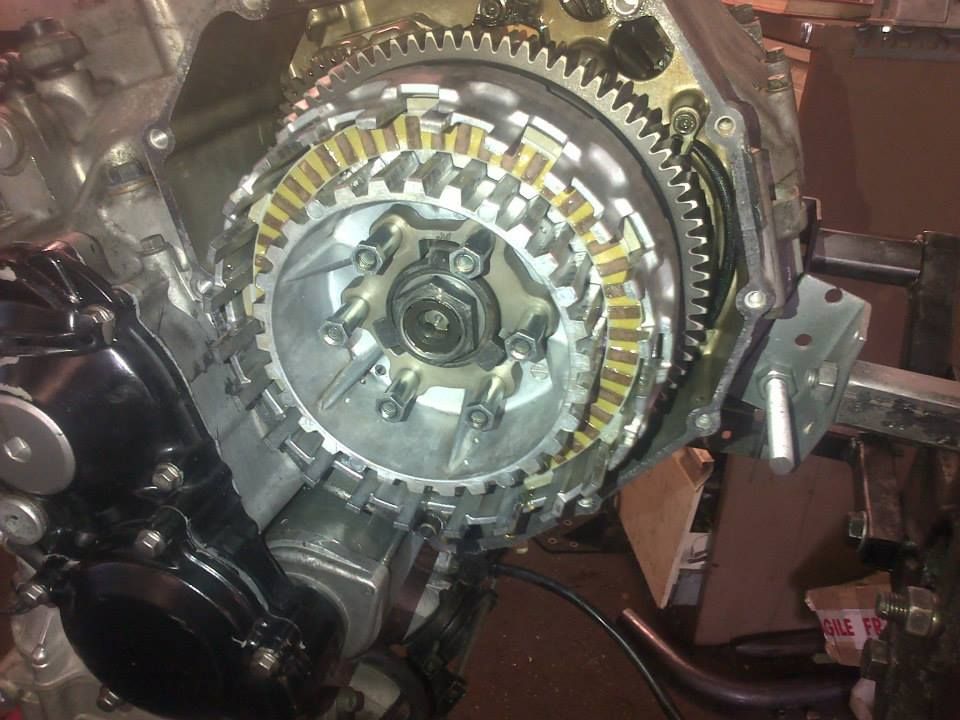
All back together with uprated springs
|
|
|
hkp57
|
| posted on 27/8/13 at 08:21 PM |

|
|
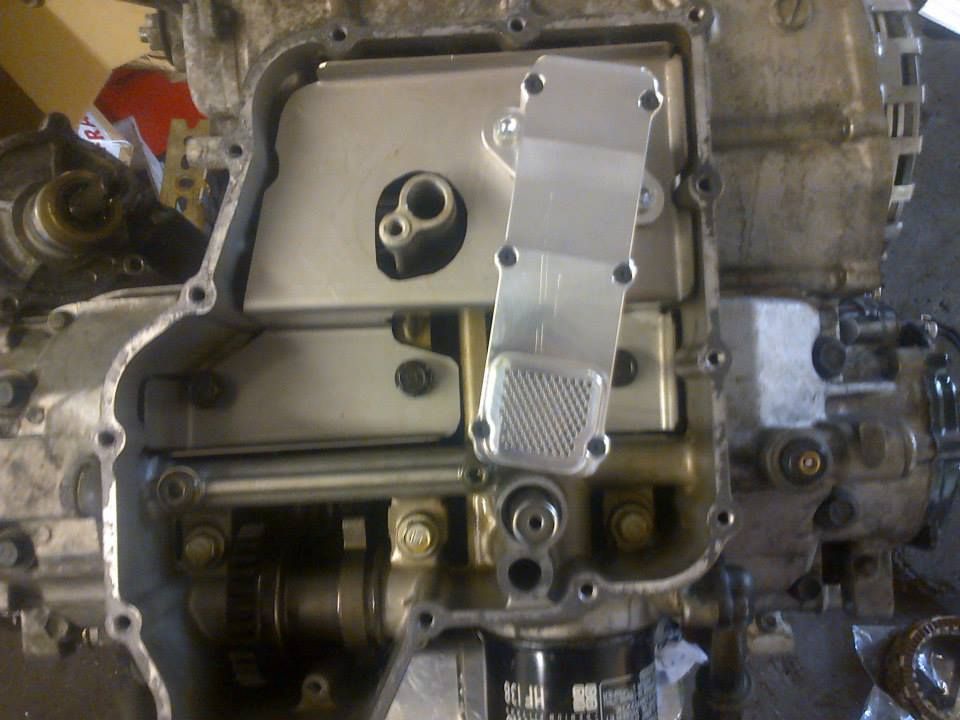
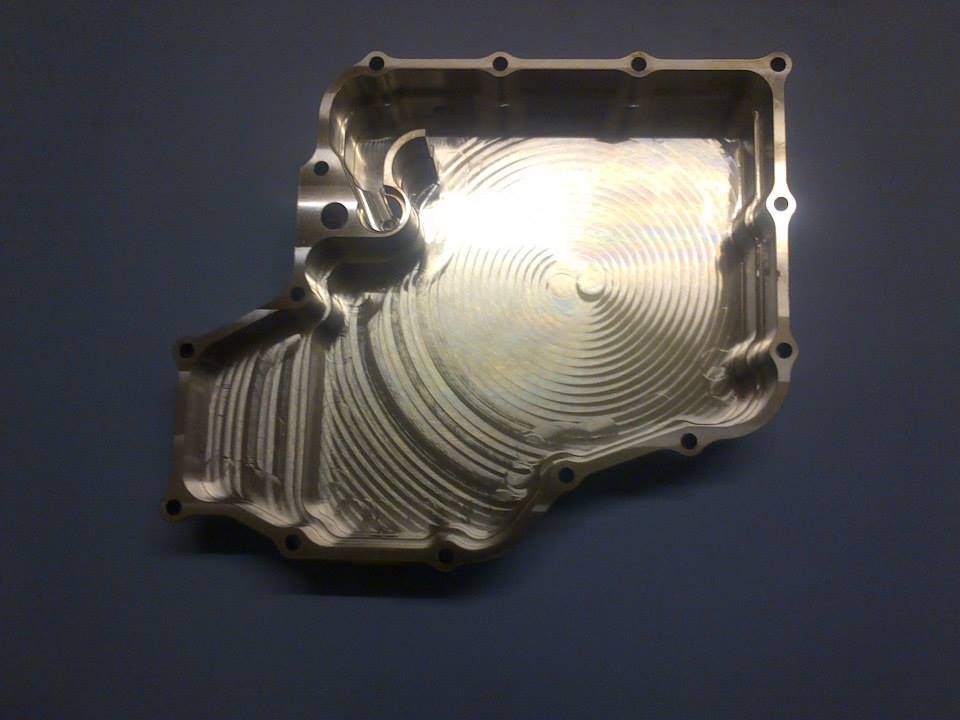
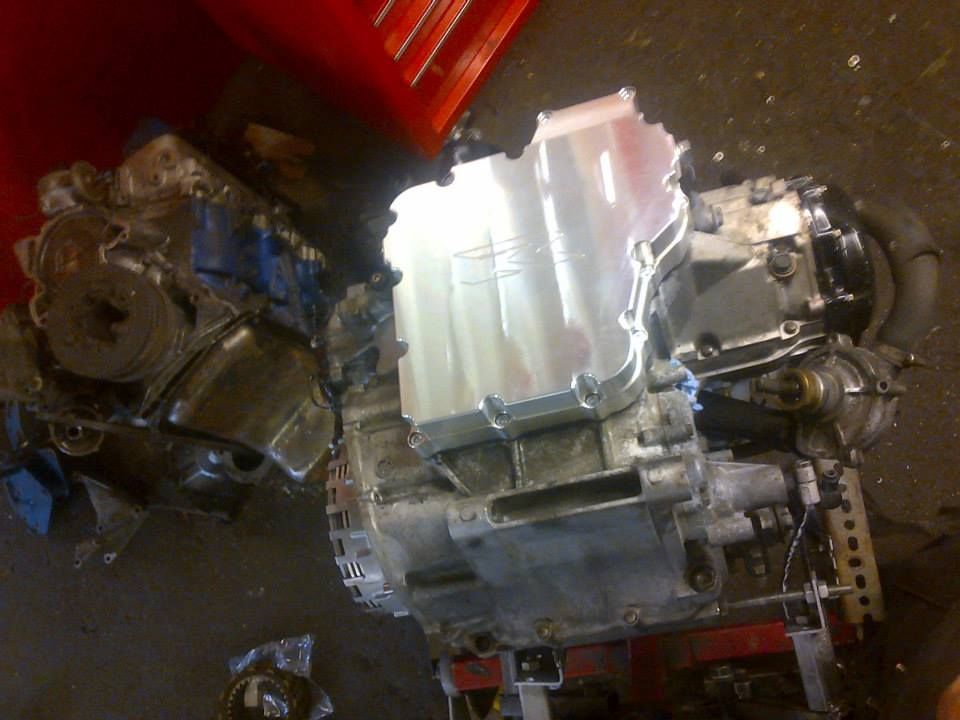
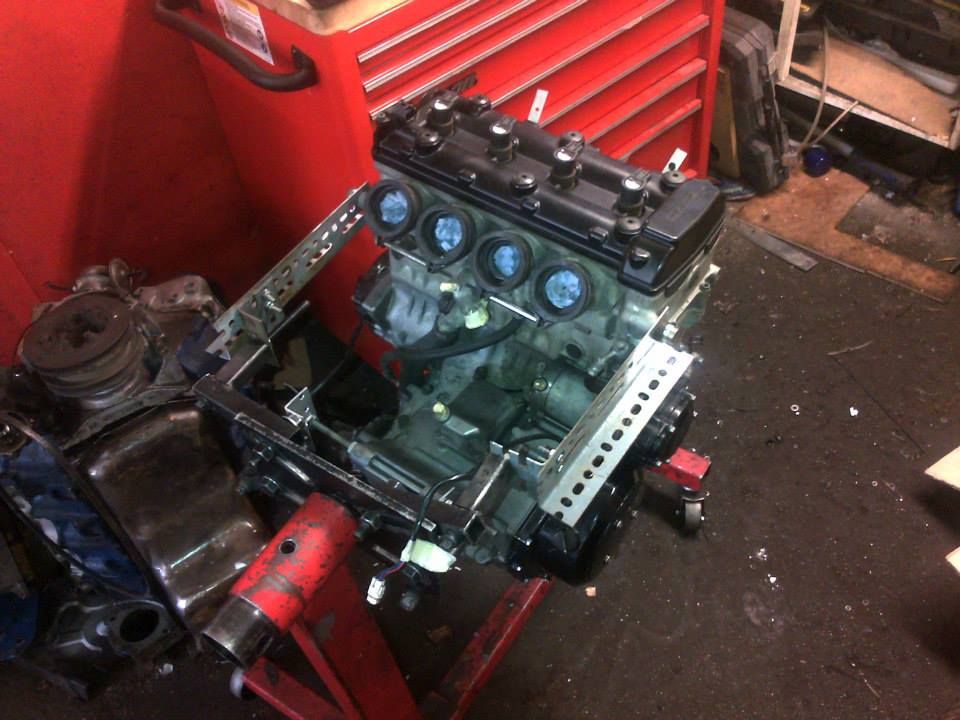
Bottom End
Sump off and check the bottom end, looked good
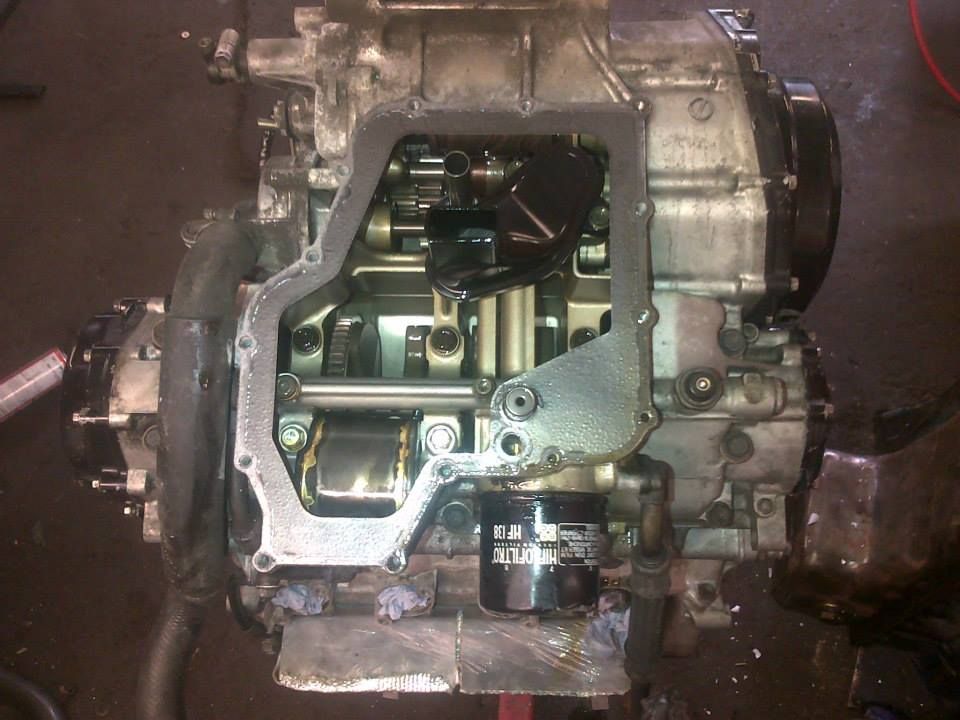
Baffle plate fitted
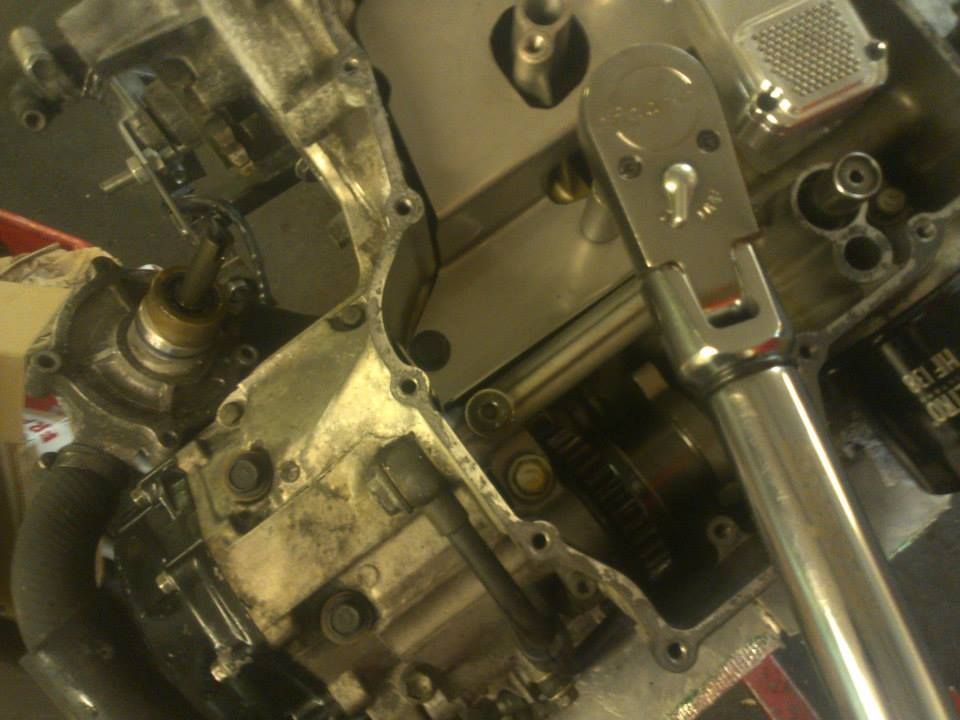
Swinging pickup fitted
Mmmmm Billet
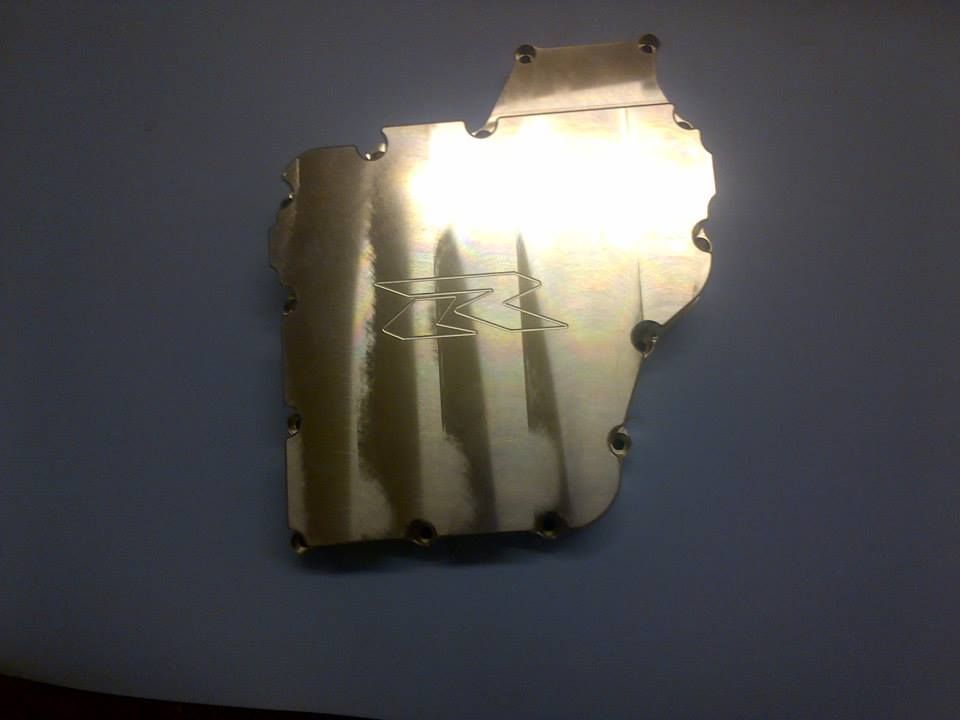
Bolted up.
|
|
|
hkp57
|
| posted on 30/8/13 at 05:50 PM |

|
|
A Little More Progress
Floor in place with brake pipes, fuel lines and wiring harness.
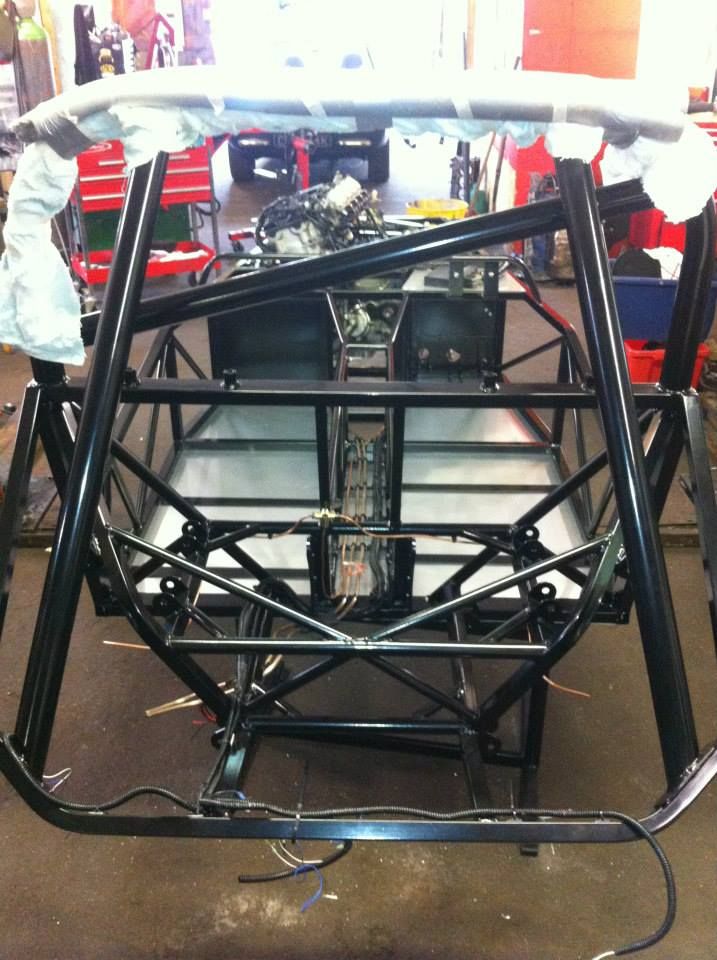
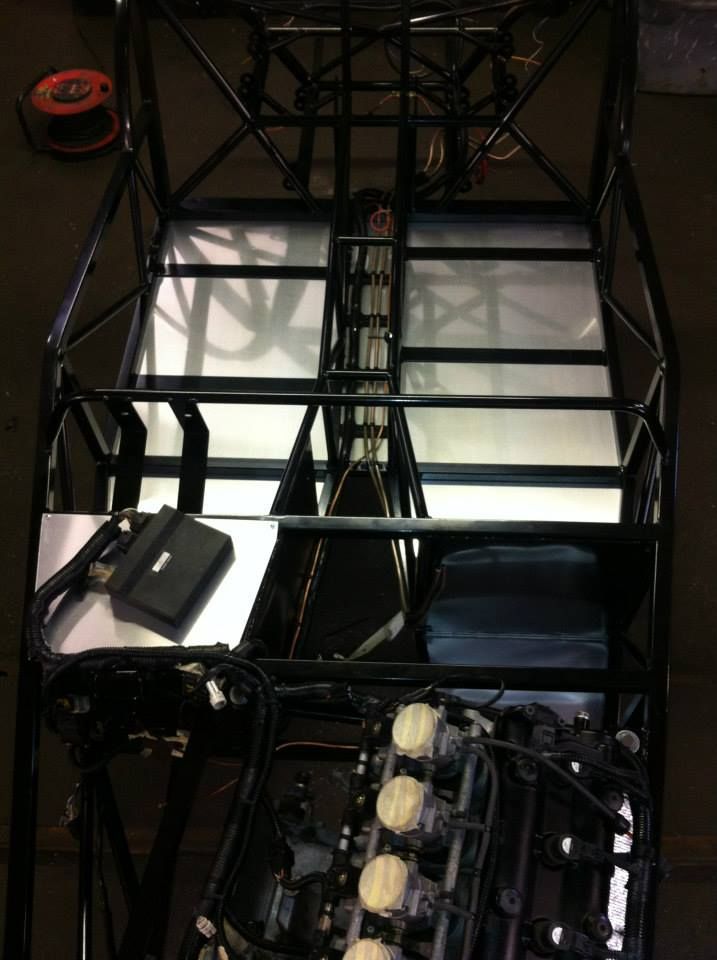
Engine back in and Loom installed.
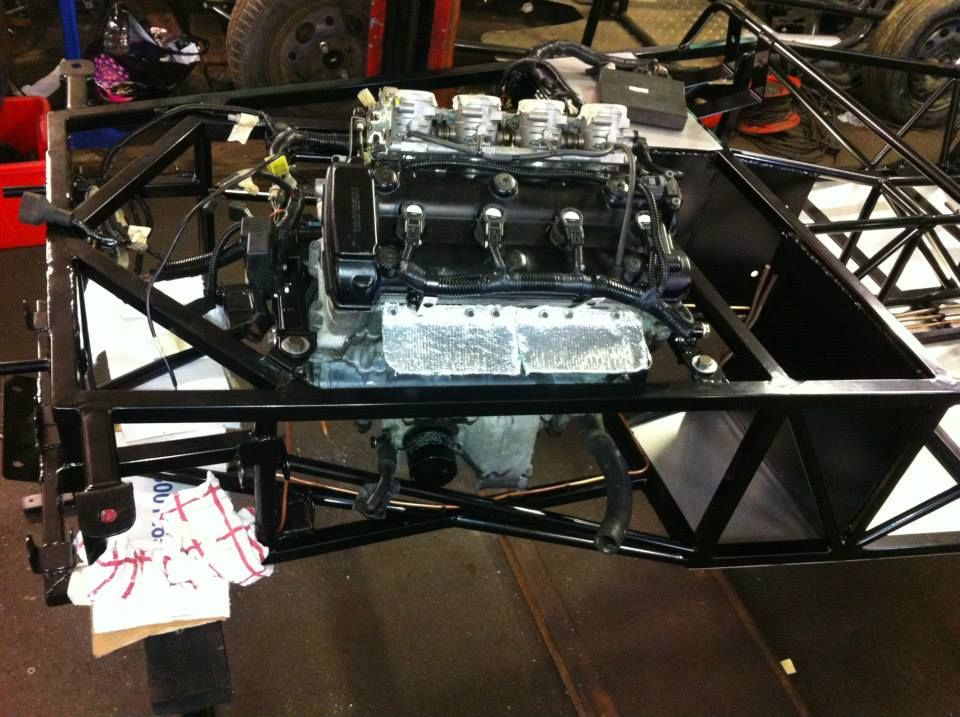
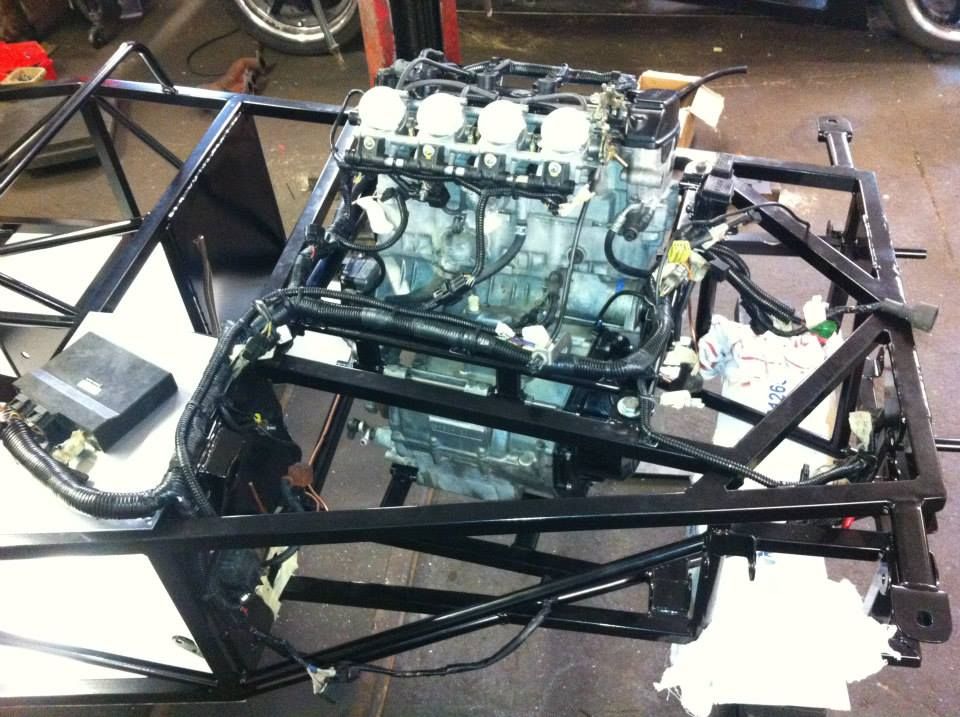
Next is wishbones, shocks etc .
|
|
|
hkp57
|
| posted on 21/10/13 at 05:29 PM |

|
|
Slow progress right now
Builder is being delayed waiting on parts to be delivered.
Waiting for uprights and rocker arm bearings from MK

Diff in place, rear wishbones and shocks dry fit up.
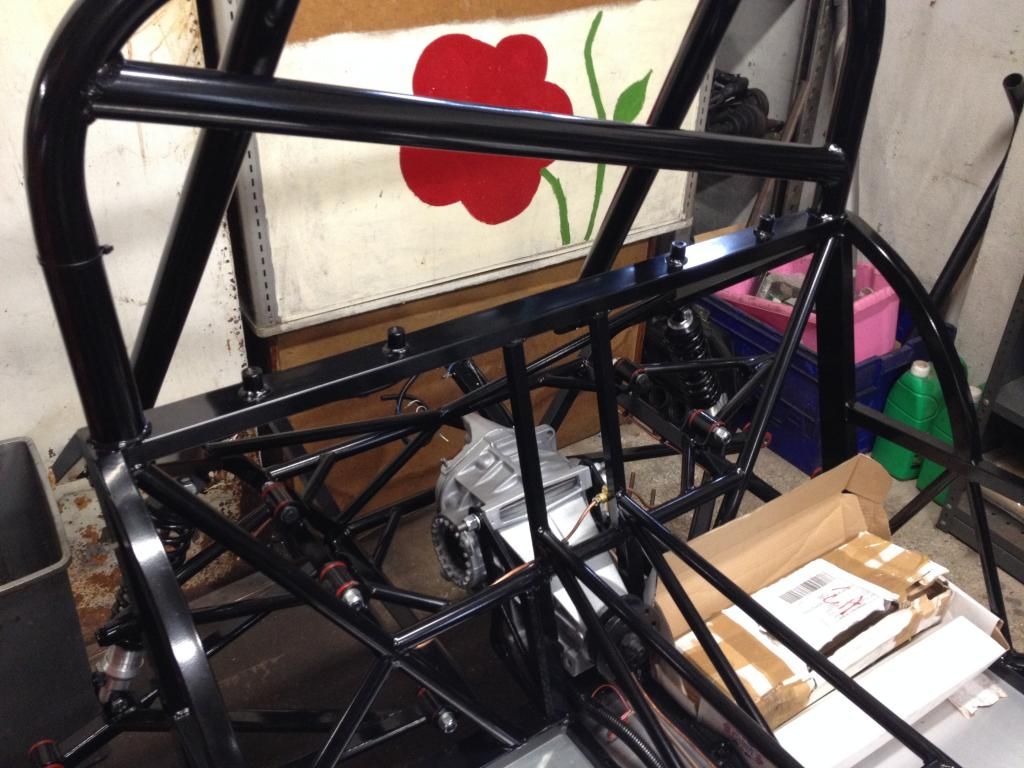
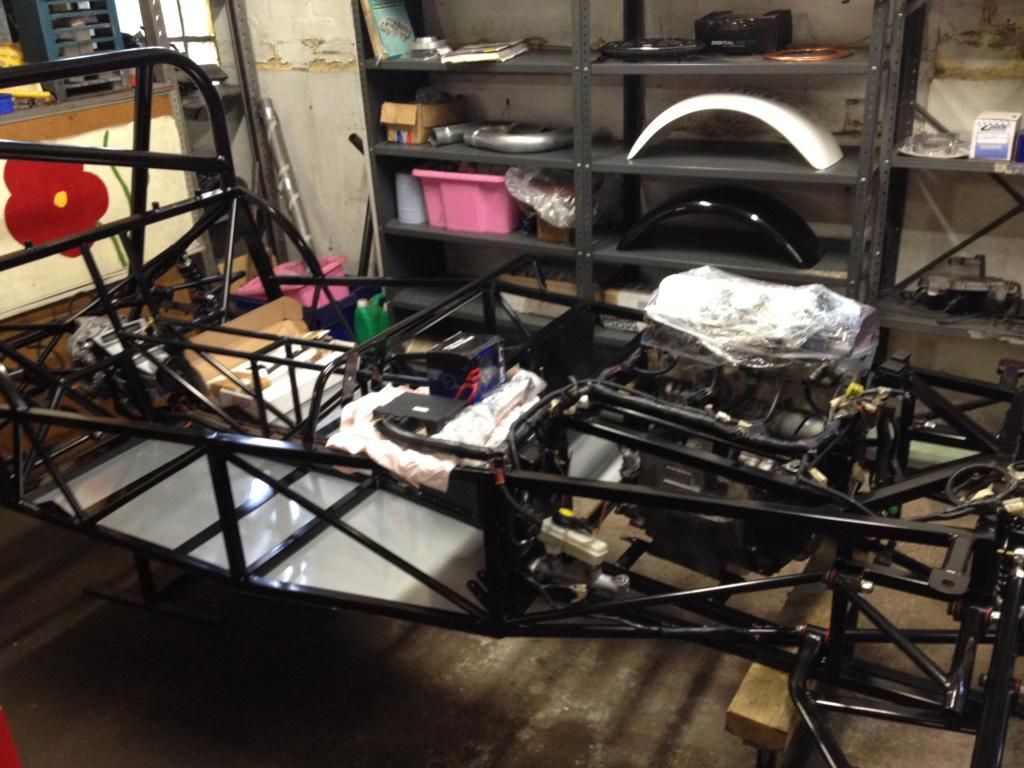
|
|
|
hkp57
|
| posted on 19/12/13 at 08:53 PM |

|
|
Badges
I know its a bit early in the build but it is Christmas. I made up some ai files copying the MK badges, had them done in real carbon backgrounds and
chrome vinyl print.
they were then coated in resin to give the domed effect. Pictures don't do them justice they turned out great


|
|
|
CosKev3
|
| posted on 6/1/14 at 04:05 PM |

|
|
Looking good. 
Presume your going for a reverse box?As I can't see the mounts for the electric reverse motor 
|
|
|
yellowcab
|
| posted on 6/1/14 at 04:07 PM |

|
|
How do you adjust your shocks whilst they're in situ? they look almost impossible to get to?!
|
|
|
hkp57
|
| posted on 7/1/14 at 07:19 AM |

|
|
quote:
Originally posted by CosKev3
Looking good. 
Presume your going for a reverse box?As I can't see the mounts for the electric reverse motor 
It is going to have an electric reverse. stay tuned!
|
|
|
hkp57
|
| posted on 7/1/14 at 07:26 AM |

|
|
quote:
Originally posted by yellowcab
How do you adjust your shocks whilst they're in situ? they look almost impossible to get to?!
If you look closely you will see the shocks were only thrown in there for the picture, finally assembly will sort it out.
In the picture there are no spacers on the bolts, nuts on the back, if you look close enough there is not even any bearings in the rocker arms.
Seems this thread from the start has been open to opininon based on half information or failure to look close enough at what I posted. (not directed
at you personally Yellowcab) but just a feeling I get from this forum in general.
|
|
|
yellowcab
|
| posted on 7/1/14 at 04:38 PM |

|
|
Hi hkp
Yes I can see the shocks were only thrown in for the photograph, Yes I can see the bolts are loose and are not tight, Yes I can see that there are no
spacers, nor nuts, and Yes I can even see that the rocker arms have no bearings in.
However, my original 'interested' question still stands:
"How do you adjust these front shocks when they're in situ? they look almost impossible to get to?"
Don't be so defensive, with your 'if you look close enough' comments.
I was genuinely intrigued how, at the side of the road, or in the pits on track - would you get to the adjusters on the shock absorbers, and whether
you intending on mounting them with the adjustments knobs at the top of the shock absorbers, or at the bottom, and whether they'll be facing
forward, or towards the rear of the car.
Please keep open minded, this is an open forum with lots of like minded individuals and enthusiasts, and no matter how perfect a car may be, every one
is entitled to suggest new ways of doing things, I've learnt shed loads from people commenting on my build thread.
[Edited on 7/1/14 by yellowcab]
|
|
|
CosKev3
|
| posted on 7/1/14 at 05:14 PM |

|
|
quote:
Originally posted by hkp57
quote:
Originally posted by CosKev3
Looking good. 
Presume your going for a reverse box?As I can't see the mounts for the electric reverse motor 
It is going to have an electric reverse. stay tuned!
Hurry up then as I need ideas!!!!! 
|
|
|
CosKev3
|
| posted on 7/1/14 at 05:32 PM |

|
|
quote:
Originally posted by yellowcab
Please keep open minded, this is an open forum with lots of like minded individuals and enthusiasts, and no matter how perfect a car may be, every one
is entitled to suggest new ways of doing things, I've learnt shed loads from people commenting on my build thread.
[Edited on 7/1/14 by yellowcab]
yellowcab for Prime Minister!!!! 
|
|
|
hkp57
|
| posted on 8/2/14 at 06:42 AM |

|
|
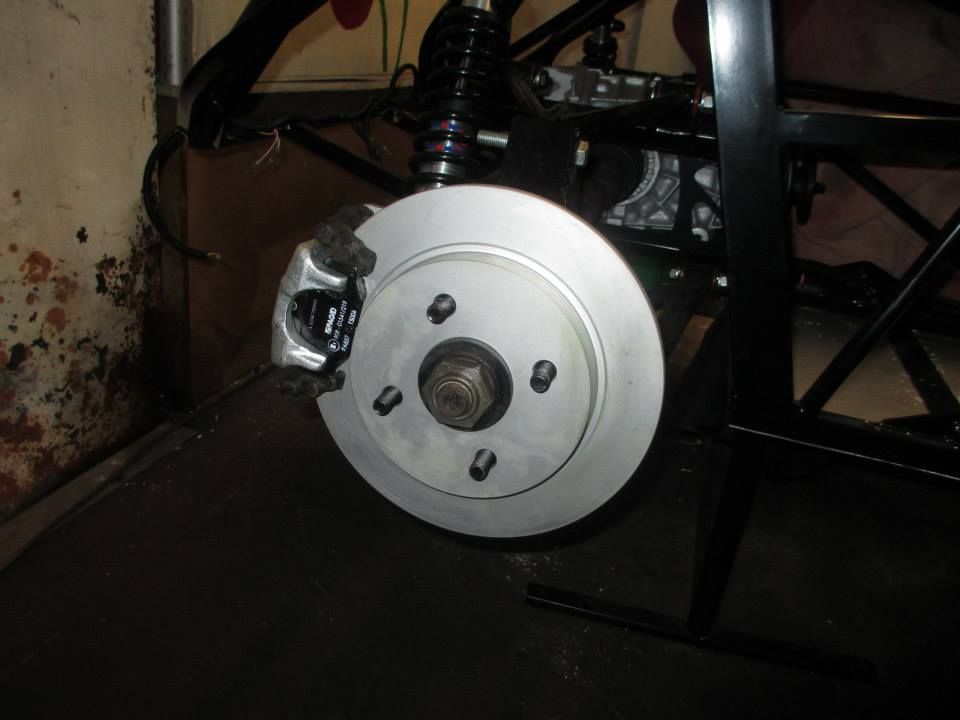
First Progress of 2014
Assembling Front hubs and Brakes.
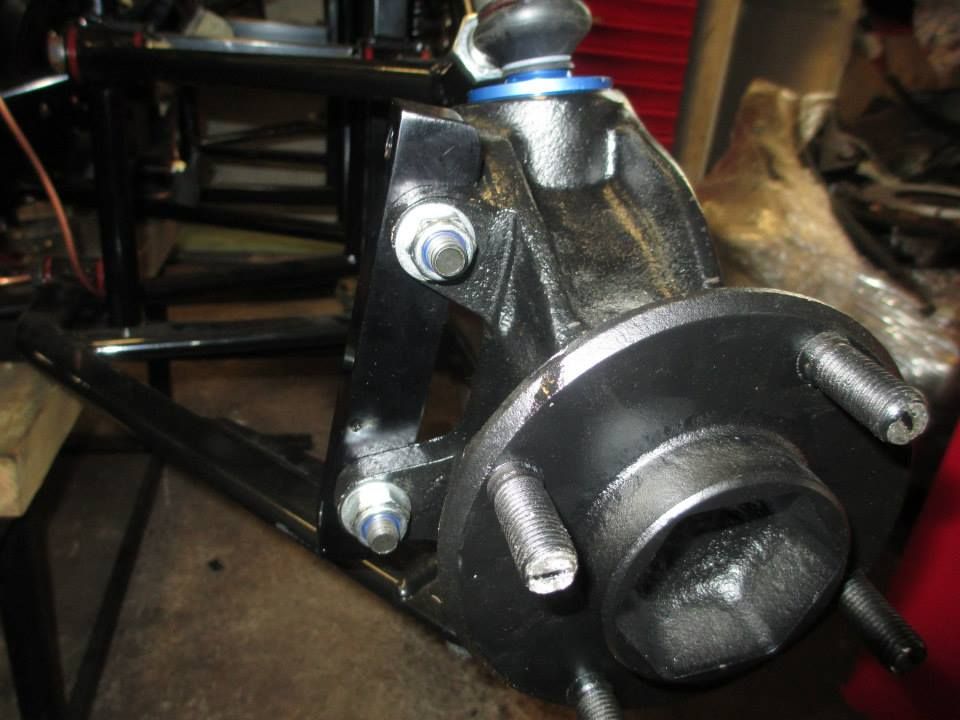
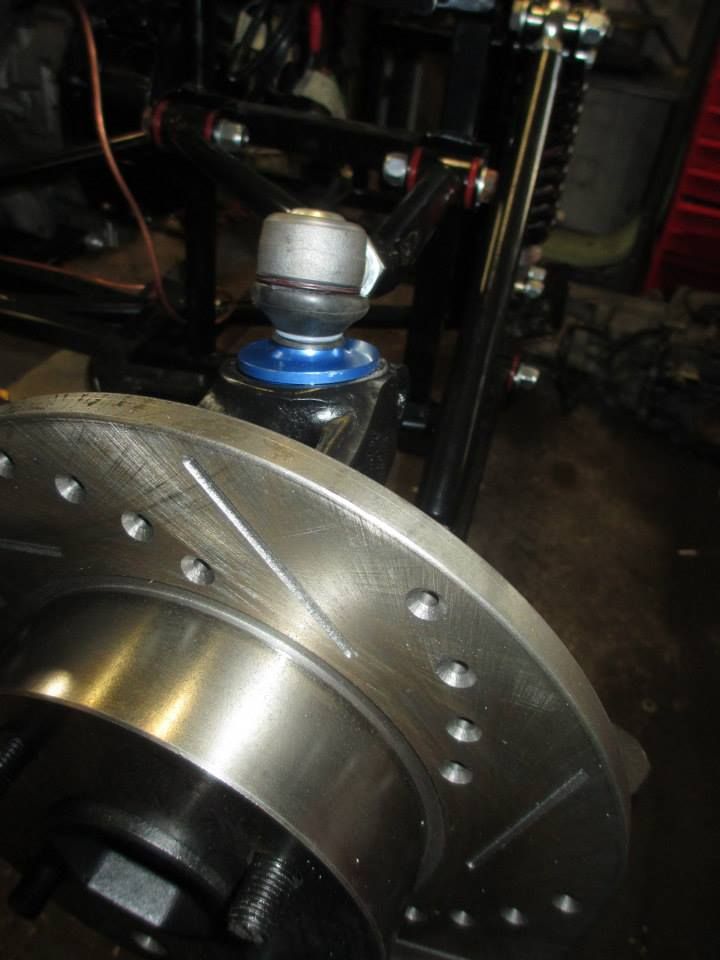
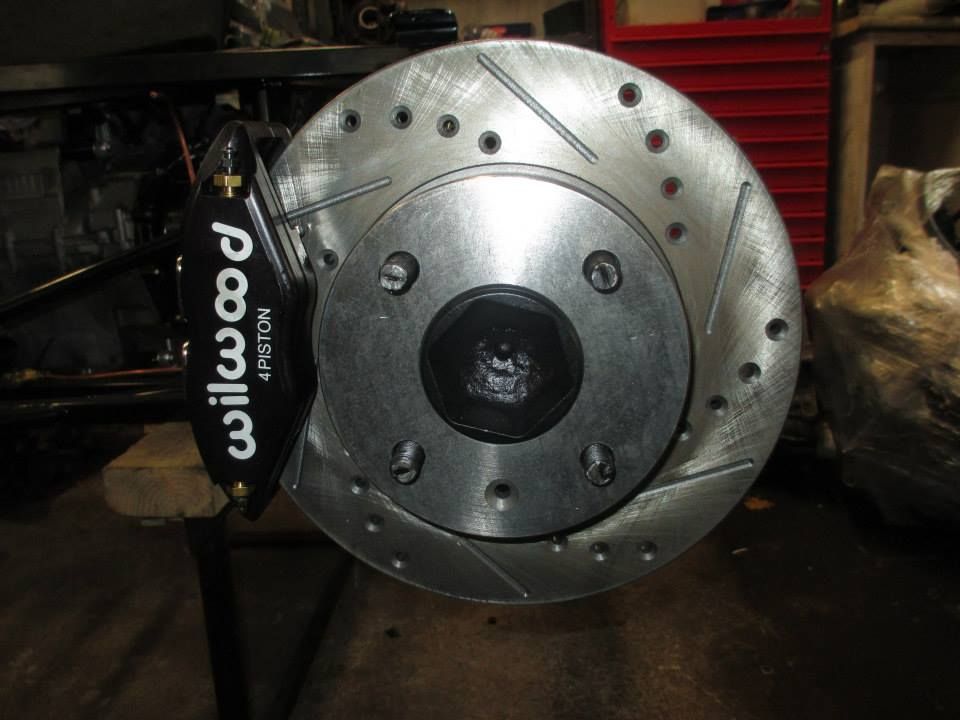
Rear Brakes Built
|
|
|
hkp57
|
| posted on 8/2/14 at 06:45 AM |

|
|
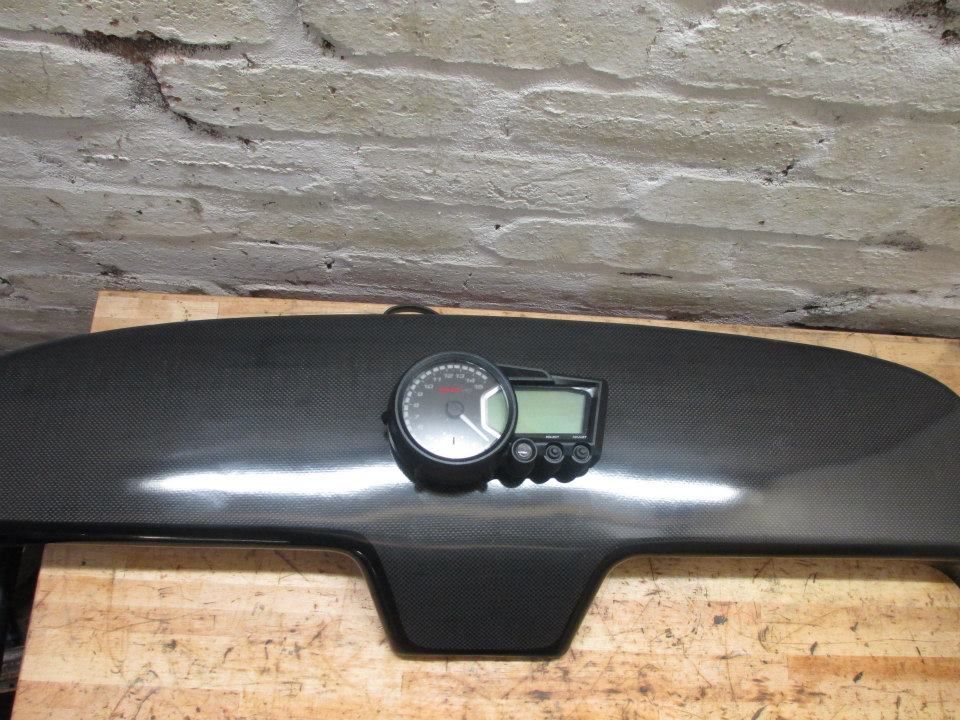
Ready to plan Dash Layout
Time to work out the layout.
|
|
|


