SyKaTurbo
|
| posted on 19/10/07 at 09:58 AM |

|
|
fitted the megablade lump
Spent a few hours in the garage this week. Engine is all loosly in so I can plan other things and make sure they dont interfere.
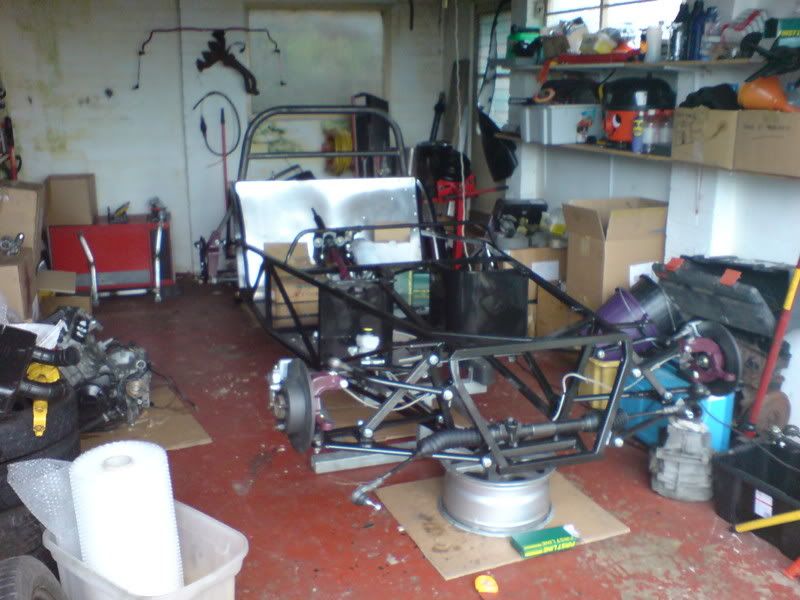
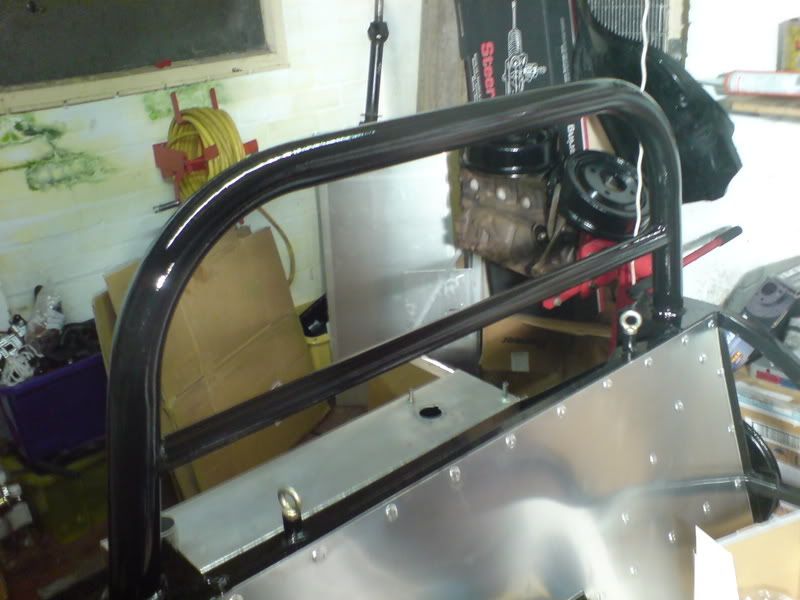
Painted the roll bar, not a bad job I dont think.
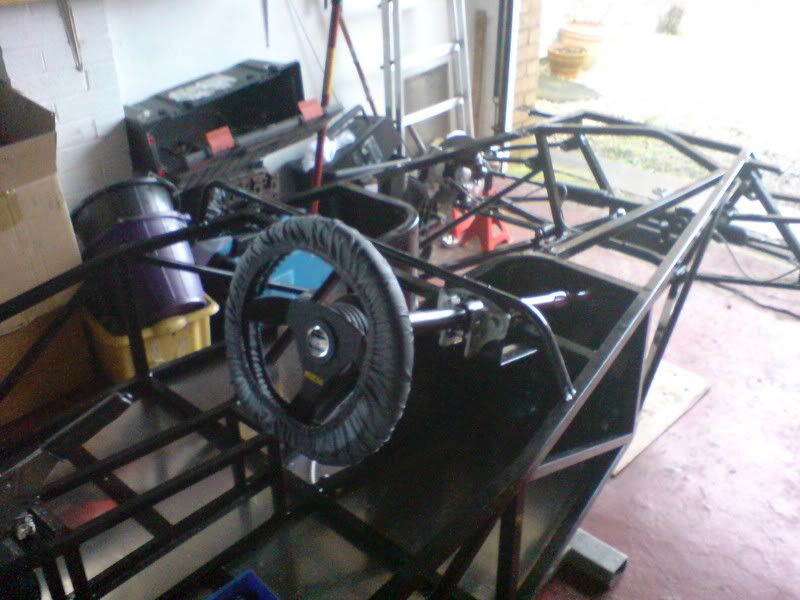
New bits arrived from Demon Tweeks so so put the wheel from the Ka onto the new boss and my nice new cover to stop the wheel getting oily or
damaged
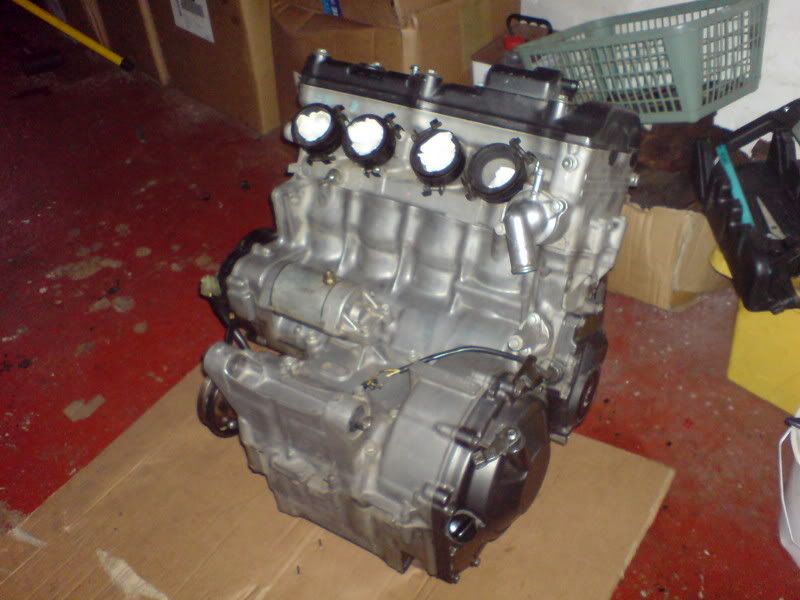
Gave the engine a clean
Attached the cradle. Not got the right size bolts yet so I used M8 threaded rod with the threads covered to stop them damaging the m10 fine ones on
the engine.
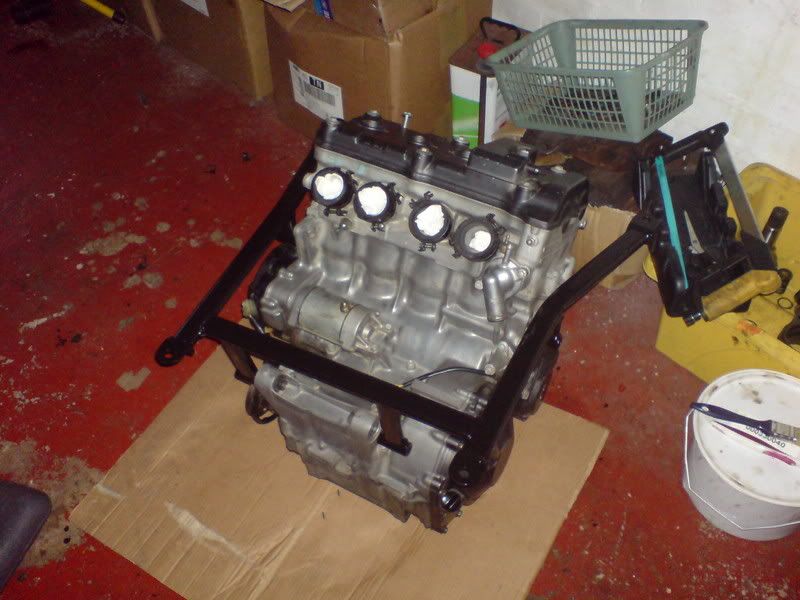
Dropped it into the bay with the help of Sarah. Glad I didnt powdercoat the chassis as it scuffed one of the rails which I can easily touch up.
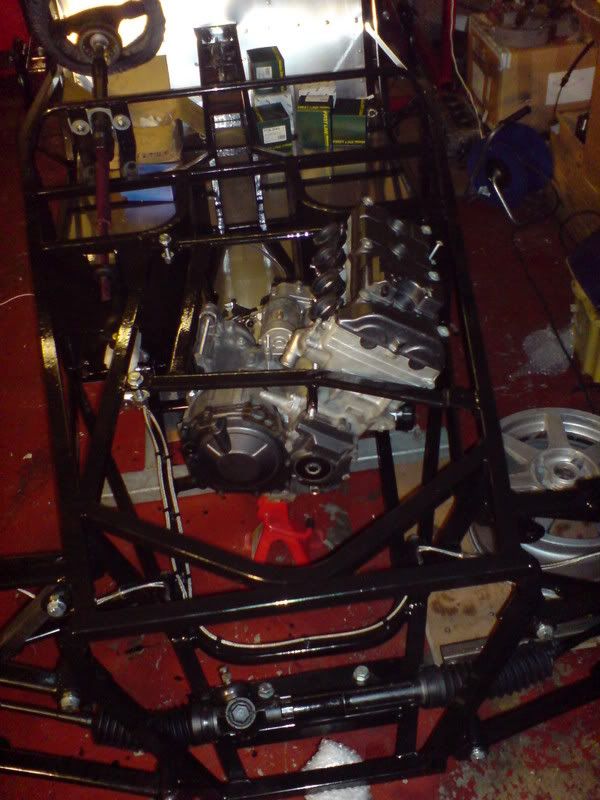
Manifold and exhaust tried for size. Will need a little fettling

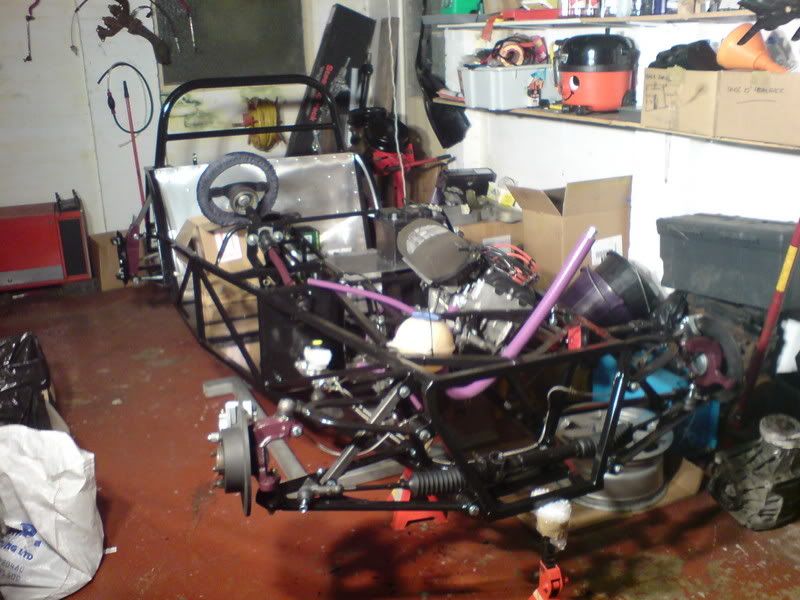
Carbs, leads, loom, sensors all attached to figure out where to put them all along with the horn and header tank (thanks for that Cav) tie wrapped in
to figure out how to position everything

Lost my keys, whilst looking found some silicone hoses left over from the Ka Turbo. Was going to use Orange but may as well recycle these 
[Edited on 19/10/07 by SyKaTurbo]
[Edited on 19/10/07 by SyKaTurbo]
|
|
|
|
|
Gezza
|
| posted on 19/10/07 at 10:14 AM |

|
|
That looks very nice, front suspension looks a bit hard though.  
|
|
|
SyKaTurbo
|
| posted on 19/10/07 at 10:22 AM |

|
|
LOL Zero body roll though!  Suspension will be one of the last bits to go on. Still shopping round at the minute for a good deal. Suspension will be one of the last bits to go on. Still shopping round at the minute for a good deal.
|
|
|
welderman
|
| posted on 19/10/07 at 12:52 PM |

|
|
looking goon mate, your gonna be on the road in no time.
Thank's, Joe 
I don't stalk people
http://www.locostbuilders.co.uk/forum/23/viewthread.php?tid=172301
Back on with the Fisher Fury R1
|
|
|
SyKaTurbo
|
| posted on 19/10/07 at 01:26 PM |

|
|
I just hope i'm going about it all the right way. Does my header tank need to be higher? Also, wheres good to mount the coils?
I'm going to run my loom from the engine bay next week, just the cables back to the dash/scuttle area.
Lights
Indicators
Fan
Brake Light switch
Horn... I think thats all I need
Its going that well and simply that i'm almost worried i'm missing something vital :S
|
|
|
welderman
|
| posted on 19/10/07 at 01:43 PM |

|
|
Mount the coils on the engine cradle, the rails thet go side to side.
And raise the headder to, i did in mine.
Thank's, Joe 
I don't stalk people
http://www.locostbuilders.co.uk/forum/23/viewthread.php?tid=172301
Back on with the Fisher Fury R1
|
|
|
SyKaTurbo
|
| posted on 19/10/07 at 02:09 PM |

|
|
I'll rest the nose on the front and get the header as high as poss I think.
I'm done with your linkage now too so will get that back to you asap. Getting my copied bits back next week. I could do with seeing a pic of the
gearstick setup and the splined connection, just to guage the lengths needed 
|
|
|
worX
|
| posted on 19/10/07 at 08:56 PM |

|
|
Looking really good mate!!
Steve

|
|
|
SyKaTurbo
|
| posted on 22/10/07 at 08:44 AM |

|
|
Cheers Steve.
Got very little chance to do anything this weekend as I spent it decorating and odd jobs.
Had a play last night though and got the fuel tank and pump fitted in so its ready to supply juice.
Also got the nose cone out to line up on the front to find out where I can sit the rad. God knows how that nose attaches though. Got a day of looking
through photo archives ahead.


|
|
|
larry codde
|
| posted on 5/11/07 at 04:02 PM |

|
|
nose cone
Hi there,
I bought my Indy built so i haven't had to do all of the trial and error work. My nose cne was mounted at the bottum with 1by1 alum angle
directly to the bottom frame tube but I saw a pic of someone doing roadside work with his nosecone tipped forward so I removed the 1by1 angle and used
a piano type hinge and added a restraining wire tokeep it from going all the way to the ground. Works great.
|
|
|


