jwhatley
|
| posted on 15/2/14 at 09:50 PM |

|
|
MK Indy R - Hayabusa Turbo
Hi,
So i have not really put up a thread of the car since i have had it, so i thought it might be time.
Ive owned the car for 18 months now, previous owner spending a pretty penny on the car, putting a stage 3 busa turbo engine in it, and for me this is
where the refinement begins.
So a few photos from when i got it:
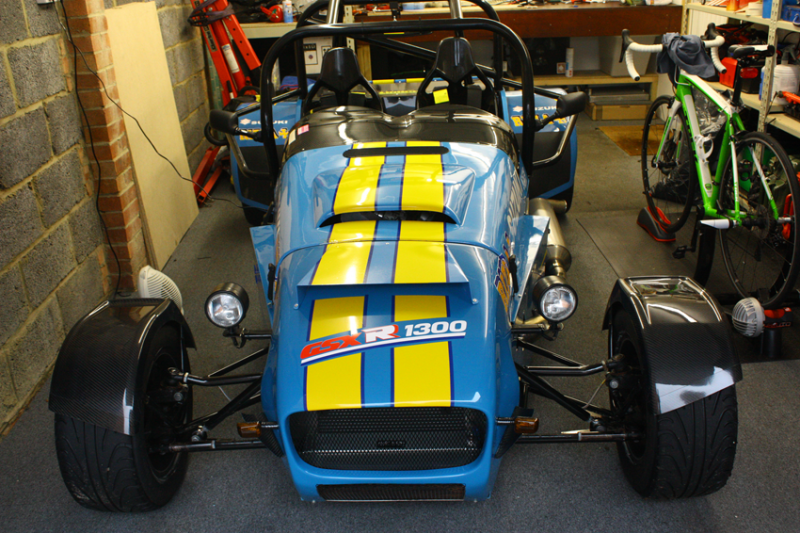
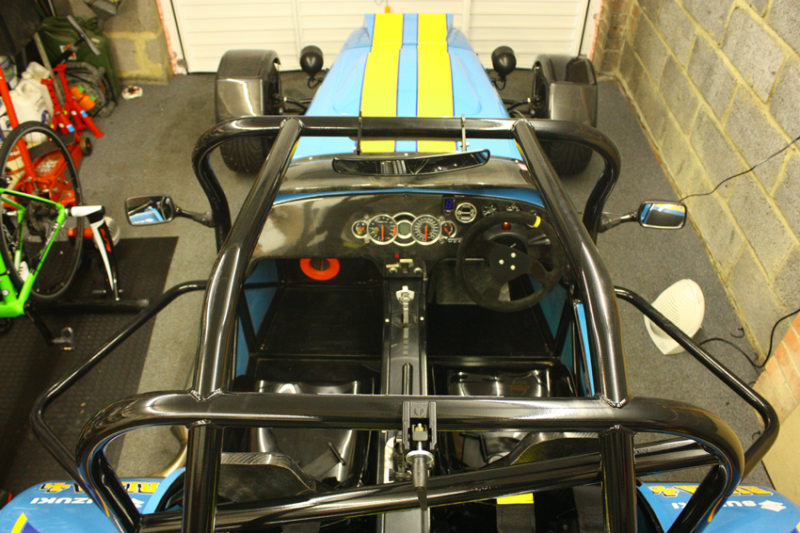
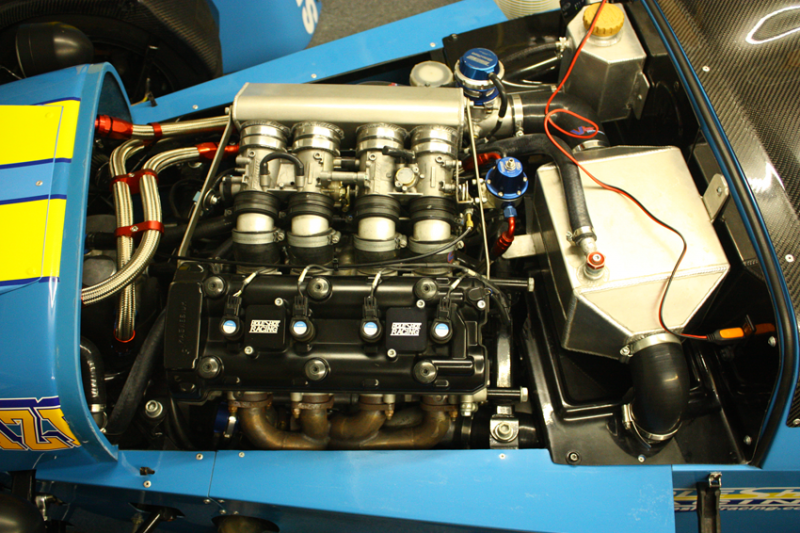
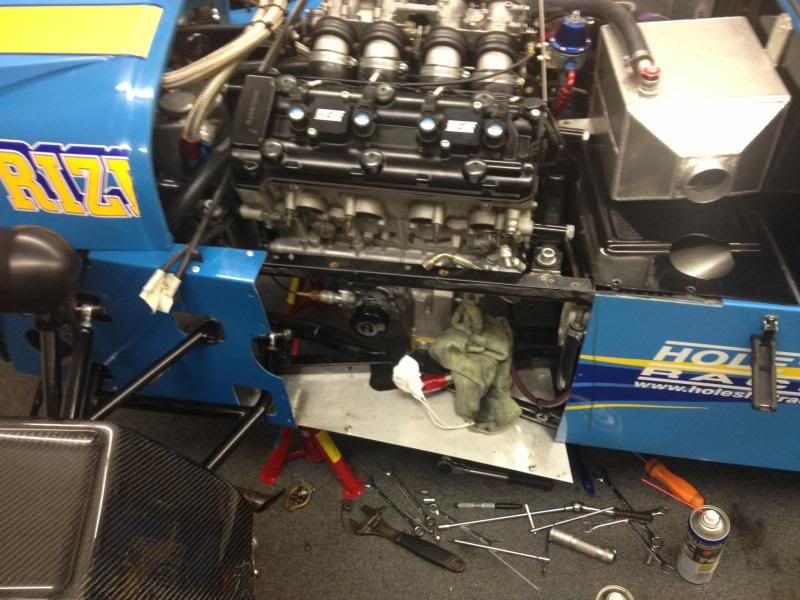
Then the fun started, first was the removal of the turbo for an engine oil leak, followed by the manifold coming loose whilst driving twice, and then
blowing holes in the turbo gasket every 100 miles. so an upgrade to a cometic gasket and wire locking the bolts together solved this:
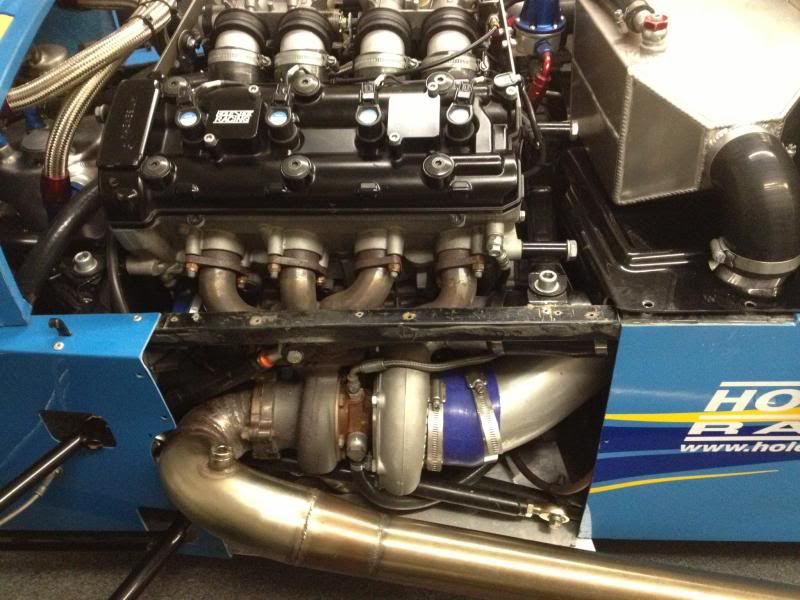
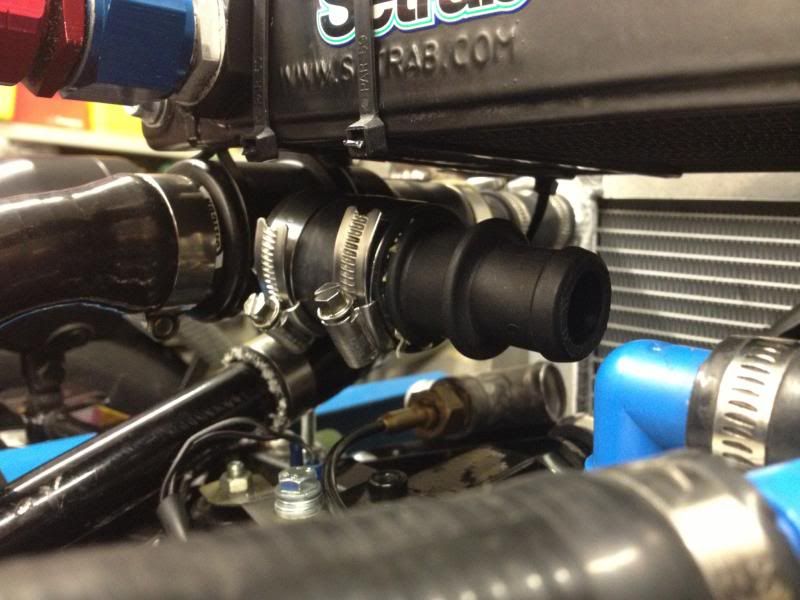
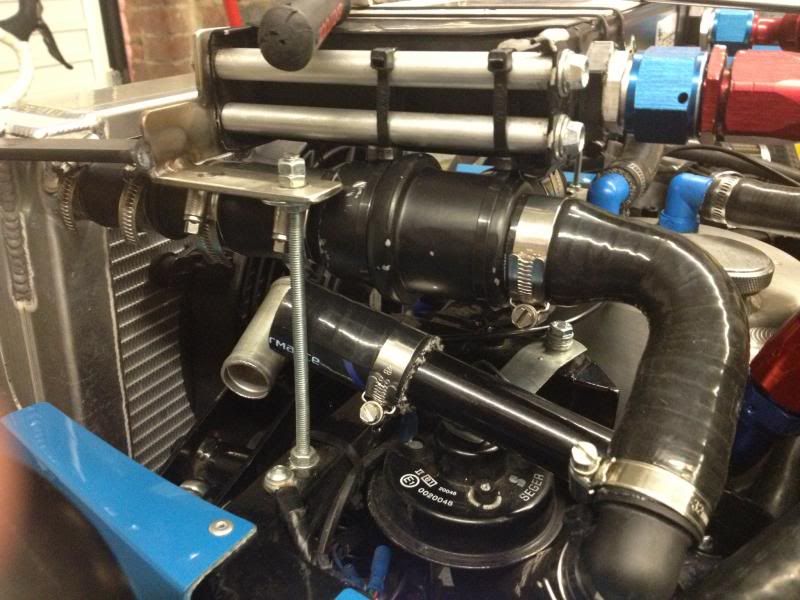
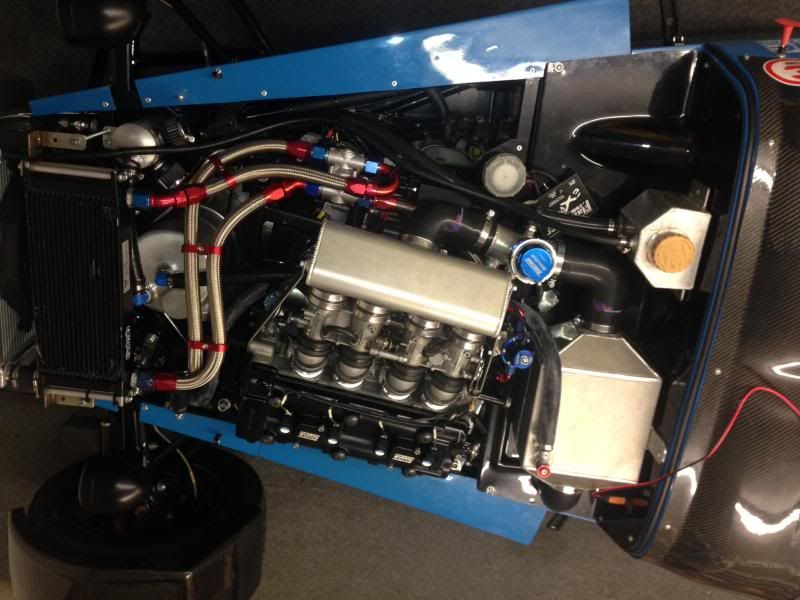
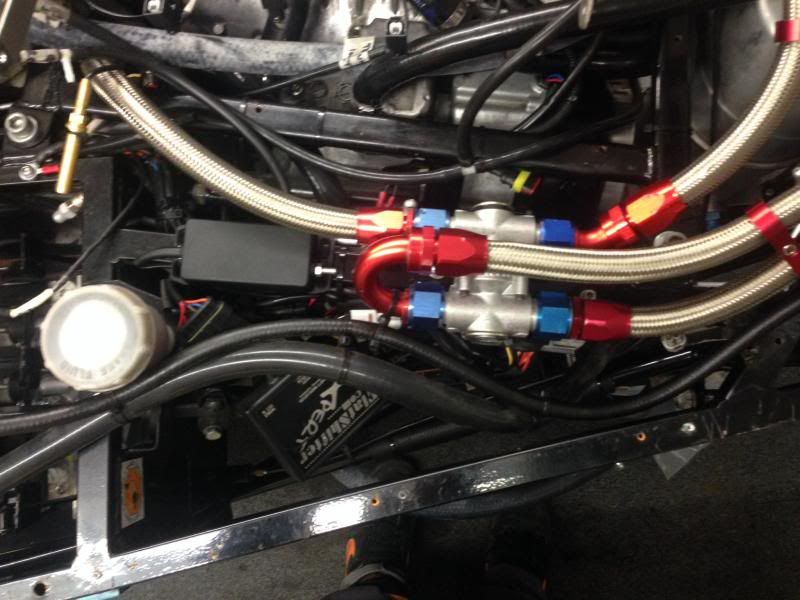
Next was the fact the car had no thermostats at all, probably good for on track, but useless for anything else. So a Mocal oilstat and thermostat
bypass valve was installed:
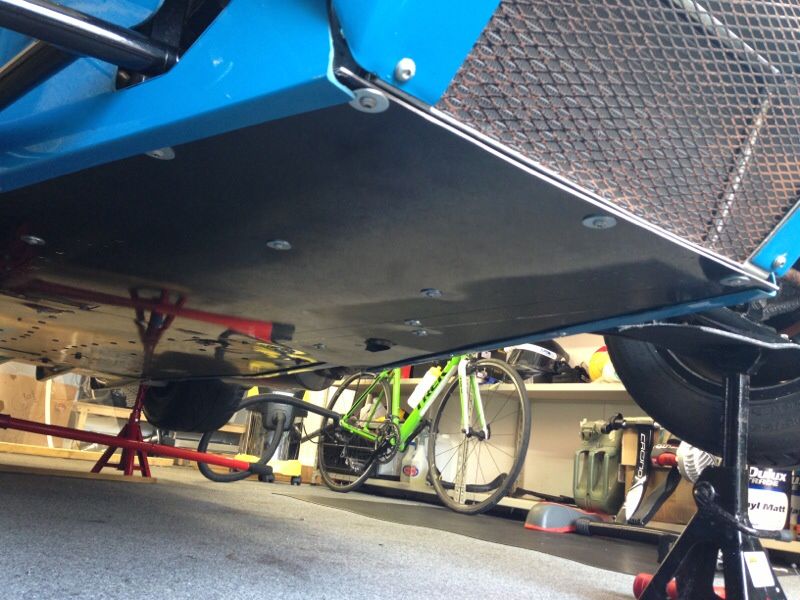
I noticed thecae had no under tray, so the next modification was the installation of an aluminium flat floor:
Template in place:
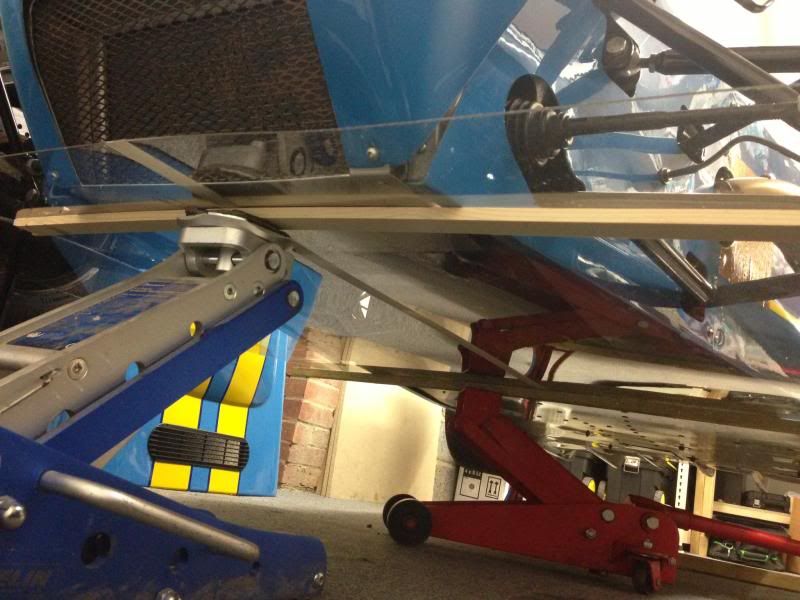
And finished... note the cheeky external waste gate!!:
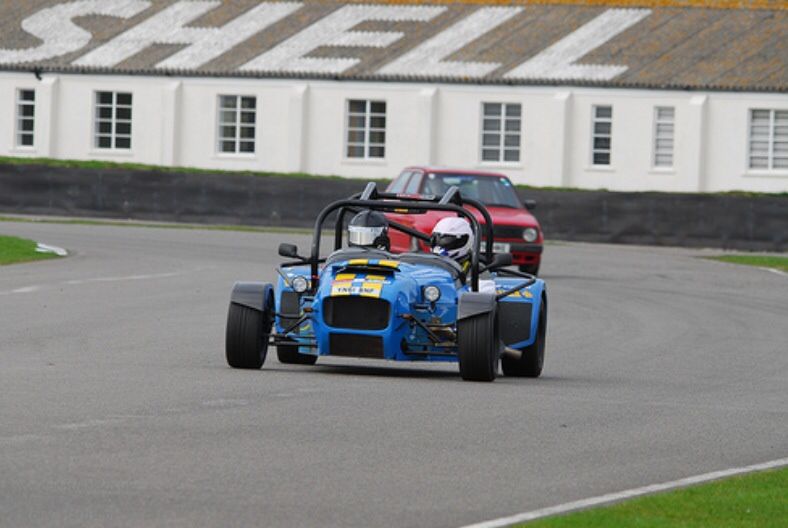
First track day at good wood, what a fast track too!:
Then the car was part of the Supercar Event held every year at Dunsfold, getting to fly round the track with the likes of LP640's and
599's where they cannot get away from you was certainly a worthwhile experience:
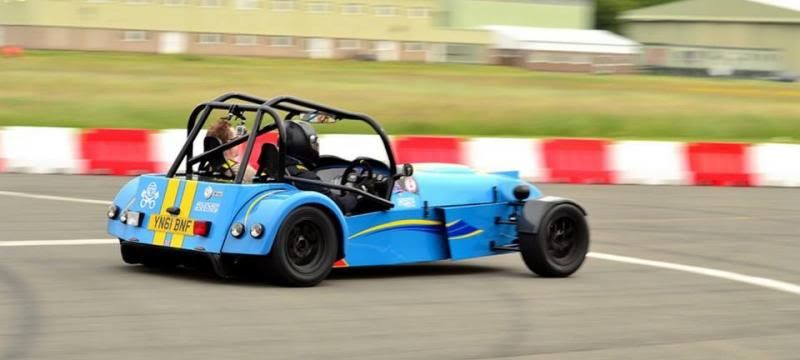
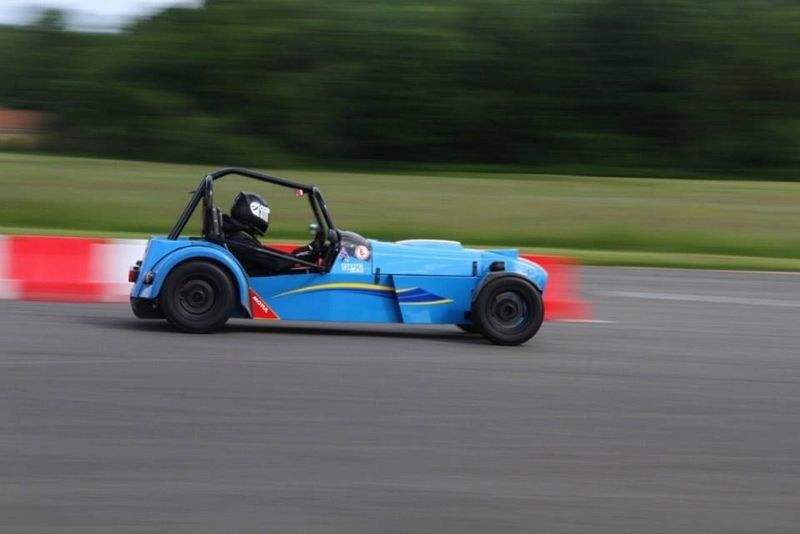
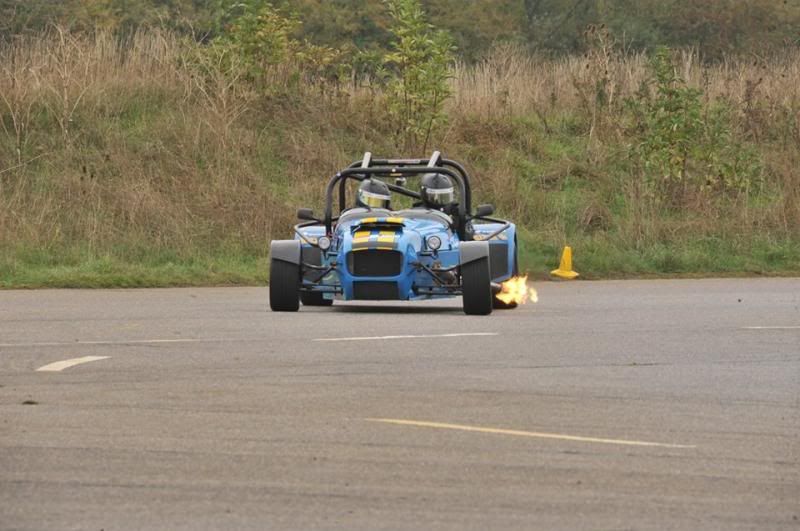
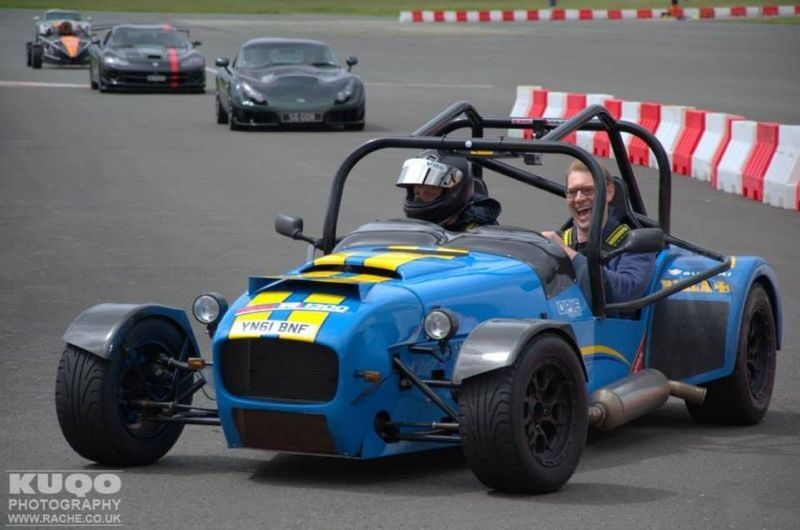
Unfortunatly that did not come without its problems, Turbo gasket failure to the end of the day meaning i was down on boost, then the flat shifter
gear sensor packed in meaning it was time to use the clutch! eventful!
And to finish it off, a differential failure!
I don't have any photos of the modifications, but it came in the line of a 3J driveline LSD, i cannot recommend these highly enough! the flat
shifter was repaired with a bit of soldering magic, they are quite expensive for what they are considering what is inside them.
Anyway, the end of the season arrived and it was time to put the car to bed and start the winter upgrades, i will let the pics do the talking:
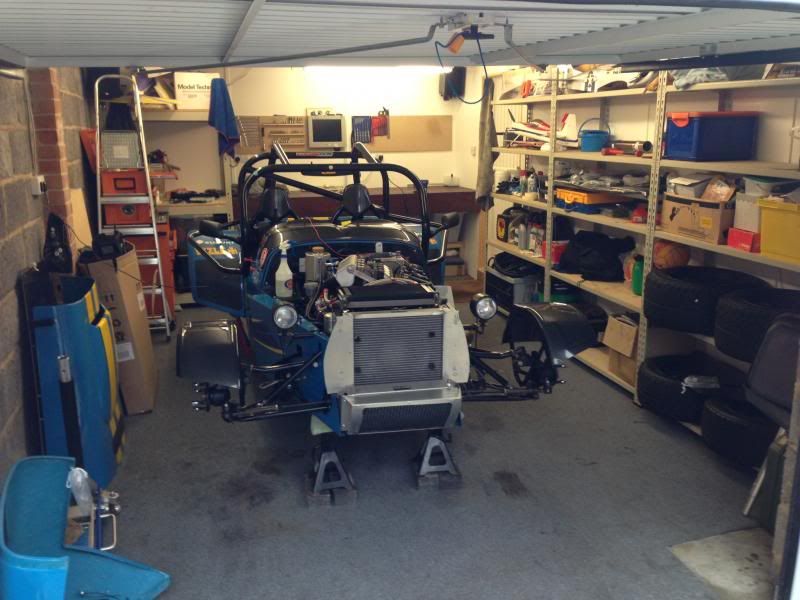
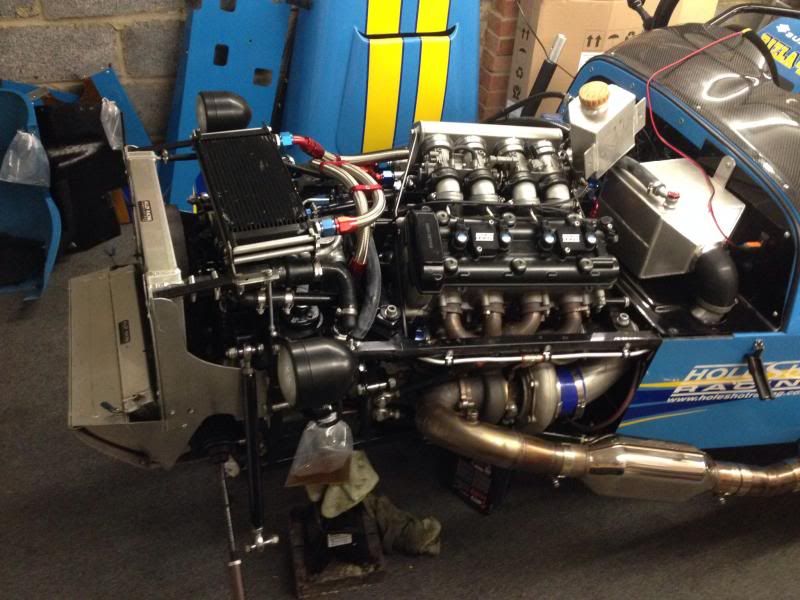
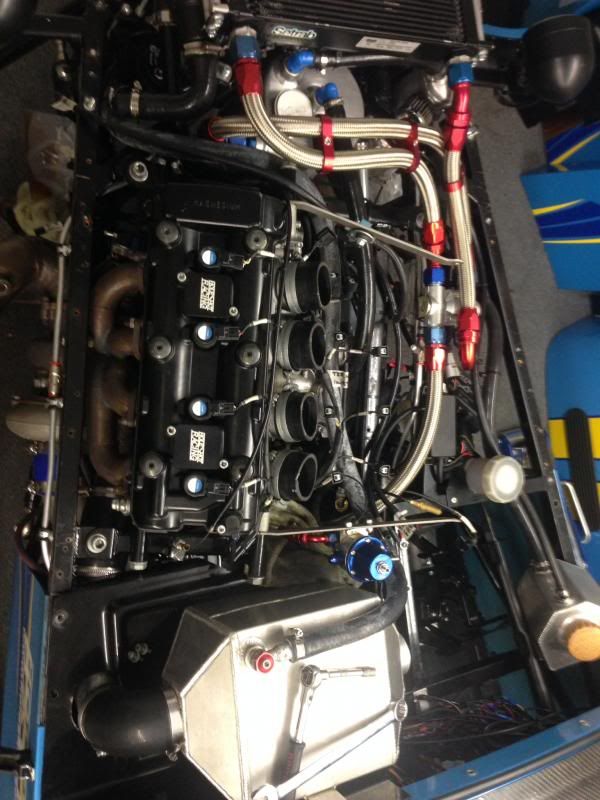
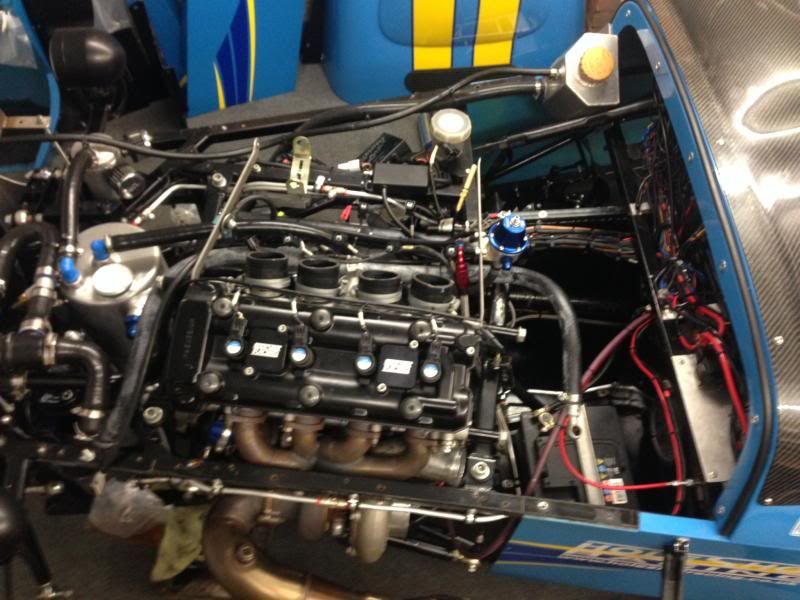
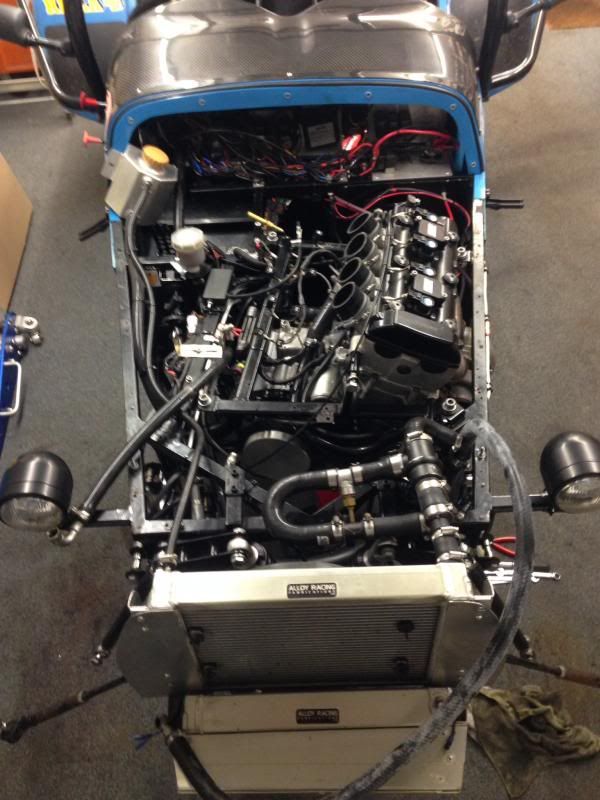
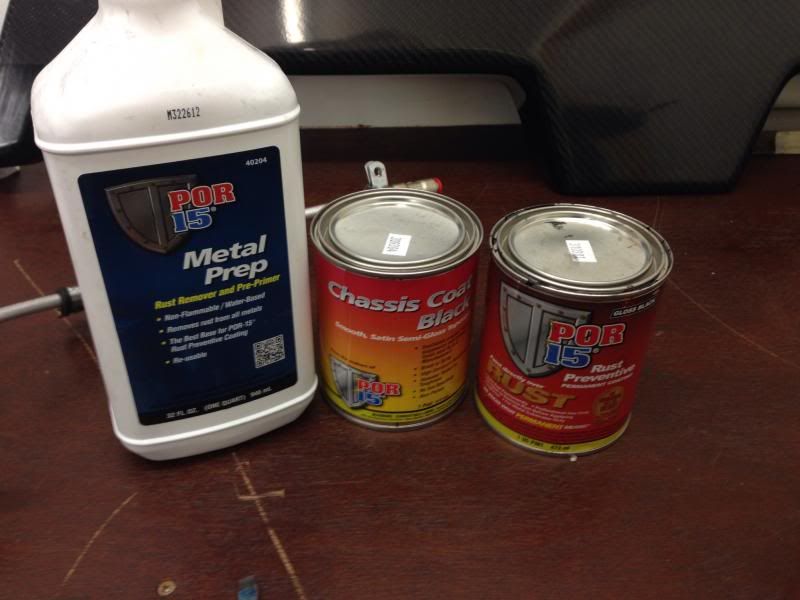
Anyway, it ended up like this:
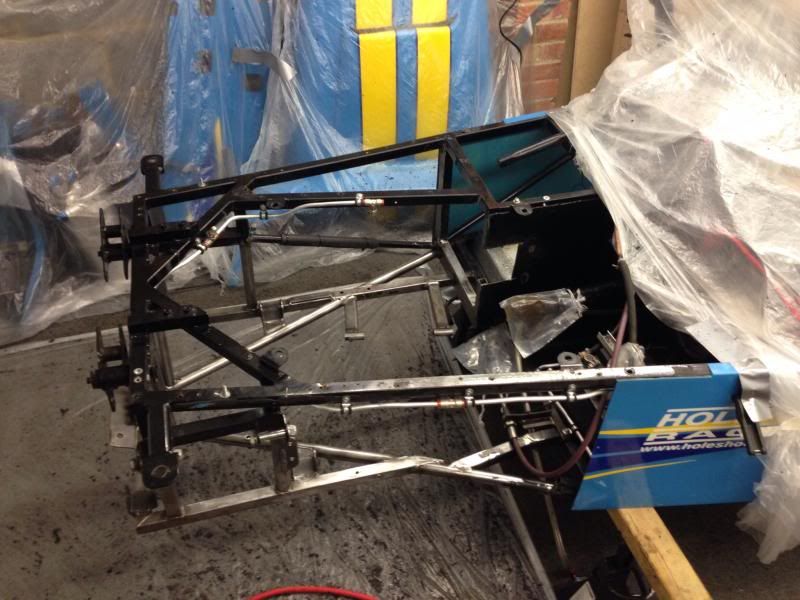
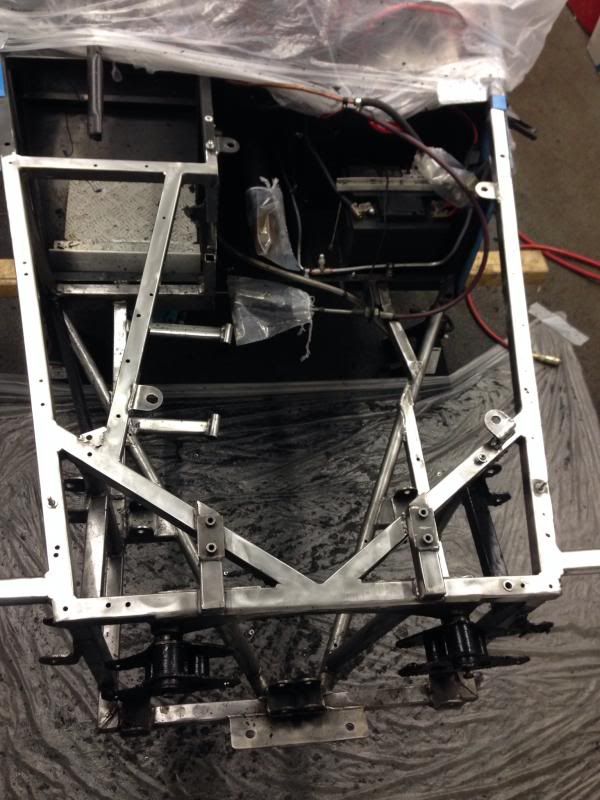
First primer coat:
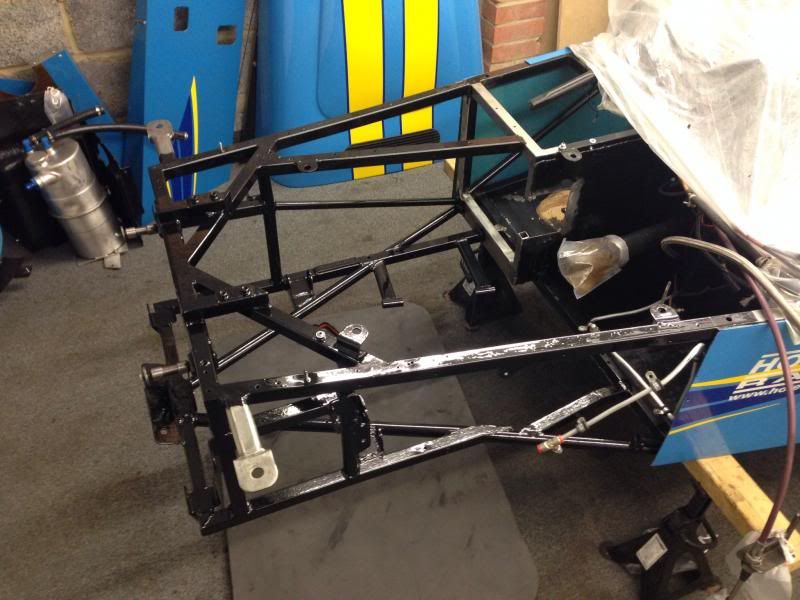
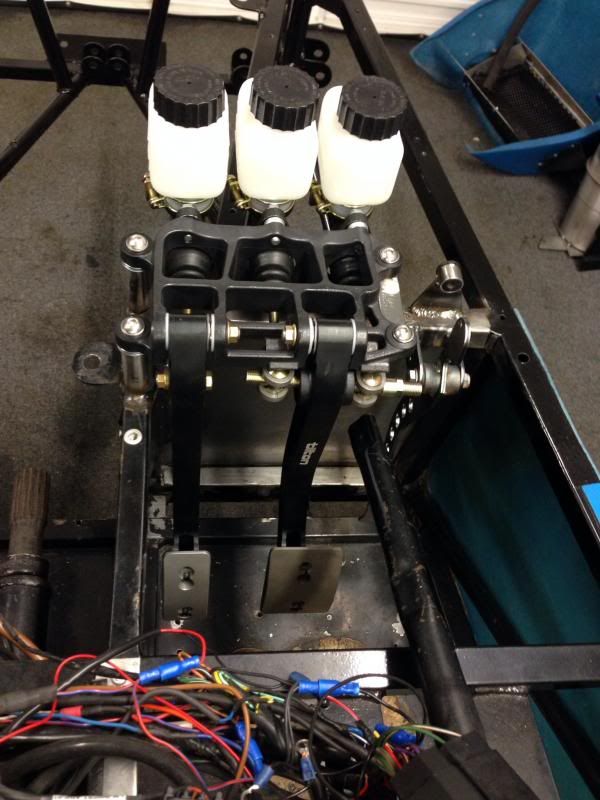
Then the first big mod came, the introduction of the Tilton pedal box. 6.2:1 ratio with adjustable bias. Something this car needs based on the fact
the braking on track became a real issue as my confidence grew in the car, ended up with glazed pads/discs and a pedal that felt like it was made of
concrete. Needless to say I'm looking forward to this the most this year, Polymatrix A pads and braided hoses throughout will complete the
job.
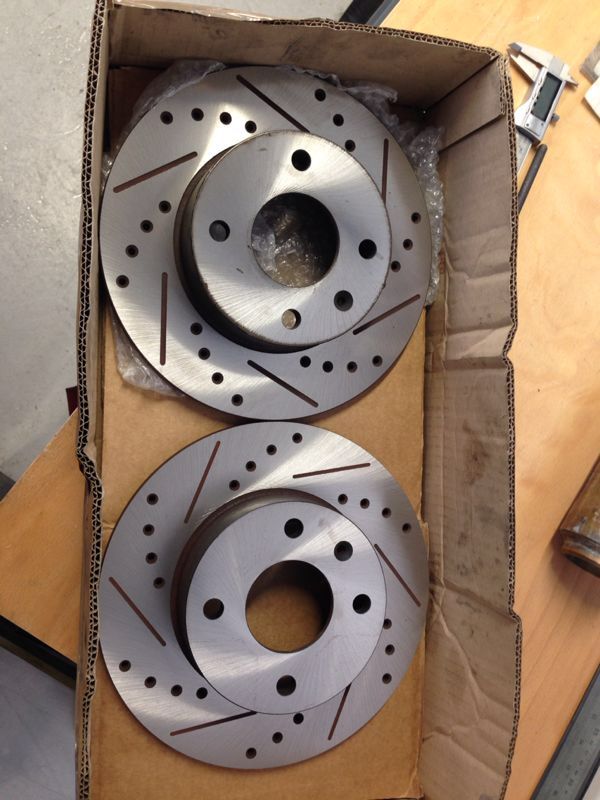
Skimmed and faced discs:
Trial fitting:
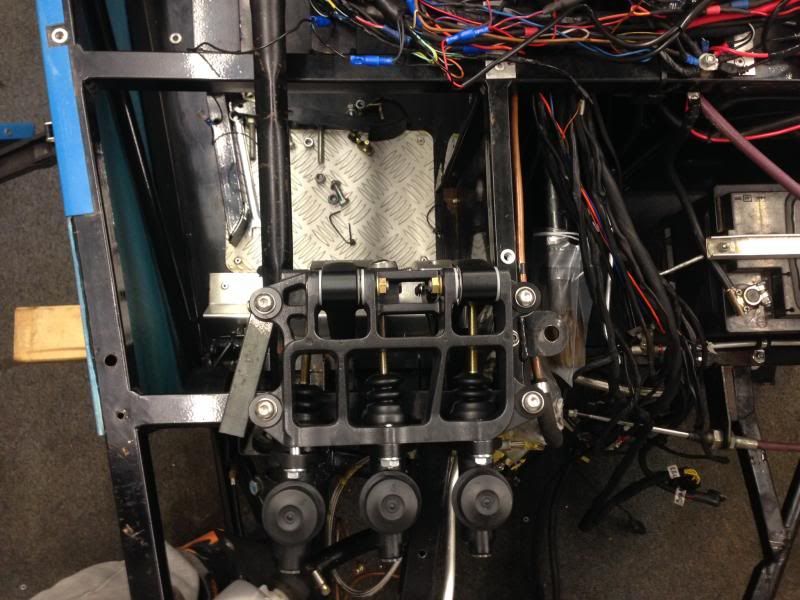
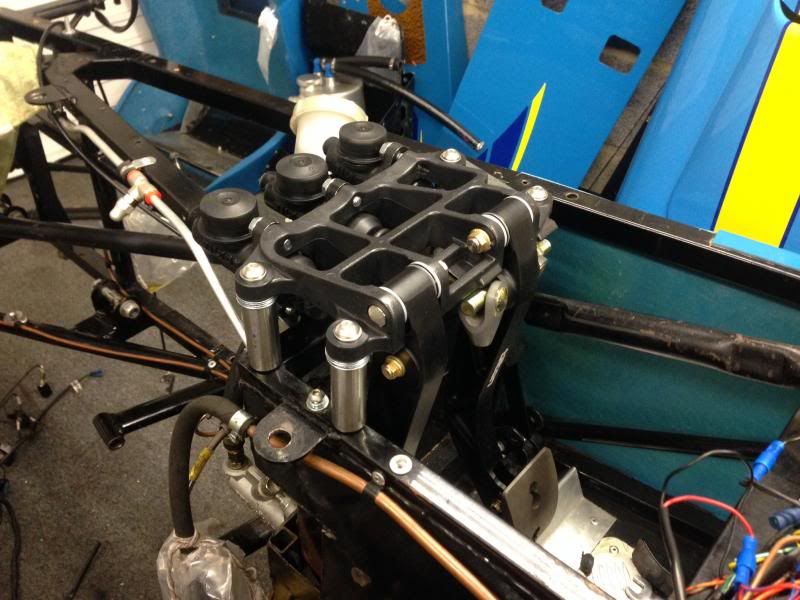
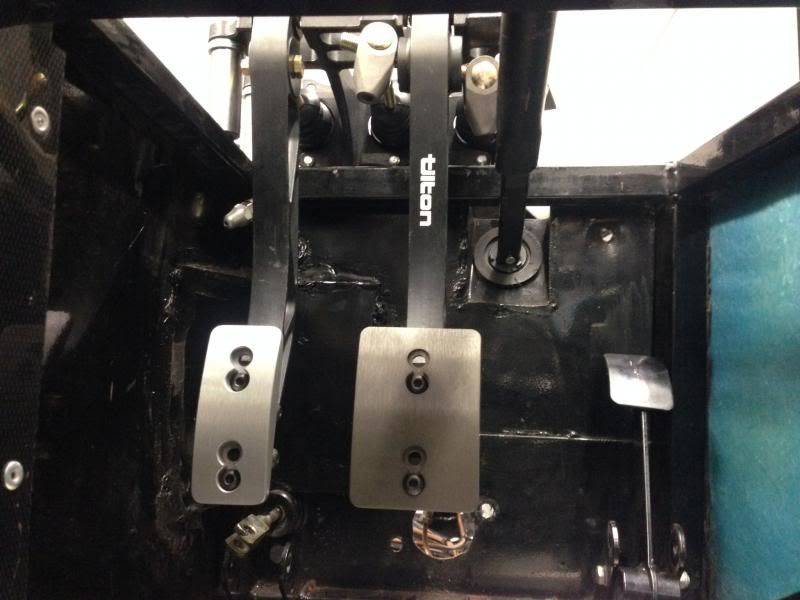
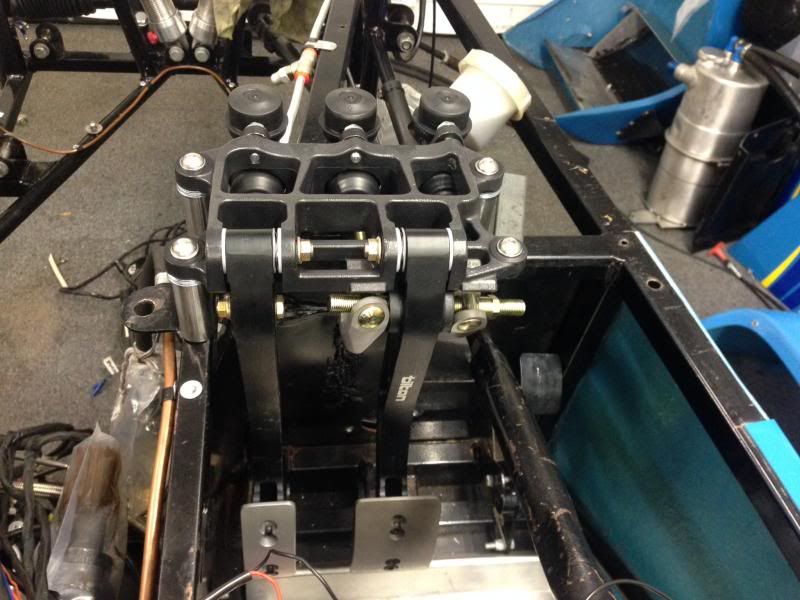
Then for the fabrication bits, a new front bulkhead and mounting points welded on:
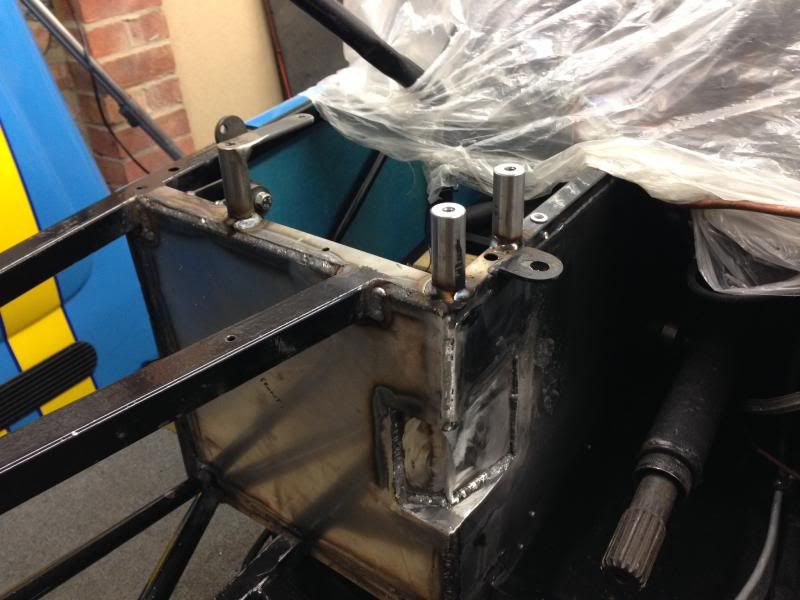
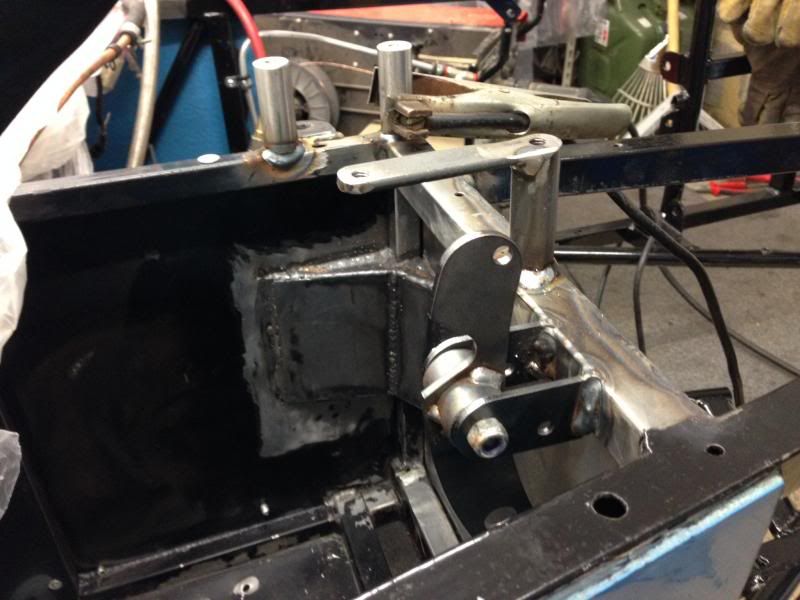
New accelerator pedal:
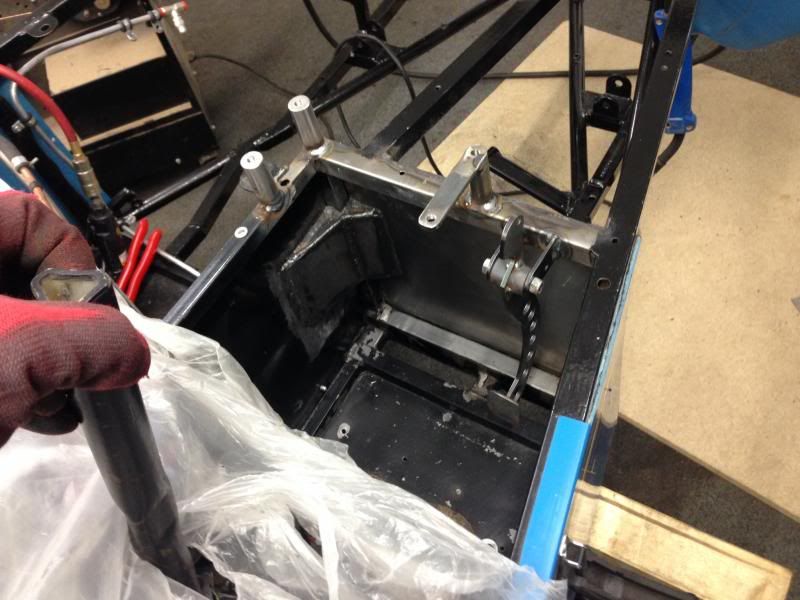
And a fini:
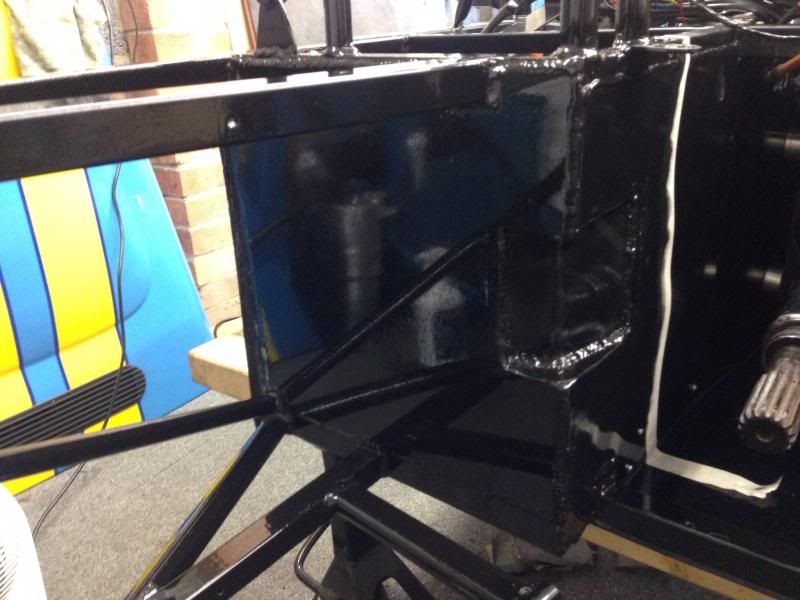
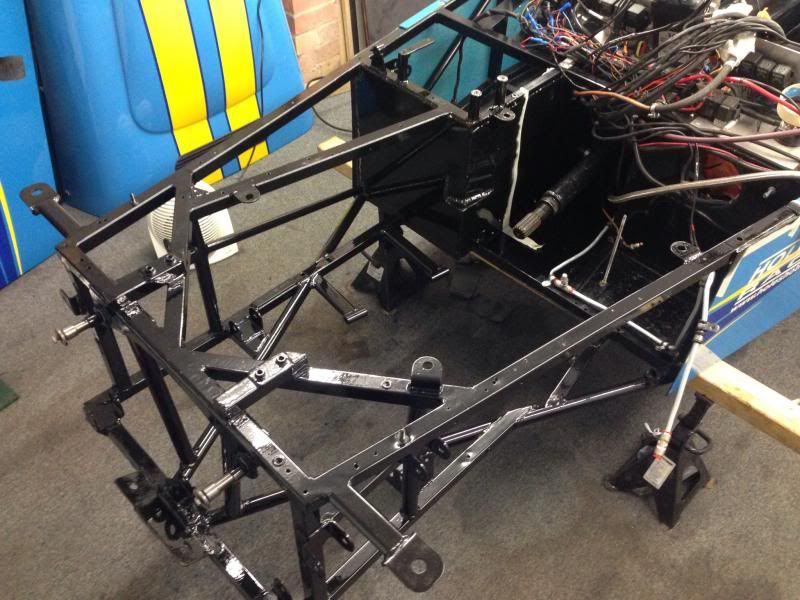
Final paint finish, not bad for a roller job!
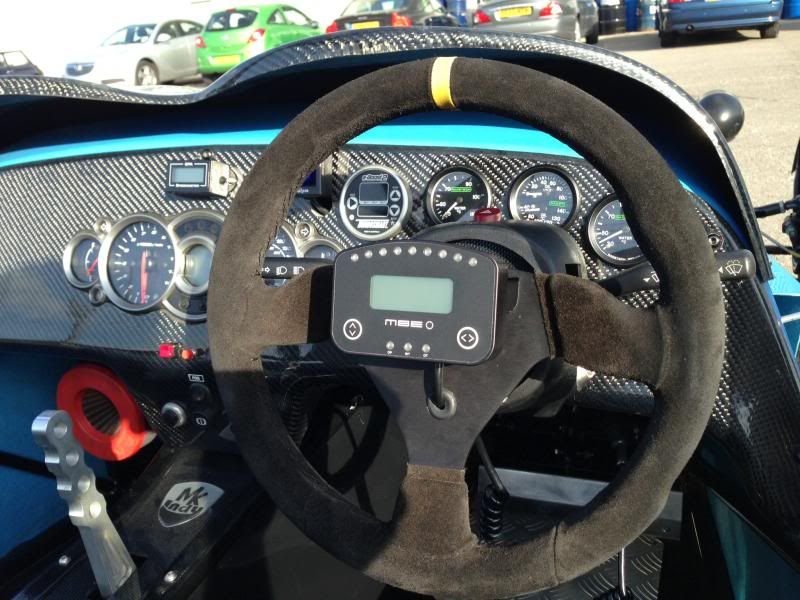
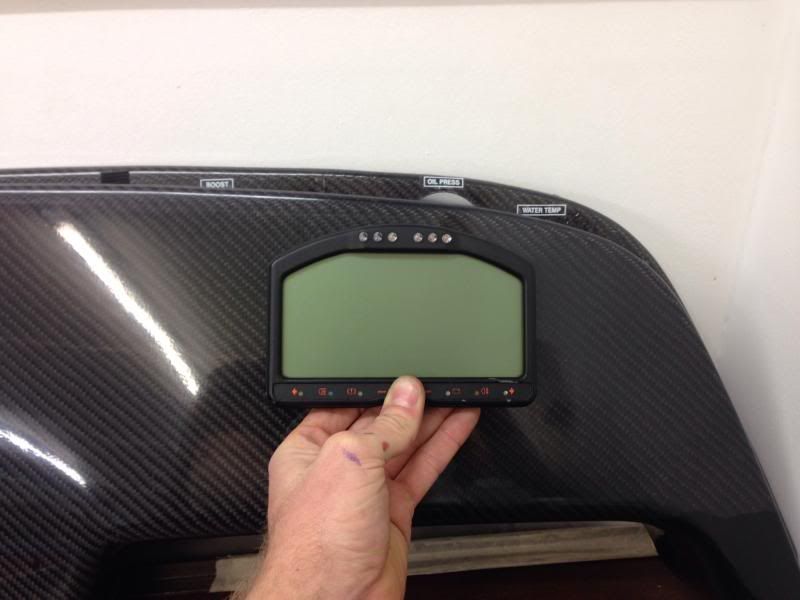
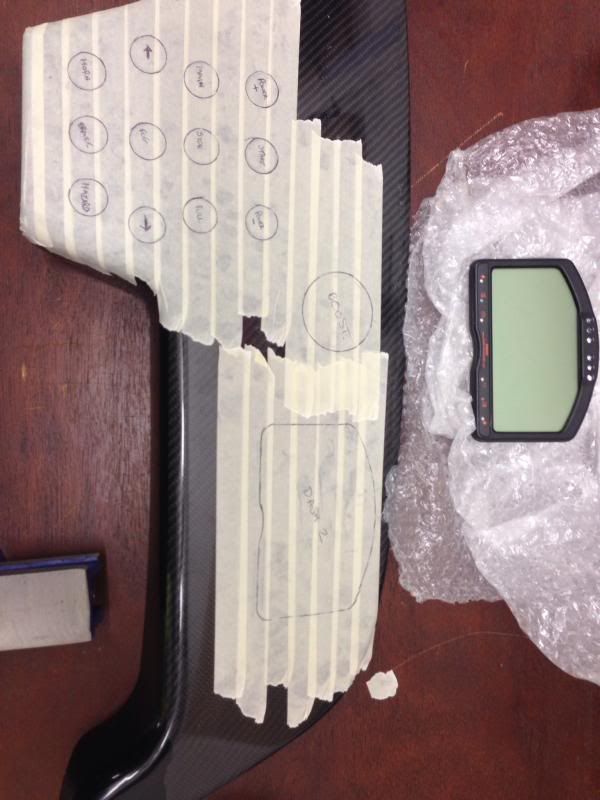
And then on to the second modification, my dash was way to cluttered, so time to get rid of it all and put in a race technology dash2:
Out with the old:
And in with the new:
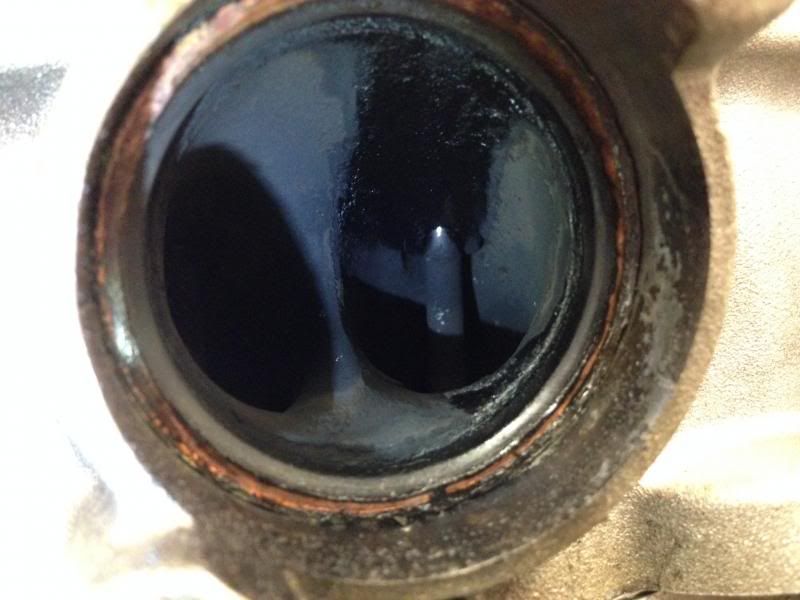
Then its on to the engine, ive had a bad set of valve guides for some time, where the head was ported the bottom of the guide was worn away, this has
make it weaker and more susceptible to moving, so its time to get that replaced whilst the engine is out:
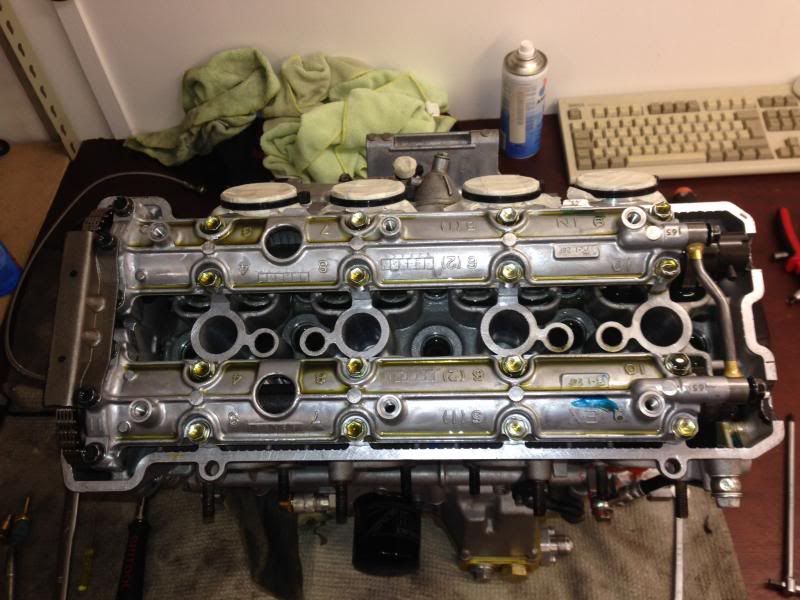
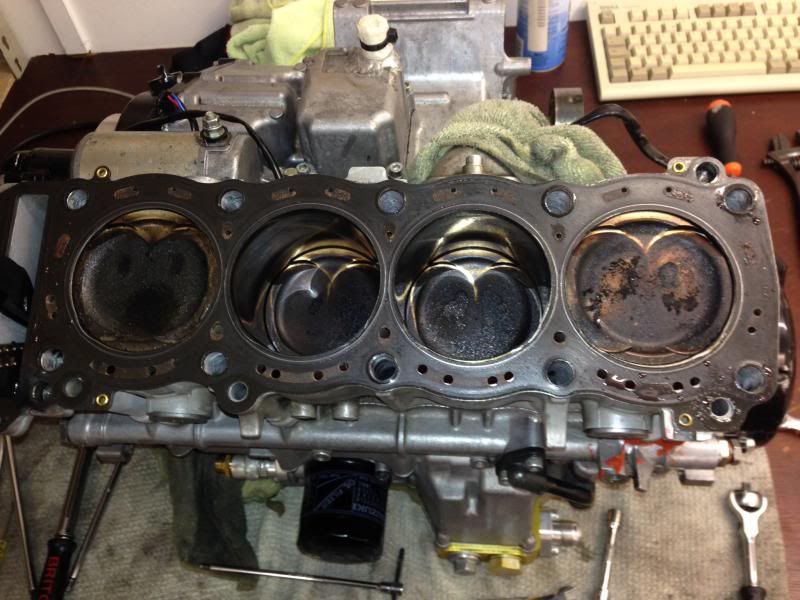
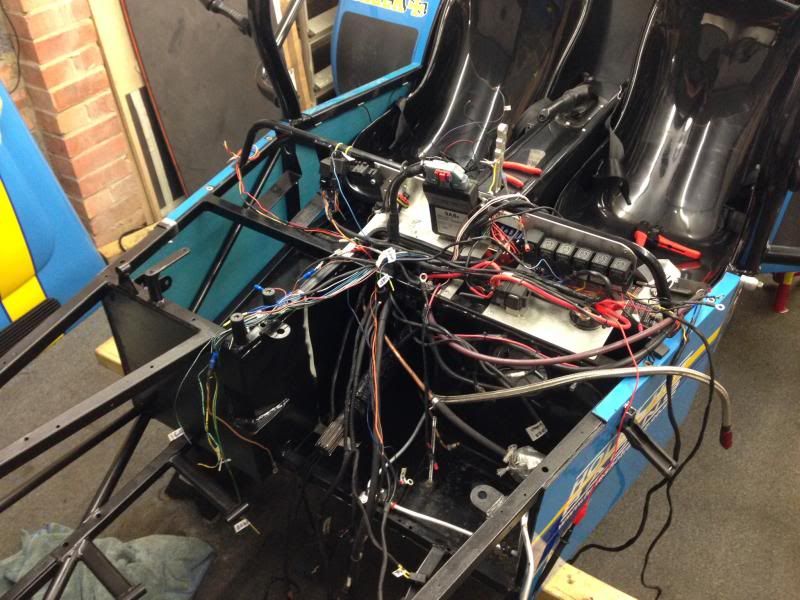
And to finish off, re doing the wiring, which was absolutely appalling..... I'm still trying to get my head around the logic of this now!!:
So thats about where i am at the moment, i hope i can keep it updated.... but for now time to get it back on the road! Hoping for april..... we will
see!
[Edited on 15/2/14 by jwhatley]
[Edited on 15/2/14 by jwhatley]
|
|
|
|
|
CosKev3
|
| posted on 15/2/14 at 10:05 PM |

|
|
Wow,very nicely specced car 
Surely with the air filter where it is there's a chance it will suck off a passengers shoe!!!!!! 
[Edited on 15/2/14 by CosKev3]
|
|
|
yellowcab
|
| posted on 15/2/14 at 10:06 PM |

|
|
Glad you've put this up John 
|
|
|
jwhatley
|
| posted on 15/2/14 at 10:10 PM |

|
|
I've lost half the photos olz, this only explains half of what I've been up to!
You wouldn't believe the comments about the air intake. Saying that it's actually good for 15c less intake temps! So there is some method
behind the madness!
|
|
|
CosKev3
|
| posted on 15/2/14 at 10:20 PM |

|
|
Bet the noise from the intake is awesome!!!! 
|
|
|
Ben_Copeland
|
| posted on 15/2/14 at 10:36 PM |

|
|
Very nice john, I'm hoping for flames from mine too 
Ben
Locost Map on Google Maps
Z20LET Astra Turbo, into a Haynes
Roadster
Enter Your Details Here
http://www.facebook.com/EquinoxProducts for all your bodywork needs!
|
|
|
jeffw
|
| posted on 15/2/14 at 10:56 PM |

|
|
Ben, you tart...don't understand why you would want flames !
|
|
|
Ben_Copeland
|
| posted on 15/2/14 at 10:57 PM |

|
|
Jeff you get flames too... You love it
[Edited on 15/2/14 by Ben_Copeland]
Ben
Locost Map on Google Maps
Z20LET Astra Turbo, into a Haynes
Roadster
Enter Your Details Here
http://www.facebook.com/EquinoxProducts for all your bodywork needs!
|
|
|
Matt21
|
| posted on 15/2/14 at 11:42 PM |

|
|
awesome 
looks to be a fairly large turbo too!
does it handle the power well?
|
|
|
jwhatley
|
| posted on 16/2/14 at 06:55 AM |

|
|
It's a garret GT30-76R turbo, so no not the smallest of turbos!
Power wise, I run Eboost2 so I have the flexibility of being able to turn the power down to 250bhp which is more than enough for the road.
On track when turned up it handles the power well, I run 10 inch rear wheels and coupled with the LSD it suprisingly puts it down pretty well, treat
it with respect and you won't end up facing the wrong way!
|
|
|
jeffw
|
| posted on 16/2/14 at 07:38 AM |

|
|
Nice car looks very well put together but my fav Busa Turbo is Duncan's Dax.
http://www.youtube.com/watch?v=eJxAoYvssfY
|
|
|
jwhatley
|
| posted on 16/2/14 at 07:44 AM |

|
|
Yes I've seen that video before, was inspiration for getting one!
That Dax it built solely for one purpose though, and it defiantly serves it's purpose! I believe it has launch control too?
|
|
|
jeffw
|
| posted on 16/2/14 at 09:52 AM |

|
|
It was many things off the Life ECU....including launch and traction control.
http://www.liferacing.com/?page_id=27
I think Duncan has a F88 in it. Of course when you have an ex-F1 turbo and Geoff Page maps/tweaks it then that helps as well.
[Edited on 16/2/14 by jeffw]
|
|
|
rdodger
|
| posted on 16/2/14 at 10:33 AM |

|
|
Hi.
What an awesome spec. Looks really well built.
The chassis looks a bit odd around the turbo? Does the engine become a stressed member and put the strength back?
|
|
|
imp paul
|
| posted on 16/2/14 at 11:01 AM |

|
|
It looks smart but man all those wires noooooooo lol scary what charge cooler is that ? Looks a bit like a pace type ;-)
|
|
|
dave_424
|
| posted on 16/2/14 at 11:29 AM |

|
|
Ditch the gasket between the manifold and turbo, Make sure both surfaces are dead flat and you will have no issues if the bolts stay tight. This
method has now really become the norm.
|
|
|
Proby
|
| posted on 16/2/14 at 03:00 PM |

|
|
What an awesome car.....
Visit GraphicMonster
|
|
|
fimi7
|
| posted on 16/2/14 at 06:15 PM |

|
|
You seem to have a number of radiators. Is the one on the top an oil cooler? If so, what's to the front at the bottom?
--- Ali
|
|
|
dave_424
|
| posted on 16/2/14 at 06:42 PM |

|
|
Probably a cooler for the water in the air to water charge cooler.
|
|
|
jwhatley
|
| posted on 16/2/14 at 08:26 PM |

|
|
quote:
Originally posted by rdodger
Hi.
What an awesome spec. Looks really well built.
The chassis looks a bit odd around the turbo? Does the engine become a stressed member and put the strength back?
Thanks, and yeah it's had a lot of time spent on it, plus I've done a fair bit to refine a few points. Still work in progress though.
Good spot on the chassis. There are two removable bars that fit in around the turbo which aren't in the picture, they are triangulated across
the space to put the strength back in.
|
|
|
jwhatley
|
| posted on 16/2/14 at 08:26 PM |

|
|
quote:
Originally posted by fimi7
You seem to have a number of radiators. Is the one on the top an oil cooler? If so, what's to the front at the bottom?
Oil cooler on top, big one is the rad and the lower one is the charge cooler rad.
|
|
|
jwhatley
|
| posted on 22/2/14 at 11:26 PM |

|
|
So a little update.
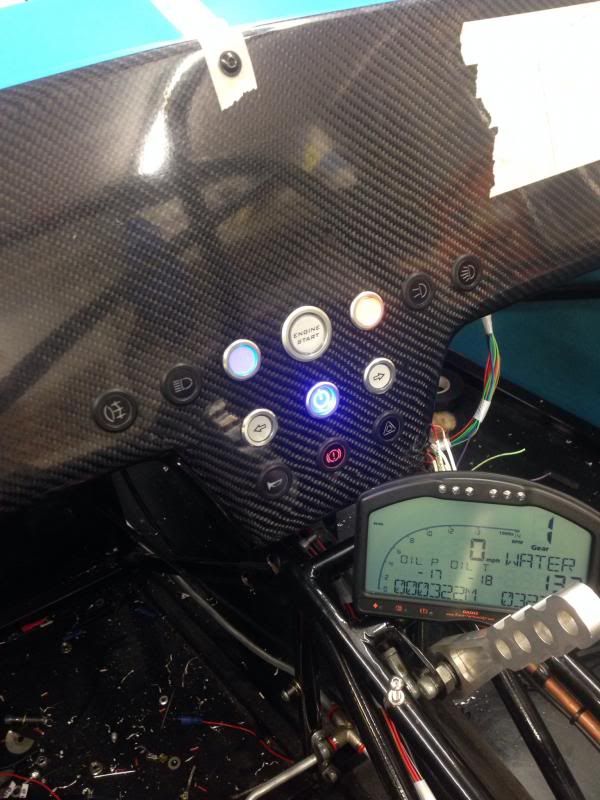
Dash is coming together, cut all the switches in to the dash, Shame i can't get them all in black but ill be looking out for them when they
finally become available.
And yes i know, the headlight switches are in upside down!
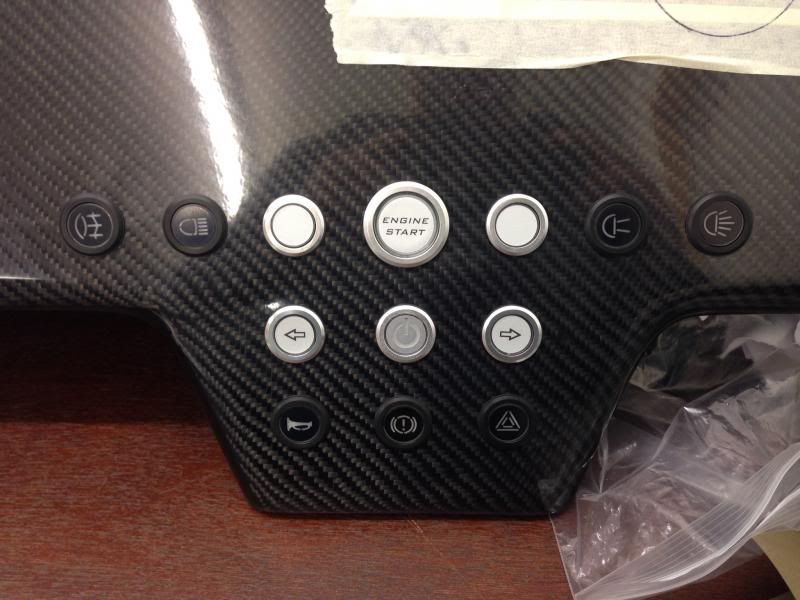
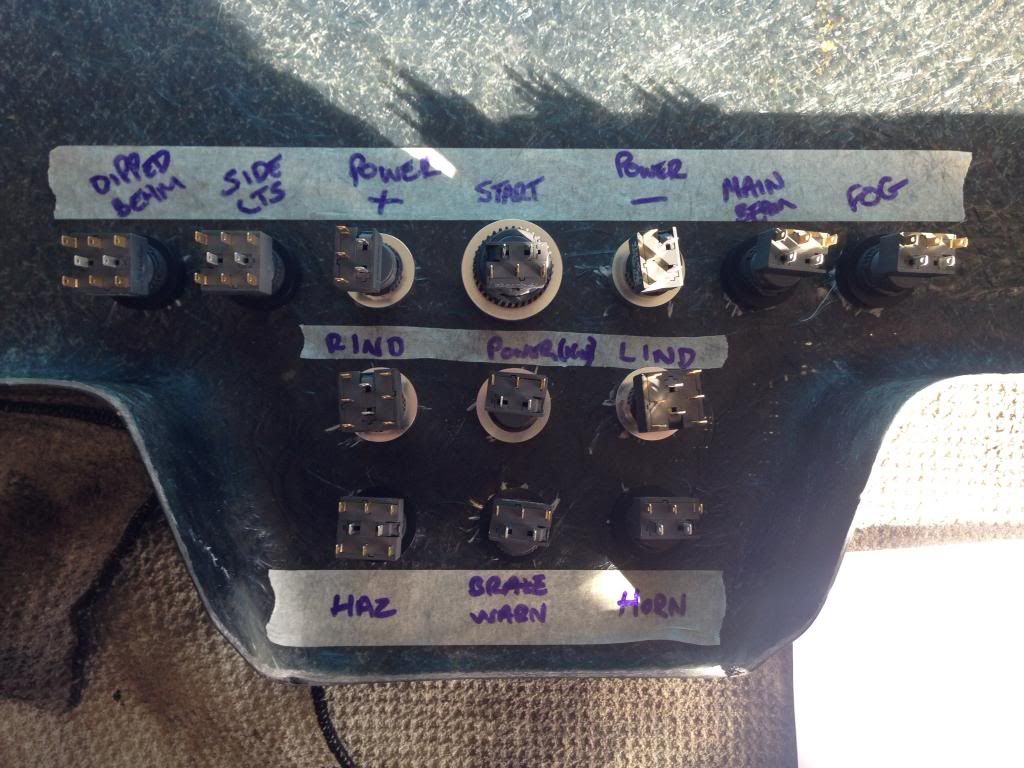
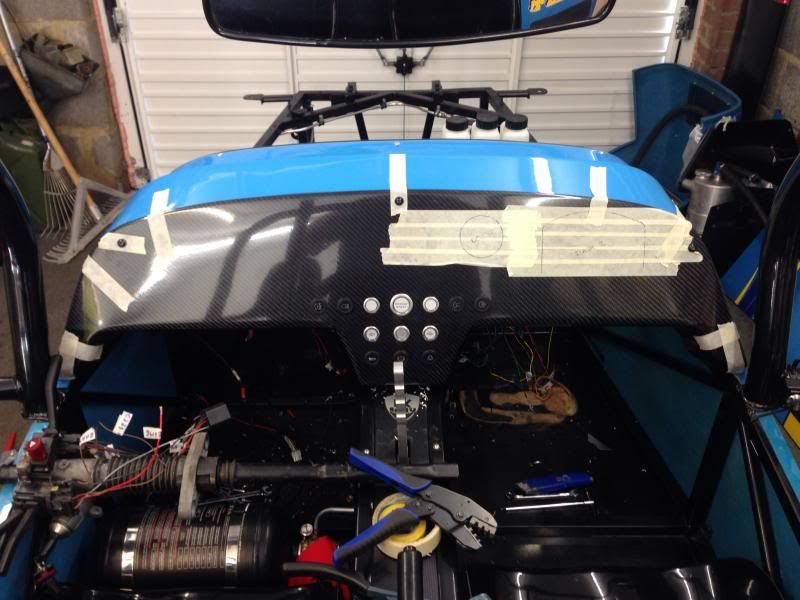
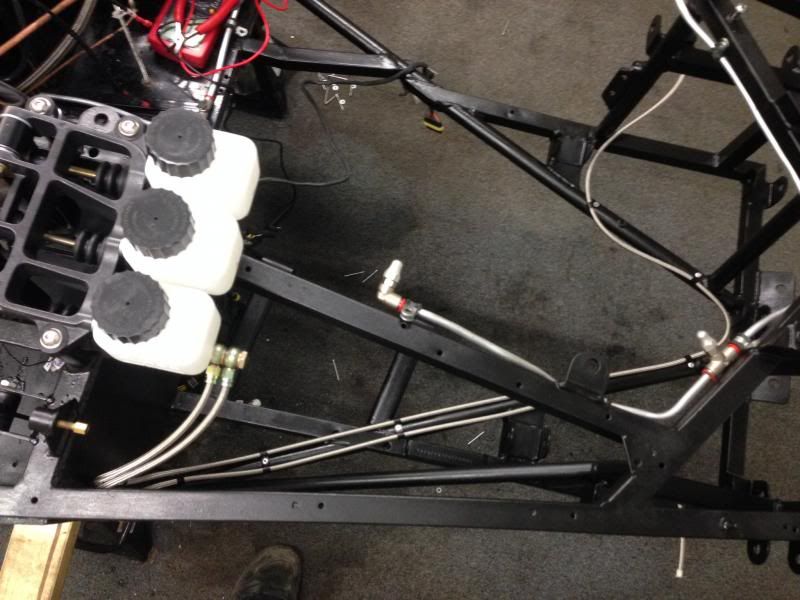
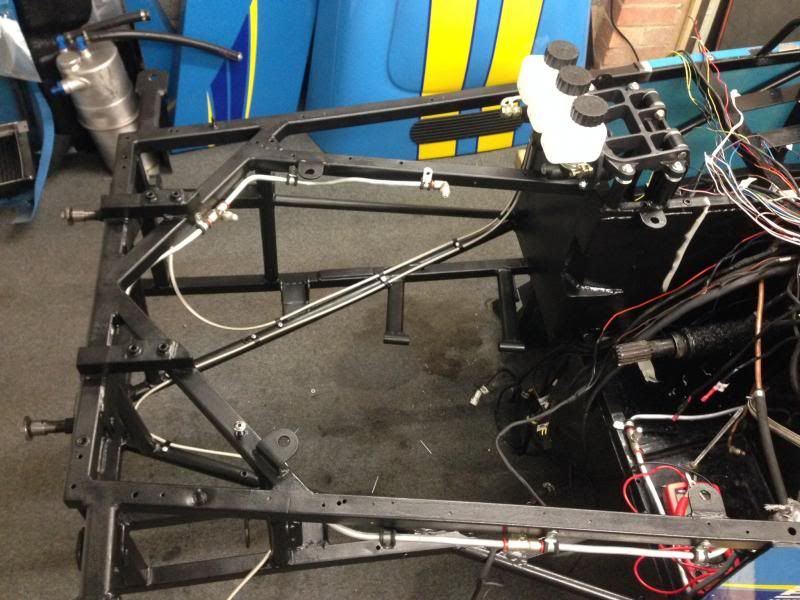
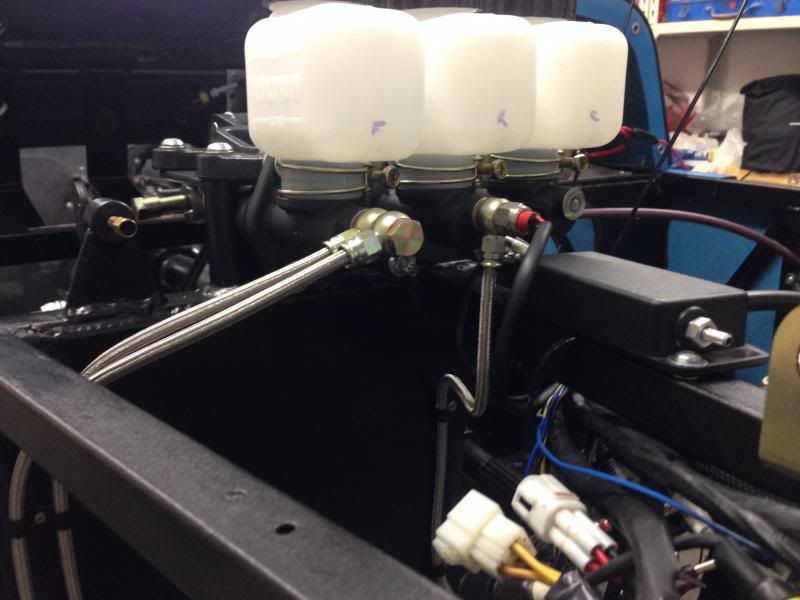
Run in the front brake hoses, still have the rear to do:
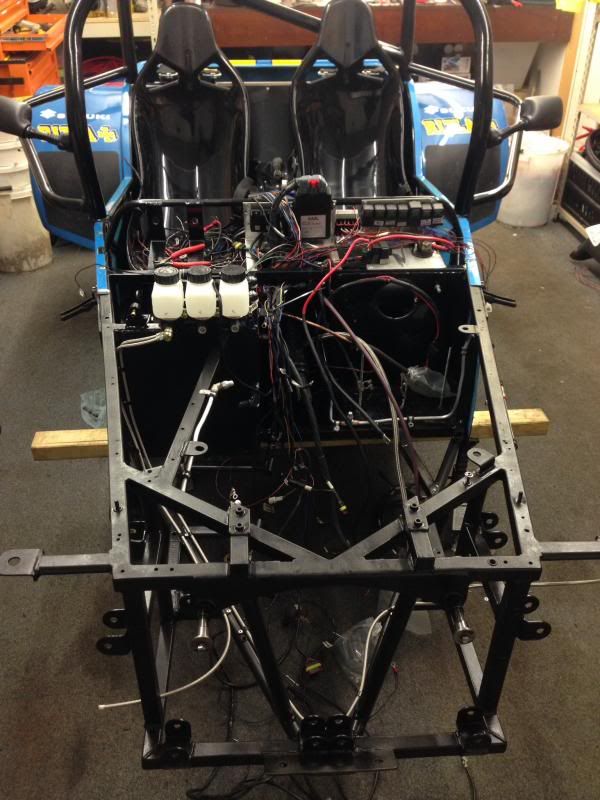
And had a go with the wiring for the dash. Once i got my head round the flasher relay!
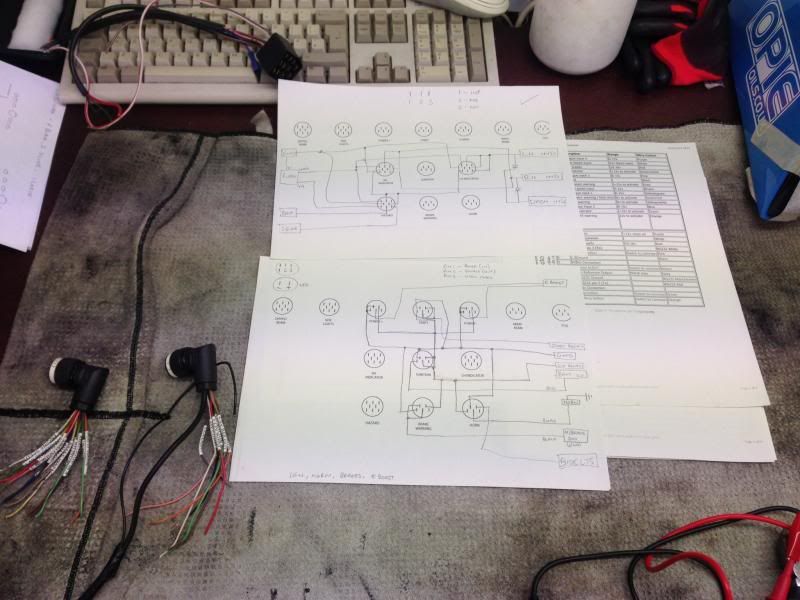
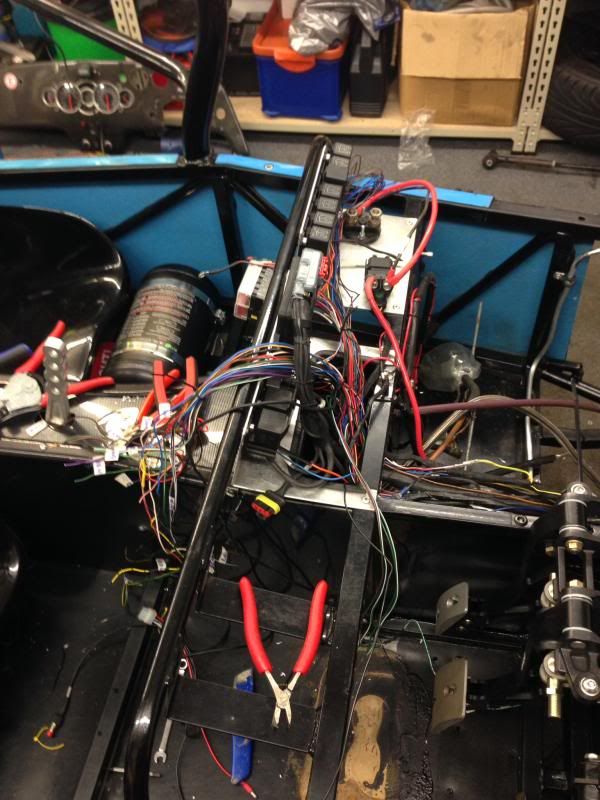
The wiring is no tidier at the moment. Hoping that when ive got it all connected up to the dash then i can look to reduce the extra wire and make it
back in to a tidy looking loom.
Still a lot to do.......
[Edited on 22/2/14 by jwhatley]
|
|
|
locost 7 k
|
| posted on 6/3/14 at 11:35 AM |

|
|
Lovely looking car, And for that You may have a twin soon!
|
|
|
jwhatley
|
| posted on 10/3/14 at 06:32 PM |

|
|
Bit of an update, Quite a bit going on.
Removed the diff, had it rebuilt and ever since its had a small oil leak. Didnt take any photos but basically someone fitted one of the drive shaft
oil seals on the piss.... Lesson learnt, if you want something doing properly then do it yourself and save a lot of money!
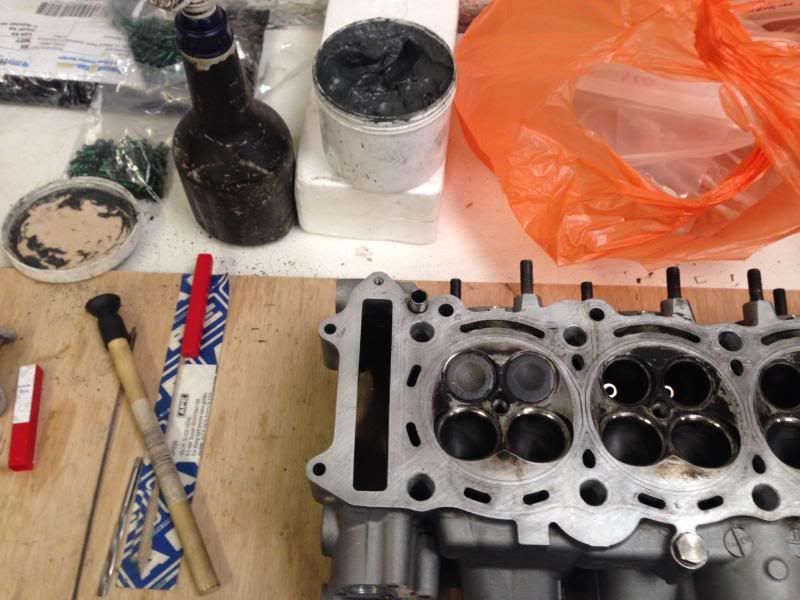
So after being told it will be easier to buy a new head then change the valve guides i took it upon myself to prove them wrong.
The head had been ported and the guides had been ground away, so firstly i had to get them back straight so they can be driven out square. Head
Disassembled:
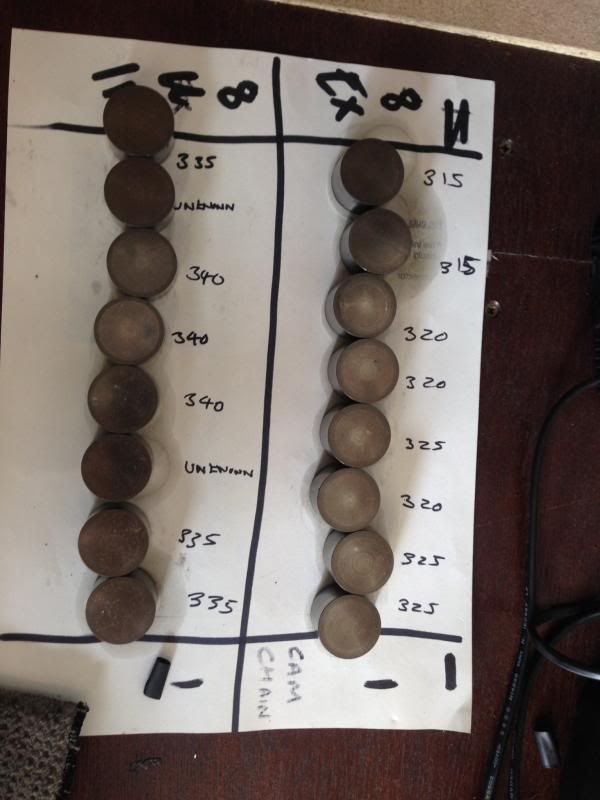
Put a 9mm drill bit on to a valve cutter and created a 9mm drill bit with a 5mm pilot to guide me in central. Then popped it in a drill and counter
bored the guides. Worked perfectly, don't have a photo of it but this was a great way of doing this without a milling machine or any technical
tools!
Then it was a case of popping the head in an oven, and knocking them out.... And Voila, no damage and all 16 guides removed:
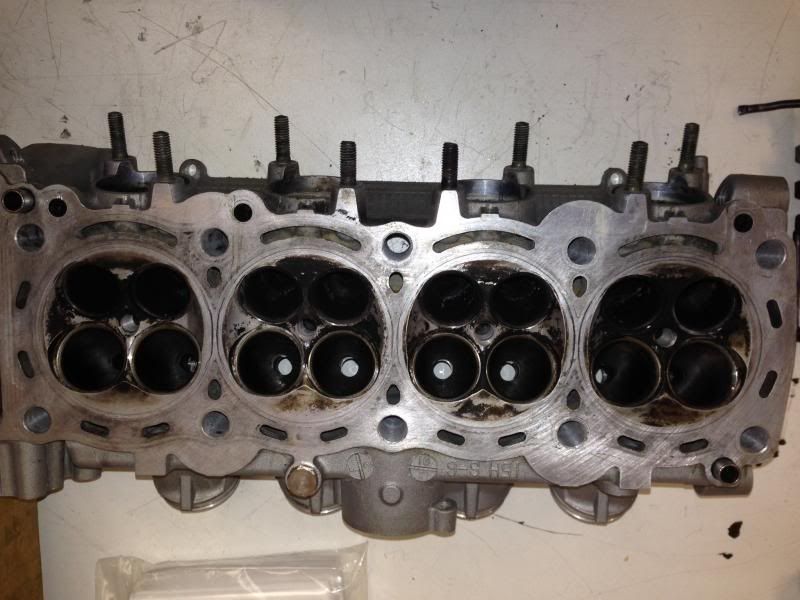
So now I'm waiting for my APE guides coming from the states, should be here tomorrow so i can install them and rebuild the engine.
Meanwhile, Dash wiring was finished:
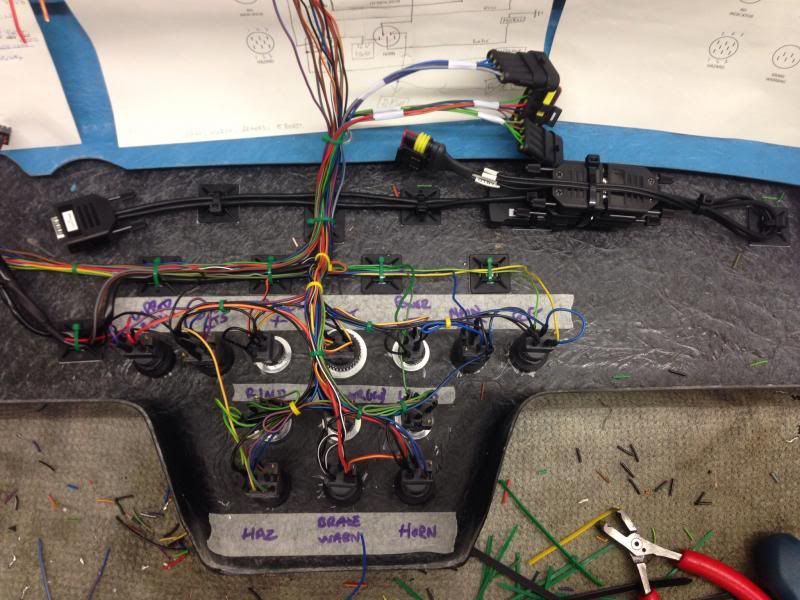
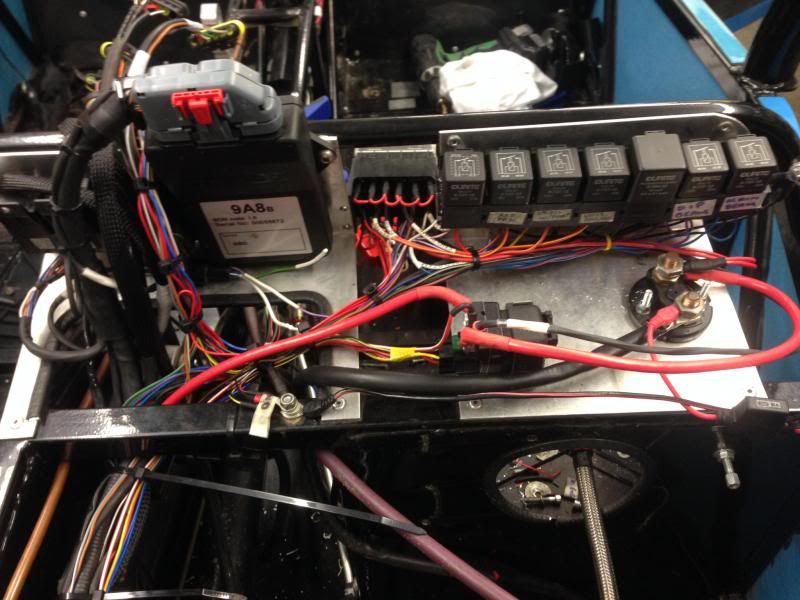
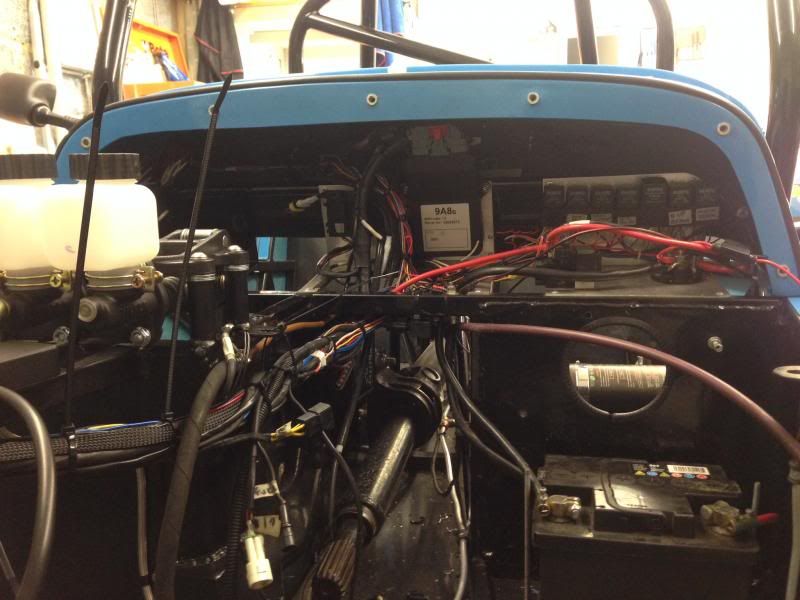
And plugged it all in, and surprisingly it all worked, still have to program the dash up to the sensors and ECU interface, but currently its talking
which is a good start.
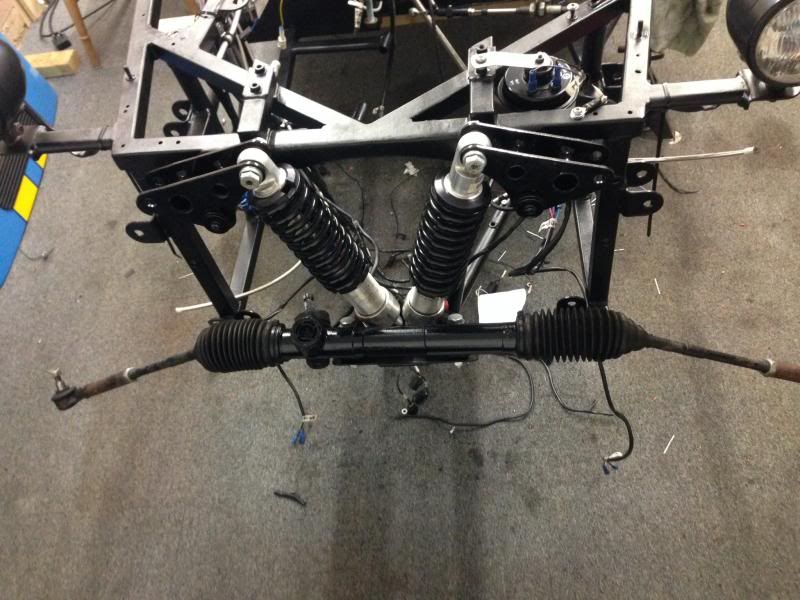
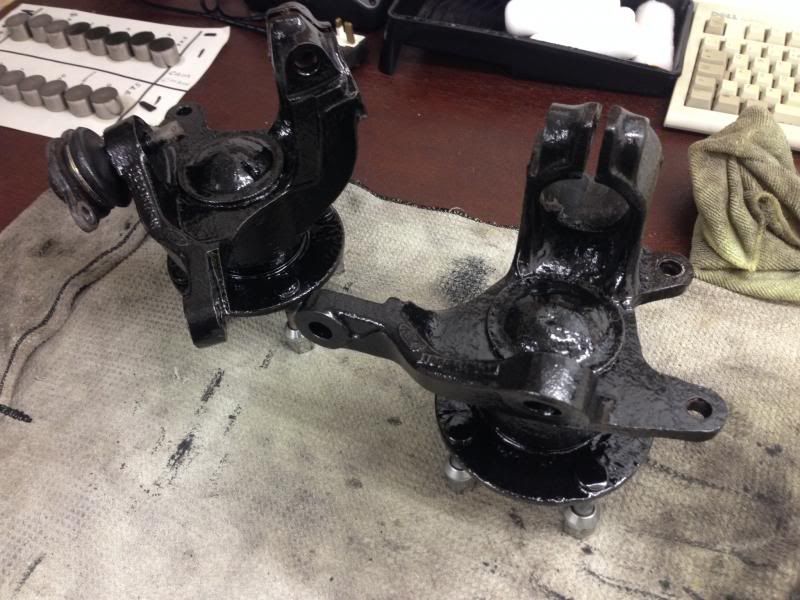
Waiting on my new steering column to arrive, so can't finish the front end rebuild and dash fit until that turns up. So popped the steering rack
back on, gave the front hubs a new coat of paint. Then fitted the suspension and finished off my brake hoses.
Just received my front wishbones back from powder coating too, so will rebuild that when i can refit my side panels.
Hoping to have the engine rebuilt this week, but we will see.... need my guides to turn up!!
I want it back on the road for april, Still a lot to do but more than achievable!
[Edited on 10/3/14 by jwhatley]
|
|
|
jwhatley
|
| posted on 25/3/14 at 03:43 PM |

|
|
So we have some more slow progress, been on holiday so not really had much of a chance to do much.
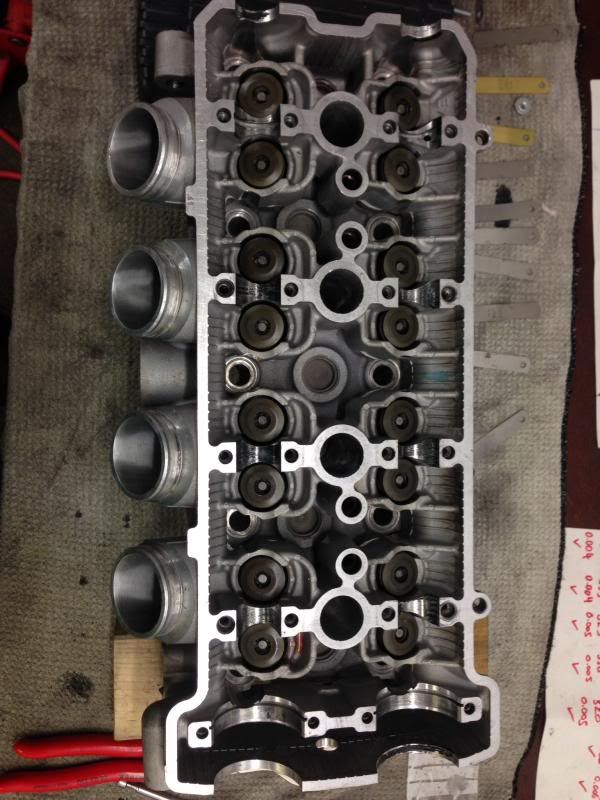
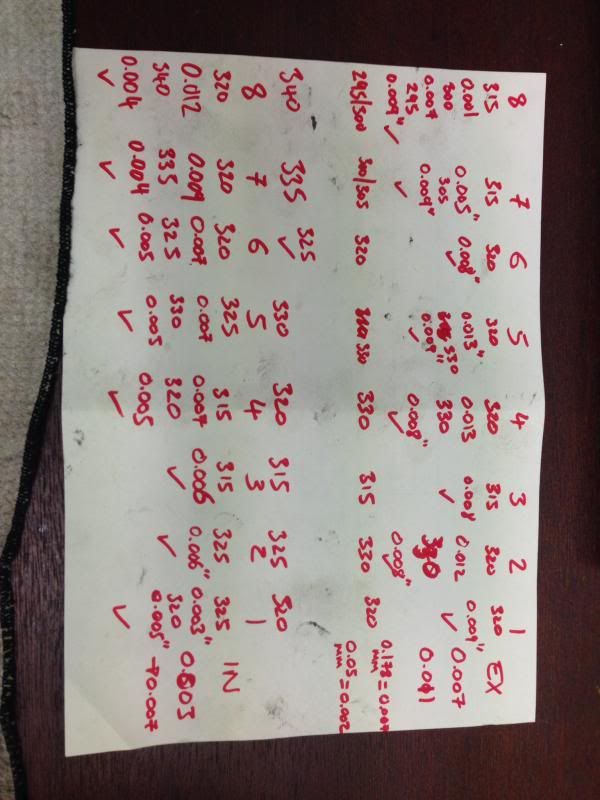
Progress with the head, just waiting for shims for the tappets now and I'm good to rebuild the head, will be here thurs, so engine in and
running by friday evening!
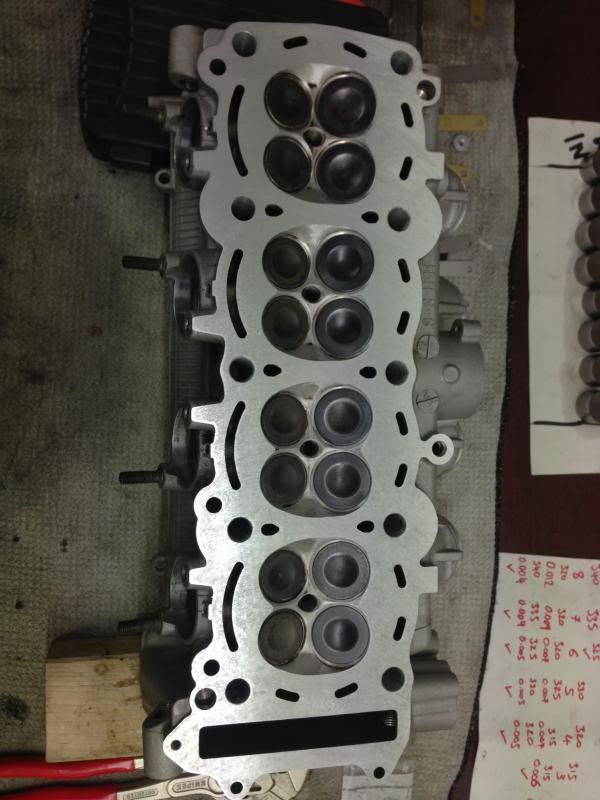
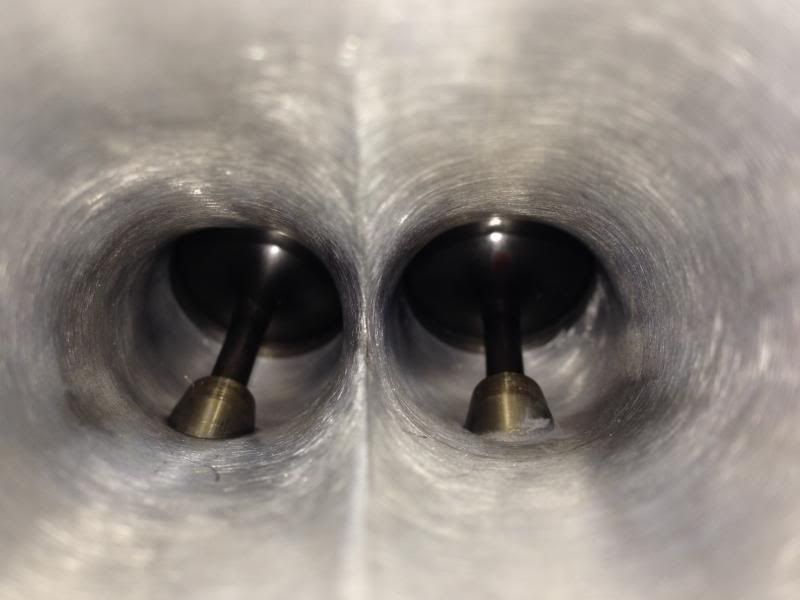
A few pics of the head work ive been carrying out:
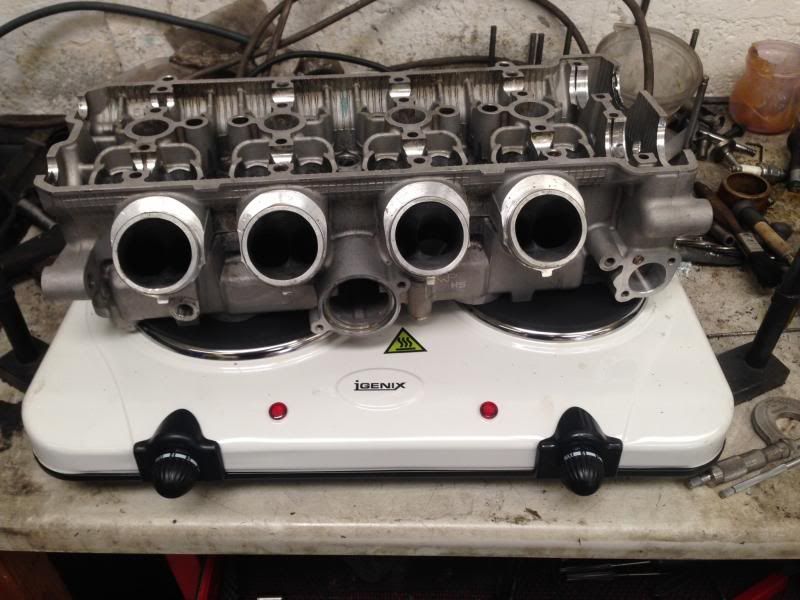
Heated the head on a hot plate, surprised how well this worked, worked out the thermostat settings to give an even heat of 150c through the whole
head, took about a hour or so to get fully heated.
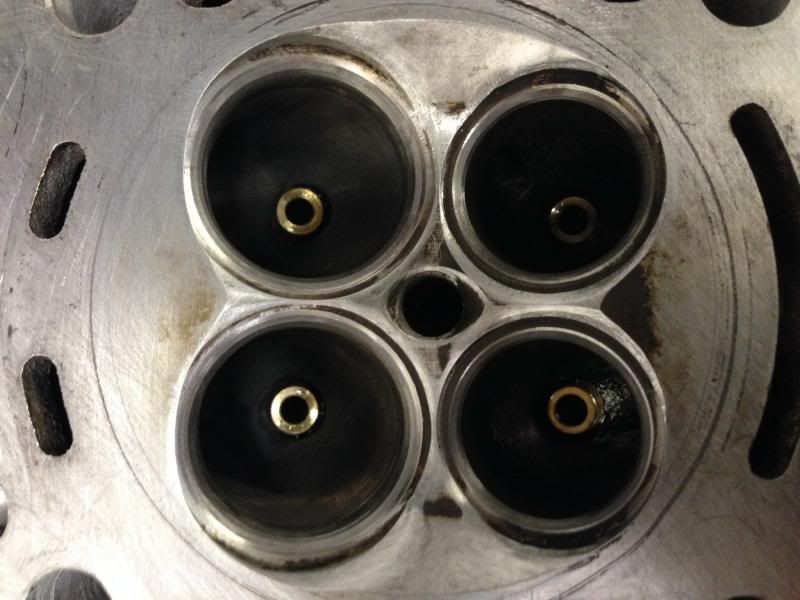
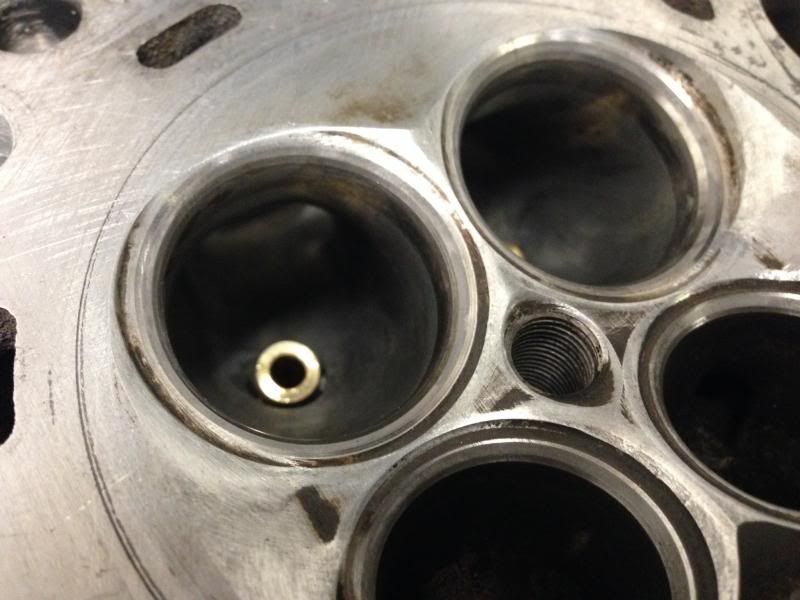
I am installing APE valve guides, running 2.5 thou interference fit. So had to freeze them in liquid nitrogen which brought them down to a 0.5 trout
interference, which meant the slid in with the aid of an air hammer quite nicely.
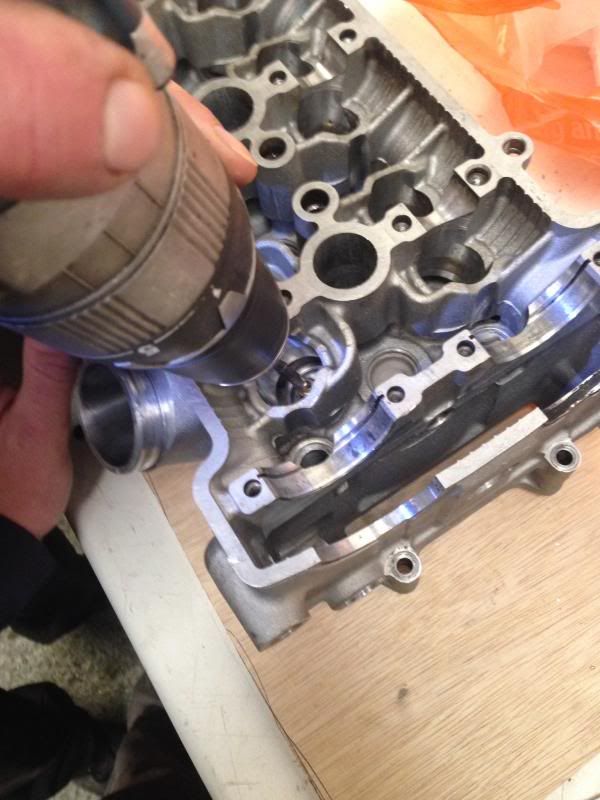
APE claim you only need to hone these guides, but they were too tight for my liking after quite a bit of honing, so a quick ream with a 5mm reamer got
the clearness just right, finished off with a quick hone for a better finish.
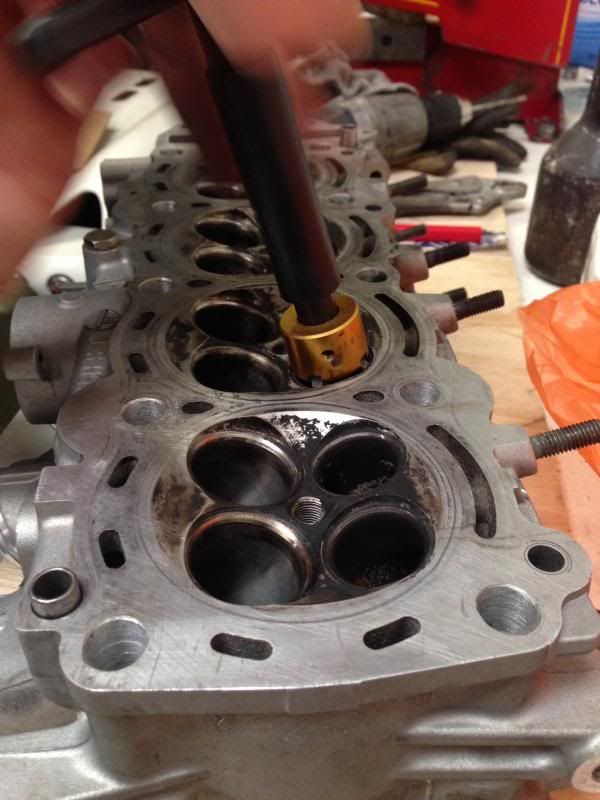
Couldn't get the valves them lapped in perfectly so decided to re cut all the seats to ensure a good seal, then re lapped them all in with some
fine paste.
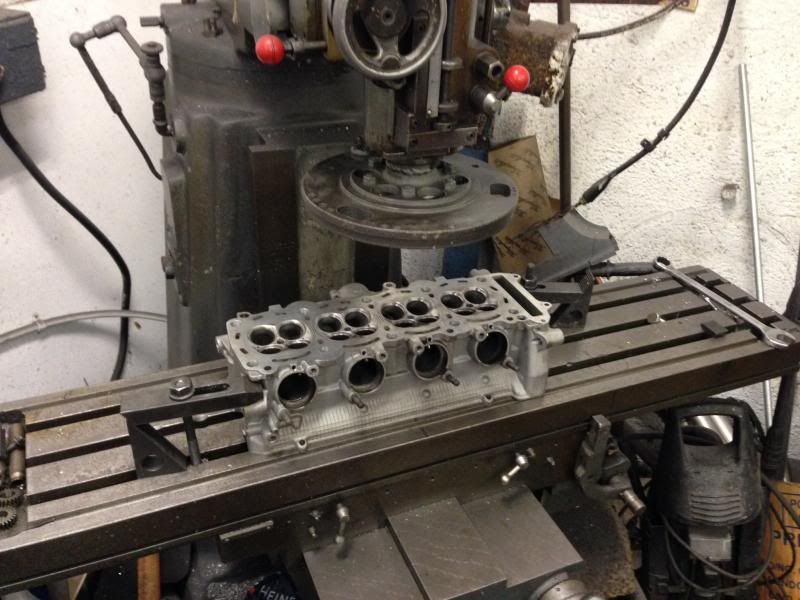
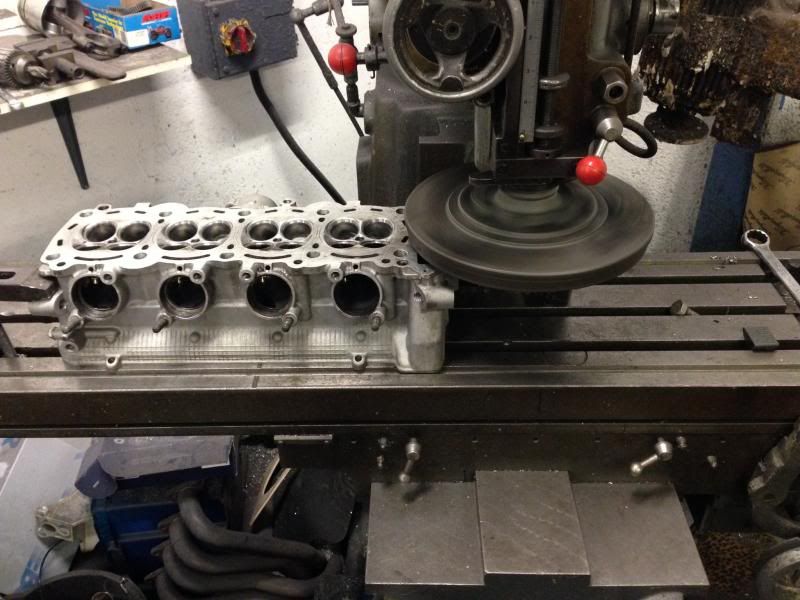
On to the milling machine for a minor skim to get the surface finish restored, took of 0.005"
Then rebuilt the head, and checked cam lash. Just waiting for a few shims and them i can put it back on.
After its all rebuilt, its up to daytuner for a few mapping tweaks, with its first MOT due this year i need to make sure i have an MOT safe map, plus
two others for the different exhaust setups i run... 96db with 2 cans or 101 with 1 can.
Once the engine is back in the car then i can really get on with it. First track day booked at silverstone on the 26th may.... should be easily done
for that.
|
|
|


