
engine running and update!
suparuss - 14/1/07 at 10:13 PM
the list of things to do is getting shorter and shorter every day. ive had the engine running after a problem with blocked injectors and a
catastrophic oil leak due to forgeting some bolts on the oil pump housing. oops!
ive been looking for a larger garage to rent and after much deliberation over industrial units and lockups far and wide and bloody expensive, it turns
out someone might be letting one out on the other side of the houses across from mine about 500sq ft for £50 a month! just need to get hold of the
bloke and things are looking good for starting the bodywork.
heres some pics of the progress-
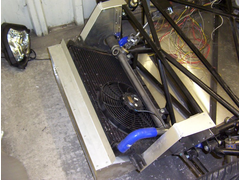
here is the radiator housing, i tried to keep it nice and low for a streamline front and everything fits in perfect.

radiator housing
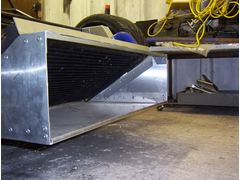
and from the front. the whole thing is riveted ally and is quite stiff but should also act as a frontal impact cushion.

rad housing front
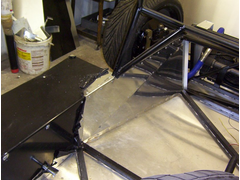
the side panels were a bit tricky with all the bends and tubes to cut round. ive left the plastic on the ones where the doors are to protect them as
longs as possible-

cockpit paneling
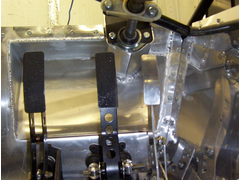
here are the pedals and front bulkhead. the clutch and brake are tilton and the throttle pedal i made out of ally with multi adjustable cable pull
thing.
the bulkhead needed shaping around the bearing housing of the steering column and also a recess was needed for full travel on the pedals. lucky i
decided to invest in the ac tig!

pedals
the other side of the bulkhead-
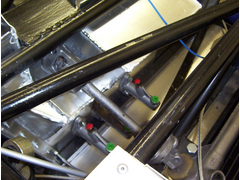

front bulkhead
and here are the header tank and swirl pot i made. i had my doubts whether the system would work but it turned out perfect. all the air bled out
automatically after about 10mins of running the engine and nothing leaks!
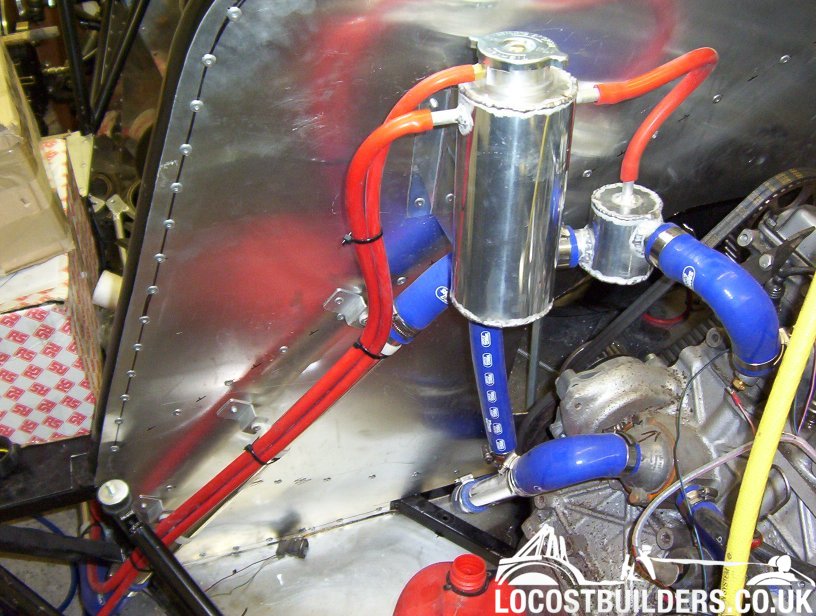
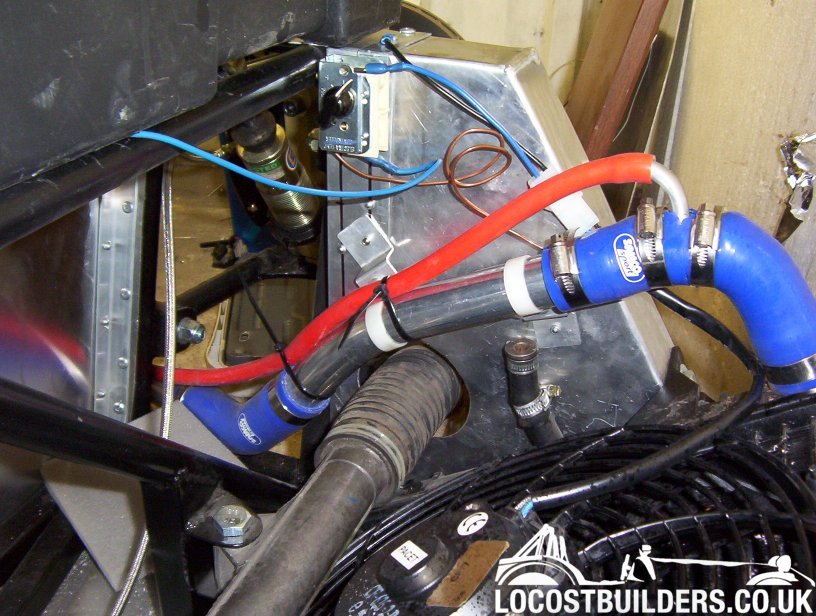
and the front, showing the air return at the highest point and the fan thermostat.
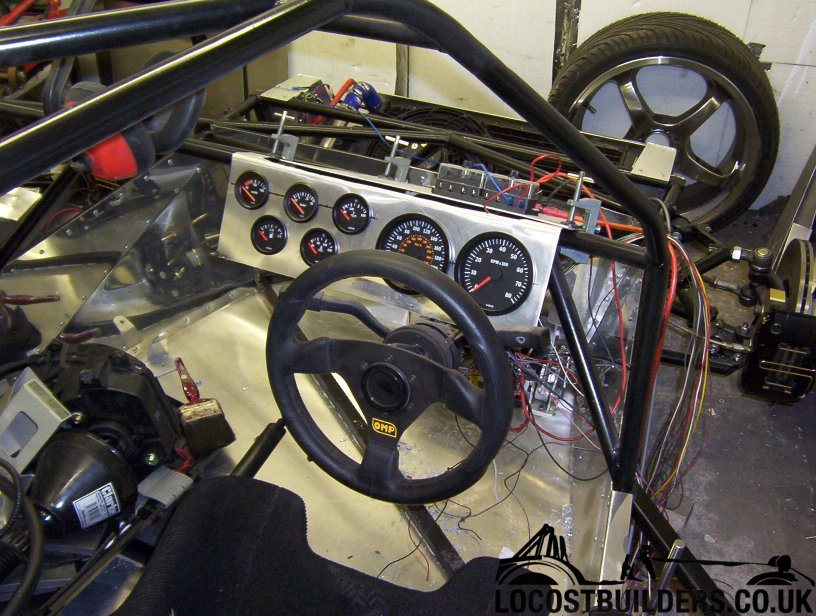
and here is the temporary dash i made to monitor the vitals with the engine running- ill make a nice fibre glass one as part of the body work
the engine sounds beutiful, not too loud so should pass sva but ill have the option of removing the bafffles from the exhaust afterwards!
all i have to do now is finish plumbing the brakes and clutch, fit the wheels and allign them and hopefully ill be able to drive it round the corner
to the rented garage (if i ever get in touch with the owner!) and then ill be able to start the body work!
RazMan - 14/1/07 at 10:28 PM
That's looking really good  Another middy on the road soon then.
One question - how on earth did you get the donor engine so sparkly? I spent hours with formic acid and a toothbrush  and it doesn't look half
as good as yours.
suparuss - 14/1/07 at 10:40 PM
hehe, its all an illusion. most of the rust was removed but not all, then i just sprayed over it with silver b&q radiator paint! 
DIY Si - 14/1/07 at 10:42 PM
Looks good that does! What's the pipe in the 2nd from last pic with the bolt in it? The one under the rad pipe.
RazMan - 14/1/07 at 10:50 PM
quote:
Originally posted by suparuss
.. then i just sprayed over it with silver b&q radiator paint! 
Oh good - I don't feel so bad now 
sgraber - 15/1/07 at 03:57 PM
Wow, this is fun watching all of these projects slowly but surely take form after all this time. i remember when you were just in the early design
phases and now look at what you've accomplished! I am very happy for you and proud that you've stuck it out this far. Don't let the
bodywork phase stop you either. I don't like saying this, but it's much harder than the chassis stuff.... I almost didn't make it. But
stick with it! You won't regret it.
Graber
suparuss - 15/1/07 at 04:54 PM
thanks steve. i really cant wait to start the body work. in theory it should be what im good at as i spent 5 years working in a mould shop, albeit
making moulds out of wood for concrete but the principles are basically the same. the main limiting factor at the moment is the space ill need. ill
definately struggle in a single garage so hopefully i can sort something out!
quote:
Originally posted by DIY Si
Looks good that does! What's the pipe in the 2nd from last pic with the bolt in it? The one under the rad pipe.
thats just to stop water coming out. i think it was the header tank outlet or somehting.
cheers,
Russ.
Alan B - 15/1/07 at 05:17 PM
It's looking really good mate...it's good to have it moving along isn't it?
Keep up the good work.
Alan
Fred W B - 16/1/07 at 05:54 AM
Yeah, very very nice. Great motivation to see it coming together. Note to self, must get more time in workshop!
Cheers
Fred W B


 Another middy on the road soon then.
  and it doesn't look half
as good as yours.
