daveb666
|
| posted on 7/6/13 at 09:59 AM |

|
|
Locost Project Thread
As I've owned my Locost for a few weeks now I thought it was probably about time I put a project/diary thread up as a record of what I get up
to.
Firstly, this won't be a 'build' thread. The car was 99.9% complete when purchased from "big_wasa" and pretty much just
needed to be put through an IVA to get road-ready.
Apologies for picture quality, most are taken on my mobile
Spec from the advert:
2.0 Zetec rebuilt pre aug 95 with letter from ford.
fuel injected
Scholar sump
Scholar lightened flywheel
Dunnel alternator kit
Mt75 gearbox
Fisher stainless exhaust manifold
Capri atlas axle
Cortina fronts
Gaz shocks
D&F prop
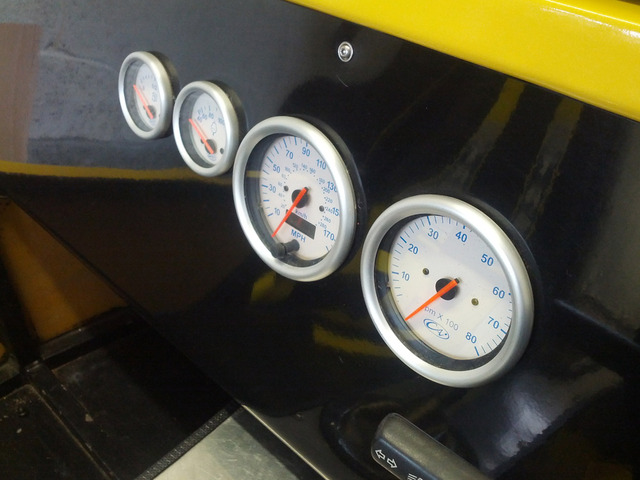
Cai dials
Obp pedal box
Obp fuel tank
Obp catch tank
Mk2 escort steering rack Quick ratio 2.9:1
Front wish bones 4" wider than stock to match the atlas rear axle
Sierra column
Momo 10" caterham steering wheel
Gts fiberglass
Descent 15" alloys pug offset
Advert pictures:
 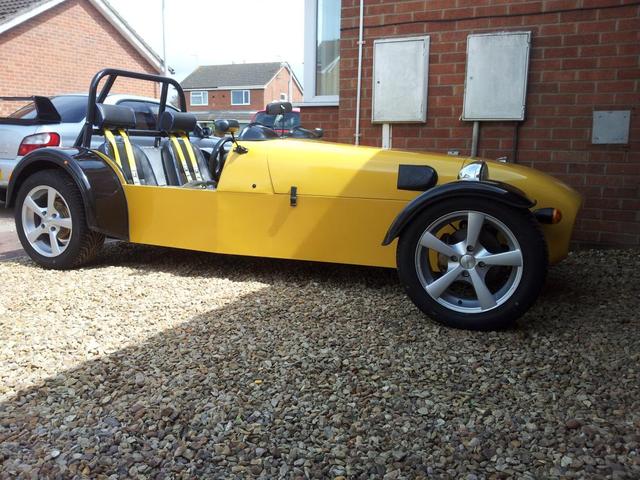
Description
Description
 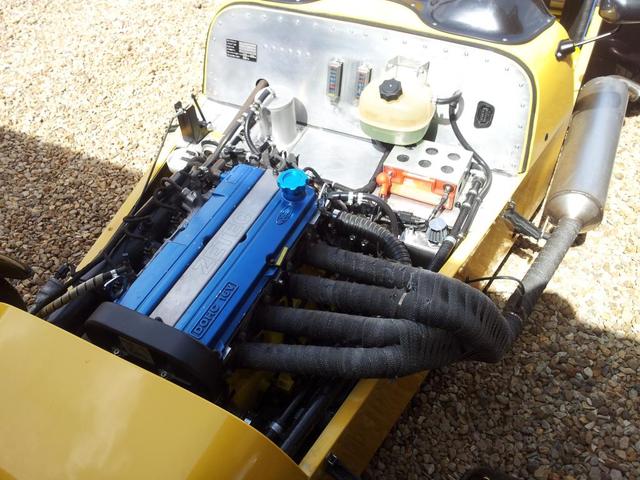
Description
So after agreeing a deal with Warren, I left got the car transported back home. Warren told me a bout a few little IVA jobs that would need doing, so
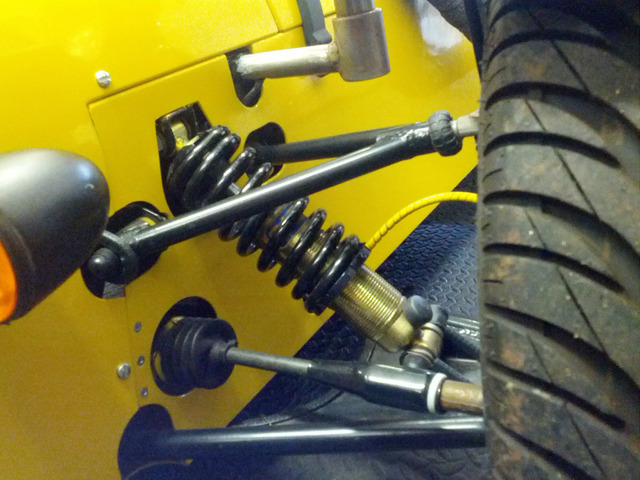
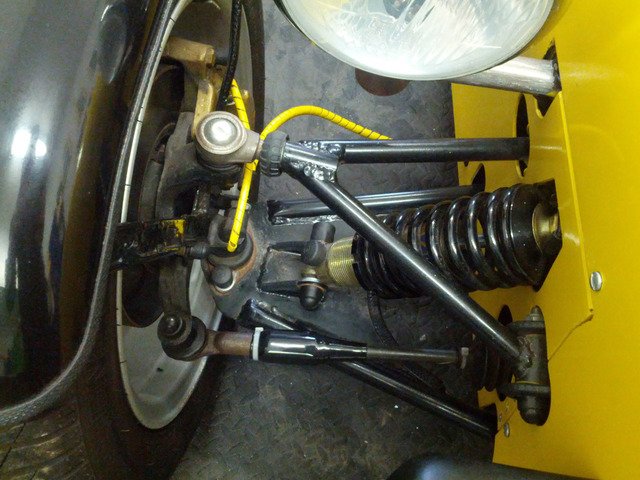
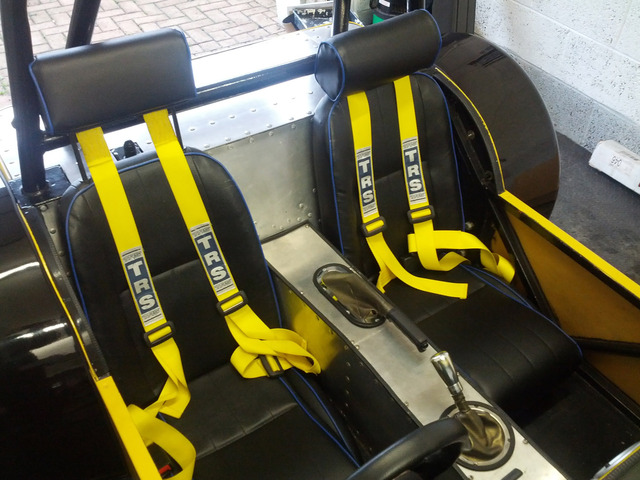
whilst the IVA application paperwork was winging its way to VOSA, I took the usual 'pre-IVA' pics for people to look for things that may
need sorting.
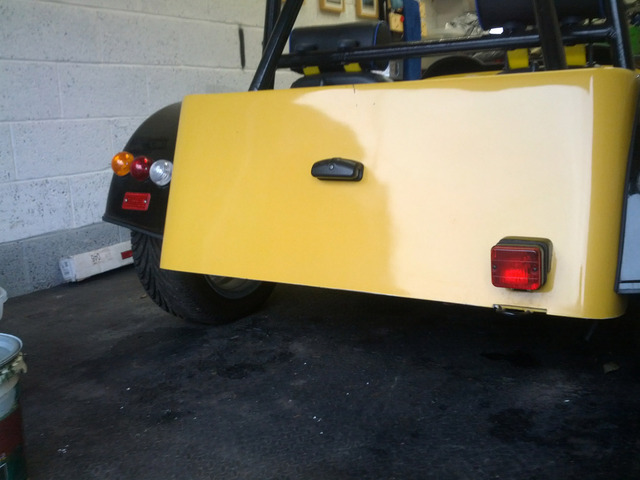
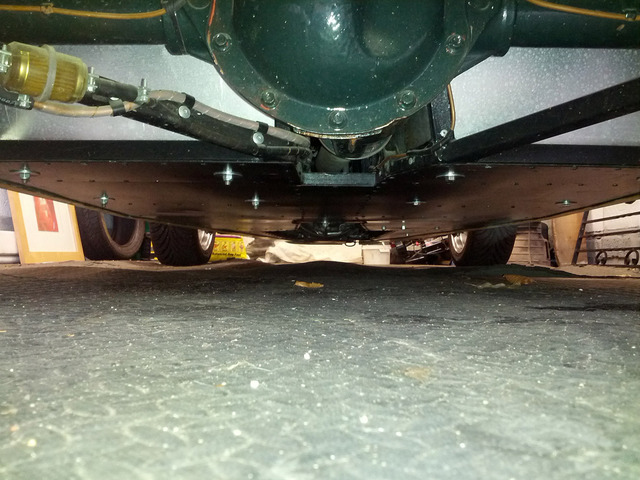
Pre-IVA Photos
 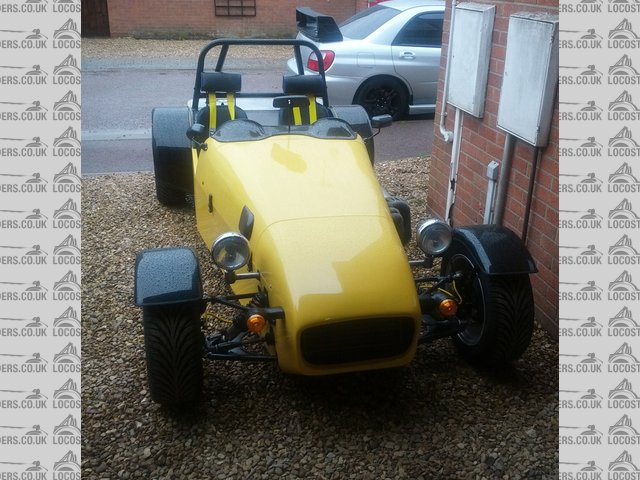
Description
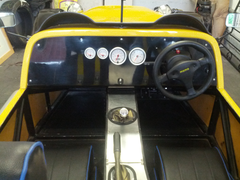 
Description
 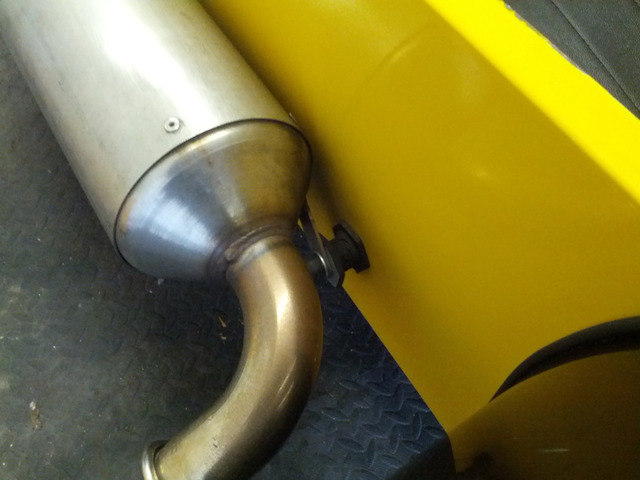
Description
 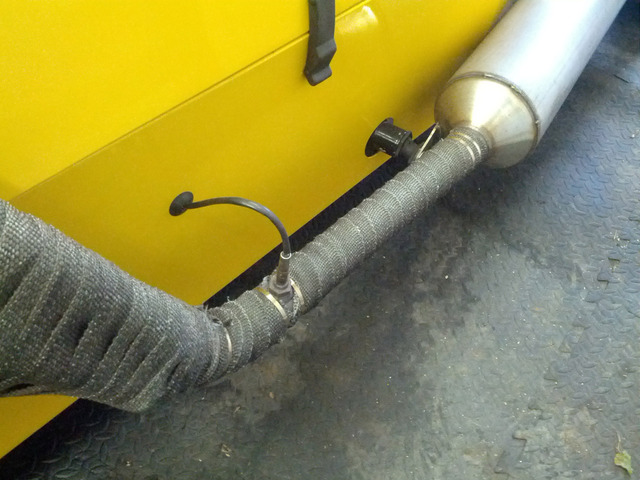
Description
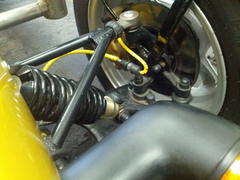 
Description
Description
Description
Description
Description
Description
Description
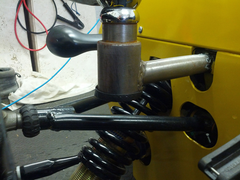
First thing that I noticed was that trim needed adding to the bottom of the headlight brackets (yes they will get painted!)
Description
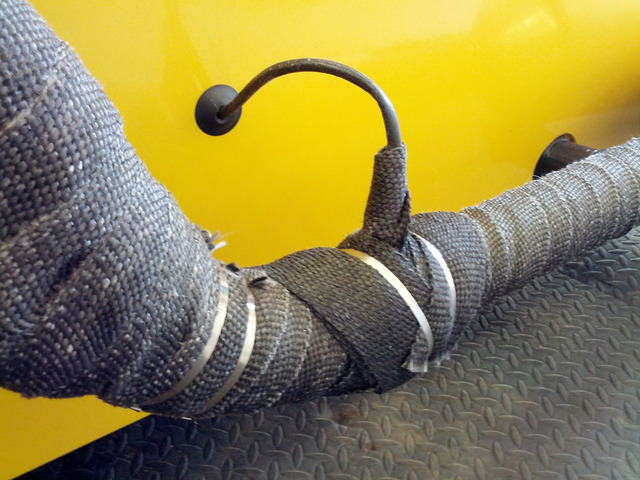
Lambda sensor needed wrapping
Description
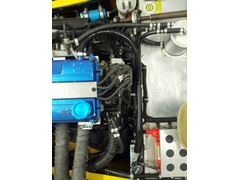
Breather pipe from the rocker cover to the catch tank needed purchasing and fitting
Description
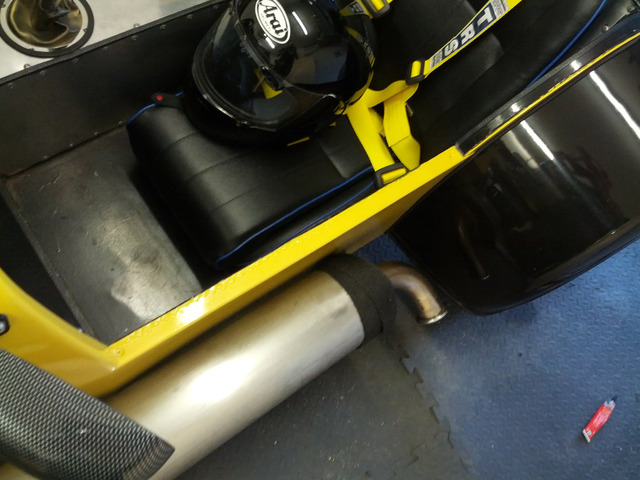
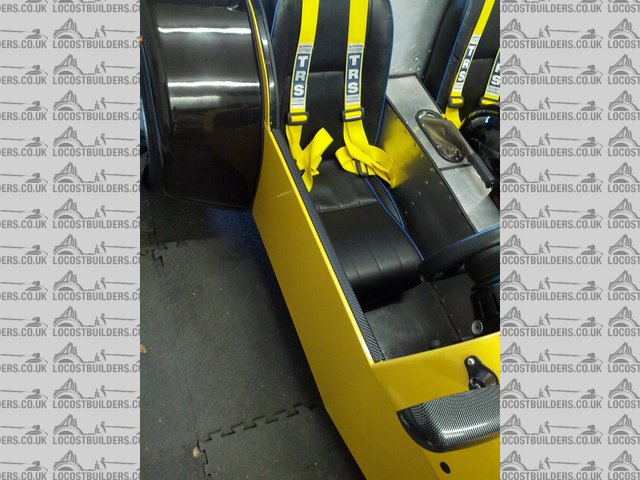
It was suggested that it would be prudent to put some sort of threshold cover on for the IVA, and to prevent scratches in future. I purchased some
Cope Moulding #11 from Click Metal and cut it to length. I wasn't keen on the bare metal though so wrapped it in 3M carbon fibre sheet.
Before:
Description
After:
Description
I then phoned VOSA to chase my application, as it was over a week since I had paid. I was told that they are 3 weeks behind so my test date will be at
least 6 weeks away! :-\ So I decided to start tinkering as I had time to spare.
First job I wanted to do was to paint the mesh in the nose-cone as it was bare metal and starting to look a bit shabby.
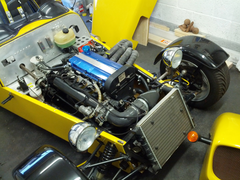
Nose cone Removed:
Description
Nose cone off the car:
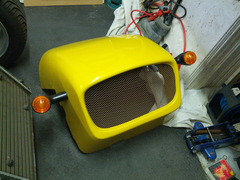 
Description
All masked up on the painting bench 
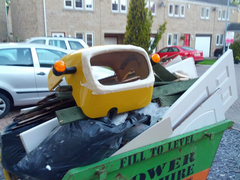 
Description
Primed (poor photo, apologies)
 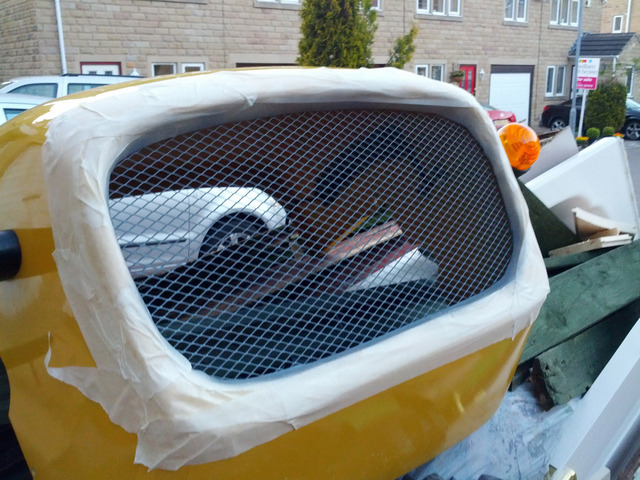
Description
While painting the cone, I decided it would be a good idea to carbon wrap the indicator brackets, so removed them from the nose-cone and
dismantled:
 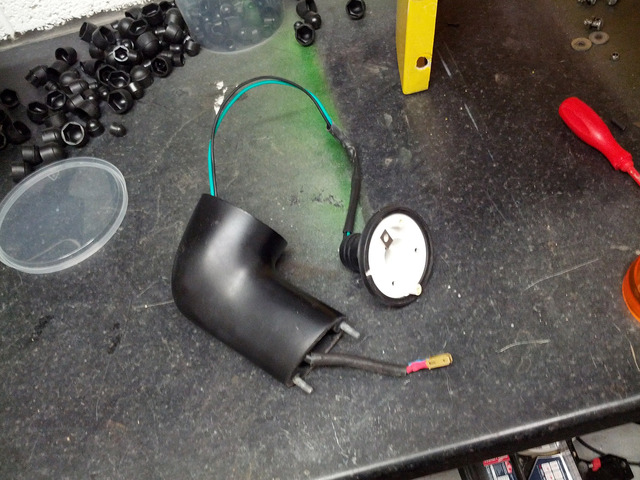
Description
That's where I got to last night, will update the next bits.
|
|
|
|
|
Ben_Copeland
|
| posted on 7/6/13 at 11:33 AM |

|
|
Looking good, be careful or you'll end up with the engine in bits upgrading stuff ;-)
Ben
Locost Map on Google Maps
Z20LET Astra Turbo, into a Haynes
Roadster
Enter Your Details Here
http://www.facebook.com/EquinoxProducts for all your bodywork needs!
|
|
|
coozer
|
| posted on 7/6/13 at 11:45 AM |

|
|
Too much stuff in the skip! Apart from that looking good.
1972 V8 Jago
1980 Z750
|
|
|
big_wasa
|
| posted on 7/6/13 at 01:51 PM |

|
|
You not painted them light brackets yet  Talking of lights did you find out why the O/s side one was on the slosh ? Talking of lights did you find out why the O/s side one was on the slosh ?
|
|
|
daveb666
|
| posted on 7/6/13 at 01:59 PM |

|
|
quote:
Originally posted by big_wasa
You not painted them light brackets yet  Talking of lights did you find out why the O/s side one was on the slosh ? Talking of lights did you find out why the O/s side one was on the slosh ?
Nope - the mounting screw was still in tight in the hole! Tried to open the springs that holds the glass in place but couldn't get it to budge
and was worried I'd end up smashing the glass, so I drilled a new hole in the lense cover and rotated it round into the correct place 
@coozer; the skip is for the guy doing work on my house so not my concern lol
|
|
|
daveb666
|
| posted on 25/6/13 at 10:00 AM |

|
|
Minor updates;
Painted the headlight mounts;
 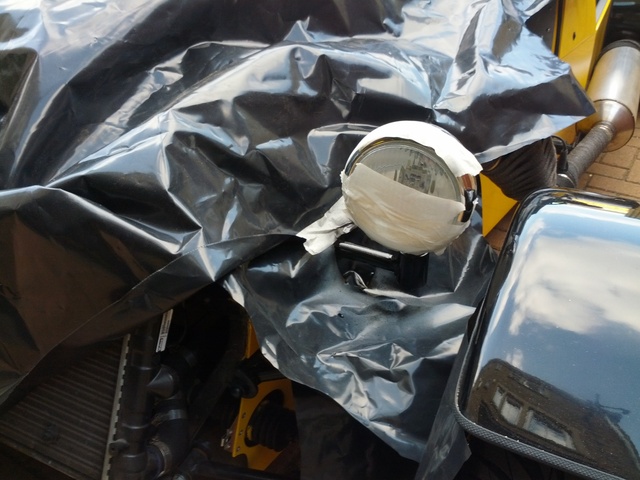
Description
Completed the painting of the front mesh and swapped the front indicator lenses for clear ones
 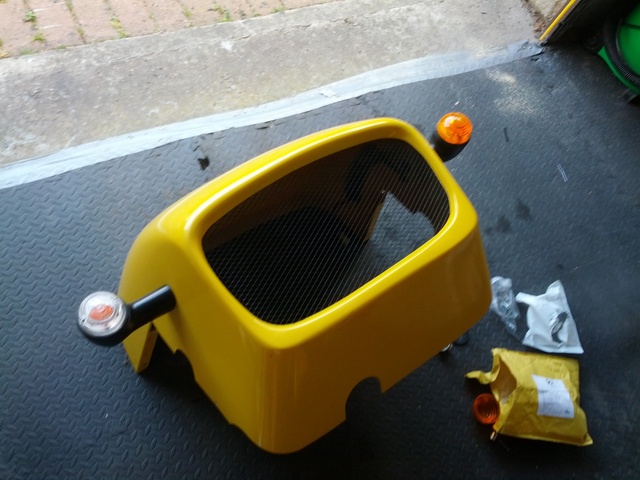
Description
Naked car!
 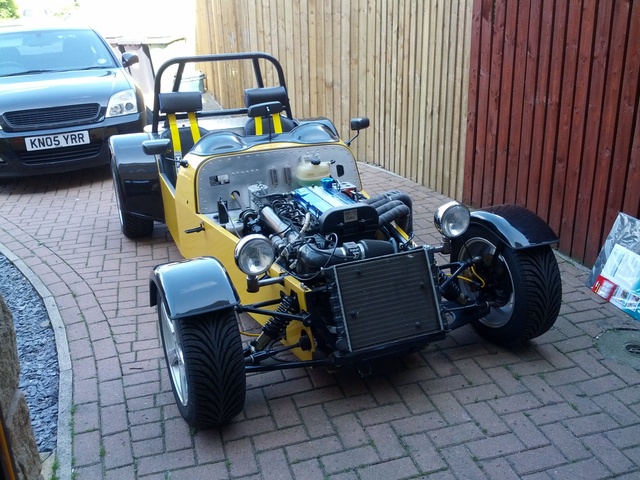
Description
Whilst the bodywork was off the car I got out the rubbing compound my rotary polisher and gave everything a pre-IVA buff
 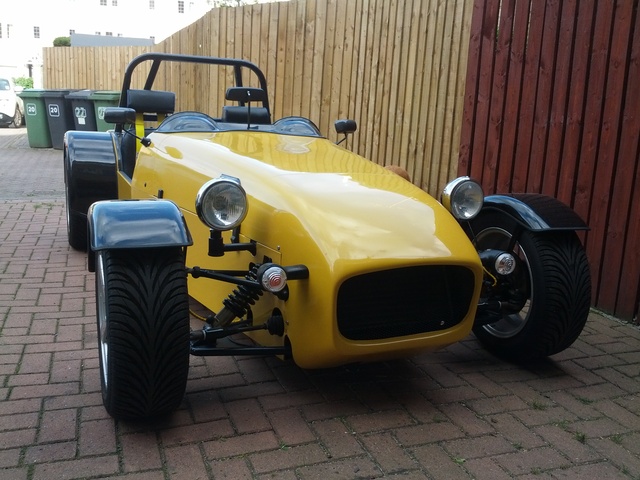
Description
The dog wasn't impressed 
 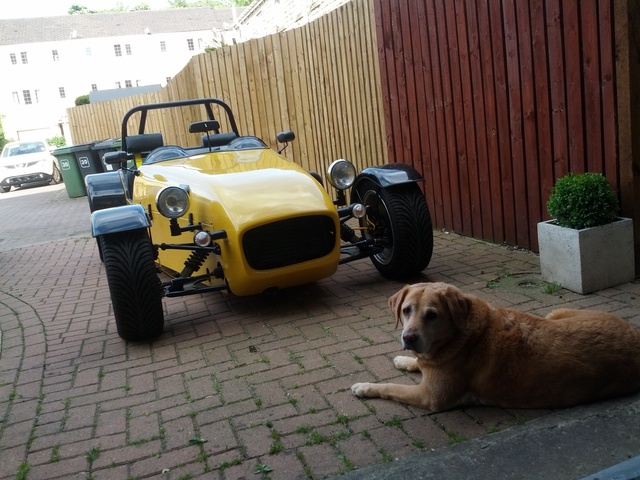
Description
Whilst at Newark I saw some of these indicators on a stunning MK so decided to get a pair, ready to fit after my IVA
 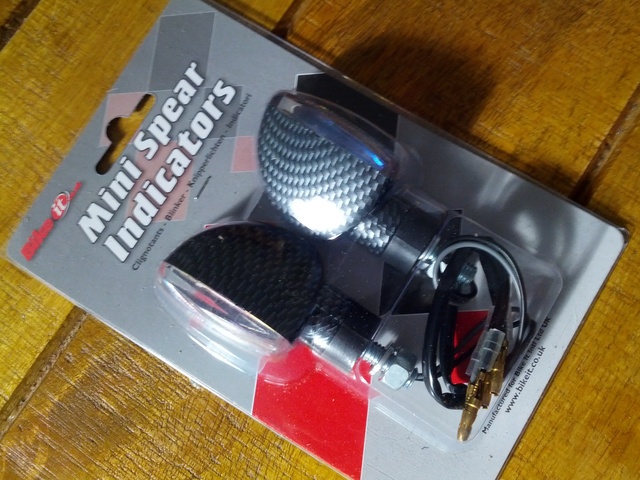
Description
Car was then wheeled back into the garage ready for IVA day; 4th July!
|
|
|
daveb666
|
| posted on 4/7/13 at 04:43 PM |

|
|
Updated with IVA post
So, IVA day.
Got there nice and early and unloaded
 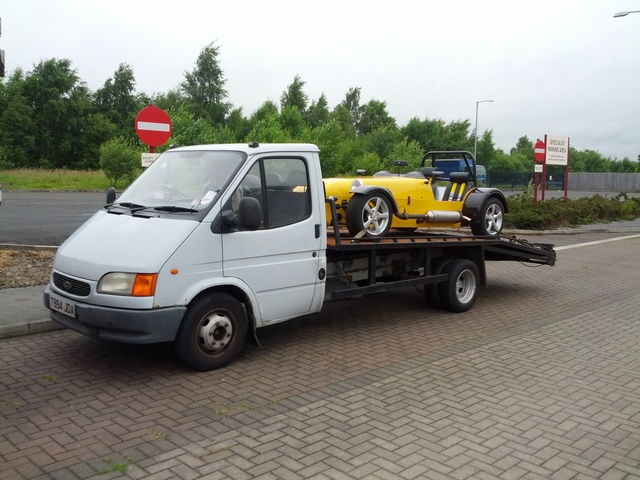
Description
 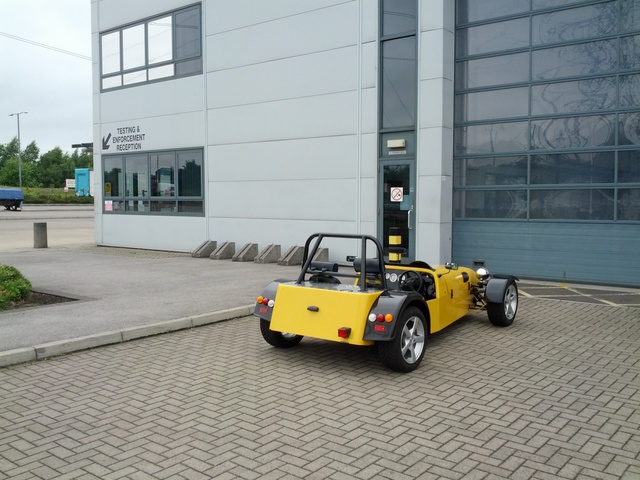
Description
Got in, did the emissions test- failed. (Weird, water temp on 90 and car was very warm)
Gary (tester) said to let the car warm up some more. (Car fan come and on and off a couple of times it was that warm!)
Waited...waited...waited
Retested.... failed.

Asked Gary why it said "CAT" on his testing machine, and after a quick discussion it was agreed the car should be tested without a CAT on
it (1993 engine), oops.
Gary played around with the machine and 2 minutes later I got a pass straight away. Phew, on to the next bit!
Moved up on to the ramp up and turned the car off. Up and down we go and Gary looked under the car, around the front wheels etc. Light test all done
with some minor adjustments on the headlamps as expected.
Gary asked me to move the car forward and...it wouldn't start! Wondered if it was the battery, but turned over nice and fast! Waited 5 minutes,
same thing. BOLLOX!
Gary said he'd complete as much of the test as he could so I'd hopefully fall under the 3hr (£300!) re-test category.
I went back to the waiting room to sulk. 55 minutes later Gary waves me into the testing area,
"I've managed to get the car started so we'll carry on!!!"
Back to the waiting room I go, and another 90 minutes (2.5hrs in total) later Gary brings back the sheet of paper to the office, with the FAIL
information:
 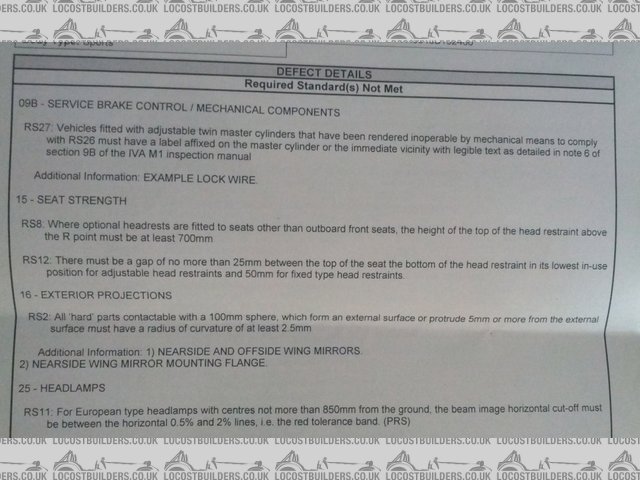
Description
So -
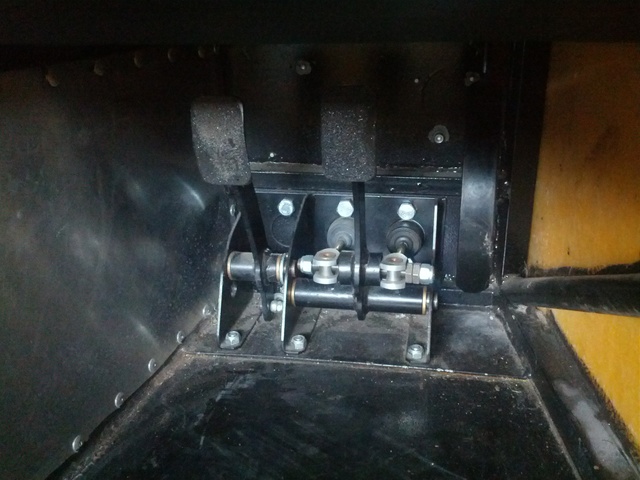
Brake bias bar locking mechanism. I plan on adding a split pin (See other forum for info)
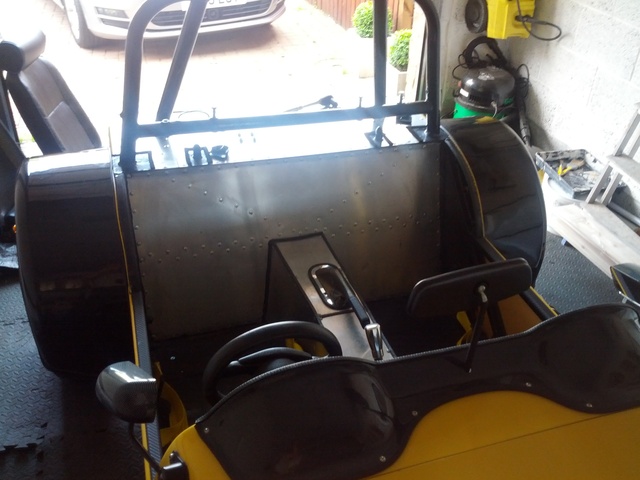
Seats - don't really understand that one, but I was going to replace them with GRP ones anyway so that's just speeded up that process!
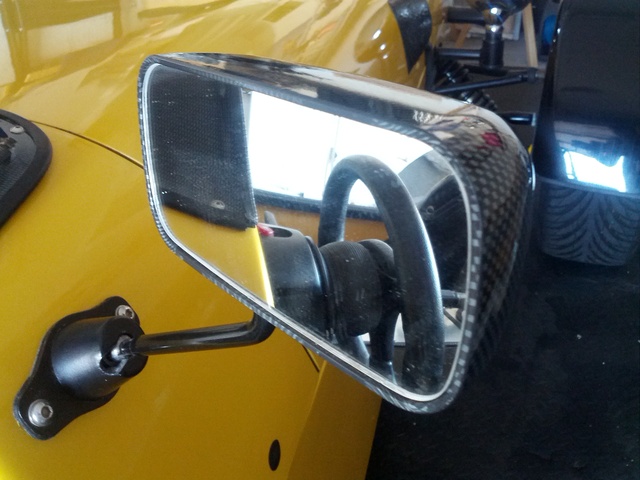
Mirrors - this was mentioned in the original post but I thought they'd be OK. Apparently they're not, so new ones will be ordered.
Headlights - Gary forgot he let me adjust these so that technically shouldn't be there.
Not AS bad as it could have been. Need to sort out the hot-start issue too!
|
|
|
daveb666
|
| posted on 4/7/13 at 04:47 PM |

|
|
Offending seats removed:
Description
Offending mirror:
Description
Brake Bias Bar:
Description
Now to buy some new stuff 
[Edited on 4/7/13 by daveb666]
|
|
|
big_wasa
|
| posted on 4/7/13 at 05:55 PM |

|
|
I am very annoyed with the seats failing as they where bought just for the iva after the introduction of the rear head rest.
They where bought from Midland wheels
And the baby cub has been fitted to hundreds of cars and gone through iva ?

Mirrors, guessed they where marginal on the edges.
Bias bar, Its funny how different vosa centres enforce the rules. Its a good job your nice and slim to get in there with the drill. 
All in all a very good fail and I am very pleased for you 
I would see if the hot start thing does it again. But I have got a few ideas.
|
|
|
daveb666
|
| posted on 16/7/13 at 07:58 AM |

|
|
So, new Mirrors ordered from Furore Products (top service Russ - highly recommended!)
Didn't want to make anyMORE obvious holes in the bodywork so fitted them through the edge of the aeroscreen; that way if I change at a later
date the edge trim will cover the hole I've made.
(edge trim still needed adjusting in this picture!)
 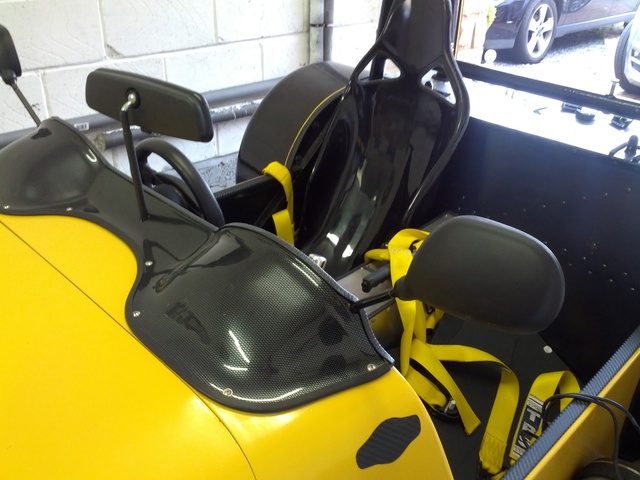
Description
 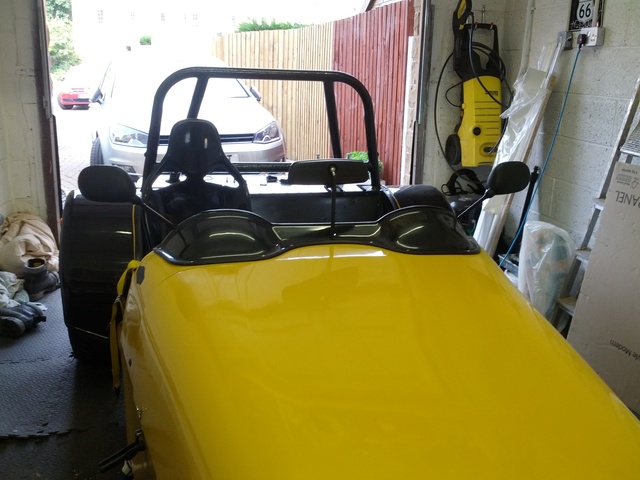
Description
Not sure I really like the look of the mirrors to be honest, but if it passes the IVA then that doesn't matter for the moment.
Needed some new seats so went for GRPs. After a previous post about the quality of some KAD seats I'd decided to buy them, but they didn't
have them in stock so I had to go for some more expensive ones from http://www.kitspares.co.uk/
The finish is probably the same as the KAD ones (same supplier probably) but they feel very solid. The guys at Kit Spares were great as well and the
seats arrived as told, 20 hours after ordering.
So, on to fitting my new seats. Eventually the drivers will be mounted on runners so the wife can have a drive, but for the moment I just banged it on
some bobbin mounts to get it level, and absorb some vibration 
 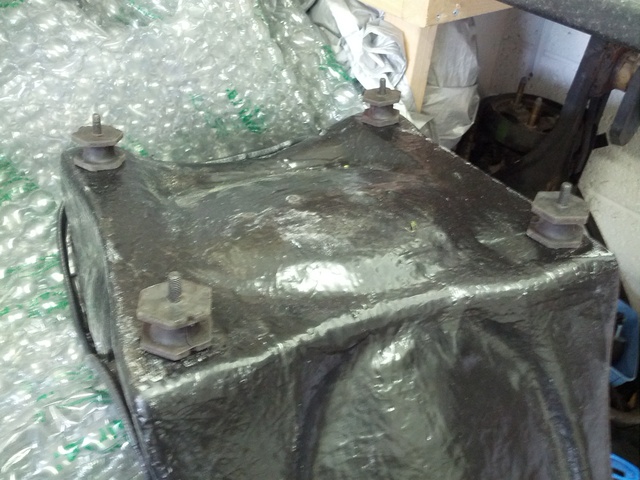
Description
 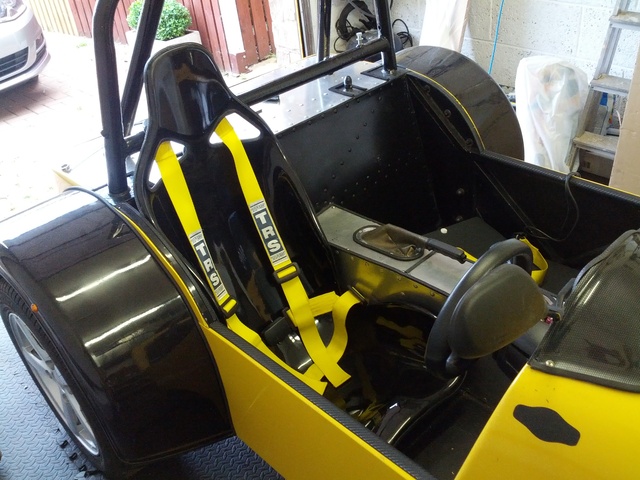
Description
Drivers one now all finished; drilled the holes wrong in my passenger one so need to do that tonight. DOH.
|
|
|
nick205
|
| posted on 16/7/13 at 08:09 AM |

|
|
Looking well 
It will be good to see that car on the road!
|
|
|
daveb666
|
| posted on 22/7/13 at 05:45 PM |

|
|
sooo today I passed my IVA!!!...and now move on to the saga of the DVLA 
Whilst waiting for my DVLA inspection next week I got on with fitting my carbon rear arch covers:
Mocked up with PAD (paper-aided-design)
 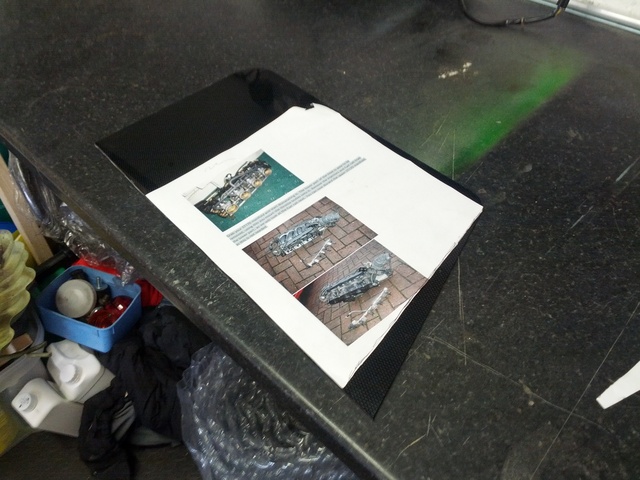
Description
Drill some holes and then fit 
 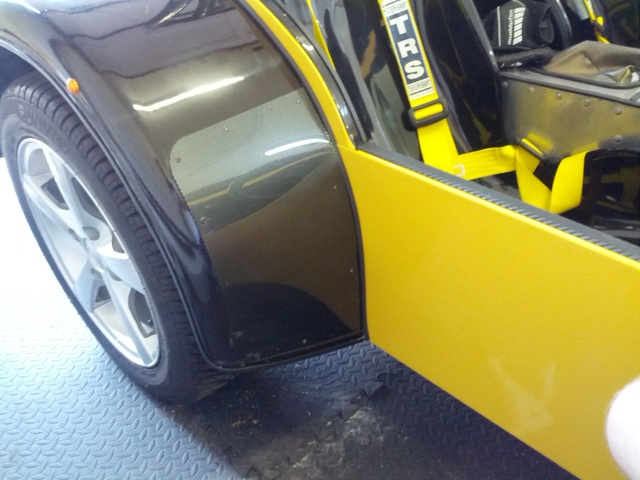
Description
 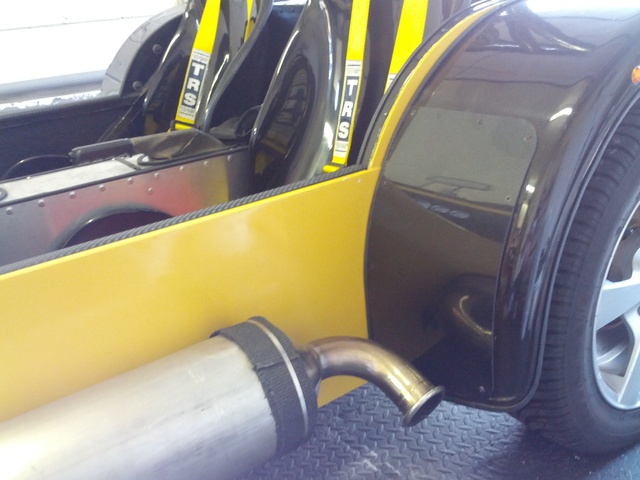
Description
..and then realise you've not got enough black rivets 
Dominator headlights going on next.
|
|
|
daveb666
|
| posted on 22/7/13 at 06:03 PM |

|
|
Had some more time this afternoon to look at the hot-start issue. I was speaking to a Ford Mechanic about what he thought the problem was, and he
seemed to think that it was fuel vaporisation due to the fuel pump being located in the engine bay.
So this afternoon I let the car idle and warmed up to around 95 (just before fan kicks) and kept my hands on the floor pumps. They were cool,
certainly not warm.
I let the car carry on running and then the fan kicked in; due to where the fan is, and where the engine sites all the hot air that the fan sucks
through from the rad heads straight down the inlet side of the engine - right on to the fuel pump. It felt like a hair dryer on the pump/filter.
By the time the fan had gone off the pump/filter were red hot; I guess that's the problem then!
Pump/Filter before:
 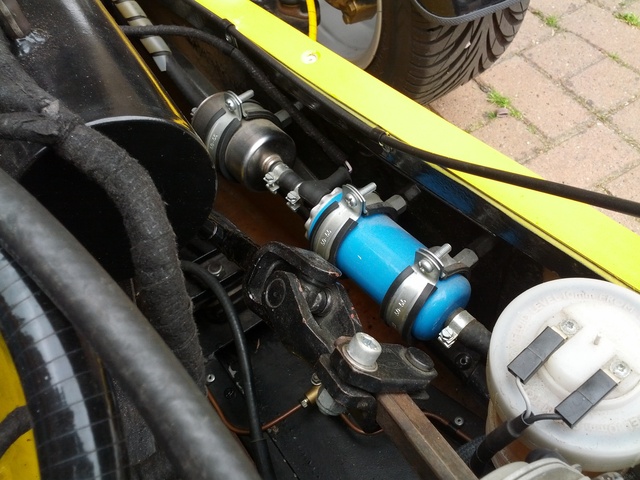
Description
Pump/Filter after some heat resistant wrap was added on to it:
 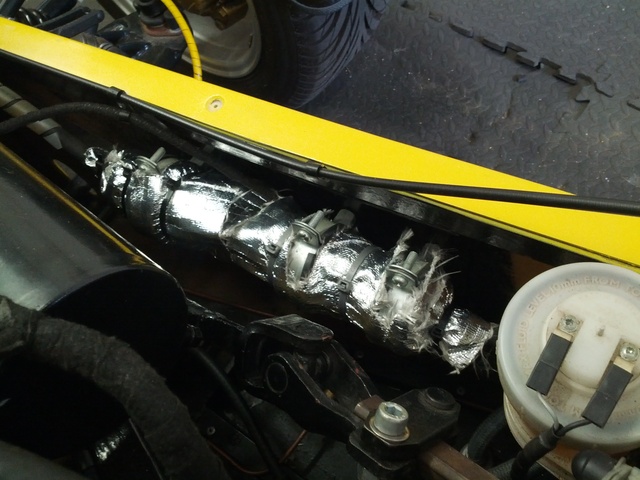
Description
Ran the car up again and let the fan come on and off and the pump was nice and cool still, hopefully that'll have sorted it.
|
|
|
big_wasa
|
| posted on 22/7/13 at 06:09 PM |

|
|

gets some vents cut in the bonnet to let the air out.
|
|
|
daveb666
|
| posted on 26/7/13 at 07:12 AM |

|
|
I wanted to replace my 'friendly' front indicators every since I saw some motorbike ones on a stunning white MK at Newark. I'd
already bought them and was just waiting to get through the IVA procedure before fitting.
Old ones
 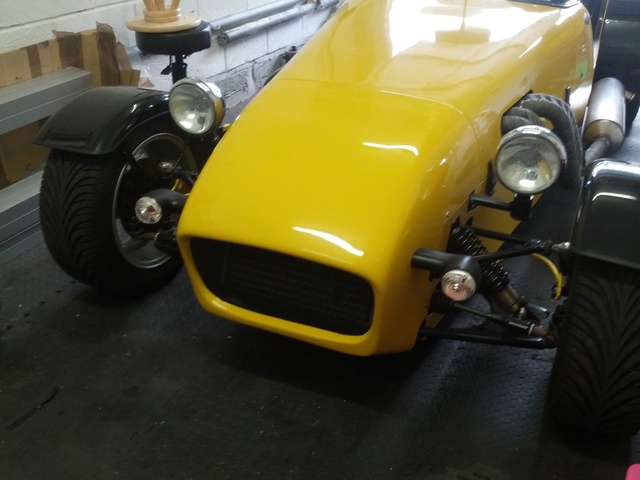
Description
New Ones
 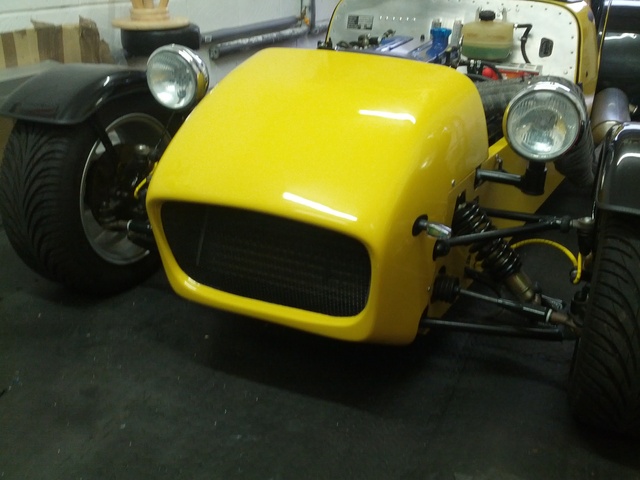
Description
 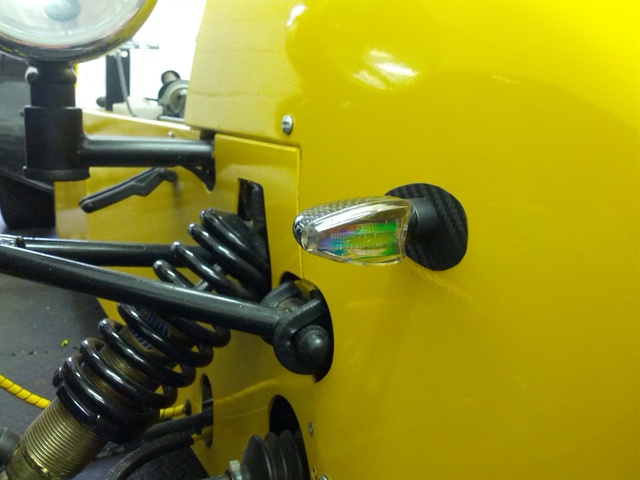
Description
Yes I know they're little but loads of cars have these and they are, surprisingly bright.
Whilst fitting these, I'd noticed that the induction kit was right behind the radiator, which can't help with cool air so, after spying a
discount Carbon NACA duct I set to work fitting it.
(All likelihood is this will be redundant once the TBs go on but I like the look of it, and any cool air in to the engine bay can't be a bad
thing)
 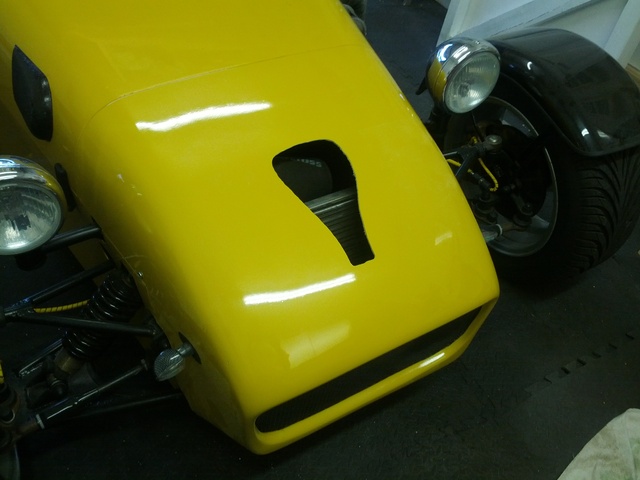
Description
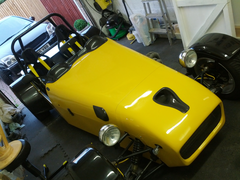 
Description
|
|
|
big_wasa
|
| posted on 26/7/13 at 11:23 AM |

|
|
You want some vents at the back of the bonnet to let the hot air out.
Have you took them head light spacers out yet ?
|
|
|
daveb666
|
| posted on 26/7/13 at 11:32 AM |

|
|
Yeh i know; can't decide on the design yet though and was itching to get this vent in 
Headlight spacers? The headlights are coming off next week to be replaced with black Dominator ones to hopefully 'harden' up the front of
the car a bit.
|
|
|
loggyboy
|
| posted on 26/7/13 at 11:38 AM |

|
|
quote:
Originally posted by daveb666
Pump/Filter after some heat resistant wrap was added on to it:
 
Description
Assuming the pump generates its own heat wont this be insulating it? Surely the wrap should be on a small sheet of metal thats between the pump and
the other heat sources?
Mistral Motorsport
|
|
|
big_wasa
|
| posted on 26/7/13 at 11:40 AM |

|
|
Yeh the headlights are jacked up on spacers to meet the min height for iva.
|
|
|
daveb666
|
| posted on 26/7/13 at 11:44 AM |

|
|
oic. The dominators are going to be mounted straight to the 25mm tube (hence my question earlier in the week) so the spacer mount at the end will be
chopped off 
|
|
|
daveb666
|
| posted on 31/7/13 at 07:42 AM |

|
|
So on Monday I passed my DVLA inspection - now just a waiting game for the paperwork.
I bought some Dominator headlights a few weeks ago as I wanted to replace the chrome ones to give the car a slightly harder look.
The original headlights come with an open gromett, which I don't really like 
 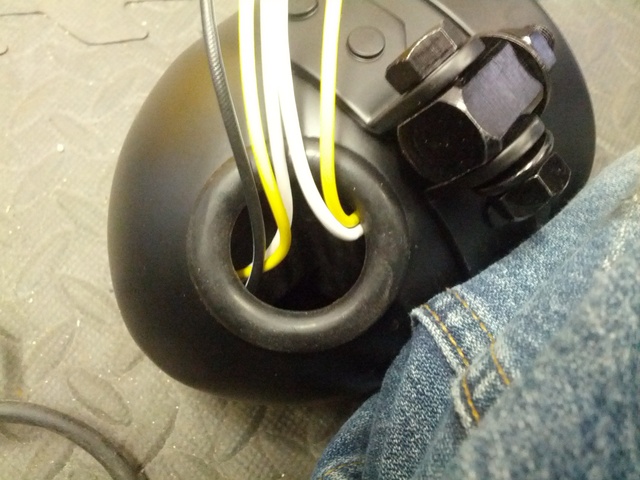
Description
So I replaced that with a full 38mm gromett from Ebay and punctured a hole in it.
 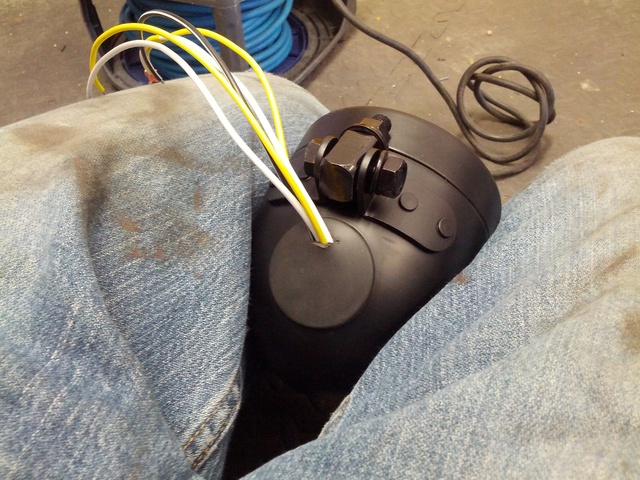
Description
No 'fitting' pictures, so on to the first completed install;
 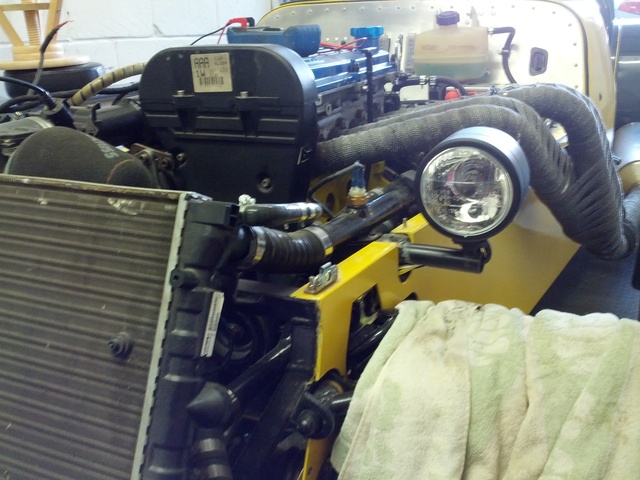
Description
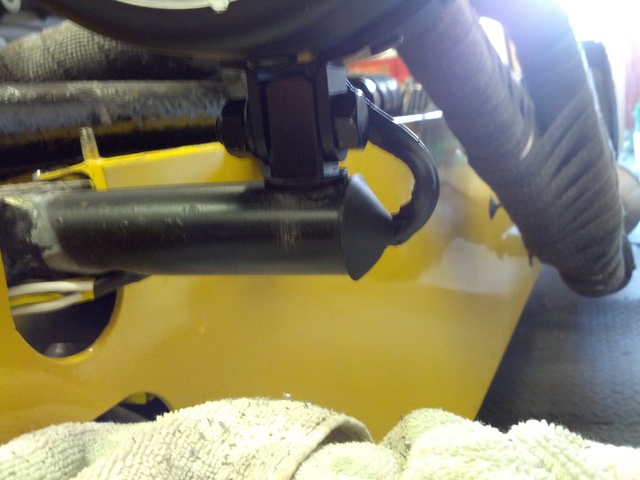
I queried how to route the cable yesterday, and decided to go through the end of the 25mm pipe with a wrapped cable (this will be replaced once my
black silicone hose arrives)
Description
Both headlights on
Description
Bodywork all done
 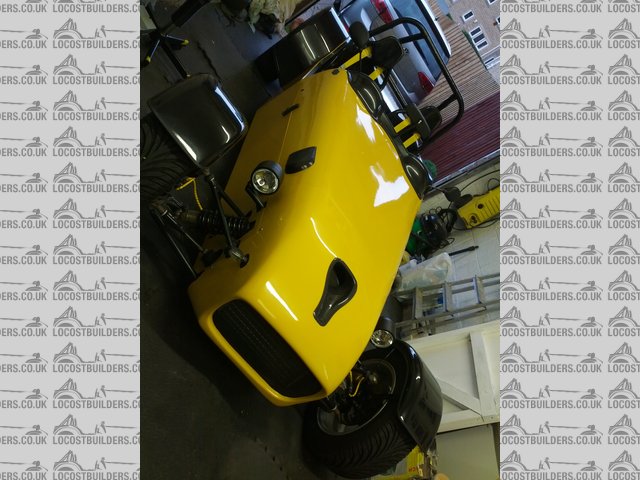
Description
Finished article
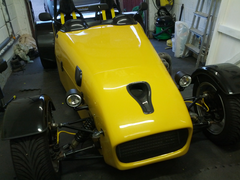 
Description
Really happy with how the car looks now - just want to drive the bloody thing!!
|
|
|
daveb666
|
| posted on 31/7/13 at 01:42 PM |

|
|
quote:
Originally posted by loggyboy
quote:
Originally posted by daveb666
Pump/Filter after some heat resistant wrap was added on to it:
 
Description
Assuming the pump generates its own heat wont this be insulating it? Surely the wrap should be on a small sheet of metal thats between the pump and
the other heat sources?
Sorry loggy, only just seen this. Fuel pumps are self-cooling due to the fuel going through them. These were only getting warm because of the heat
from the fan.
|
|
|
daveb666
|
| posted on 20/8/13 at 07:00 AM |

|
|
Spoke to Carbon Copies and got a couple of rear vents for the bonnet:
 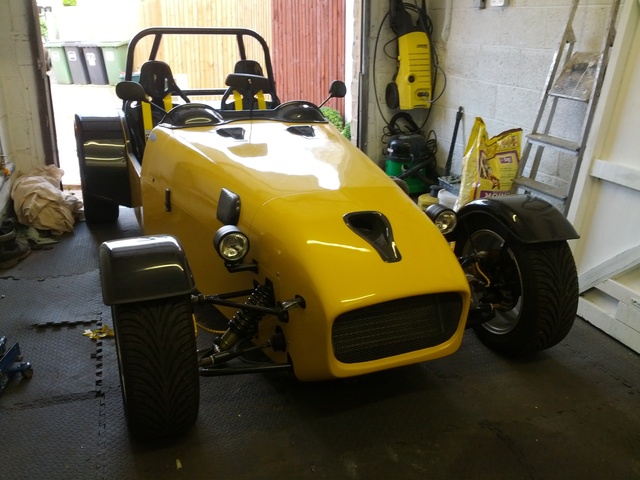
Description
 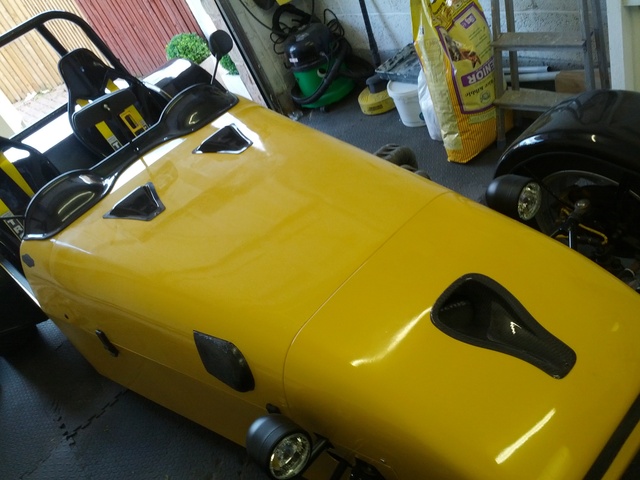
Description
Description
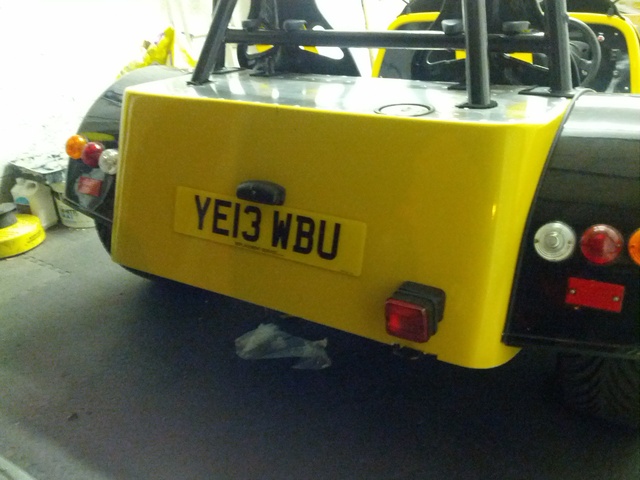
...and then THIS happened!!
Description
Description
   
|
|
|
daveb666
|
| posted on 2/9/13 at 07:43 AM |

|
|
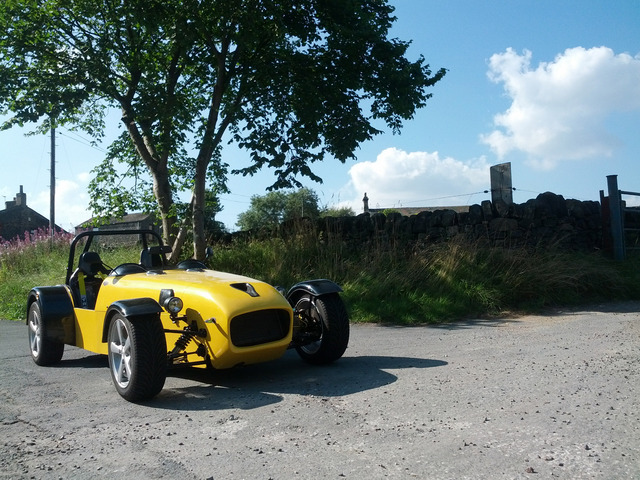
So I've put some miles on the car and had a few shakedowns:
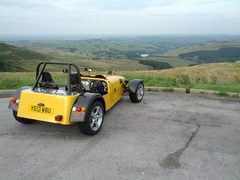 
Description
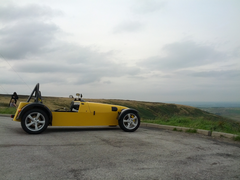 
Description
Description
Then I broke it - the starter motor seized, it wouldn't start and I couldn't jump it. I had to call my Dad to tow me to his house. I then
removed the starter motor, and drove home.
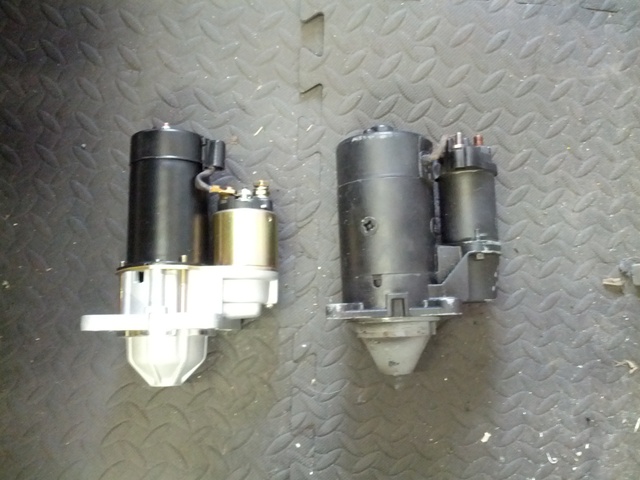
The starter motor was a Lucas (LRS707). For those of you that may need one of these in future, a company called Wood Autos in Huddersfield stocks a
smaller, lighter replacement:
Description
The part number for your reference is STR50041 and it costs about £60.
Unfortunately, me driving home without the wires to the starter connected overloaded the alternator, so today I need to get a new regulator for that.
|
|
|
daveb666
|
| posted on 2/9/13 at 07:49 AM |

|
|
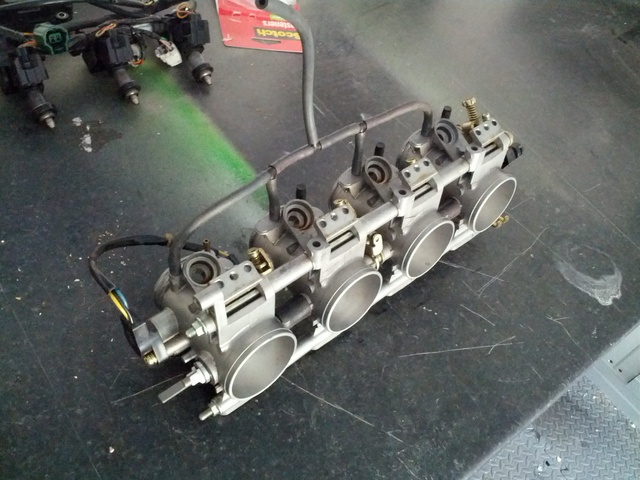
Because I needed to remove the alternator anyway, and to do this easily meant taking off the inlet, I decided to start fitting my GSXR throttle
bodies.
GSXR 1000 Bodies (£75 ebay)
Description
Description
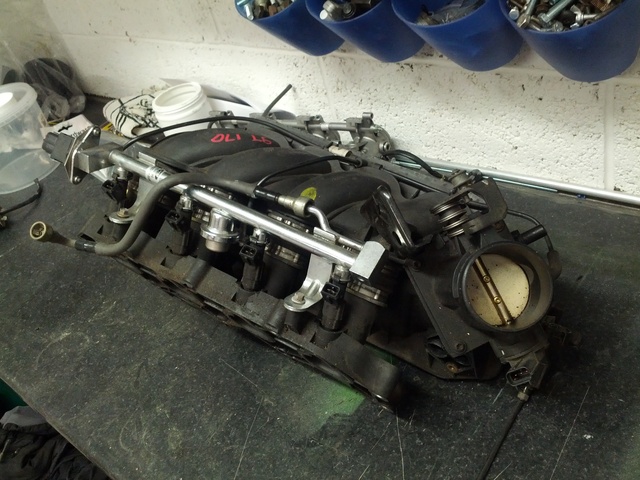
ST170 Complete Inlet and Fuel Rail (£40 ebay)
Description
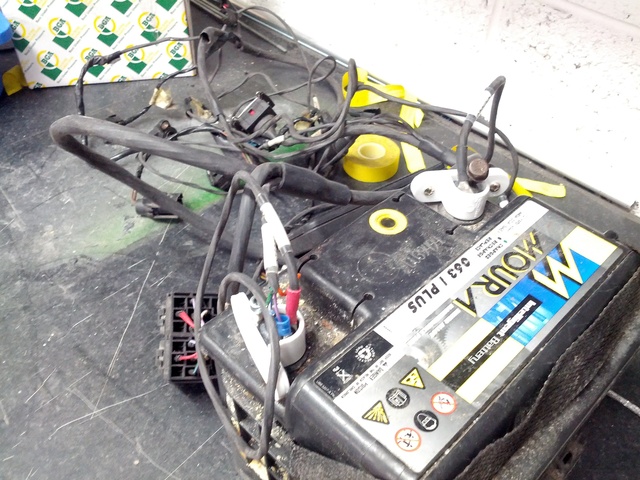
MBE Loom and ECU (£250 ebay)
Description
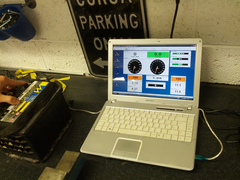
(testing on the laptop)
Description
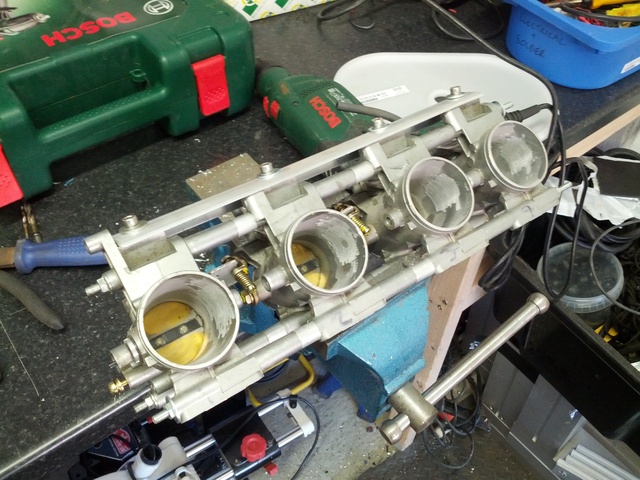
In this picture the throttle bodies have been spaced to match the ST170 inlet, at this point I'm filling the 2nd butterfly holes in the bodies
and filing back.
Description
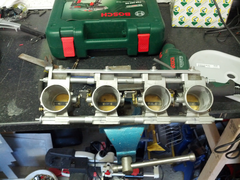 
Description
<missed loads of pictures here>
The complete bodies
 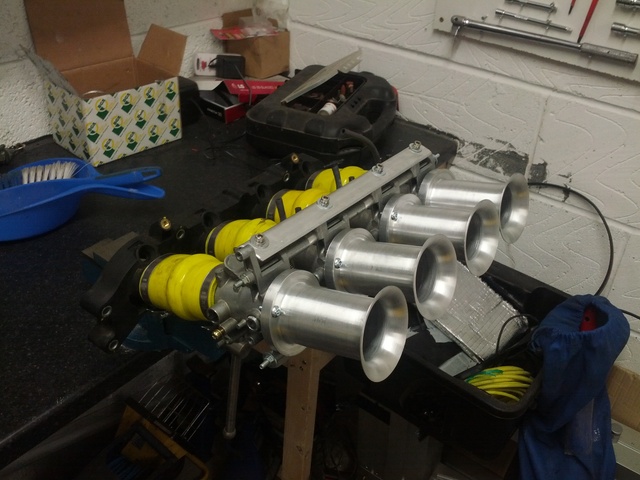
Description
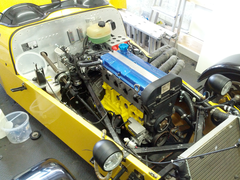
The engine setup as it stands, pre-TB fitting:
 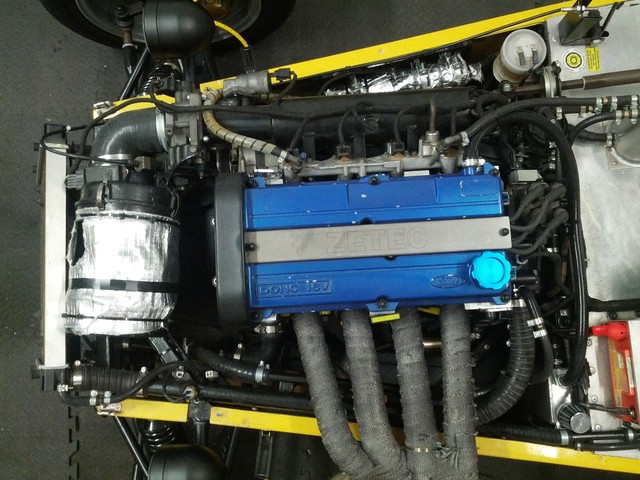
Description
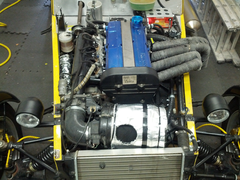 
Description
The induction kit was suffering from massive heatsoak, so I heatwrapped an old airbox and did a direct feed straight into the box from the carbon
scoop on the bonnet, hugely improved the performance of the car.
Description
Inlet and alternator removed
TBs offered up for encouragement
 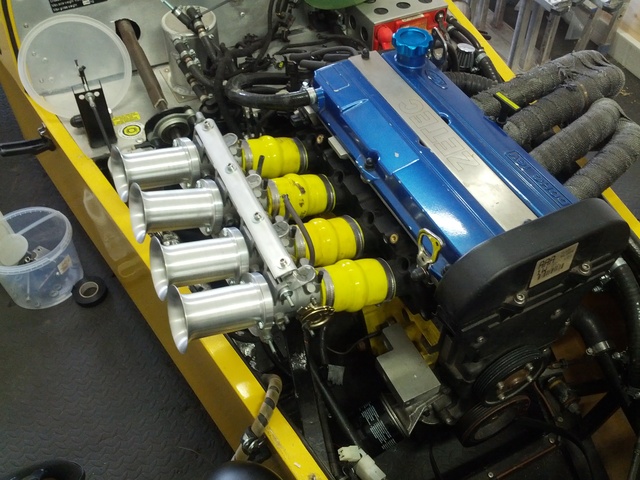
Description
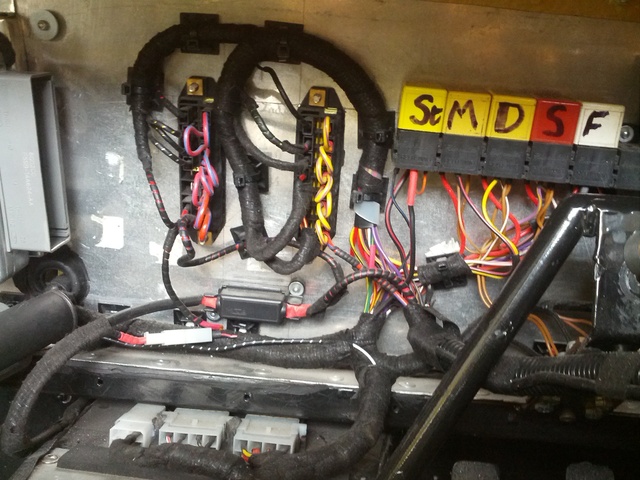
I then pulled all the engine loom through into the car, dropped the dash, smiled at the general tidyness and skill of big_wasa's wiring
abilities, and then gave up for the day.
Description
|
|
|


