flak monkey
|
| posted on 5/6/11 at 07:09 PM |

|
|
Spent most of the day laying under a Volvo welding patches on the floor...spatter in the ear hurts!
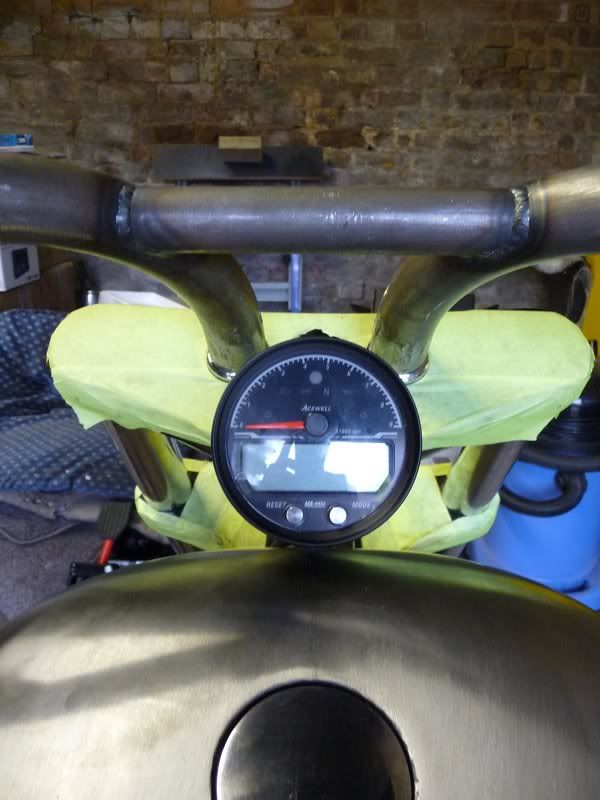
In the remaining time I manged to get the instruments mounted to the tank. Its going to have a bit of fettling yet. I am hoping that with the tank
being rubber mounted its going to keep the vibration down on the instrument pod a bit.

Sera
http://www.motosera.com
|
|
|
|
|
flak monkey
|
| posted on 8/6/11 at 09:00 PM |
|
|
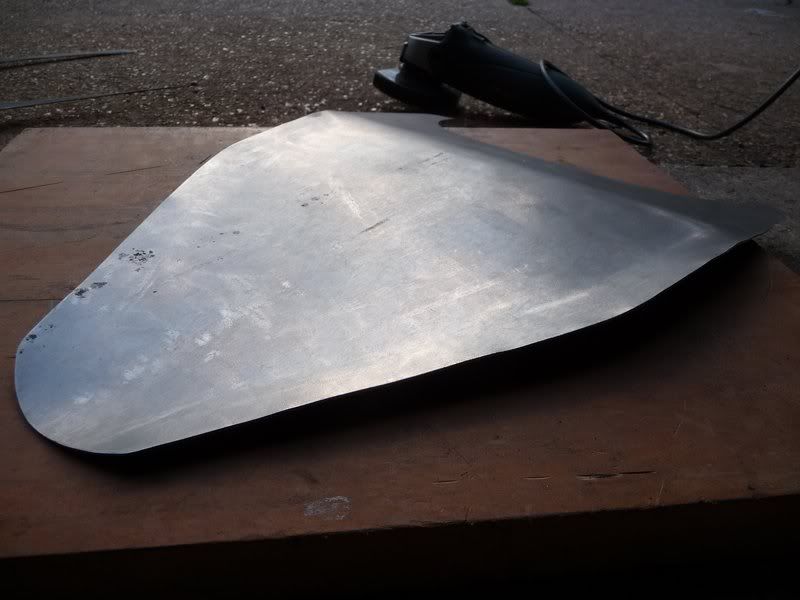
Been meaning to make a seat pan for a while. Never done one before, so was a bit of trial and error.
Cut out a card template and made sure it was symmetrical
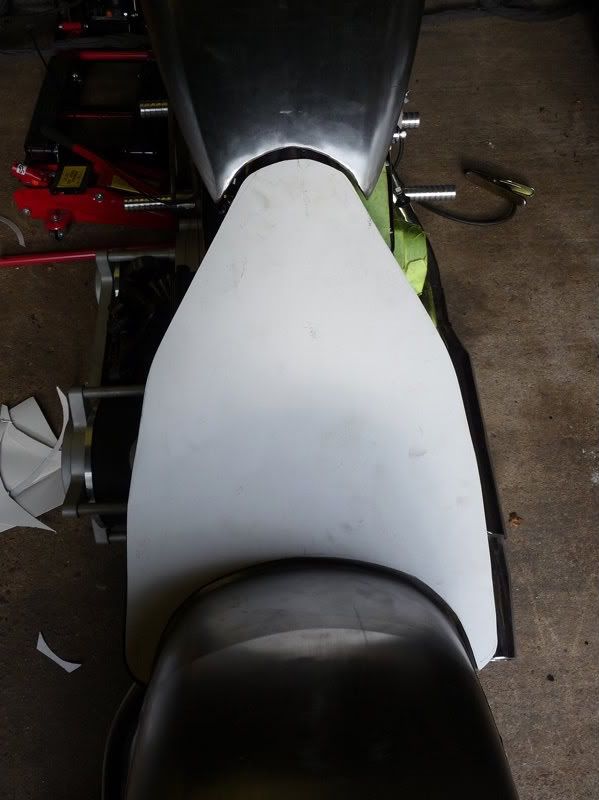
Then cut it out from 1.6mm steel sheet and started to whack some shape into it. Making it up as I go along as I don't normally do any sheet
metal...
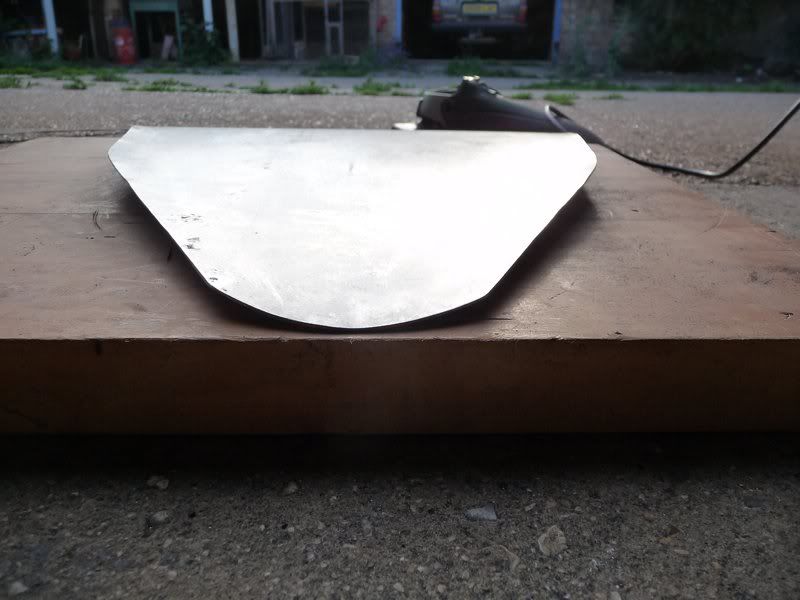
So its fits the frame properly
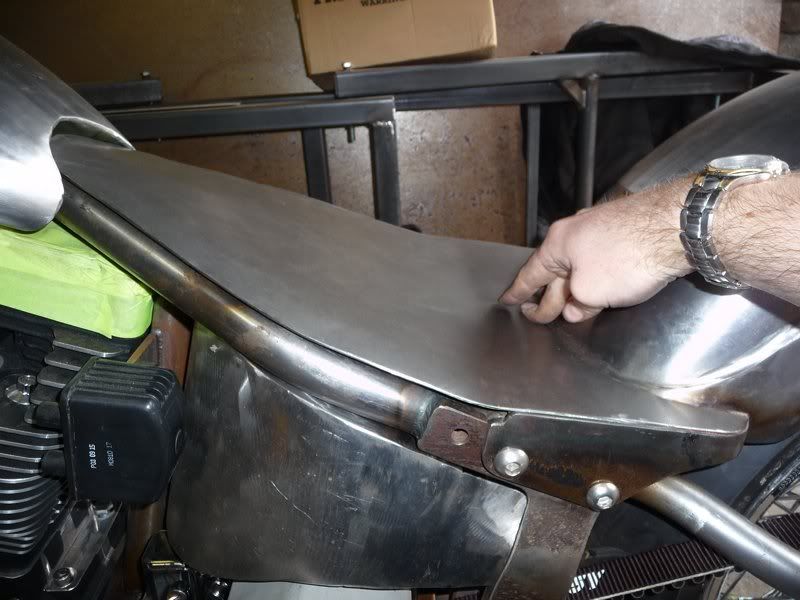
The cut a back out and beat it with a big stick until it fitted the pan and mudguard.
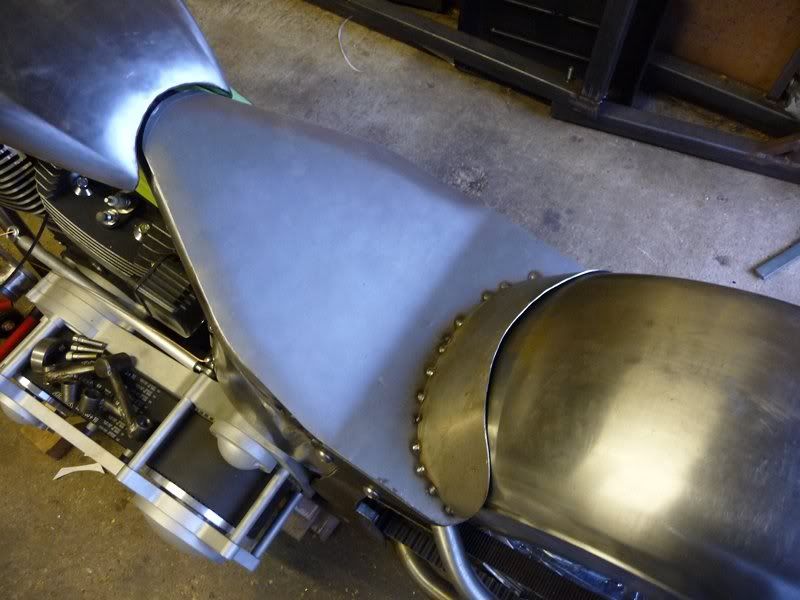
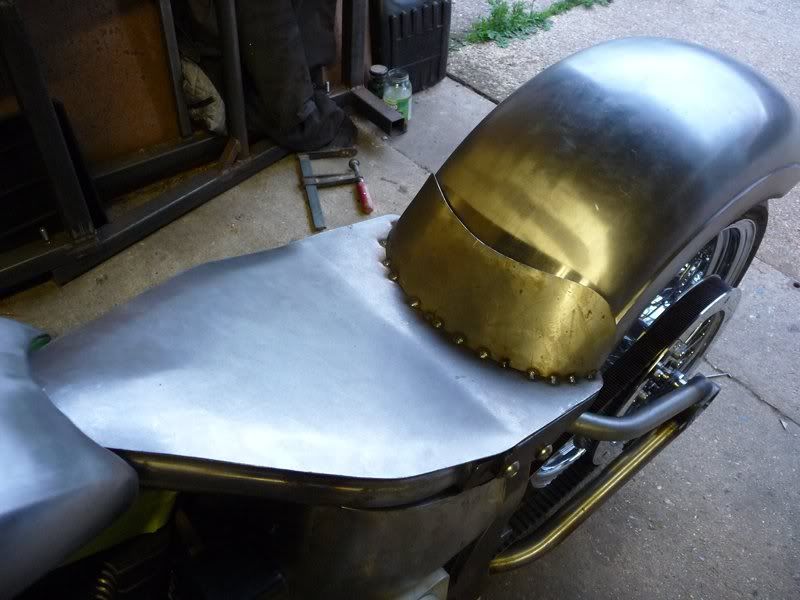
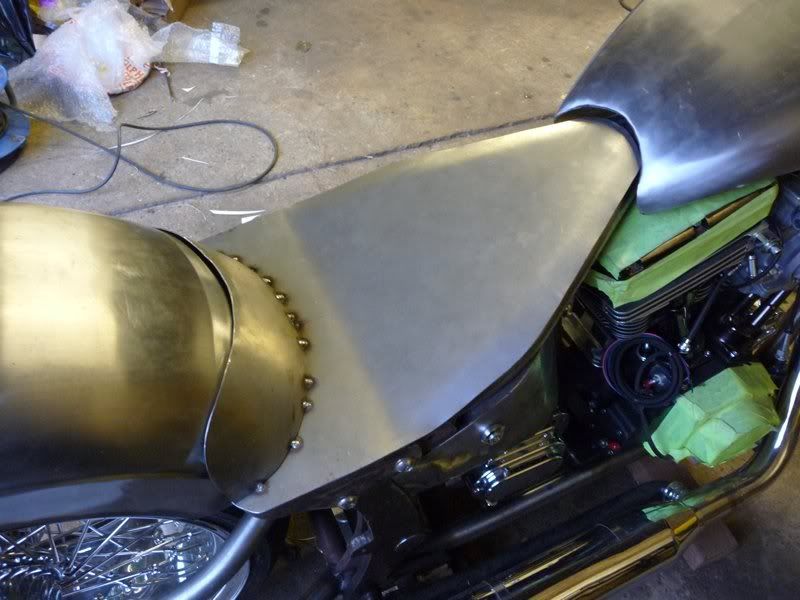
Just need to make the brackets, weld in a stiffening plate and fully weld it all. A job for tomorrow 
Already have upholstery planned, just need to finish a few more bits.
Sera
http://www.motosera.com
|
|
|
Miks15
|
| posted on 19/7/11 at 02:07 PM |
|
|
Any new updates David? interested to see how shes looking now!
|
|
|
flak monkey
|
| posted on 25/2/12 at 05:50 PM |
|
|
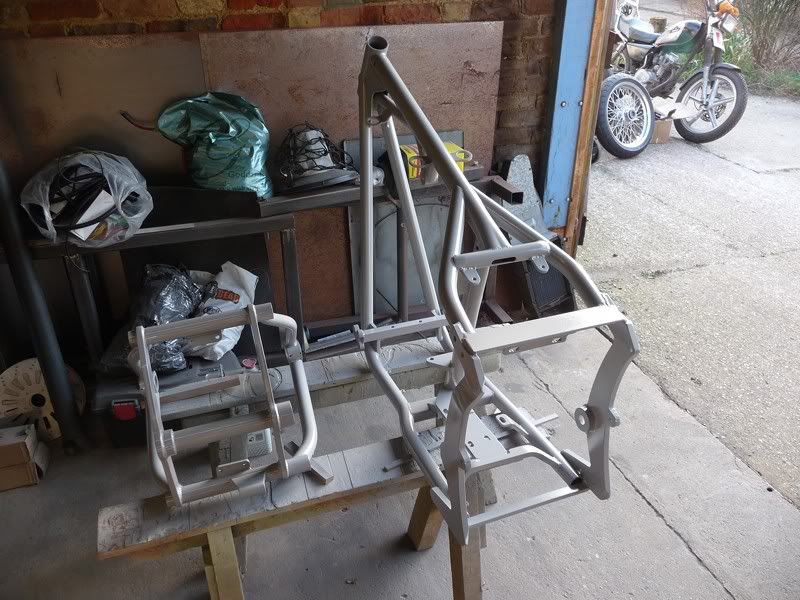
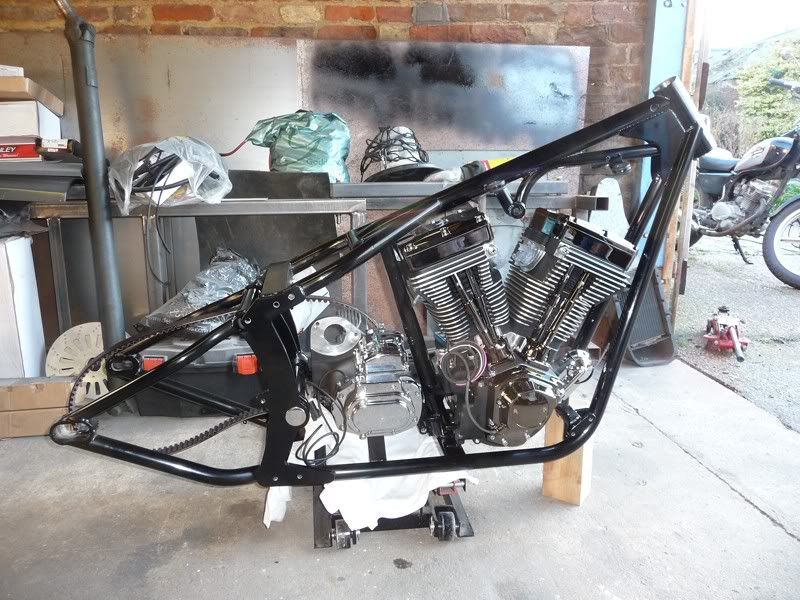
Been a while since I updated this, so suppose I should.
Everything is back apart again and is being prepped for paint. Having a go at most of it myself, because you don't know if you dont try. Spent
£320 on 2k paint and primer, so its an expensive experiment
Finished the filler off on the tins today, so primer and more prep tomorrow if the weather is good enough. Otherwise I'll be doing some final
welding of brackets on the frame so I can get it blasted ready for paint.
Sera
http://www.motosera.com
|
|
|
flak monkey
|
| posted on 26/2/12 at 07:04 PM |
|
|
First paint thrown, epoxy primer followed by 2k filler.

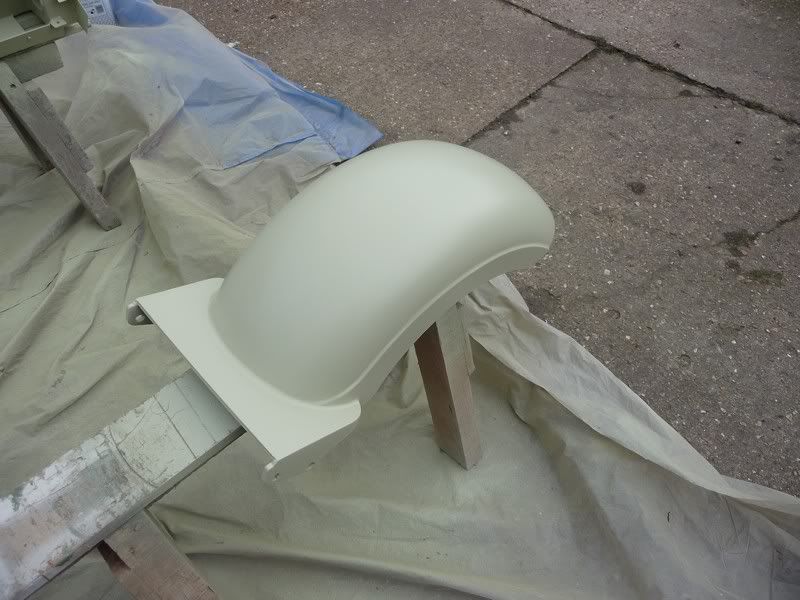
Just need to flat it all off and sort any remaining issues then its ready for some top coat. Its been baking in my shed all afternoon infront of the
woodburner 
[Edited on 26/2/12 by flak monkey]
Sera
http://www.motosera.com
|
|
|
Peteff
|
| posted on 26/2/12 at 07:29 PM |
|
|
Don't hide the back tyre with the numberplate for crying out loud and does the front pipe run down the side of the foot rest, it's going
to get hot in your right boot if it does.
yours, Pete
I went into the RSPCA office the other day. It was so small you could hardly swing a cat in there.
|
|
|
flak monkey
|
| posted on 26/2/12 at 09:32 PM |
|
|
Plates not staying there, needs to be there for the MSVA test though  Either that or I'll change it for a smaller one. Either that or I'll change it for a smaller one.
I need to get around to making my proper exhaust up as well. No rush for that though will just run it on open headers after the test until I get my
own pipes made up.
|
|
|
flak monkey
|
| posted on 9/3/12 at 08:27 PM |
|
|
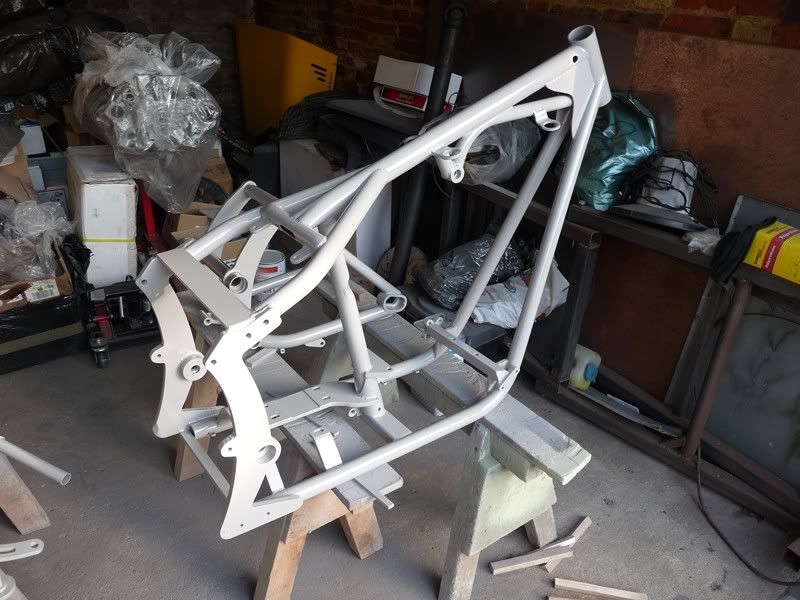
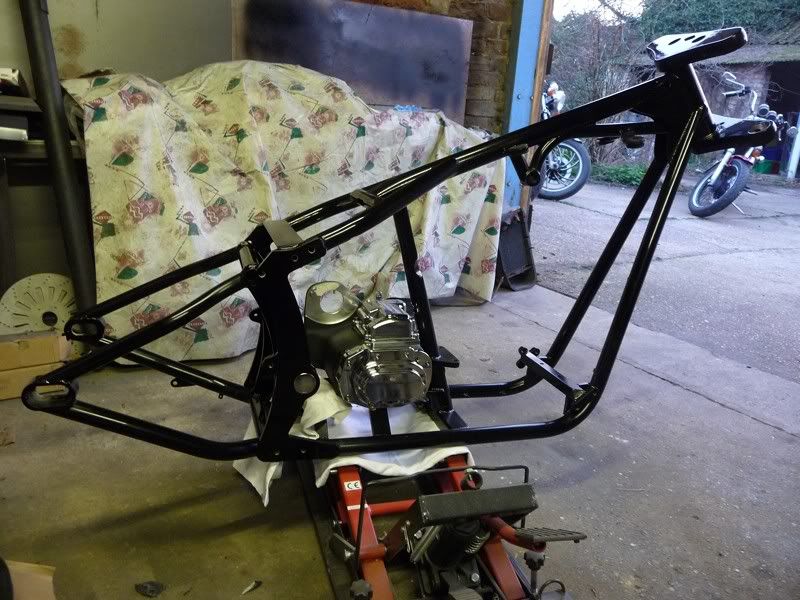
Picked the frame, bars and forwards up from being grit blasted this afternoon. Then chucked a quick coat of epoxy paint on them. Bit windy outside so
did it in the garage instead.
I'll hang it up to get a full colour coat on it in the morning.
|
|
|
matt.c
|
| posted on 9/3/12 at 09:04 PM |
|
|
Cant wait to see this baby finished! 
|
|
|
flak monkey
|
| posted on 13/3/12 at 07:57 PM |
|
|
Started the long and tedious job of wet sanding and polishing the frame.... joyous  Hopefully have it done by the end of the weekend so I can start
putting things back together Hopefully have it done by the end of the weekend so I can start
putting things back together
[Edited on 13/3/12 by flak monkey]
|
|
|
alistairolsen
|
| posted on 15/3/12 at 07:03 PM |
|
|
Glad to see an update, nice to see you trying yet another skill yourself! How are you dealing with the health issues surrounding 2k?
My Build Thread
|
|
|
flak monkey
|
| posted on 16/3/12 at 08:24 PM |
|
|
Thanks, I hate spraying, but only because I havent mastered it yet. Determined to crack it though . Just bought myself a nice Sata Jet gun and some
more/better kit.
WRT 2k, I use a 3m organic/vapour mask
Masks
But they don't suit some peoples face shapes so don't seal properly. They seal perfectly on me, so I am happy to continue with that, but I
would still suggest using air fed for ultimate safety, but it adds another £300+ to the kit bill.
Finished polishing the main frame up today, will be doing the swing arm tomorrow morning then assembly can start...
|
|
|
flak monkey
|
| posted on 17/3/12 at 06:54 PM |
|
|
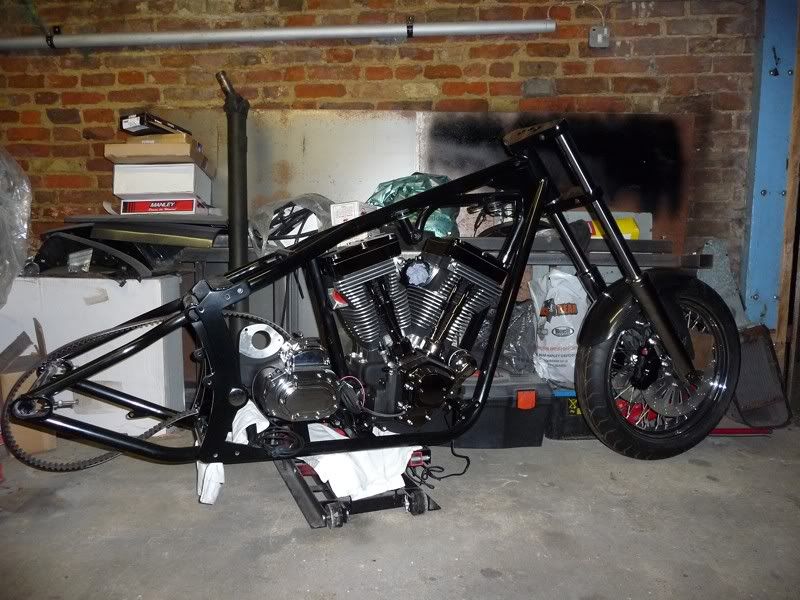
After too many hours I got the frame sorted. Pretty pleased with the result, still needs a final polish, but I'll do that later... So started
putting it together today. Still making bits as I go so it's going to take some time.
Engine's going in tomorrow.... and I need to try and figure out the correct assembly for the mismatch of steering neck bearings and bits....
[Edited on 17/3/12 by flak monkey]
|
|
|
flak monkey
|
| posted on 18/3/12 at 10:31 PM |
|
|
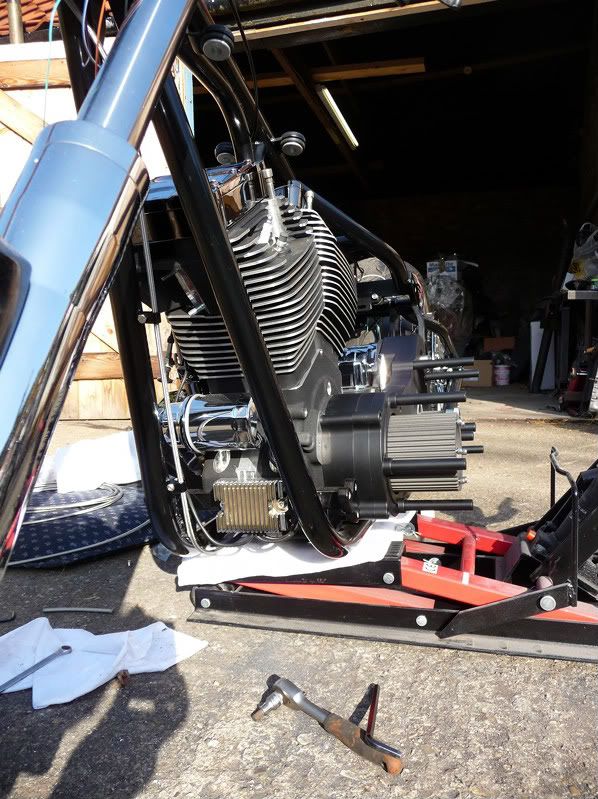
That engines bloody tight in there. Right bastard to get in and out Hopefully it's staying in there this time!
|
|
|
flak monkey
|
| posted on 22/3/12 at 07:27 PM |
|
|
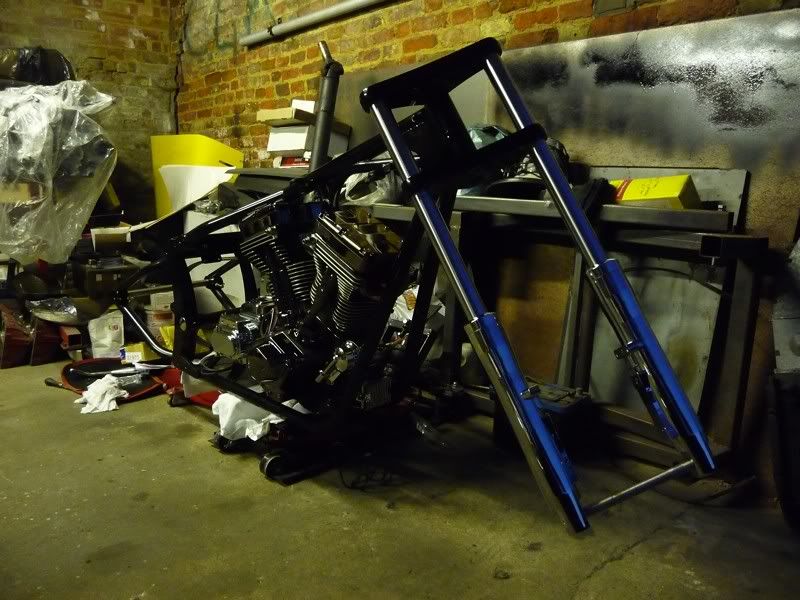
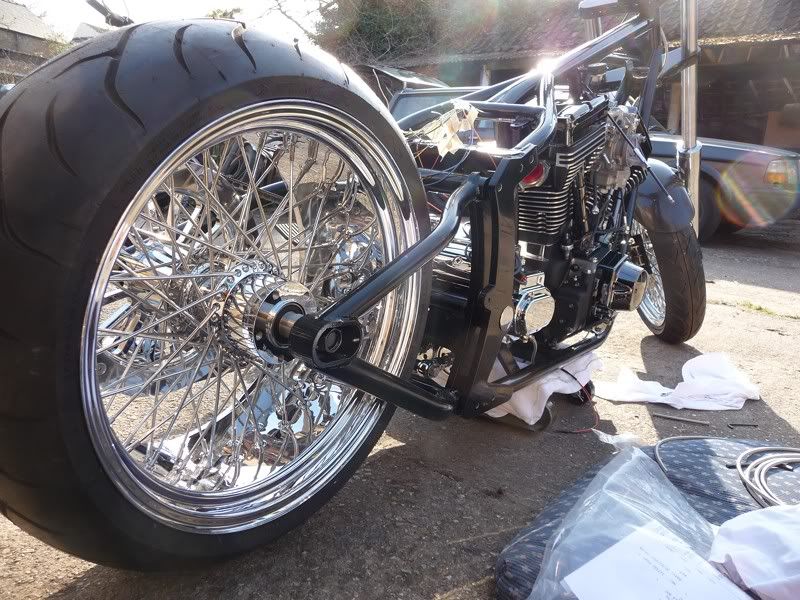
Been putting as many bits on as possible this week. Still working on some bits so its slow progress, but at least its going in the right direction.
After remaking a few bits for the yokes, and a spacer I managed to get them working. Not a great design, but will see how they go. Not a major job to
change to different ones later. So I dumped the front end on there tonight, need to sort the bearing preload out when its had some weight on it to
settle it all.
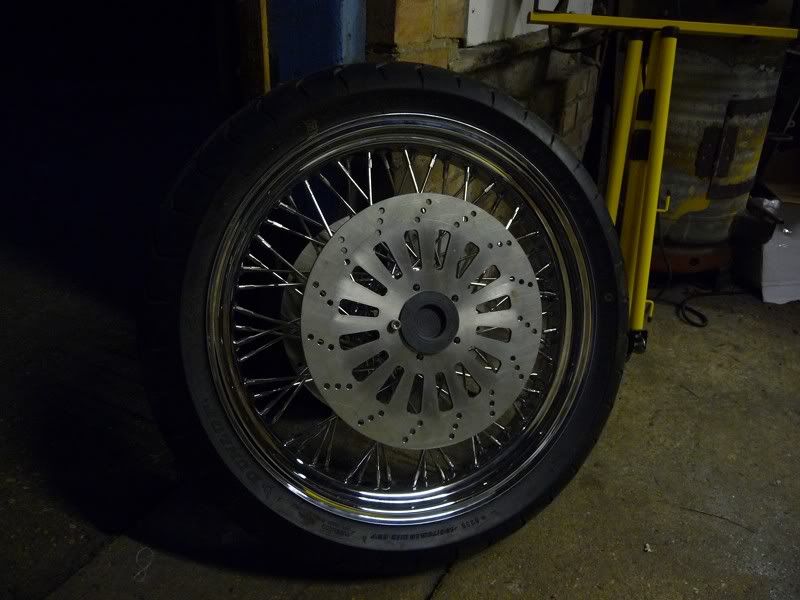
Spent a couple of hours last night trimming up the discs I had water jet cut. I have yet to find out if they are flat enough, quickly checked on a
surface plate they seem pretty good. Will clock 'em up once the front wheel is in. Must be the heaviest front wheel around , what with fat
spokes, big heavy discs, and lots of chrome Once I am happy the discs are OK, then I might polish the centres up properly.
Painting the primary, bars and forwards up at the weekend. That will allow some rapid progress then
|
|
|
flak monkey
|
| posted on 26/3/12 at 06:42 AM |
|
|
Well yesterday I painted up the primary drive bits, only to find the satin came out gloss (yes I mixed it  ), and I wasn't happy with it
anyway. Will order some more paint this week and have another go next weekend weather permitting :lol: Good thing is they are al prepped up ready for
another coat. So an hour or 2 should see them done. ), and I wasn't happy with it
anyway. Will order some more paint this week and have another go next weekend weather permitting :lol: Good thing is they are al prepped up ready for
another coat. So an hour or 2 should see them done.
The rest of this weekend has been making odd little spacers and brackets, all of which seem to take bleedin' ages, especially in stainless. Oh
and making a metal gate for some friends (12' x 4', and tidying the garage, changing the bars on the sporty, doing some pre assembly on
the chevy engine to see how much to have the block skimmed. And the list goes on... 
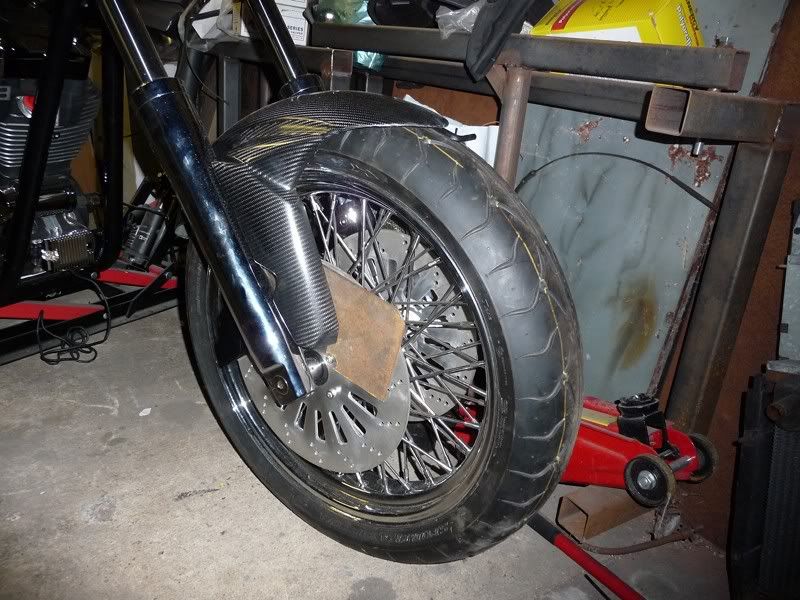
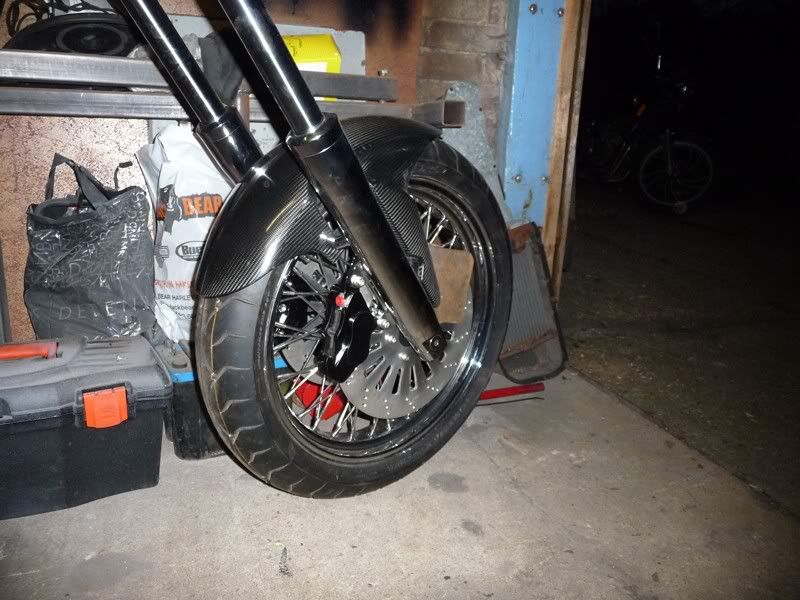
Amongst all of that I got the front wheel fitted, with the proper stainless spacers. Brake calipers mounted up and the mudguard modified and mounted.
The PU glue on the brackets is currently drying off. Hopefully then I can lay some glass mat on up over them inside and they should stay put for
good.
Yes the mudguard isn't what you'd normally expect to see on a custom... but I quite like it. Carbon kevlar thing, no real benefit to the
weight saving on this thing though. Once the brackets are finally stuck on I'll give it a trim and polish up. The bits of plate are wedged in
there while the glue dries
|
|
|
matt.c
|
| posted on 27/3/12 at 10:58 PM |
|
|
I wish i had your tallent.
|
|
|
alistairolsen
|
| posted on 28/3/12 at 07:18 PM |
|
|
Christ thats gonna be long!
My Build Thread
|
|
|
Slater
|
| posted on 29/3/12 at 07:15 AM |
|
|
Wow. This is an excellent thread, I can't wait to see the final product. I only found it yesterday! Keep posting the pics and updates.
It certainly beats my home made bike.
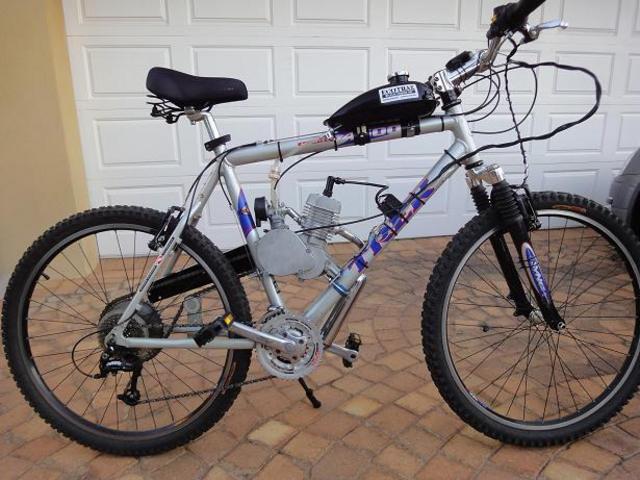
Why do they call Port Harcourt "The Garden City"?...... Becauase they can't spell Stramash.
|
|
|
MikeRJ
|
| posted on 29/3/12 at 08:54 AM |
|
|
quote:
Originally posted by Slater
Wow. This is an excellent thread, I can't wait to see the final product. I only found it yesterday! Keep posting the pics and updates.
It certainly beats my home made bike.
I like it! What engine are you using?
|
|
|
Hellfire
|
| posted on 29/3/12 at 11:46 AM |
|
|
Looking good but I can't help thinking that the mudguard would look so much better if it was fitted the other way round, even though the
brake caliper is in the way. Just my personal opinion though..........
Phil

|
|
|
flak monkey
|
| posted on 1/4/12 at 06:45 PM |
|
|
I did toy with the idea of fitting the front mudguard backwards, but it meant chopping so much of it off that it wasn't really worth it.
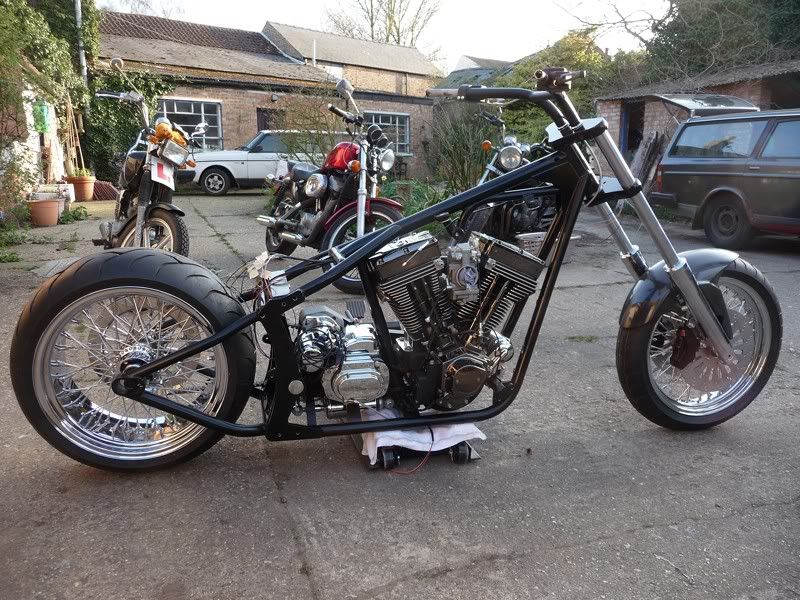
More progress. Slow, but steady. But it did get wheeled outside for the first time today.
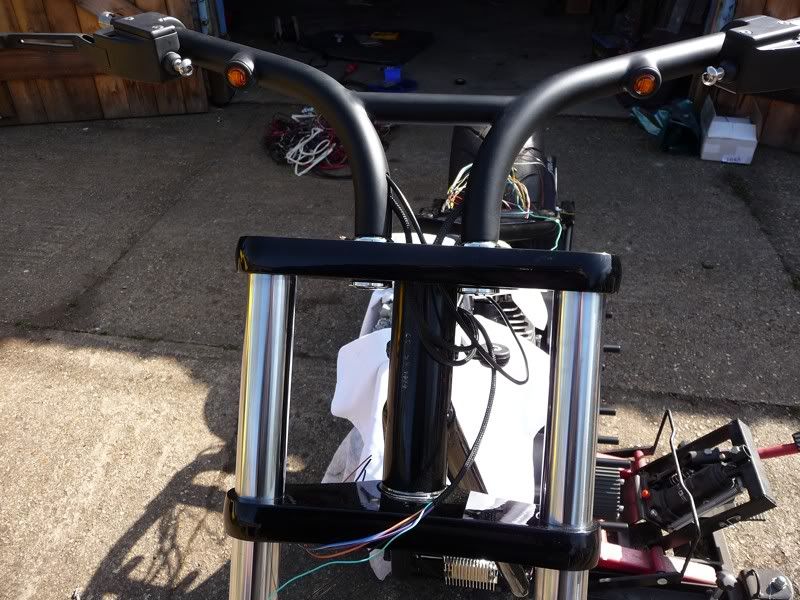
Got the bars fitted, wires and throttle cable threaded through, rear wheel in, starter fitted, cables in for head light and front brake switch. Mocked
up the clutch line to check routing, going to cover it with clear heatshrink to stop it chaffing everything though. Need to get some different banjos
for the rest of the lines.
Next job is more painting

|
|
|
Benzine
|
| posted on 1/4/12 at 06:50 PM |
|
|
Drooling over that last pic... TWO volvo 245s!
srsly though, flip hot bike
|
|
|
flak monkey
|
| posted on 1/4/12 at 06:53 PM |
|
|
the grey ones nearly done 400k now.
|
|
|
MsD
|
| posted on 1/4/12 at 07:23 PM |
|
|
Excellent... What other forums would you find this level of detail and a diversity of projects!
Top work, very bling!
Mark.
|
|
|