foes
|
| posted on 10/4/08 at 06:40 AM |

|
|
transmission tunnel top panel? and edging?
how have most people made the transmission tunnel top panel..? in one piece? as i don't think it would be too easy to be removed (eg to check
prop bolts, prop support etc) if so, but would look neater than 2 or 3 piece i guess...?
Also rather than having a folded edge what neat edging is there available to finish the edges off...?
thanks and any pics appreciated!

|
|
|
|
|
Macbeast
|
| posted on 10/4/08 at 07:07 AM |
|
|
You won't get much neater than Flak monkey's. Have a look at his pic archive Tunnel 1,2 and 3
|
|
|
fesycresy
|
| posted on 10/4/08 at 07:20 AM |
|
|
This is how I did my old mac1.
I rivnutted the top and side panels in place for easy access in the future and used tadpole trim to finish it.
The top is in two pieces, you can just see the join. I just wanted clean simple lines.
%20LCB%2003.jpg)
-----------------------------------------------------------------------------------------------------
The sooner you fall behind, the more time you'll have to catch up.
|
|
|
nick205
|
| posted on 10/4/08 at 08:57 AM |
|
|
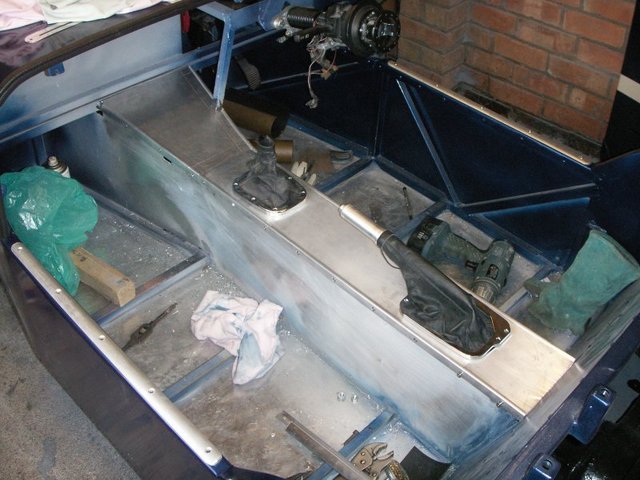
I made mine as one piece to start with then realised that with the gearstick/handbrake/scuttle/dash in place I couldn't remove it. I ended up
cutting it in two just in front of the gearstick where it was angled anyway. Covered both sections in 3mm foam and black vinyl and secured with M4
stainless cap heads into rivnuts fitted into the tunnel rails. You can see the join, but with the foam and vinyl there's no actual gap. The
edges were SVA'd with 3mm dia rubber tadpole trim.
|
|
|
worX
|
| posted on 10/4/08 at 11:43 AM |
|
|
This is how mine was. It's carbon fibre now, but with the same "Hockey stick" trim...
Steve
 
rubber floor and new tran tunn

|
|
|
RK
|
| posted on 10/4/08 at 12:35 PM |
|
|
That is what I want, only white in the middle. Where did you get the trim? I haven't a clue where to look here in my area.
|
|
|
foes
|
| posted on 10/4/08 at 09:31 PM |
|
|
worX, thats the sort of trim i was thinking about...
where'd you get it from, what material is it and how easily can it bend/be formed..?
cheers
|
|
|
DarrenW
|
| posted on 11/4/08 at 09:06 AM |
|
|
I had mine upholstered. Pad is removable and has pockets built in. One of the better mods ive had done. Ive posted pics before - search seat pads.
|
|
|
lococost
|
| posted on 11/4/08 at 02:56 PM |
|
|
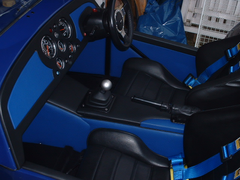
I'm using a one piece model, looks very clean, no gearstick as i'm using paddle shift.

|
|
|
Jos Fury
|
| posted on 11/4/08 at 03:06 PM |
|
|
I used some very thin polycarbonate sheet which is quite flexible. trimmed it with skai and then used some rivets and alu to mount it to the original
aluminium tunnel panels.

|
|
|
mad gaz
|
| posted on 11/4/08 at 04:17 PM |
|
|
i got some flat fiberglass. MK will supply it in any colour
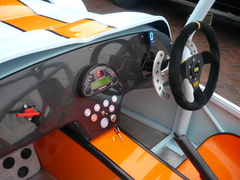 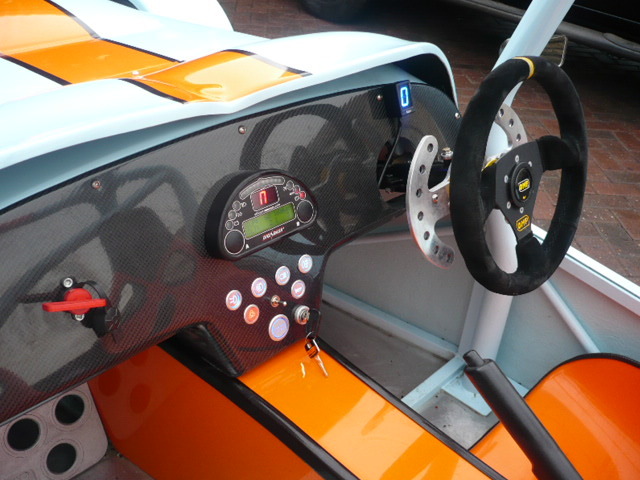
Rescued attachment gulf indy 010.jpg
|
|
|
vinnievector
|
| posted on 12/4/08 at 01:26 AM |
|
|
like this
This is made from stainless sheet and Ali checker plate covered in vinyl .the stainless is there to protect against fire as the fuel hose runs through
there i also have stainless rear bulkhead in case of a fuel tank fire ,
[Edited on 12/4/08 by vinnievector]
 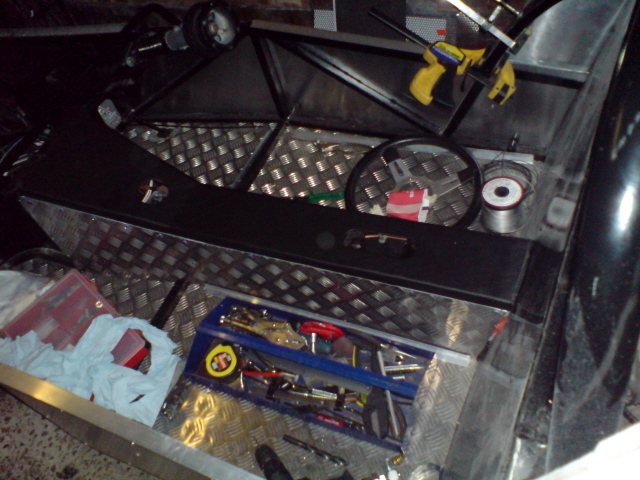
Rescued attachment Picture 535_640x480.jpg
|
|
|
foes
|
| posted on 23/4/08 at 02:55 PM |
|
|
cool, i've made it in 2 pieces, fixed with m5 capheads but i still need some edge trim as per in worx photo... anybody any idea where i get it
from...?
|
|
|
zetec
|
| posted on 23/4/08 at 09:25 PM |
|
|
Ali on the side and MDF on the top. Covered in foam and leather/vinyl.
Rescued attachment DSCF0048.JPG
" I only registered to look at the pictures, now I'm stuck with this username for the rest of my life!"
|
|
|
PaulBuz
|
| posted on 24/4/08 at 10:22 AM |
|
|
Ally sheet & j section ally trim with c/sunk fstainless fixings
Rescued attachment interior.jpg
ATB
Paul
|
|
|
foes
|
| posted on 26/4/08 at 05:10 PM |
|
|
quote:
Originally posted by foes
cool, i've made it in 2 pieces, fixed with m5 capheads but i still need some edge trim as per in worx photo... anybody any idea where i get it
from...?
anyone..?
|
|
|