Photo Archive
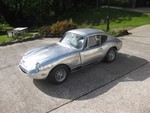
Building: Triumph GT6 replica body in aluminium Built and so
posted on 12/12/14 at 08:16 AM
quote:Originally posted by mark chandler
I,m only seeing a little 4 pot under the bonnet, I thought gt6's were all 2.0 straight 6's unless the 2.5 had been transplanted.
Are you planning anything under the hood John?
Quite right Mark, but the sheer weight of a Triumph six would negate everything I'm trying to achieve in building a lightweight nimble car that
is fun to drive on the road. The GT6 is a great tourer and we took ours to Scotland, France and Spain and it was superb. But this car is different and
my target is to achieve the handling and sharpness of a Caterham 7 and no amount of moving a six cylinder engine back in the frame would come anywhere
near that.
Photo Archive
Building: Triumph GT6 replica body in aluminium Built and so
posted on 27/12/14 at 06:42 PM
Work stopped for a short break a couple of days before Christmas but I managed to get the bonnet supporting frame tacked together and the over centre
catches together with their mating parts trial fitted. I was really pleased to discover that the reinforcing bonnet corners which accommodate the
rubber locating cones are available as a Heritage repair panel. This was a huge benefit and saved a colossal amount of time. A few pictures follow.
Photo Archive
Building: Triumph GT6 replica body in aluminium Built and so
posted on 27/12/14 at 09:20 PM
quote:Originally posted by ceebmoj
Great progress. Have you seen the hinge on project binky, it could make removing the front end for work very easy?
I've just watched the latest episode and that solution is so neat and above all, simple. Sadly, I didn't think of it and I'm too far
down the line to change now. But all I have to do is remove a couple of R clips and pull out the hinge pins to remove the bonnet. Not so easy as Binky
but do-able.
Photo Archive
Building: Triumph GT6 replica body in aluminium Built and so
posted on 30/12/14 at 10:02 PM
I've decided to leave the bonnet supporting frame just tacked for the moment. Trev D's colleague Martin is coming down soon to do some
work on the bonnet skin and if he recommends that I change the frame it will be easier if it's not fully welded.
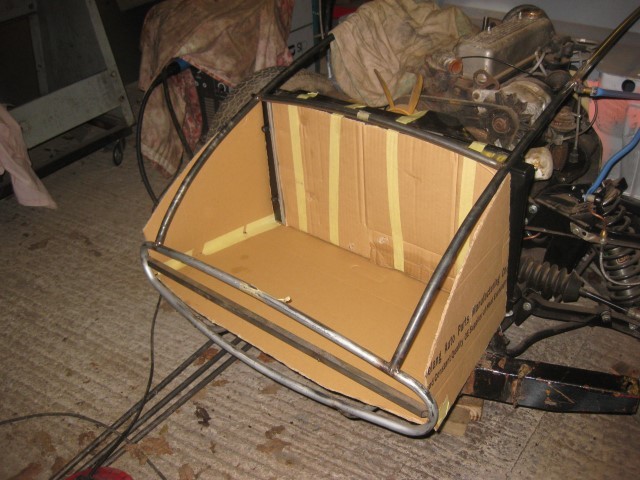
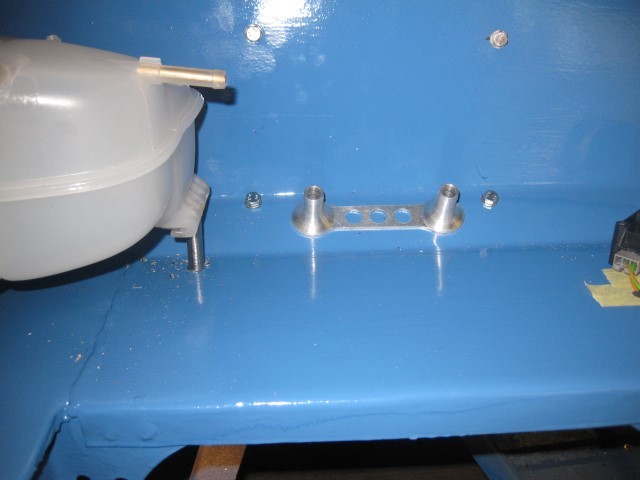
So I'm now starting on the cooling system which uses a Golf radiator and a MK4 Astra header tank. The VW radiator is efficient, light and above
all amazingly cheap. I bought a shroud complete with fan to suit off Ebay. The radiator is located on the base by two spigots which are accommodated
by a pair of simple brackets fitted with rubber grommets to provide the necessary cushioning. Next was to cut out a cardboard template for the
ducting which will be transposed onto aluminium. The ducting will be screwed to the radiator and will hold it rigidly in place. It will be fun folding
the aluminium with many opportunities for mistakes.
Photo Archive
Building: Triumph GT6 replica body in aluminium Built and so
posted on 10/1/15 at 04:43 AM
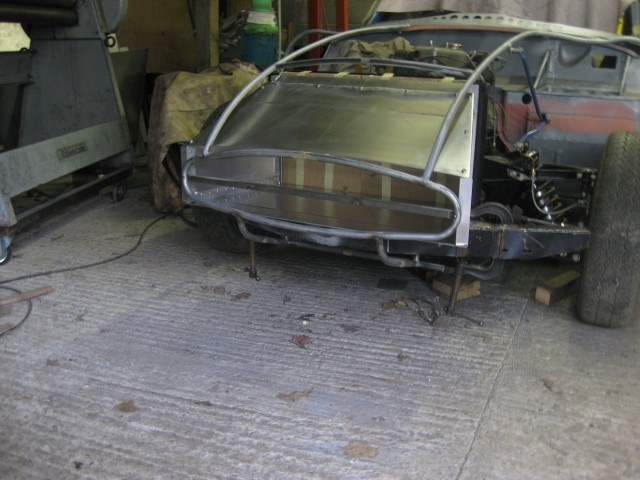
Yes, the ducting is finished now after aborting the MK1 on the grounds of it being too heavy. Pic 1 The MK2 is a lot better and uses a frame of 25 x
25 x 1.5 extruded aluminium angle with the panelling in 1mm. I had to add stiffness by putting in a few swages but I think it will be okay. I have
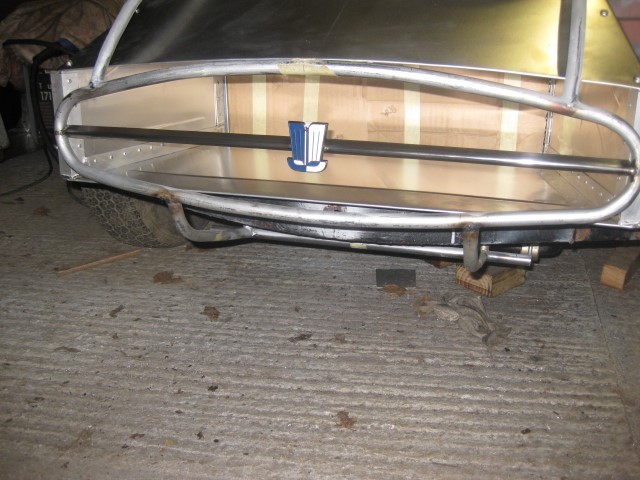
also made the crossbar that fits across the middle of the air intake aperture frame. This started out as a piece of 1.2mm stainless sheet 32mm wide
folded into a Vee. In the centre is a stainless backing plate to accommodate the Triumph badge.
Photo Archive
Building: Triumph GT6 replica body in aluminium Built and so
posted on 10/1/15 at 06:19 PM
quote:Originally posted by rdodger
Nice work John.
Can we look forward to the fitting of the bonnet soon?
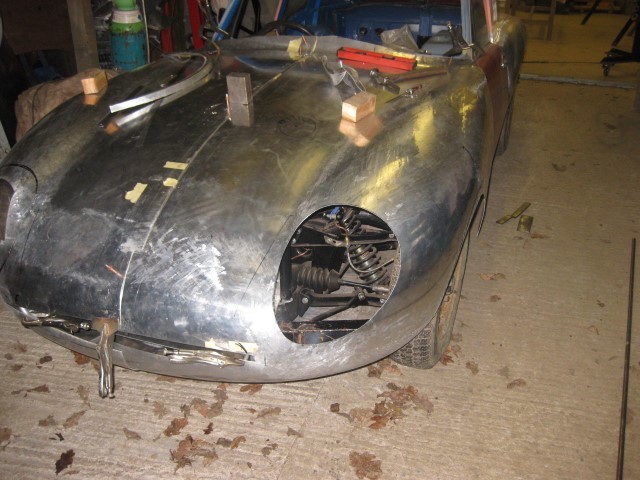
Indeed we can. Martin, who made the bonnet skin has spent the day with me and has made terrific progress. The skin has been clecoed to the frame so
that it will always go back in the same place, one headlamp aperture cut out and one headlamp bowl made and tacked together. It was very pleasing to
see it, fixed to the frame hinged open. There will be a gap now while Martin takes the assembly away to finish in his workshop when time permits.
Photo Archive
Building: Triumph GT6 replica body in aluminium Built and so
posted on 11/1/15 at 07:23 AM
Thank you all for your very kind words and encouragement. I'm so lucky to have Martin's help without which I would have been totally out
of my depth. It was quite amazing to witness his accuracy, and speed of work; a real privilege to be in the company of a master craftsman. All a bit
of an anti-climax now that he has finished and I'm back on my own. But everything should be pretty straightforward from here on in. Next weekend
I'll have the body off the chassis and during the following week strip it down and get it over to the painters to be shot blasted and powder
coated. In the meantime I can be making up the wiring loom so plenty to get on with.
I'll keep you posted and thank you all for your interest and encouragement which i find absolutely fantastic. Thank you.
Photo Archive
Building: Triumph GT6 replica body in aluminium Built and so
posted on 2/2/15 at 07:26 PM
Since the last offering the body has been removed from the chassis, the chassis stripped of all the running gear and taken for shot blasting and
powder coating.
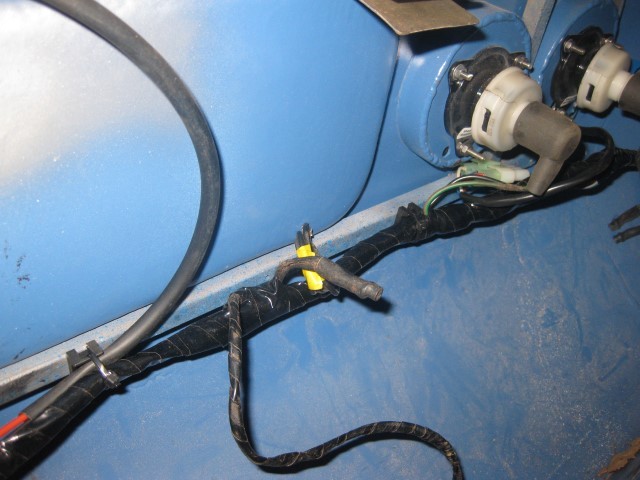
Work on the wiring is under way with the rear loom finished. To clip it to the car I've sourced some nice little tie wrap saddles that can be
screwed or riveted. The tie wraps allow the loom to be demounted if required.
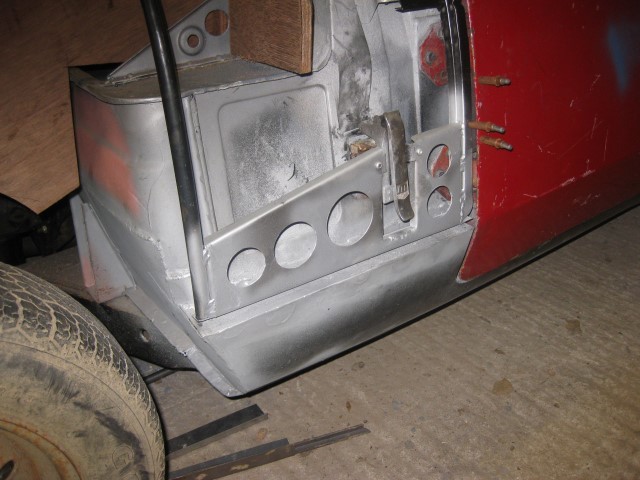
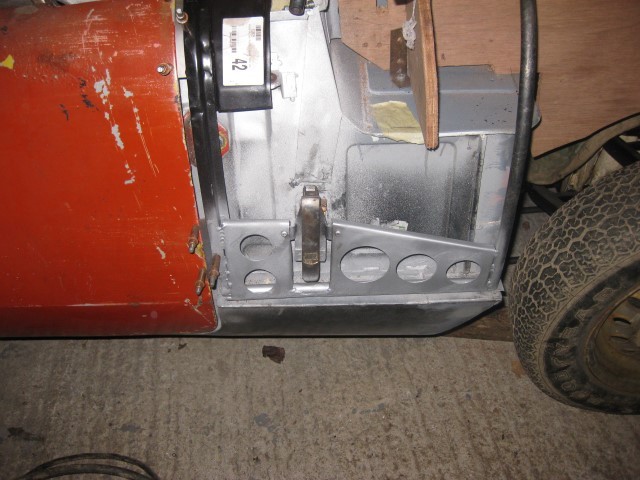
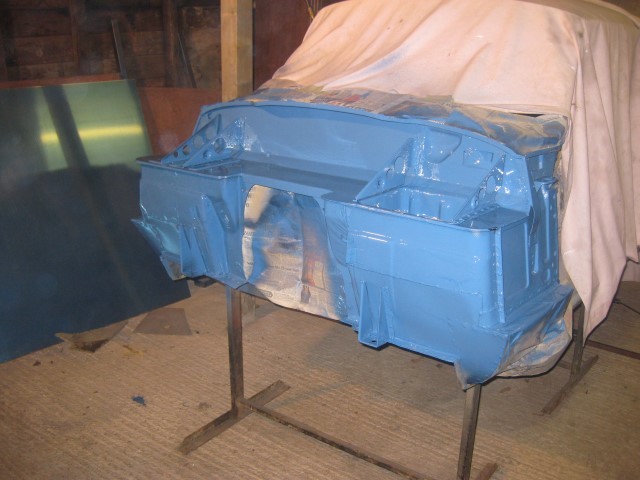
I've painted the bulkhead and it is now ready for the master cylinders and all the other bits and pieces that sit on the scuttle shelf.
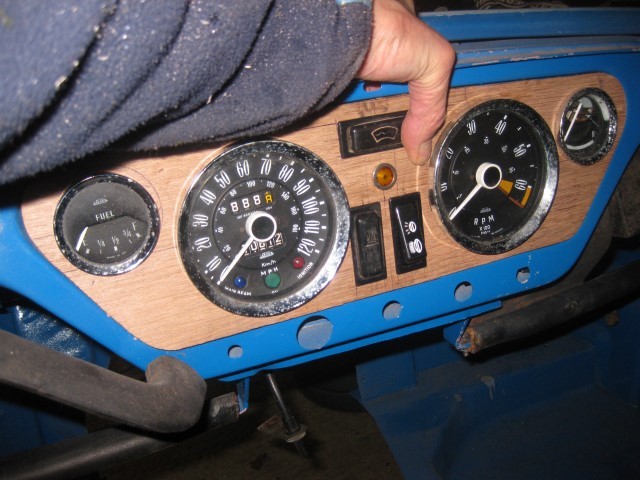
I'm trying to keep the car simple and the dashboard that I've just made does, I believe, fit into that concept. There will be a couple of
other gauges mounted on a sub-panel behind the steering wheel but nothing over the top.
Photo Archive
Building: Triumph GT6 replica body in aluminium Built and so
posted on 8/2/15 at 01:48 PM
Before the loom can be finished the hardware has to be sited so that the various wires can be trimmed to the right lengths. So, the wiper motor is in
position, the dash instruments and the heater. I'm using a T7 modular heater similar to the one in the trials car which works very well. The
heater is available with a wide choice of blanking plates and outlet stub pipe diameter. The bulhead adapter, also from T7 is nicely made and with the
pipe spacing matching the heater inlet and outlet pipes it allows a neat installation.
Photo Archive
Building: Triumph GT6 replica body in aluminium Built and so
posted on 27/2/15 at 07:24 AM
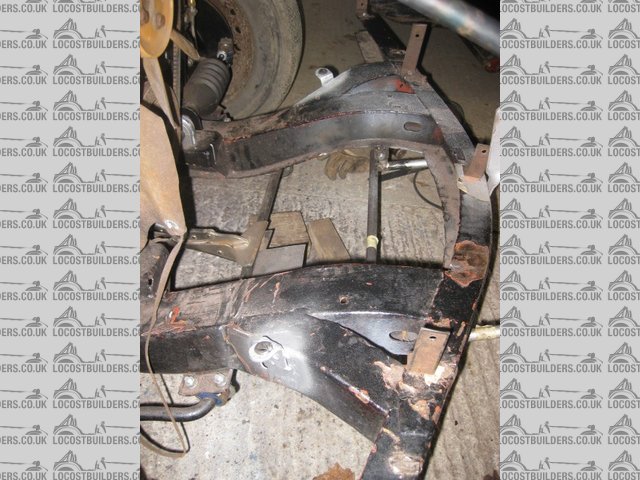
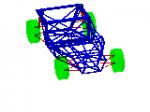
The chassis went together really quickly and is now fully built and awaiting the engine. The secret to the quick reassembly was that sections were
removed after the dummy build as assemblies rather than individual components. And the brake and fuel pipes were already formed.
I've been told that the diff mounting plate should be fixed with Wedgelok bolts which are a special type that is self-locking. Standard bolts
have a tendency to work loose, come out and jam the propshaft; not nice! I've been unable to source them so I've fitted new star washers
and wired the heads. I'm hoping that will do the trick.
Photo Archive
Building: Triumph GT6 replica body in aluminium Built and so
posted on 7/3/15 at 10:33 PM
The new bonnet catches arrived today and I've been able to trial fit them to the aluminium recesses that I made a week or so ago. These will be
trimmed and welded into the bonnet while being located by bolting through into the steel backing plate.