yellowcab
|
| posted on 21/11/13 at 11:10 AM |

|
|
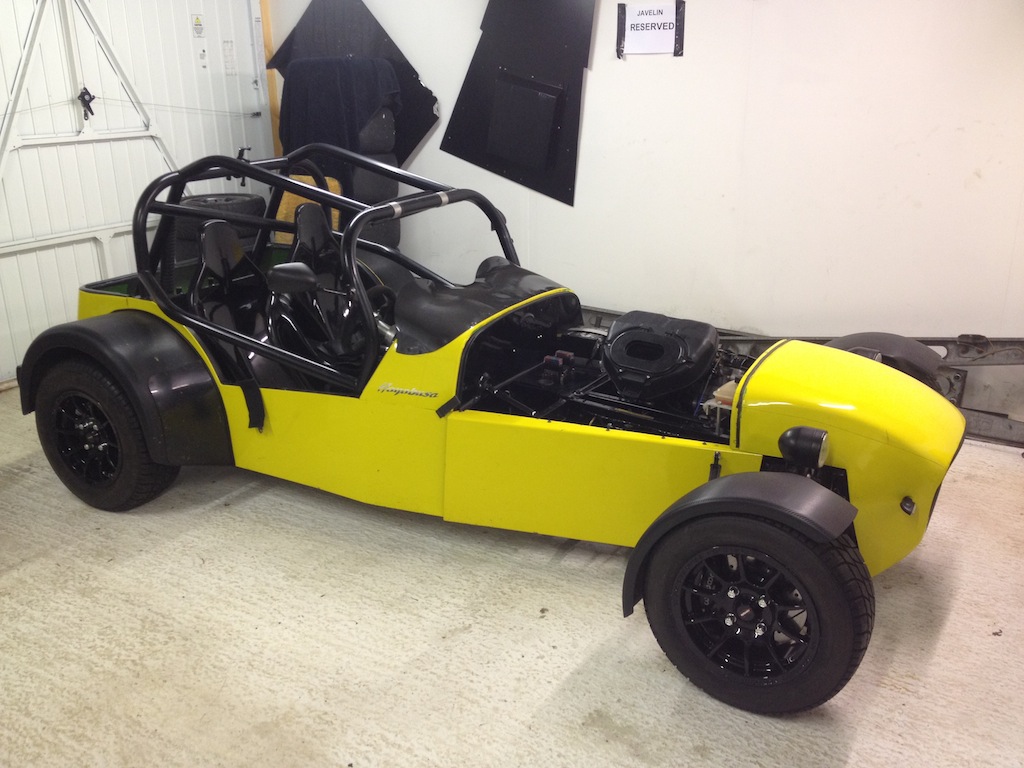
Was only thinking to myself last night that it's hard to tell that I have new wheels lol, but then thought it wasn't done for aesthetic
reasons anyway
Javelin sign was accidentally stolen, I sat my toolbox on it, which stuck to the bottom, didn't realise until I got home lol
New pads has arrived before I left for work, so will fit them and get the brakes bled up tonight
|
|
|
|
|
Pat_T
|
| posted on 21/11/13 at 01:15 PM |
|
|
careful sposhing the paint on the brake disc bell faces thick like that mate. The disc gets hot, re-melts the paint and you lose the clamp load
keeping your wheels on!
if you are going to paint them best to use spraypaint as it goes on thinner...
shame about the Caterham bag tank, how many litres was it? did it have an internal fuel pump?
www.instagram.com/patroclueus
|
|
|
yellowcab
|
| posted on 21/11/13 at 01:45 PM |
|
|
Thanks for the advice on the brakes pal, I'll be sure to scrape it off 
Caterham tank is a big 35litre bad boy, internal pump, long and shallow, but my cage legs are too narrow for it to fit
|
|
|
yellowcab
|
| posted on 23/11/13 at 01:14 PM |
|
|
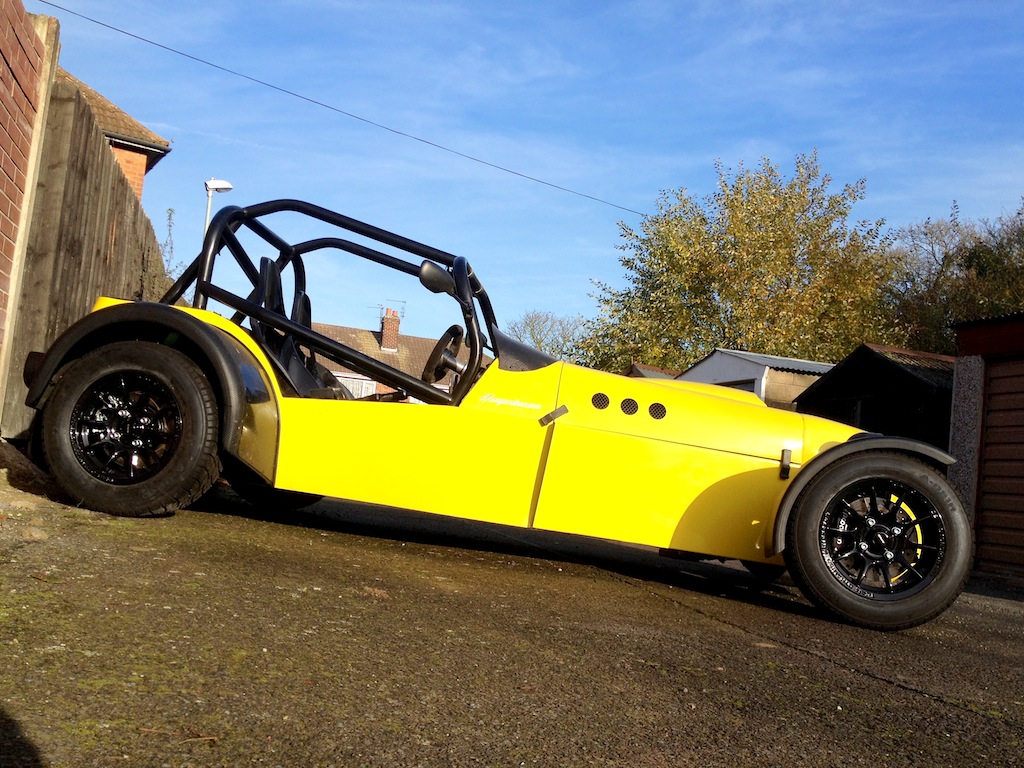
So finally bled up new brakes and pedal is now firmer than ever, so looking forward to bedding them in and having some decent braking power at last,
back down on its wheels, and its still very hard to tell the new wheels.
Fitted the new wheel bolts, but too bling, so I'll be replacing the 61gram items for some 16gram black ones
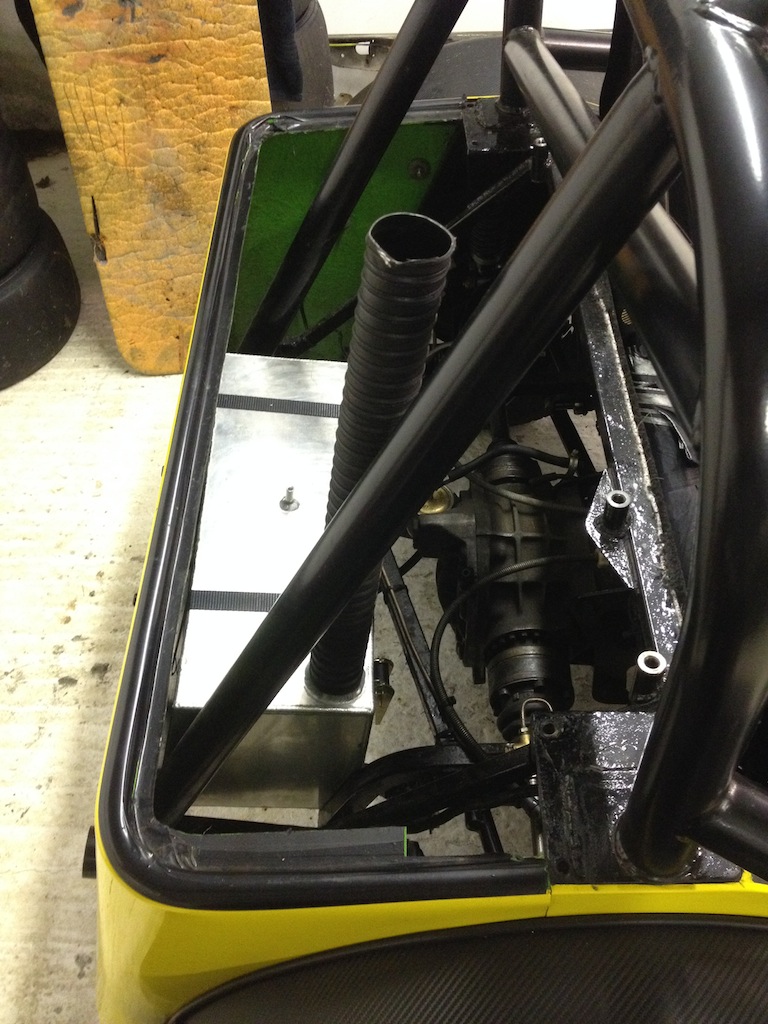
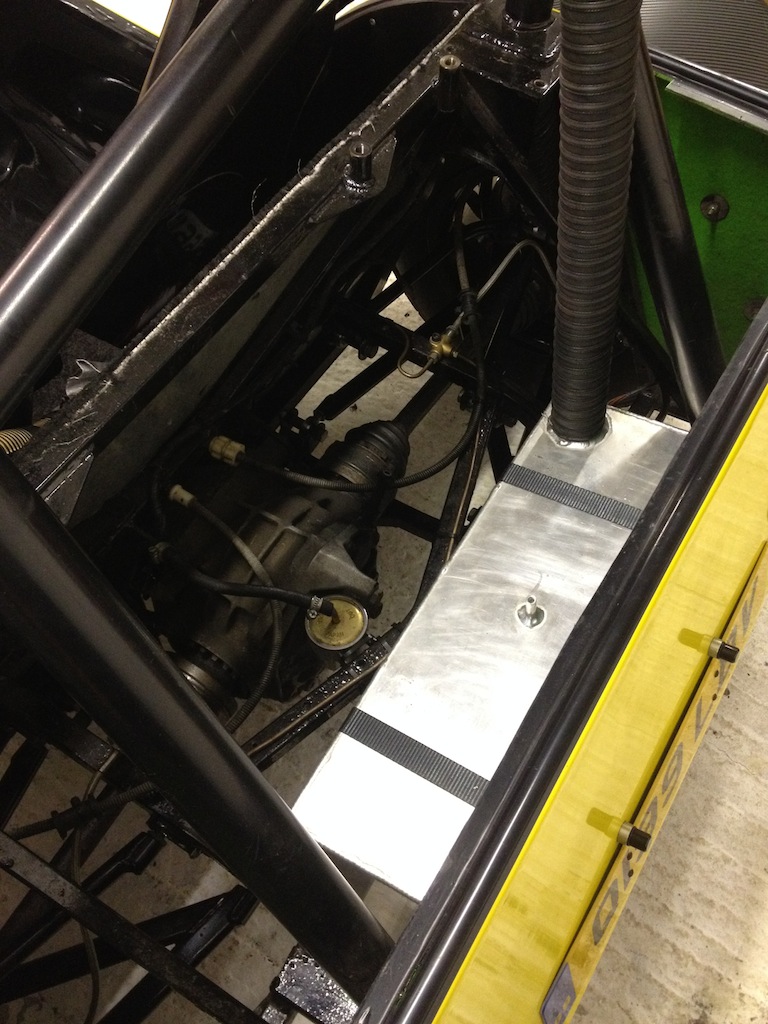
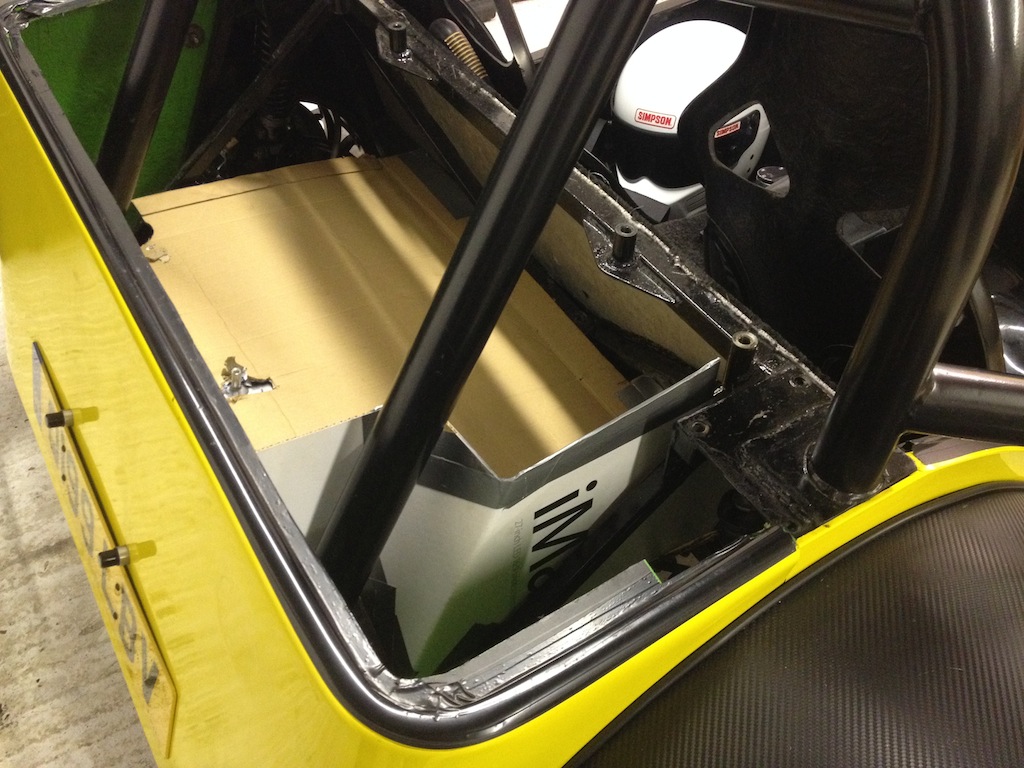
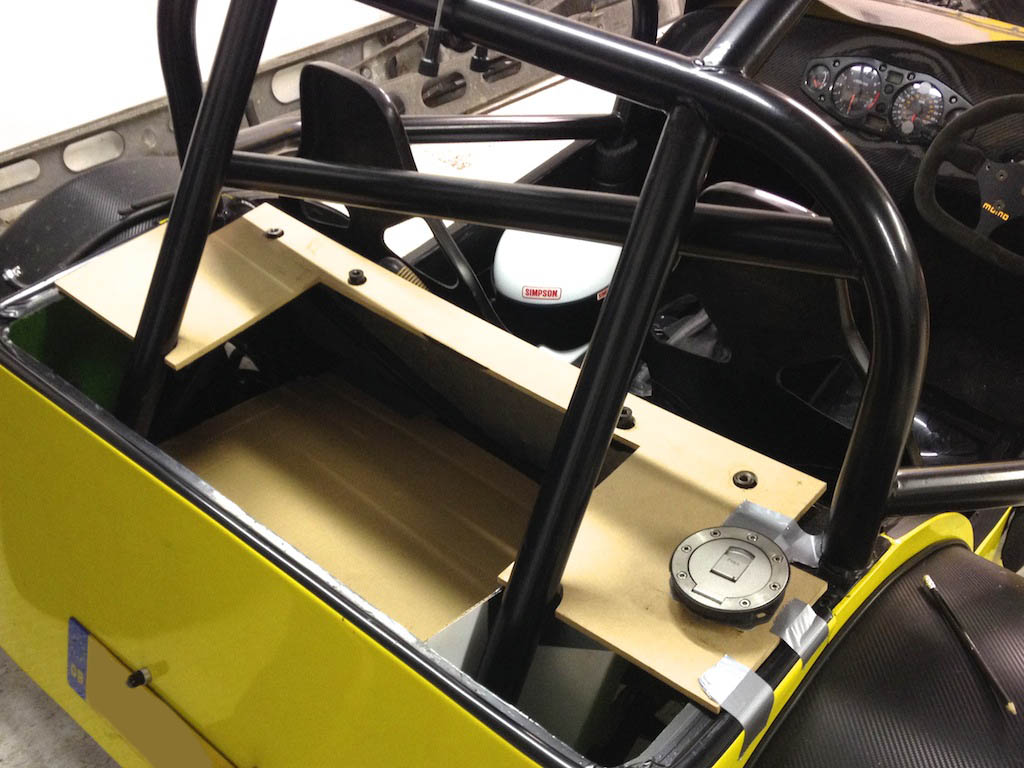
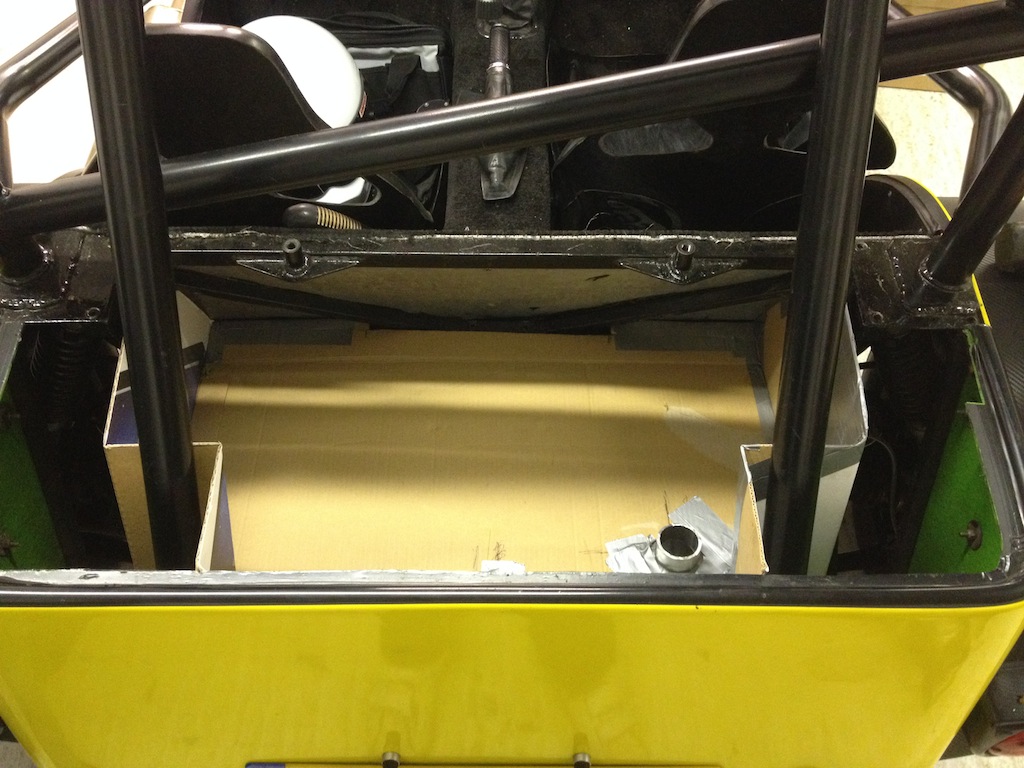
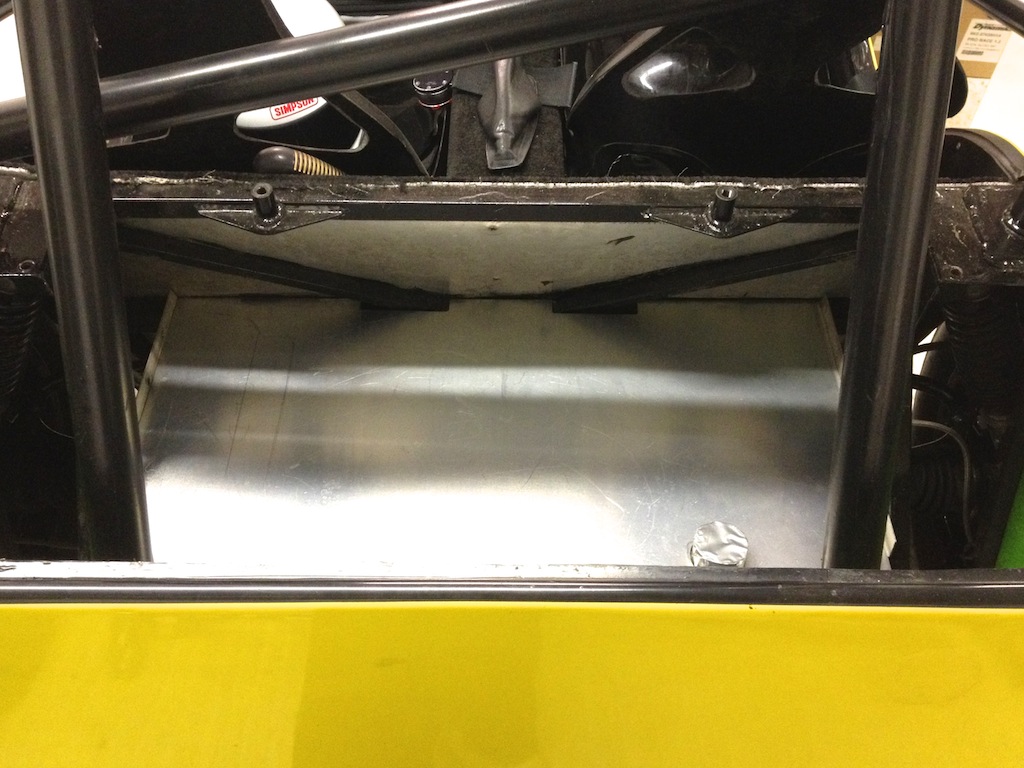
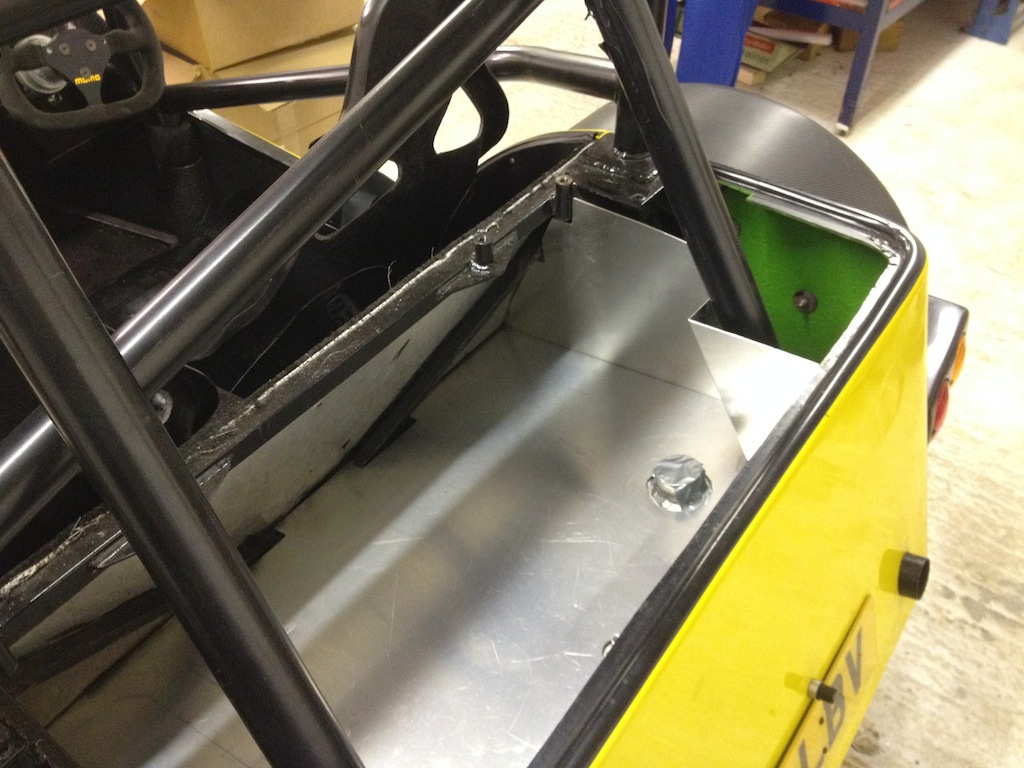
Next up, fuel tank is back in, straps have been relocated to the front edge of the tank, so my boot box can be another 1.5inch deeper, and the ally
neck of the filler has been cut down, so the bend on the rubber filler can start lower down
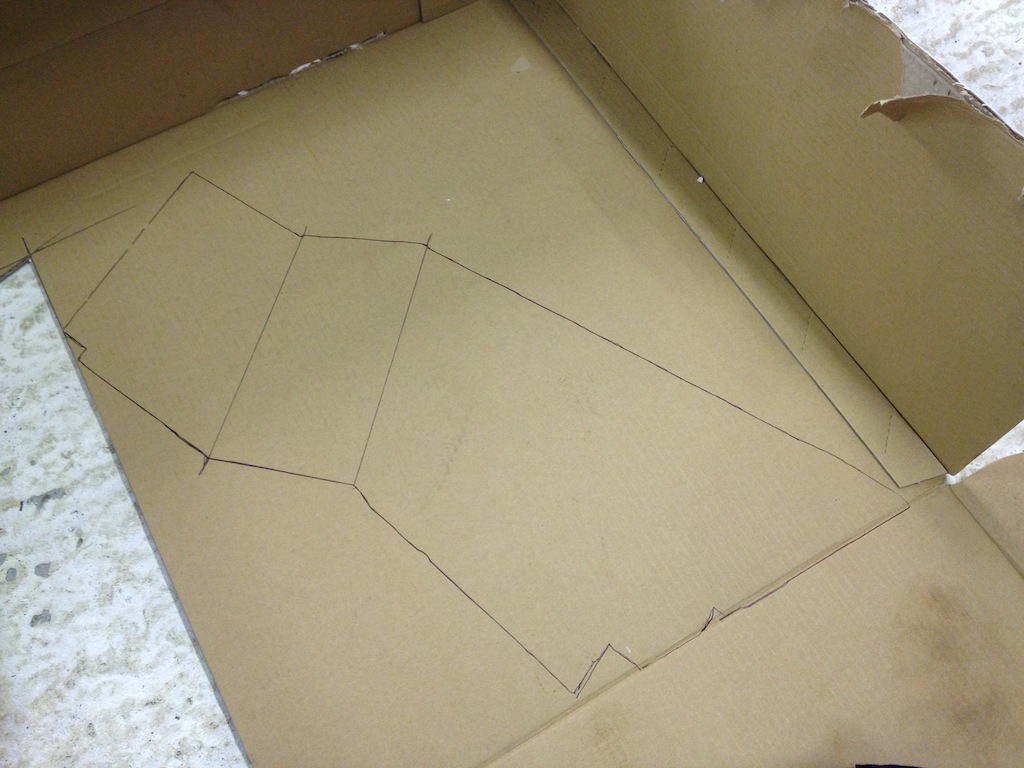
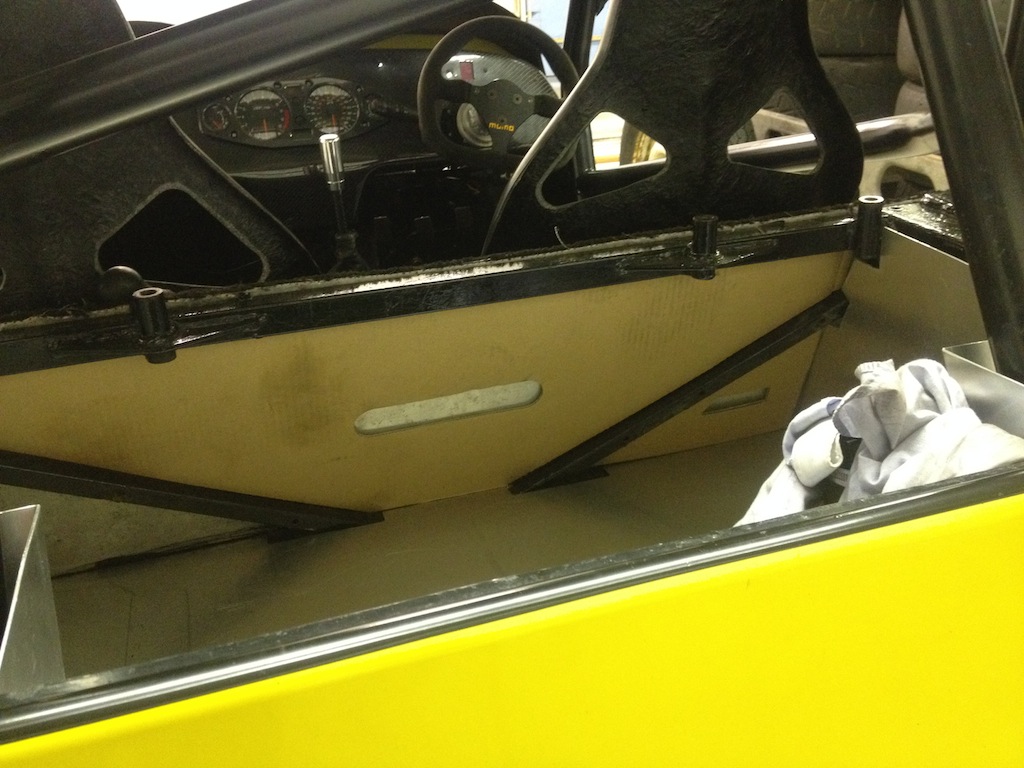
This is what I had to work with, and the space
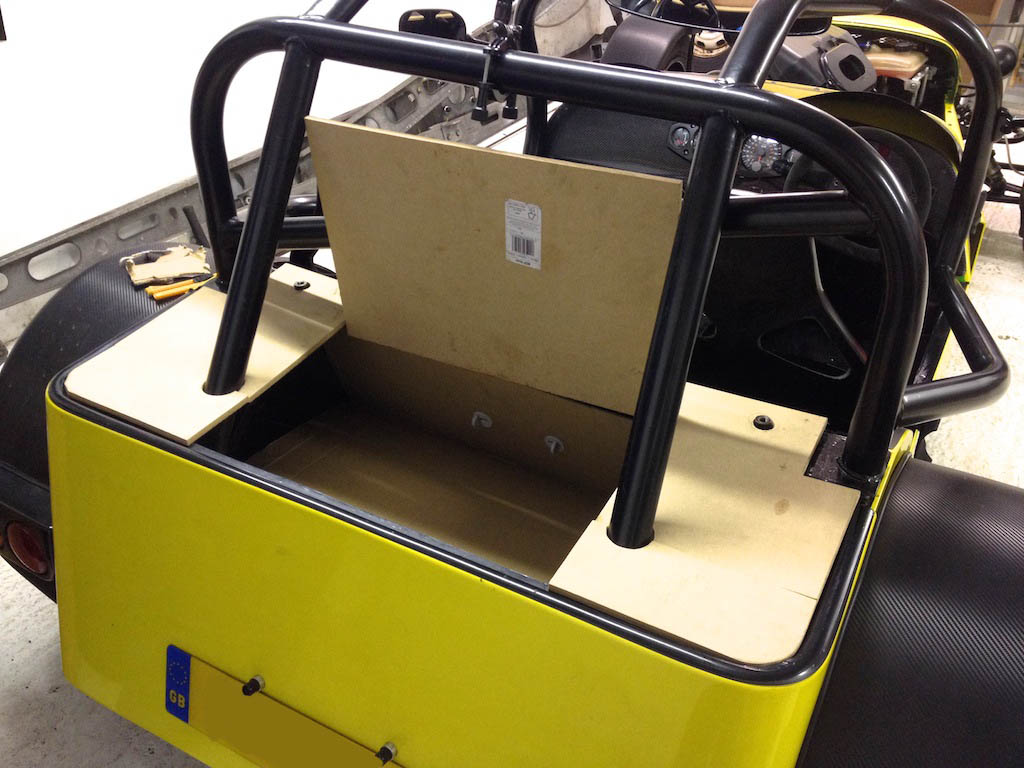
The MDF is now only a template, and it will be made in ally now I have found a supplier of some free bits
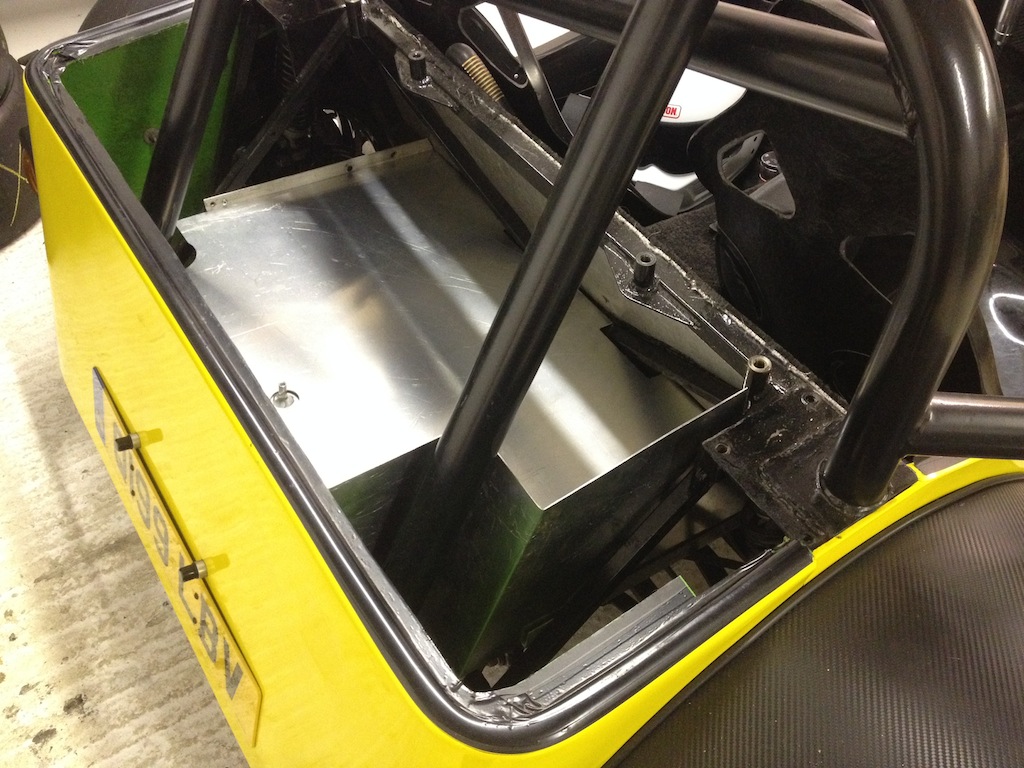
The opening or 'boot lid' cannot be made any wider, as my rear rollcage legs get closer together the further up the cage they go - so
should I have the opening wider, the boot lid wouldn't be able to open all the way
Started out by making a template for the floor, originally I was going to have it stepped, but decided against this as too much faffing, for zero
gain
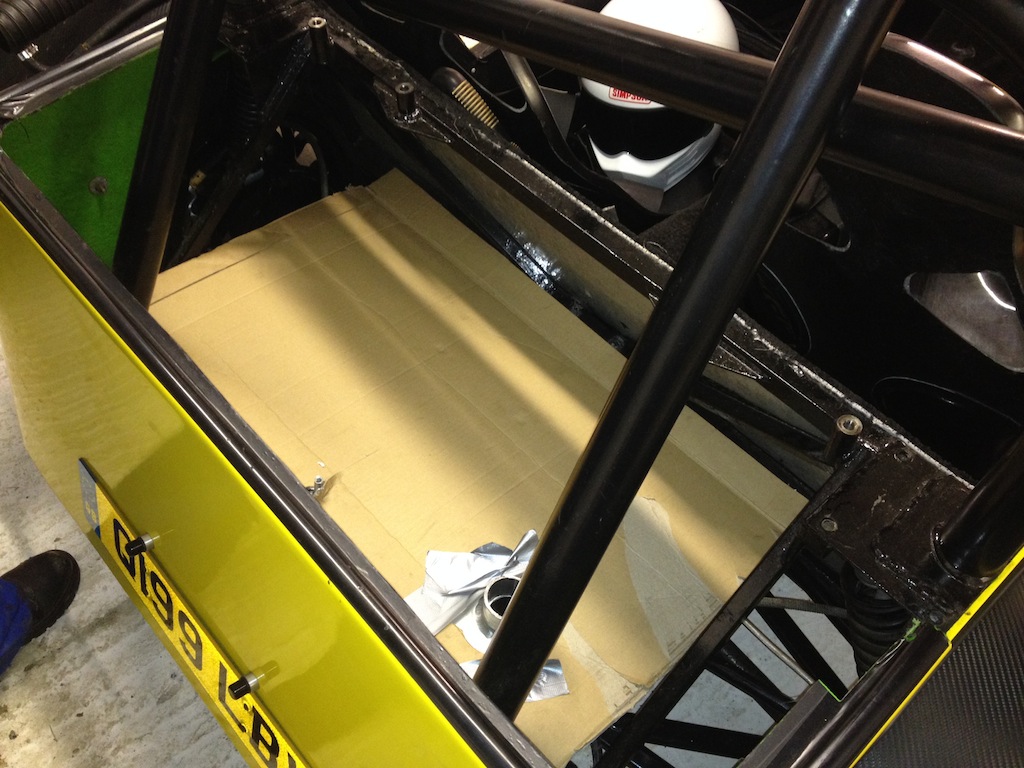
Added some extra bits on on the front edge, so it could sit on the bracing of the rear bulk head to its sitting on a shelf

I was going to incorporate the rollcage within the boot, but then felt it'd look stupid, and leave the floor gappy around the rollcage legs
The side walls of the boot box, will be riv-nutted to the bracing, which dictates to me the width of the box
I have not got the patience, skill nor engineering ability to do a "Legend 40inches" 'cubby hole', so this will have to
do
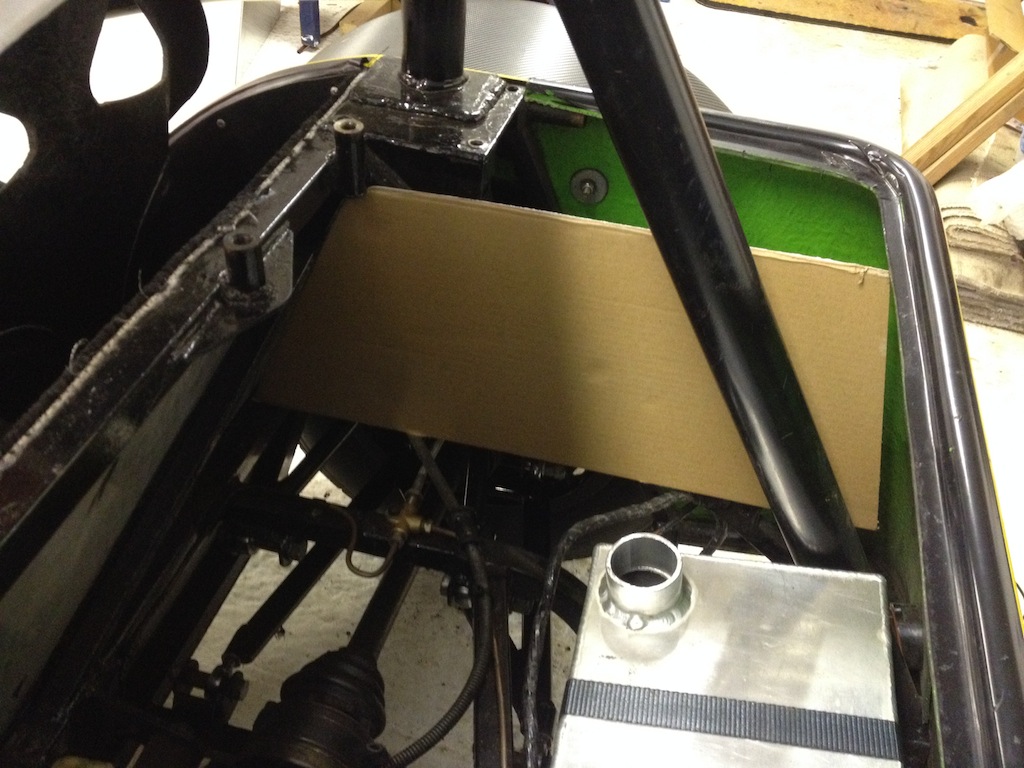
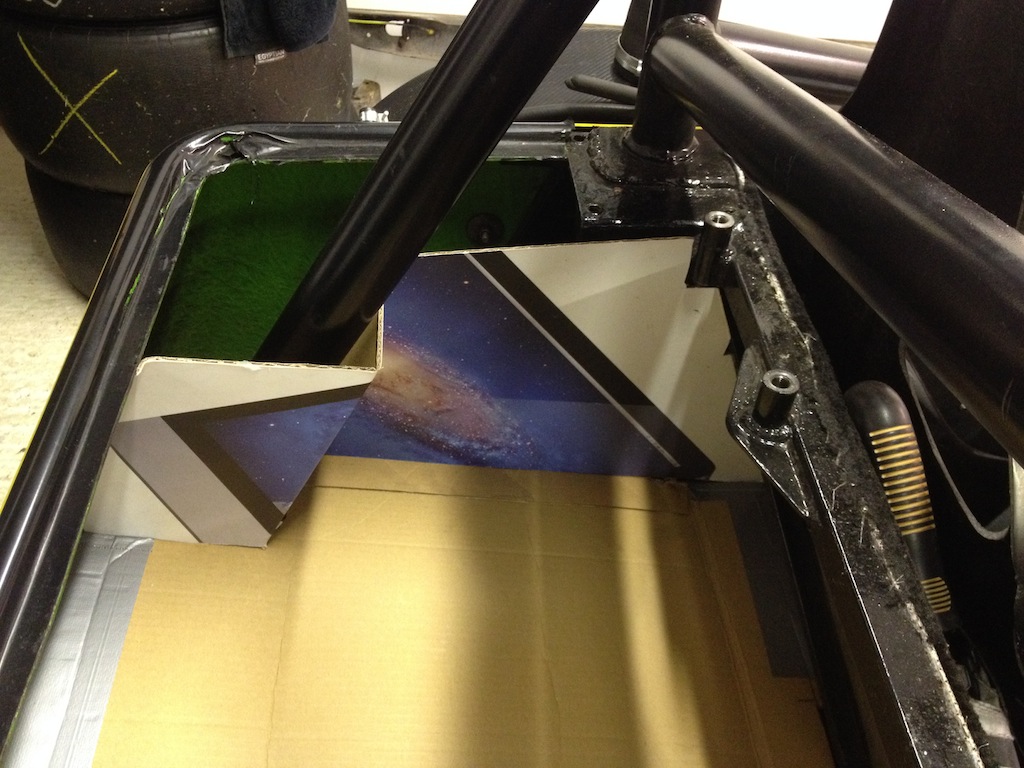
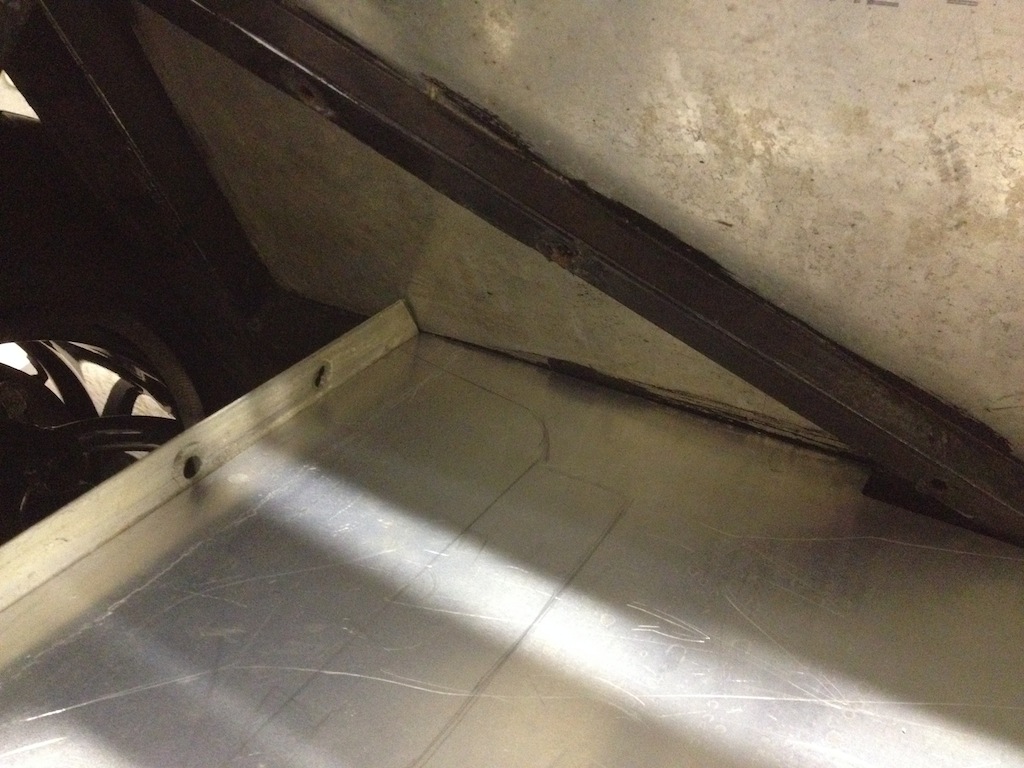
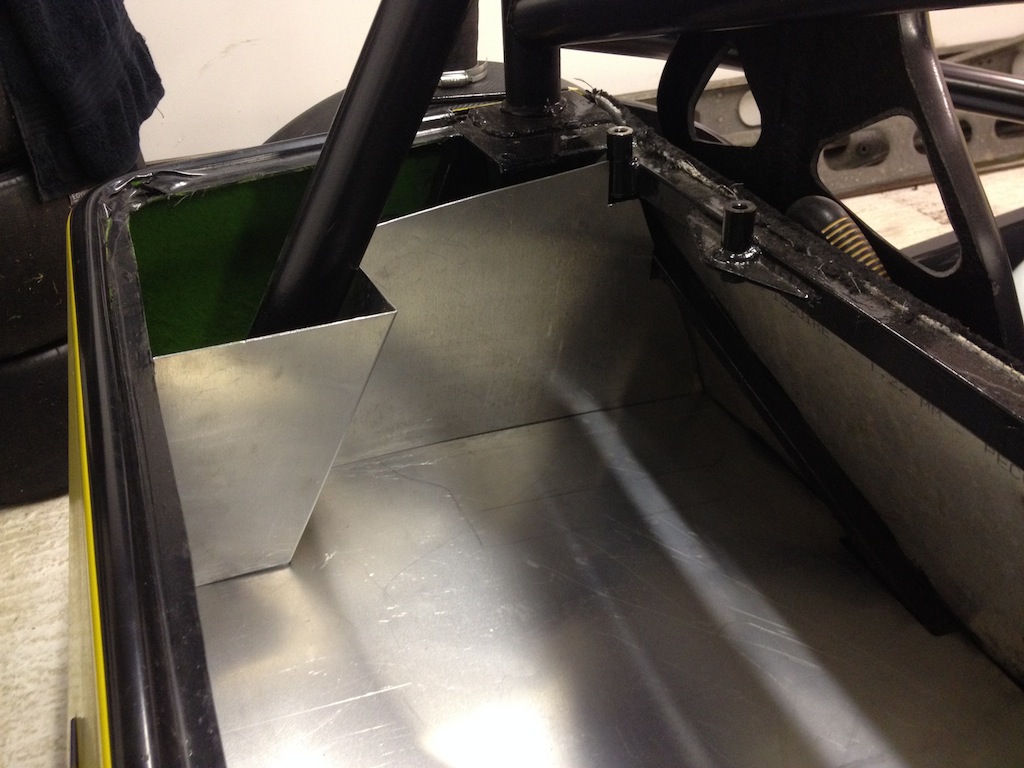
So after a while of working out angles, measuring, measuring, getting it wrong, more measuring, cutting, taping, cutting wrongly, taping back up, I
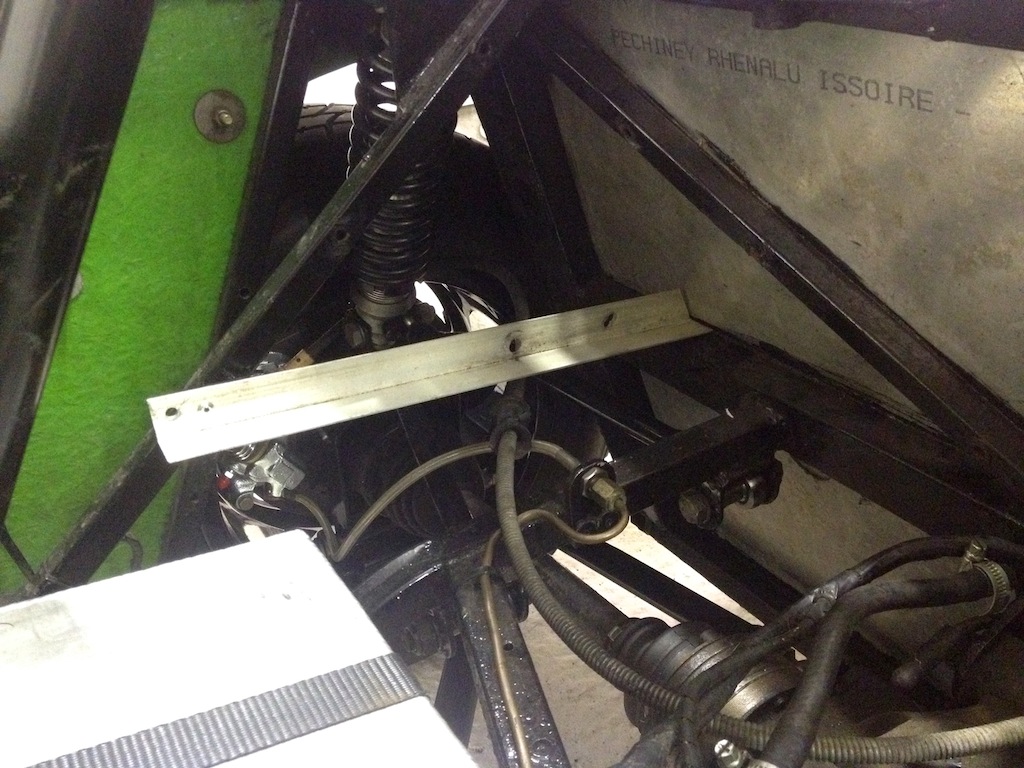
decided to box off the cage legs, so when you look in the boot, they cannot be seen, this took longer than anticipated, as the boot gets shallower the
further towards the rear clam it gets, so the angles are always changing & reducing
You can just see the diagonal bracing its being fastened to
Next up is the filler, this will have to enter the boot box, but its no great shakes, I just want it to look as nice as possible, so the filler is
going to be on the outside of the box, and the rubber pipe will enter the side of the boot, and exit the bottom, this is a compromise due to the size
and shape of the fuel tank that I had made
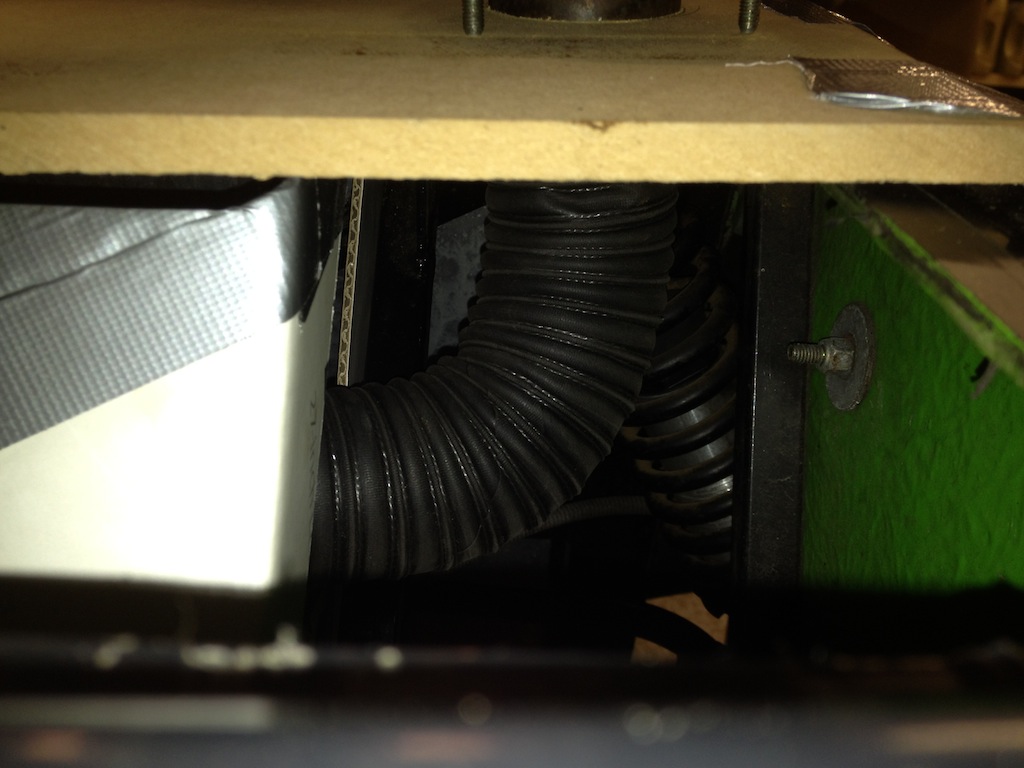
The side of the box has been slotted so we could remove the fuel pipe and fit it easily, but in the ally version there will just be a hole for the
fuel pipe to pass through, once its found its natural angle
[Edited on 23/11/13 by yellowcab]
[Edited on 23/11/13 by yellowcab]
|
|
|
Ben_Copeland
|
| posted on 23/11/13 at 01:38 PM |
|
|
Be careful of having bends in the fuel filler pipe. You end up with clicky fuel pump syndrome mate
Try to keep the pipe as straight as possible.
Ben
Locost Map on Google Maps
Z20LET Astra Turbo, into a Haynes
Roadster
Enter Your Details Here
http://www.facebook.com/EquinoxProducts for all your bodywork needs!
|
|
|
yellowcab
|
| posted on 23/11/13 at 01:42 PM |
|
|
The decision to have the filler on the outside was because I didn't want to have to unlock the boot lid, then to unlock the filler just to fill
up with fuel - but this may be quicker than having clicky petrol pump syndrome lol
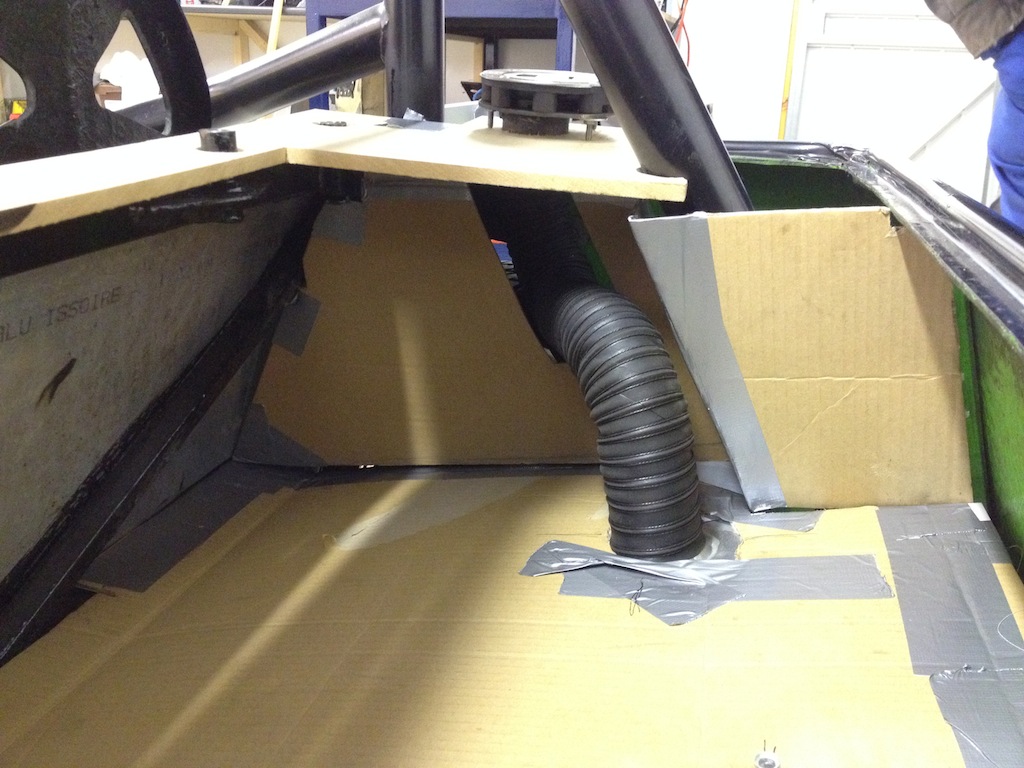
The photos above are a little bit misleading, as the rubber hose is actually too long at present and will need cutting down, which will reduce the
kink a little, and also, how about if I move the fuel cap itself over moreso, so its as close to being above the tank as possible, will that help I
presume?
Like so...
I suppose I could have the filler inside the boot box itself, leaving the top looking flush... you think i'd be better off with that?
|
|
|
yellowcab
|
| posted on 23/11/13 at 01:43 PM |
|
|
Ignore that idea about moving the filler cap more inwardly - I cannot do this due to the diagonal bracing under the bootlid.
Balls
It's either, put up with slow filling at the pumps, orrrrrr having the filler inside the box itself
|
|
|
Ben_Copeland
|
| posted on 23/11/13 at 01:45 PM |
|
|
Fix it so you can drive to the petrol station and try it out!!!
Ben
Locost Map on Google Maps
Z20LET Astra Turbo, into a Haynes
Roadster
Enter Your Details Here
http://www.facebook.com/EquinoxProducts for all your bodywork needs!
|
|
|
yellowcab
|
| posted on 23/11/13 at 02:00 PM |
|
|
Can't really get that far, it's SORN, and by the time I've made the boot box - I wouldn't want to then change it.
I'm just gonna have to make a decision and stick with it, lol
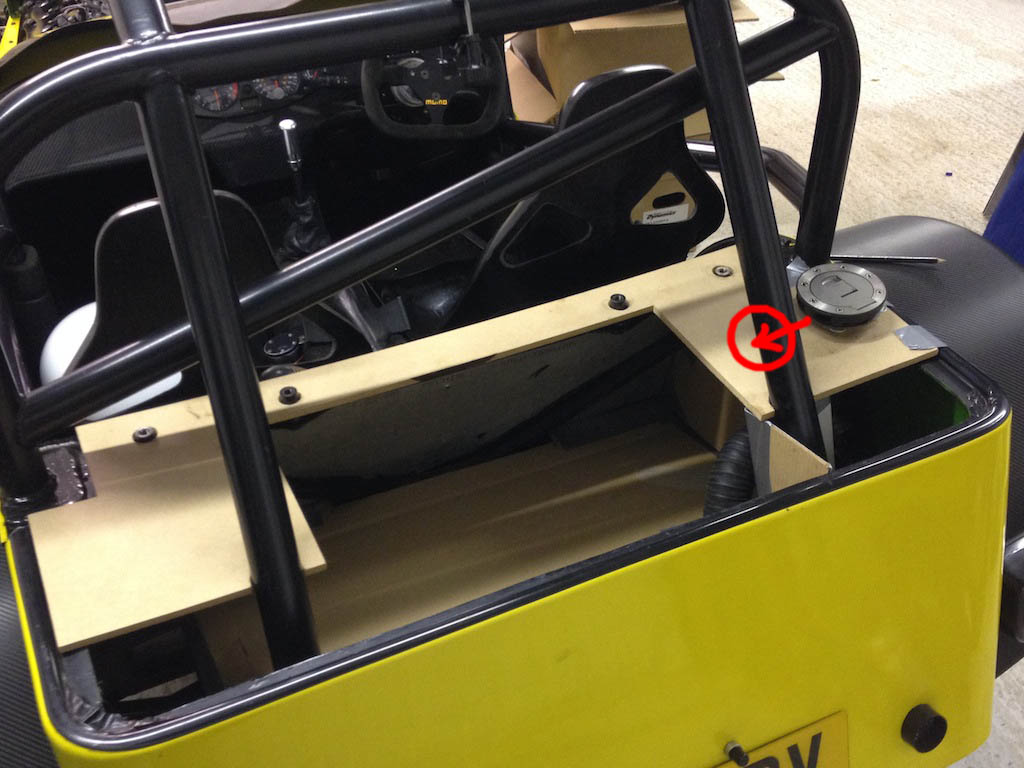
Not down the shed anymore, but having looked at this photo, it can be moved over a considerable amount
|
|
|
Ben_Copeland
|
| posted on 23/11/13 at 02:05 PM |
|
|
Move it over as much as possible and keep your fingers crossed. It might be ok as there's not a big bend in it
Ben
Locost Map on Google Maps
Z20LET Astra Turbo, into a Haynes
Roadster
Enter Your Details Here
http://www.facebook.com/EquinoxProducts for all your bodywork needs!
|
|
|
daveb666
|
| posted on 23/11/13 at 02:47 PM |
|
|
Put the filler where mine is?
2007bc Photography - Commercial and Wedding Photographer based in West Yorkshire
http://www.2007bc.co.uk / http://www.huddersfieldcommercialphotographer.co.uk
|
|
|
sebastiaan
|
| posted on 23/11/13 at 03:43 PM |
|
|
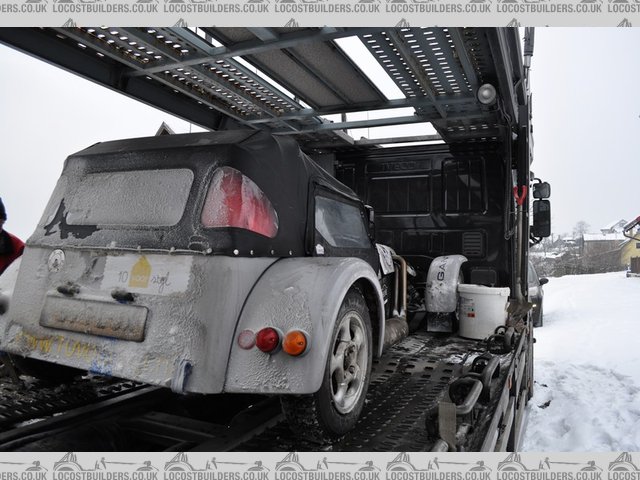
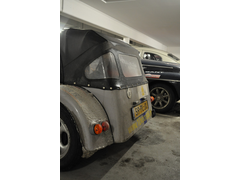
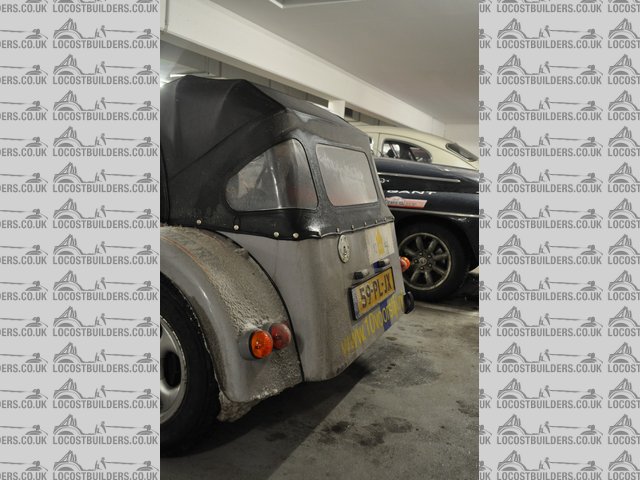
I had mine in the rear panel with a metal bend to connect it to the tank. No real problems filling up, just could bot go full speed once it was almost
full.
You can just about see the filler location here: ;-)
Description
|
|
|
sebastiaan
|
| posted on 23/11/13 at 03:44 PM |
|
|
This is actually a better shot. Boot box was very similar to yours.
Description
|
|
|
ReMan
|
| posted on 23/11/13 at 05:52 PM |
|
|
You won't have a clicky problem with the vertical filler even if you put the dogleg bends in it
Its only on the back panel like mine that it can be a bit slow, but then it still depends how the bend sits, I live with mine OK
www.plusnine.co.uk
|
|
|
yellowcab
|
| posted on 23/11/13 at 06:05 PM |
|
|
Just got back from being down shed again, and opted to have the filler inside the boot box itself.
The pro's of having a straight piece of pipe outweighed the cons
I like the fact it's currently straight so I can see directly inside the tank to see how inch fuel I have in, even when my fuel gauge reads
empty, nothing beats physically being able to see how much fuel you have in it.
Secondly should the pipe work have a kink in it as drastic as mine was, the petrol pump would only cut when the fuel hits the nozzle, by which time
the rubber pipe itself will have fuel in it, which is liable to then leak into my boot, not keen on that idea.
There are no real cons to having the filler inside the boot itself, it doesn't take any more space, simplicity is best for me personally.
Not for everyone, some might not like the idea, but suits me
|
|
|
40inches
|
| posted on 23/11/13 at 06:19 PM |
|
|
You can have the filler pipe straight without the filler being in the boot. Fit the filler cap on a bracket on the back edge of the back panel and cut
a horse shoe shaped piece out of the boot lid to clear the filler cap 
You are doing a good job, take your time and do it how you really want it to end up, you don't have a time limit, winters on it's way
This is how Hellfire did it:
 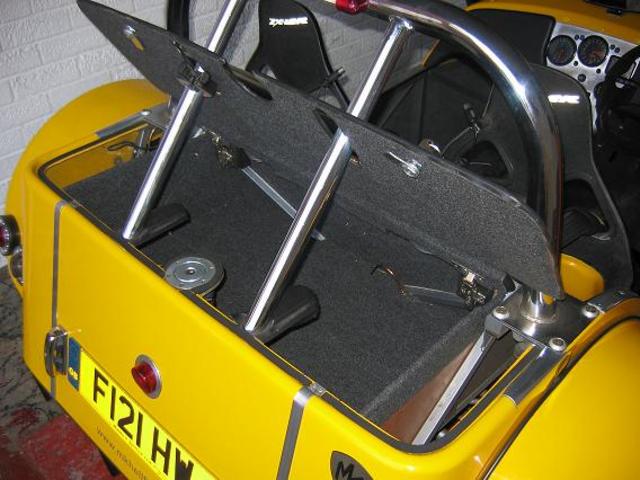
Finished Boot
You can do it with the split boot lid.
[Edited on 23-11-13 by 40inches]
|
|
|
yellowcab
|
| posted on 23/11/13 at 10:56 PM |
|
|
Cheers for all the comments and replies chaps - much appreciated
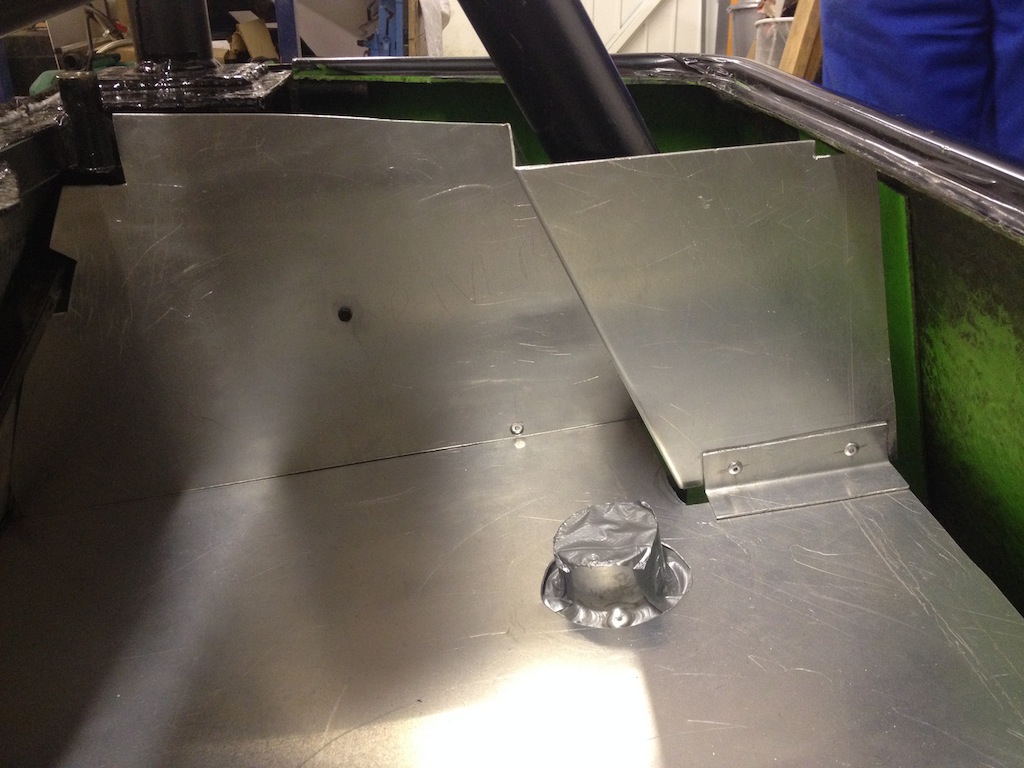
A couple more pics of when I popped back down, you can see how much the side panels evolved from our very first cuts, but taking this time in the
templates will hopefully reap benefits within the final ally product fitting perfectly
A lot of messing, fettling - but like above, I'm under no time restraints, so it'll take as long as it takes

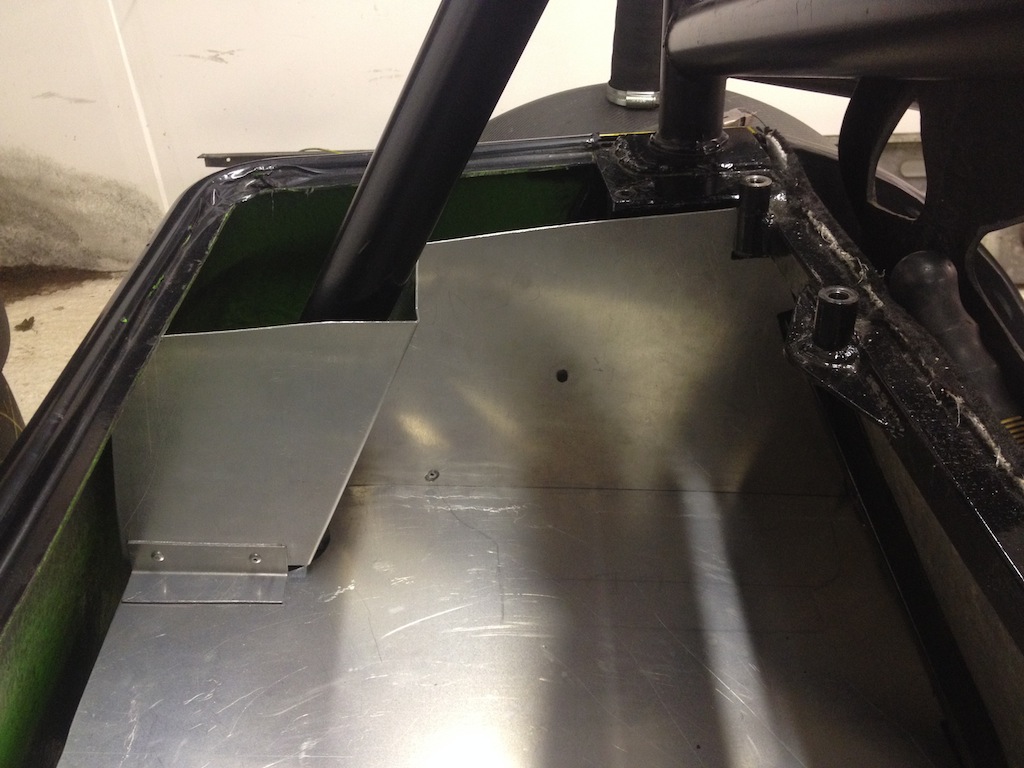
I chanced it and hoped that the passenger side would be a complete mirror image replica, so all the time it took doing the first one, paid of even
further, I drew around it, obviously folded the other way...
Low and behold, first time, snug as a bug in a rug!
Starting to take (slow) shape now, happy with the size, depth and general finish so far of the templates
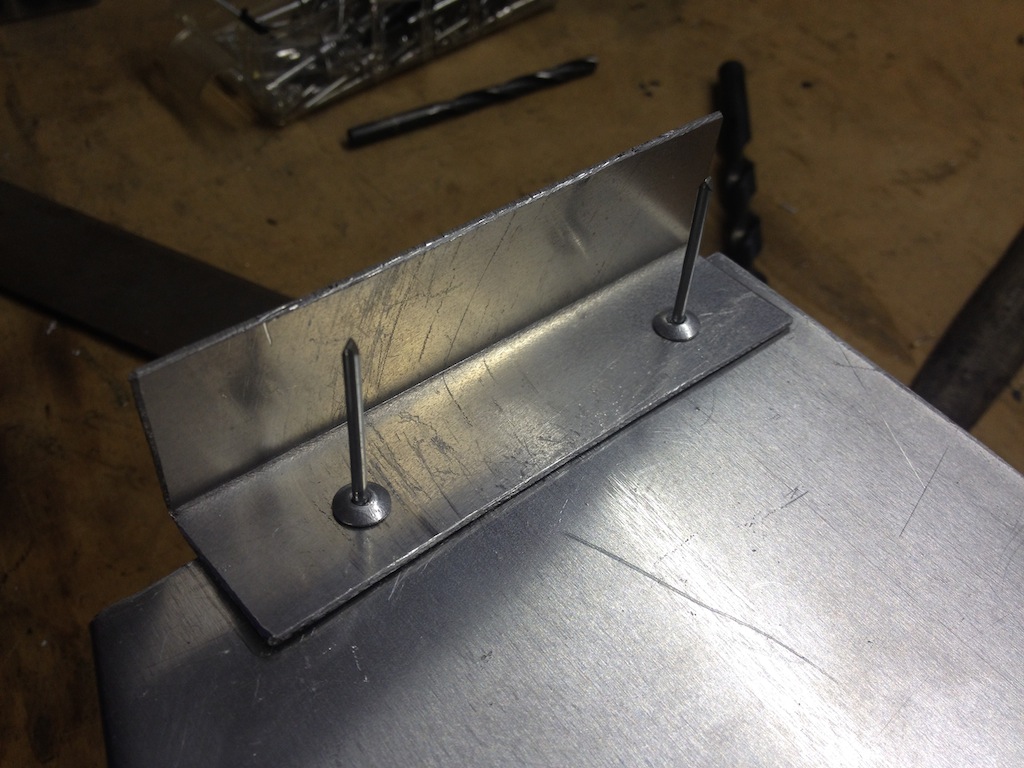
Used a piece of 1mm angle, 'sat' it on the rear bulk head bracing, and rivetted to the diaggonal, this will support the edges of the
floor, and give something for the sides to fasten to
Thats all for now folks
|
|
|
Ben_Copeland
|
| posted on 23/11/13 at 11:04 PM |
|
|
Like !
Ben
Locost Map on Google Maps
Z20LET Astra Turbo, into a Haynes
Roadster
Enter Your Details Here
http://www.facebook.com/EquinoxProducts for all your bodywork needs!
|
|
|
yellowcab
|
| posted on 24/11/13 at 01:49 PM |
|
|
More boring boot progress, but incredibly satisfying nonetheless, 40inches is totally right, taking the time and being a perfectionist really does the
make the job rewarding
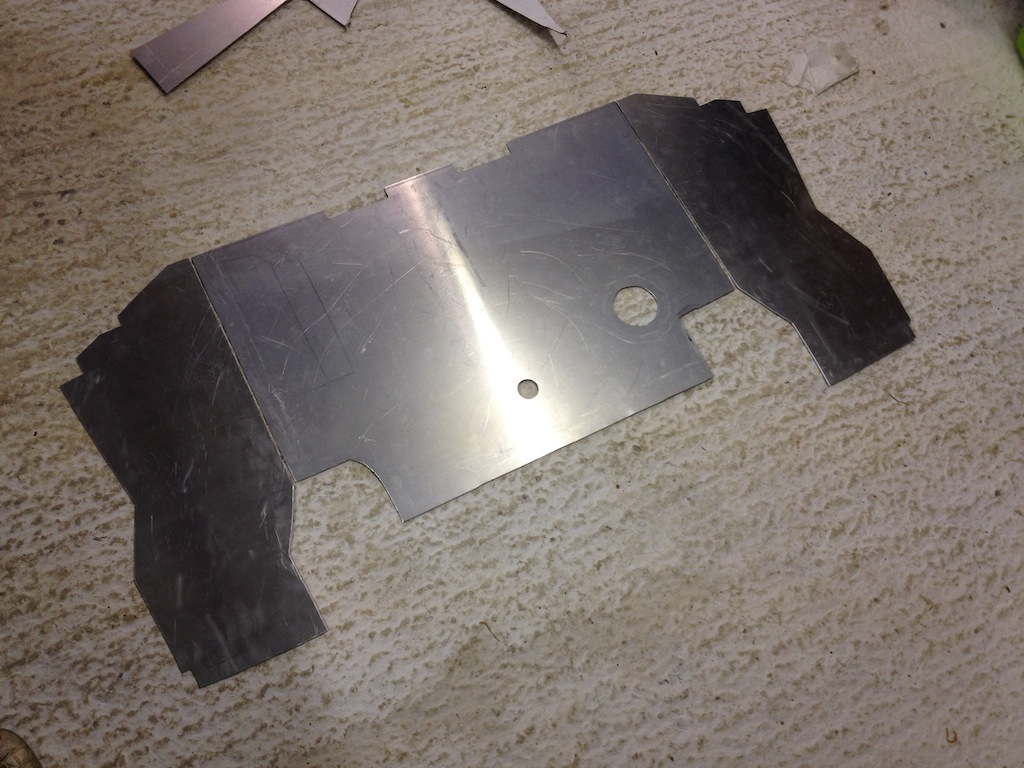
So the cardboard template was spot on in terms of size, so I drew around it onto the aluminium sheet that I got FOC, and hole cut the filler hole,
and the breather hole
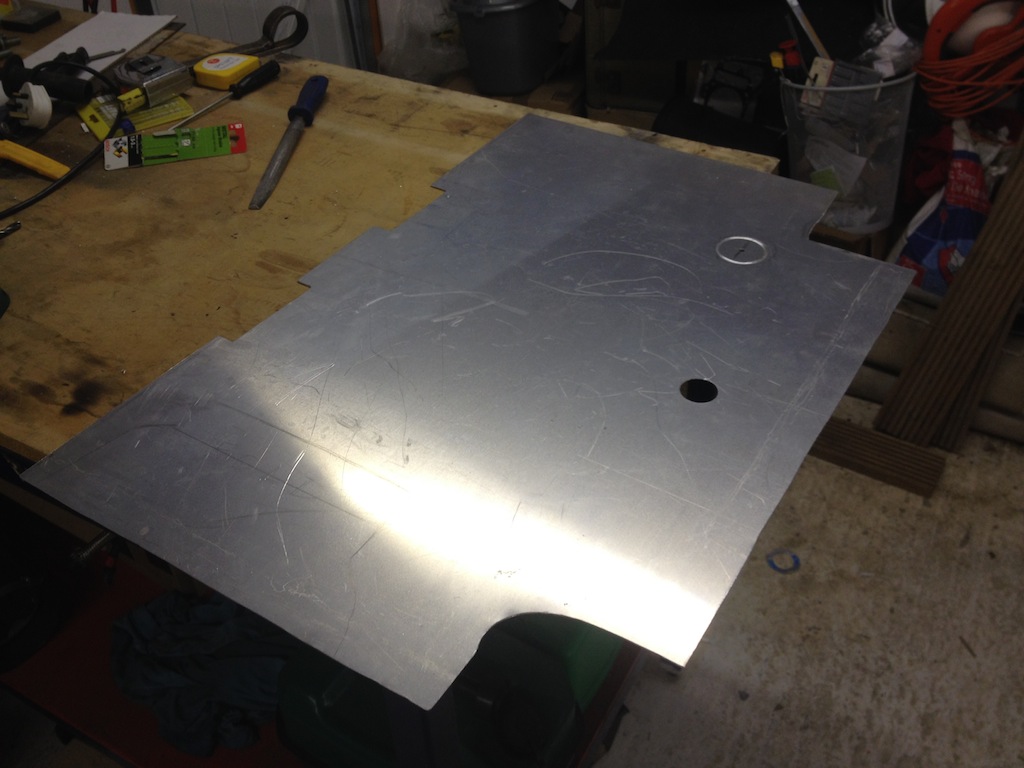
Then cut the sides out of the ally using an angle grinder, alot easier to get die-straight lines over a jigsaw (in my opinion lol)
Tried the boot floor in the car, has to go in a certain way due to rollcage legs, but ones its mastered, its easy
Butts up nicely to the rear bulkhead, and sits onto of the angle
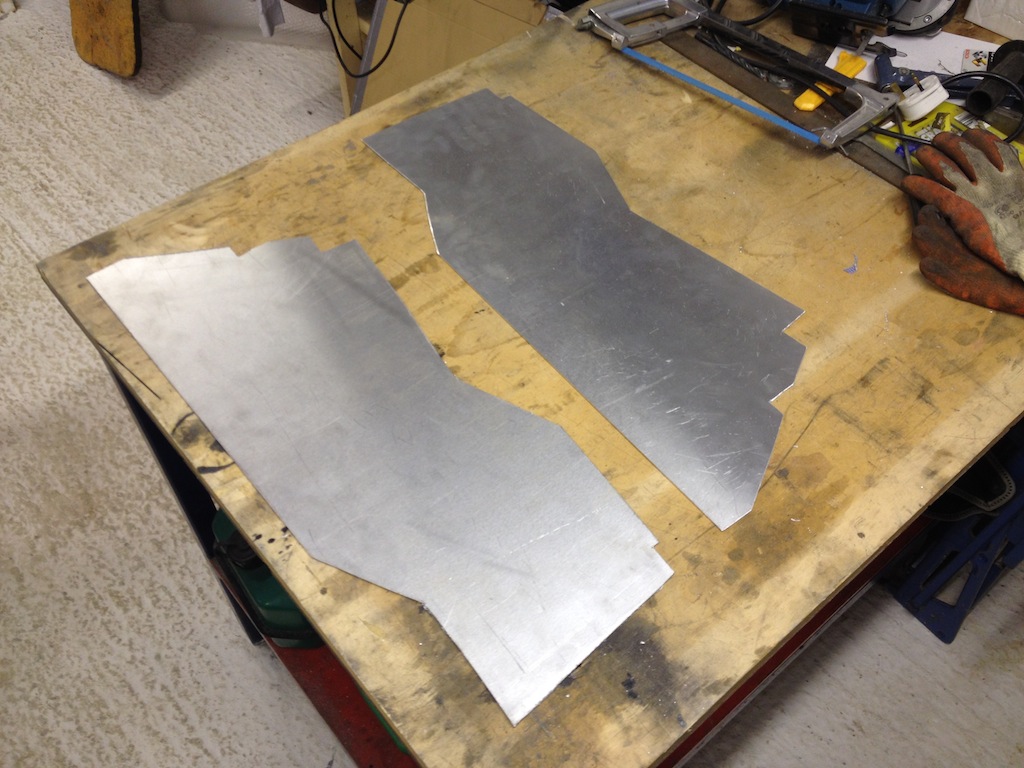
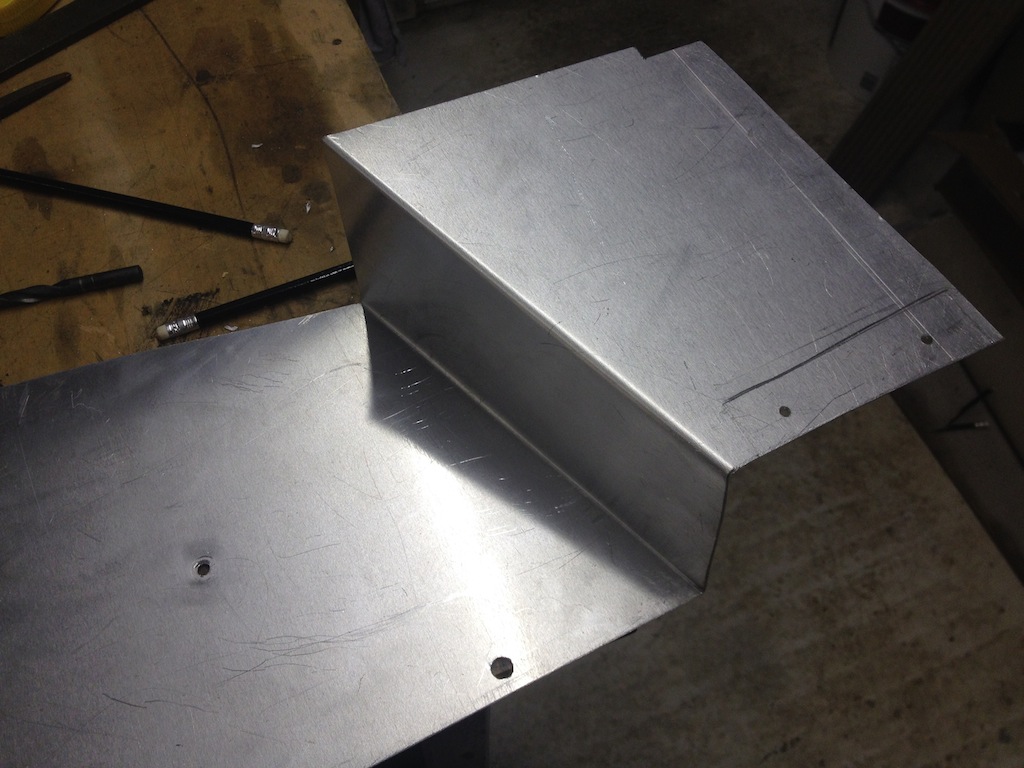
Then removed to de-burr the edges, here is the template for boot floor and sides
Next up to fold the sides, using a clamp and a vice to get a nice straight edge
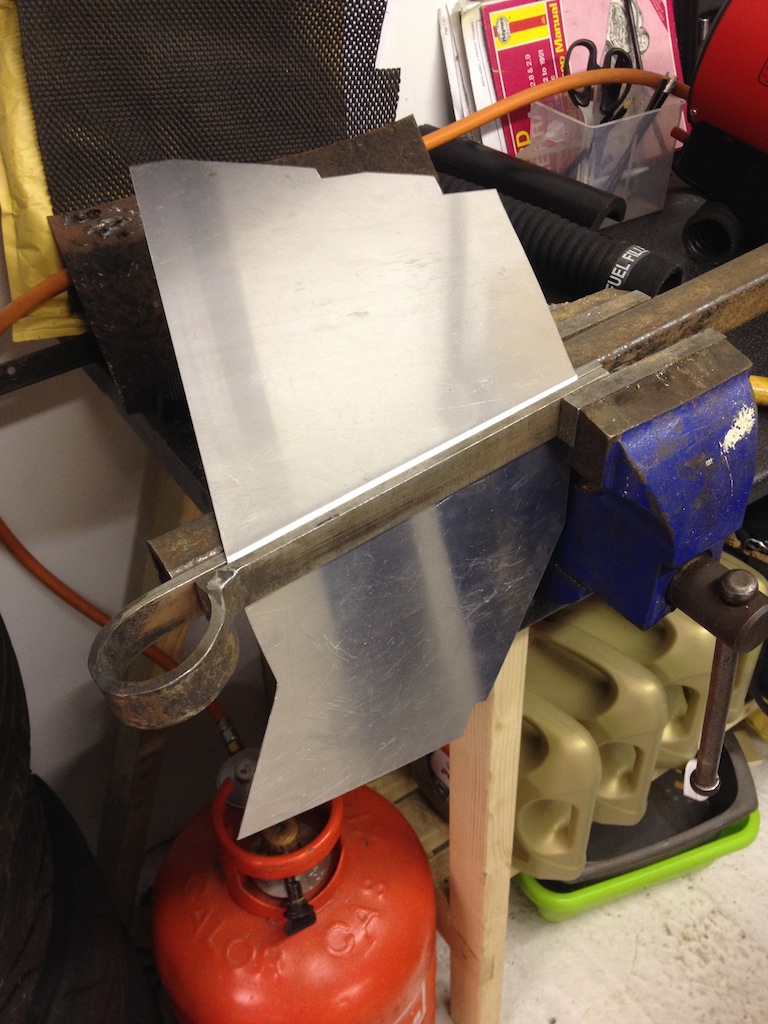
Being sure not to bend the further most back bend first, otherwise you cannot then get it in the vice to make the further forward bend, you end up
with something like this, drivers side done

Just slots in place, I've decided that each panel will be individually carpeted first, then fastened in, so you'll see the head of the
bolt holding each panel in, but that suits me, so should I need to remove them to access shock absorbers or remove the boot altogether, I can do
without having to rip off the carpet to access said fastening bolts
Passenger side was just as easy as the drivers
This is where I left it for today

[Edited on 24/11/13 by yellowcab]
|
|
|
Ben_Copeland
|
| posted on 24/11/13 at 02:21 PM |
|
|
Excellent progress mate. It's looking good. Just wish I had time to work on my car!!
Ben
Locost Map on Google Maps
Z20LET Astra Turbo, into a Haynes
Roadster
Enter Your Details Here
http://www.facebook.com/EquinoxProducts for all your bodywork needs!
|
|
|
yellowcab
|
| posted on 2/12/13 at 07:30 PM |
|
|
Sorry it got a bit stagnant in here - had other bits & bobs going on.
Firstly, must say a big thanks to daveb666 for collecting and delivering my new lightweight Donkervoort nose cone - really appreciate it pal

Slow progress on the boot box, as started building the trailer with Mike
To add stability to the box itself, I riveted some angle so the sides met the floor
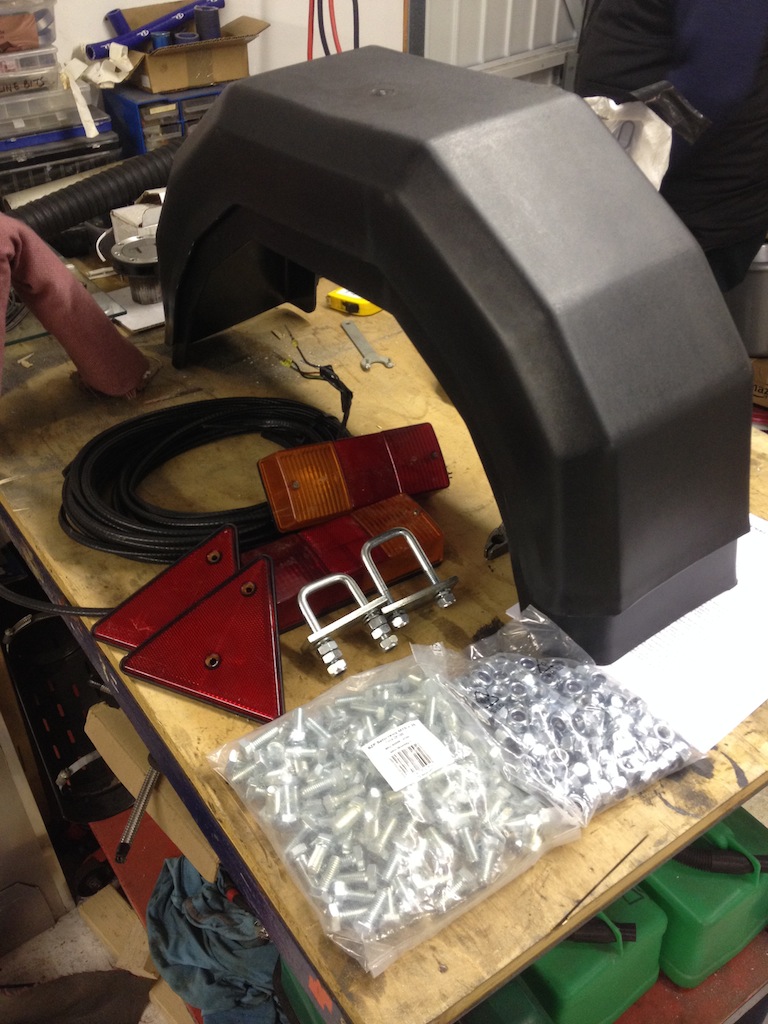
Next up, trailer goodies
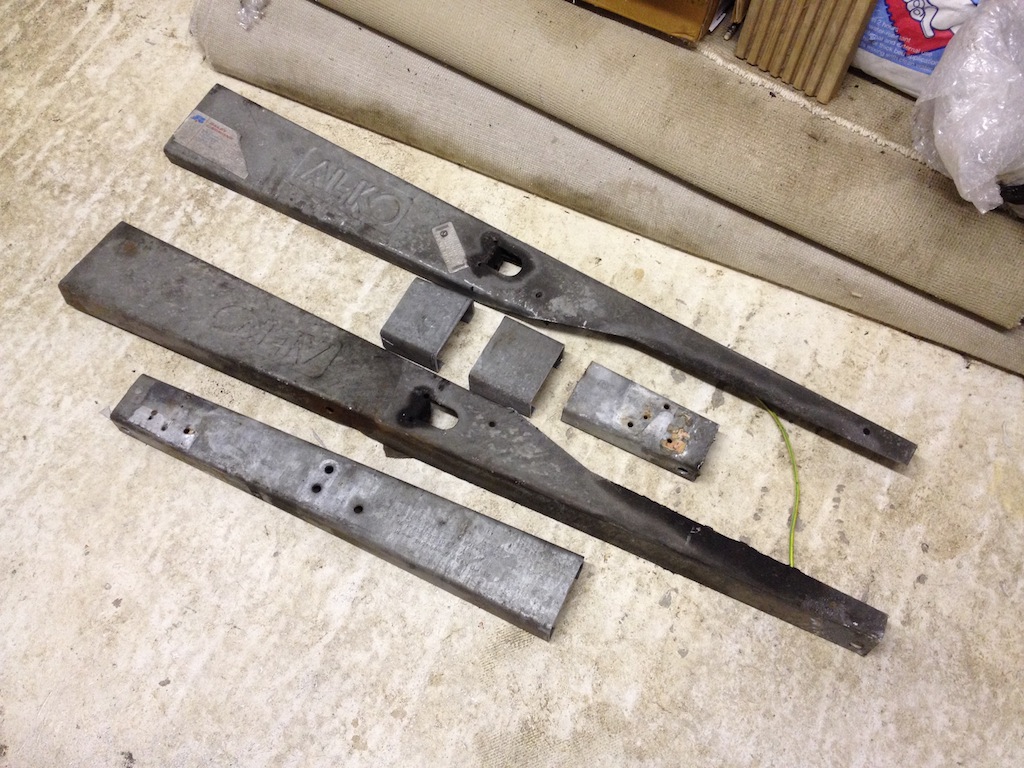
Removed 3ft from the back of the trailer, and 3ft off the front of a trailer, making a 21ft caravan, now a 15ft trailer, from tow-hitch to rear
Swapped the positioning around inside the garage
Made up some crush tubes, so the trailer will pull straight, and no drag to one side, some 100mm bolts will pass through this section, straight
through the tow hitch

|
|
|
yellowcab
|
| posted on 2/12/13 at 07:34 PM |
|
|
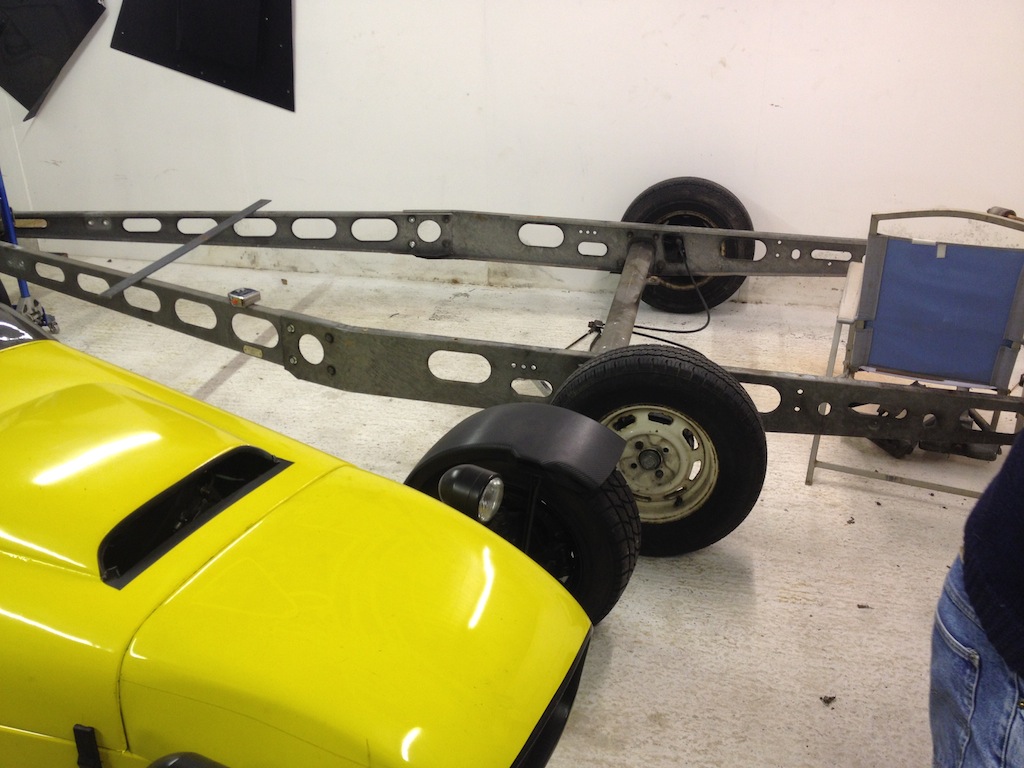
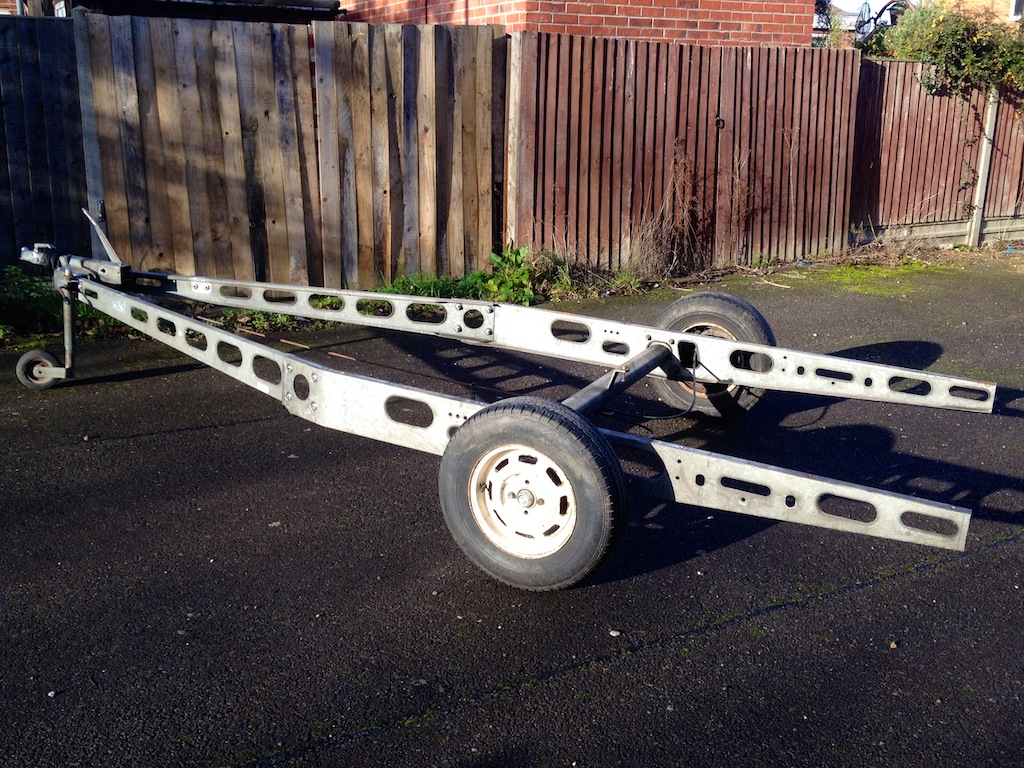
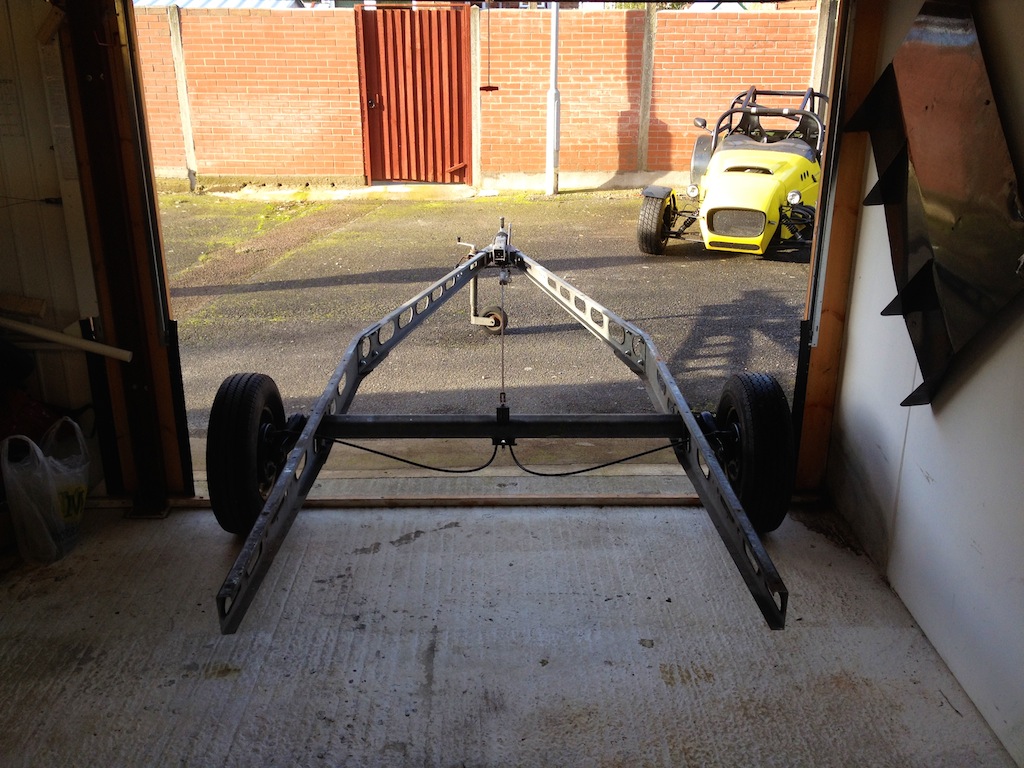
Here is the basic framework, whilst the rest of the 3mm galv is being cut & bent
Will need a long jockey wheel, wheels to be painted, and the rest cleaned up but you get the idea

Random shot of car with 13s on with new tyres
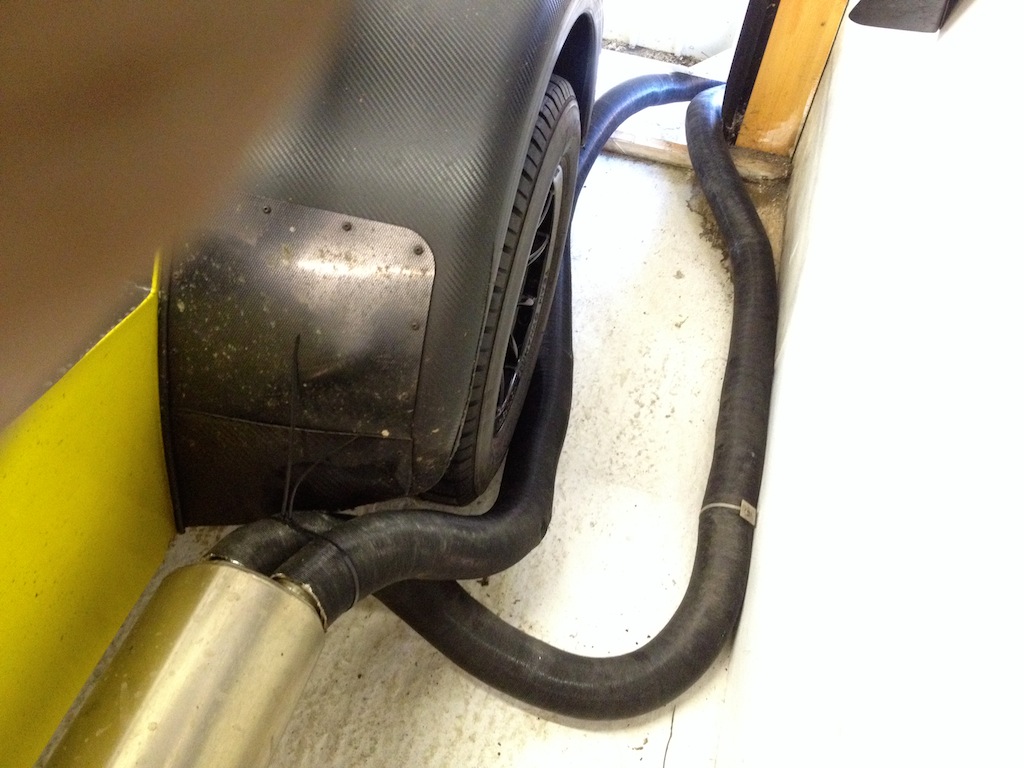
Used some old caravan ducting so I could run car inside garage without getting smoked out by fumes lol
Ordered some carpet, and made some templates for when I get the carpet
|
|
|
yellowcab
|
| posted on 8/12/13 at 08:45 PM |
|
|
A small useless update, but photos none-the-less, we all love photos huh
Grubby but who cares, a couple of 3.14 diffs, they'll clean up magnifique!
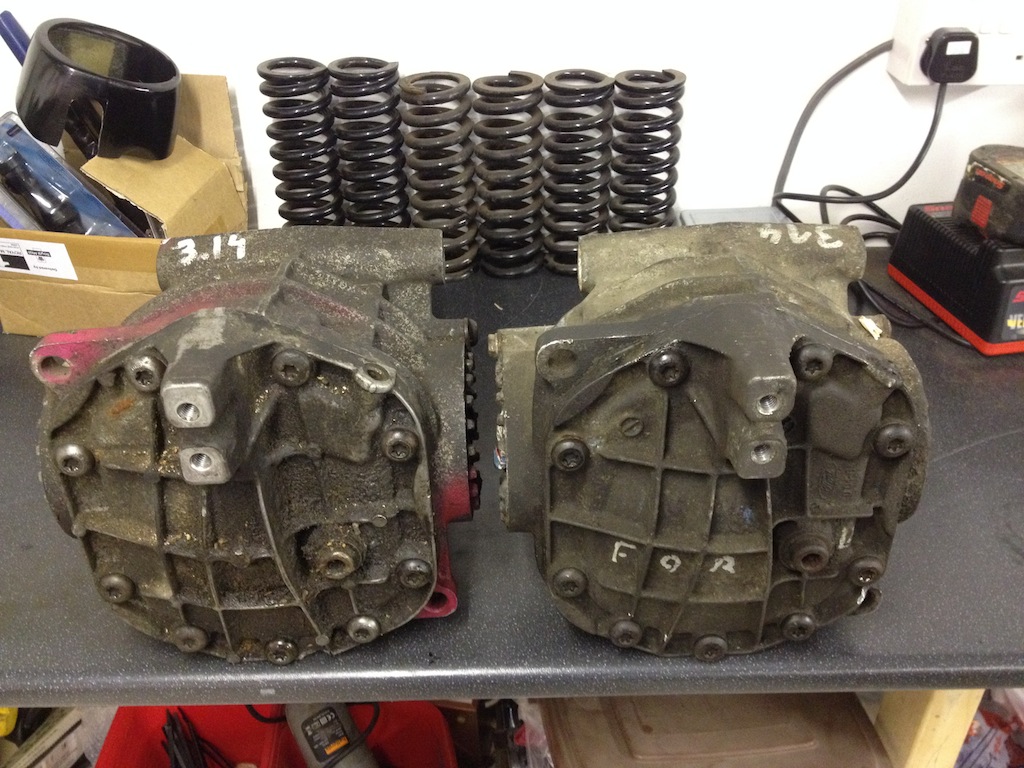
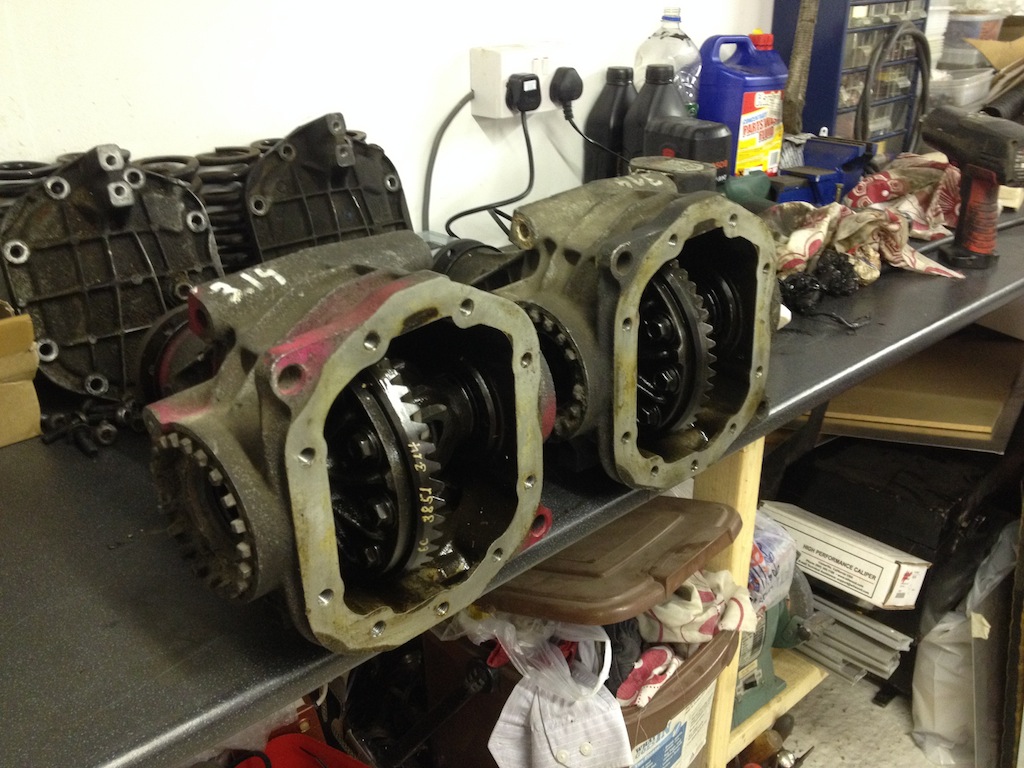
Diff number 1
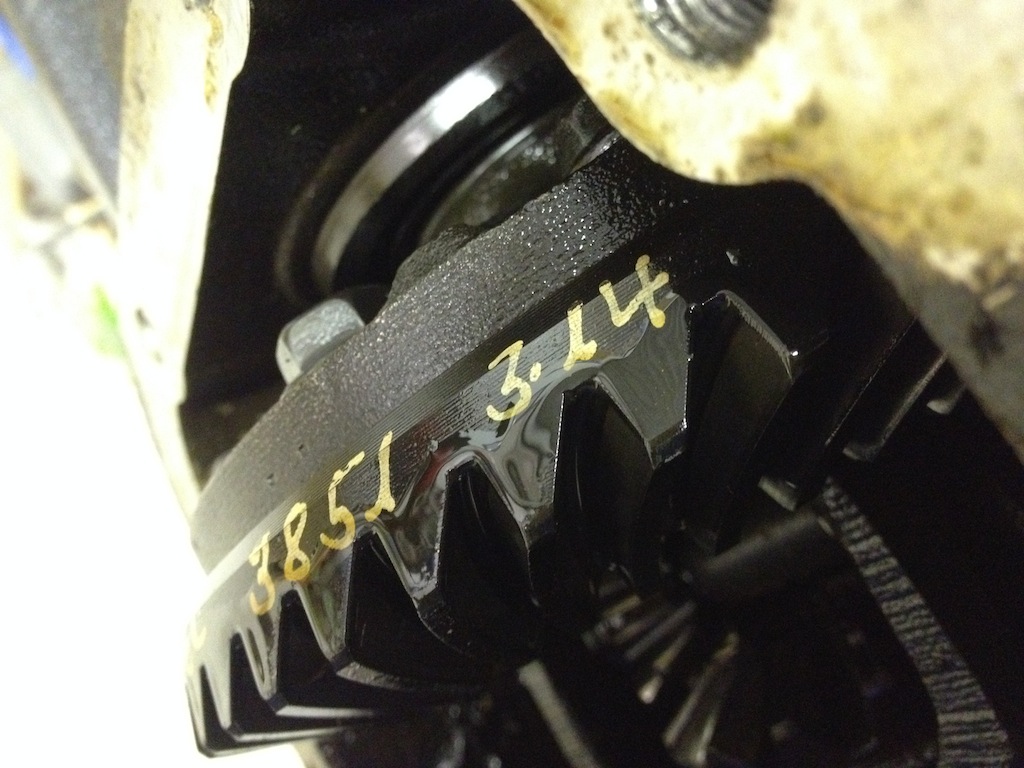
Diff number 2

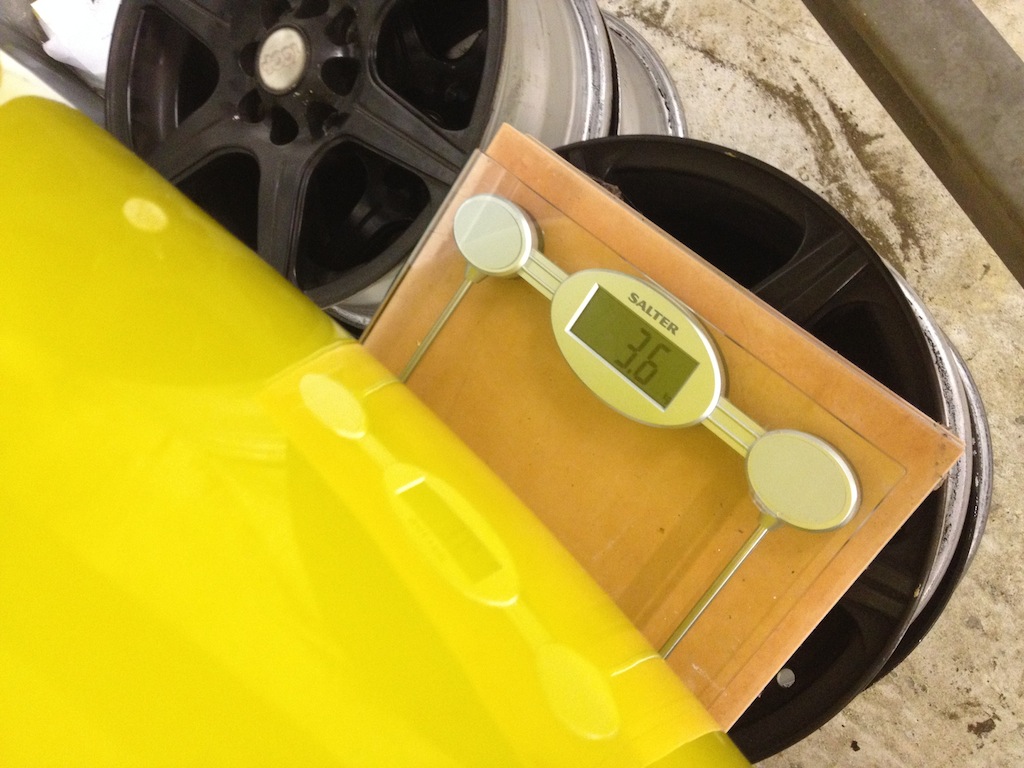
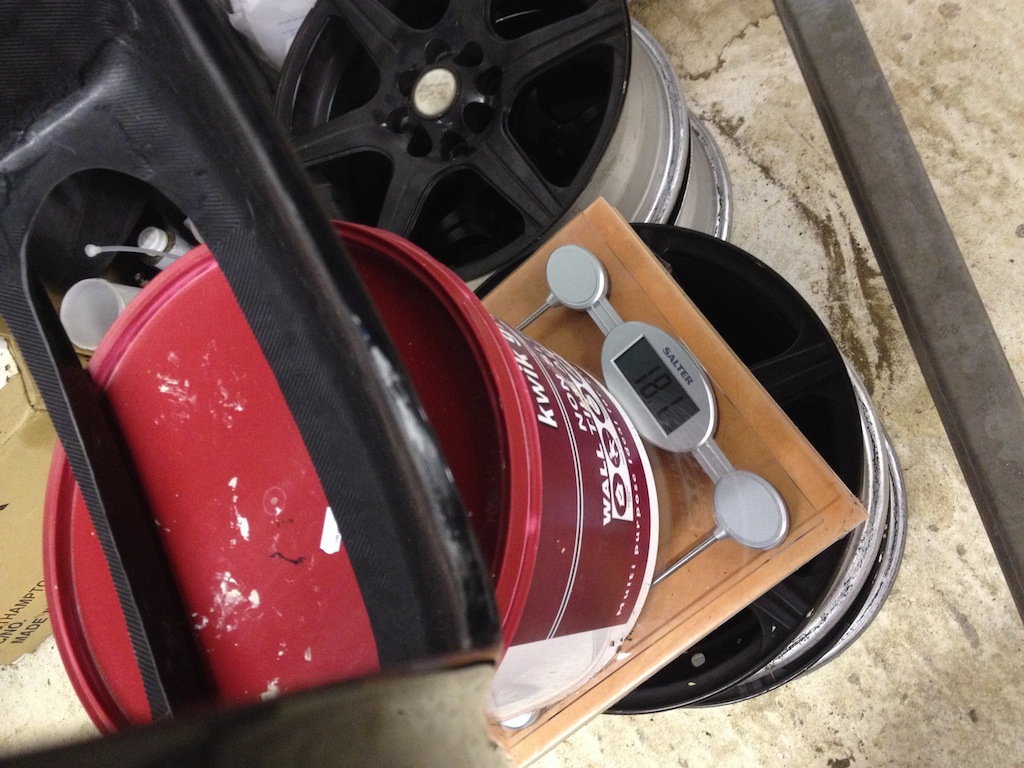
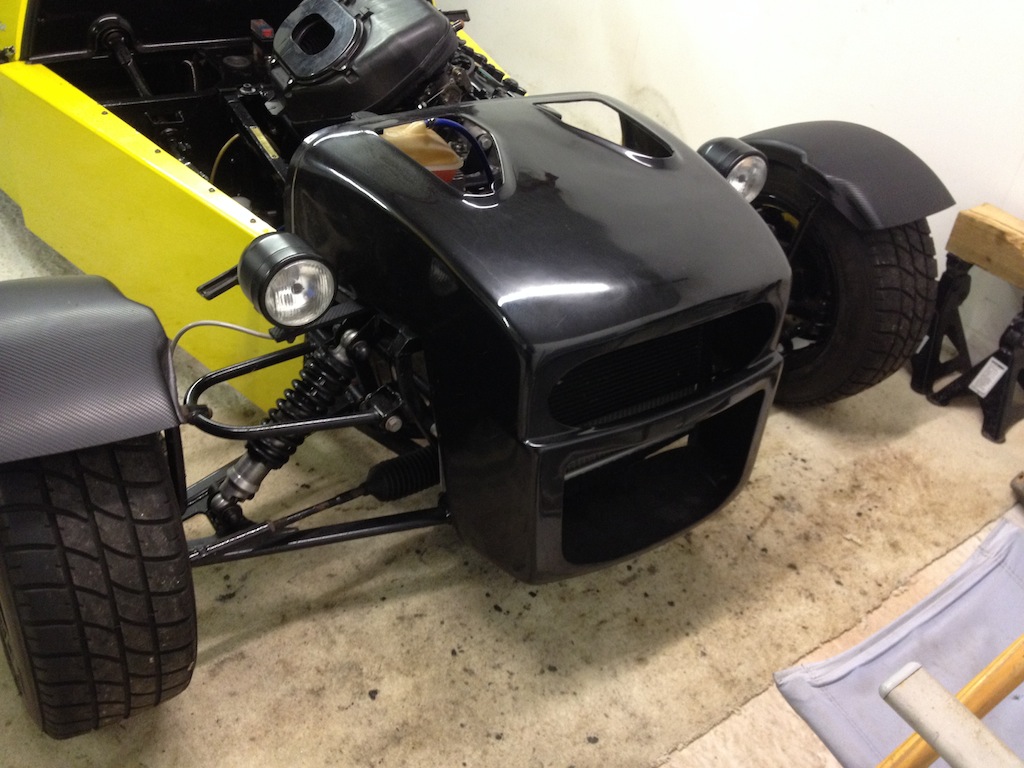
So my new Donkervoort nose cone that daveb666 picked up for my 'felt' light in comparison to my current one.
Not exactly a 'fair' weighin, as my current yellow nose has mesh on it, and the small indicators, but still interesting nonetheless,
current nose cone - 3.6kg
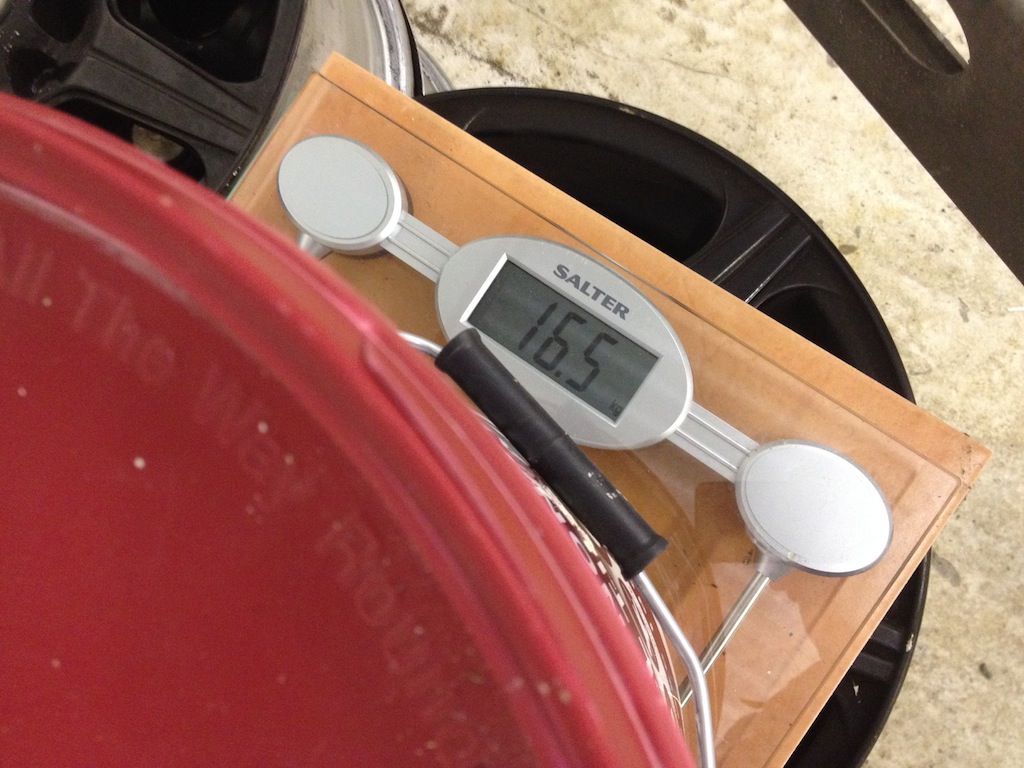
Then my new item was too light for the scales to recognise, so had to weigh something heavier then minus one from the other, 16.5kg - 18.1kg = 1.6kg -
so less than half, happy with that
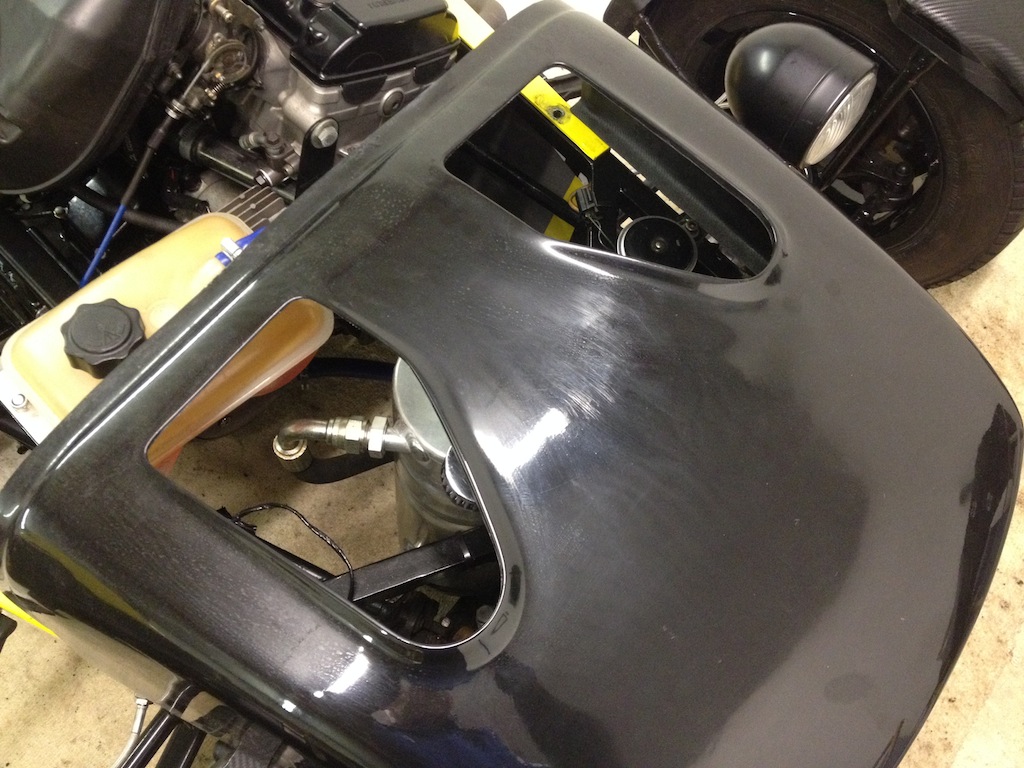
Not fitted at all, as needs trimming to fit around oil cooler, but its just offered up for now
[Edited on 8/12/13 by yellowcab]
[Edited on 8/12/13 by yellowcab]
|
|
|
yellowcab
|
| posted on 8/12/13 at 08:59 PM |
|
|
http://www.youtube.com/watch?v=o_pGPYRQ3Nc&feature=youtu.be
|
|
|
Ben_Copeland
|
| posted on 8/12/13 at 09:04 PM |
|
|
What's the video all about? Showing off lol?
Ben
Locost Map on Google Maps
Z20LET Astra Turbo, into a Haynes
Roadster
Enter Your Details Here
http://www.facebook.com/EquinoxProducts for all your bodywork needs!
|
|
|