
graphite elctrode electrolosis
Mark100 - 31/10/14 at 05:26 PM
Hi ive been reading about this for a while and after 18 pages and numerous you tube vids wiki threads etc
I have been looking at grahite electrodes and thought id have a go myself
So this is how I put my rig together feel free to tell me if you spot anything ive done wrong or dangerous (not the best when it comes to wireing )
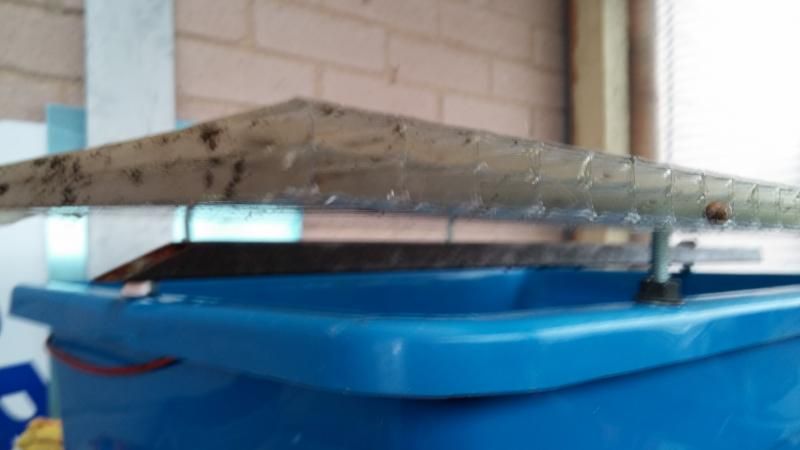
Cheap storage boxes three for a fiver from the cheapo shop wire and bolts from the scrap pile we all have in the shed a bit of clear plastic
leftover from the roof when I built my shed a charger from the bottom of the draw its been in for years its one of those multi types that come with
20 different ends so you can plug anything in to charge usb etc and it is easy to change the voltage 12v 24v 30v if I remember its was about £15 from
the bay
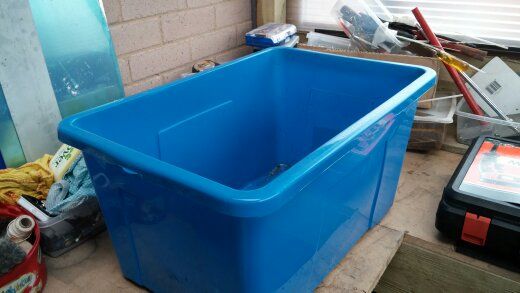
drilled 4 holes in the top and bolted up from underneath wired each together with red cable to remind me it is the + the bolts then double as an
attachment for the roof as this box will be outside in all weathers
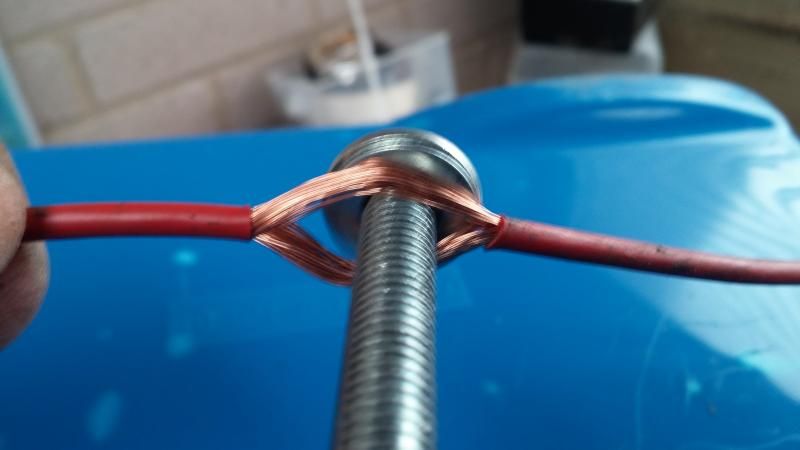
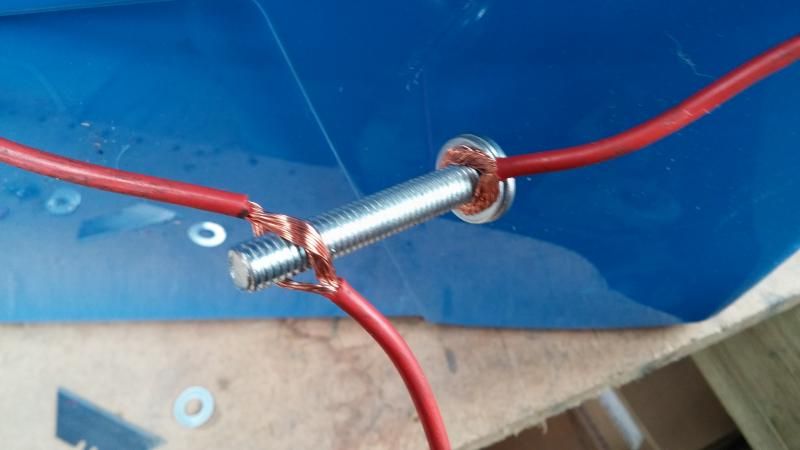
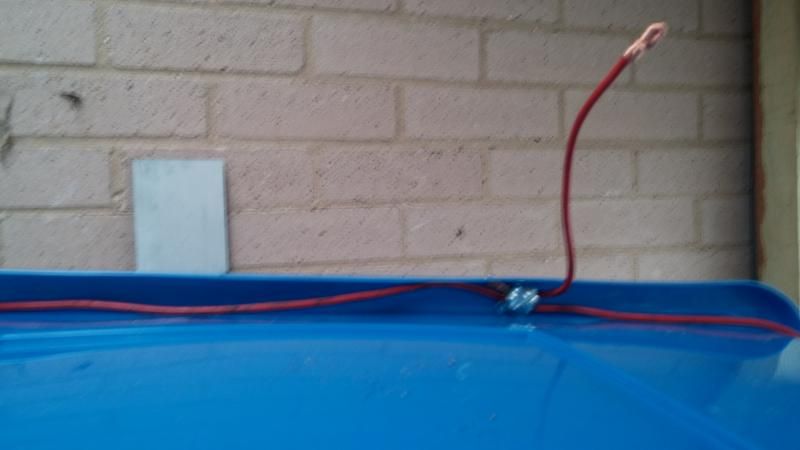
bit of old chassi spare bolts throw and a couple more holes brilled in the top of the box to locate the - and stop accidental contacts + to - brushed
the rust off then just oiled it only has to conduct electric
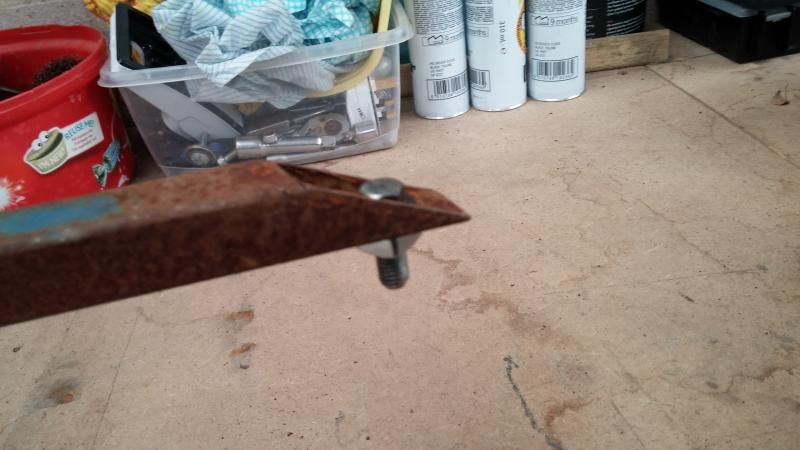
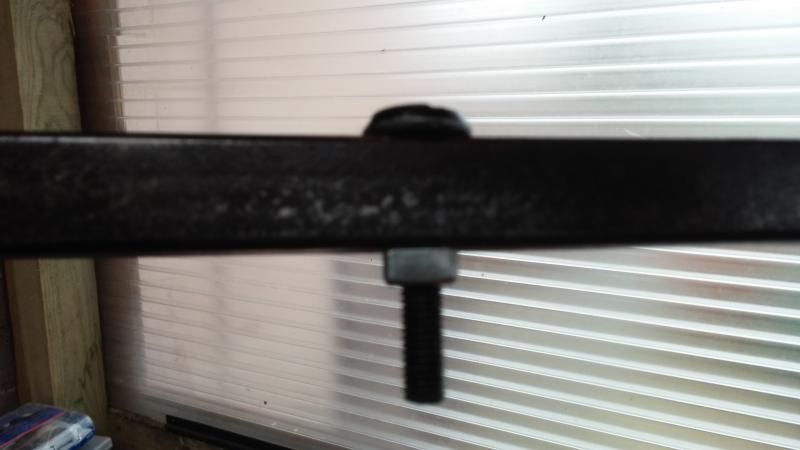
end up like this
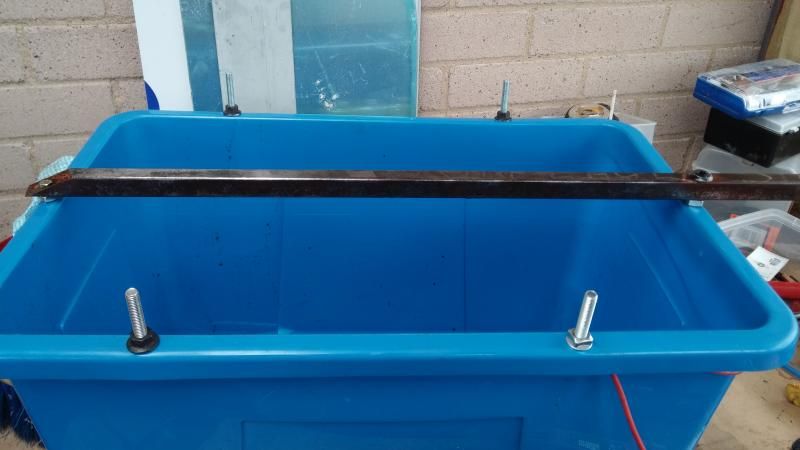
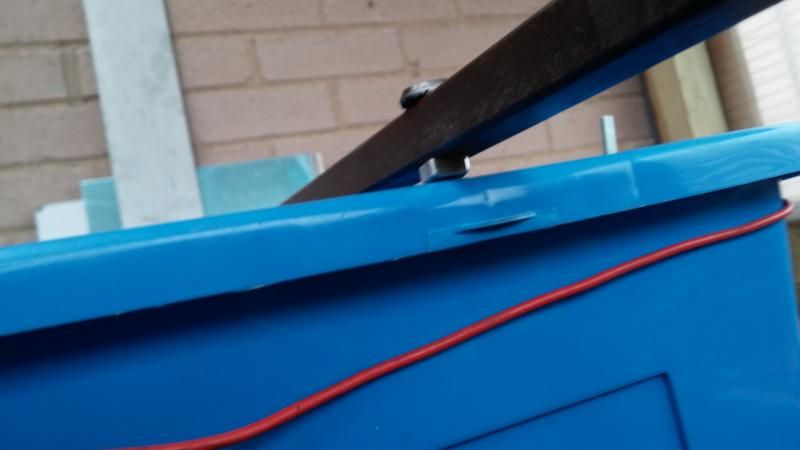
[Edited on 31/10/14 by Mark100]
Mark100 - 31/10/14 at 05:58 PM
chemicals used and electrodes
just after the correct washing cristals I must of look a complete nerd reading the back of all the powders in tescos for half an hour
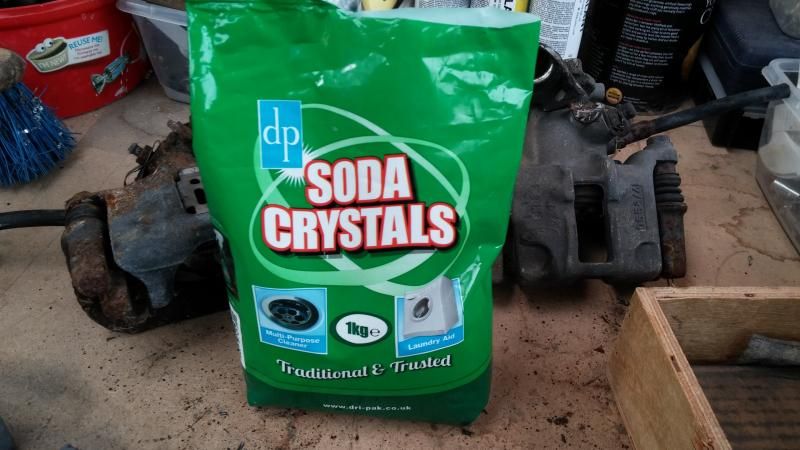
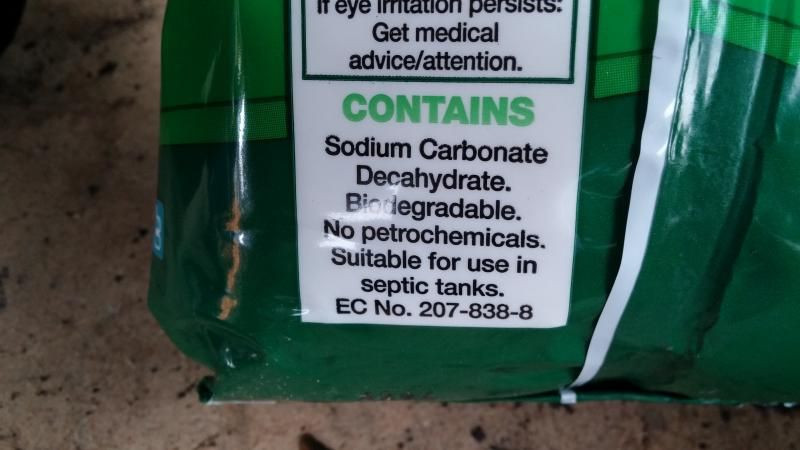
with the correct active ingreadeant sodium carbonate £1 spent on chemicals
Now on to the electrode most people ive seen have used a big block of steel old spanner etc but ive seen a few on you tube (carnt work out how to like
"the clean method" to this post)
but I thought id do graphite and it did take a while but I found a block for sale on the bay
£20 quid deliverd in its own crate you can find them if you look for furnace blocks ( industrial use for graphite)
8kg block showed up so I cut off what I needed 25mm square by 175mm long x4 and still have loads left
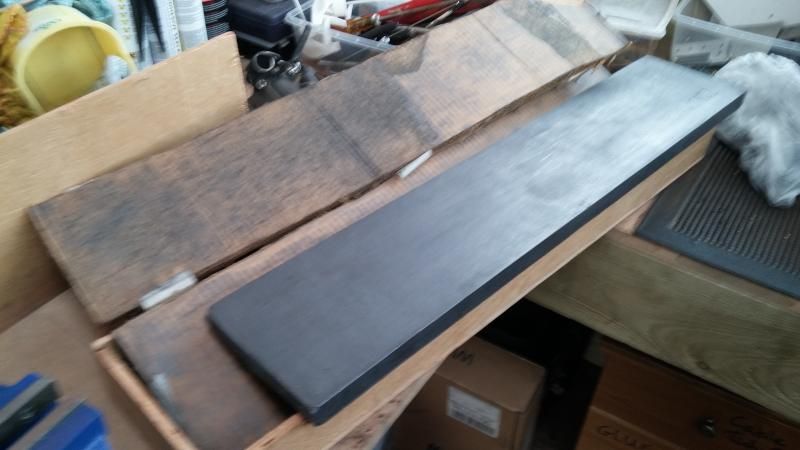
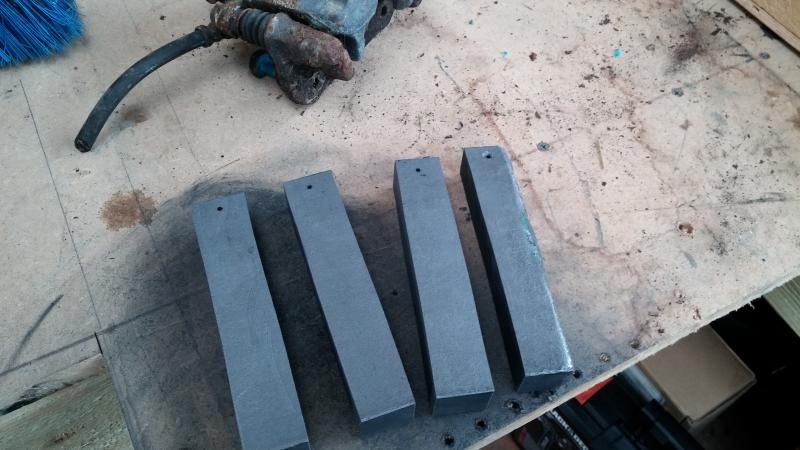

easy to cut to drilled holes to hang with wire
Mark100 - 31/10/14 at 06:14 PM
and it ends up looking like this sat outside shaded from the worst of the wind by my pile of scraps and spares
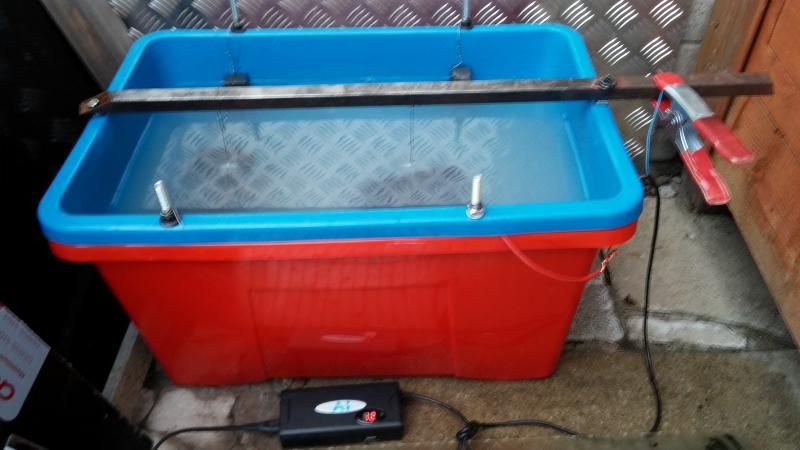
that's just rigged quick for the test but its all clipped in now with crocodiles the chargers in the shed just the + and - come out of the shed
to reach the tank bubbles from the callipers roof on woods just there to hold the lid on
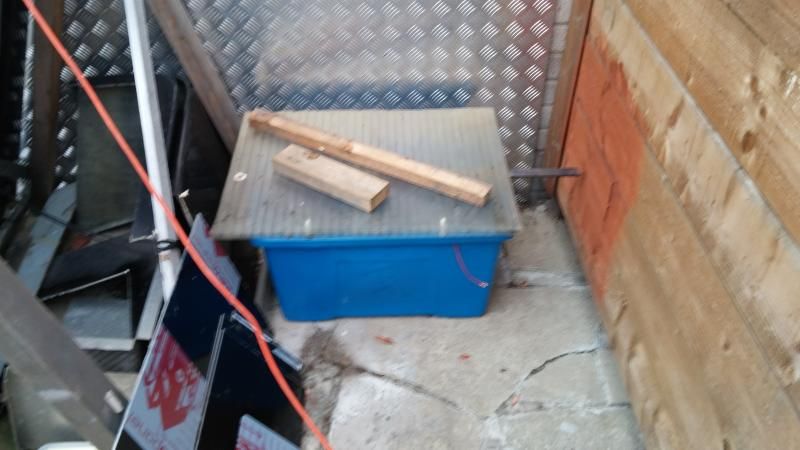
thanks for looking Mark
designer - 31/10/14 at 07:14 PM
It's just as effective if you use bits of old steel/rebar instead of graphite.
Mark100 - 31/10/14 at 08:05 PM
just thought it looked a lot cleaner less scrubbing reqiured after the parts come out ?????
and the water has a less pond scum on it in the vids it hardly even changes coulor the particulates just fall to the bottom of the tank does the
setup look right ???
craig1410 - 31/10/14 at 08:31 PM
Hi,
Your setup looks pretty good and certainly a lot more professional than the setup I created to do my rusty bits. 
Only concern I have is whether the surface area of the anodes is large enough to allow a large enough current to flow. I've not used graphite
anodes before but I know I got much better results with a larger flat piece of steel. I think it was an old piece of 3mm steel I used, perhaps
12" long by 5 or 6" wide.
The important thing is that you are able to get a decent current flowing so if you're getting plenty of bubbles and it's getting rid of the
rust then all good. One final thing is to ensure that the gas emitted is able to escape freely and that nobody chucks a cigarette end or something in
that corner. A flammable gas sticker would be the ideal thing to put on your box maybe but that's probably a bit "health and safety" to
be honest. If it's outside then the chance of gas collecting are slim.
Good job but the proof of the pudding....let us know what results you get!. 
Mark100 - 31/10/14 at 09:38 PM
Thanks craig
ill have a look first thing tomorrow and post results ( its like cristmas morning as a kid )
its quite windy down behind my shed so hopefully the gass given off will be ok the wife dont smoke and its only me and the dog that go down that end
of the garden and if i find him haveing a sly fag he's in for it.
should have about 250sq cm contact erea with anode to liquid about 7 inch from part
Cheers
designer - 1/11/14 at 09:40 AM
This system removes rust by 'line of site' so a the more anodes the better.
Mikef - 1/11/14 at 01:10 PM
Been having a look at doing this, looks a really god job , could you tell me the amount of crystals you need to add to presumably water to get the
right mix? and presume the graphite connection is Positive and the work just hangs from the crossbar wires which with be the Neg connection. Will any
old battery charger do the job , I have one that is just low and high. I was going to set it up to do tubular wish bones and then zinc plate them. Any
help suggestions on this would be great , early days for me. ?
Mark100 - 1/11/14 at 05:39 PM
well they have been in 24hrs now
so time for a before and after the calipers went in hole as they were so bad I could not brake them down without rounding nuts etc they have been on
my donor in 3 feet of grass at the back of the father in laws garden for 10 years

this is the water after a day

can you tell witch one has been in the dip

the photos don't do it justice the bronze coulour is starting to come out and all ive done is a quick dry with a cloth


just a little test piece

the hole piece is bubbling now
the anode shows no build up or deteriation so no change there

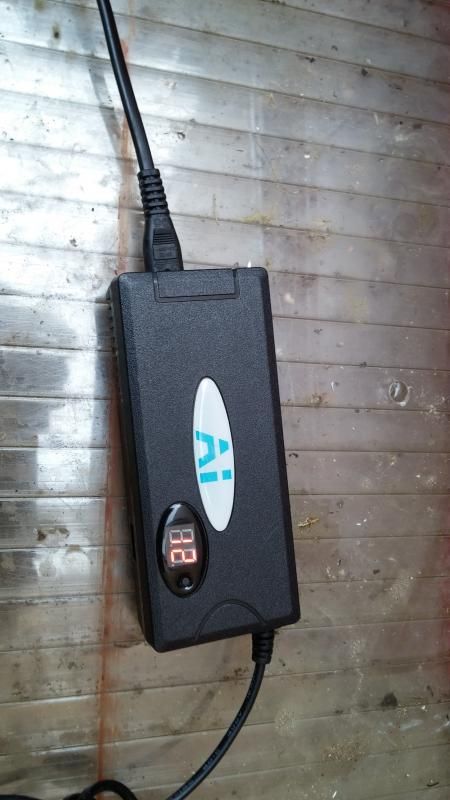
the charger I used is one I got a while back when I broke the lead for my laptop I did try with a new ish auto battery charger the type you just plug
in to your car battery and forget about that would not even start a current its to clever think you need an older type charger and the mix I used
as a bit of a bloke measurement the internet says one cup to a gallon of water
but I just filled the tube to were I wanted it and tipped in half a bag its only a quid at tescos anyway
Mikef - 1/11/14 at 06:13 PM
Thanks, will go down the Bloke measurement route. Have old charger, so hopefully it will be ok . The results look really good.
coozer - 1/11/14 at 07:01 PM
Looks good, I use piece of steel plate that just slides down the side of the box. It is dropping to bits and your choice of gravite looks a very tidy
idea..
I use a laptop power supply, it knocks out 17v and 6amps, enough to make your hand tingle if you put it in the water when its on. I found battery
chargers just don't cut it, the constant high free load burned 3 out for me! I bolted the terminals to the plate and a pair of mole grips for the
part. Good connections are better than crocodile clips.
Now I'm wondering if the gravite comes in flat sheets? Might be worth getting some to see how clean the bits come out, I'm keen to get rid
of that fine black stuff that's usually on the surface.
coozer - 1/11/14 at 07:39 PM
Had a good search and can't find anything like what you have there...
Mikef - 1/11/14 at 07:59 PM
I have an old lap top charger 19v and 3.4 A, would that be better than and old car battery charger ?
coozer - 1/11/14 at 08:11 PM
quote:
Originally posted by Mikef
I have an old lap top charger 19v and 3.4 A, would that be better than and old car battery charger ?
Think so, a lot more robust in my experience, best to just give it a go. Good coonections help maintain the ampage as well.
Put a multimeter across the positive and in the water to see how many amps is flowing, generally the higher the amps the shorter the brew is.
coozer - 1/11/14 at 08:15 PM
Forgot to add, the soda crystals are 65p in Aldi just now.
MikeRJ - 1/11/14 at 08:27 PM
quote:
Originally posted by coozer
I use a laptop power supply, it knocks out 17v and 6amps, enough to make your hand tingle if you put it in the water when its on.
That usualy down to leakage current caused by an EMI suppression capacitor within many switch mode power supplies like laptop and phone chargers. If
you connect a digital voltmeter between one of the charger outputs and a ground point you'll probably see over 100 volts with no load on it.
Mark100 - 1/11/14 at 09:00 PM
it took me a couple of weeks to find graphite i liked but ive got enough for a good while yet i suppose
so theres a few ideas you could try
161460755448 ebay item i got save it to your watch list and veiw similar items from time to time
www.graphitestore.com
is a sientific store for anodes etc in america bit pricey for a big block but if your just wanting to try might be ok for a small bit or they seem to
have plates of graphite
www.sheffield-pottery.com
dont know if this will be any good more of a direction to look in
(carbide furnace bricks then saw up yourself its east to cut)
hope this works the original you tube vid that got me looking for carbon graphite blocks Shopdogsam
http://www.youtube.com/watch?v=QOx5URgjTiU
Mark100 - 1/11/14 at 09:06 PM
parts back in seeing what ther like after 2 3 then maybe 4 days ill try a few diffrent volts , spaceing , etc as suggested
ill have to measure amps maybe coppergrease my conectoins or something see what helps
might even go for the 65p cristals
Im a yorkshire man how did i get bested on cheapskatery  were famous for it for god sake
Mark100 - 3/11/14 at 06:18 PM
Results
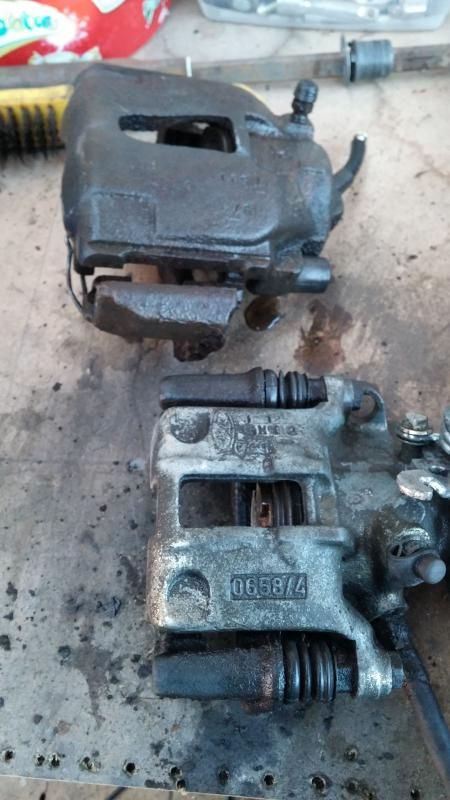
one day at the top two days at the bottom straight out the tank
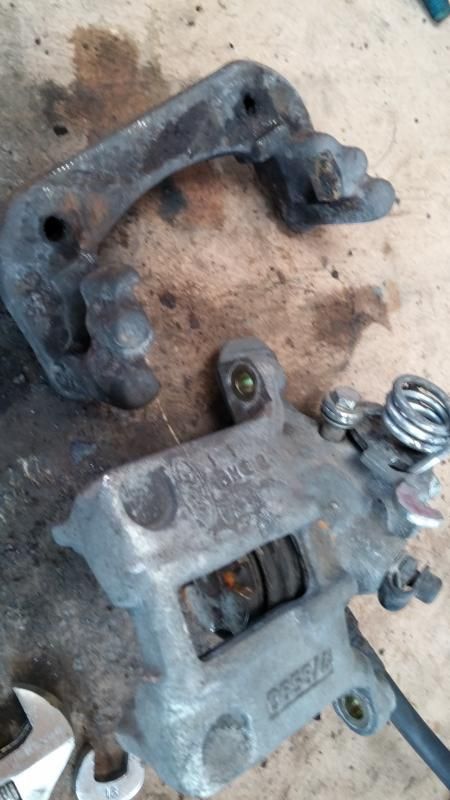
finely clean enough to disassemble and found all the seals are shot so looks like there off to get rebuilt anyway 
the black buildup rubs straight off this is about 10 seconds with a wire brush
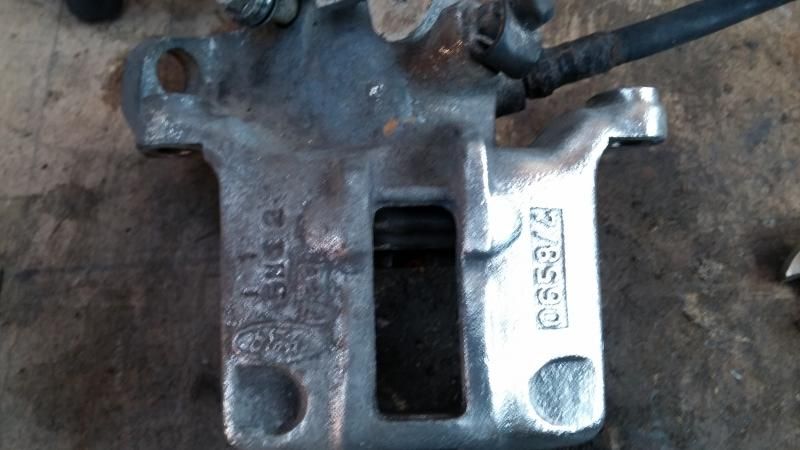
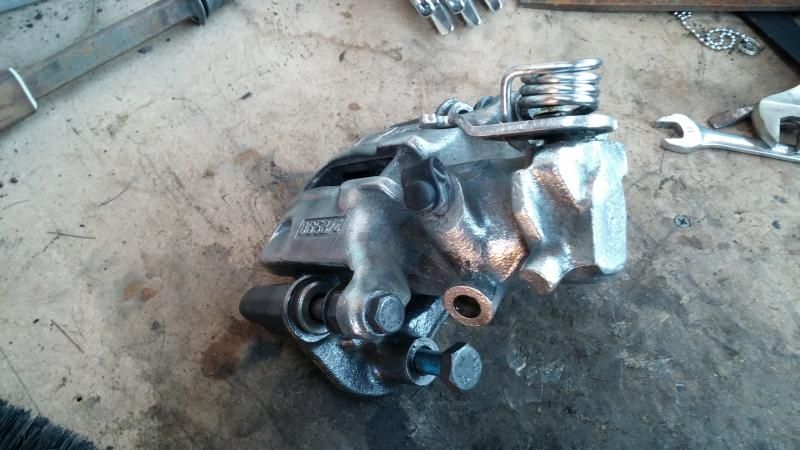
Finished now just 200 more bits to do


 were famous for it for god sake


