
Boot design
mick10 - 2/2/11 at 12:06 AM
Started on the boot area cover a few weeks ago as i couldn't find anything that i wanted to use or that would fit so decided to make one how i
wanted it to look, its not finished yet but will try to update as progress happens.

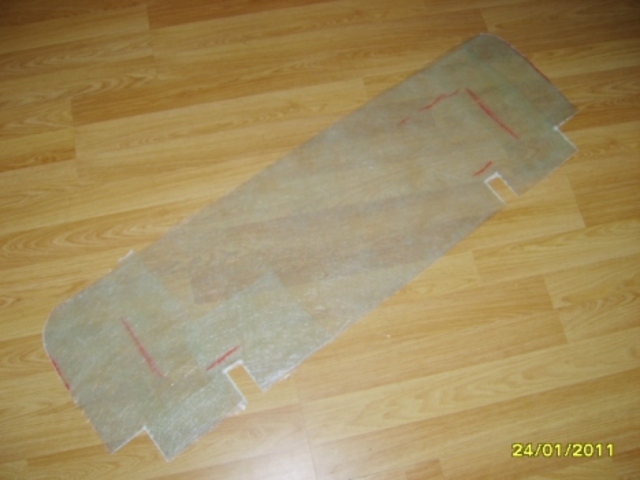
Flat sheet panel
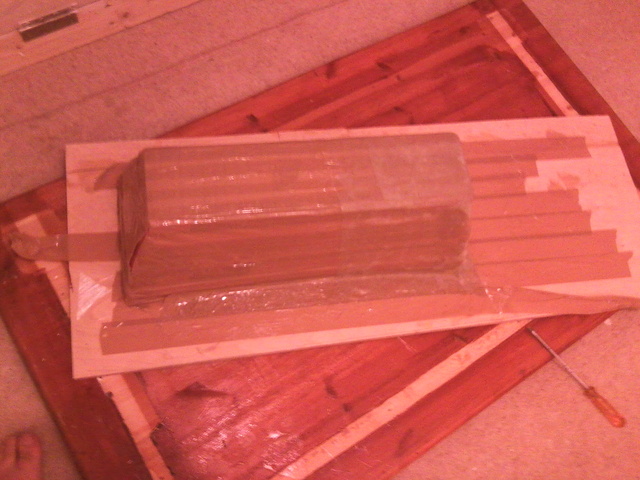
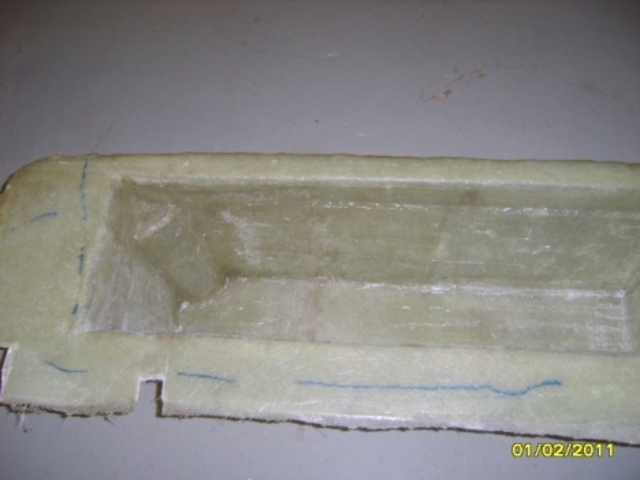
After taking delivery of resin and CSM form East Coast fibreglass i set about firstly making a flat sheet to cut and shape to make the top section. I
have been researching a lot recently about lay up techniques. The use of packing tape seems to be used widely by amateurs as the resin doesn't
seem to adhere to it prompted me to tape up a flat piece of plywood and lay down two coats of matting and resin, once it had cured it just peeled off
the board with ease to leave me with a flat sheet to cut and shape to fit my boot area.
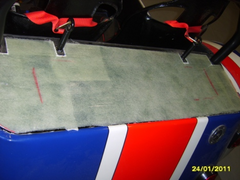
measured against aperture
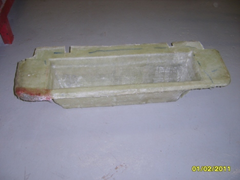
Next brainwave was to get a window box form B&Q and cut the flange off to give me a shape for the boot compartment i taped this up as well and
layed up more matting on it, it was a bit of a struggle to get the cured part outa the box but it eventually came out pretty much unscathed.
taped up
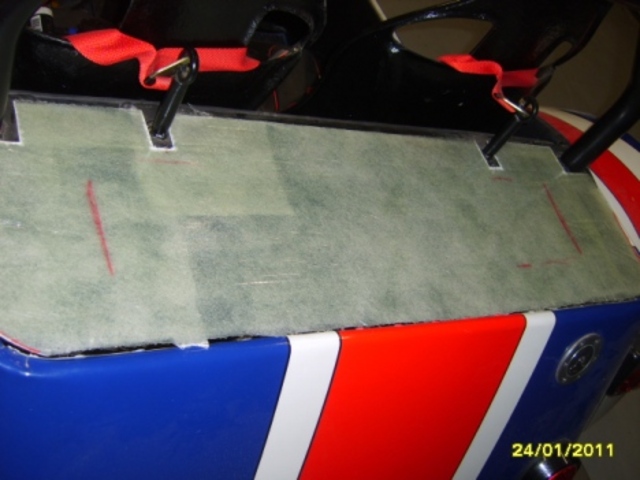
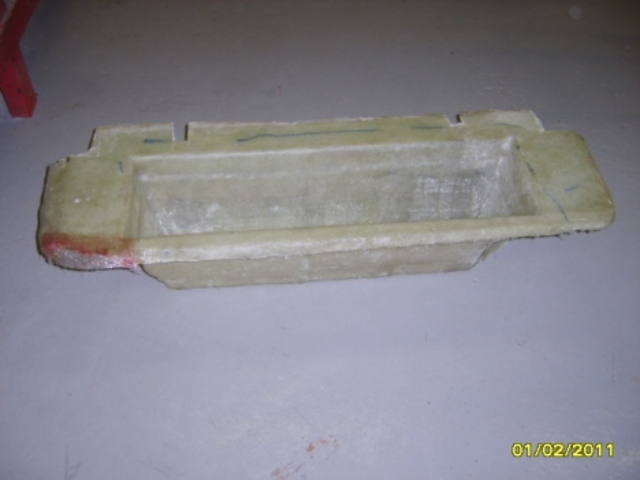
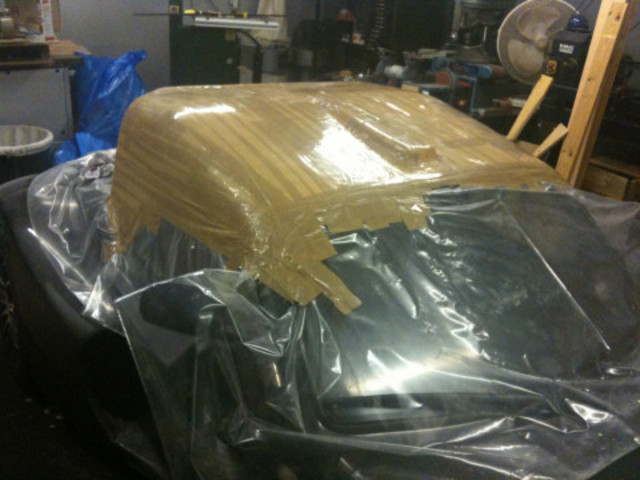
I then cut the end of the first box and moulded an extension piece of the window box to join to the first part to get the desired length.
Then i had to join them together and strengthen with more matting before i could get the shape and curves right around the rear panel.


boot box after joining
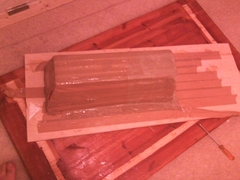
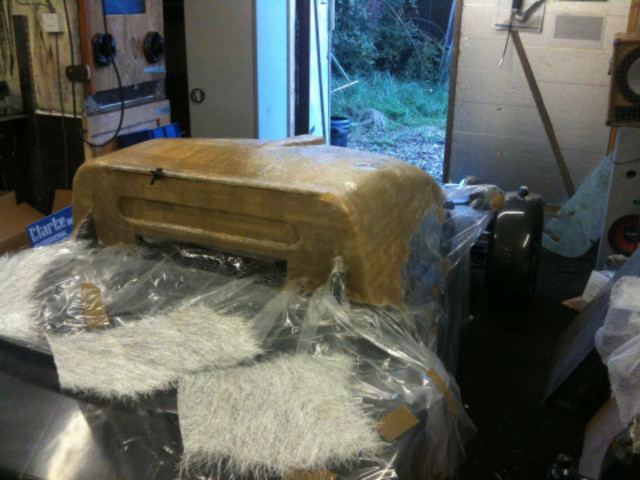
I had to cut out and mould a bulge to clear the filler neck for this i used a plastic milk bottle lol but it worked fine to give me the shape i wanted
then just a matter of cutting and glassing it in to the box.
Description
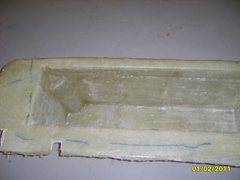
with filler neck cleared
Steve Hignett - 2/2/11 at 12:14 AM
Good work so far!!!
U2U sent
rb968 - 2/2/11 at 12:15 AM
Excellent. Always fancied having go at making some fibreglass parts. Need to do a boot at some point as well once IVa is out of the way.
Rich
mick10 - 2/2/11 at 12:25 AM
Cheers mate, i was a bit worried at first at doing this but its turned out to be very enjoyable and not half as difficult as i first thought. Ive
wanted to get the boot done for ages as id rather get it all finished before IVA hopefully. Still got a way to go though lol.
Madinventions - 2/2/11 at 12:31 AM
Good work there. ECFibreglass are really good people to deal with and packing tape works really well for simple things doesn't it? It's
how I'm doing my hard-top.
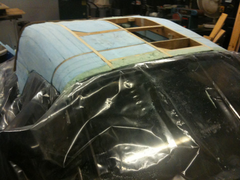

roof mould

Roof with packing tape

roof - first layer of fibregla
(Sorry for the hijack!)
Ed.
Mr Whippy - 2/2/11 at 12:35 AM
damn wish I thought of using packing tape when doing my buggys hard top, all that preparing the wax was a ball breaking job and didn't even work
well as it was so difficult to release the molded panel I cracked the gel coat 
Madinventions - 2/2/11 at 12:36 AM
I also found that 2 or 3mm Coremat XI
(got mine from
eBay) will really help add stiffness and strength to the layup if required.
Ed.
mcerd1 - 2/2/11 at 09:00 AM
quote:
Originally posted by Madinventions
Good work there. ECFibreglass are really good people to deal with and packing tape works really well for simple things doesn't it? It's
how I'm doing my hard-top.
I'm goint to have to keep an eye on your hardtop's progress, one of my mates could really do with something like that for his blitz.....
Macbeast - 2/2/11 at 09:08 AM
Well done, but PLEASE resize your pictures before posting. I had to go next door to see the right hand side 
carpmart - 2/2/11 at 09:30 AM
Good work there, will you be making any more!
mick10 - 2/2/11 at 09:32 PM
Thanks for the comments guys and sorry for the picture size i must have missed resizing that one, I don't no about making any more after this one
I will have to see how fed up I am with fibreglass itch lol.


