madteg
|
| posted on 4/3/14 at 10:40 PM |

|
|
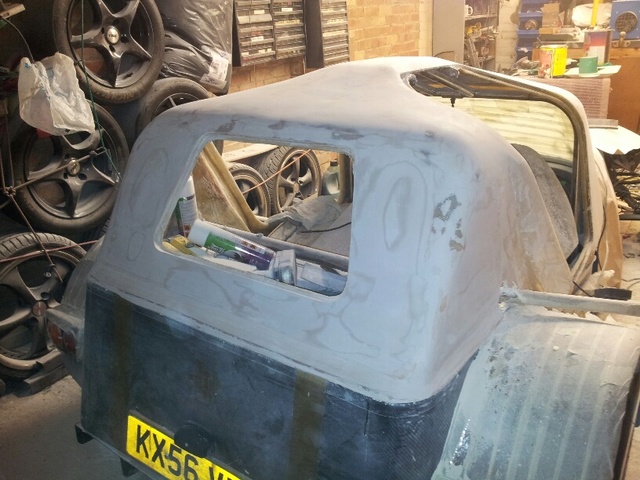
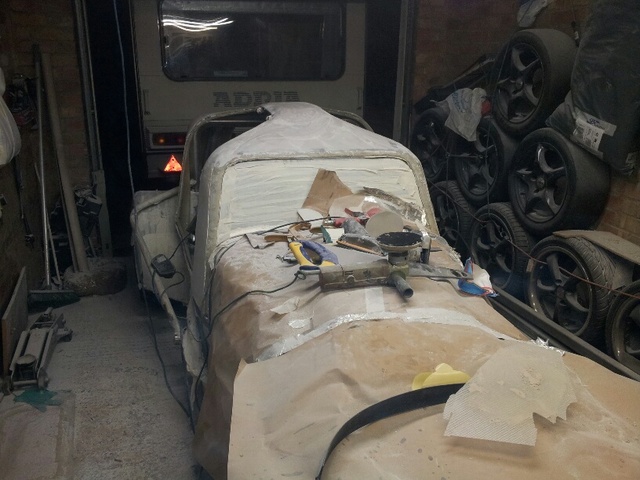
The roof is coming on
Have started with the body filler, fed up with putting it on then rubbing it of again. There must be a easier way
 
Description
 
Description
[Edited on 4/3/14 by madteg]
|
|
|
|
|
pif
|
| posted on 4/3/14 at 11:07 PM |

|
|
i quite like that
been a bit of a rush job really, bodged it all together in just 5 1/2 years.
|
|
|
nick205
|
| posted on 5/3/14 at 12:13 AM |

|
|
Me too
|
|
|
whitestu
|
| posted on 5/3/14 at 07:21 AM |

|
|
Looks fab! Do you think the rear window will be big enough?
Stu
|
|
|
scootz
|
| posted on 5/3/14 at 11:08 AM |

|
|
Yep... looking prety sweet!
It's Evolution Baby!
|
|
|
umgrybab
|
| posted on 5/3/14 at 01:18 PM |

|
|
quote:
Originally posted by madteg
Have started with the body filler, fed up with putting it on then rubbing it of again. There must be a easier way
[Edited on 4/3/14 by madteg]
To make your Bondo life easier, try spraying the entire piece one uniform colour before applying the next layer of filler. This gives a uniform
surface allowing you to see all surface imperfections and shadows. It also hides those different lines and joining edges beneath that can fool the eye
on how smooth a surface is. I suggest a mid-light colour, like a gray. Also if you use a high-fill primer, it fills all the tiny holes the filler
doesn't want to work into. Also helps for sanding as when you hit the colour layer, you stop sanding that area. For extra ease alternate colours
between layers (gray one coat then say yellow after the next), this helps visually see all the small imperfections in a smooth curved surface.
Looks good so far.
|
|
|


