theduck
|
| posted on 20/10/12 at 10:47 PM |

|
|
Let me get this straight, you bought a busa engine, and hid it at someone elses house so the wife wouldn't notice? Wish I could hide such a
large purchase! Mine caught me out on a borrowed ball joint splitter she thought I had bought, and I quite
"why do you keep buying more tools you'll only use once?"
|
|
|
|
|
beaver34
|
| posted on 21/10/12 at 07:37 AM |
|
|
Looks great,
But I've never seen a dry sump tank like that, will it work ok not being round?
|
|
|
daniel mason
|
| posted on 21/10/12 at 10:06 AM |
|
|
the tank is from a radical pr6 dry sumped busa so i hope its ok. do they need to be round?
|
|
|
daniel mason
|
| posted on 27/10/12 at 08:09 PM |
|
|
ordered a load more stuff from sbd this week. including a sump gasket for a dry sump setup so i will fit that tomorrow.
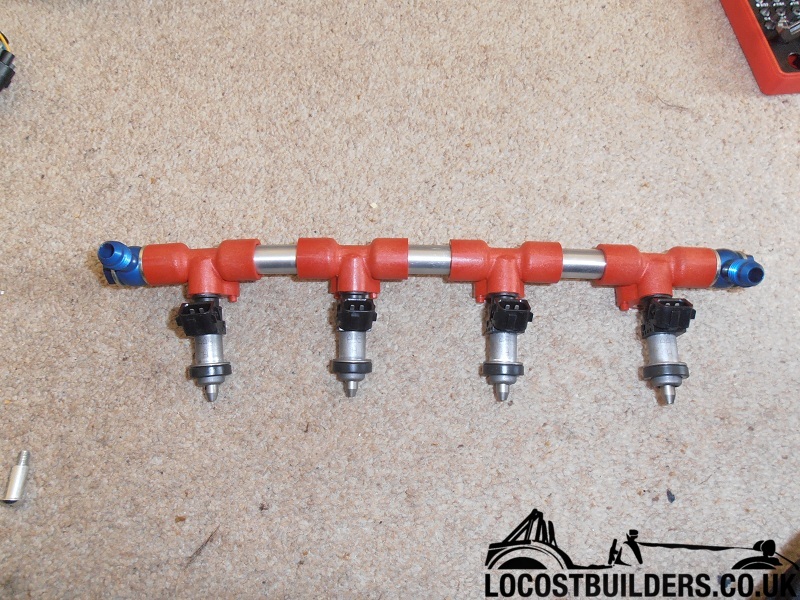
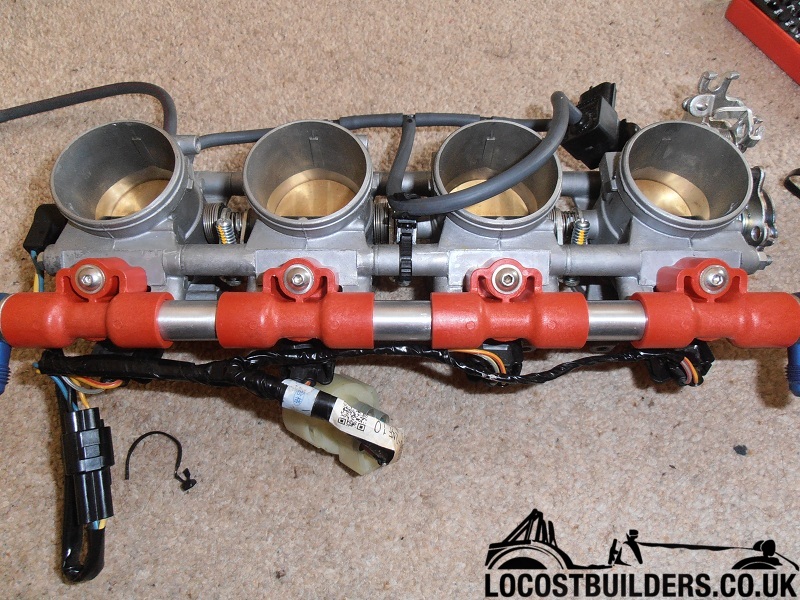
1st was a busa high flow fuel rail

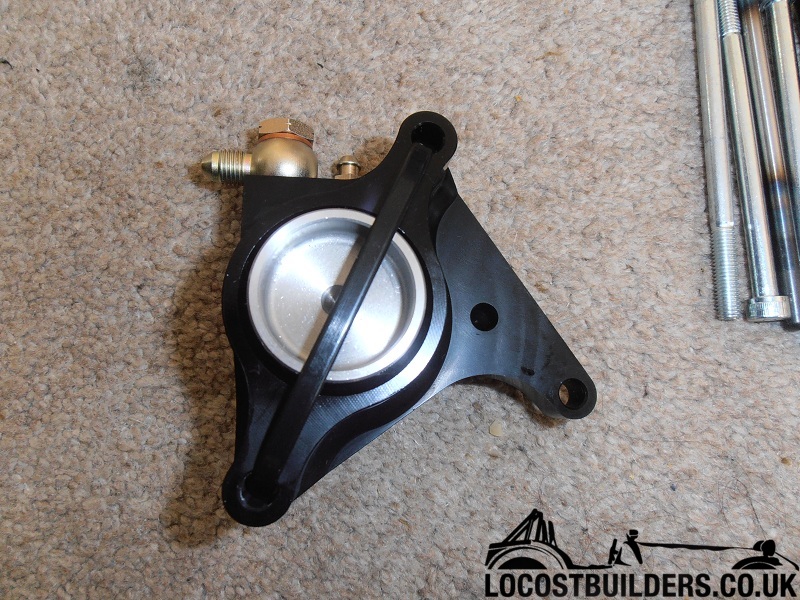
a billet clutch slave for the d/s setup
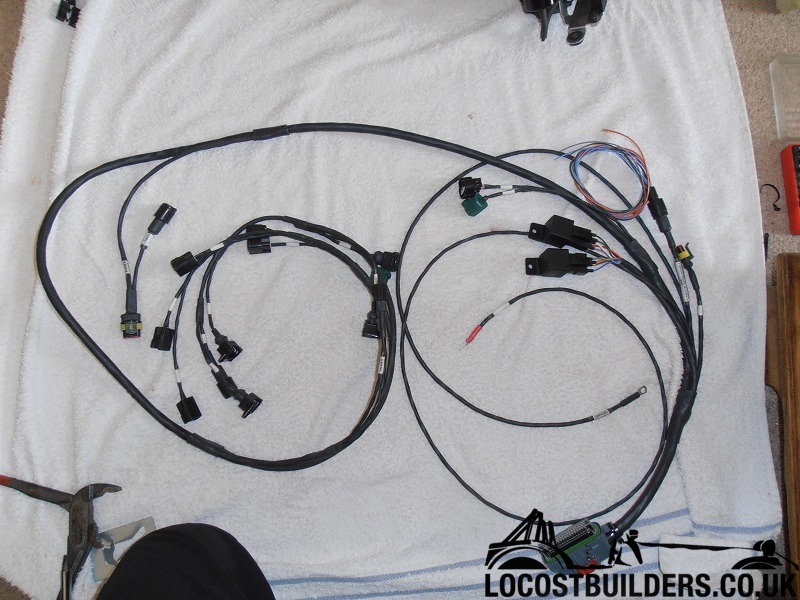
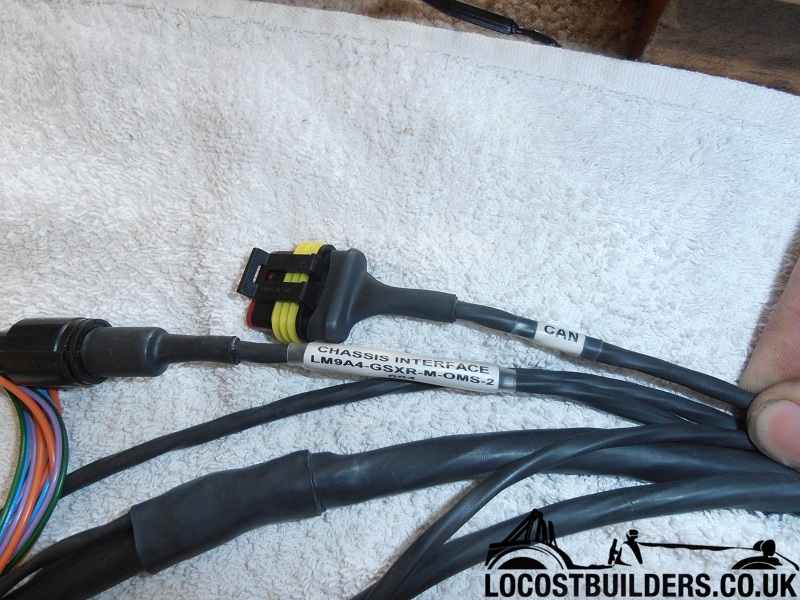
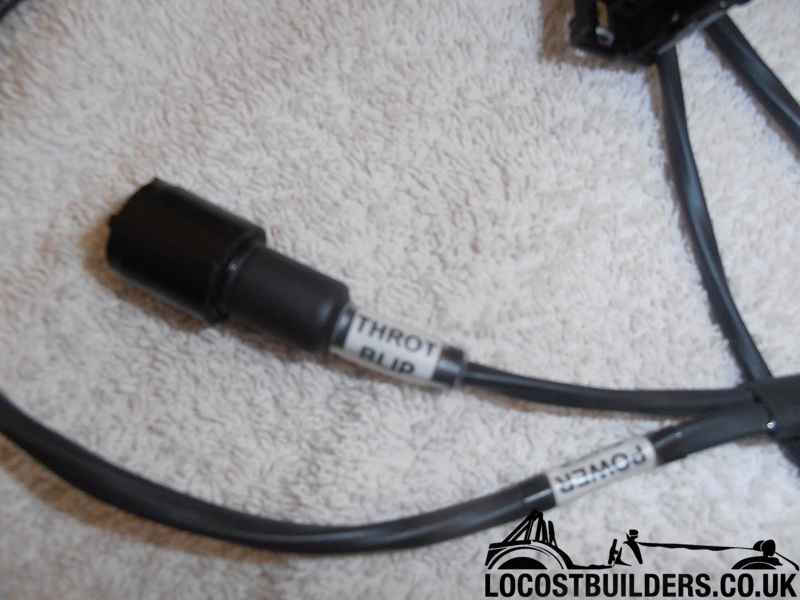
and a wiring harness with can leads and throttle blip for full throttle upshifts
|
|
|
daniel mason
|
| posted on 27/10/12 at 08:23 PM |
|
|
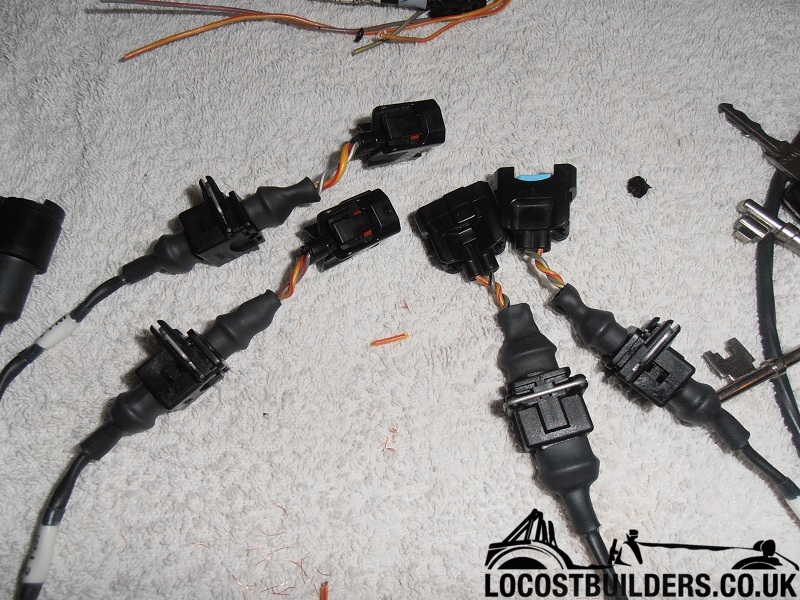
i then had to fit the fuel rail which meant stripping the throttle bodies bare
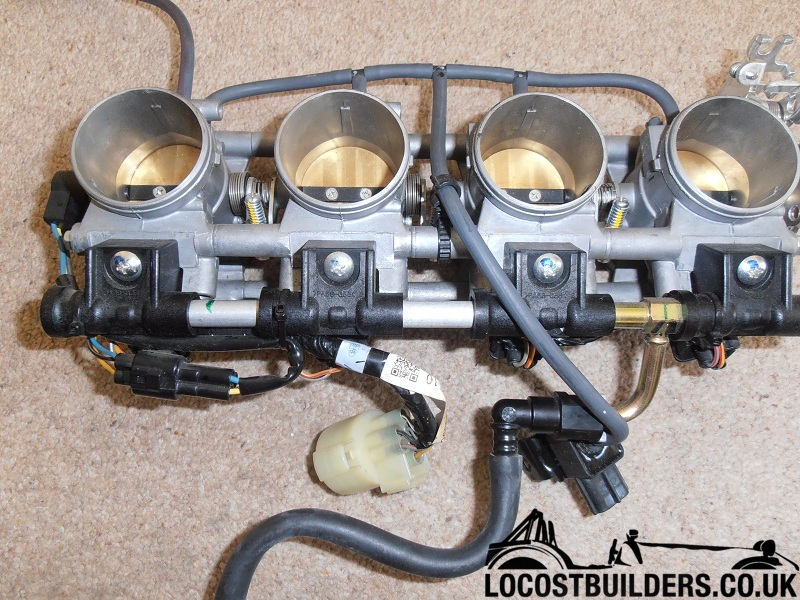

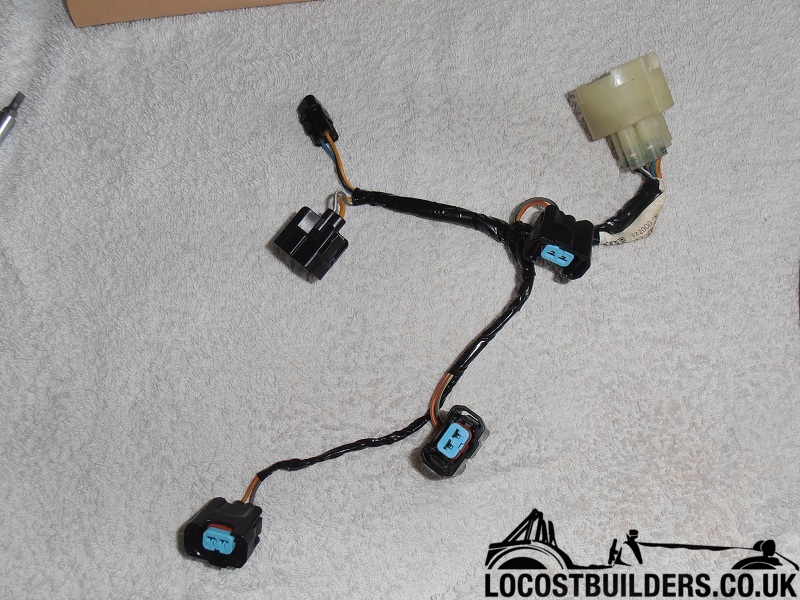
i then had to modify the injector harness as the new loom is designed for uprated injectors and im usiong standard type for now. fitting kit came with
kit. 1st i had to remove the injector harness from the throttle bodies
cut the loom and strip wires back. slide the heat shrink on
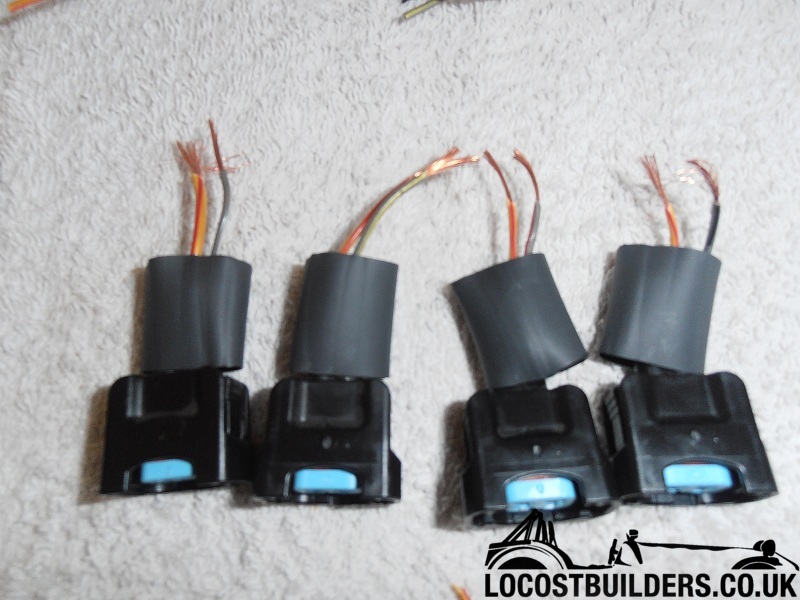
fit the connectors and heat shrink them
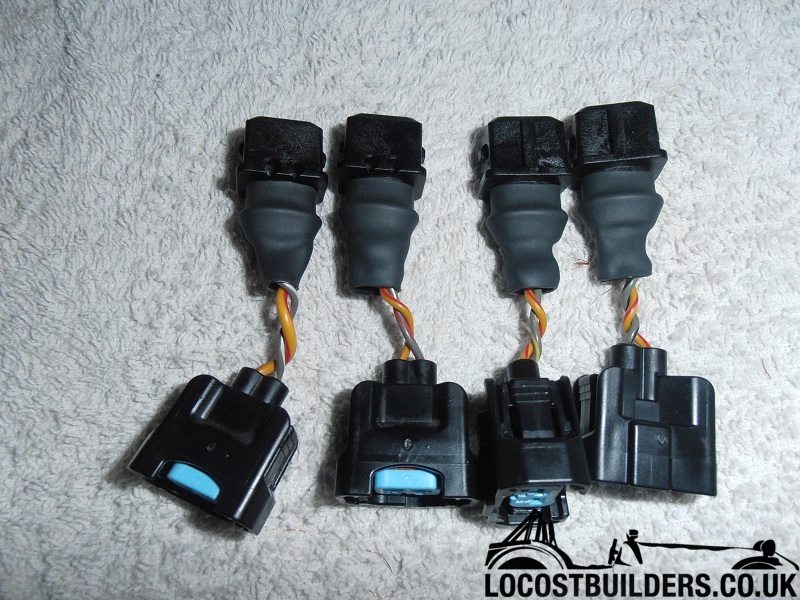
and finally the looms done
|
|
|
daniel mason
|
| posted on 28/10/12 at 06:05 PM |
|
|
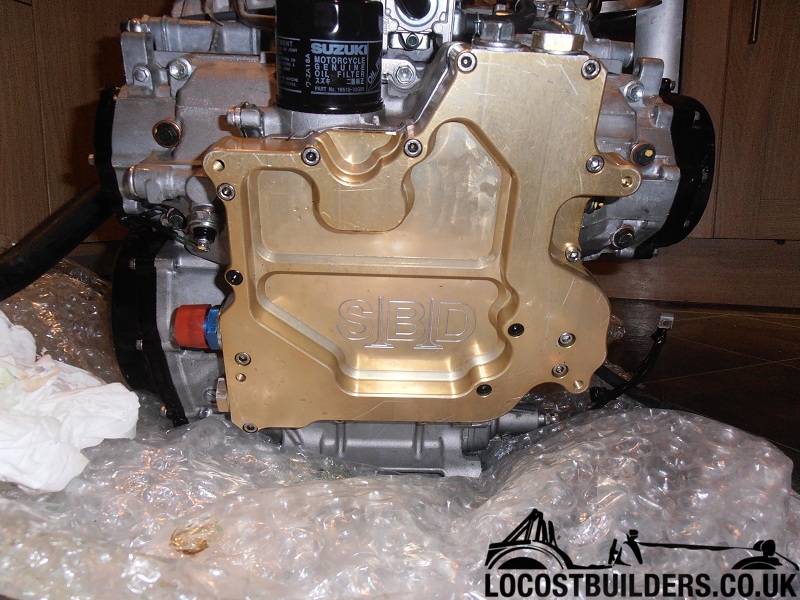
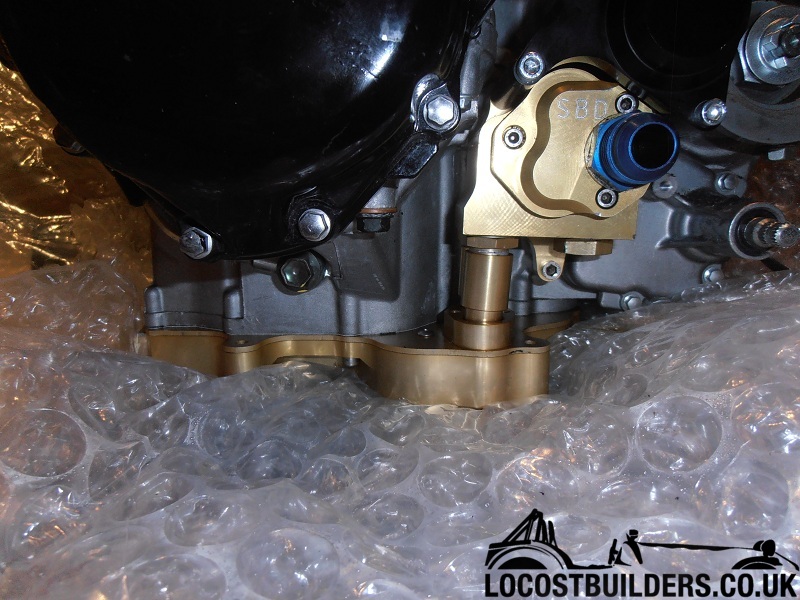
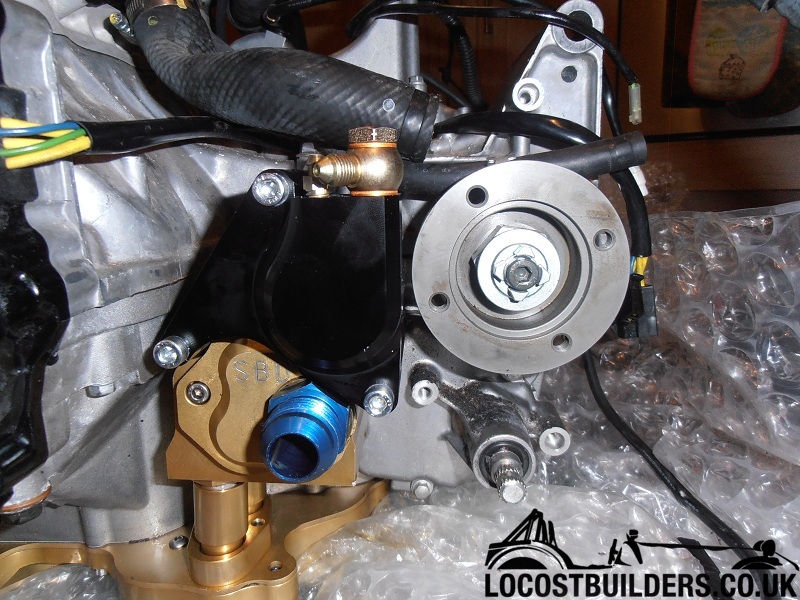
got my dry sump done today and was amazed how straight forward it was. the sbd instructions were spot on and it didnt take long at all! really happy
with how it all fitted together

|
|
|
scootz
|
| posted on 28/10/12 at 06:14 PM |
|
|

It's Evolution Baby!
|
|
|
franky
|
| posted on 28/10/12 at 07:22 PM |
|
|
Looking good
|
|
|
daniel mason
|
| posted on 28/10/12 at 07:41 PM |
|
|
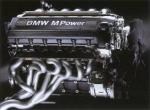
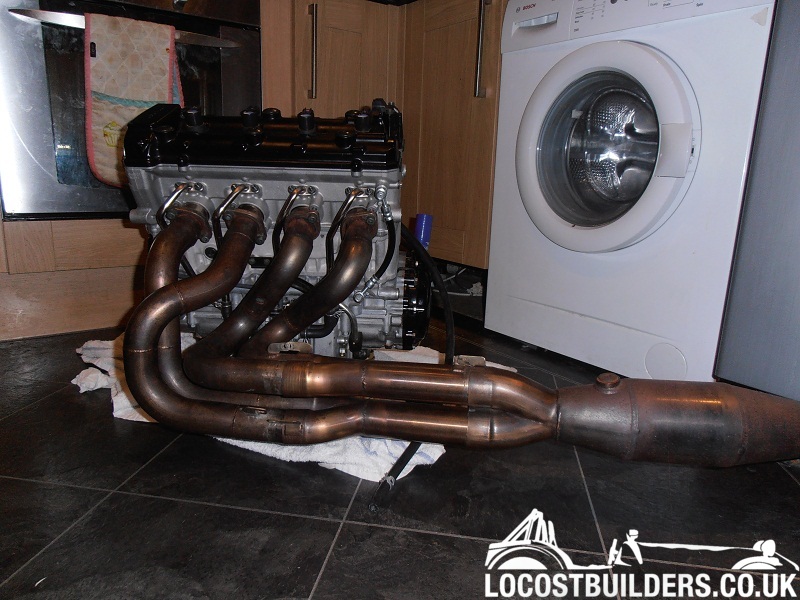
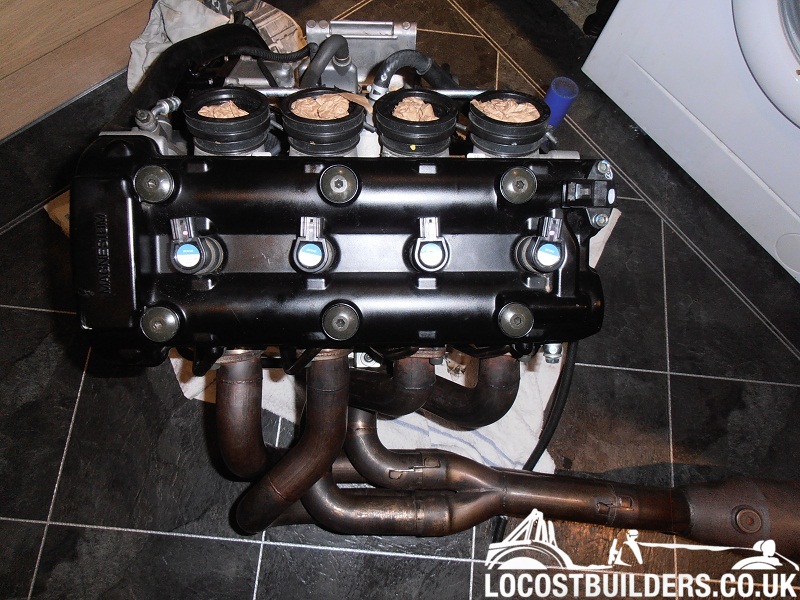
thank guys. heres a couple more for the kids amongst us. you just have to!
|
|
|
unijacko67
|
| posted on 17/11/12 at 08:19 PM |
|
|
Anymore progress and pictures Dan.
http://www.kittenkitcar.co.uk
|
|
|
daniel mason
|
| posted on 17/11/12 at 08:38 PM |
|
|
dont dare post any mate. decided on stripping out all wiring today to tidy up and it seems to have turned into a full re wire. its in bits at the
moment. still waiting on my engine mounts to make progress,but its been 4 weeks now and still waiting!
got my kumho v700's fit today though so they look ok. and re routed some dash wiring. next weekend i should make some good progress.
|
|
|