Red16
|
| posted on 29/3/10 at 07:55 PM |

|
|
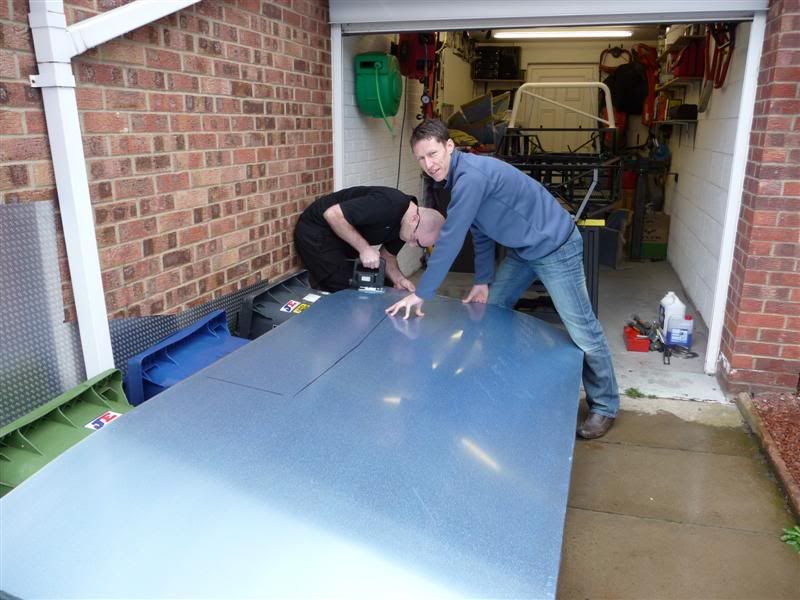
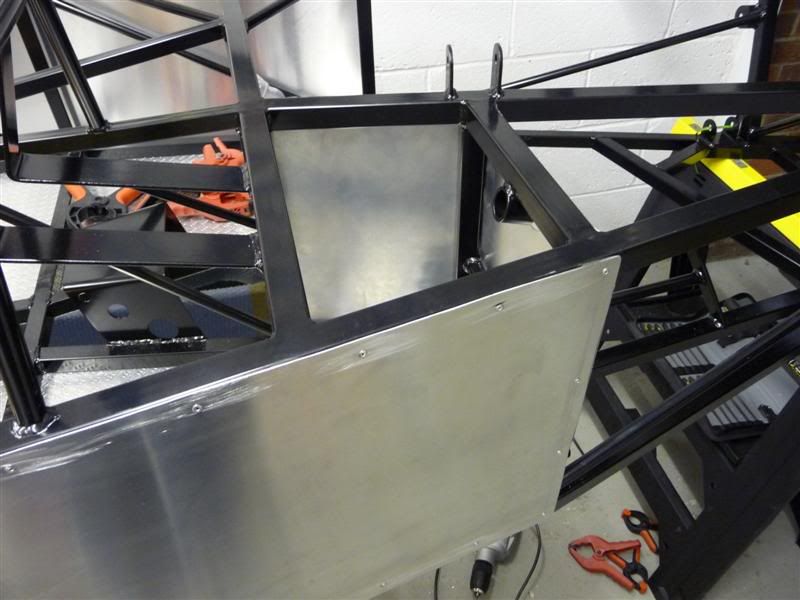
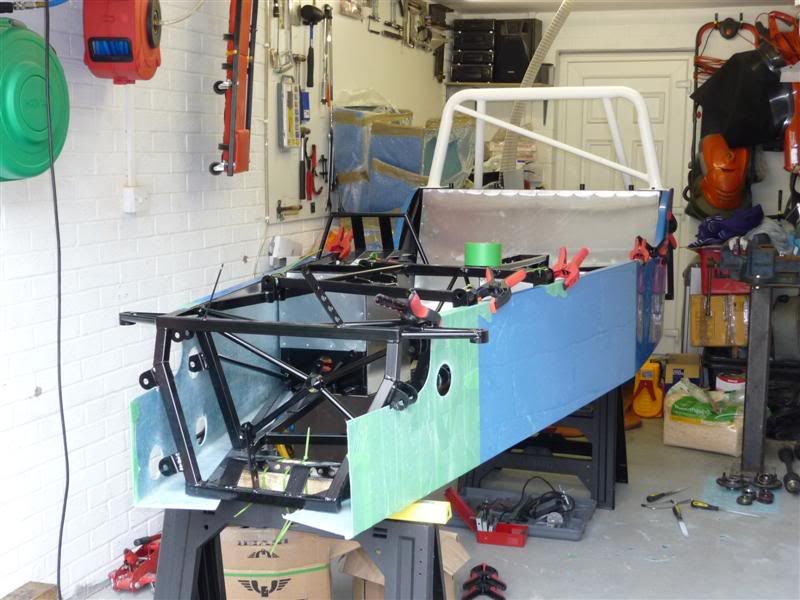
Marked out the interior side panel and cut it out using 3 wheelie bins in an unorthodox fashion .
Marked out, drilled and then bonded and riveted the panel to the chassis
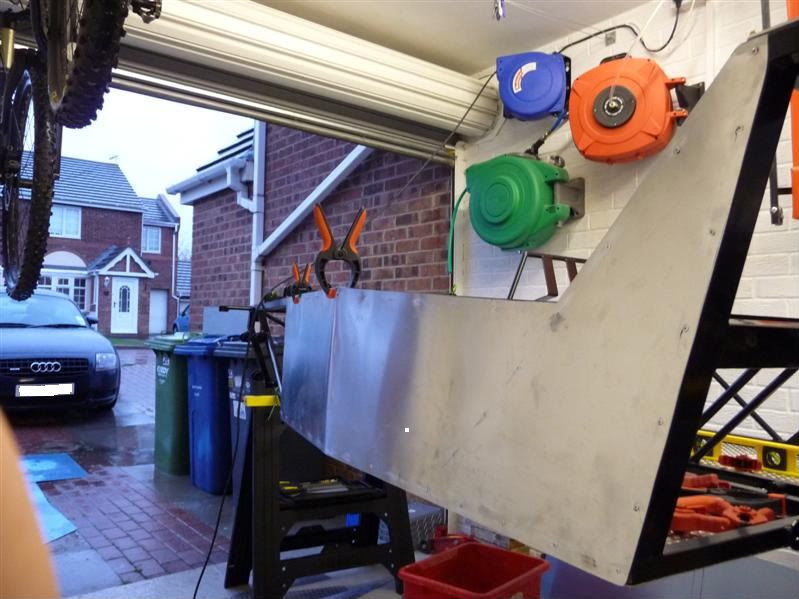
From the inside of the car it now looks like this

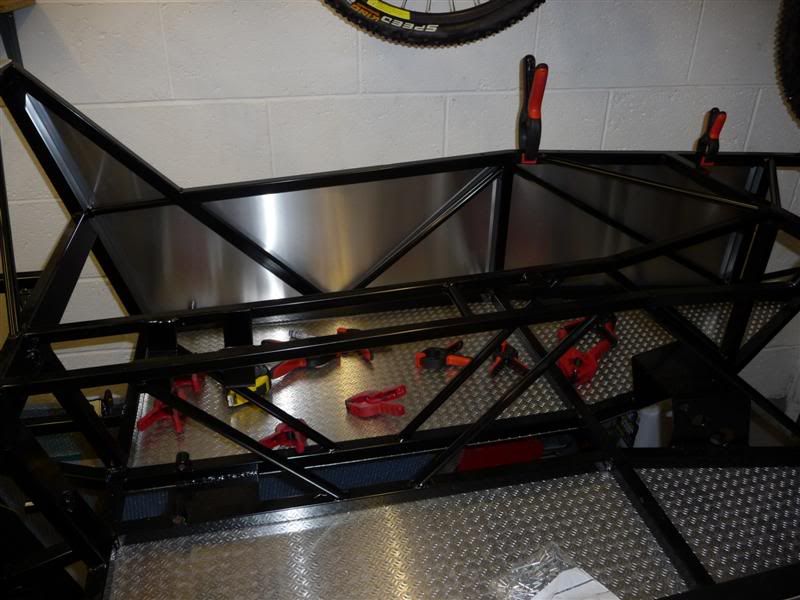
Then cut out and mounted the other side panel in the same way but didn't bother to get any more photos as it looks exactly the same as the other
side.
|
|
|
|
|
Red16
|
| posted on 1/4/10 at 10:02 PM |
|
|
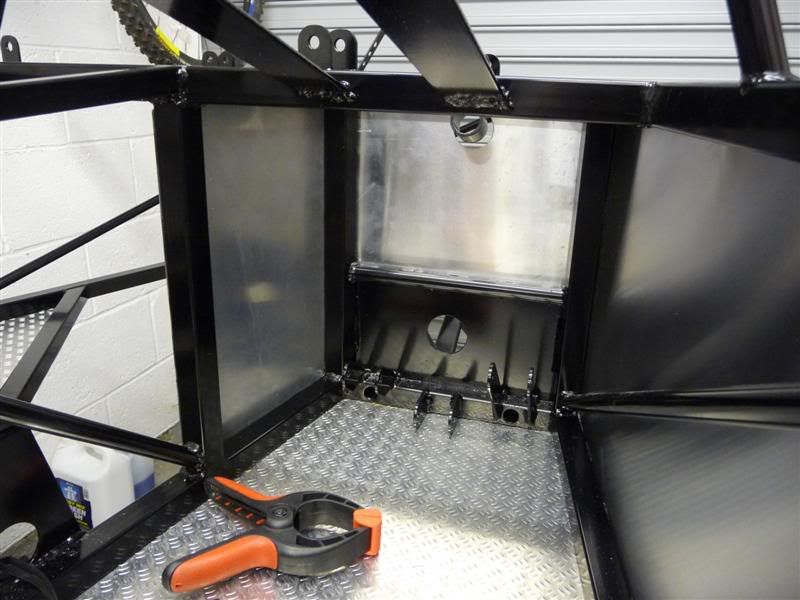
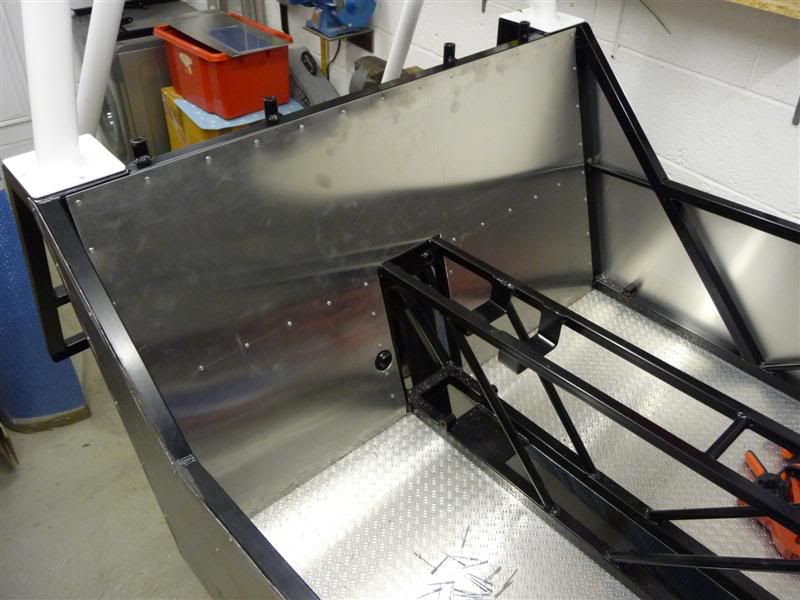
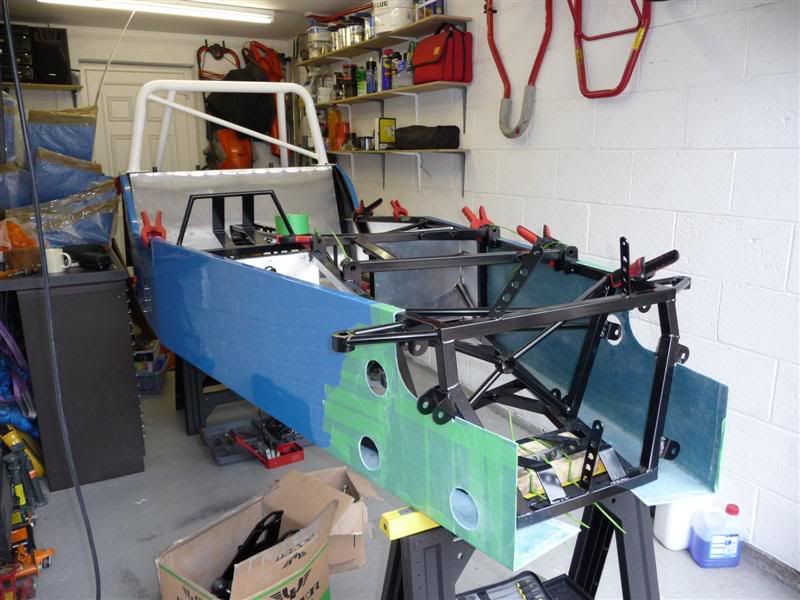
I've been in the garage tonight pottering about, knocked up a some panels for the drivers side of the cockpit.
Bulkhead panel
Bulkhead panel and start of the centre console/drive tunnel.
How it looks from the inside at the end of play today.
|
|
|
Red16
|
| posted on 3/4/10 at 11:16 PM |
|
|
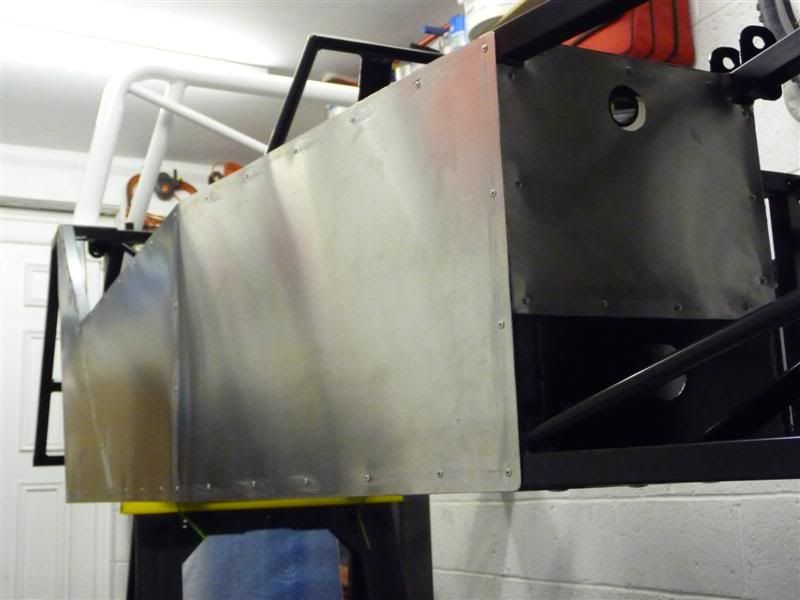
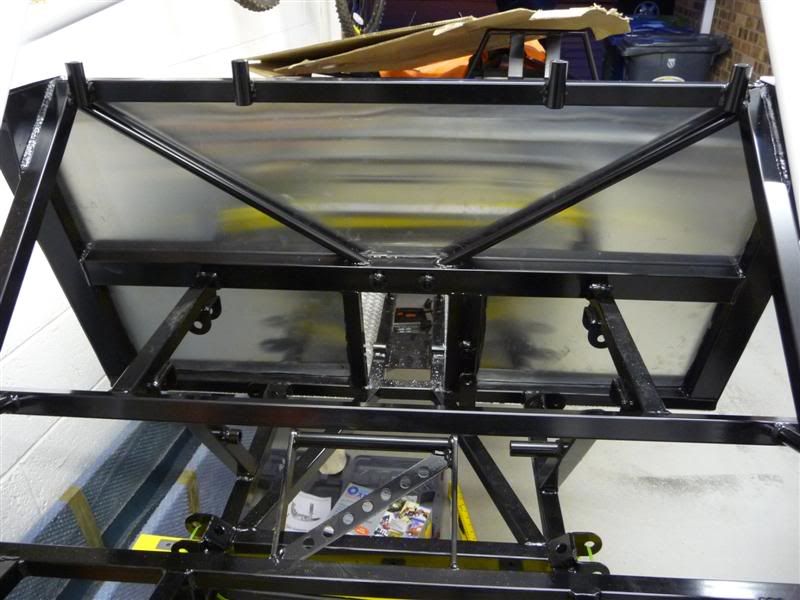
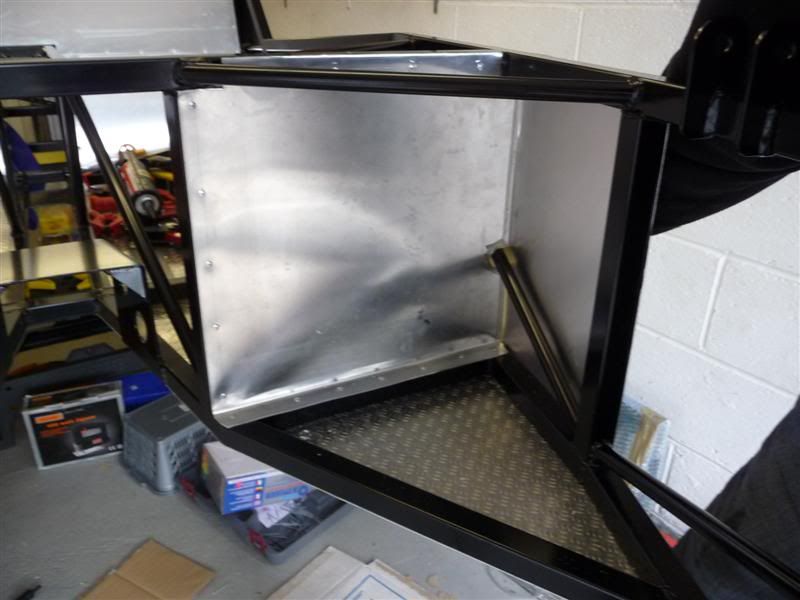
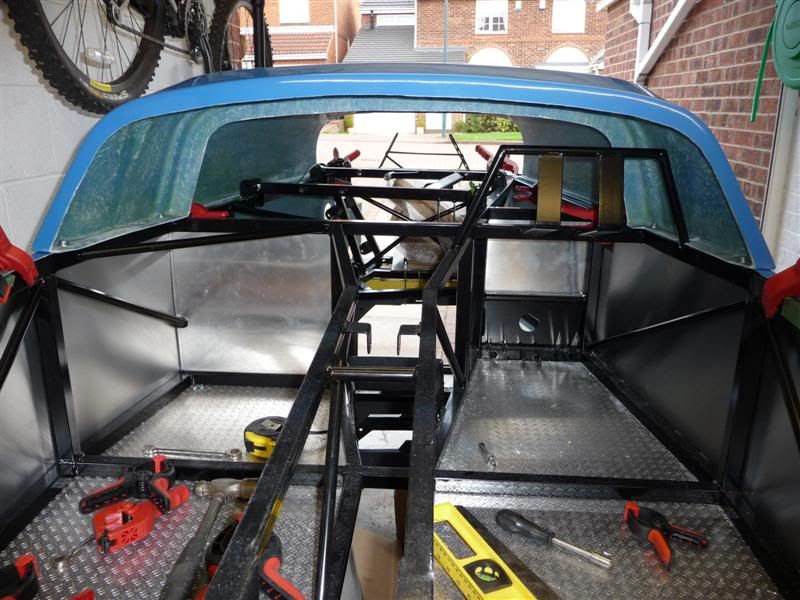
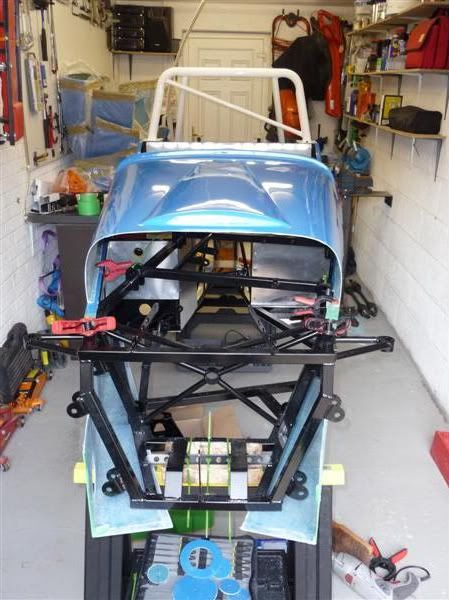
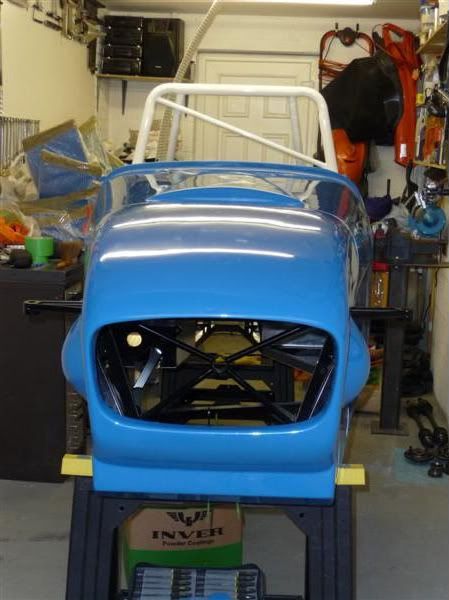
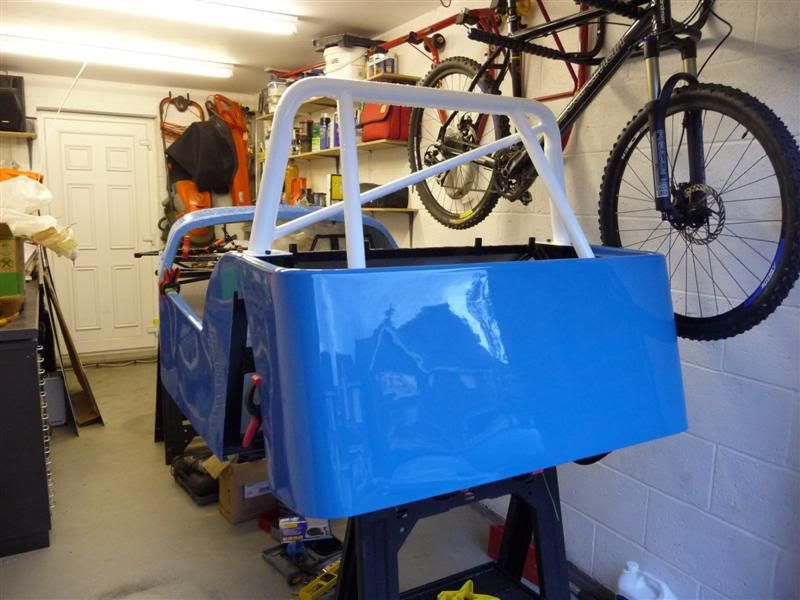
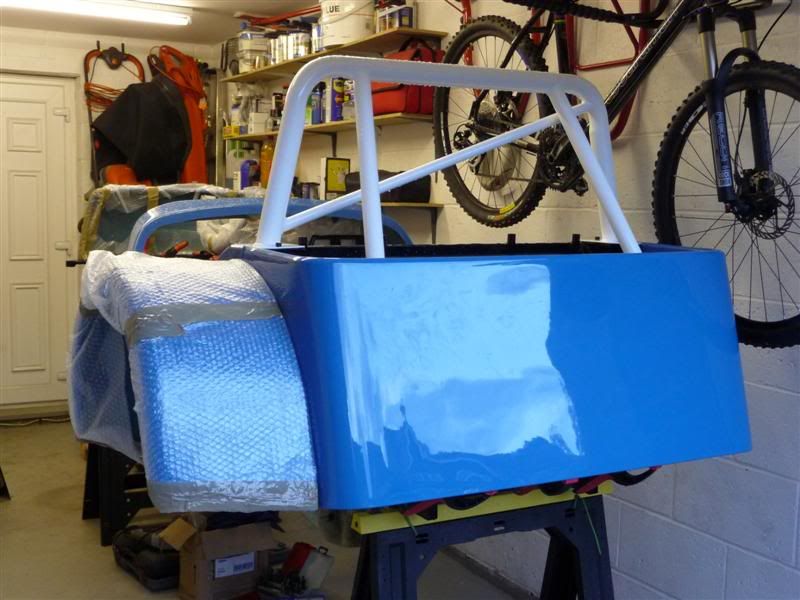
Finally got round to cutting out and mounting the large panel to the rear end of the cockpit area.
Here it is viewed from the back of the car
Kinda jumping the gun a bit here, but I seen the Bolle tinted safety glasses and couldn't resist buying them, lol.
Also bought a roll of clear edging from Halfords, i'm sure it'll come in handy at some point during the build.
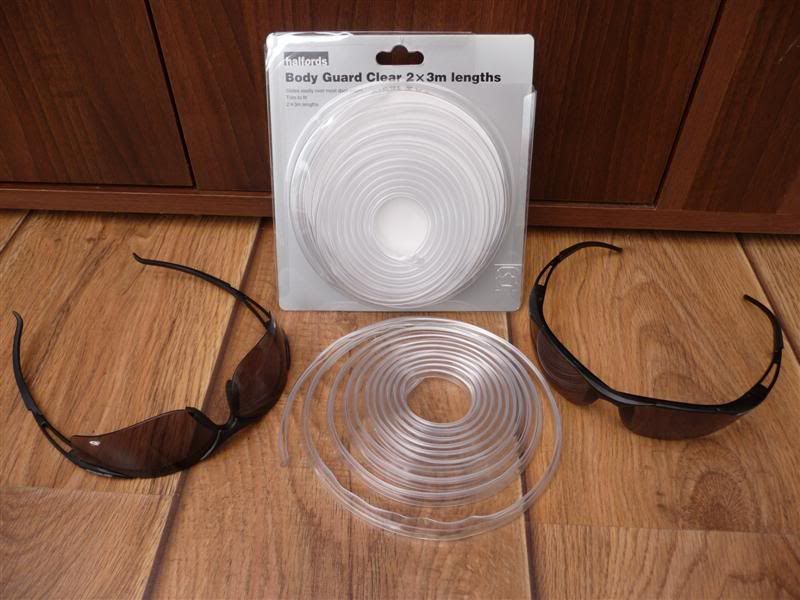
[Edited on 3/4/10 by Red16]
|
|
|
Red16
|
| posted on 4/4/10 at 04:39 PM |
|
|
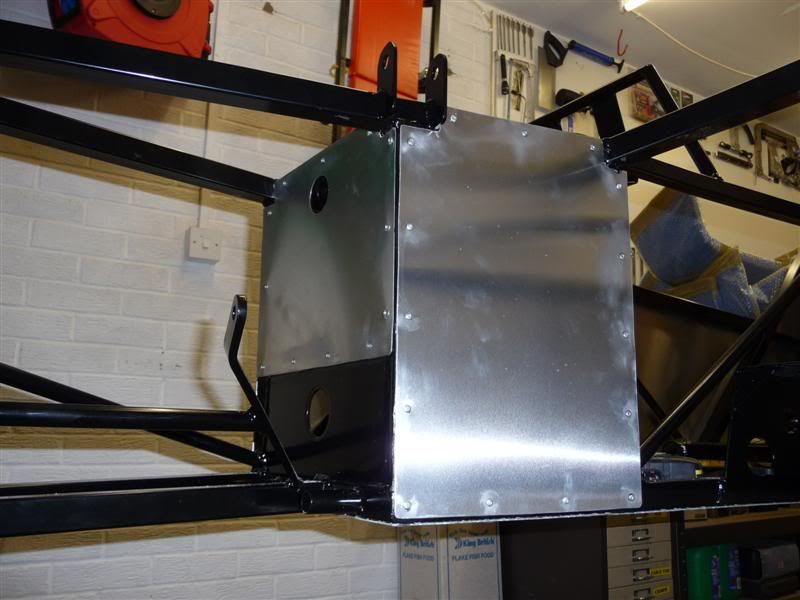
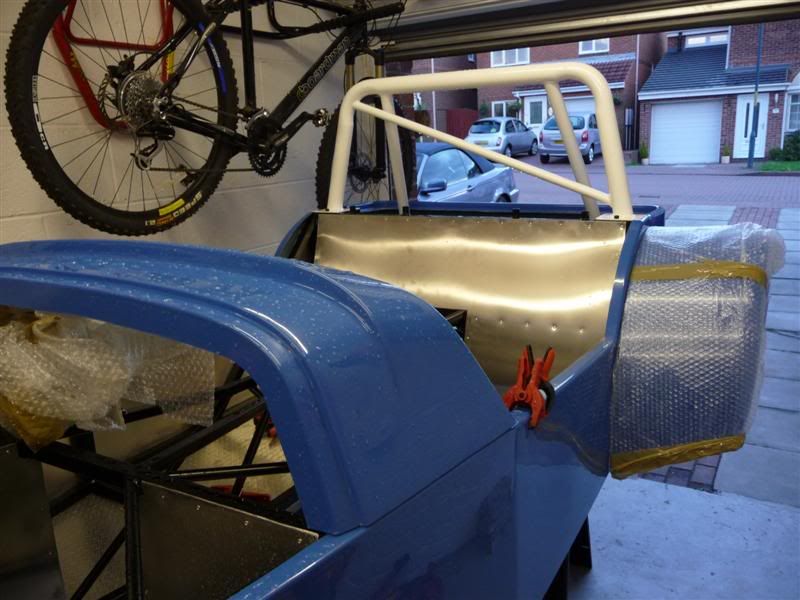
Passenger bulkhead now finished, this is how it looks from inside the car
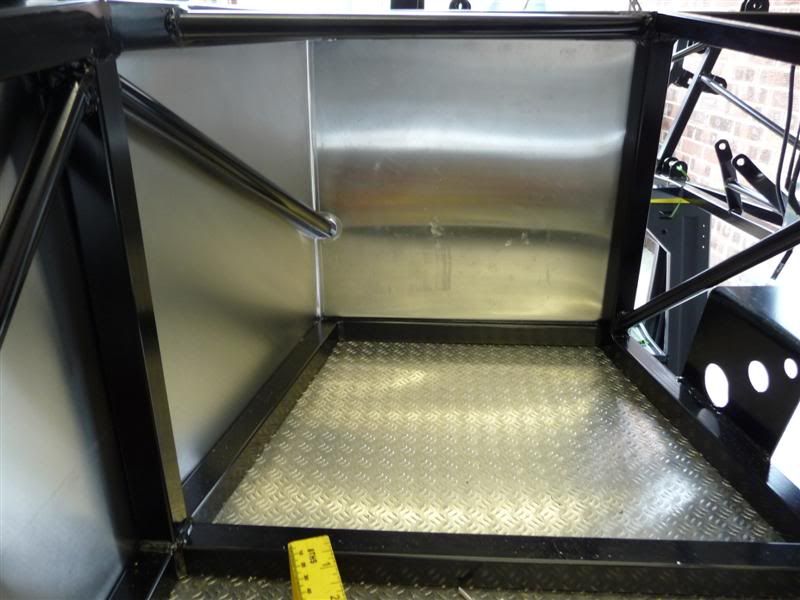
and from the engine bay
|
|
|
grusks2
|
| posted on 24/4/10 at 08:25 PM |
|
|
Hi
I to riveted my floor pan the same distance apart underneath and after a while the rivets gave waye by the seat, i was shocked as these are large
rivets, ive since riveted them every 1.5inchs where the seats are.
http://mac1worxbuild.wordpress.com/
forgot my old password so another username doh
|
|
|
Red16
|
| posted on 25/4/10 at 11:49 AM |
|
|
quote:
Originally posted by grusks2
I to riveted my floor pan the same distance apart underneath and after a while the rivets gave waye by the seat, i was shocked as these are large
rivets, ive since riveted them every 1.5inchs where the seats are.
Thanks for the heads up, good to find out things like this during the early stages of the build where they can be easily remedied.
|
|
|
Red16
|
| posted on 26/4/10 at 10:17 PM |
|
|
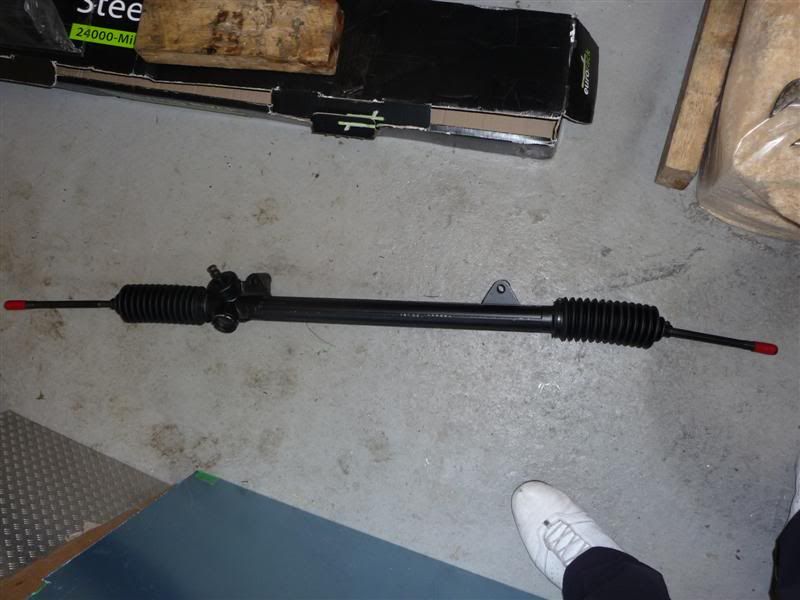
One brand new Sierra steering rack, which has since been packaged up and sent to Mac Motorsport to be shortened.
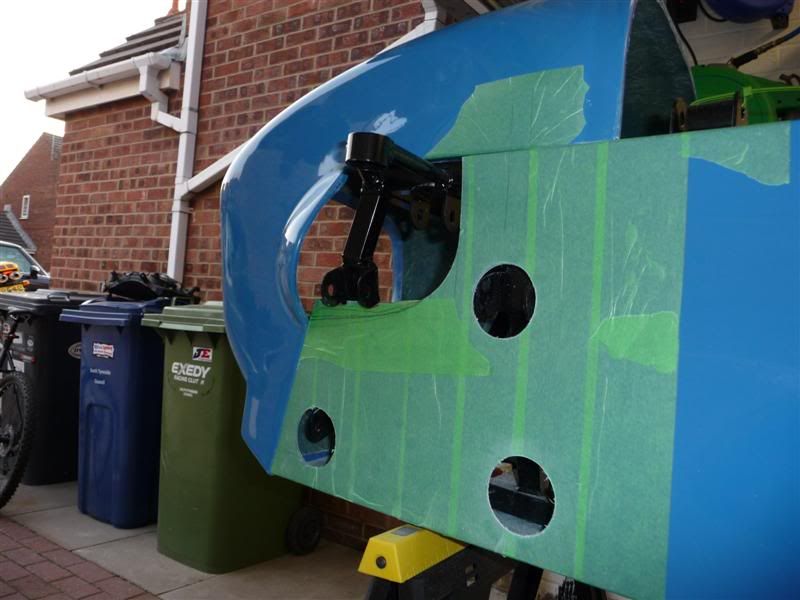
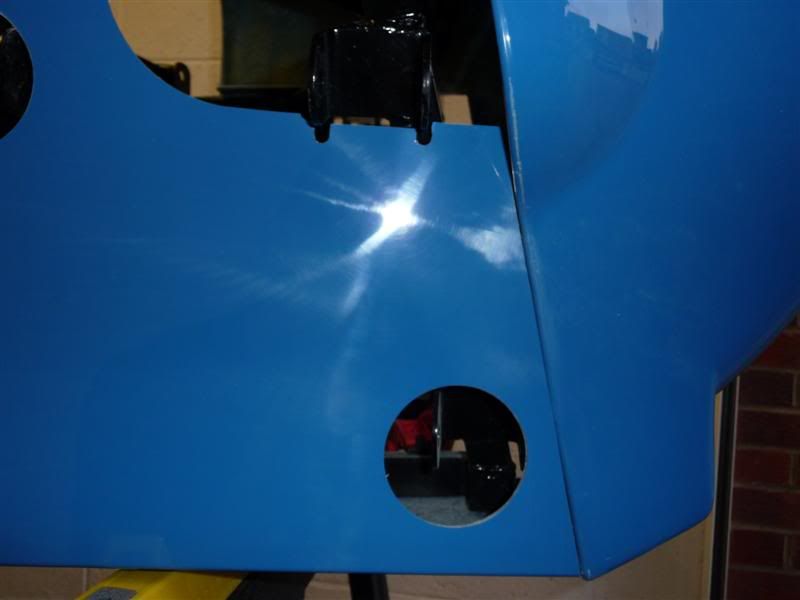
I've been in the garage today and made a bit of progress, the drivers side panel was notched to fit around the steering column support bracket
and then the front end had its first cut to accomodate the brackets for headlight, strut top and upper wishbone arm.
Holes were then cut into the side panel to allow access to the wishbone mounting brackets. The drivers side of the scuttle panel was notched to fit
around the steering column support bracket and then secured to the chassis using rivnuts.

Doesn't look much in the photo's but it took me ages in the garage to get to this stage!
|
|
|
Red16
|
| posted on 27/4/10 at 07:43 PM |
|
|
Well it's been another busy day in the garage for me...
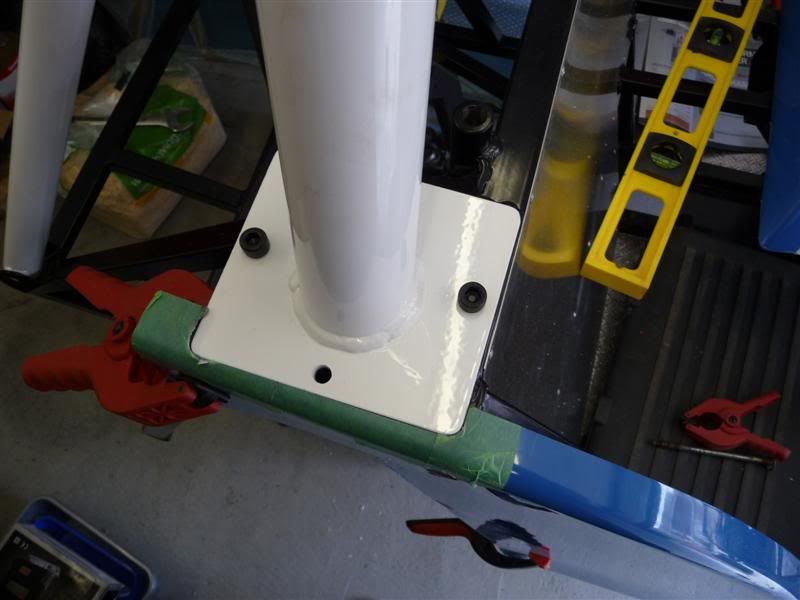
Drivers side panel with notch and rivnuts as mentioned earlier

Rear of the drivers side panel modified to fit around the base of the roll bar
Began cutting and fitting the passenger side panel
Scuttle panel fastened into position at both sides
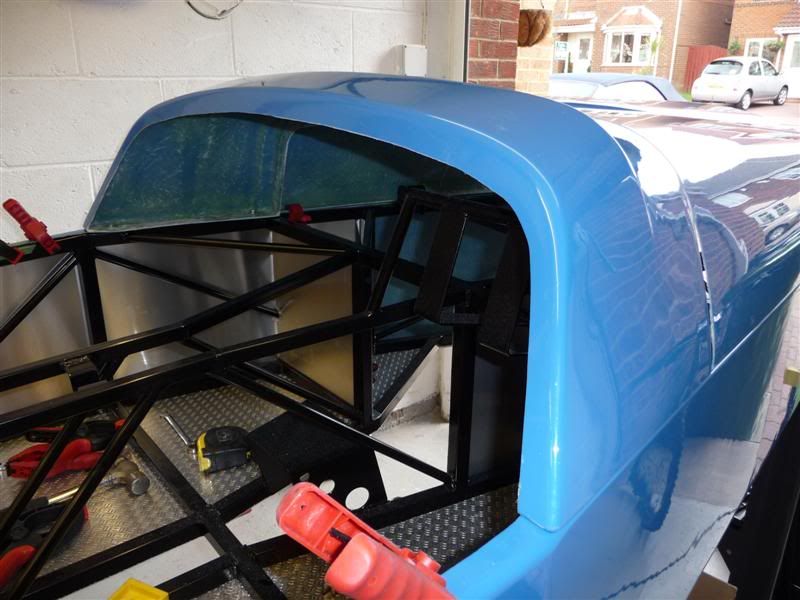
With the bonnet on it finally begins to resemble a car
|
|
|
Red16
|
| posted on 28/4/10 at 08:01 PM |
|
|
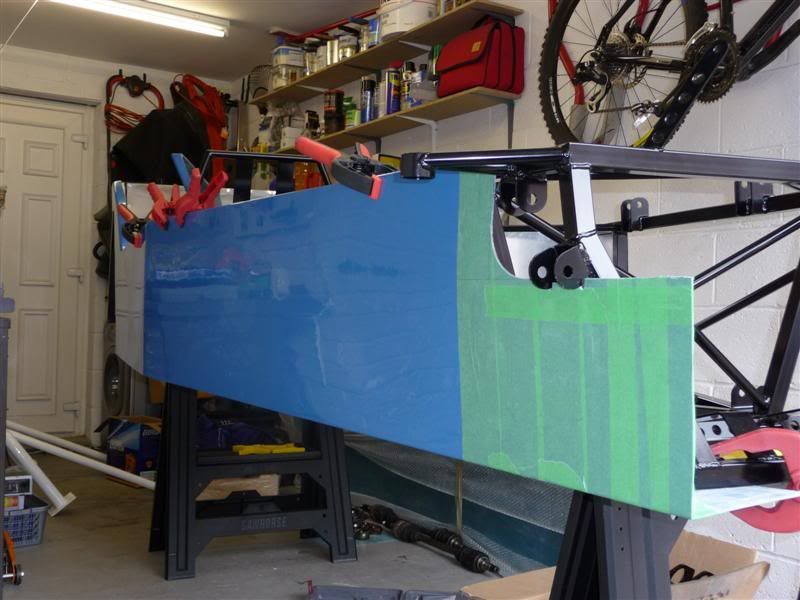
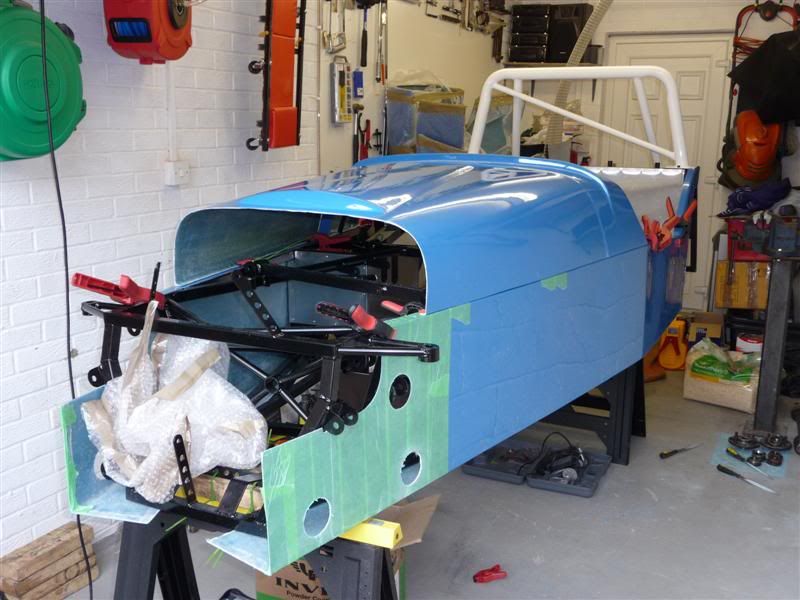
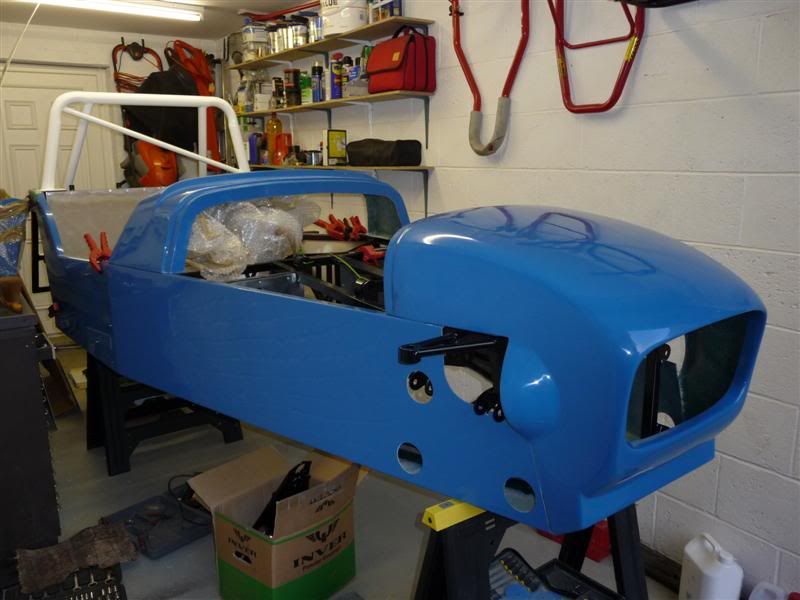
Todays plan of attack... get the side panels chopped down and have the nose cone mounted by the end of play.
Nose cone provisionally mounted to mark out where the side panels need to be cut

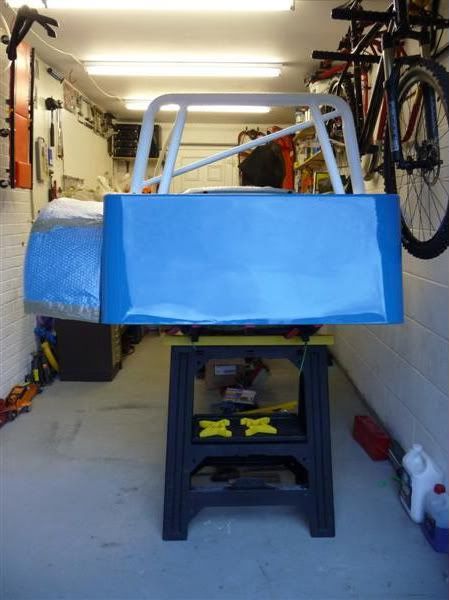
Passenger side cut, still masked off
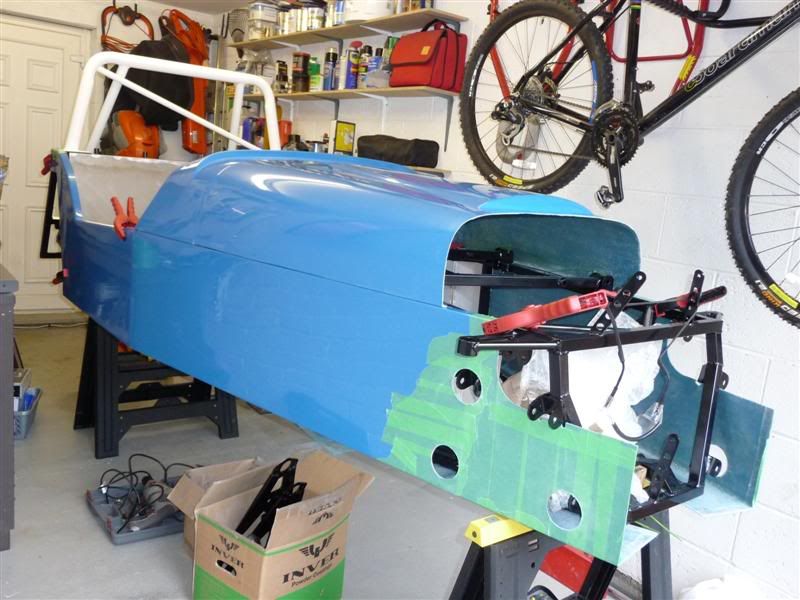
Drivers side, cut and unmasked
How it looks without the bonnet
Bonnet rested in place, to pose for the camera
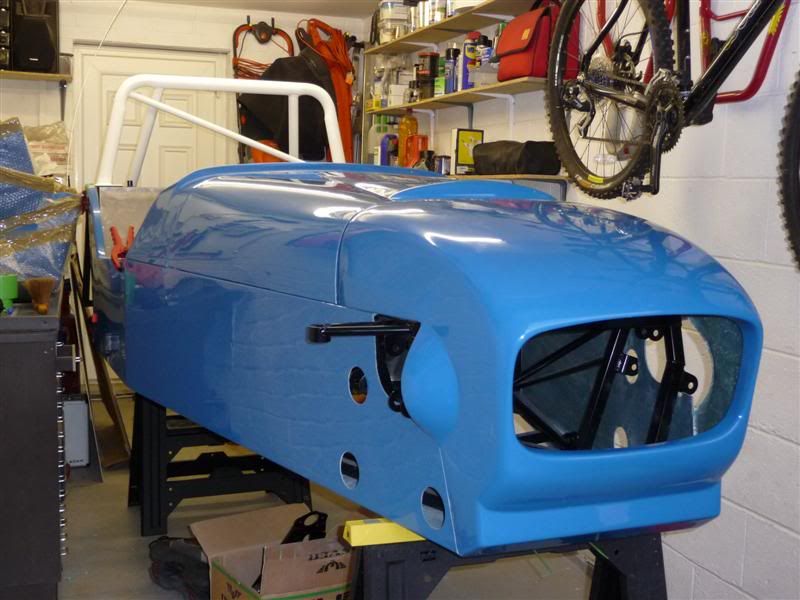
A full frontal shot
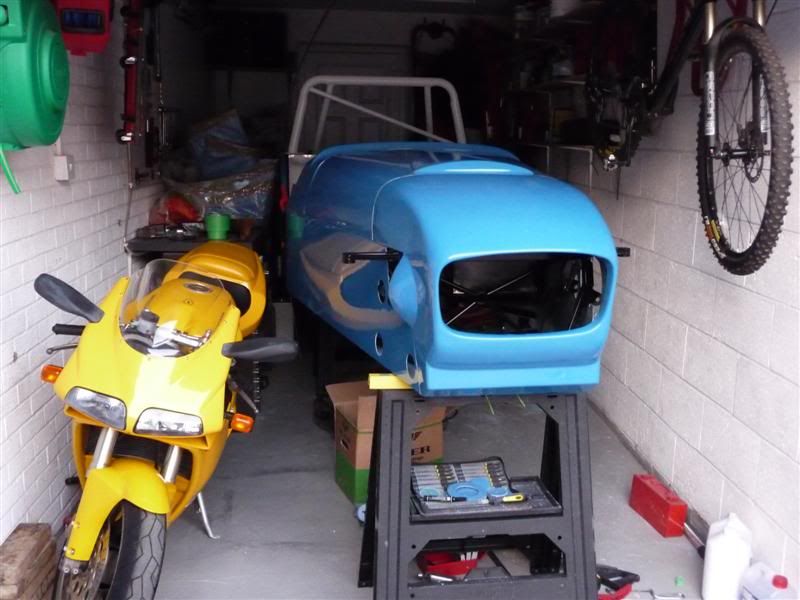
I couldn't help one last glance back to the garage before closing the door
|
|
|
Flamez
|
| posted on 29/4/10 at 06:54 PM |
|
|
Looking good, your panel cutting looks spot on.
my build mac1motorsports
|
|
|
Red16
|
| posted on 30/4/10 at 09:38 PM |
|
|
quote:
Originally posted by Flamez
Looking good, your panel cutting looks spot on.
Thanks, it needs a bit more work to get the shape under the front upper wishbone bracket right, but thats a job for another day.
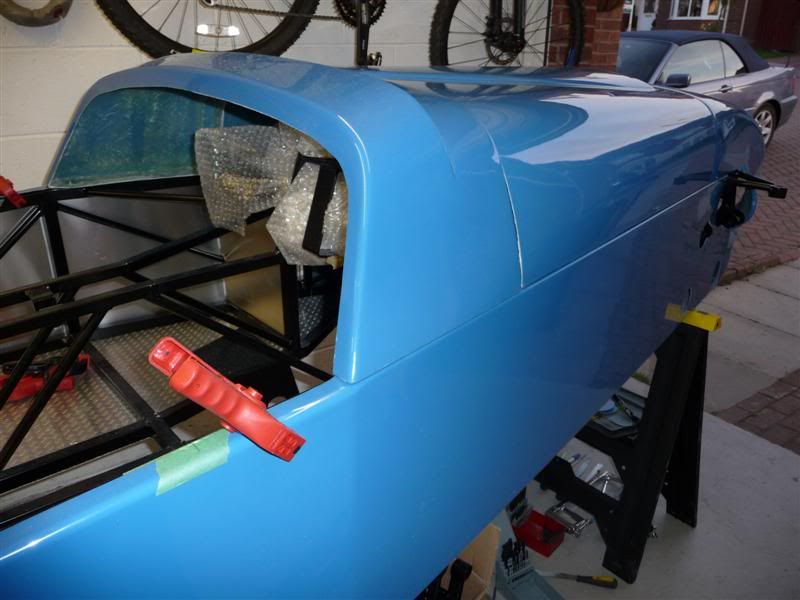
I've been in the garage again today and managed to get the rear end cut and clamped into position.
And while I was at it I couldn't resist clamping one of the rear arches on to see how it'd look
Looking a lot more car like now 
|
|
|
GrahamC
|
| posted on 1/5/10 at 07:51 AM |
|
|
Mega impressed with your panel cutting...what's your secret/technique? And what tools did you use?
|
|
|
Red16
|
| posted on 1/5/10 at 12:07 PM |
|
|
quote:
Originally posted by GrahamC
Mega impressed with your panel cutting...what's your secret/technique? And what tools did you use?
Cool, cheers for that.
I spend loads of time looking at the job, probably too much to be honest, before i mark and cut anything. I tend to cut just shy of the line
i've marked and then file away the remaining fibreglass until i reach the marked line.
Here's a photo of the tools i'm using.
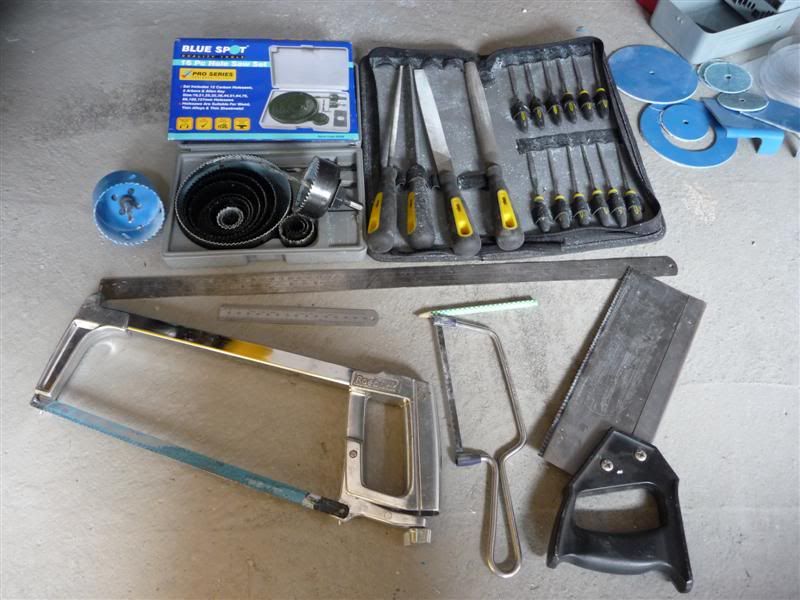
A wood saw, junior hacksaw, hacksaw, set of files, holecutters, large and small steel rule, not forgetting the trusty pencil.
Edited to say that I used a jigsaw to cut out the aluminium panels.
[Edited on 1/5/10 by Red16]
|
|
|
fesycresy
|
| posted on 1/5/10 at 12:41 PM |
|
|
Nice job around the roll bar, always a difficult area to do.
-----------------------------------------------------------------------------------------------------
The sooner you fall behind, the more time you'll have to catch up.
|
|
|
Red16
|
| posted on 6/5/10 at 02:16 PM |
|
|
Not been doing a lot on the car lately, been too busy playing Modern Warfare 2 on the PS3, the big kid that I am, lol.
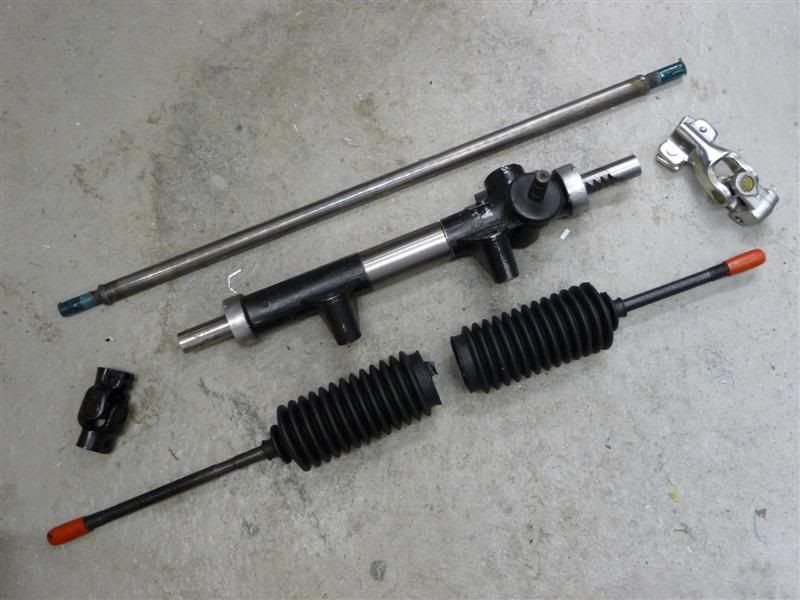
Anyway, I took delivery of a package from Mac#1 this morning
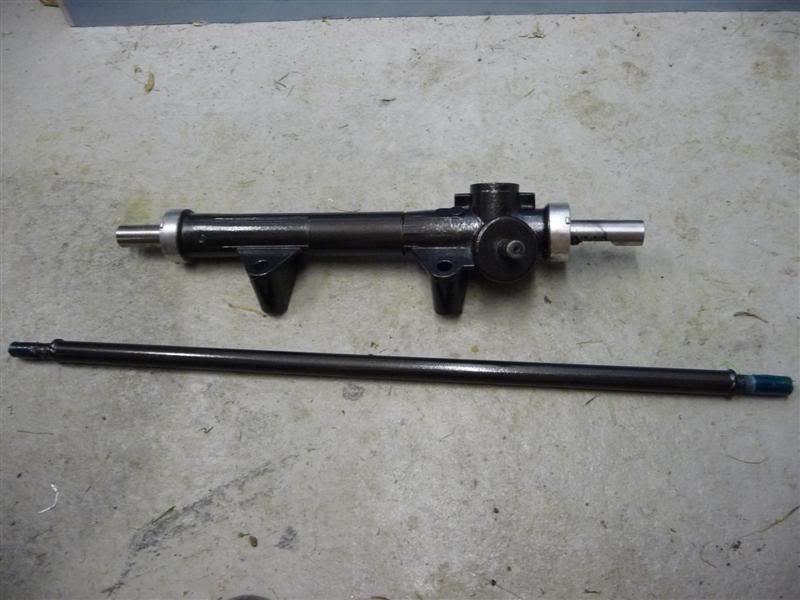
A new steering column and linkages, and a my Sierra rack which has been shortened
quote:
Originally posted by fesycresy
Nice job around the roll bar, always a difficult area to do.
thanks. 
[Edited on 6/5/10 by Red16]
|
|
|
Red16
|
| posted on 11/5/10 at 10:56 PM |
|
|
Here's possibly the poorest update ever
A coat of Hammerite Hammered spray paint and the steering rack and link arm look like this
I might get round to fitting the rack and cutting the holes in the bodywork for the rack arms to come through tomorrow, then if i'm really lucky
fix the bodywork to the chassis permanently
|
|
|
Red16
|
| posted on 24/6/10 at 03:23 PM |
|
|
Not much progress of late due to work, but I've managed to spend a bit of money and get some new parts
A set of Team Dynamics Pro 1.2 wheels with Toyo R888 tyres in 205/60/13 for the rear and 185/60/13 for the front.
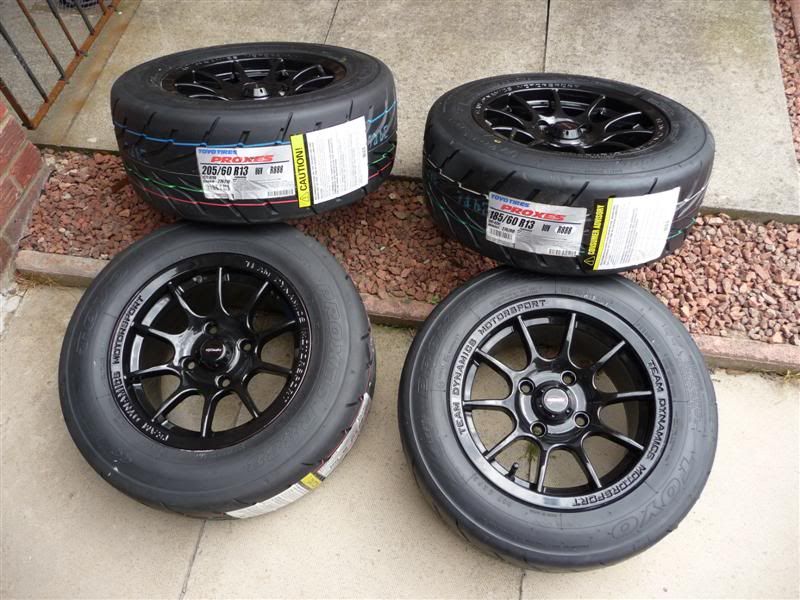
The fronts weigh in at 12.5kg per corner and the rears 13.6kg per corner.
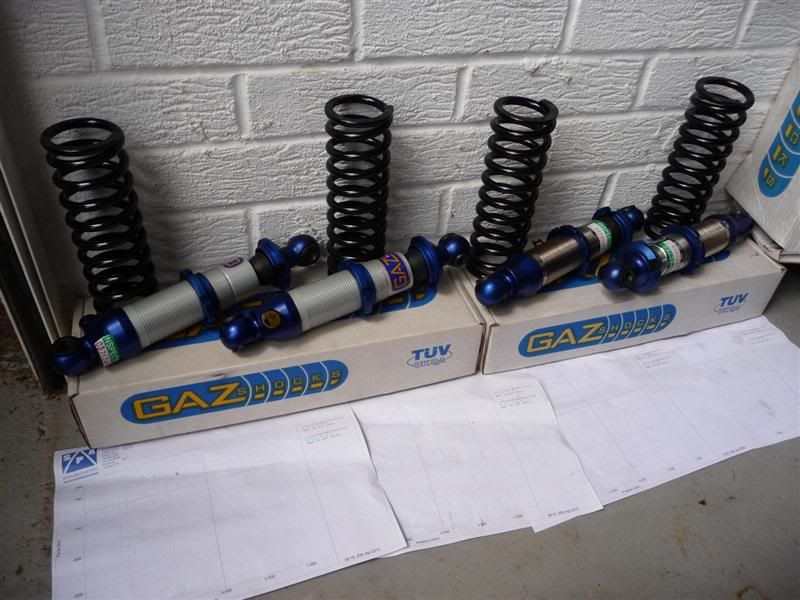
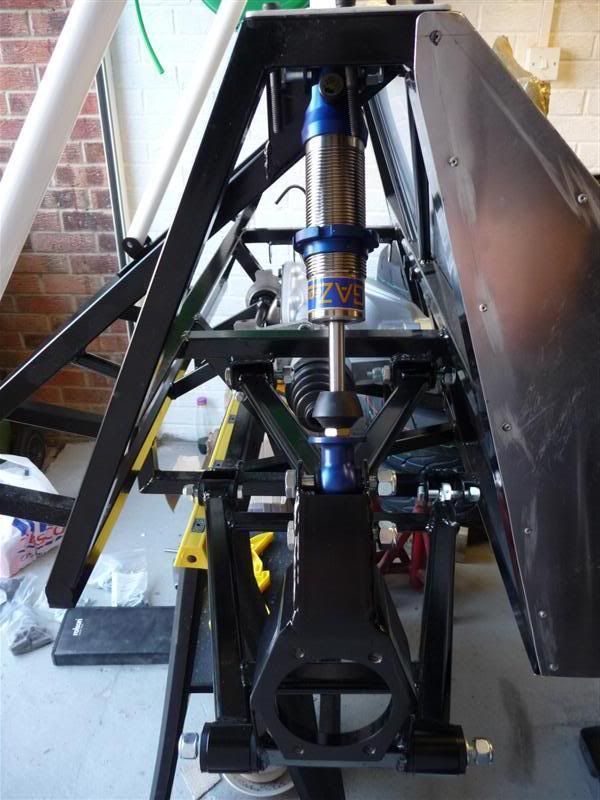
A set of Gaz Gold coilovers, revalved to work upside down.
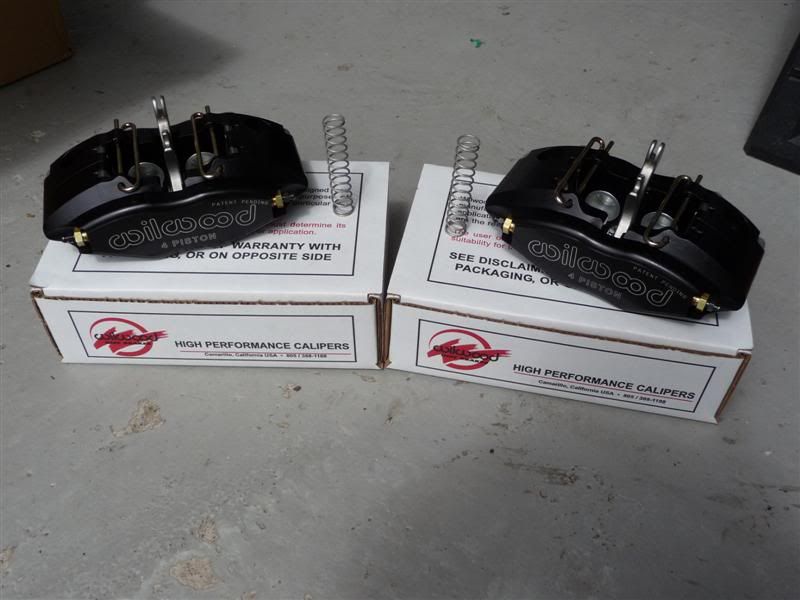
Wilwood 4 pot rear handbrake calipers.
Handbrake lever and cables to suit the above calipers.
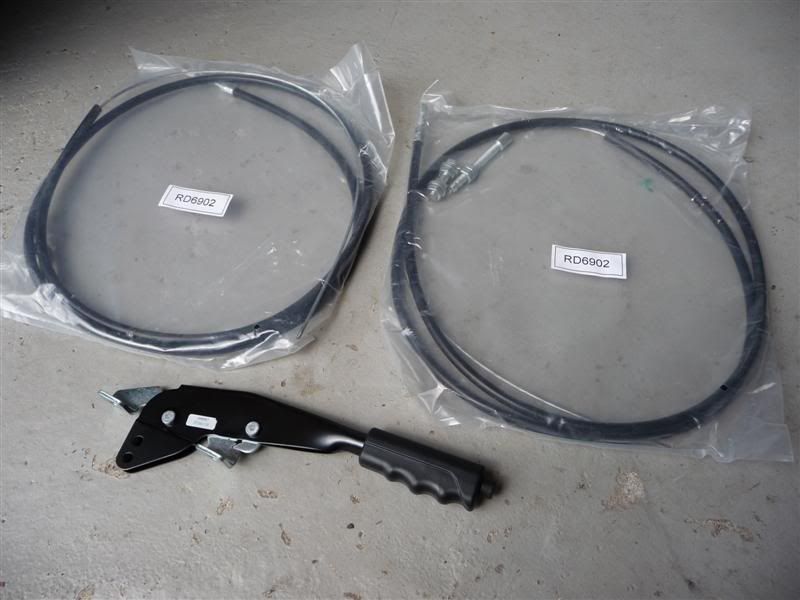
Solid rear discs, rear caliper mounting brackets and a bag of longer wheel studs to suit the Pro 1.2 wheels.
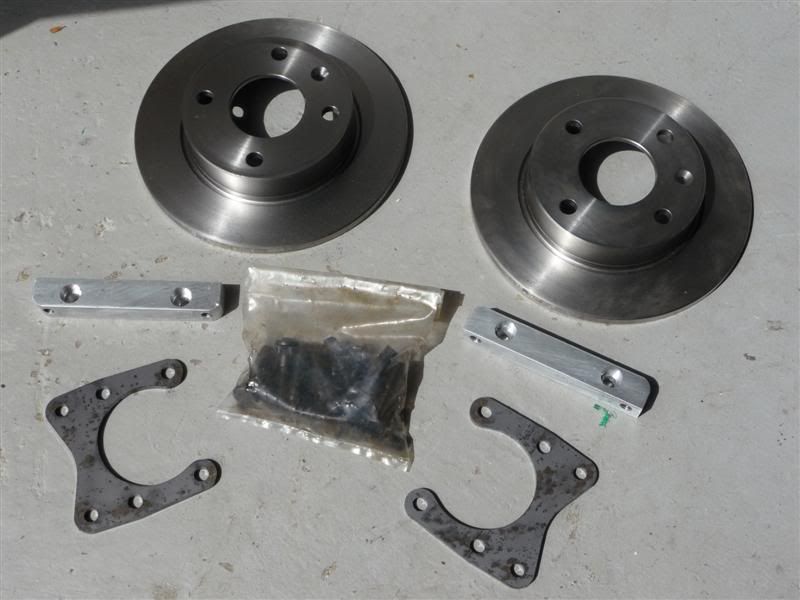
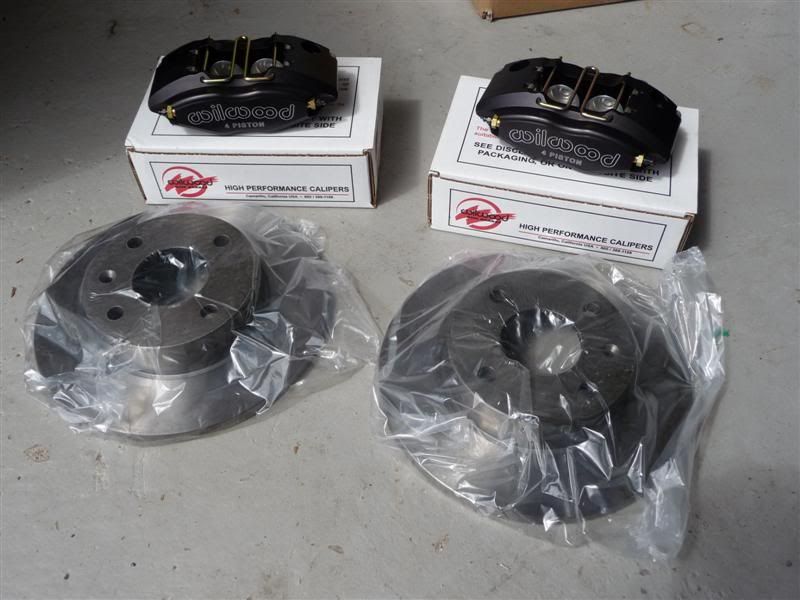
Solid front discs and Wilwood 4 pot calipers.
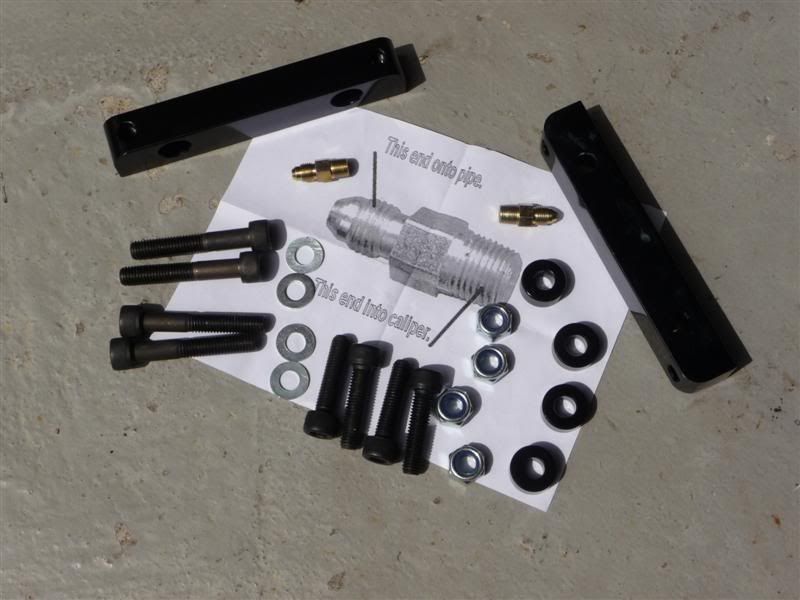
Front brake caliper mounting brackets, bolts and brake fittings.
And a set of brake pads,
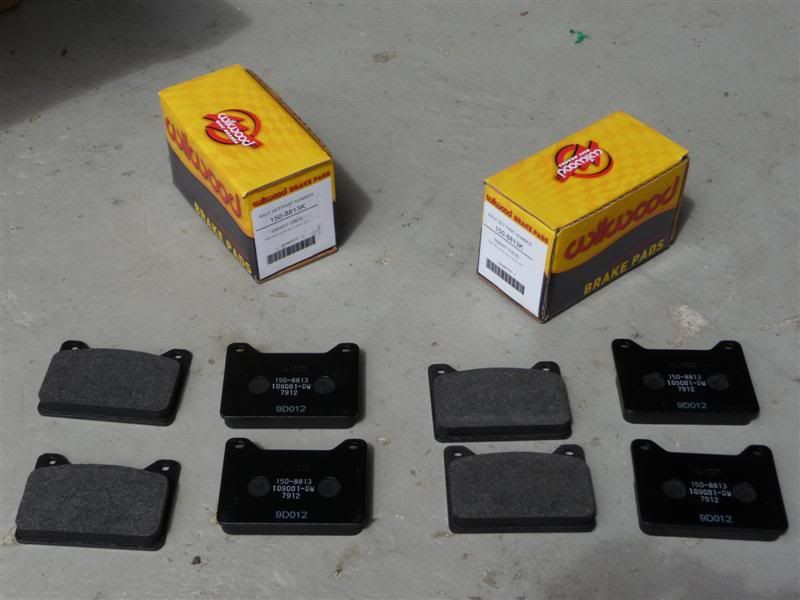
Thanks to the lad that sorted out the Rally Design brake kit group buy and to Mac#1 Motorsport for bringing the other parts down to the Newark show.
|
|
|
Red16
|
| posted on 30/6/10 at 06:21 PM |
|
|
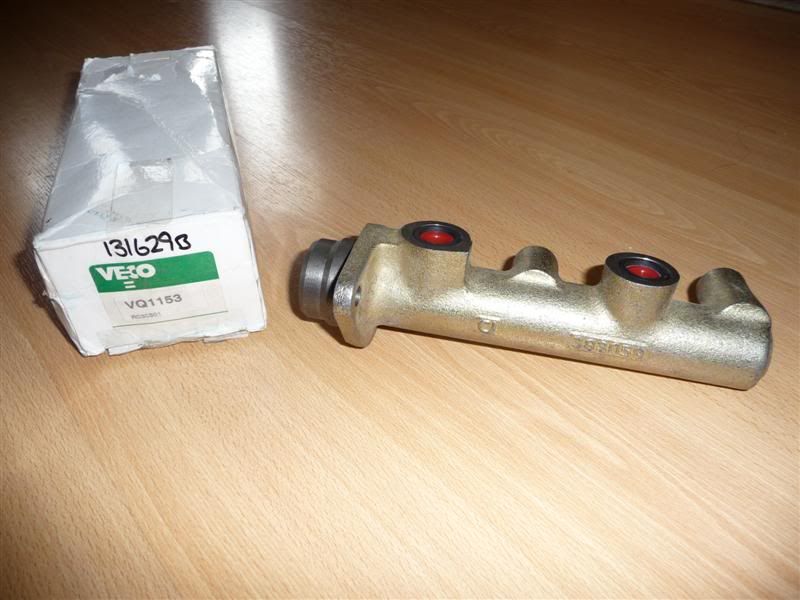
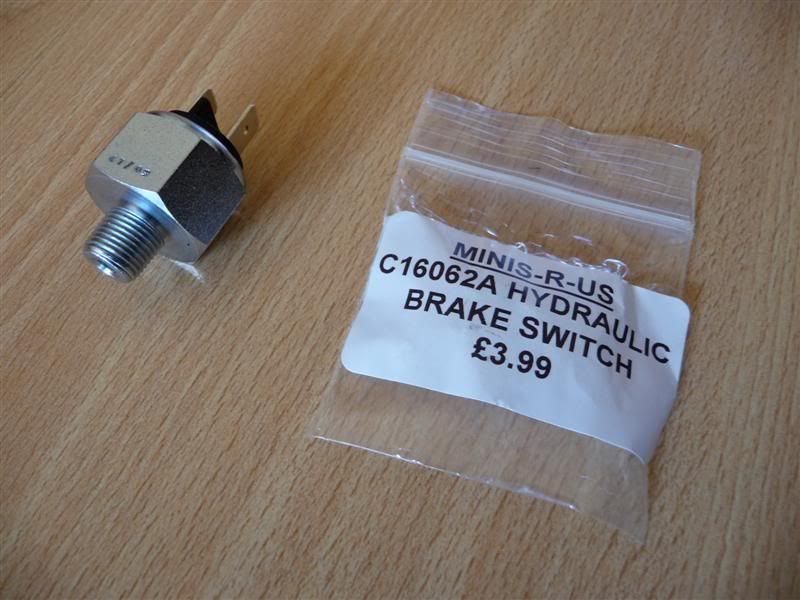
Some more new parts arrived today
One Sierra master cylinder
A hydraulic switch for the brake lights
A Freelander rear differential

Finally got round to fitting the steering rack and quickly mocked up the suspension to see how it looks
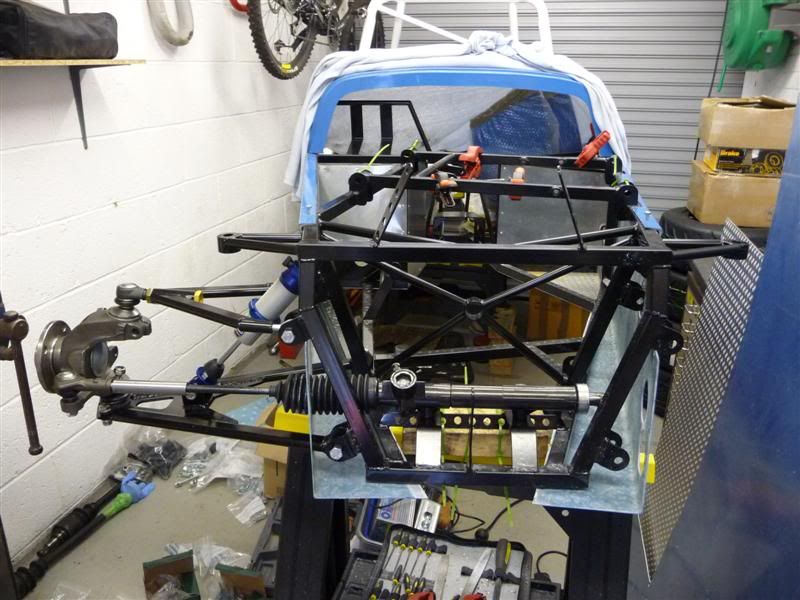

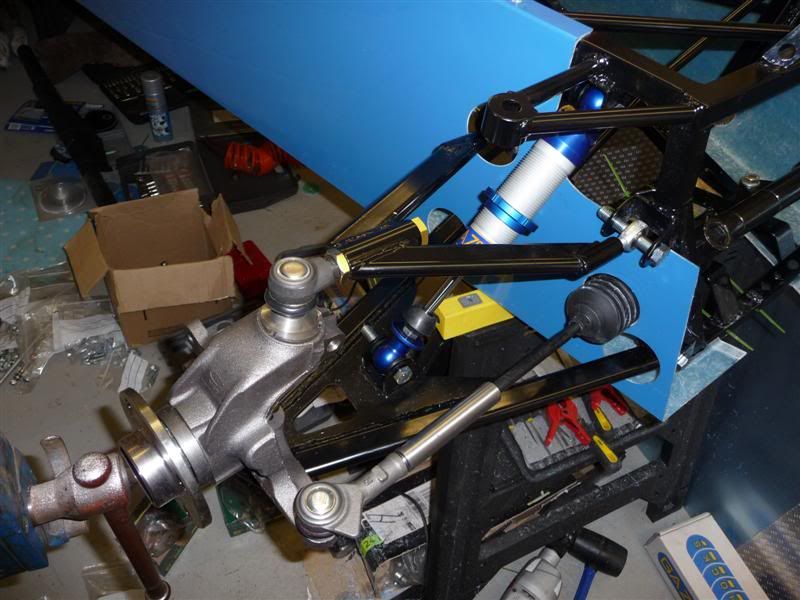
PS Yes I know the track rod end should mount underneath the upright not above like I had it, I only realised after I had taken the photos, doh!
No drama though as nothing is tightened up, and it all needs to come off so I can finish cutting the side panels.
Looking back through those photos really hits home how messy the garage has become, I'll be sorting that out tomorrow too!
|
|
|
Red16
|
| posted on 1/7/10 at 10:31 AM |
|
|
The doorbell went this morning and I was greeted by the posty with a parcel from Mac#1
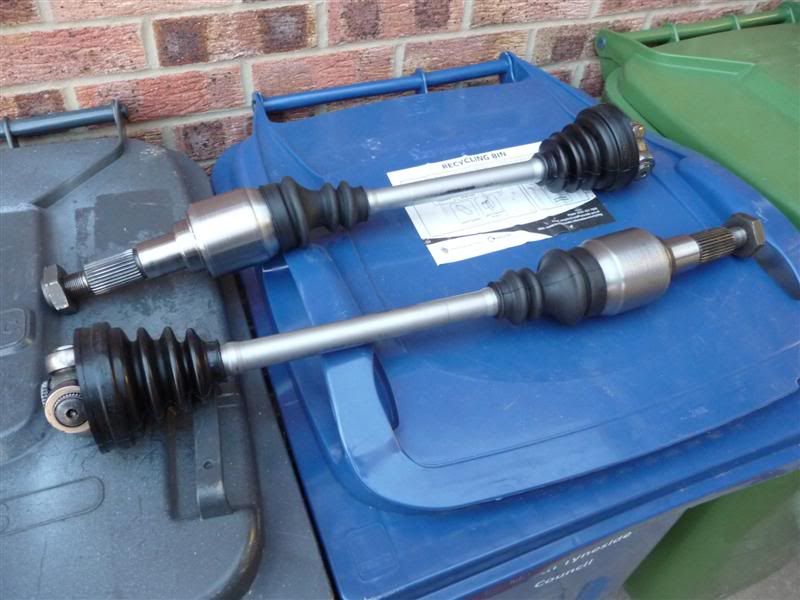
Two new custom driveshafts and tri-lobe bearings
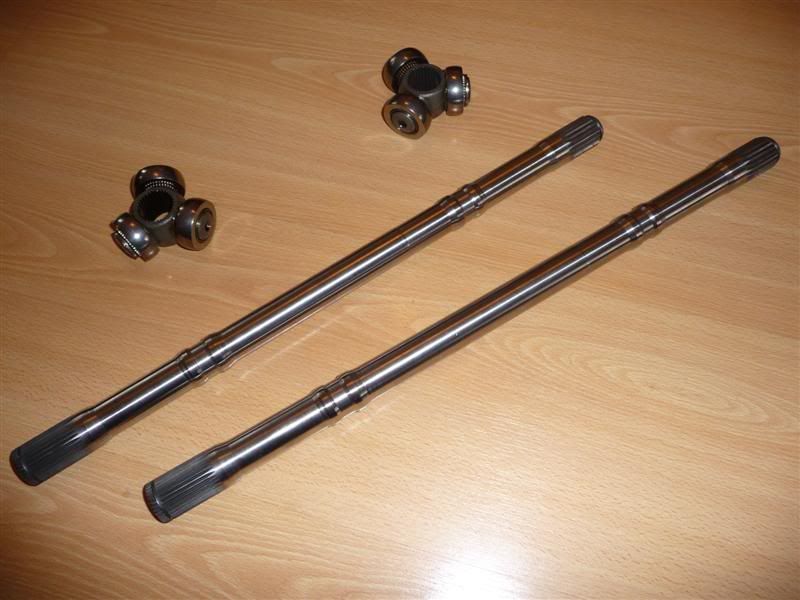
The stockpile of parts is getting really big, it's about time i pulled my finger out and got some of it on the car!
|
|
|
RK
|
| posted on 1/7/10 at 12:44 PM |
|
|
Whatever you do, keep going. You are doing a great job so far! I wish my build had gone that well, but a lot of it is knowing what part is needed for
what job and you seem to have a good handle on that.
|
|
|
Red16
|
| posted on 3/7/10 at 08:04 AM |
|
|
Thanks RK
Tried to fit my Freelander rear diff yesterday but didnt realise until it was nearly in the car that the casing needed a little mod, doh!
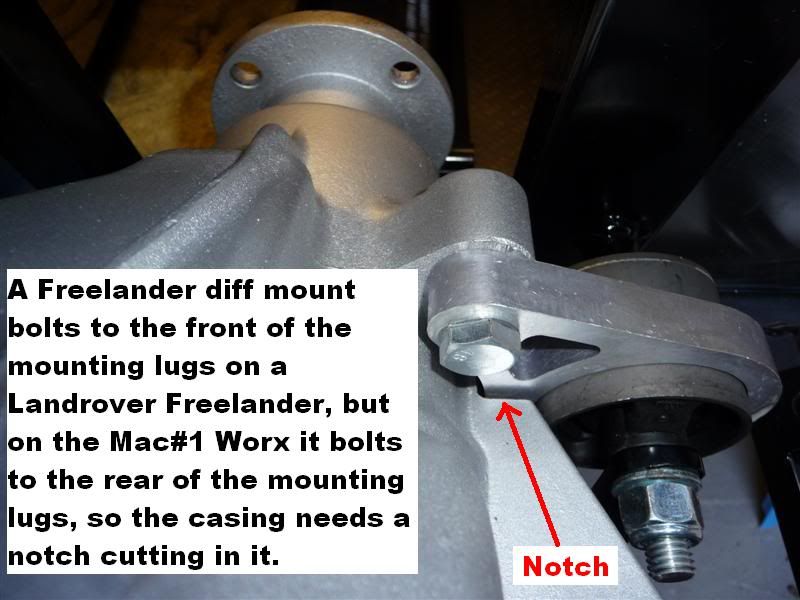
Once the notch was cut out of the casing, the diff bolted into the chassis easily.
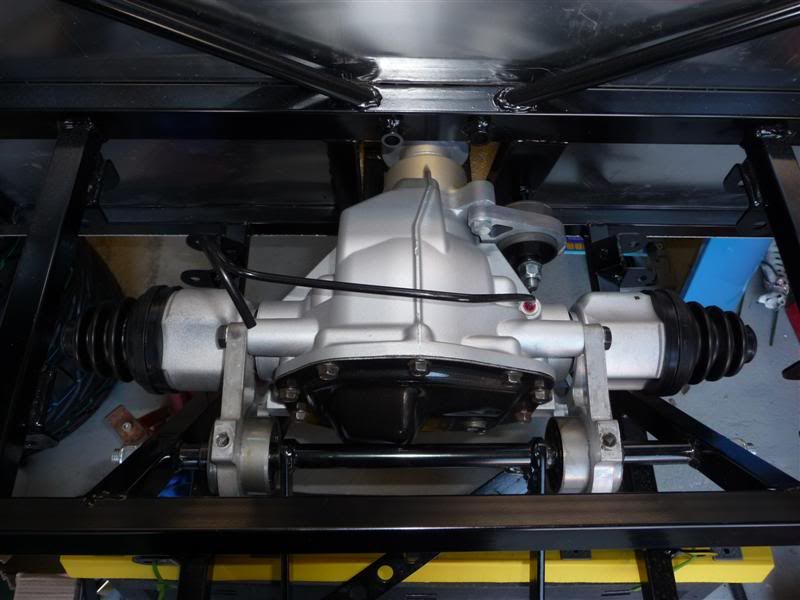
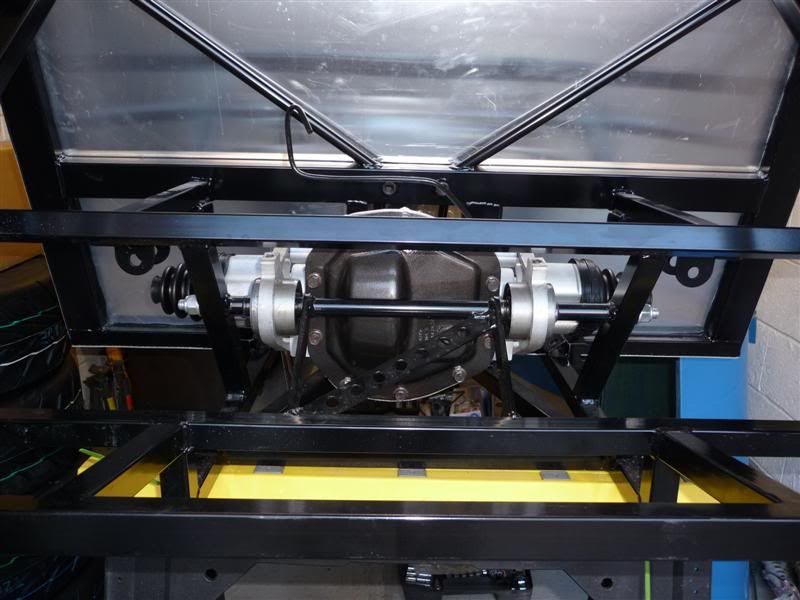
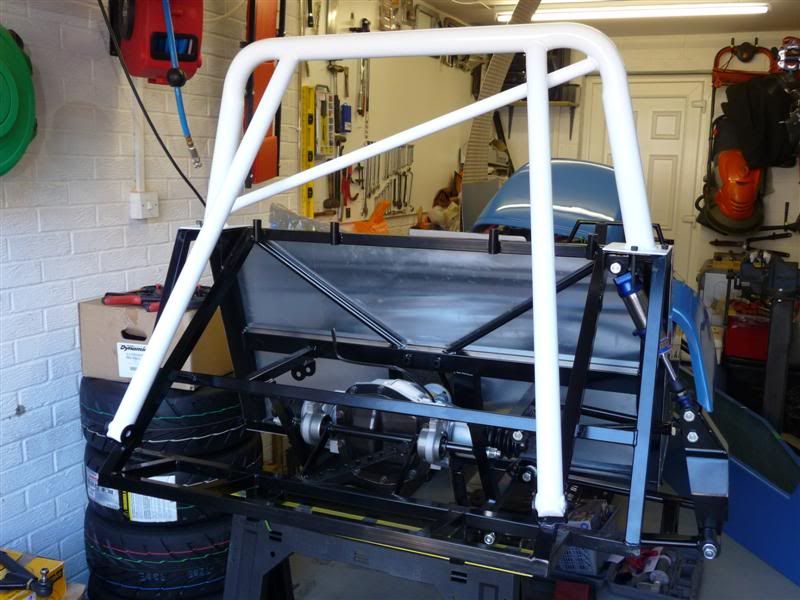
I then set about a quick mock up of the rear suspension, which looks something like this
|
|
|
20vturbogaz
|
| posted on 3/7/10 at 05:30 PM |
|
|
Its coming along now mate. cant wait to start mine.
|
|
|
neo2
|
| posted on 3/7/10 at 09:09 PM |
|
|
There is no cross bracing in the chassis in the seating area, from this i assume the seats just bolt through the alloy floor panel is that correct
???
If thats the case i then assume the full driver weight is sitting on the pop rivets holding the floor in  seems a poor idea if what i see is right
?? seems a poor idea if what i see is right
??
Good work with the build though looking nice top job..
|
|
|
Red16
|
| posted on 5/7/10 at 10:30 AM |
|
|
quote:
Originally posted by 20vturbogaz
Its coming along now mate. cant wait to start mine.
Cheers Gaz I bet you cant, I was exactly the same when waiting for my kit to arrive! Glad you went car engined, be a great comparison with mine and
Brownys.
quote:
Originally posted by neo2
There is no cross bracing in the chassis in the seating area, from this i assume the seats just bolt through the alloy floor panel is that correct
???
If thats the case i then assume the full driver weight is sitting on the pop rivets holding the floor in seems a poor idea if what i see is right
??
Good work with the build though looking nice top job..
Thanks
You're right in what you say, I had similar thoughts but was assured that it's strong enough. The floor panels are rivoted to the chassis
using large headed rivots and also secured/sealed with Worth bond and seal.
Even without any rivots, the Worth bond and seal would hold the floor panel to the chassis with your body weight acting on the floor.
|
|
|
Red16
|
| posted on 5/7/10 at 10:29 PM |
|
|
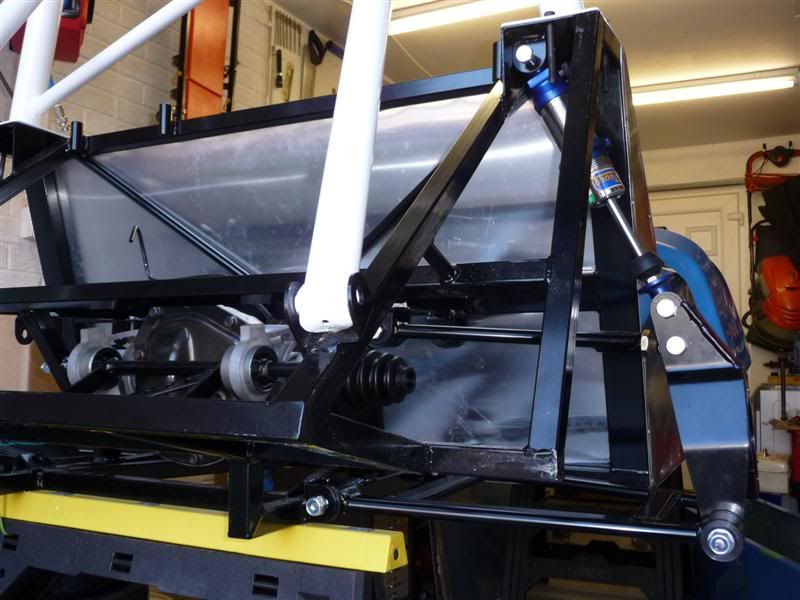
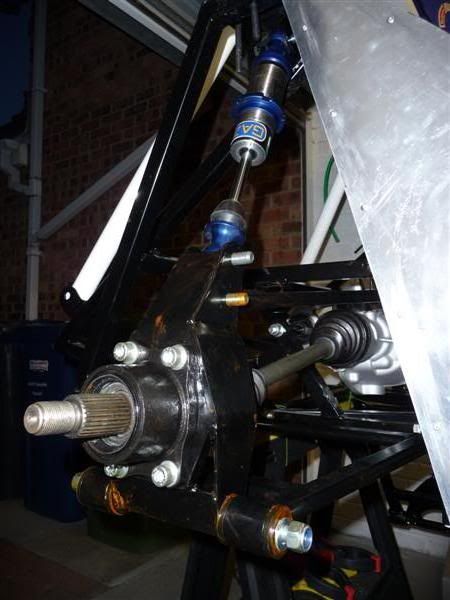
Todays progress goes like this...
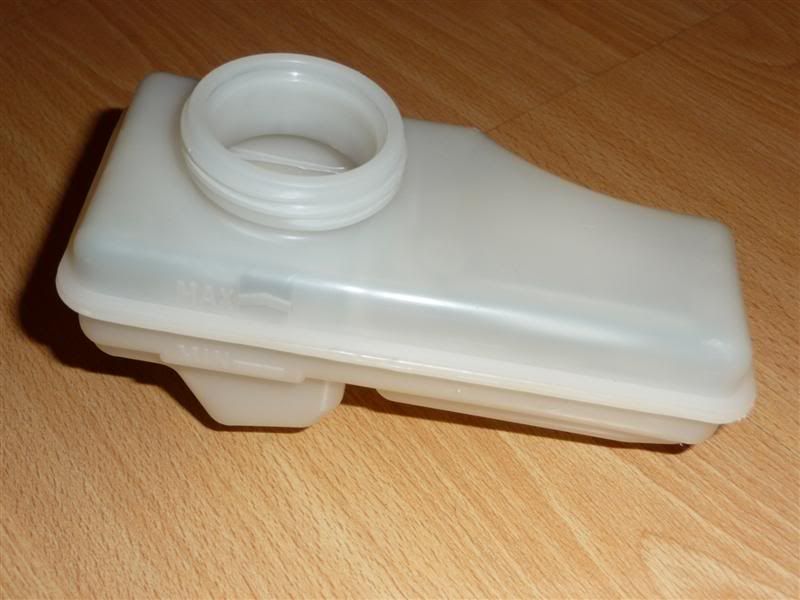
One new Sierra brake fluid reservoir
Driveshafts built up, but still requiring securing around each end of the cv boots
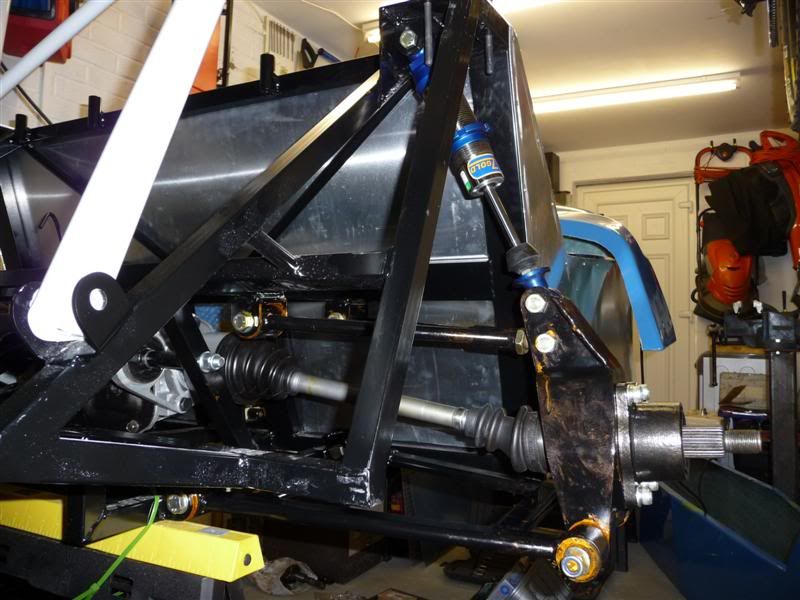
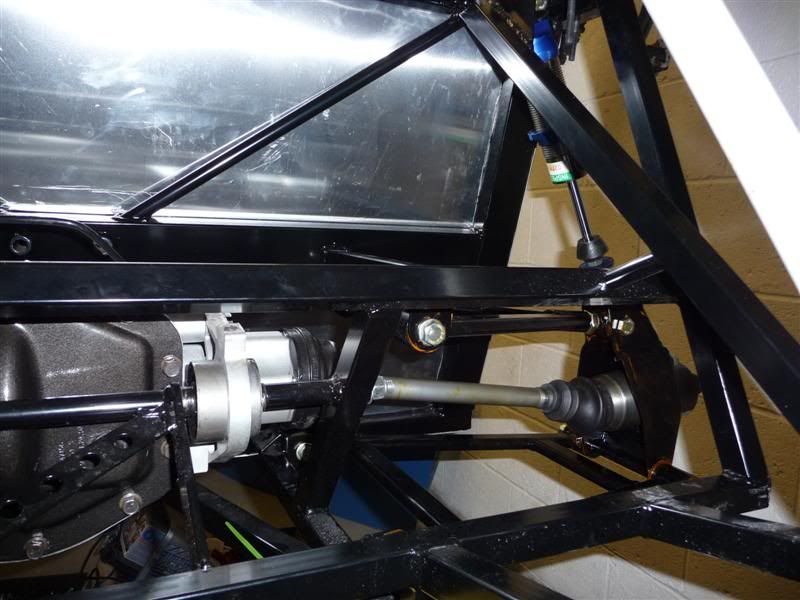
Drivers side driveshaft fitted, suspension assembled with upright, bushes fettled to rotate nice and easily, no squeeks
List of jobs for next time i venture out to the garage...
1. Brake caliper brackets to paint and fit.
2. Copper slip and other crap to wipe from the chassis, it looks filthy in the photos
3. Spring to fit to coilover strut.
4. Couple of nuts/bolts to torque up.
Then the other side can be assembled.
The rear hubs are away being machined to 134mm diameter to allow the rear brake discs to be fitted.
[Edited on 5/7/10 by Red16]
|
|
|