20vturbogaz
|
| posted on 5/7/10 at 10:48 PM |

|
|
Looking good marra. Is browny on here yet. 
|
|
|
|
|
Red16
|
| posted on 9/7/10 at 08:26 PM |
|
|
quote:
Originally posted by 20vturbogaz
Looking good marra. Is browny on here yet.
Aye Browny's on here, B120WNY is his username.
|
|
|
Red16
|
| posted on 9/7/10 at 08:33 PM |
|
|
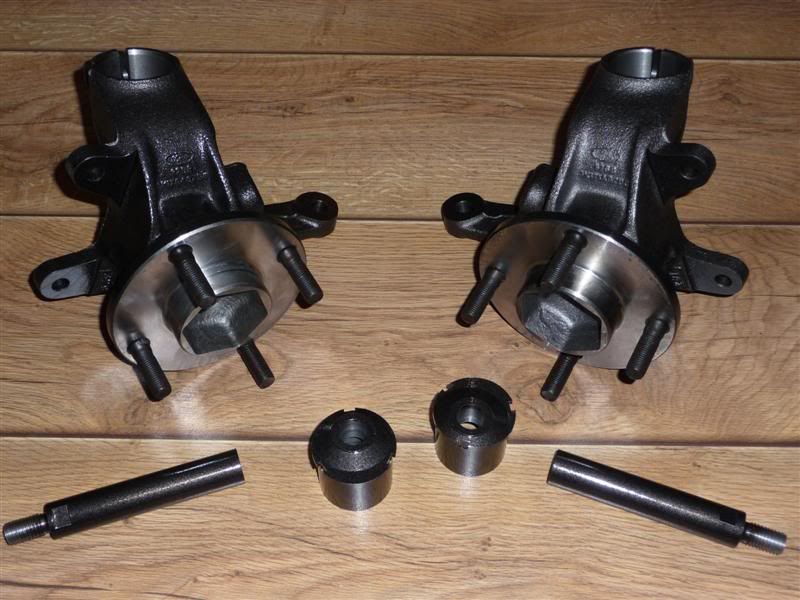
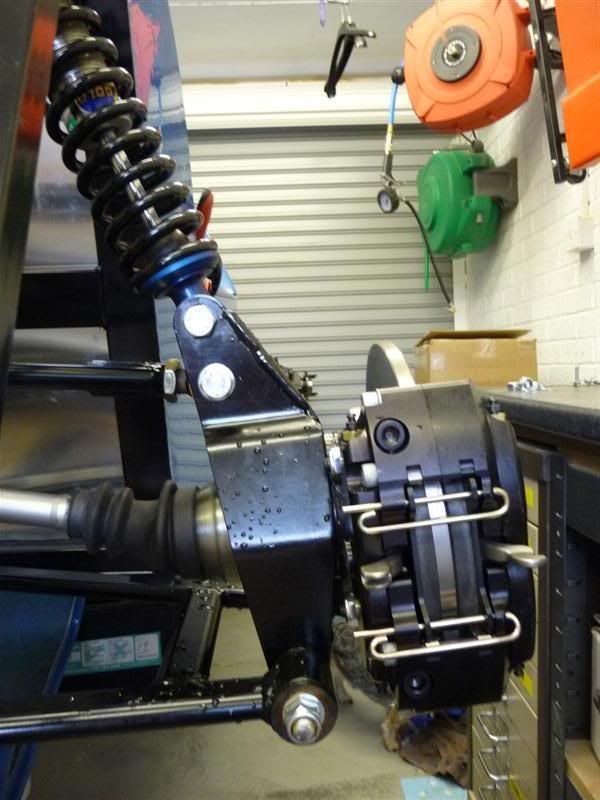
Been assembling the rear end today
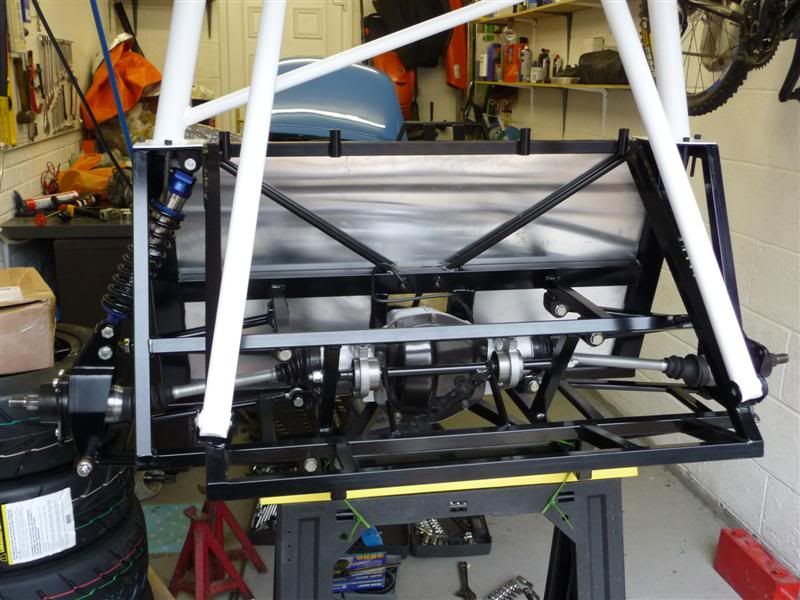
Fitted the brake caliper brackets to the uprights.
Drivers side
Passenger side
Then done a small amount of work to the front end, fitted the arms to the steering rod and secured the rubber boots.

Hoping to get my rear hubs back tomorrow, then the brakes can be fitted.
|
|
|
Red16
|
| posted on 11/7/10 at 08:05 PM |
|
|
Small update of the weekends work, nothing spectacular just a spot of painting, also fitted a set of longer wheel studs to suit the Pro Race 1.2
wheels.
The rear hubs are now back from being machined and are painted but not dry, hence the lack of photos.
|
|
|
Red16
|
| posted on 12/7/10 at 09:10 AM |
|
|
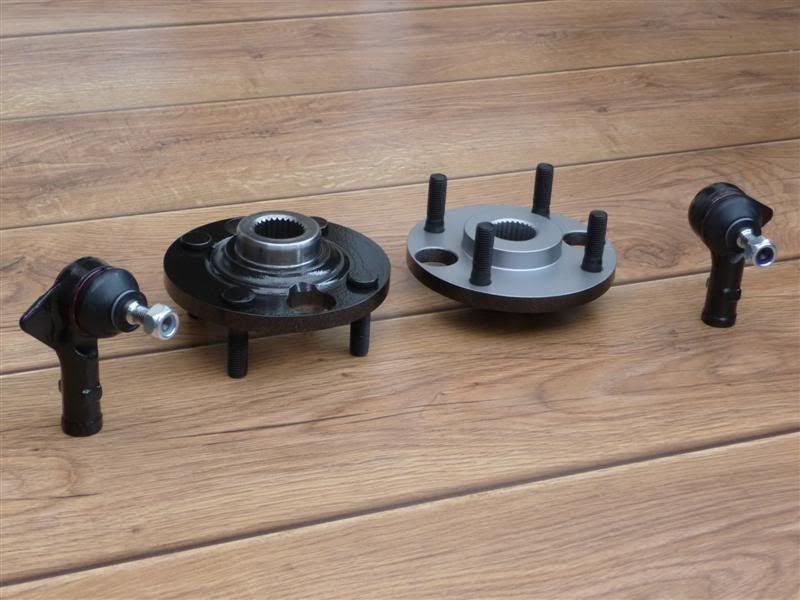
One pair of machined rear hubs with longer studs fitted and a pair of track rod ends, both been sprayed with black Hammerite Hammered paint.
|
|
|
Red16
|
| posted on 12/7/10 at 07:22 PM |
|
|
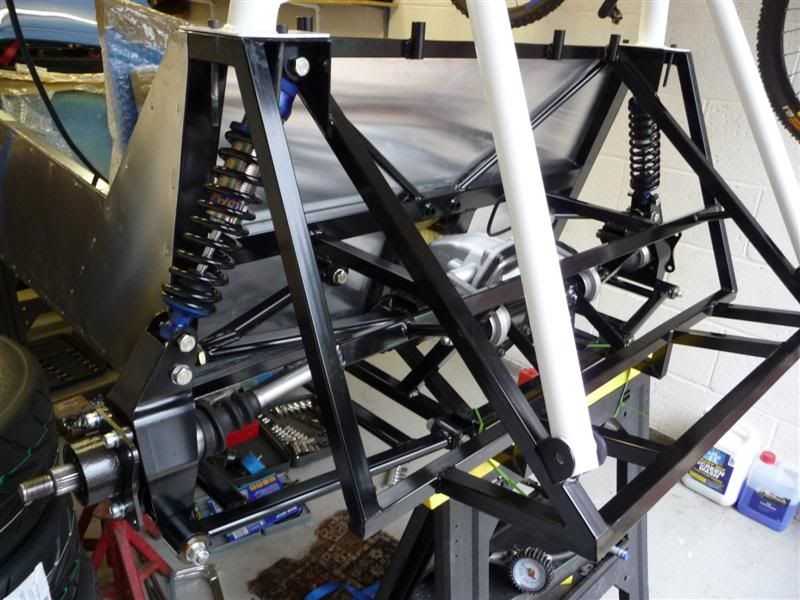
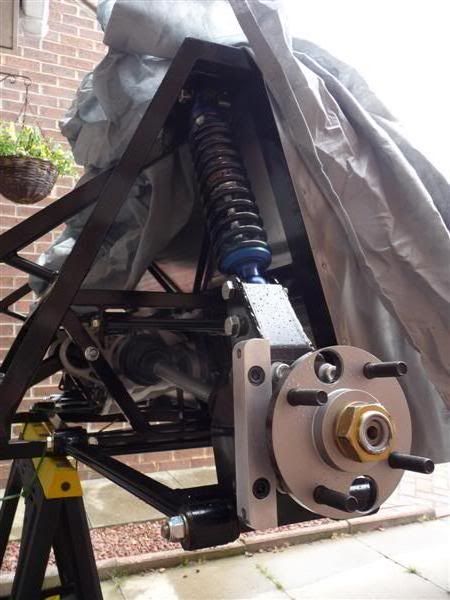
Rear hubs and brake caliper brackets fitted, driveshaft nuts need to be torqued up once the brakes are operational.
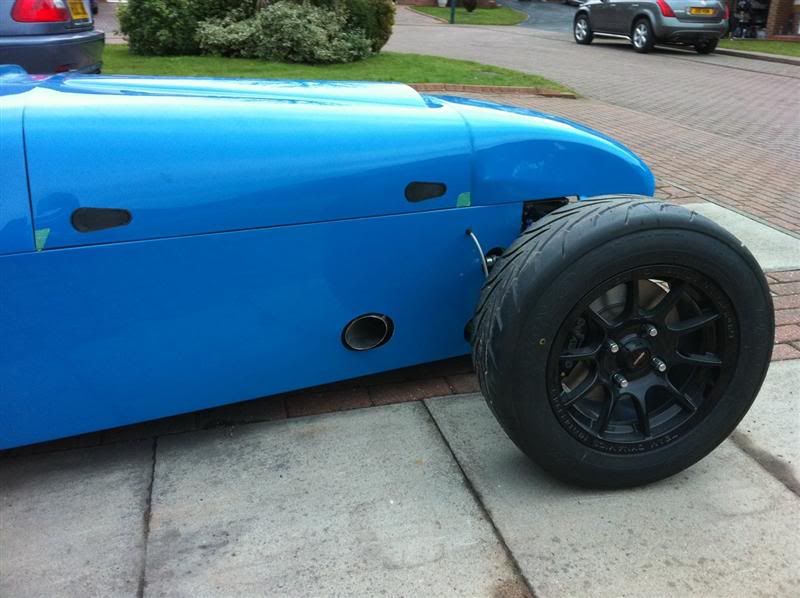
Rear brake discs and calipers fitted and it started to look like this
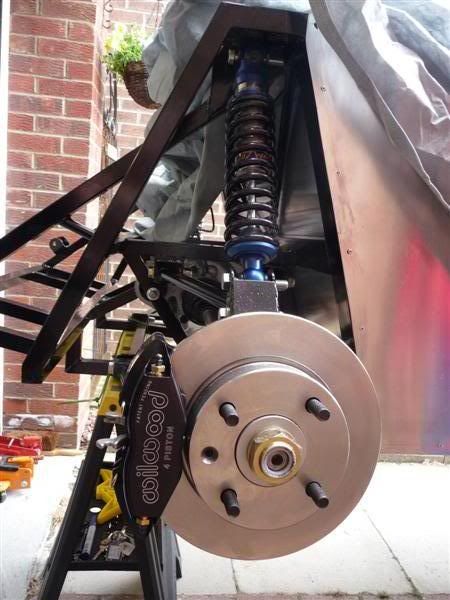
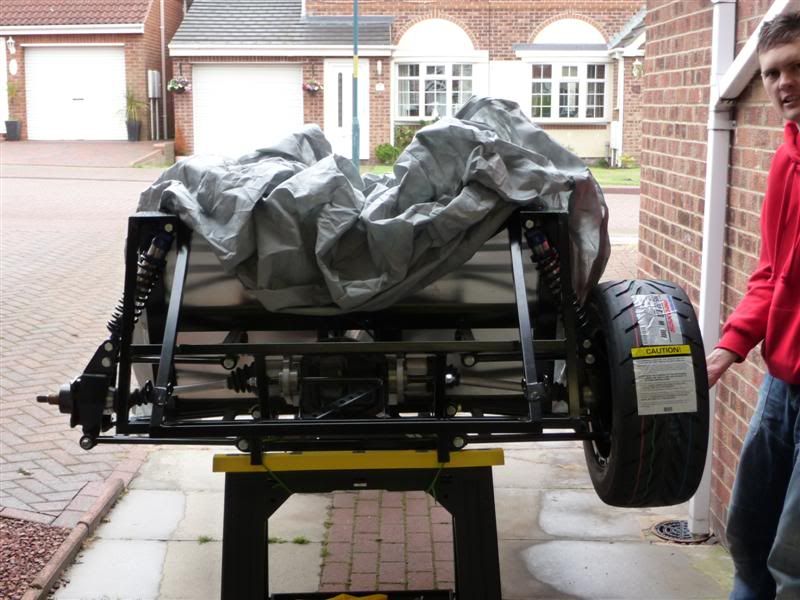
With my mate, Decka, acting as a temporary wheel nut a wheel was tried on the back, starting to look quite wide now
The side panels were trimmed for the final time, or so i thought, i now think i'll merge the steering rack hole with the front lower wishbone
hole, as most people do.
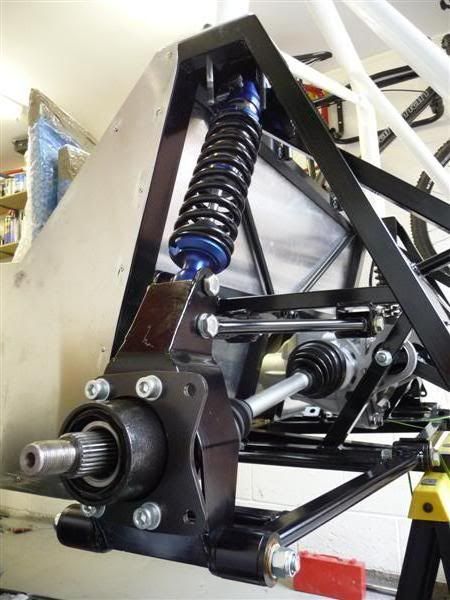
The passenger side front suspension was then built up
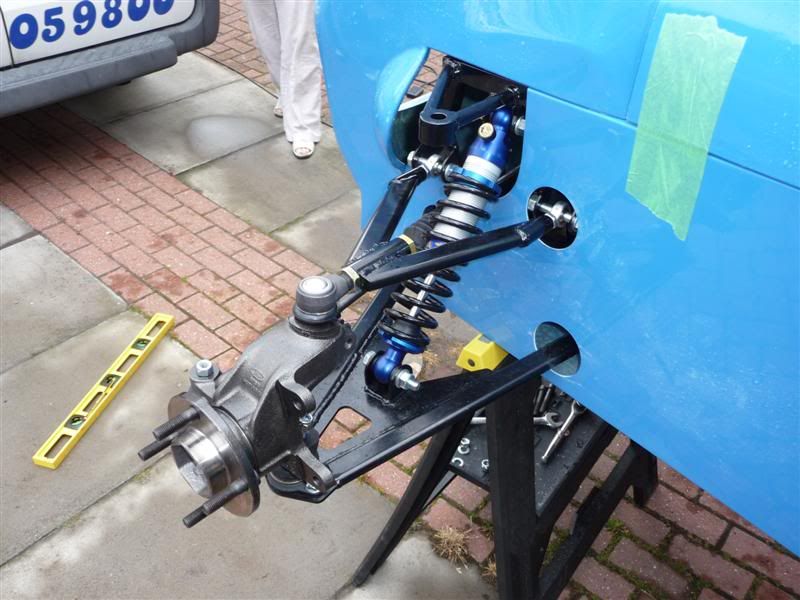

Drivers side
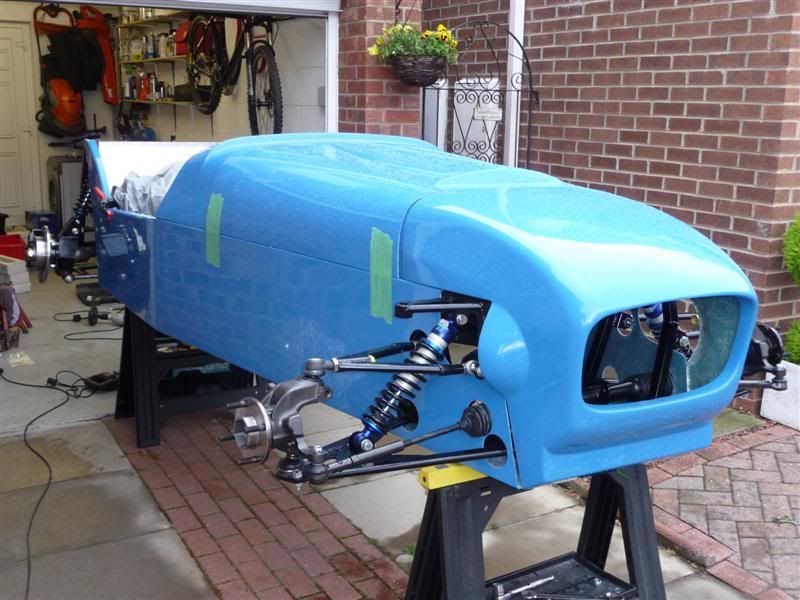
Took the nose cone off to fit it in the garage, need to move my vice stand to get the car further back... job for another day
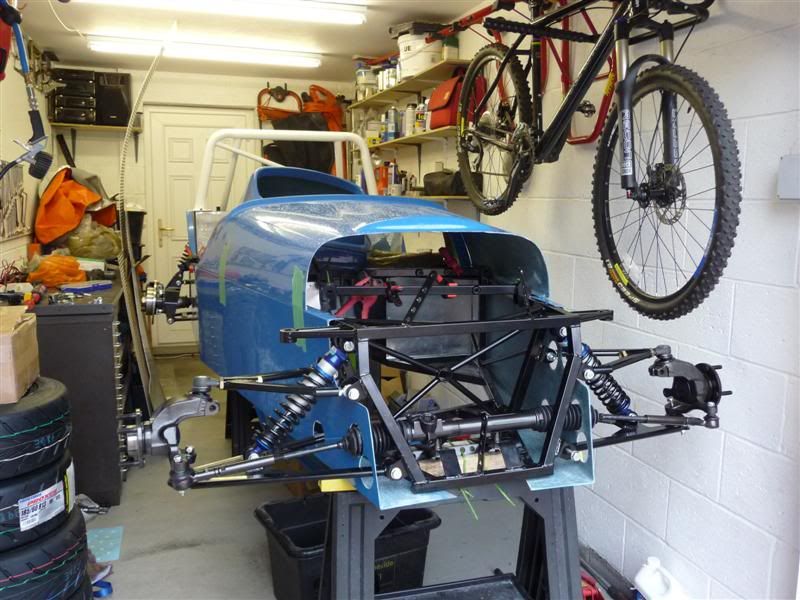
Thanks to Decka for the assistance today, I'm dead happy with the kit, it's really starting to look like a car now 
|
|
|
Red16
|
| posted on 13/7/10 at 08:11 PM |
|
|
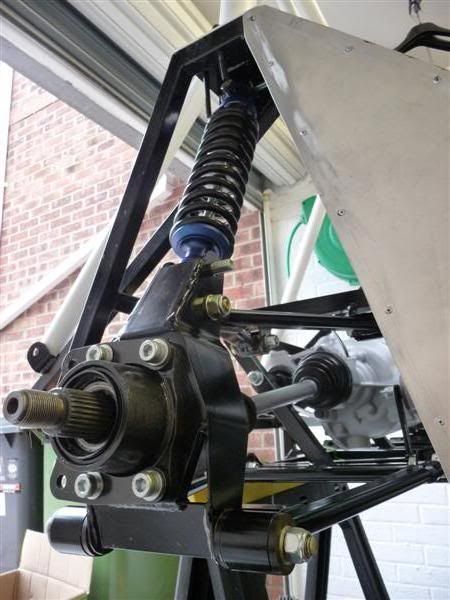
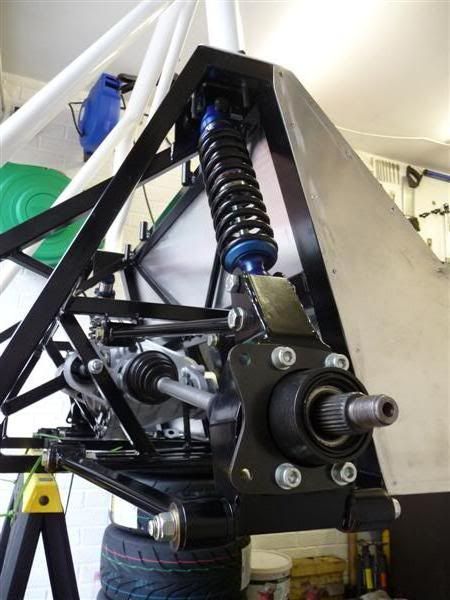
This afternoon i took the suspension off the front of the car and decided to do the final trimming to the side panels
Before
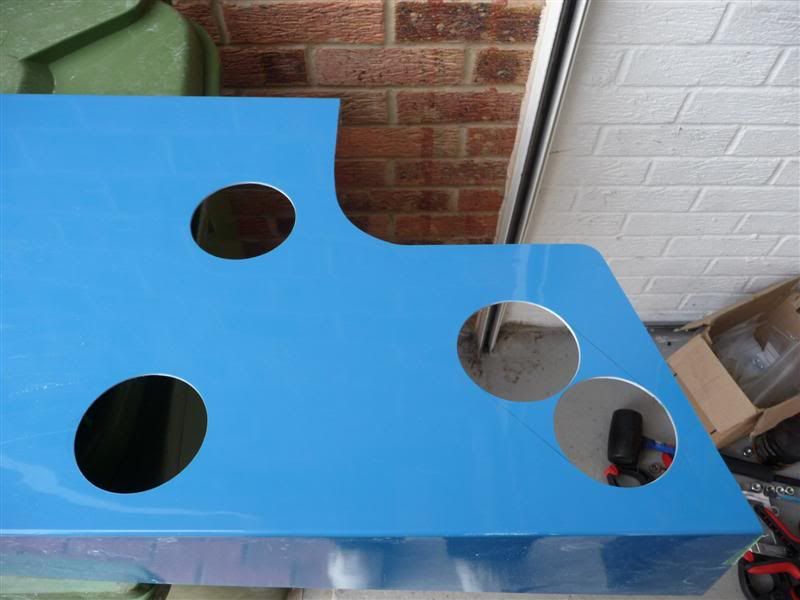
After

All the steering/suspension fitted back to the car again. The washers in the upper wishbone mounting brackets are temporary until i get some bushes
knocked up.
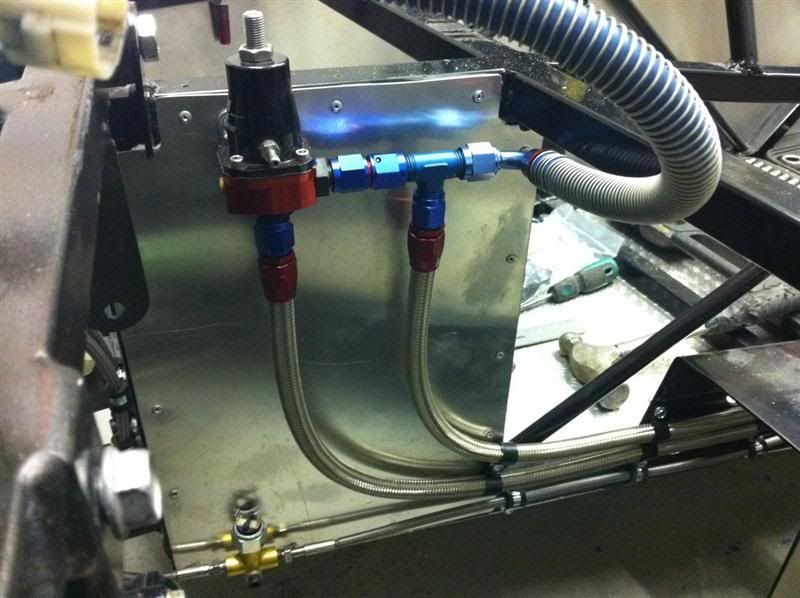
I done a quick little job while the side panel was off and fitted the master cylinder.

|
|
|
B120WNY
|
| posted on 26/1/11 at 08:47 PM |
|
|
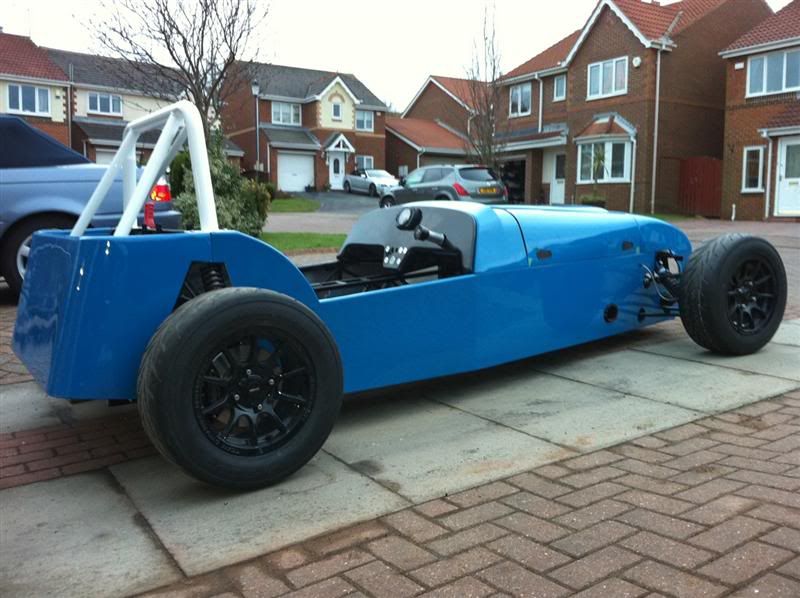
Couple of up to date photos

|
|
|
fimi7
|
| posted on 27/1/11 at 01:36 AM |
|
|
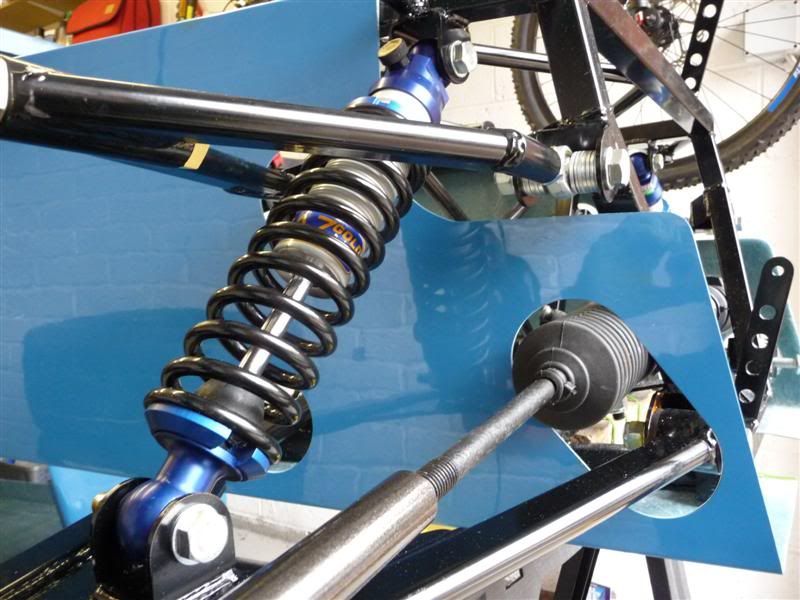
Nice clean build. What shocks are those?
|
|
|
B120WNY
|
| posted on 29/1/11 at 03:24 PM |
|
|
quote:
Originally posted by fimi7What shocks are those?
They're alloy bodied Gaz coilovers.
|
|
|
eddie99
|
| posted on 29/1/11 at 04:27 PM |
|
|
Very nice build, tidy and all shiny! Its what i like to see 
http://www.elitemotorsporteng.co.uk/
Twitter: @Elitemotoreng
Facebook: http://www.facebook.com/pages/Elite-Motorsport-Engineering/153409081394323
|
NOTE:This user is registered as a LocostBuilders trader and may offer commercial services to other users
|
fimi7
|
| posted on 30/1/11 at 12:42 AM |
|
|
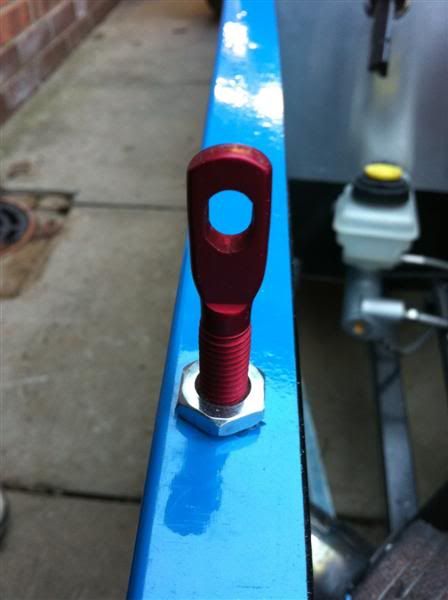
I was thinking of using the same bonnet locks. Can you put up a pic with how you mounted the bolts.
Thanks
|
|
|
Rocket_Rabbit
|
| posted on 14/3/11 at 12:43 AM |
|
|
Just read through your build. Looks good, but you never said you were going with a Turbo!!
Shame about the ban - would have been nice to see the updates 
[Edited on 14/3/11 by Rocket_Rabbit]
|
|
|
lewis
|
| posted on 14/3/11 at 09:02 AM |
|
|
Great build blog lots of pics that i like,just one thing I have noticed the bolts holding the roll bar on are no way man enough IMO,car looks really
nice though,going to be a quality build.
|
|
|
SausageArm
|
| posted on 8/4/11 at 10:12 PM |
|
|
quote:
Originally posted by fimi7
I was thinking of using the same bonnet locks. Can you put up a pic with how you mounted the bolts.
Thanks
They were mounted through the chassis like this, with a nut top and bottom to hold them secure.
|
|
|
SausageArm
|
| posted on 8/4/11 at 10:13 PM |
|
|
quote:
Originally posted by lewis
Great build blog lots of pics that i like,just one thing I have noticed the bolts holding the roll bar on are no way man enough IMO,car looks really
nice though,going to be a quality build.
I think a full cage is on the cards once it's up and running
|
|
|
SausageArm
|
| posted on 8/4/11 at 10:15 PM |
|
|
quote:
Originally posted by Rocket_Rabbit
Just read through your build. Looks good, but you never said you were going with a Turbo!!
Well here she is after firing up for the first time at Mac#1 a couple of days ago
http://www.youtube.com/watch?v=Opp8ecvY7nU
|
|
|
SausageArm
|
| posted on 18/7/11 at 06:14 PM |
|
|
Woohoo! IVA test passed first time!
|
|
|
SausageArm
|
| posted on 25/8/11 at 02:16 AM |
|
|
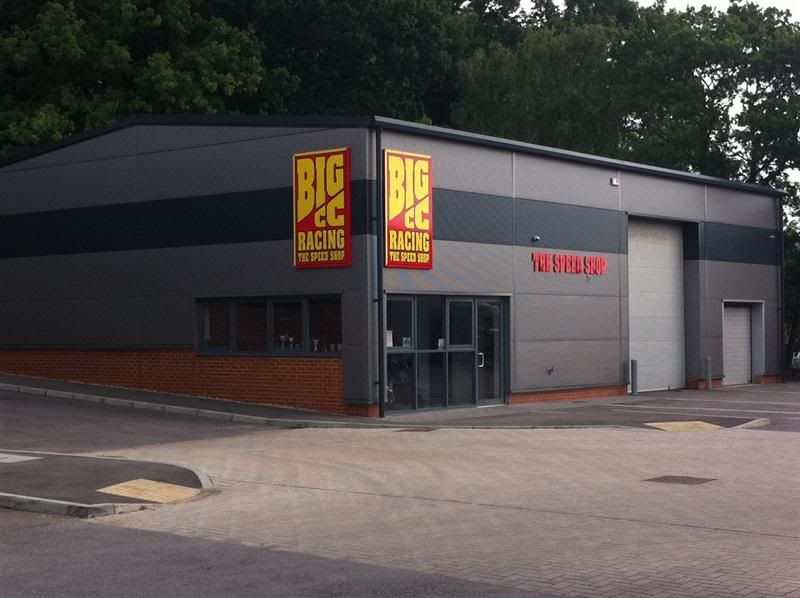
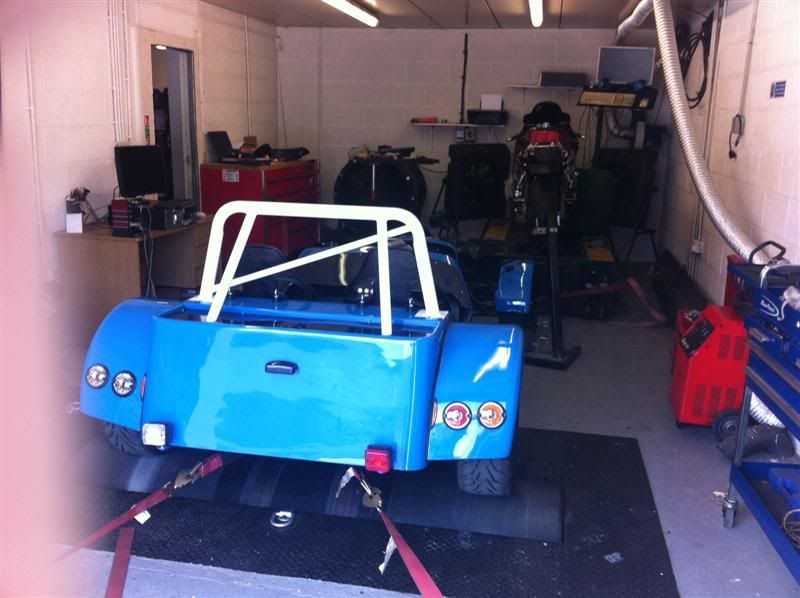
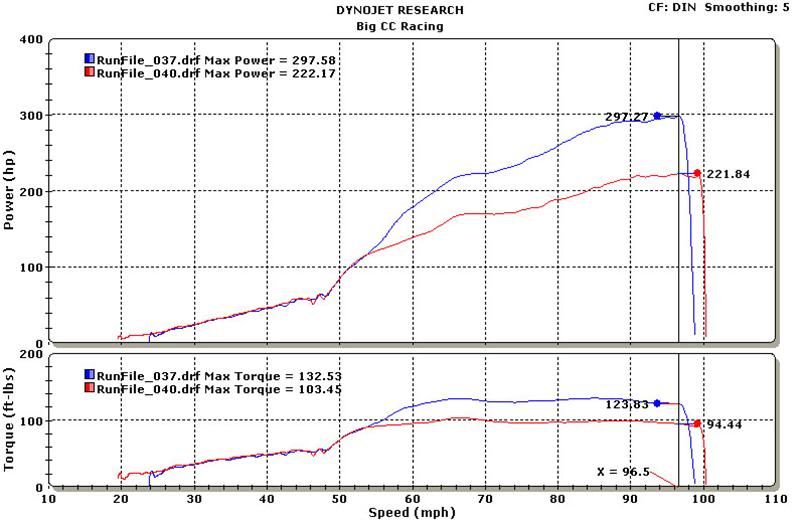
The car has been down to BigCC Racing to be mapped
Car being strapped down onto the rollers
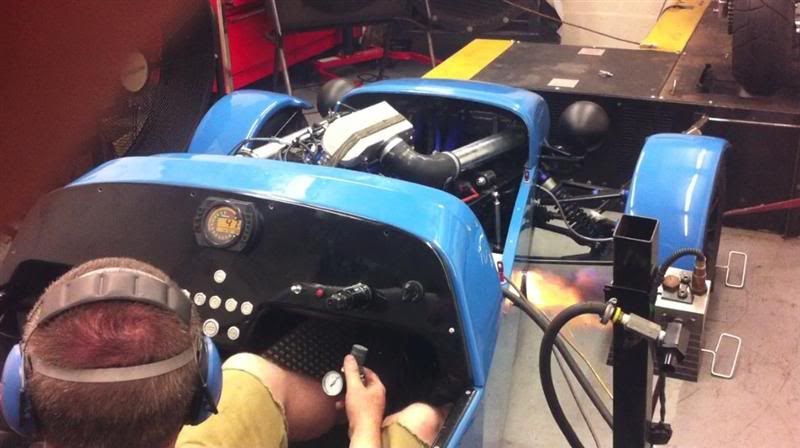
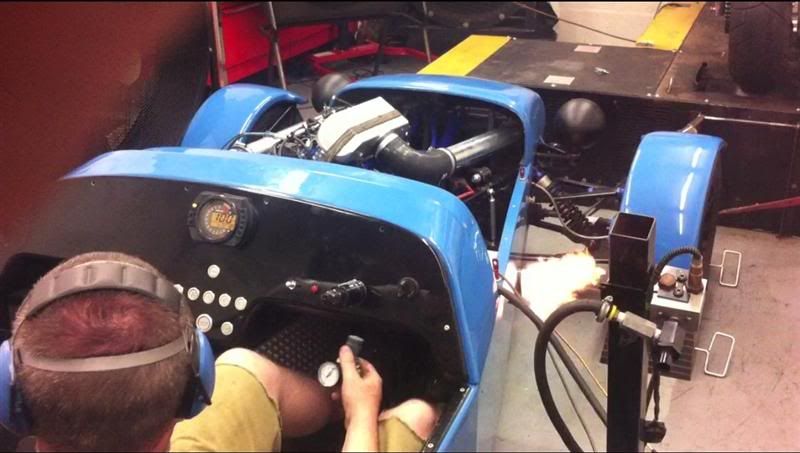
Coupe of flaming stills taken from video clips
Power and torque at the wheels, the blue line is at 12psi, the red line is at 8psi.
Just waiting on the DVLA to come out and inspect the car, then I can finally drive it
|
|
|
Eatpies99
|
| posted on 2/9/11 at 10:28 PM |
|
|
This car is amazing Just curious, what fuel is it been mapped on?
|
|
|
SausageArm
|
| posted on 3/9/11 at 03:53 PM |
|
|
quote:
Originally posted by Eatpies99
This car is amazing Just curious, what fuel is it been mapped on?
Thanks a lot
It was mapped on Shell V-Power.
|
|
|
Eatpies99
|
| posted on 3/9/11 at 04:43 PM |
|
|
Thanks for the prompt reply
I look forward to seeing some videos once its on the road. Quite intrested in going the turbo route myself.
|
|
|
SausageArm
|
| posted on 3/9/11 at 04:58 PM |
|
|
I'm still waiting for the DVLA to inspect the car so they can issue it with a registration number and V5, but in the mean time I've bought
a few odds and sods.
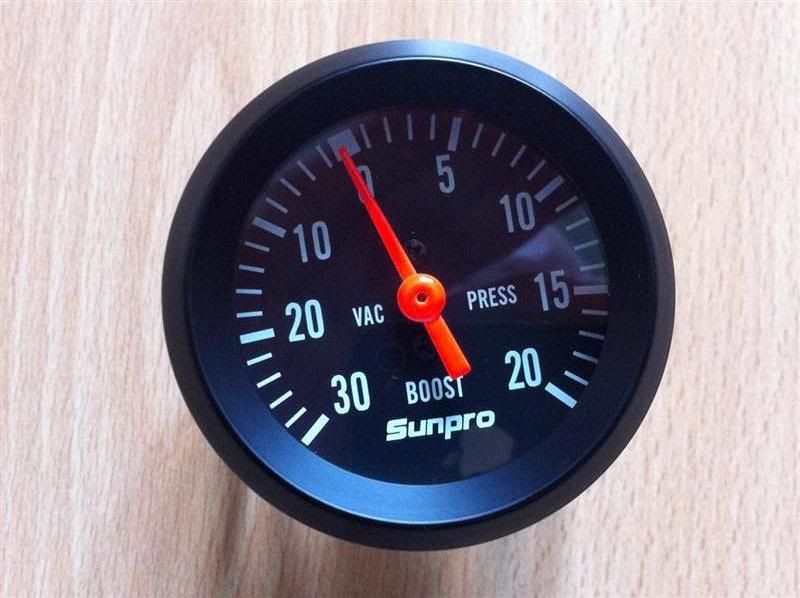
A 20psi boost gauge
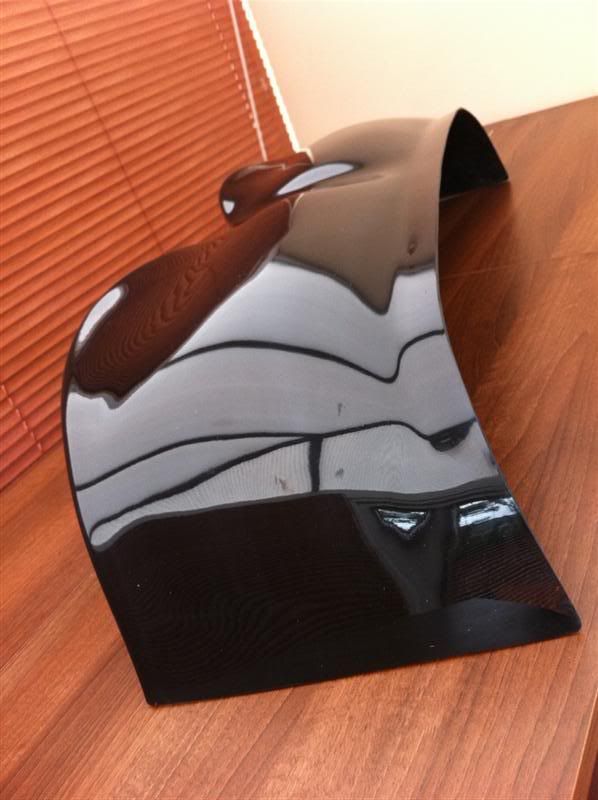
A GRP aeroscreen
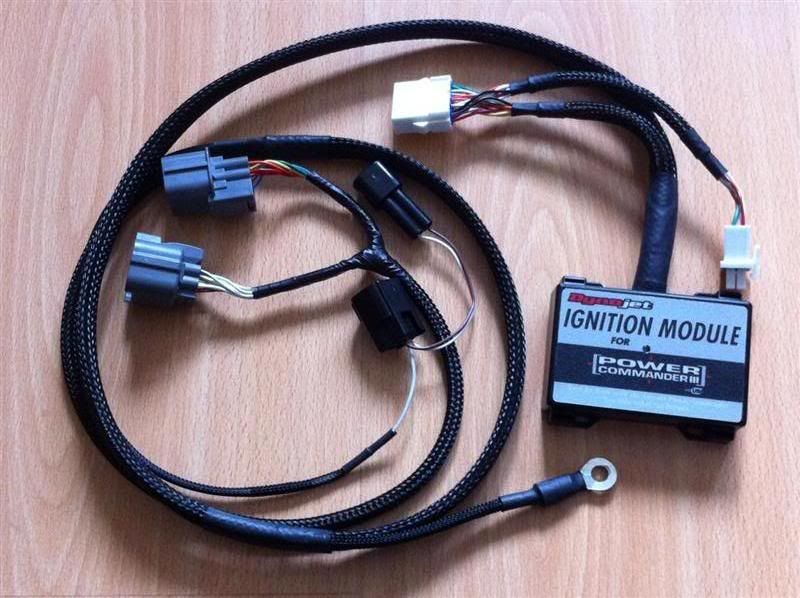
An ignition module add on for the Power Commander III, to allow the timing to be tweaked, that means another rolling road session to do some more
mapping.
|
|
|
beaver34
|
| posted on 3/9/11 at 05:08 PM |
|
|
awesome! been following it on passion ford
|
|
|
SausageArm
|
| posted on 12/9/11 at 03:26 PM |
|
|
Well the DVLA finally pulled their finger out and sorted out my registration, a new 61 plate gratefully received, happy days!
A big thanks to Marc and Colin at Mac#1 for their hard work on the car over the last couple of months.
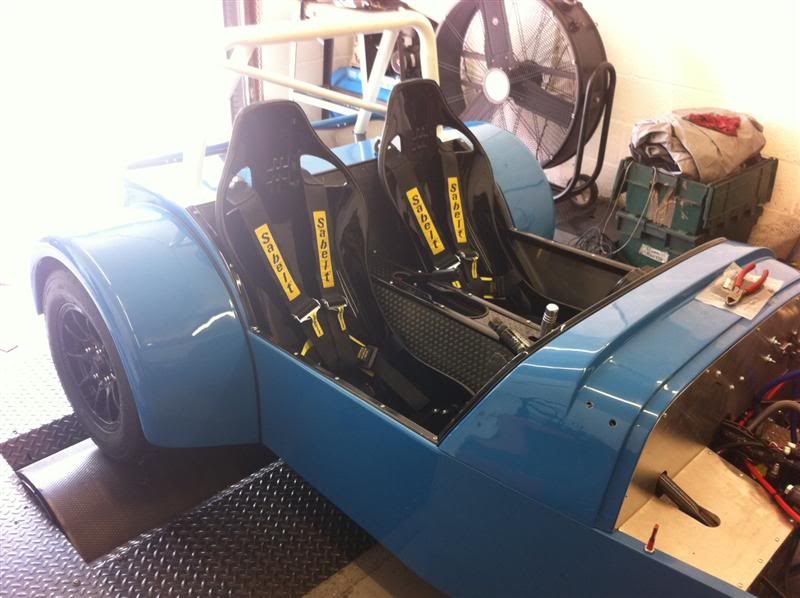
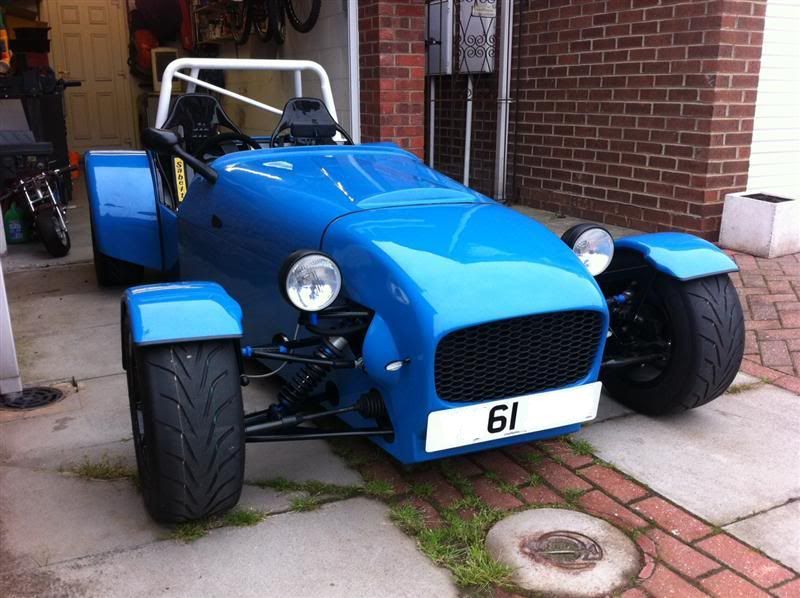
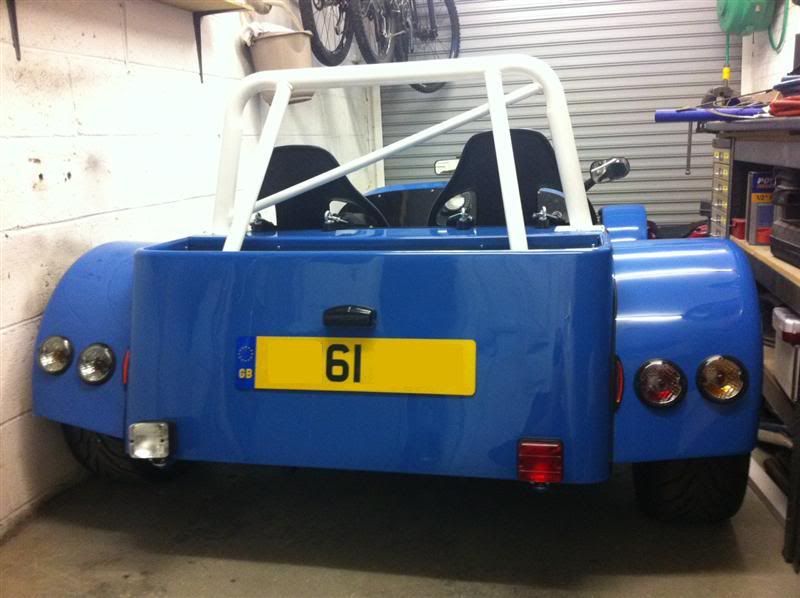
Here are a few photos of the car in it's latest form.
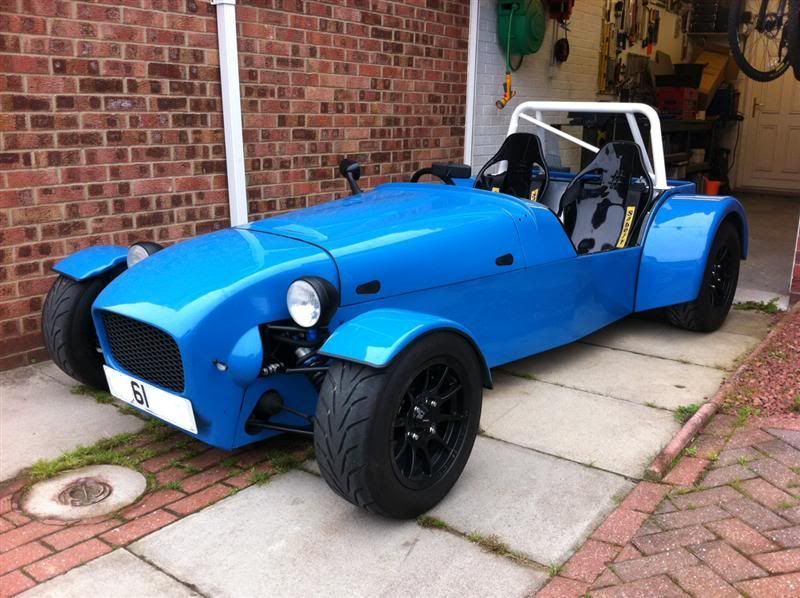
Tucked away in the garage
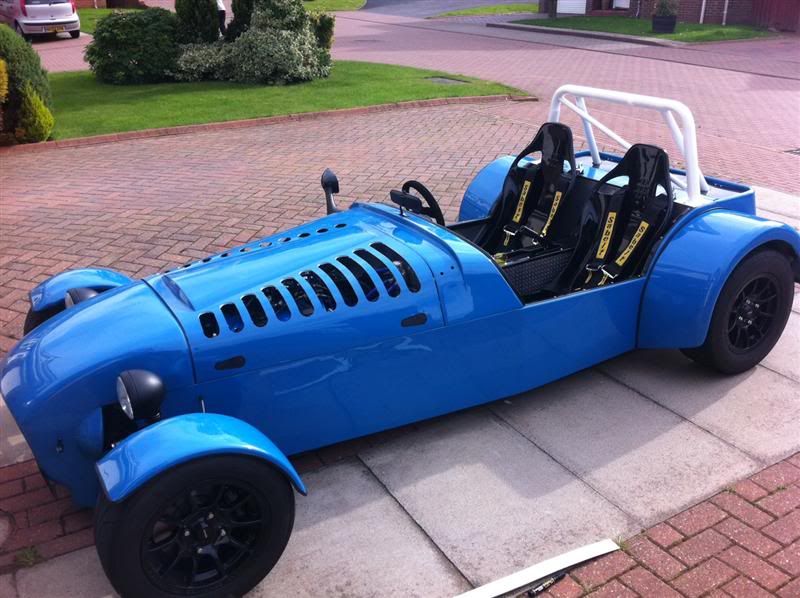
After a few test runs in the car, it was obvious I was struggling with engine cooling, so some bonnet vents were cut into the bonnet, here you can see
the work in progress, black mesh will be added to the underside of the holes.
Boost gauge fitted
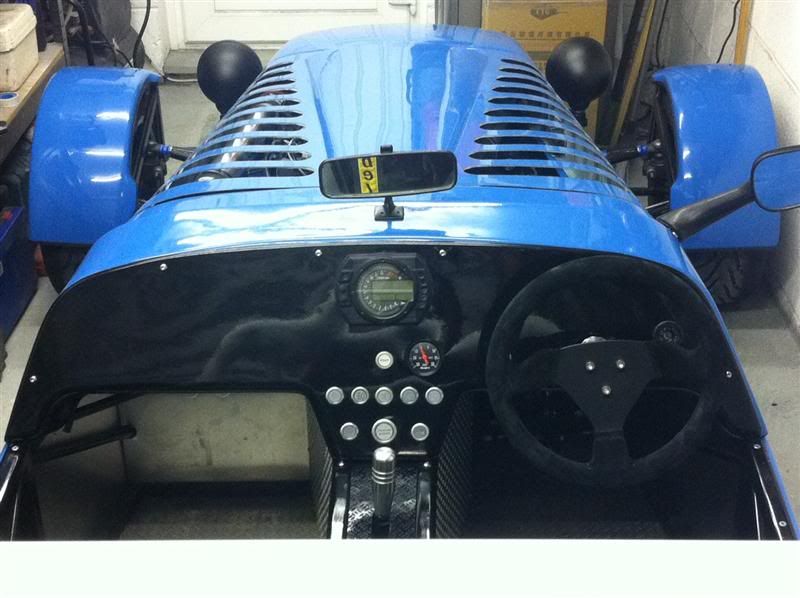
Cooling is now a lot better although i think it will need further work, especially in preparation for track days and summer ambient temps.
I've driven the car a good few times now and even on low boost it goes very very well, high boost it's like a missile!  circa
770bhp/tonne kicks ass! : circa
770bhp/tonne kicks ass! :
|
|
|