Steef74
|
| posted on 16/9/21 at 02:24 PM |

|
|
ZX9r conversion from carb to efi
I am looking for the trotthle bodies that would make a nice fit on the zx9r without to many adjustments.
I see some used zx10R from 06-07 with adjusted inlet rubbers from a zx636. Seems the 2008 bodies are a bit wider.
Any others that would fit, I assume when going megasquirt you can even use from a gsxr1000 depending on spacing
|
|
|
|
|
obr_technology
|
| posted on 25/9/21 at 06:44 AM |
|
|
Hi,
There is a build thread on here somewhere for a zx9 turbo buggy.
Check it out as the chap used megasquirt and I believe zx10 throttle bodies
Found it
http://www.locostbuilders.co.uk/viewthread.php?tid=184992
[Edited on 25/9/21 by obr_technology]
|
|
|
Steef74
|
| posted on 28/1/22 at 09:57 AM |
|
|
Just an update.
The carbs are taken of already, I bought a zx10r TB with TB loom from a 2006/2007 bike.
Seems these are almost a straight fit. I first wanted to use the zx10r inlet rubbers, but again these do not fit and needs machining.
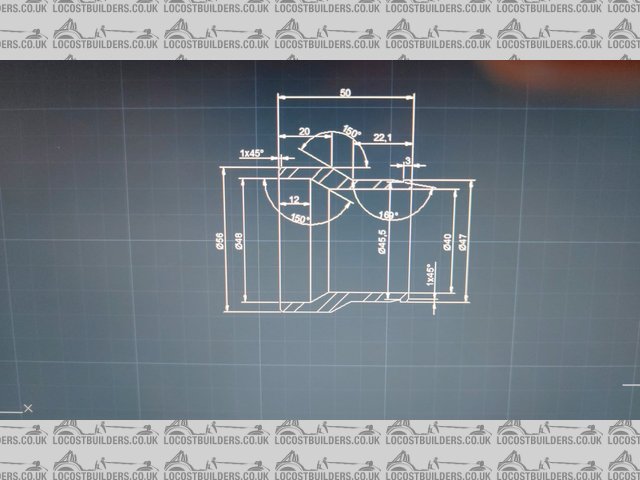
So I am going to go for custom bushes, already drawn and are in the process of being made. To mount the TB to the bushes, I will use silicon tube
56MM, same size as the bushes and the TB.
Description
From the four injectors 2 were stuck, one night in Carb cleaner fixed this. I used a 9 volt battery to open and close the injector and spray some carb
cleaner through it to open it op. Just take any rubbers off, seems the carb cleaner is pretty aggressive.
I also removed the secondary throttle valves, as these only add complexity.. screws were hard to get of, seems these were locked using Loctite. I used
a Dremel and a big screwdriver to get these of.. I always wonder why these things are fastened using cross head screws and not hex screws.
I see there is a map sensor already present, but I think I will use the GM one.
Once the TB are mounted, the fuel pump, return line and fuel pressure regulator will come in, to complete the fueling part
[Edited on 28/1/22 by Steef74]
[Edited on 28/1/22 by Steef74]
|
|
|
Steef74
|
| posted on 7/2/22 at 08:14 AM |
|
|
Bushes are ready, a nice fit to the existing inlet rubbers and the exact size of the TB. this week I will get 56 mm silicon hose to connect the TB to
the bushes.. Fuel pump and pressure regulator are also coming in..
Description
|
|
|
Steef74
|
| posted on 9/3/22 at 01:01 PM |
|
|
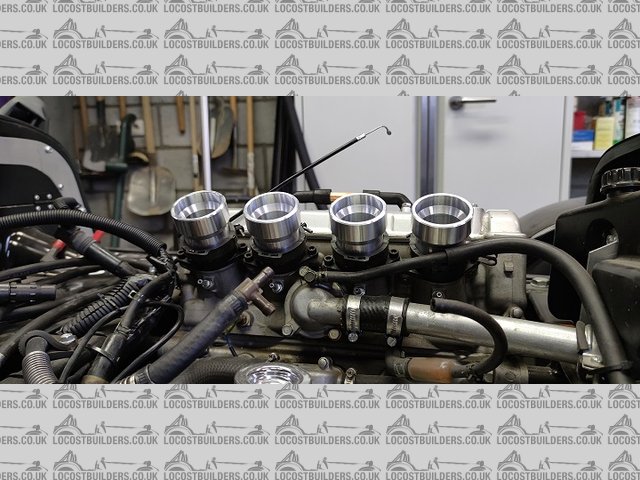
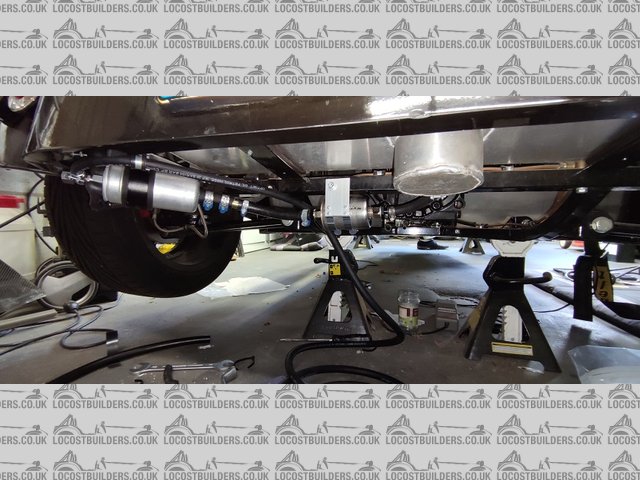
update
TB are mounted, also new FP, FPR and return to tank
Description
]
Description
]
[Edited on 9/3/22 by Steef74]
|
|
|
Steef74
|
| posted on 2/11/22 at 09:19 AM |
|
|
Yes, finally the engine runs...
Setup is as follow:
Microsquirt
Using A quadspark with the original COP.
Spartan lambda controller 2
Using a 24-1 trigger wheel of a Z1000 2003, that fits right on the zx9r
Tooth angle is at 103 degrees before TDC. ( always check with timing light during crank)
ZX10R Throtle body from 2006, I removed the secondary butterflies
Other changes needed:
Replaced Fule pump with high pressure one up to 5 bar.
Placed a Malpassi AIR004 FPR so I can set pressure at 3 bar
Made a return from the FPR to the gastank
Purchased tunerstudio license, so you can autogenerate a VE and AFR table.. I added 5 to the overall VE table
Ignition map is basically the default that is used in the ZX9R manual, at 1100 RPM 10 degr BTDC, at 5500 RPM and up 32.5 degrees BTDC.
You can use the autotune feature and finetune the car on the road with the licensed version of TS.
Thanks to Dave_424 for helping me out.
Now, I need to create a new airbox that will fit the zx10r TB.
Create a new dashboard, as the old ones has holes in it from the choke.
Total costs were about 1200 euro's without the airbox and dash.
On the plus side:
Experience on this modification..
MOT will be easier, as I can create a custom MAP for emissions.
If the car stands for 6 months, it will start right up.. I was suprised how easy it starts. With carbs it usually ran on 3 Cyl or not run at all, I
needed to drain the gasoline, clean the carbs.
|
|
|
Steef74
|
| posted on 2/11/22 at 09:39 AM |
|
|
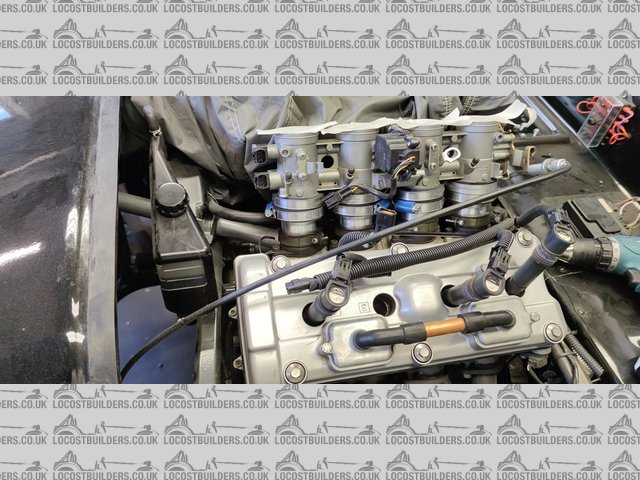
Here is a pic of how it looks now
 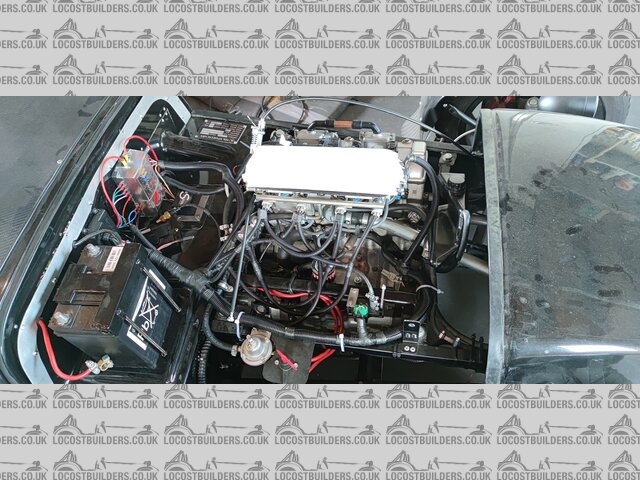
Description
 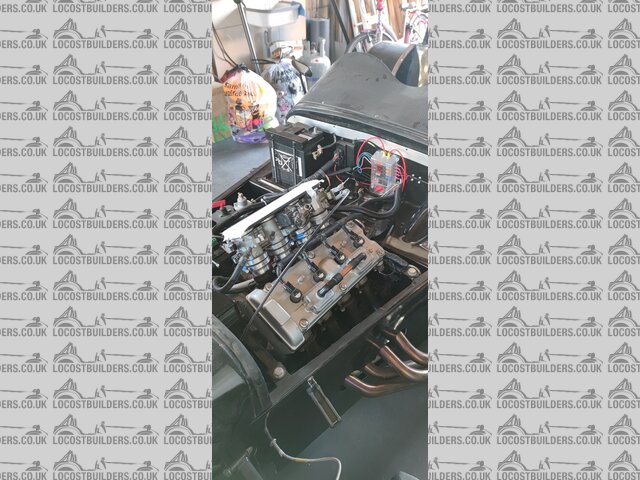
Description
|
|
|
Steef74
|
| posted on 22/2/23 at 01:22 PM |
|
|
Now the engine runs, it is time for some changes to the dash.
One of these is printing a new steering cowl and new warning button, the old button has a crack in it.
I first wanted to use an online printing service, but this seems very expensive, so after some digging on the internet I made the decision to buy my
own 3D printer. It is an Elegoo Neptune Pro plus, after some fiddling in Fusion 360 to recreate the button, I printed it and used some white paint
from Revell to create the warning sign on the button.
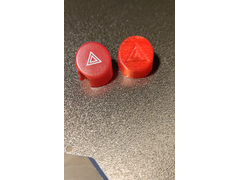 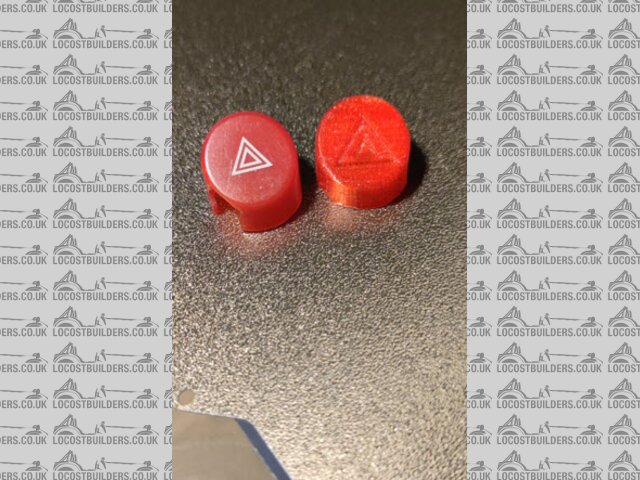
warningbutton
 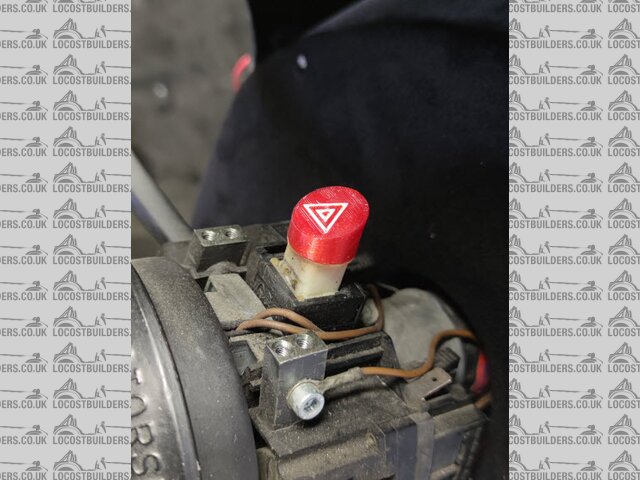
button car
I am also are going to print a new steering cowl, I downloaded below one, and updated one side ( I have no wipers, so I closed the GAP)
https://cults3d.com/en/3d-model/various/gbs-zero-ford-sierra-steering-column-cover
Model is cheap, a second hand ford sierra cowl, they ask a small fortune on ebay, I assume these are getting rare.
As I need a new airbox, I will also 3D print seperate connection hoses from the injection house to a 3D printed airbox.
As this will get some heat it is adviced to print in ABS.
[Edited on 22/2/23 by Steef74]
[Edited on 22/2/23 by Steef74]
|
|
|
Steef74
|
| posted on 2/6/23 at 01:49 PM |
|
|
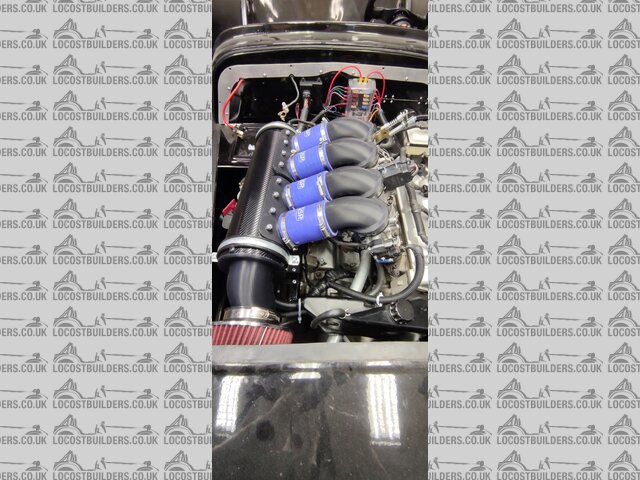
Work is progressing...
Custom airbox is done, I had some challenges due to the hight of the zx10r injection.
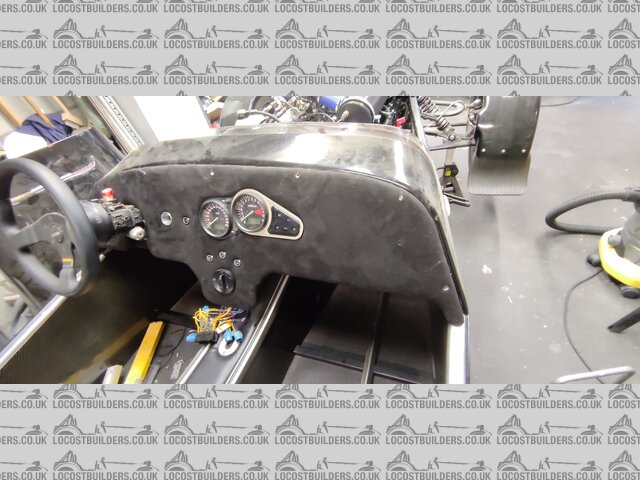
But I am happy, all is 3d printed using black ASA, I also printed a new Sierra Cowl, as the old one was knackered and a new warning light, old one had
some cracks due to its age.
New dash is also ready, with some new buttons from aliexpress...
New mirrors SPA style are ordered from the UK.
Last things to do is some rewiring and bleeding the brakes, as I fitted a new Master brake Cylinder with a remote reservoir.
I must say I have become very handy in using fusion 360 by now. Printer I am using is an elegoo Neptune plus, It is mounted in a wooden enclosure to
keep the temp stable.
 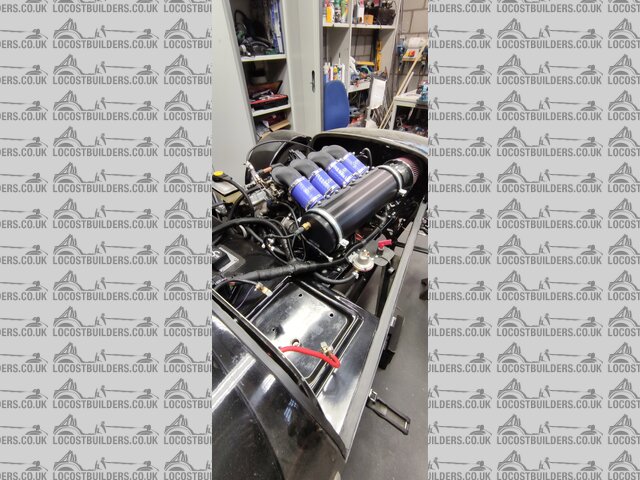
Description
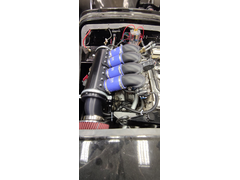 
Description
Description
|
|
|
JoelP
|
| posted on 21/4/24 at 03:51 PM |
|
|
Nice!
|
|
|