CJ27
|
| posted on 6/4/14 at 08:06 PM |

|
|
MX5 based roadster build thread
I'll start by introducing myself, having been using the forum for a few years now I've only recently registered, my names Chris, 28 and
residing in Warwickshire.
The forum has been a wealth of knowledge whilst planning my build, using your posts and threads to evolve my build in my head before finally getting
stuck in.
I figured now is as good a time as any to begin my roadster build, having recently finished my Mini project I found my self with an empty workshop and
a yearning for a challenge to evolve my engineering and mechanical skills some more.
I purchased a chassis kit via ebay around 6 weeks ago, needing to clear the workshop out and sort my build table, it's taken until today to
actually unpack it and get started.
I plan on building an mx5 based chassis, utilising the Mazda suspension and steering but going for the ford duratec engine, coupled to the mk3 mx5
gearbox.
Well that's the current plan, I'm sure as things unfold it will change some what.
So I started my build table this morning, I managed to knock it up in about an hour, using wood I had in stock and 25mm mdf board as the surface,
it's worried out well and I've been able to free more space by utilising the area beneath the table.
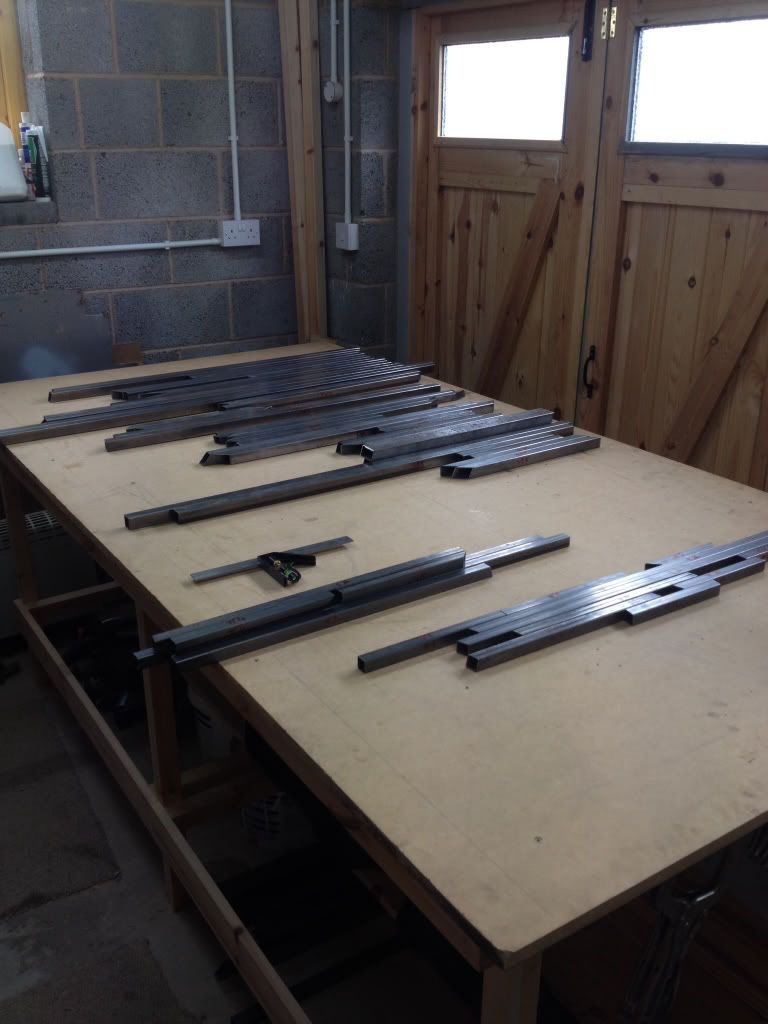
Once this was done the kit was unpacked, I seem to be a few bits missing, mainly the front frame tubes, I've sent an email for clarification and
to see if I can get it sorted. Luckily I purchased a part kit some years ago from a chap on ebay and I have a front frame and some spare tubing to get
on with.
Build table up and the kit unpacked

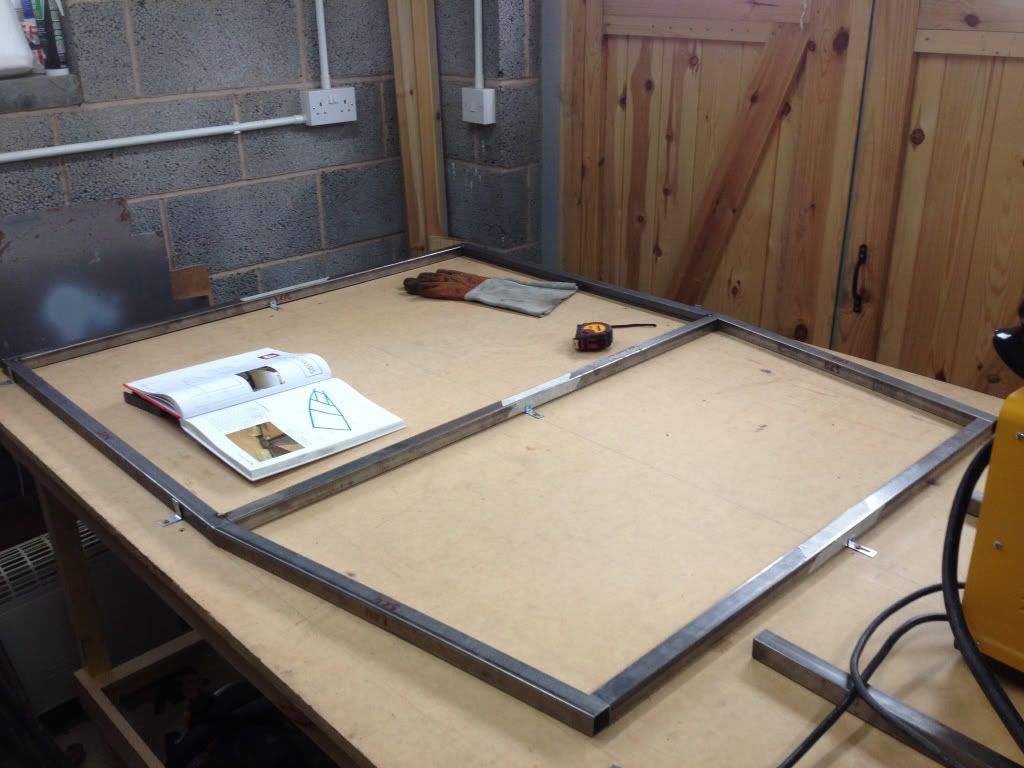
I sorted all the tubes into sections (base, top, uprights etc) and began to mark out the general layout and get the base rail lined up and tacked
together.

Working slowly through, checking three or four times my measurements then tack welding together I ended up with all the base rails in place.
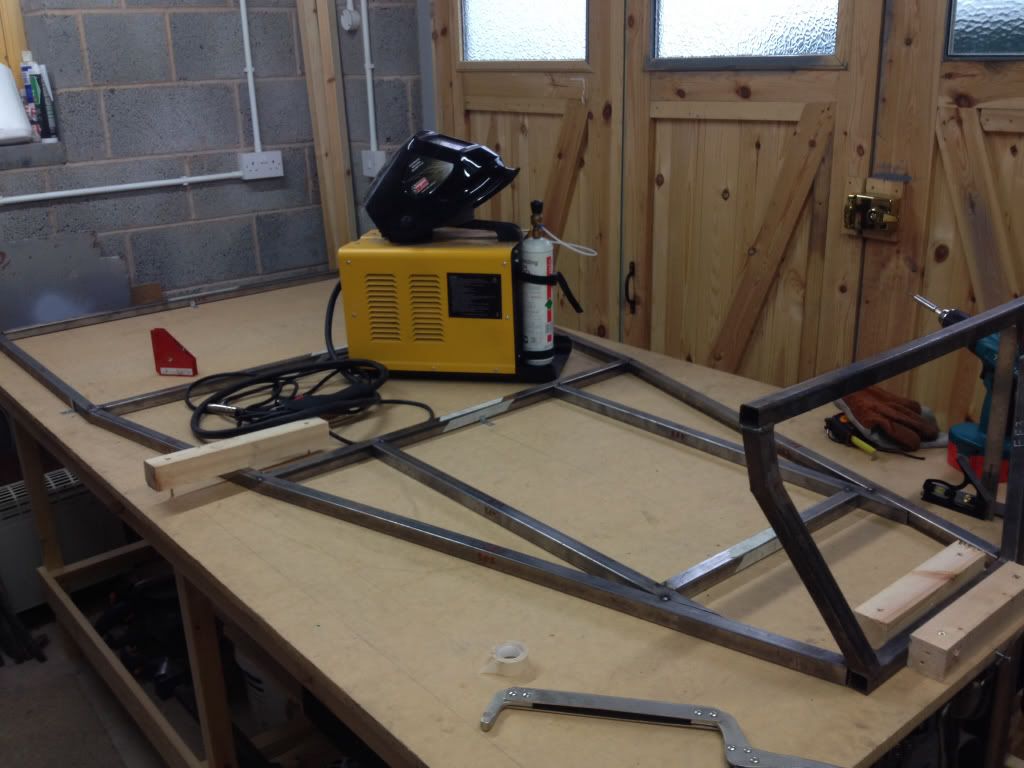
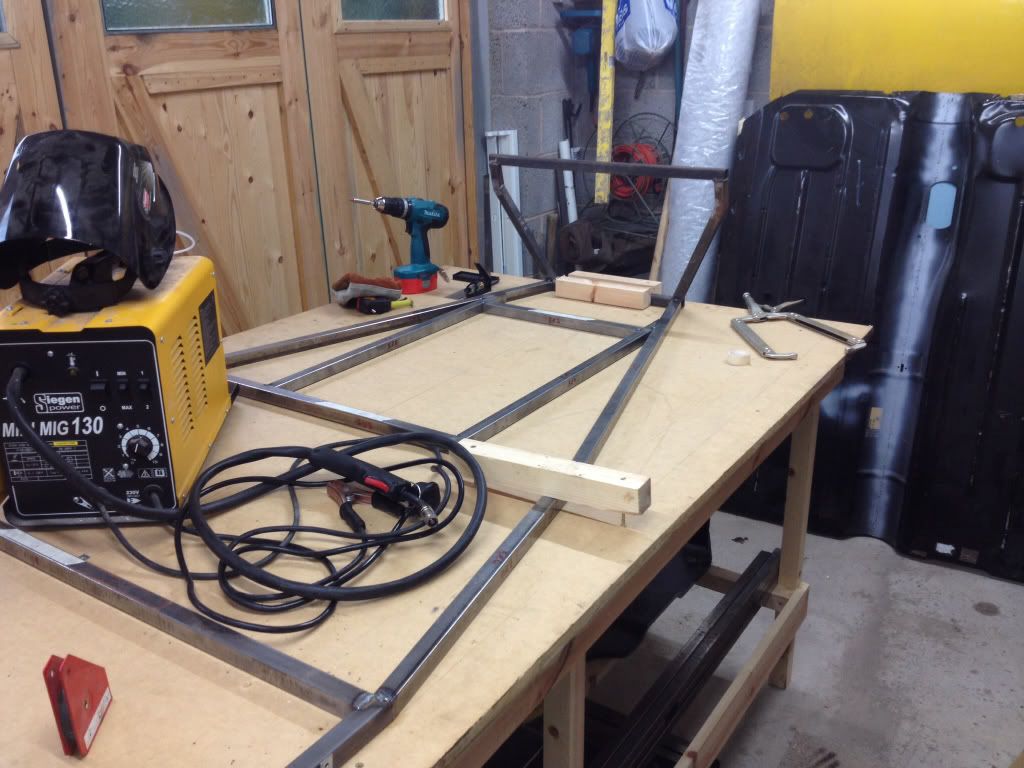
My chassis kit I received seems to be missing the front frame tubes but as mentioned earlier I have my other front frame, ( note the different
coloured metal and white marker writing on the f/frame)

At the end of play today I had all the base rails down, the front frame lined up and tacked and I'll start on the uprights tomorrow evening.
|
|
|
|
|
CJ27
|
| posted on 6/4/14 at 08:07 PM |

|
|

I'd be interested to know if others have fully welded there base rails before moving on to the uprights? The book says to tack it but I
can't help think it would be better to fully weld, dress back and move onto the uprights?
All in all feeling fairly happy with myself today! 
Thanks for reading.
|
|
|
big_wasa
|
| posted on 6/4/14 at 08:10 PM |

|
|
Don't weld it until its fully 3d to help minimise distortion.
|
|
|
coozer
|
| posted on 6/4/14 at 08:15 PM |

|
|
I would fully weld the base and make damn sure its flat. Tweak it until its as flat as flat and sits on the table flat as and level. Then you have a
sturdy flat accurate base to build on.
Flat as, yeah...
1972 V8 Jago
1980 Z750
|
|
|
CJ27
|
| posted on 6/4/14 at 08:29 PM |

|
|
It's all about the flat!
Thanks guys, I think I'm going to weld the tops and verticals of the bottom rails, ( advice given by Phil at Talon) make sure the chassis is
flat and all measurements tally up and the move on.
|
|
|
Slimy38
|
| posted on 6/4/14 at 08:40 PM |

|
|
If I remember correctly, Phil used to weld up the front frame himself (even for the kits) as he does it slightly different to book. The side bars are
slightly twisted to allow the suspension brackets to sit better. The way it's done in the book (with a v cut and bend) doesn't give a
perfectly flat surface for the bracket.
It may be that he's not supplied it because he's still putting it together. But don't quote me on that.
|
|
|


