Prof_Cook
|
| posted on 6/9/23 at 08:50 PM |

|
|
Adjustments made, double checked against diff drawings and draft rear wishbone dimensions. Diff bolts tack welded into position:
 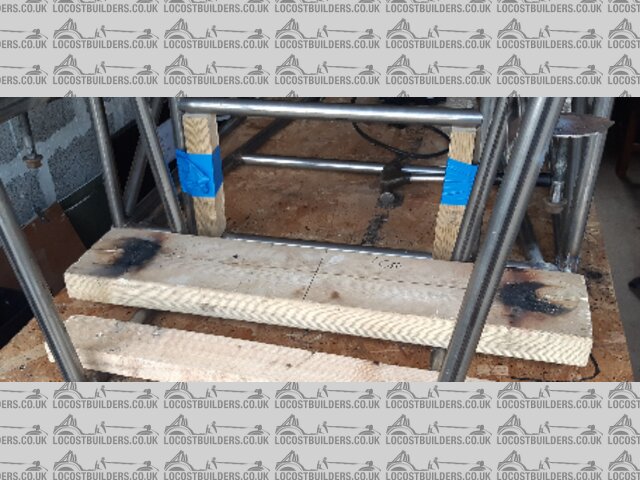
Diff bolts tack welded in
Wooden jigs got a bit hot. But stayed in place so now to put in triangulation to top/front tubes in the area. Alignment checked and differential
offered up and fitted well.
[Edited on 6-9-23 by Prof_Cook]
[Edited on 6-9-23 by Prof_Cook]
|
|
|
|
|
Prof_Cook
|
| posted on 28/9/23 at 08:16 PM |
|
|
Wood working
Differential bolts now hanging from vertical tubes to top rails and cross member tacked in which will become the rear top of the transmission
tunnel:
 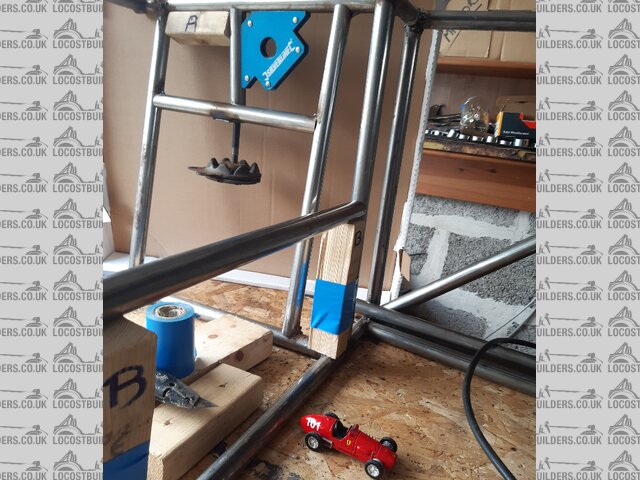
Diff Hangers
Piece of wood marked "A" used to ensure both vertical tubes are same spacing on both sides of the frame. Pieces of wood marked "B"
created by splitting one piece of wood to ensure both ends of the cross member are same height from bottom rail. Cross member alignment checked with
spirit level.
|
|
|
Prof_Cook
|
| posted on 30/10/24 at 09:12 PM |
|
|
Still working on the project (haven't posted recently due to forum issues). Had to grind out and reweld the oldest welds as early welds just not
good enough. Also delayed due to issues outside my control (including COVID-19). But now back in workshop with the welding mask on! (also got 2
strong workshop lights picked up from pavement outside someone who was moving house).
|
|
|
MikeR
|
| posted on 31/10/24 at 12:19 PM |
|
|
don't give up - just have a rest occasionally.
|
|
|
Prof_Cook
|
| posted on 16/3/25 at 11:35 AM |
|
|
Rested - Back to woodworking
Back in garage after the cold winter. Saw 2 morgans, a seven and a locost hammering down the dual carriageway in the sunshine today.....
Woodworking this weekend building the vertical clamps to hold in place the first of the chassis hoops (over radiator location). Chassis hoop made up
and now fitting with aid of a file!, so should be welding that into place this week.
All wood was requested (and freely given) from builders waste skips). 3mm torsional twist in the chassis from foremost chassis cross member to chassis
last cross member before rear suspension mounting points.
No more money spent - still working through the steel stock I have.
[Edited on 16/3/25 by Prof_Cook]
|
|
|
Prof_Cook
|
| posted on 24/5/25 at 08:42 PM |
|
|
Fuel Tank
One of the jobs to be done is to construct a fuel tank to fit the chassis. But out walking found a used CH expansion tank out for
"collection":
 
Expansion_Vessel
19 litre capacity (about 4 gallons).
So plan would be to dismantle and remove carrier for water connection and the internal diaphragm, remove the pressurisation valve and weld up the
hole.
Turn through 180 degrees and construct a new plate to replace the previous water connection/diaphragm carrier with a plate for the original fuel tank
sender and fuel pipes. Tank states max pressure is 10 Bar (150 PSI) so should be suitable for fuel injection system as I think fuel tank itself was
not under actual fuel pressure.
[Edited on 24/5/25 by Prof_Cook]
[Edited on 24/5/25 by Prof_Cook]
|
|
|
Prof_Cook
|
| posted on 9/1/26 at 07:18 PM |
|
|
Don't tailgate
Been back in garage cutting steel tubes and welding them in as triangulation at front of frame, adjusted to ensure will carry mounting points for the
steering rack.
Driving daily drive last week saw the car in front swerve a little, then the below chunk of metal appeared out from under the car. Obviously the
driver must have seen it to swerve to avoid.. The piece of steel must have fallen off a lorry. Luckily I always try and leave a 2 second gap between
my car and the car in front. But just imagine hitting something like this at speed...
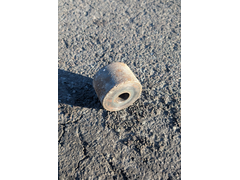 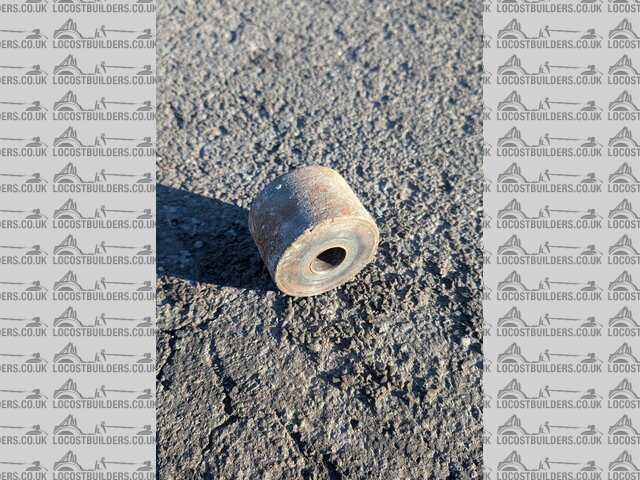
Stuffinroad
I stopped when it was safe and then walked back and picked it up. 3 inches in diameter and 1.5 inches thick. Weighs quite a few pounds...
|
|
|
MikeR
|
| posted on 10/1/26 at 04:06 PM |
|
|
You must have a heated garage - its bloody freezing. I'm sat drawing 3d printer parts (rear number light light to go on the side of the reverse
and fog lights).
|
|
|


