super-ron
|
| posted on 6/5/17 at 07:49 PM |

|
|
Locost with a difference
This is a bit of a impulse build.... Alot of my friends have got into the Caterham scene, two really good friends have got Supersport 310's 1.6
16v's (green ones a 2011 and red ones 2008)
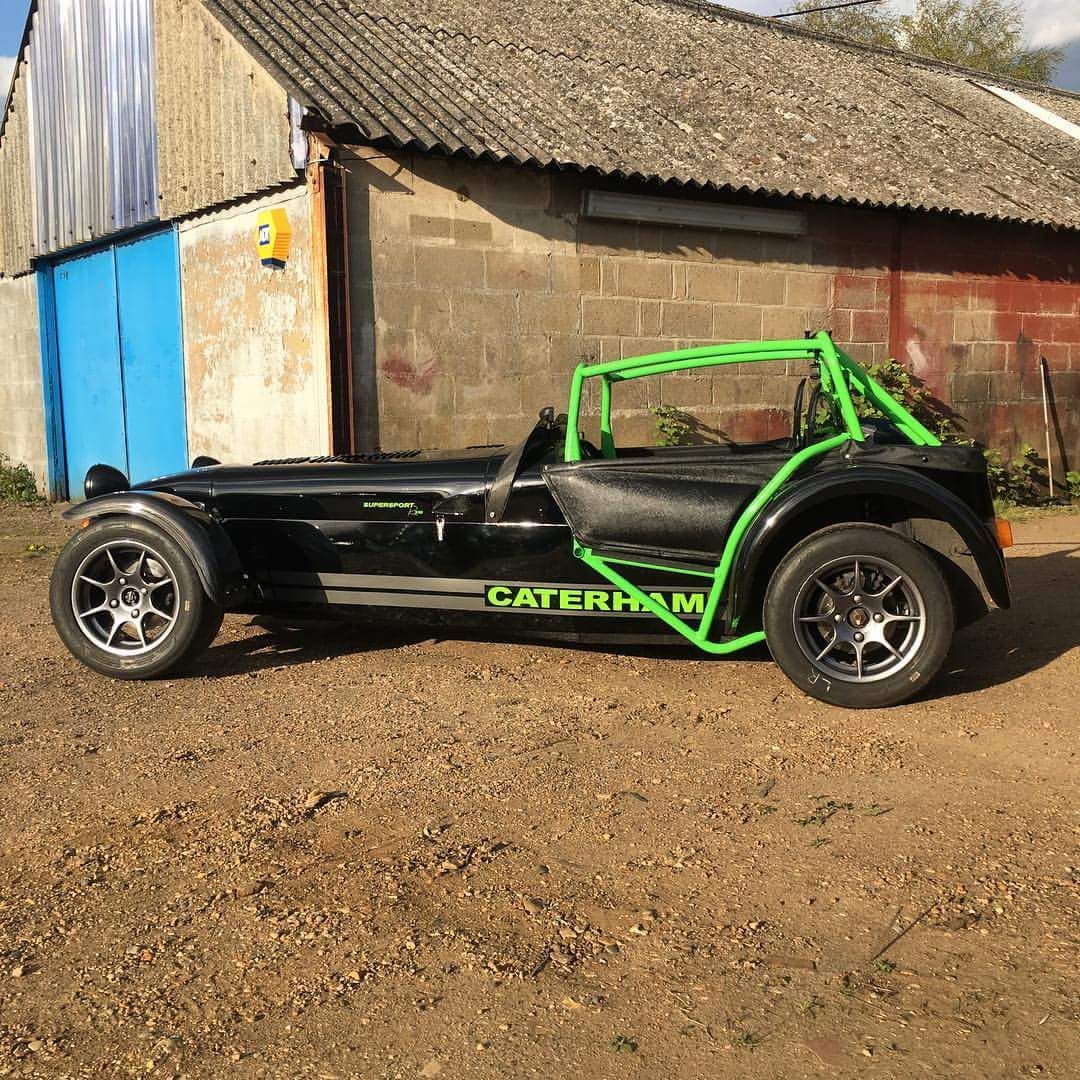
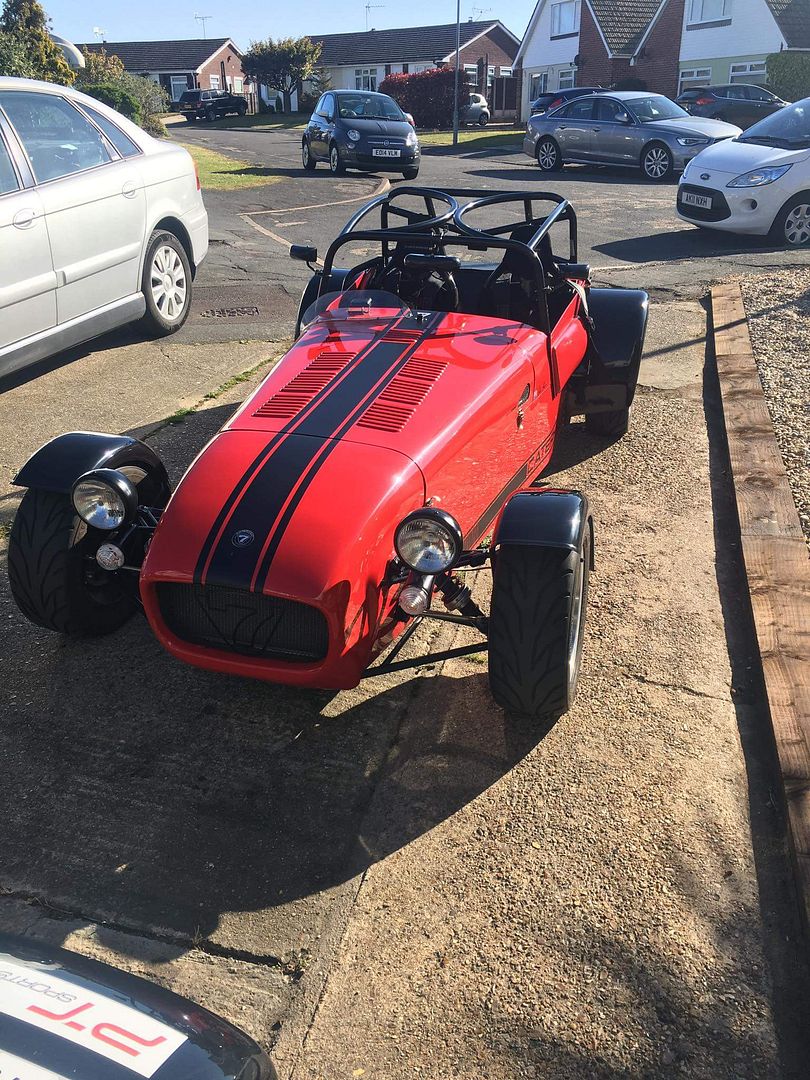
and also went out in this the other day, a 2014 620r, 2.0 supercharged 6 speed sequential gearbox, the fastest thing i have ever been in, accelerated
like nothing ive ever experienced before!! 620bhp per ton!
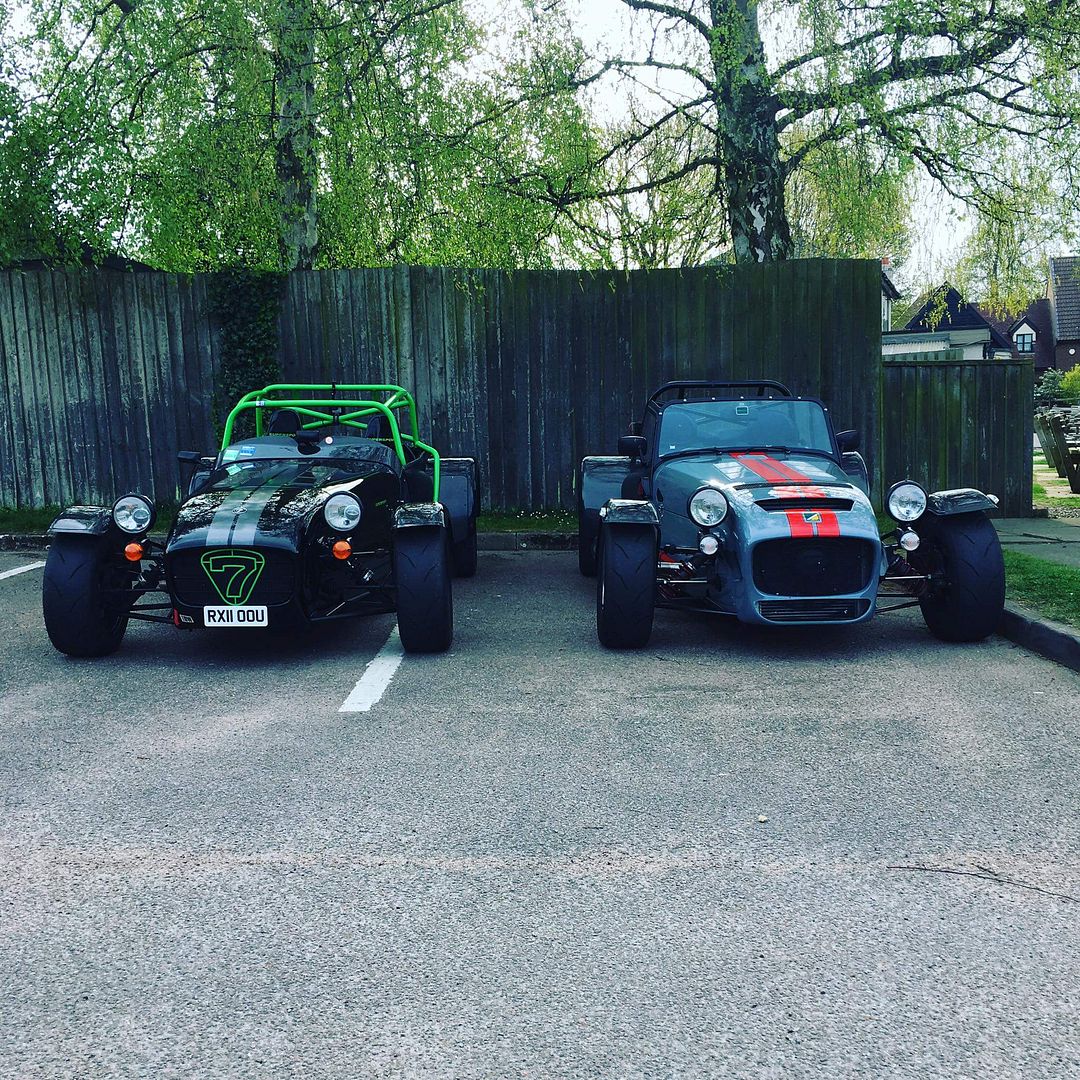
But, alas,...... i dont have £15k to spend on a Caterham (or £50k for a 620r   ) )
so i went onto ebay looking to see what i could build on a budget, bidded on a unfinished project. so the next weekend i headed from Suffolk up to
Crewe on a roadtrip with the Autoshack gang
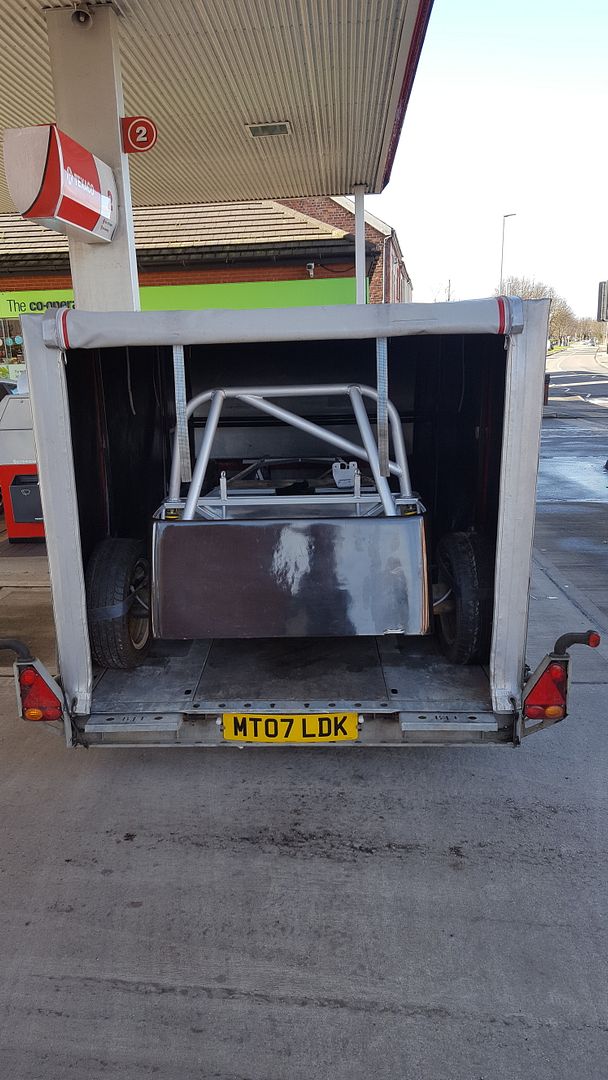
Then detoured in the way back to Aylesbury for another Ebay bargain i'd spotted.
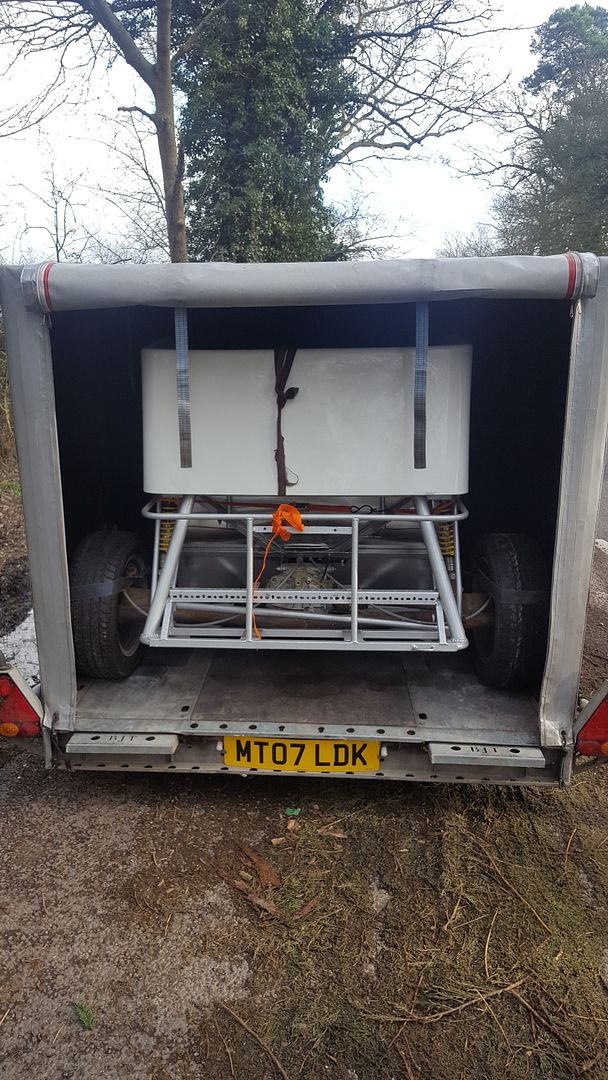
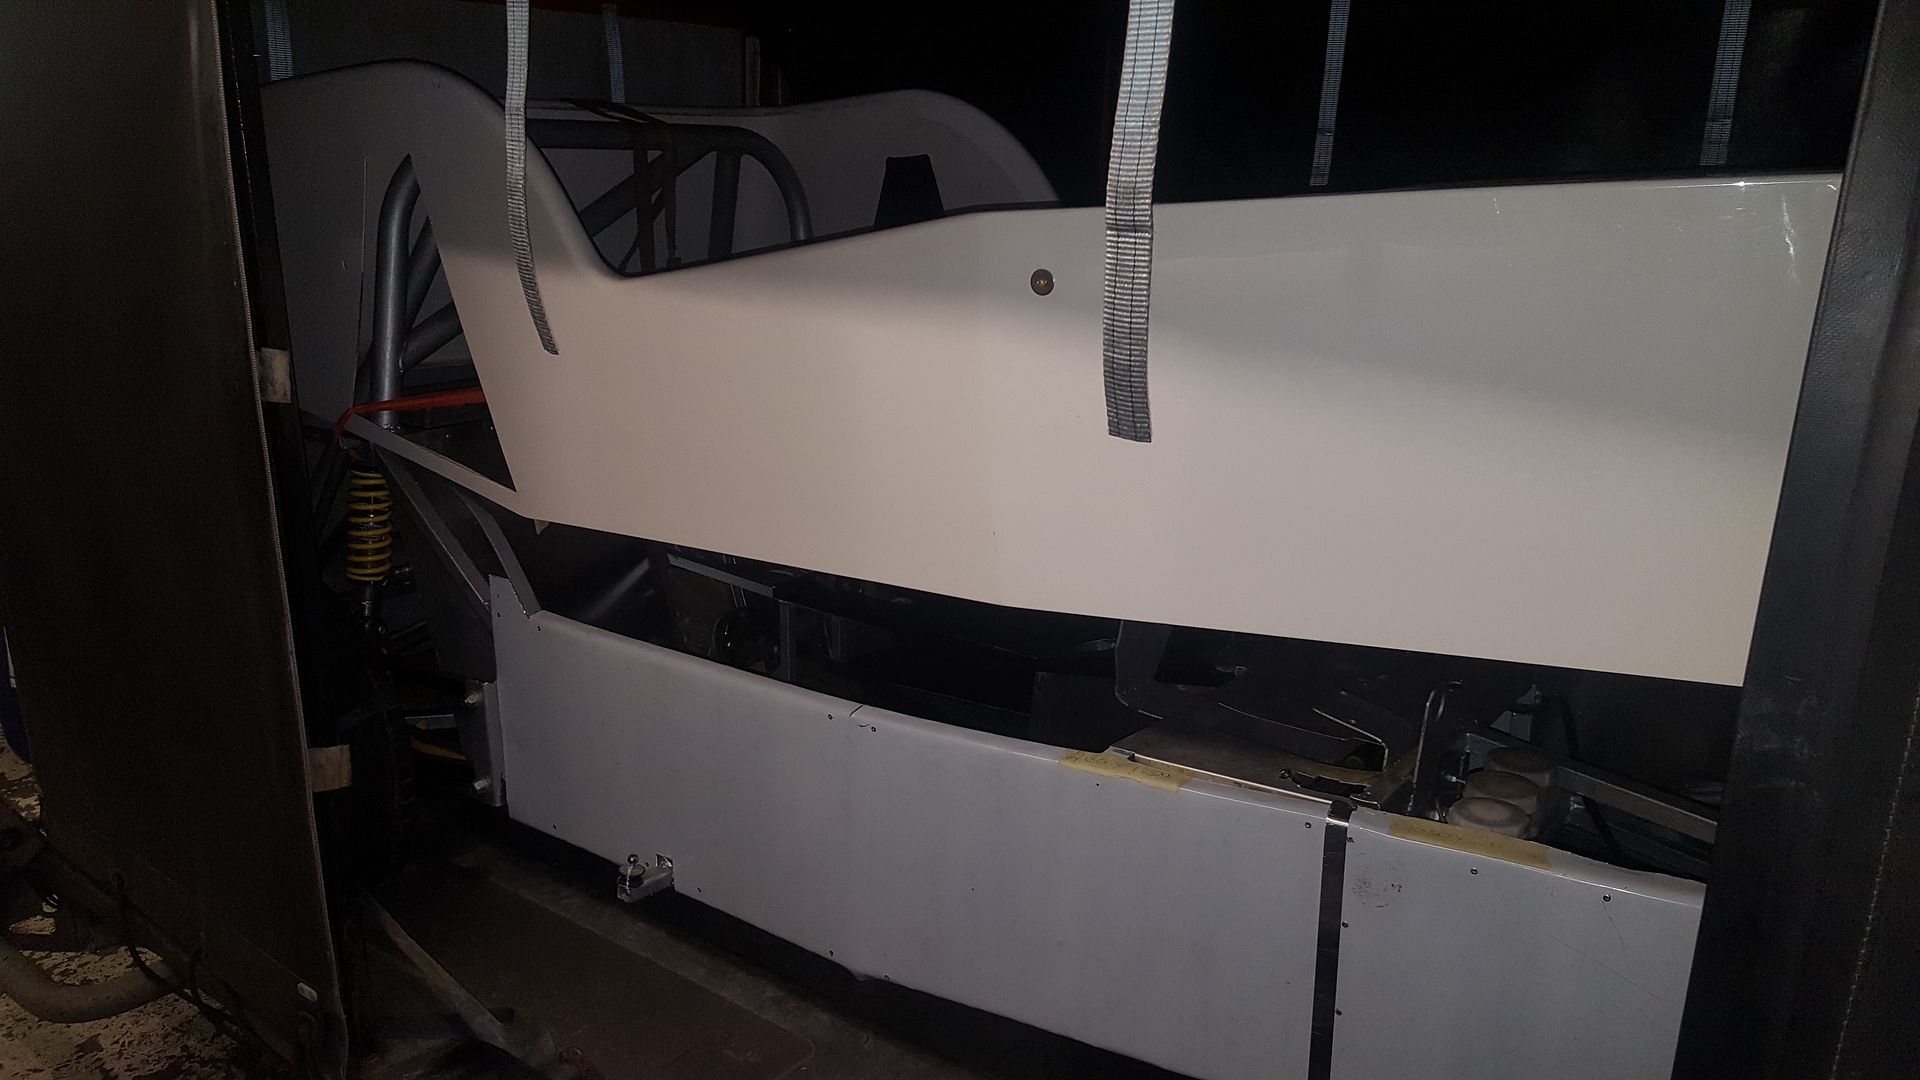
So about 500miles done lets see what i actually bought.
The unfinished Locost i won for £495!!!
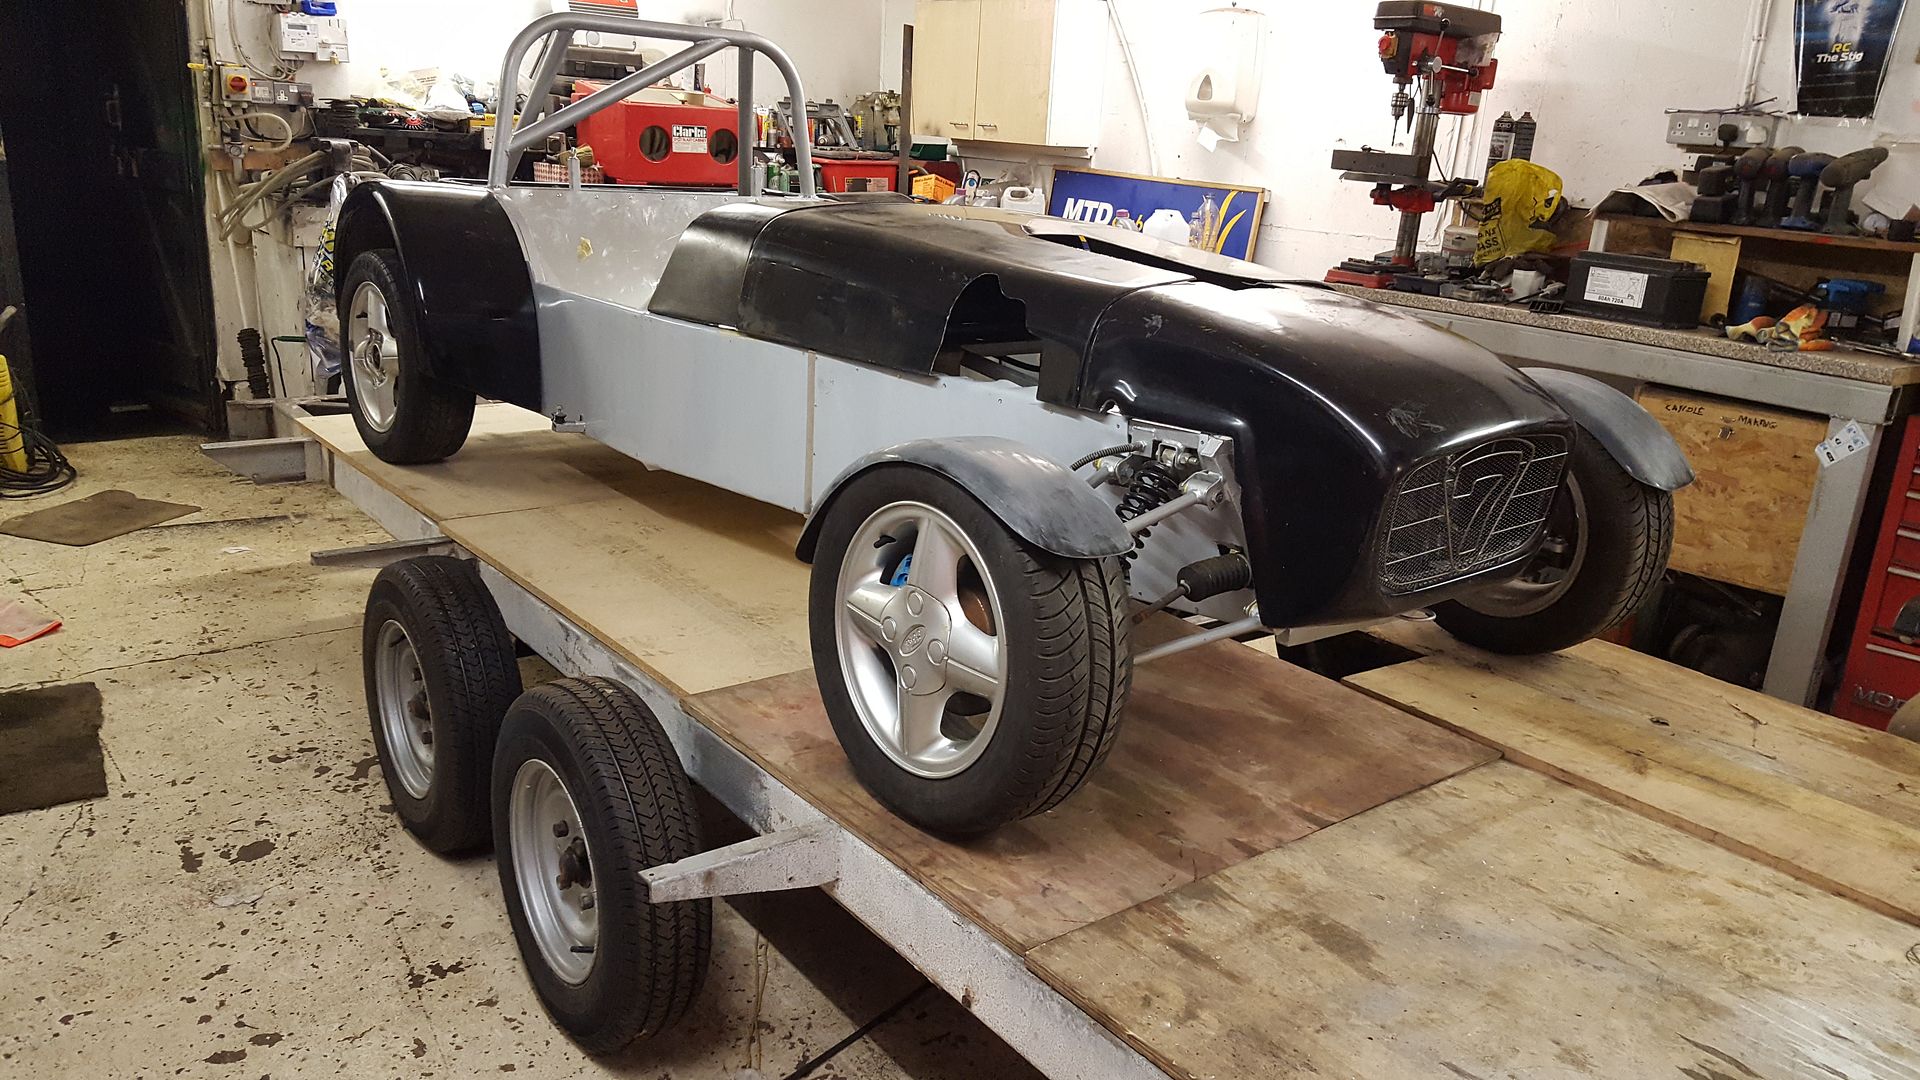
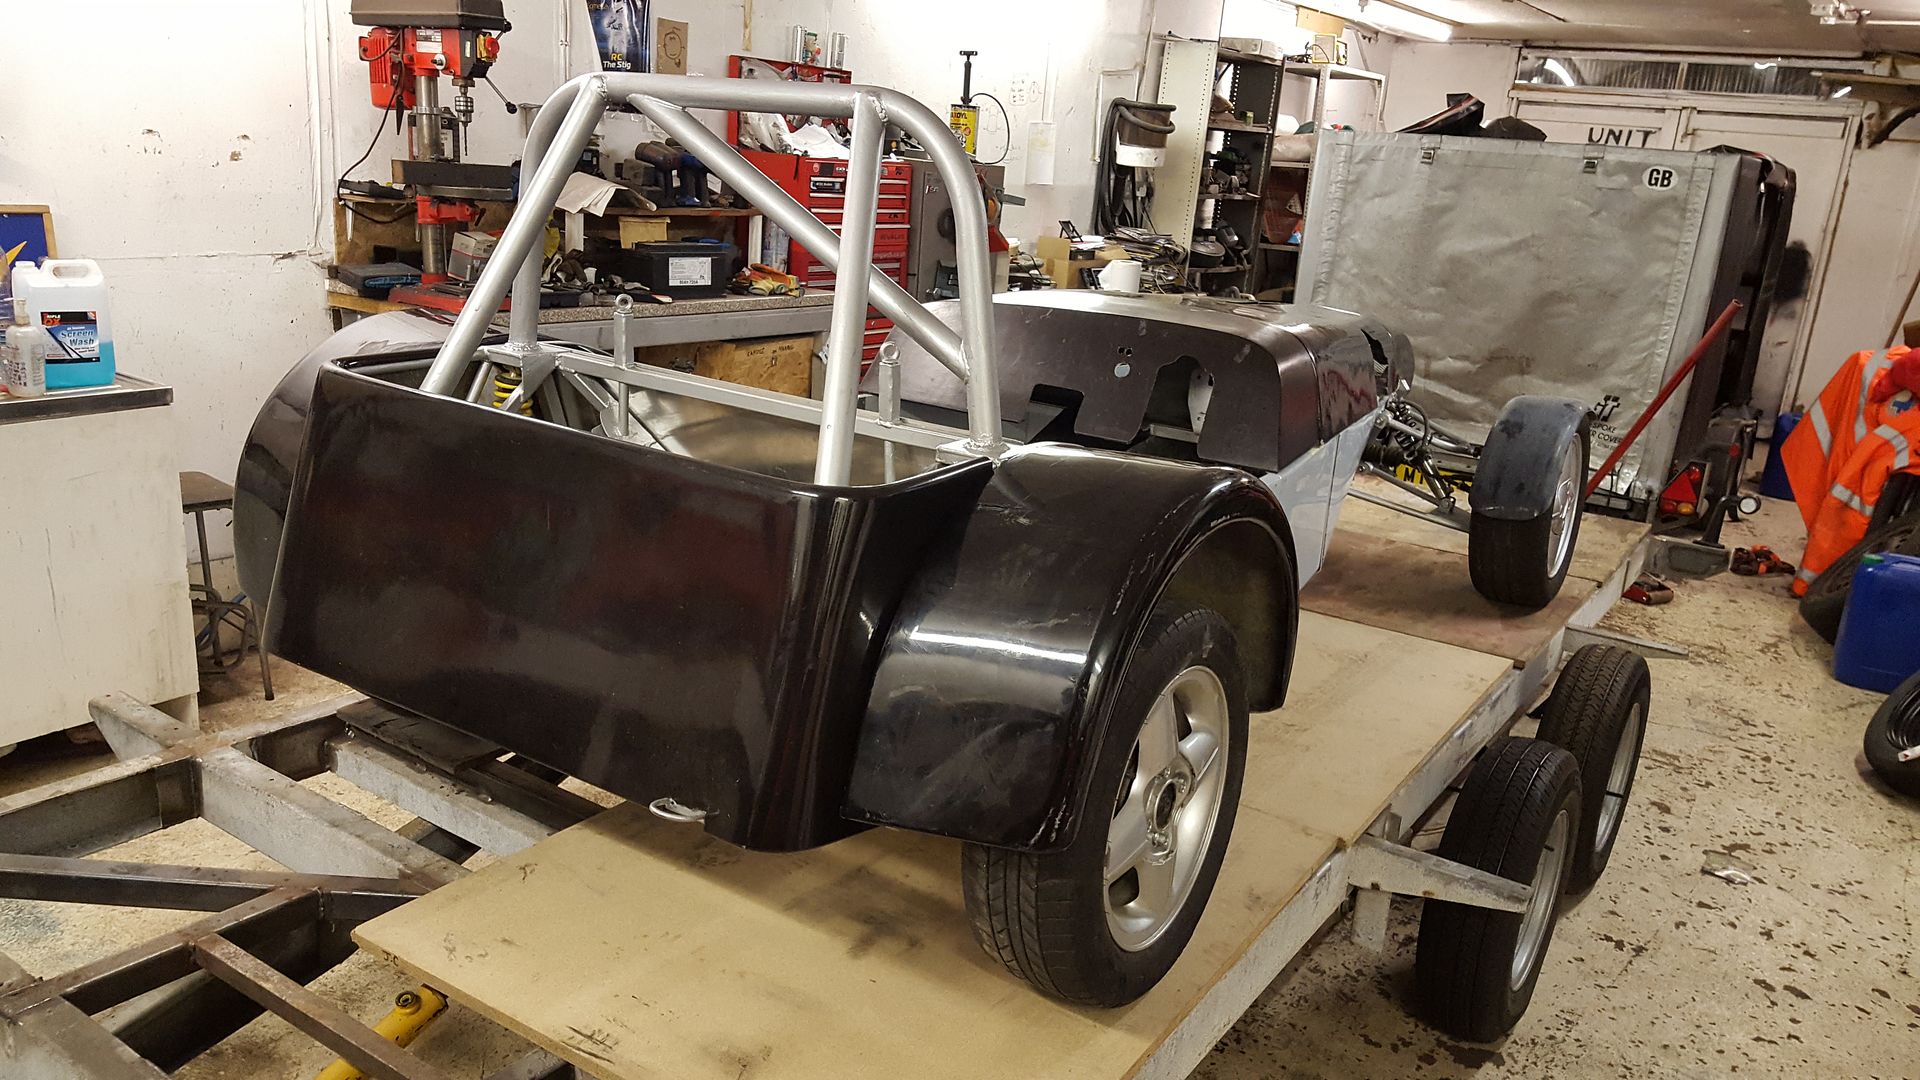
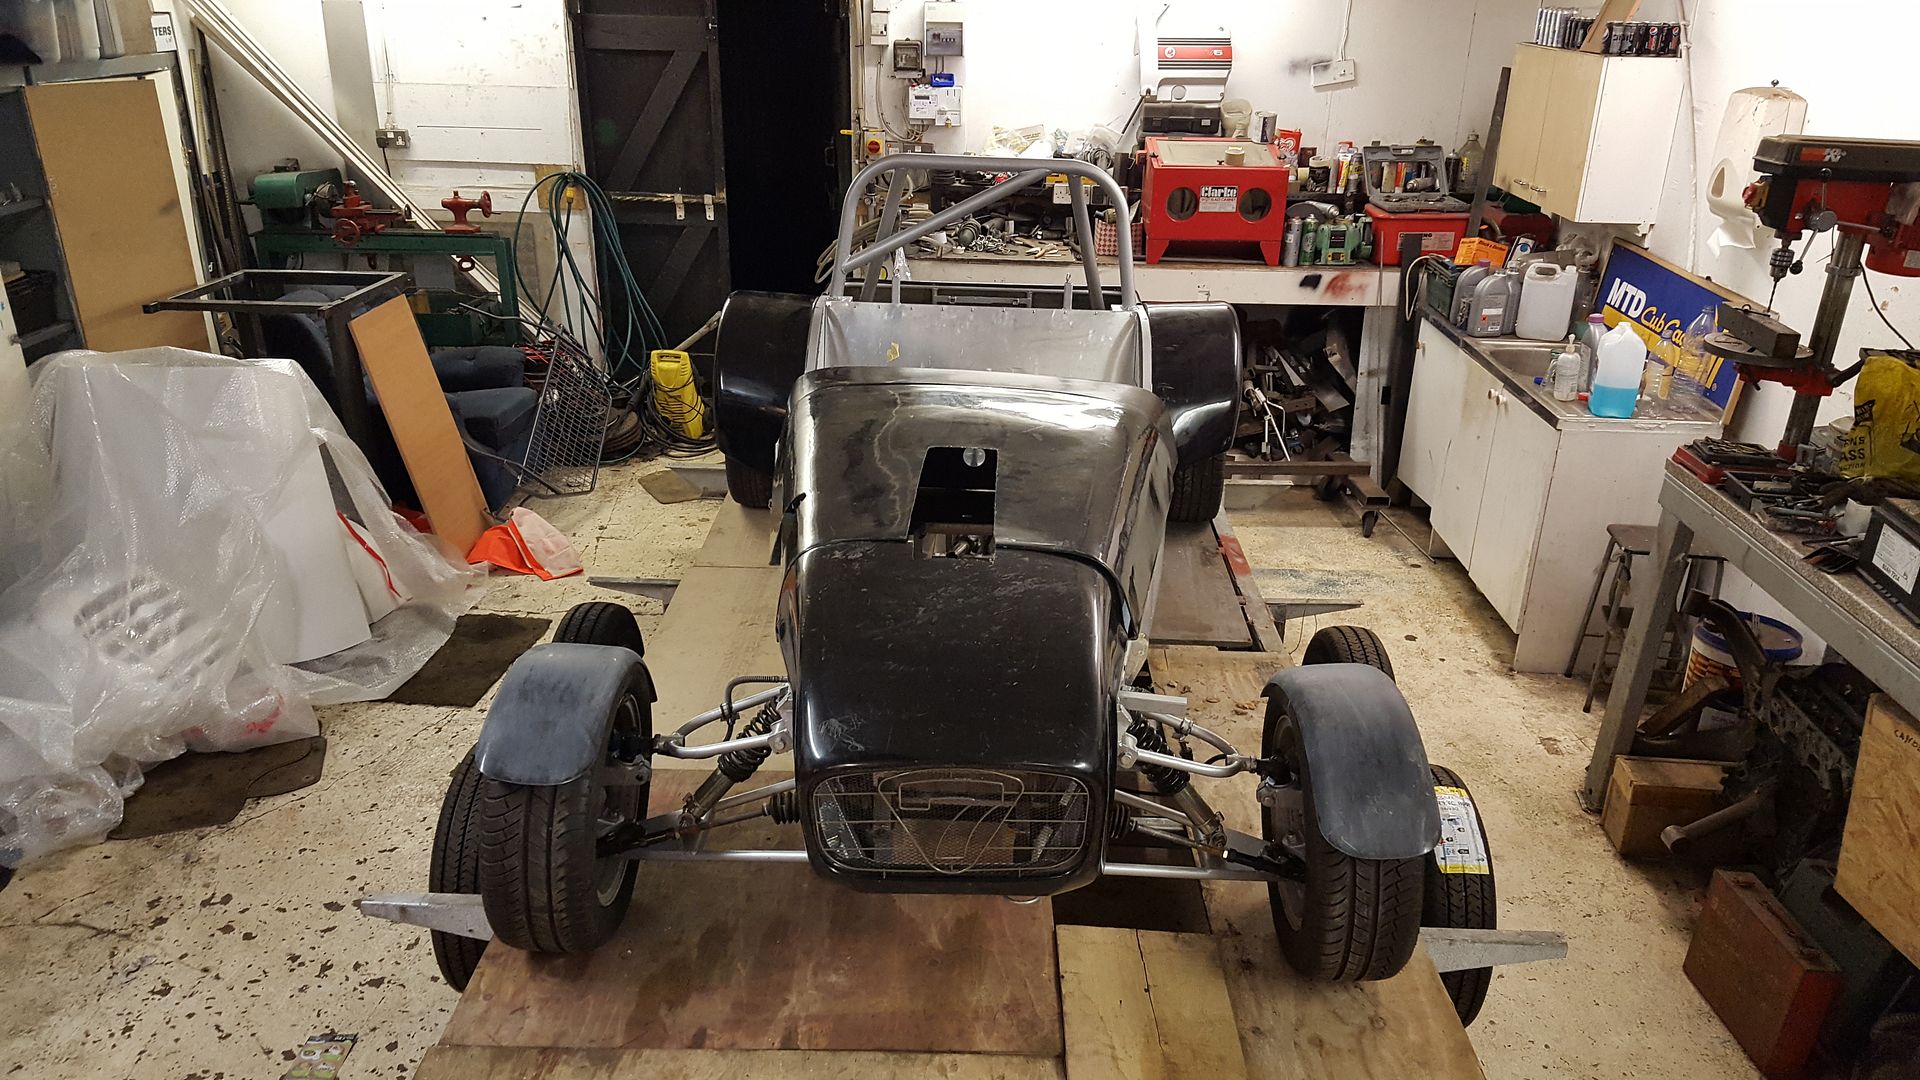
So i paid £495 and got a hell of alot!!#
Its a Ron Champion Book spec chassis which has then been modified with a De Dion Rear to replace the Live axle and Sierra front hubs instead of the
Cortina uprights. Over all it looks like a copy of a MK INDY, although i have been in contact with MK and the were very helpful but did confirm it was
not a genuine MK Indy.
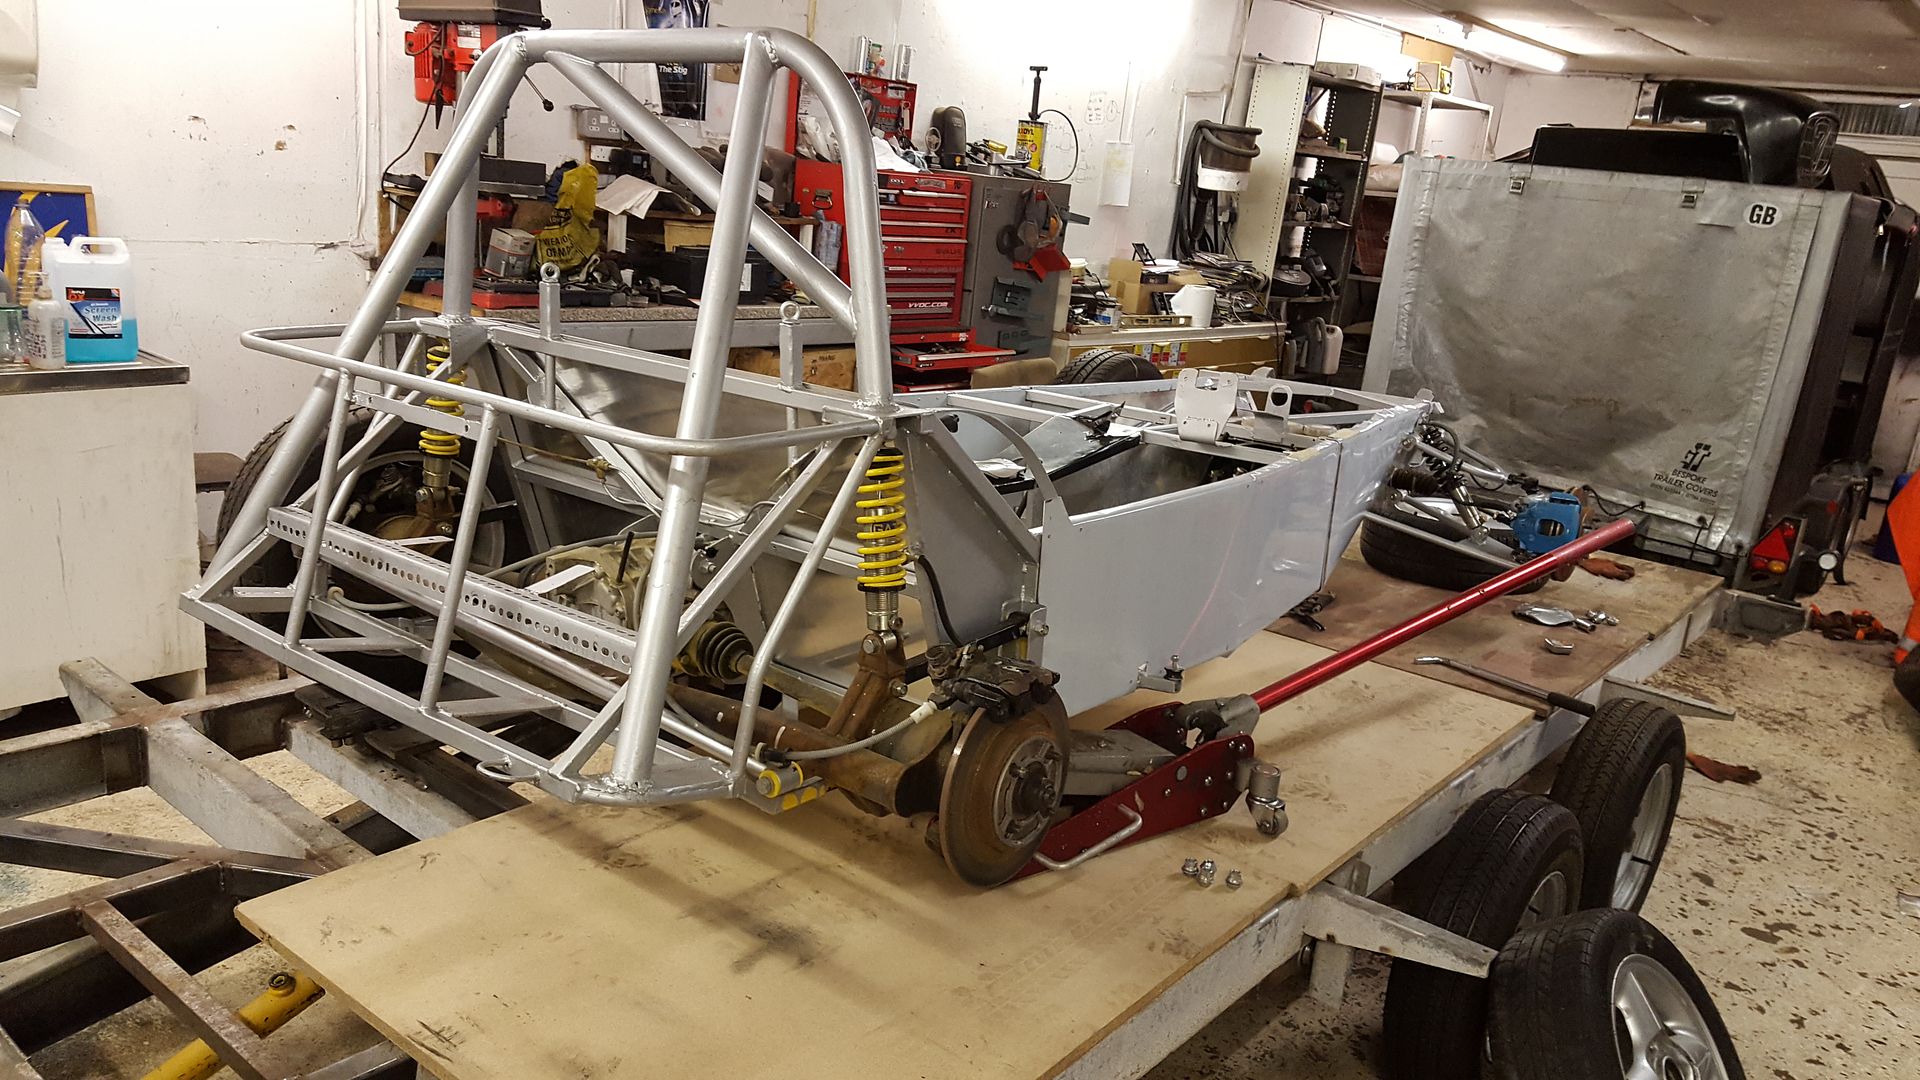
Its a full Rolling chassis with a ton of new parts,
- new Gaz adjustable coilovers all round
- new Bias pedal box with Willwood mc's
- Willwood hydraulic clutch setup
- new mk2 escort steering rack
- new polybushes all round
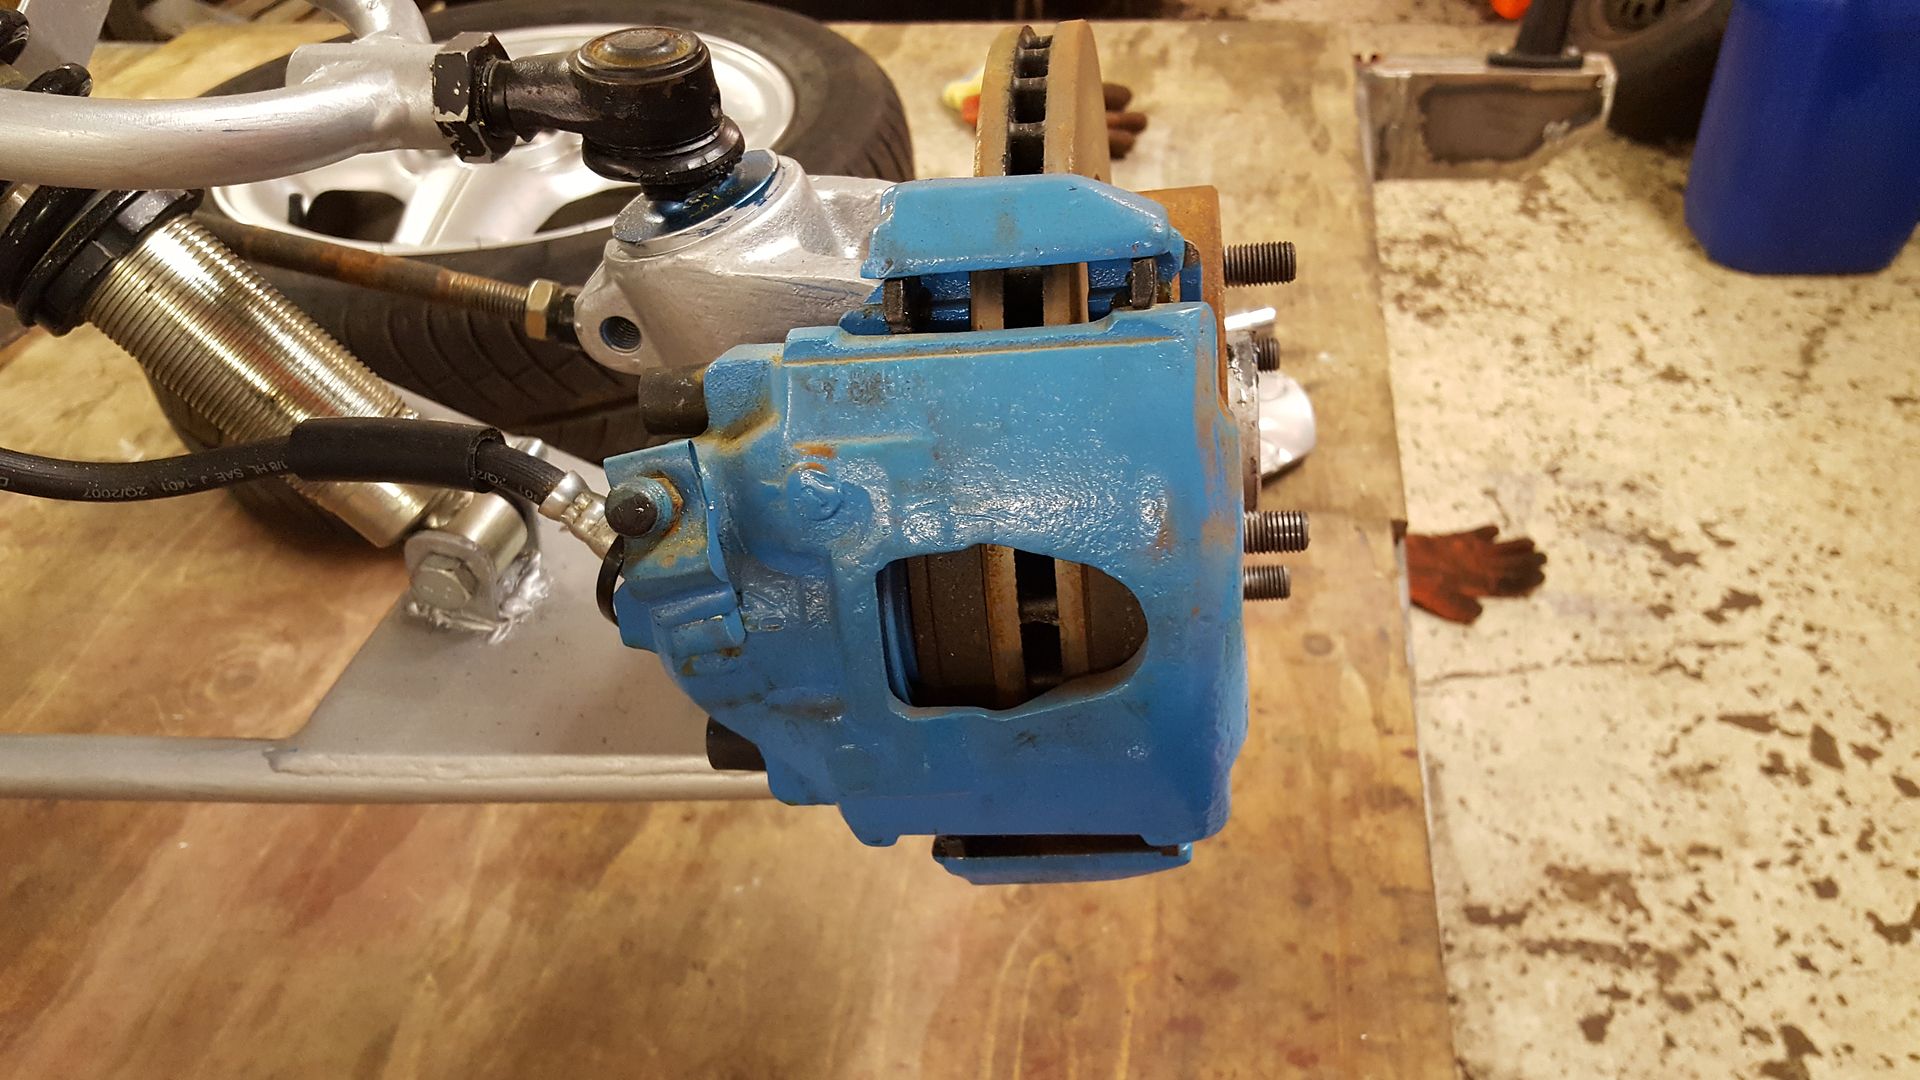
- 2.0 Sierra front brakes with new discs pads and flexys
- Sierra Cosworth rear brakes with new discs pads flexys and handbrake cables
- all new brake copper lines all round
- new kit car shorteded prop
- 7 inch Cosworth 4x4 LSD
- all body panels
- set of 14ich ford wheels with good tyres
so basically engine, gearbox, fuel tank, steering column and you could have a pretty fun track toy for a few hundred quid.
However, that isn't really my style lol
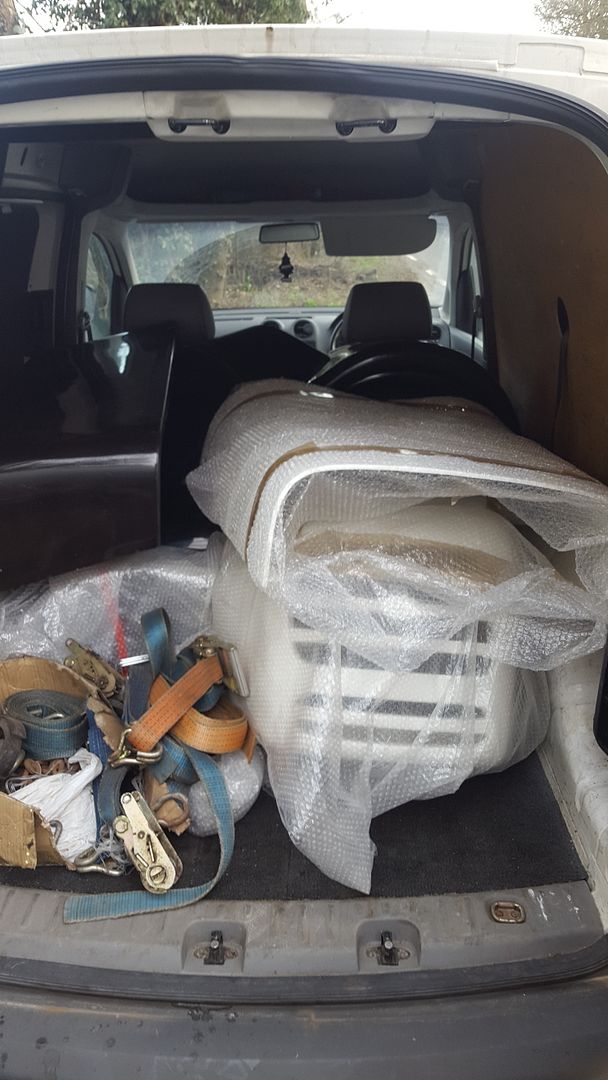
now, the detour we took on the way to Alyesbury was to pick this up
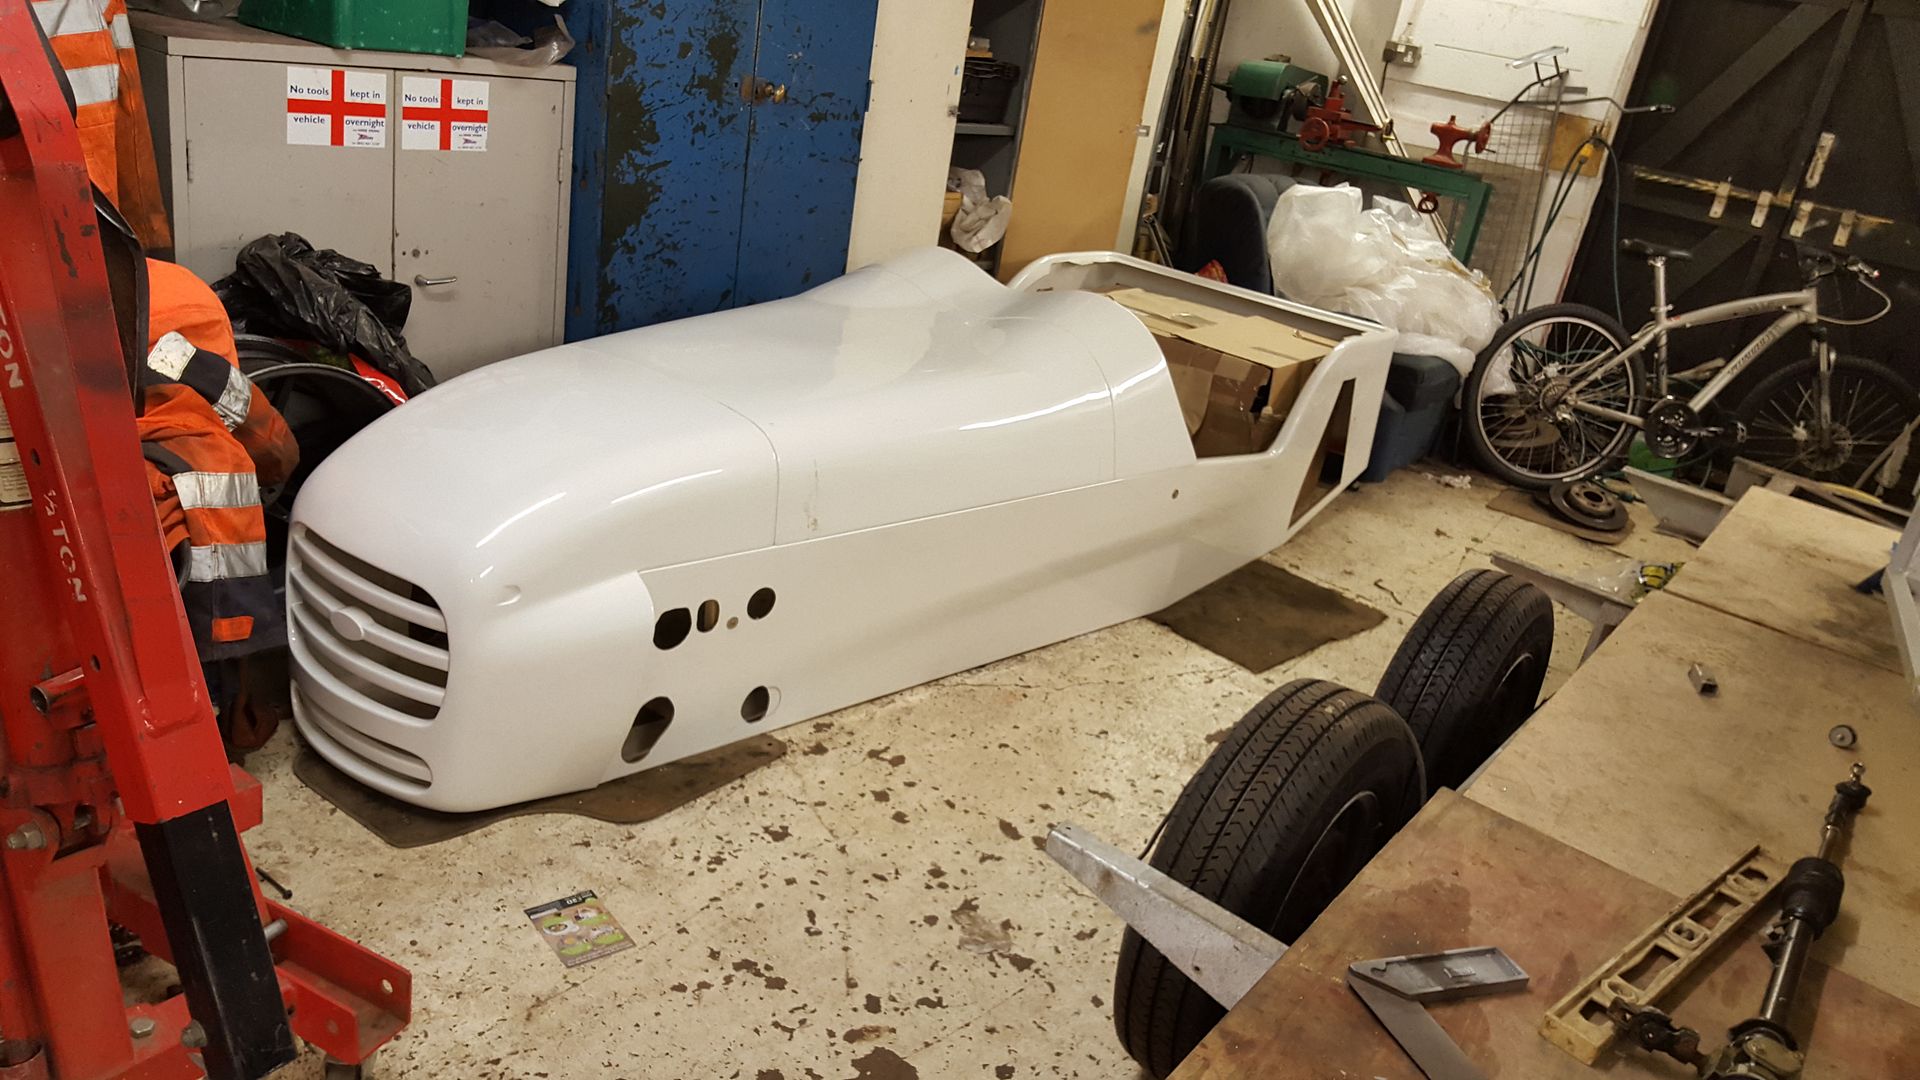
A full body for a MNR VORTX. These are pretty rare and VERY hard to get hold of, NMR are very cagey about who they sell parts to, only really selling
anythingto people registered with MNR chassis's. They are going to have a bloody fit when they find one is going on a mongrel chassis :face:
:lmao:
The best part is i paid £200 for the lot and it is brand new never been on the road!
just laid the bids on to get an idea of coolness

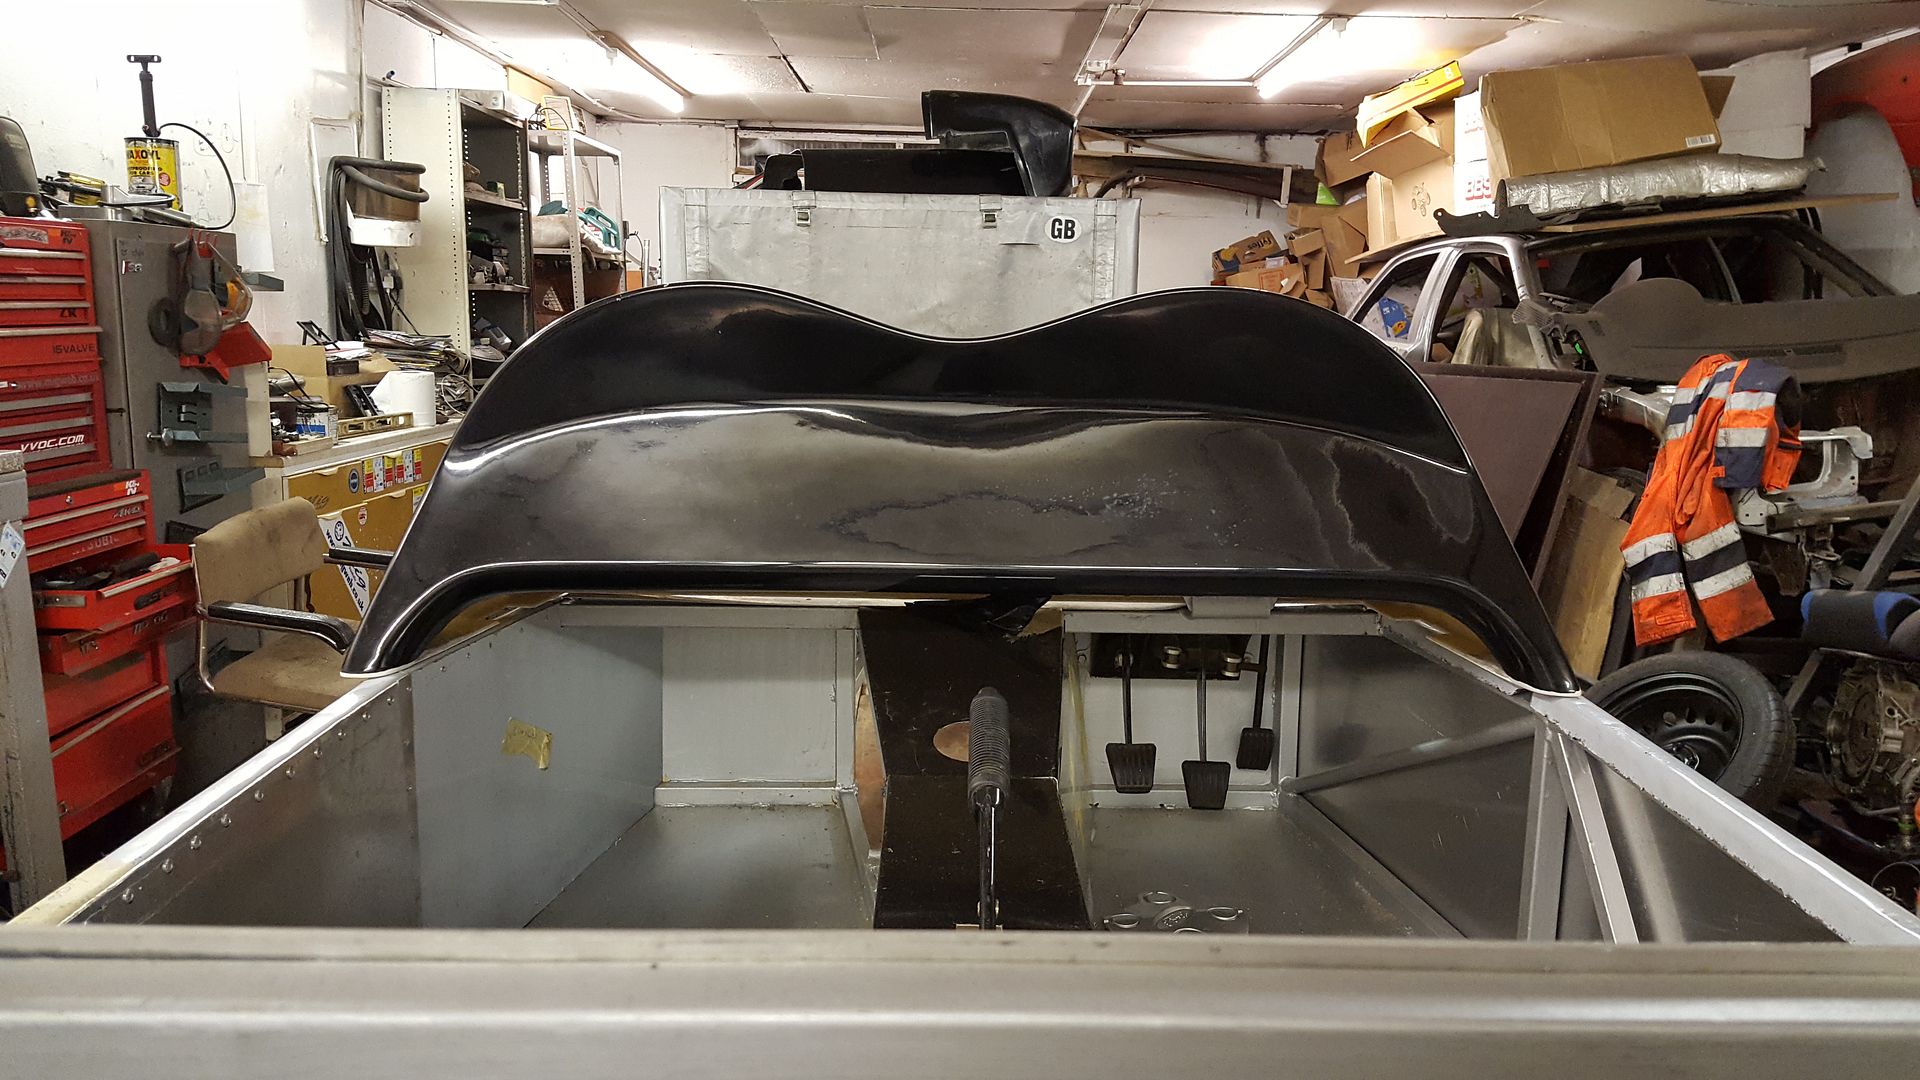
love the double bubble scuttle on these!
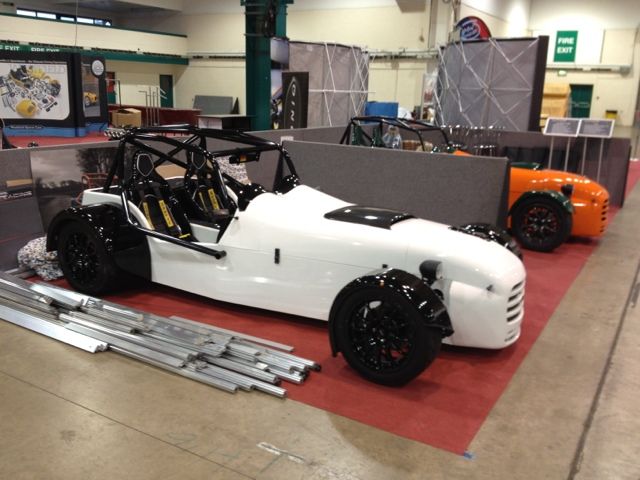
here are a few pics off google. this is wht it will look like when finished 
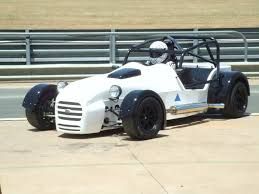
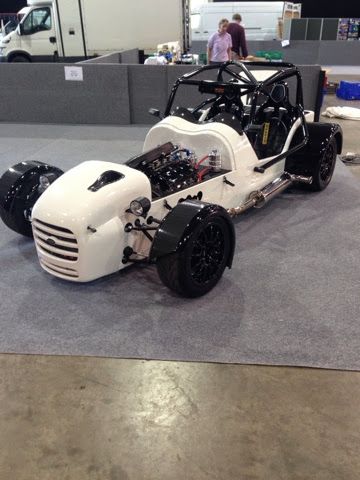
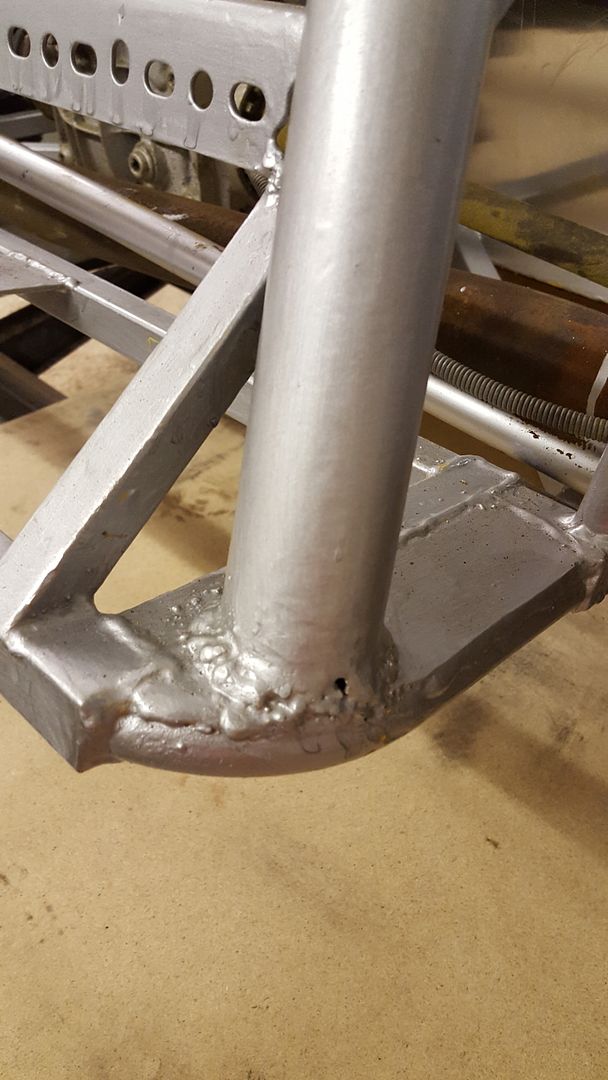
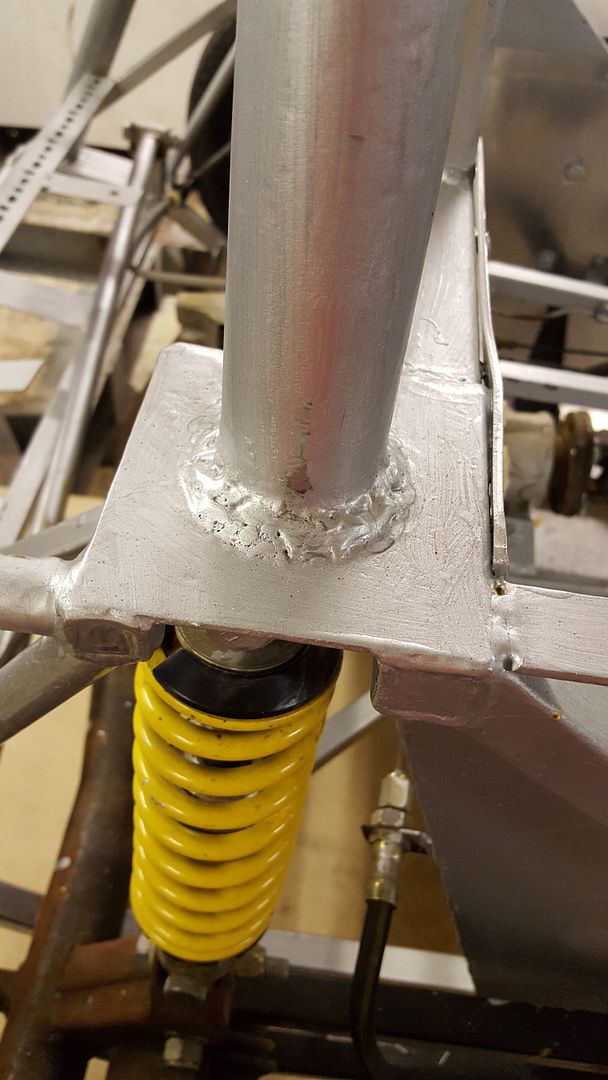
The original chassis was built to a pretty high standard, it sits true and some great welding. HOWEVER..... everything else that was welded on after
was not up to my standard. All the floor panels were certainly welded by someone else, they're structural but not pretty, then things like the
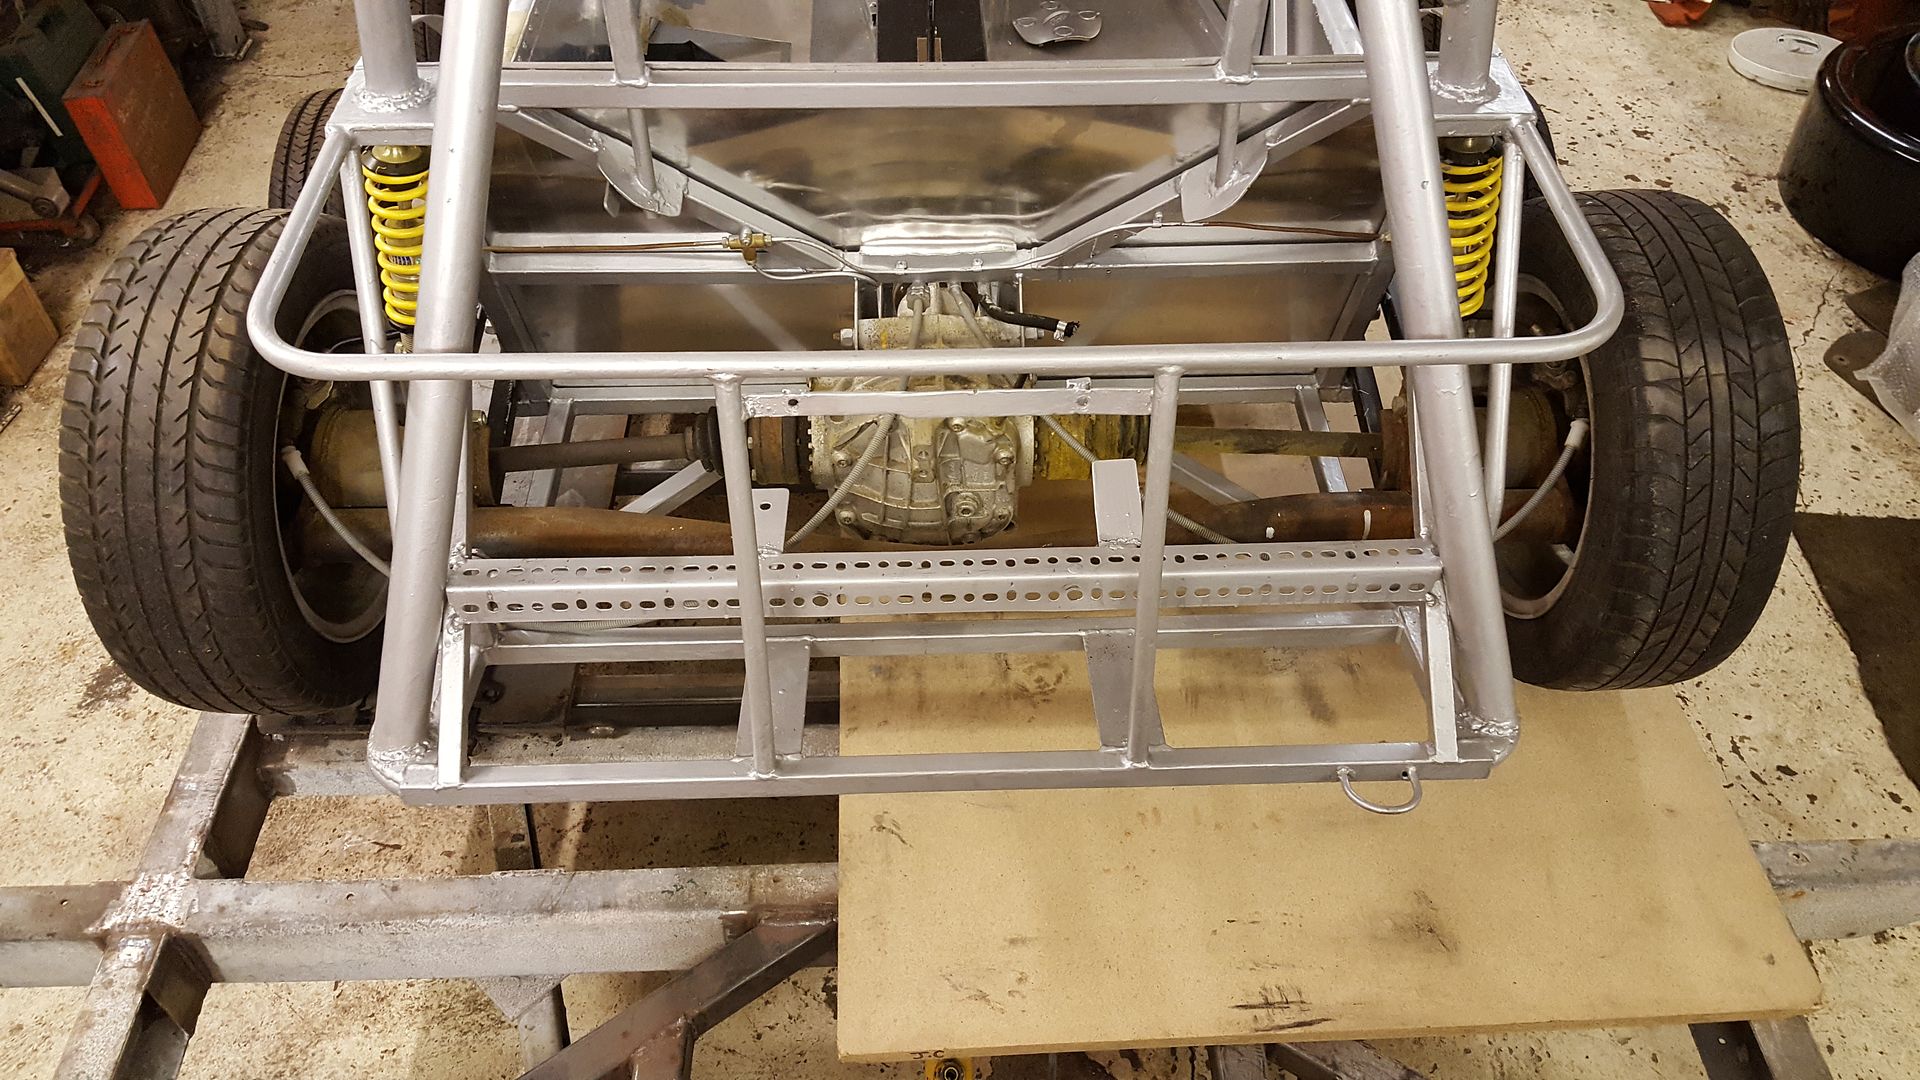
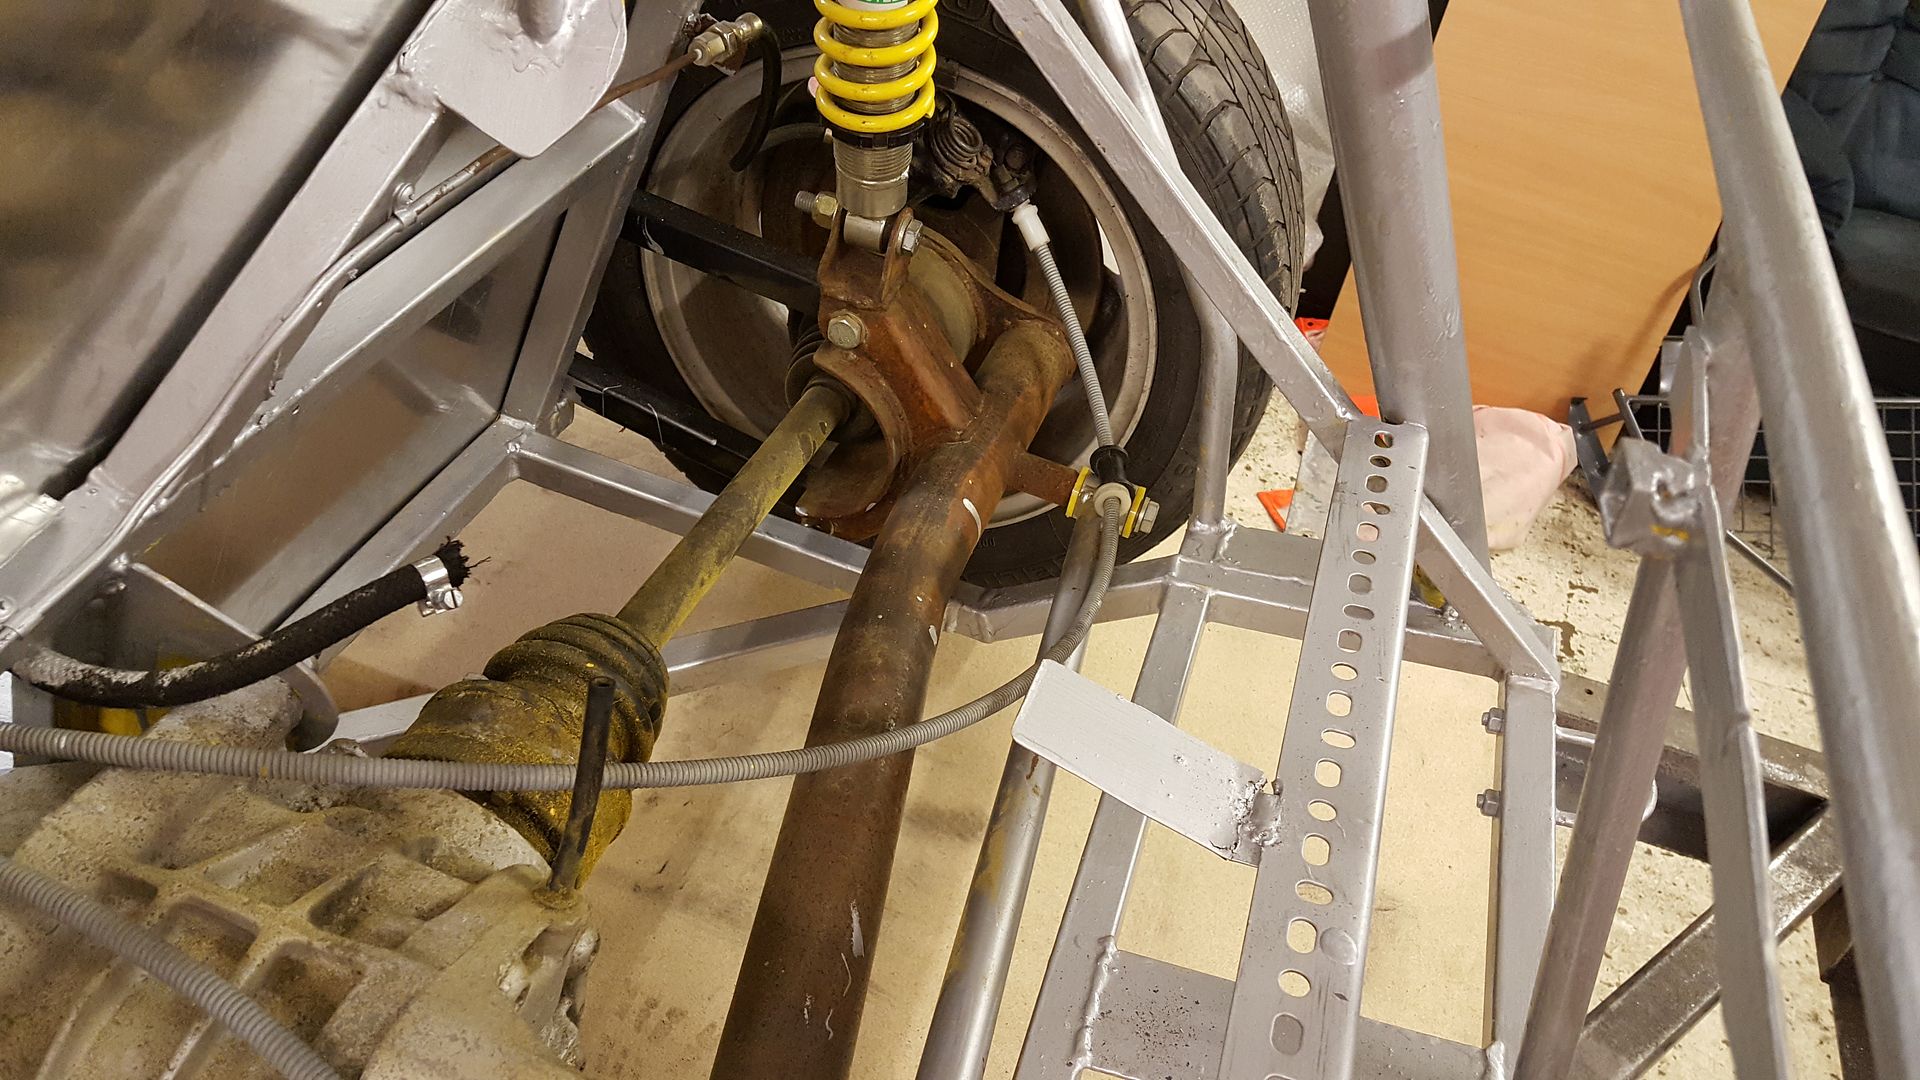
rad mounts, various brackets and certainly the roll cage are just going to be cut straight off! and the bit of racking on the rear......
heres a walk around the whole thing
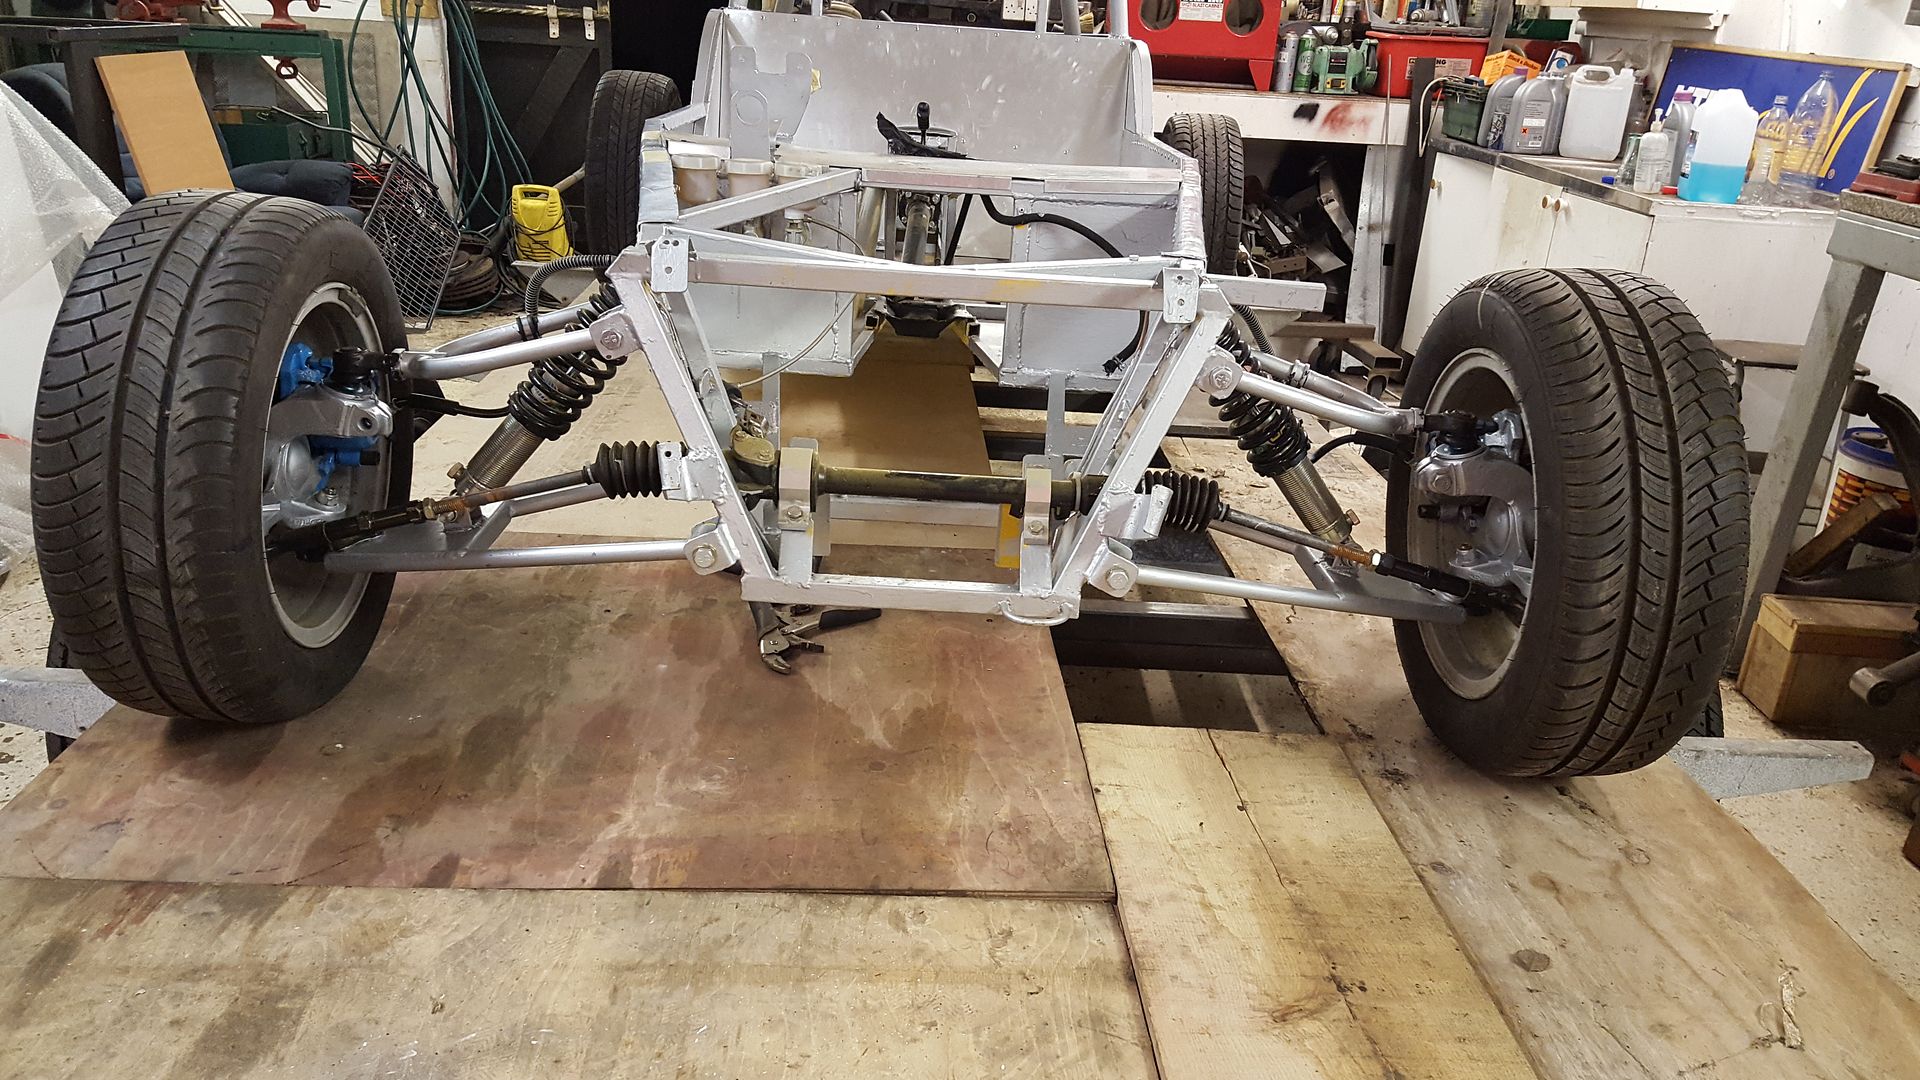
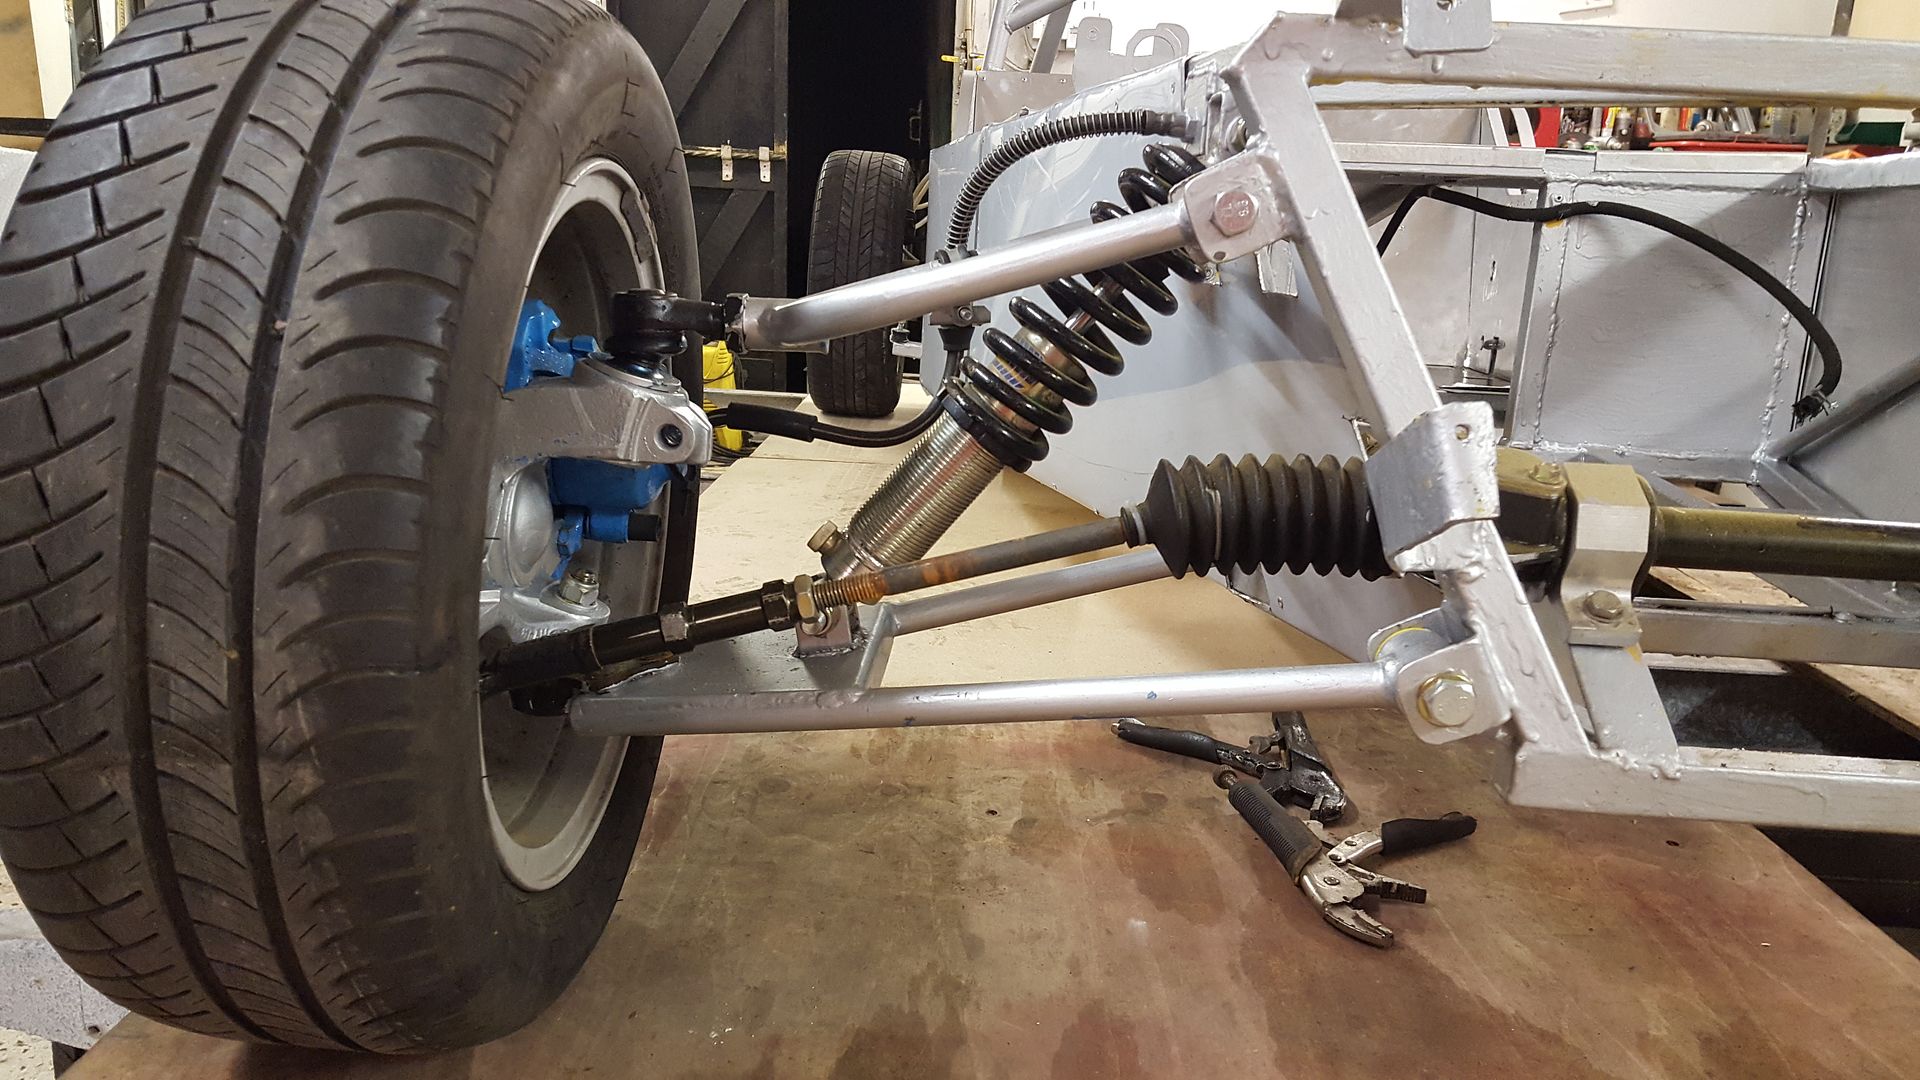
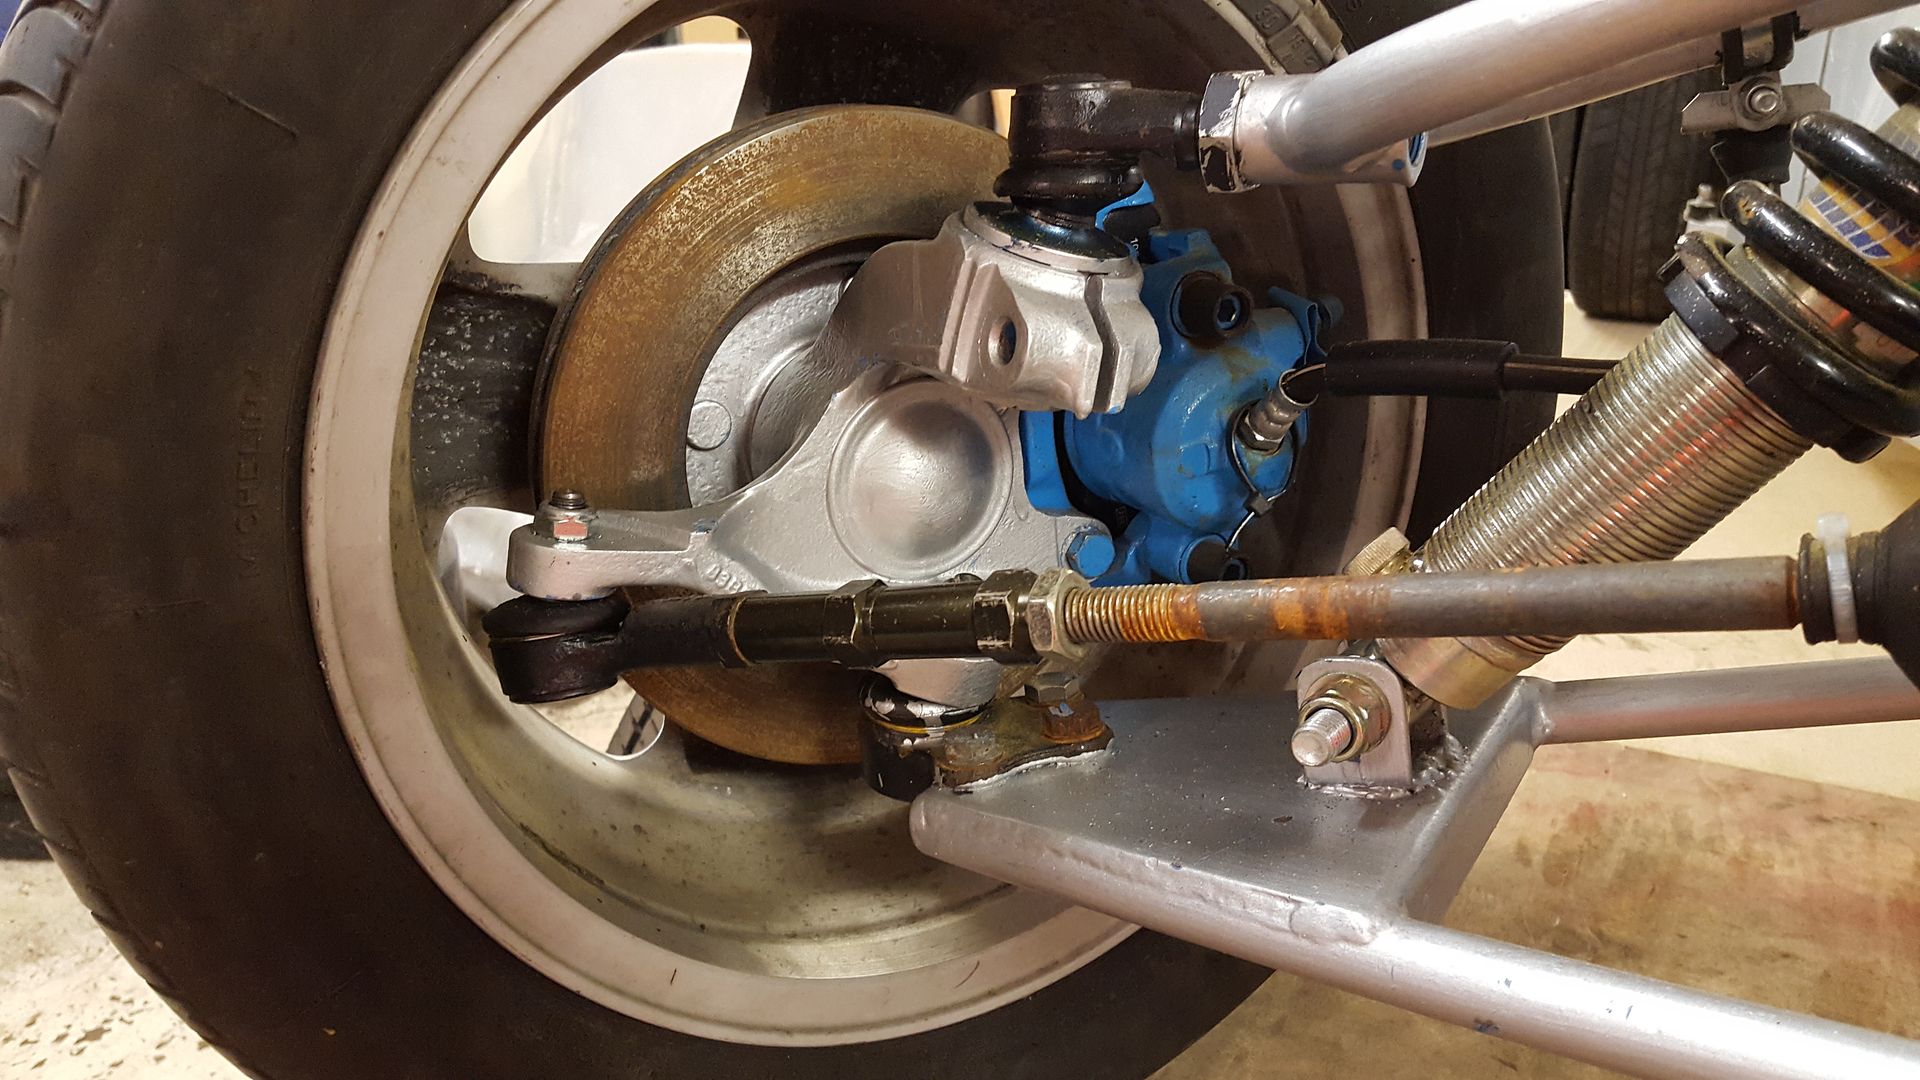
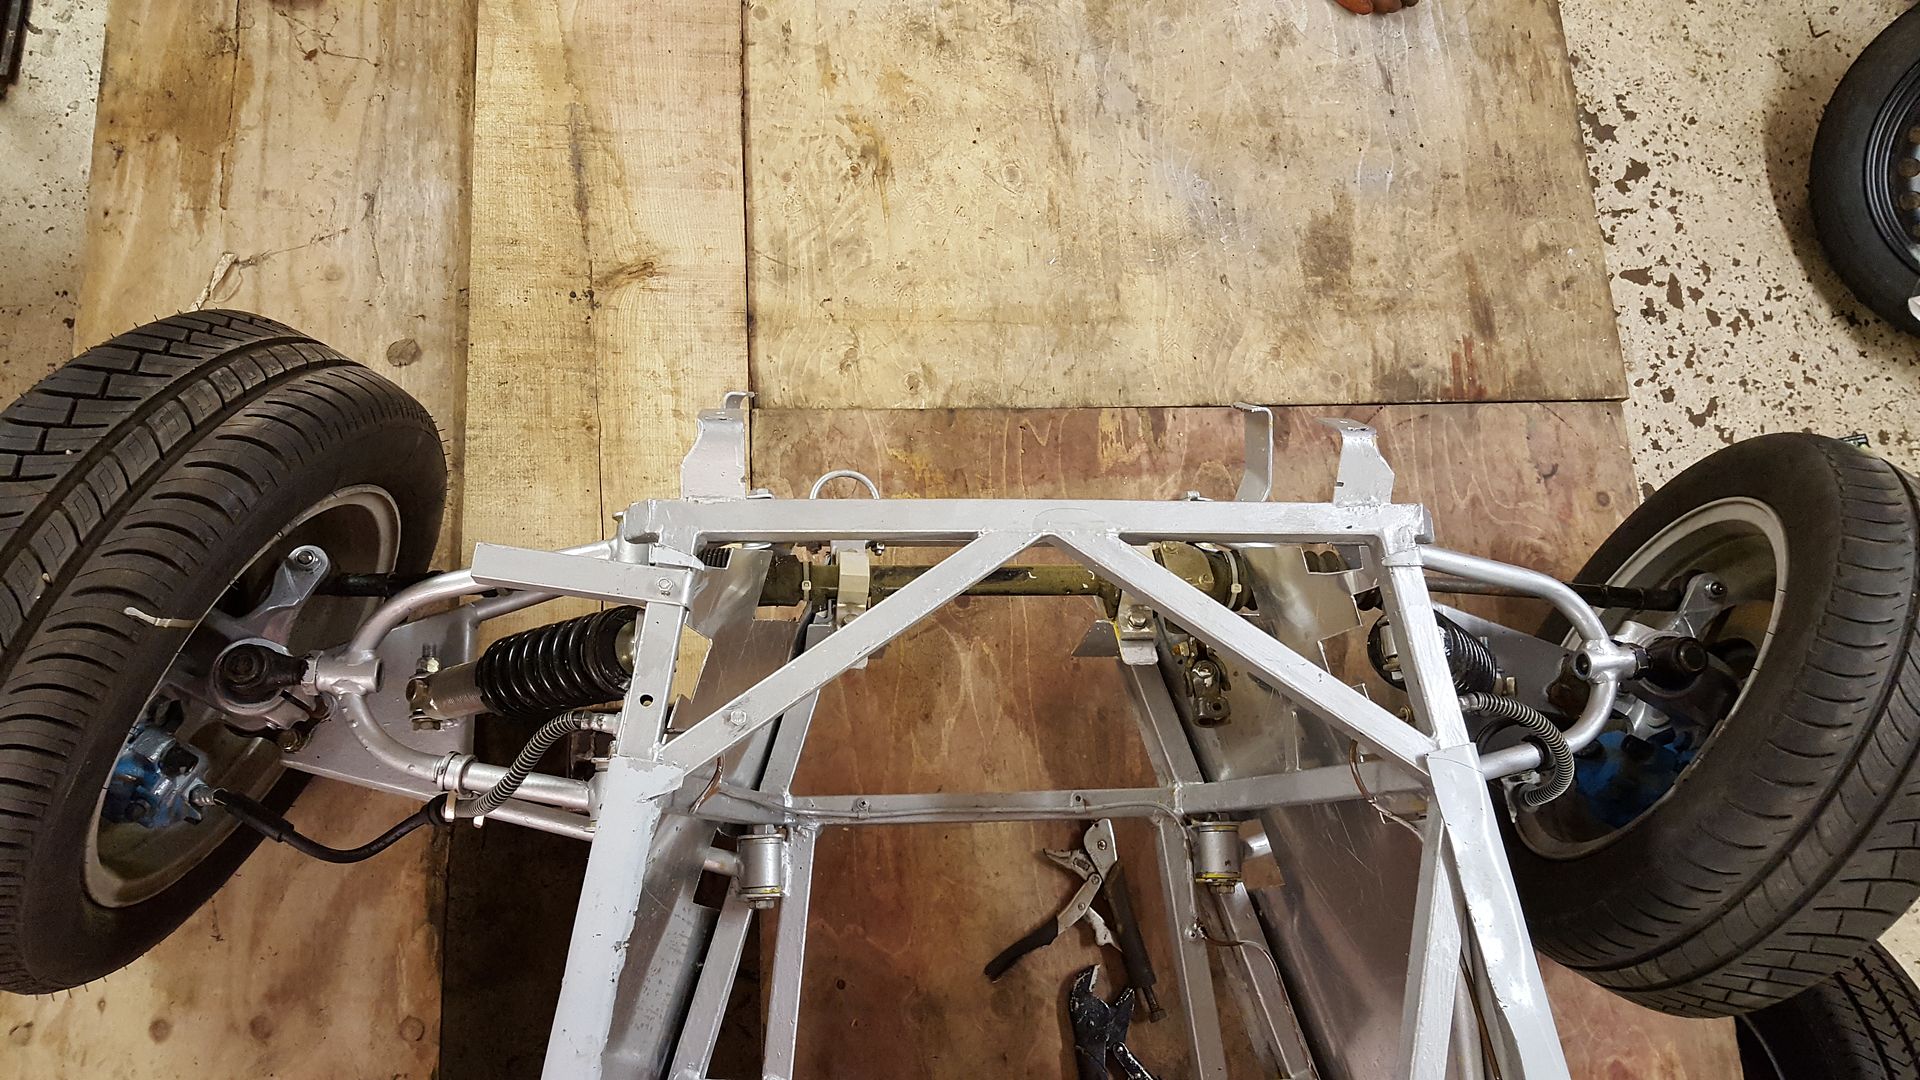
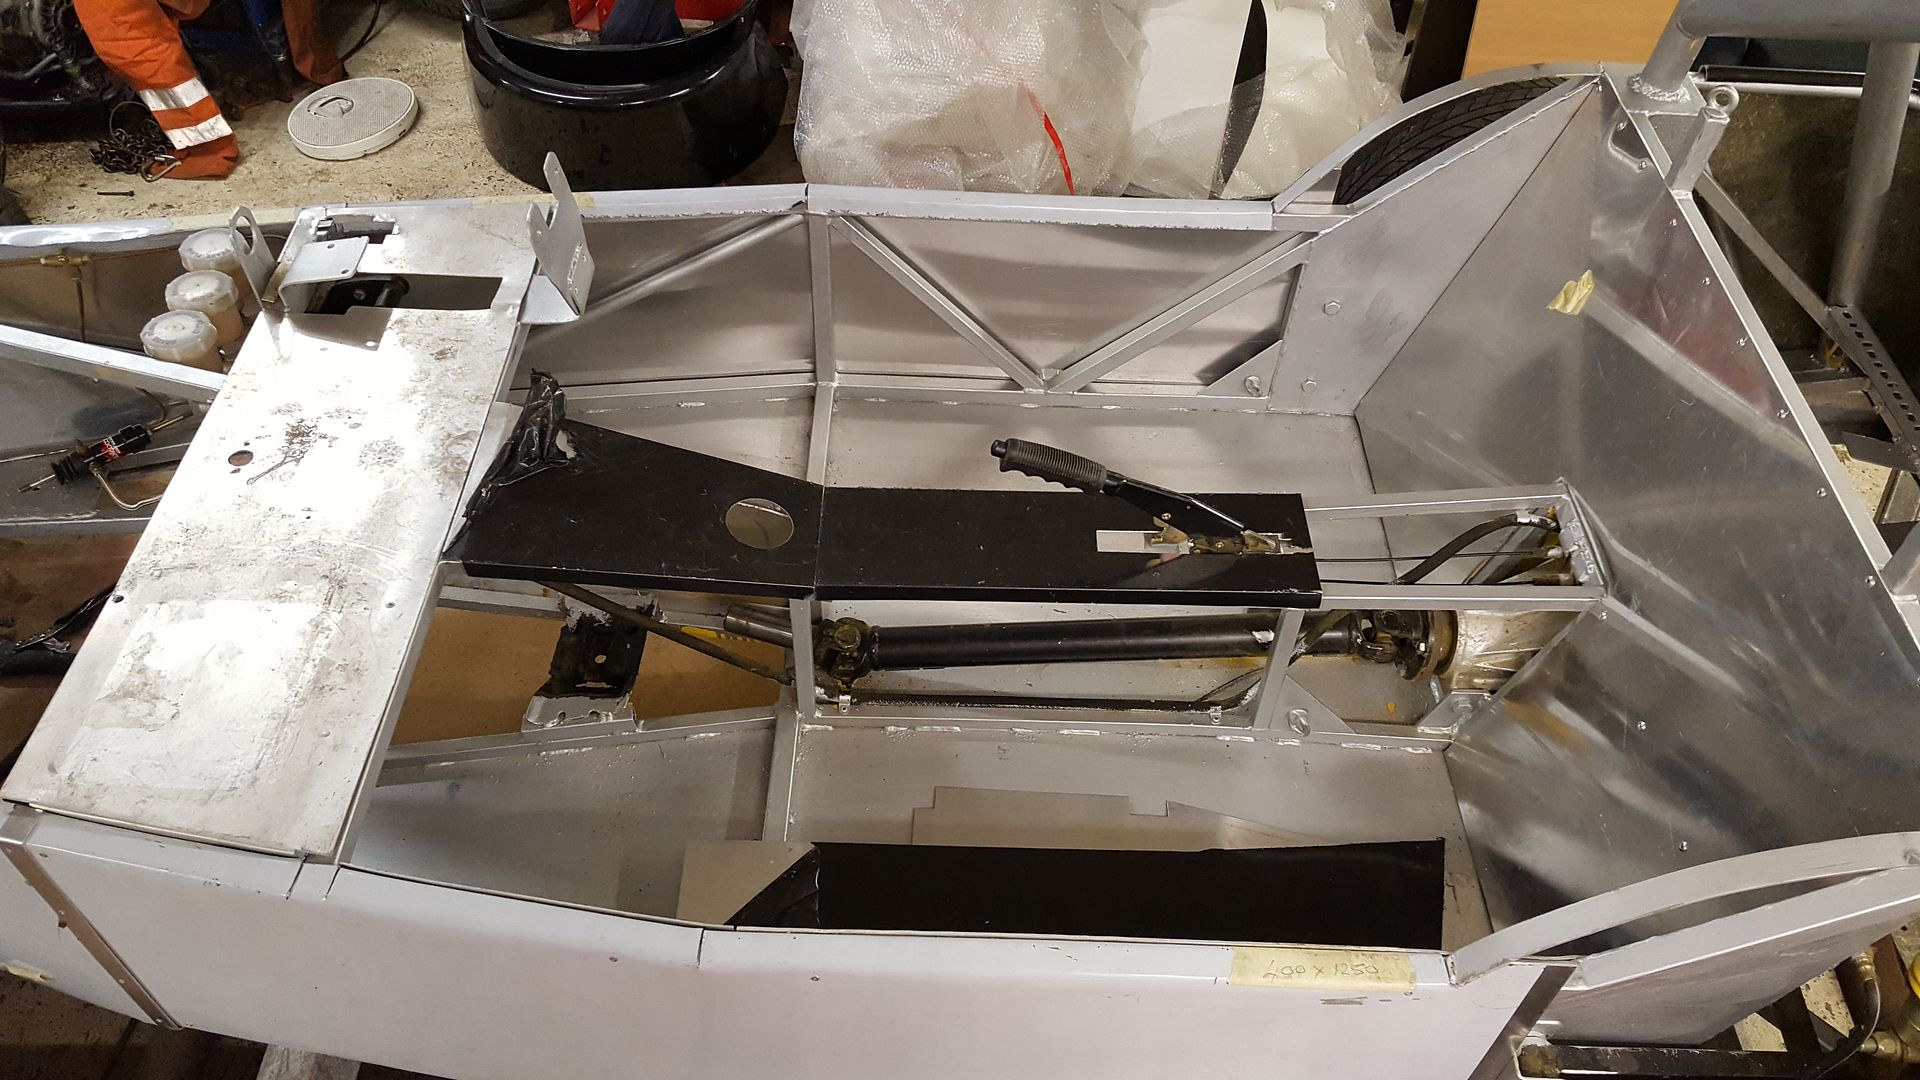
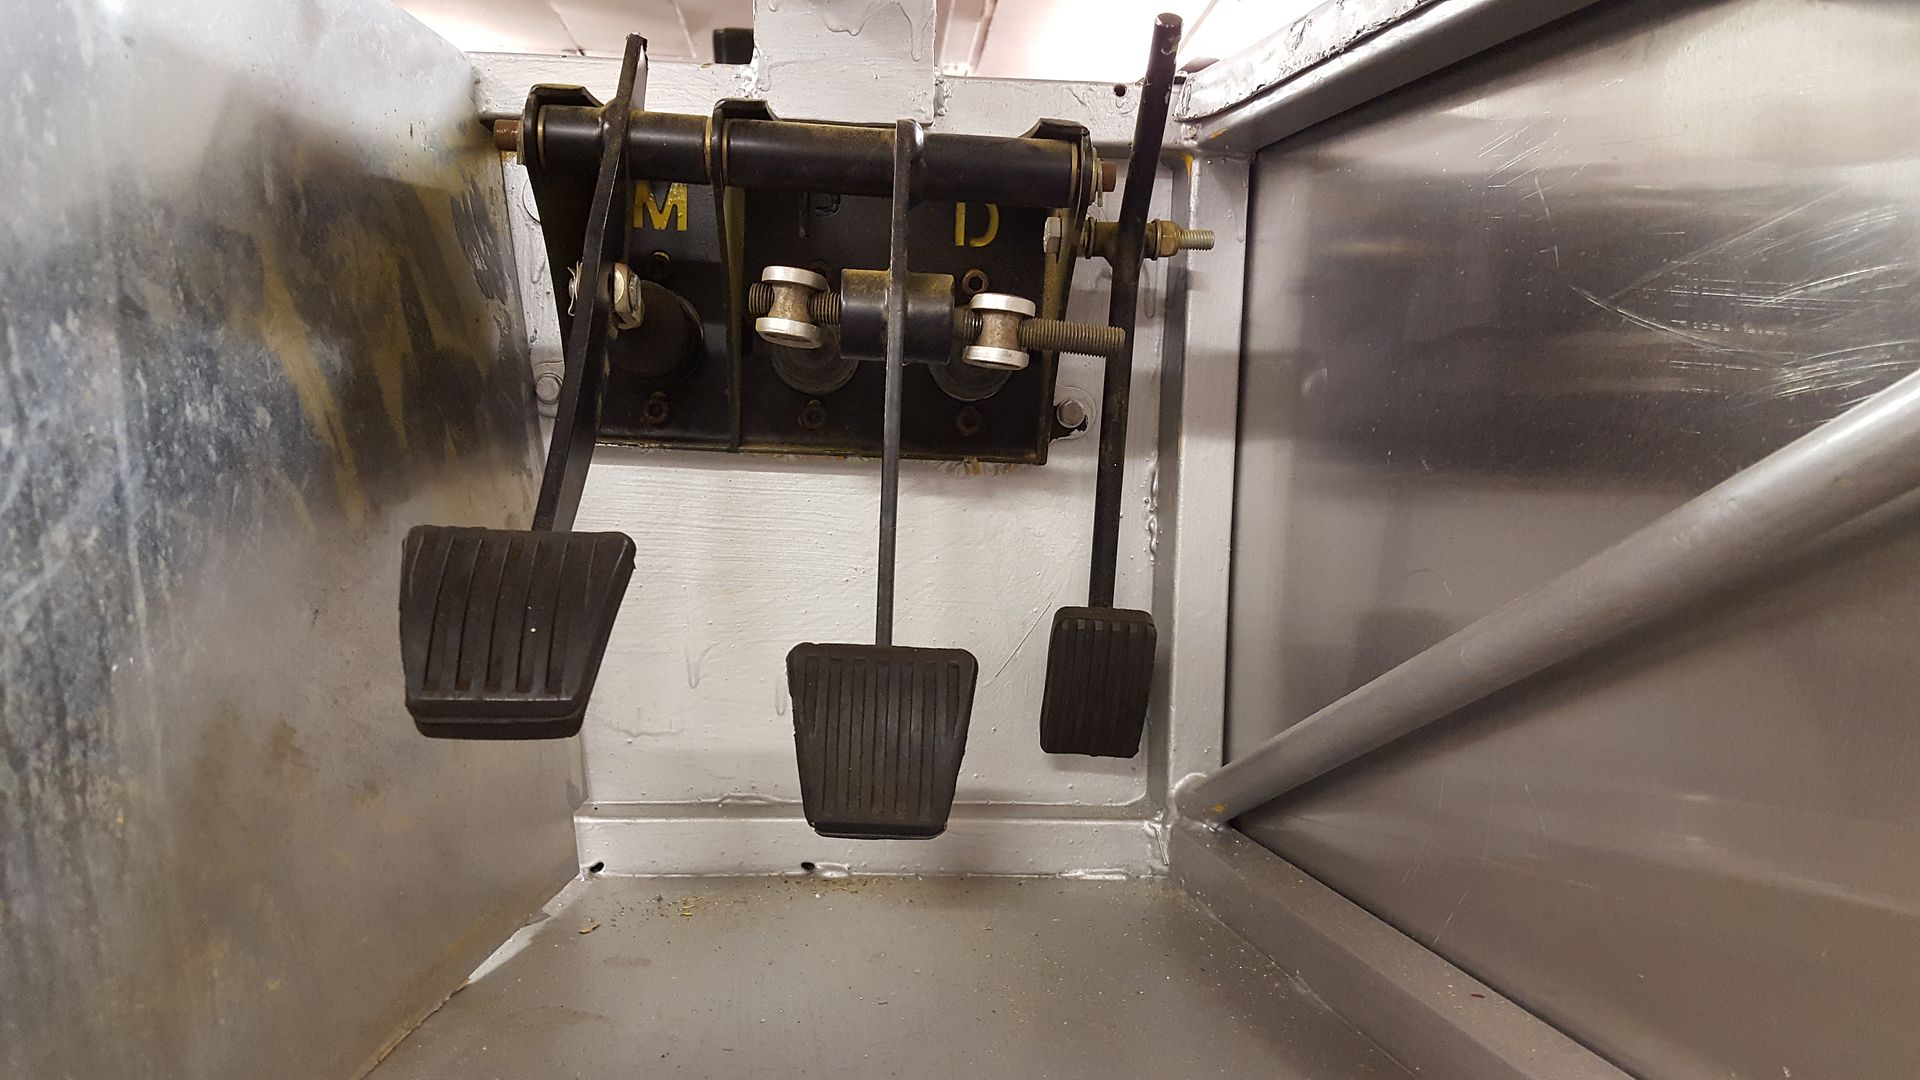
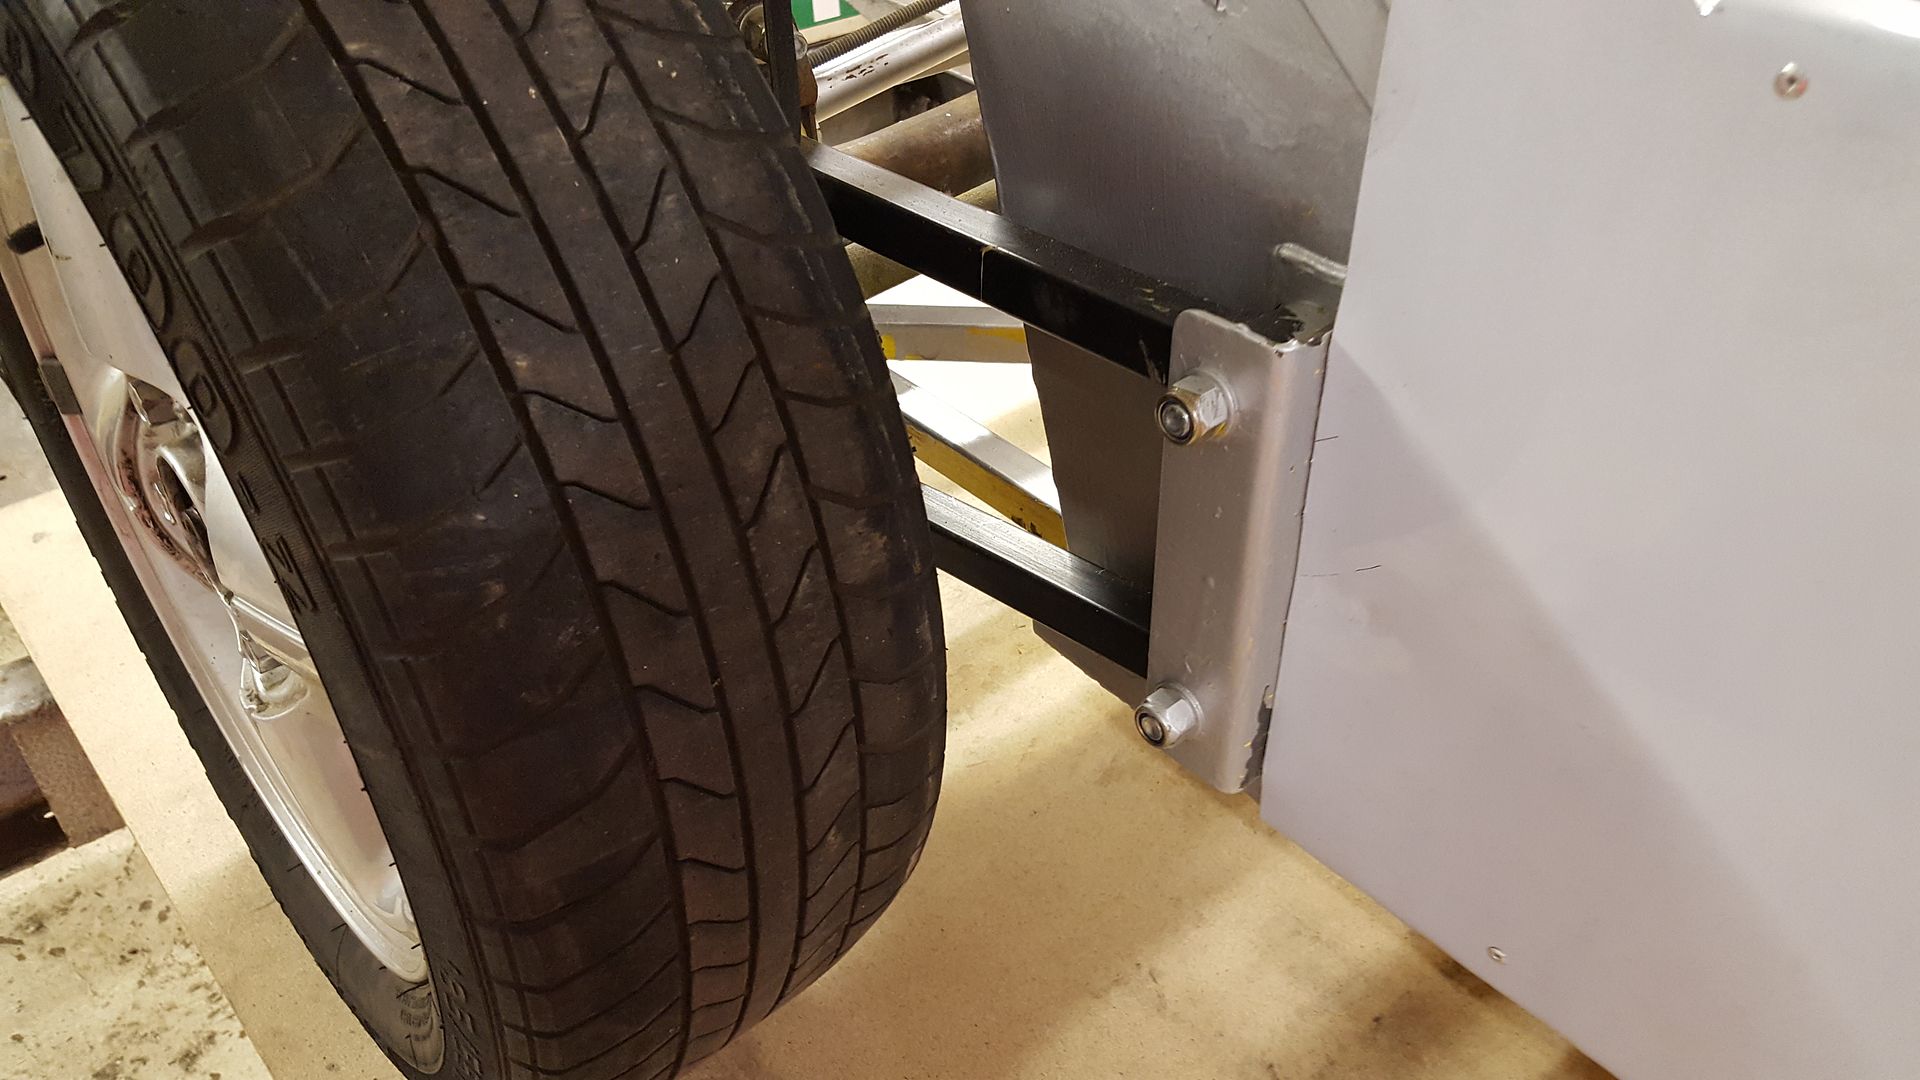
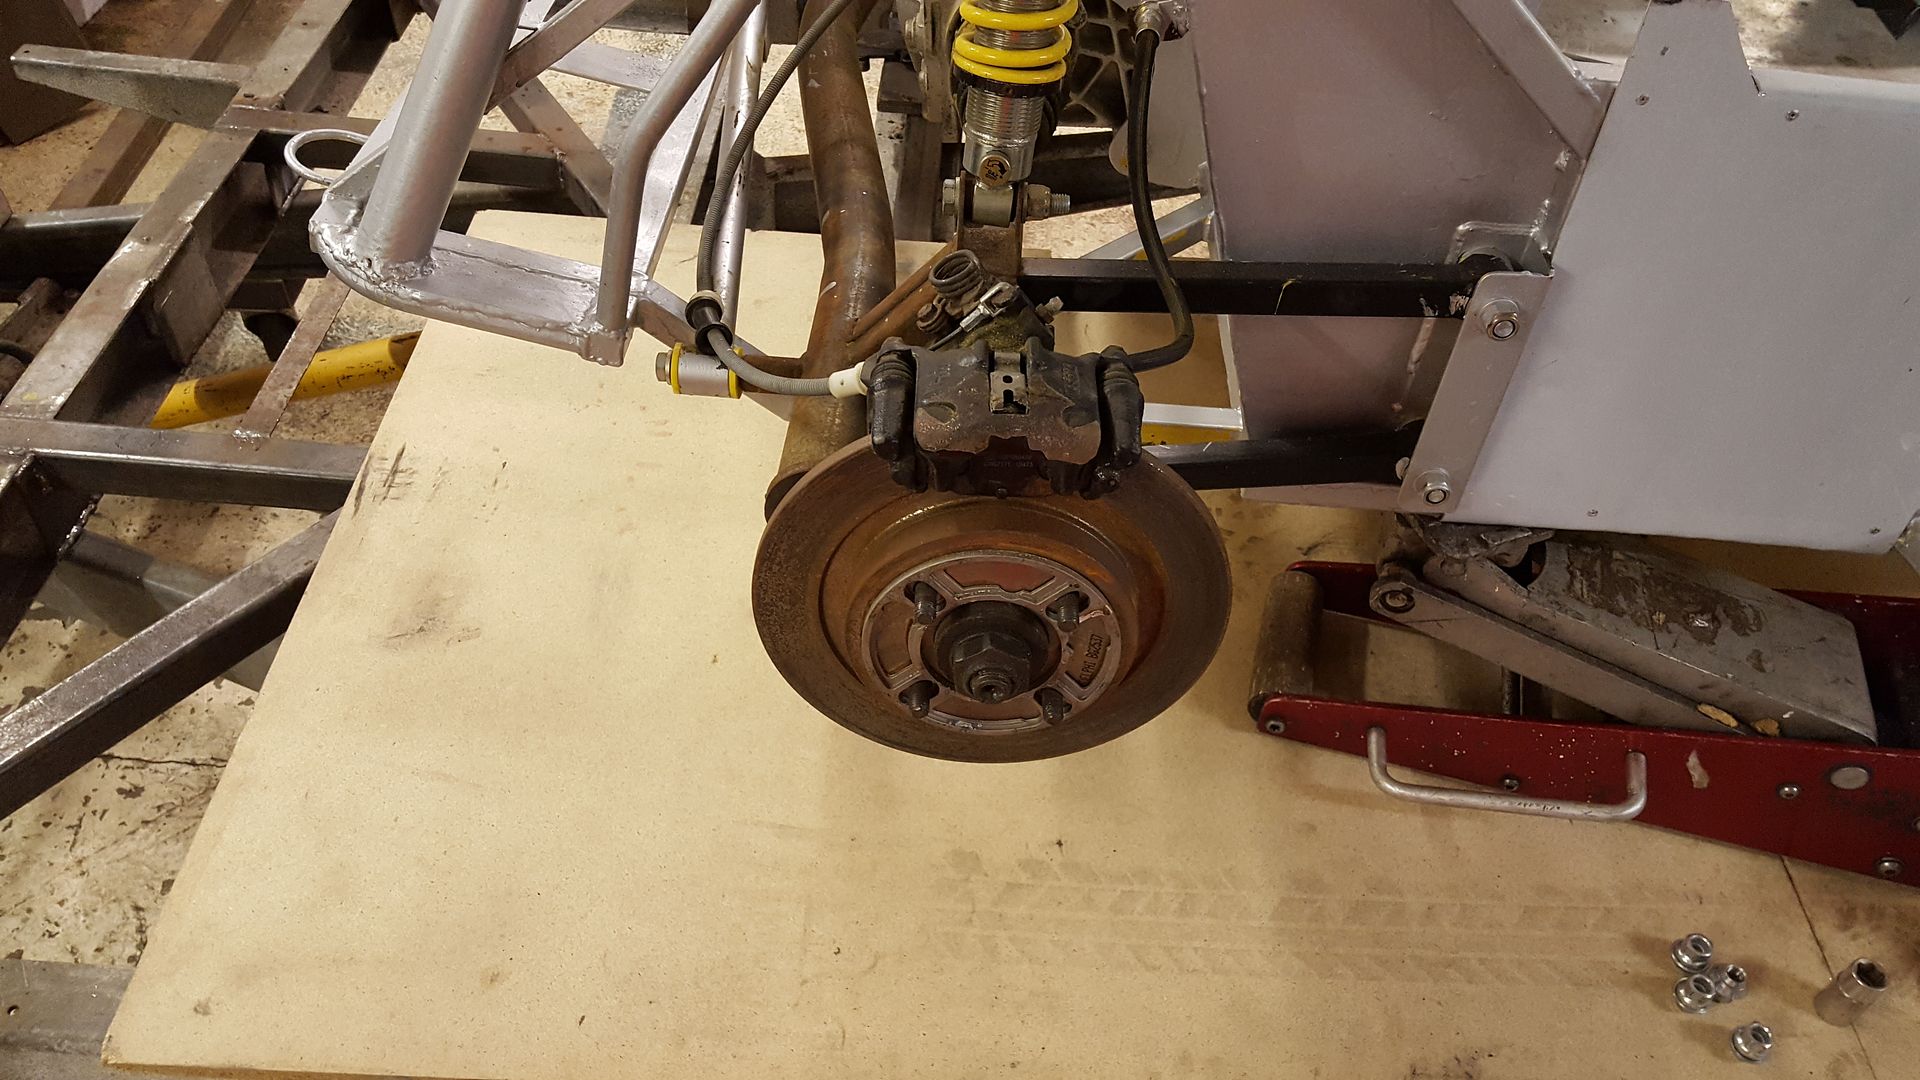
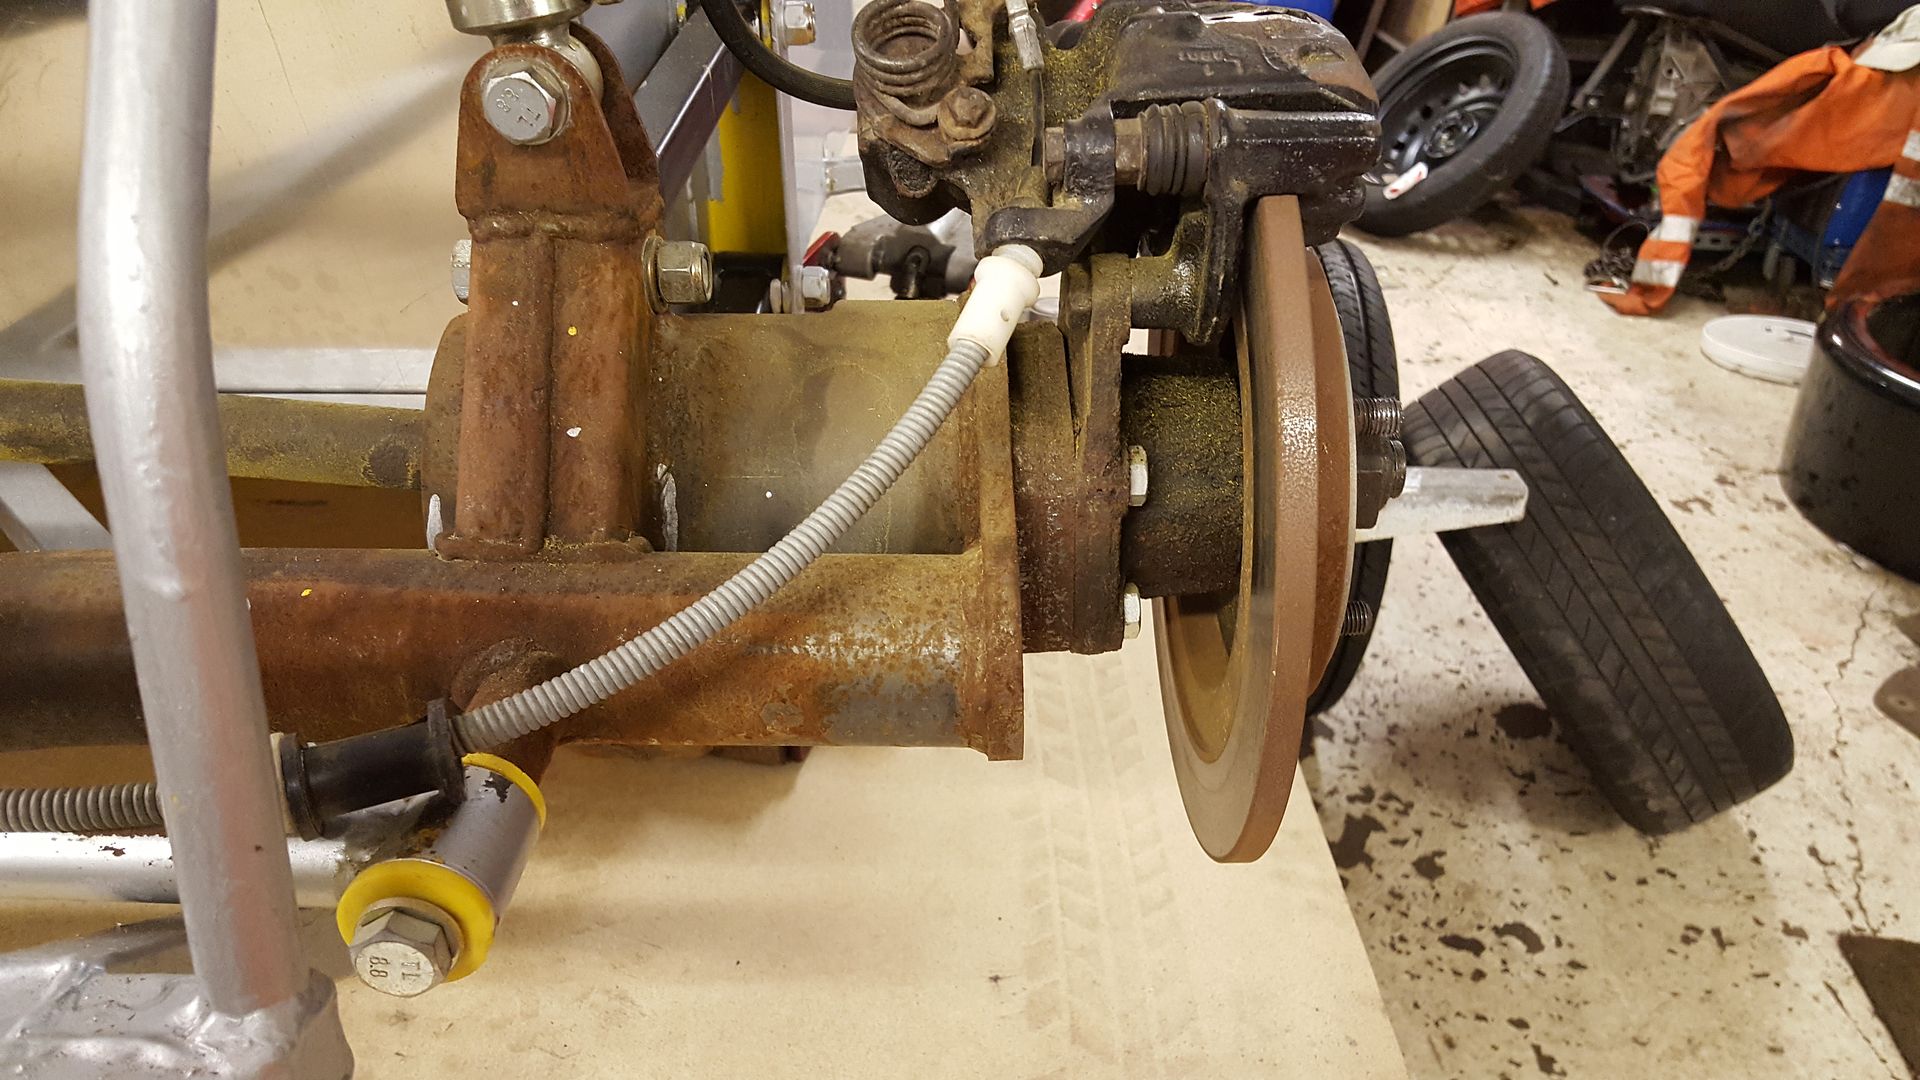
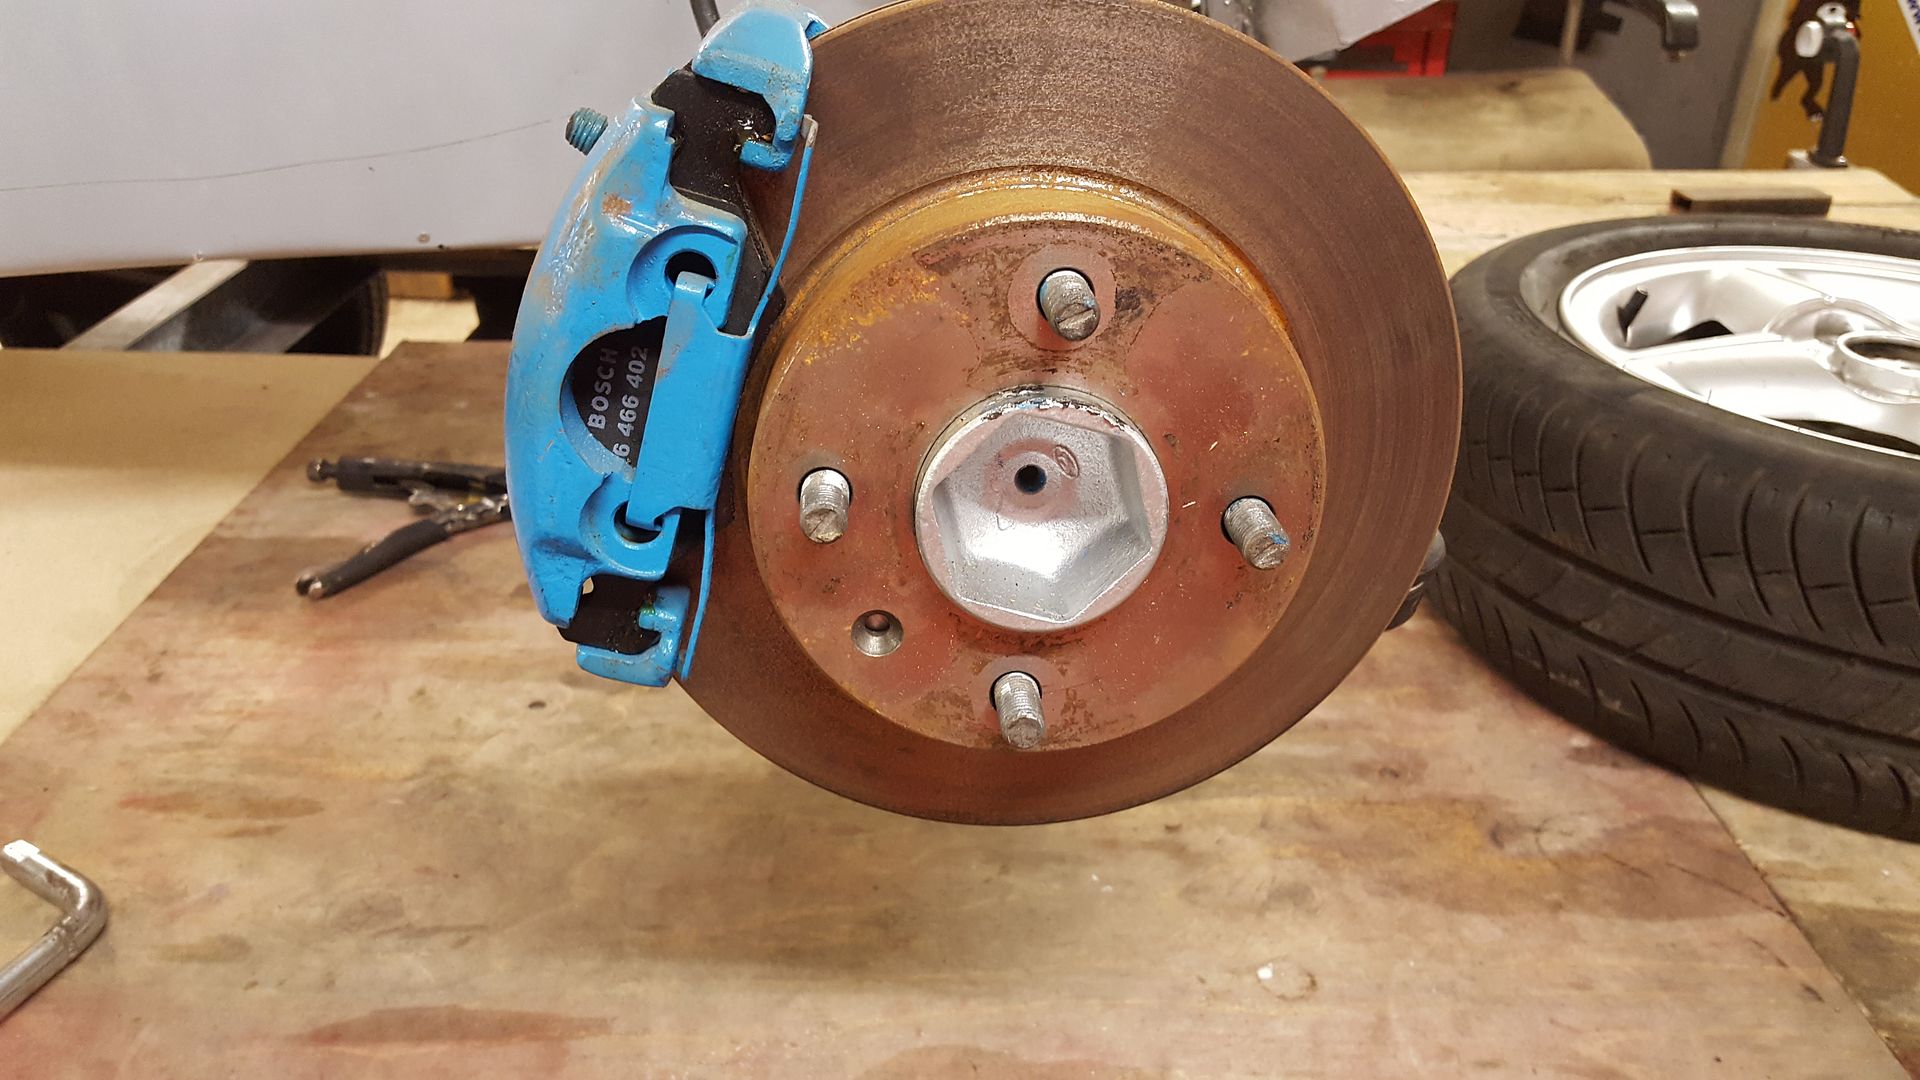
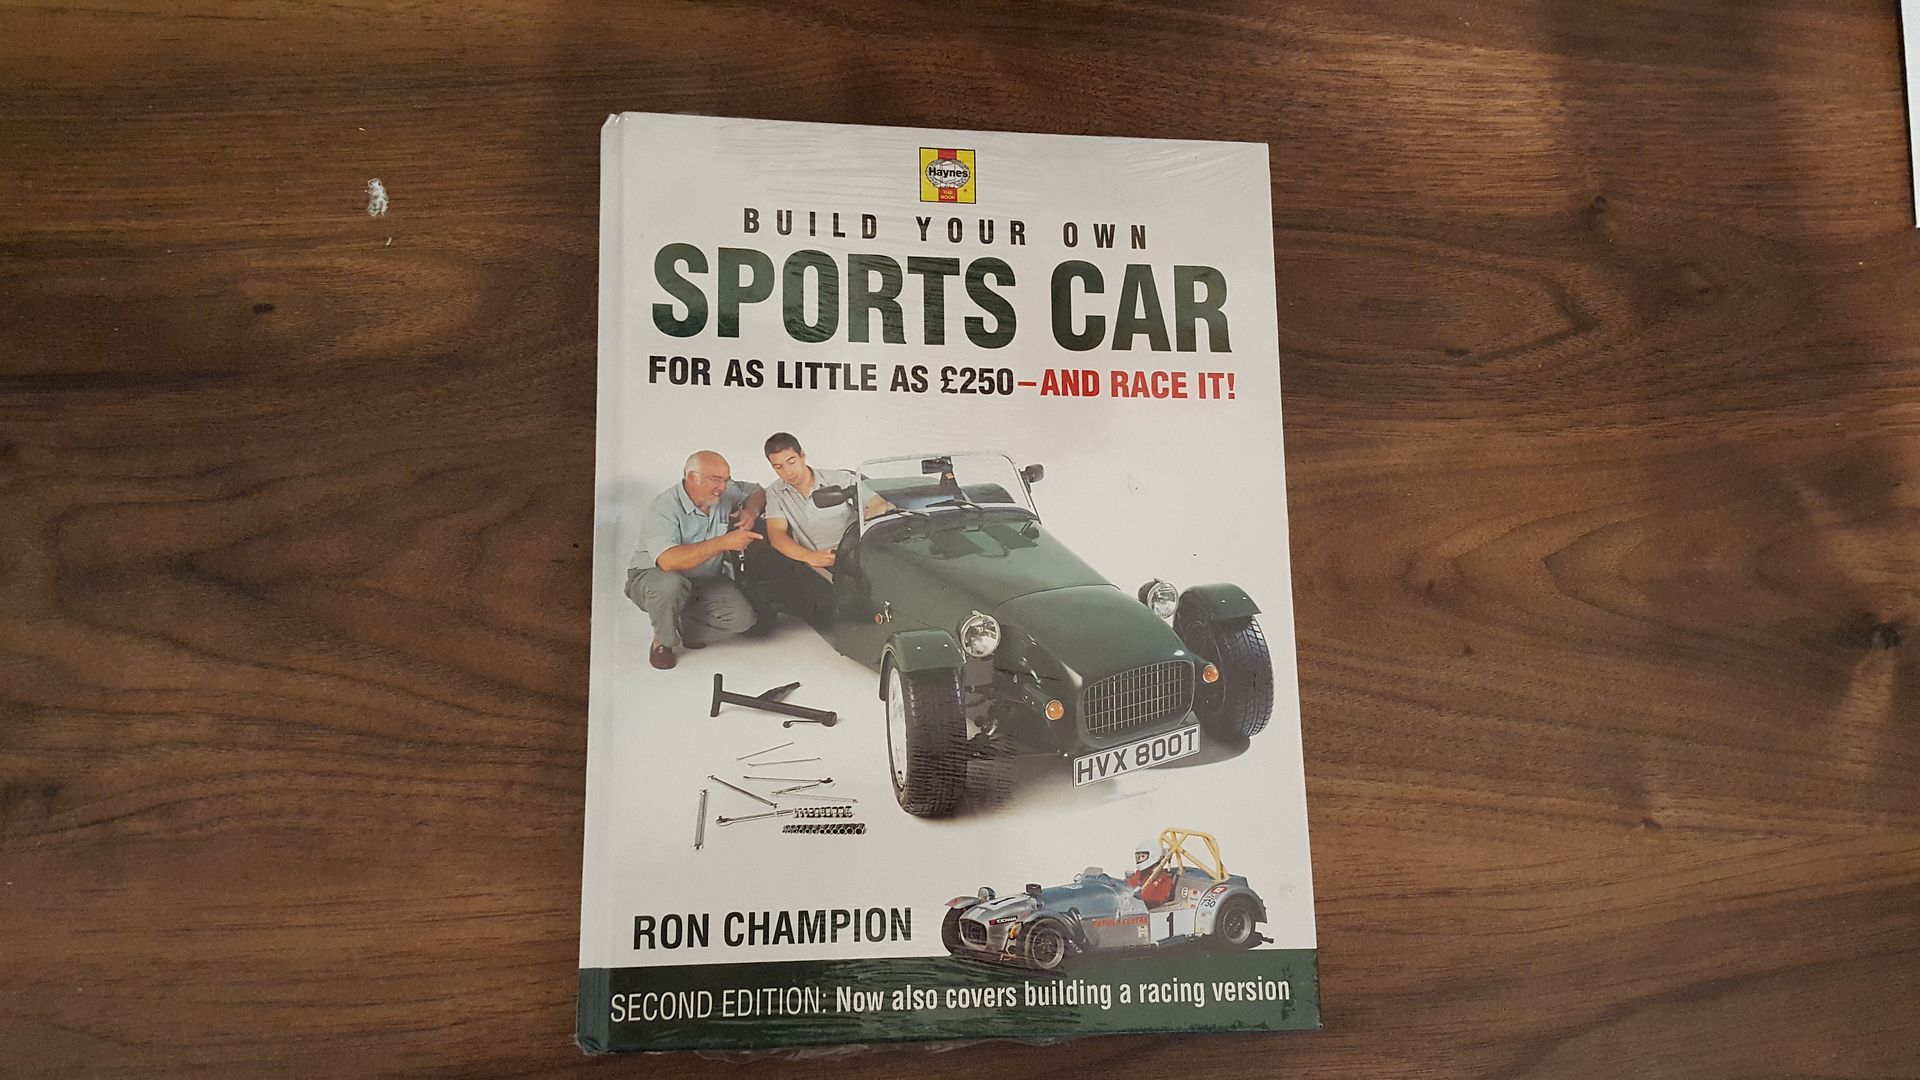
i got a book to check it all out
Although i may have deviated to ze germans the last few years, i am Vauxhall at heart so there was only ever going to be one choice for a power
plant.... C20XE 
8 odd years ago when i started a Vauxhall Astra rwd project i planned to use a high powered C20LET in rwd configuration, meaning i have loads of bits
laying around as i am now going to use a different power plant.
i had a good Cosworth T5 gearbox (back in the days when you could pick them up for under 100quid
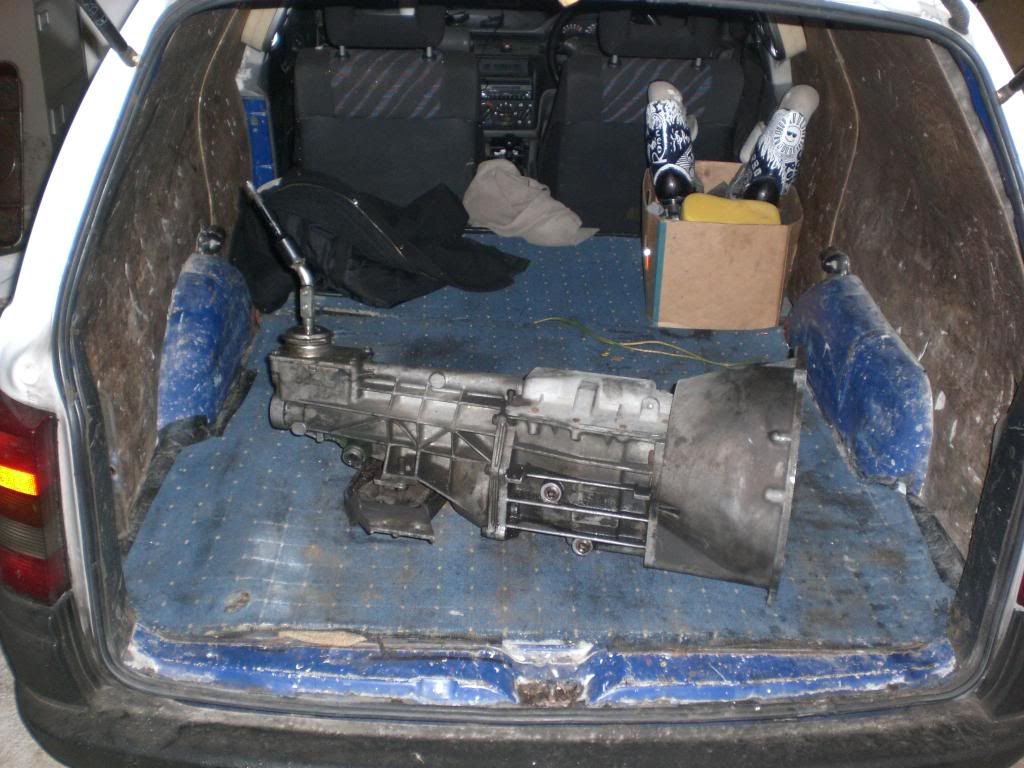
and a A-frame engineering bellhousing adapter
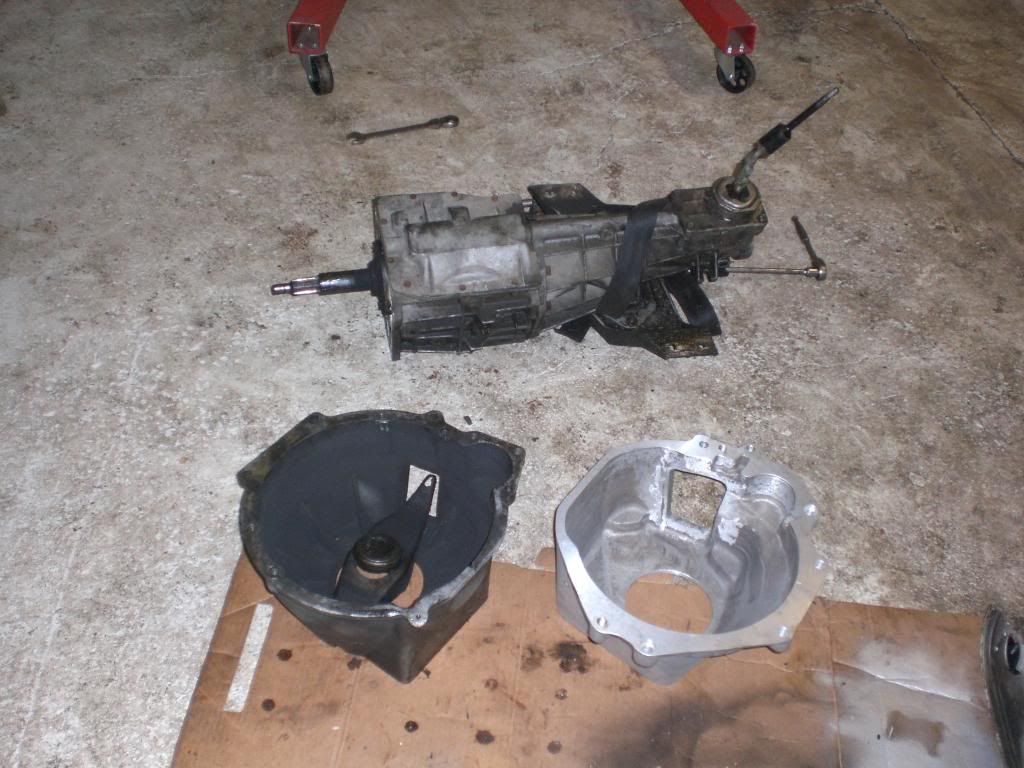
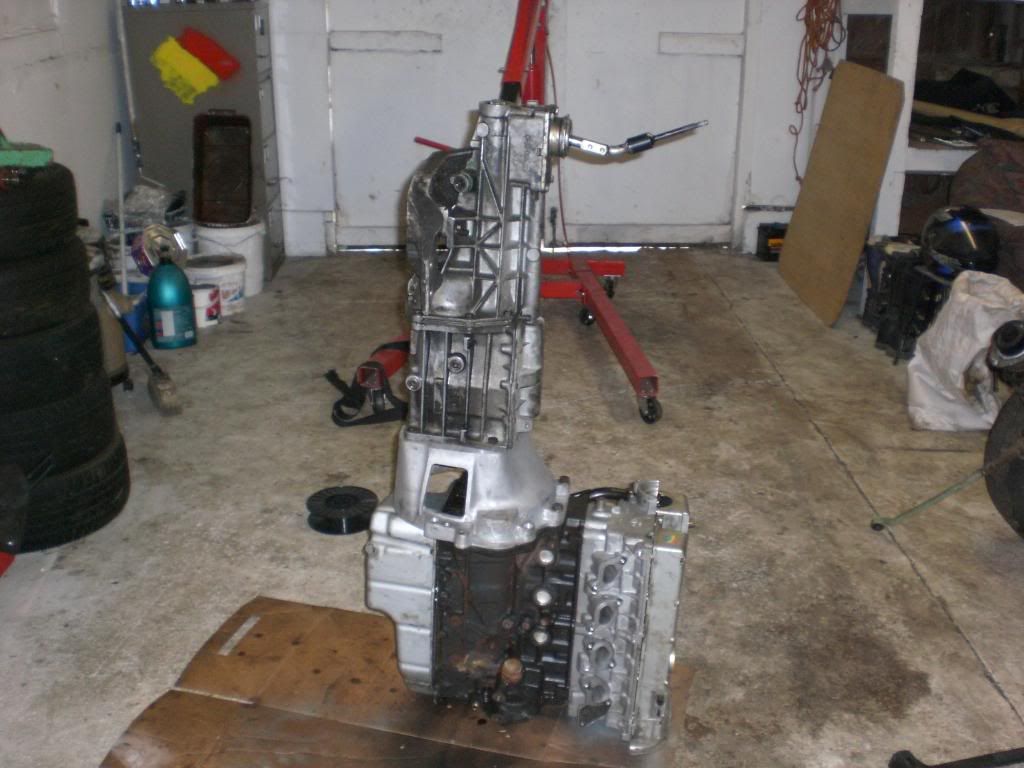
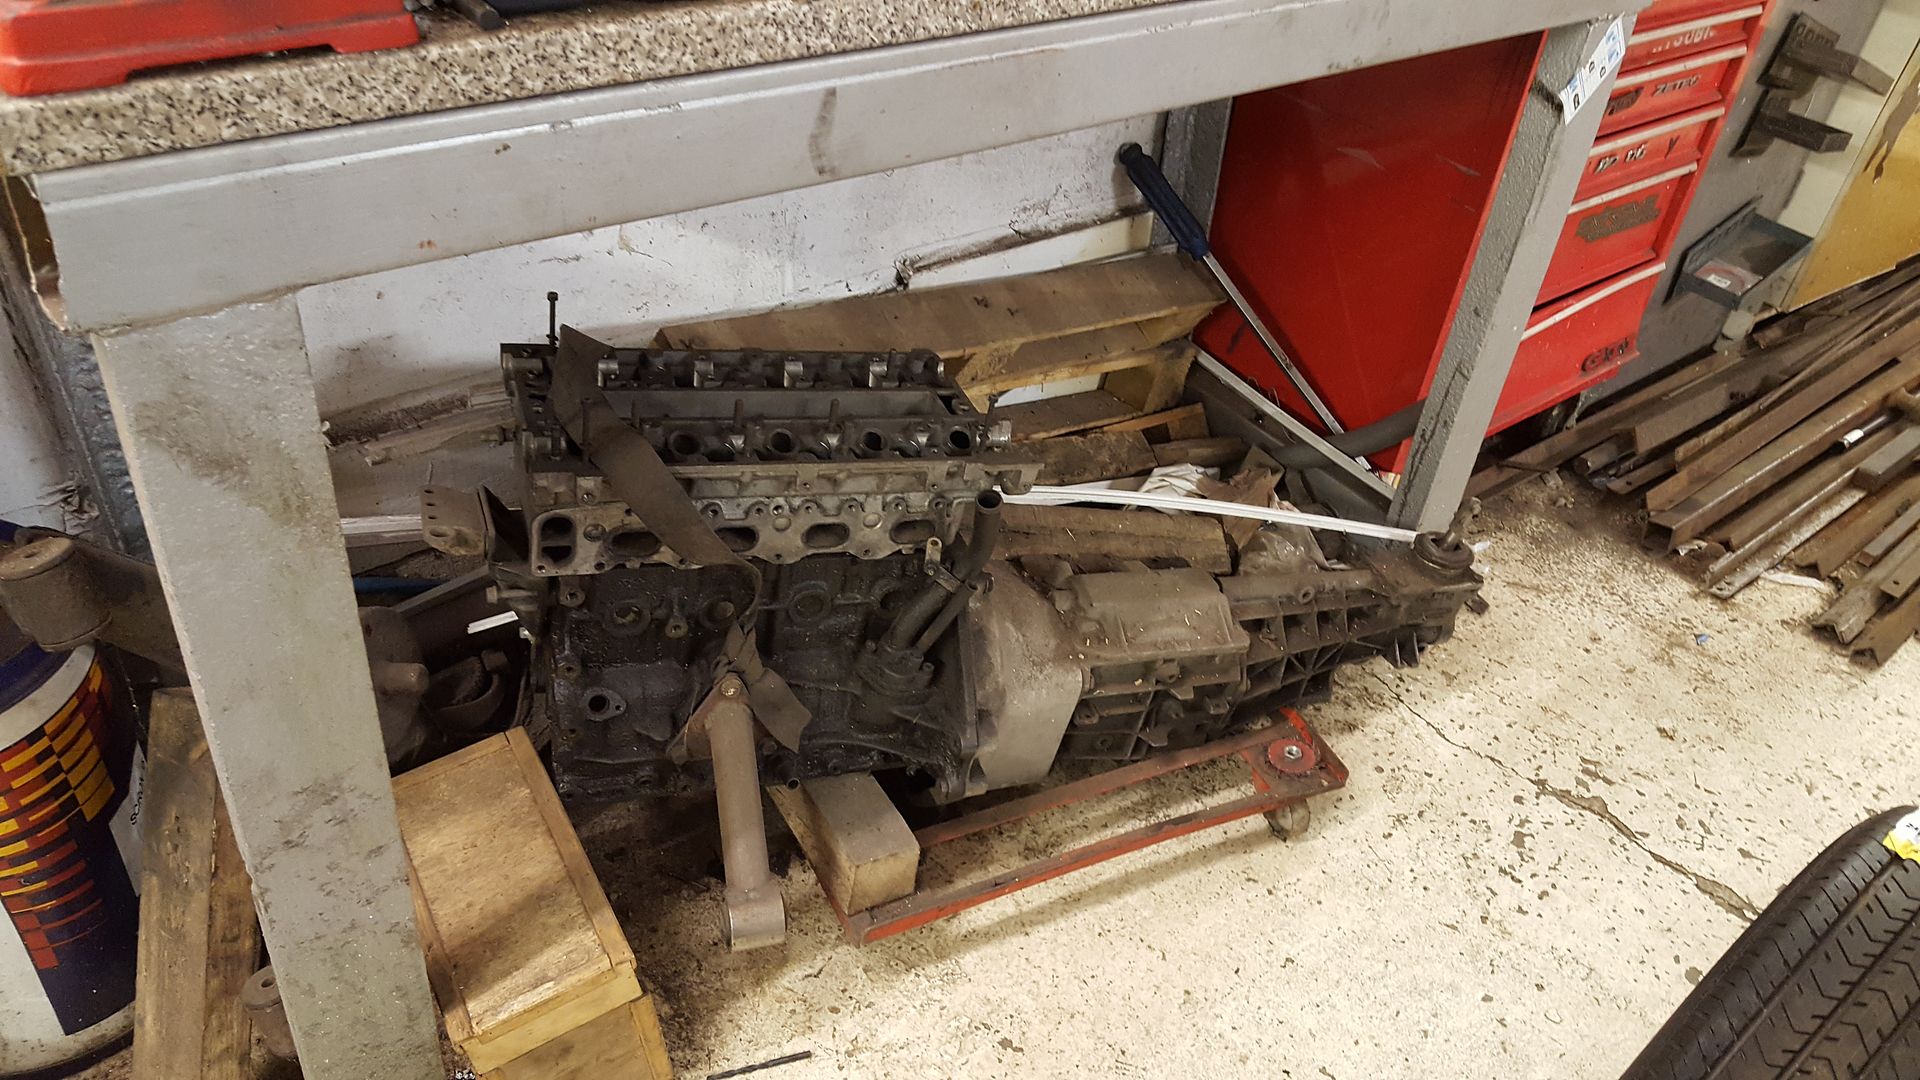
and then for 8 years that has sat under my drill bench :lmao:
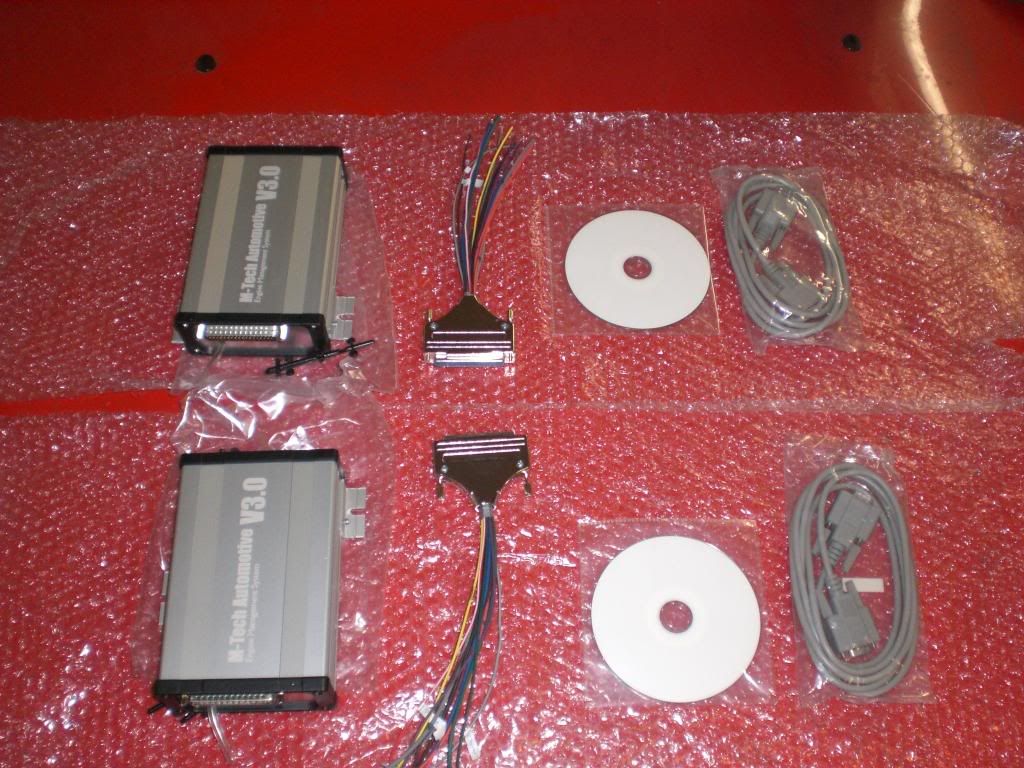
Also back in 2009 i bought Mtec aftermarket managment (with launch control) and jenvey throttle bodies
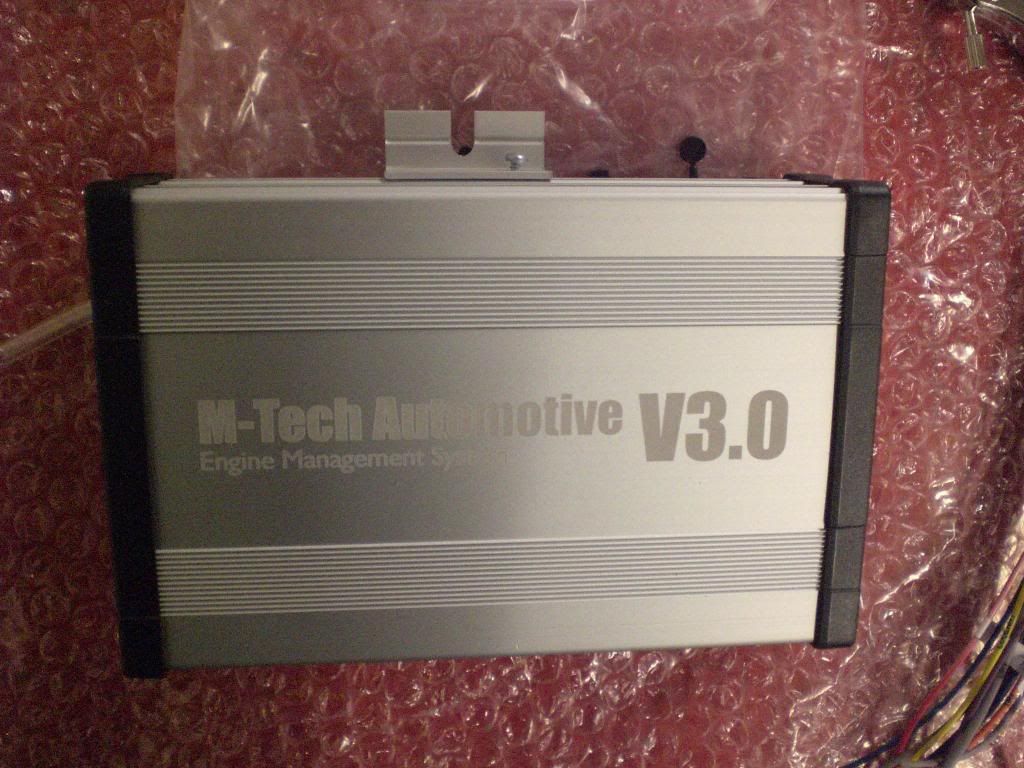
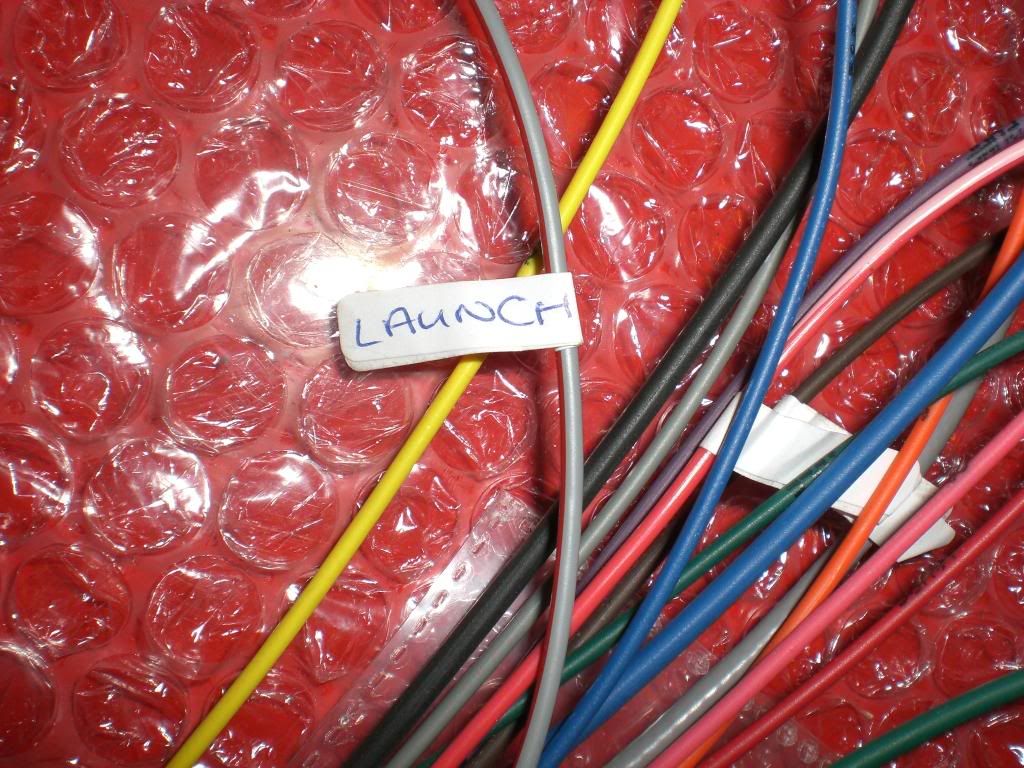
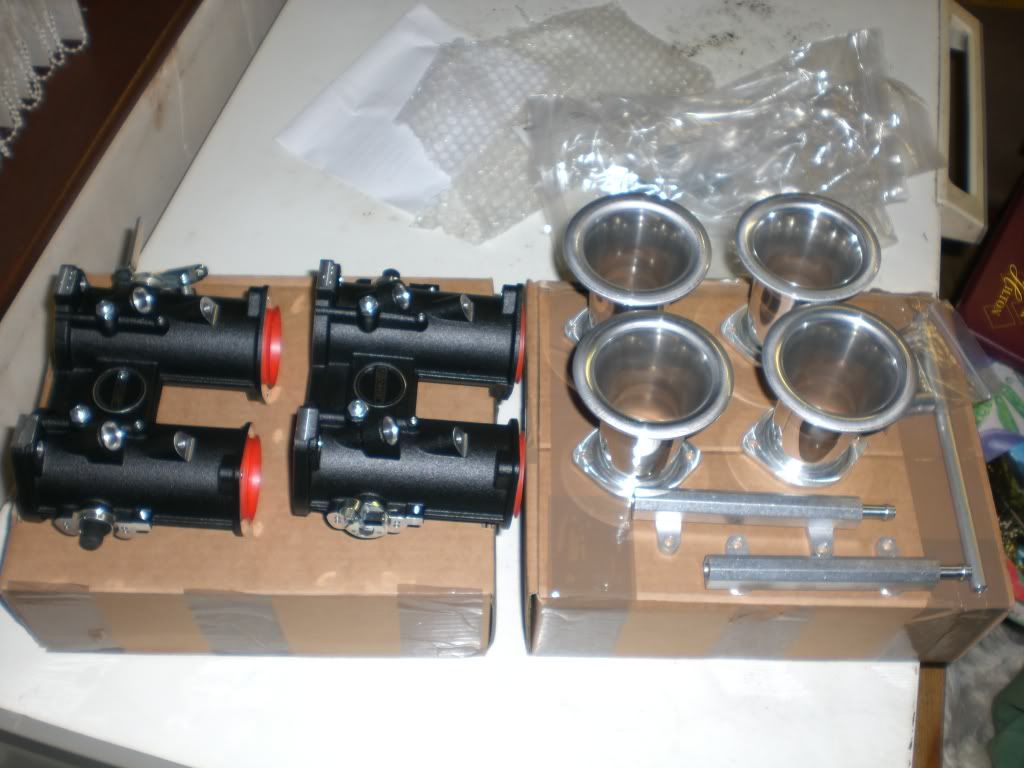
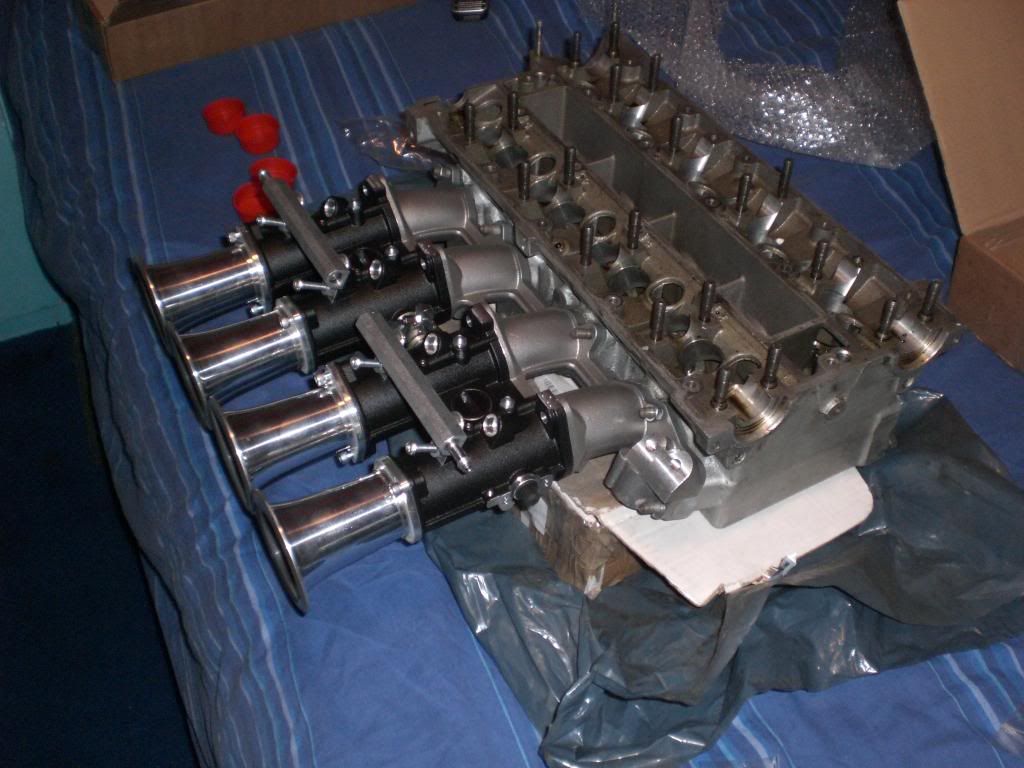
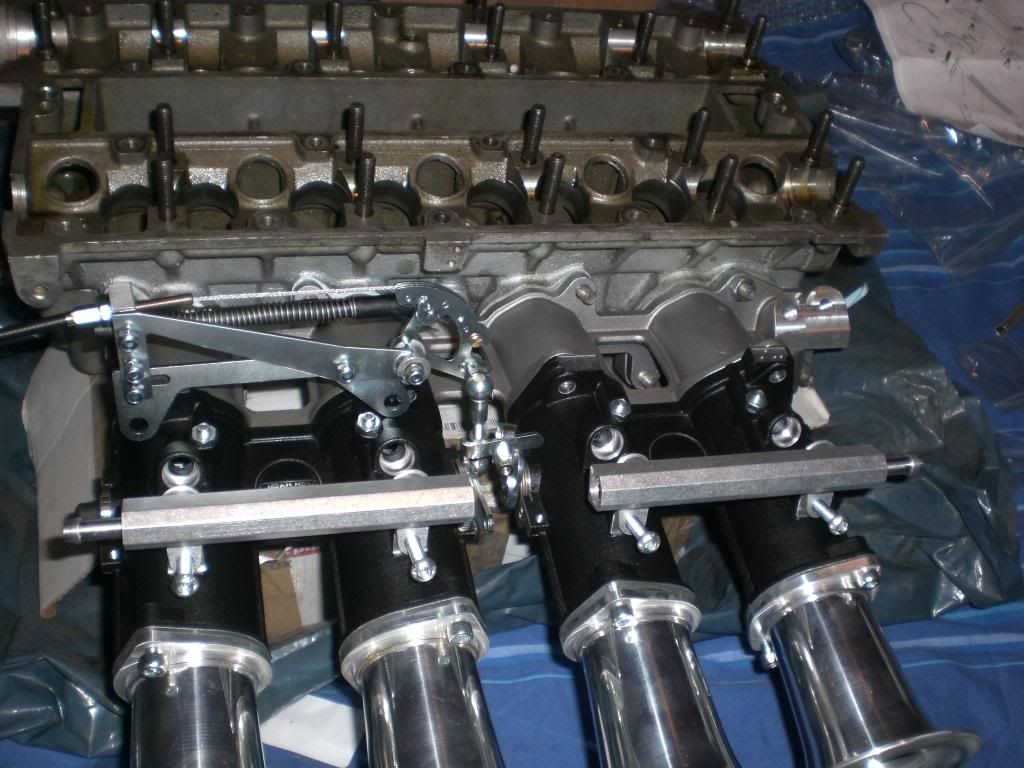
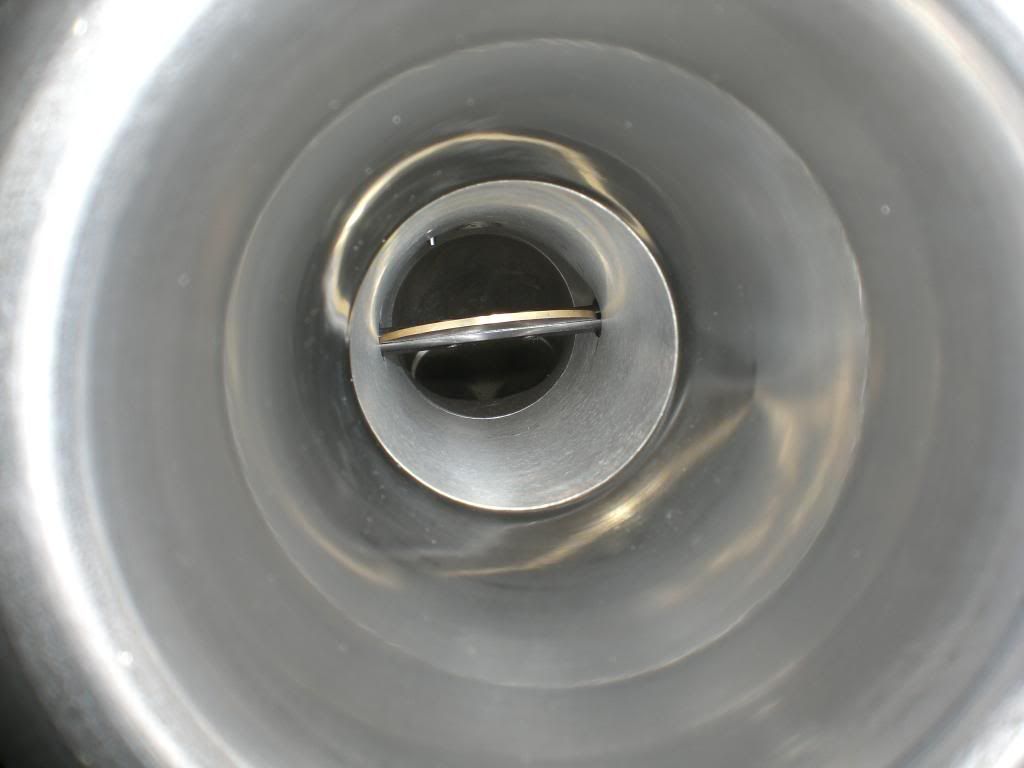
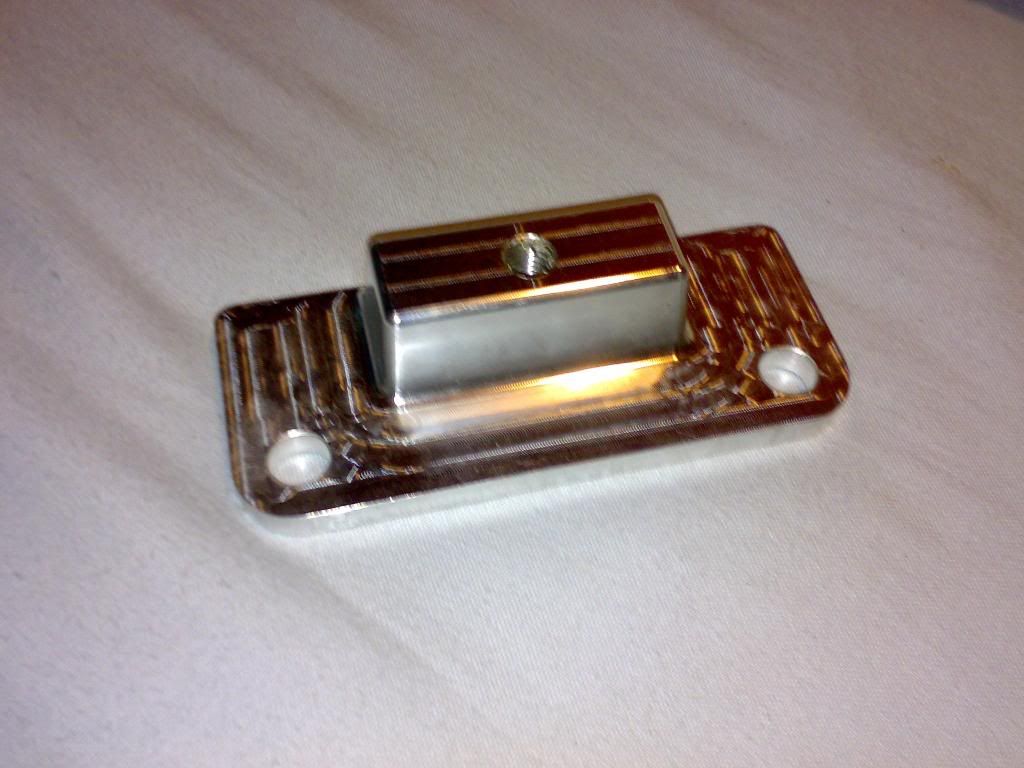
i also have things like a solid T5 mount
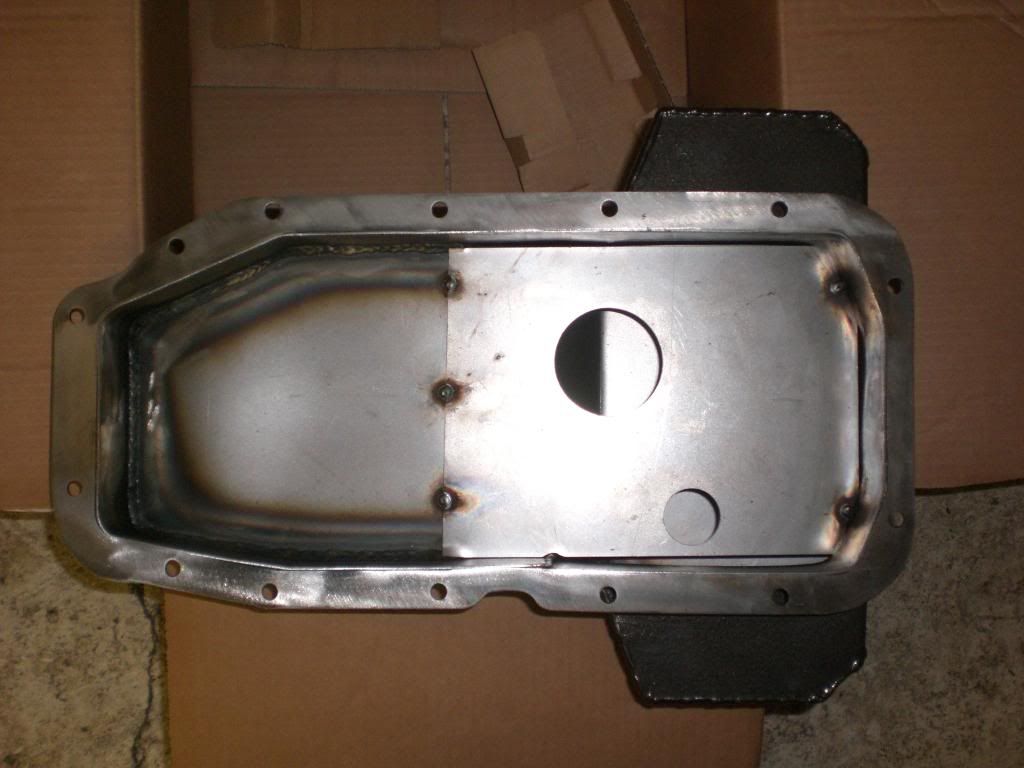
and a yukspeed xe rwd sump (although i dont know if ill use this)
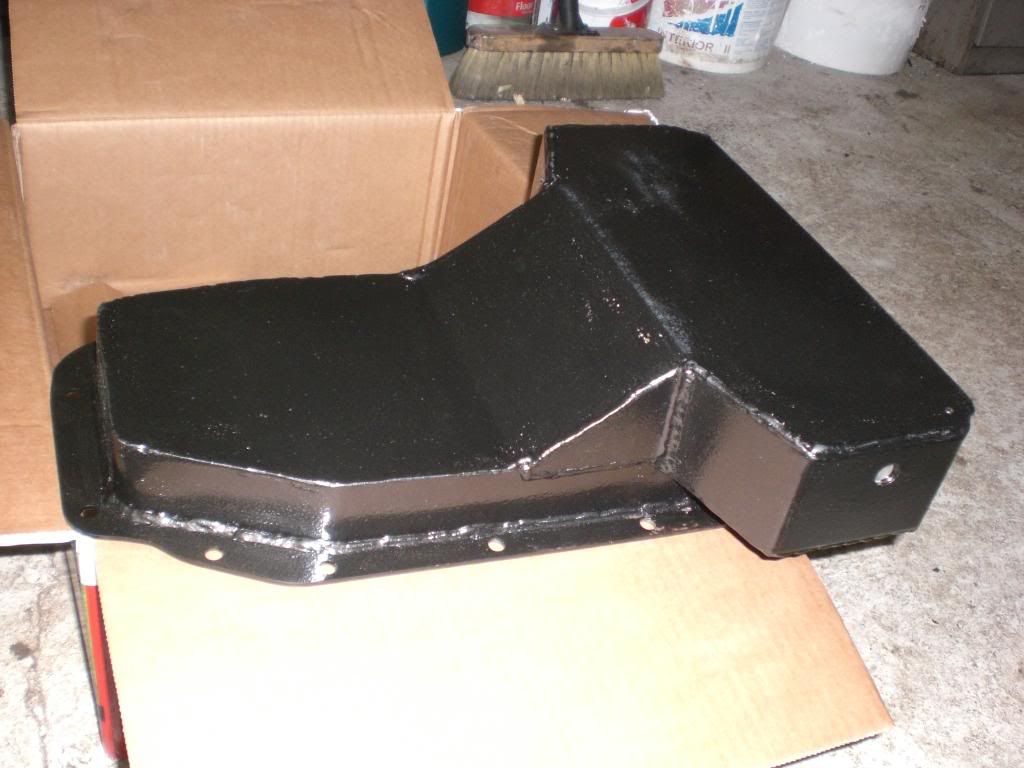
all of that has just been sitting in boxes in a top secret location for 8 plus years, and is all still like new :lol:
It will most probably be a standard refreshed c20xe with throttle bodies and the mtech, and a few ARP bolts holding it together and should be
180-200bhp at a guess to start with.
i keep remembering other odd bits and pieces as i go along i have in stoarage.
I will be building this to spec to get it IVA'd and fully road legal once finished. and be using it for track days and good blasts out on the
road.
Anyone thats been through the process is welcome to fire any pointers as i go on the way, anything that i've drastically overlooked.
Hope to get progress here and there so stay tuned 
|
|
|
|
|
Andybarbet
|
| posted on 6/5/17 at 08:20 PM |

|
|
Bargain :-)
The coilovers alone pretty much cover what you paid for the car & getting hold of some untouched MNR bodywork was a hens teeth find too.
Keep the photos coming.
Give a man a fish & it will feed him for a day, give him a fishing rod & you've saved a fish.
|
|
|
neilp1
|
| posted on 7/5/17 at 08:15 AM |

|
|
Agree with you on the welding of the roll bar and I'd cut it straight off and start again.
Good buy there though.
|
|
|
Dick Axtell
|
| posted on 7/5/17 at 04:00 PM |

|
|
While you're into bracket cutting & re-welding, I would strongly recommend that you re-position the front coil-over upper mounting brackets.
(I didn't, and I regret that now!!) . Other more developed chassis tend to have these upper brkts welded on to the outer side of the top rail.
This brings the coil-over into a slightly more upright position, which helps to counter some "falling rate" tendencies, which have been
reported here, with the more angled style of coil-overs.
With the rear coil-overs, I would also recommend shifting the upper mounting brackets slightly inboard (if its possible). With mine, which appear to
be same as your "new" chassis, with brkts directly under the roll-over bar mounting plate, every time I needed to work on the rears, it
involved lengthy dismantling and removal of various parts. No doubt you'll find that out!
It'll be interesting to see your progress. Whose de Dion set up was used?
Work-in-Progress: Changed to Zetec + T9. Still trying!!
|
|
|
Volvorsport
|
| posted on 7/5/17 at 04:12 PM |

|
|
Front suspension geometry looks like if needs a review i think
www.dbsmotorsport.co.uk
getting dirty under a bus
|
|
|
super-ron
|
| posted on 7/5/17 at 07:22 PM |

|
|
Great thanks for the replies! I am very pleased with it for the price. like you say the new parts alone would cost treble the price i got the complete
rolling chassis for. Thanks for the pointers on the suspension points. i did look at the rear upper coilover mount and thought that is going to be a
nightmare once the one piece body is on.
I'm not sure who made the DeDion beam. it looks a quality job though with nice welds. it is very similar to the early MK ones but they have
confirmed it is not one of theirs. The front arms appear to be MK copies too (have been advised to change the lower ones as they crack in the middle).
There will be quite a rethink in the front suspension setup from what i've read about the locost geometry problems.
|
|
|
super-ron
|
| posted on 7/5/17 at 09:11 PM |

|
|
The side panels had all been measured to size and riveted on, and they are all stainless steel. it would have made a pretty flashy looking stainless
shiney body once finished. As many of you will know, stainless is VERY difficult to work with, bend and drill as its so bloody strong! This is
something they found when they started fitting the panels
(yes this is how they were fitted)
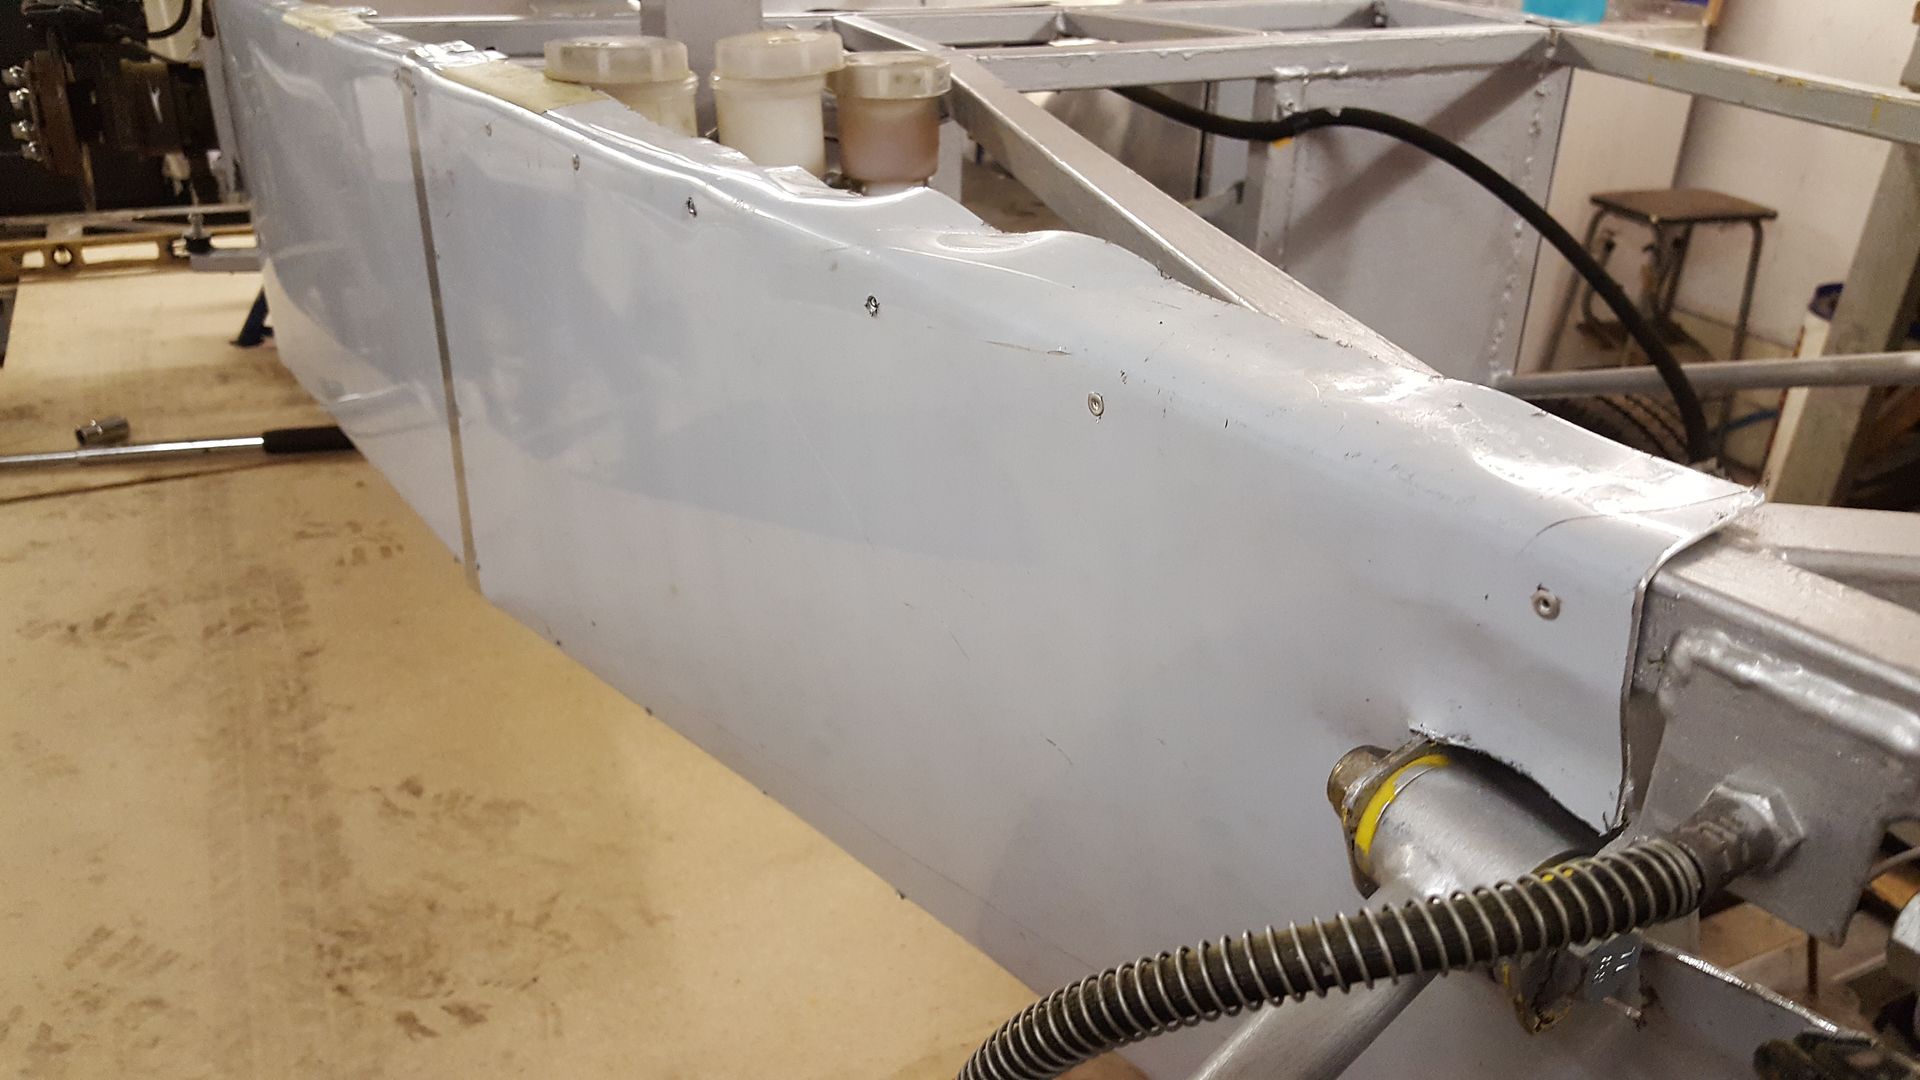
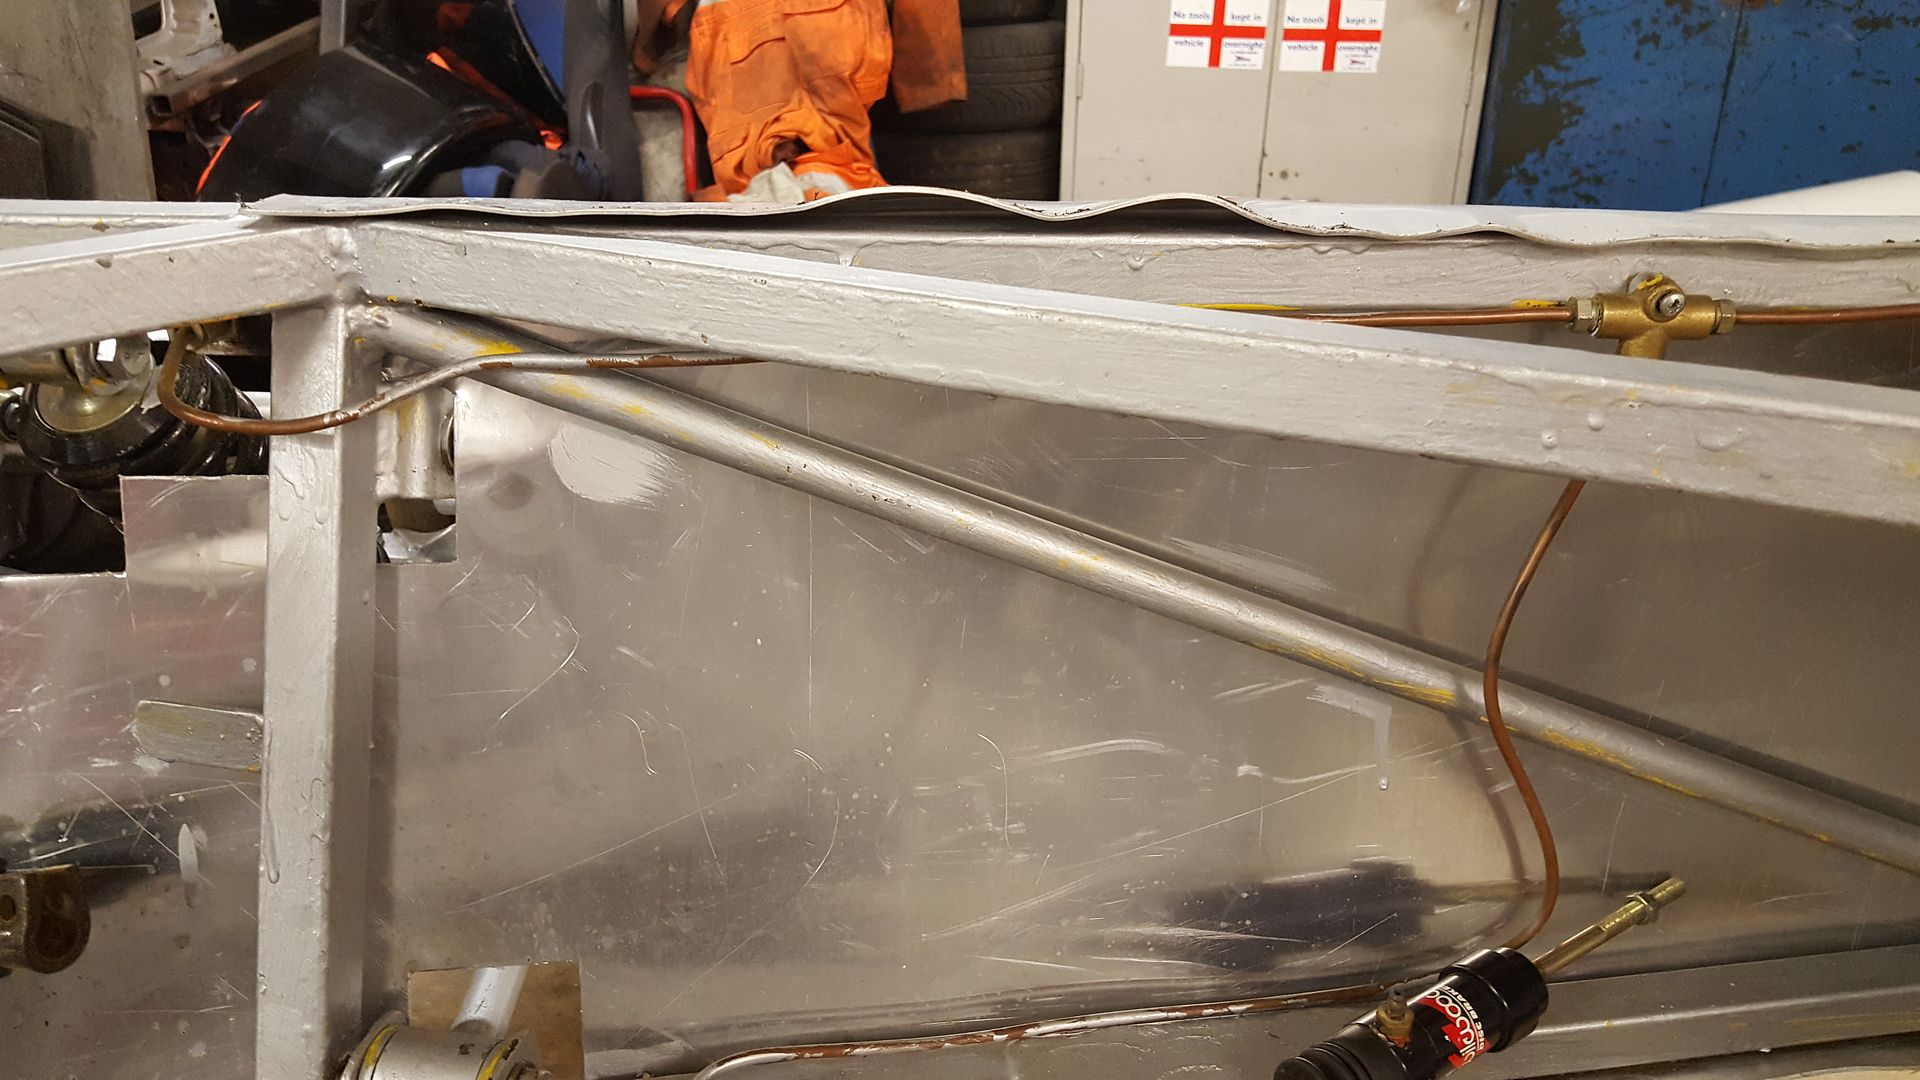
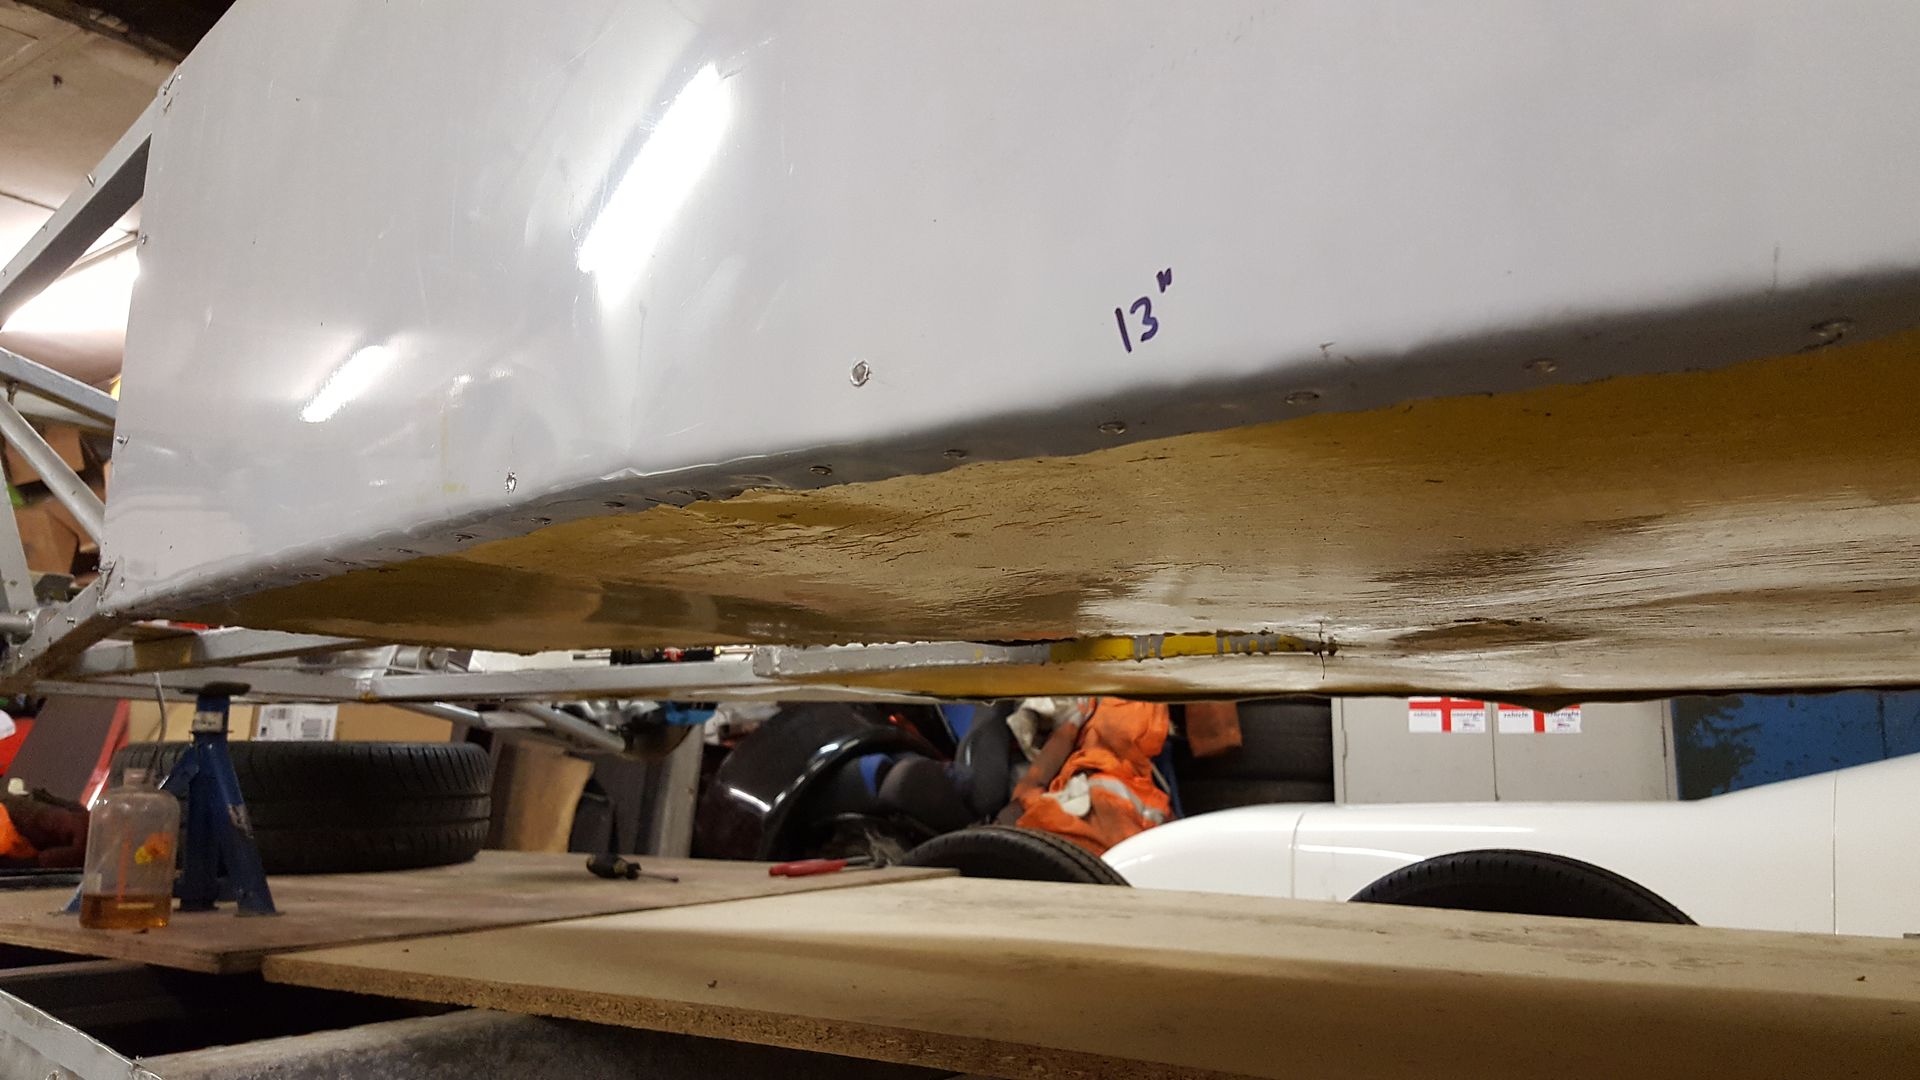
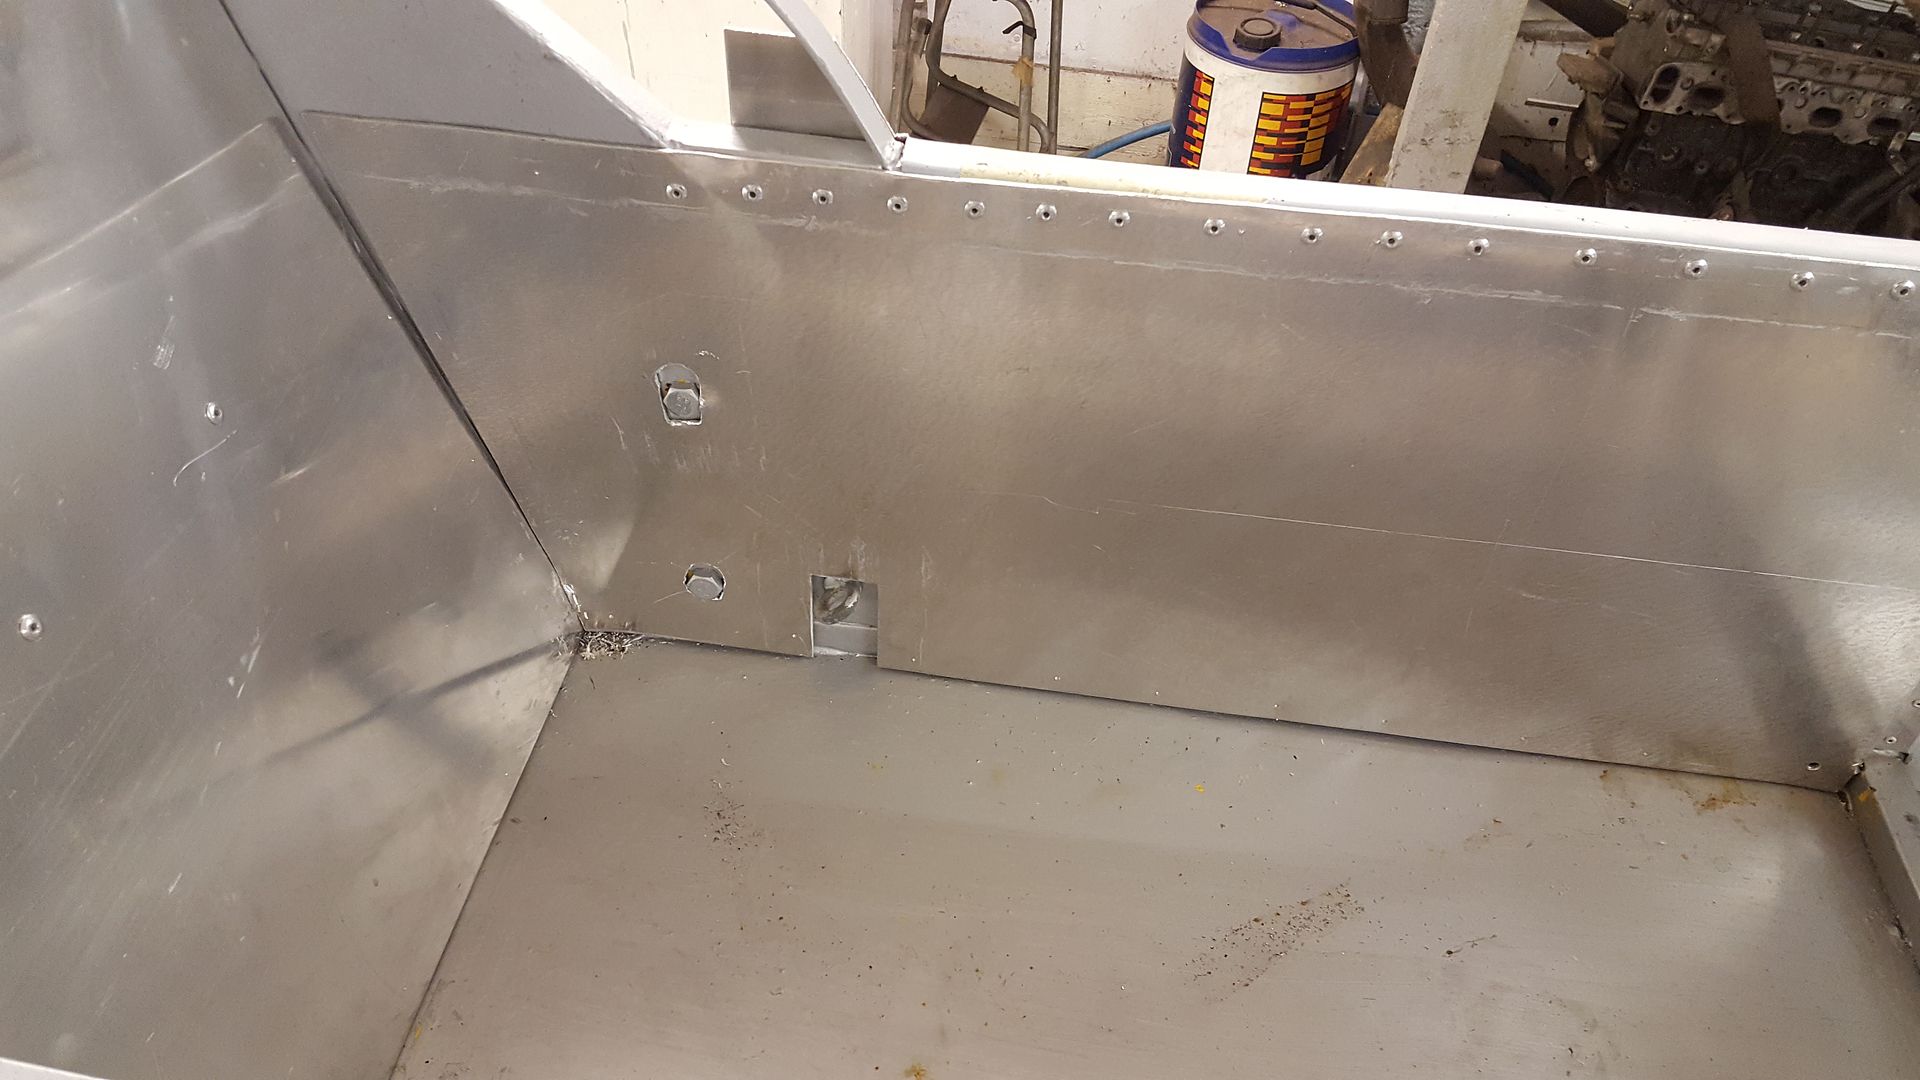
so got the drill out and expelled all of those
next i thought id uncover the mock up c20xe > a-frame engineering bellhousing > cosworth T5 thats been sitting under the drill bench for 8 plus
years and tried it in, i had no idea if the massive T5 will even fit in the tunnel

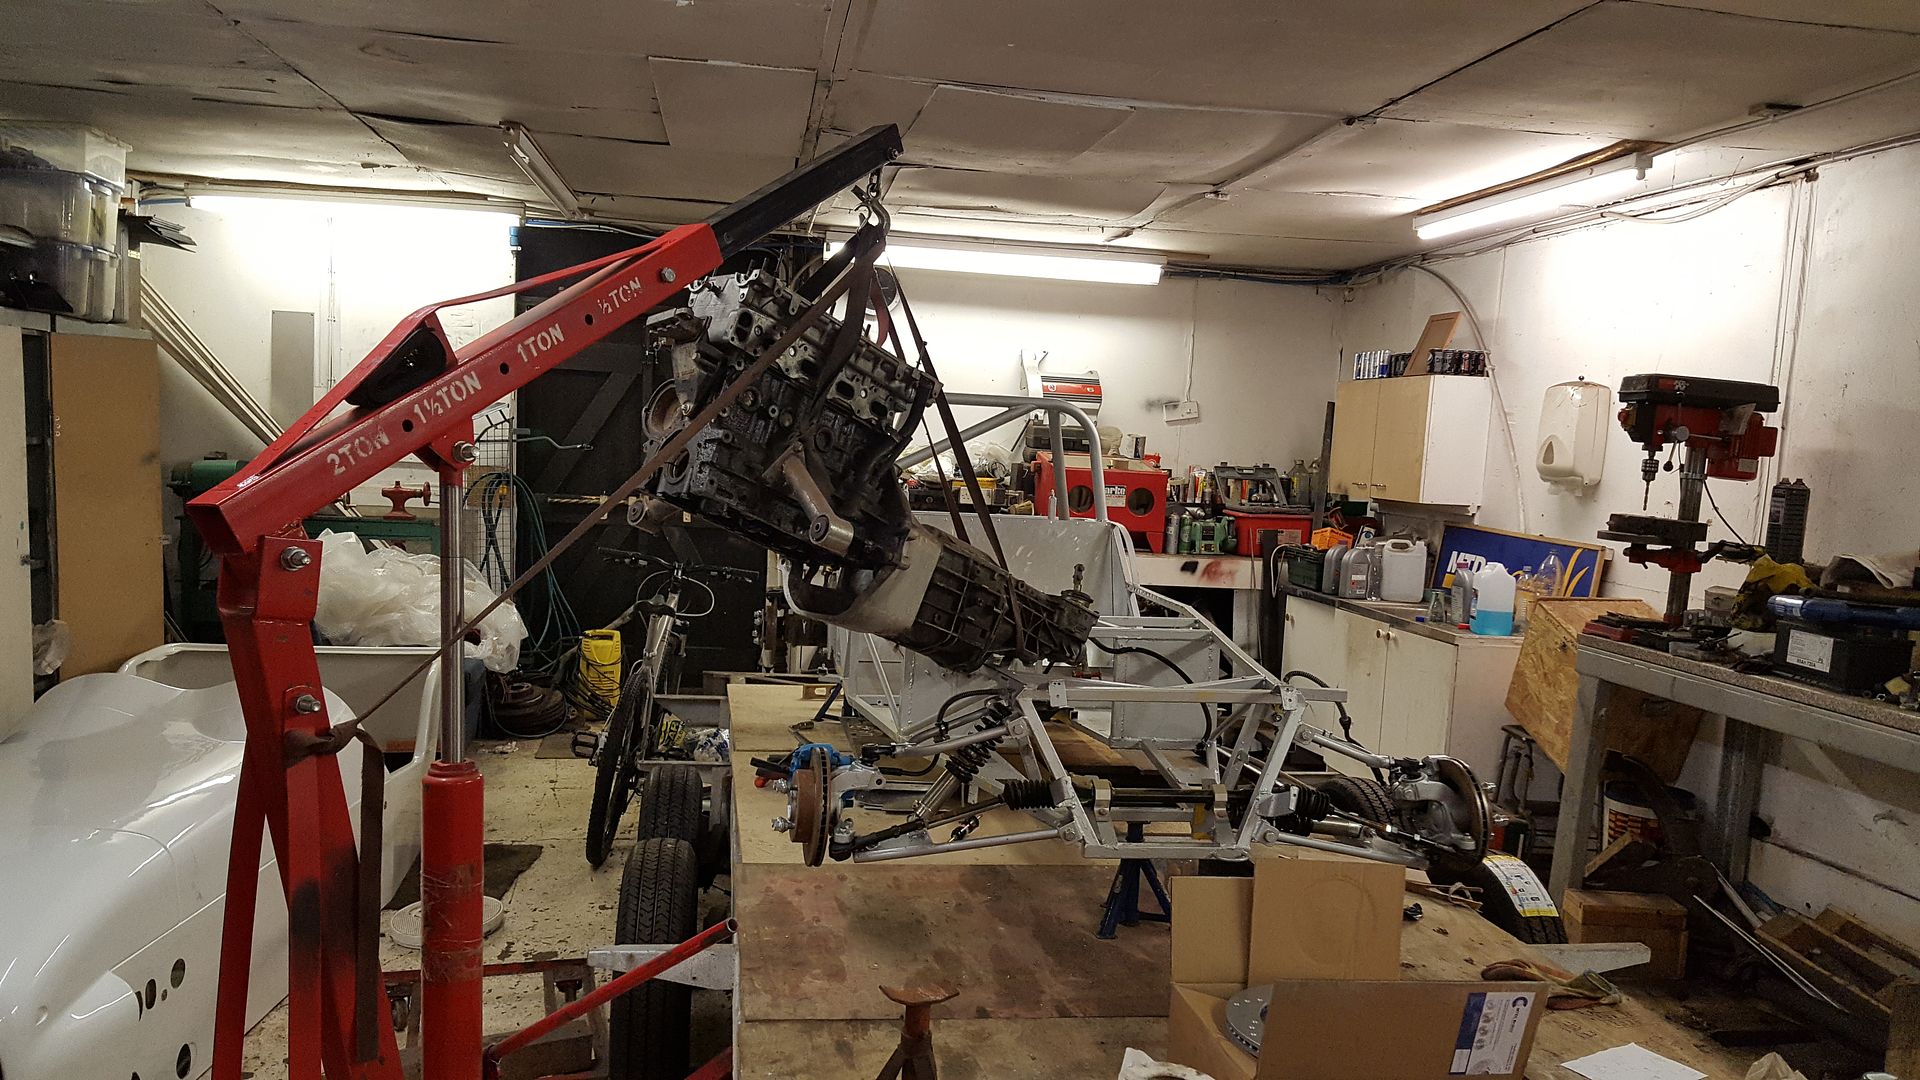
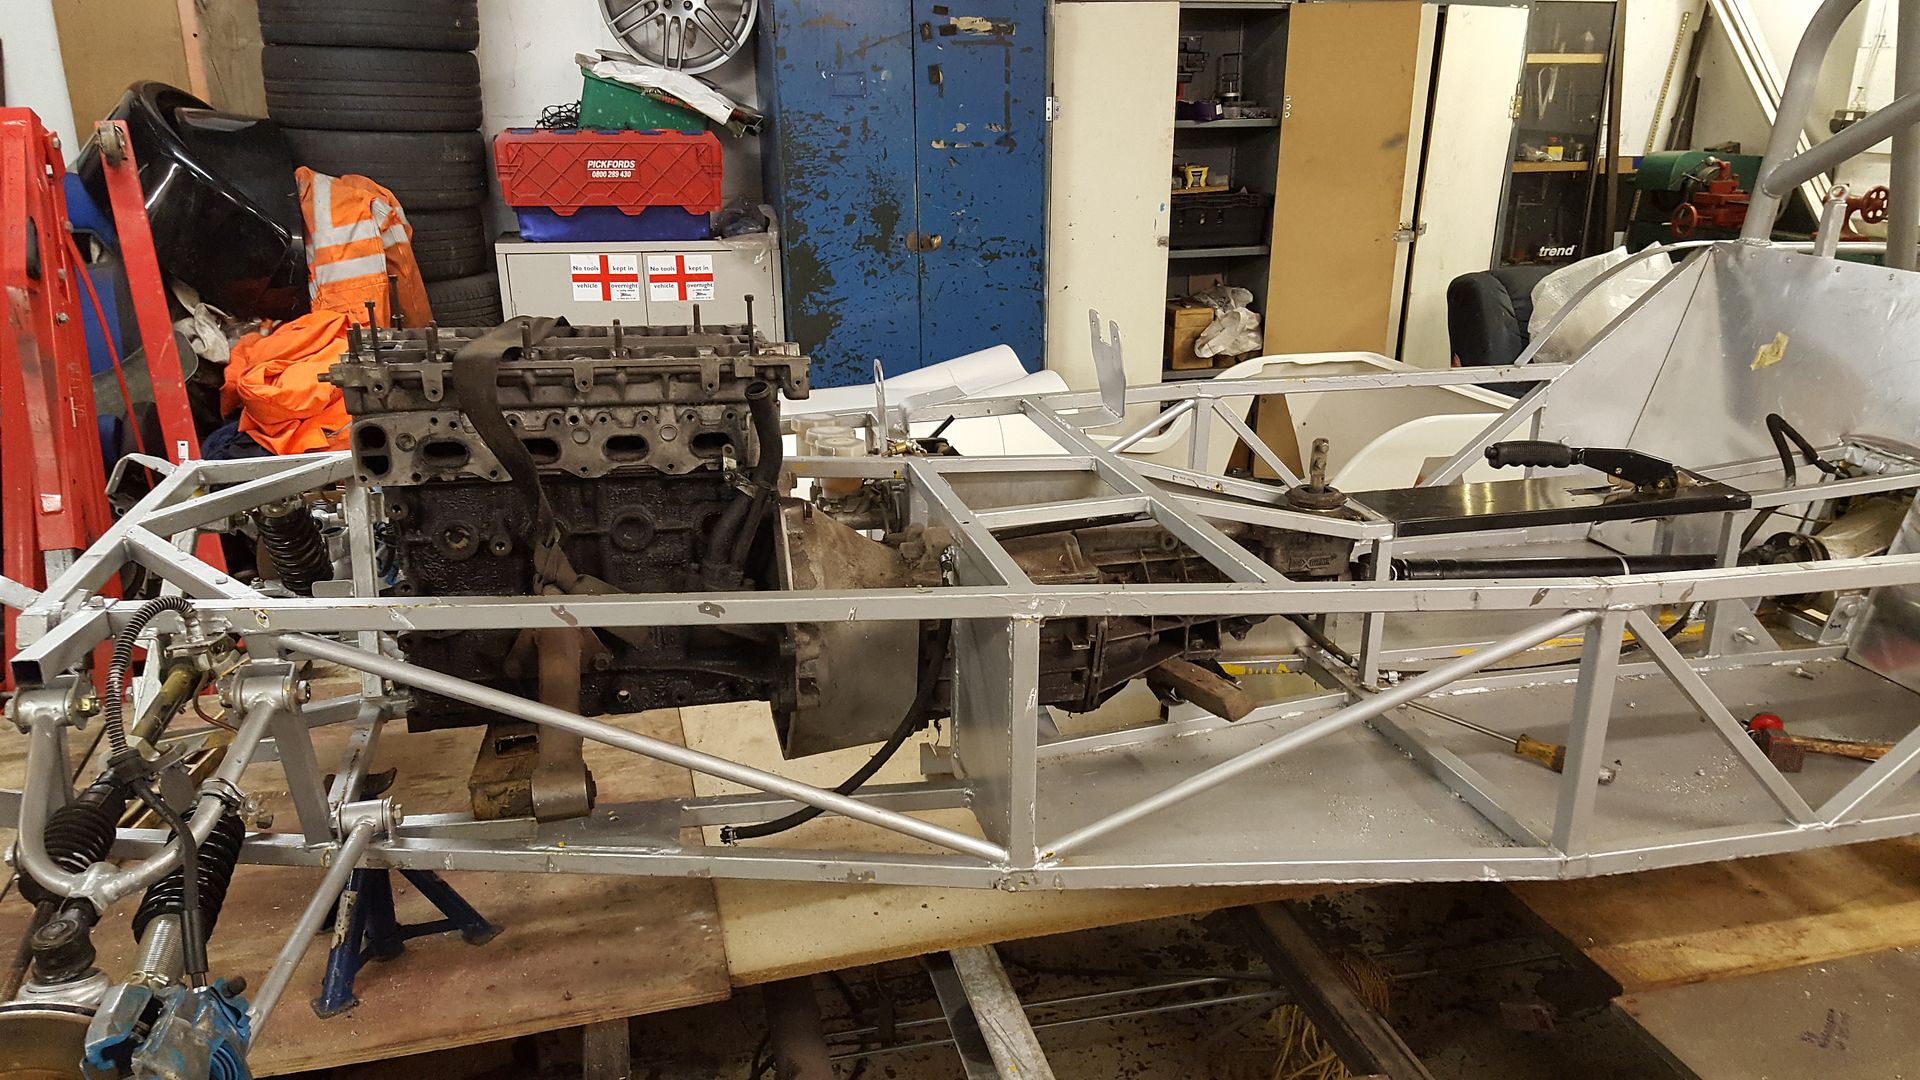
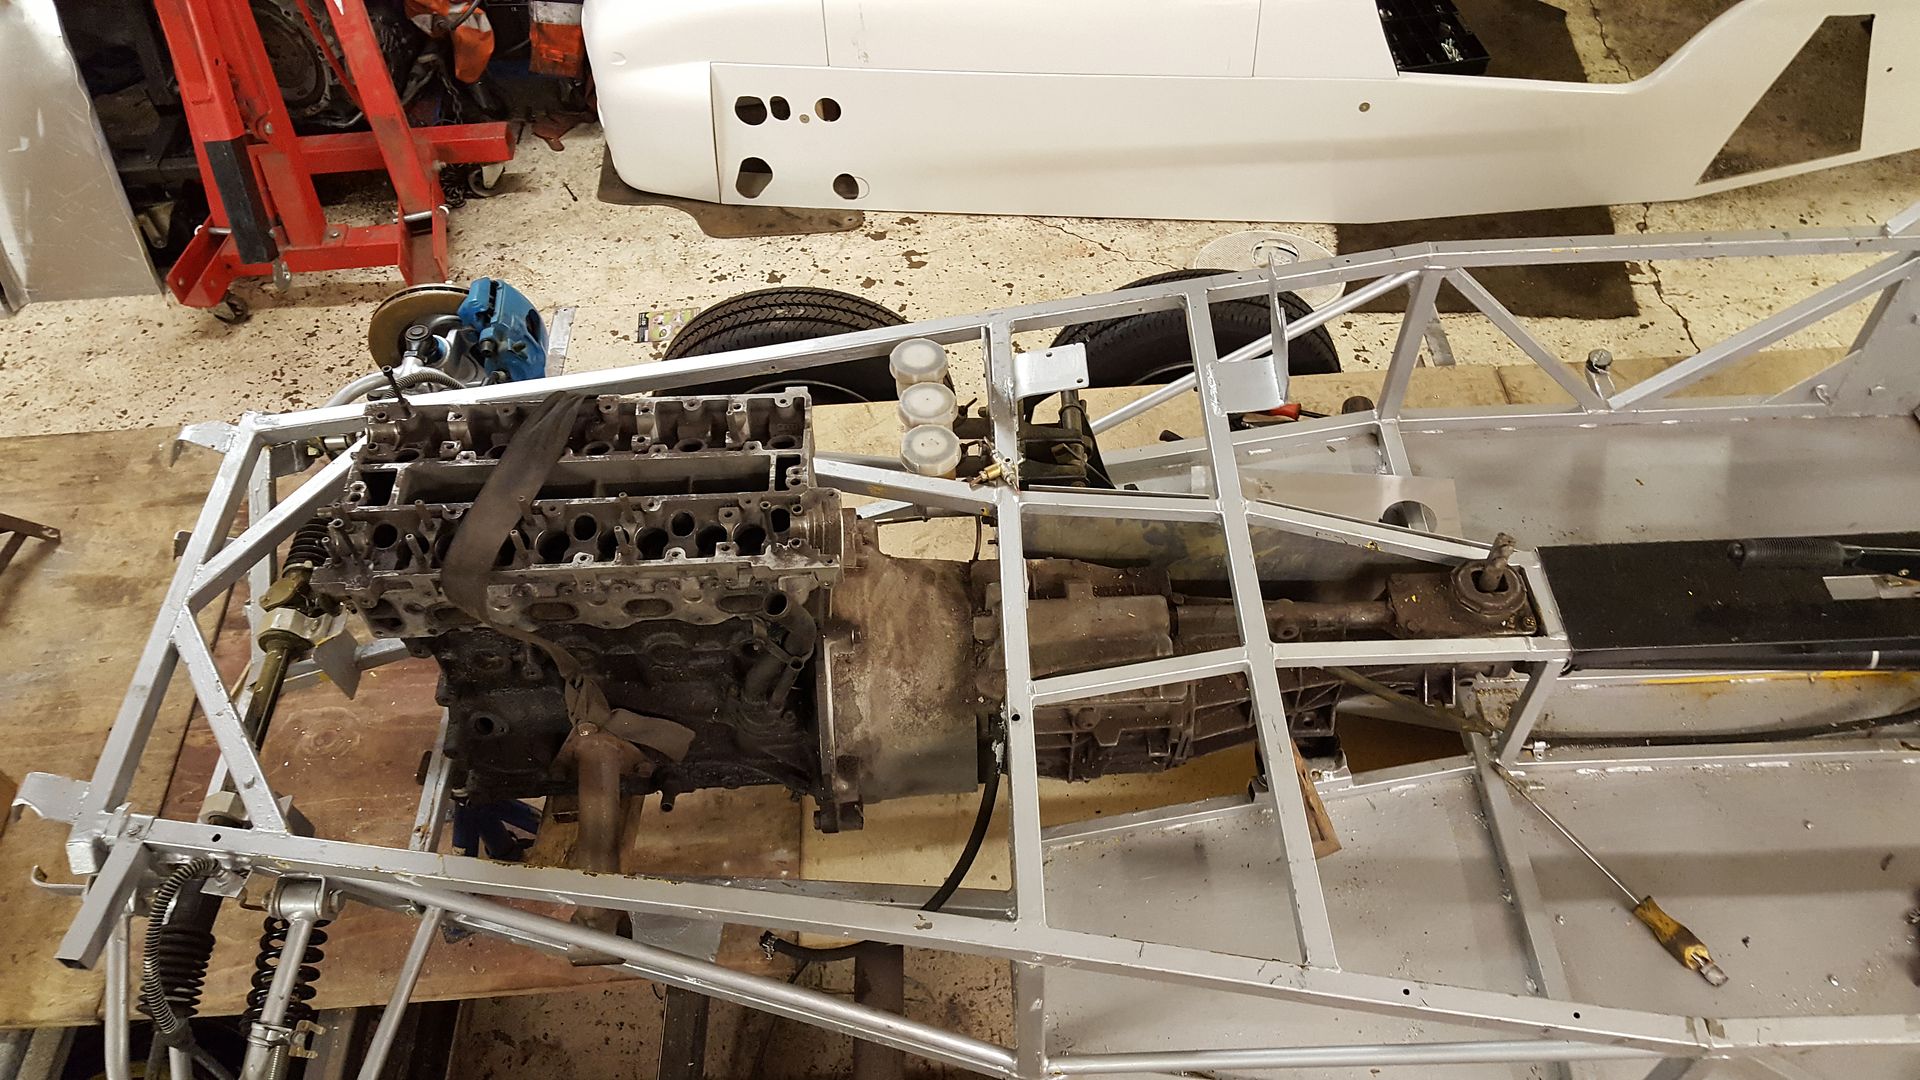
It does foul the tunnel on the drivers side. but it should clear with modifying the lower rail
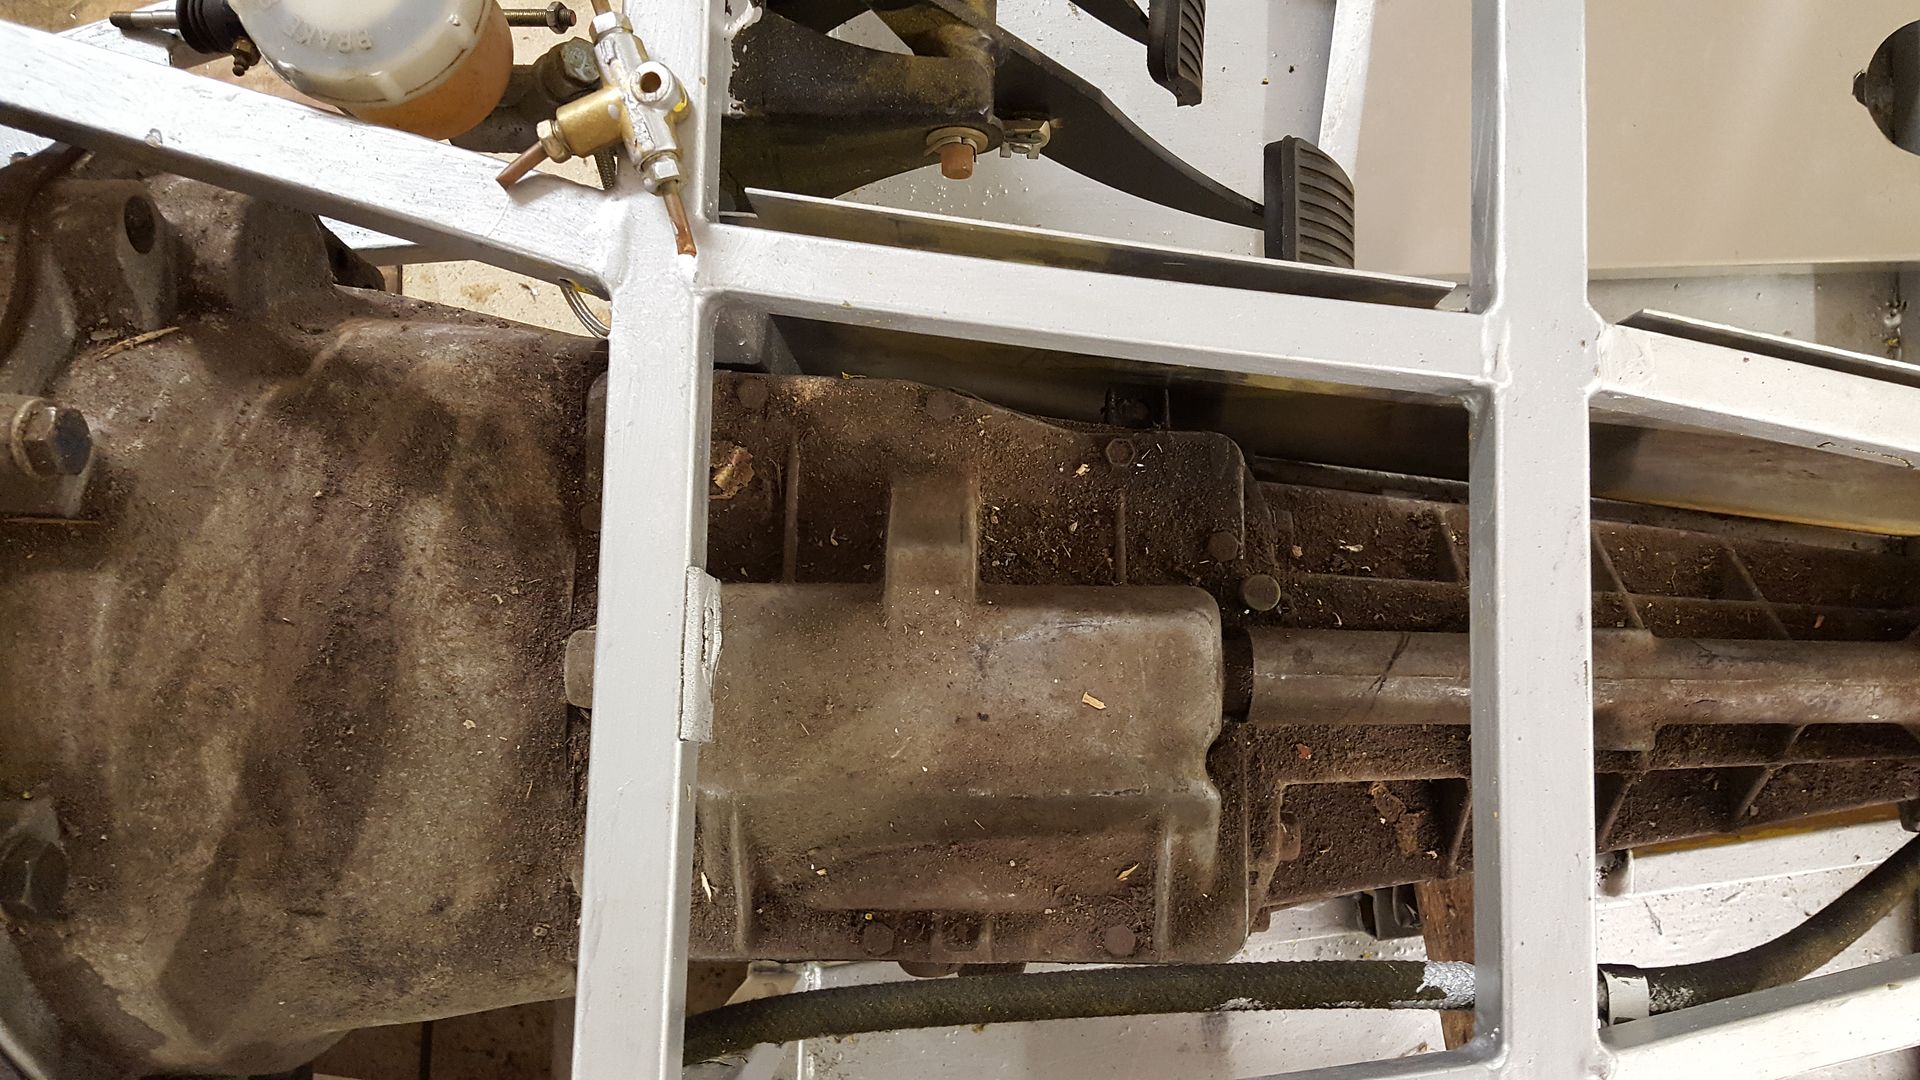
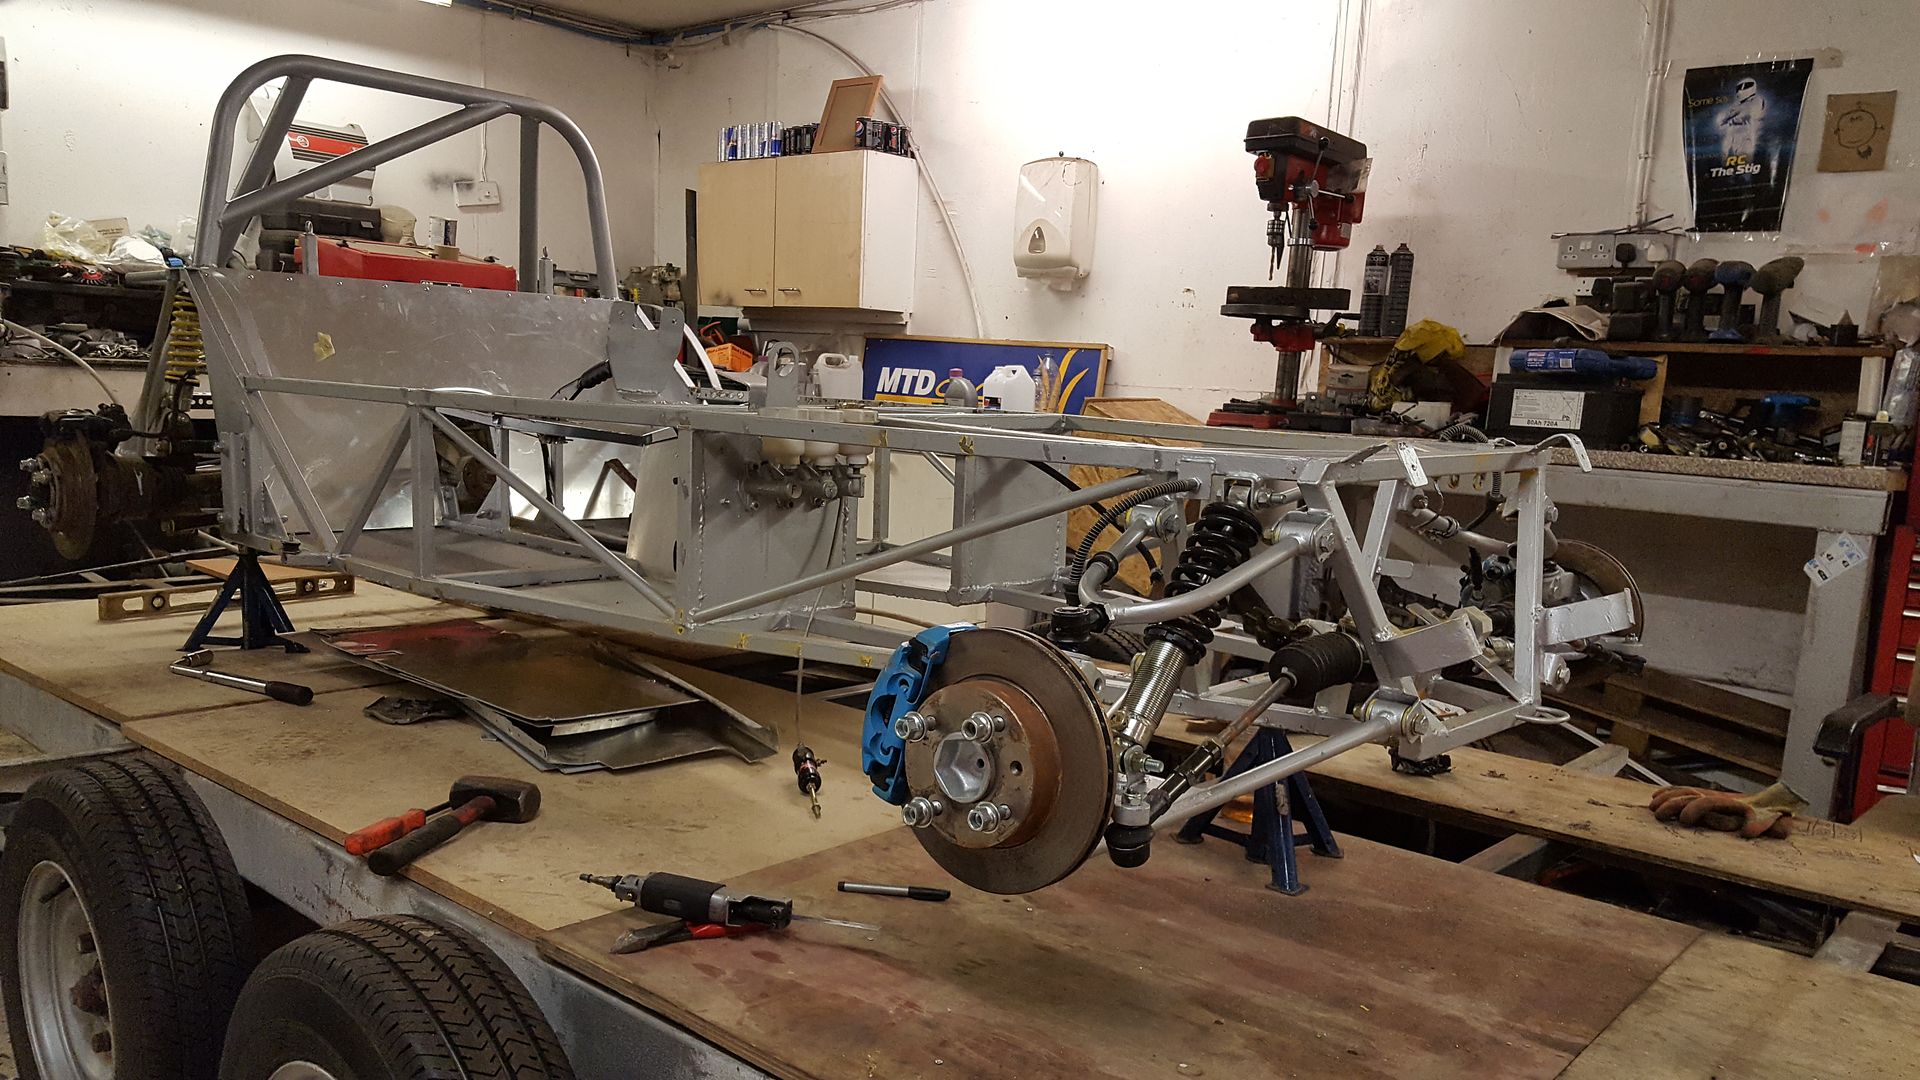
Next i really wanted to try the one piece MNR fibreglass body on. for that i needed to take all the suspension off
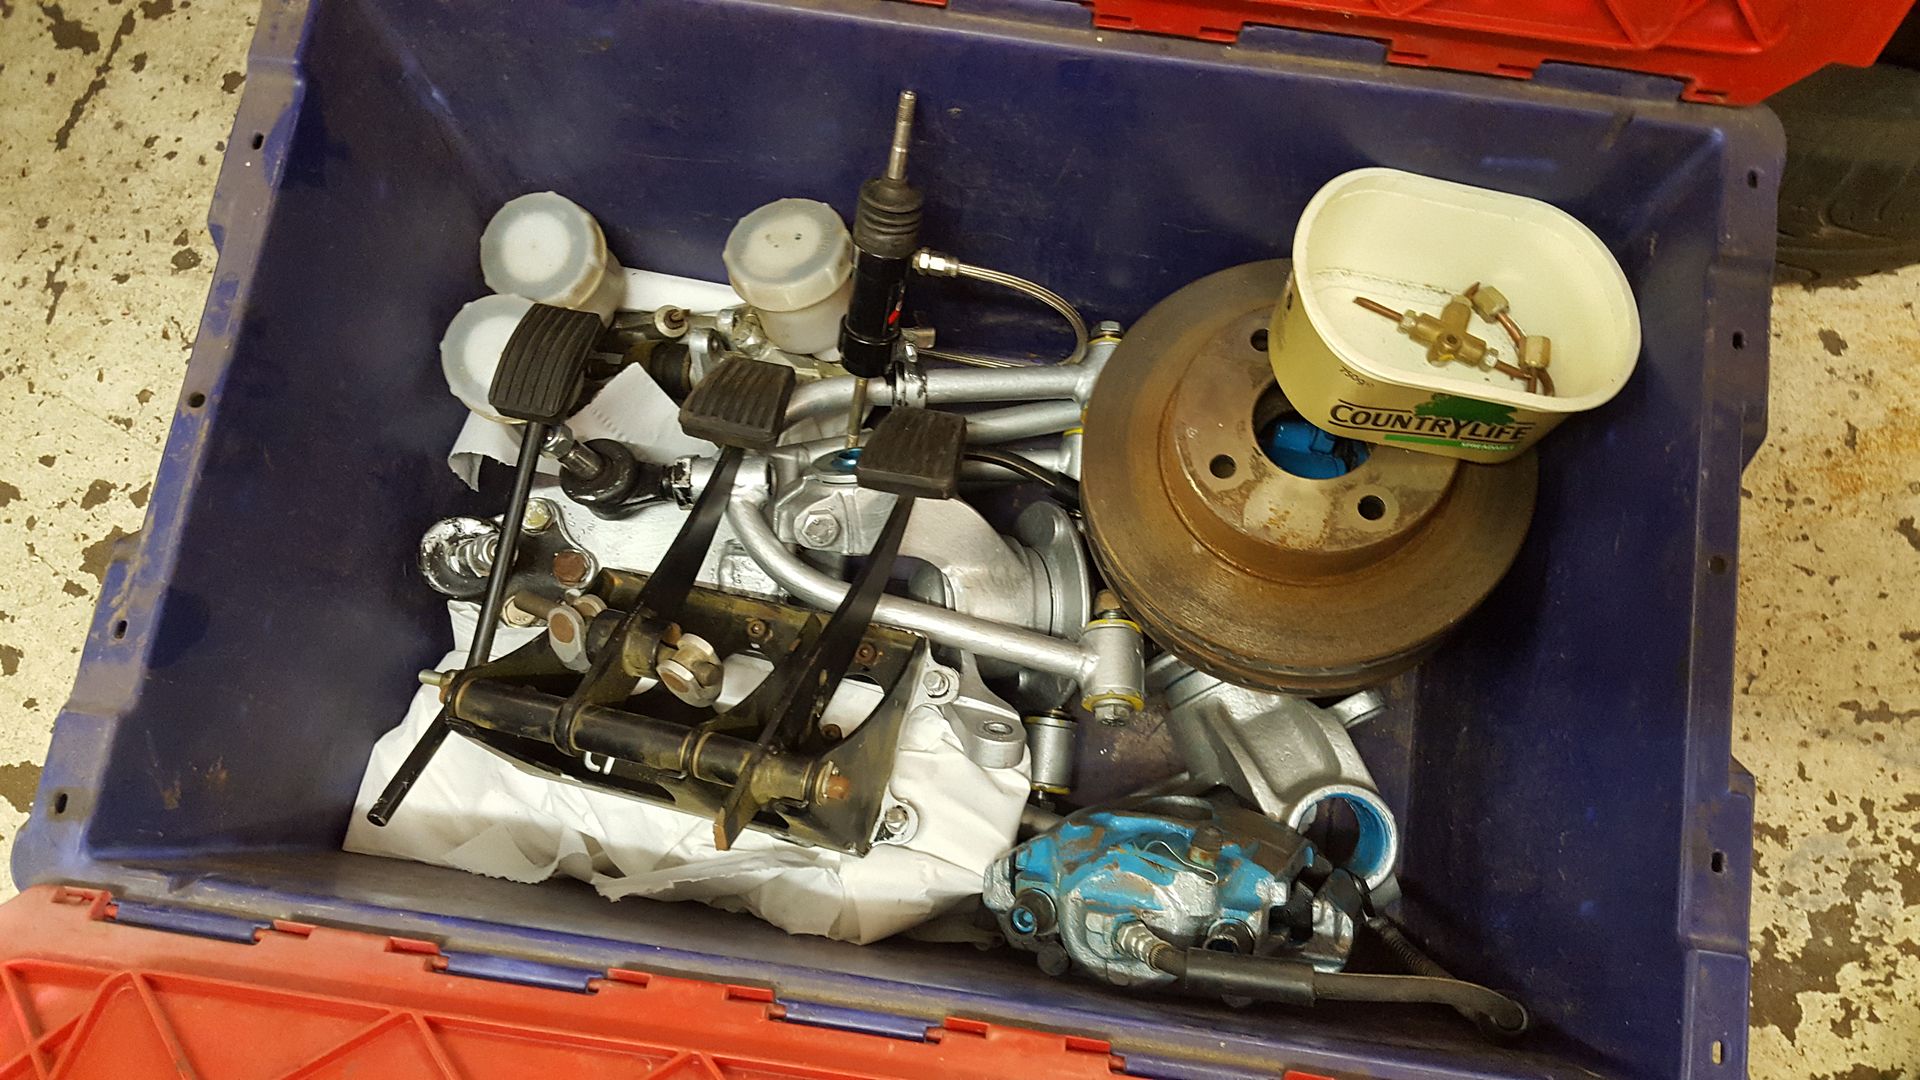
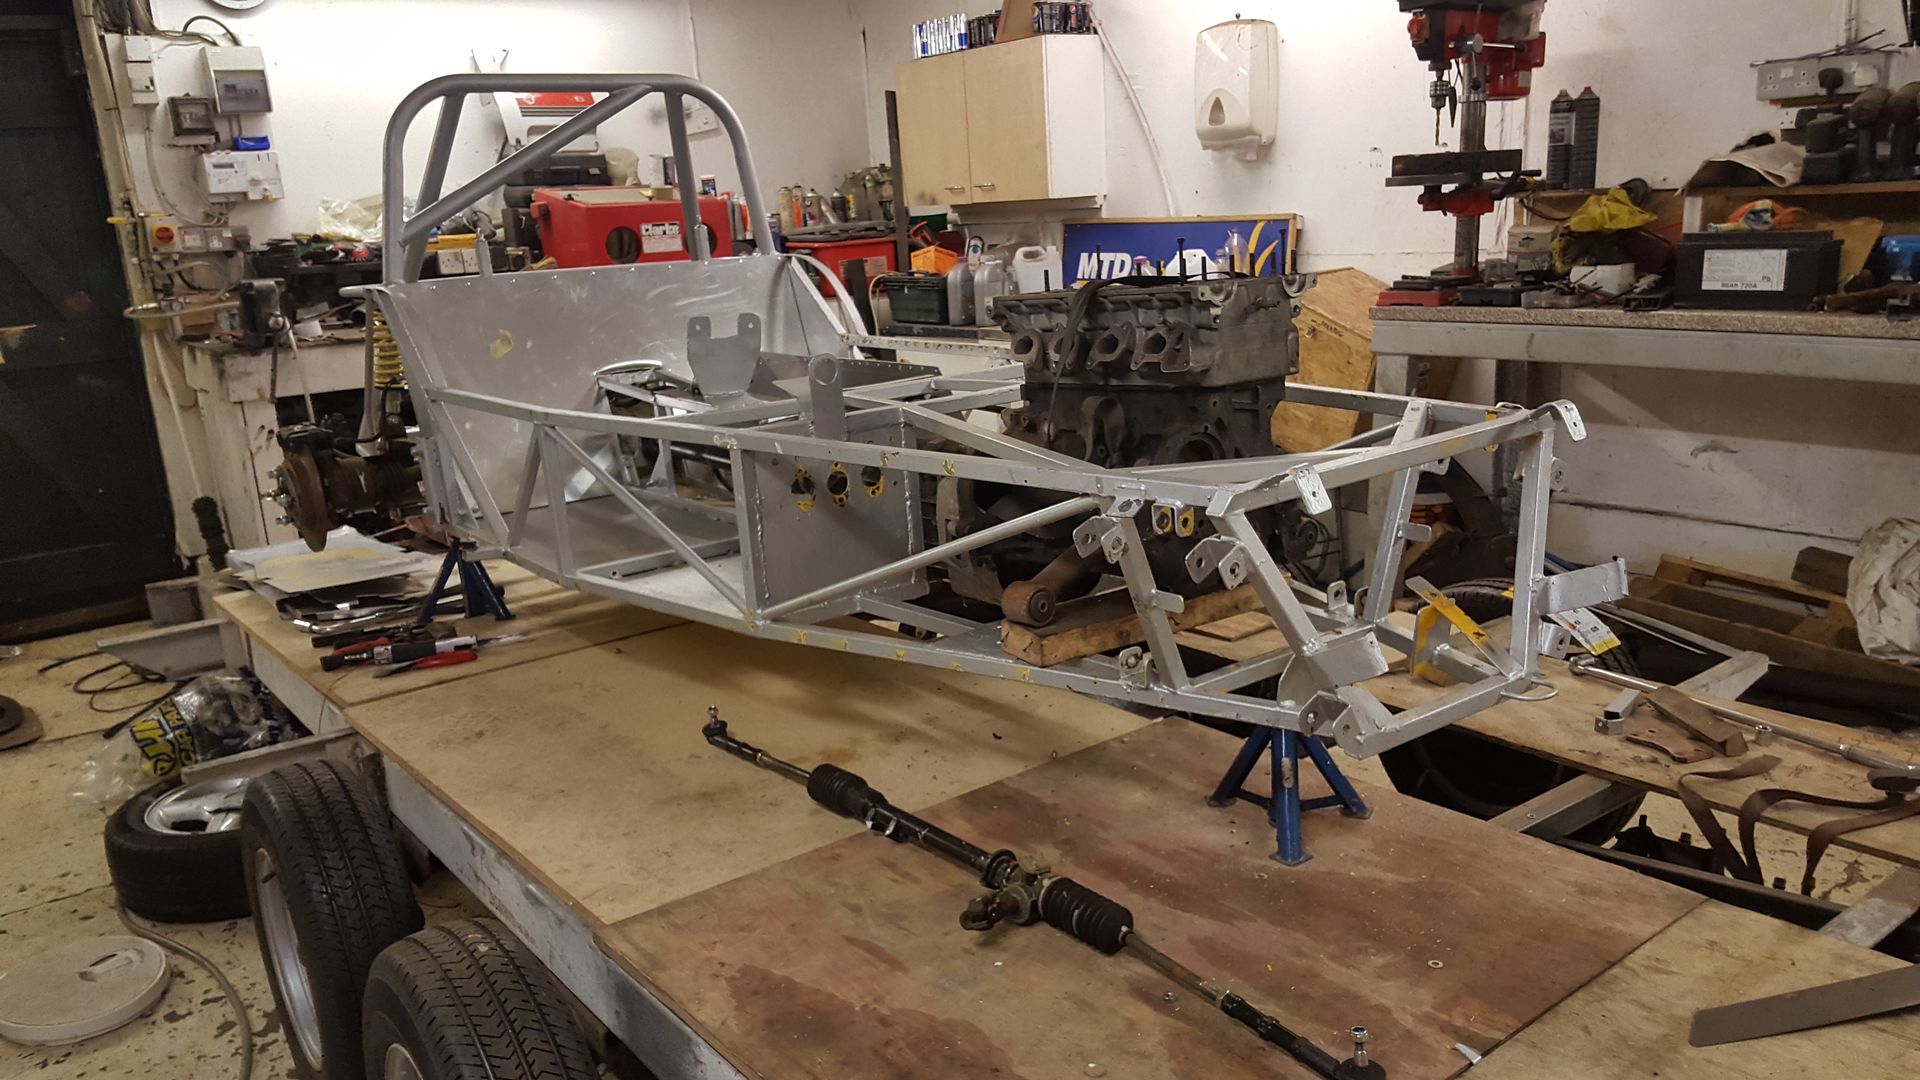
chopped the old exhaust hanger off as its on the wrong side
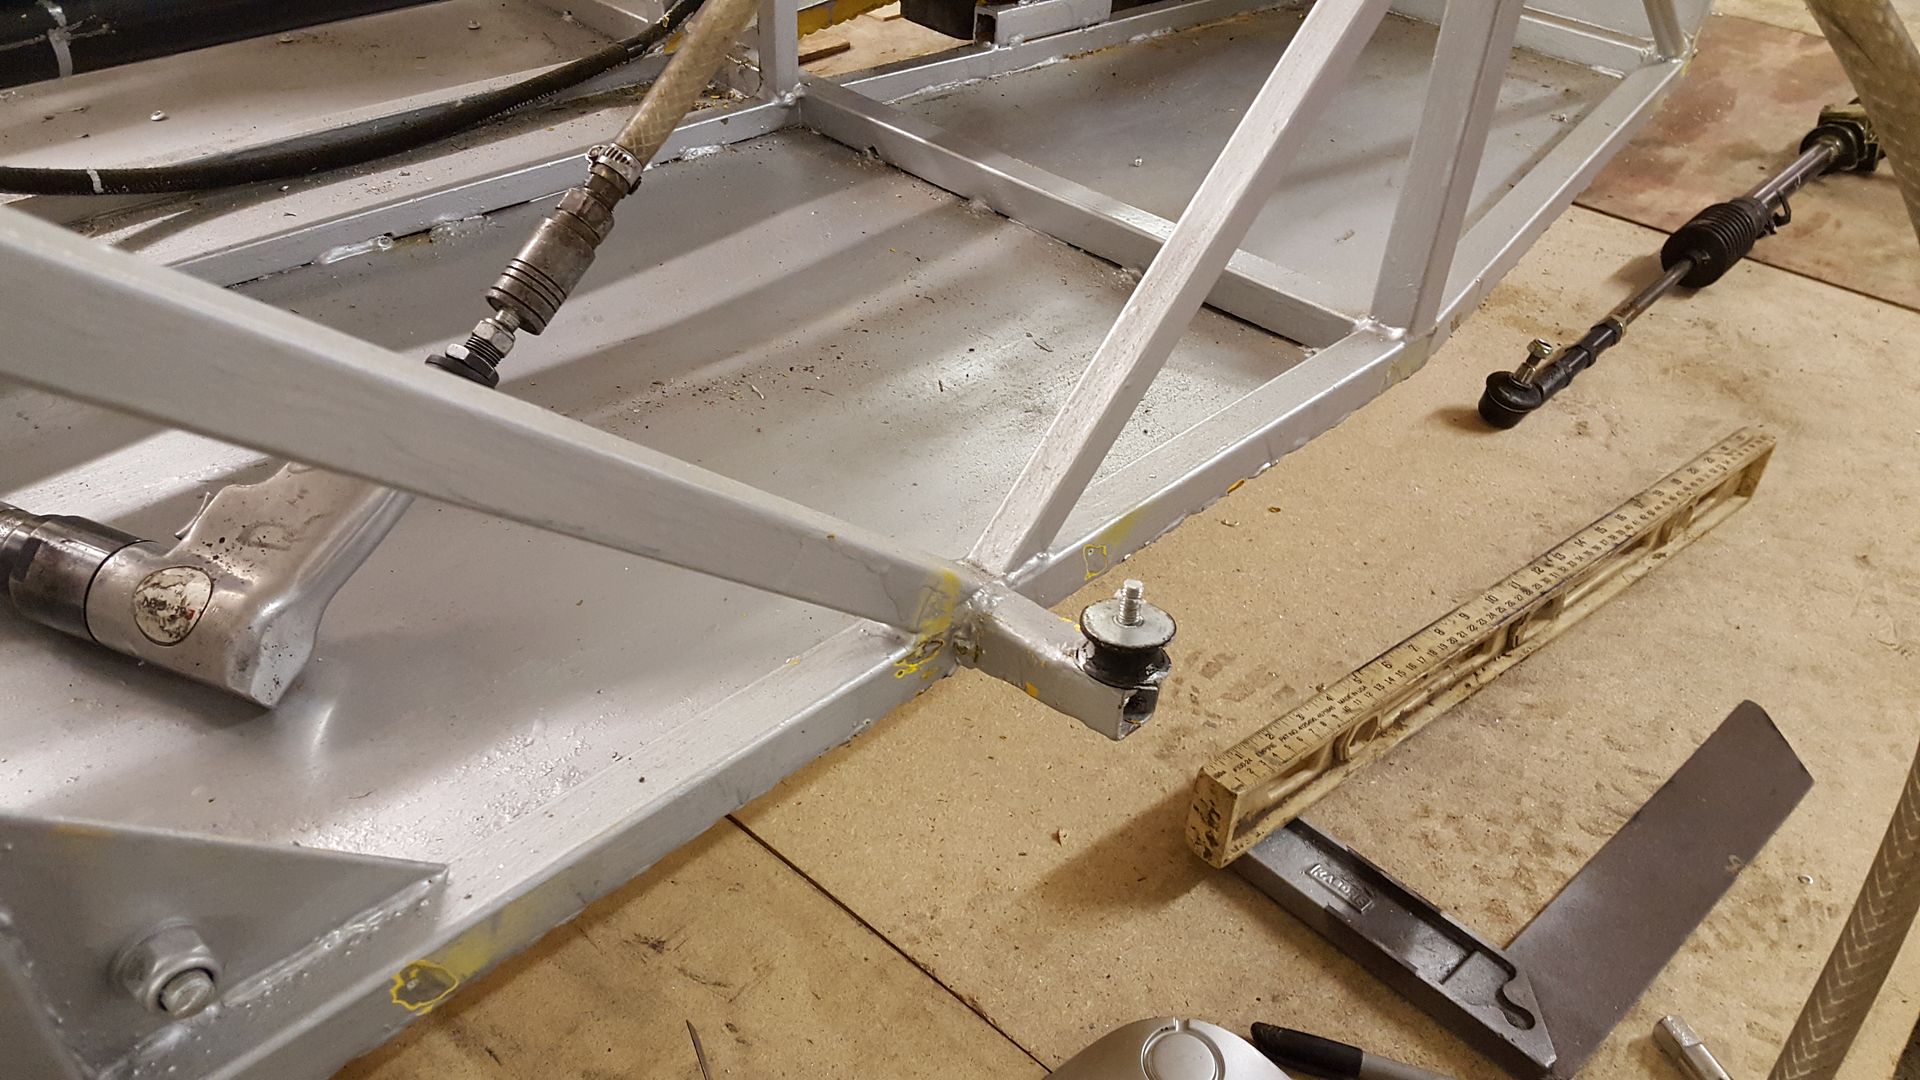
went to take the rear off and found they must have welded the panhard mount on while it was assembled, as you now cant get the bloody bolt out as it
hits the cage!
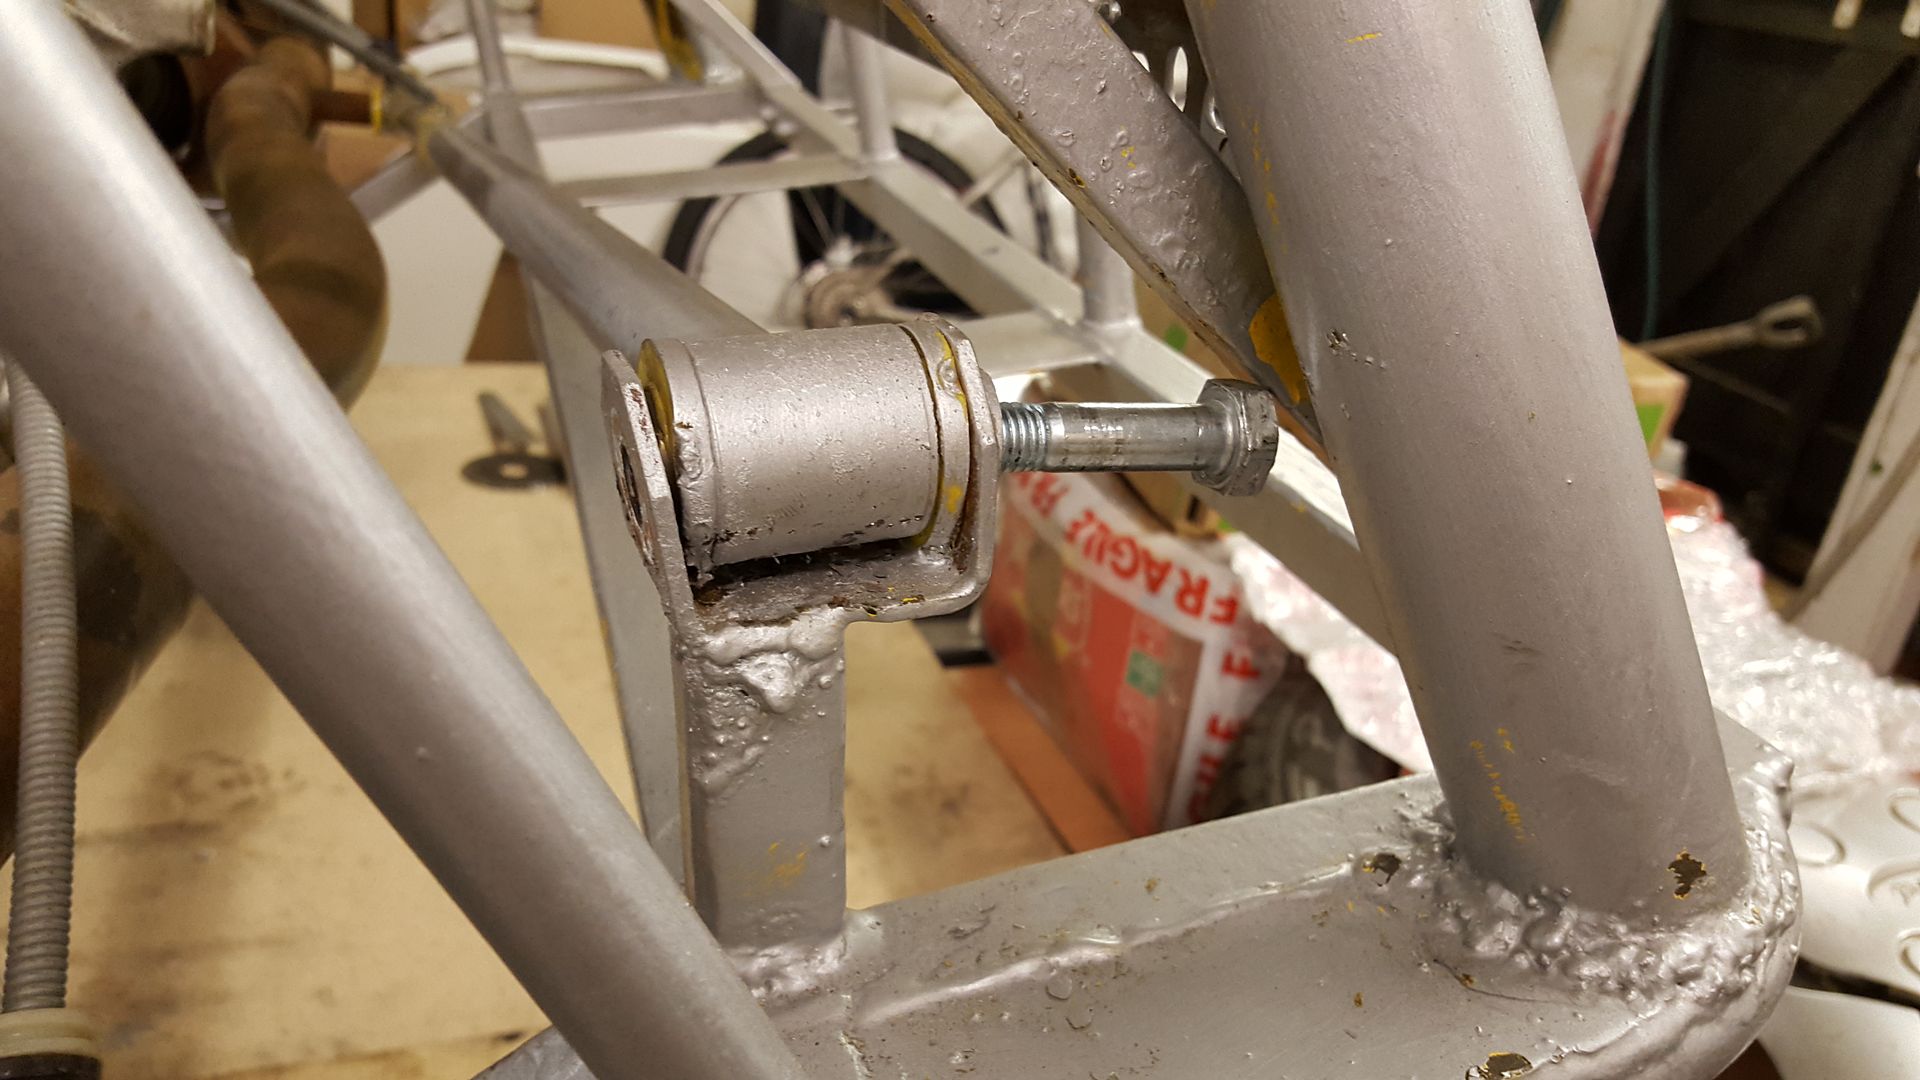
so cut it off.
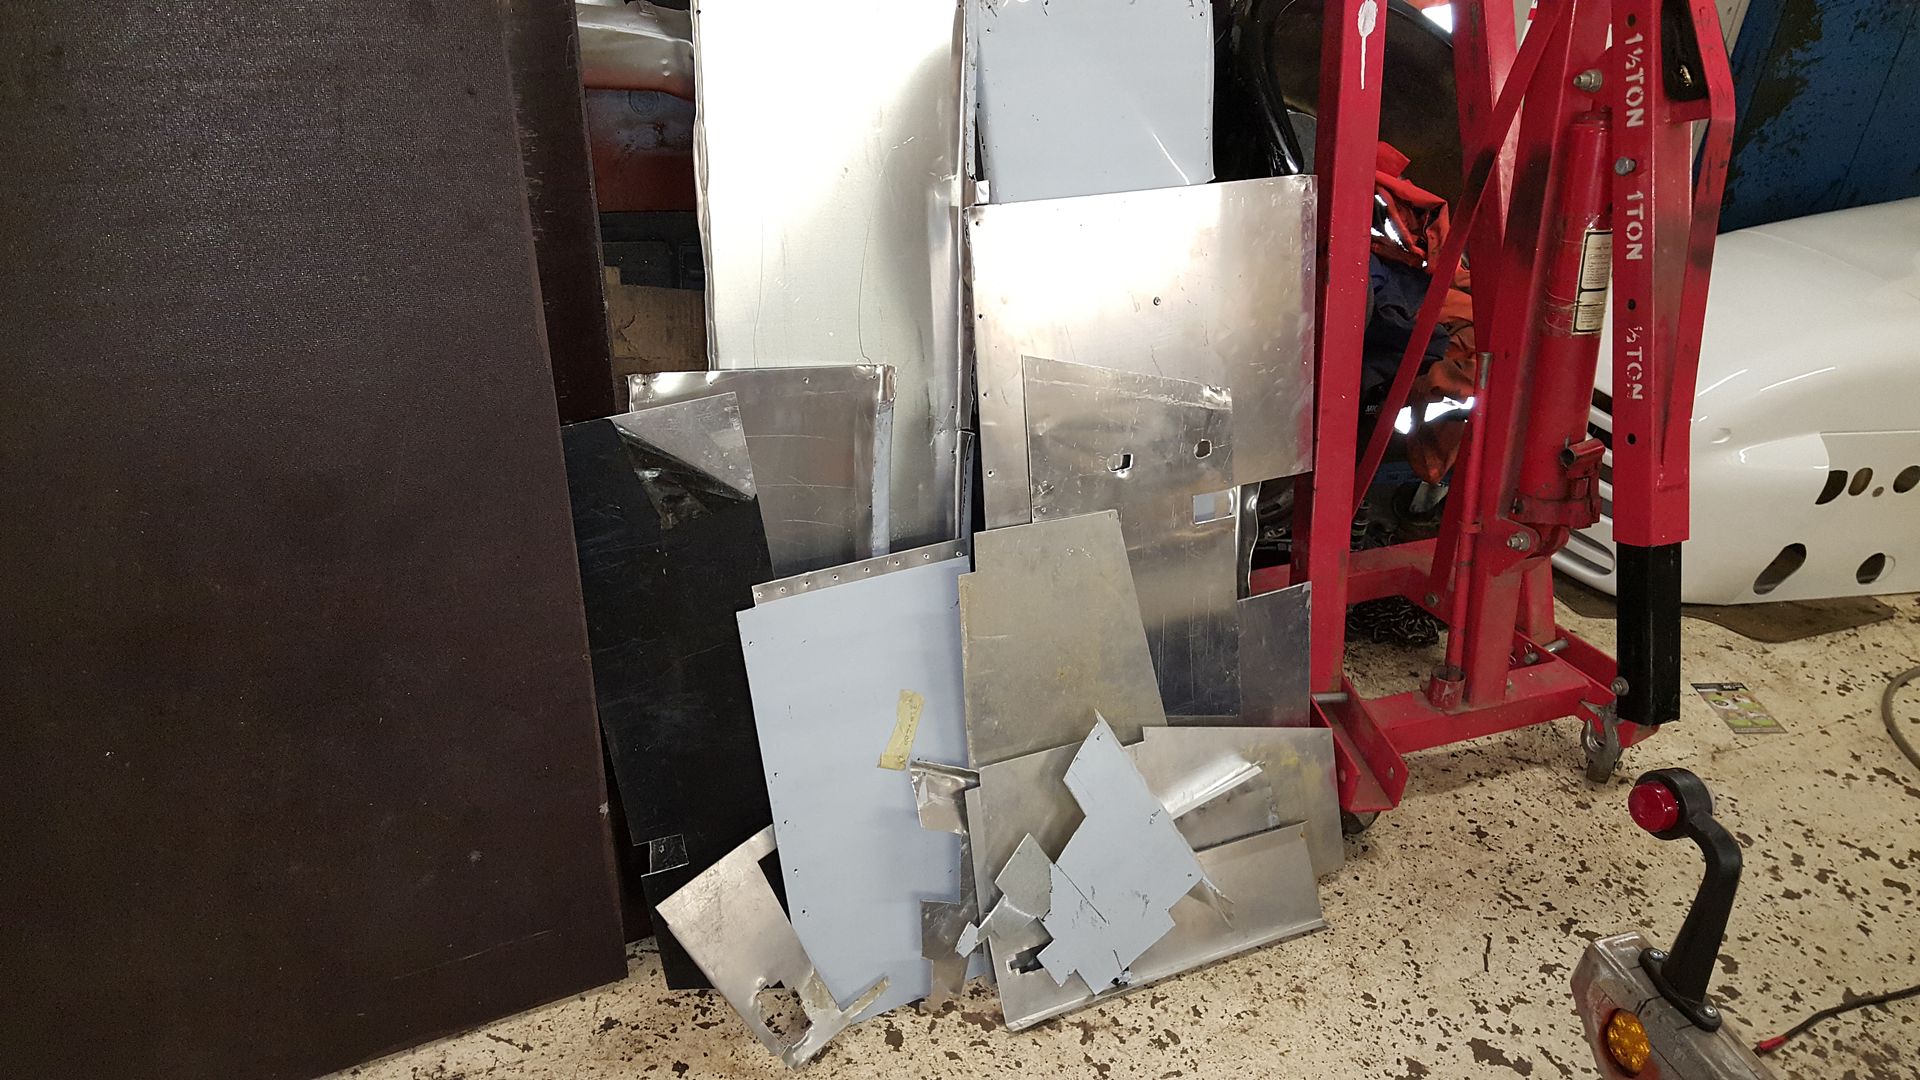
took all the panels off, and now have a nice big stock of stainless
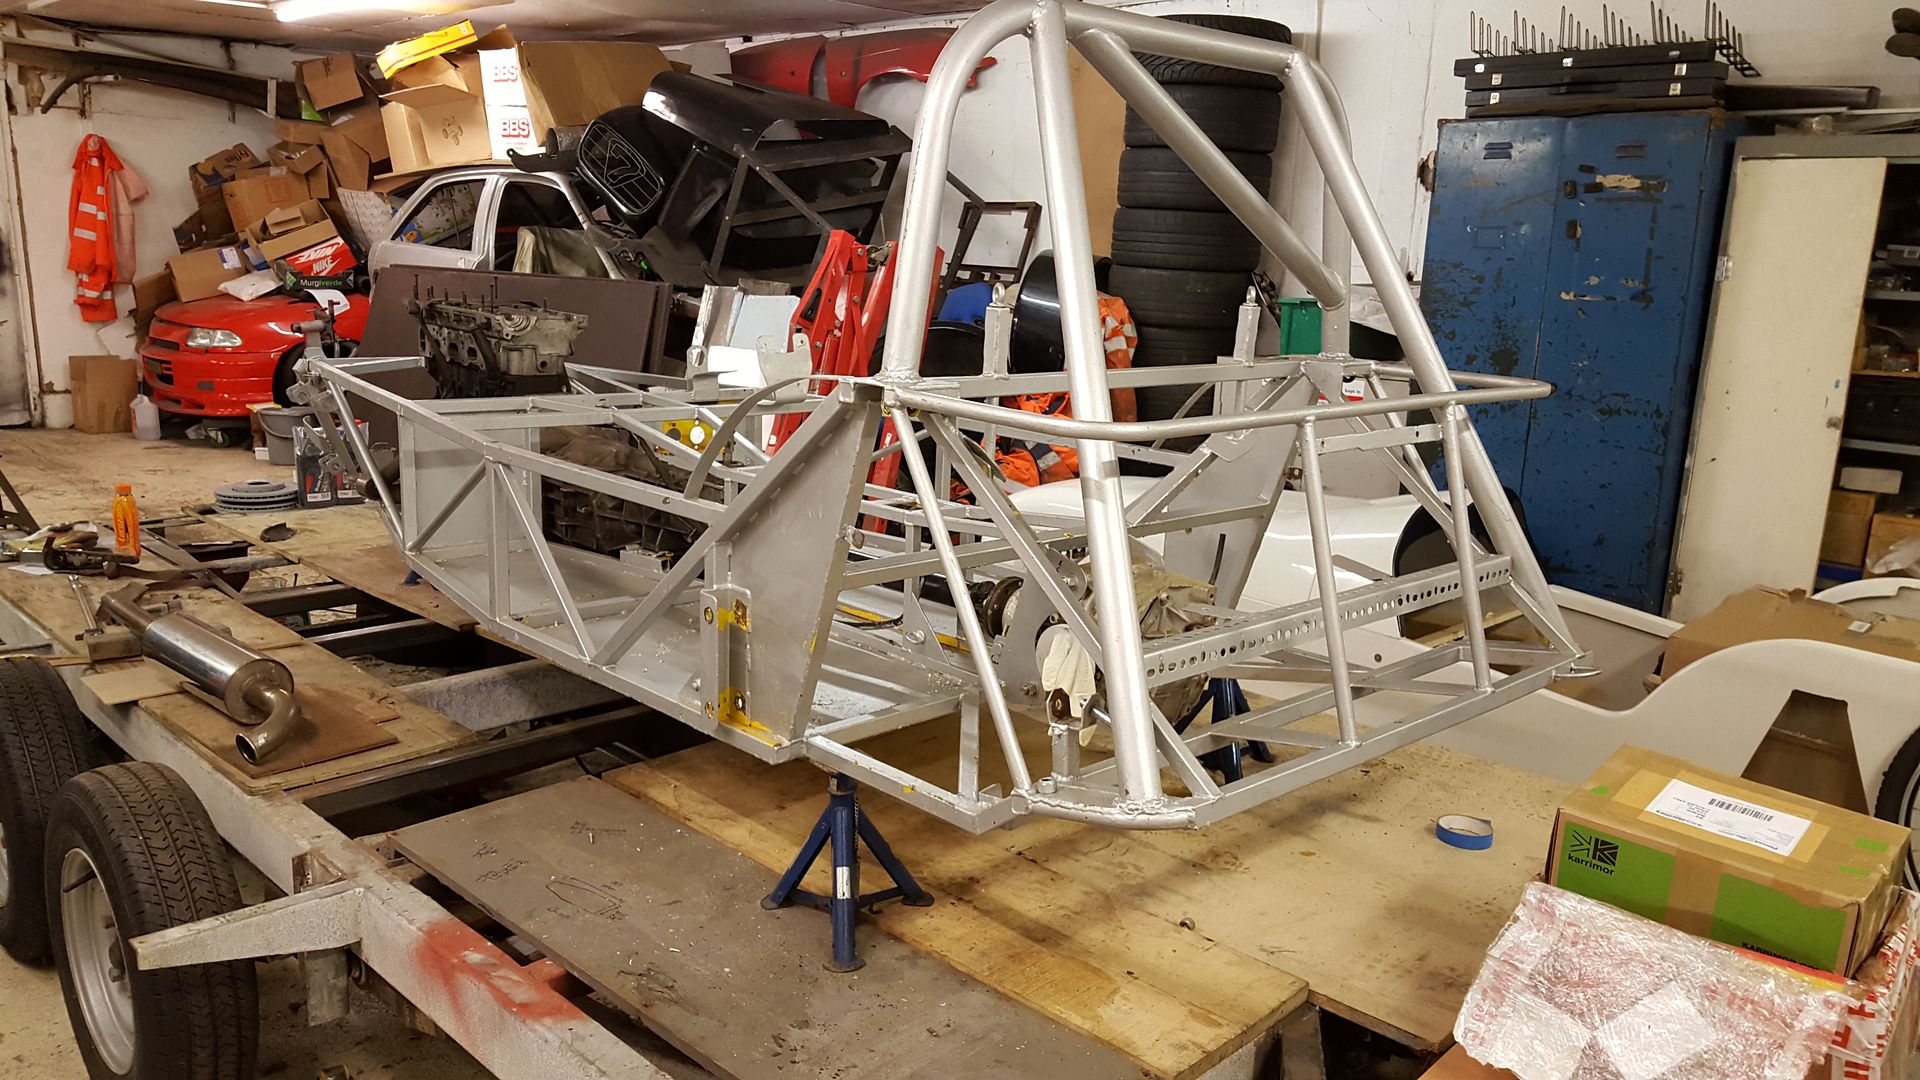
and a naked locost (ish) chassis
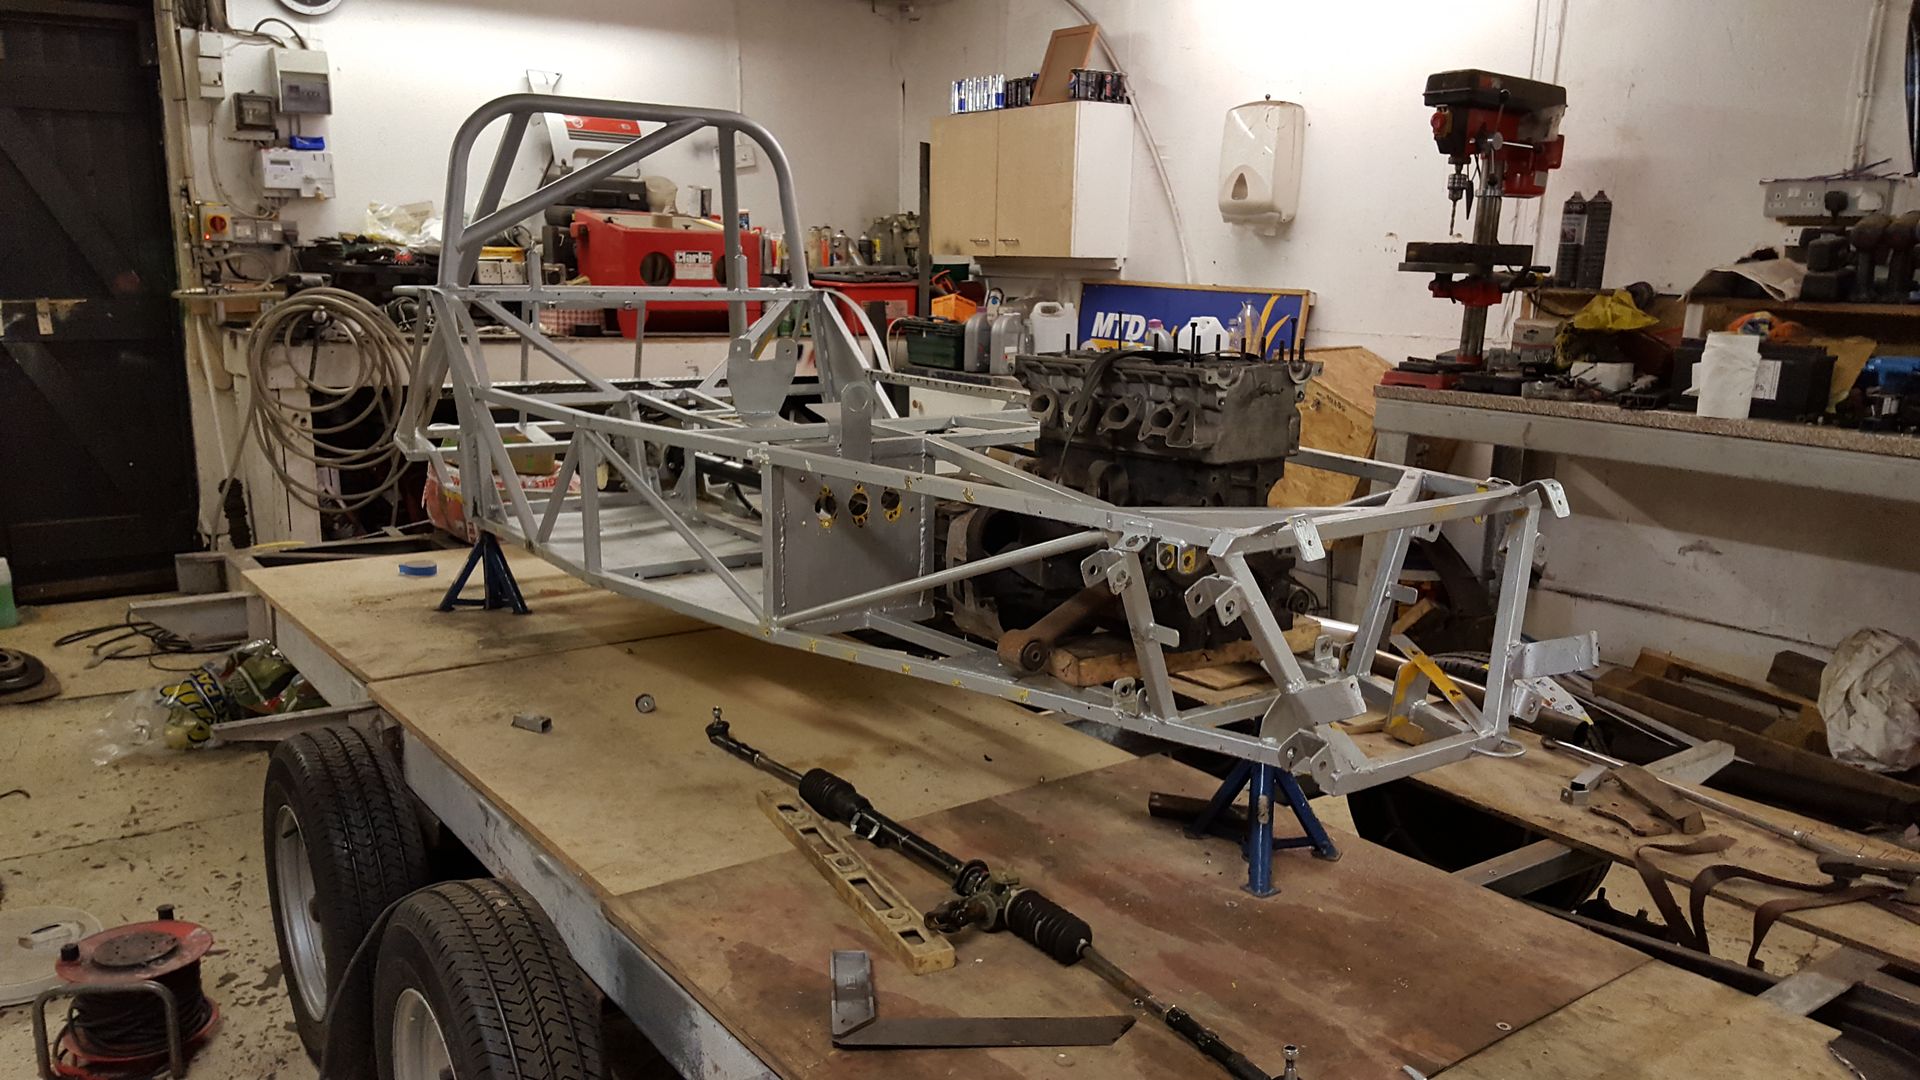
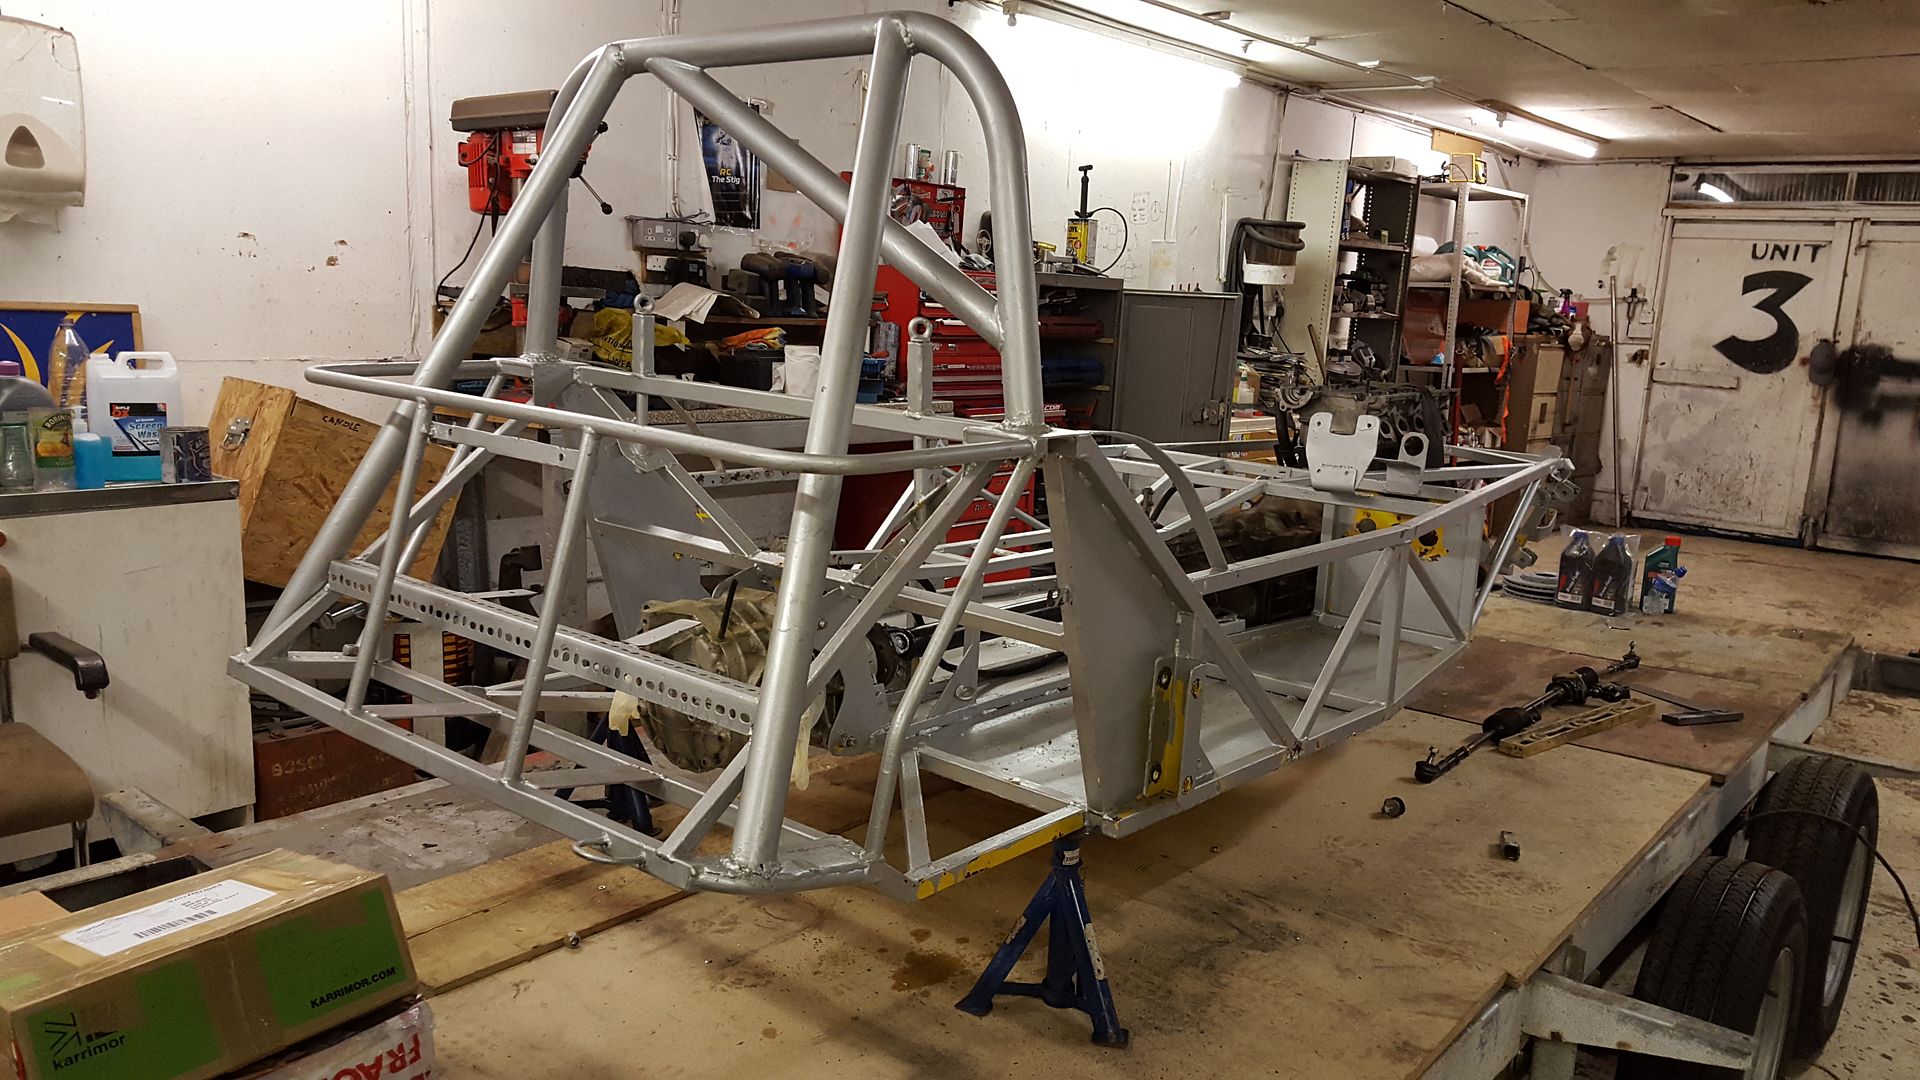
still in love with the shape!

the guy i got if from had made a wooden frame inside so it didn't get out of shape whilst in storage
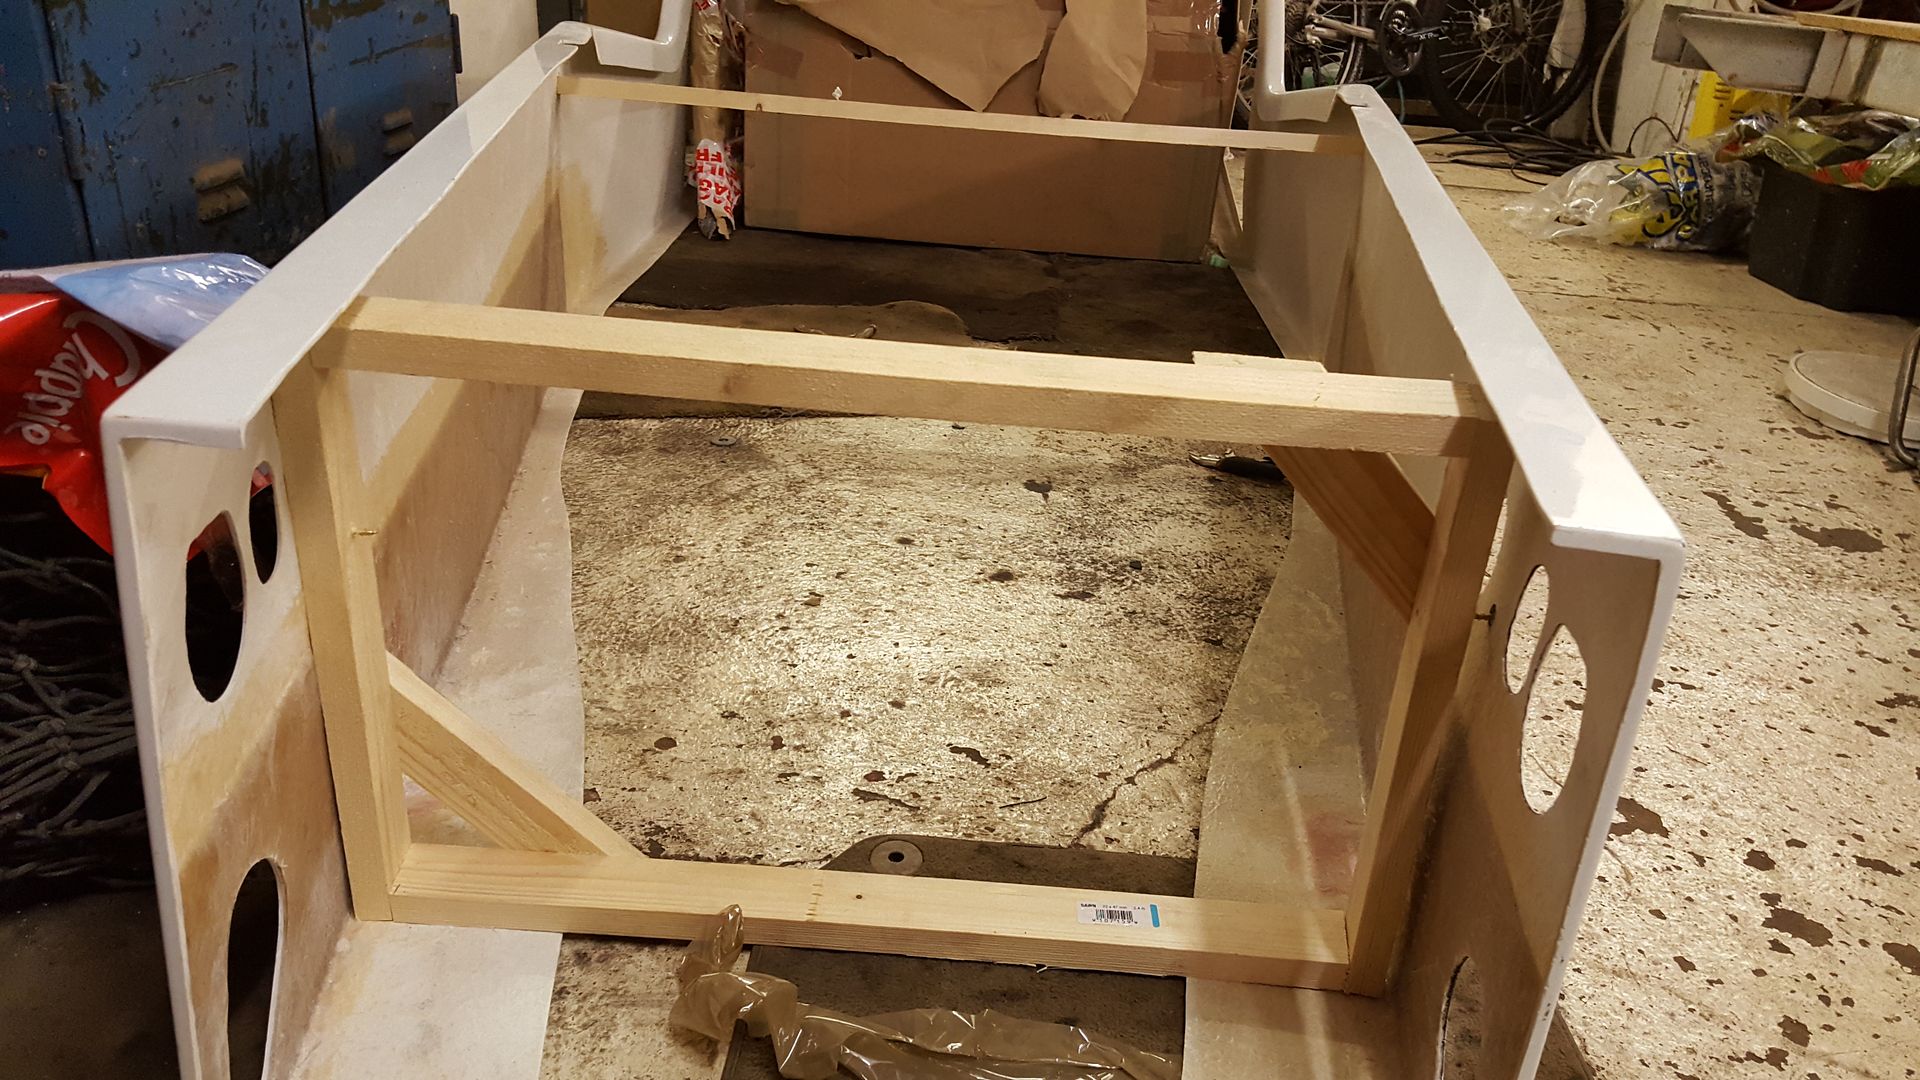
and lifted the body on, width wide its pretty spot on  it drops right down at the cock pit compared to the locost so it wouldn't lower right
down it drops right down at the cock pit compared to the locost so it wouldn't lower right
down
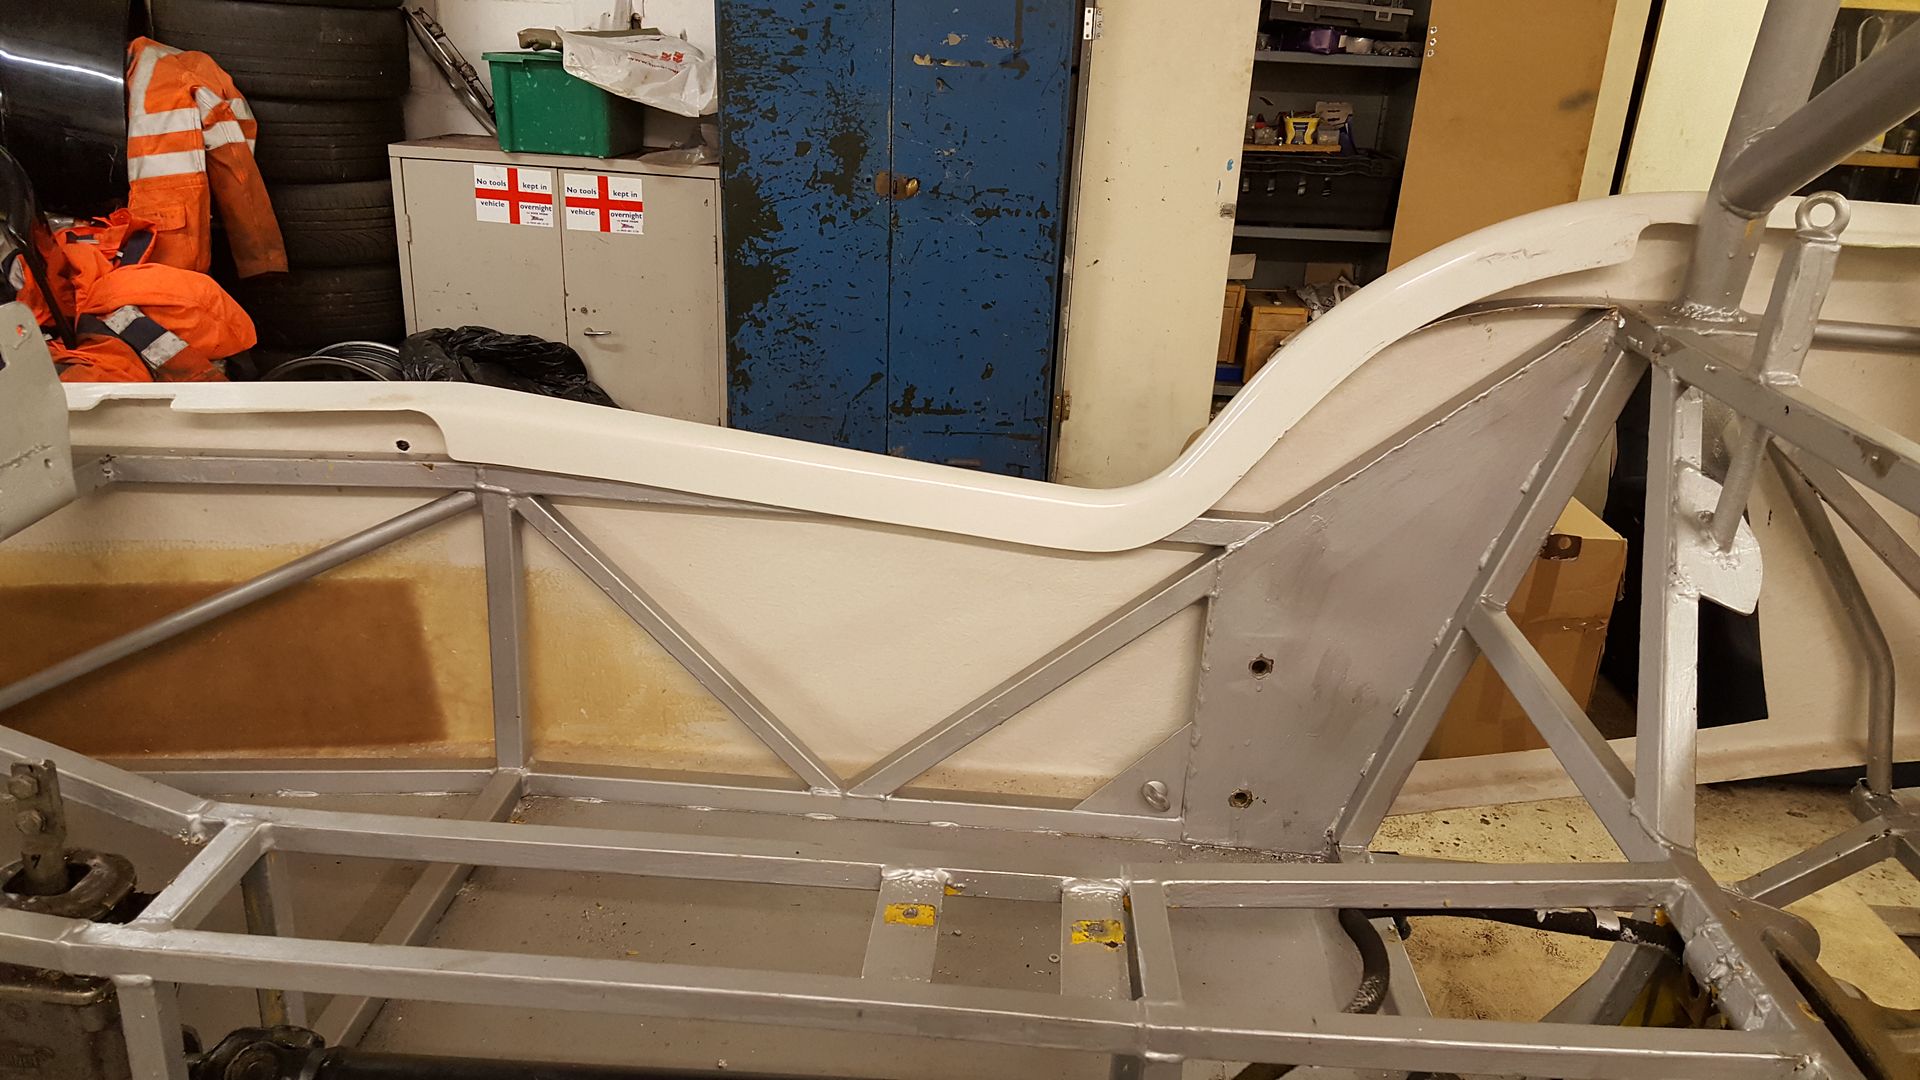
so i welded a temporary brace in
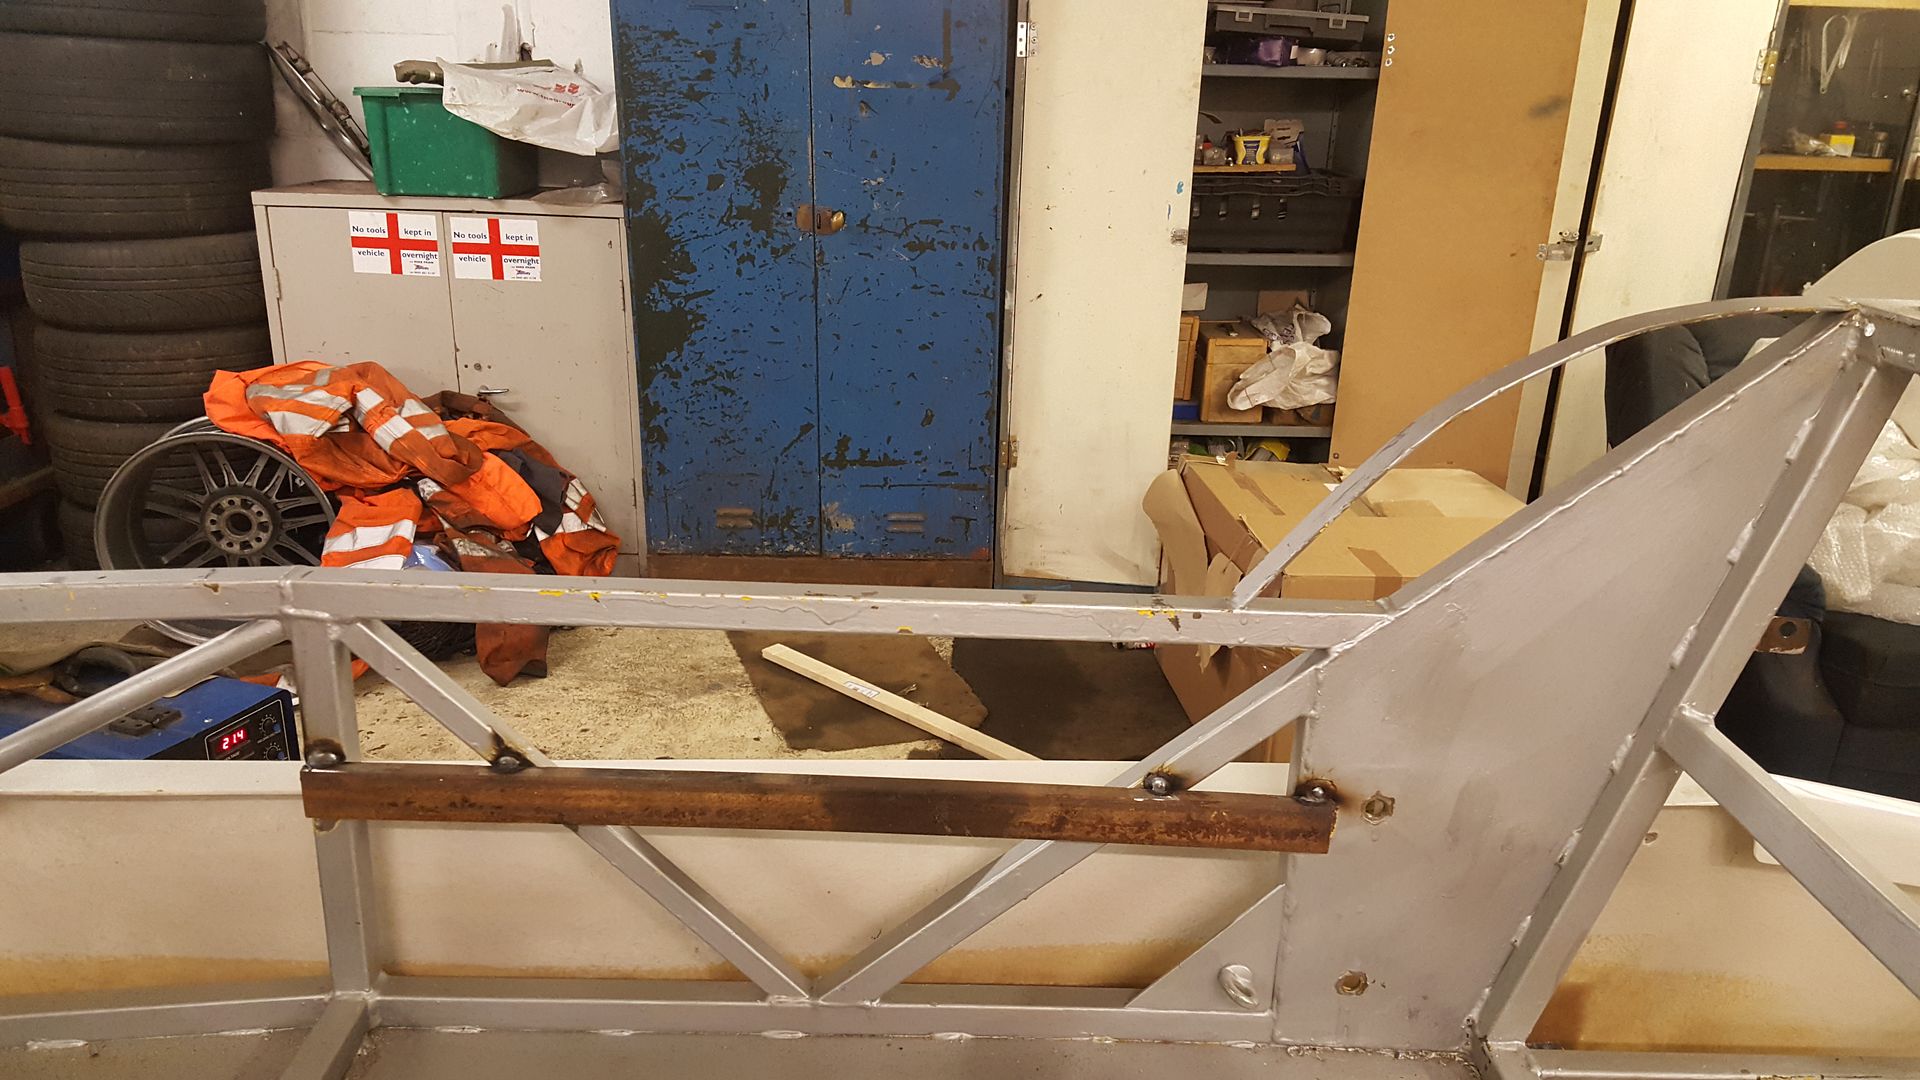
and top chopped out
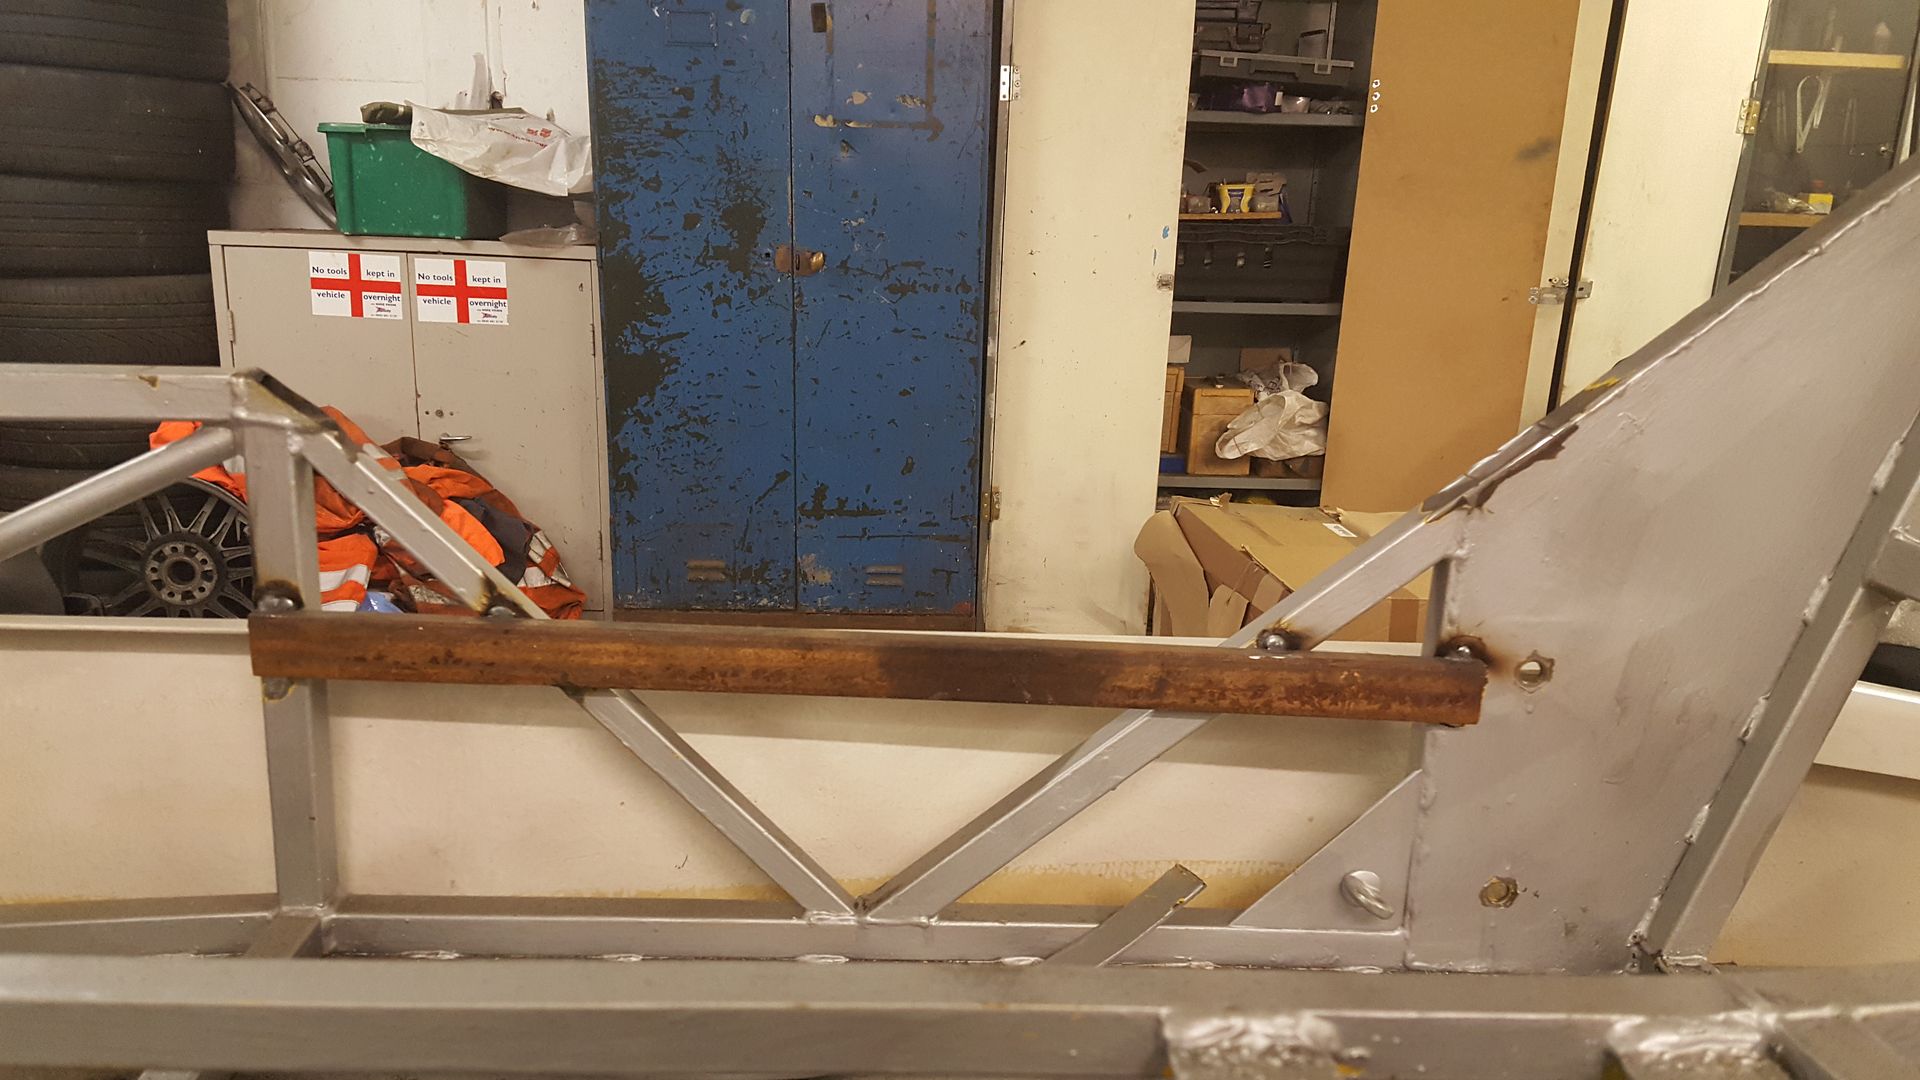
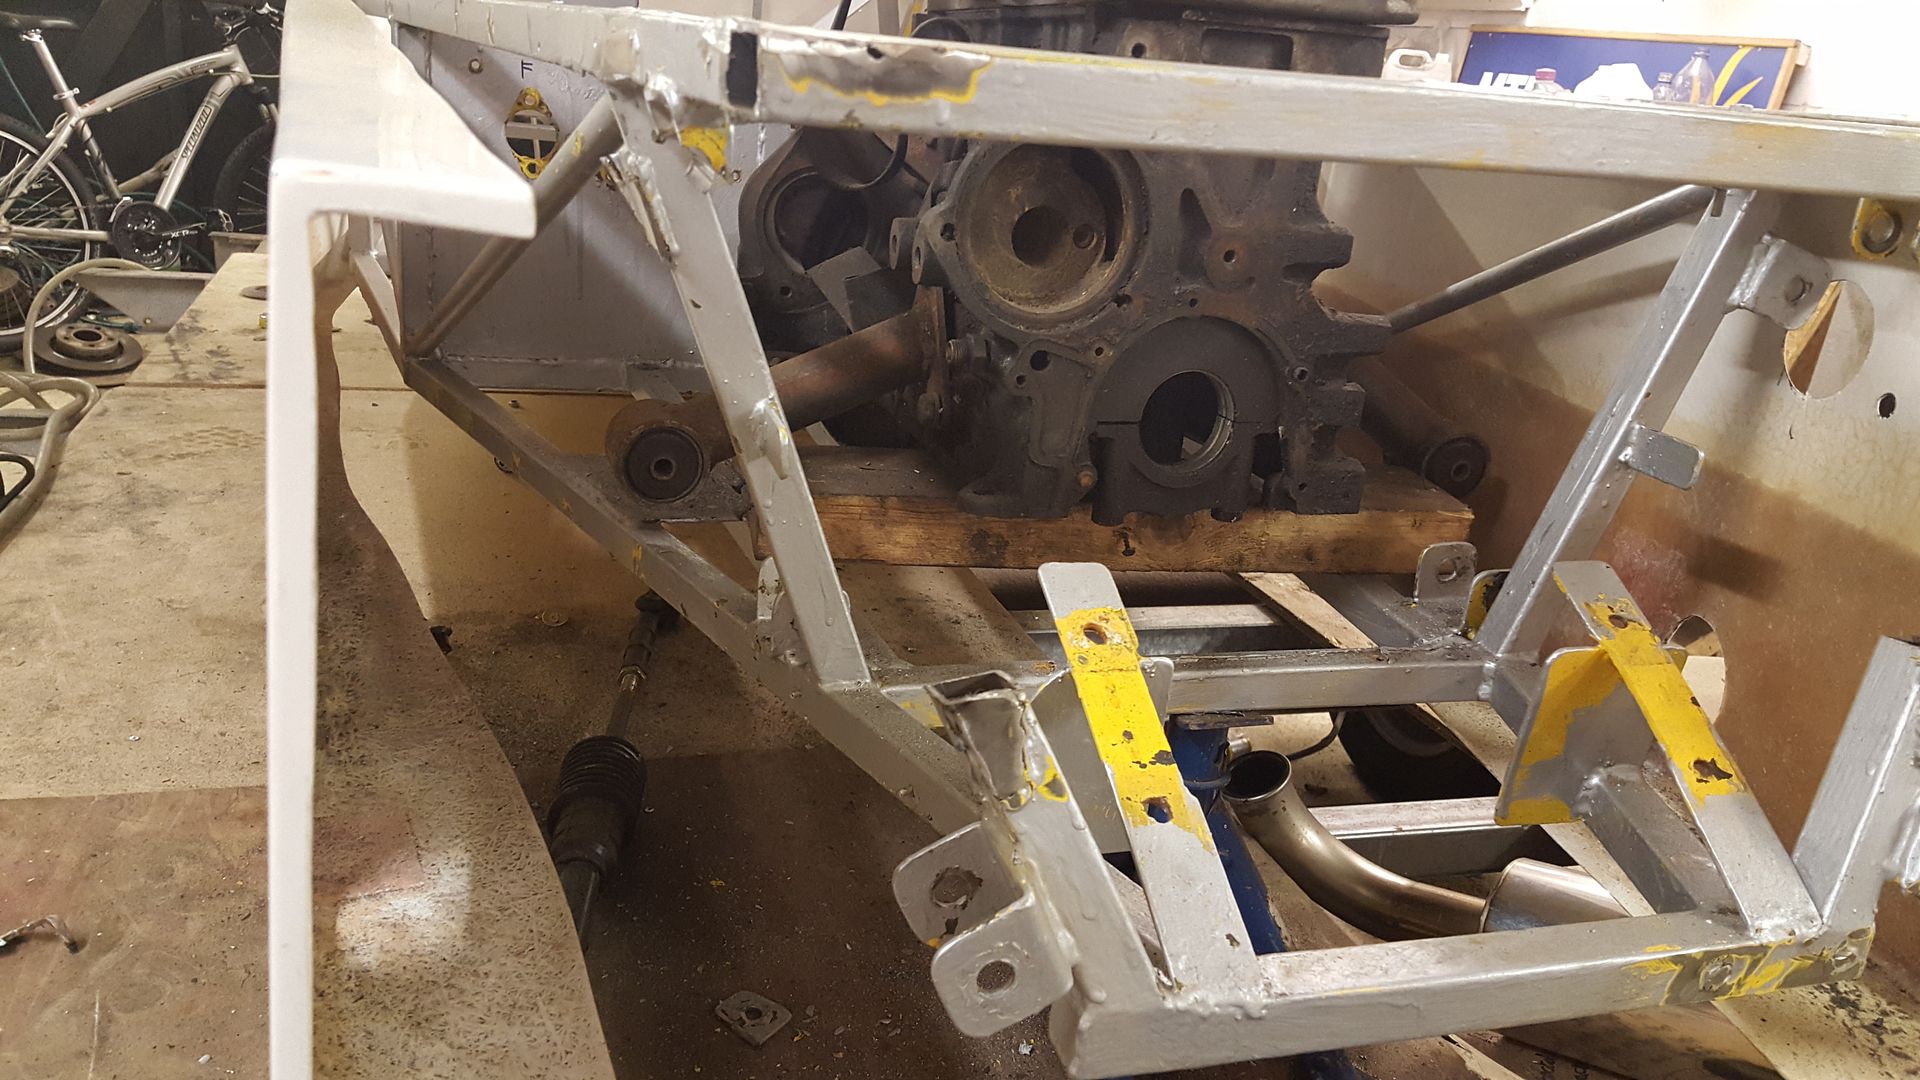
it also fouled on the rear trailing arm mounts as they stick out further than the chassis. so slimmed them down for now, will come back to this once
the body is on
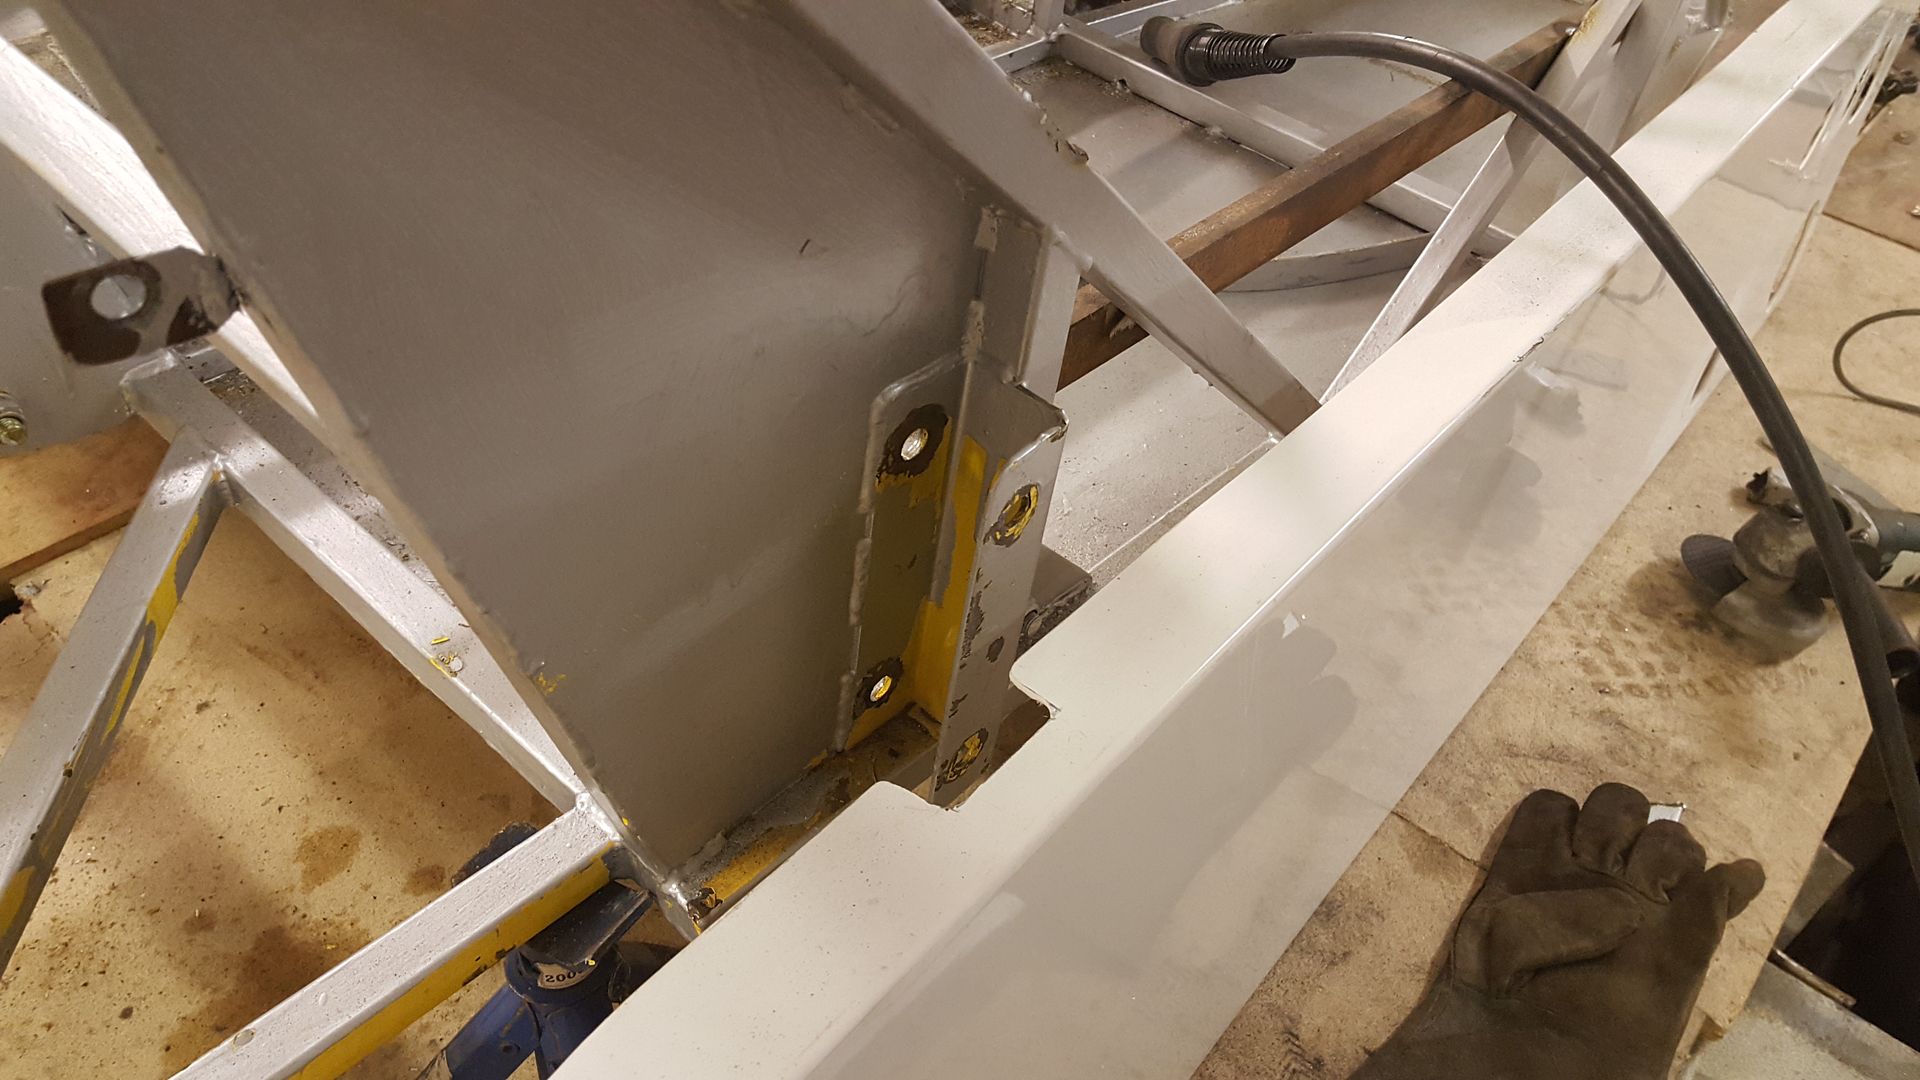
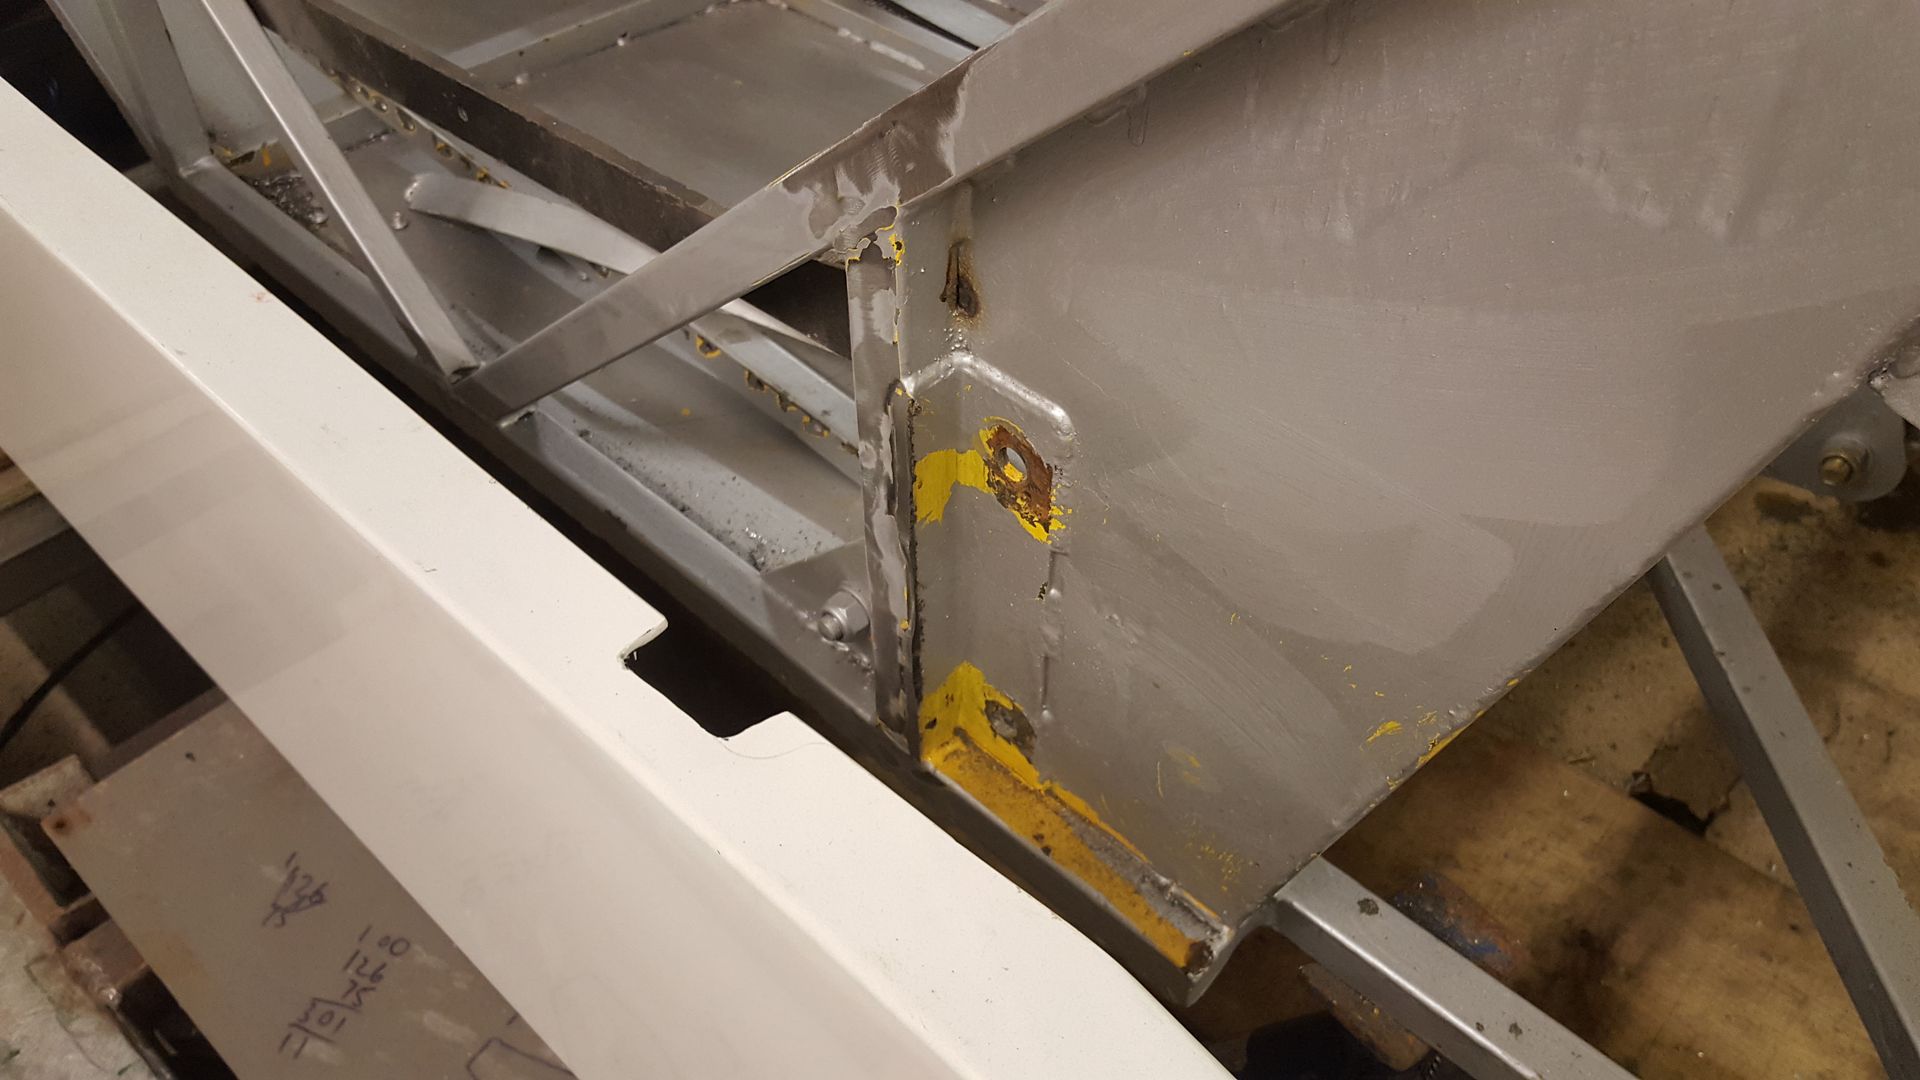
also chopped off the gash radiator mounts and towhook as they fouled the nose cone
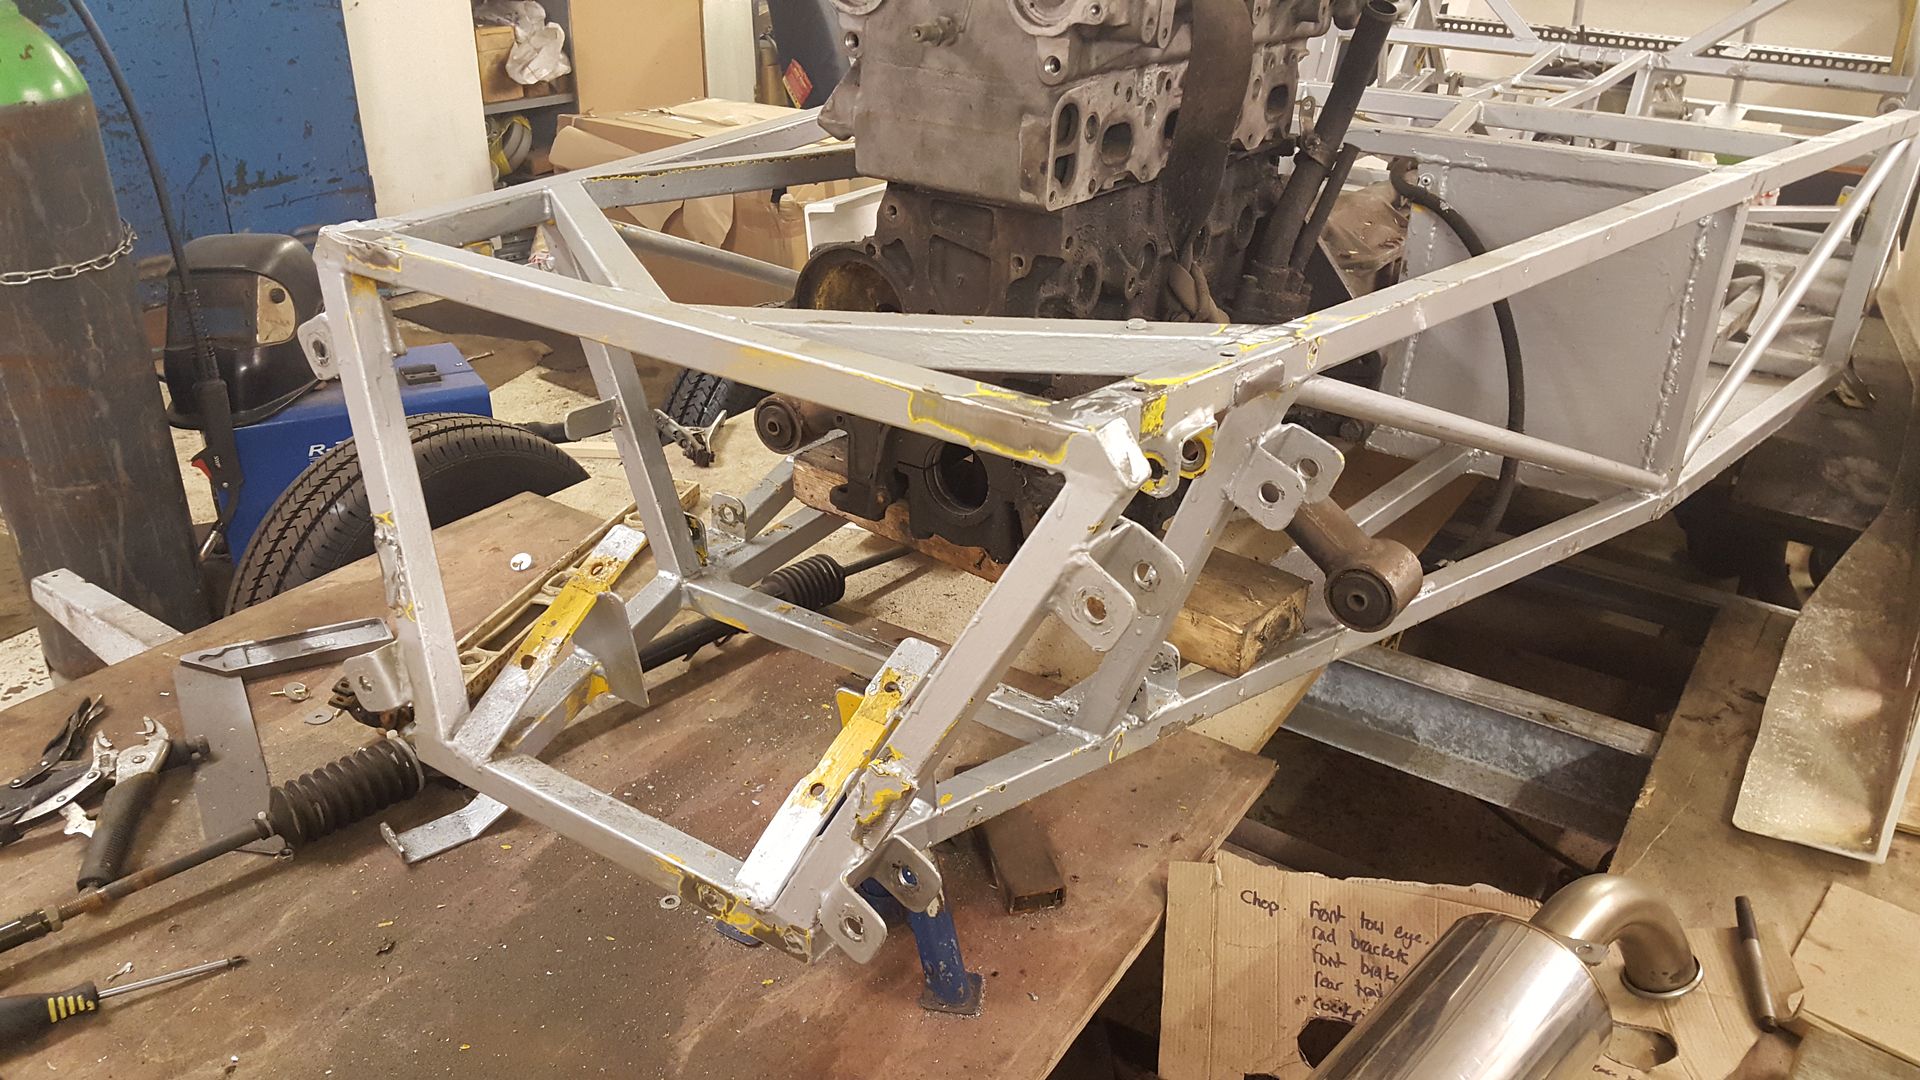
and the body slots on nicely    
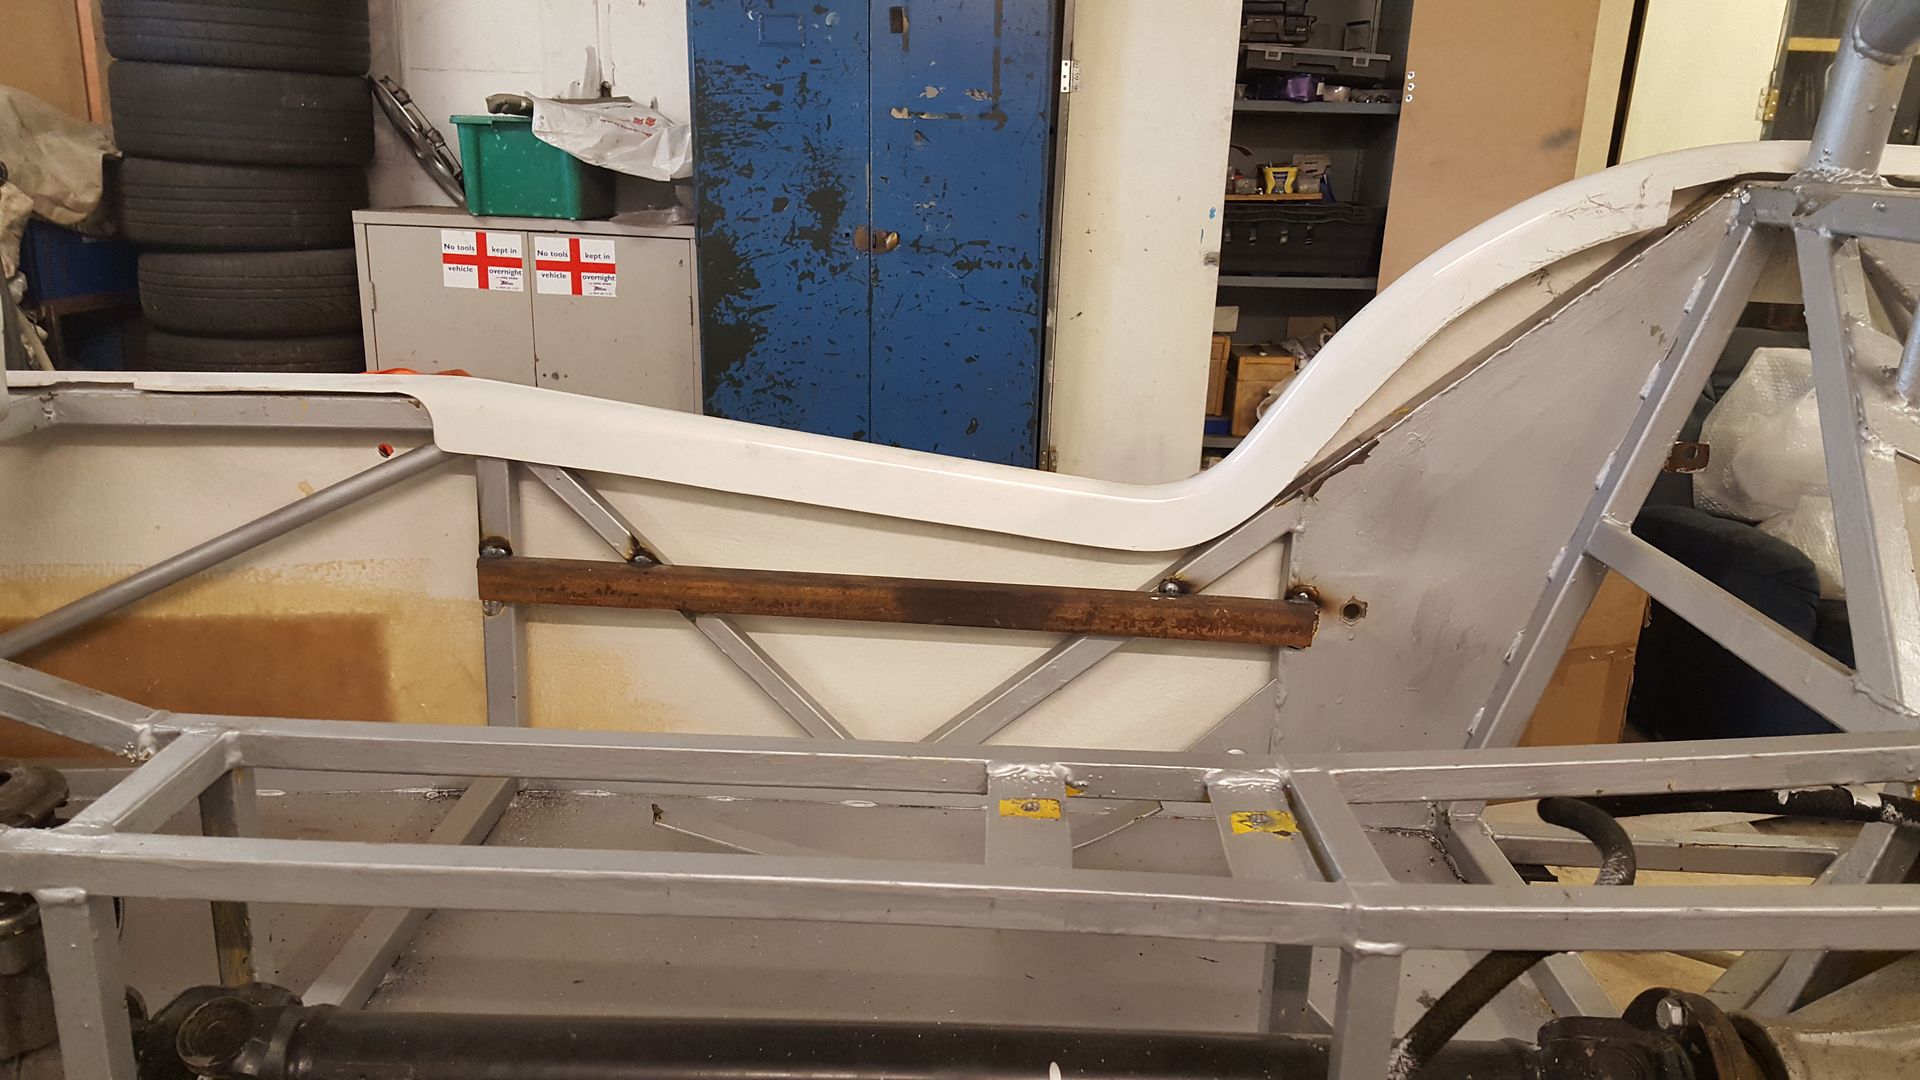
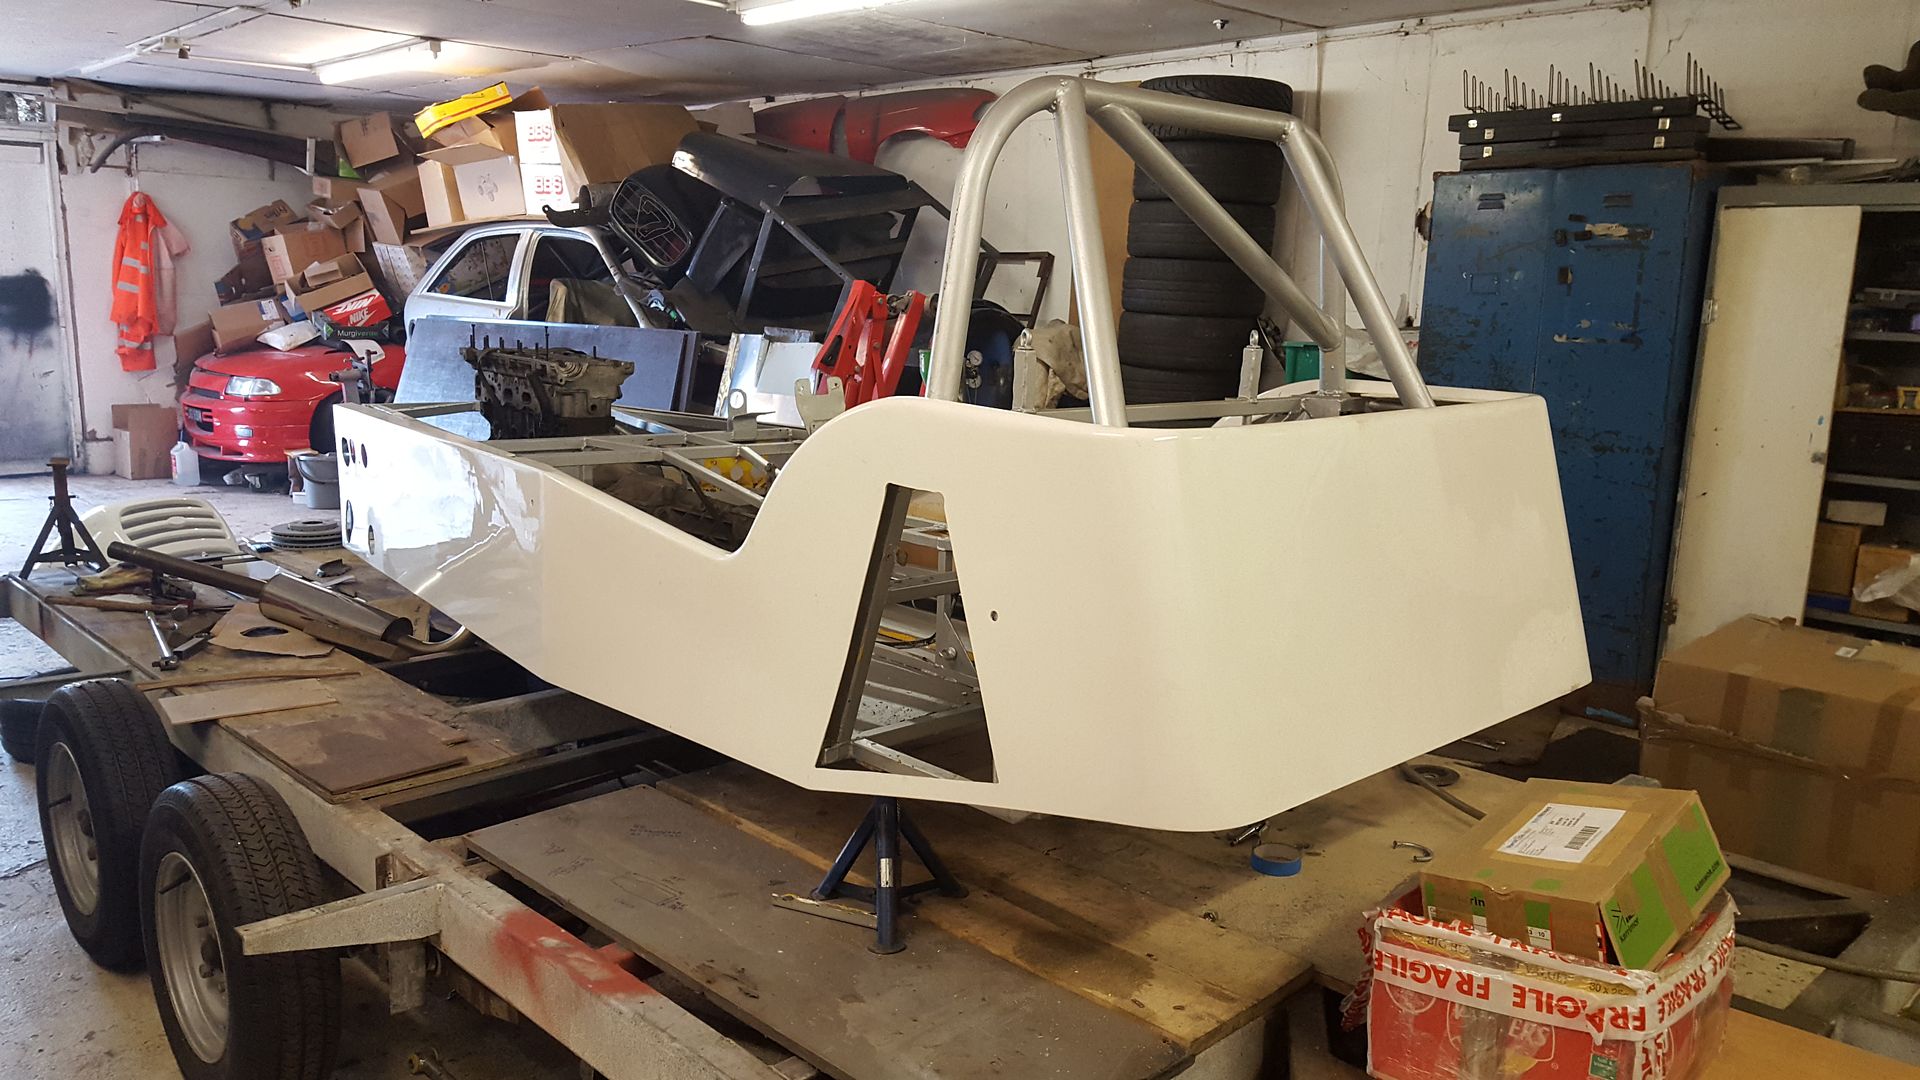
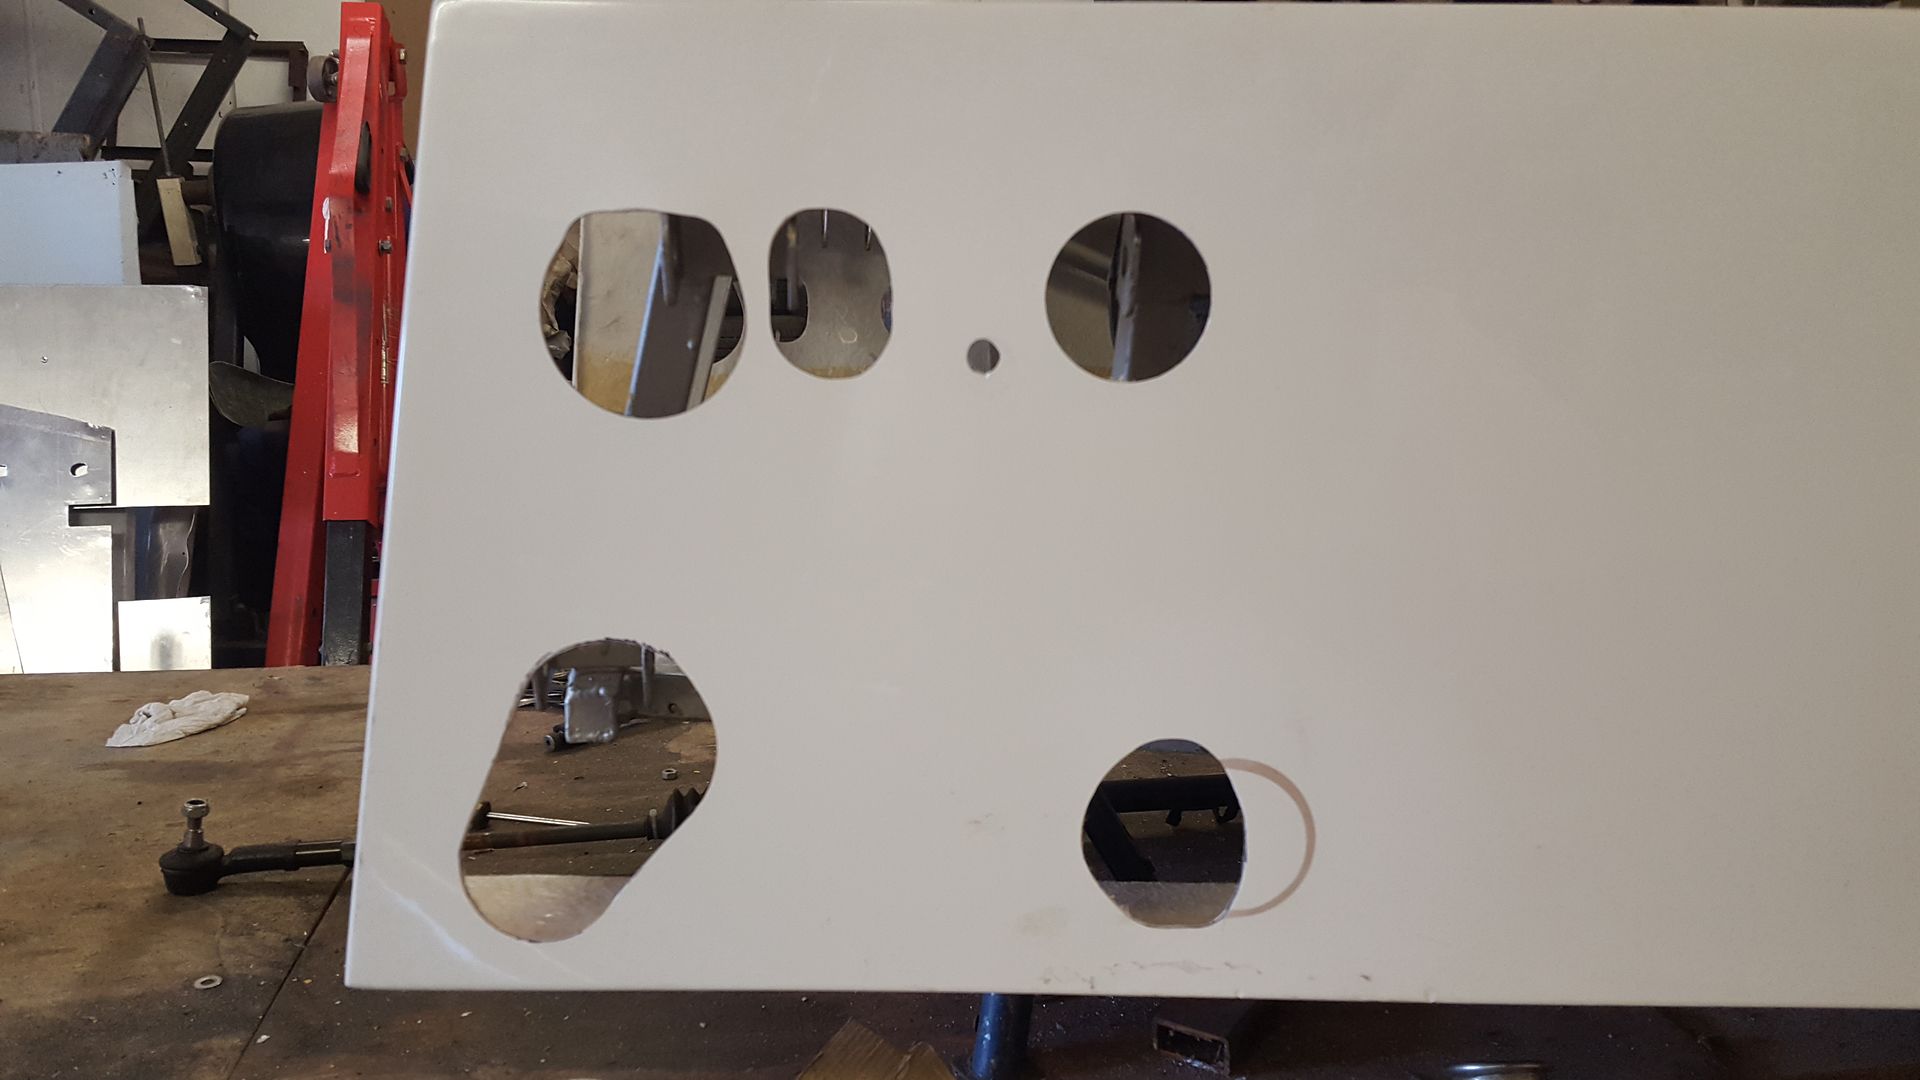
the holes sadly dont line up, they are close, but not quite
and the it hangs down a few inches under the floor too which i knew it was going to
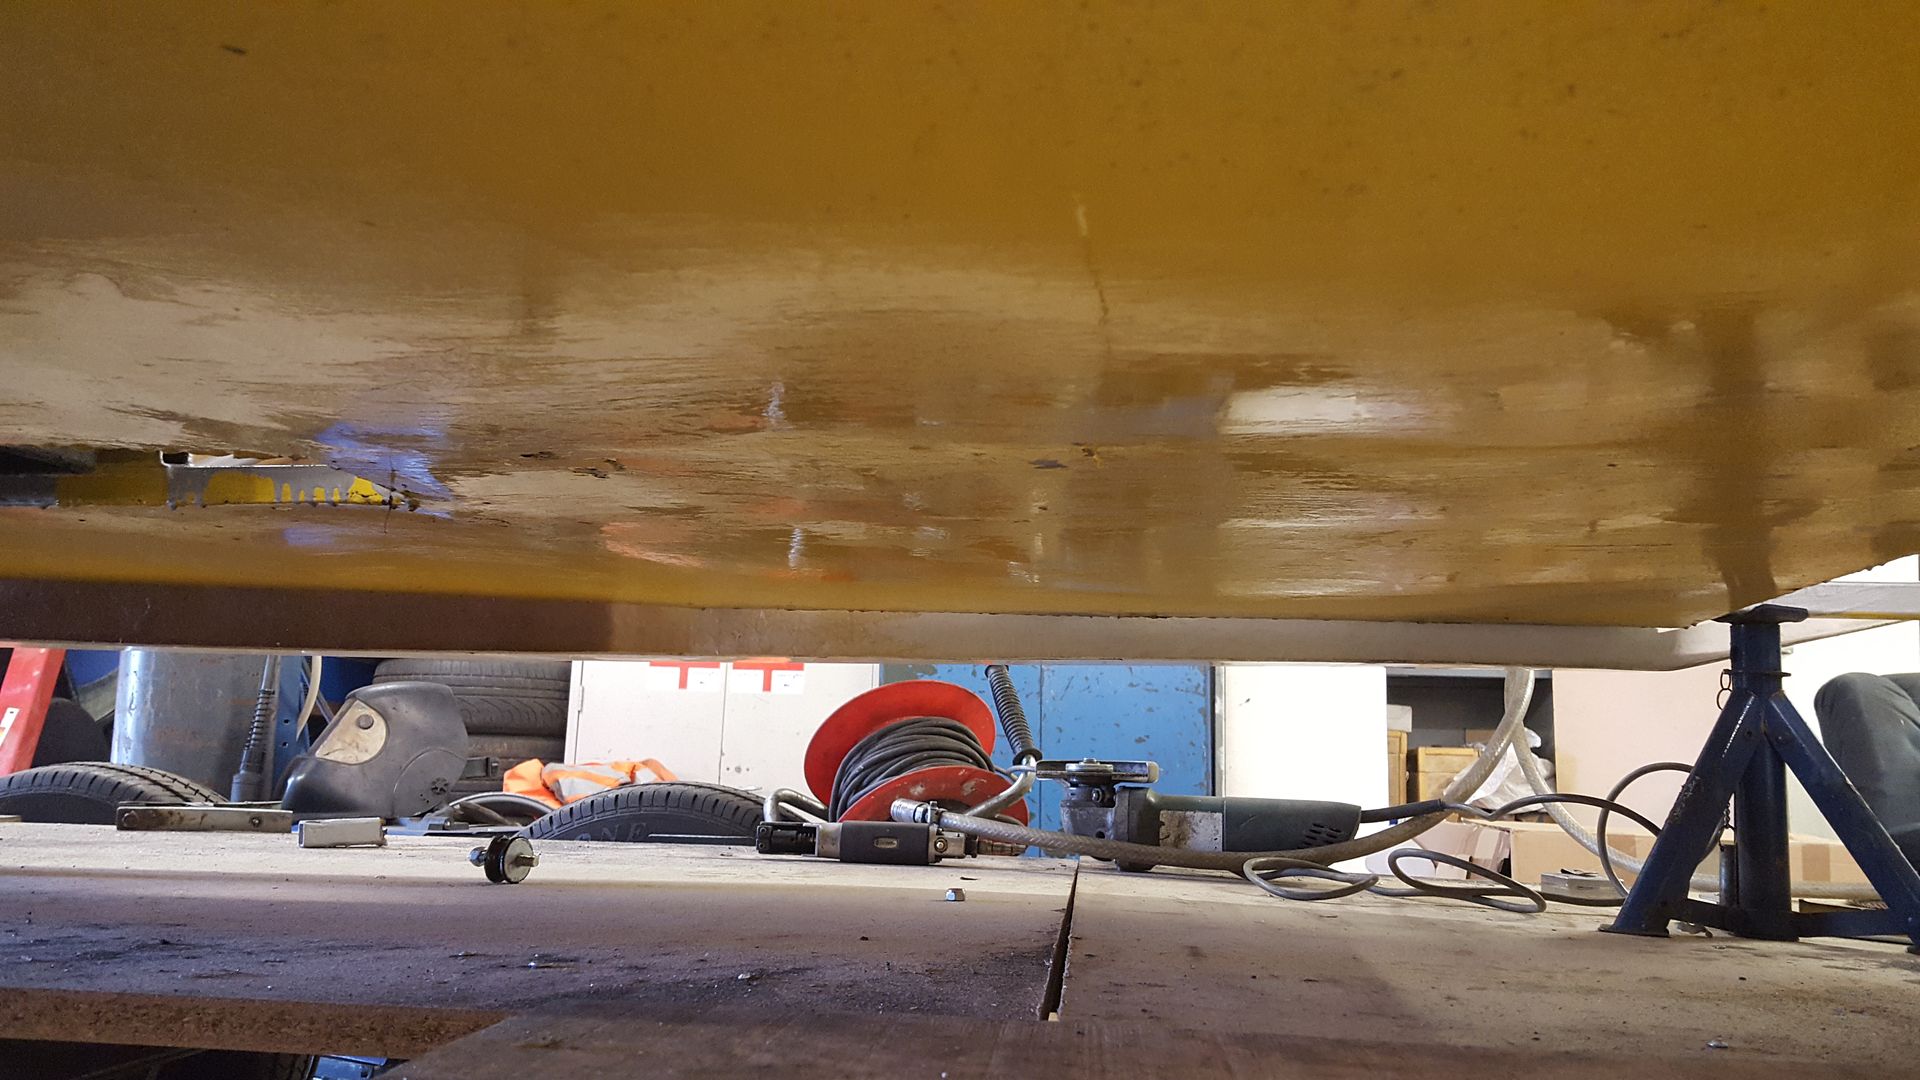
it fouled the front suspension as the holes dont line up so the body didnt fit flush to the chassis
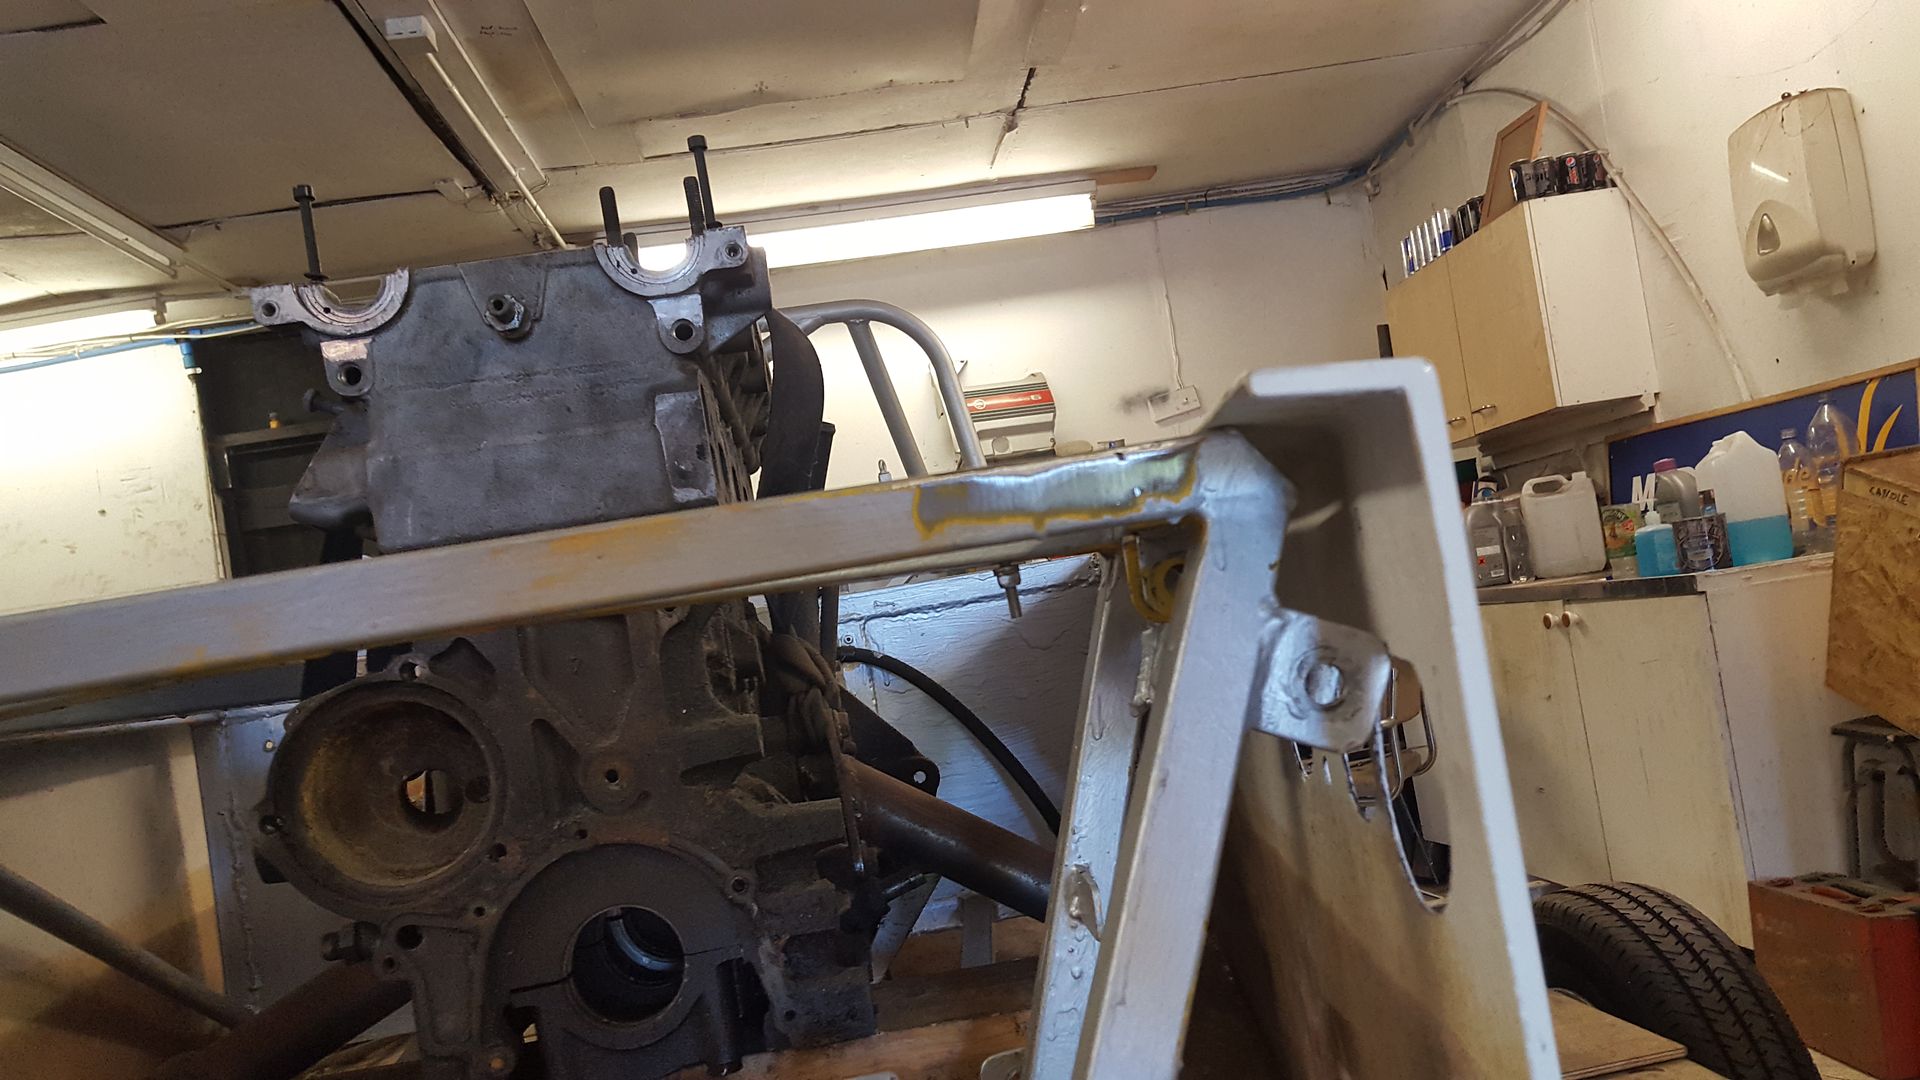
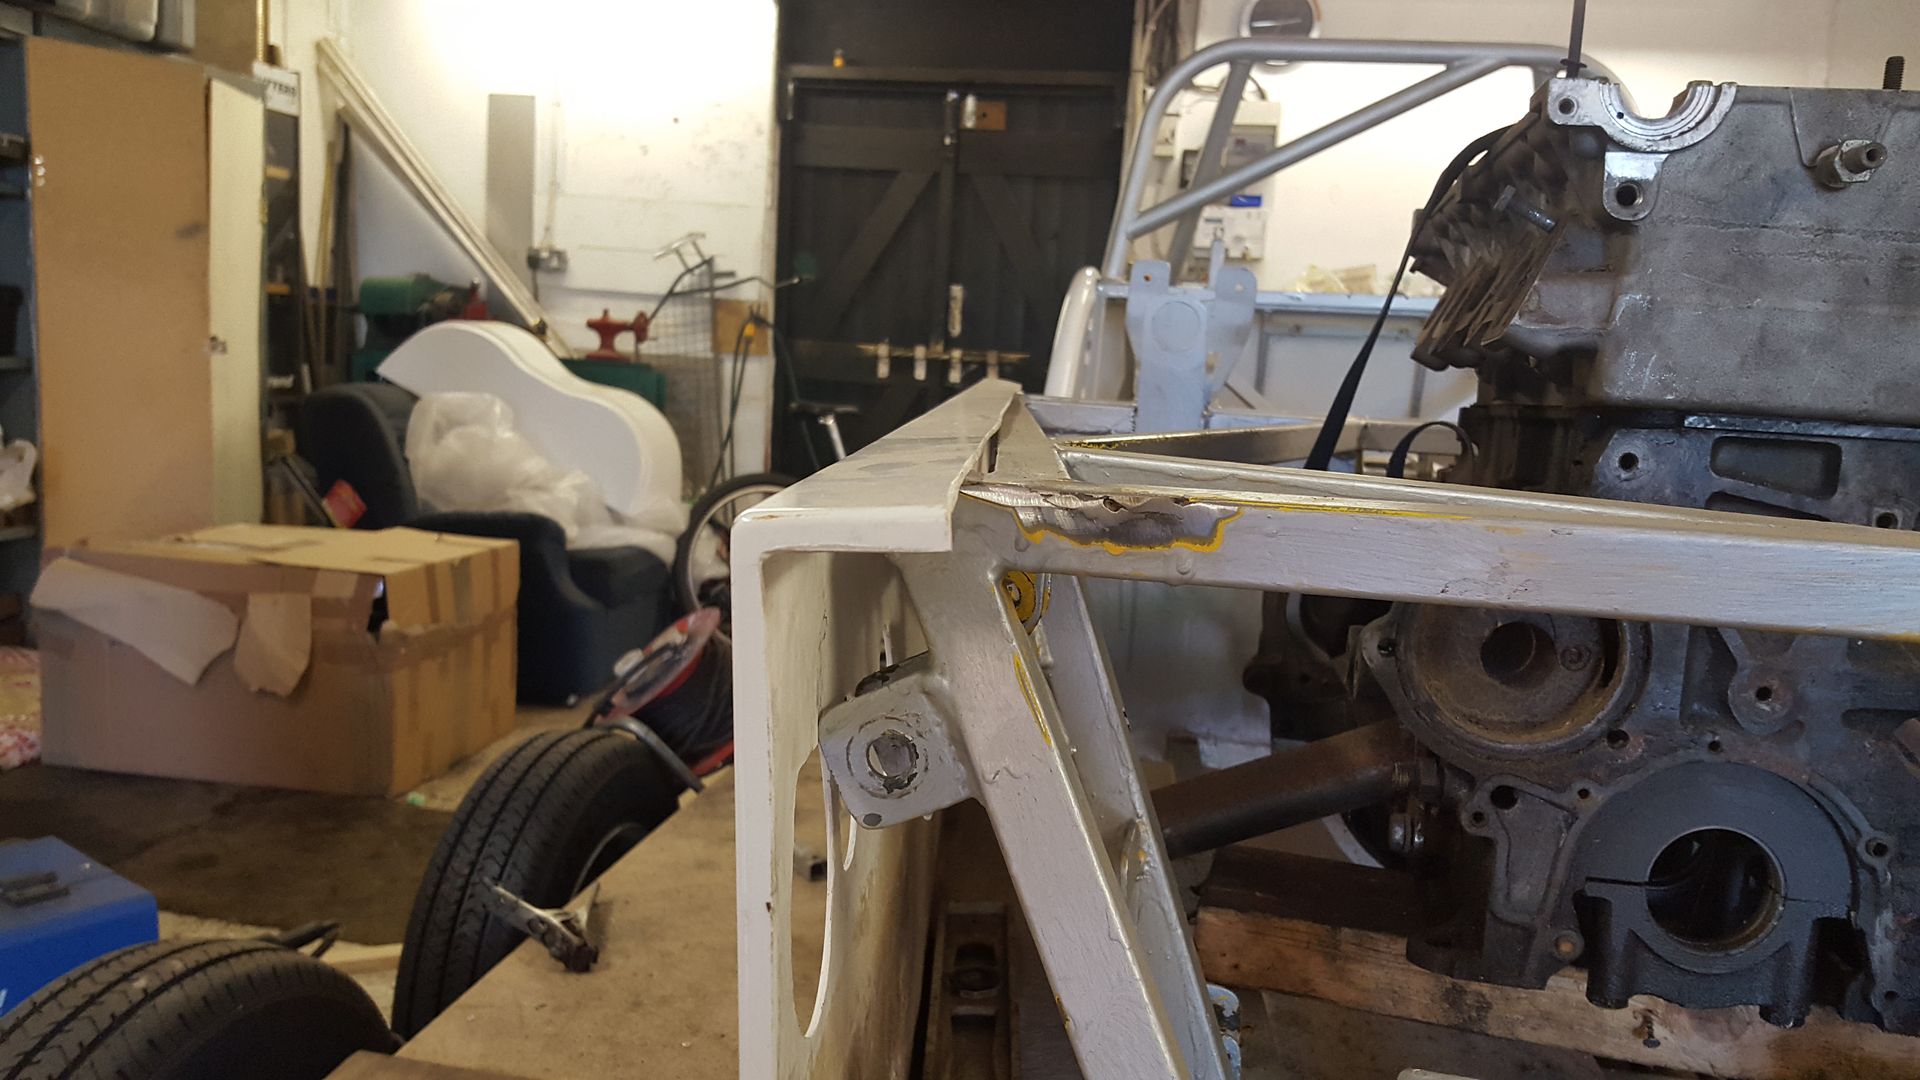
I'd already decided with all the problems the book spec locost has with no self centring of the steering due to no castor, and bad bump steer
due to the steering rack being alot wider than the suspenion mounts.
but the locost design with the mk2 escort rack is miles off

The 'mk2 locost' the haynes roadster sorted out alot of problems at the front with steering bumpsteer and castor, so got book 2
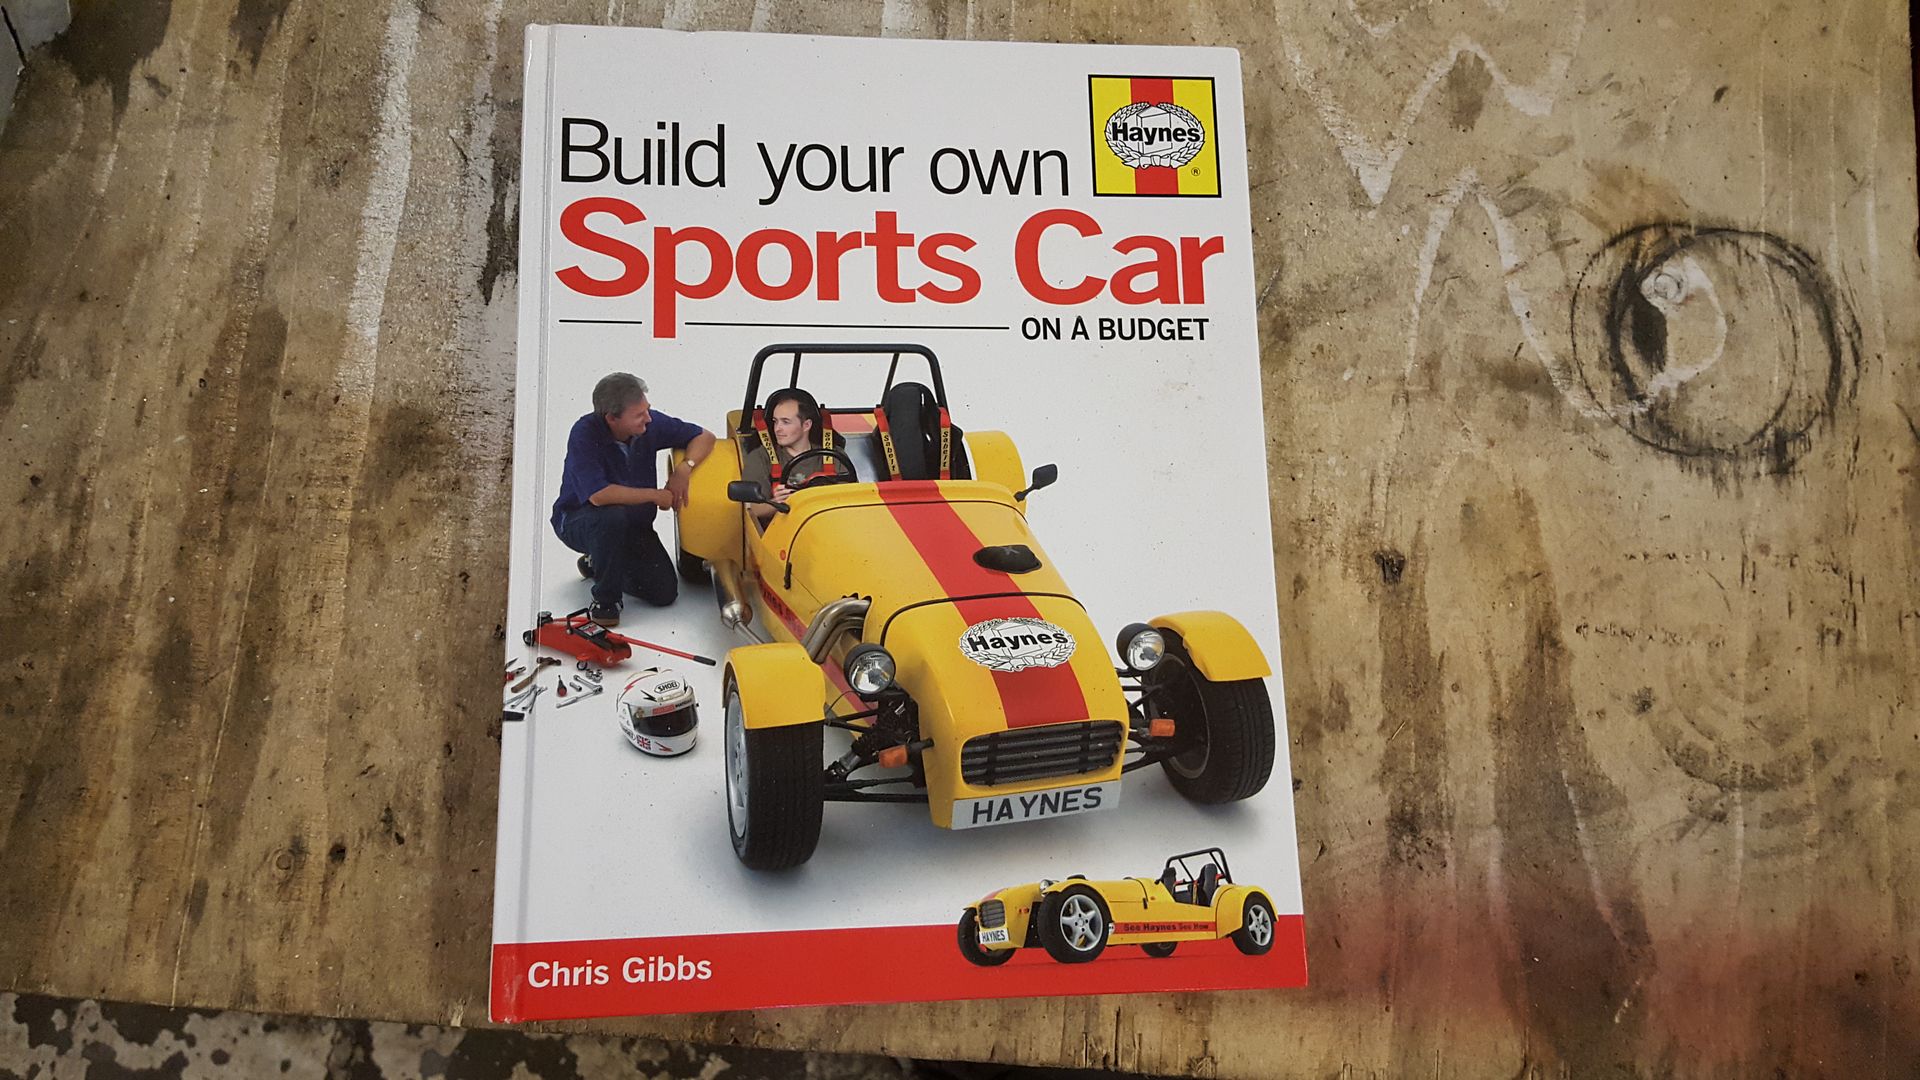
So i am going to be basing all my front suspension on the Haynes Roadster. it uses the sierra front hubs and mk2 rack all of which i have. the whole
width of the body of the Roadster its a lot wider than the Locost so if i build a front subframe to weld on the front of my chassis it wont fit in the
MNR nosecone. i have it worked out don't panic, it just doesn't come across very well :lol: wait and see how its done, bur basically it
will be using book spec front Haynes Roadster suspension and steering.
so for now i can loose the original Locost front panel to fit the MNR body
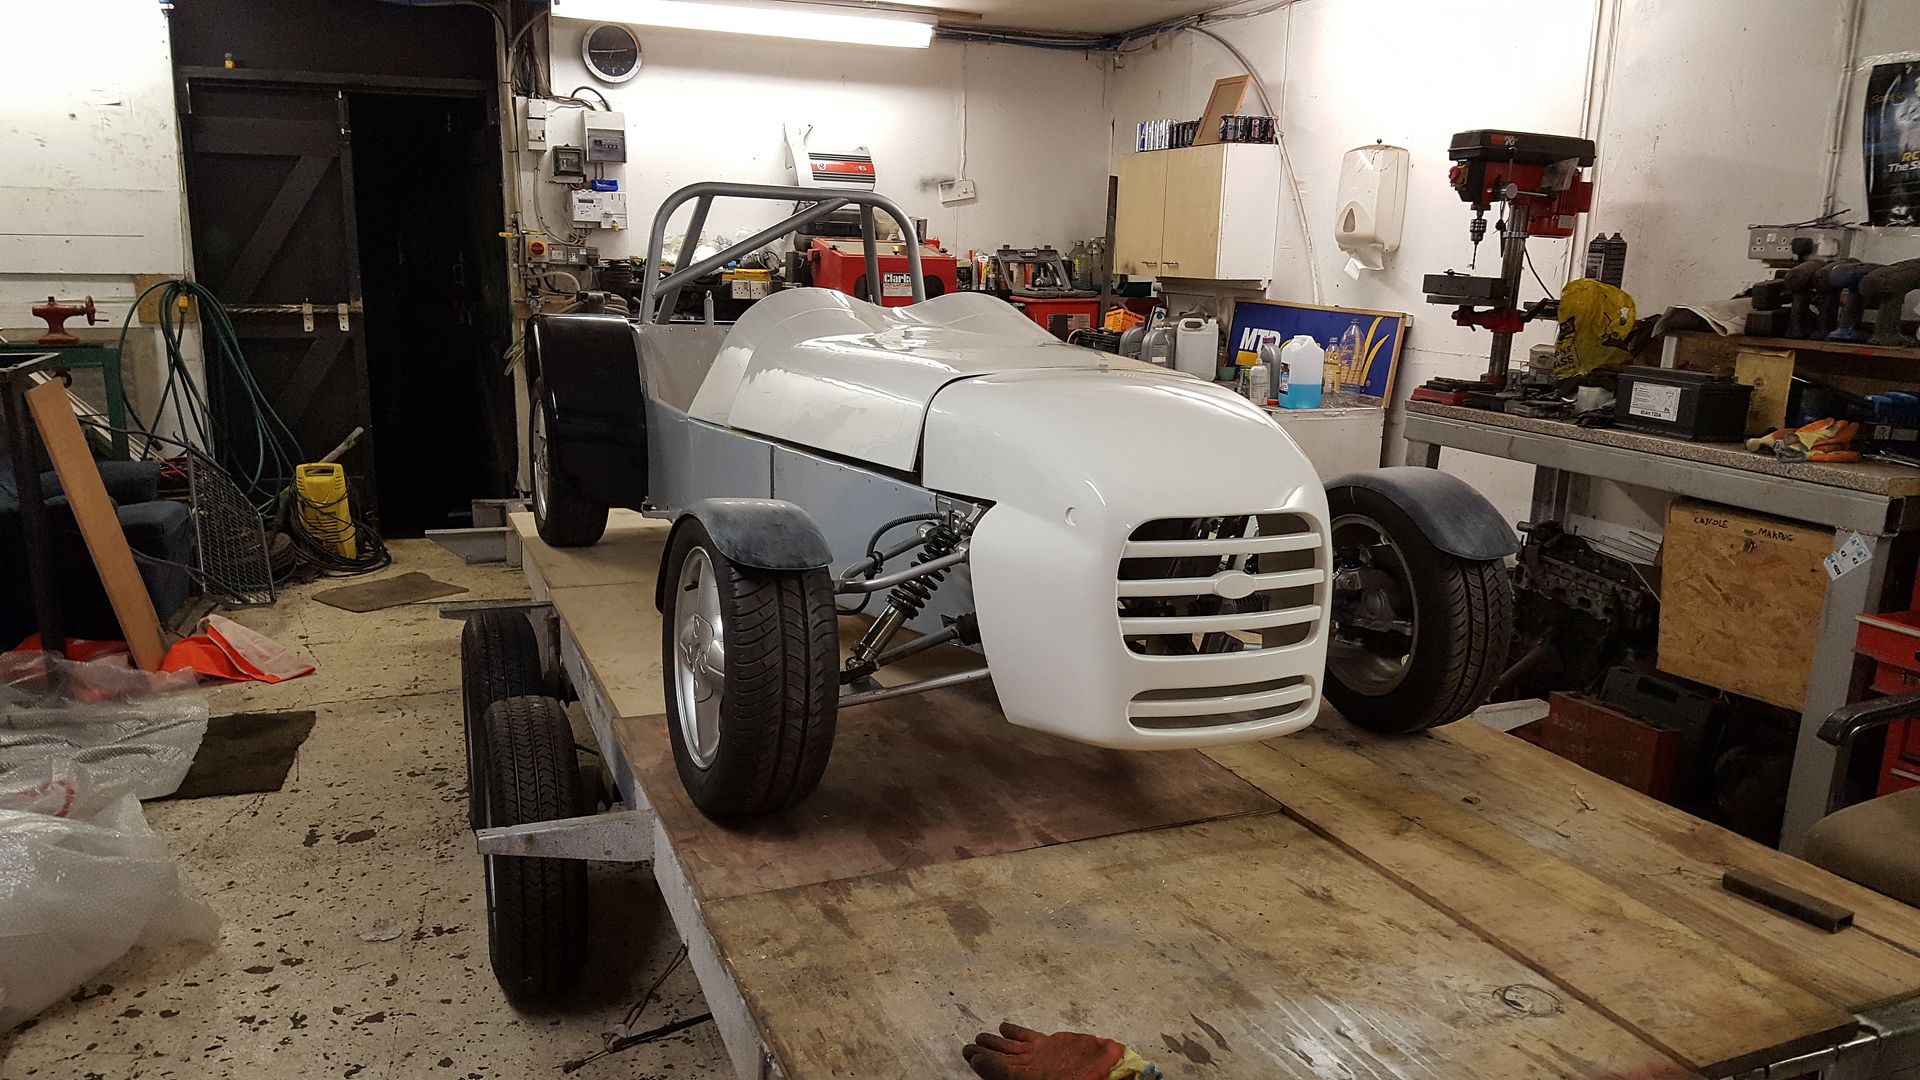
and the MNR body fits! forgive the flappy bonnet, it will fit spot on when clamped down with clips. over all i am very happy!
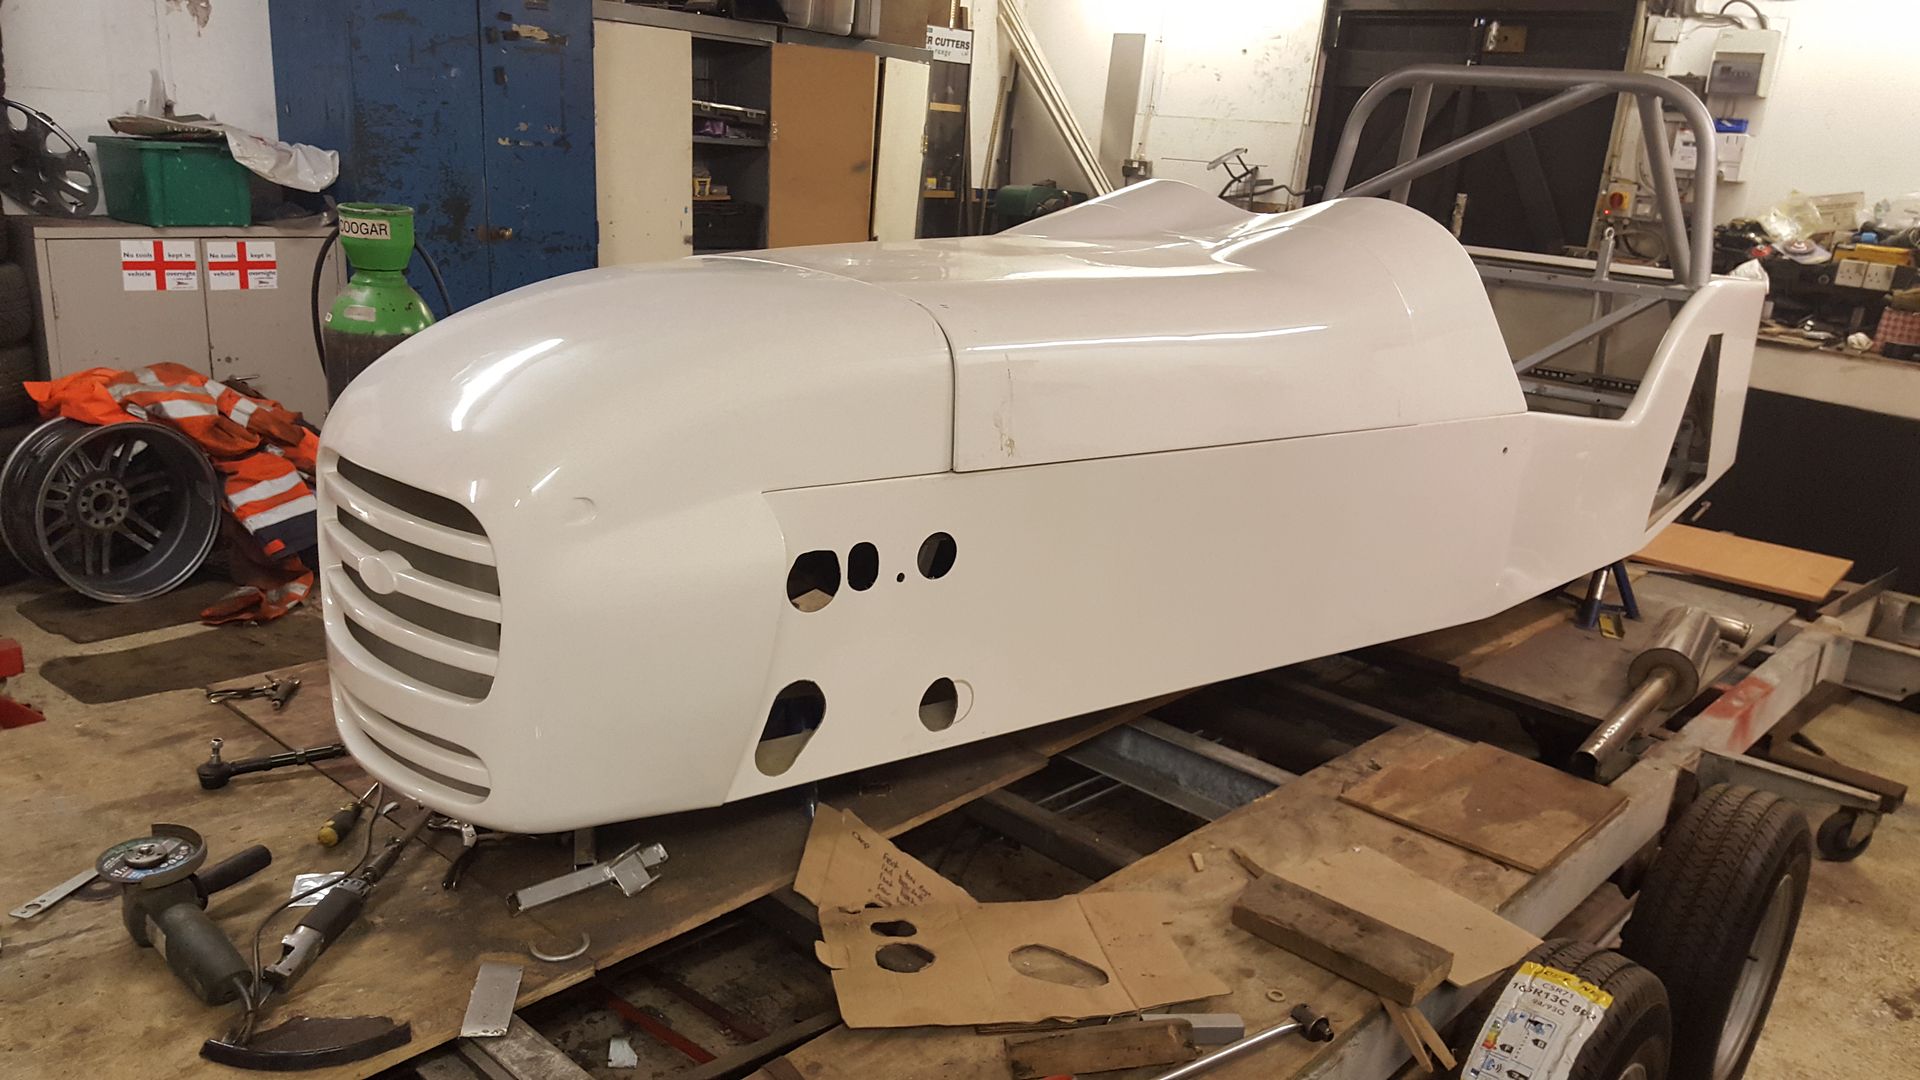
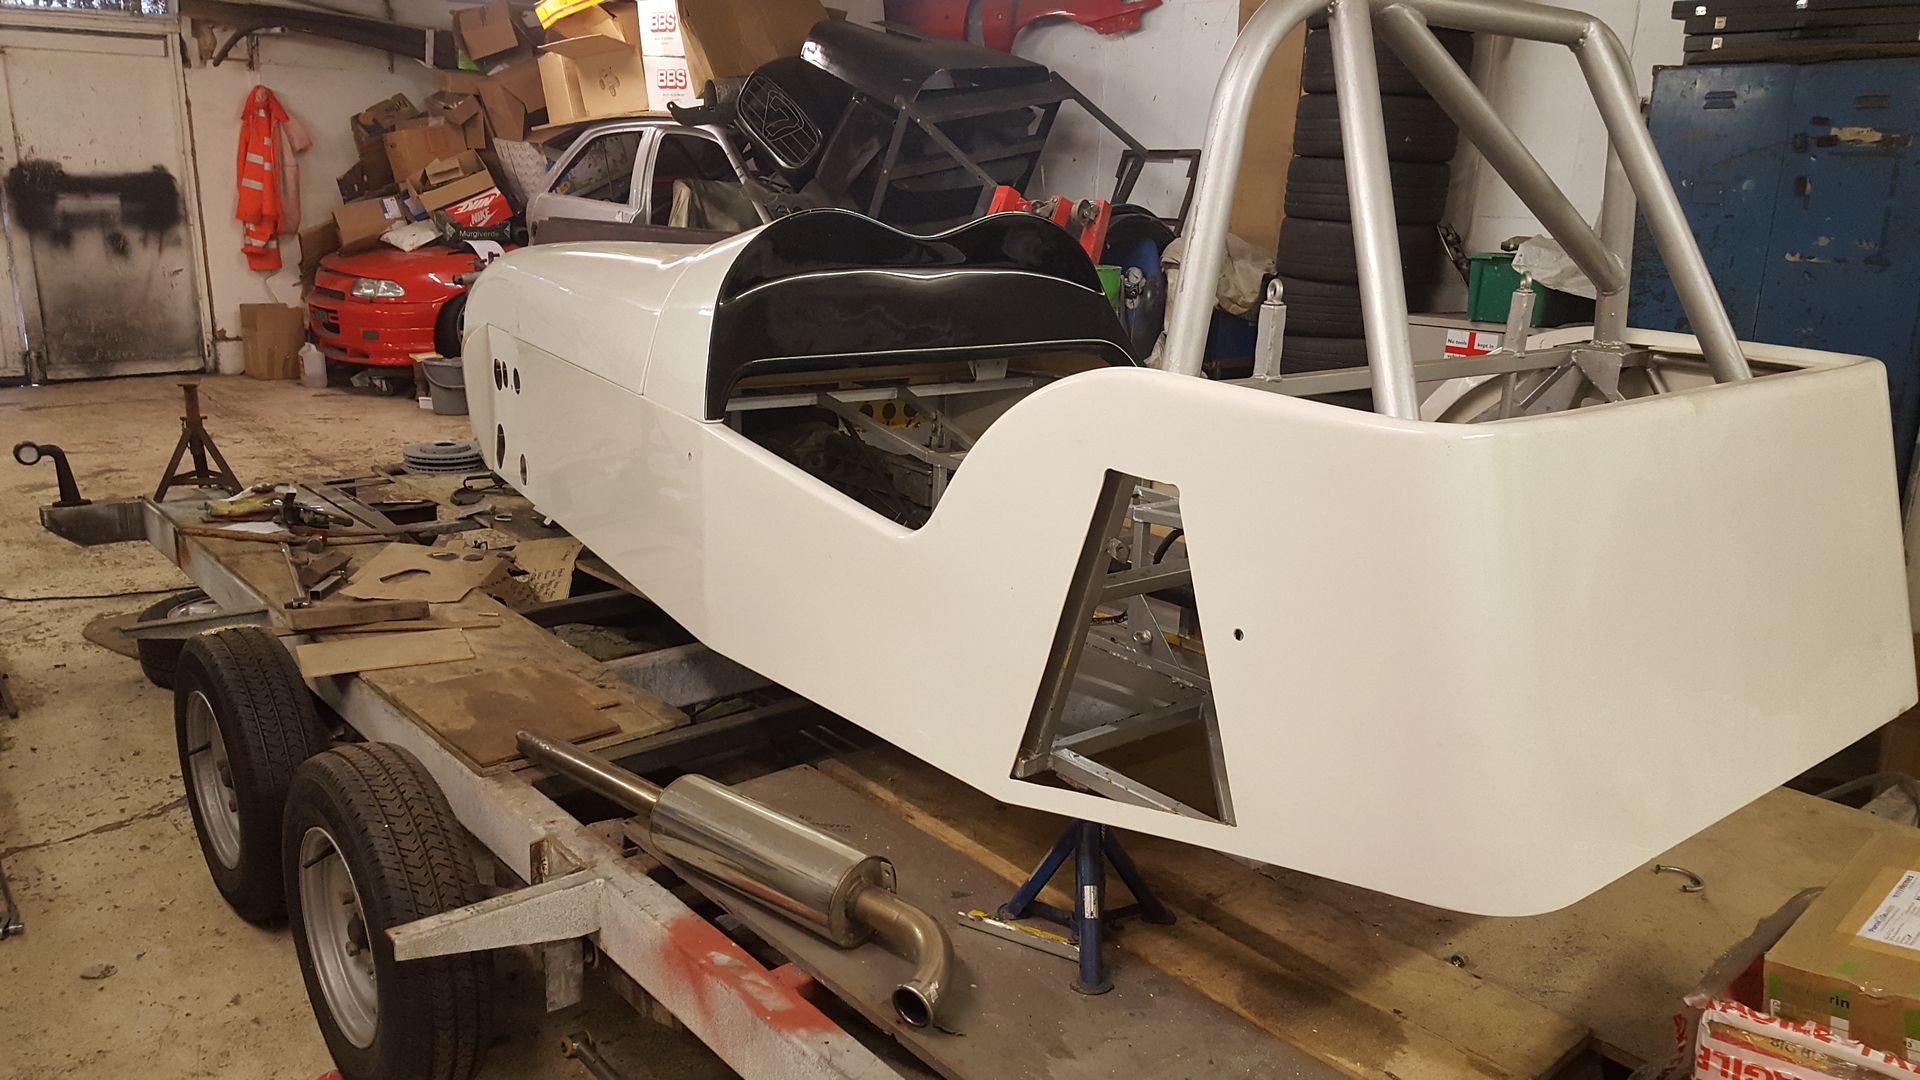
with that question answered, yes the body will fit, i moved back onto the engine
i really want it to fit under the bodywork, i really dont want to put a bulge in the top as i think it will ruin the double bouble sleekness that
makes it look so different to the caterhams. but i have no datums of where to actually put the engine??
the only datum i have on the chassis is the rear diff is fitted (and i assume in the correct position as this chassis design should not have a diff,
it was designed to have a live axle. So starting at the diff i have the kit car prop, which will govern where there gearbox goes forwards and
backwards, but i have no idea on up or down.
here's my theory, tell me if i'm wrong....
I set the chassis up level
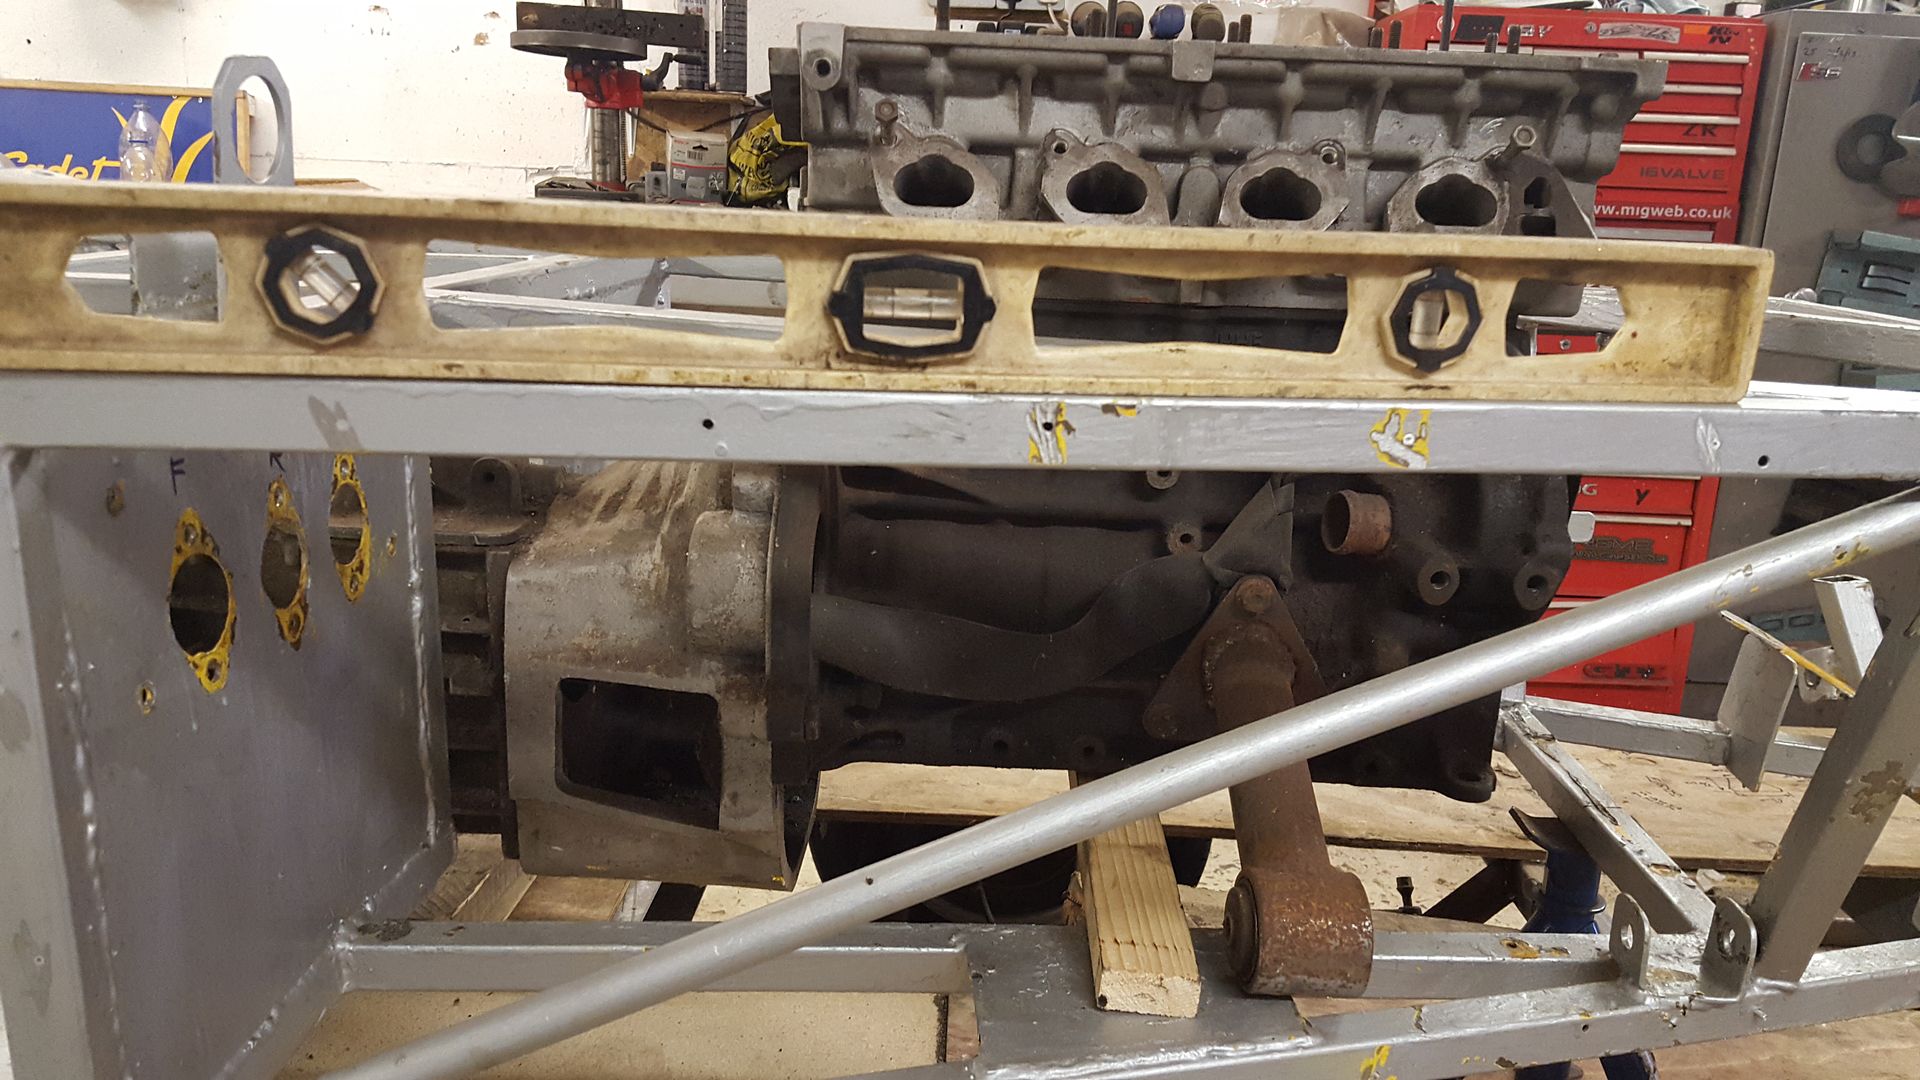
i positioned the engine up and down untill the propshaft was level
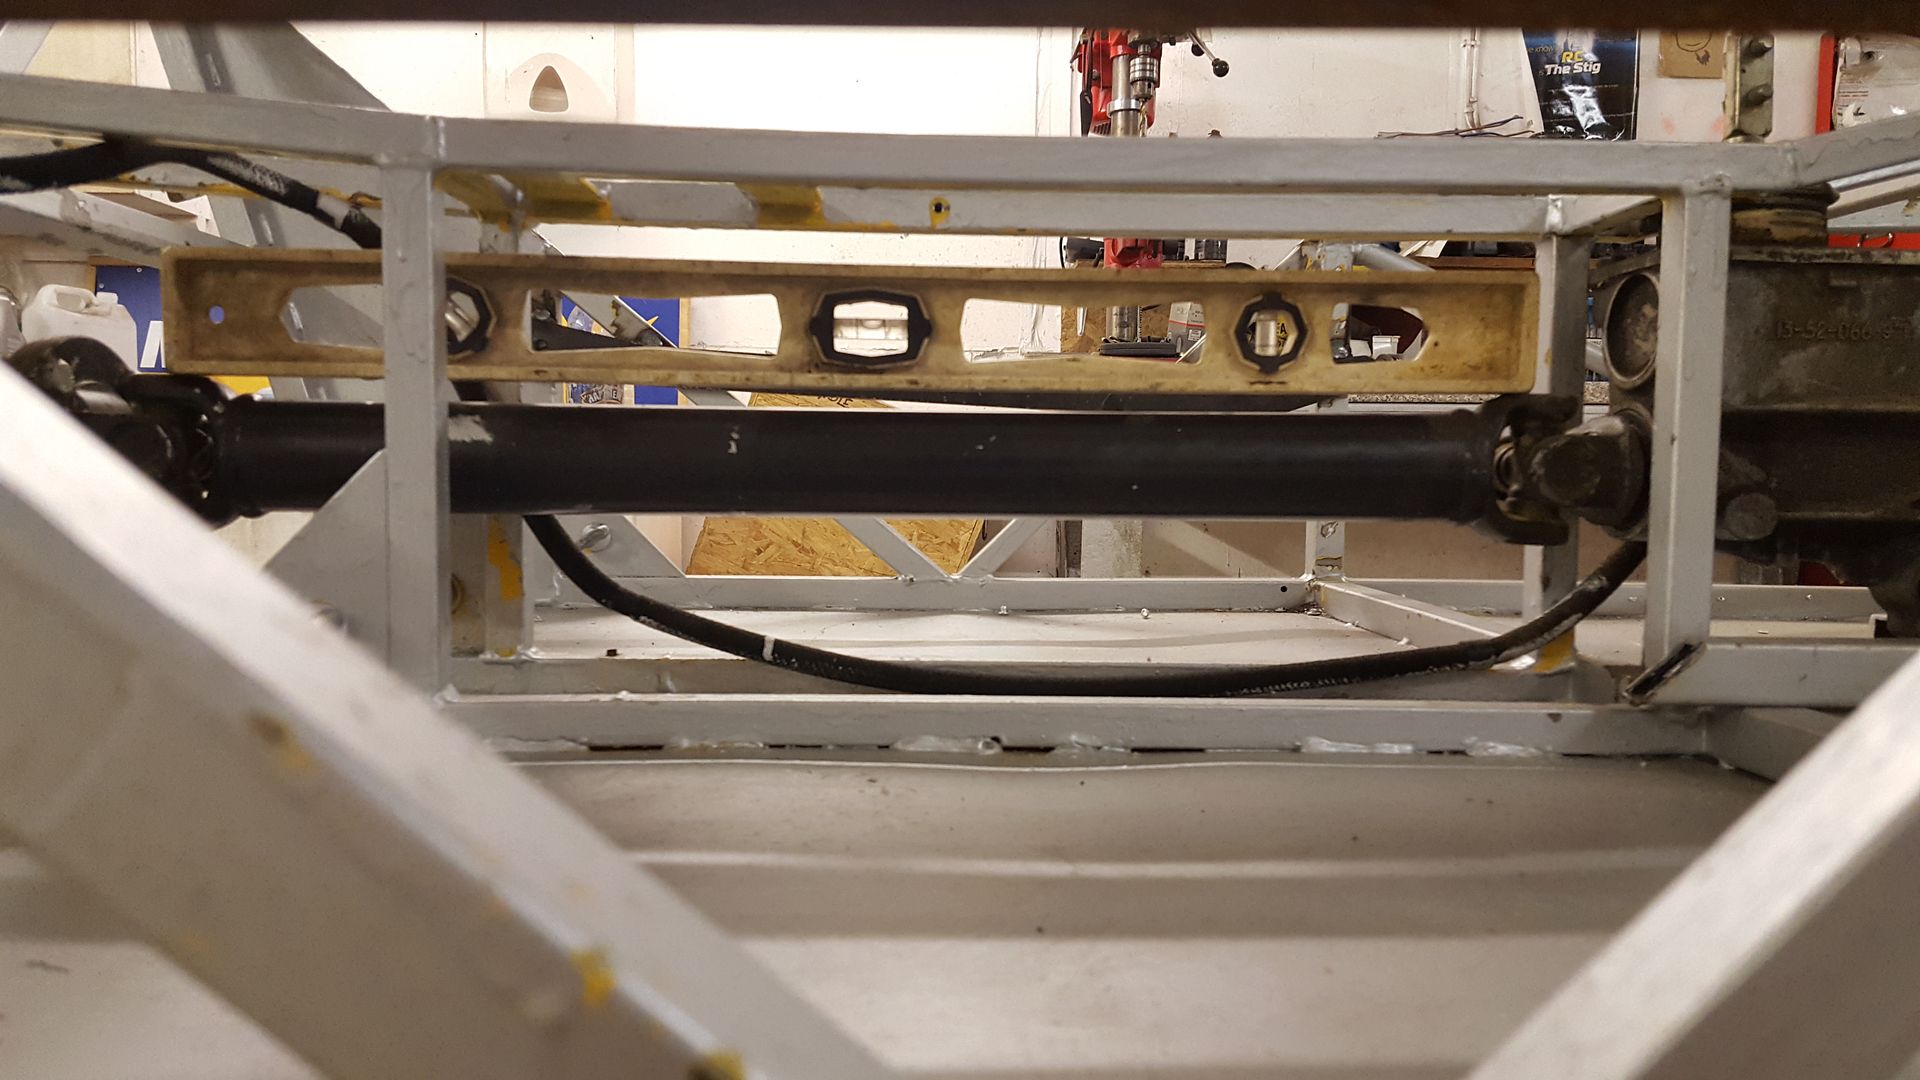
and then the engine level
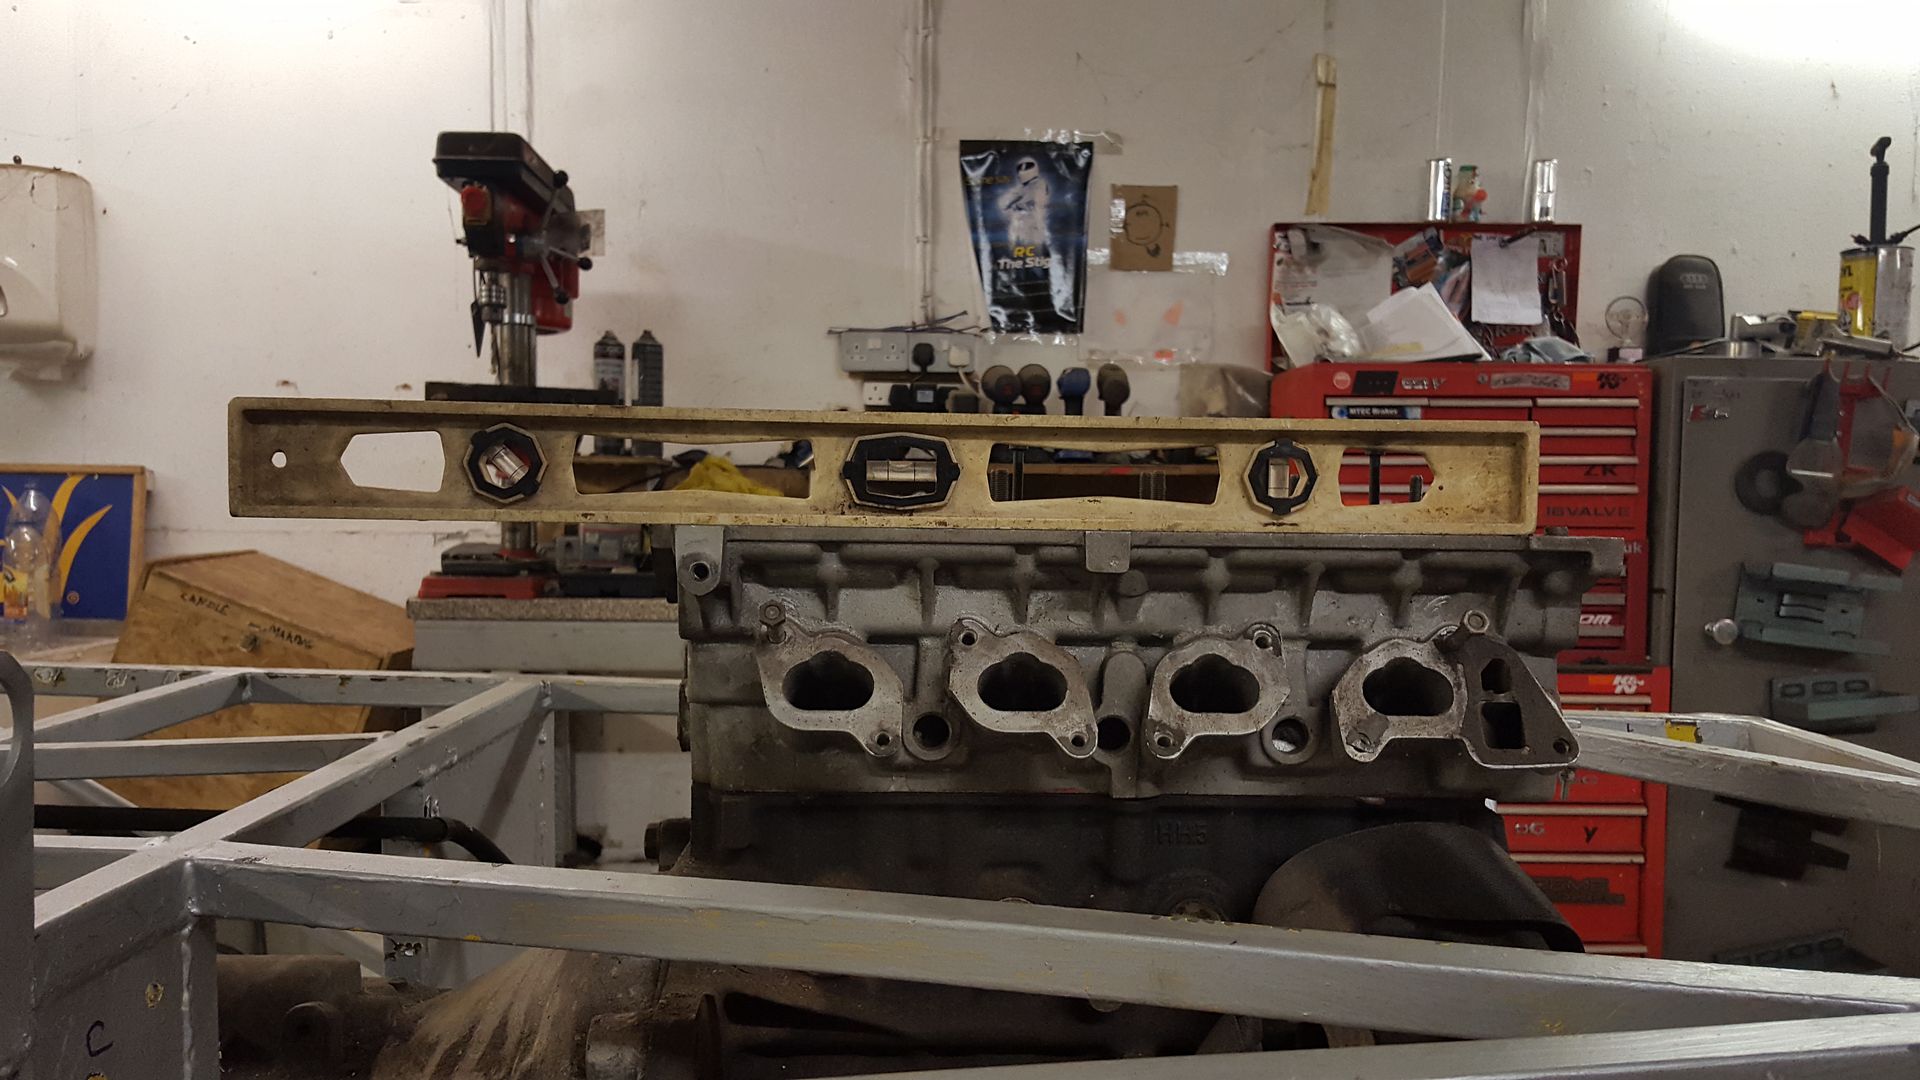
So the crankshaft, gearbox main shaft, propshaft, and diff input are all completly inline?
which leaves the bellhousing about this much lower than the chassis, the sump will be at the same height
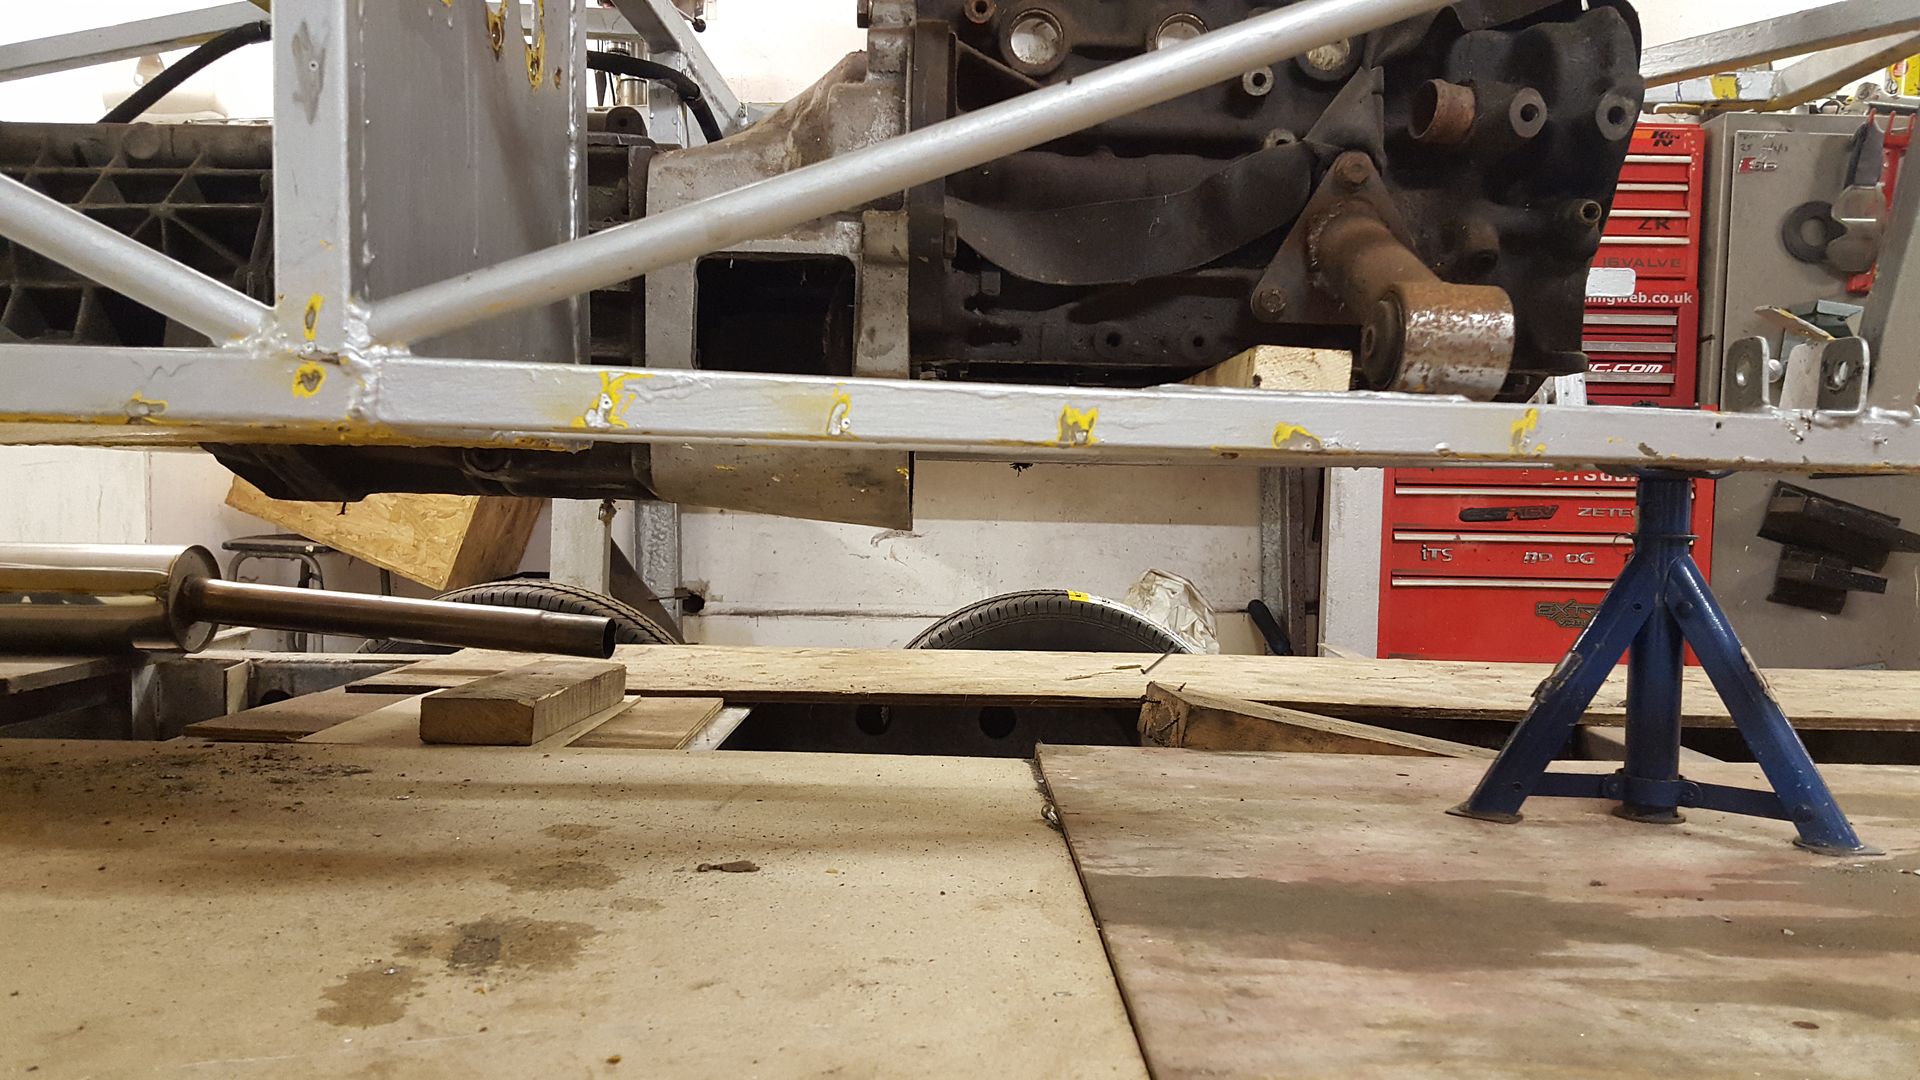
this leaves the rocker cover almost touching the bonnet, so ideally could do with going a few cm down if thats possible?
let me know what you think?
other new, ebay bargains purchases include this i picked up for £30 ( not 100% a go on this as its only 2inch bore, too small?)
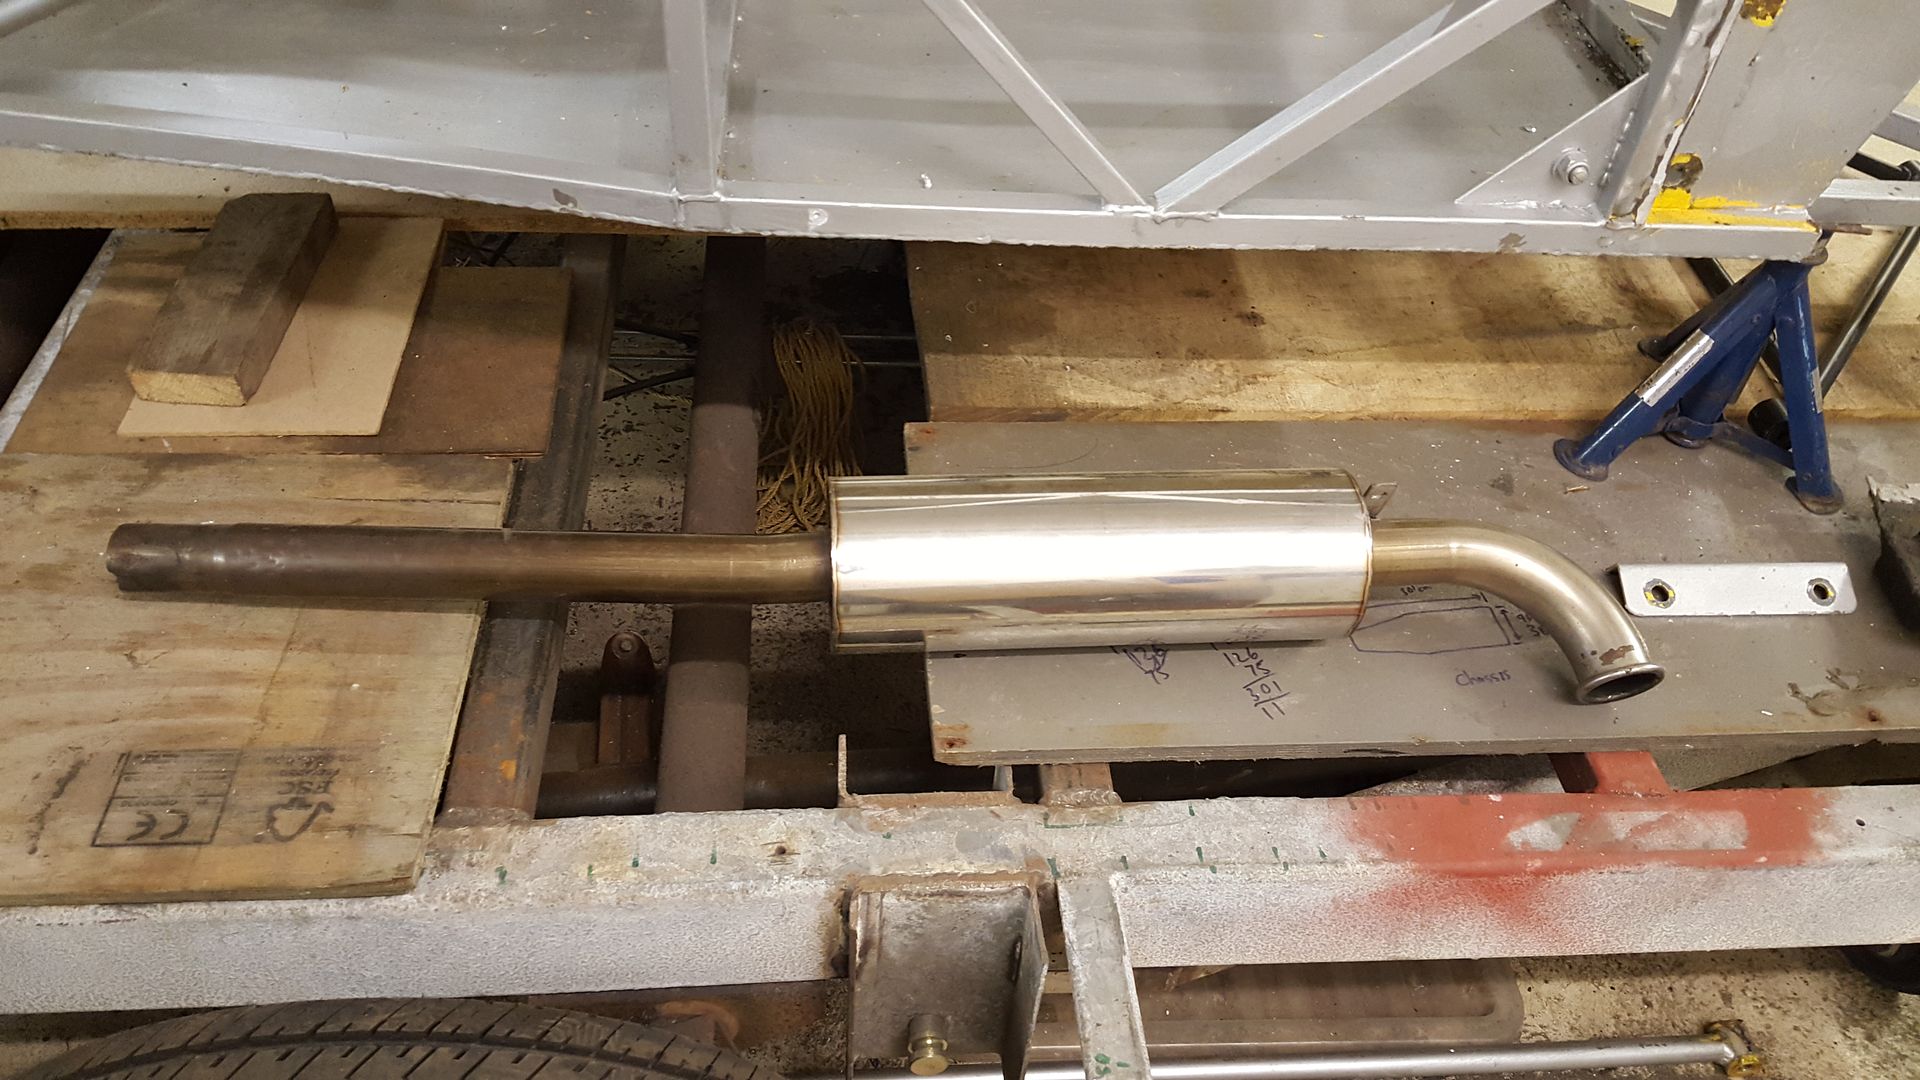
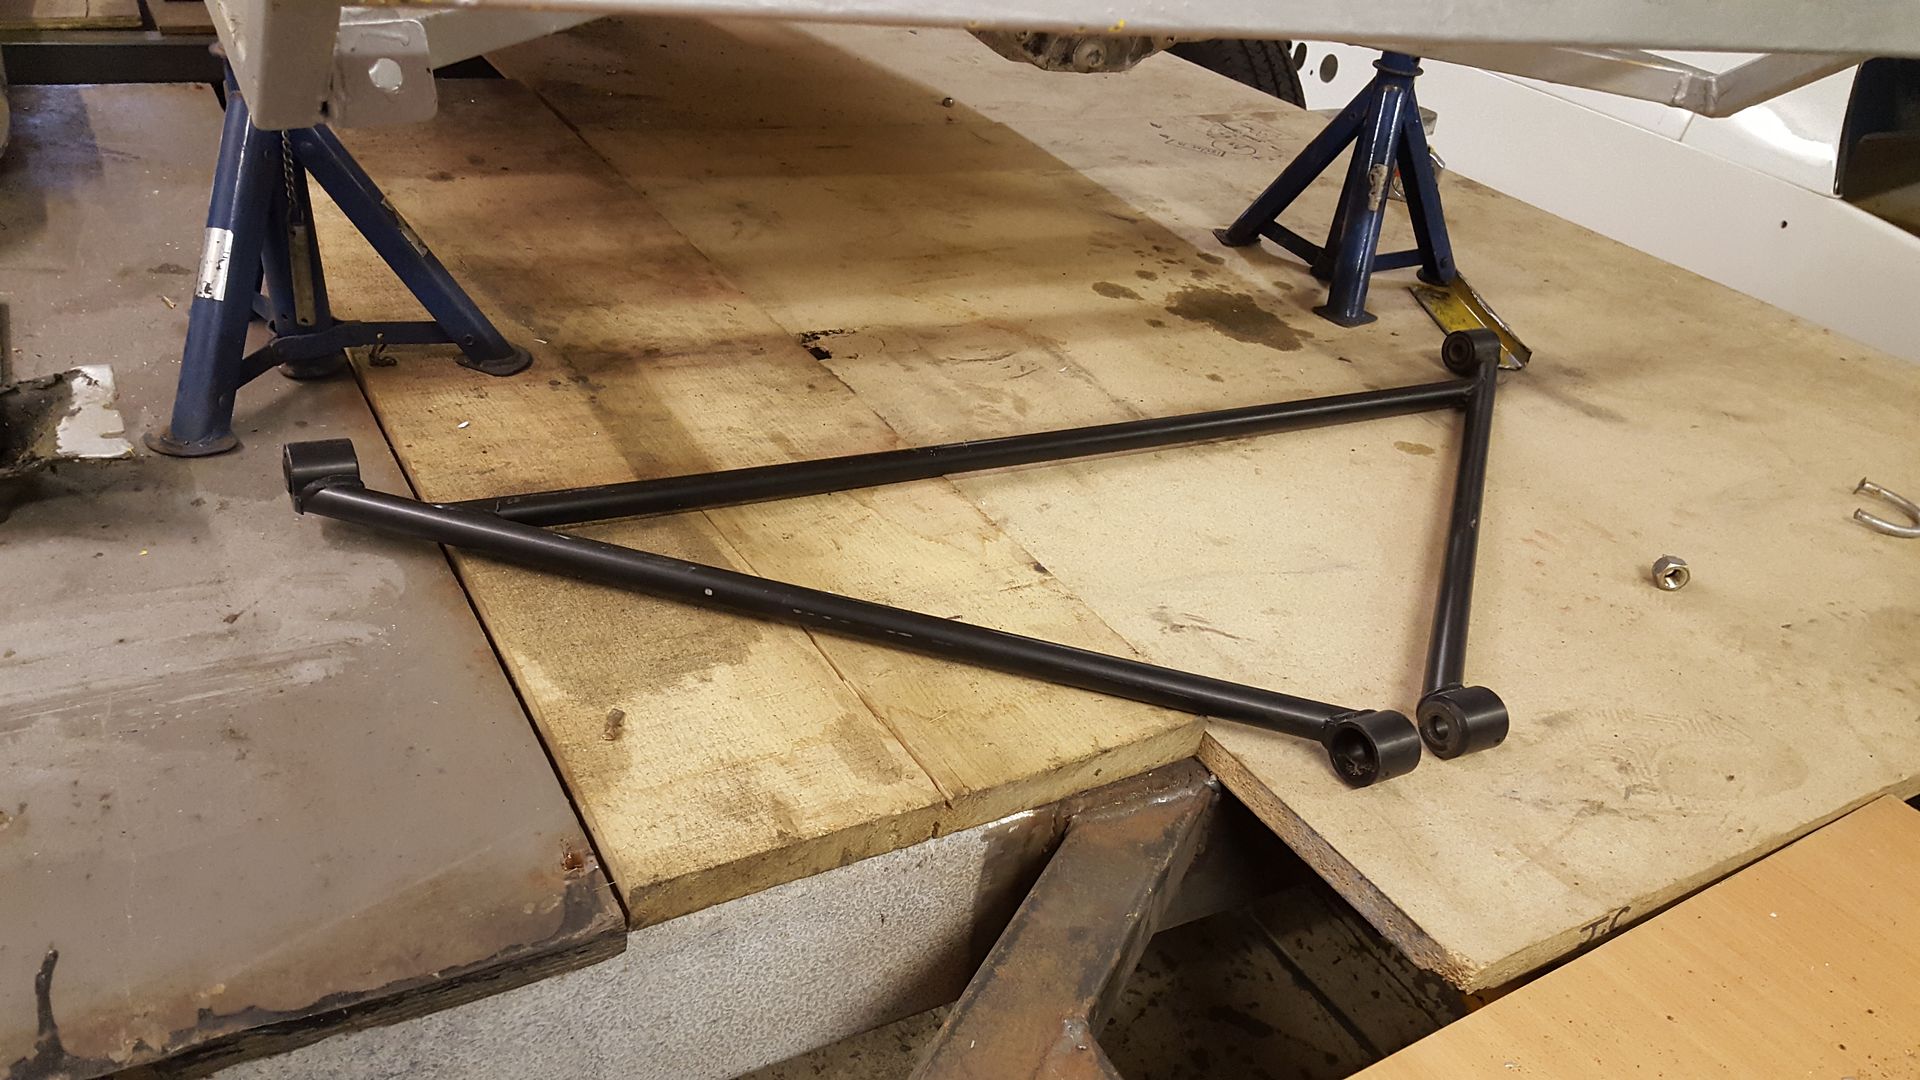
a Caterham A frame for £20! to replace the panhard rod,
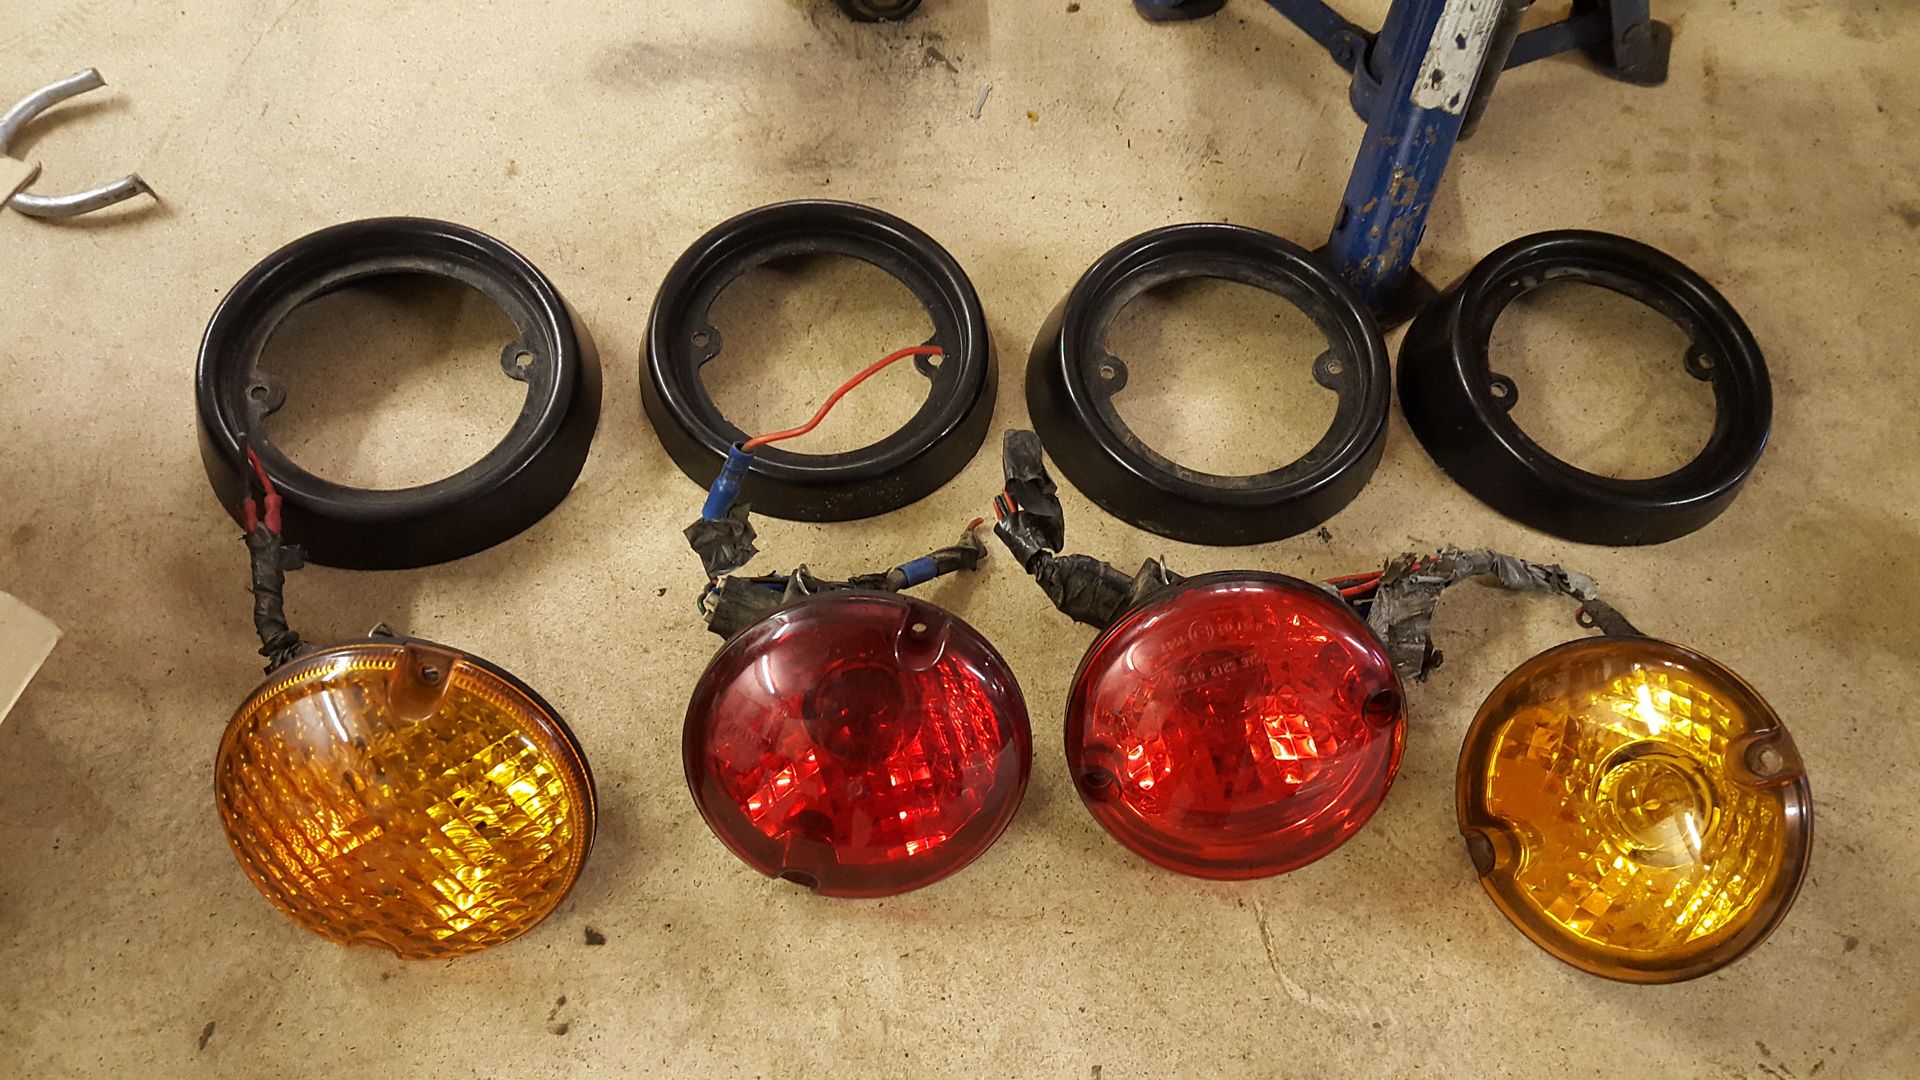
picked up these rear lights for 99p each 
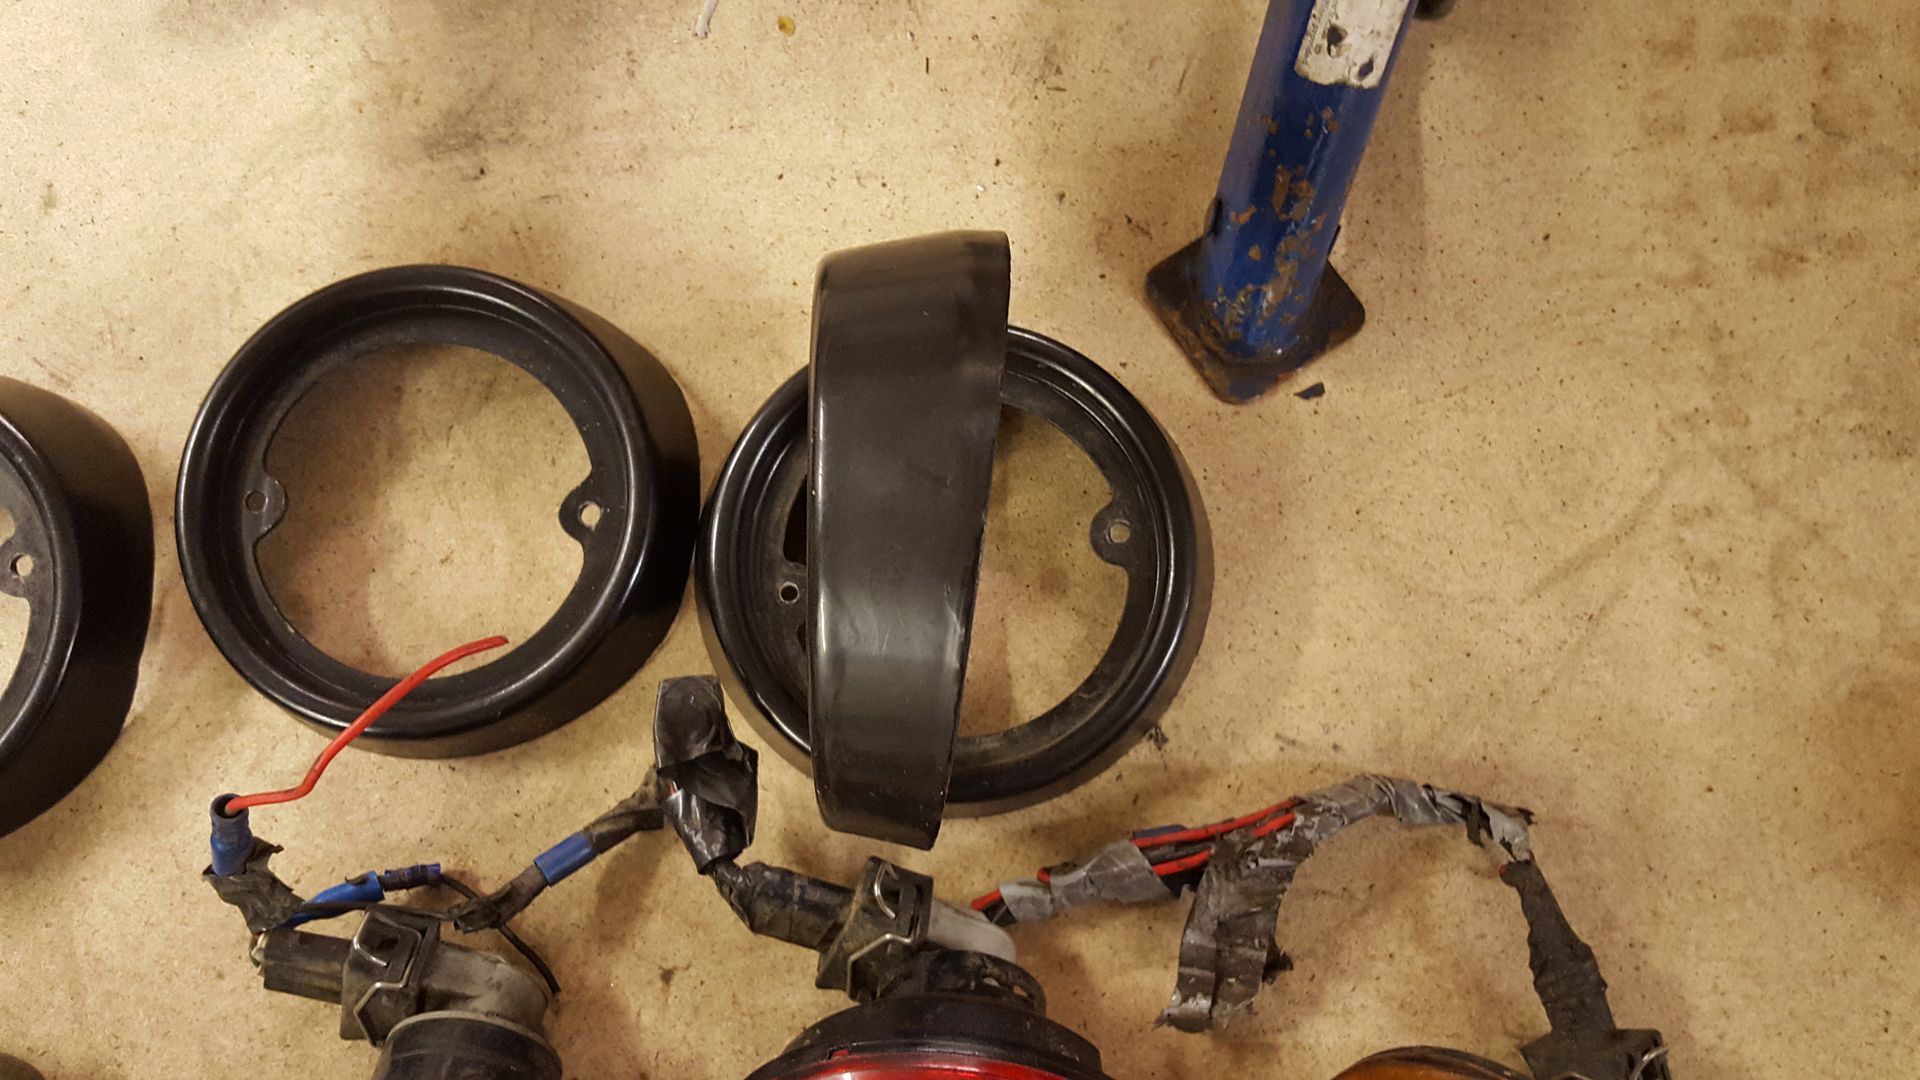
already cut to a angle for IVA
and going on with other necessities, some Caterham real carbon fibre front mud guards! £280 each new, weigh 600g, and ebay bargin of £41 for the pair

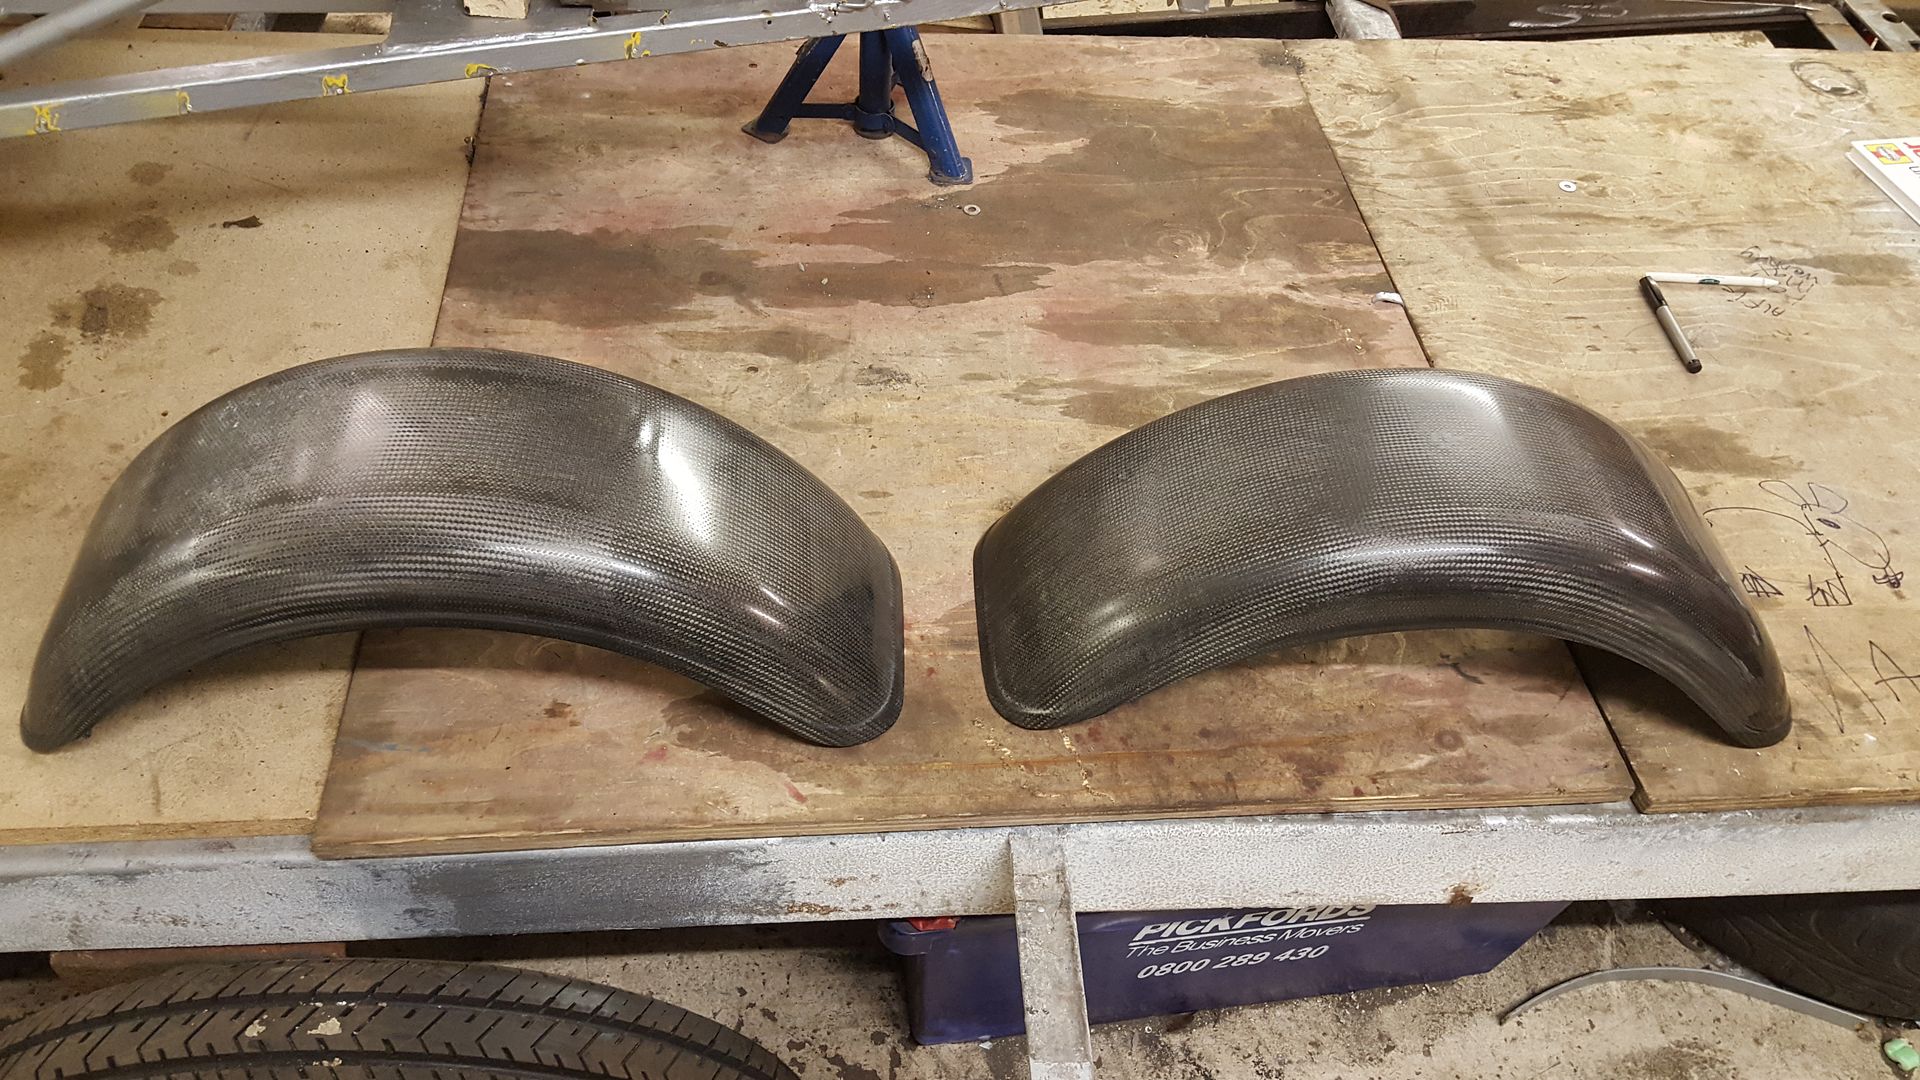
the gell coat has gone cloudy,
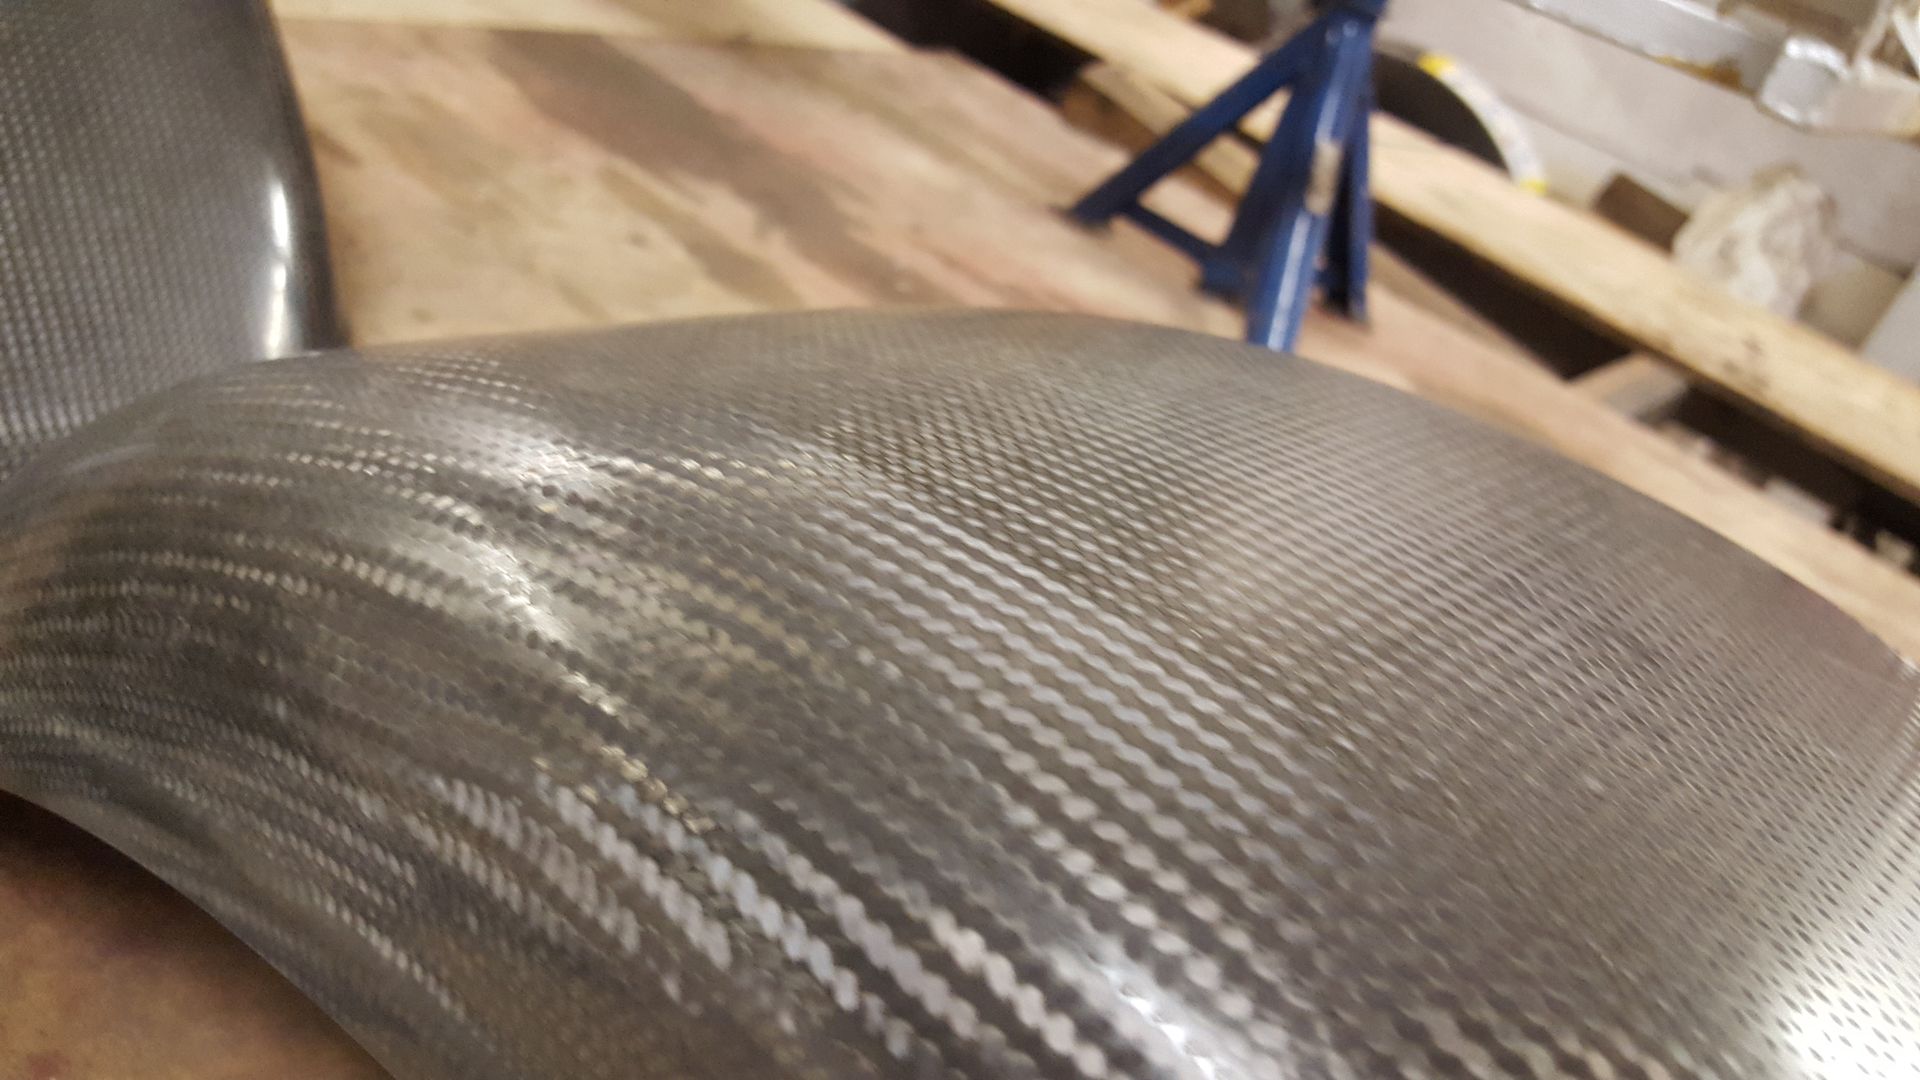
but i've had experience with this before and if you re lacquer this it looks like brand new 
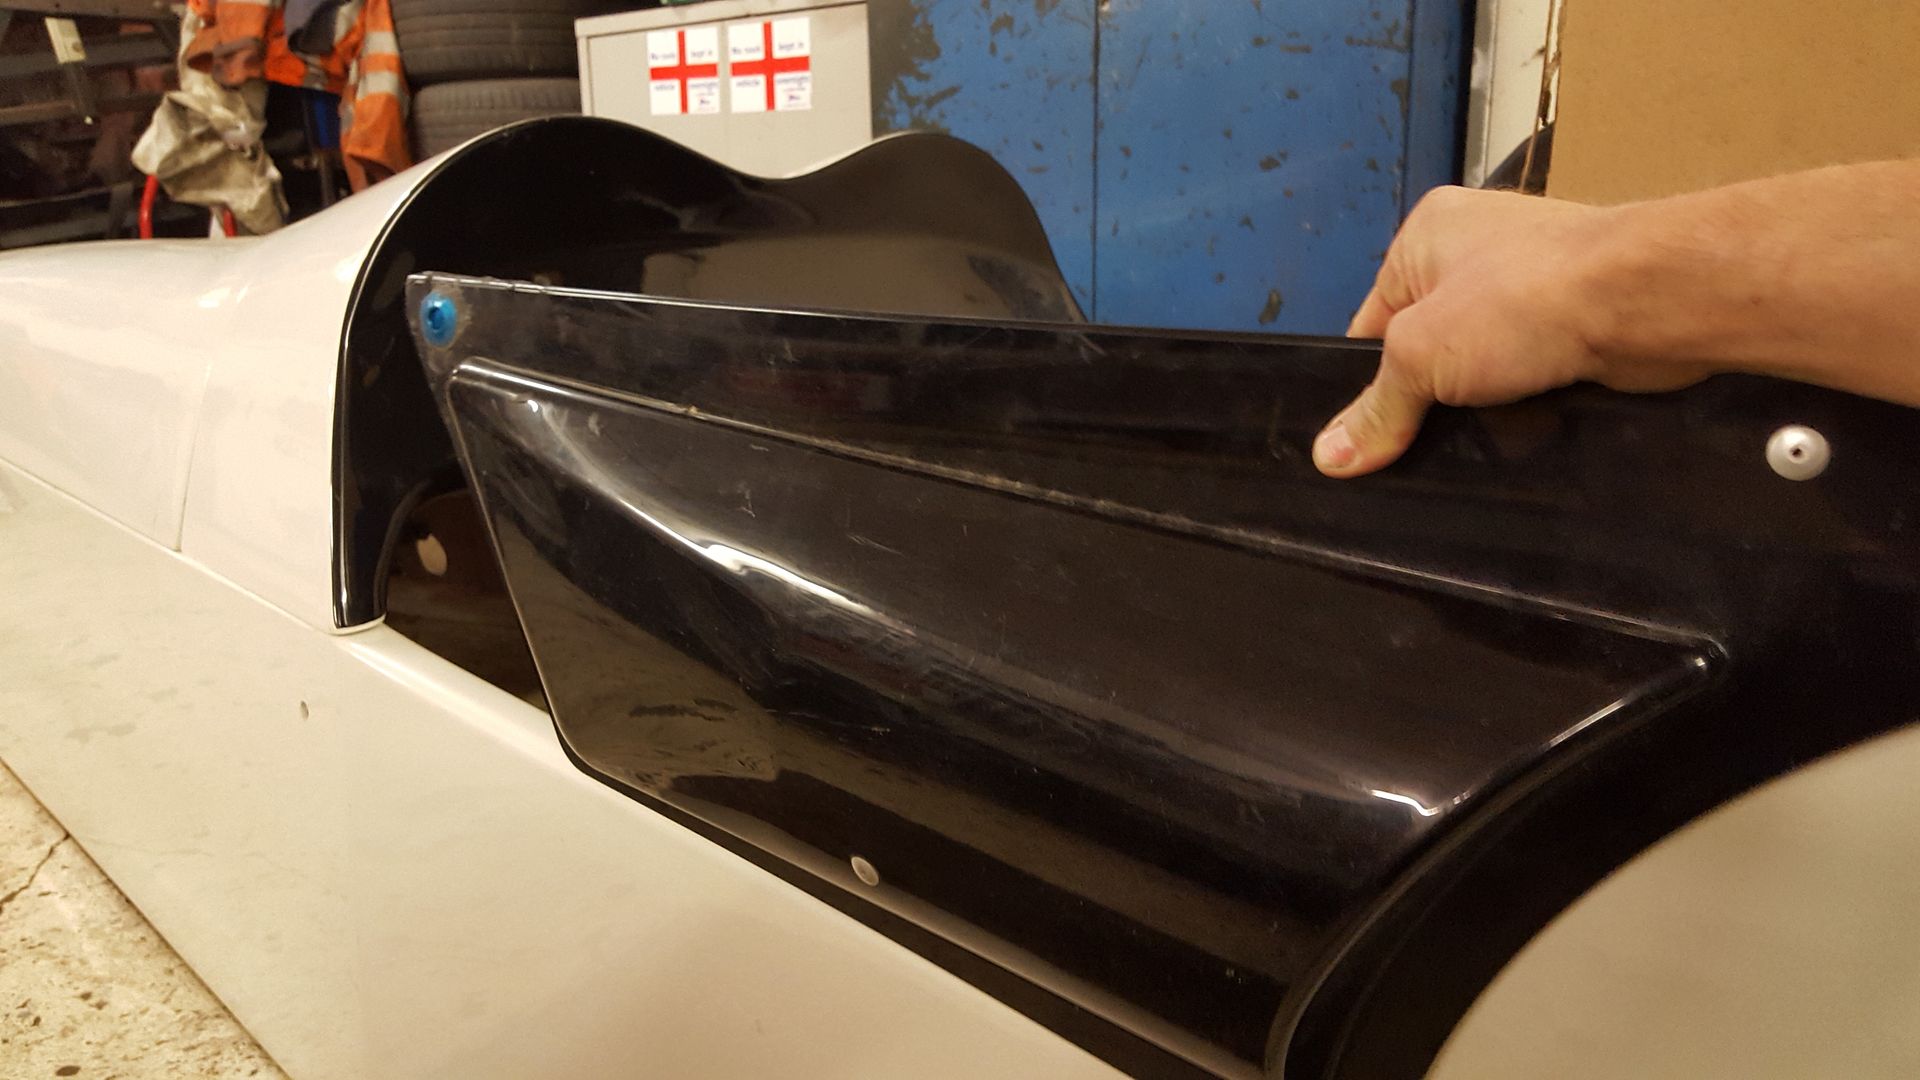
i also picked some Caterham fibreglass doors for £16
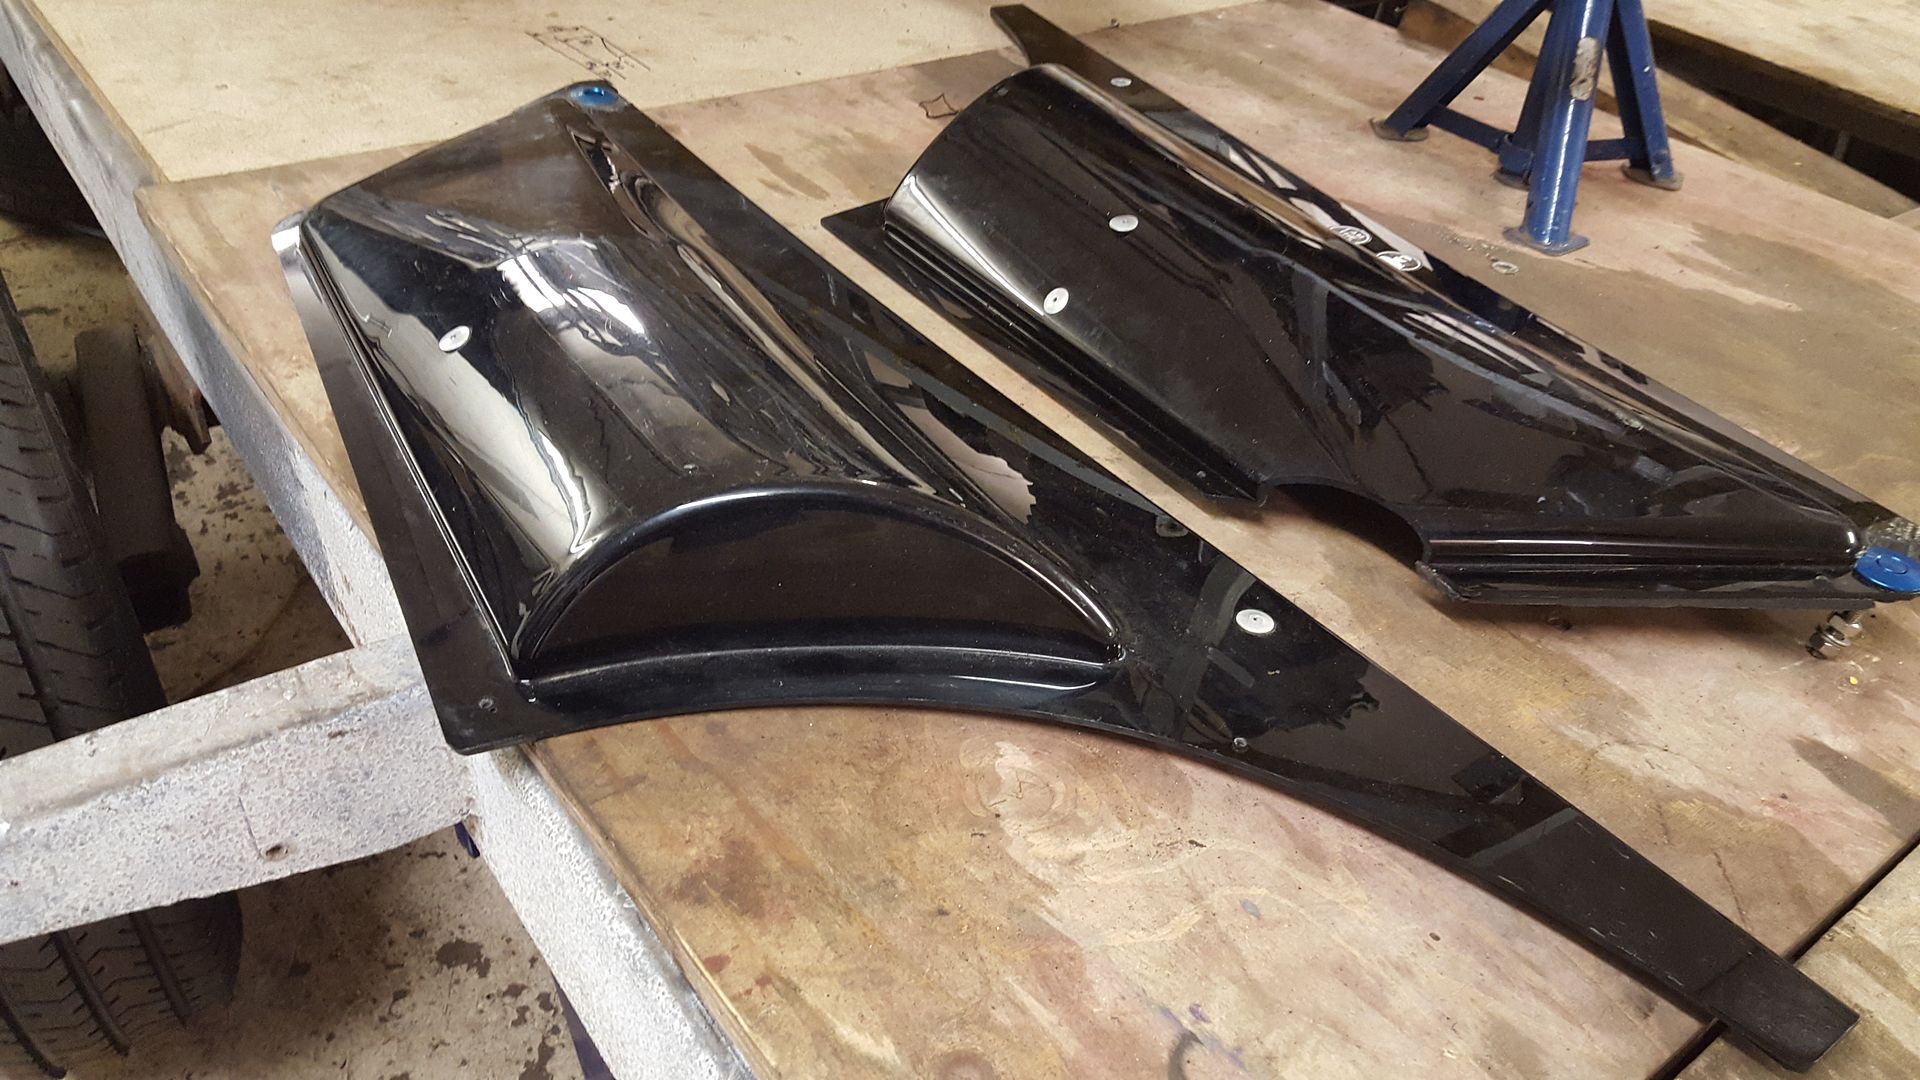
but as it turns out my cockpit is obviously longer so these wont fit
happy with progress so far 
|
|
|
Quinten
|
| posted on 7/5/17 at 09:31 PM |

|
|
Loving the 'can do' attitude! Keep it up!
|
|
|
super-ron
|
| posted on 8/5/17 at 08:01 AM |

|
|
quote:
Originally posted by Quinten
Loving the 'can do' attitude! Keep it up!
Glad you're enjoying progress, I know noone really knows who I am as a new member and it might just seem like I'm chopping the crap out of
everything as I go.... but hopefully my workmanship will speak for itself once the modifications starts 
[Edited on 8/5/17 by super-ron]
|
|
|
Dick Axtell
|
| posted on 8/5/17 at 08:46 AM |

|
|
What a Workshop!!
Am very envious of your workshop. You seem to have plenty of room - and the right equipment (which really helps!!). Nonetheless, great job, thanks for
posting some very interesting pics.
Looking at your preliminary engine/box installation, I reckon you'll need to get the it approx. 5 inches further back. That gearchange needs to
be behind that trans tunnel cross-piece. I had to use one of those "remote" gearchange adaptors -
 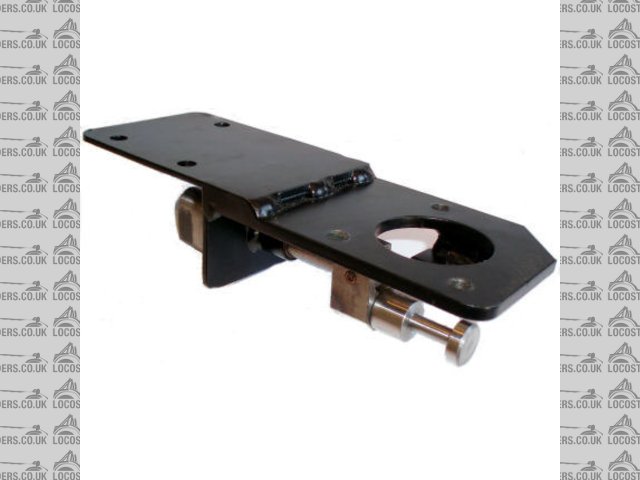
Gear_Lever_Extn
[Edited on 8/5/17 by Dick Axtell]
[Edited on 8/5/17 by Dick Axtell]
Work-in-Progress: Changed to Zetec + T9. Still trying!!
|
|
|
super-ron
|
| posted on 8/5/17 at 11:10 AM |

|
|
quote:
Originally posted by Dick Axtell
Am very envious of your workshop. You seem to have plenty of room - and the right equipment (which really helps!!). Nonetheless, great job, thanks for
posting some very interesting pics.
Looking at your preliminary engine/box installation, I reckon you'll need to get the it approx. 5 inches further back. That gearchange needs to
be behind that trans tunnel cross-piece. I had to use one of those "remote" gearchange adaptors -
 
Gear_Lever_Extn
[Edited on 8/5/17 by Dick Axtell]
[Edited on 8/5/17 by Dick Axtell]
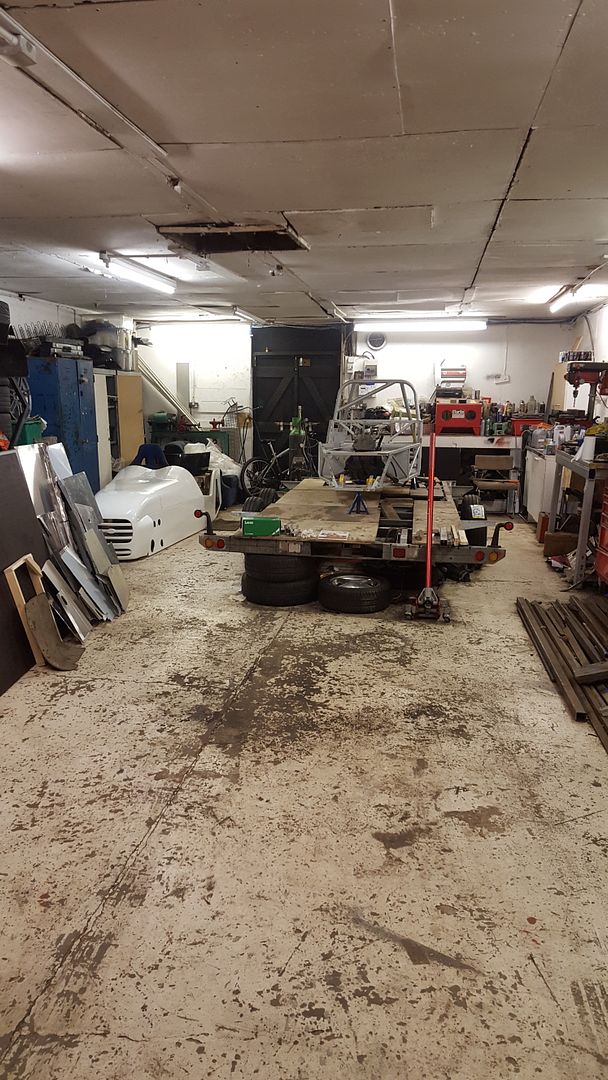
Thanks, it is my little paradise, it's about 1000sq feet and fully loaded workshop all for me
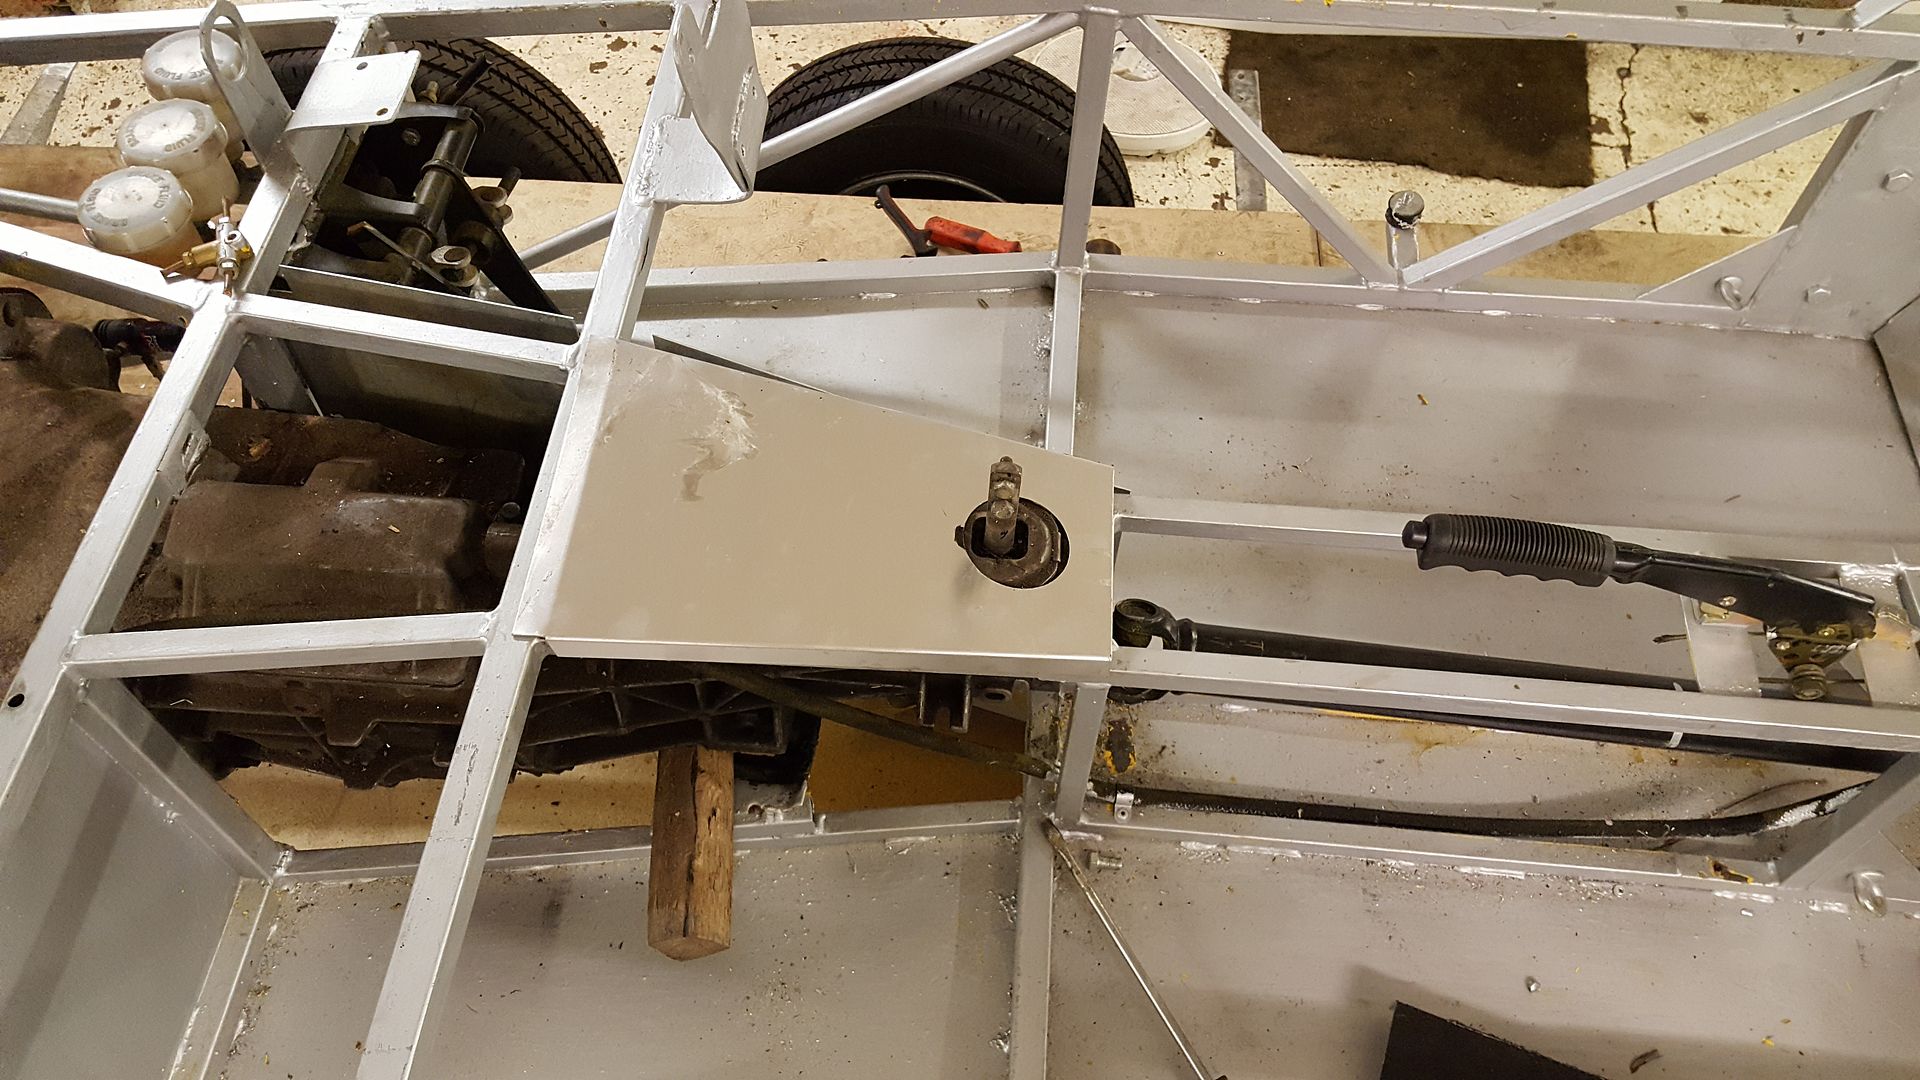
I did think the gear stick was a little far forward when I was sitting in the car, but looking at other locost's they all seem to be a bit under
the dash. and curiously the pre cut pieces lined up with the hole
But I like the look of that extension piece.
|
|
|
Angel Acevedo
|
| posted on 8/5/17 at 03:23 PM |

|
|
Hi Super-ron...
Welcome to the forum, congrats on your buying perofrmance.
regarding your Propshaft, you may want to have a little angle on both engine and diff, this to avoid wearing your UJ´s.
There are several pages on the internet that address this, one example is
http://www.classictruckshop.com/technical/technical-articals/4-drive-line-geometry-101
Hope this helps.
AA
Beware of what you wish.. for it may come true....
|
|
|
super-ron
|
| posted on 8/5/17 at 09:36 PM |

|
|
a quick one tonight. i wanted to get the engine central down the car, the massive T5 is loads bigger than the type 9 the tunnel was designed but it
only fouls in a couple of places. this is as central as the engine can get though
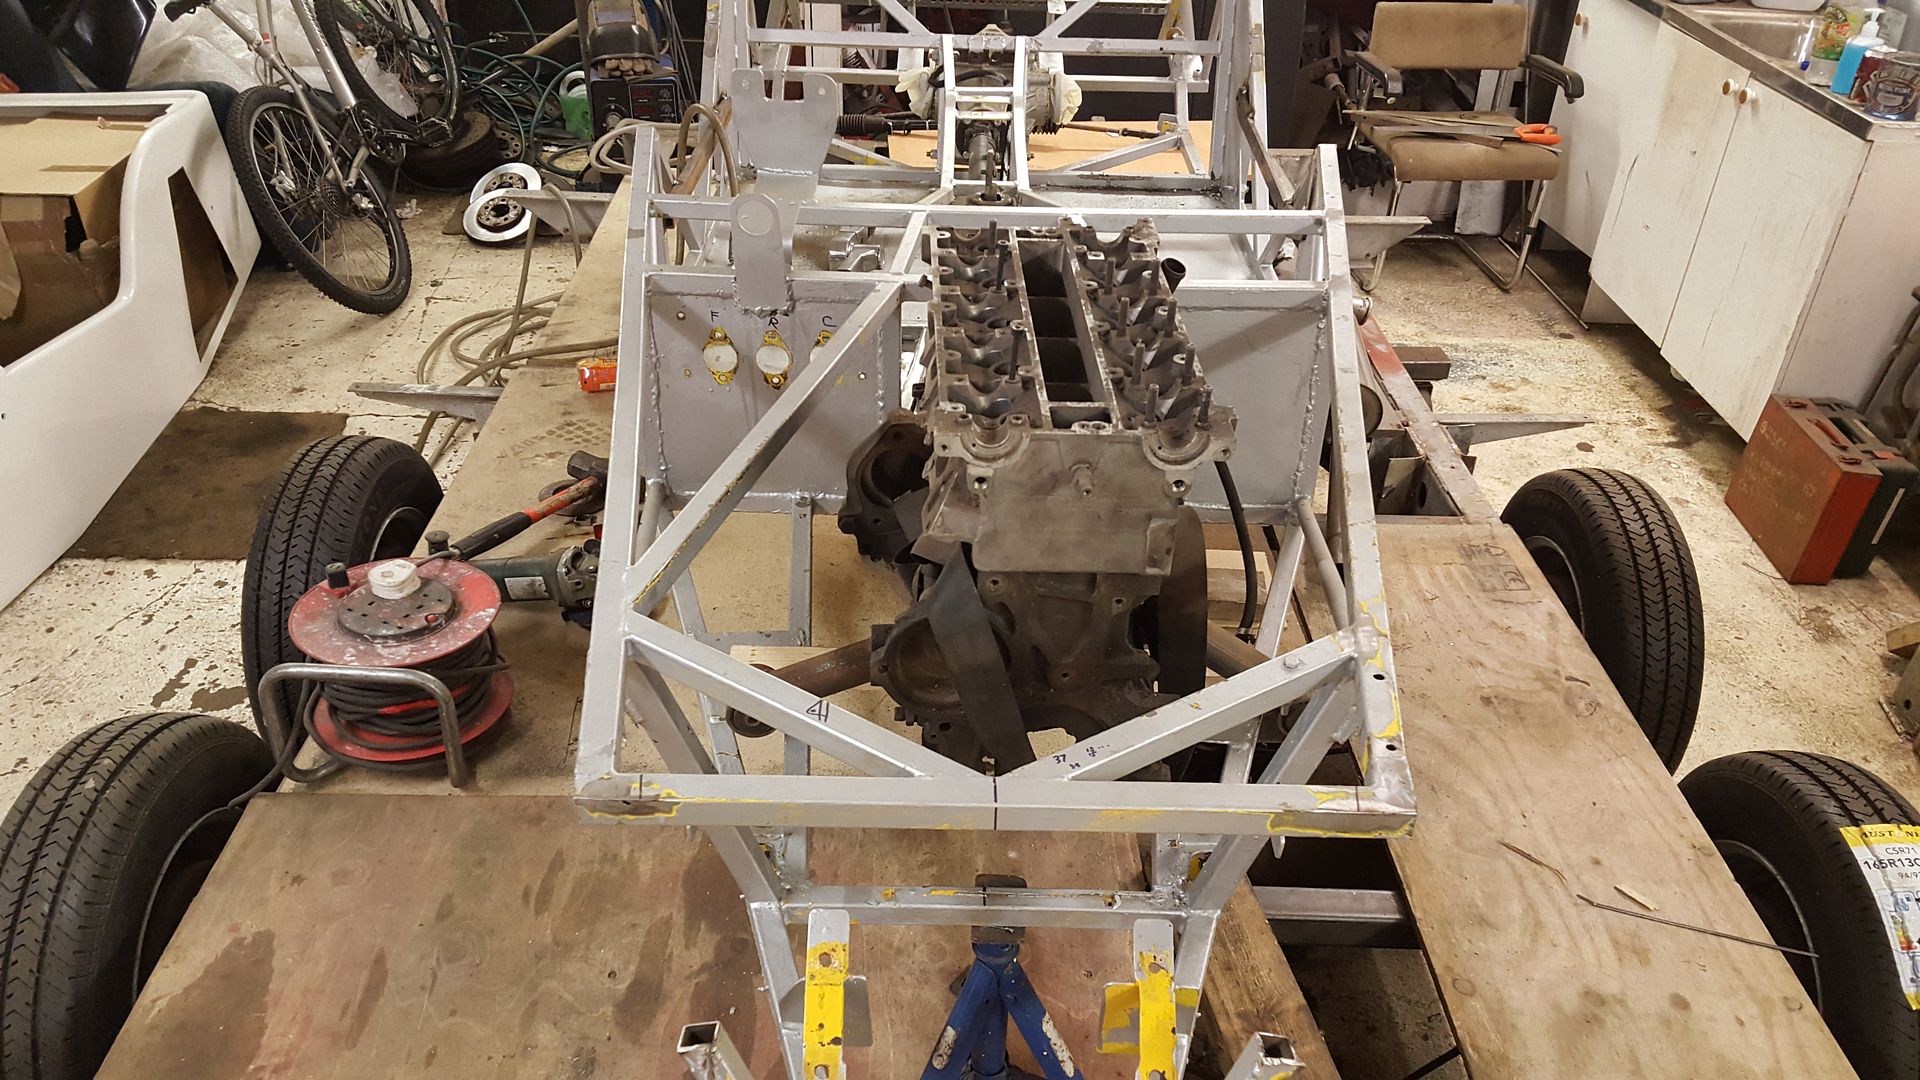
because it fouls here
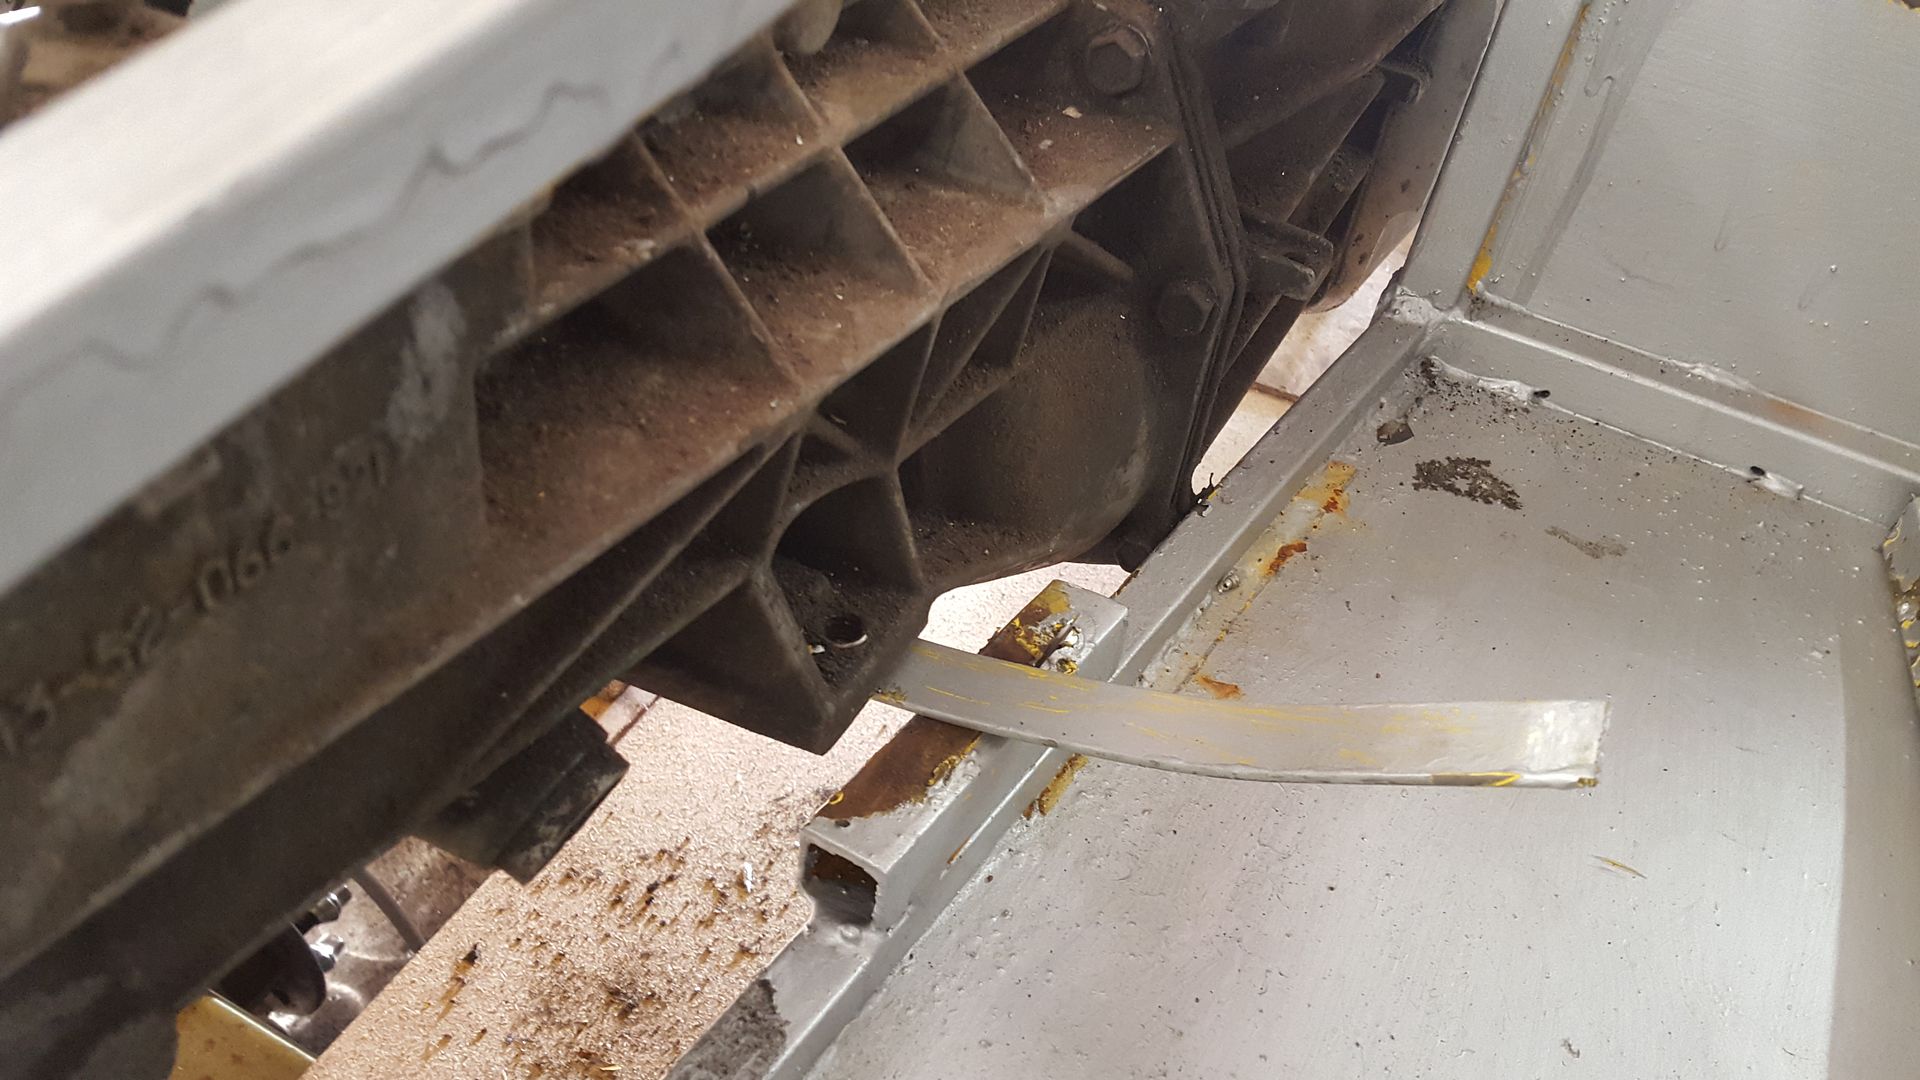
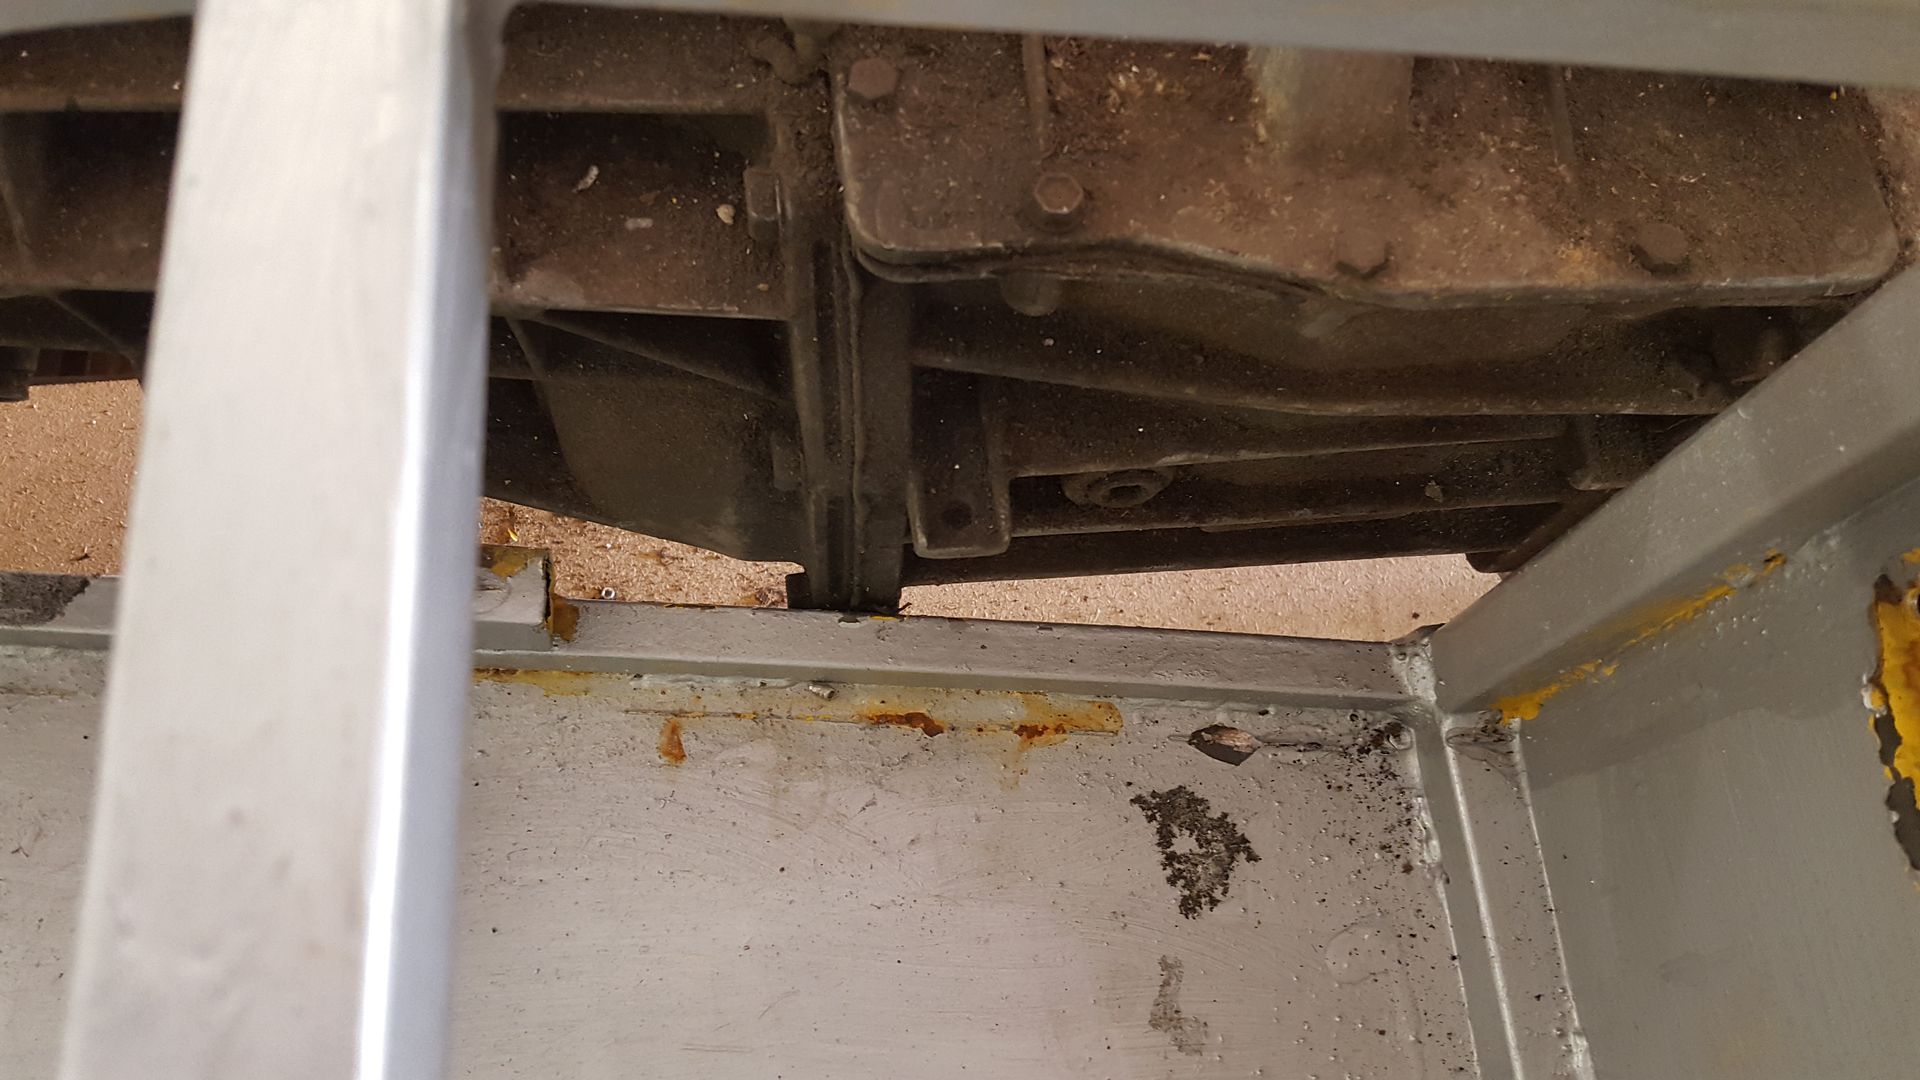
grinded all the paint back and cut a piece of 25x25 box to length to move that rail inboard
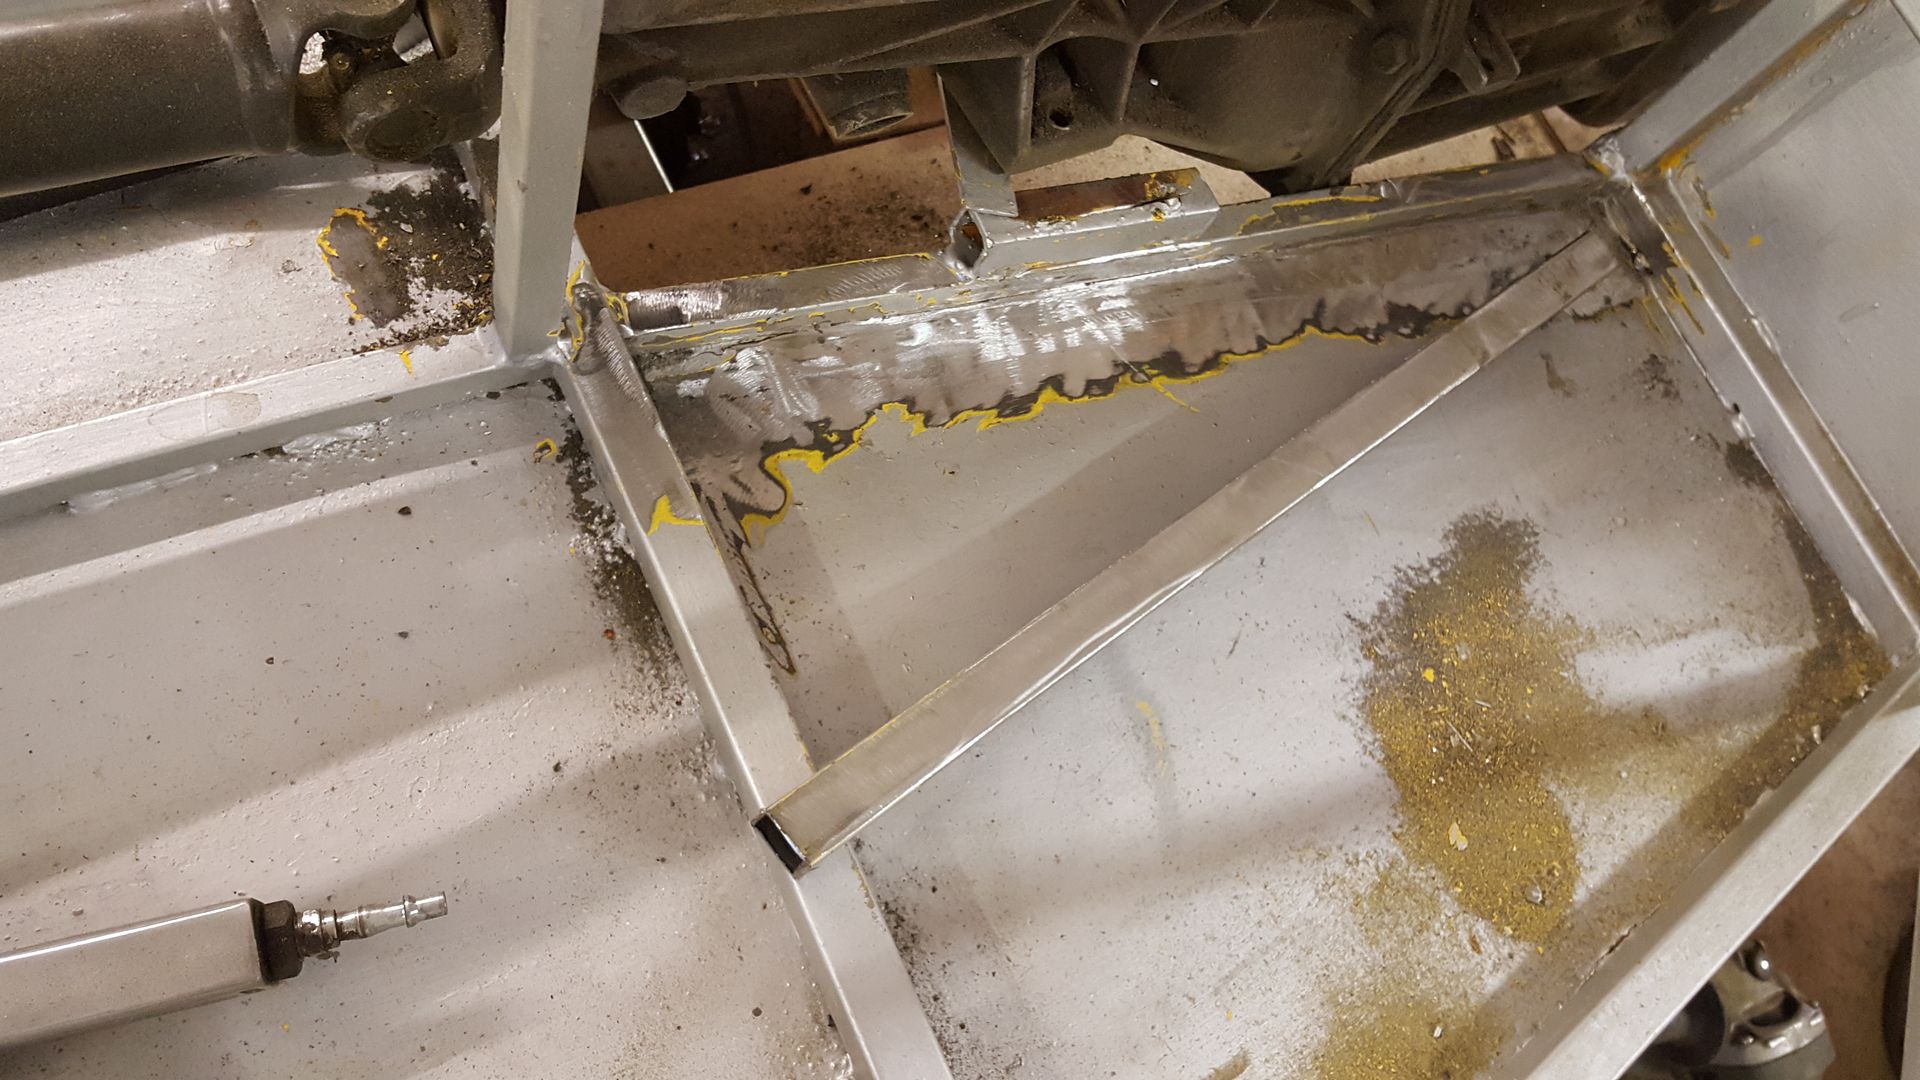
welded it in and cut the old rail out, i will be cutting it completly out and welding it up properly when the gearbox is back out
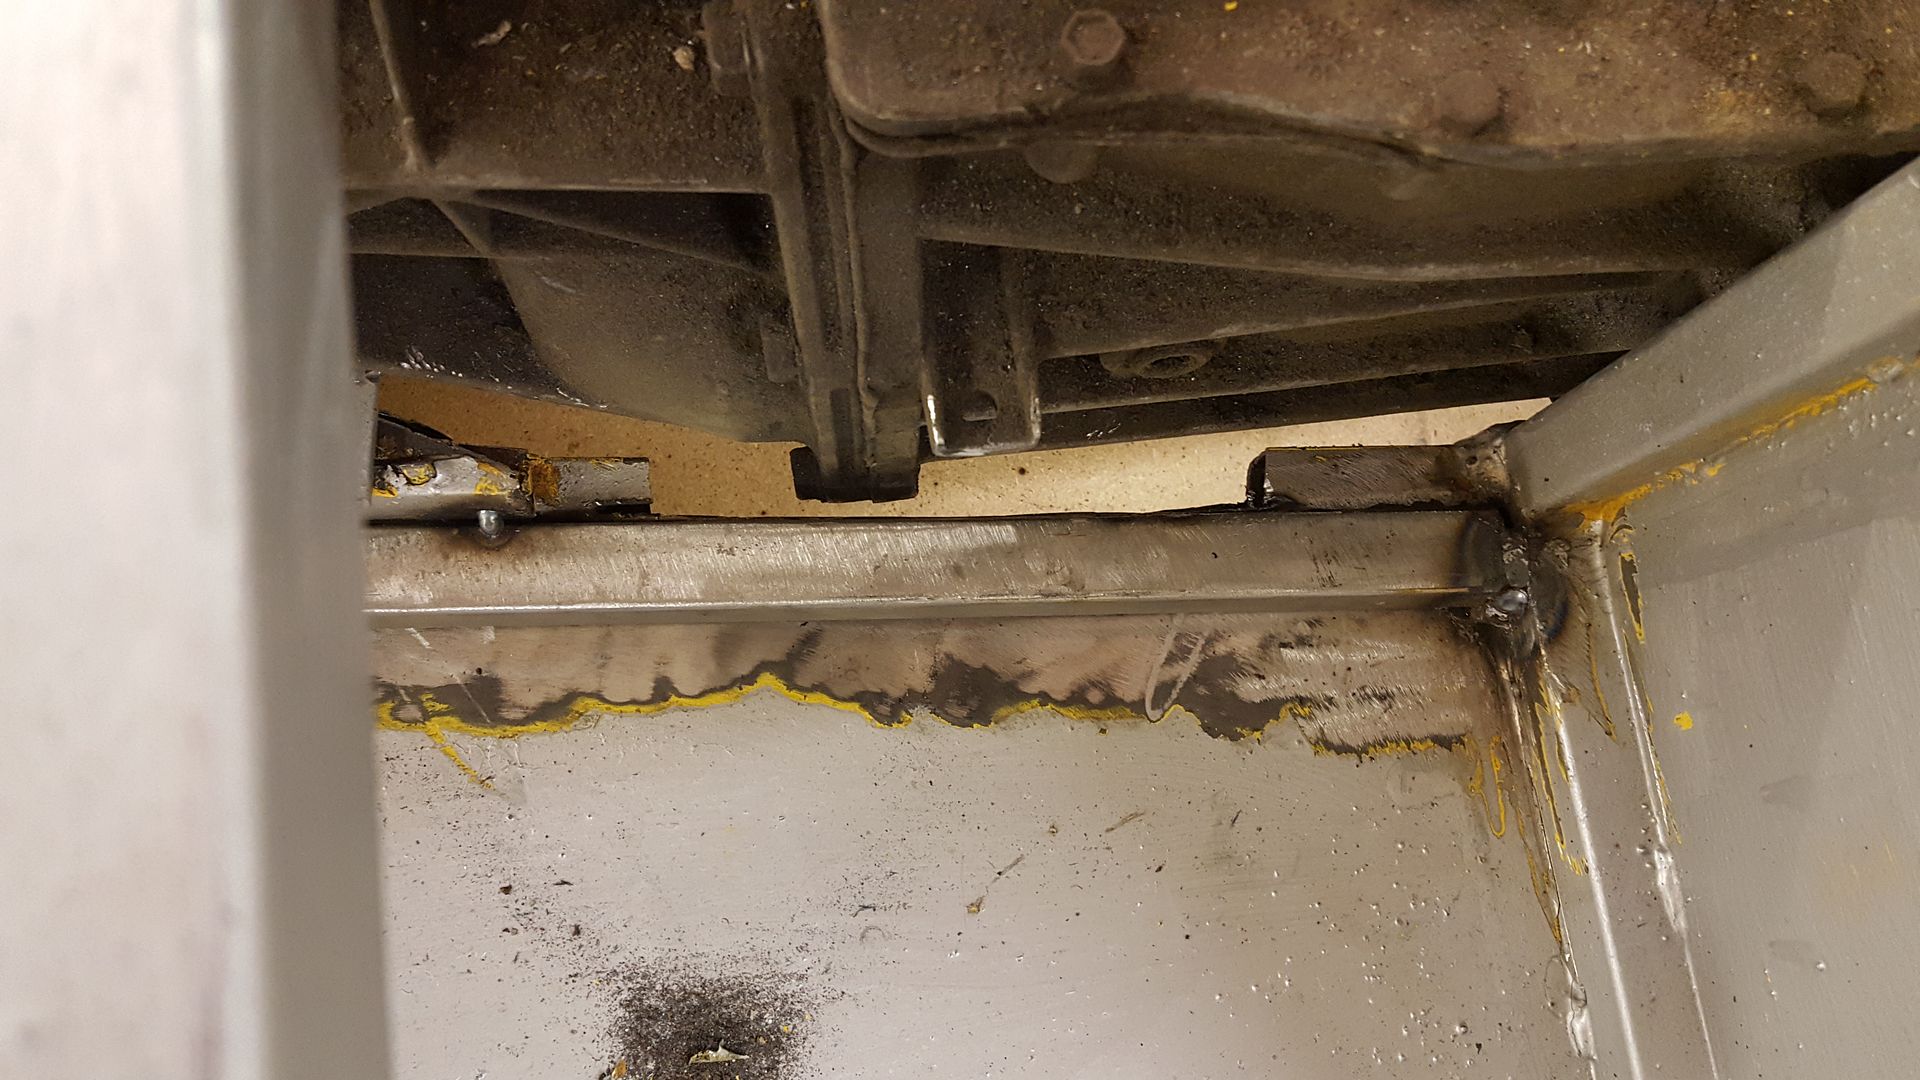
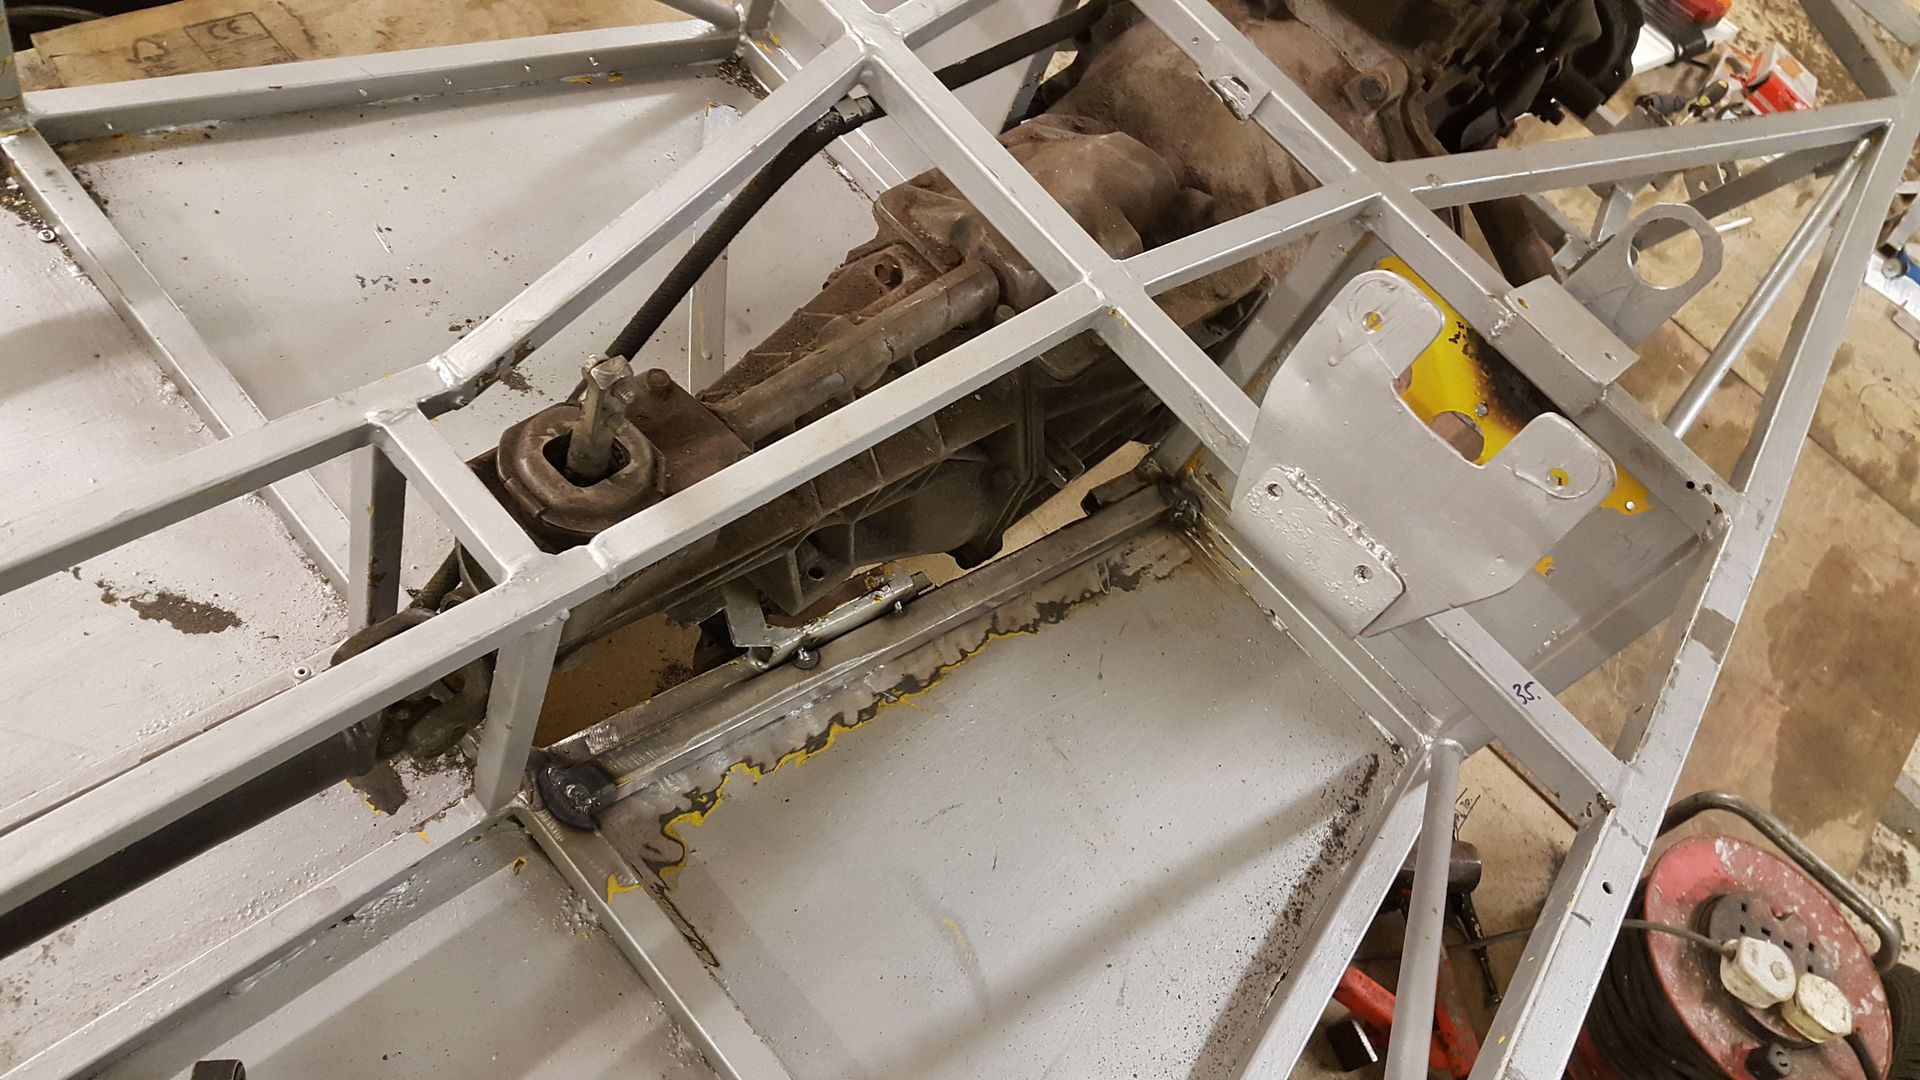
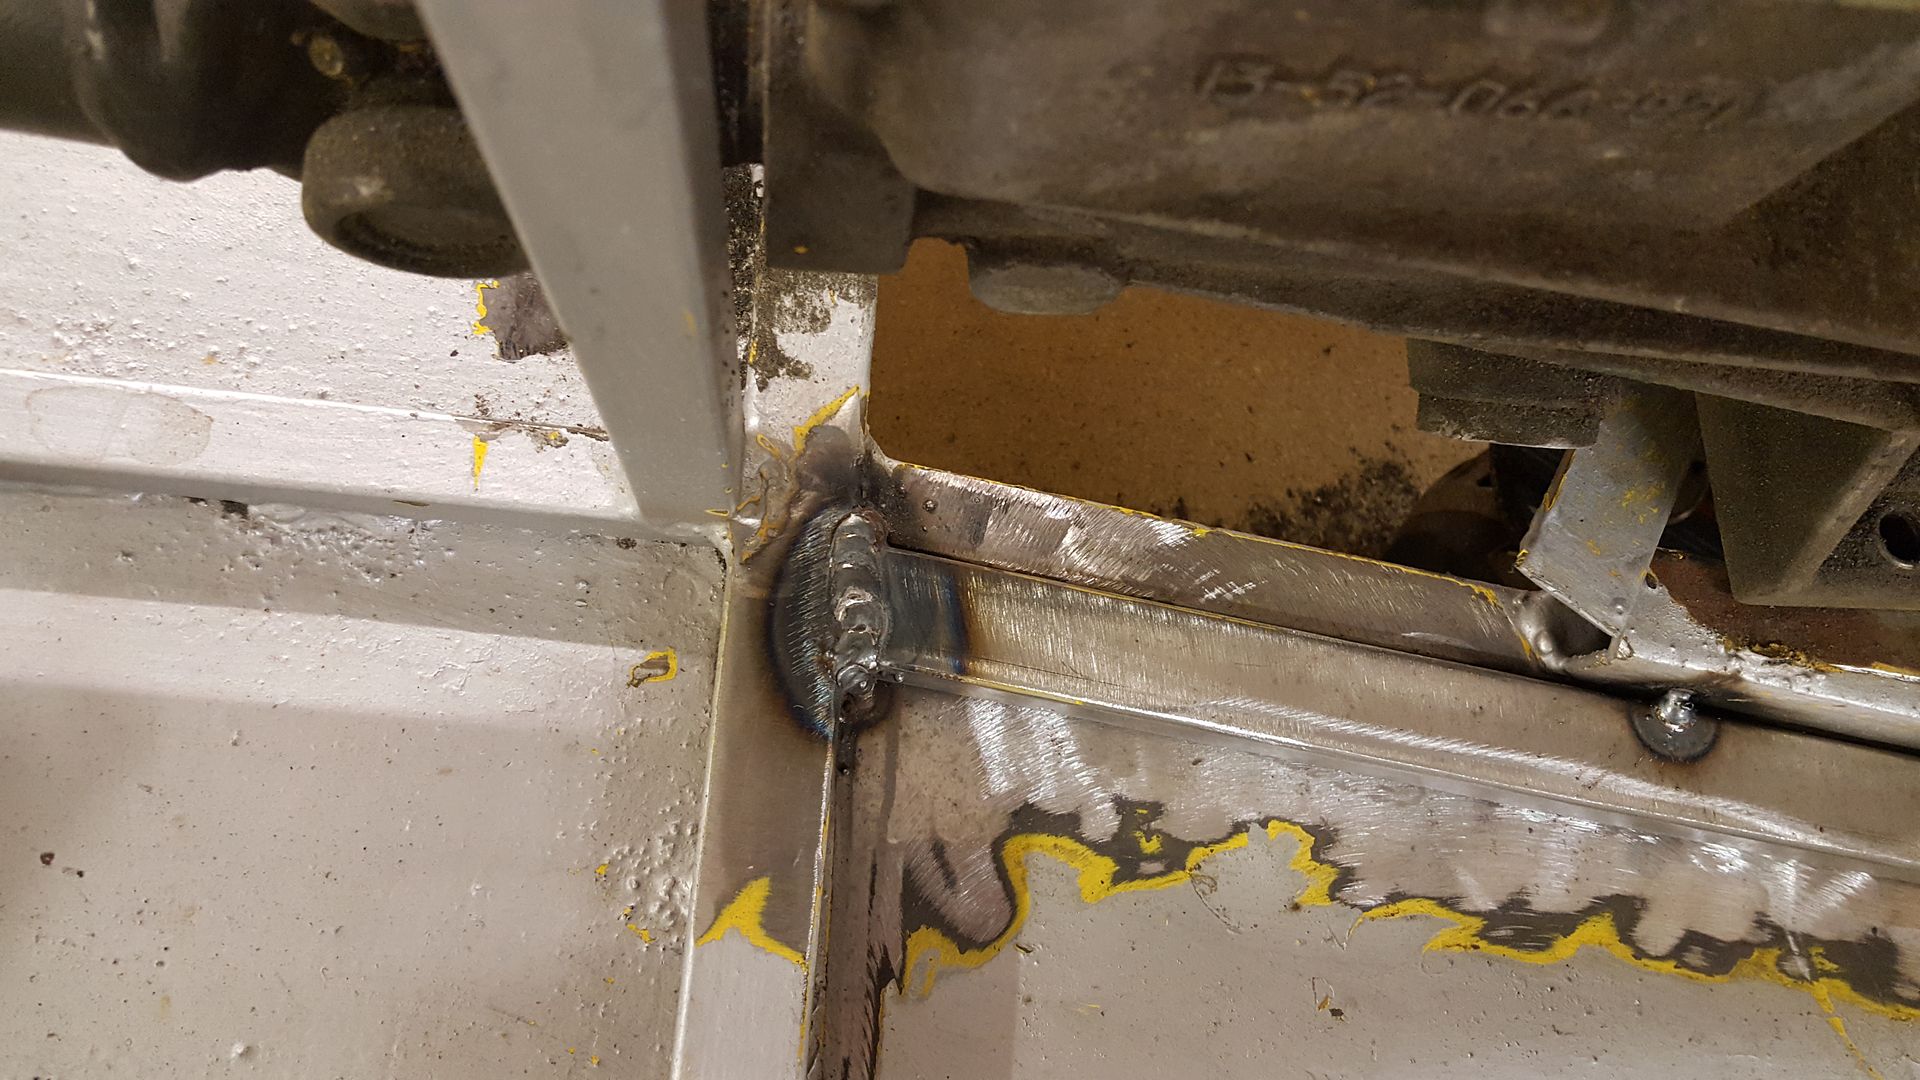
theres one point it just touches on the upright so i might move that upright over the same amount as the horizontal and all will be fine
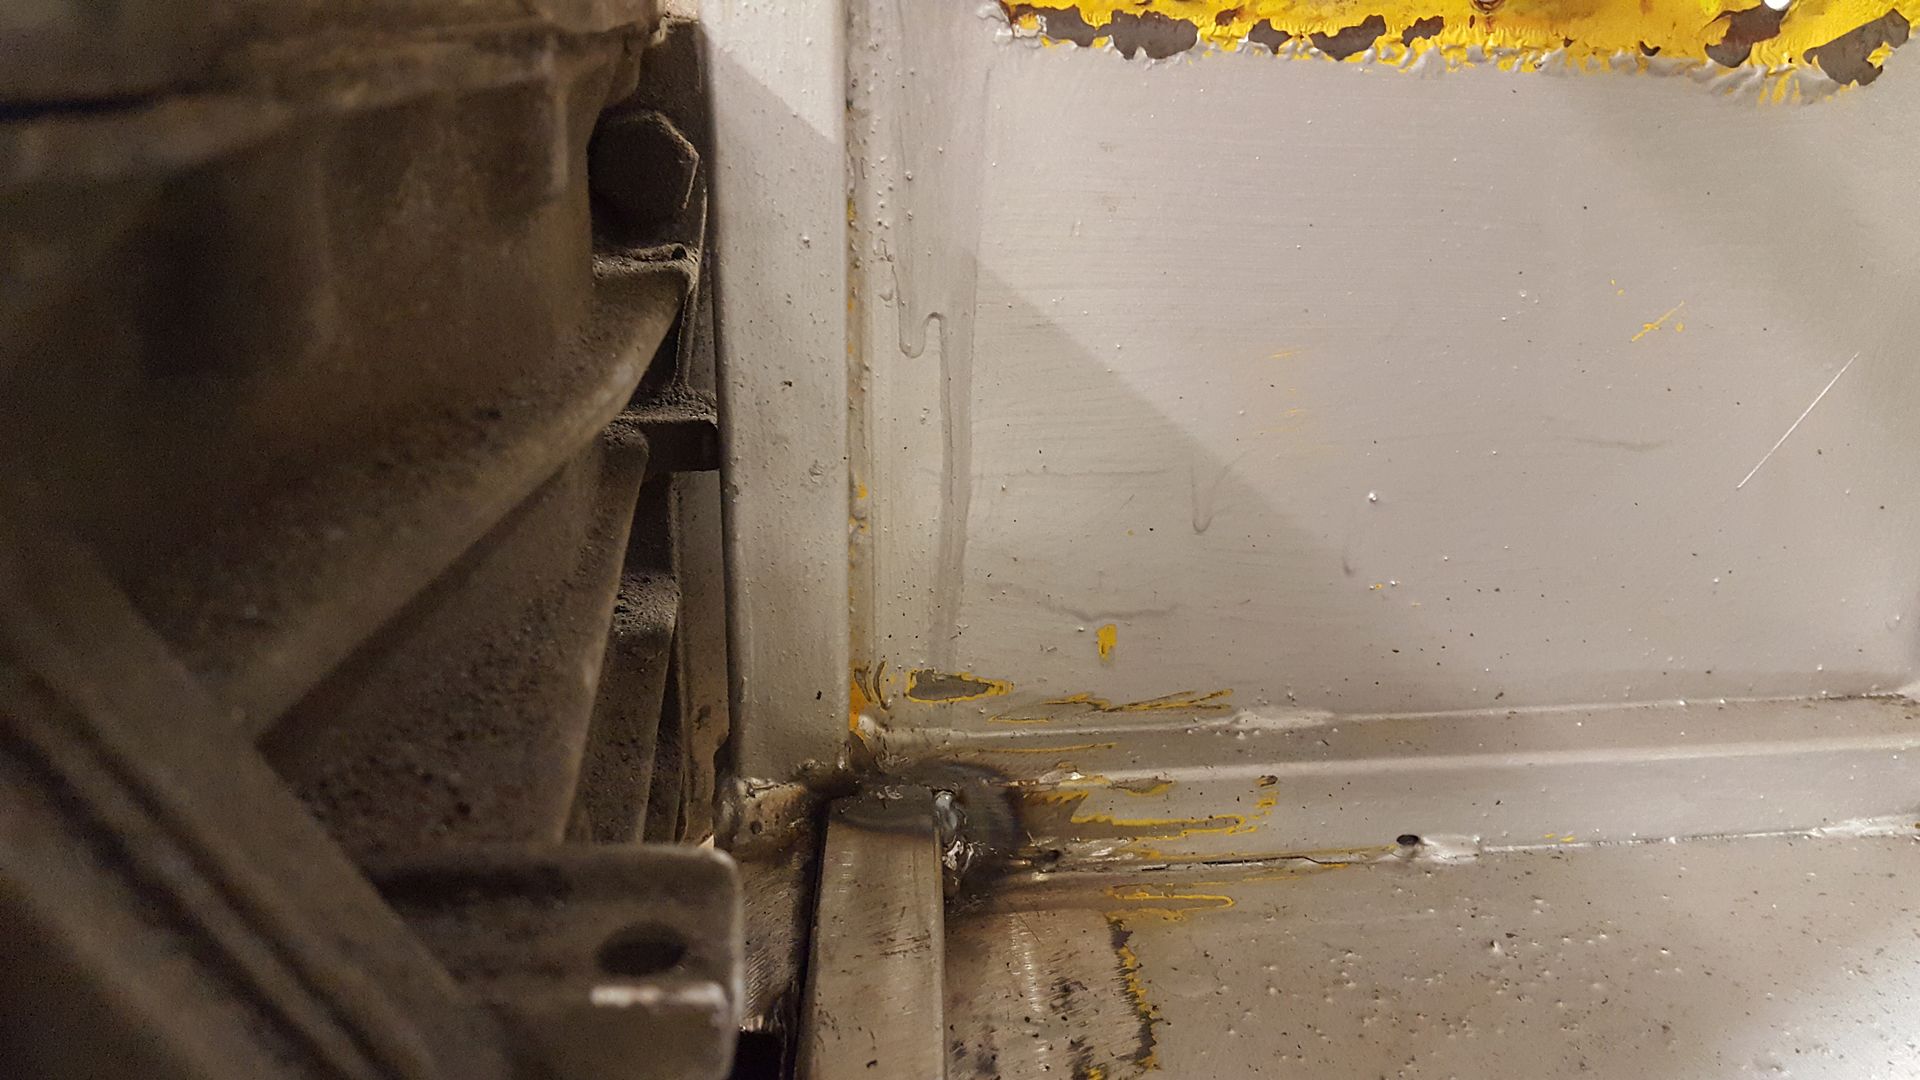
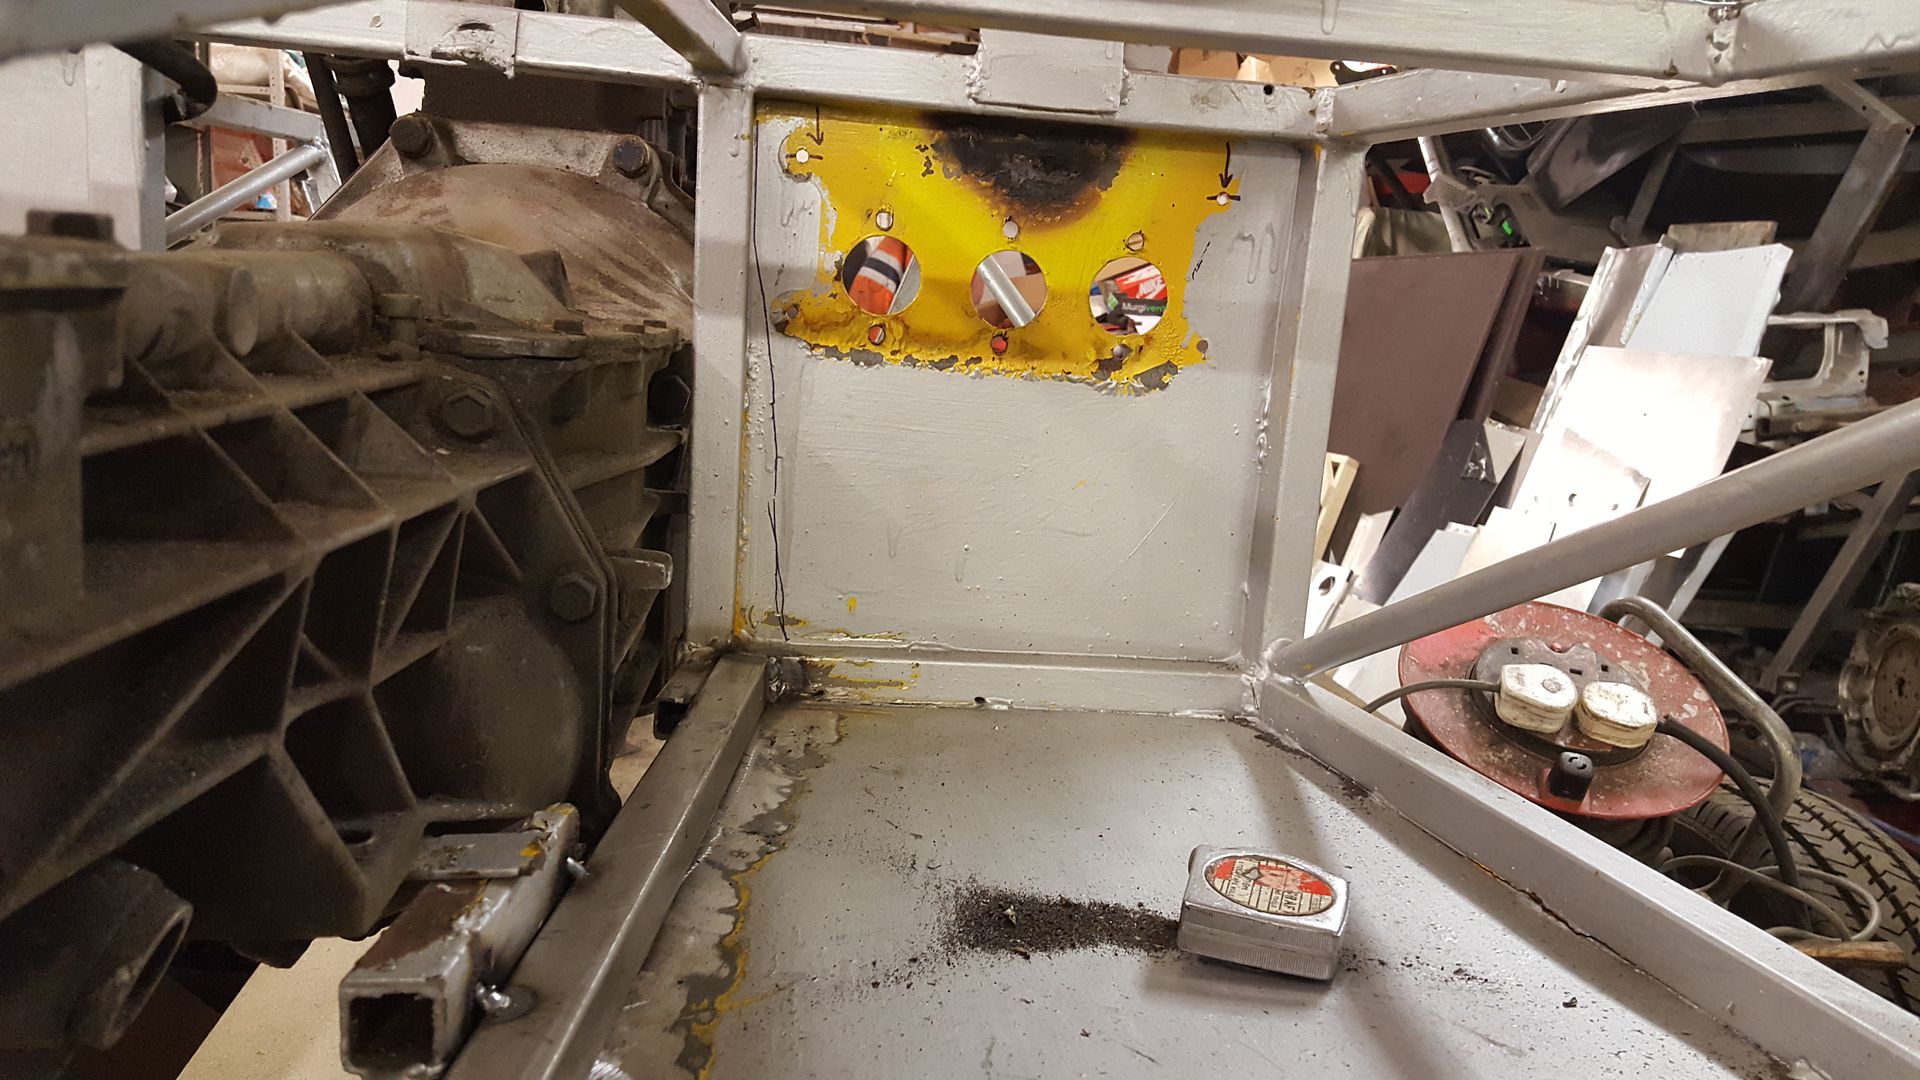
i think i will cut this whole plate out as all the holes for the pedal box are all on the piss, and i want to move the inner vertical outboard by
25mm, and the welding needs cutting out anyway.
|
|
|
Andybarbet
|
| posted on 9/5/17 at 05:37 AM |

|
|
To sort the problem of front wishbone holes not lining up with those side panels, you could fit some flared sides from the front running up the sides
of the engine bay.
Like this:
 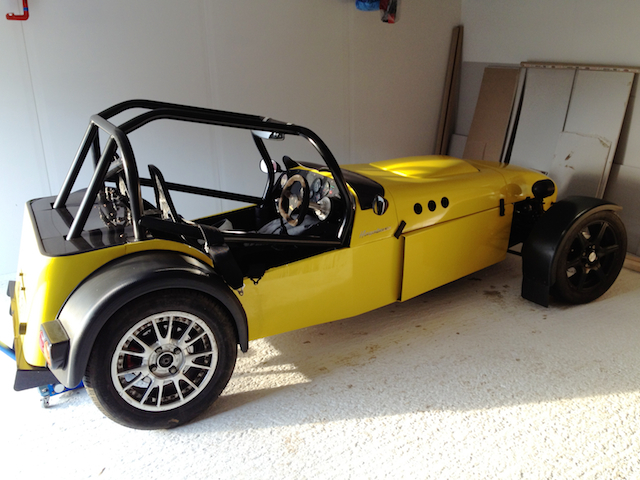
Description
(Photo shamelessly stolen off this forum)
Give a man a fish & it will feed him for a day, give him a fishing rod & you've saved a fish.
|
|
|
super-ron
|
| posted on 9/5/17 at 06:44 AM |

|
|
quote:
Originally posted by Andybarbet
To sort the problem of front wishbone holes not lining up with those side panels, you could fit some flared sides from the front running up the sides
of the engine bay.
Like this:
 
Description
(Photo shamelessly stolen off this forum)
I have seen those flared sides on a few cars, although greatly functional I'm not a fan personally. I really want to keep the smooth sides of
the one piece body. I could chop it off just behind the front suspension and make another plate for just the front 12 inches, this would allow taking
the body off without removing the front suspension, but would also mean a visible join. I think I will fibreglass the MNR holes up and re-drill.
|
|
|
super-ron
|
| posted on 11/5/17 at 09:27 PM |

|
|
ok so back onto that ghastly plate
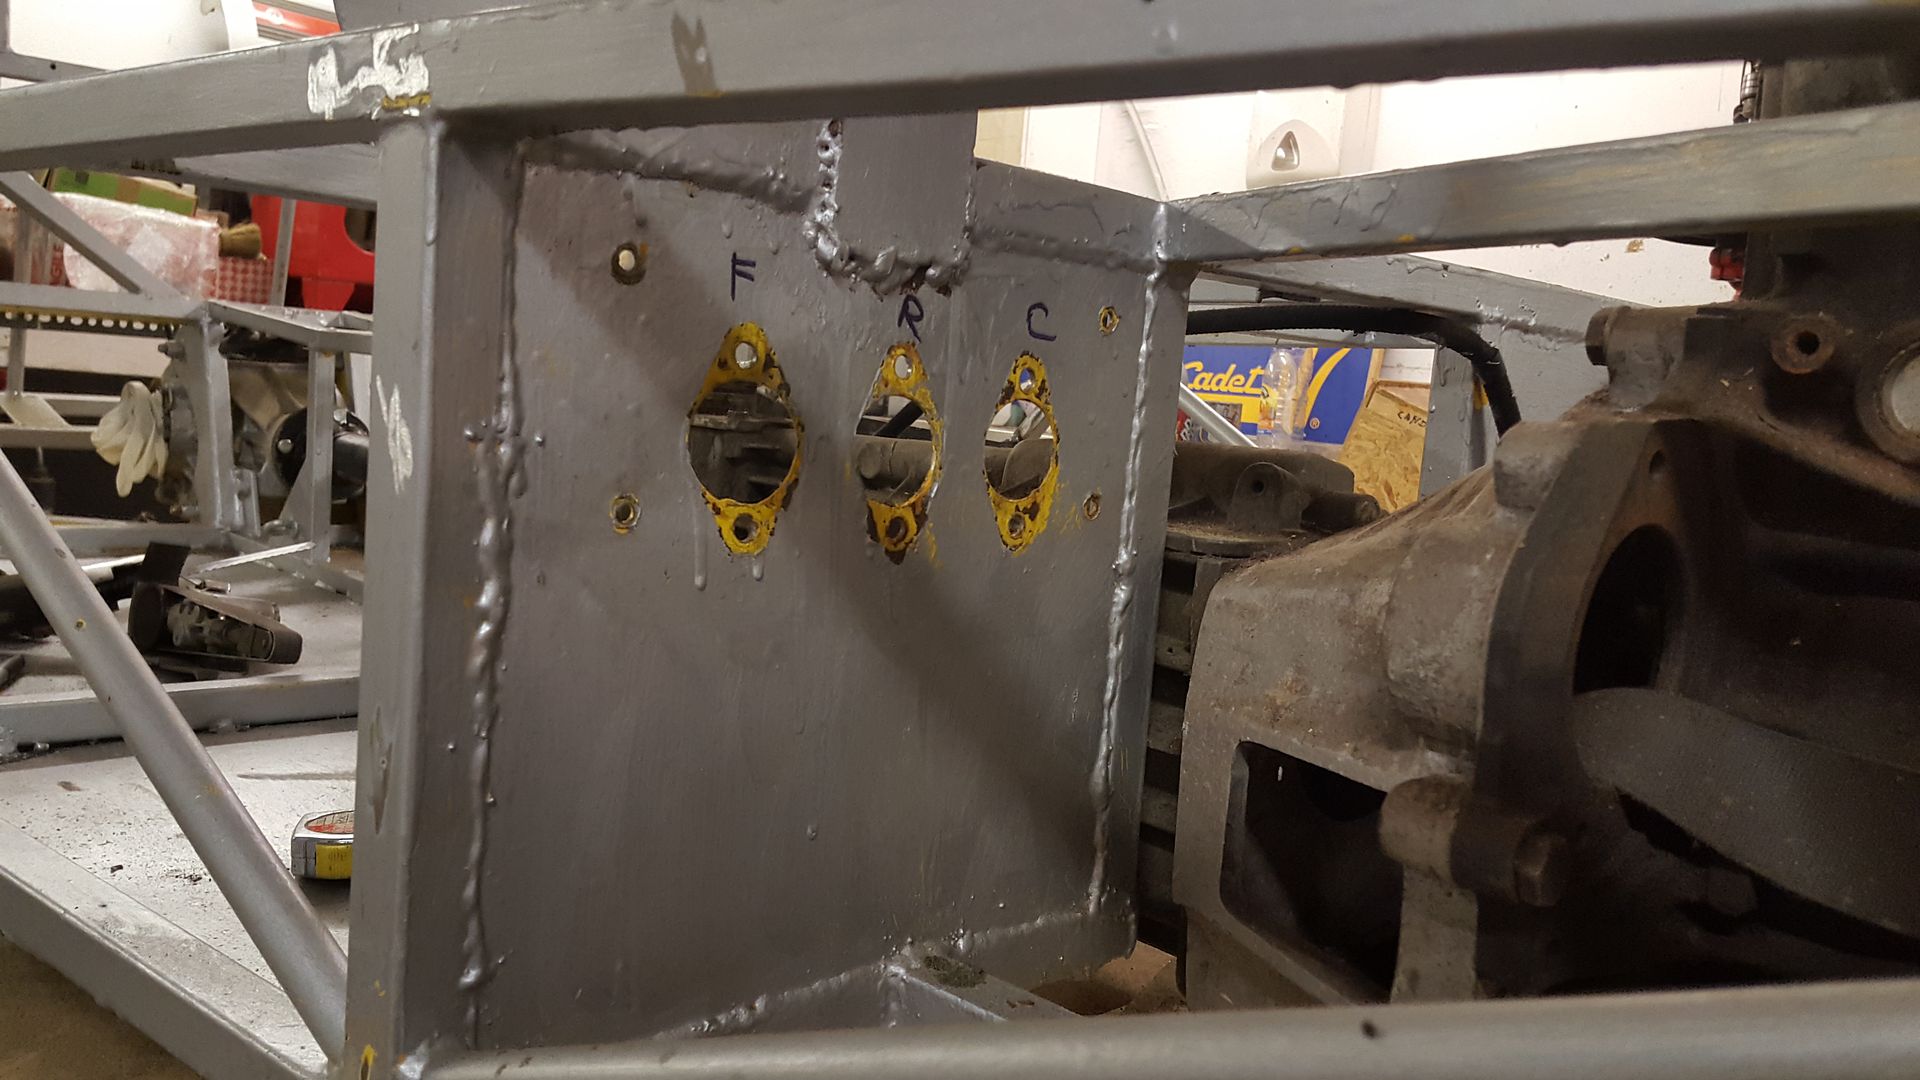
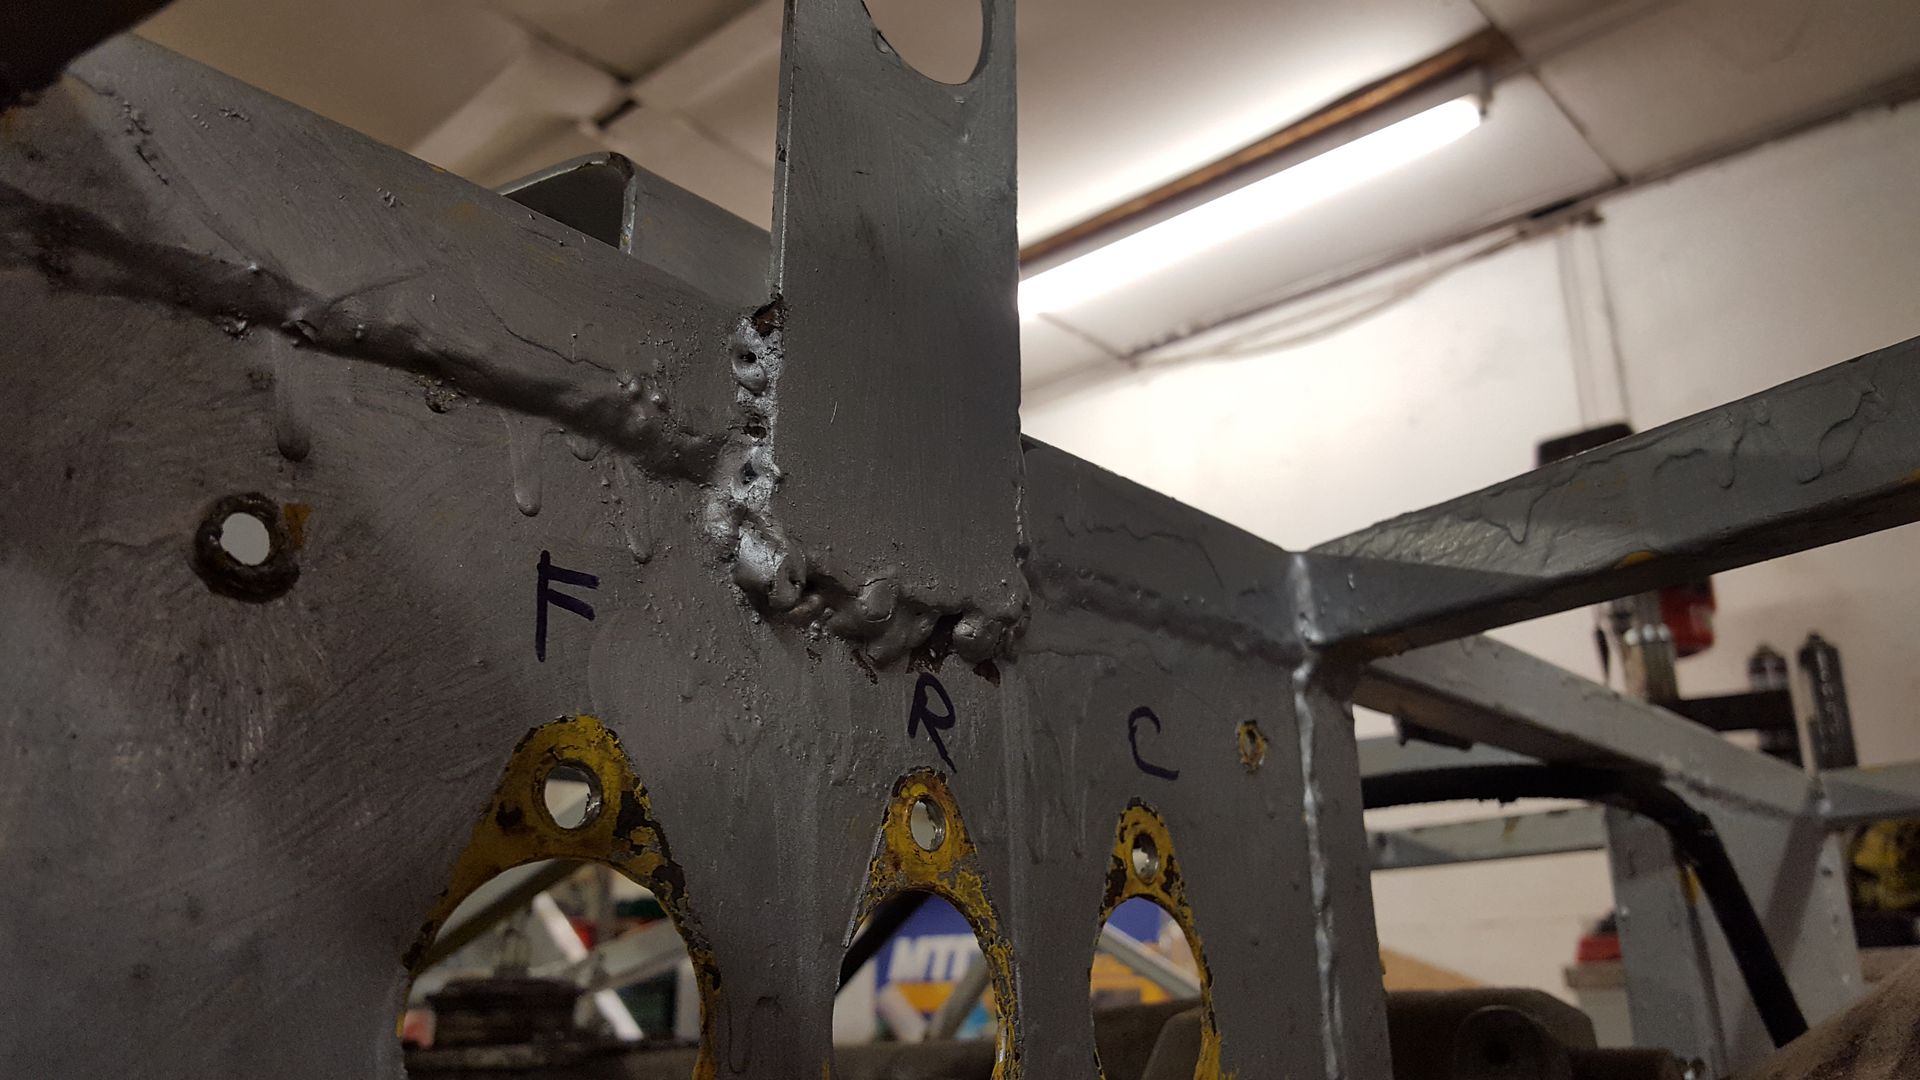
Got my chop on
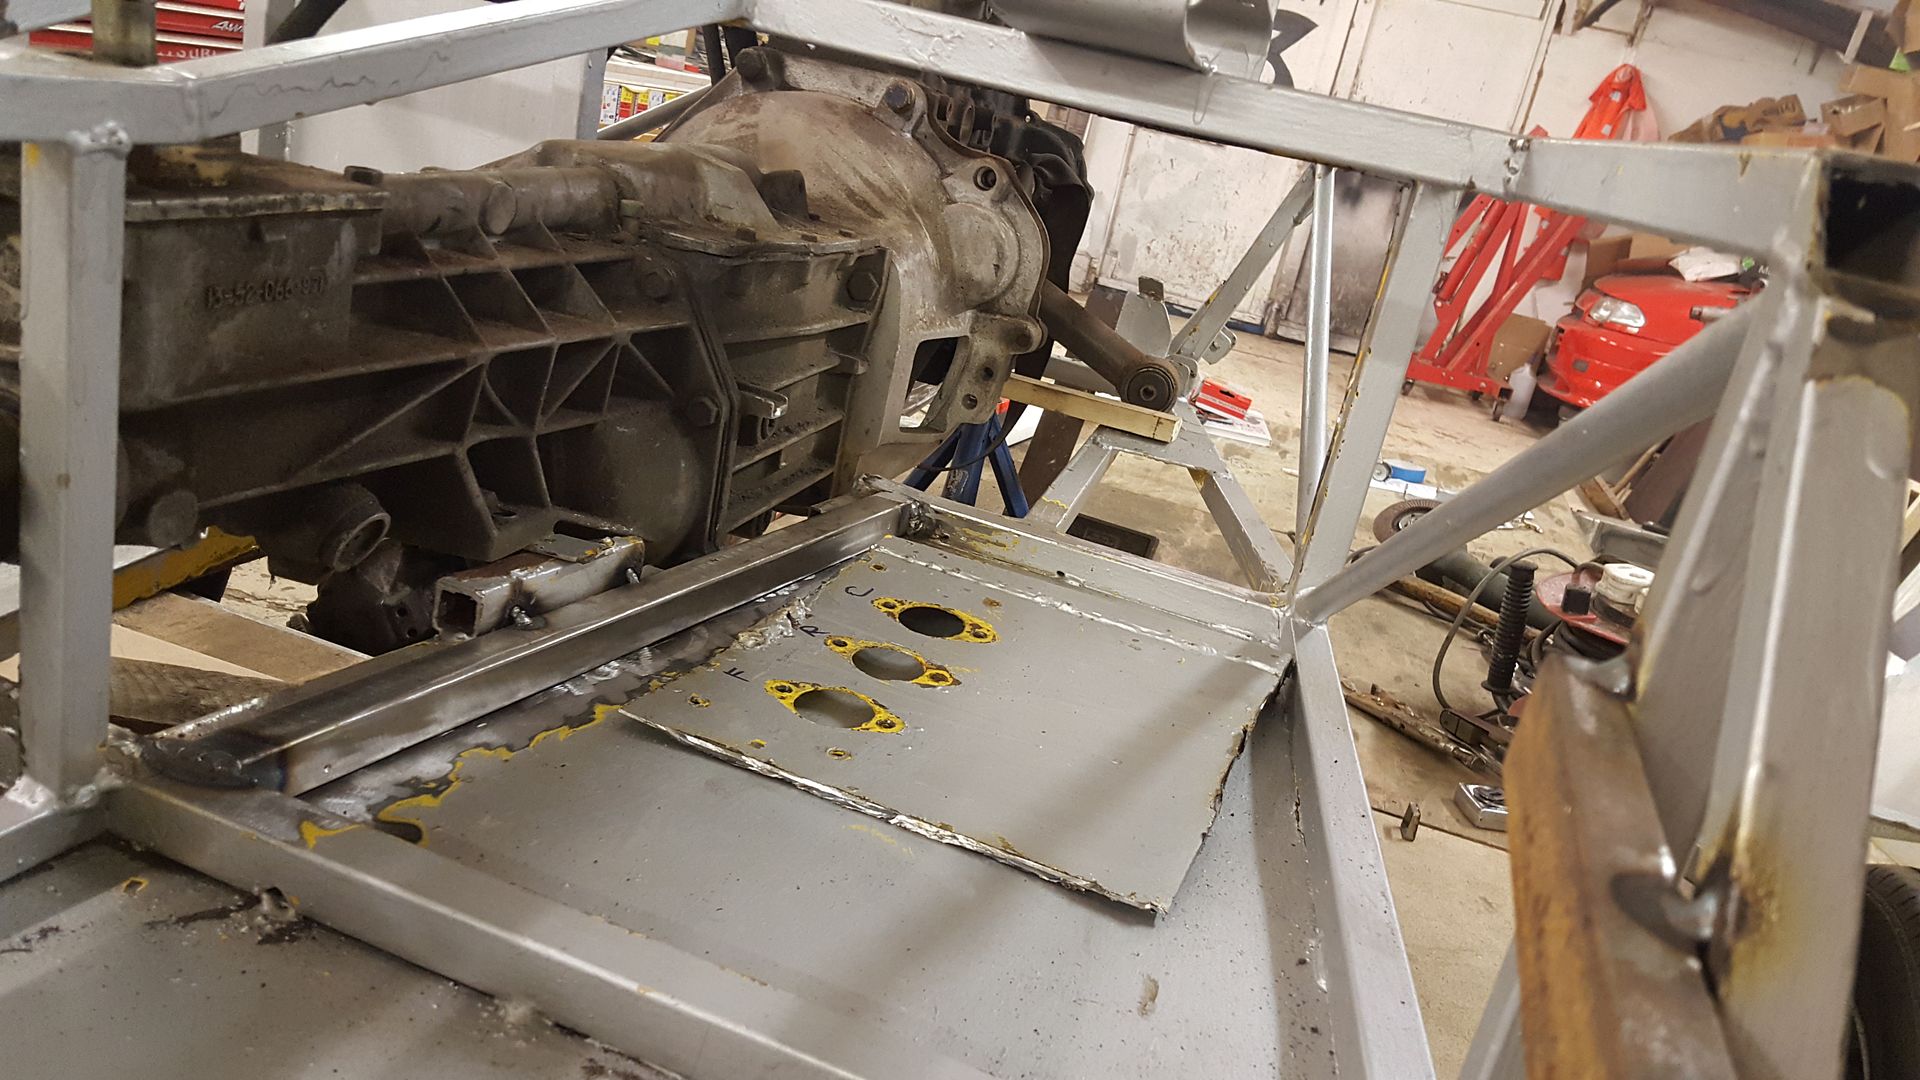
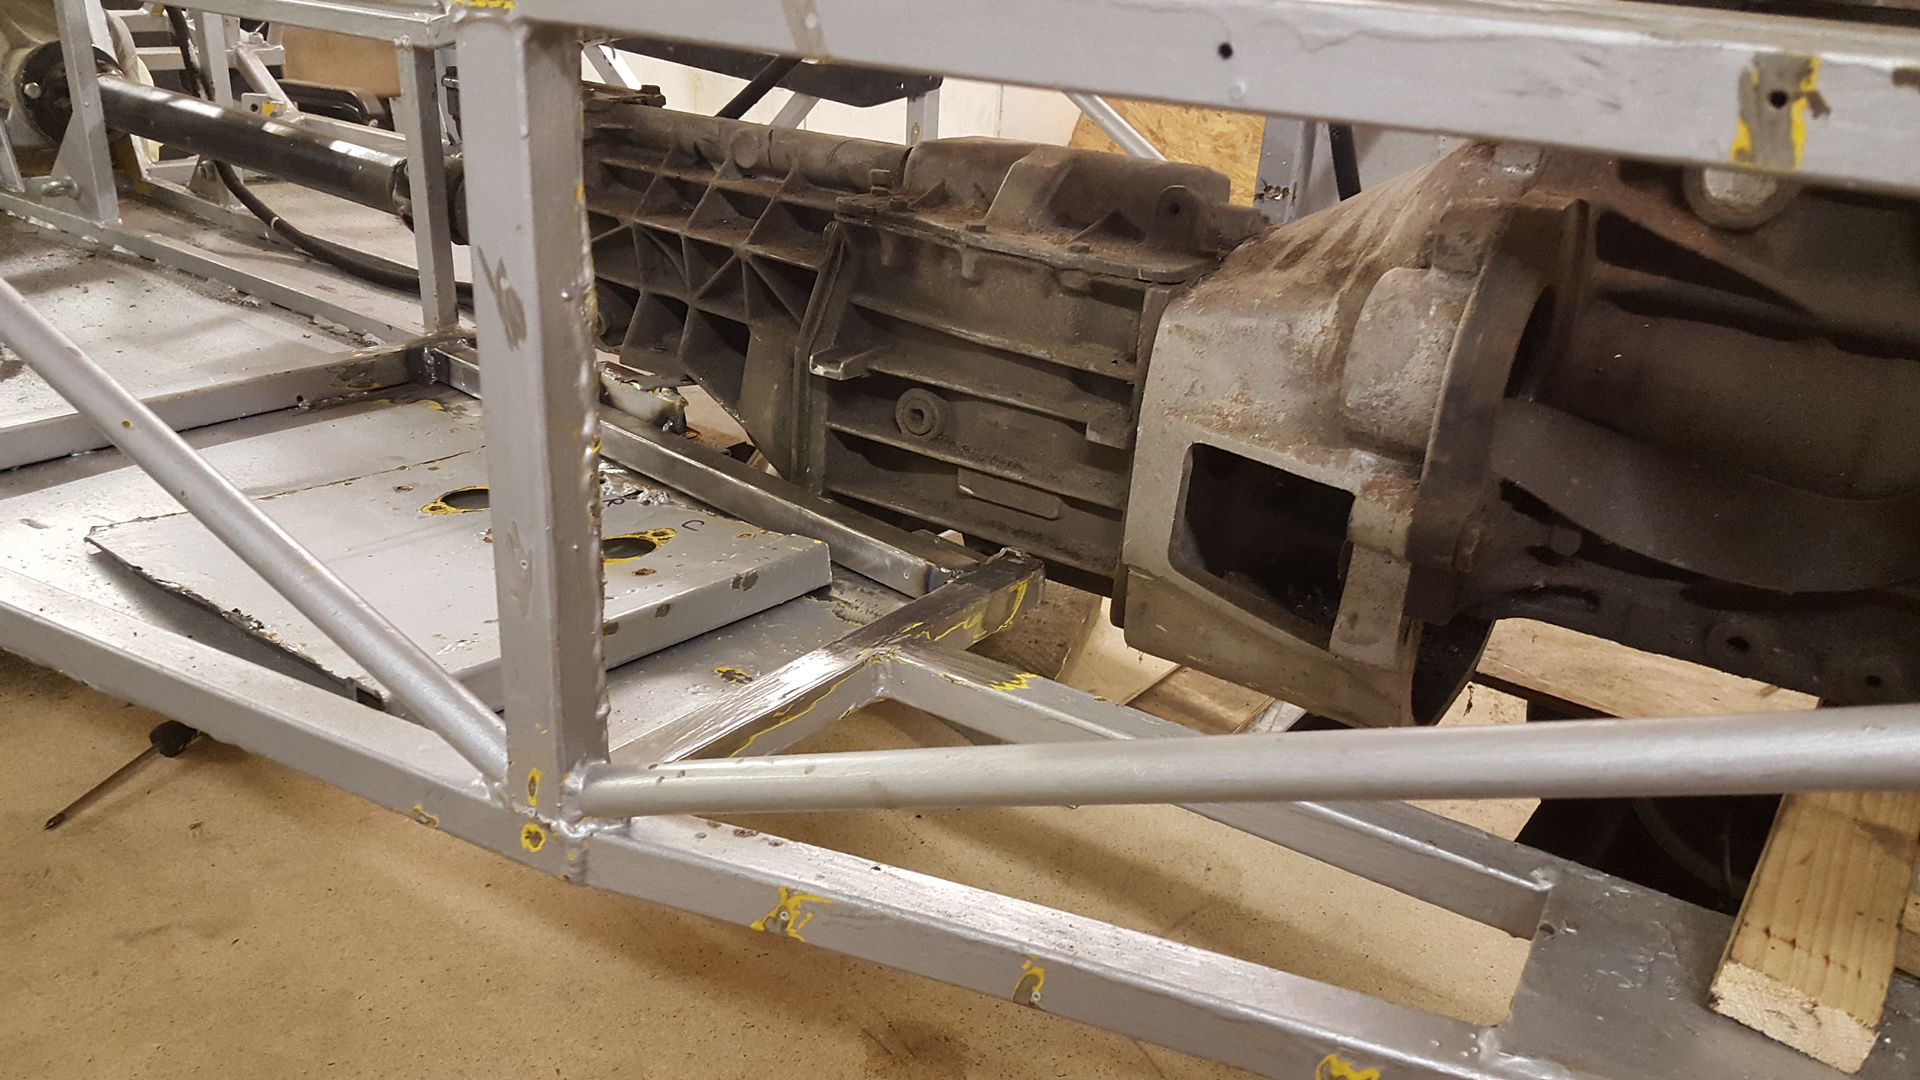
The rwd mounts I had made for the astra were starting to get in the way for this application
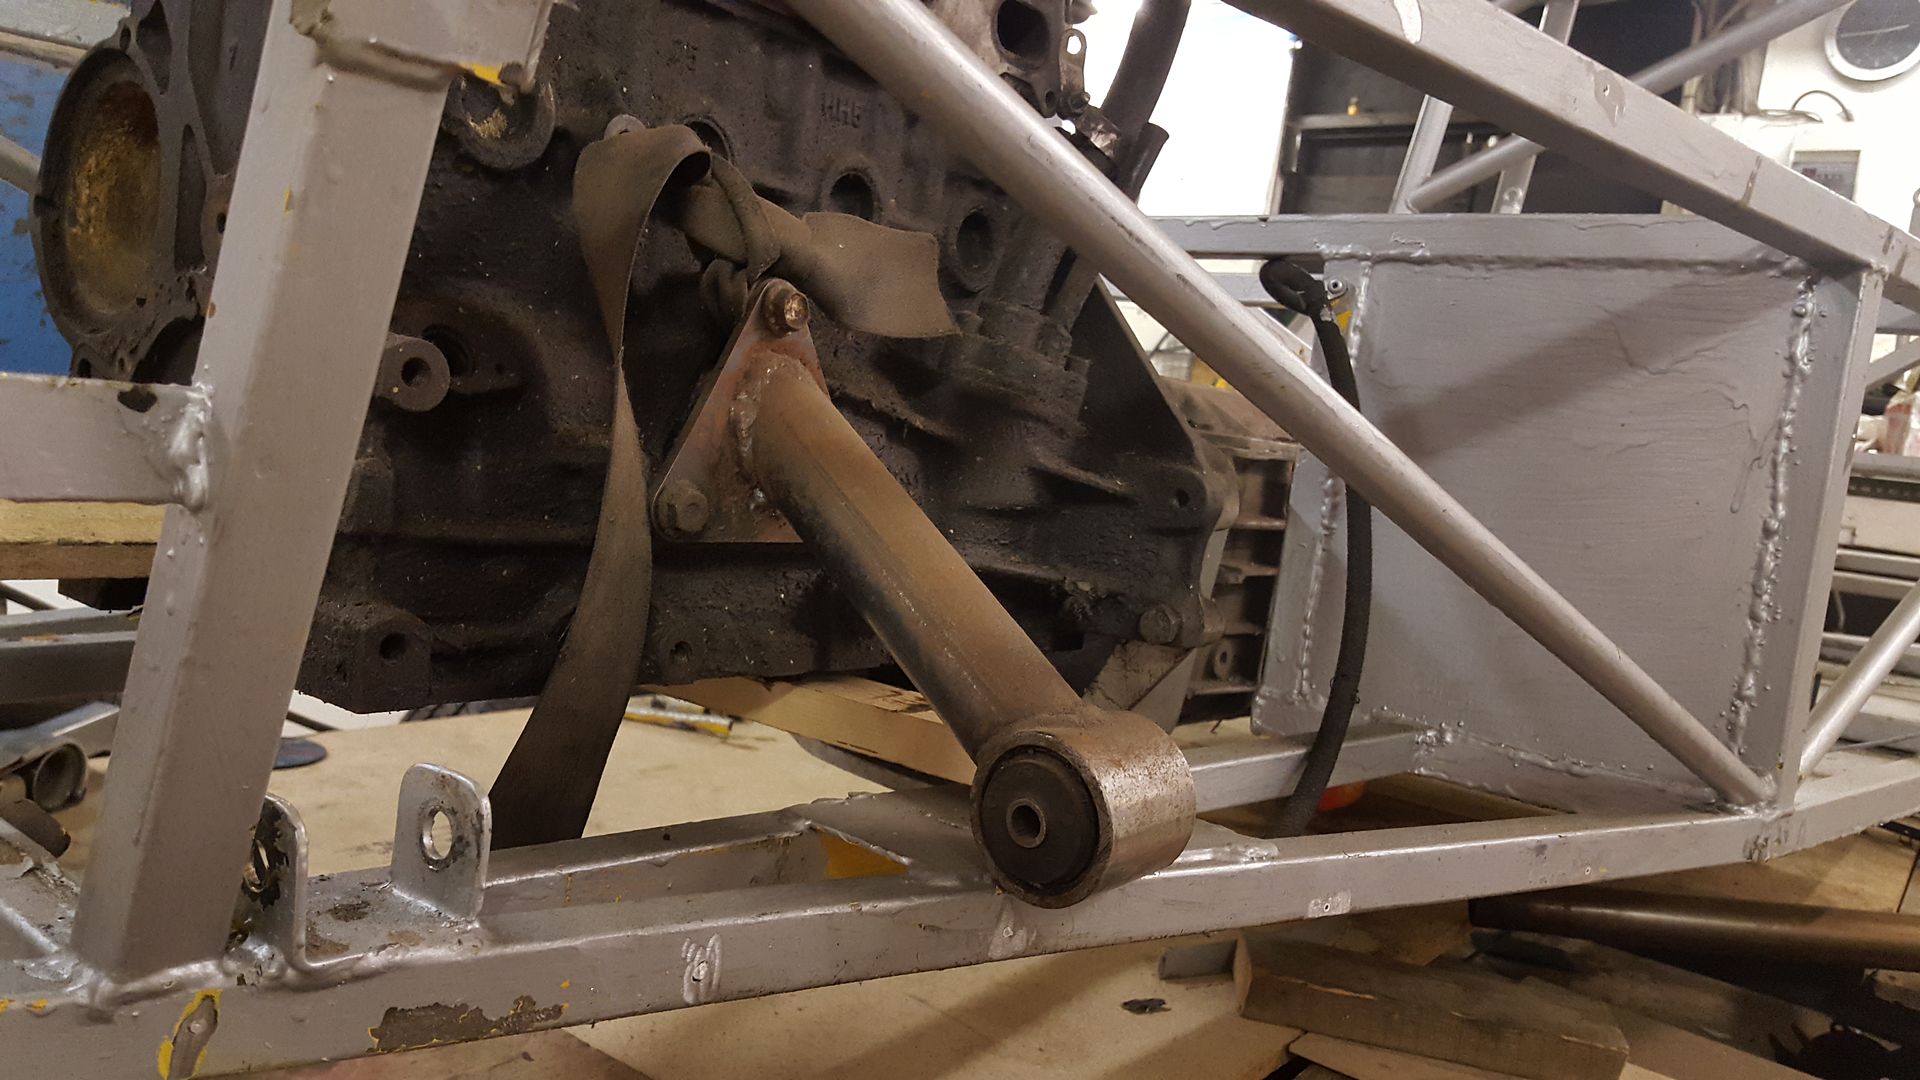
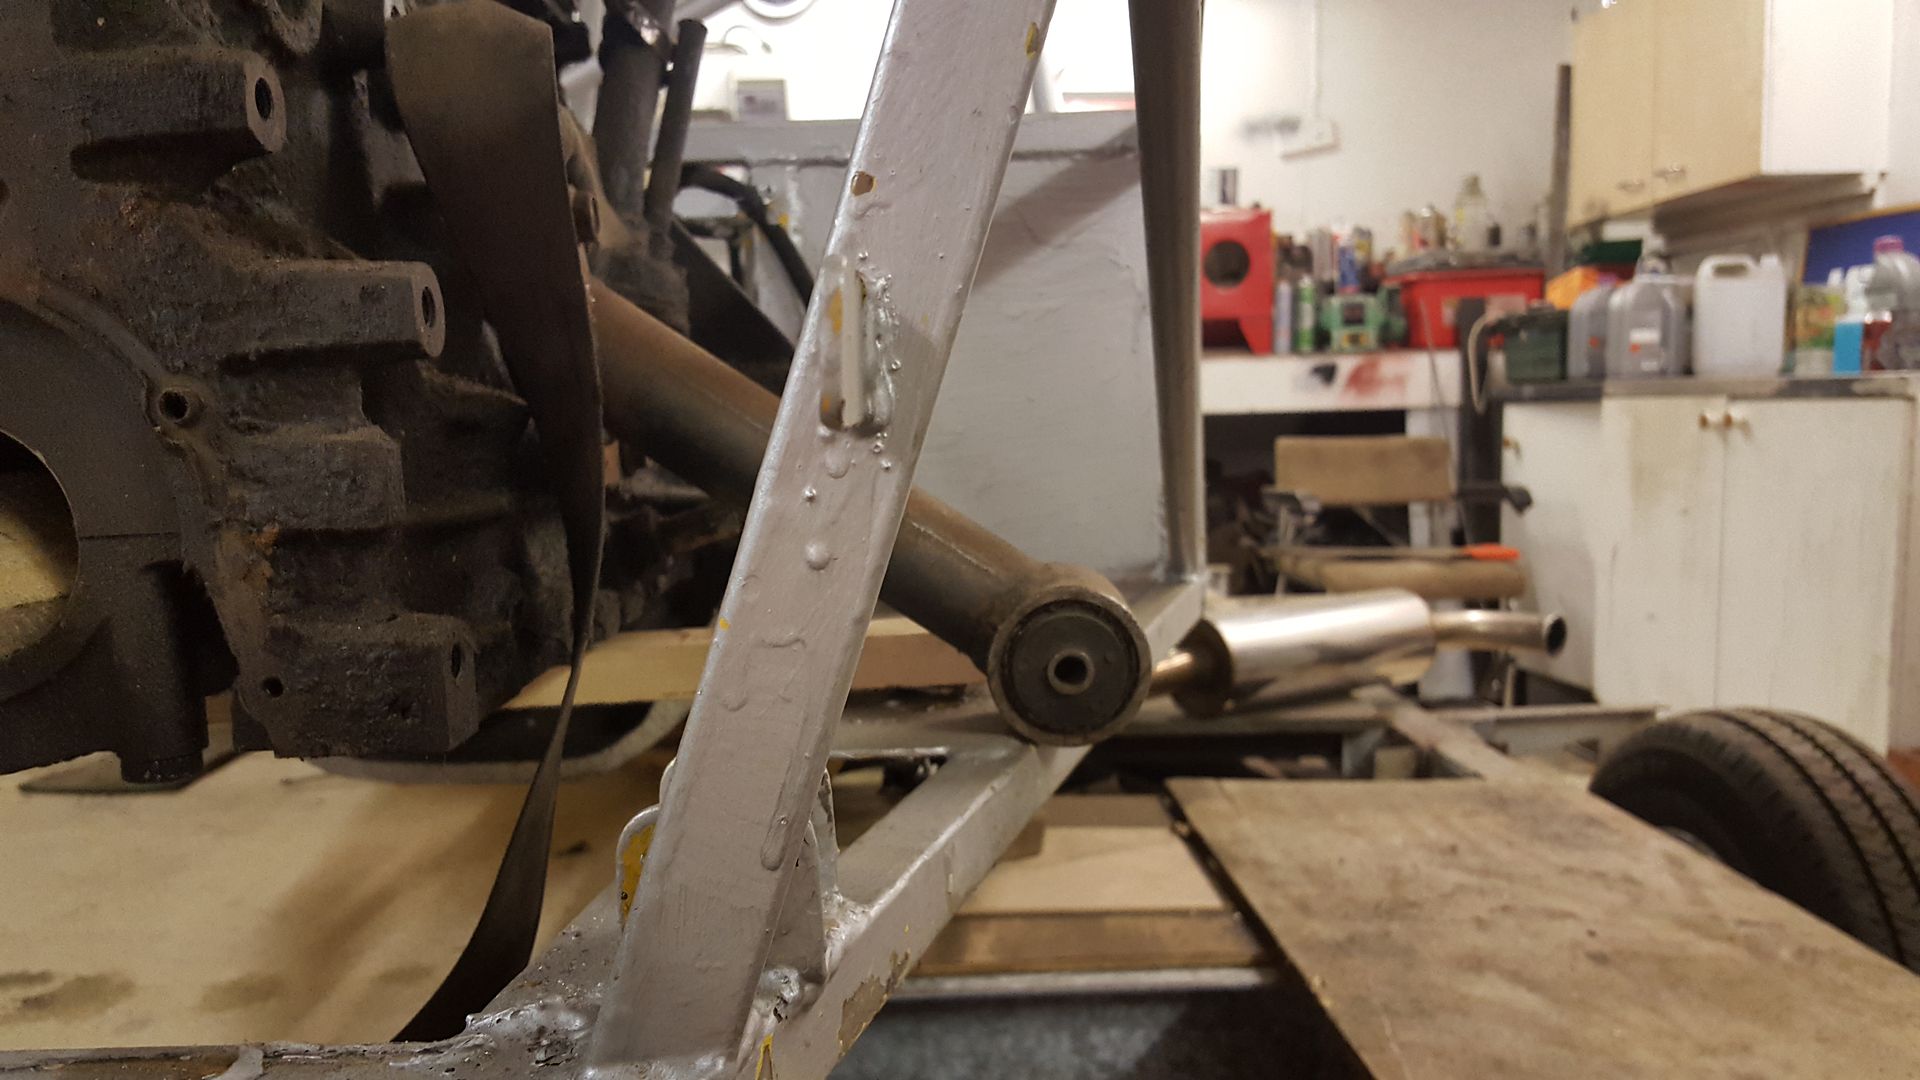
And could now get the engine in straight
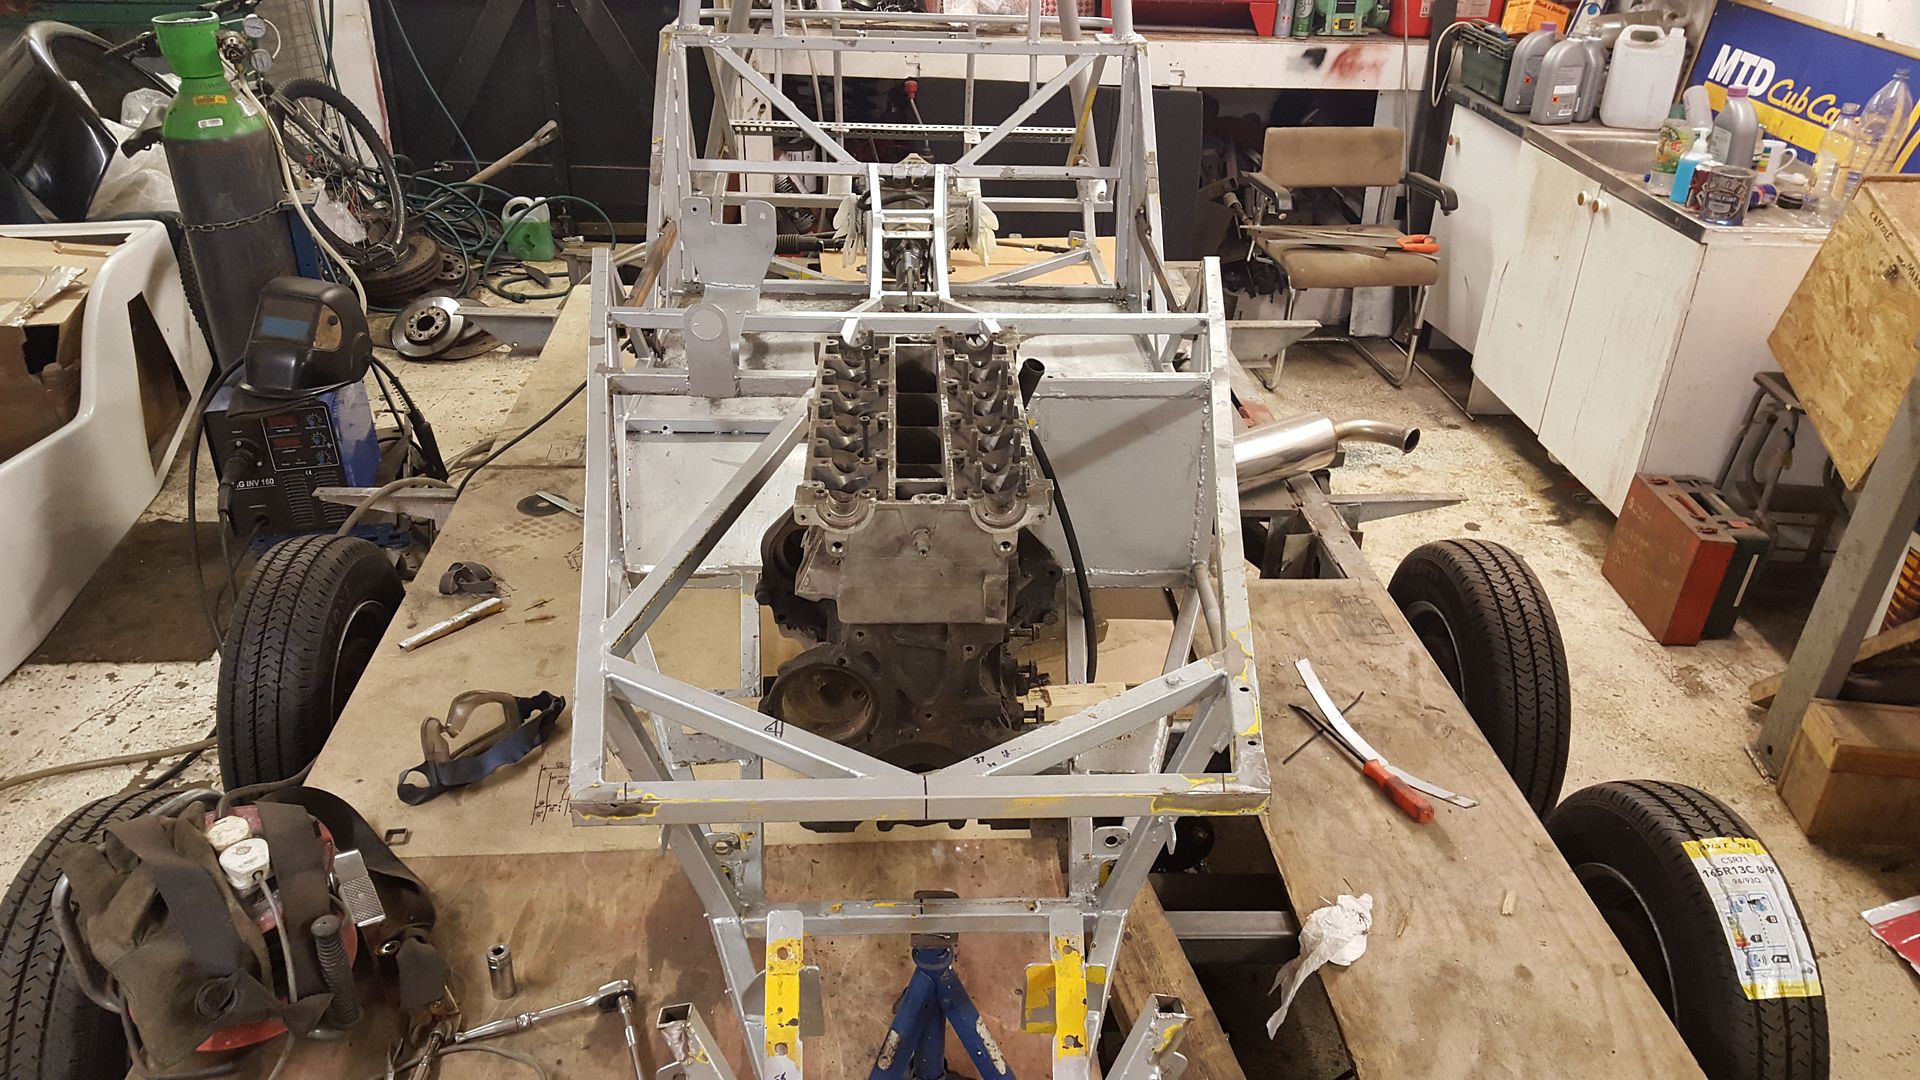
But I still feel the gear stick is too far forward.
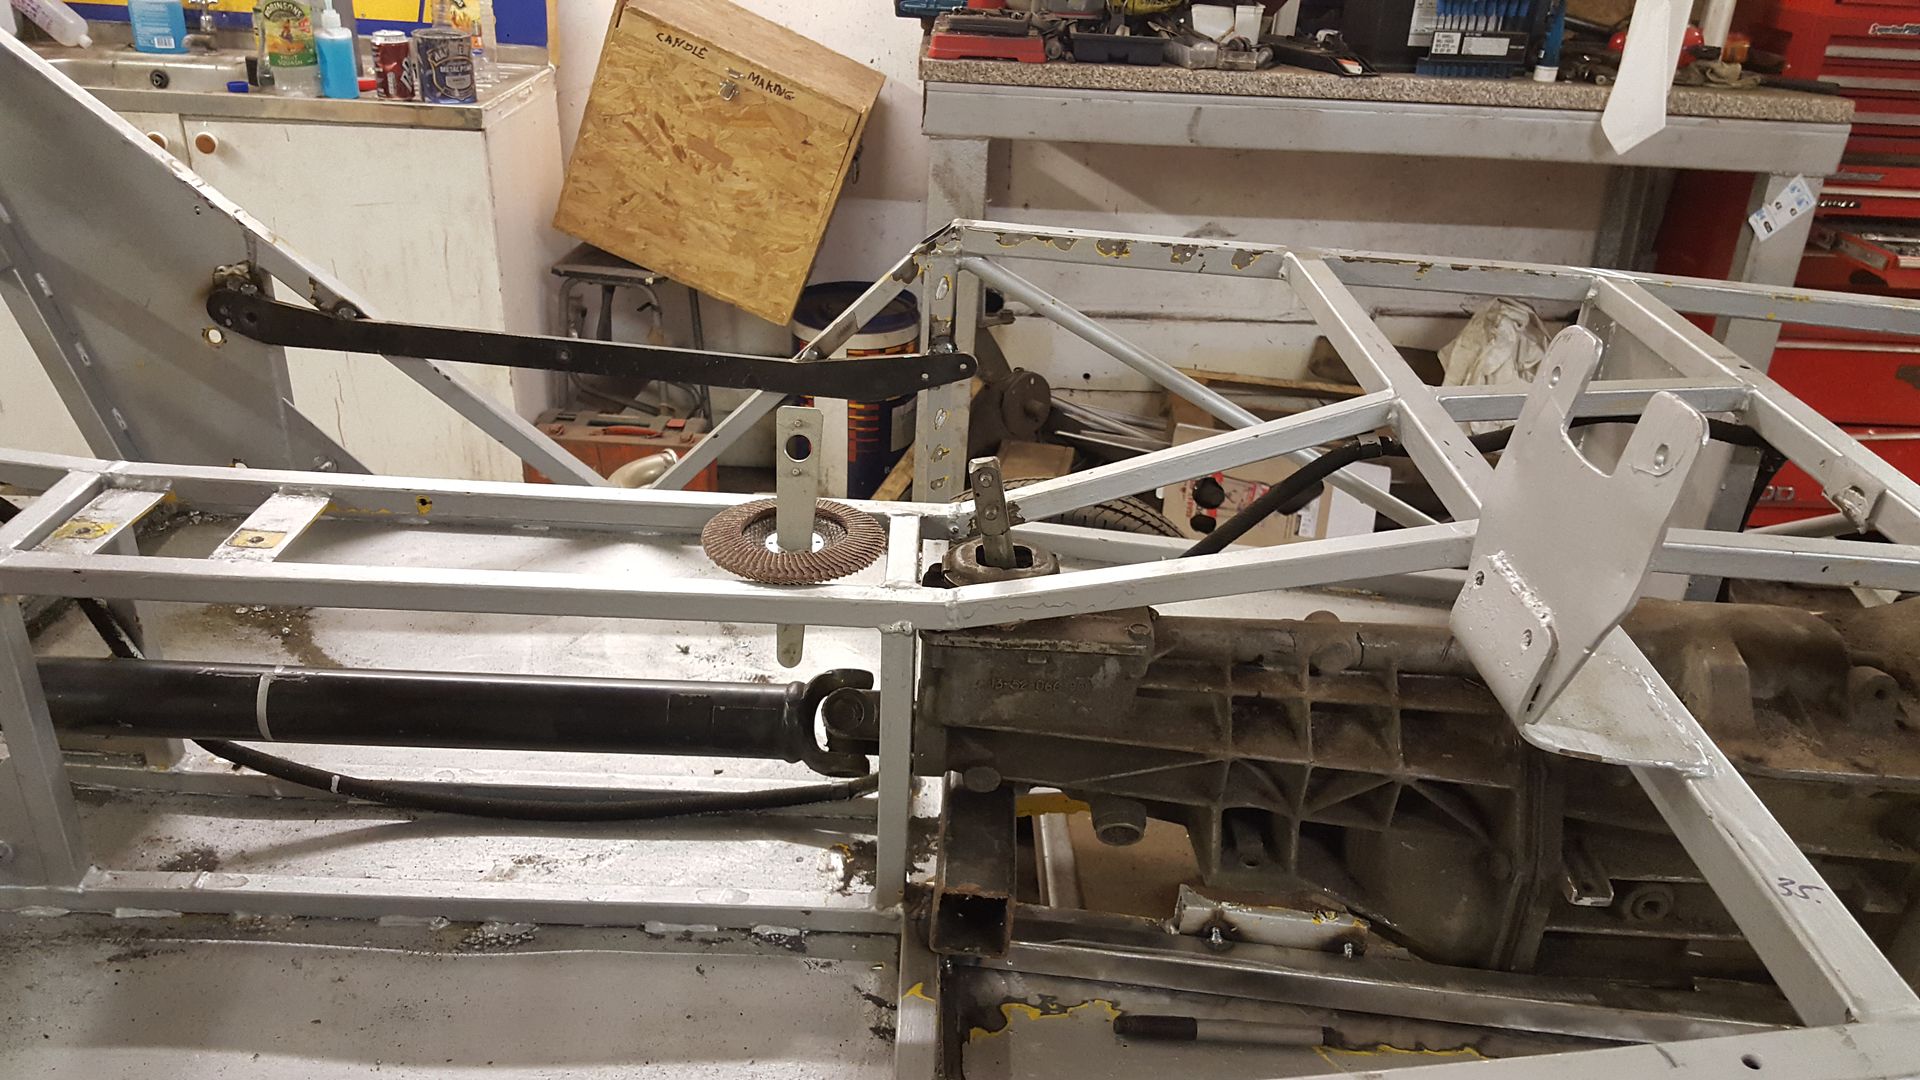
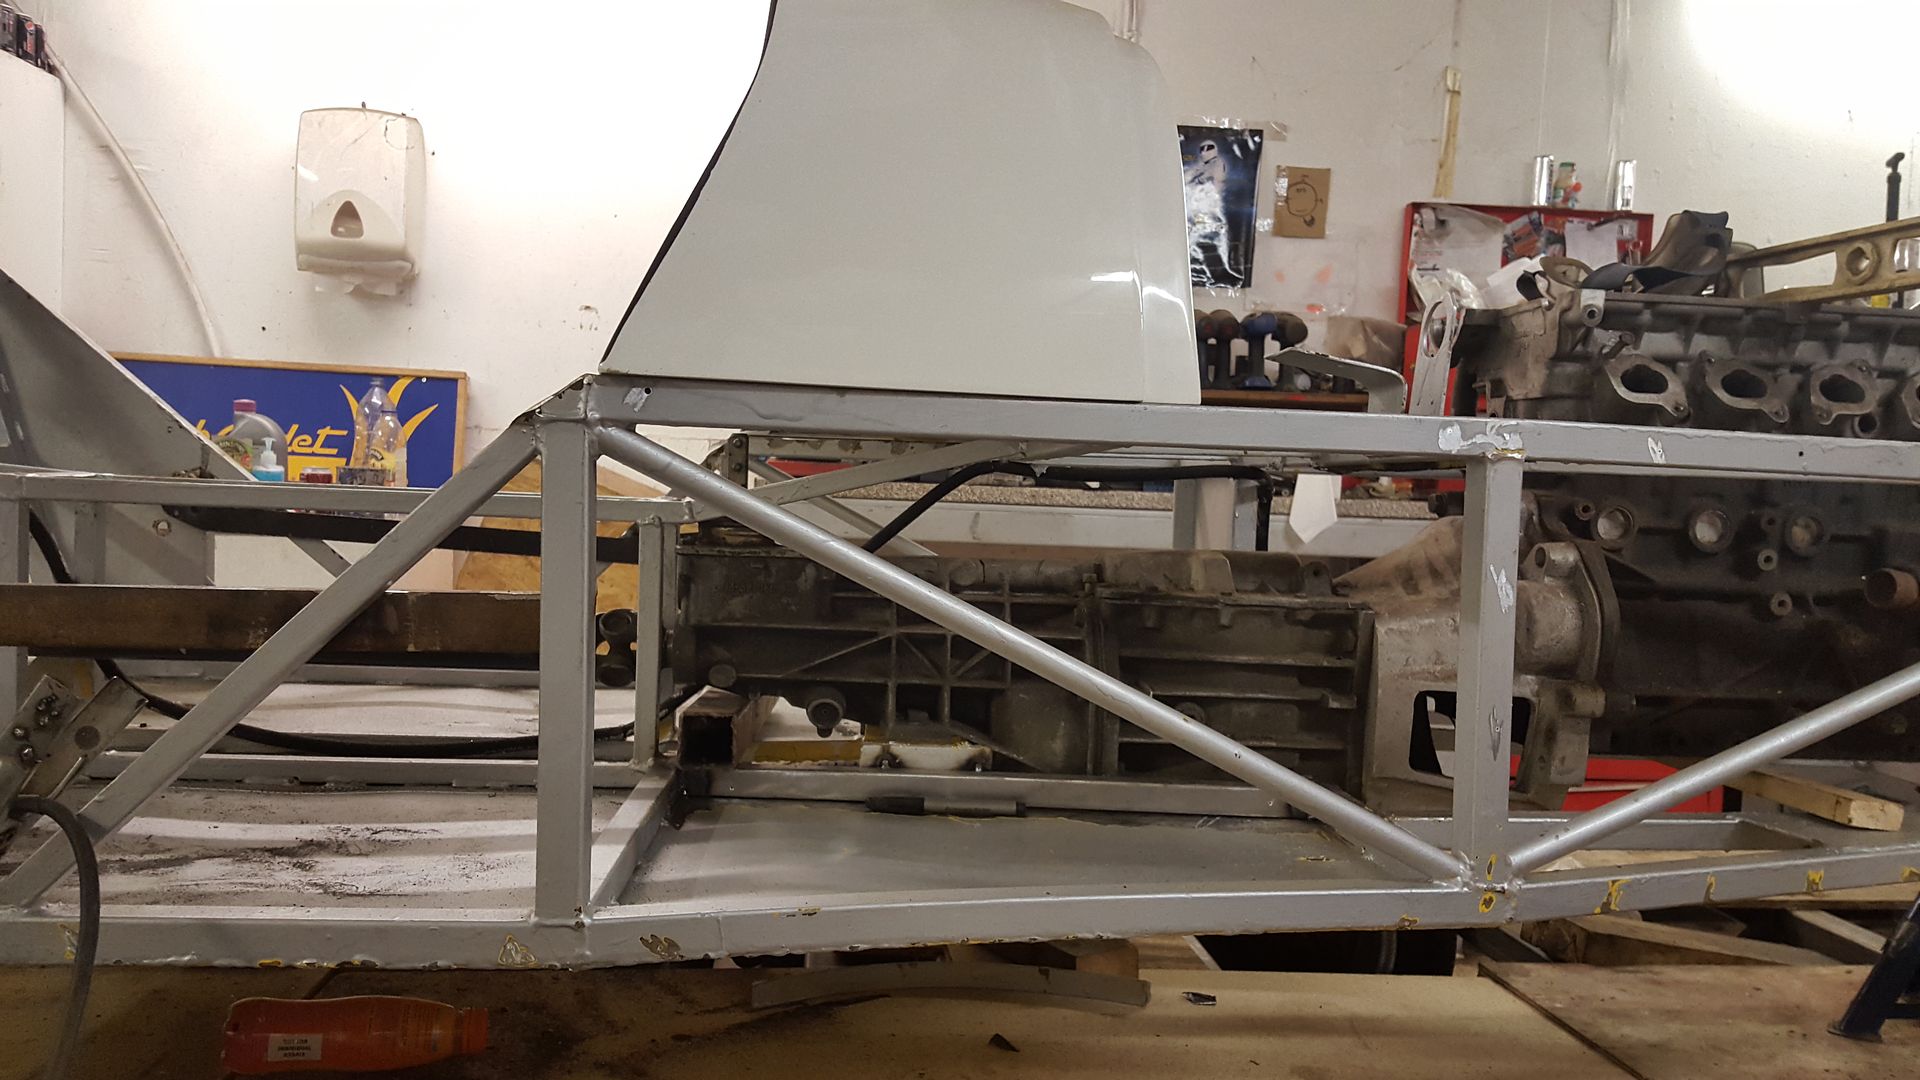
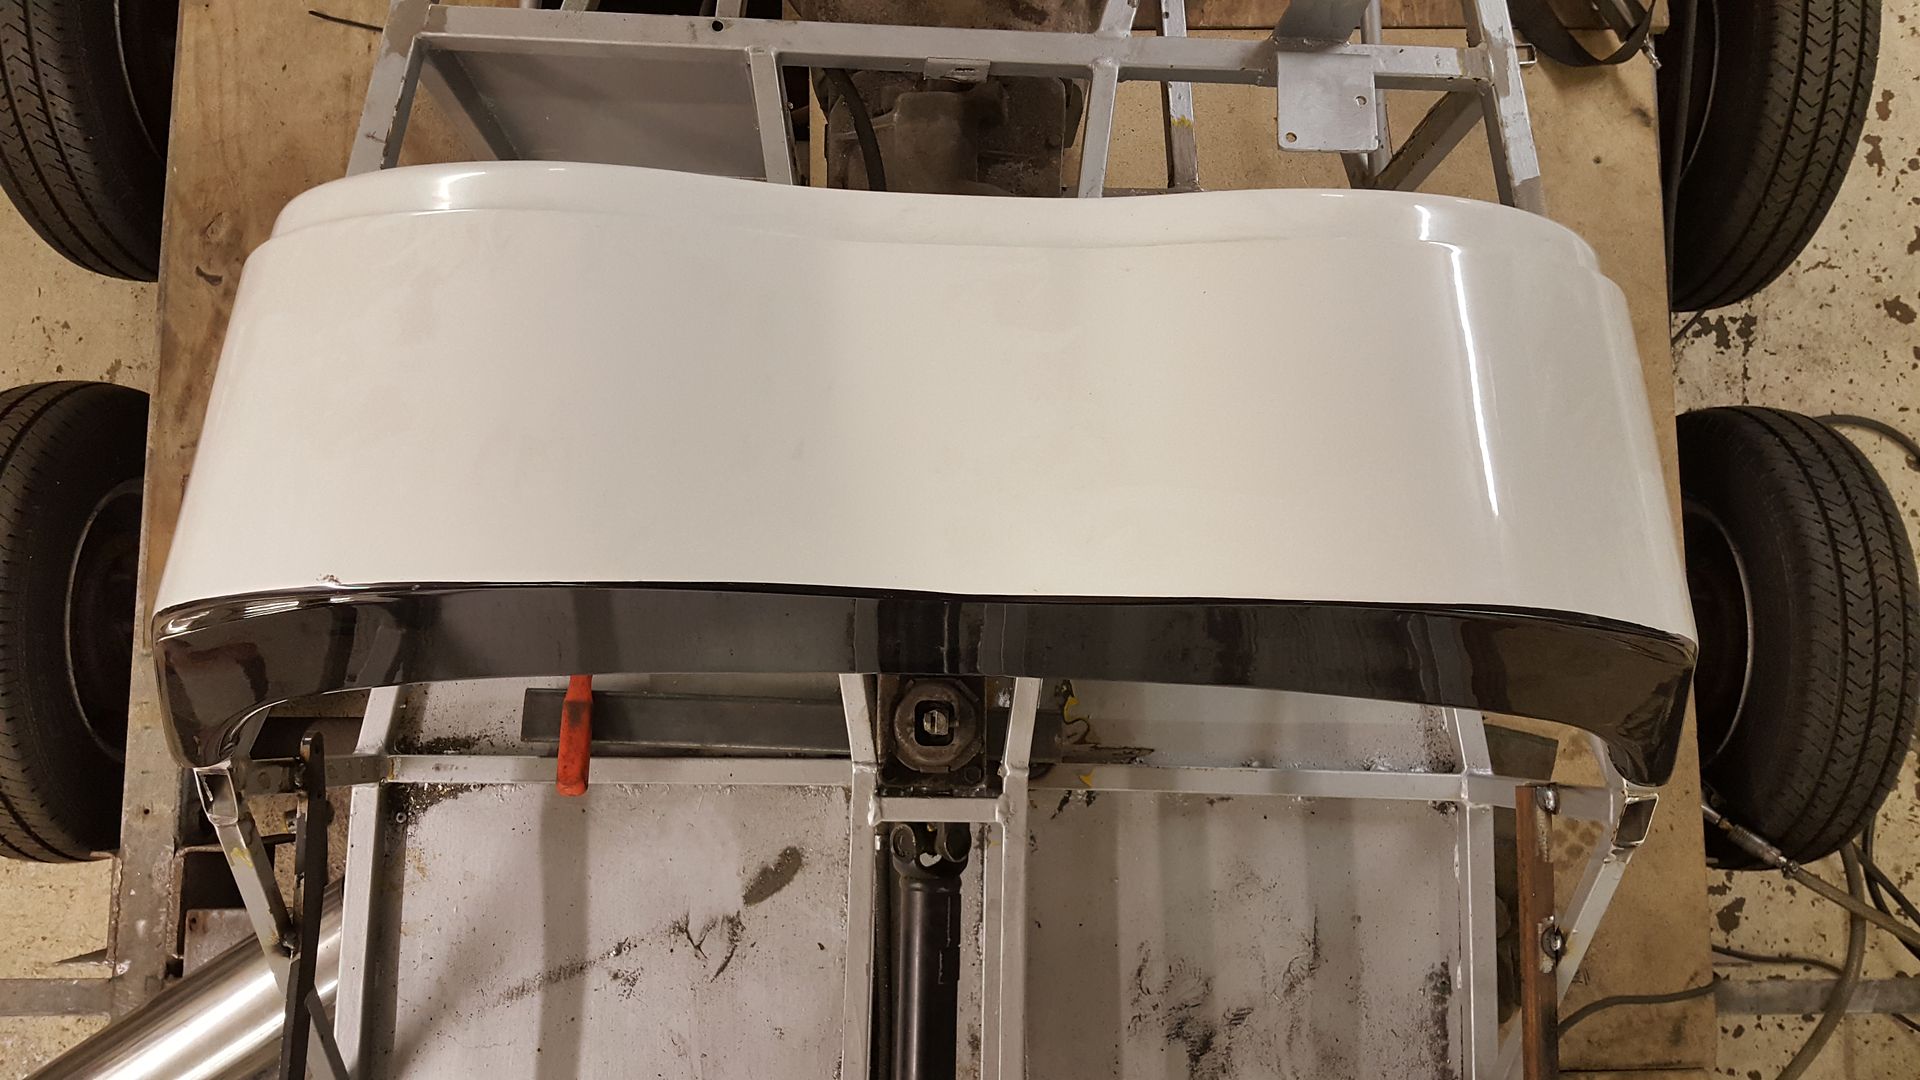
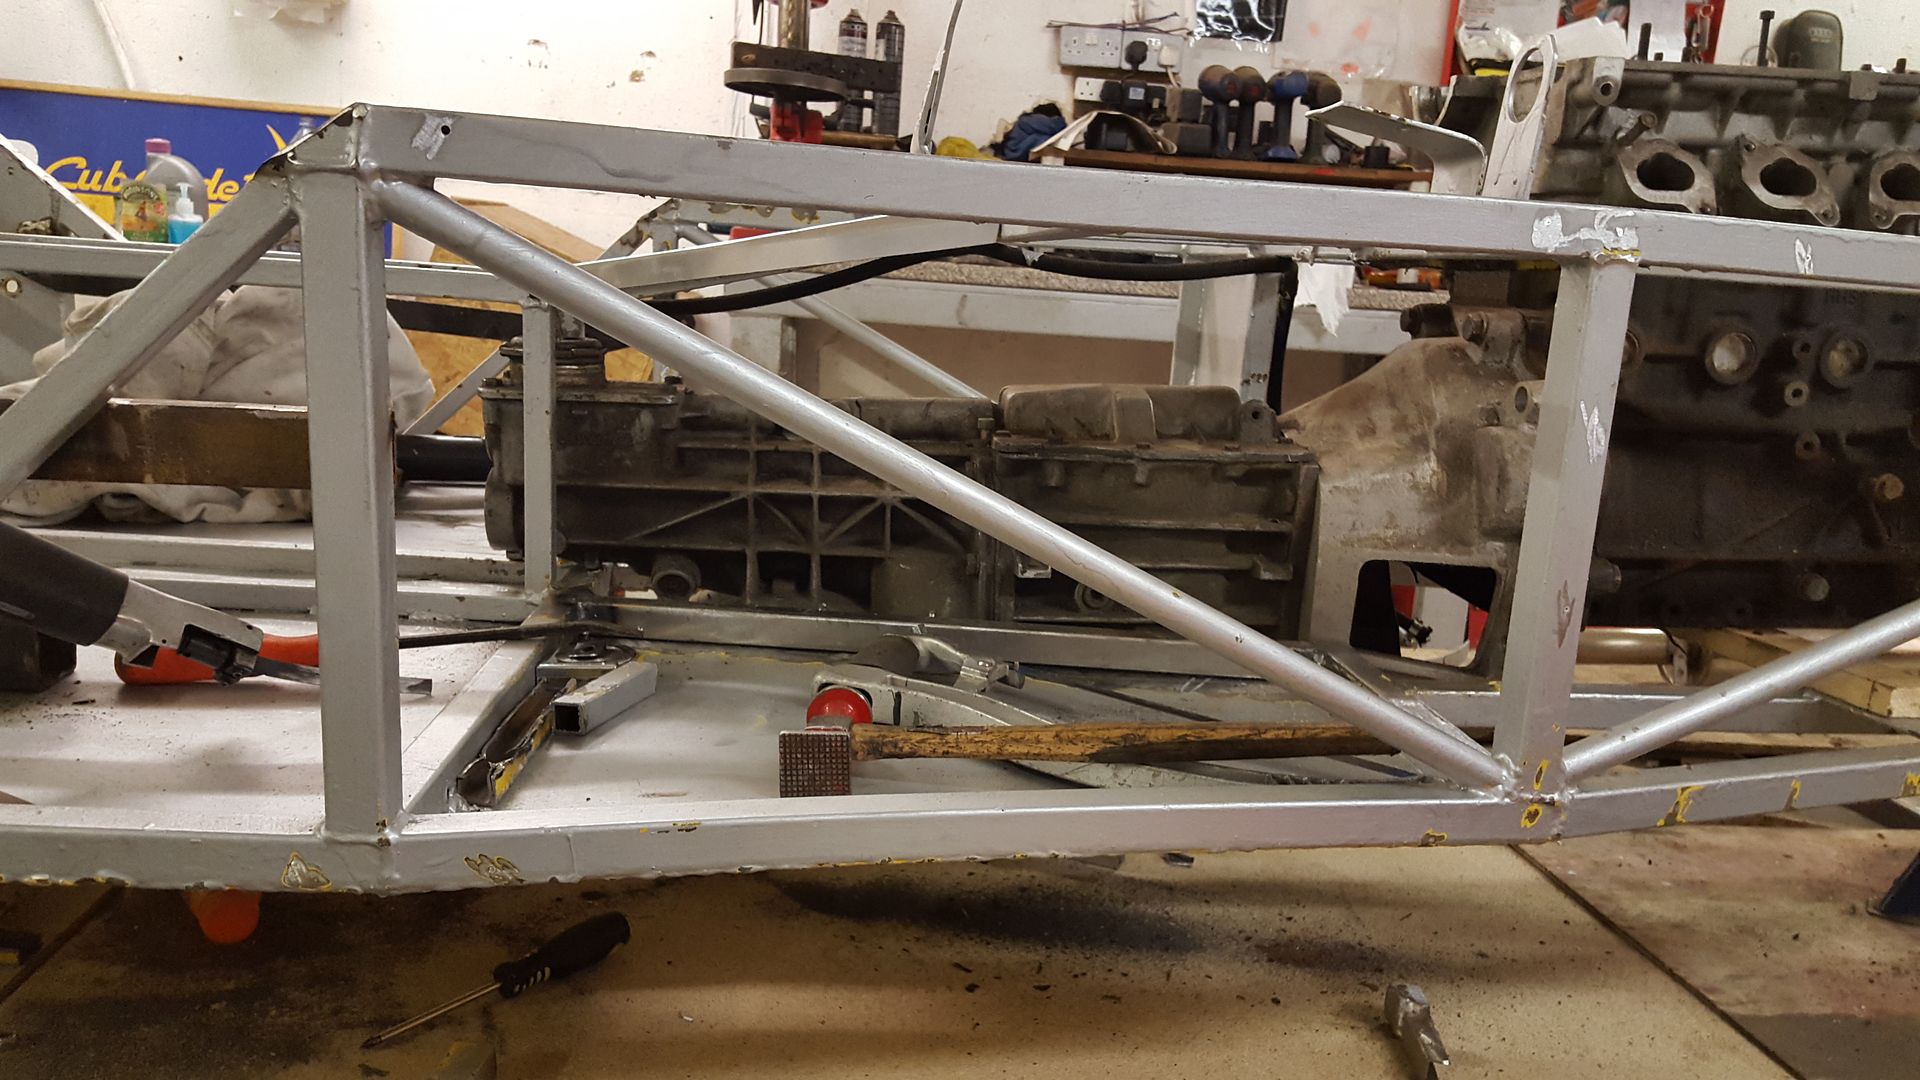
This is where all locost's seem to sit, but just seems too far forward. I tried taking the property off and moving the whole lot back, but it
didn't go alot further before hitting the bellhousing
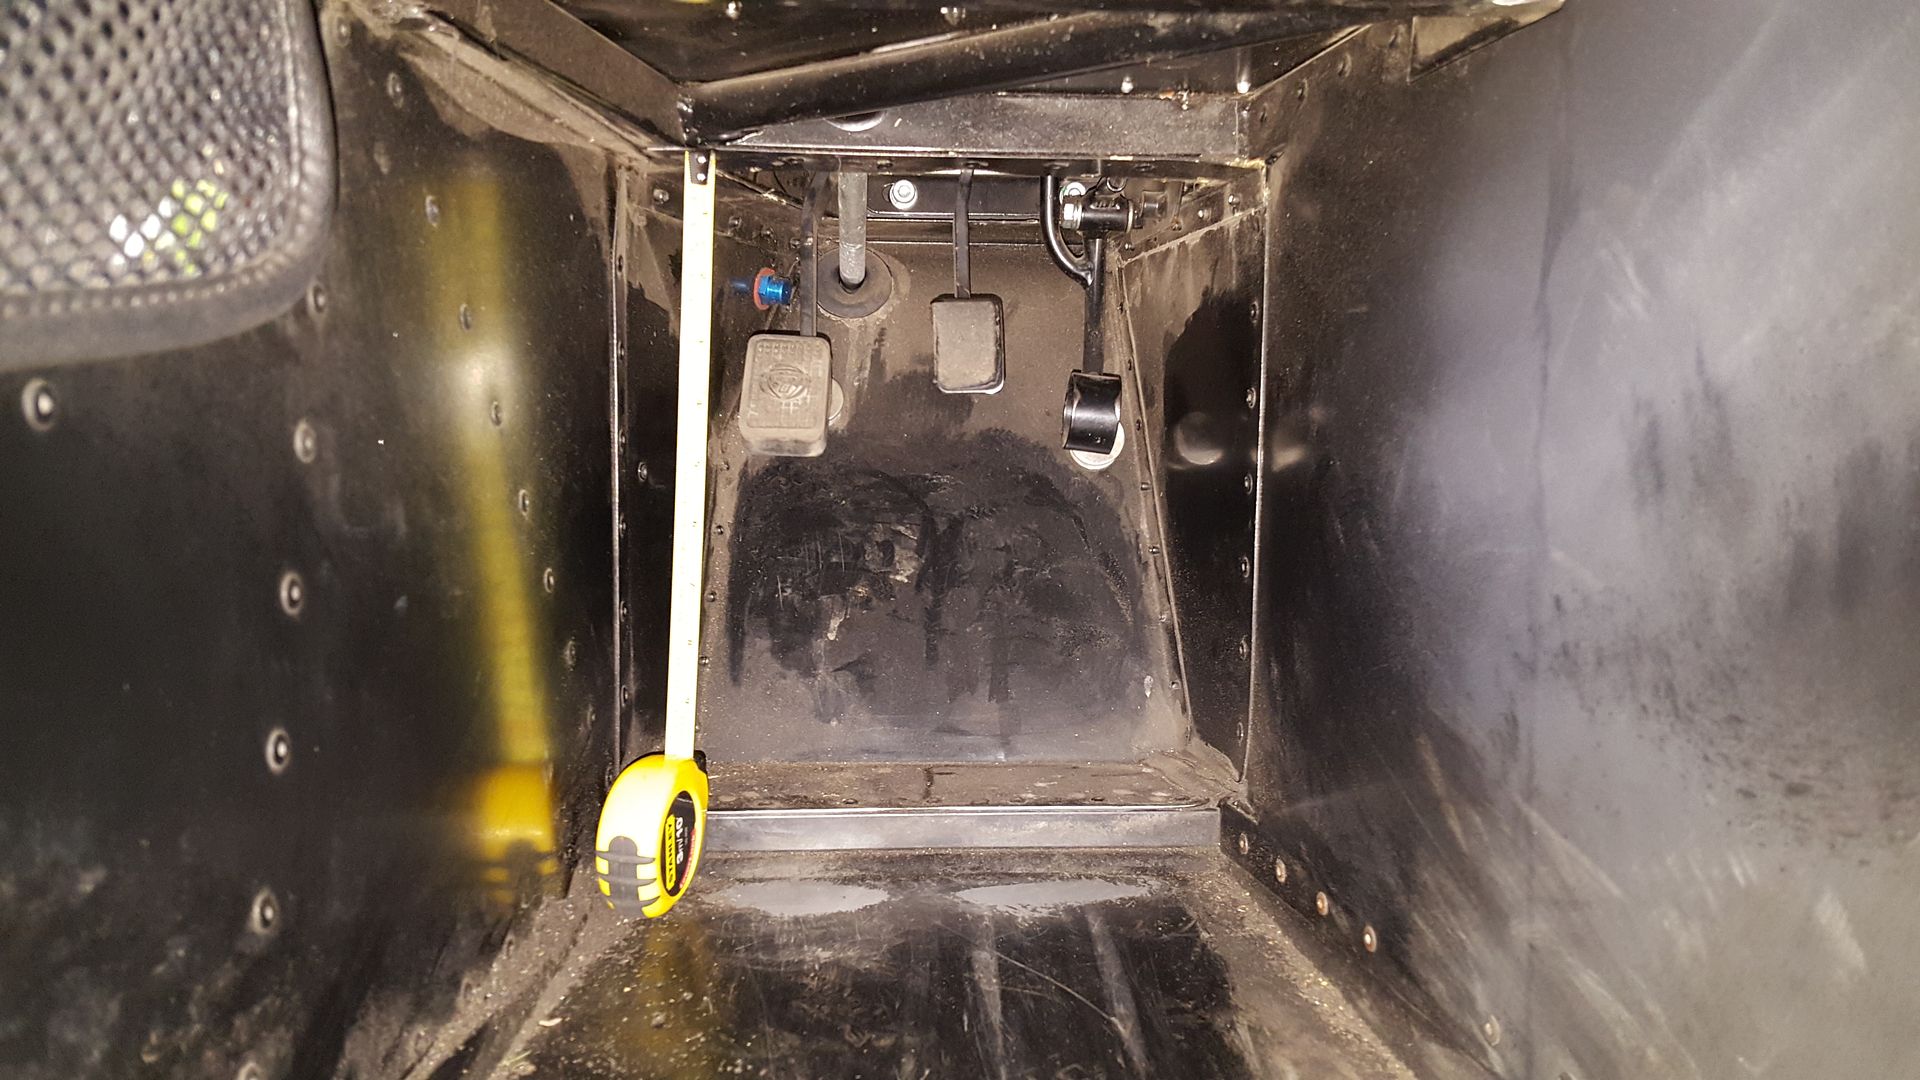
So I went to my mates with a tape measure to see where the caterhams sit controls wise
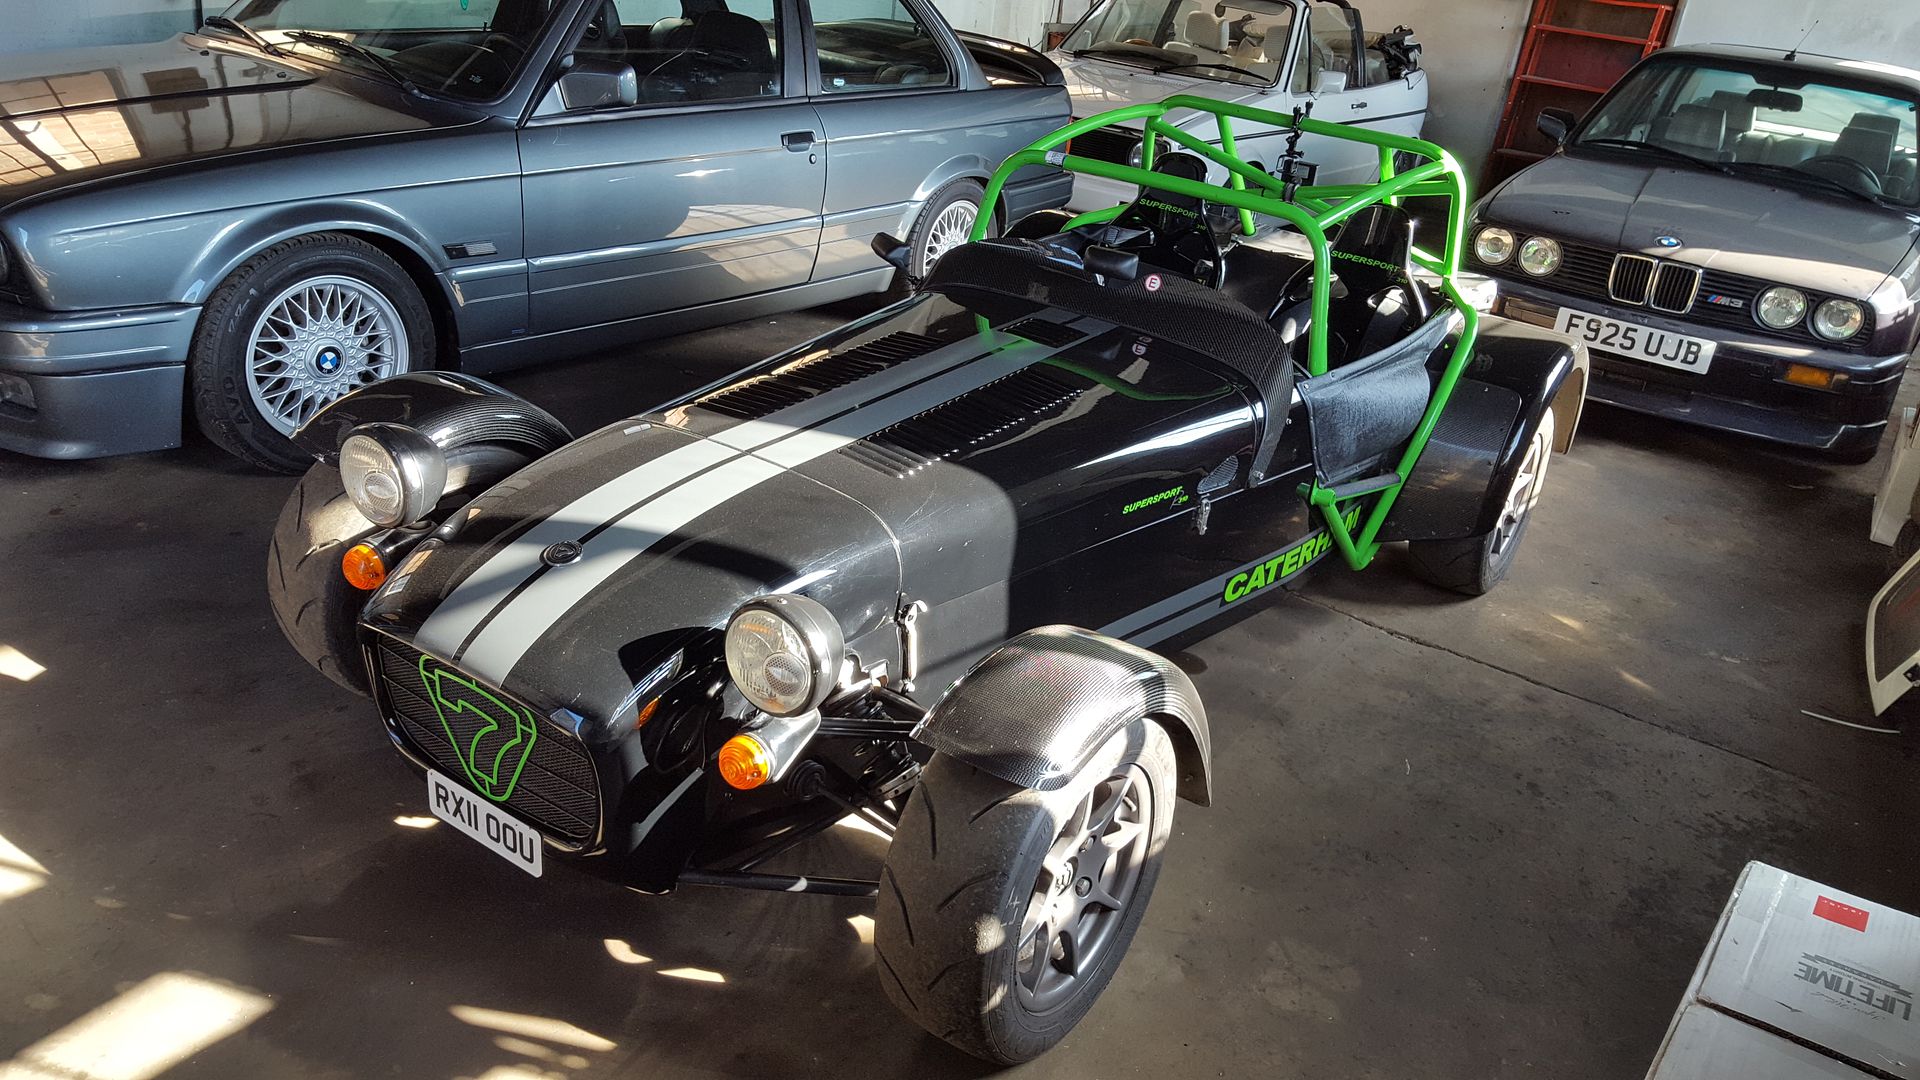
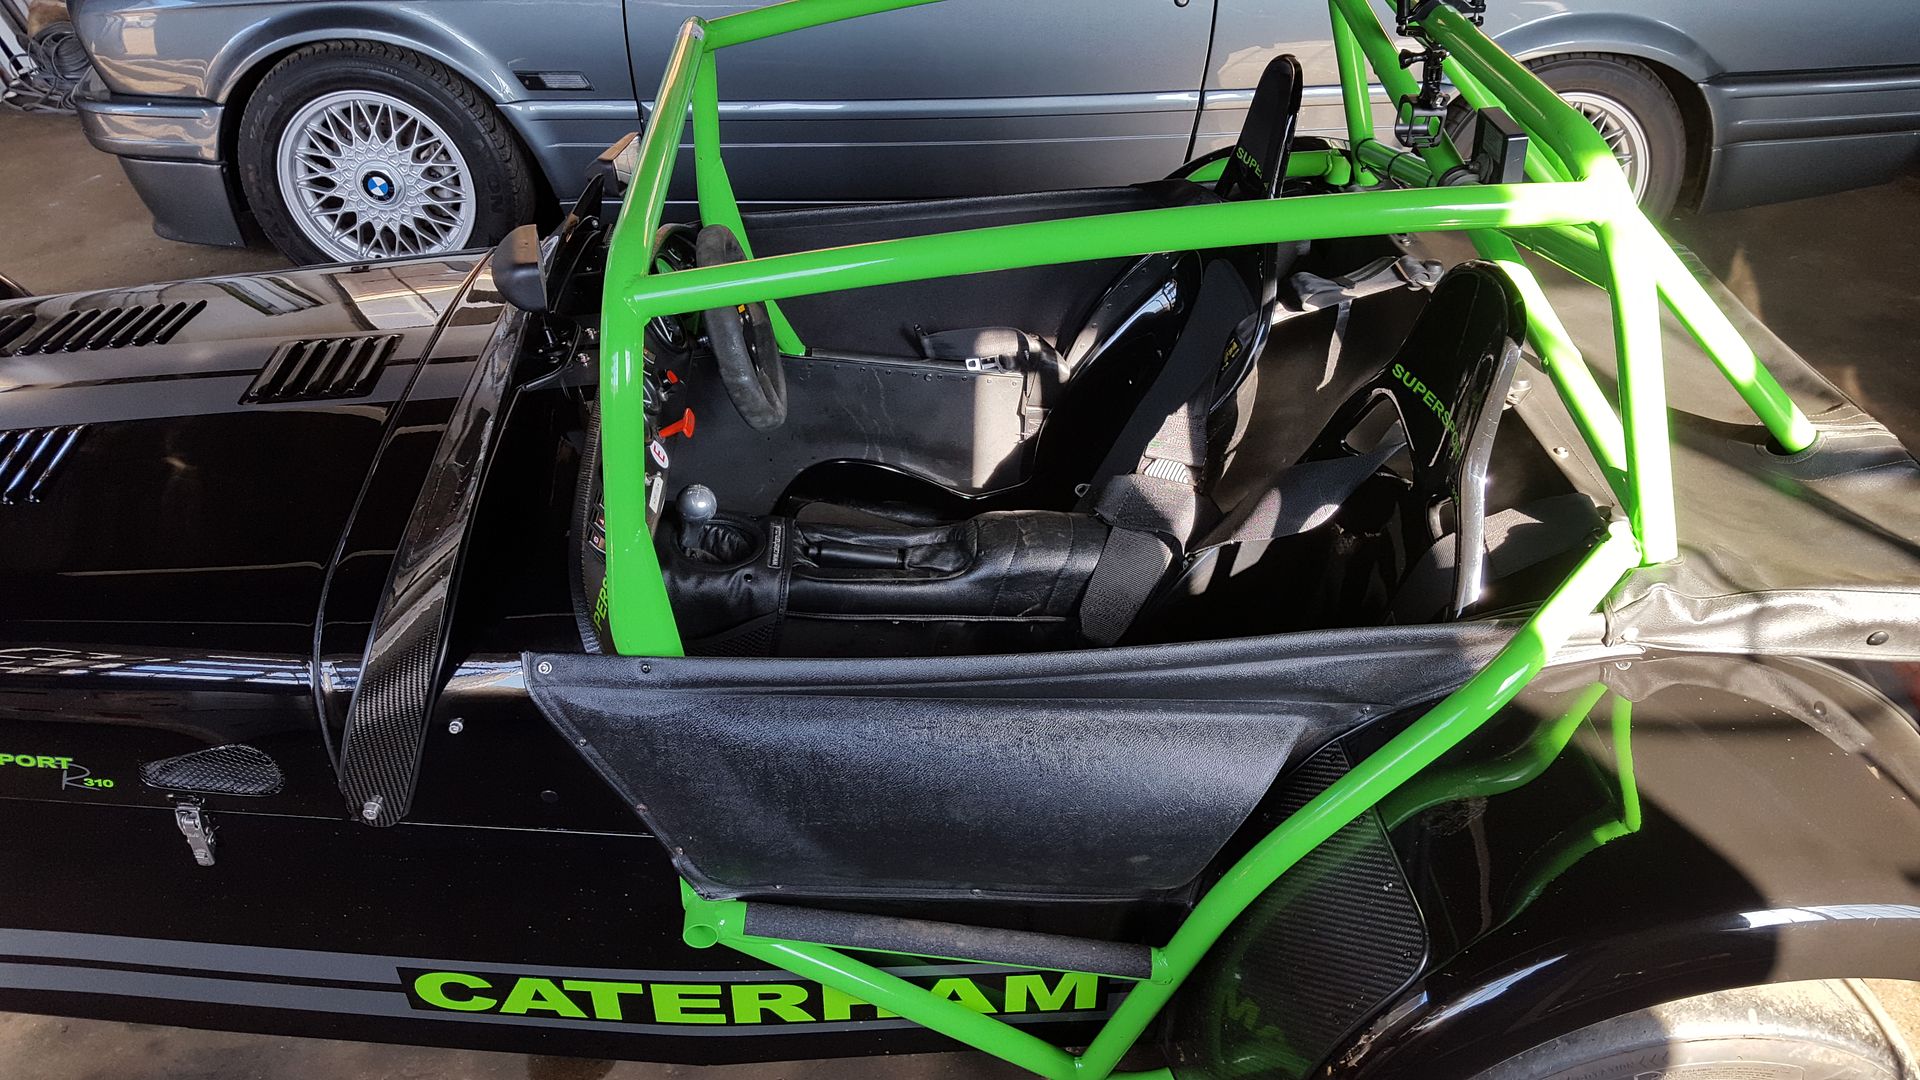
measured everything everywhere using the bulkhead behind the seats as the datum
And mapped it out
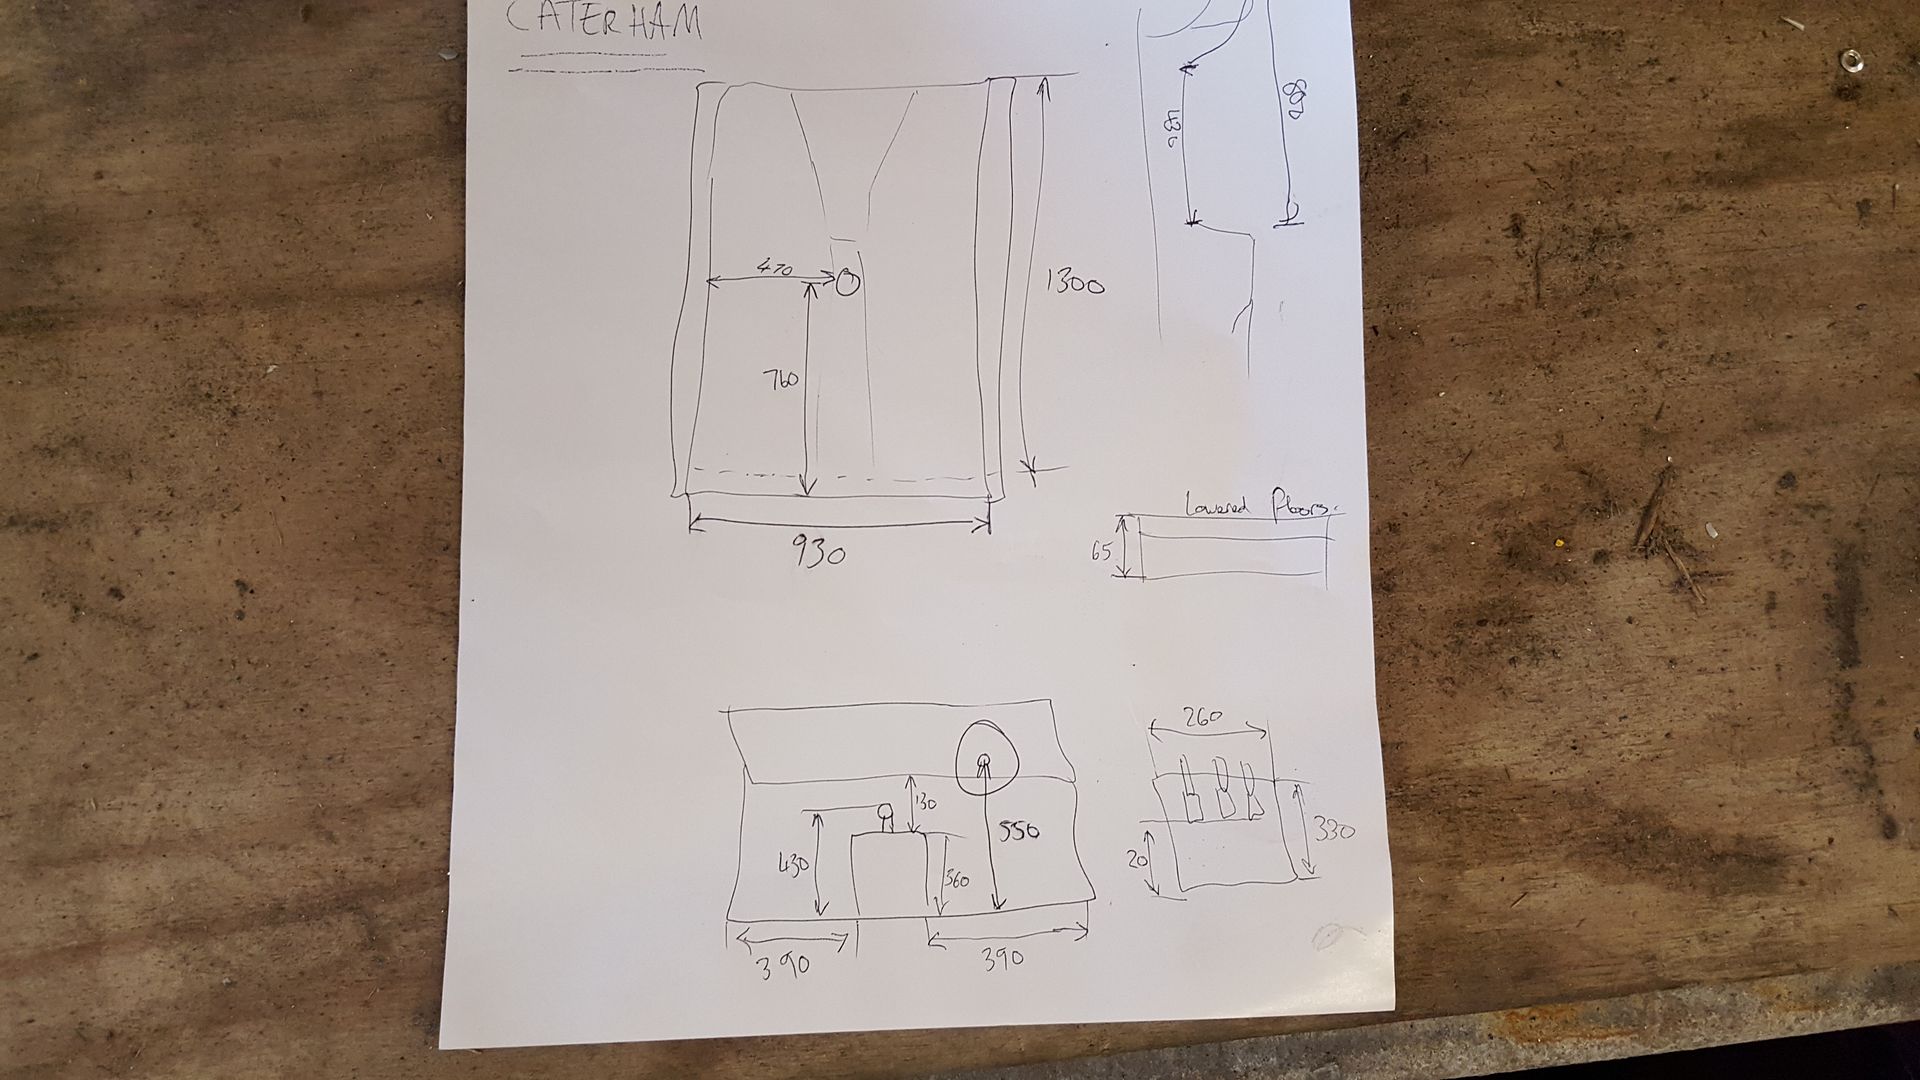
The length and width of the two cabins are almost identical! from front to back is exactly the same. the tunnel is a bit taller but that could be down
to the fact the Caterham has lowered floors.
the only thing different, as suspected was the gear stick was 5.5 inches too far forward.
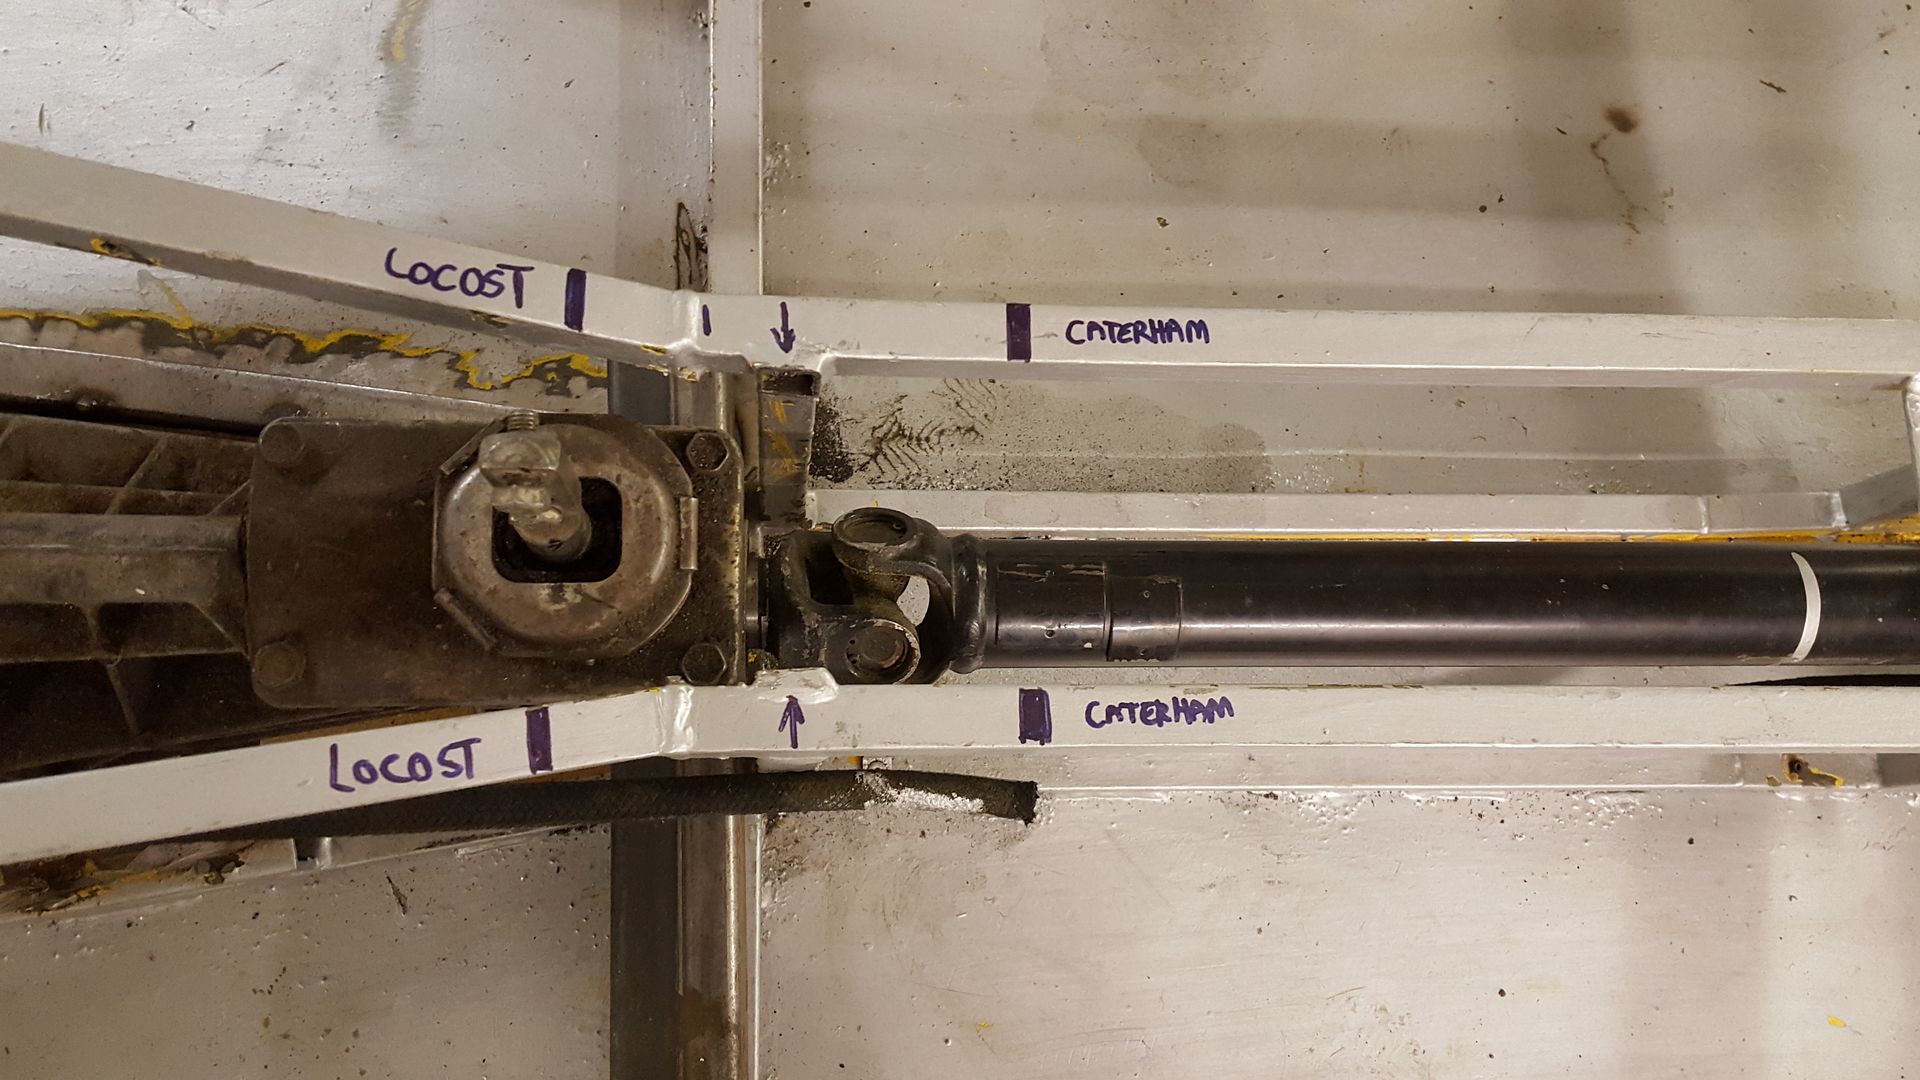
as it turns out the turret extensions are 135mm offset, which is exactly the distance I need
however these are only available for the usual type 9 gearbox, not for the T5 cosworth box. the turrets and rods are completly different.
we are still extremely tight to the rail
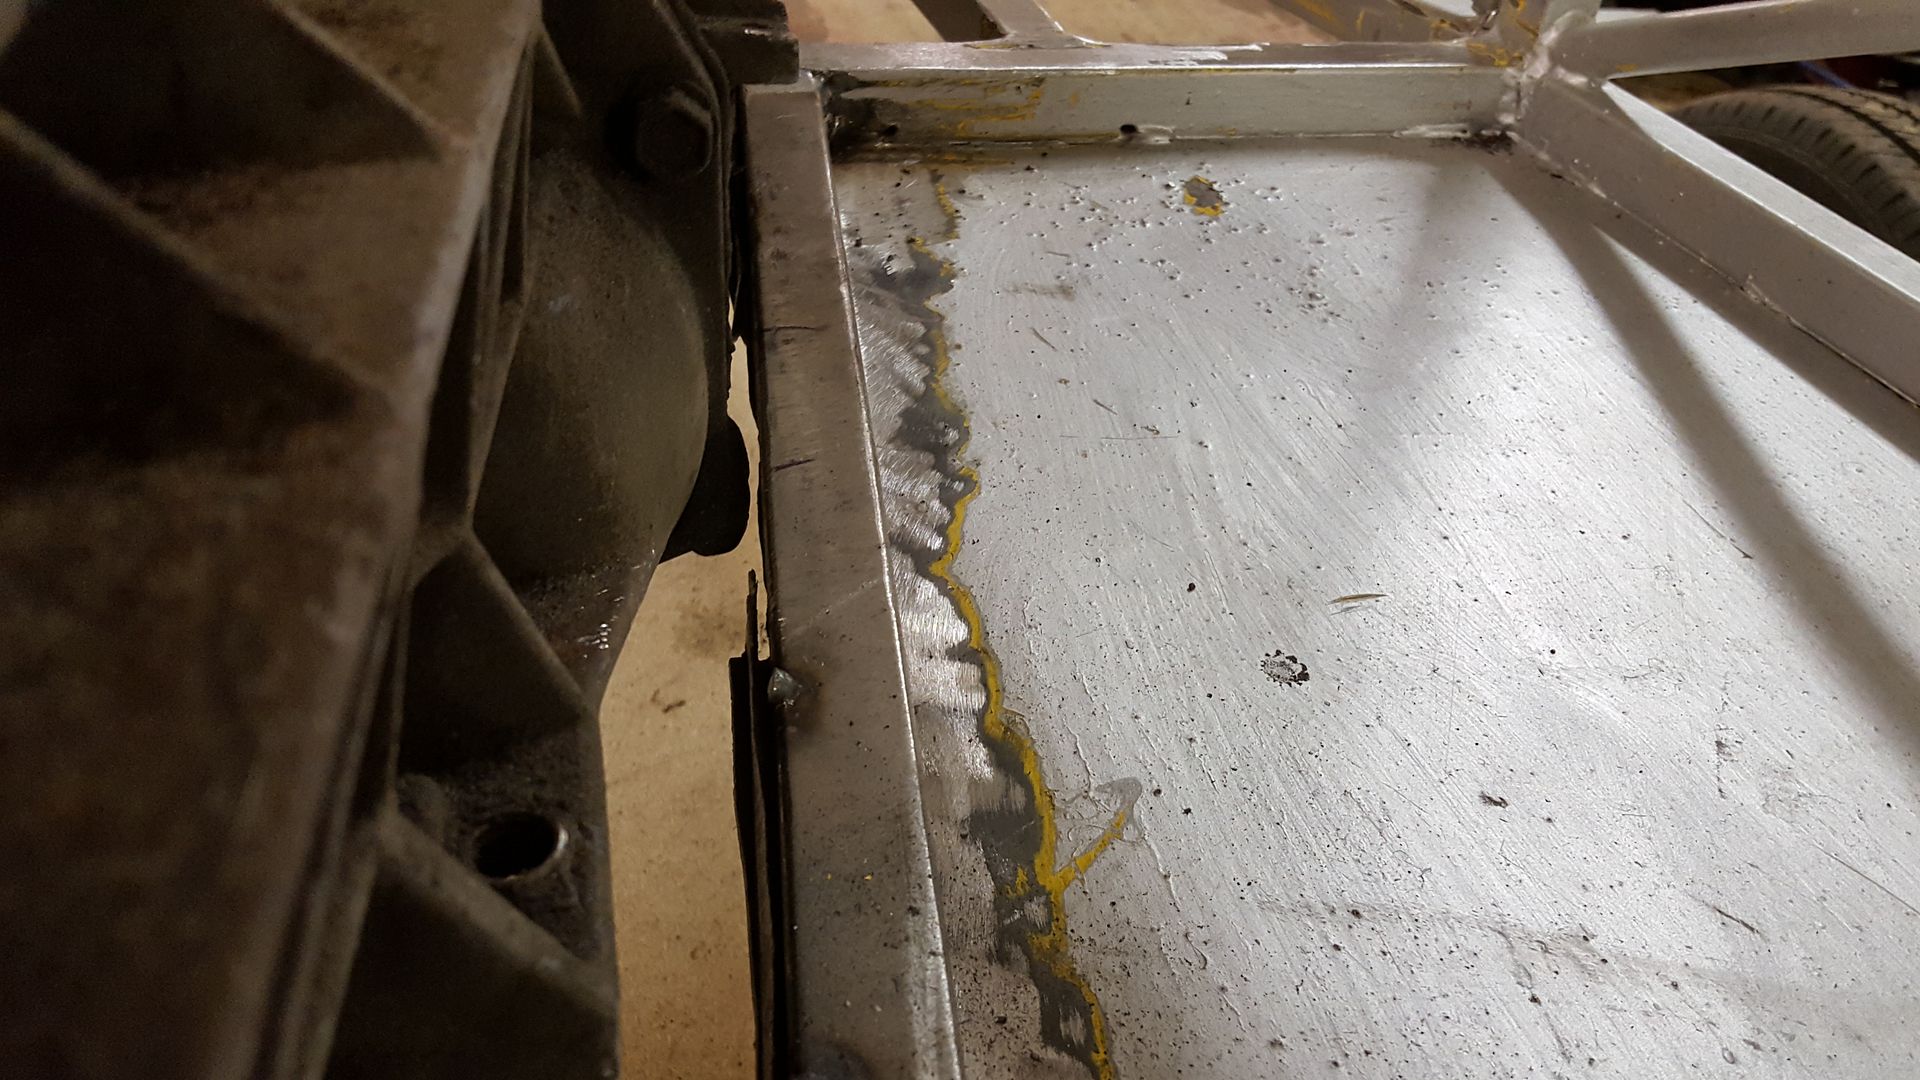
some people have made their own turret extenders externally, it is possible. but they're quite big.
Here's the thread
http://www.locostbuilders.co.uk/forum/9/viewthread.php?tid=208857
which brought up the question why am.i even using a T5. as it turns out they have gone through the roof in value. everything cosworth has. checked on
eBay and there's ones for £800-1000!!!!
so I'm wondering if I should just cash in and sell the T5 and get a type 9 and have money to spend on other stuff. hmmmmmm
you can get the c20xe to type 9 bolt on adapters and the flush turret extenders.
food for thought......!
while I was pondering I thought I'd try on the throttle bodies and carbon I had sitting in the cupboard.
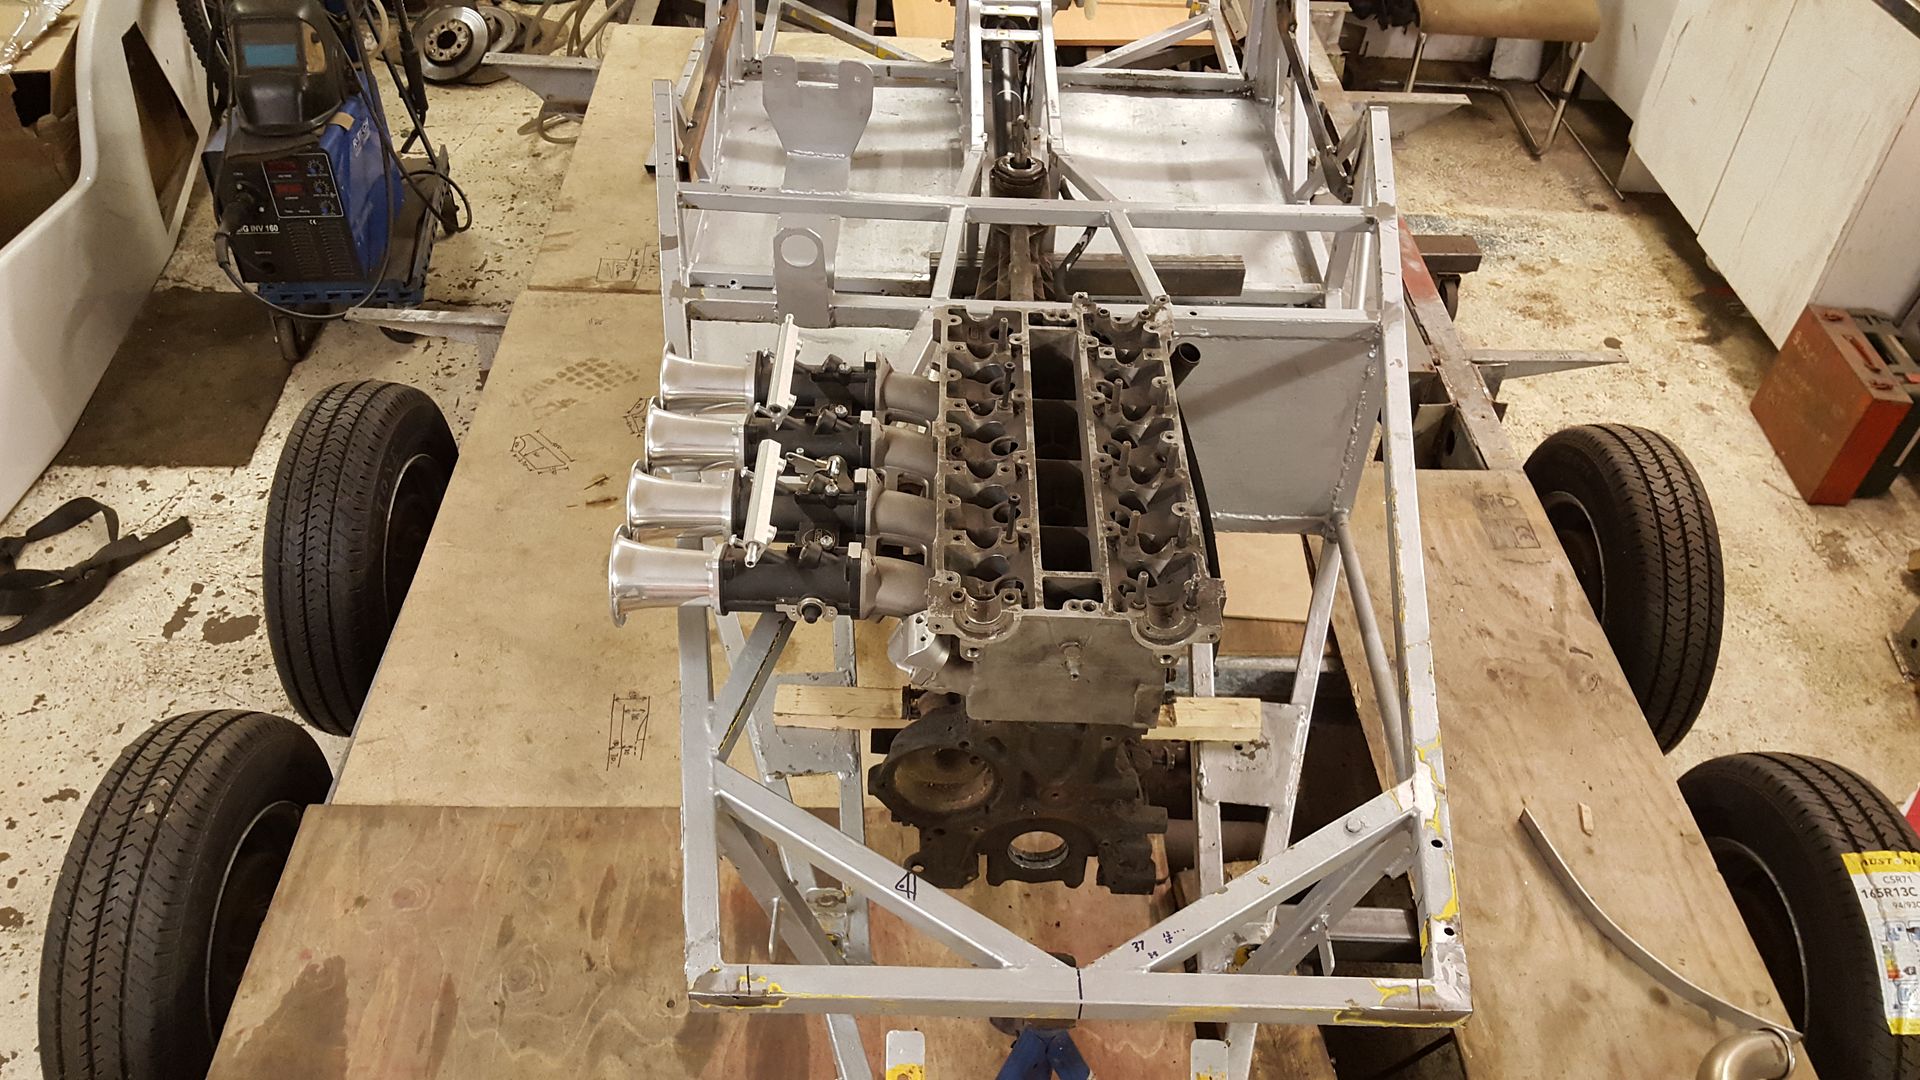
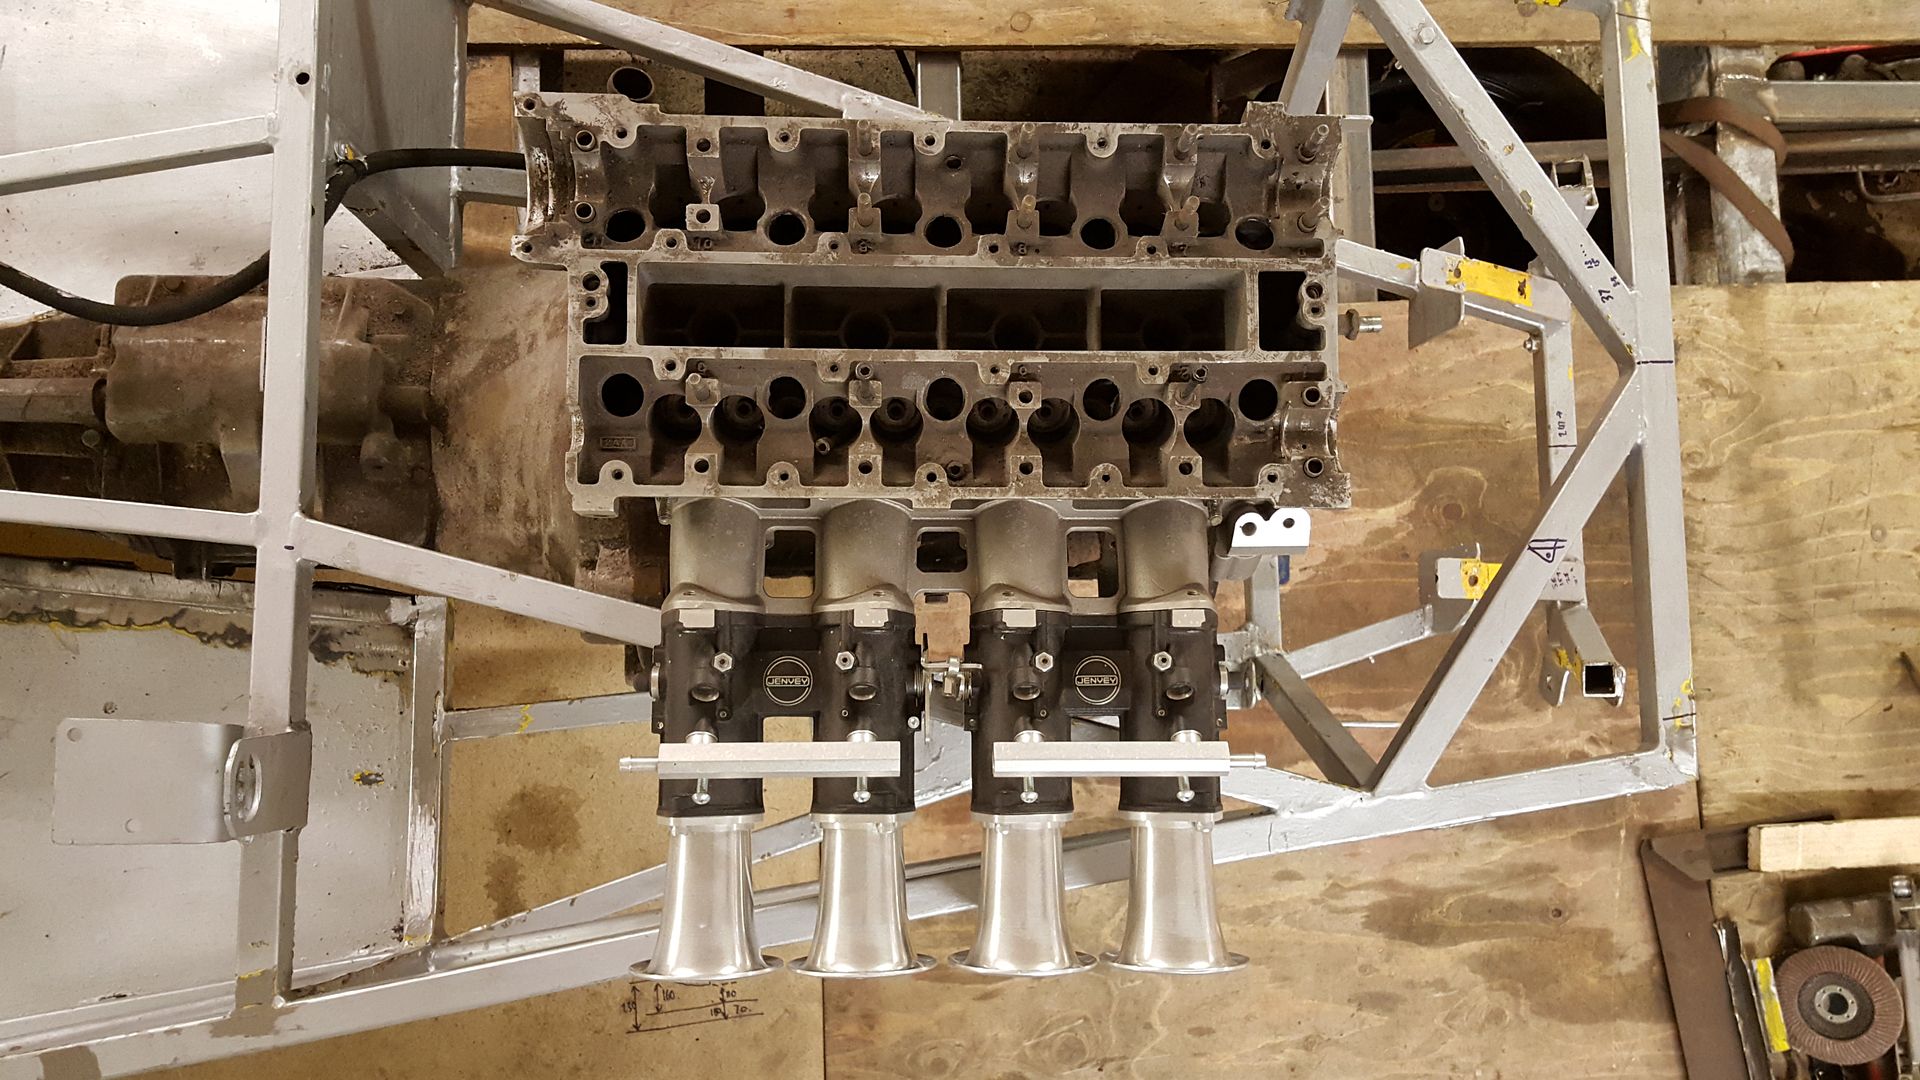
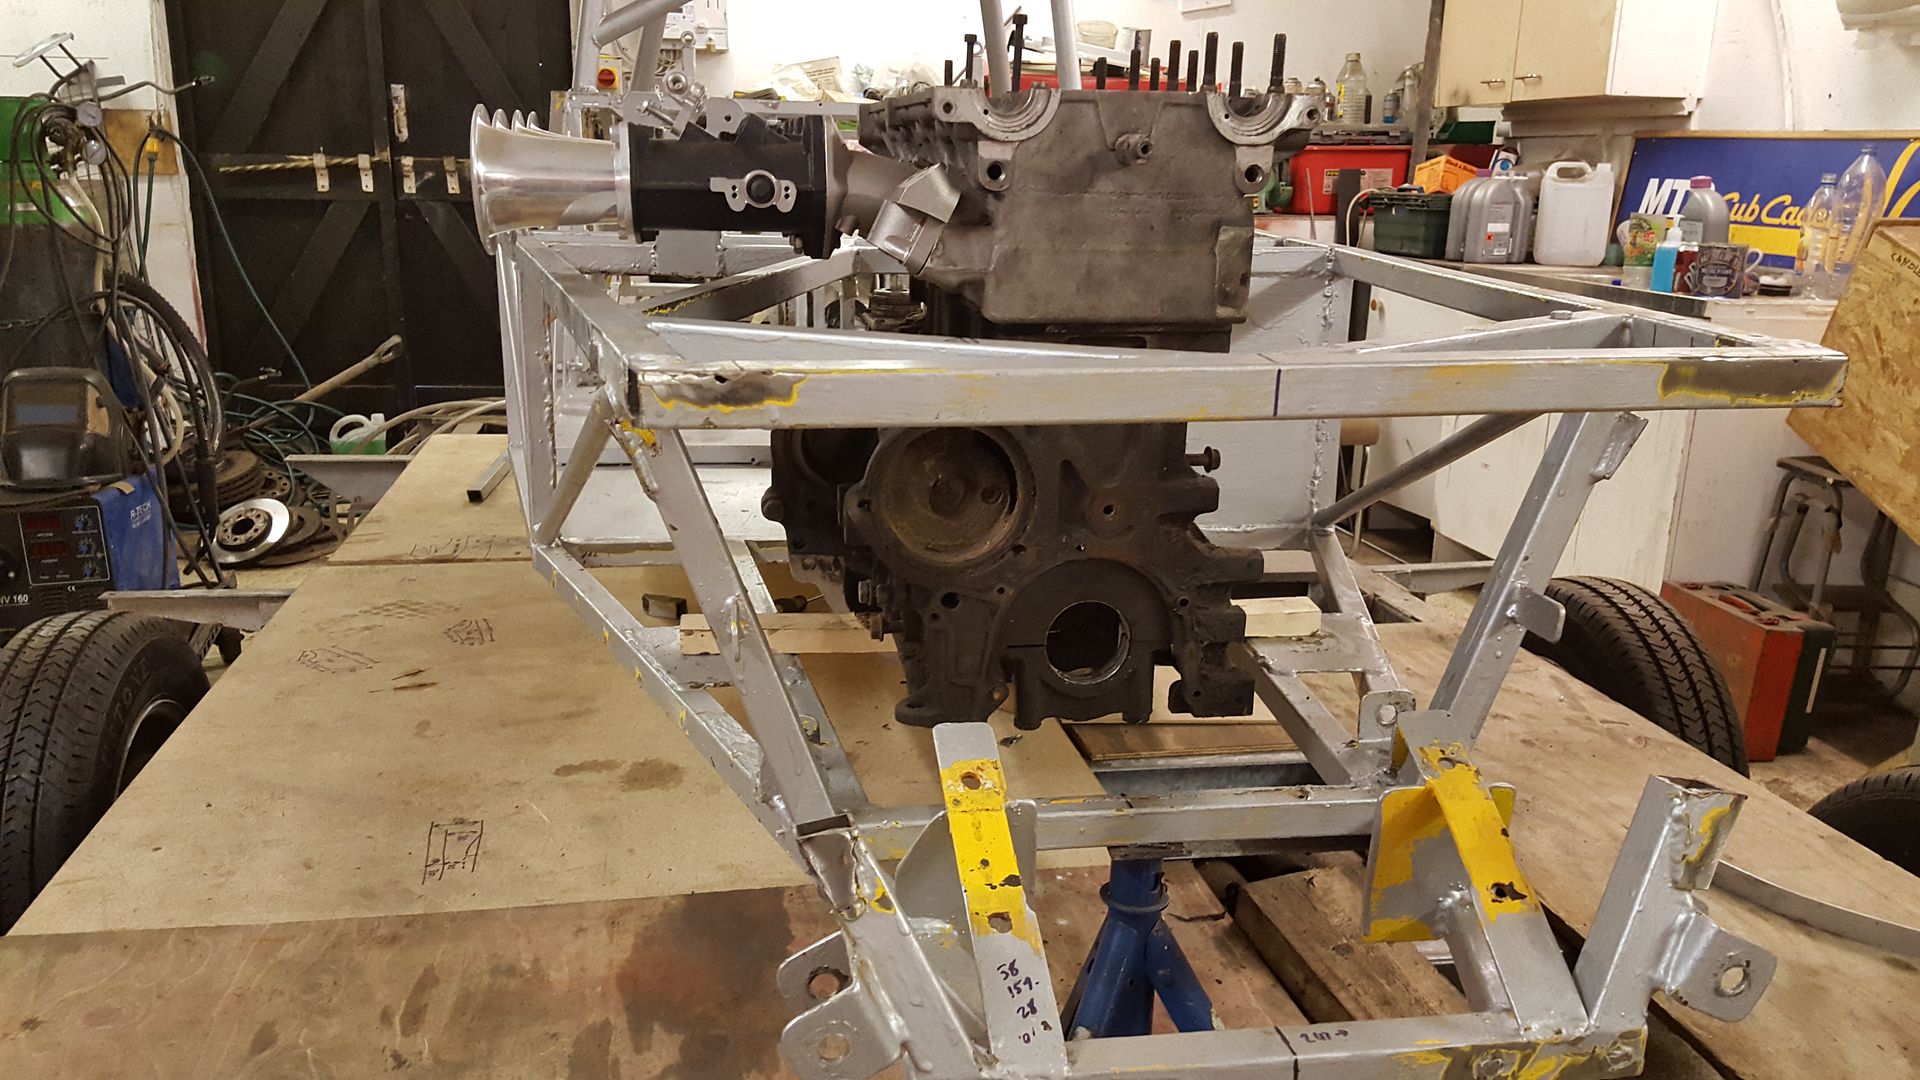
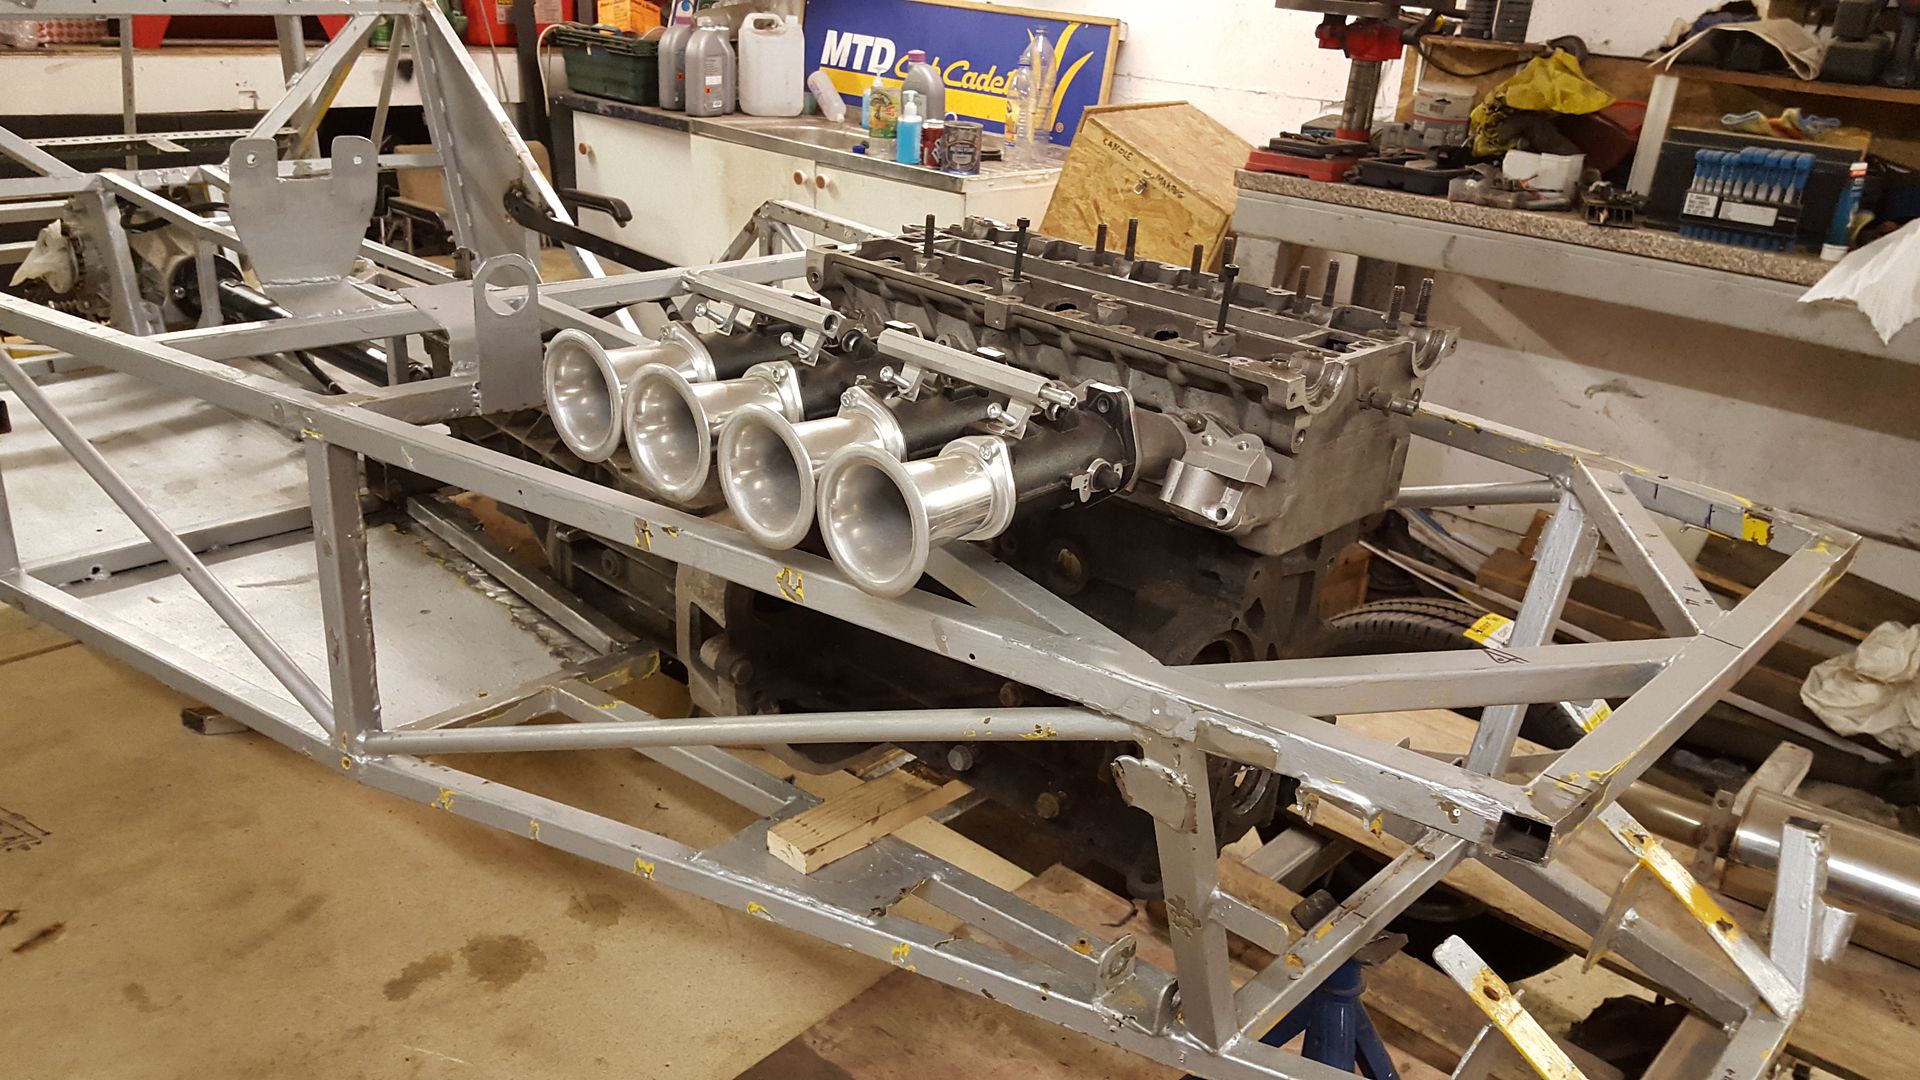
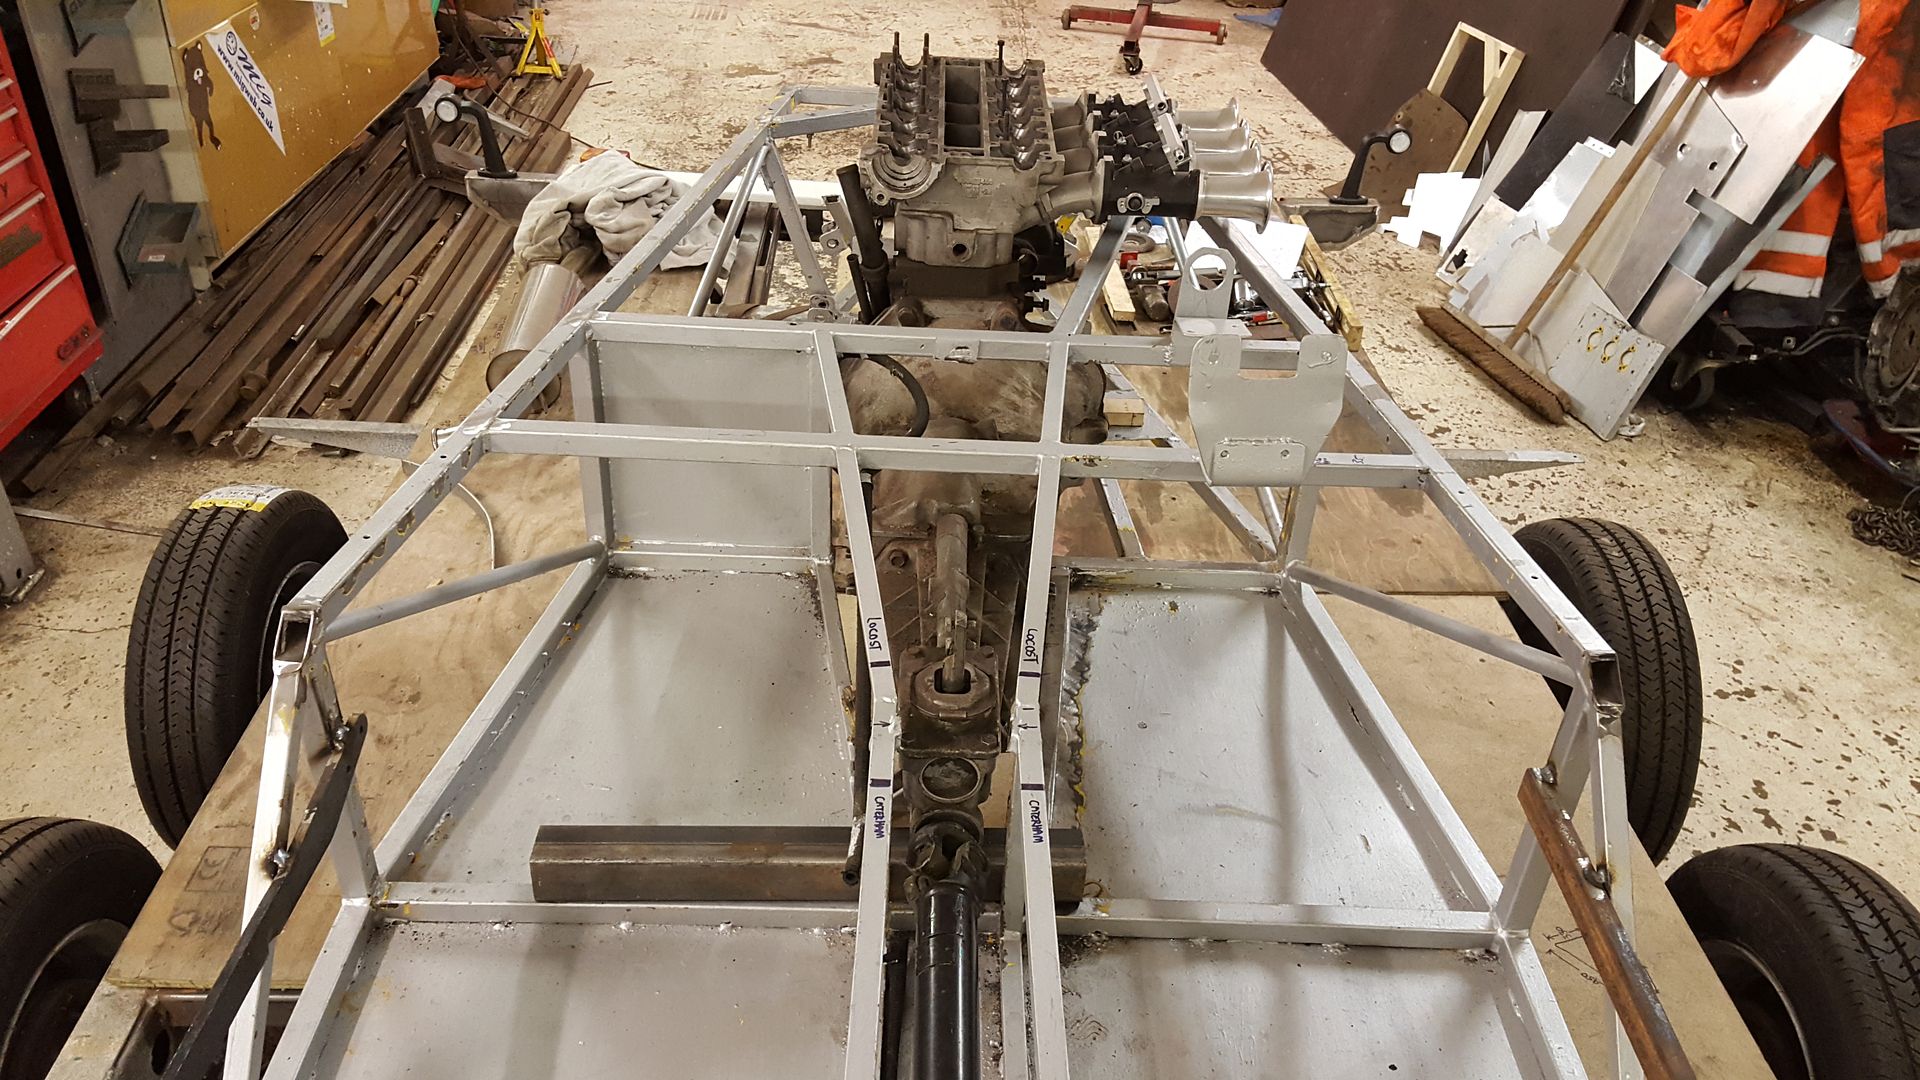
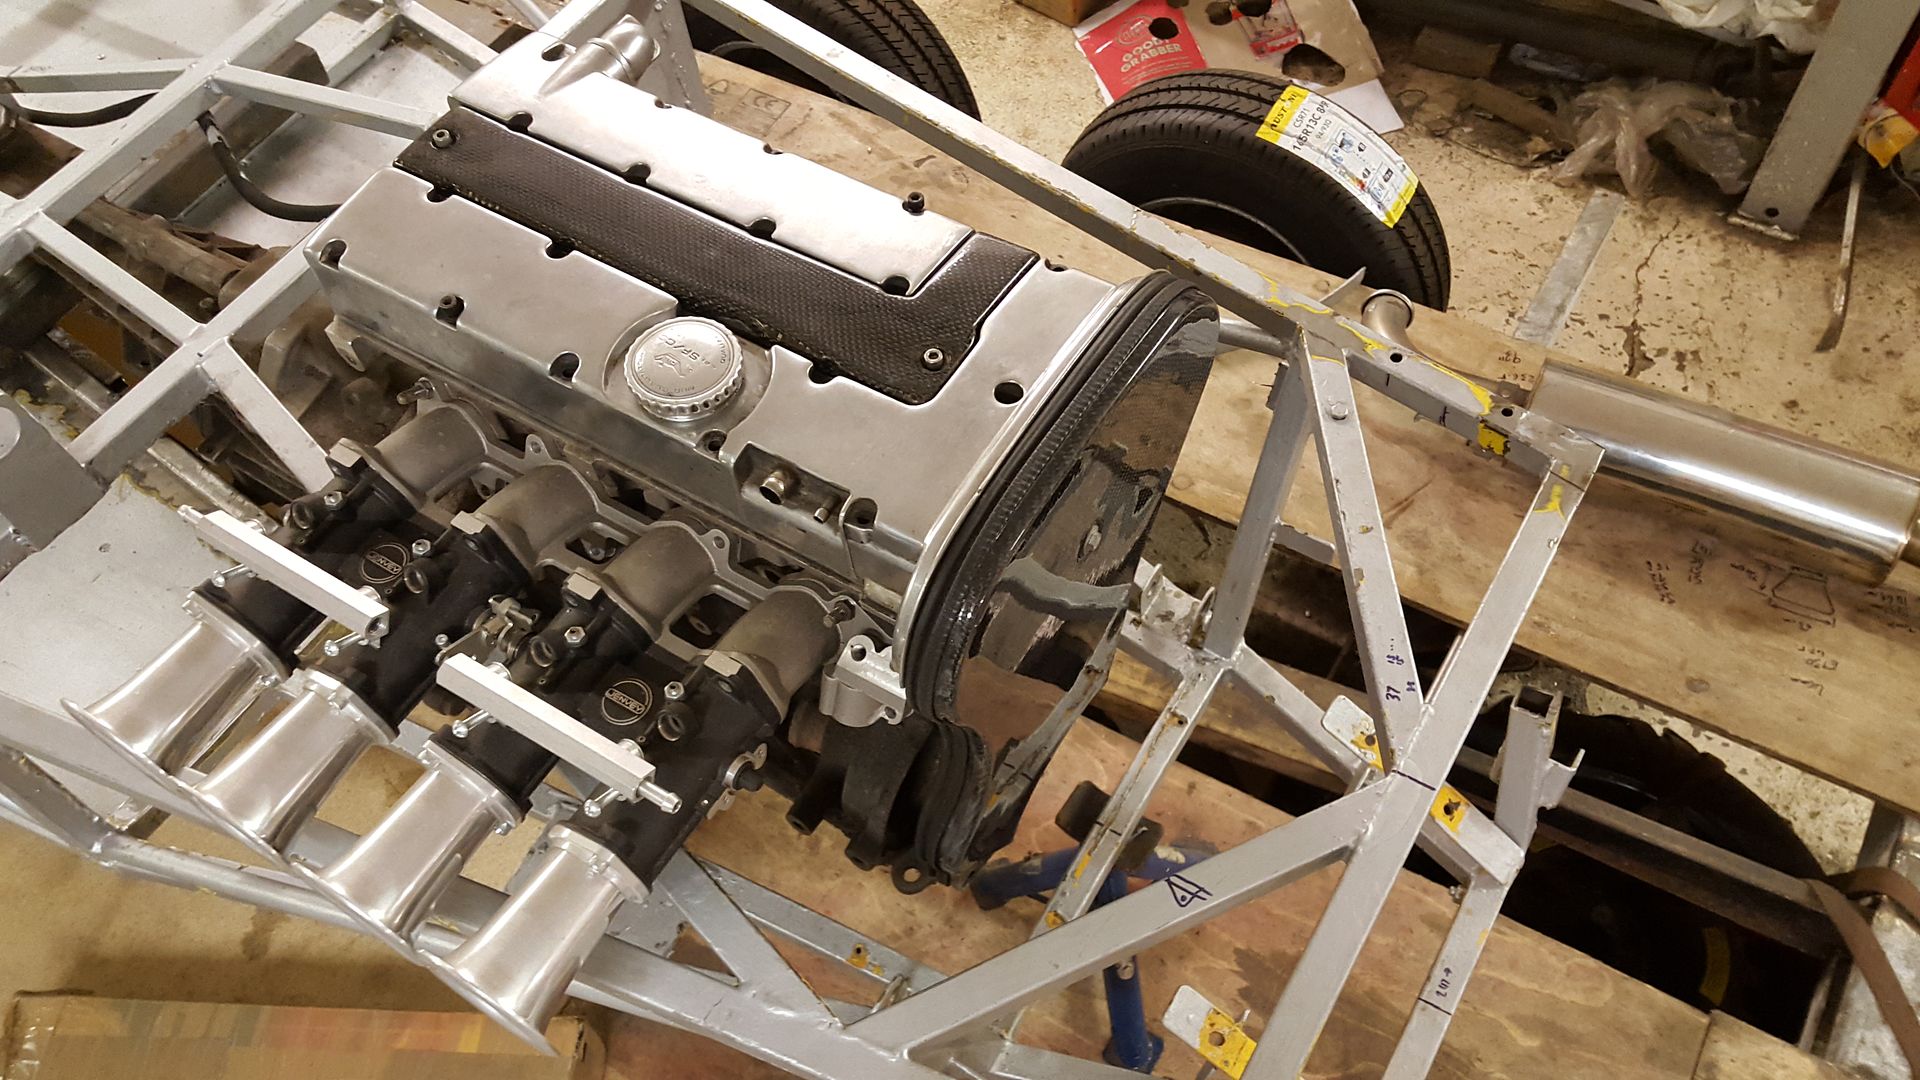
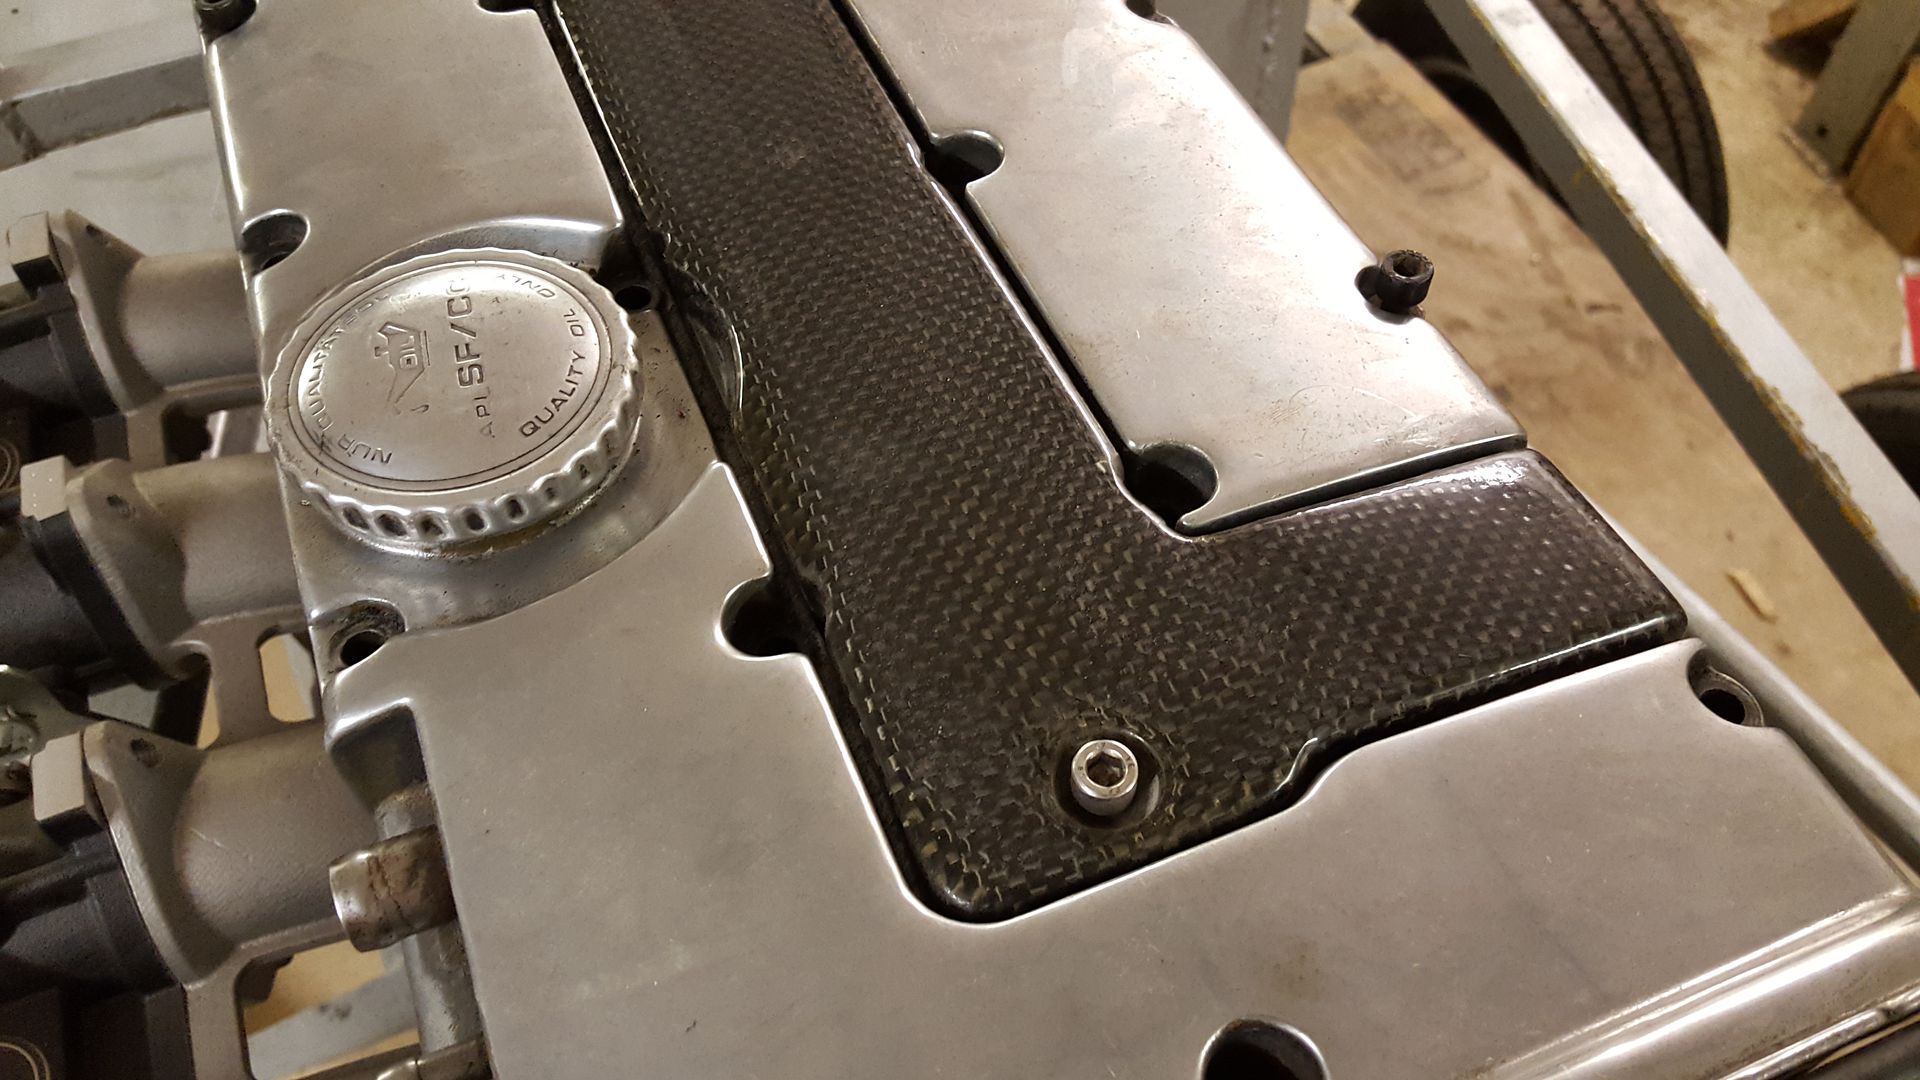
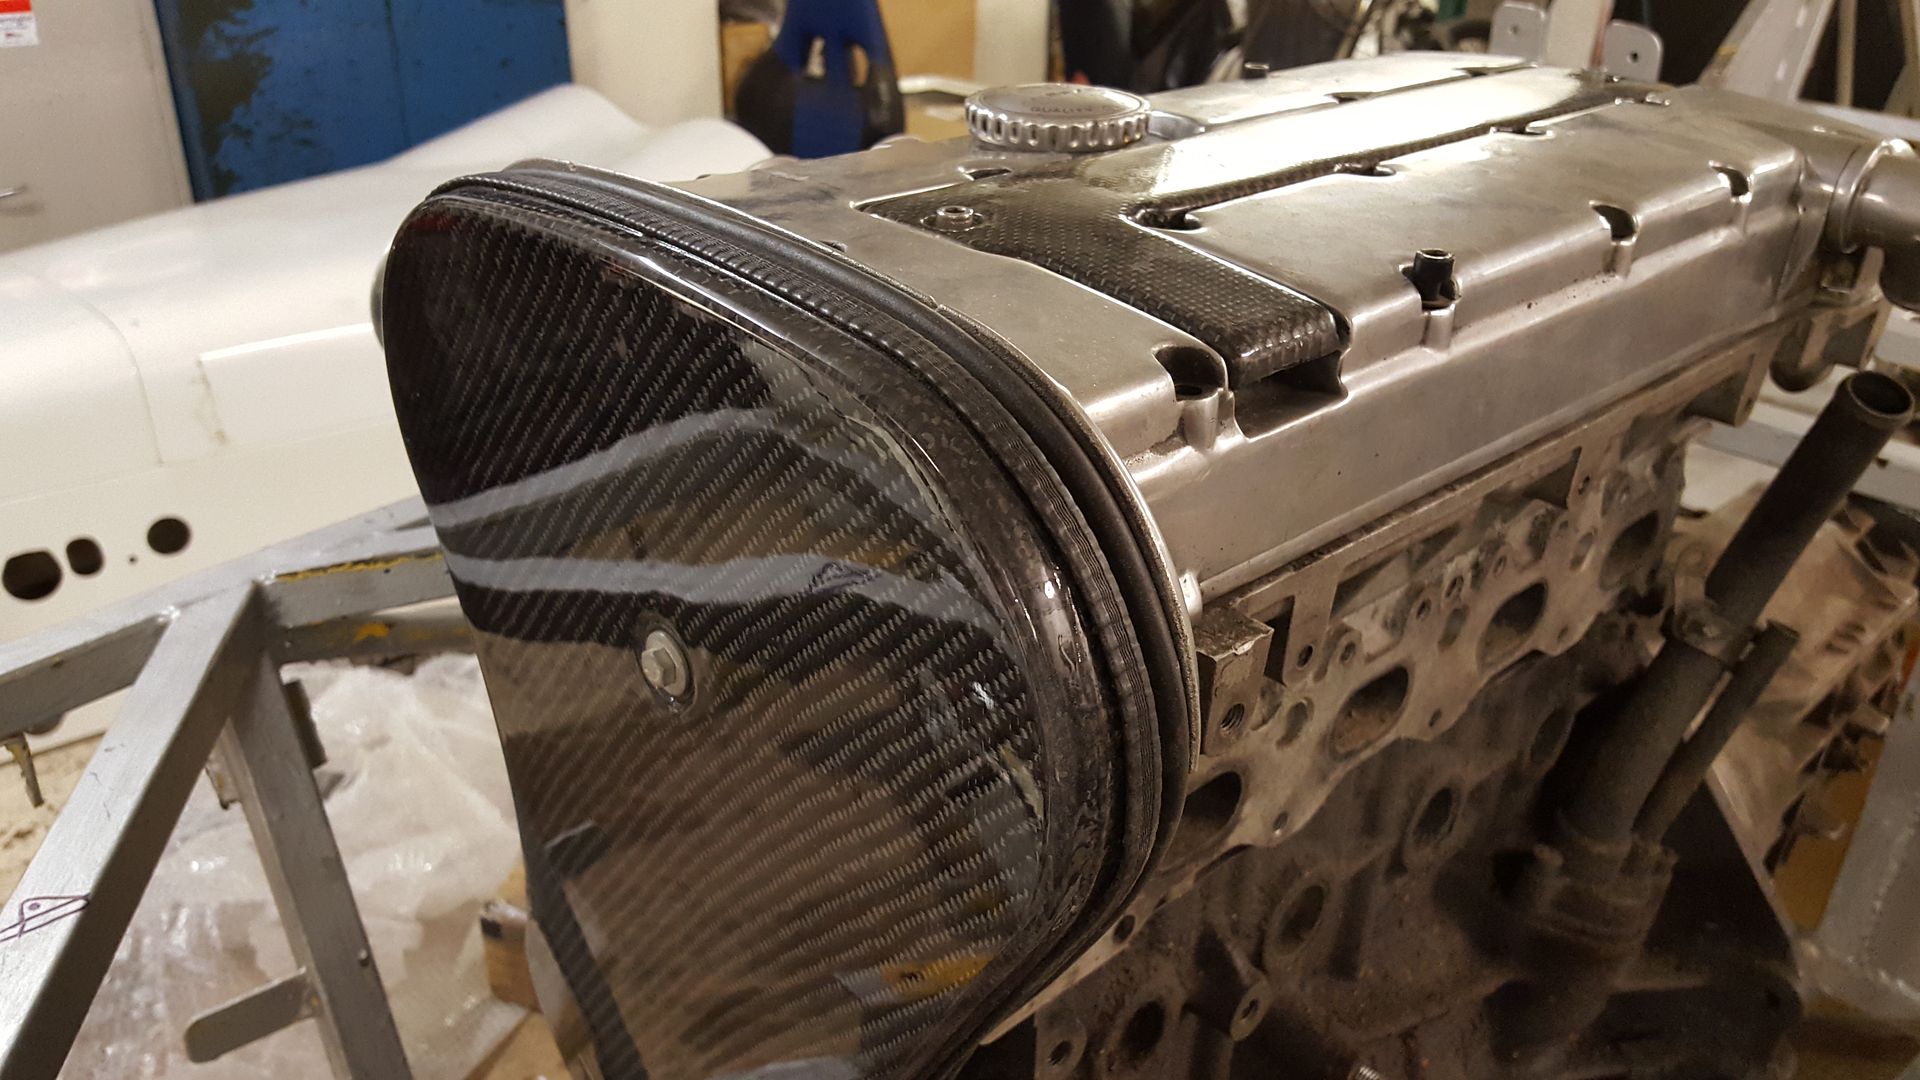
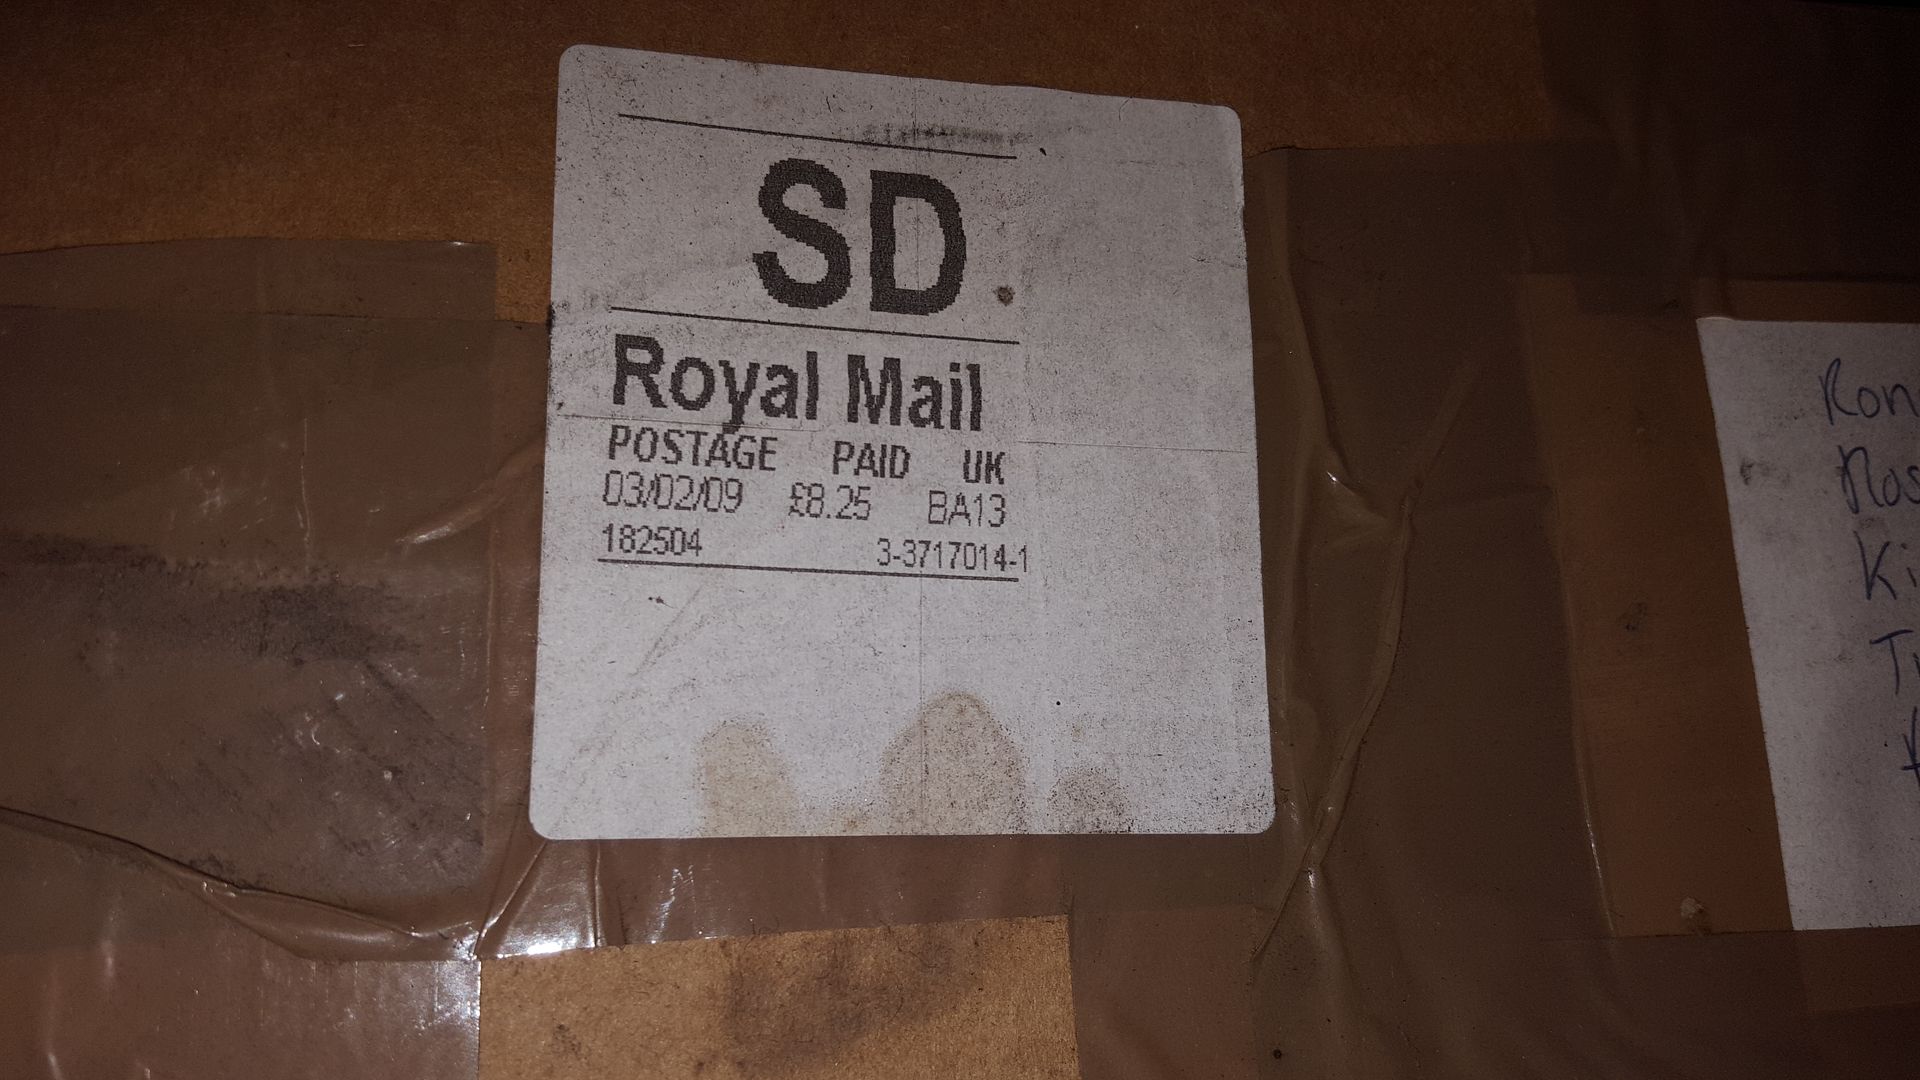
It's depressing when I have brand new parts in the packaging with date stamps like this on!
|
|
|
Mash
|
| posted on 12/5/17 at 07:35 AM |

|
|
Have you thought about using an RX8 box? Just to give you more things to mull over 
|
|
|
super-ron
|
| posted on 13/5/17 at 06:56 PM |

|
|
so I've been thinking gearboxes. I could get the T5 with very little more work, and fabricate a turret extender with not too much hardship, but
it is major overkill being able to handle more than double I the power I am aiming for, and it is worth a bloody fortune! so I think I will change
plans.
Type 9 is the obvious choice, pretty much every kit car and caterham ever uses this box. they look to be £200-300 for the box, plus I need another
adapter bellhousing as the t5 one won't fit, which is about £200. plus the gear shift extender £60. it will be around £500 all in.
the other option that's a possibility is a Vauxhall Omega box. although I've not seen one used in a kit car before. they are really short
gearboxes compared to the Ford's, but do look a bit wide. They bolt straight up to the c20xe so no bellhousing required. they have an external
great linkage so very easy to move the gearstick where ever i want. and theyre hydraulic cluch as standard. only thing is the prop won't fit,
so would need to have that made. boxes are cheap as chips from £100, and I guess having a omega end put on my prop be around £100. so alot cheaper (if
it fits)
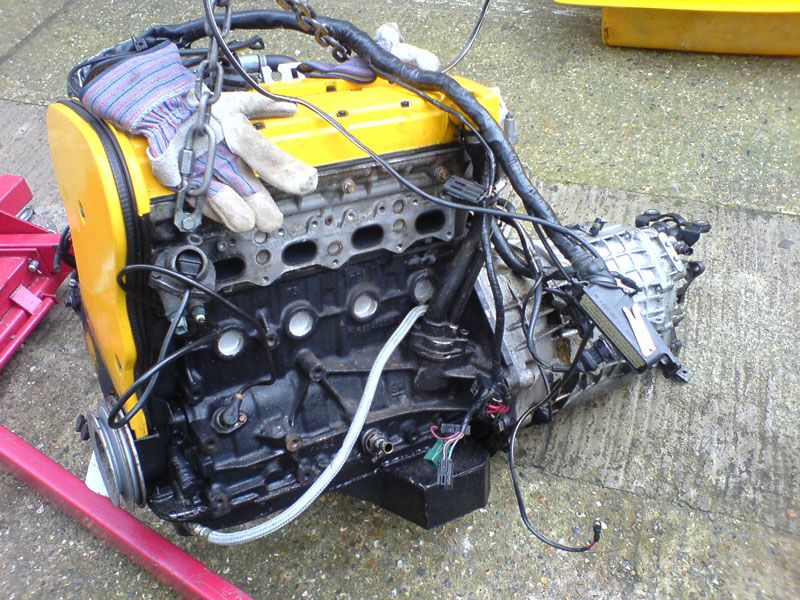
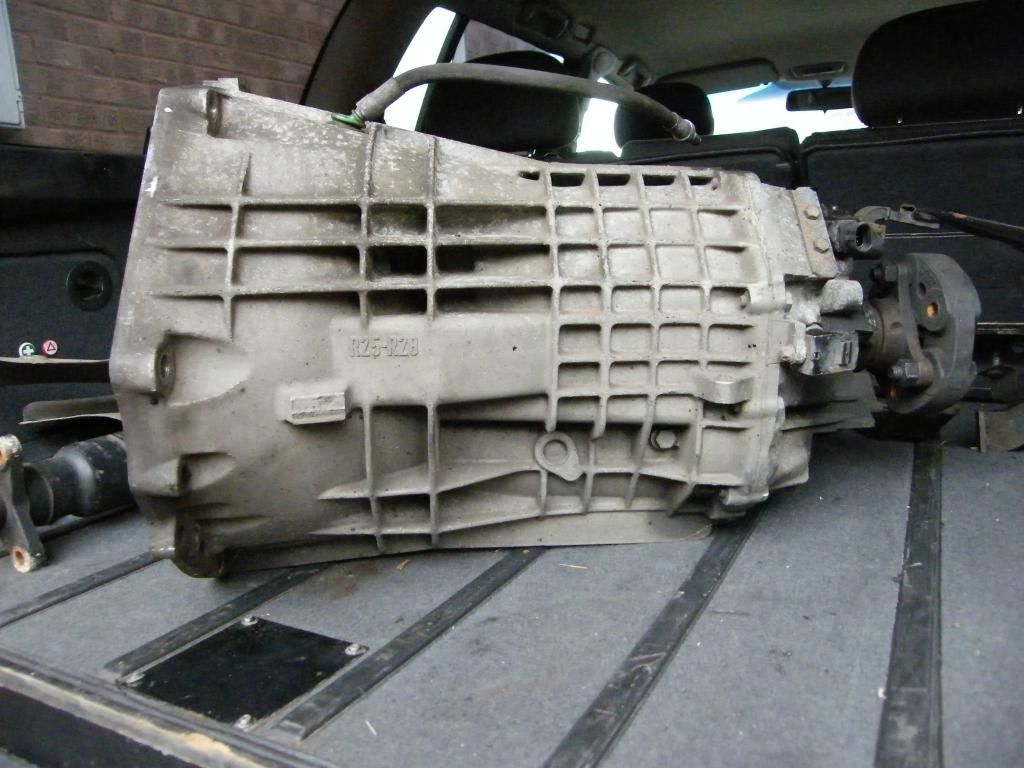
RX8 6 speed boxes seem really popular as a direct Type 9 swap as they're the same size and input and output shafts are the same size, but bell
housings are a bit of a problem as the try aren't bolt on. hydraulic clutch and cheap boxes too.
opel manta 1.8 boxes used to be the normal xe rwd box but getting rare and expensive now.
I had a quick look at ratios, and this is well out of my expertise, but the omegas don't look great, well to be honest I have no idea what
I'm looking at? I'm running a 3.92 rear diff.
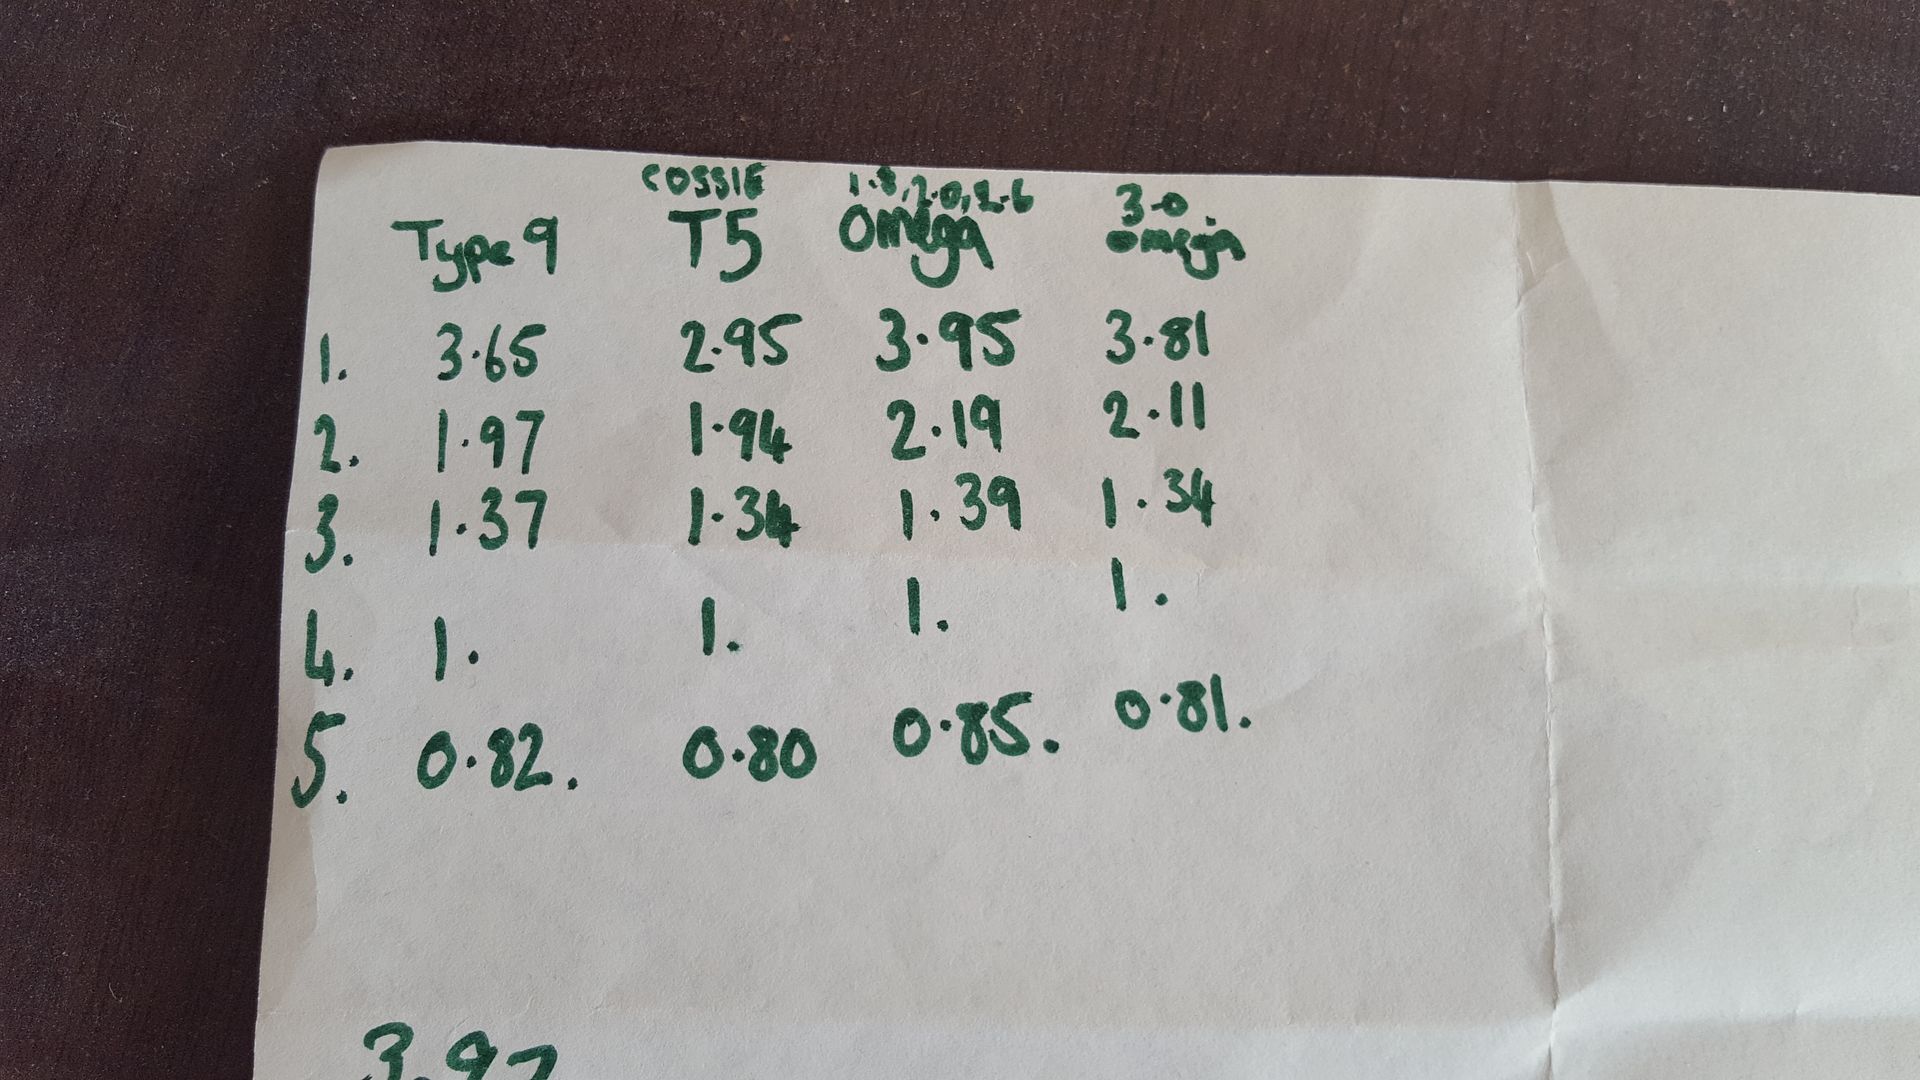
Omega would definatly be the cheapest by far. but I am planning for going for an age related plate at the IVA so would it be best to keep as much
sierra as possible?
|
|
|
Partofthechaos
|
| posted on 14/5/17 at 07:31 AM |

|
|
Have you tried filling in a final drive calculator like this one?
http://www.catherineandken.co.uk/sti/tyres.html
Bear in mind you won't want to red line every gear change (unless it is a track car).
fantastic build by the way!
[Edited on 14/5/17 by Partofthechaos]
|
|
|
sdh2903
|
| posted on 14/5/17 at 09:00 AM |

|
|
The type 9 1st is hopelessly short in a kit and the omega is even worse. Hence why people tend to go for a 2.4 or 2.8 long first when going for a bgh
or spc type 9. I would def look at the rx8 box. There are a few people now sorting adapter plates for the bellhousings.
|
|
|
CosKev3
|
| posted on 14/5/17 at 10:18 AM |

|
|
Some of the welding on that chassis is awful  (not yours!) (not yours!)
Didn't you fancy building a chassis from scratch rather than trying to sort out someone else's bodge?
As you obviously have the tools and skills to weld properly.
Selling the T5 is a good idea,as I suggested in your other thread which you didn't like! 
|
|
|
sdh2903
|
| posted on 14/5/17 at 10:30 AM |

|
|
quote:
Originally posted by CosKev3
Some of the welding on that chassis is awful  (not yours!) (not yours!)
Didn't you fancy building a chassis from scratch rather than trying to sort out someone else's bodge?
As you obviously have the tools and skills to weld properly.
Selling the T5 is a good idea,as I suggested in your other thread which you didn't like! 
I was actually going to suggest starting from scratch with the chassis but didn't want to offend. If you are chopping the tunnel for gearbox,
sides for the body and tweaking the suspension points then is it worth saving? Starting afresh will give you what you want and with piece of mind that
it's done properly. And all for the sake of a couple of hundred in fresh steel. As said some of the welds leave a little to be desired.
|
|
|
sdh2903
|
| posted on 14/5/17 at 10:51 AM |

|
|
In fact sorry. The rx8 box has an even shorter first! I'd thought it was 3.1 the same as the mk3 mx5 box but looks like it's 3.9 which is
pretty useless. Looks quite decent from 2nd onwards though so you could use 2nd as your first!
|
|
|
super-ron
|
| posted on 14/5/17 at 07:55 PM |

|
|
Thanks everyone. I had no idea of the value of the T5, hence just using it for the sake of it as it's just sitting there under the bench. I
think I paid £100 for it 8 years ago  nice investment nice investment  I am only really using it half of its capacity bhp wise, and although it does have really
nice ratios it will give a ton of money to go on other things on the build. I am only really using it half of its capacity bhp wise, and although it does have really
nice ratios it will give a ton of money to go on other things on the build.
I did look at the rx8 box but like you say 1st is just as bad. but I think a car as light as this you could start in 2nd and use it as a dog leg
gearbox.
I think the route I'm going to go down is the type 9. it's not perfect, but tried and tested on pretty much every kit car ever. there are
tons of bolt on/together upgrades to rectify the faults, and I am going to be going down the age related plate so will be good to keep as much sierra
as possible. I will start it as standard, if I find it is really that bad in areas I will develop it as it goes.
Chassis wise it has escalated a bit! origional plan was just to bash the engine in, iva and zoom zoom. This always seems to happen with me, I'm
just too much of a perfectionist  I am glad I got the car i did, the new parts are worth triple what I paid for the whole thing, so I'm happy
with that part. I've got to this stage and I could easily make a chassis from scratch to suit this hybrid plan that is emerging, well within my
skill set. I am glad I got the car i did, the new parts are worth triple what I paid for the whole thing, so I'm happy
with that part. I've got to this stage and I could easily make a chassis from scratch to suit this hybrid plan that is emerging, well within my
skill set.
The actual origional box chassis is done very well, the joint are nice and square, the welds are good, straight and neat, even professional! the
problem is I think then it went to another owner who continued the build as all the plate work was then added by a completly welder, the floors,
bulkhead, all plates etc. structurally sound, but not pretty. Then the skill of the welder changed again for the rollcage, steering mounts and rad
brackets, these aren't done to a structural standard in my opinion.
if i was really taking it to perfectionist level I could make a chassis from scratch with the alterations I desire, but I know this will spiral even
further to a full F1 spec chassis lol. end up taking years and years and costing thousands. I am going to continue with it as it is, re doing the bad
plates, scrapping the cage (just leaving it on at the moment as it braces it nicely) and modify the front end to suit the front suspension components.
using a type 9 I now won't need the extra room in the tunnel so I might move the rail I altered back in to regain the foot room.
All suggestions and crittisms welcome. I've been building fast cars and fabricating for years and years but this is my first kit car. Glad
you're enjoying progress so far 
[Edited on 14/5/17 by super-ron]
[Edited on 14/5/17 by super-ron]
[Edited on 14/5/17 by super-ron]
|
|
|
Myke 2463
|
| posted on 15/5/17 at 12:04 PM |

|
|
RX8 box
Check out the ratios on the RX8 5 speed box, much better than the type 9 and all usable. need adaptor plate and make your own gear lever ext as
stick to front of bellhousing is almost the same as type 9. I paid £100 for 30k box.
Be Lucky Mike.
|
|
|


