
New Furore Formula Build
russbost - 21/3/17 at 06:12 PM
Hi Guys
I hope this will be of interest - at least it's out of the ordinary!
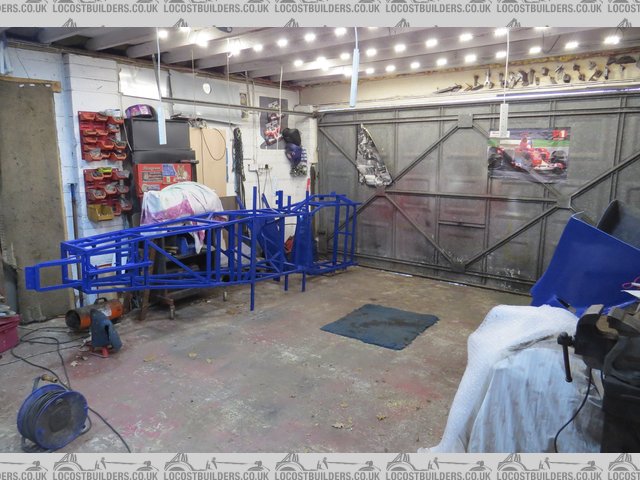
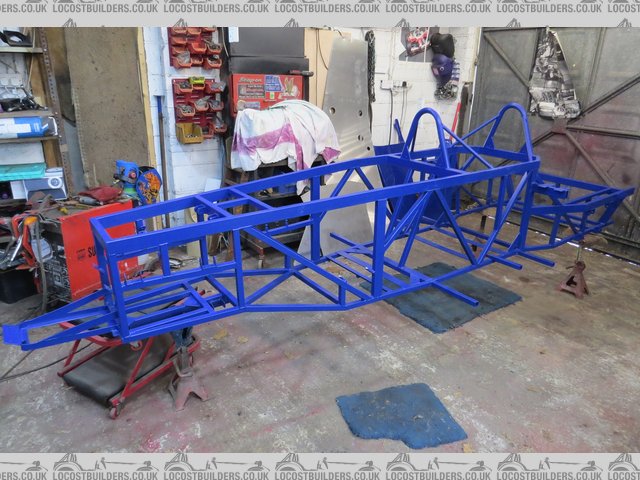
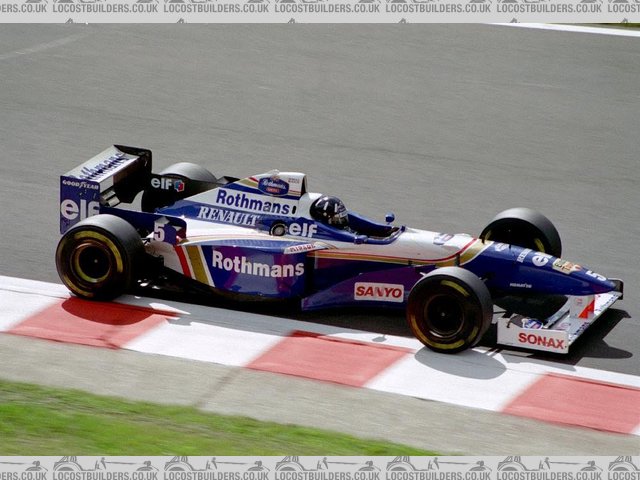
I recently started a customer build Furore. This one is to be in Williams colours (Old Williams as in Damon Hill era) & is going to be running an
almost new (2016 with 600 miles on the clock!) ZZR1400. I thought it would be of interest to do a build diary as I go along with the build. Here are
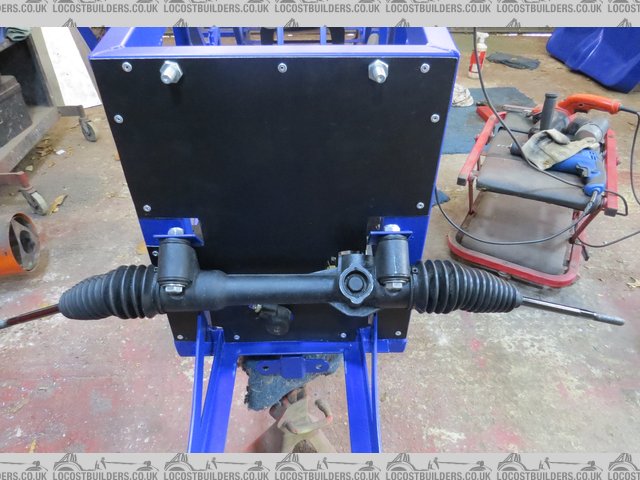
the first few pics. I'm not going to be offering much in the way of explanation - most of it is fairly self explanatory anyway, but feel to free
to ask any Q's about anything that's not making sense!
I will try to post as much in a genuine timeframe as I can, I started the build at the start of March, but have had a weeks hols since & I'm
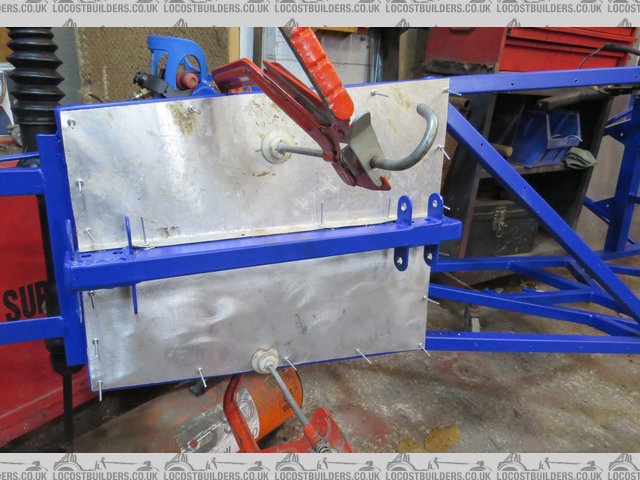
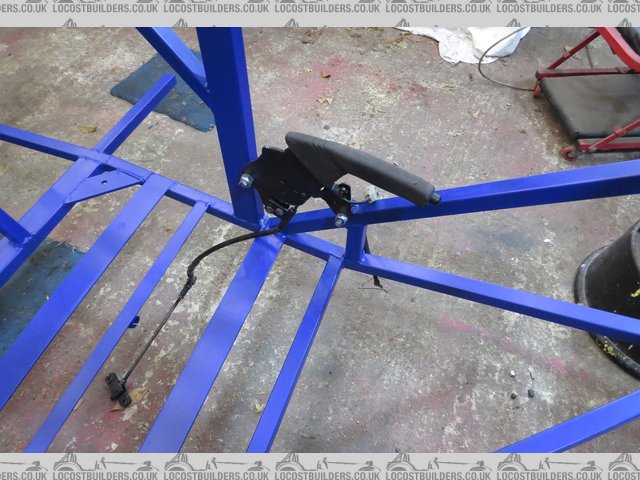
not working on it full time, but here are the pics form the first days labours. I did have the luxury of having nearly all of the parts already
cleaned/refurbed & prepped/painted ready to go, which along with some laser cut panelwork does help to speed things up a bit
[img]

Description
[/img]
[img]


[/img]
[img]

Description
[/img]
[img]

Description
[/img]
[img]

Description
[/img]
[img]

Description
[/img]
Gre3D - 21/3/17 at 06:58 PM
odd looking chassis, looks super long?
curious to how this thing builds!
russbost - 21/3/17 at 07:33 PM
My avatar might give you a clue! It's not exactly a 7!
It's long because it seats 2 in tandem one behind the other & the engine is at the right end too! 
Finished car is around 4.5m
russbost - 22/3/17 at 01:20 PM
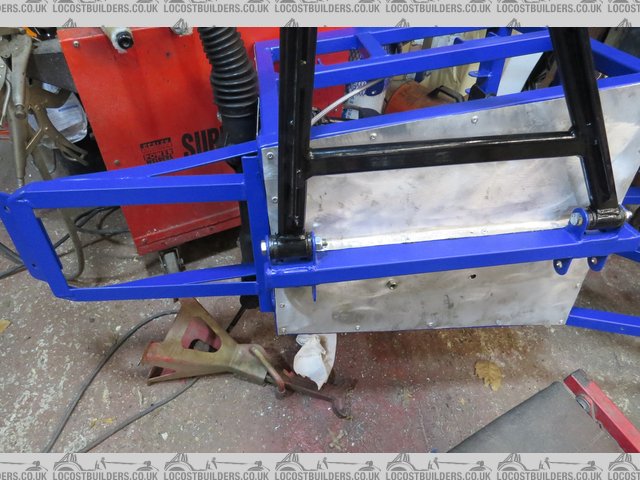
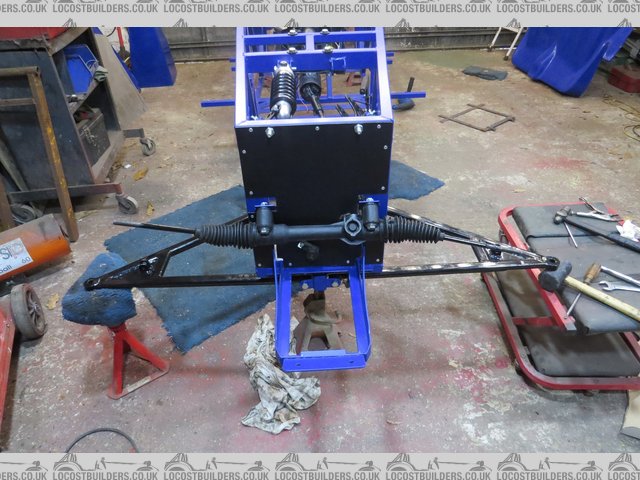
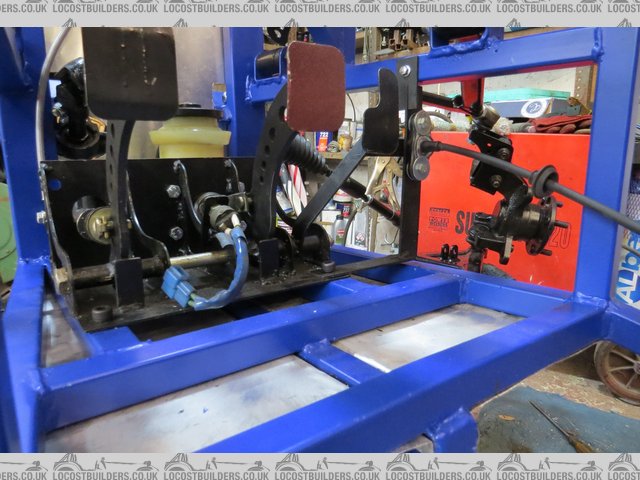
Day 2
[img]

Description
[/img]
[img]

Description
[/img]
[img]

Description
[/img]
[Edited on 23/3/17 by russbost]
russbost - 23/3/17 at 06:56 PM
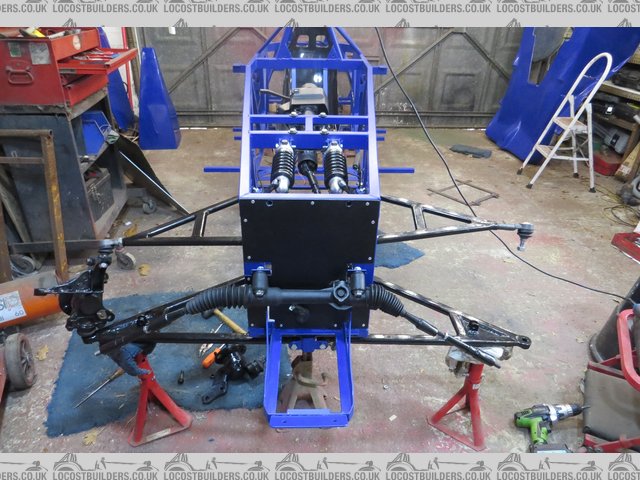
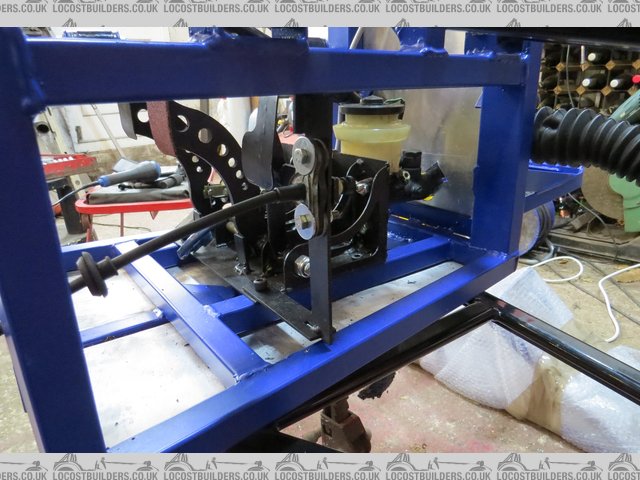
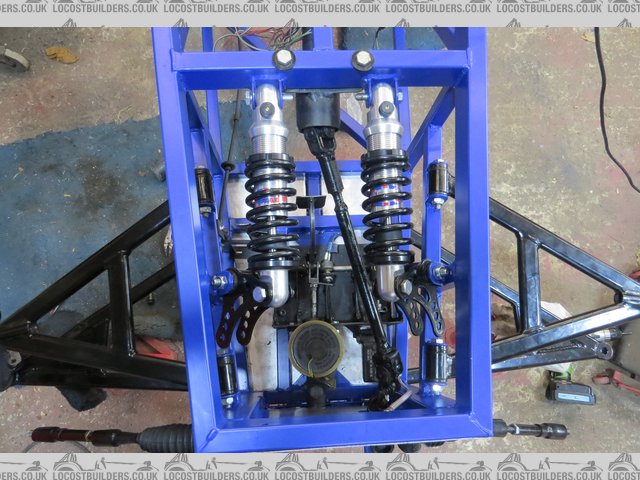
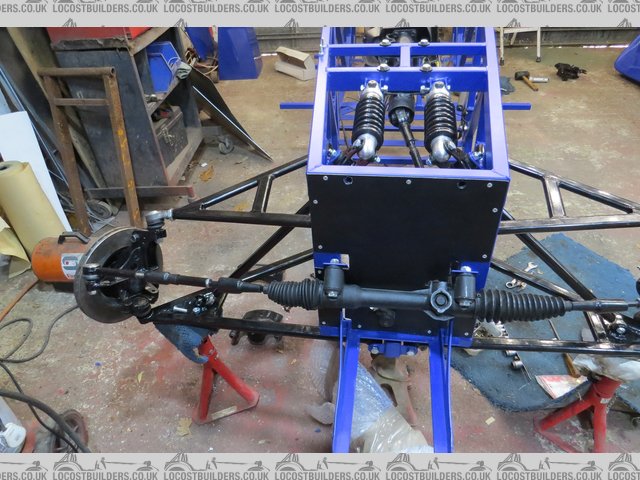
Day 3, making progress!
[img]

Description
[/img]
[img]

Description
[/img]
[img]

Description
[/img]
[img]

Description
[/img]
[Edited on 23/3/17 by russbost]
Mash - 23/3/17 at 08:41 PM
Looking good Russ, but are you keeping us on tenterhooks?
Was keen to see more so had a sneaky look at the more recent photos you've uploaded to your archive 
russbost - 23/3/17 at 09:25 PM
quote:
Originally posted by Mash
Looking good Russ, but are you keeping us on tenterhooks?
Was keen to see more so had a sneaky look at the more recent photos you've uploaded to your archive 
TY
You're cheating! 
I was trying to present it much how the build has gone, you're only about 10 days behind, you just need to have a little patience - I may even
get around to making some explanatory comments!
Gre3D - 25/3/17 at 11:00 PM
looking forward to the rest of the build! :-)
russbost - 28/3/17 at 12:40 PM
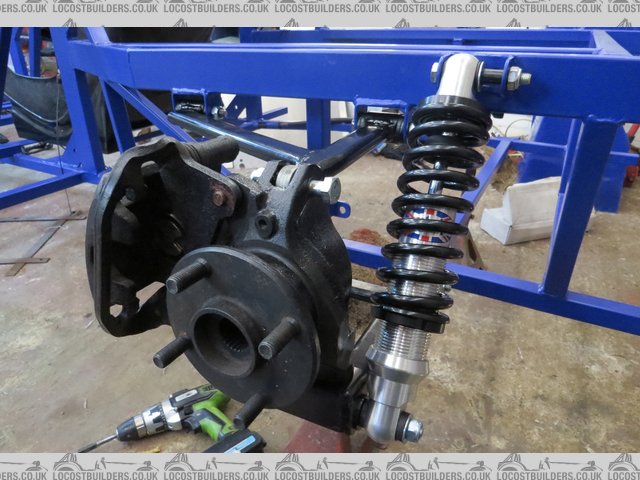
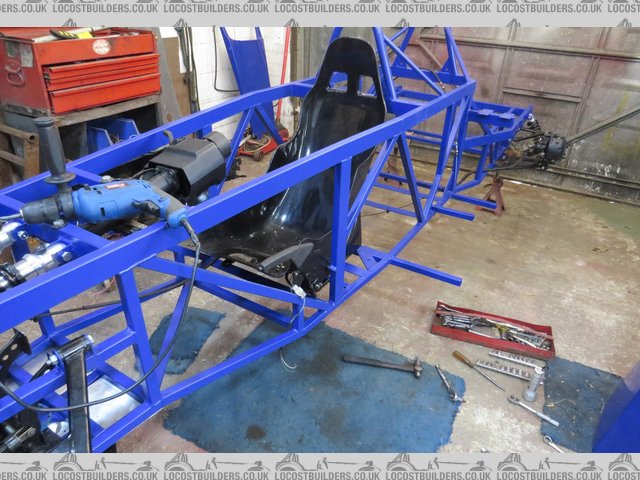
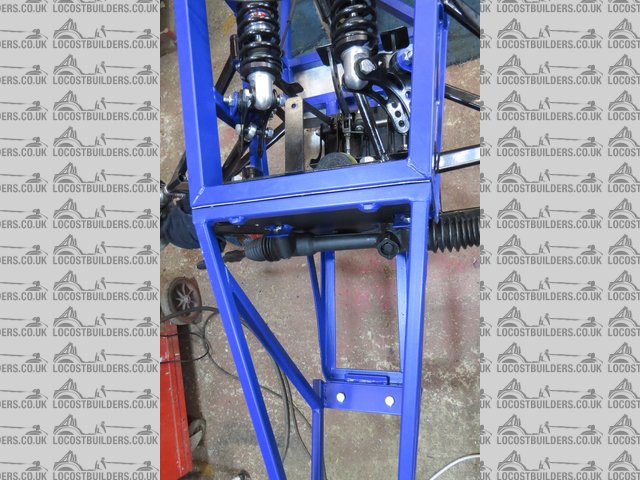
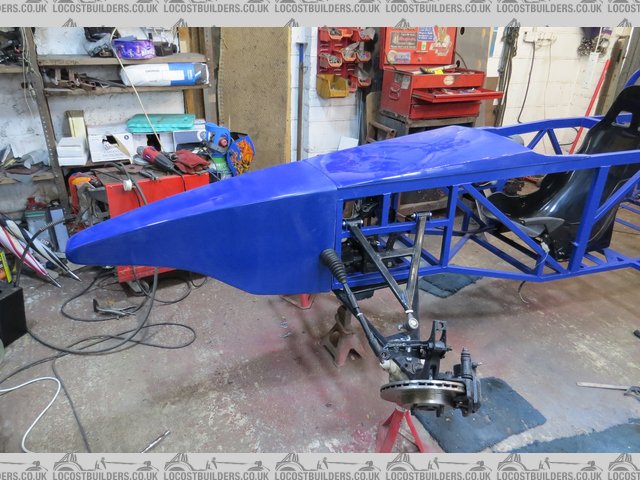
Day 4 - you will see at various times bits fitted then later removed, sometimes it's a trial fit, sometimes it's because I want to get as
many mounting & fixing holes drilled as possible b4 the floorpan goes in. You'll note I temp mounted the floorpan & drilled all mounting
holes right at the start, but I find the floorpan is best left out as long as possible.
1. This gives additional access for drilling/mounting/cable ties etc
2. It stops the accumulation of loads of iron filings & swarf which creeps underneath the tubes & will later reappear as horrible &
difficult to remove staining after the first time it gets wet!!!
3. We run the brake & clutch lines & the main battery cable inside the top chassis rails - save a lot of drilling & rivetting of
"P" clips etc. However you really don't want to be drilling into one of those by accident when fitting panelling or bodywork!
[img]

Description
[/img]
[img]

Description
[/img]
[img]

Description
[/img]
[img]

Description
[/img]
[Edited on 28/3/17 by russbost]
Gre3D - 28/3/17 at 05:29 PM
that is actually starting to look quite good!
do you sell these as a kit? single seater ones then
russbost - 28/3/17 at 05:46 PM
Yes, it's a kit, take a look at Furorecars.co.uk
Clicky Linky
This is one I'm building for a specific customer, but spec will be very similar to the demonstrator (Red Bull colours car). They are all built as
2 seaters, using a cover over the passenger seat when seat not required. Obviously we can build the chassis as a single seater, it's very simple
to simply miss the passenger seat section out, but you would then have to come up with bespoke bodywork. To me half the fun of a kitcar is being able
to take friends out in the car, even if only to see their reaction! 
russbost - 29/3/17 at 12:39 PM
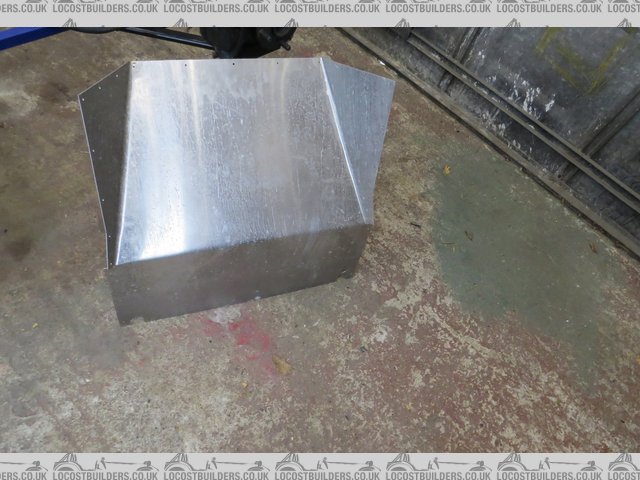
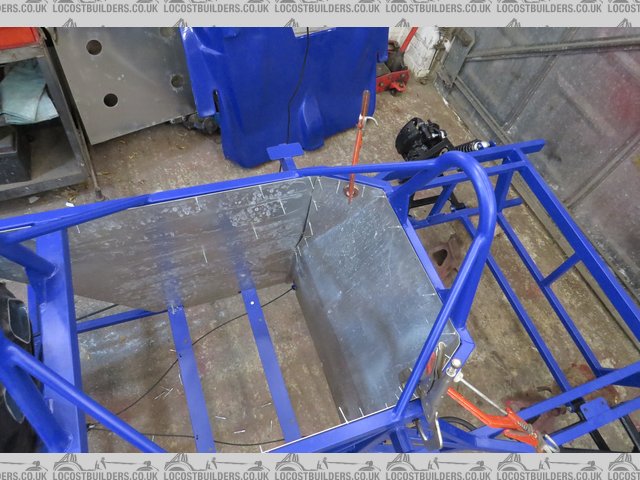
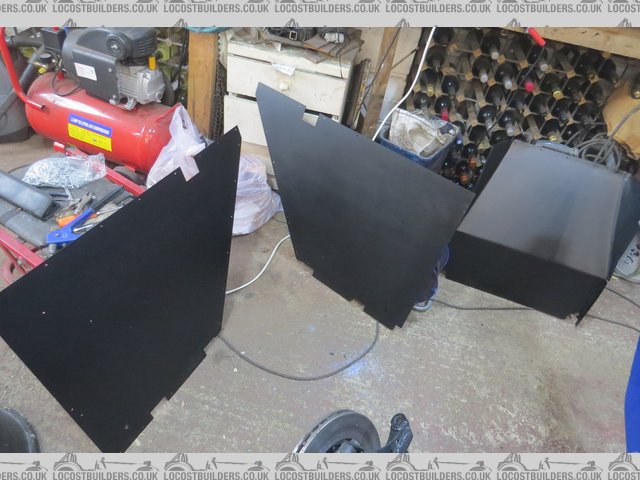
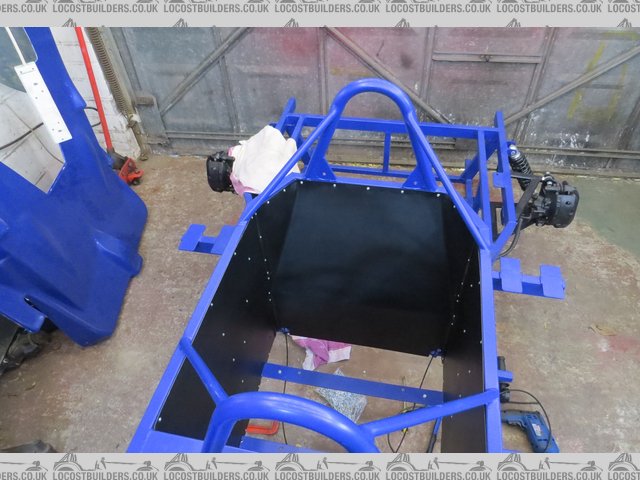
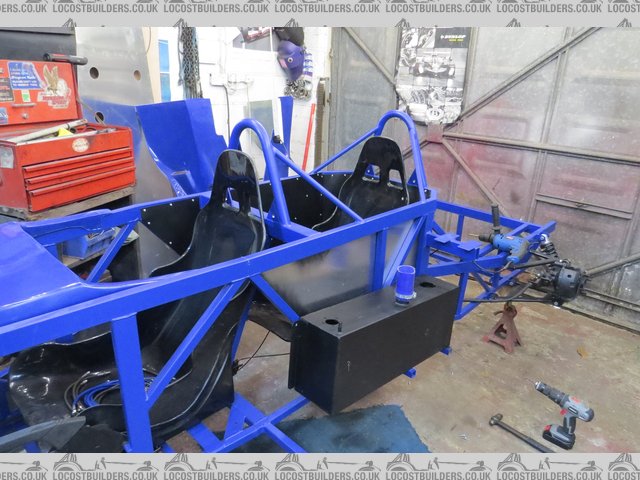
The rear internal panels are all laser cut, which makes life massively easier, bent & shaped to fit, then temp fit & drill b4 removing to
paint then refit permanently. There's a seat belt hole which hides behind the tank - kinda important to ensure this gets drilled thro' the
panel at this point, tank is just a temp fit for now
[img]

Description
[/img]
[img]

Description
[/img]
[img]

Description
[/img]
[img]

Description
[/img]
[img]

Description
[/img]
russbost - 30/3/17 at 05:07 PM
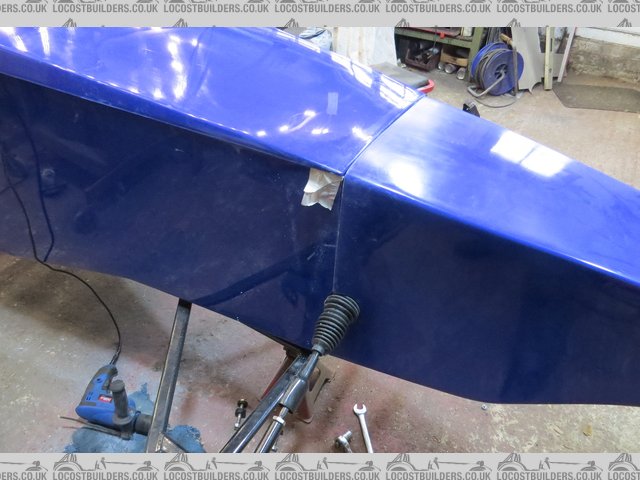
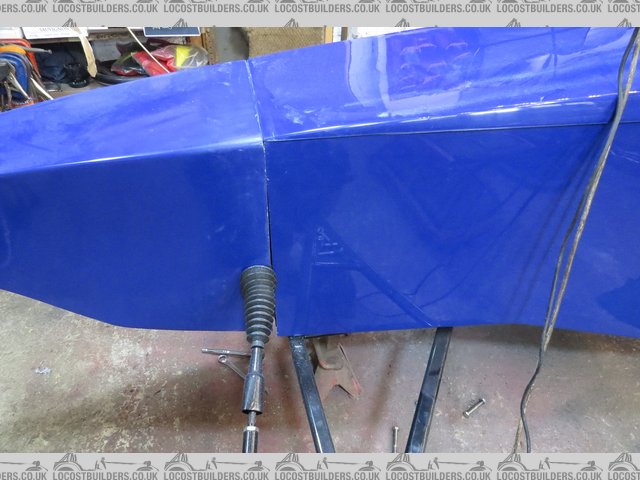
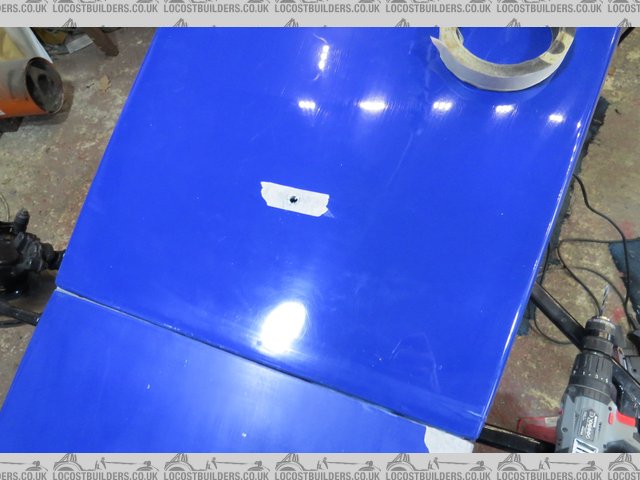
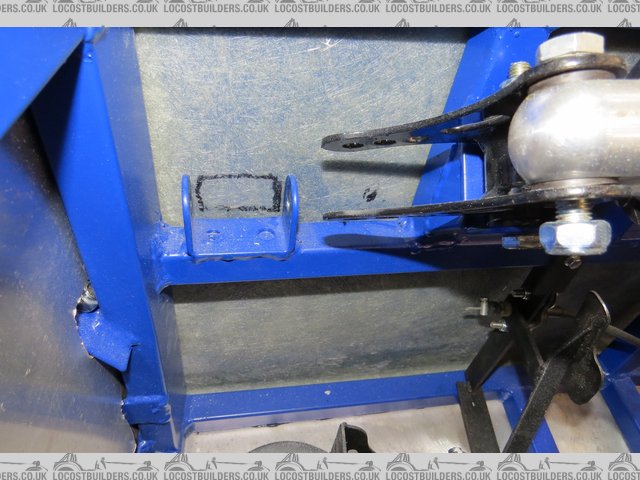
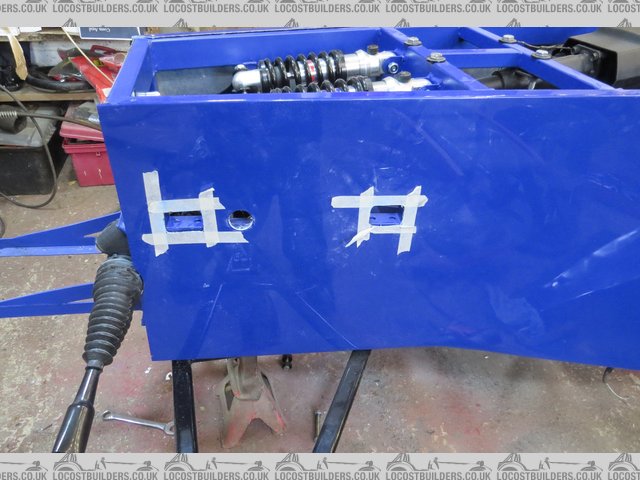
Days 6 & 7, 1st fit of some of the bodywork, essential to fit side panels, nose & "bonnet" all at the same time as any affects the
others, equally essential to ensure shut lines are accurate as once panels are siraflexed in place they ain't going anywhere in a hurry! 
Bodywork is always time consuming!
[img]

Description
[/img]
[img]

Description
[/img]
[img]

Description
[/img]
[img]

Description
[/img]
[img]

Description
[/img]
russbost - 31/3/17 at 05:08 PM
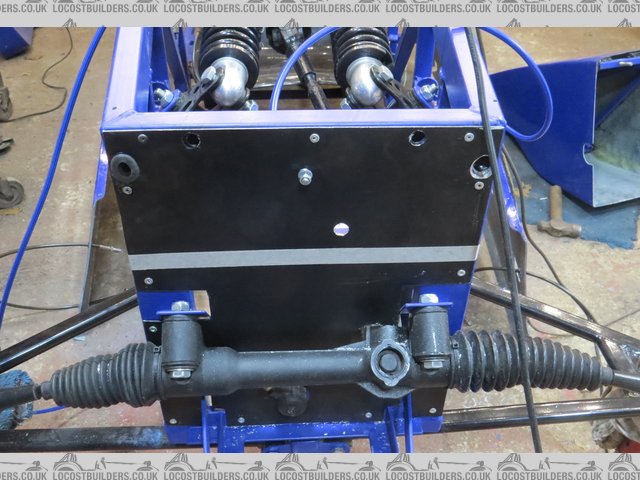
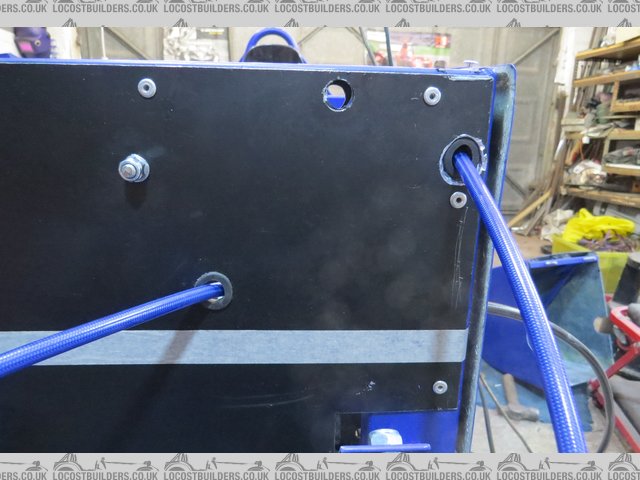
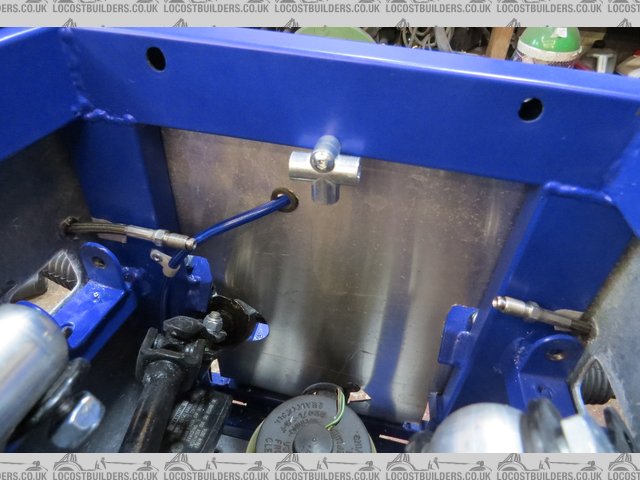
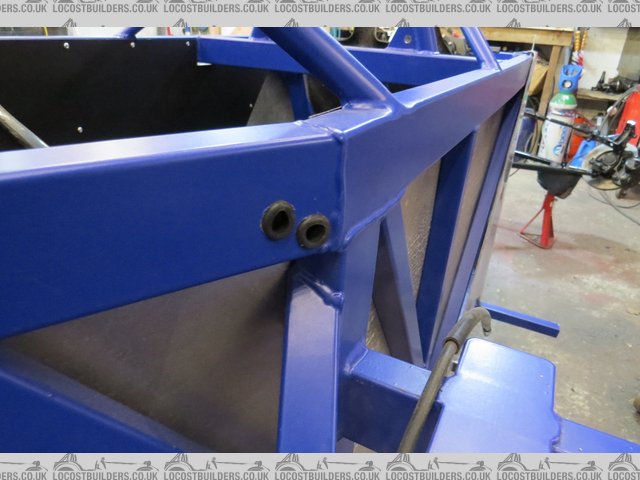
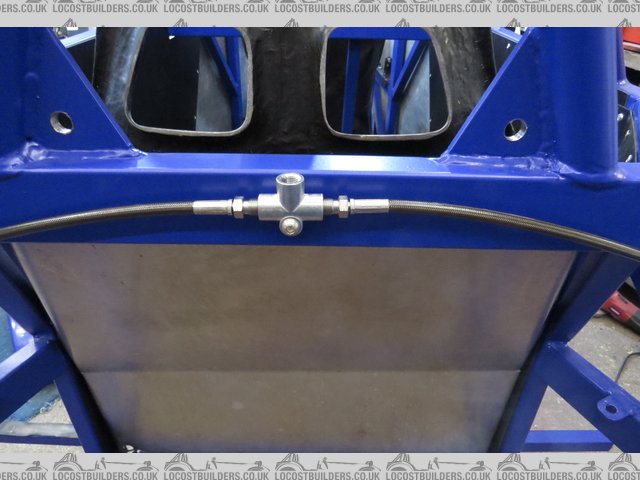
Holes drill thro' ends of top chassis rails to allow their use as a conduit for brake/clutch pipes & main battery cable to run thro' -
saves lots of "p" clipping.
Not quite ready to run those bits all the way thro' yet as still some more pop rivet holes to be drilled into top rails
[img]

Description
[/img]
[img]

Description
[/img]
[img]

Description
[/img]
[img]

Description
[/img]
[img]

Description
[/img]
russbost - 3/4/17 at 04:27 PM
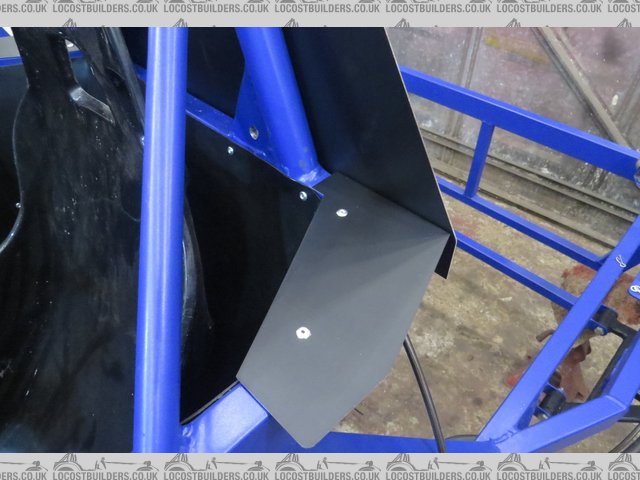
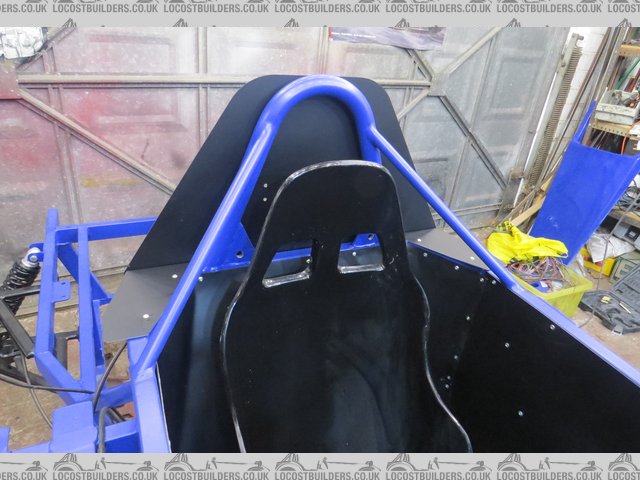
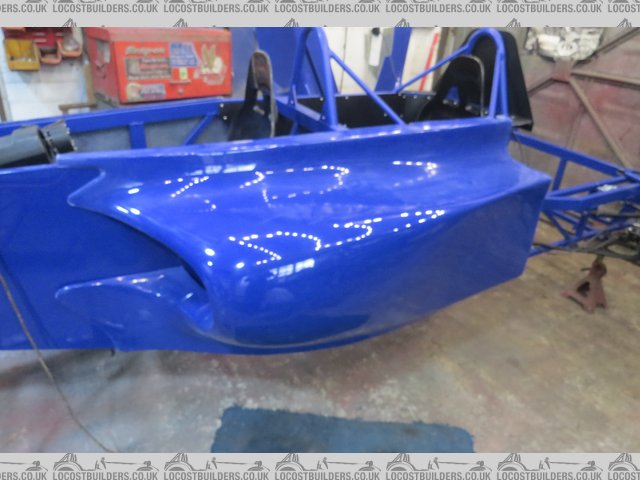
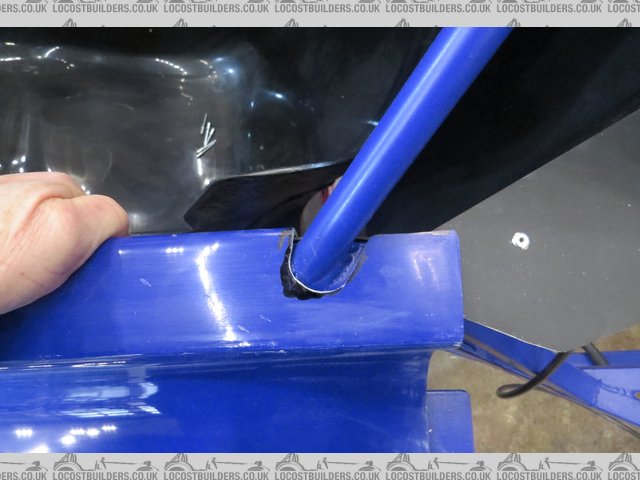
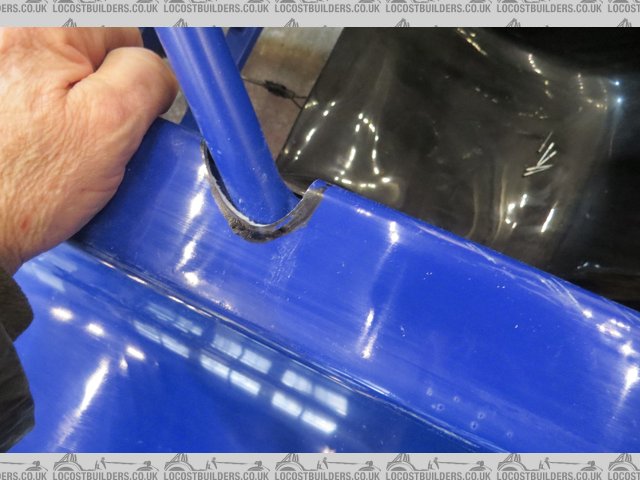
More laser cut bits for the rear bulkhead & 1st sidepod going into place, needs a bit of cutting out trimming to get a nice fit
[img]

Description
[/img]
[img]

Description
[/img]
[img]

Description
[/img]
[img]

Description
[/img]
[img]

Description
[/img]
russbost - 4/4/17 at 07:00 PM
[img]

Description
[/img]
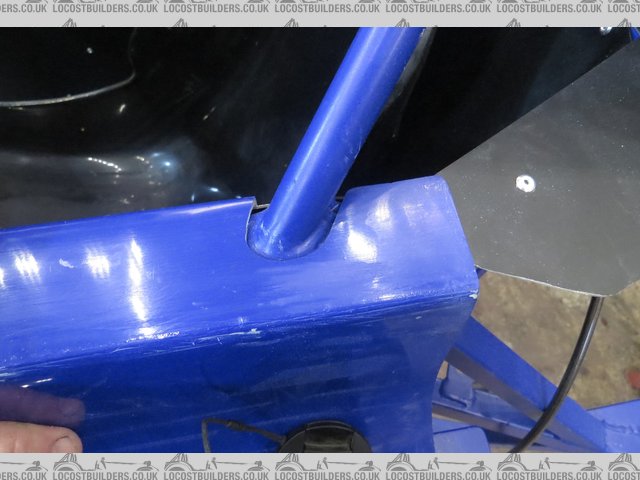
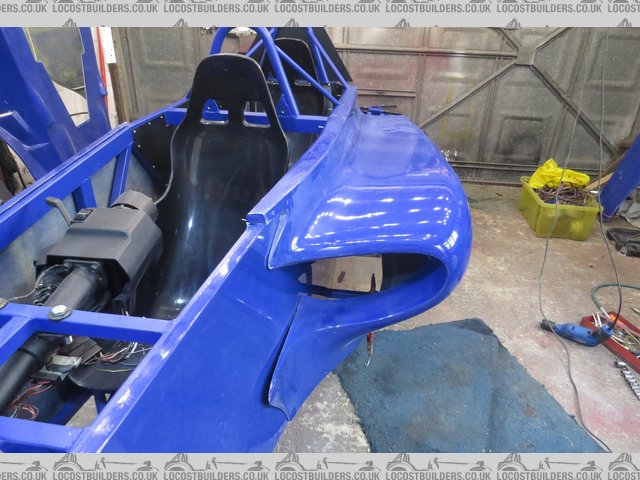
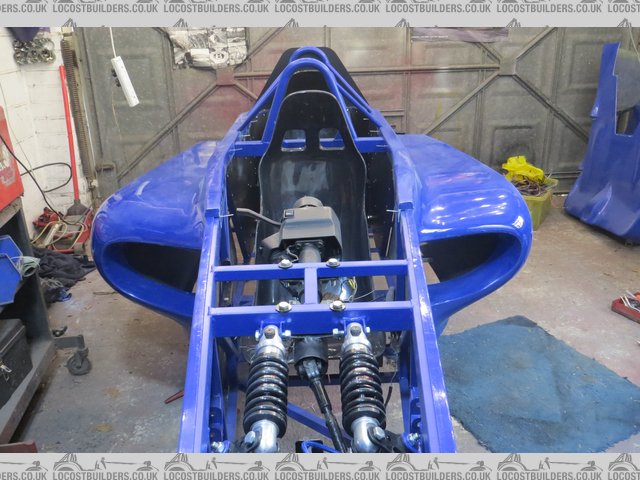
Sidepod not fully fitted at this point, hence gap at front, holes all drilled ready for rivets
[img]

Description
[/img]
Can you see what it is yet? 
[img]

Description
[/img]
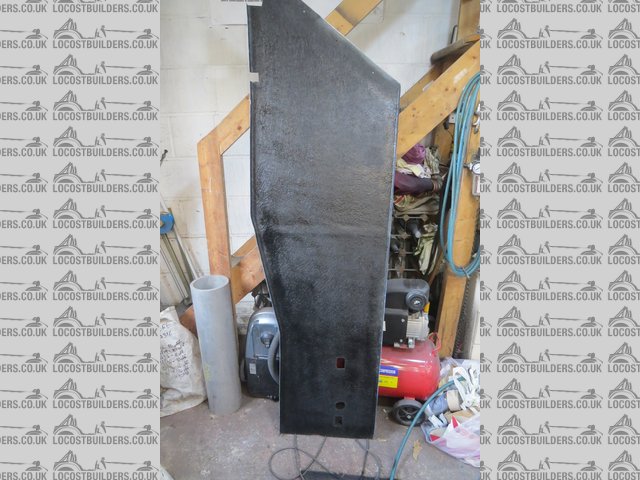
Inside of side panel prepared & painted matt black, takes about 15 minutes, but makes a massive difference to how the finished interior looks
[img]

Description
[/img]
Siraflex to abraded surface of powdercoat avoids squeaking & chattering of the body panels
[img]

Description
[/img]
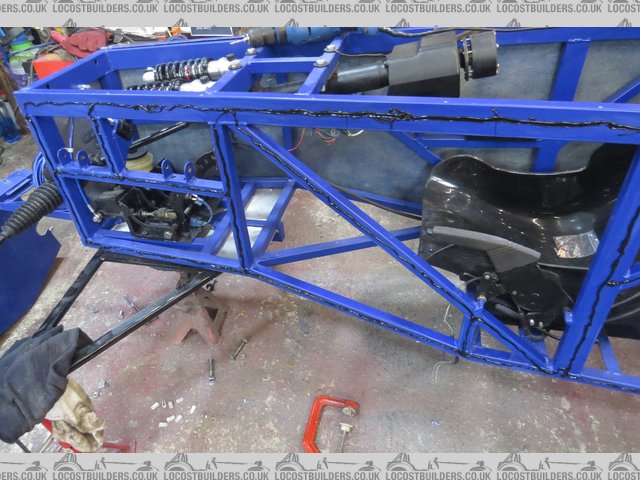
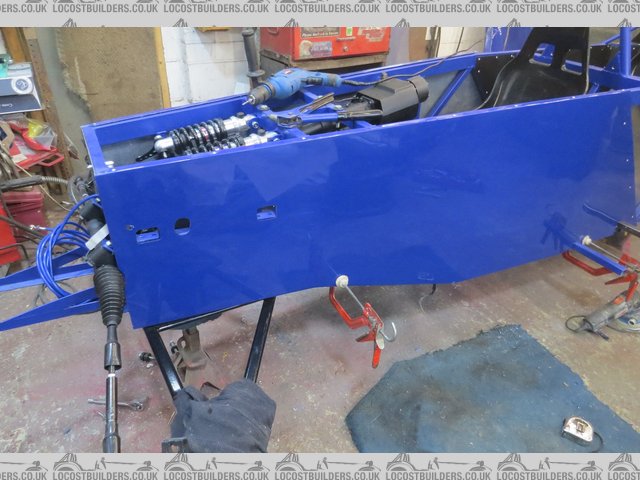
Final fit of NS side panel, clamped up whilst bonding goes off as can't rivet bottom face until floor goes in - which we want to avoid as long as
possible
[img]

Description
[/img]
Gre3D - 5/4/17 at 07:40 PM
i like it,
if only belgian laws would allow kit cars on the road :'(
russbost - 5/4/17 at 10:05 PM
Well, never say never, there's at least one on the road in Germany, passed the TUV, surely Belgium can't be worse than that, or do they
simply have a blanket ban?
JC - 6/4/17 at 06:01 AM
Really like the new side pods Russ! Well done 
russbost - 6/4/17 at 07:09 AM
quote:
Originally posted by JC
Really like the new side pods Russ! Well done 
You simply wouldn't believe how much time, money & effort went into those, but I do think it makes the whole car look more up to date 
z2000 - 6/4/17 at 08:08 AM
[quoteYou simply wouldn't believe how much time, money & effort went into those, but I do think it makes the whole car look more up to date

Well worth the investment though Russ, love the look of this build. If I had time, space and money for another car this is very tempting!
russbost - 11/4/17 at 05:41 PM
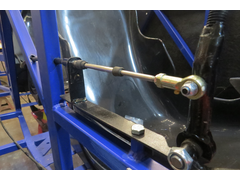
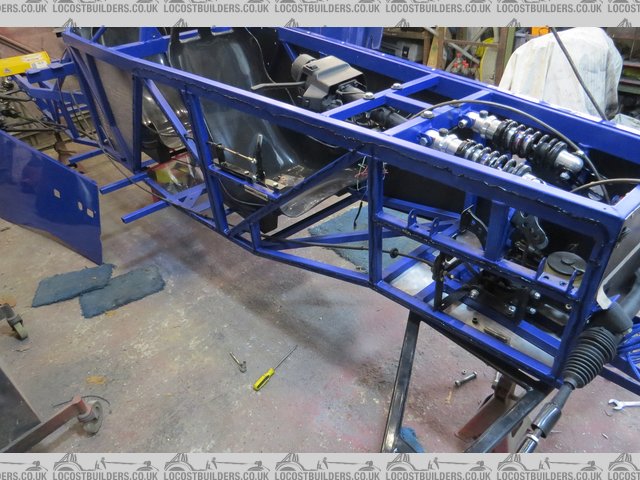
Day 11. Fairly important to get the gear lever & cable mounting/drilling done b4 the side panel goes on, not impossible to do after, but why make
life harder than it needs to be!
[img]

Description
[/img]
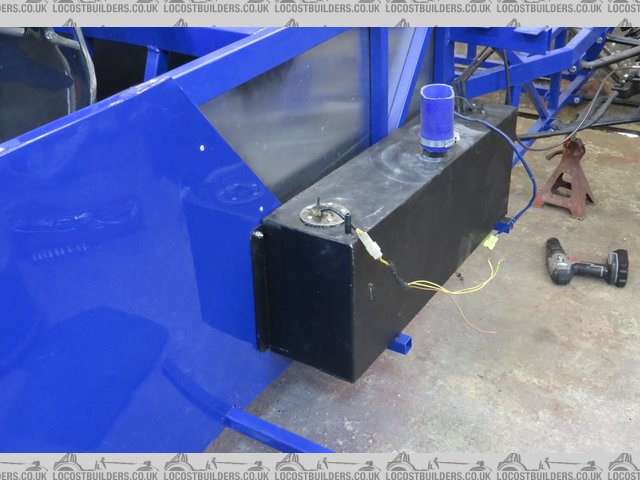
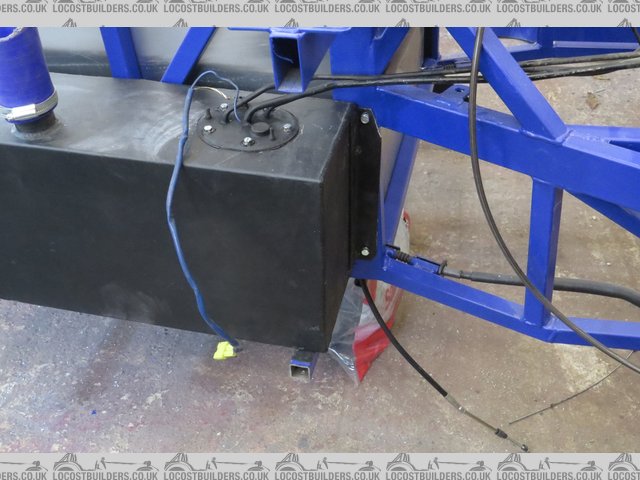
I finished fitting the tank whilst waiting for paint to dry on inside of the side panel
[img]

Description
[/img]
[img]

Description
[/img]
[img]

Description
[/img]
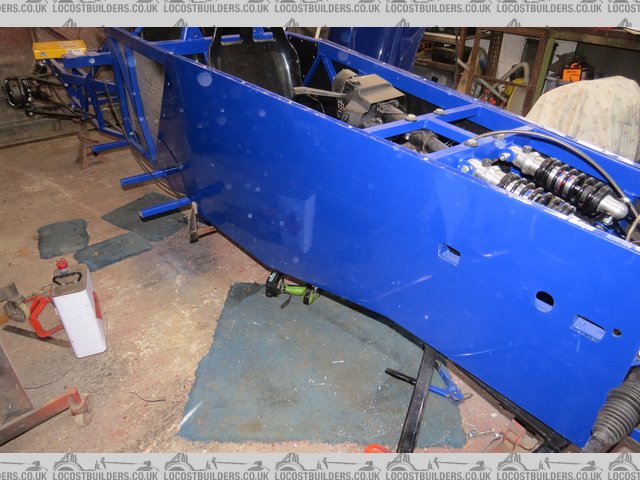
Side panel rivetted & clamped whilst Siraflex goes off, I've extended shop bought clamps so they reach across the whole chassis
[img]

Description
[/img]
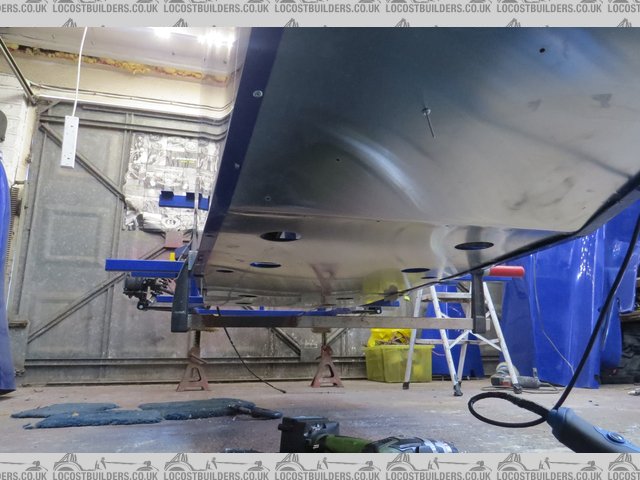
Floorpan has to go in at this point as it is overlapped by the side panels, still left as a loose fit for now so any swarf can be easily expelled
around the edges, it has Siraflex added between ali & chassis tubes before final rivetting later on
[img]

Description
[/img]
[Edited on 11/4/17 by russbost]
russbost - 14/4/17 at 09:13 AM
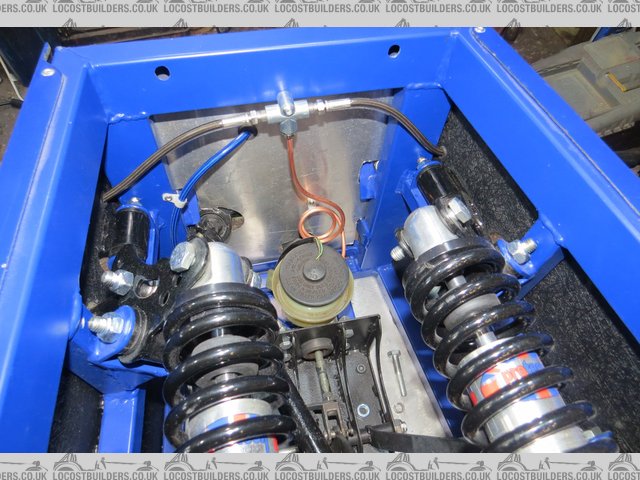
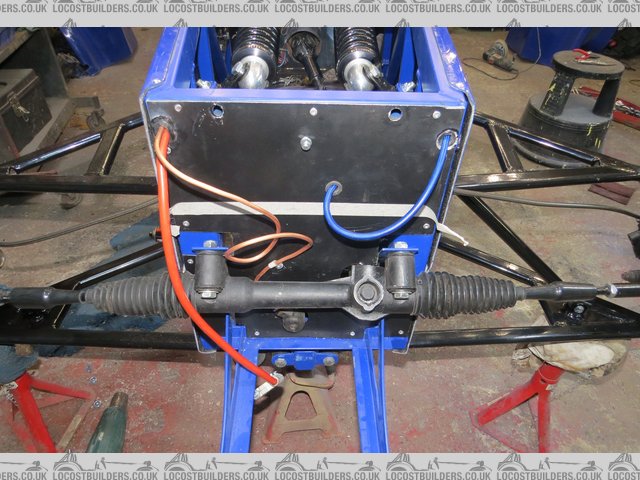
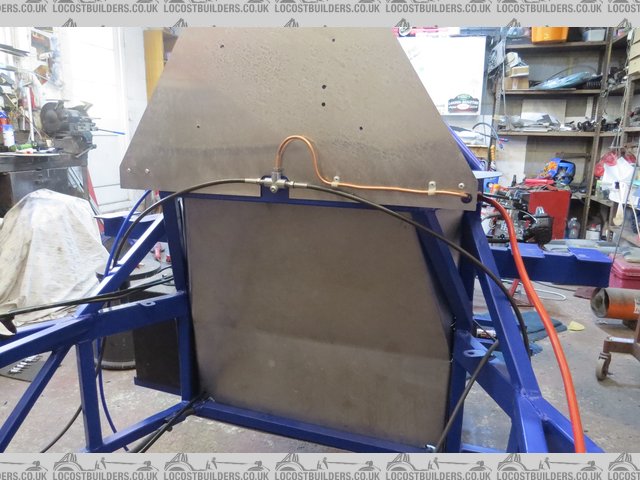
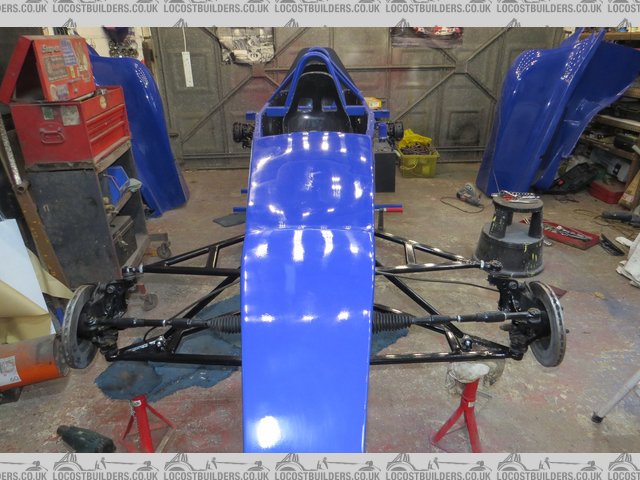
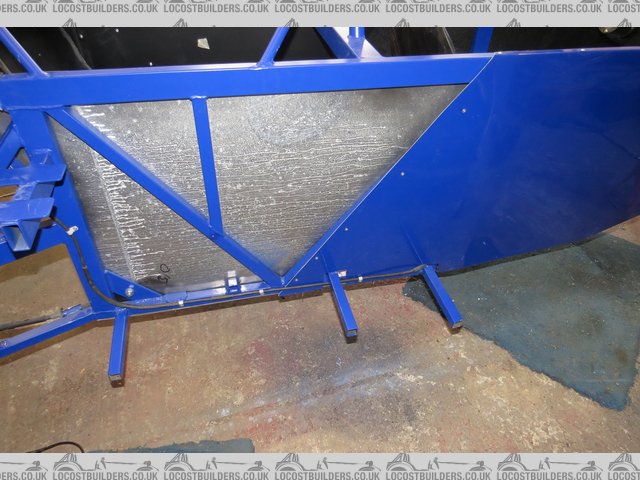
Ok, we're now on day 12, brake & clutch pipes/hoses all fitted before front suspension was refitted. It's only a few minutes work to
refit the front suspension
[img]

Description
[/img]
[img]

Description
[/img]
[img]

Description
[/img]
[img]

Description
[/img]
Throttle cable clipped outside of cockpit makes for an easier fit
[img]

Description
[/img]
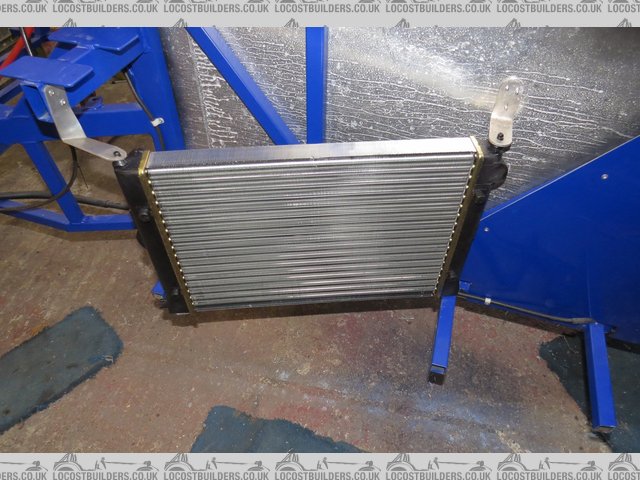
Preliminary radiator fitting, fits inside rear of O/S sidepod
[img]

Description
[/img]
russbost - 18/4/17 at 05:33 PM
Day 13, may be unlucky for some, but fortunately not for me!
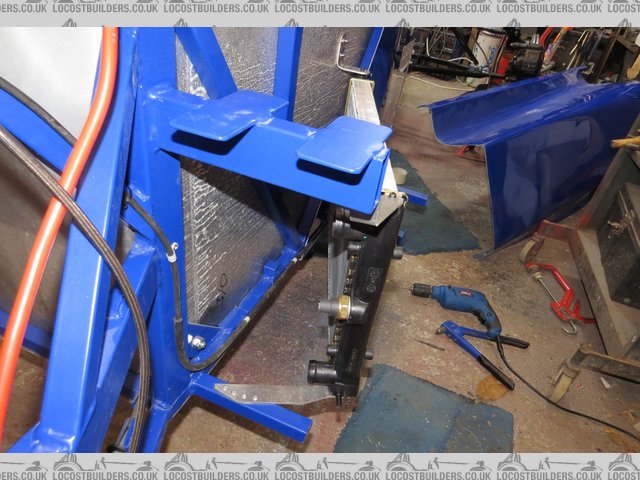
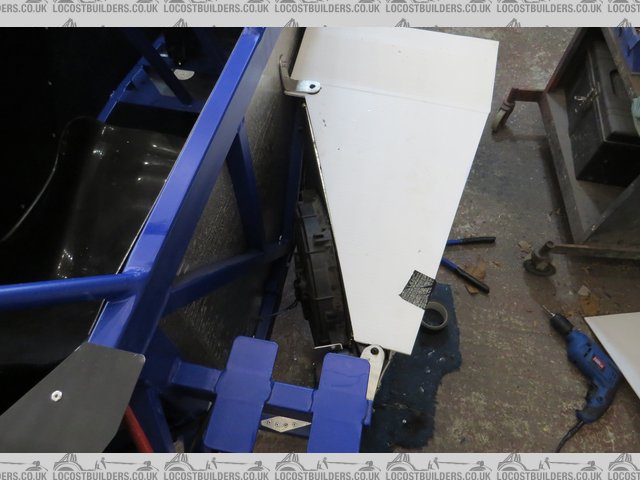
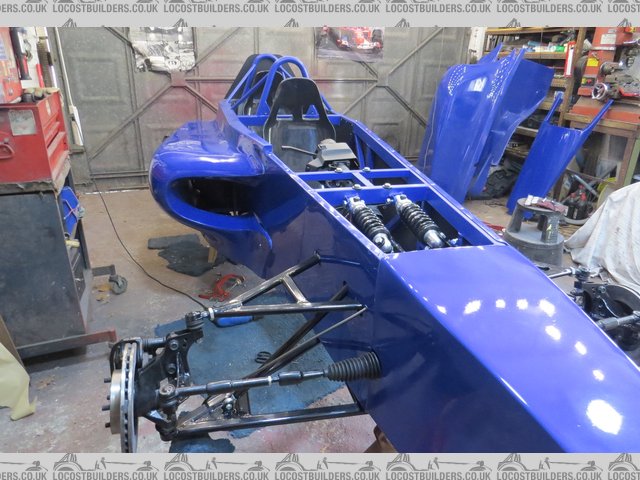
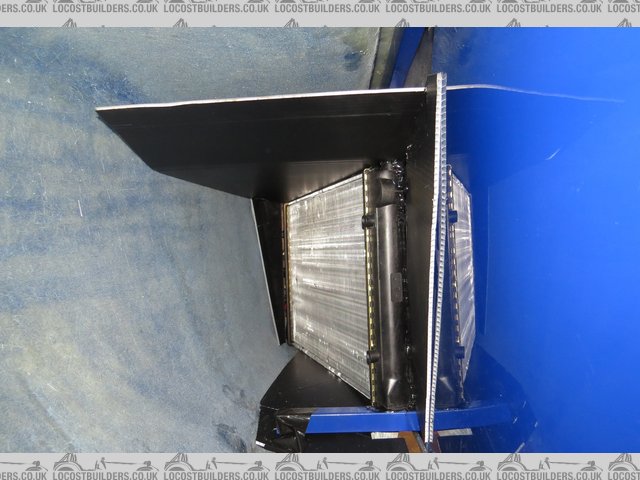
Spent most of the time fitting the rad & rad fan. Made a permanent fit of the O/S sidepod. Before anyone asks, no the duct tape is not a permanent
fixture, it's there to hold ducting in place whilst Siraflex goes off! 
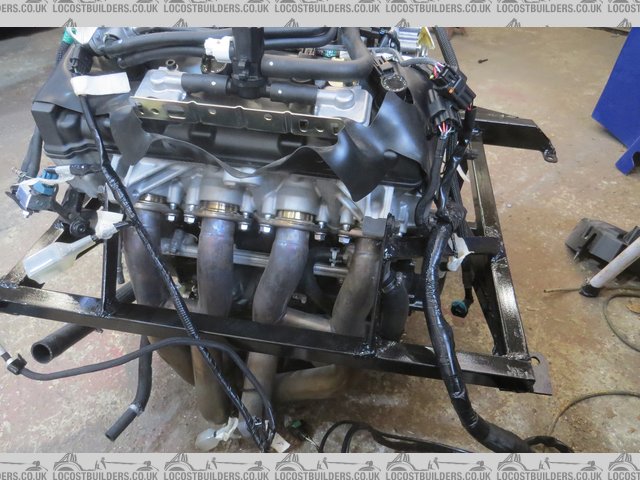
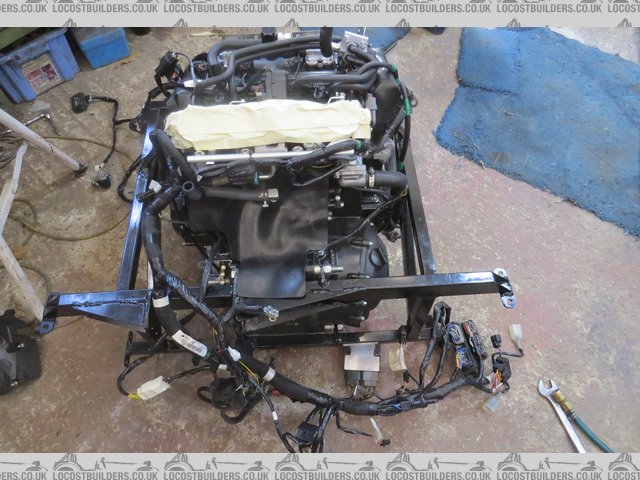
Also got the engine cradle onto the engine ready to drop it in
[img]

Description
[/img]
[img]

Description
[/img]
[img]

Description
[/img]
[img]

Description
[/img]
[img]

Description
[/img]
[img]

Description
[/img]
russbost - 20/4/17 at 04:49 PM
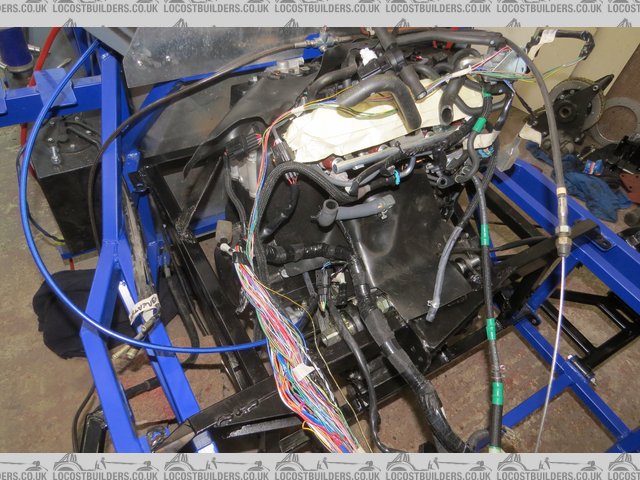
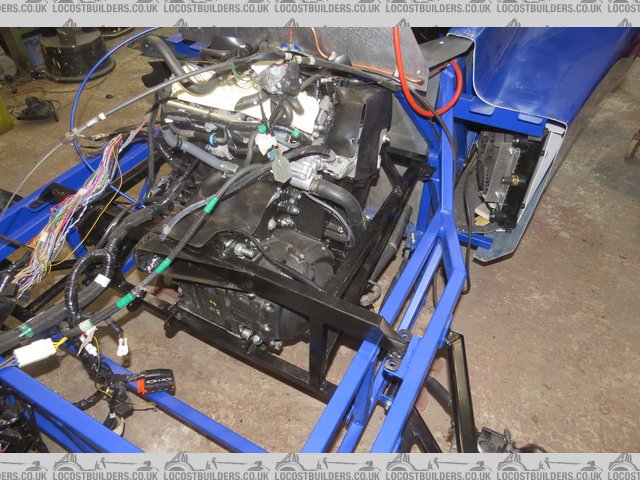
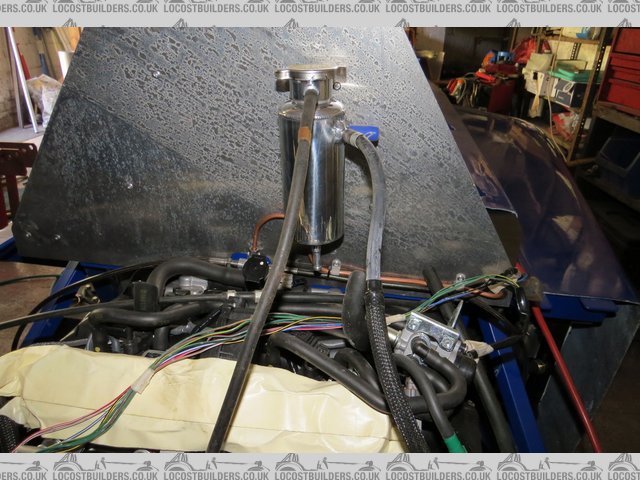
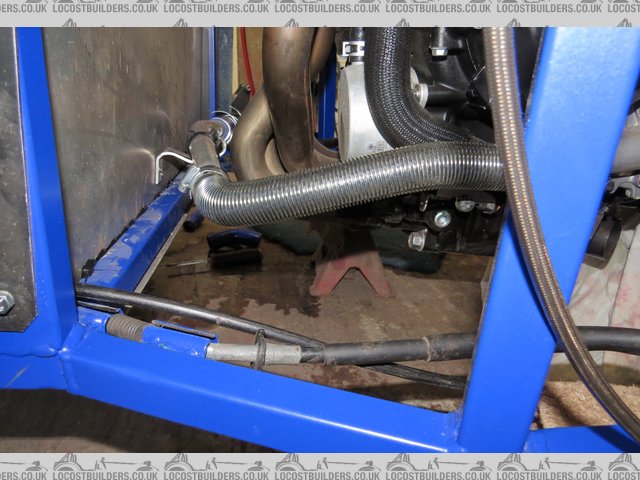
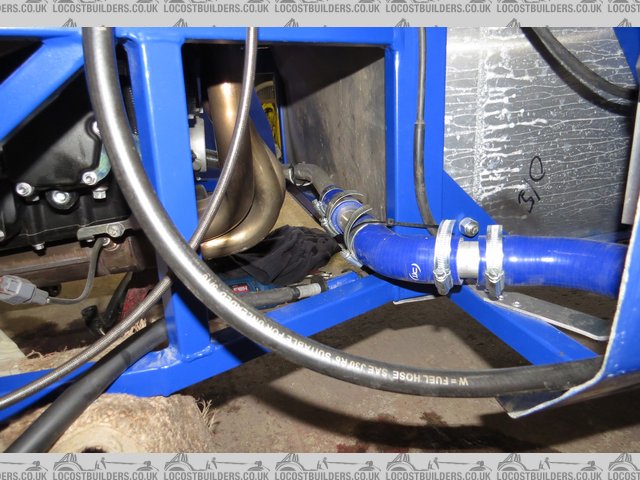
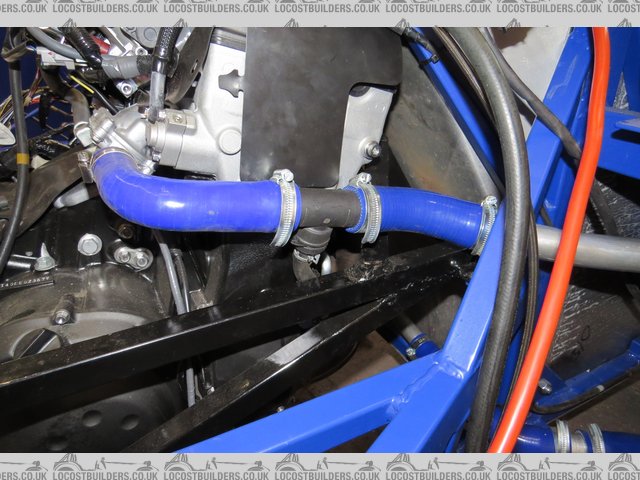
Day 14 & the engine is in, unfortunately this is where tons more work starts as we now need to get cooling, fuel & exhaust systems hooked up
to say nothing of throttle, gear linkage & diff/driveshafts. Some of this is bespoke to each car & some is much more pre-organised with laser
cut parts etc. No prizes for guessing which bits take the most time!
[img]

Description
[/img]
[img]

Description
[/img]
[img]

Description
[/img]
[img]

Description
[/img]
[img]

Description
[/img]
[img]

Description
[/img]
russbost - 24/4/17 at 04:42 PM
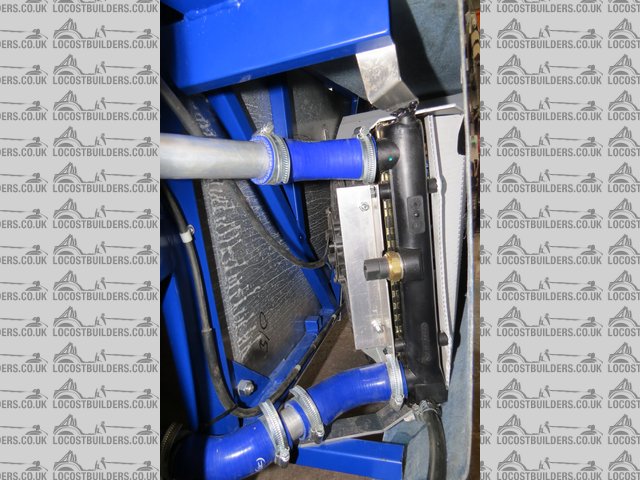
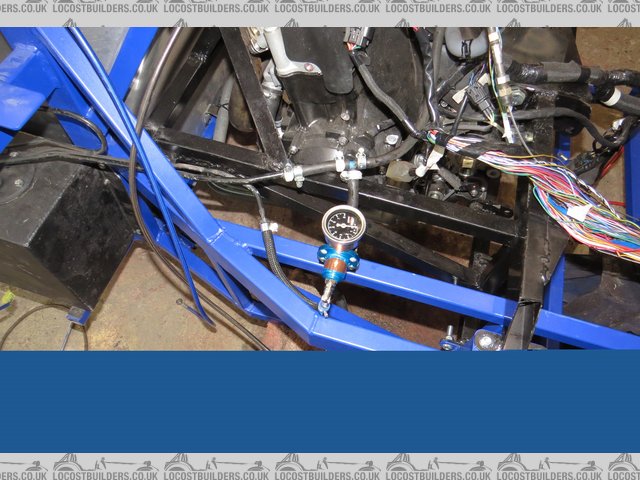
Day 15, all starting to slow down a bit now. Today was occupied with finishing off the cooling system (there's a further pipe to be added for the
temp sender for the Acewell, but I haven't got it yet, cooling system is at least full of water & leak checked for the moment!). Fuel
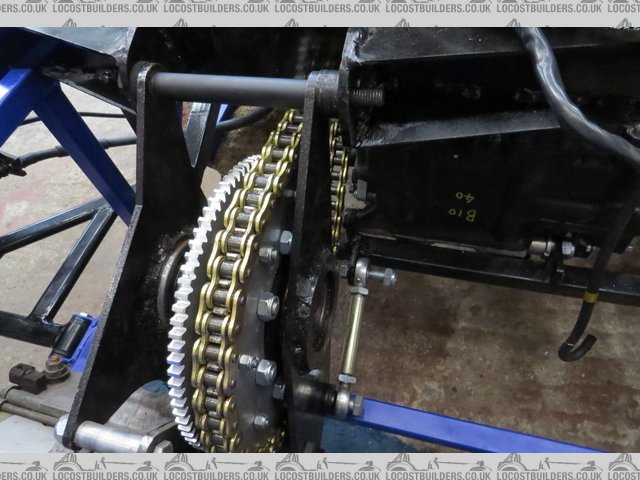
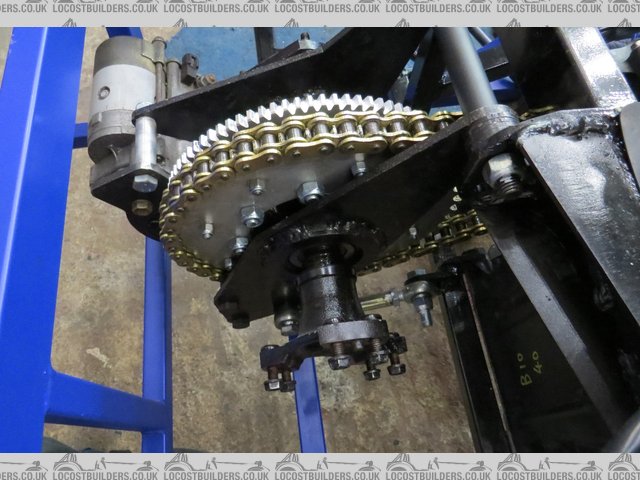
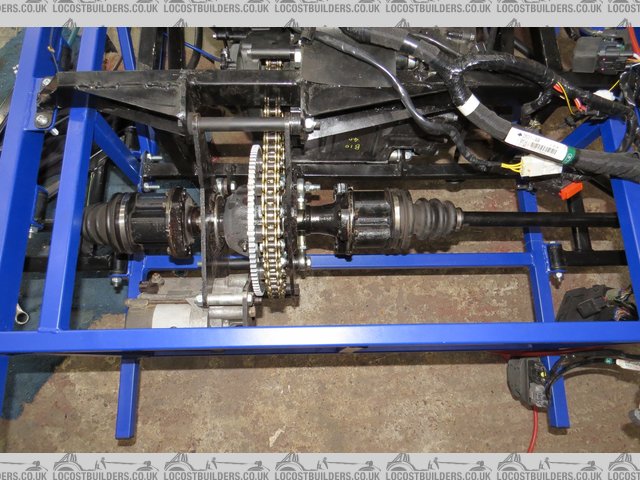
pressure reg & return all in & started on fitting the chain drive diff & reverse provided by the Toyota starter motor
[img]

Description
[/img]
[img]

Description
[/img]
[img]

Description
[/img]
russbost - 25/4/17 at 06:16 PM
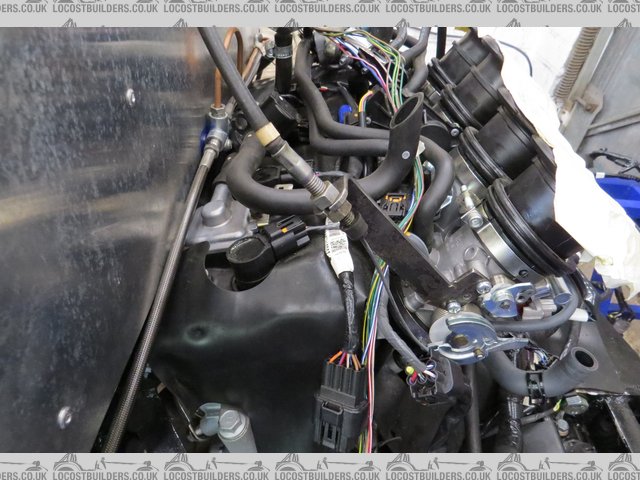
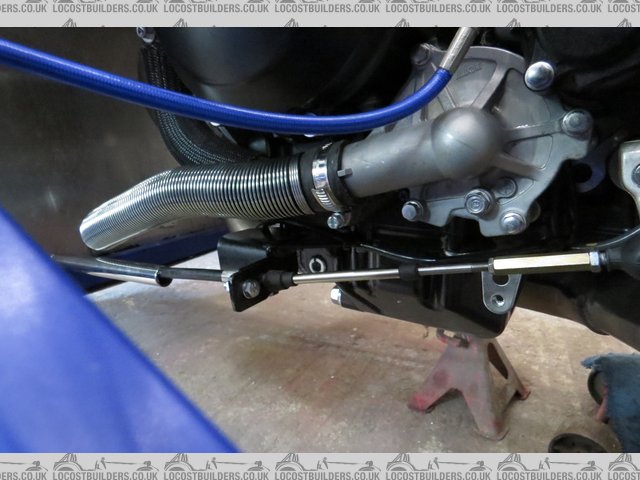
Day 16, a bits 'n'bobs day. Finish fitting diff, driveshafts & sprocket cover, fit throttle bracket & cable & gearshift cable
& bracket at engine end
[img]

Description
[/img]
[img]

Description
[/img]
[img]


Description
[/img]
[img]

Description
[/img]
[img]

Description
[/img]
russbost - 26/4/17 at 06:23 PM
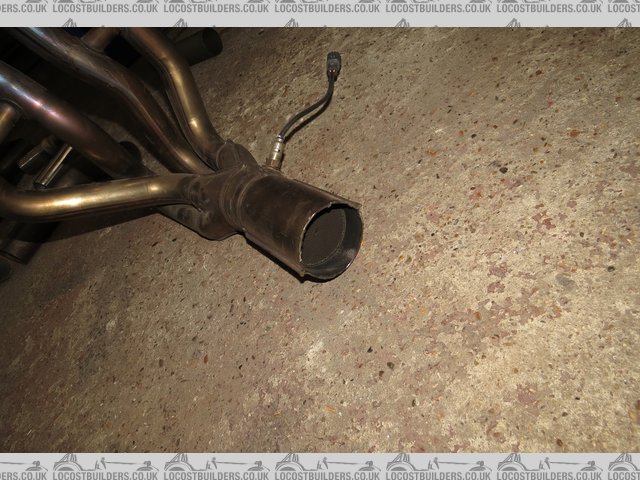
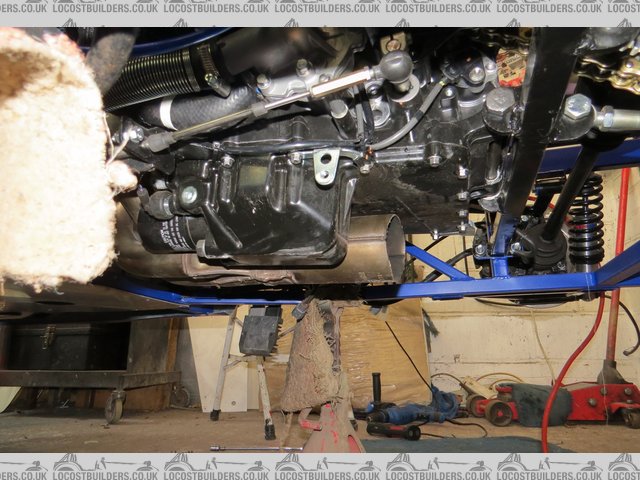
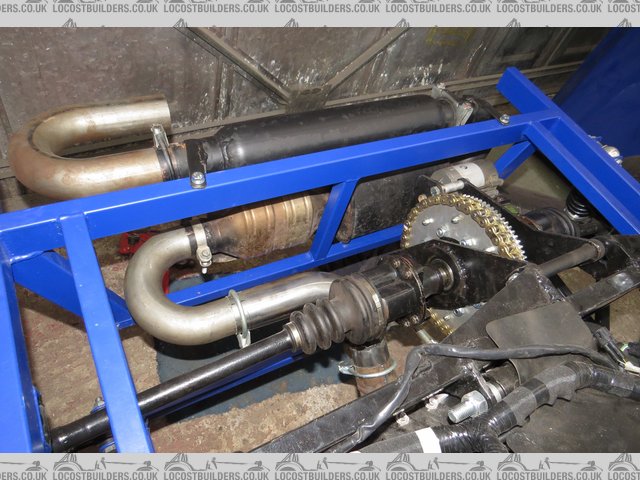
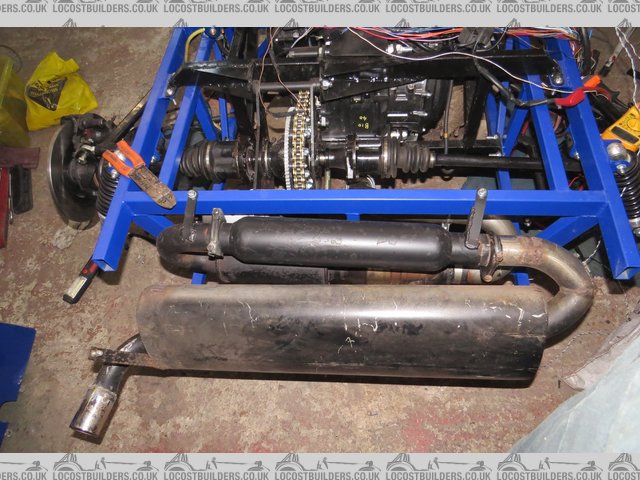
Day 17. Almost at the point where I can start the engine & then start the laborious job of remaking the loom. But first need to make up the front
end of the exhaust, if I ran it at this stage I think I'd be deaf fairly rapidly! The back end is a unit I use for IVA as it's nice &
quiet & has a CAT in it, this late engine probably doesn't need the additional CAT, but that's something to play with further down the
line.
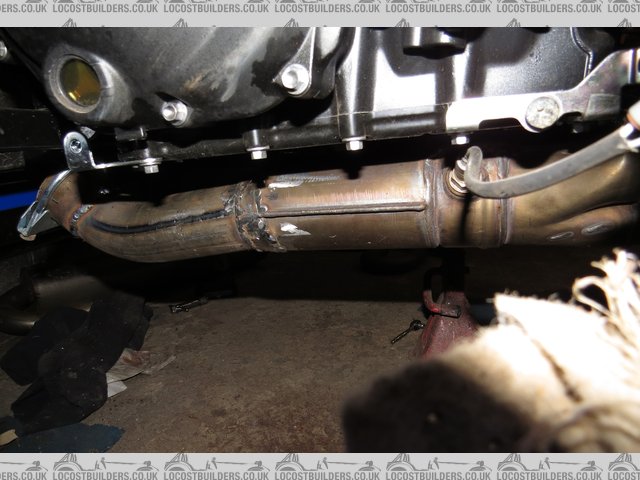
Here you can see the bike CAT, I have cut away the rear section of the exhaust where it splits into 2 on the bike, I weld a new section onto this to
connect with the rear part of the exhaust
[img]

Description
[/img]
[img]

Description
[/img]
[img]

Description
[/img]
[img]

Description
[/img]
[img]

Description
[/img]
russbost - 27/4/17 at 06:30 PM
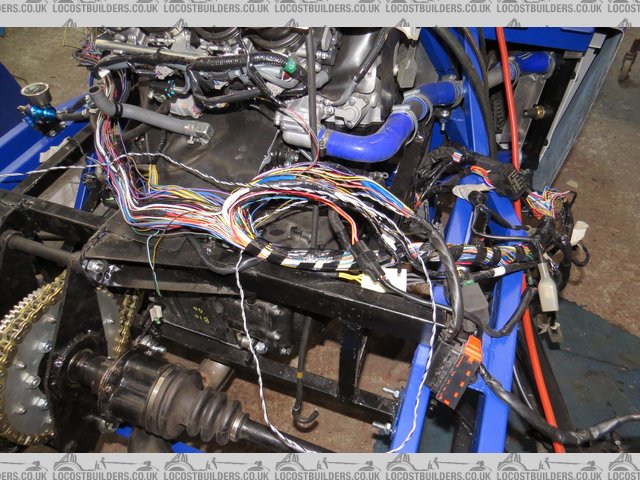
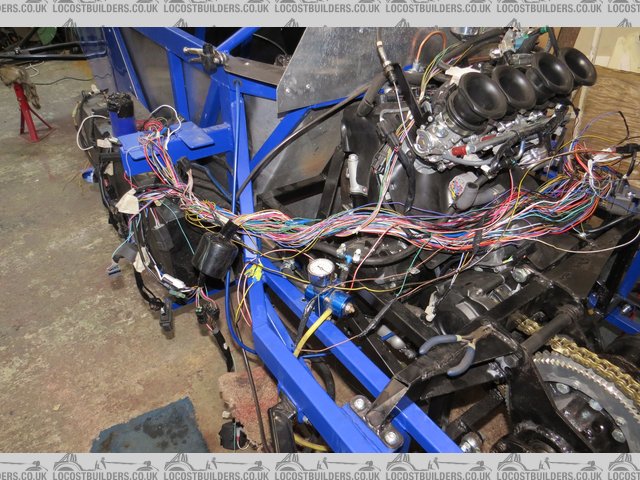
Ok, apparently Day 18 is where I have to bite the bullet & get down to some serious wiring work with the loom, for the older ZZR1400, pre around
2014/15 I have made myself a great set of instructions which tells you everything you need to do to the loom to get rid of sidestand/clutch/kill/bike
down switches & allow startup with the car in gear (bikes don't start unless in neutral for fairly obvious reasons!) & also to prepare
the ZZR loom ready to fit to our own ready made loom.
However, the 2016 loom is different - DOH!!!  I did know this b4 I started, but it's still a pain, you have to keep the original key &
barrel as there is something which identifies the key to the ECU & you can't bypass it in the normal way, I even looked at getting the ECU
flashed to remove the immobiliser, but apparently you can't - at least not on the ECU I have anyway)
Hence I am entering a somewhat unknown area, so will proceed with caution. I have got the car to the point where I can fire the engine up with all the
old bike loom in place & will only remove one circuit at a time to ensure I don't suddenly find myself with a dead engine & no idea what
killed it.
Watch this space!
[img]

Description
[/img]
That's the ABS plug in the pic above - that's something that's got to go for starters!
[img]

Description
[/img]
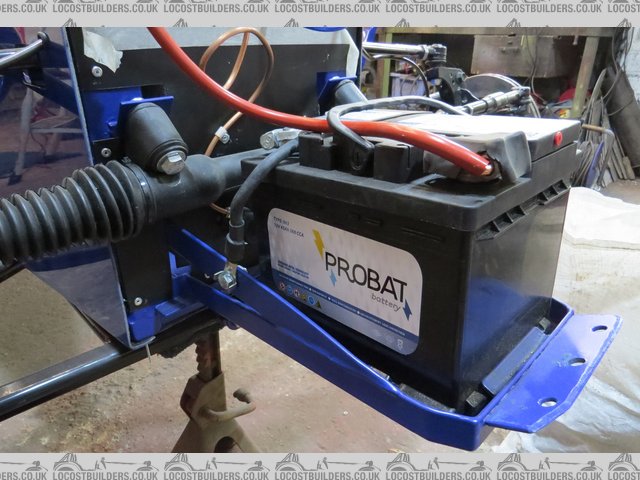
All connected & ready for startup
[img]

Description
[/img]
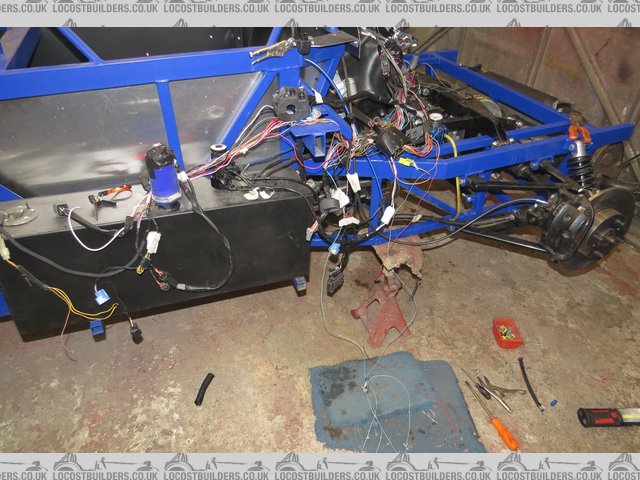
Ok, gonna admit to a schoolboy error here - wasted half an hour trying to start it & wondering why the heck it now wouldn't go, when was
running perfectly in the bike b4 I stripped it??? I'd decided not to wire around the "tip over" or "bike down" sensor until I
had it all running, however as I had clipped the sensor on upside down the ECU thought I had therefore crashed & killed the fuel! Once inverted
all was good! Even more annoying my instructions for removing that sensor were all correct for the 2016 ECU & had I done it first I wouldn't
have wasted time scratching my head! These little things are sent to try us - at least so I'm told! 
[img]

Description
[/img]
russbost - 3/5/17 at 06:36 PM
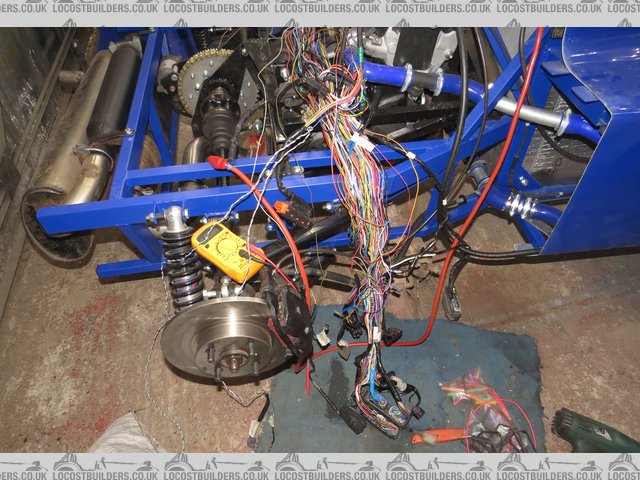
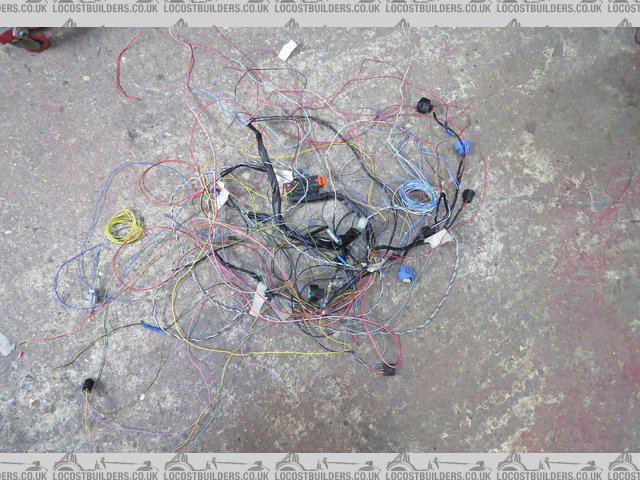
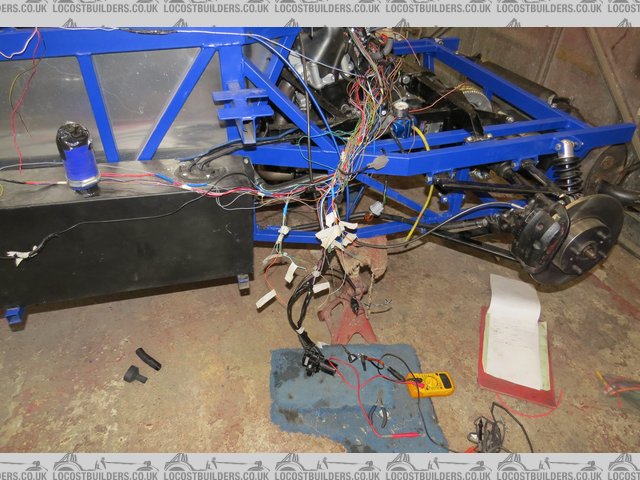
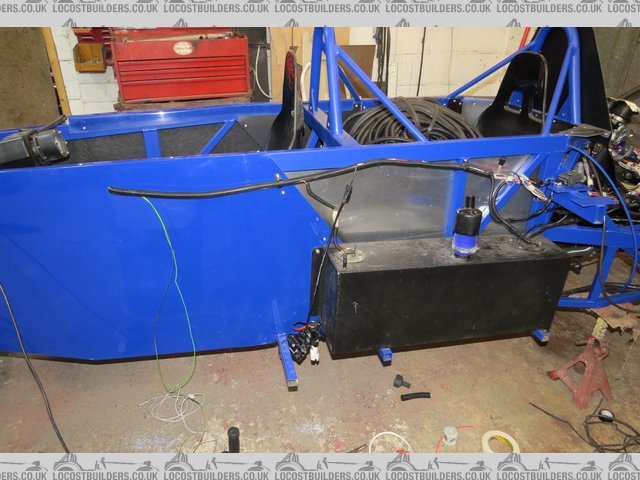
We're on the 19th day, & getting thoroughly entrenched in the wiring. I have gradually removed circuits & bypassed the various kill
switches etc. without a problem, still removing wires that are for circuits no longer required like ABS, hence the big pile of wiring!
Sometimes you need to go backwards b4 you can go forwards - I do understand why some people get daunted by wiring, all I would say is that calm &
methodical wins the day! 
[img]

Description
[/img]
[img]

Description
[/img]
[img]

Description
[/img]
russbost - 9/5/17 at 06:41 PM
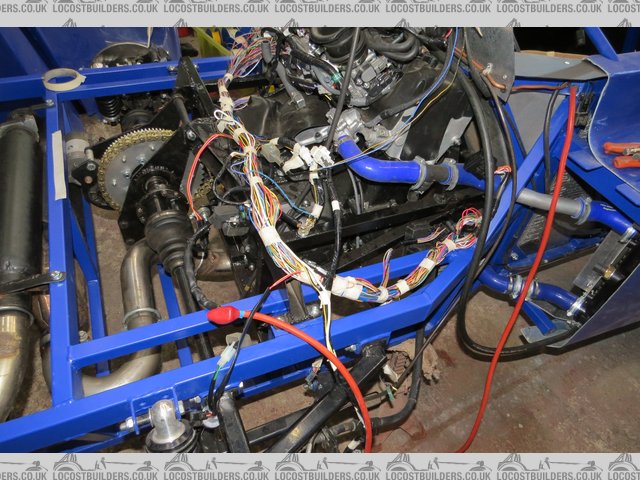
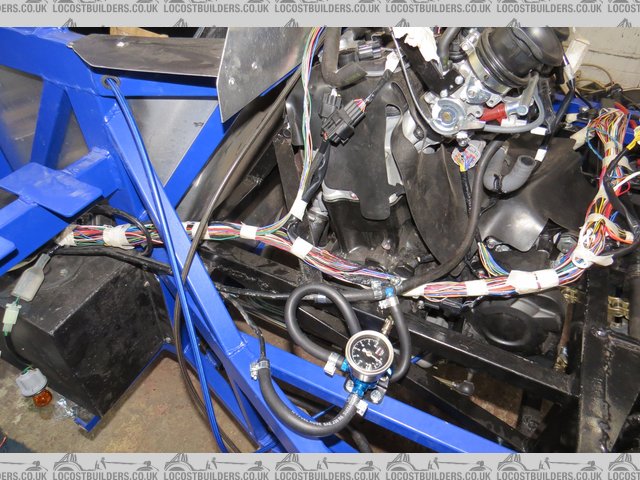
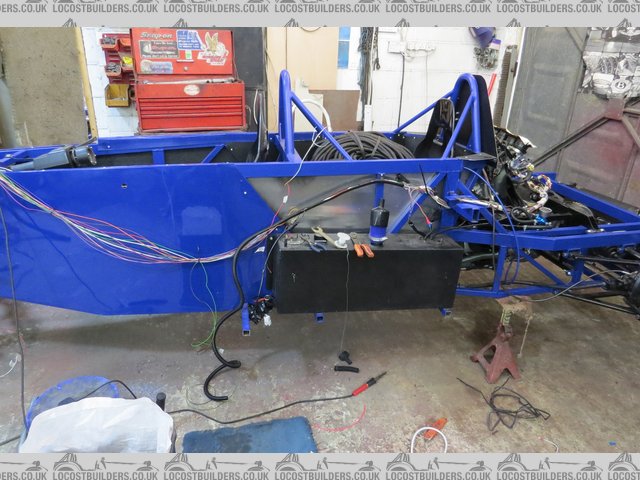
Ok, I won't bore you stiff with loads of pics of bits of wire - loom work is not the most exciting, but a necessary evil!
This represents days 20 thro' to 24, you can see the loom gradually getting tidier! I won't case it all up until all lights & dash etc.
is all in & everything running from the key & switches as it should - tends to save a lot of swearing if you have to cut loom casing back open
when you realise you've forgotten something or there is something not working as it should! 


[img]

Description
[/img]
[img]

Description
[/img]
The very observant amongst you (c'mon, you all missed it, admit it!), will have noticed that the temp arrangement of the fuel reg setup has now
been more permanently fitted, all the fuel hoses still need final fitting with rubber spacers etc.
[img]

Description
[/img]
[img]

Description
[/img]
russbost - 10/5/17 at 06:43 PM
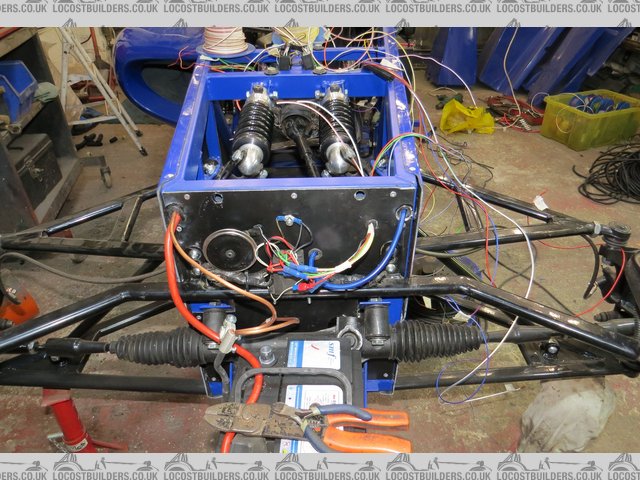
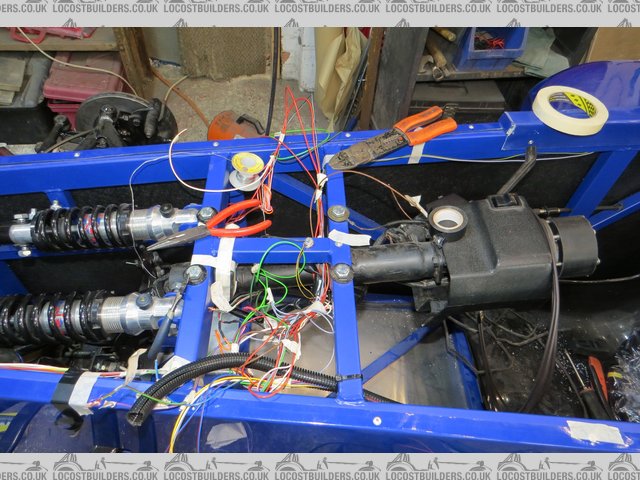
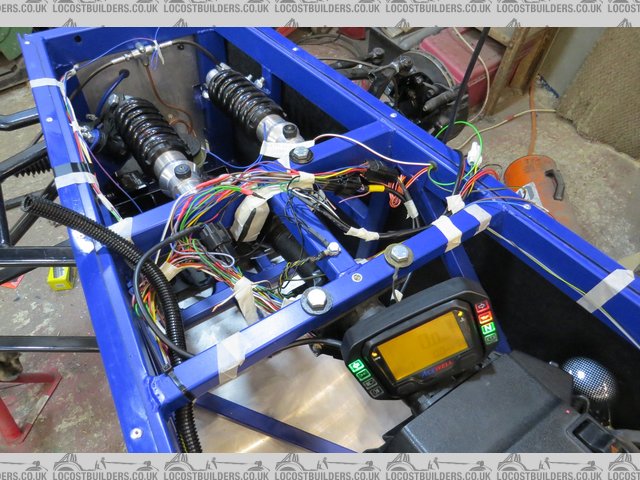
Days 25, 26 & 27 still wiring, plus a couple of other jobs, added the dash (ok that's still wiring!) & fixing points, added the front
light bar (will be replaced later), & mounted the horn, most circuits are in now, 2 days at most should see the back of nearly all the wiring
jobs, I'll leaving extending the rear loom until the wing struts that the lights mount to are in & as already said won't finalise all
loom coverings etc. till a little further on just in case!
[img]

Description
[/img]
[img]

Description
[/img]
[img]

Description
[/img]
[Edited on 10/5/17 by russbost]
russbost - 11/5/17 at 06:18 PM
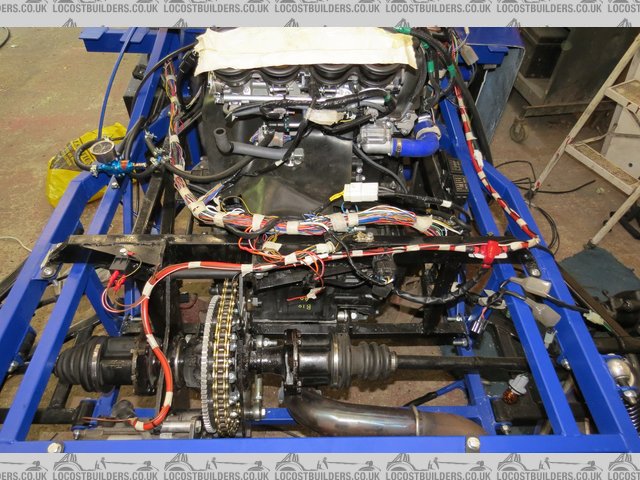
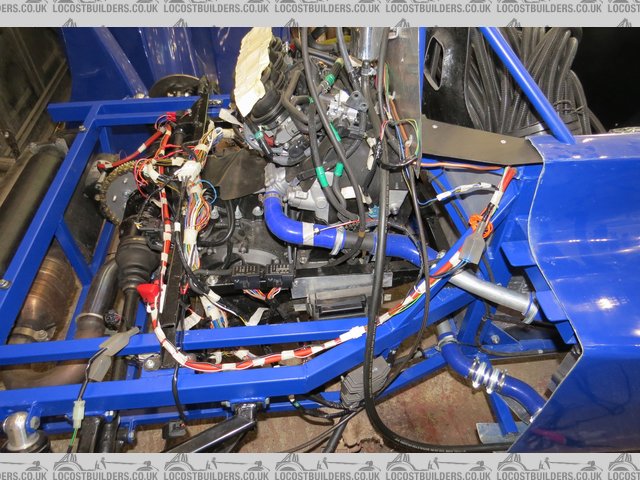
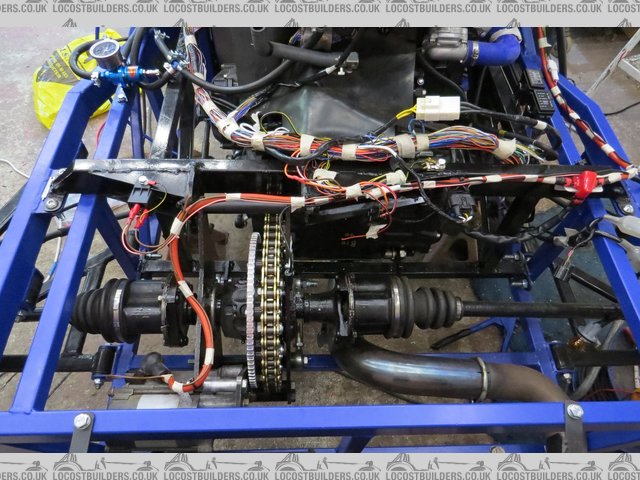
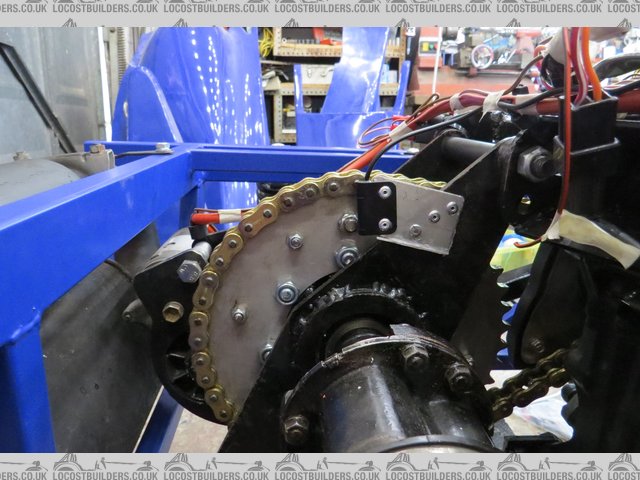
Day 28 & 29, finally all wiring is in, mounted the speedo pickup today & also the reverse switches & solenoid for the electric reverse
provided by the donor Toyota starter motor, the engagement of which is also all adjusted & now setup. I still need to make a mounting panel for
the lights, fog & reverse switches, but that's the only wiring left to do other than the rear light loom to be added when I fit rear wing
supports (that's where the lights mount). You have now caught up to where I actually am with the build, so everything from here on will be pretty
much as it happens!
[img]

Description
[/img]
[img]

Description
[/img]
[img]

Description
[/img]
[img]

Description
[/img]
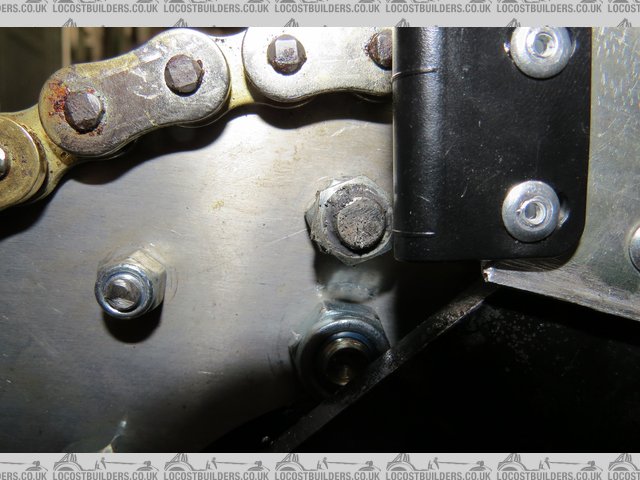
I've included these last couple of pics specifically as I know some people struggle with knowing how to fit the speedo sensor on the Acewell
speedos, last pic shows it perfectly, the magnet should pass along the line at either one end or the other of the sensor - it MUST NOT run down the
length of the sensor as this will cause multiple & erratic signals, I have embedded the magnet in the head of a bolt so it is adjustable to get
the correct airgap to the sensor
[img]

Description
[/img]
[Edited on 11/5/17 by russbost]
Mash - 11/5/17 at 06:55 PM
Looking really good mate, excellent job you're making there 
russbost - 16/5/17 at 07:07 PM
Thanks Mash!
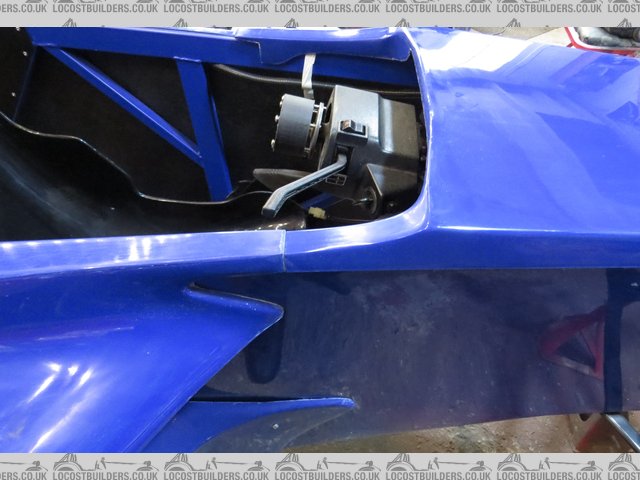
Ok, we're 30 days in & wiring is finally (almost!) finished, back on the bodywork
[img]

Description
[/img]
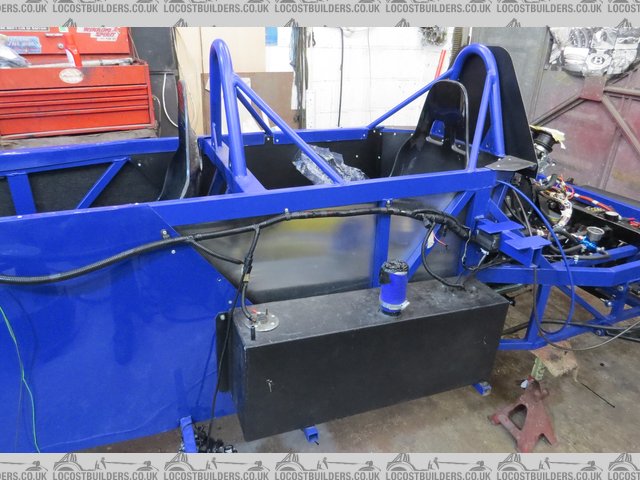
Unfortunately b4 I can do final fit of O/S sidepod, just need to encase the loom first! (so much for "finished the wiring!)
[img]

Description
[/img]
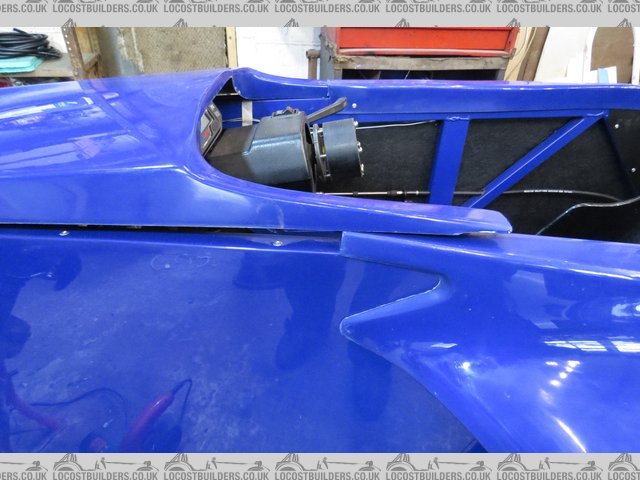
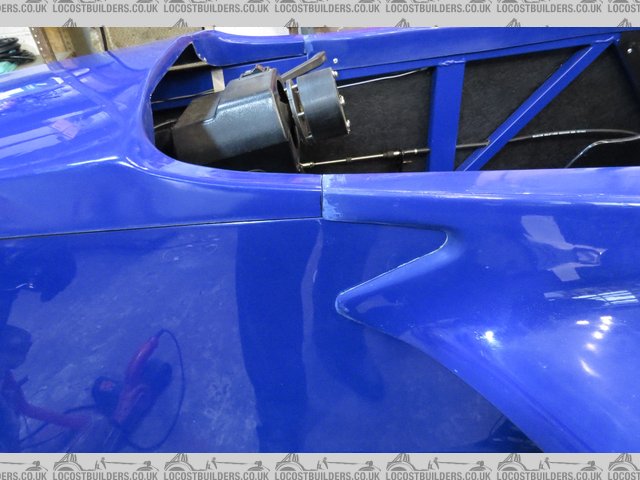
The "bonnet" is made to fit both old & new style sidepods, so, to fit to the new style ones we have here, the rear section needs to be
removed
[img]

Description
[/img]
Quite time consuming as to get a neat fit requires careful trimming
[img]

Description
[/img]
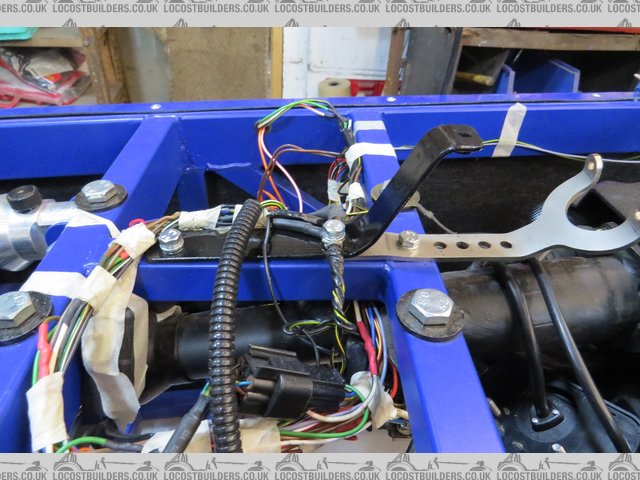
New bracket made to support rear of bonnet
[img]

Description
[/img]
russbost - 18/5/17 at 05:06 PM
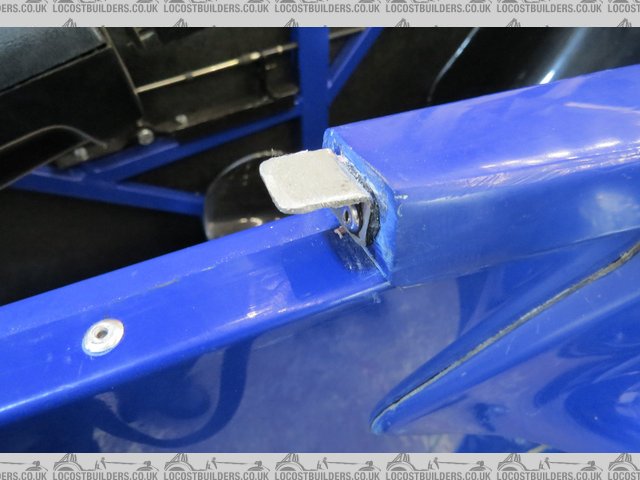
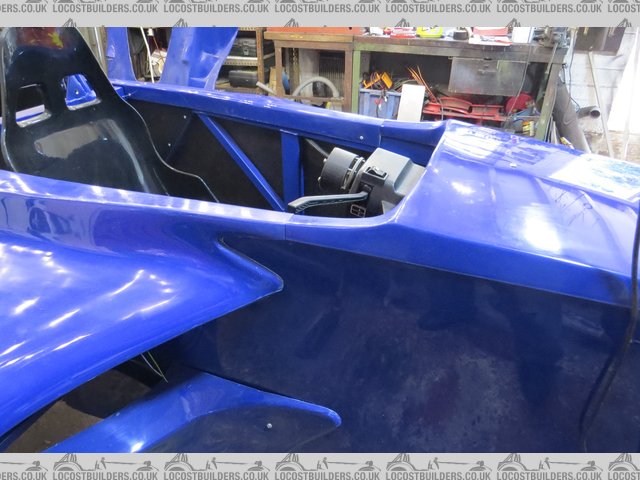
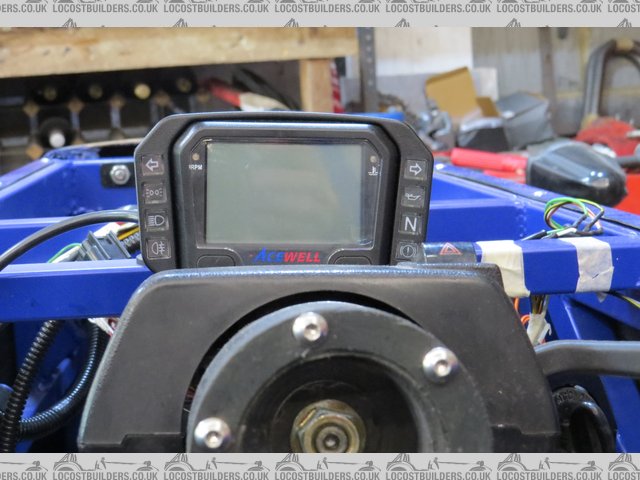
Day 31, steady progress on the bodywork, supports/locators made to fit rear edge of "bonnet" to sidepods, now bonnet has been drilled for
rear mounting, the Acewell can now be mounted up (yes, b4 anyone comments, the bracket has now been squared up since pic was taken! 
[img]

Description
[/img]
[img]

Description
[/img]
[img]

Description
[/img]
[img]

Description
[/img]
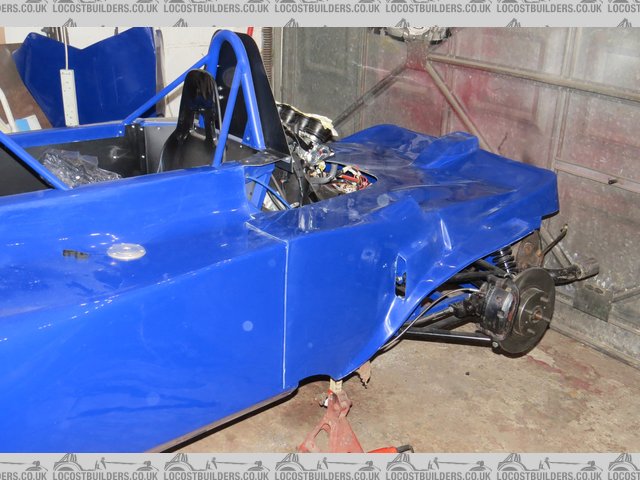
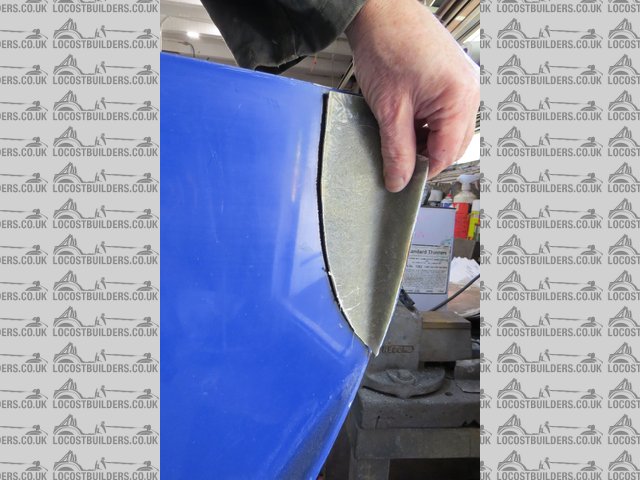
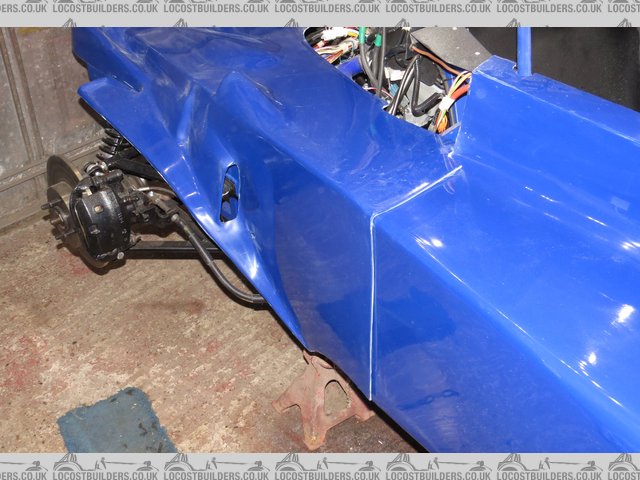
Rear lower engine cover is cut away to match new sidepod end, cut piece used for template for opposite side to ensure all equal
[img]

Description
[/img]
[img]

Description
[/img]
russbost - 24/5/17 at 05:14 PM
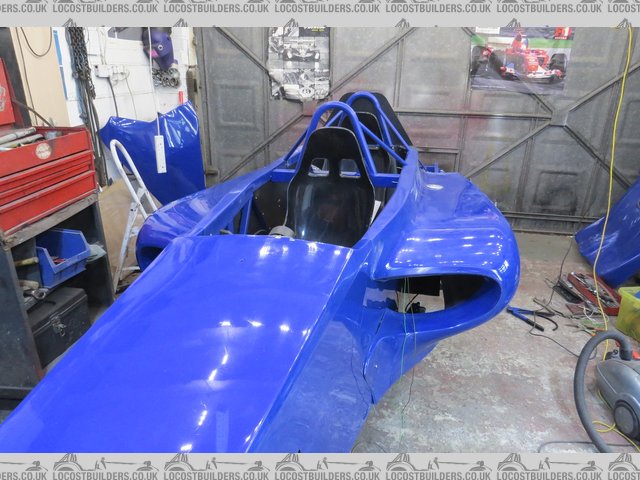
It's day 32 & starting to look the part!
[img]

Description
[/img]
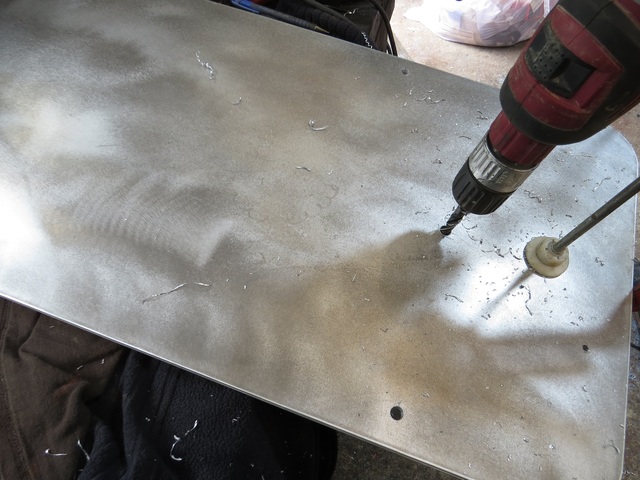
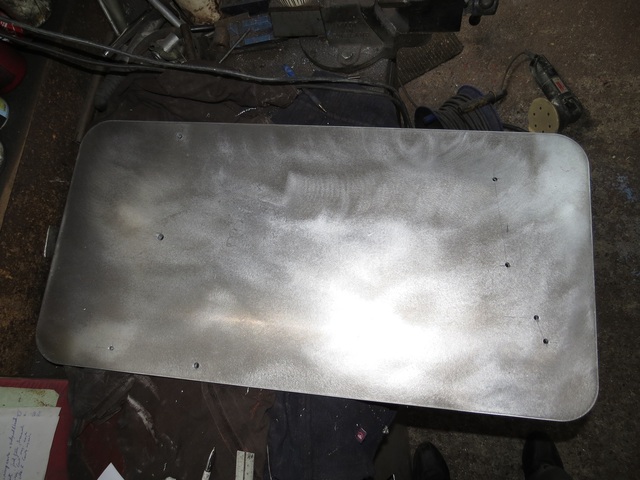
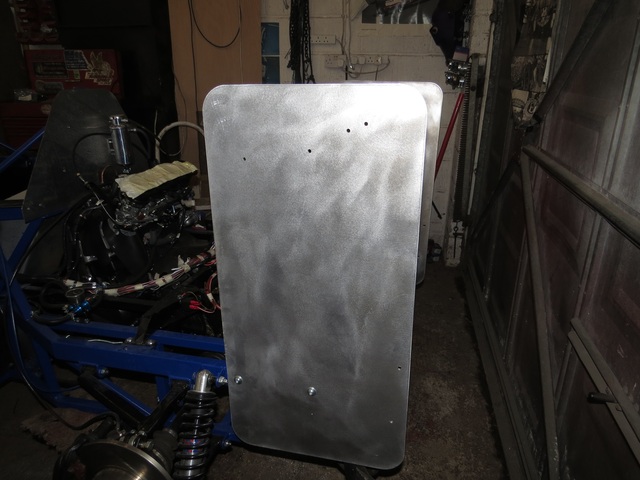
Preparing the rear wing sides, both sides clamped & drilled together to ensure uniformity
[img]

Description
[/img]
[img]

Description
[/img]
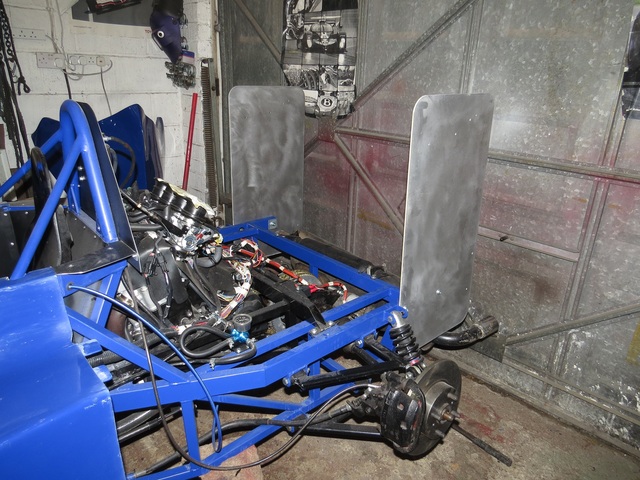
Once ready, it's a simple matter to bolt them in place, these have to go on prior to final fit of rear "deck" (lower half of engine
cover) as they affect how the deck sits on the rear chassis arms
[img]

Description
[/img]
[img]

Description
[/img]
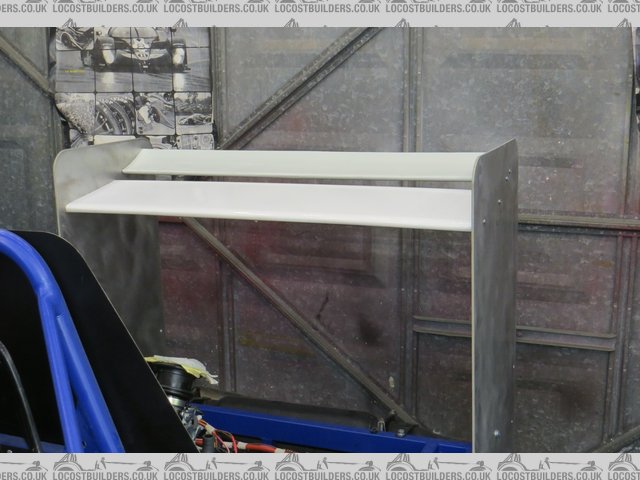
The 2 rear wing blades are then bolted in between to give a stiff structure
[img]

Description
[/img]
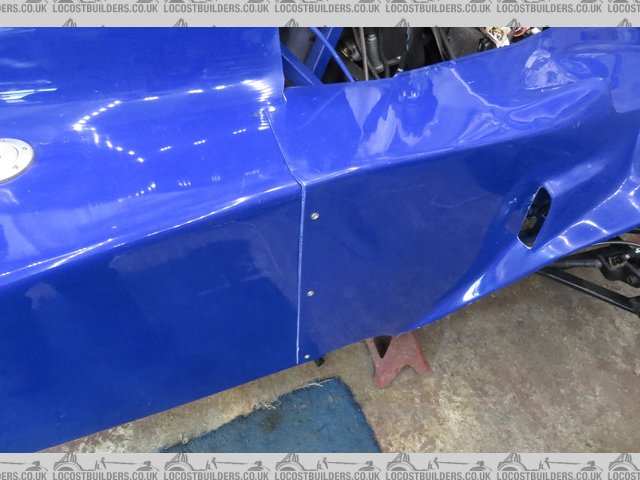
Rear deck can now have final fit & fixings fitted
[img]

Description
[/img]
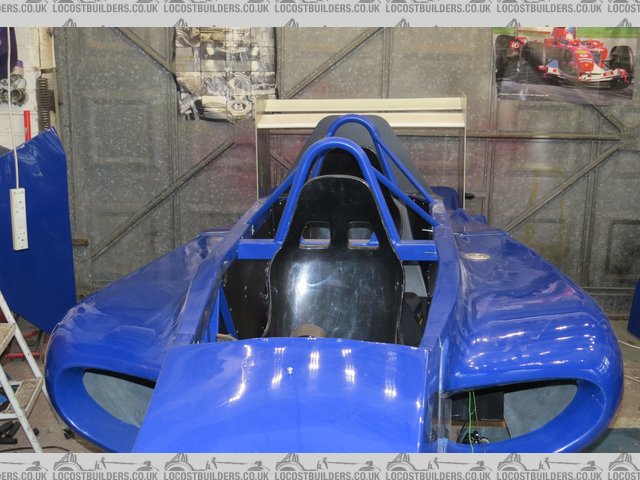
& suddenly it starts to look like a Furore!
[img]

Description
[/img]
[Edited on 24/5/17 by russbost]
russbost - 25/5/17 at 09:26 AM
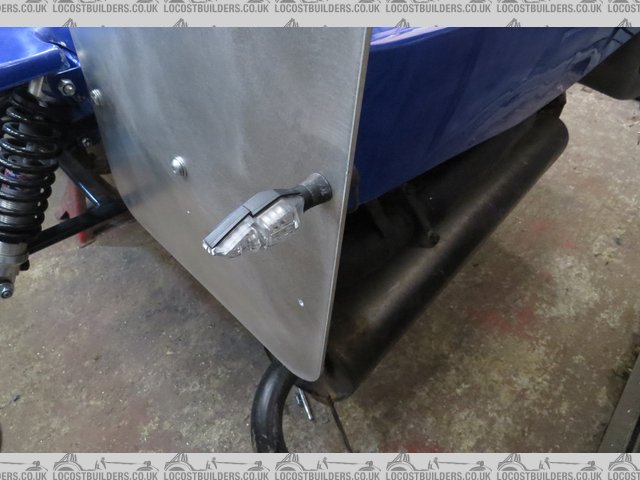
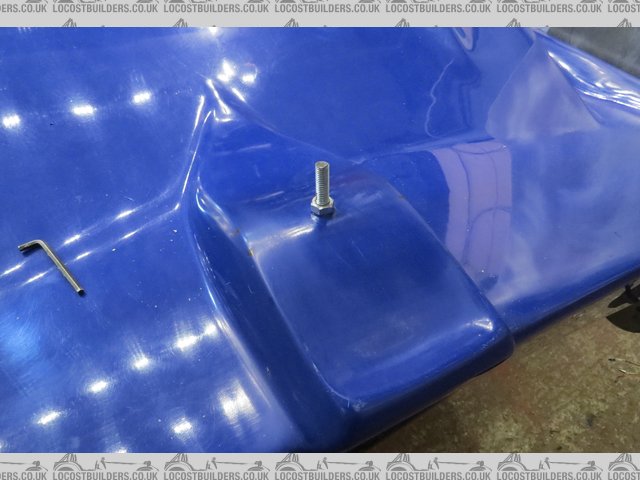
Day 33 & last post for a little while as off for a hard earned break! Rear indicators are on, location for upper engine cover bolted in whilst
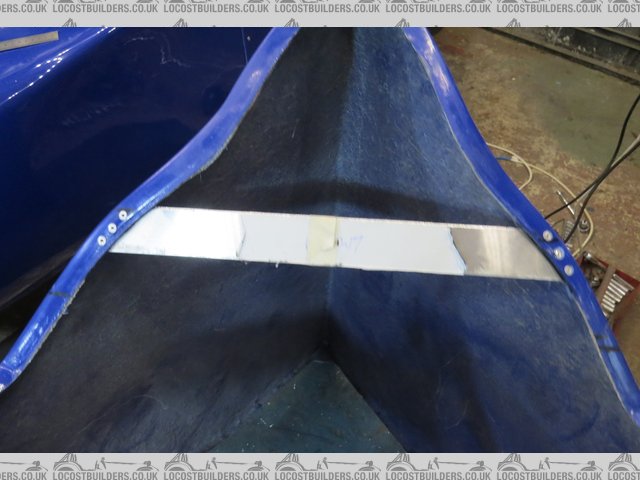
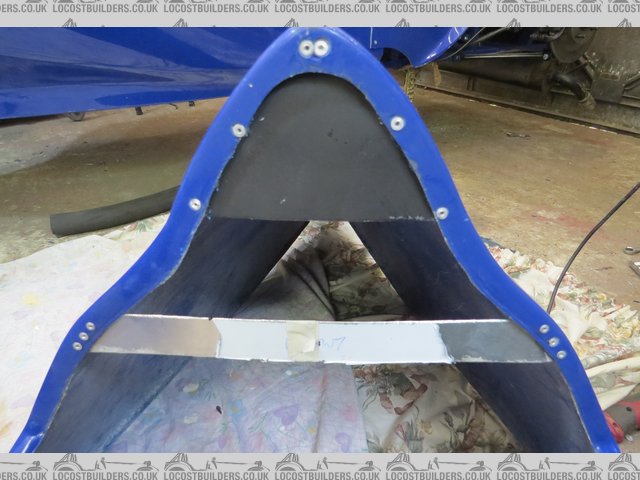
bonding paste cures, & further fittings to the front of the upper engine cover ready to accept the passenger seat cover. The 2 are then mated
together & temporarily clamped & bolted to fit accurately together, when fitting the upper engine cover & passenger seat cover to the car
they are best fitted as one piece & only separated once a satisfactory fit is achieved, from experience fitting the rear half followed later by
the front half is a recipe for a poor fit. Once all in place fittings left to cure overnight. They are initially bonded in with Siraflex, once cured
this will be overlaid with fibreglass mat bonded in place to ensure all stays where it's meant to
[img]

Description
[/img]
[img]

Description
[/img]
[img]

Description
[/img]
[img]

Description
[/img]
[img]

Description
[/img]
[img]

Description
[/img]
[img]

Description
[/img]
Mr Whippy - 25/5/17 at 11:45 AM
good post
like everything bar the location of the fuel tank, I'd want that behind the driver seat like the real cars rather than have the passenger seat
side pods are much better though do tend to make the car seem higher than before, a side skirt might look good
surprised you don't sell more as I'd want one of these much more than a 7
russbost - 25/5/17 at 01:56 PM
Relocating the fuel tank would be simple.
When it's got its wheels on most people say the new pods make it look lower, makes the higher ground clearance (than F1) less obvious, one
customer did an extended flat floor & carbon covered it, looked brilliant & did make it look lower, tho' was actually only lower by about
8mm
TBH, when I built the first car that was purely for myself, never intended to go into business with it, then it got on the front cover of Kitcar mag,
national papers & BBC TV (plus Fuji TV in Japan!) & the rest as they say, is history. Even then I never anticipated it being more than a hobby
business, but I've sold 5 complete cars, finished builds on 2 others & sold quite a few kits, this one will be chassis no. 17 (plus the
original twin engined car) & I have chassis 18 waiting to start when this ones done, tho' that will be a much more relaxed build. If I was
younger & still hungry I'd be pushing much harder for sales, as it is, I'm very happy for it to be a hobby business
I think it's too much of a niche market to sell loads, tho' if anyone could be bothered to put the time & money into getting type
approval I have people all over the world wanting cars - the problem is invariably local regs, tho' we have one on the road in the States, one in
Canada, & at least one on the road in Germany, passed TUV (might be 2 or more, not sure). There are 4 cars in Germany, two ZZR1400 engined cars
regularly used for trackdays - they actually put paying (read novice!) drivers in the front & an instructor in the back - the instructors must be
braver than I am, I'd want at least a kill switch & dual control brakes! I'm sure one reason I don't sell loads is that
they're not as cheap as a 7, but unfortunately the bodywork/wings etc all have moulds that need to be paid for .........
russbost - 14/6/17 at 06:54 PM
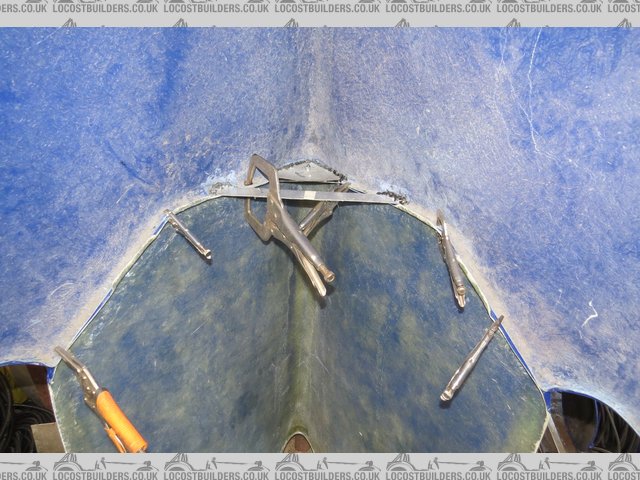
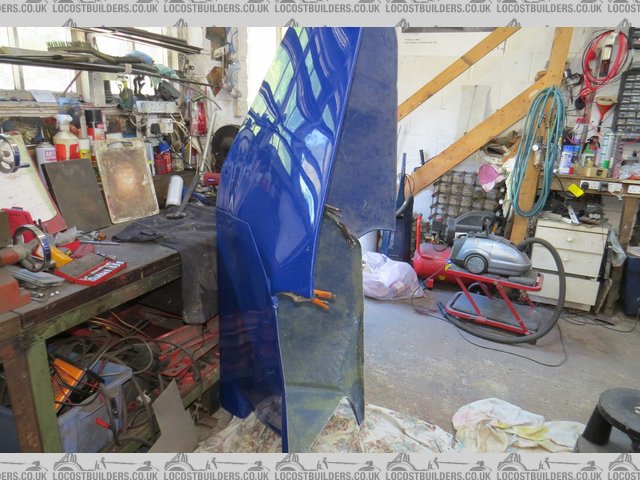
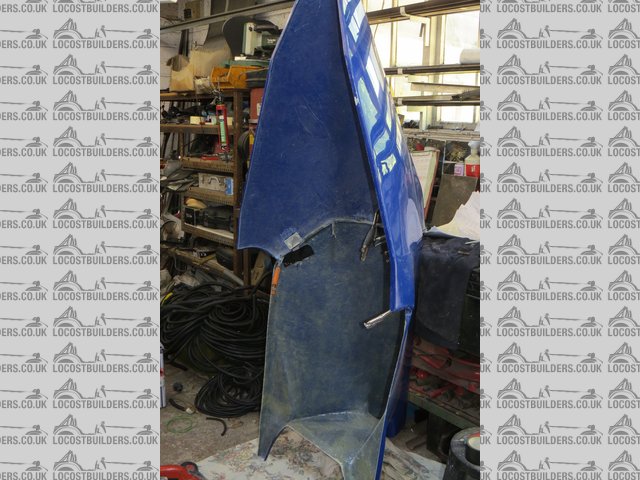
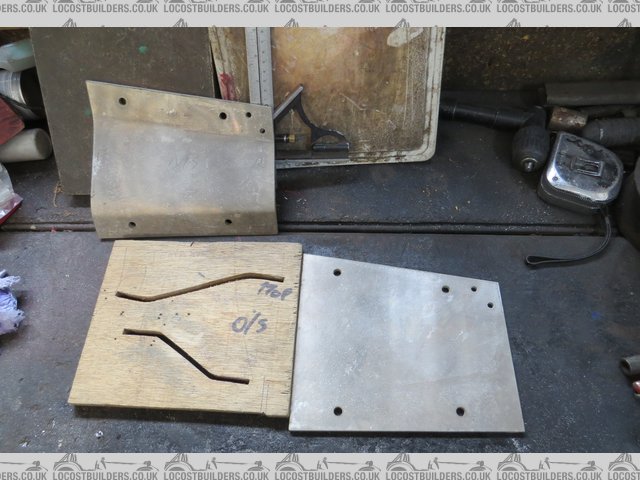
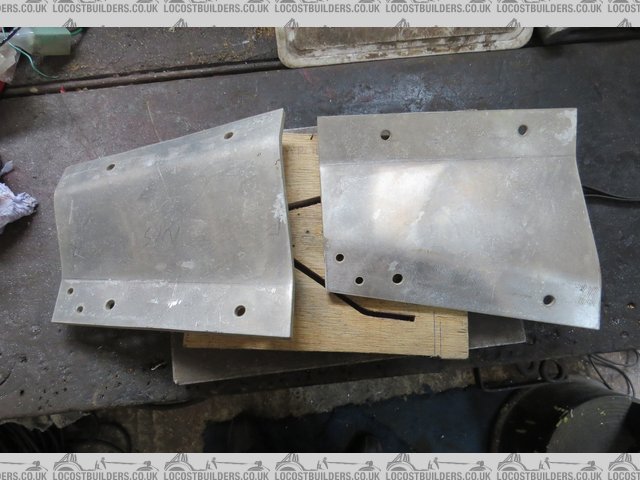
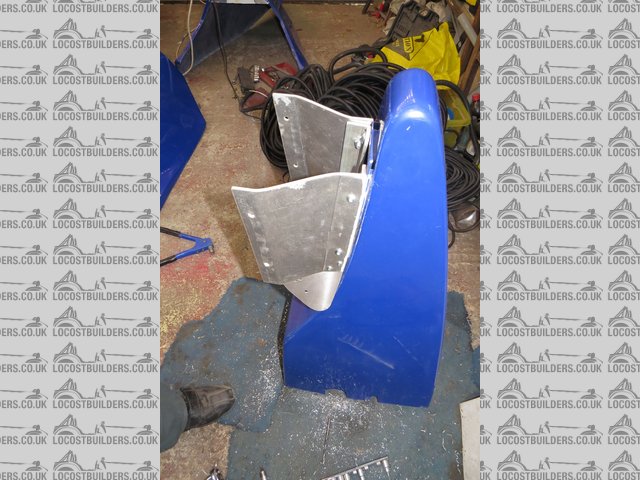
Now, where was I b4 I so rudely interrupted myself? Right, day 34, work completed just b4 I skived off for a couple of weeks! First the laser cut
front wing centre supports have to be bent to shape - bending fairly short sections of 6mm ali is always fun, NOT! Amazing what a vice & a large
rubber mallet can achieve!
[img]

Description
[/img]
[img]

Description
[/img]
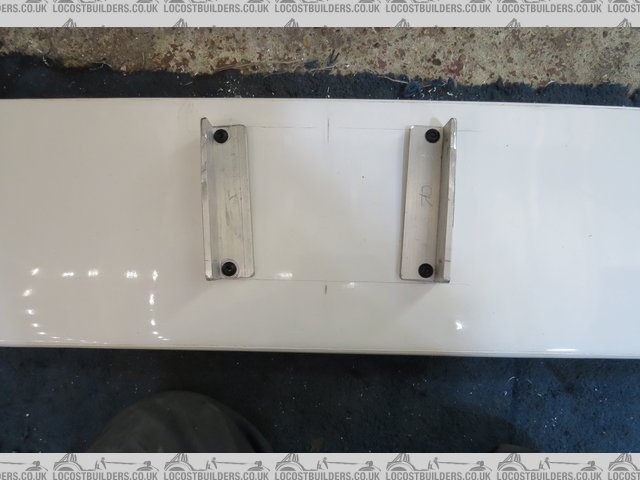
Brackets have to be cut from 6mm ali angle to fit the top & bottom of the supports to nose & wing, these need to be fairly substantial as the
front wing alone, without the secondaries, can generate around 60kg of downforce at 160mph (from calculations) which the car is theoretically capable
of & I'm pretty certain that in practice could get close given a long enough straight
[img]

Description
[/img]
[img]

Description
[/img]
Within the wing itself there is a substantial composite "board" along with vertical ali stiffeners to make sure the whole wing is strong
enough to withstand these forces
russbost - 15/6/17 at 06:47 PM
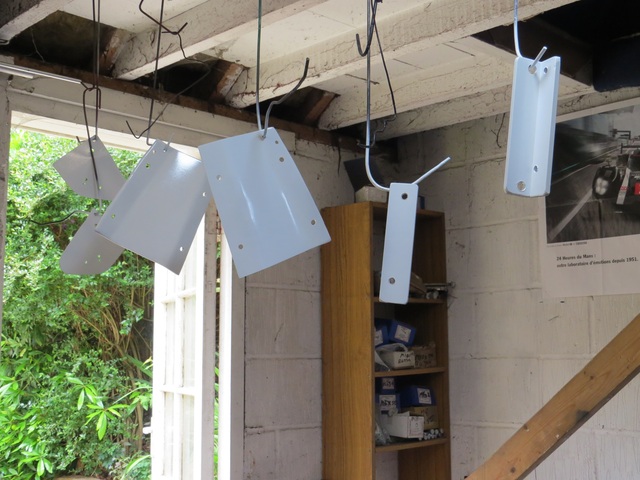
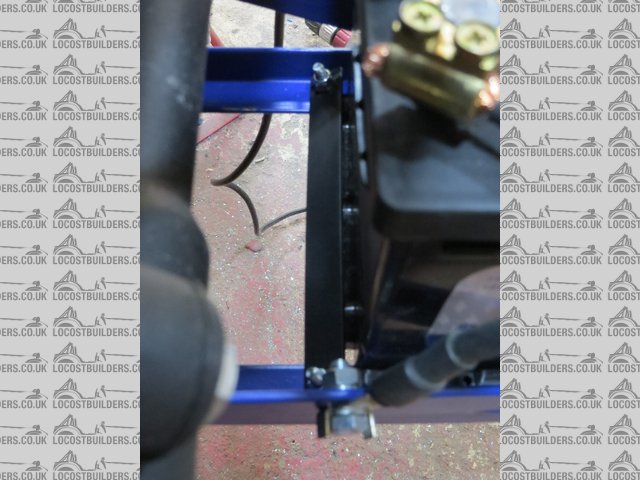
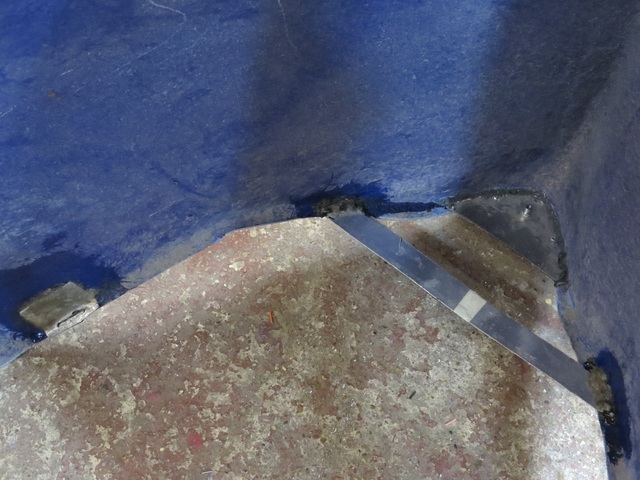
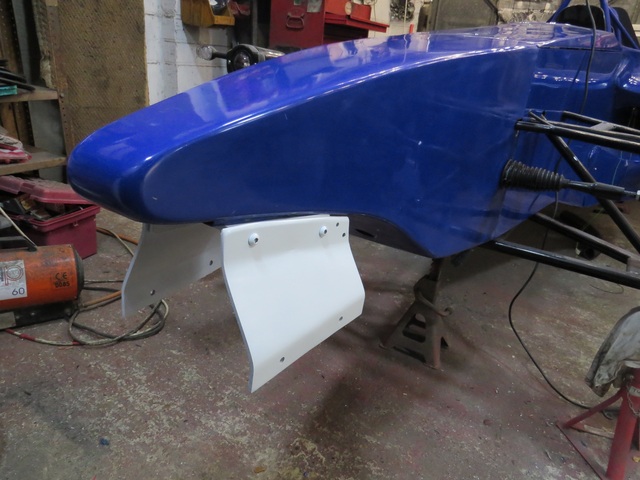
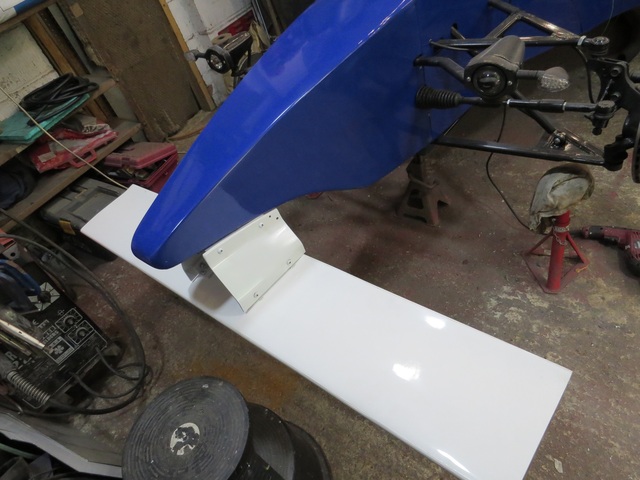
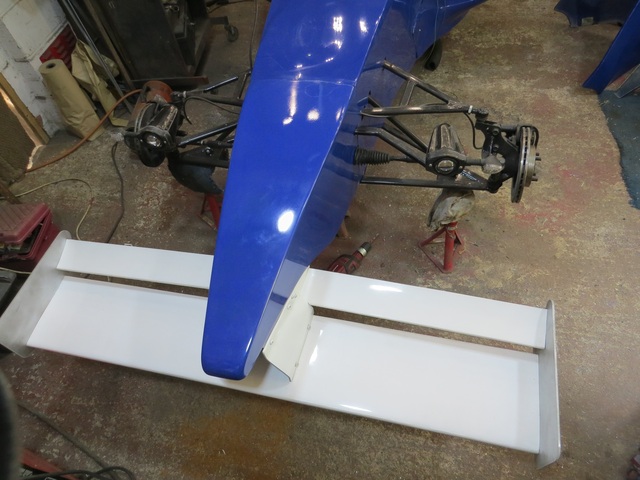
Once all bits of wing are marked & drilled time for a quick coat of primer & paint, whilst drying did a couple of other bits & pieces that
were hanging about, battery clamp for rear of battery tray, & bonded in with glassfibre the "tags" etc. already fitted to the rear
bodywork bits. Once dry, the main wing blade is fitted followed by the end plates & secondary "winglets"
[img]

Description
[/img]
[img]

Description
[/img]
[img]

Description
[/img]
[img]

Description
[/img]
[img]

Description
[/img]
[img]

Description
[/img]
russbost - 20/6/17 at 04:29 PM
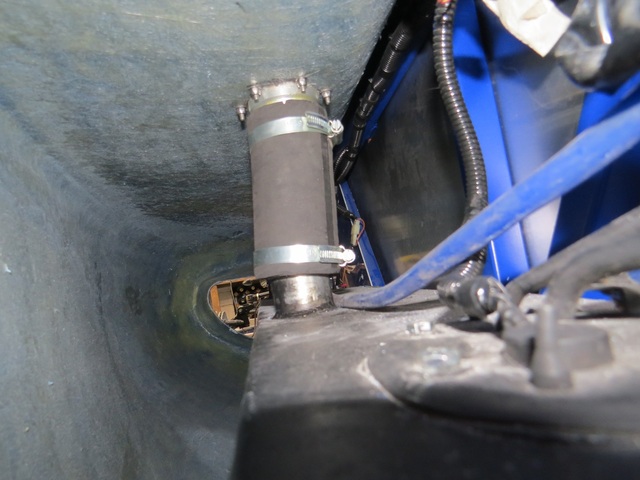
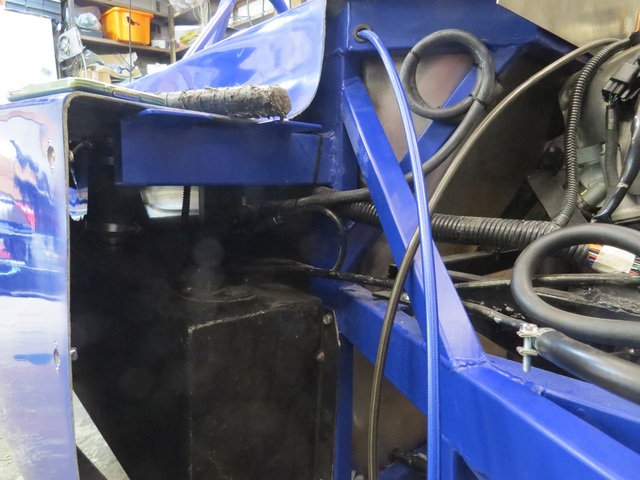
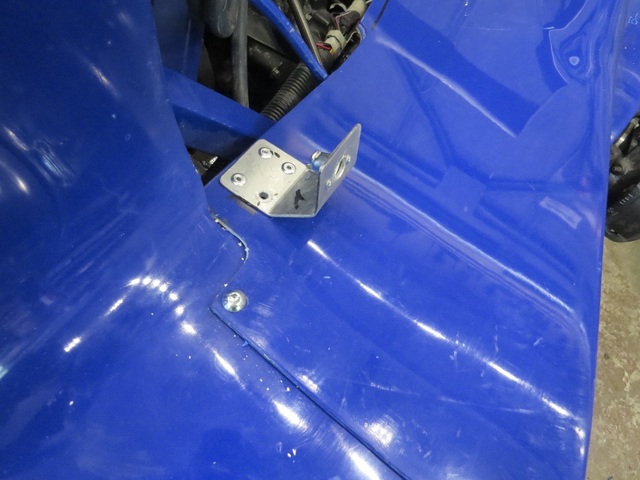
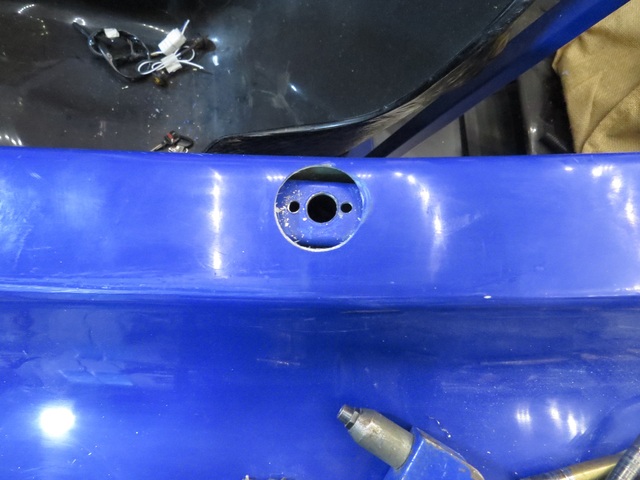
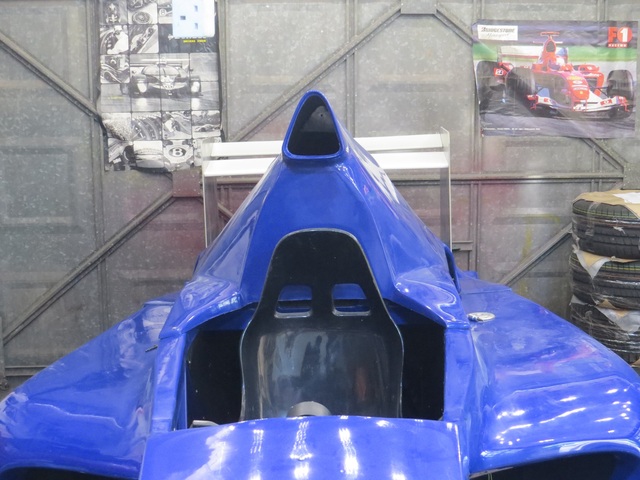
36 days in. Finished a few minor jobs like fuel filler pipe & breathers b4 continuing with fitting the last bits of bodywork, those being the
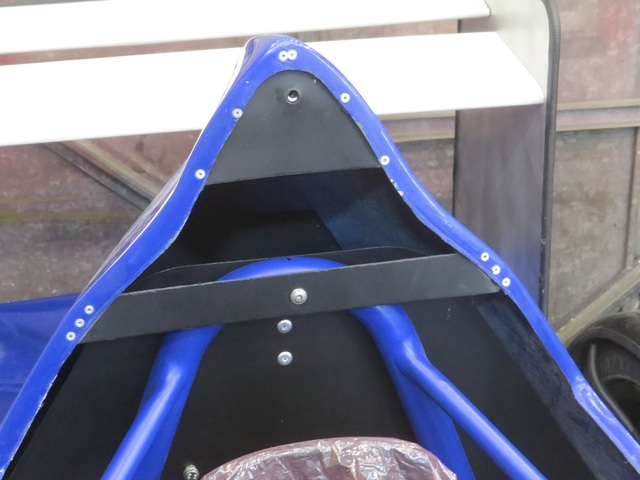
upper engine cover & the front half of the airbox that attaches to the rear upper engine cover & hides the rear passenger seat when not
required.
[img]

Description
[/img]
[img]

Description
[/img]
[img]

Description
[/img]
[img]

Description
[/img]
[img]


Description
[/img]
Mr Whippy - 21/6/17 at 05:41 AM
just an observation (and you know generally I really like this car and would love one if I had the cash)
you've mounted the tank filler to the top of a side pod... so in a crash where the side pod is hit, maybe not even knocked off, it's going
to pull the hose right off the fuel tank and let petrol spill out.
I'm not keen on this
Even if you kept it located there I'd have liked a substantial structure mounted to the chassis side that held the filler so in the event the
side pod was knocked off the filler would be unaffected. With all that empty space in there a protective frame could have been made to go over the
tank to further improve things.
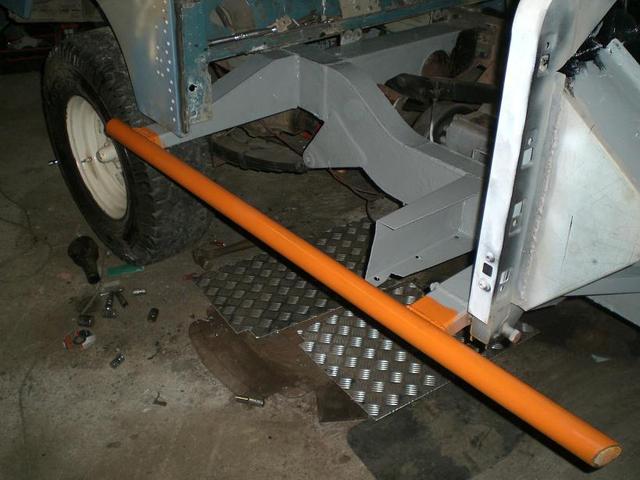
My old landy has a similar location for it's fuel tank and I have used extra outriggers and tube (scaffold) to protect it, maybe ott for your car
but the same idea.
Keep going though, great post

Description
russbost - 21/6/17 at 07:47 AM
quote:
Originally posted by Mr Whippy
just an observation (and you know generally I really like this car and would love one if I had the cash)
you've mounted the tank filler to the top of a side pod... so in a crash where the side pod is hit, maybe not even knocked off, it's going
to pull the hose right off the fuel tank and let petrol spill out.
I'm not keen on this
Even if you kept it located there I'd have liked a substantial structure mounted to the chassis side that held the filler so in the event the
side pod was knocked off the filler would be unaffected. With all that empty space in there a protective frame could have been made to go over the
tank to further improve things.
My old landy has a similar location for it's fuel tank and I have used extra outriggers and tube (scaffold) to protect it, maybe ott for your car
but the same idea.
Keep going though, great post


Description
Entirely fair & intuitive comment, always happy to receive constructive feedback.
In fairness for what you describe to happen would require a particular set of circumstances - first you'd need to brim the tank (which I almost
never do, the exception being if I'm doing long distances & want every drop available), which you will note is set at an angle to aid fuel
pickup at the rear when fuel is low, due to the tank being relatively tall & narrow, fuel level drops fairly quickly away from the top, so the
accident would need to be within the first few miles after filling. For the sidepod to get ripped off would in itself require an unusual set of
circumstances in a road accident, & remember the car is designed primarily as a road car (on a track I could envisage many scenarios where a
sidepod could get taken off). The sidepod is pretty rigid & obviously protected to a certain extent from both front & rear by the wheels, if
hit direct in the side I would be more worried about the whole tank rupturing rather than the filler getting ripped off, but a glancing blow from the
right direction could certainly produce the scenario you describe. All the hot stuff is a considerable way from the tank, but that may be of no help
depending how fuel is able to spread
I have built one chassis which at the customers request had an additional frame added to the chassis outriggers to give additional protection to the
tank, but I doubt that would have helped much re the filler being ripped off. It's something which could fairly easily be protected, probably
simplest way would be to foam fill around the filler neck, would have to be done after IVA as it's an area they want to be able to see. It's
obviously an area which can be addressed by any individual builder, I supply the kit, how it's built is up to them.
Alternatively the whole sidepod could be additionally braced & foam filled - I guess it depends how much you worry about these things, I know
whether I'd rather be in a 7 (or indeed most other low sports cars), in a side impact or the Furore where you are substantially protected to
shoulder height
Doing the foam filled thing would of course lose the "luggage space" within the sidepod - it always seems to amuse people when I arrive at a
car show & proceed to remove my rucksack & folding chair from the N/S sidepod! 
[Edited on 22/6/17 by russbost]
russbost - 26/6/17 at 07:20 AM
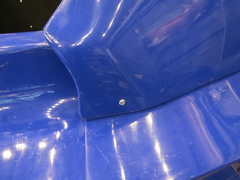
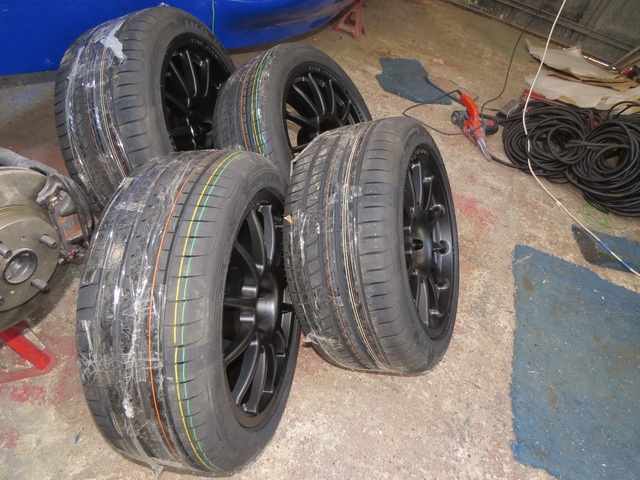
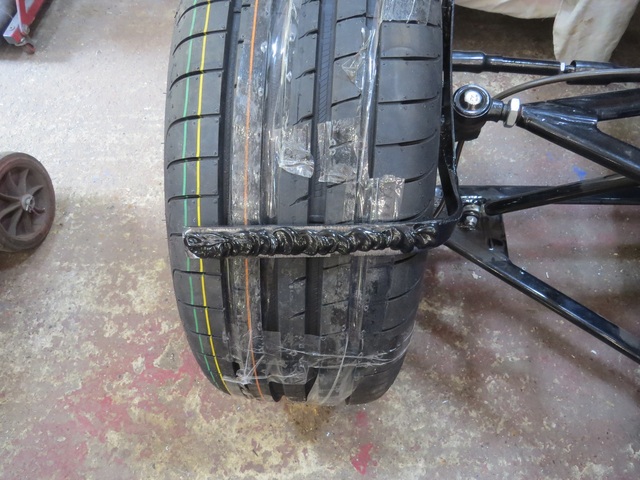
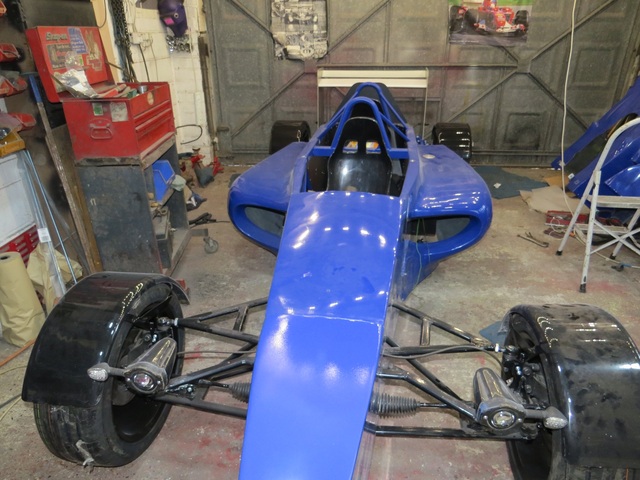
Day 37, finish off the last bits of bodywork fitting which is the cover for the passenger seat/front half of airbox. Wheels & tyres have now
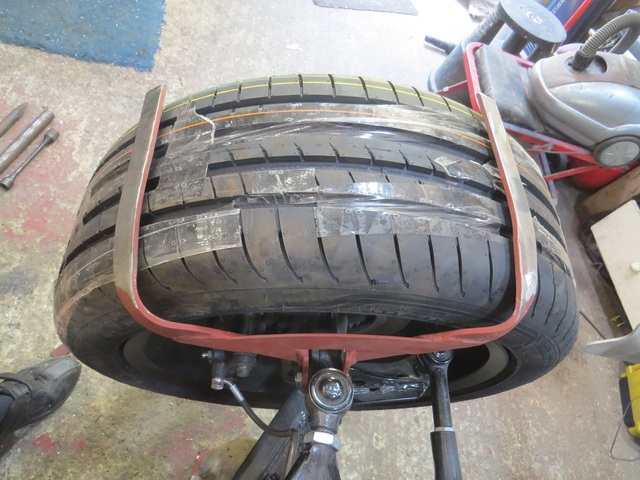
arrived so I can now get the mudguards fitted, final bending of the wheel arch stays is done on the car over the wheels/tyres being used as that way
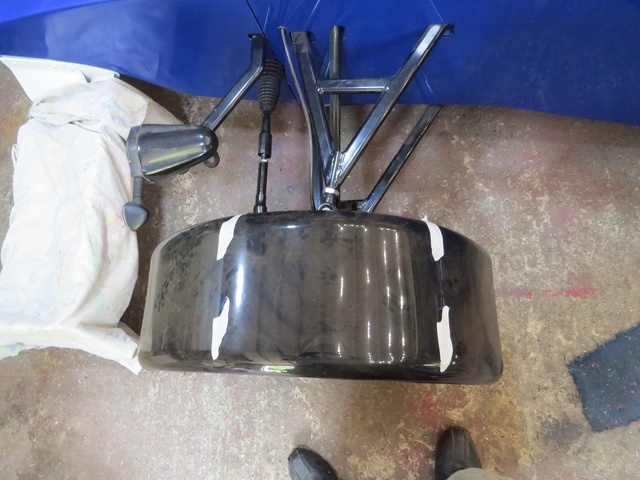
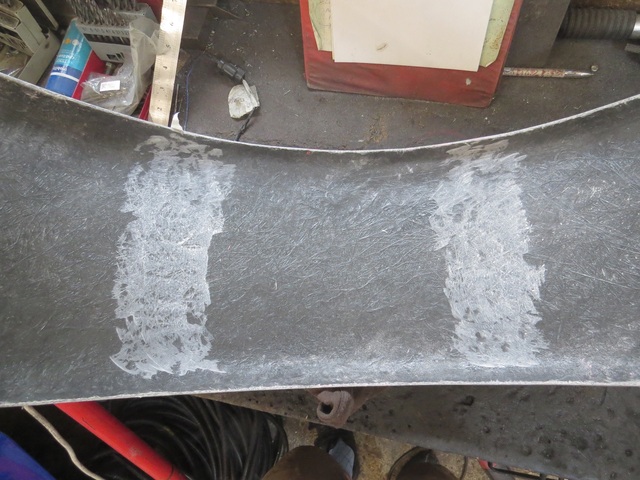
best fit is achieved. Wheel arches are marked on the outside with masking tape to show where the stays lie, essential to rough up both the internal
fibreglass of the wheel arches & the mating face of the stay to allow the Siraflex to get a good grip. I don't like unsightly bolts!
[img]

Description
[/img]
[img]

Description
[/img]
[img]

Description
[/img]
[img]

Description
[/img]
[img]

Description
[/img]
[img]

Description
[/img]
[img]

Description
[/img]
[img]

Description
[/img]
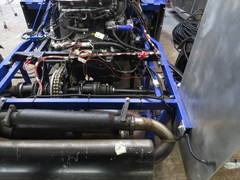
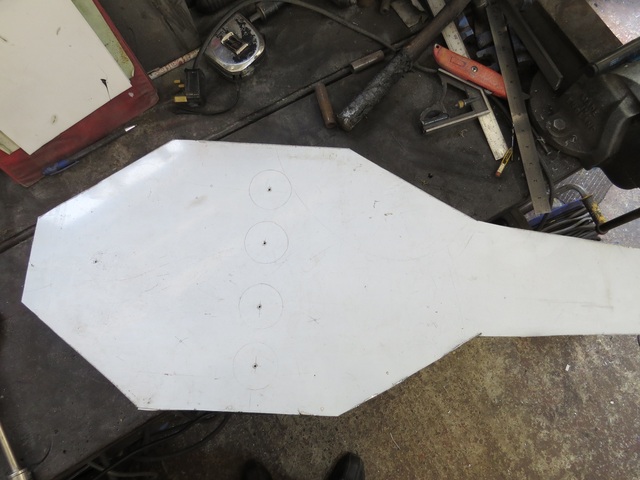
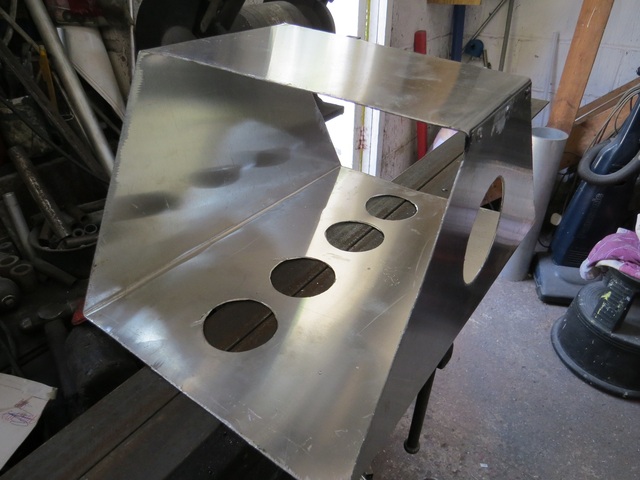
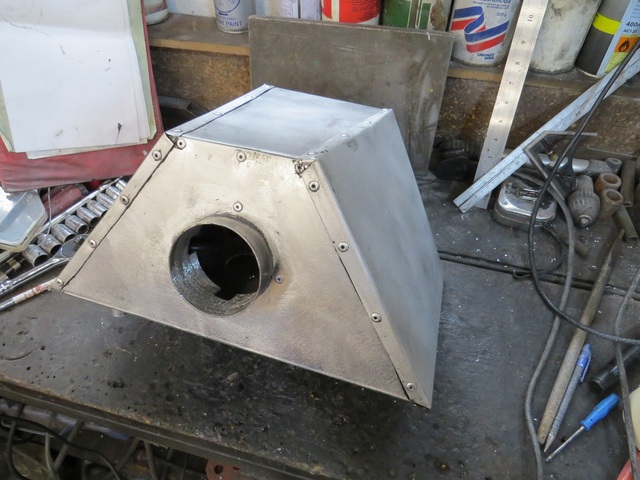
russbost - 28/6/17 at 07:01 PM
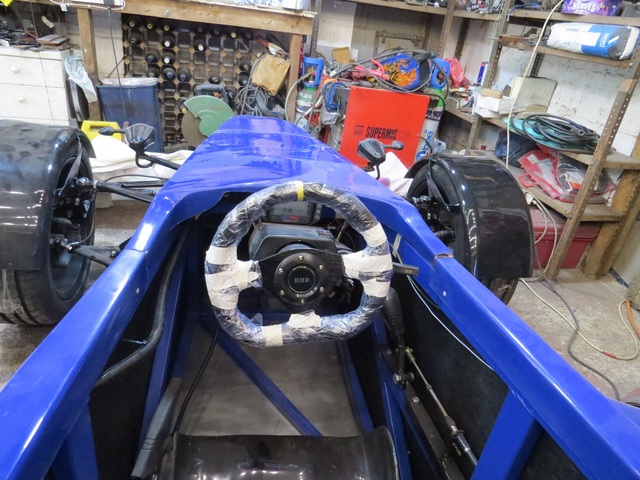
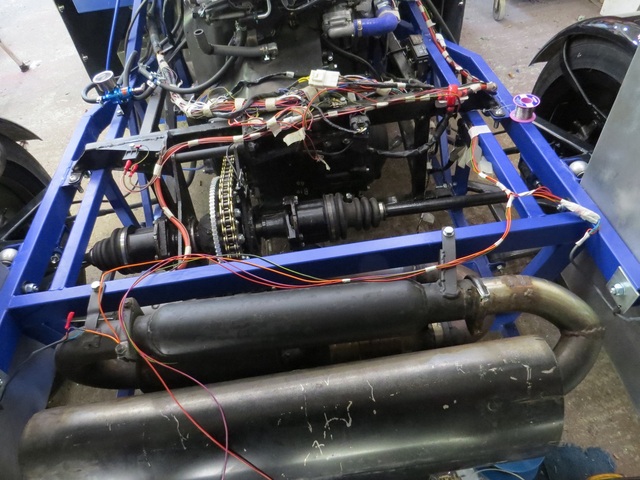
Day 38, looking more like a finished vehicle every day!
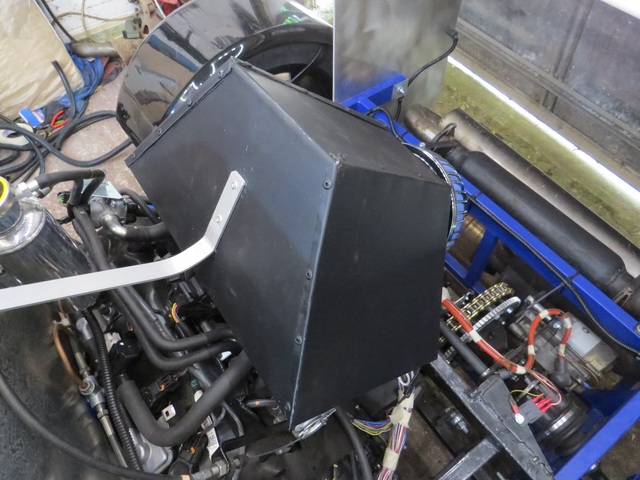
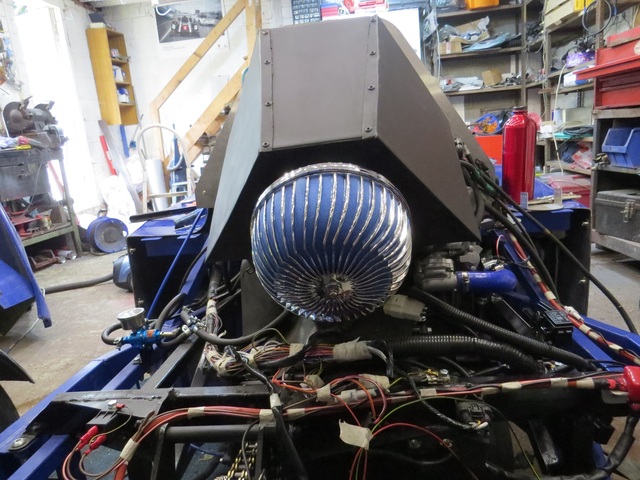
Finished off another couple of minor bits 'n' pieces today, viz fit steering wheel & make up rear section of loom for lights. The rest
of the day was spent constructing the airbox from scratch, something I simply never got around to getting laser cut - I wish I had, best part of a
days labour for an airbox can't be a bargain! 
[img]

Description
[/img]
[img]

Description
[/img]
[img]

Description
[/img]
[img]

Description
[/img]
[img]

Description
[/img]
[img]

Description
[/img]
russbost - 29/6/17 at 06:31 PM
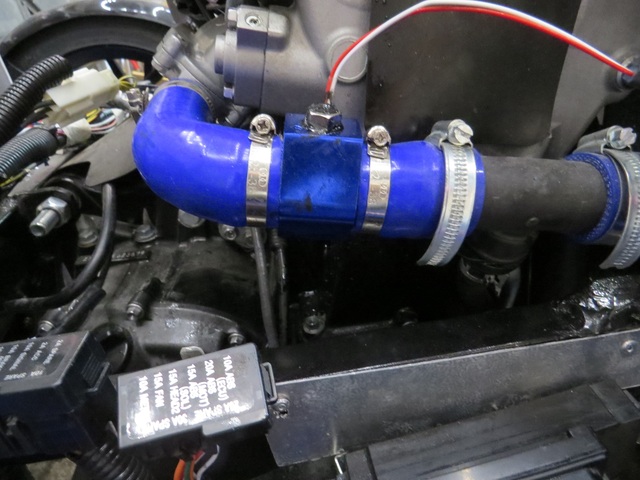
Had to return to some undone earlier bits today, Day 39, I hadn't got the ali tube that takes the temp sensor for the Acewell when I put the
cooling system together, so hadn't been able to run the engine right up to temp as I wouldn't do that without being able to monitor it. So a
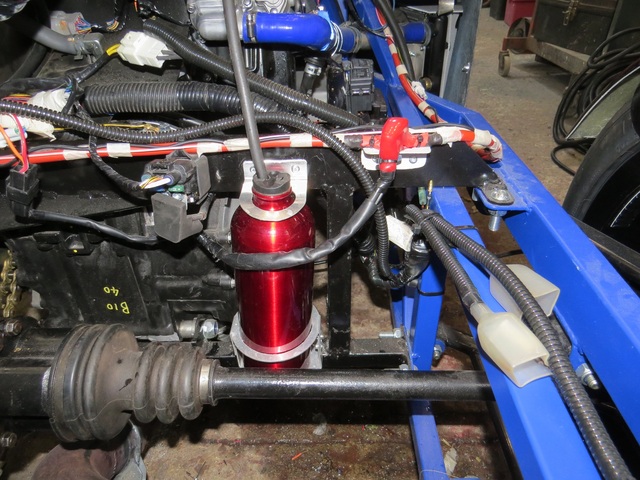
slight strip & drain down & the temp sensor & tube went in. Finished the airbox & got it painted then fitted to the car along with
it's brace (the bike has the airbox built into the frame so not something you can swap!). Air filter fitted (another desirable element for
running for any protracted length of time!). Coolant expansion bottle fitted & finally able to run the engine up to temp, a couple of minor weeps
from the silicon hoses (why does silicon hose never seem to seal first time round!!!?), also started to tidy up the rear wiring & get it cased up
for final fit
[img]

Description
[/img]
[img]

Description
[/img]
[img]

Description
[/img]
[img]

Description
[/img]
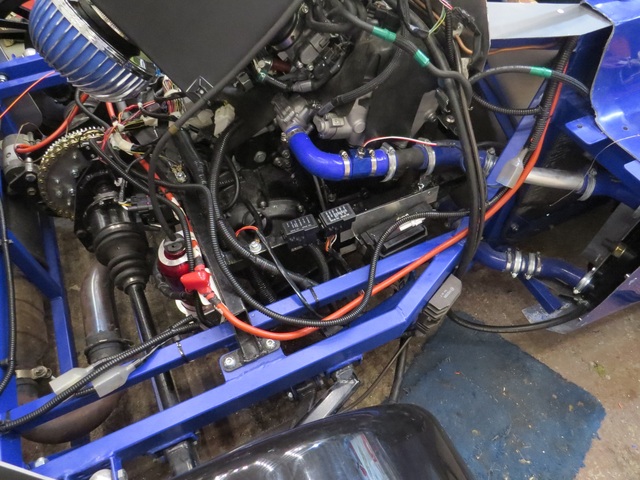
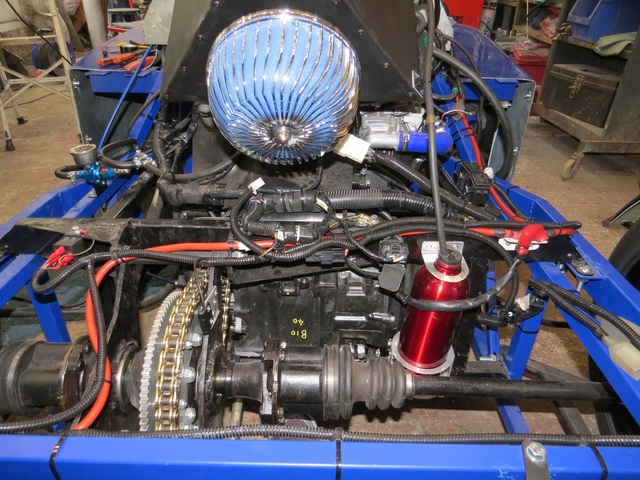
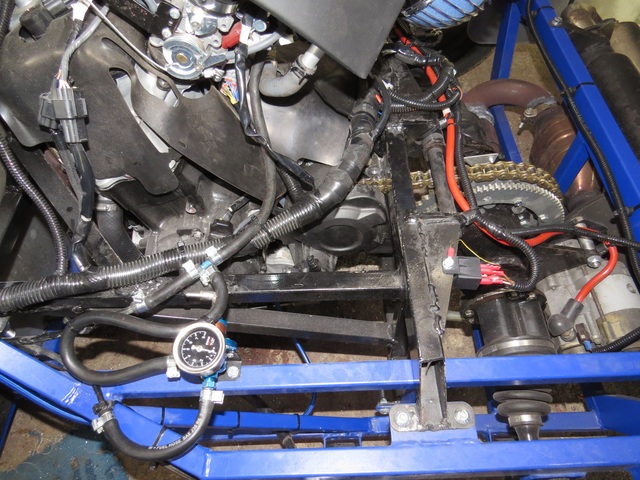
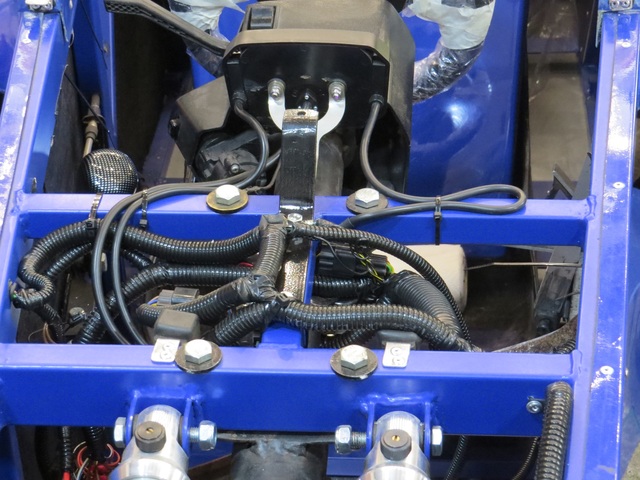
russbost - 6/7/17 at 06:22 PM
Day 40 & lots of silly jobs taking loads of time & looking like I've achieved very little, you just have to accept some days are going to
be like that! Continue with rear wiring encasing, tidying up & started clipping in place, also got some of the front looms finished off too.
[img]

Description
[/img]
[img]

Description
[/img]
[img]

Description
[/img]
[img]

Description
[/img]
craigdiver - 6/7/17 at 08:16 PM
Looking amazing. I am finding loads of 'little' jobs that seem to eat up the time, however, it is very satisfying to get them done.
And got to say, thanks for introducing another chassis colour for me to be indecisive about!!! :-)
Gre3D - 8/7/17 at 07:24 PM
looking good still!
i'd love to take it for a drive! i'm quite sure i would love this thing!
russbost - 12/7/17 at 07:35 PM
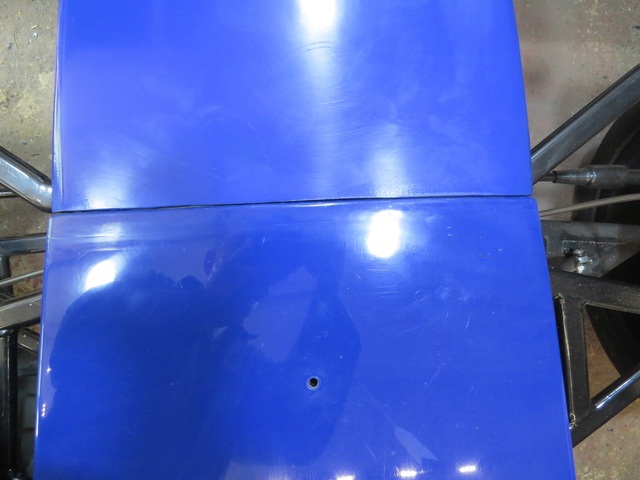
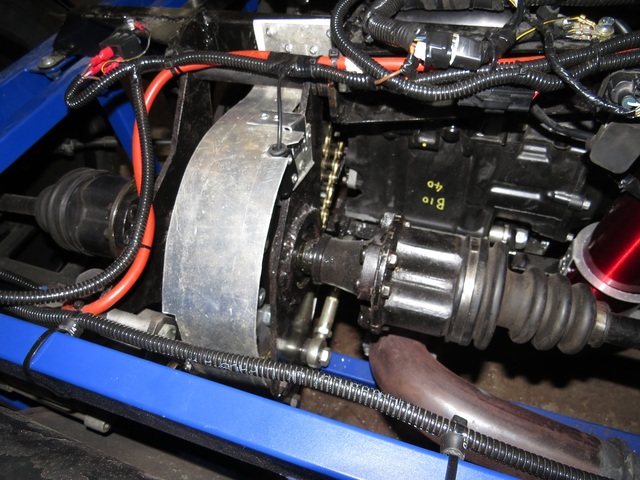
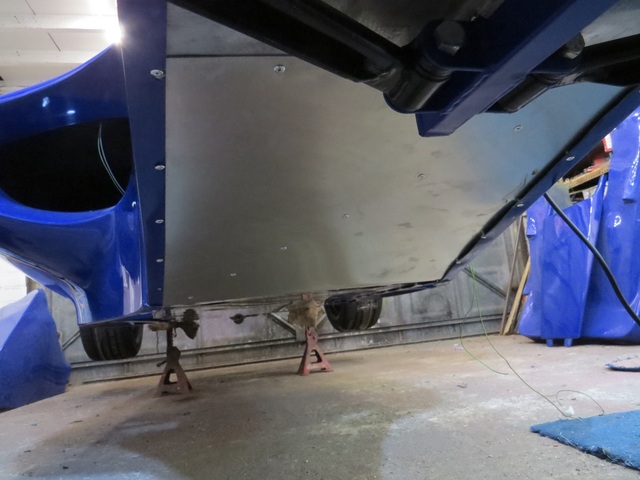
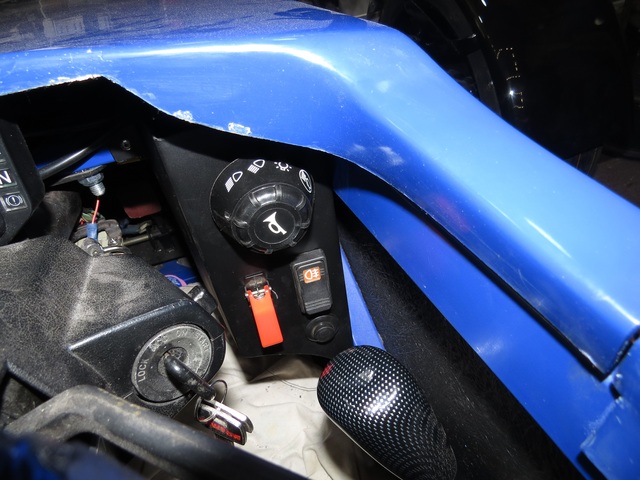
I think the pic I posted on day 40 probably belongs here so I've put it in again! Day 41. Got the front loom finished off, touched in the back of
bonnet with gel coat (split a bit when cutting it back), also sorted the shutline on the bonnet which I hadn't been entirely happy with. Finally
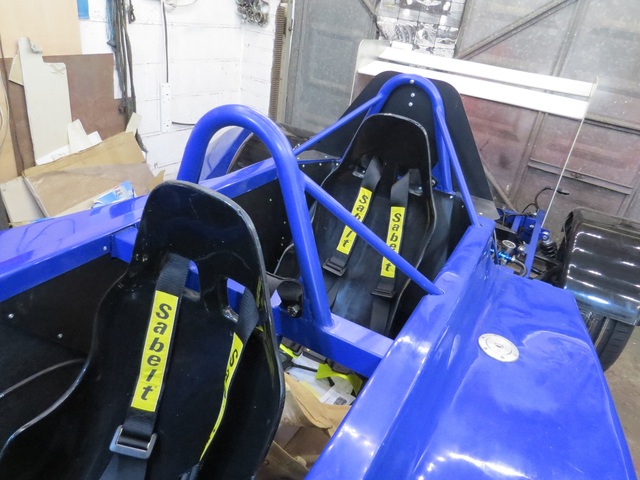
rivetted the floor up, made & fitted chain guard/grease cover & popped the front & rear belts in
[img]


Description
[/img]
[img]

Description
[/img]
[img]

Description
[/img]
[img]

Description
[/img]
[img]

Description
[/img]
[img]

Description
[/img]
russbost - 13/7/17 at 05:32 PM
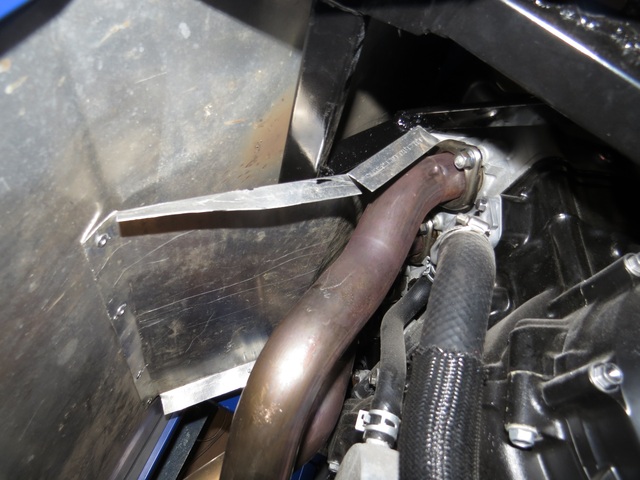
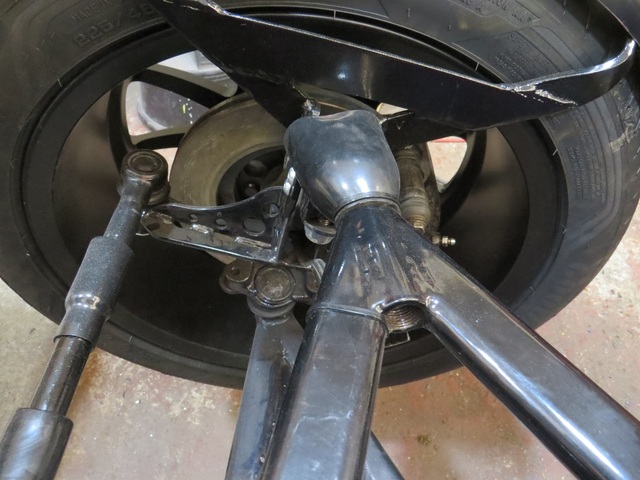
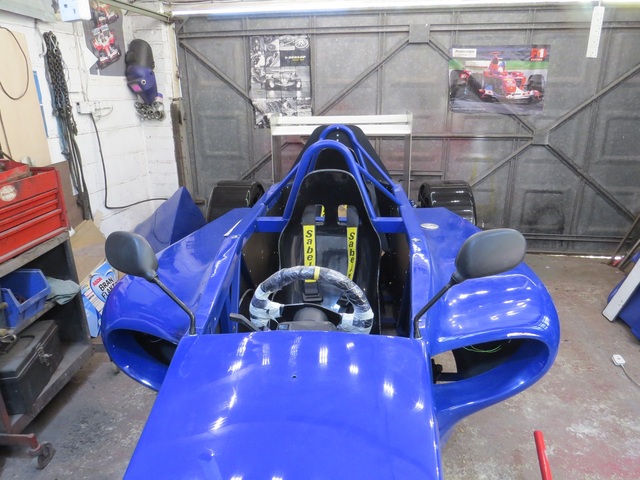
We're at day 42 & getting very near the end of the build now, today lots of small stuff, heat shield between exhaust & rear panel, helps
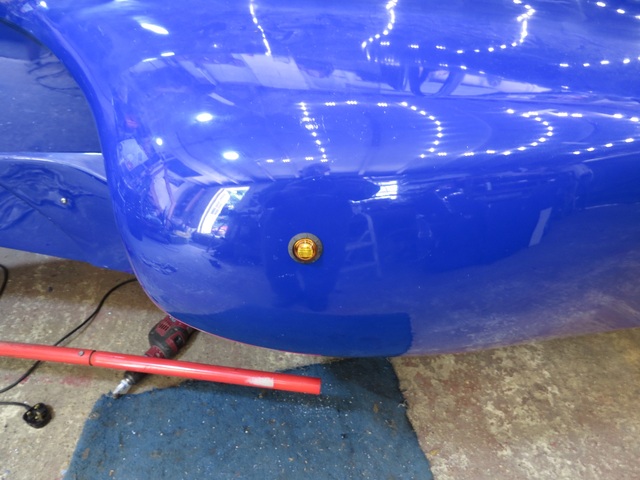
to stop frying the rear passenger!  Side repeaters, including wiring & clipping the wiring up in place, cover ball joints on top wishbones,
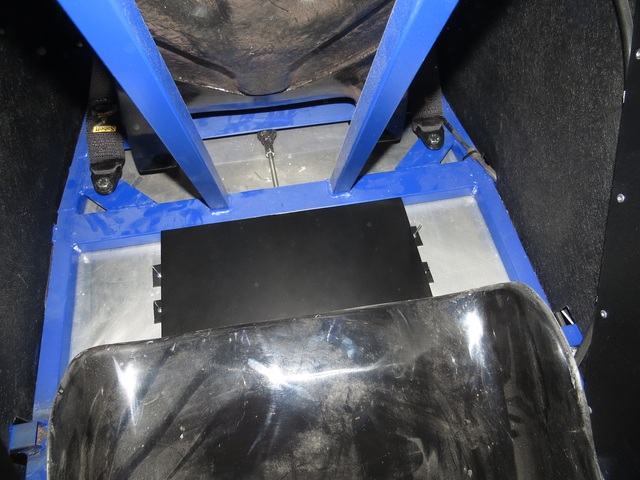
arguable whether they need to be covered for IVA, but better safe than sorry, cable ties to front flexy hoses, fit mirrors, & pedal box bolts
(these had been only loosely fitted till customer had tried it for size) & cover for exposed section of handbrake, again, arguable as to IVA
requirement, I won't finally rivet this up until I've driven the car around on driveway & checked brake & handbrake operation
[img]

Description
[/img]
[img]

Description
[/img]
[img]

Description
[/img]
[img]

Description
[/img]
[img]

Description
[/img]
russbost - 19/7/17 at 12:33 PM
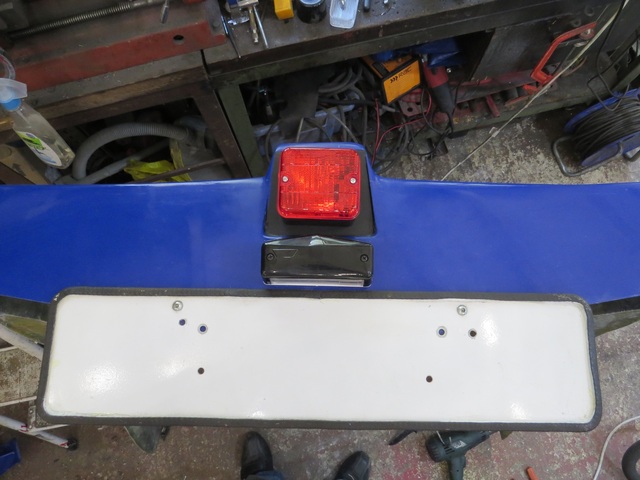
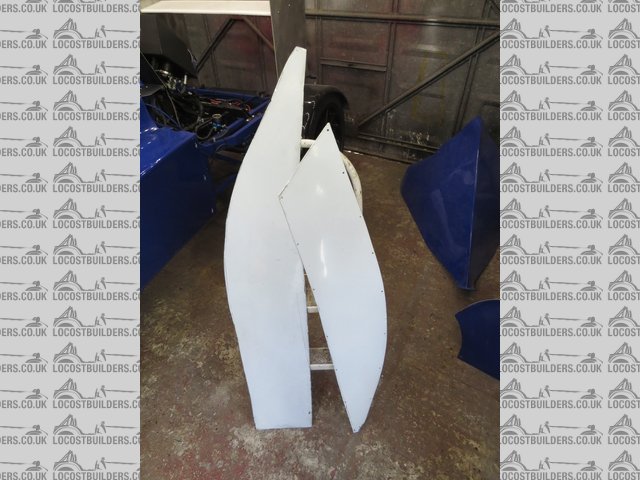
Day 43, after much grief with their website the IVA application has now gone in! They will now only accept online applications through their website,
unless you find yourself unable to make the app online, in which case you have to contact them & they will then allow you to make it by mail -
they will NOT accept an email application! Having wasted a fair chunk of the day with IVA application, was quite pleased to get as much done as I
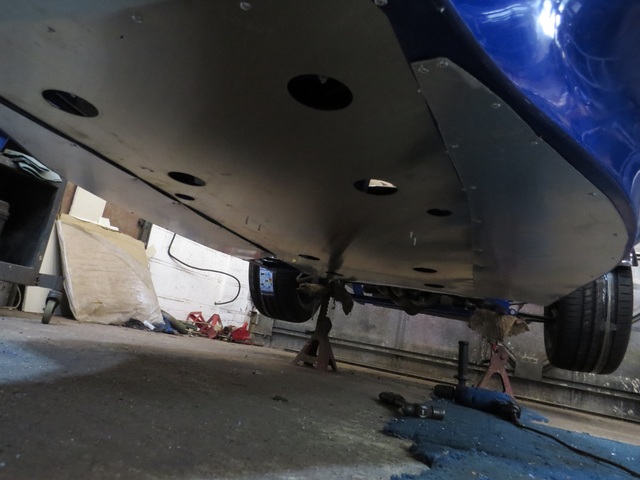
have. Rear no. plate surround, fog & no. plate lights fitted along with mini loom attached to rear lower engine cover, made the cut outs in same,
cut the sides down to fit past wheel arches (the lower rear deck is made to fit with different wheel sizes/spacers etc. so usually needs narrowing
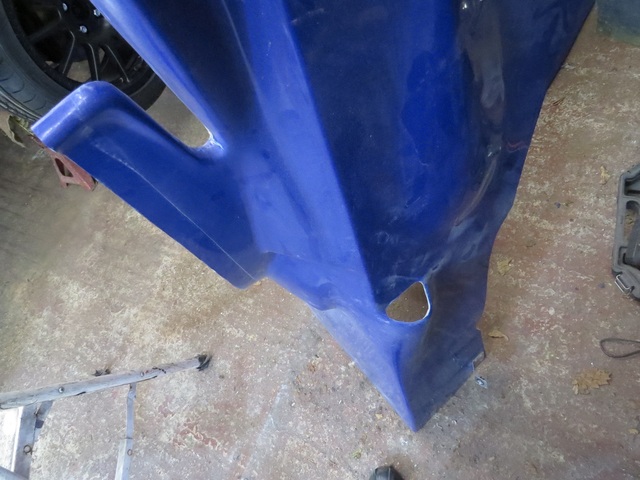
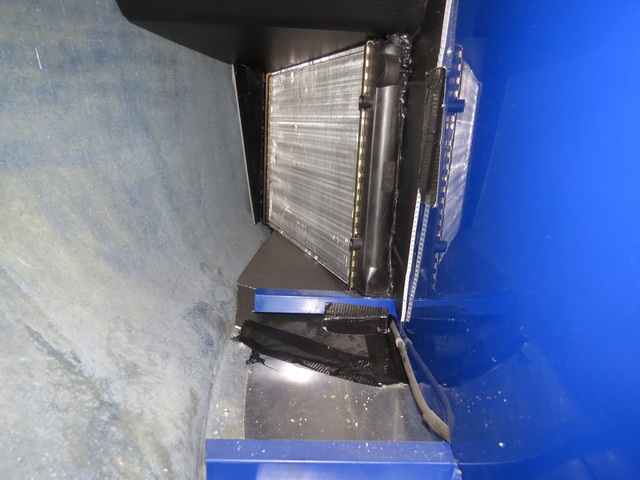
slightly) & cut the side pod floors & fit/rivet. They are different to each side as the OS is open behind the radiator to encourage a
Bernoulli effect helping to suck air thro' the rad
[img]

Description
[/img]
[img]

Description
[/img]
[img]

Description
[/img]
[img]

Description
[/img]
[img]

Description
[/img]
russbost - 27/7/17 at 07:08 AM
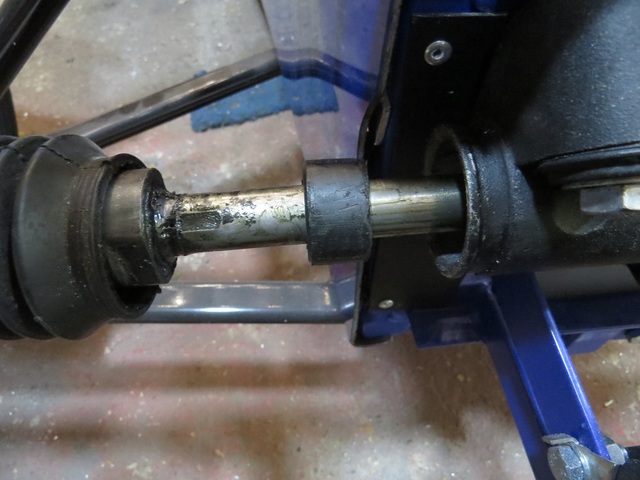
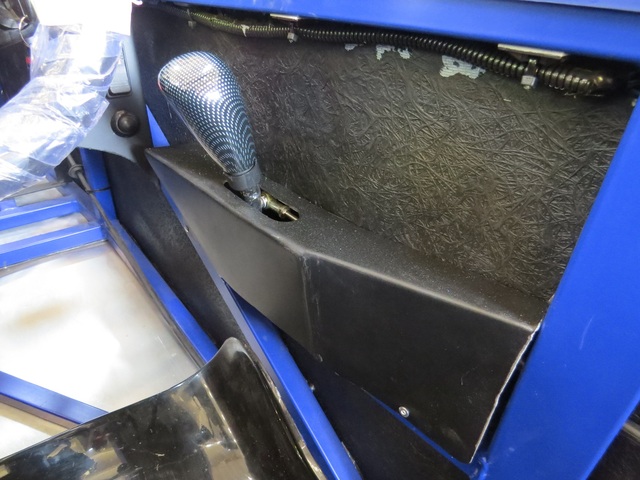
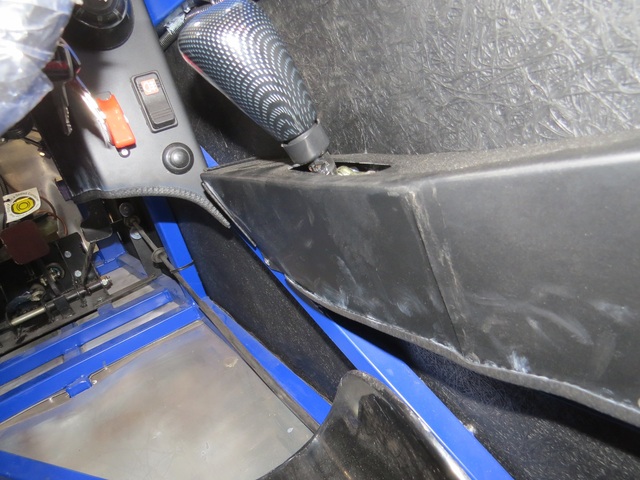
Day 44, finish line in sight! Moved the gearlever back by 25mm at customers request. Fit steering rack spacers (they stop the steering from getting
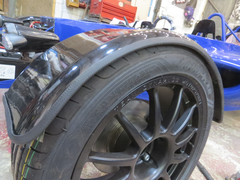
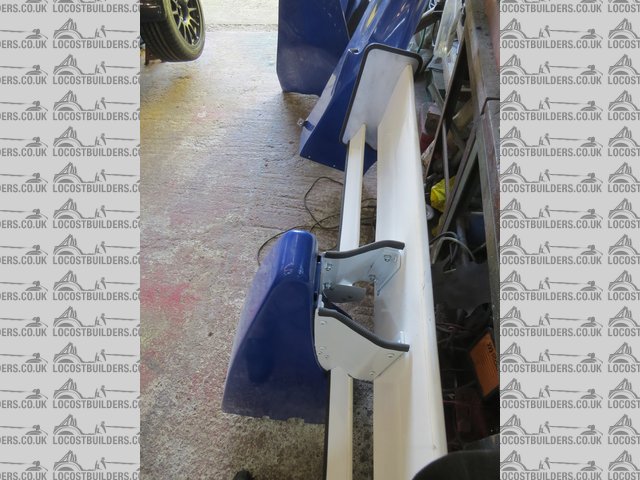
too much lock on which can cause mudguards to hit the lights). Edge trims fitted to front & rear wheel arches. edges of front & rear wing,
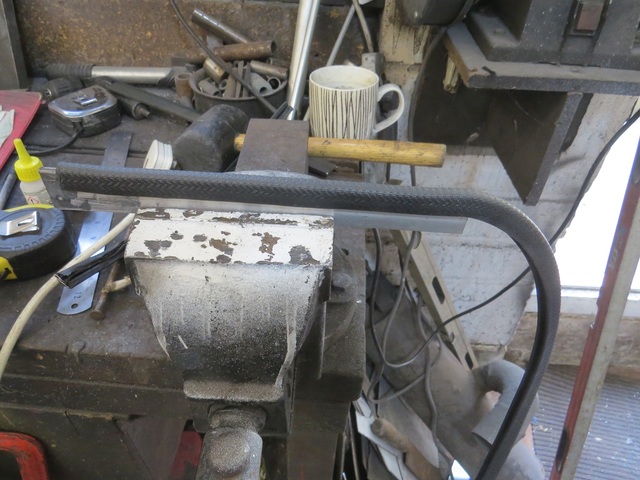
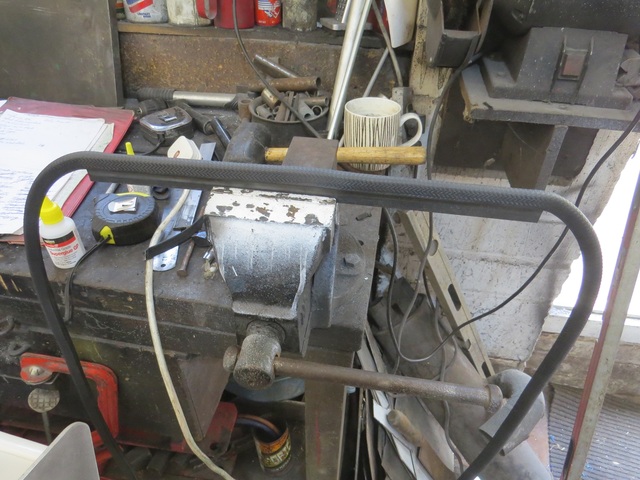
gearshift cover & dash edges. I've included a couple of pics to show how I open the trim up to fit over the 6mm ali wing sides & end
plates. First tap it down over a 3mm thick strip, then tap it down over a 5mm thick strip before finally fitting to the car, I use a drop of
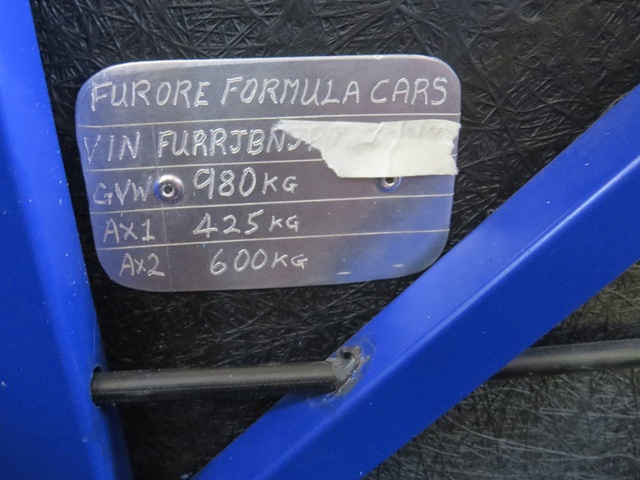
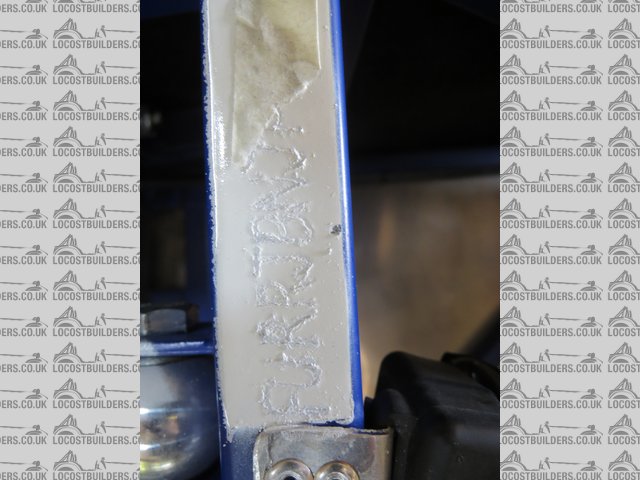
cyanocrylic glue (superglue!) every few inches to ensure it won't come adrift. Make up & fit chassis plate & etch the no. permanently
onto the chassis tube with an engraving tool. Make & fit "windscreen" & fit edging to it. I think one more day will see it done!
I'll include some of the pics with the next post as otherwise this one is going to get rather picture heavy!
[img]

Description
[/img]
[img]

Description
[/img]
[img]

Description
[/img]
[img]

Description
[/img]
[img]

Description
[/img]
[img]

Description
[/img]
[img]

Description
[/img]
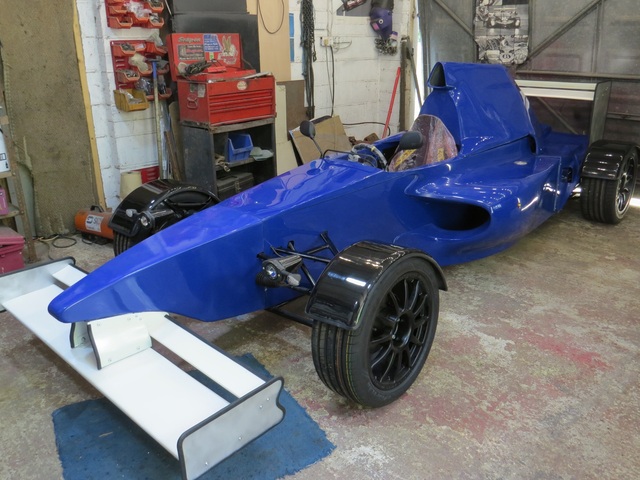
russbost - 1/8/17 at 08:17 AM
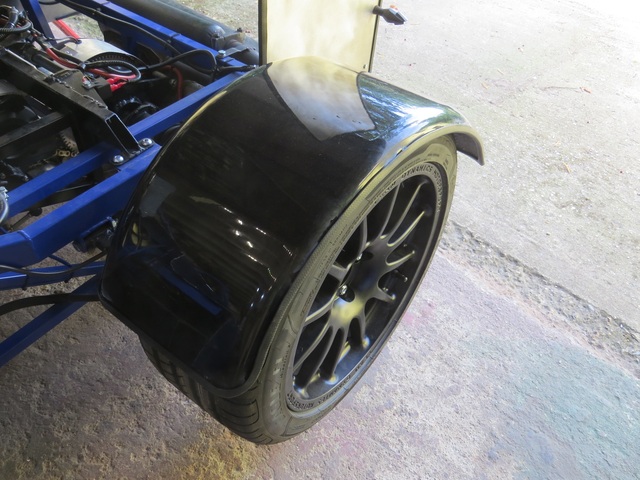
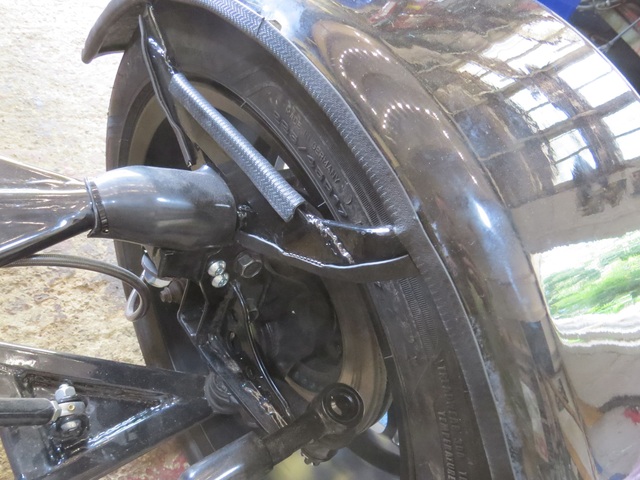
All of main build complete on day 45! Last couple of pics of edging to arches & chassis no.s, had a bit of matt black to blow in on the rear
upper engine cover securing strap, setup Acewell & check speedo, set gear/speeds so it can tell what gear you're in. Brief roadtest up &
down drive, jack up & check each brake individually. Last job to be done is to check emissions, I now have the info I was waiting for re the Power
Commander, so hopefully that should be straightforward. I won't post again until after IVA which is some way off at present, going to Leighton
Buzzard as they've now closed Edmonton. Meanwhile if anyone knows of any good decal/graphics manufacturing firms &/or wrapping companies in
the S.E. then please let me know, I'll be doing a separate post re getting the graphics/paint/wrapping done
[img]

Description
[/img]
[img]

Description
[/img]
[img]

Description
[/img]
[img]

Description
[/img]
[img]

Description
[/img]
[img]

Description
[/img]
[img]

Description
[/img]
russbost - 30/8/17 at 05:09 PM
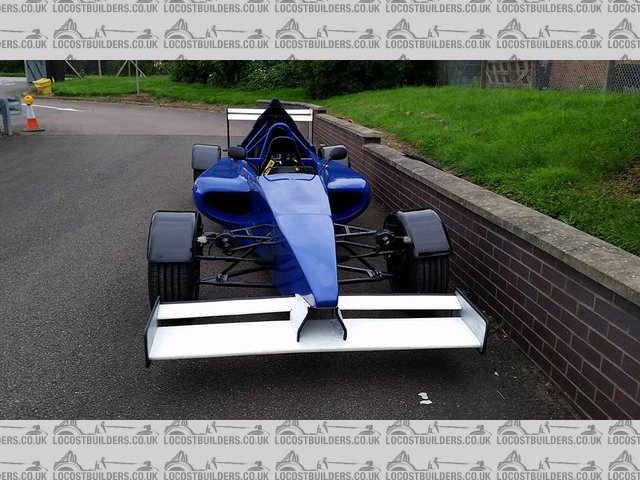
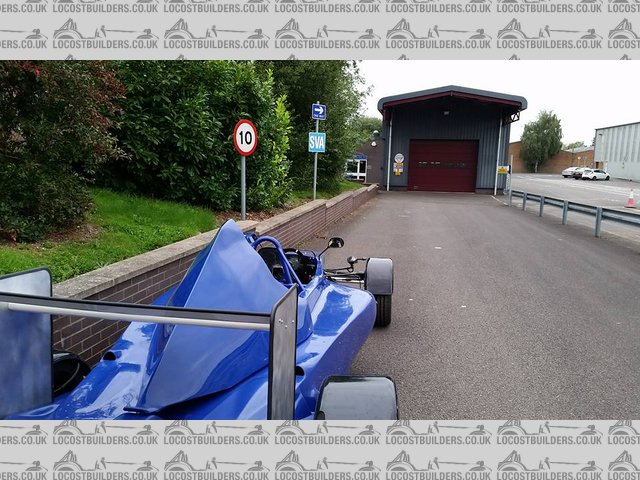
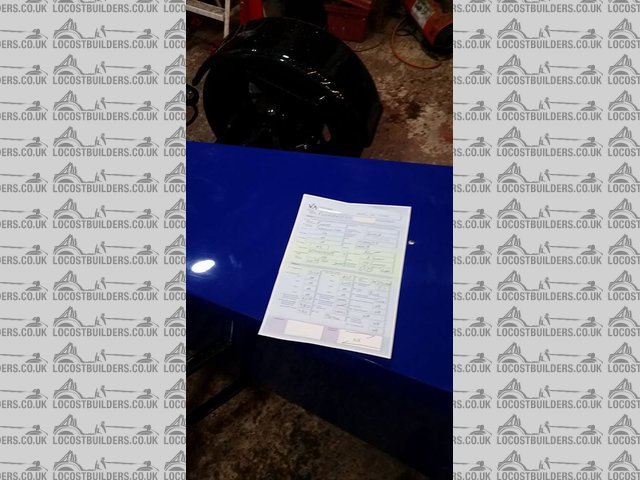
Aug 30th, about a 6 week wait from application, IVA test at Leighton Buzzard, first time I've been here (Edmonton now closed) & first time
tester had seen a Furore, so quite a lengthy test, but important thing was CAME AWAY WITH A PASS CERT! Always good news, however many cars you've
taken in! Weather unfortunately was pants, but sort of stopped raining long enough at the requisite times for off loading & loading back up on the
trailer! I've made a separate post re the test centre & tester - all good I would add!
[img]

Description
[/img]
[img]

Description
[/img]
[img]

Description
[/img]
So registration & a few post IVA jobs & then off to get it wrapped - watch this space!
02GF74 - 4/9/17 at 01:01 PM
well done on passing first time.
I remember that place well and especially the slope leading to the testing bay (note the brick wall) - I had filled the petrol tank fully and once in
the flat bay, petrol started to wee out! The test was almost over before it had started but once the petrol stopped coming out, it was business as
usual.

russbost - 7/9/17 at 07:46 AM
Someone who's seen the build recently messaged me with a Q about the front headlamps/indicators, however, I can't remember the exact Q &
I now can't find the message!
There are now too many ways of receiving messages, ie u2u, PM, whatsapp, messenger, email etc etc & I have had the build in 3 different places,
locostbuilders, Furoreproducts/cars, Essex kitcar club, I've searched everywhere I can think of but can't find it, if whoever it was could
please pose the Q again I will happily answer it! 
gaz_gaz - 7/9/17 at 07:52 AM
it was me Russ. I sent it via face book message.
russbost - 24/4/18 at 07:00 PM
Been a long time b4 I wanted to post the final pics of the car. Registration took nearly 2 months, but got it on the road for shakedown tests &
immediately had an absolutely bl**dy awful issue with the ECU going into a really harsh limp home mode, snapping ignition off & back on several
times a second when you hit 3,000rpm!  Turn it off for 30 secs, turn it back on, fine, for maybe 2 miles maybe 10, maybe more, but knowing it's
still going to do it again ..........
Never had anything like it b4, but never had a 2016 engine b4 either. To cut a very, very, very, long & stressful story short, many learned peeps
were telling me this was the ECU not "seeing" ABS, traction control, the dash etc etc, after a visit to Rage motorsport for a reflash &
no further forward & sending the ECU to the States at some considerable expense to have the problem half fixed, in that it now only cut on 2
cylinders at 3,000rpm!  Add to this that I still had to get the car to & from the wrappers for the bodywork to be finished - not a fun time
I eventually returned to basics & removed all changes to the loom with the exception of removing the sidestand switch wiring, this sorted it,
minor detail now being you could only start the car in neutral, not good if you've just managed to do something daft & stall it in a higher
gear. To reinstate being able to start in any gear was way harder than expected, but eventually got it sorted - the rectification did not follow logic
whatsoever, but it now has a press to start in addition to the ignition switch.
Fortunate that I had a very understanding customer & we had a really cr*p, cold & wet Winter so he didn't want to drive it anyway!
(tho' that didn't make road testing easy or pleasant either! as, of course, it would never exhibit the problem in the garage, that would
have been far too simple!)
All's well that ends well & he took the car last w/e & it now resides in the Tamworth area, he's a happy bunny & I've
learnt an awful lot about ZX14's - firstly, NEVER listen to advice from anyone else!!!
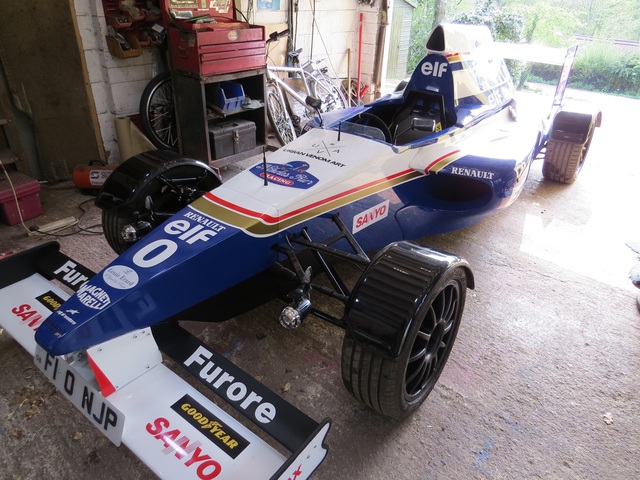
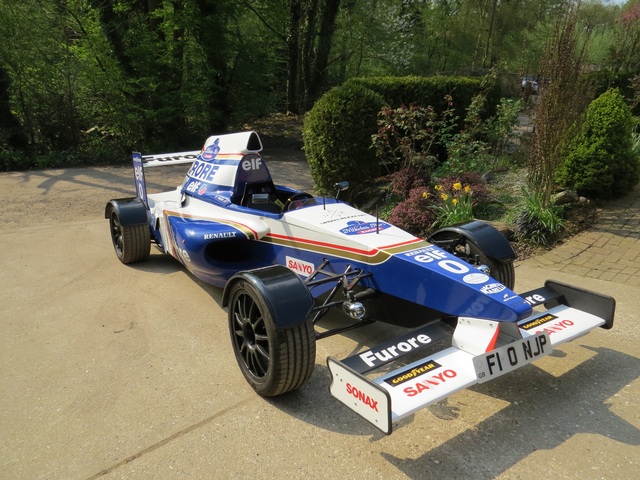
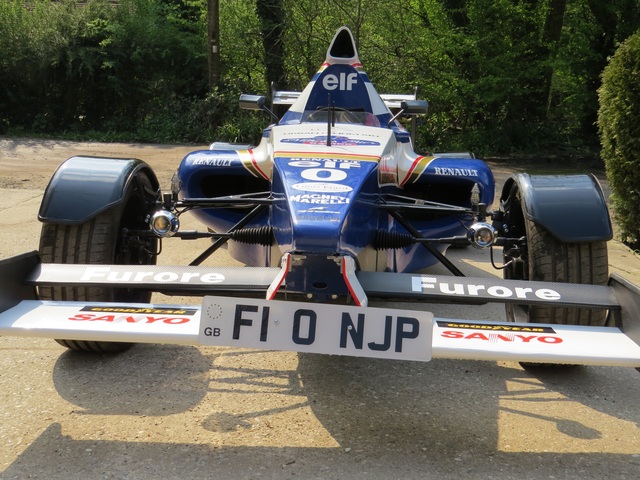
I think it looks absolutely fantastic, quite the prettiest Furore I've built & doesn't so much turn heads as rip them from people's
neck's! 


I hope at least some of you will agree with me
The last pic is one of the car it is intended to be a tribute to, I feel it's a reasonable resemblance
[img]

Description
[/img]
[img]

Description
[/img]
[img]

Description
[/img]
[img]

Description
[/img]
[img]

Description
[/img]
[Edited on 24/4/18 by russbost]
Angel Acevedo - 24/4/18 at 09:02 PM


Excellent looking car...
IŽd like one...
Congratulations.
40inches - 25/4/18 at 08:53 AM
Bloody hell Russ! That's very nice


I 'll just bookmark you as the go to guy for ZX14 issues 
Gre3D - 29/5/18 at 09:10 PM
nice car!


 I did know this b4 I started, but it's still a pain, you have to keep the original key &
barrel as there is something which identifies the key to the ECU & you can't bypass it in the normal way, I even looked at getting the ECU
flashed to remove the immobiliser, but apparently you can't - at least not on the ECU I have anyway)


