CosKev3
|
| posted on 16/11/17 at 06:17 PM |

|
|
Yeah rear arches are wrong way around imo 
Some people like them that way,but look wrong to me
[Edited on 16/11/17 by CosKev3]
|
|
|
|
|
super-ron
|
| posted on 17/11/17 at 09:34 AM |

|
|
A bit more tinkering, I tried the rear suspension on to see if that cleared the body
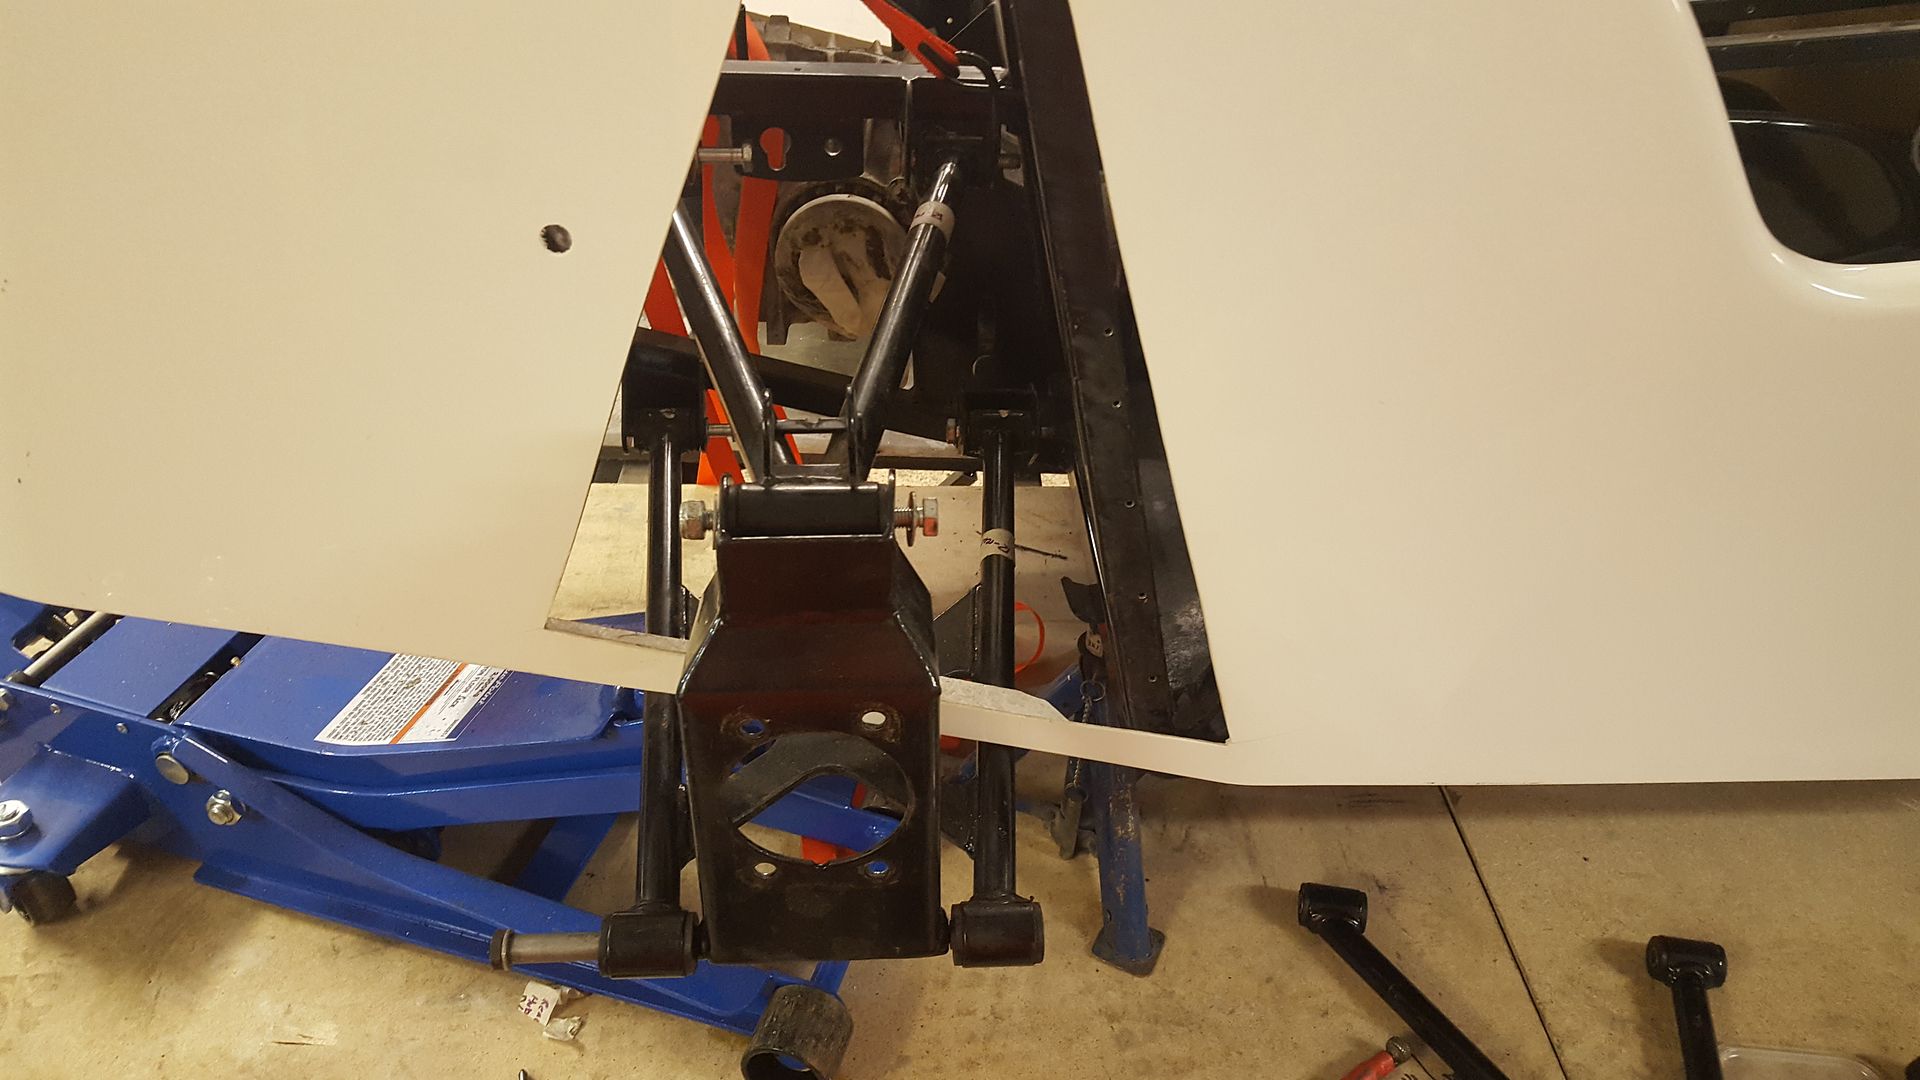
It needs a trim to fit the shocks. That lower brace will be chopped off after the final final fit, but needs to stay in for now to stop it all folding
up fitting and removing the body
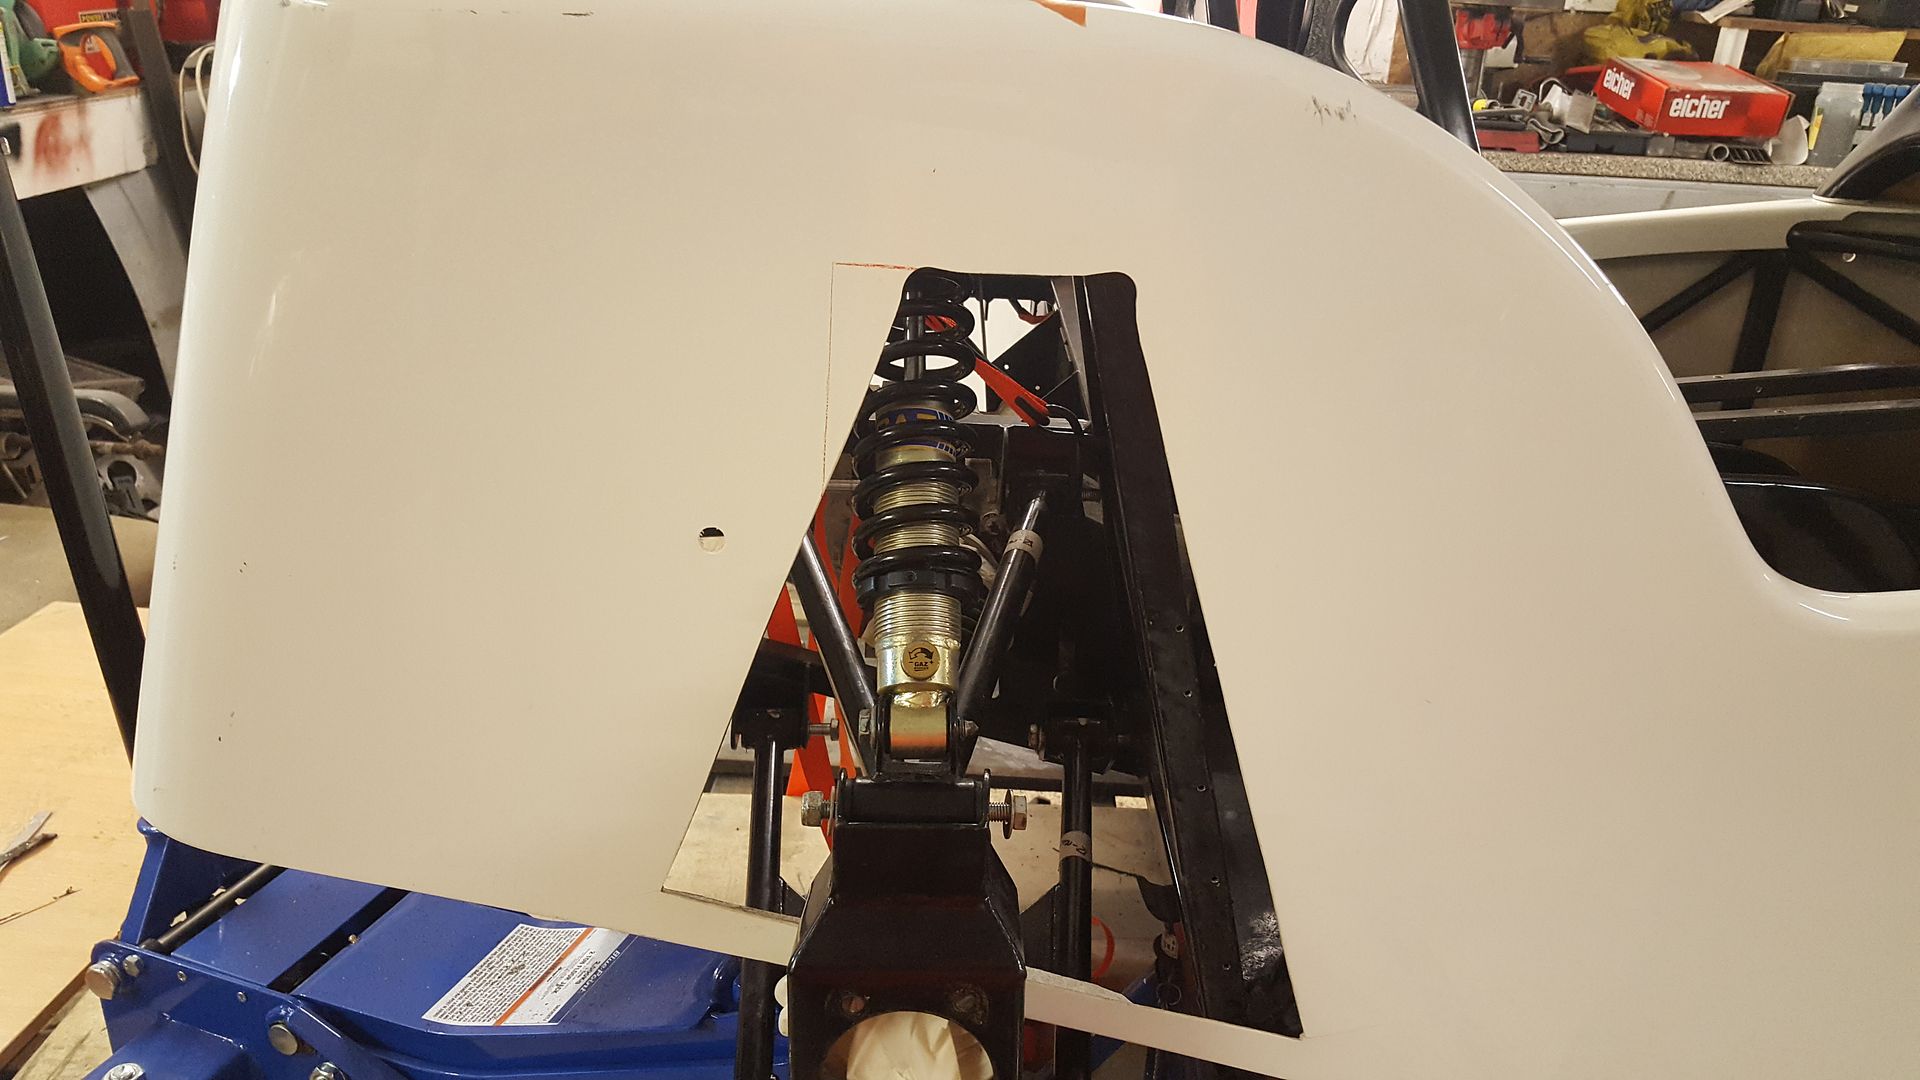
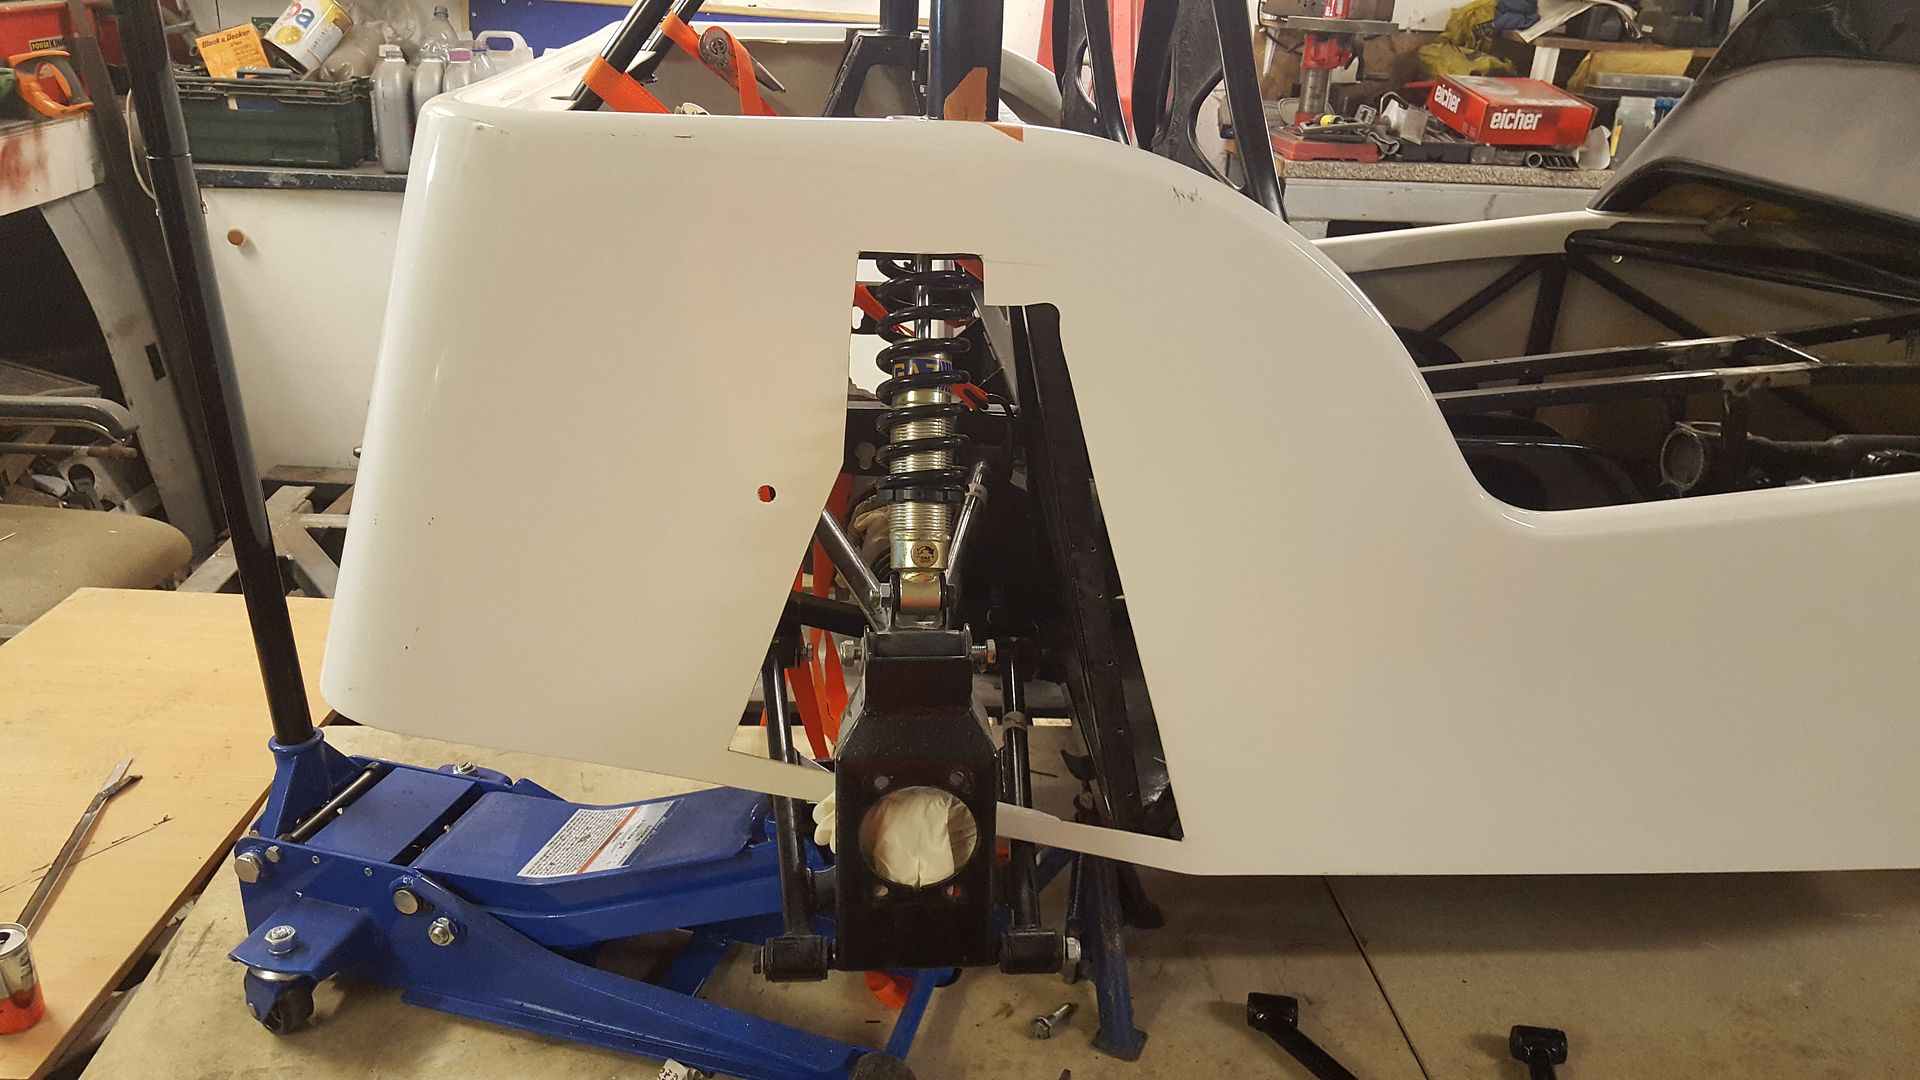
And on
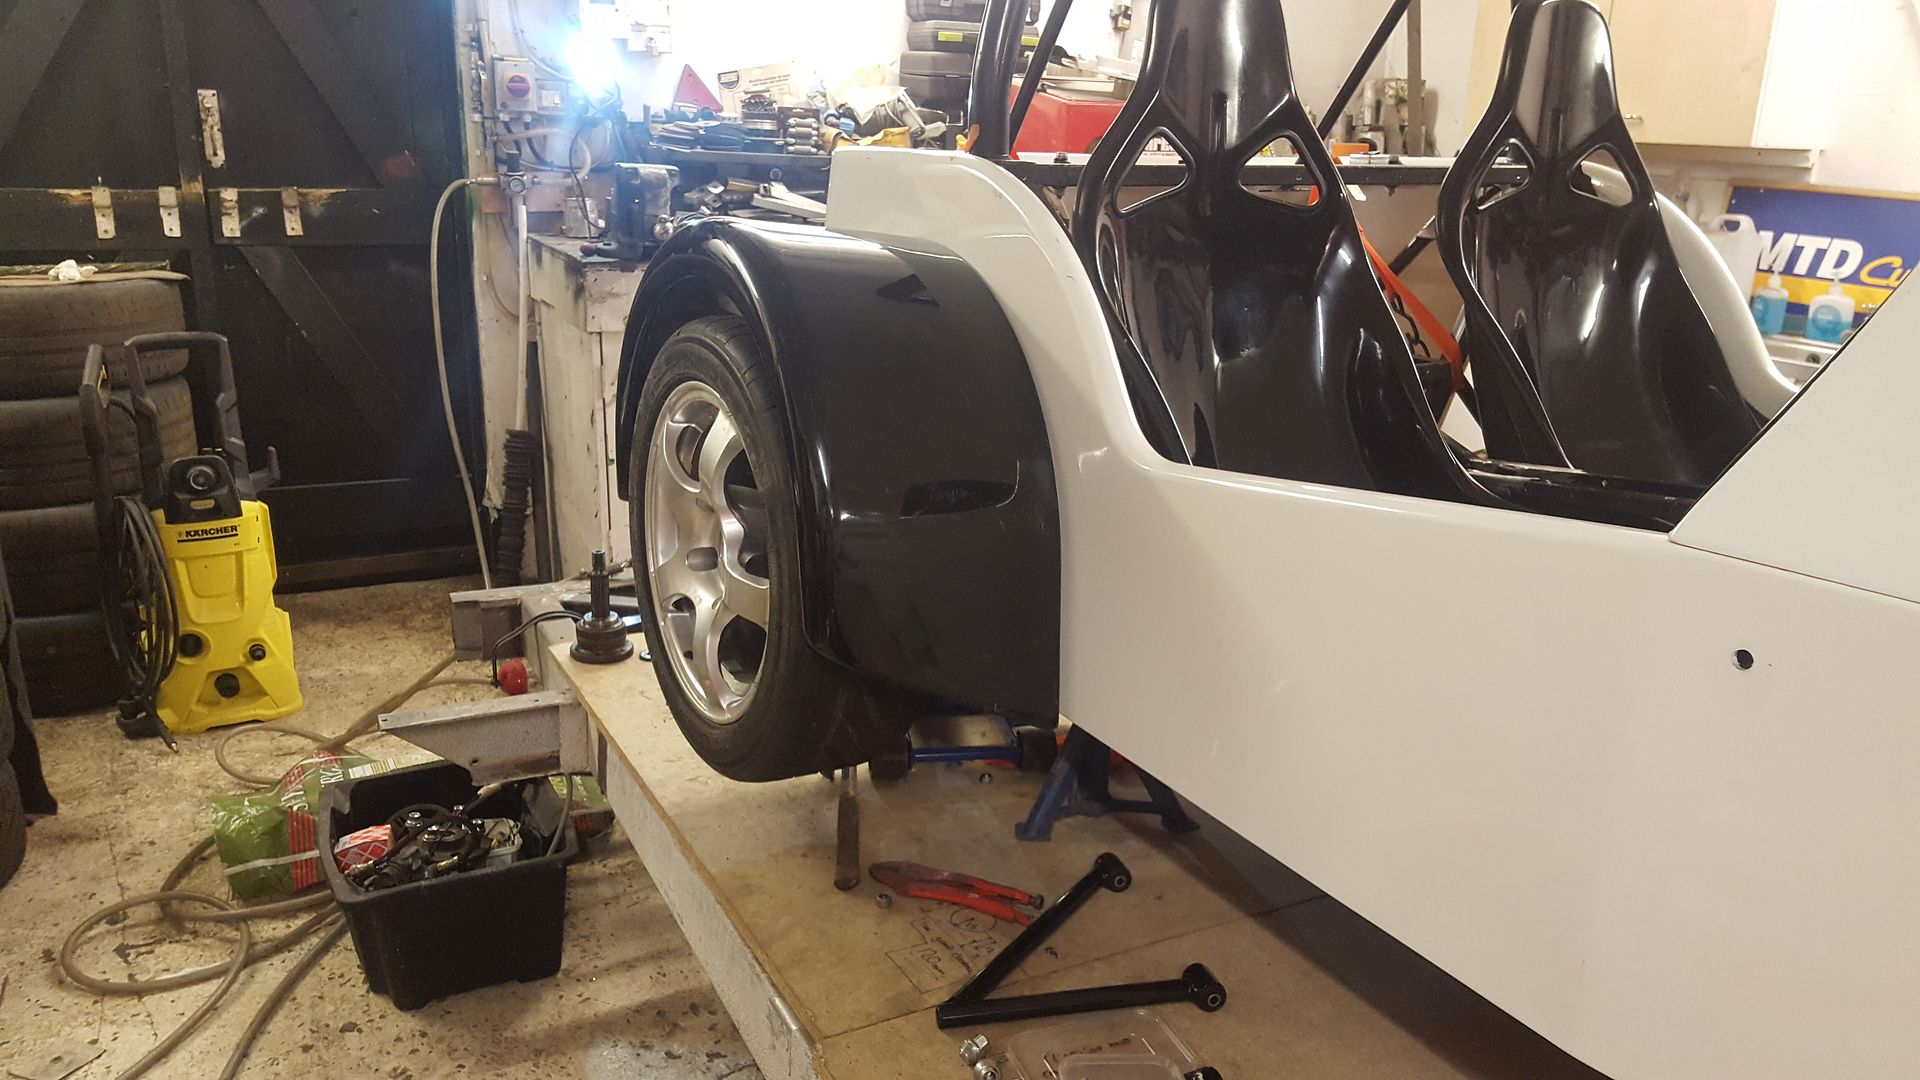
Loosely tried the hub and wheel on to see how the arches fitted to the wheel. The wheel arches are from the original Locost so they could be off
anything. GBS ZERO chassis and suspension, MNR VORTX body and random LOCOST wheel arches, and it actually lines up ok! Everything's just placed
on here so all a bit squeif
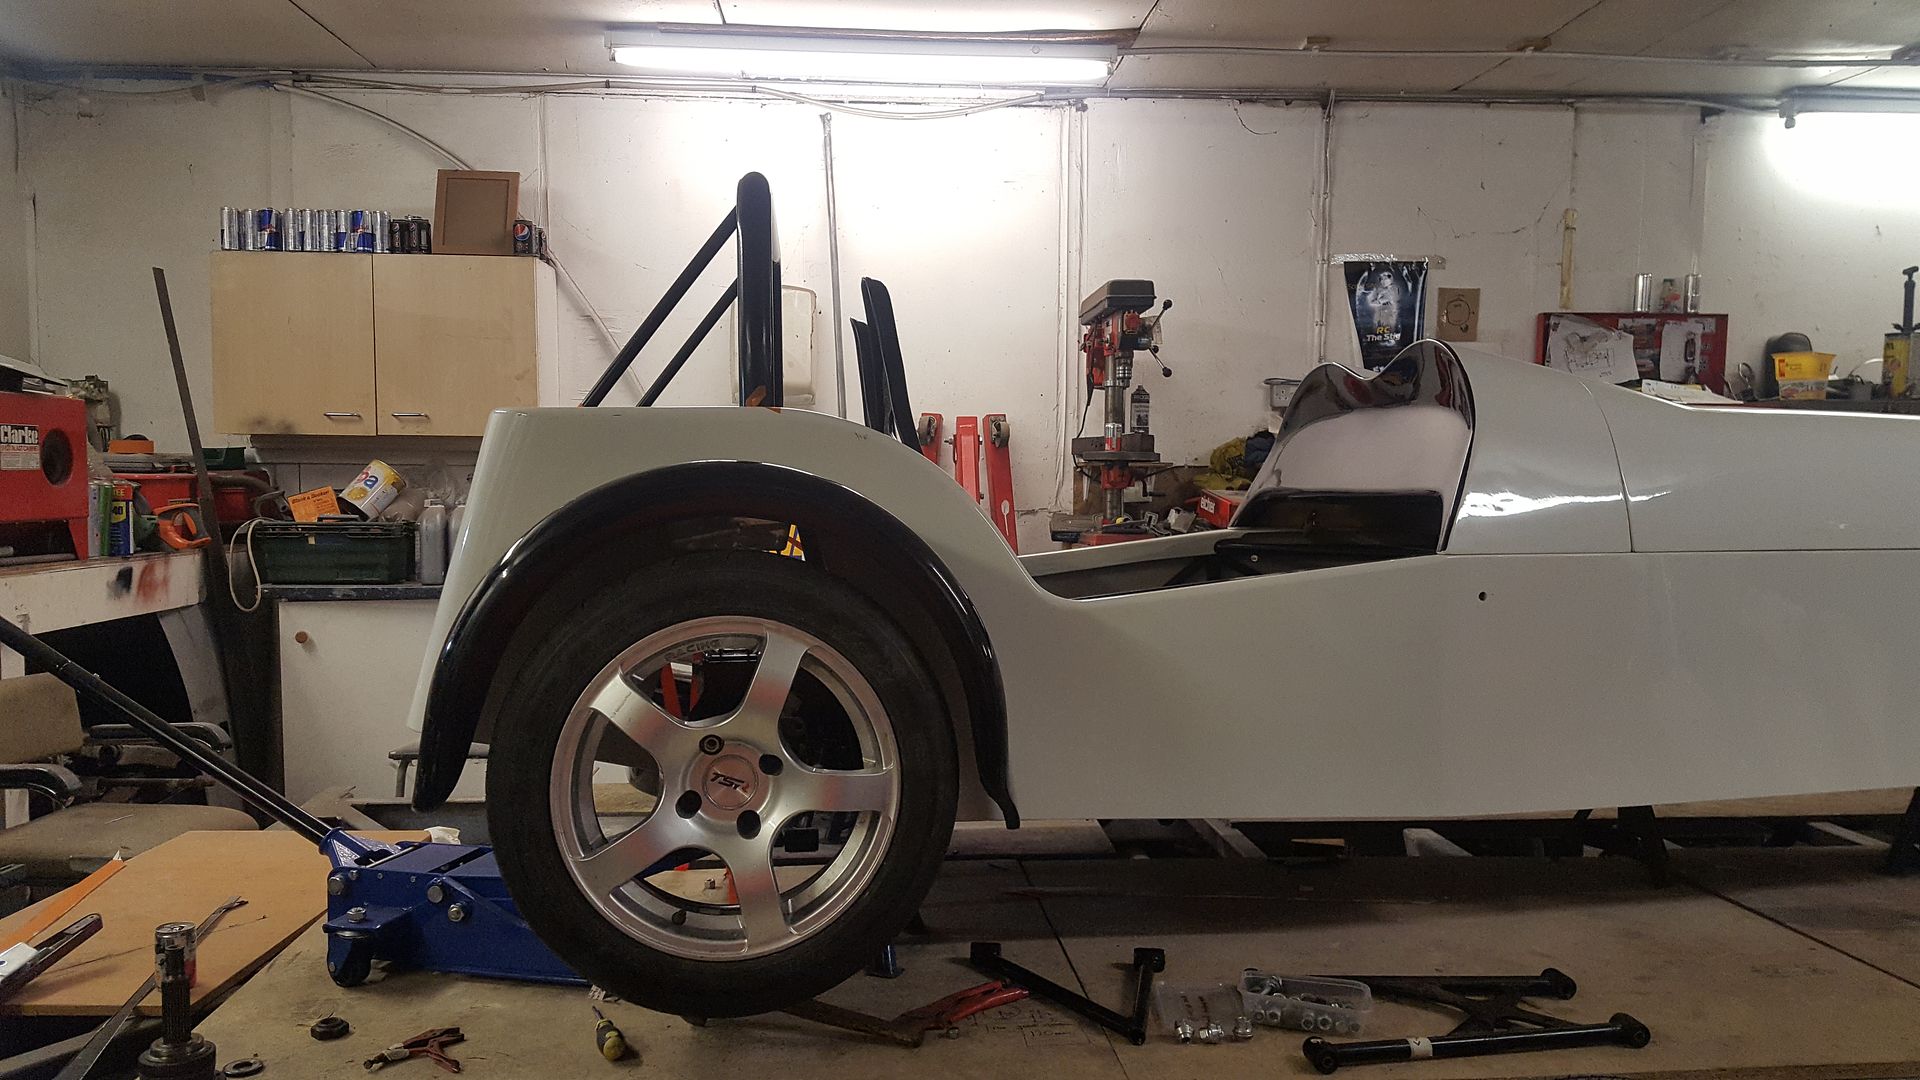
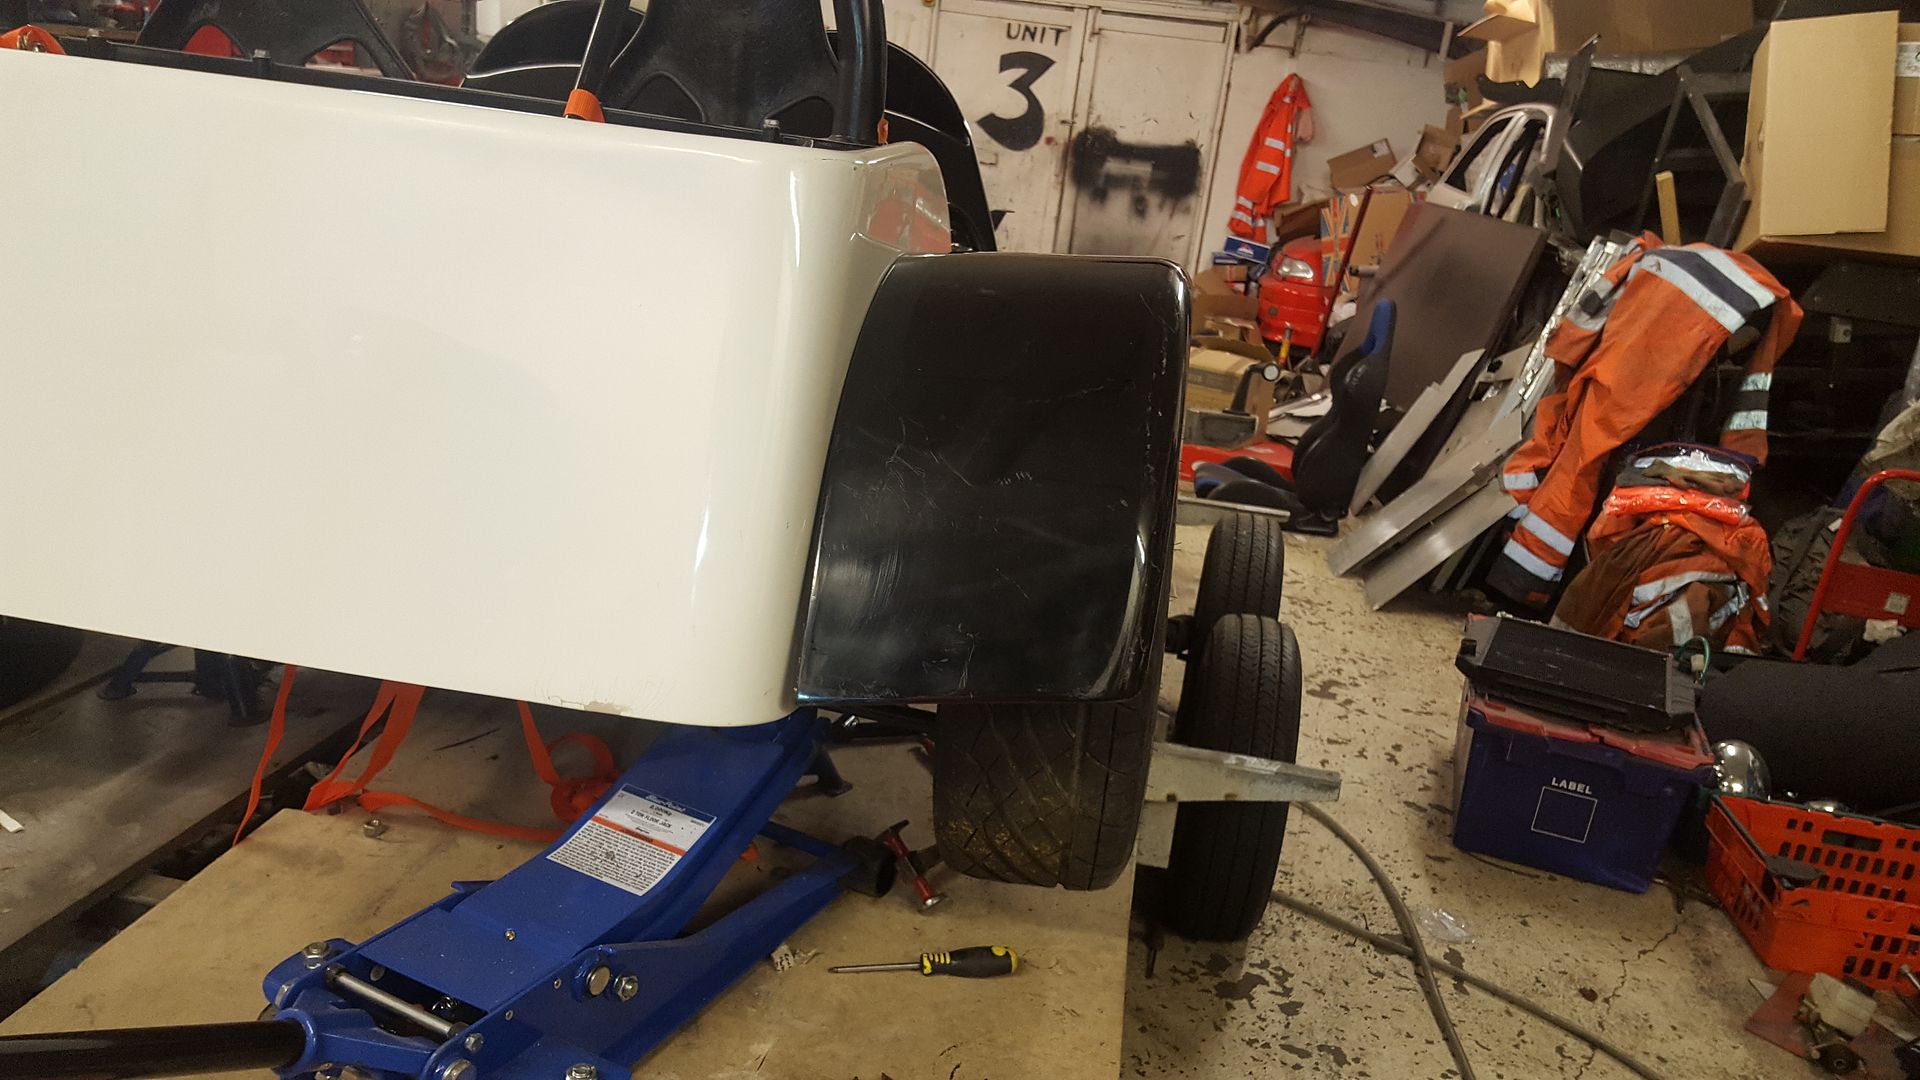
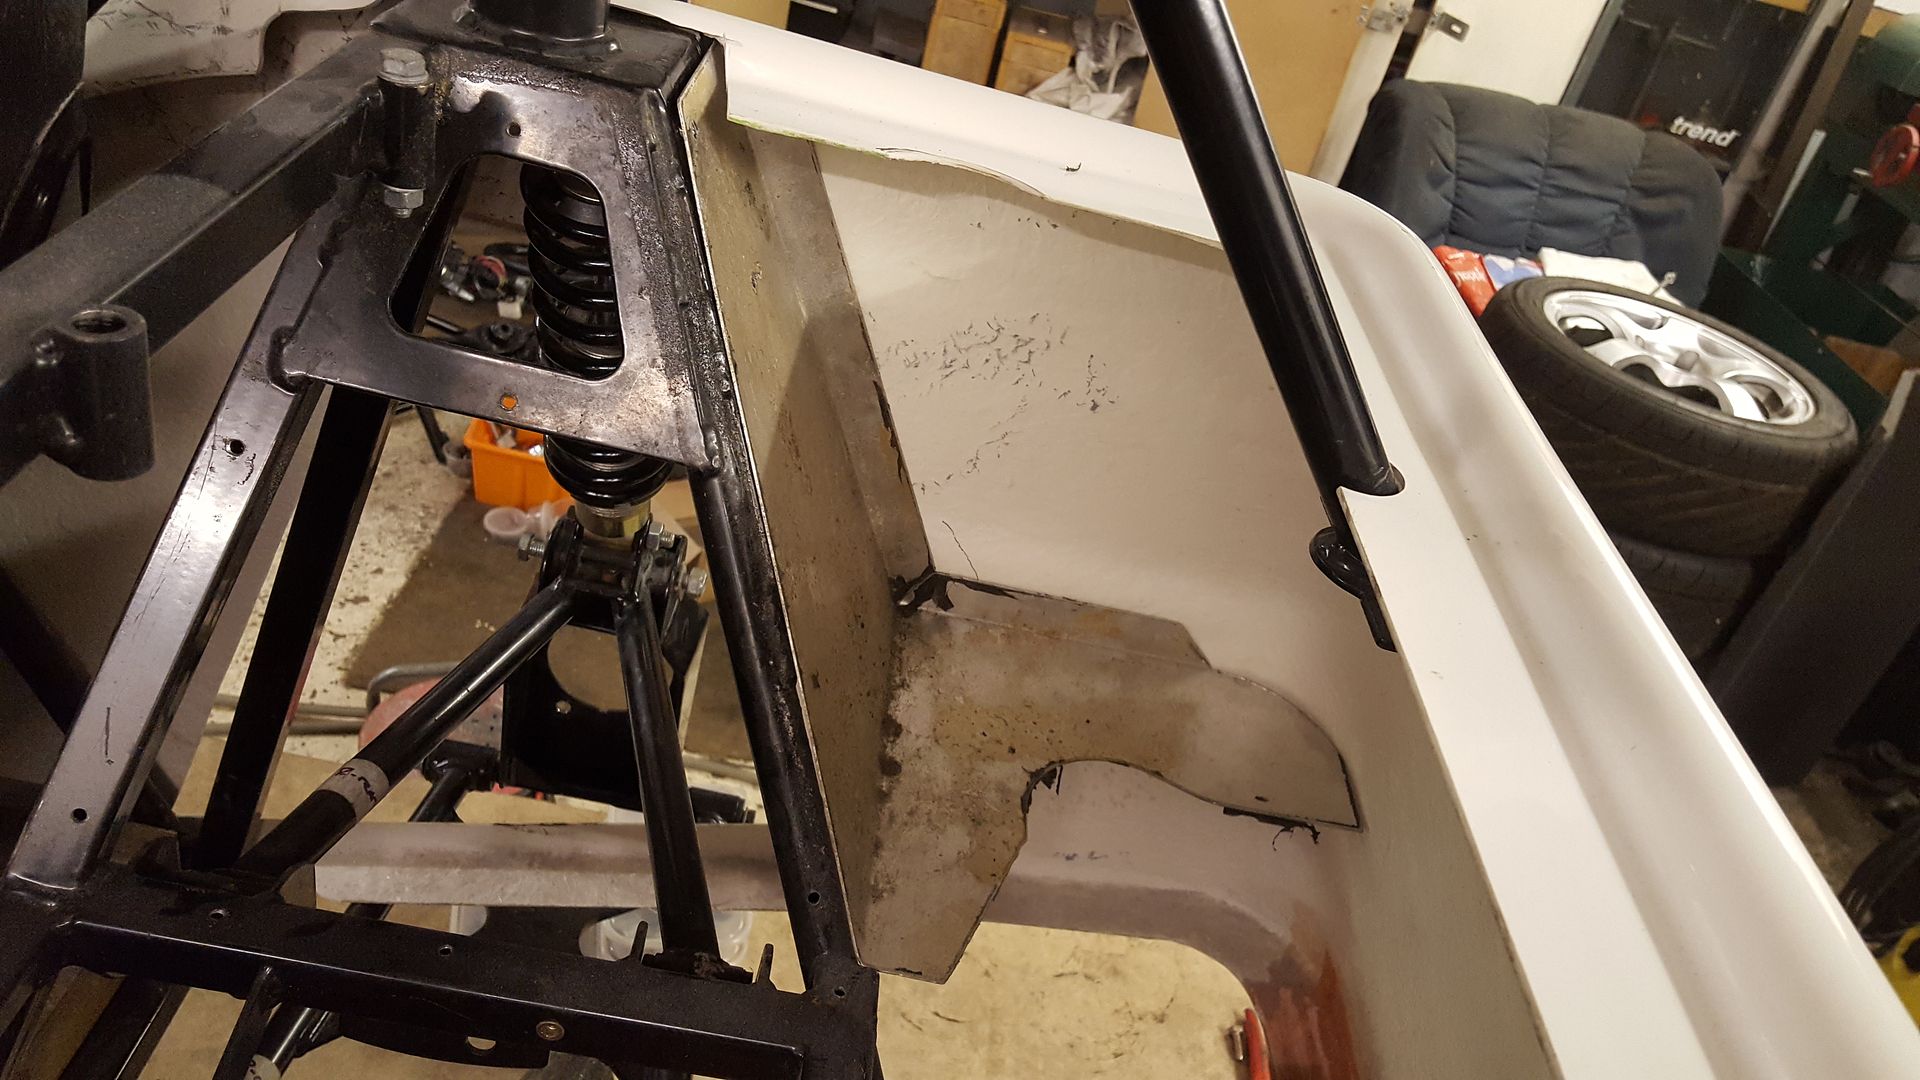
Tried one of the boot panels in and it fits perfect, the original holes line up which is good
I thought I'd have a little sit in the car to see how it feels and disaster!
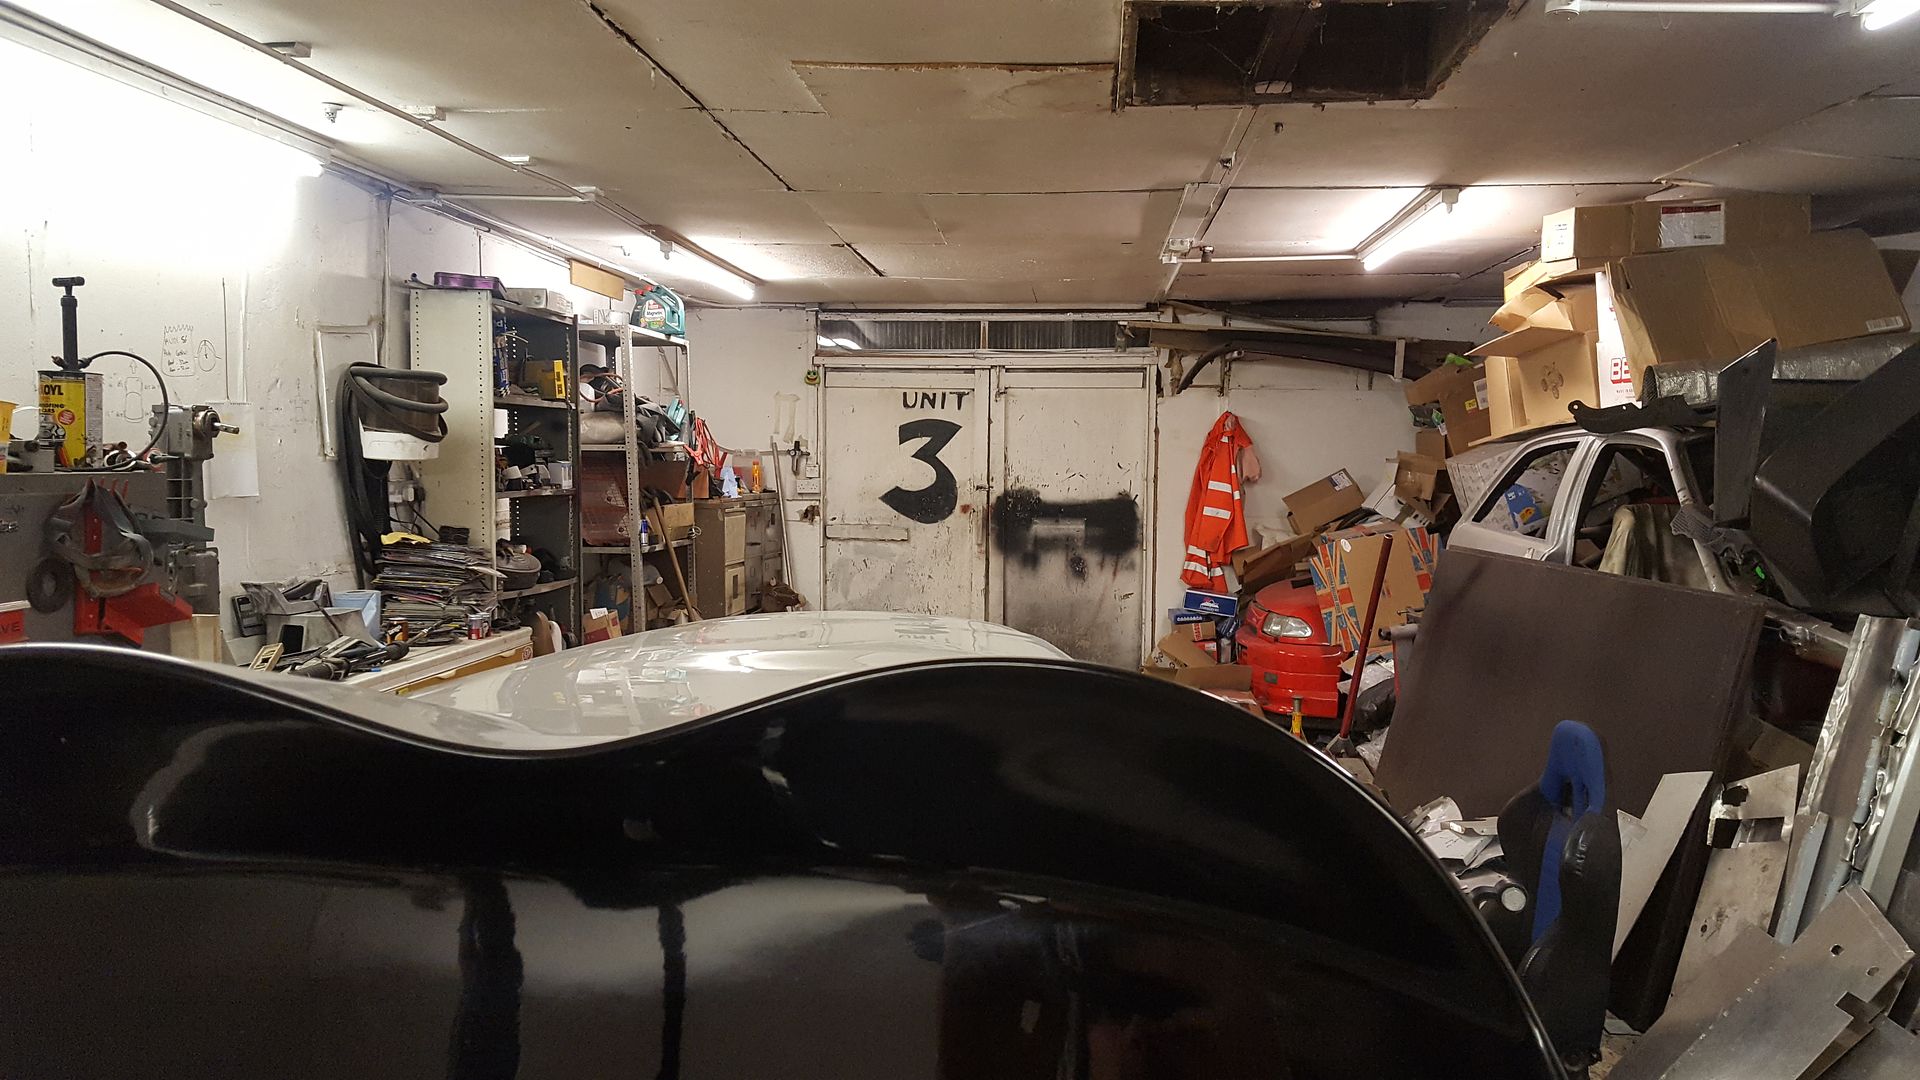
This picture is taken at my eyline
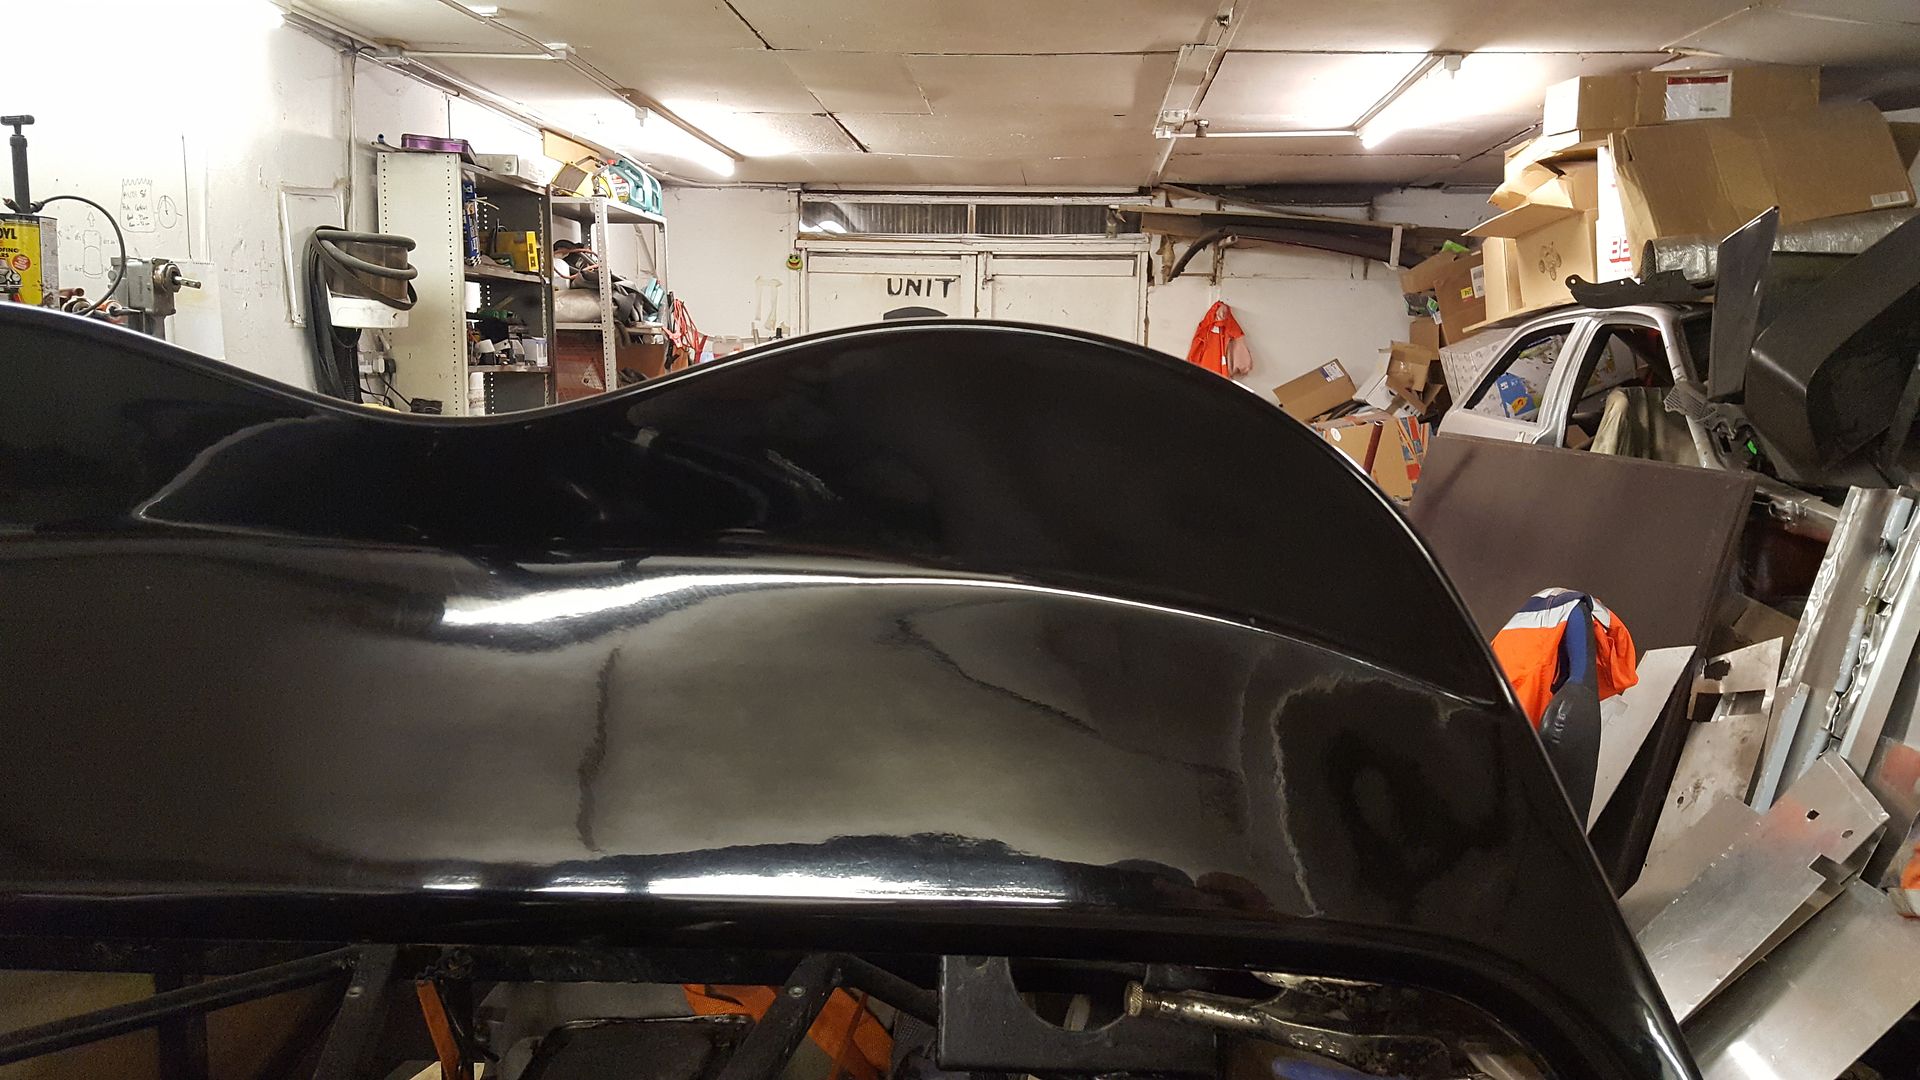
You can't see over the dash!!
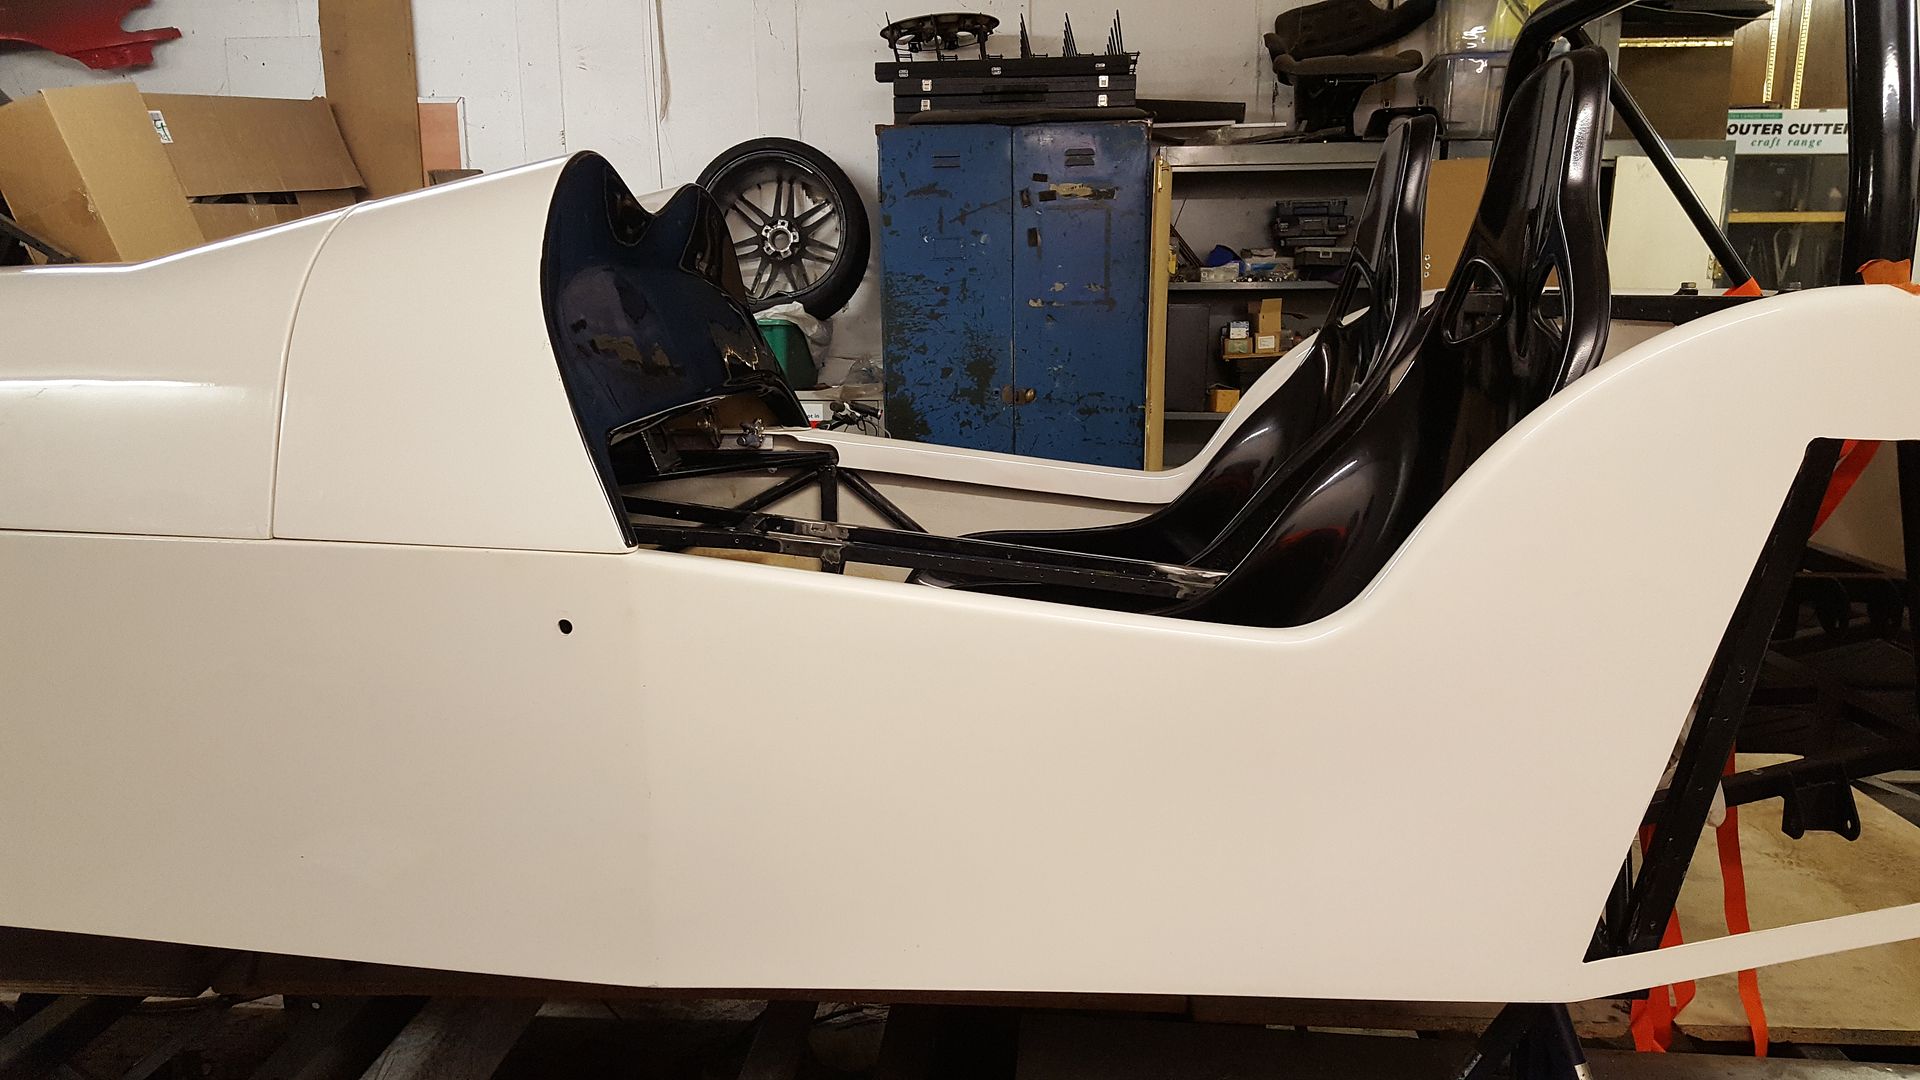
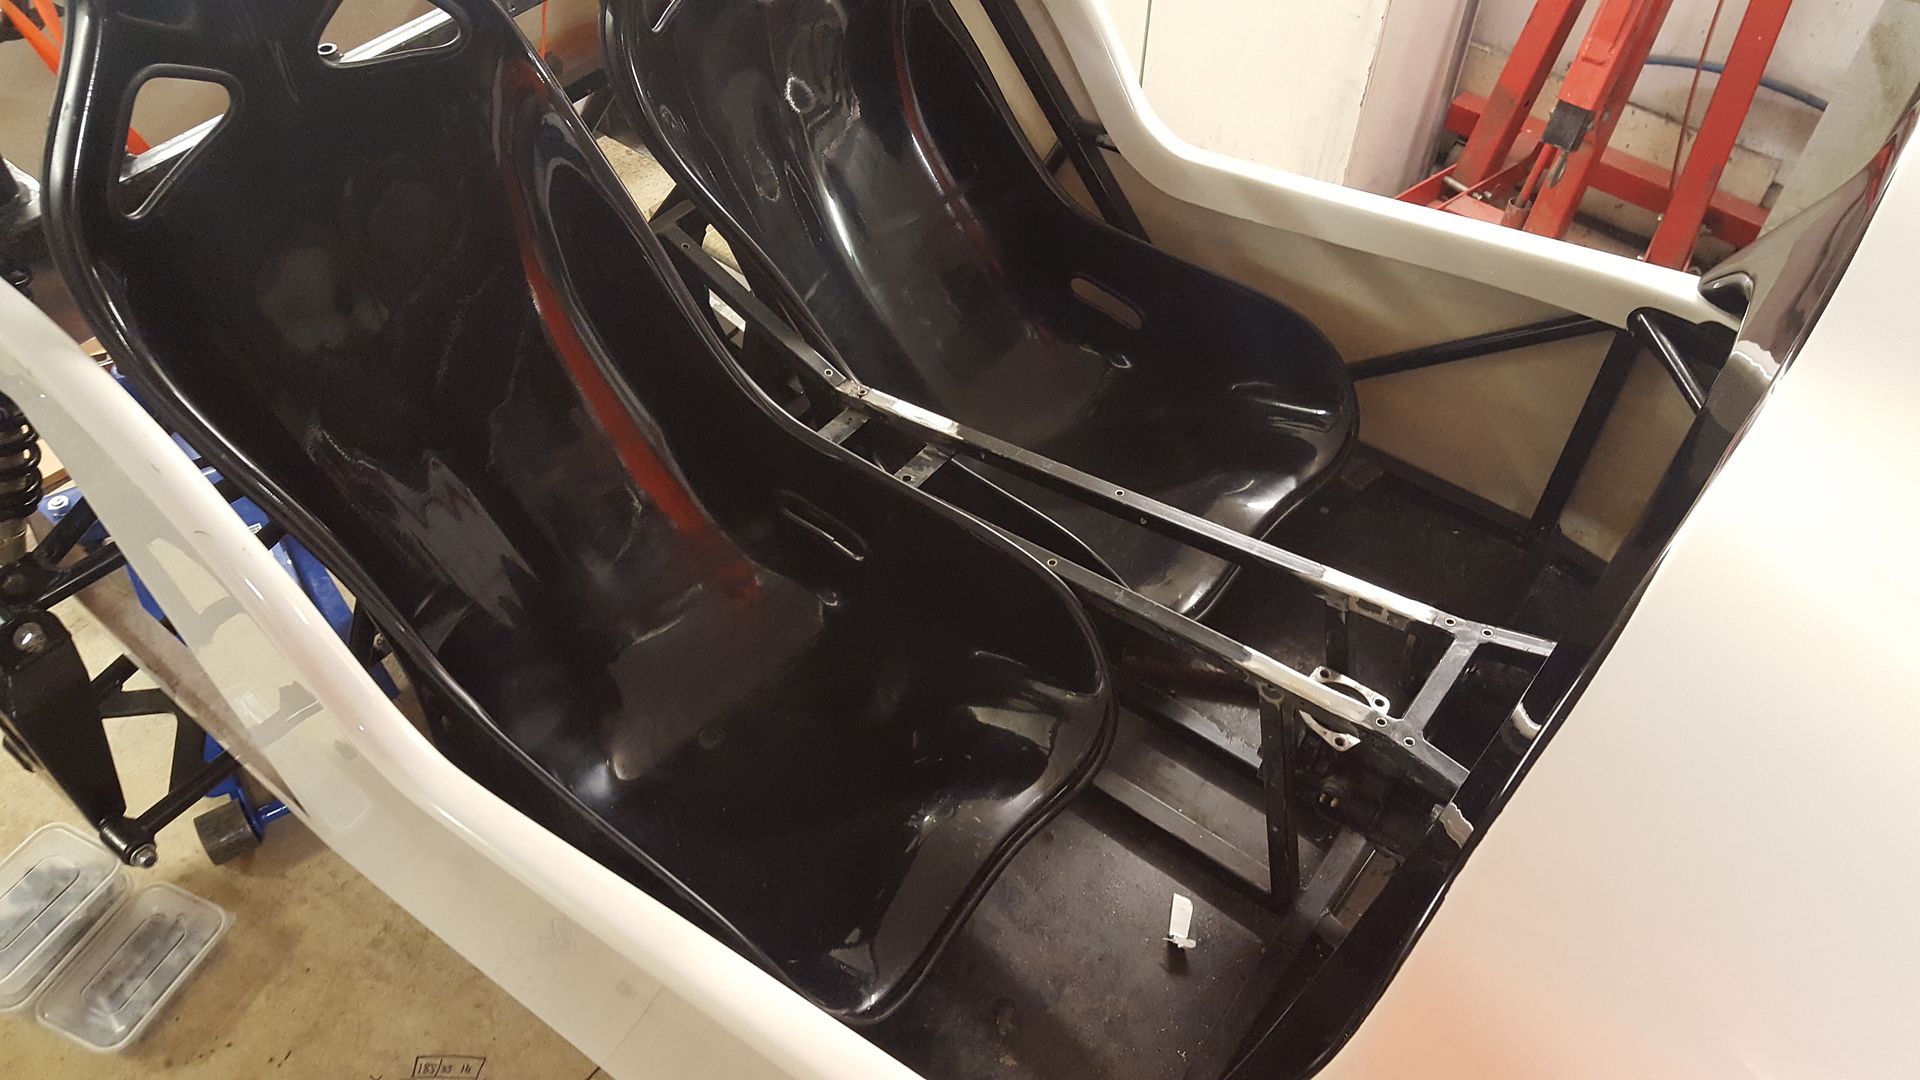
The seats look right for a GBS ZERO
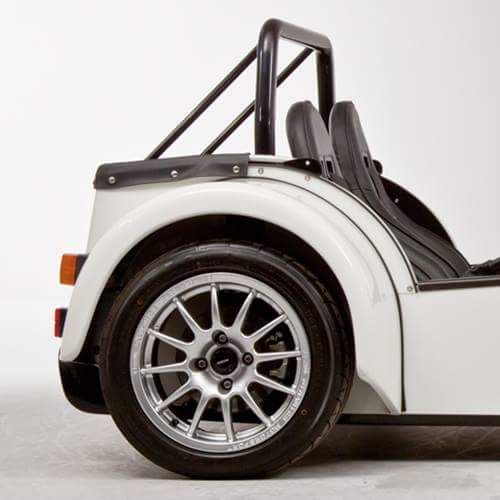
But everyone in a MNR VORTX sits a lot higher. The sholder holes in the seats are well high of the rear panel and the drivers chin it at the top of
the dash. The top of my head is in mine!
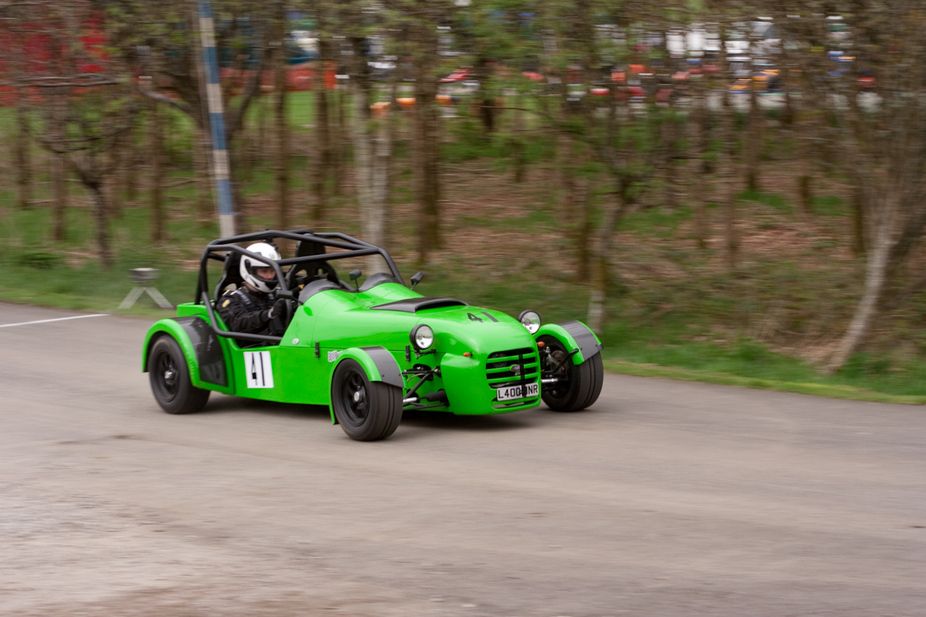
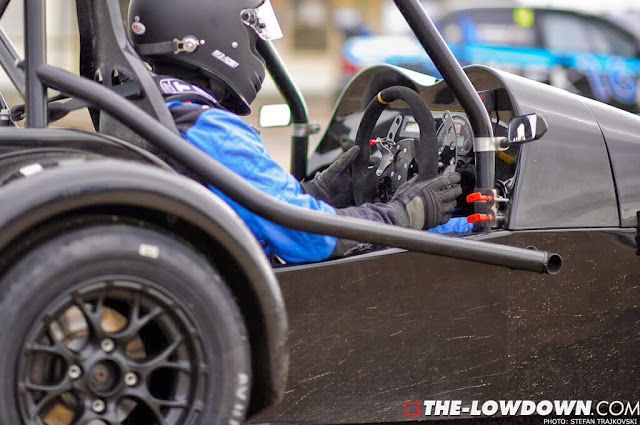
At first I though the body was on too high, and I obviouly can't drop the body down any more as it's on the rear turrets.
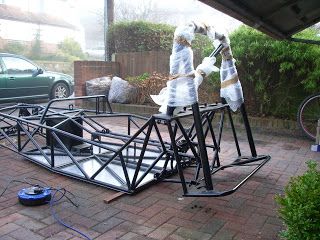
Then I realised that it couldn' be too high because the VORTX body sits on the bottom of the chassis..... The same as mine. Here's a
vortex chassis
So looked at some VORTX build threads and they have a lot of cross braces on the floor
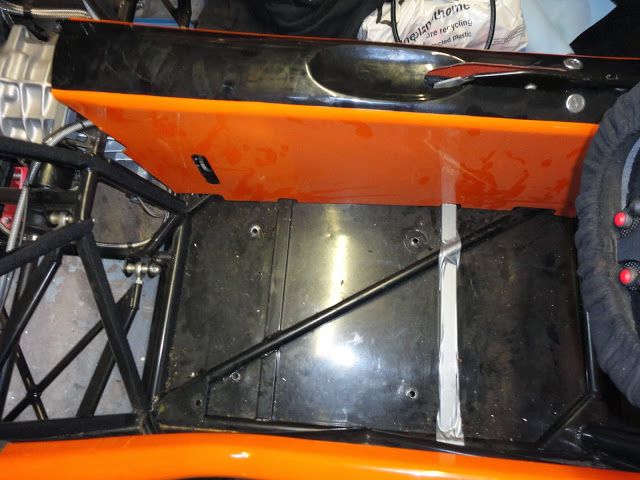
And they use huge 50mm spacers, then the runners which are probably 25mm and then ontop of the 25mm chassis section, it means a vortx seat is 100mm
off the floor!!
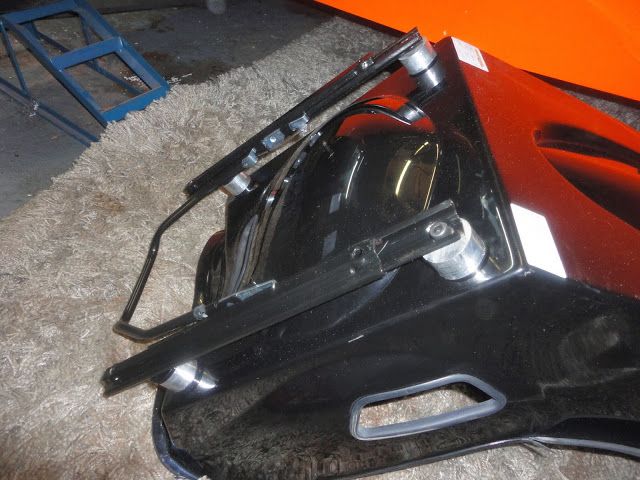
Not ideal because ideally you want your weight as low as possible, but that' the way it is
So got some testing purposes spacers under my seat
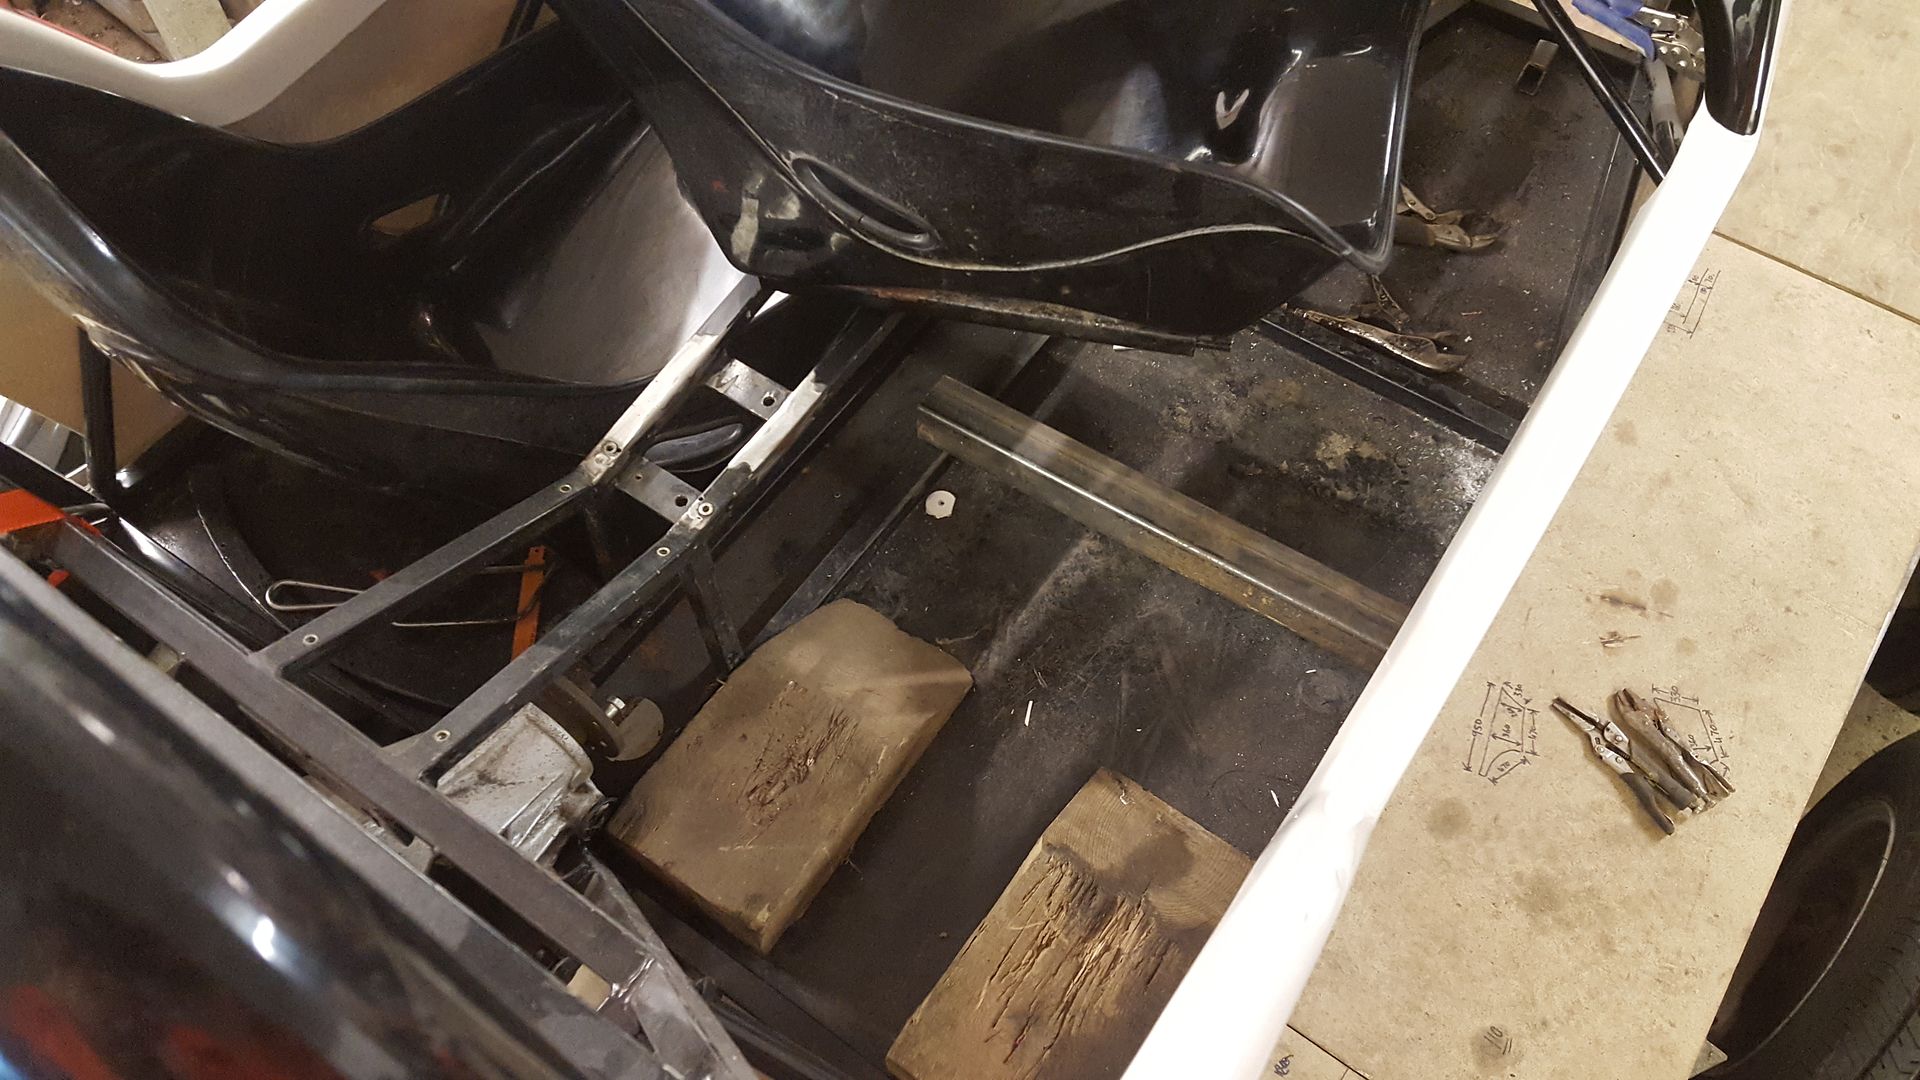
Raising it right up
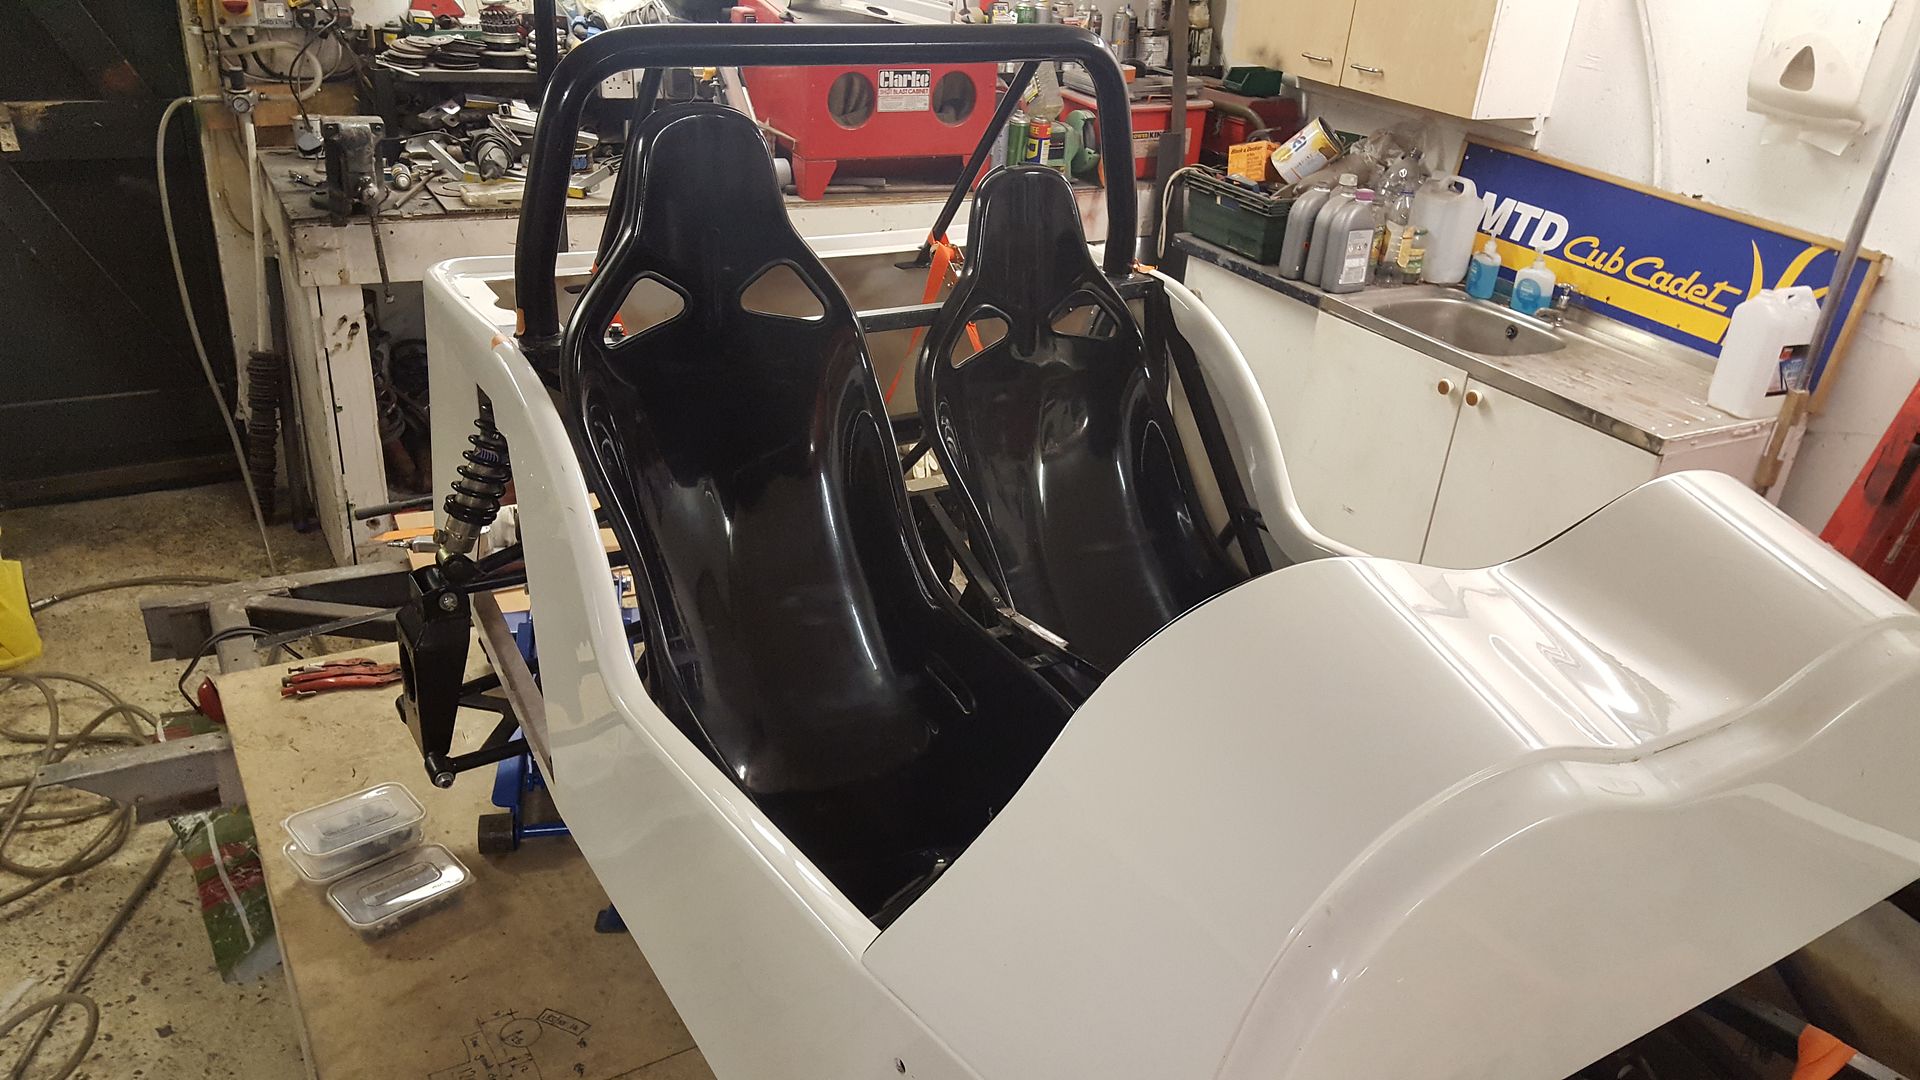
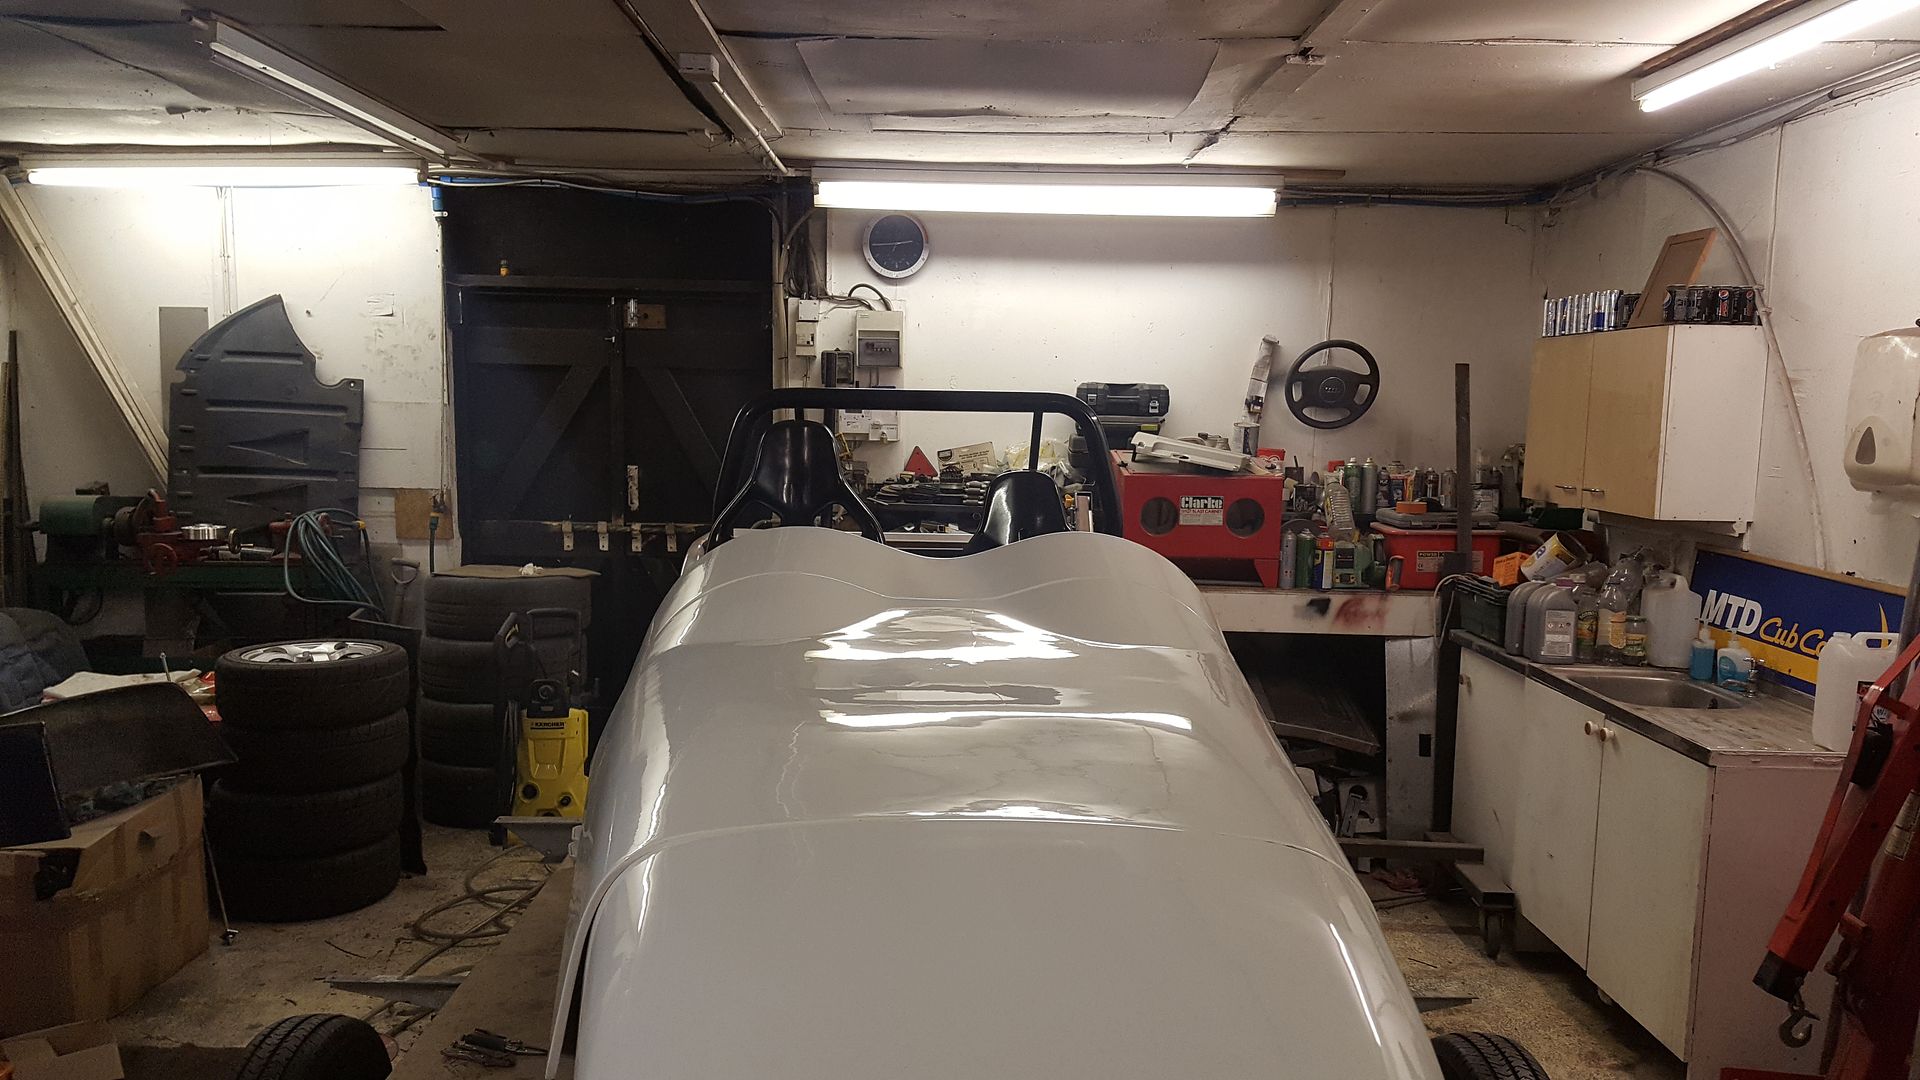
Which results in perfect viability
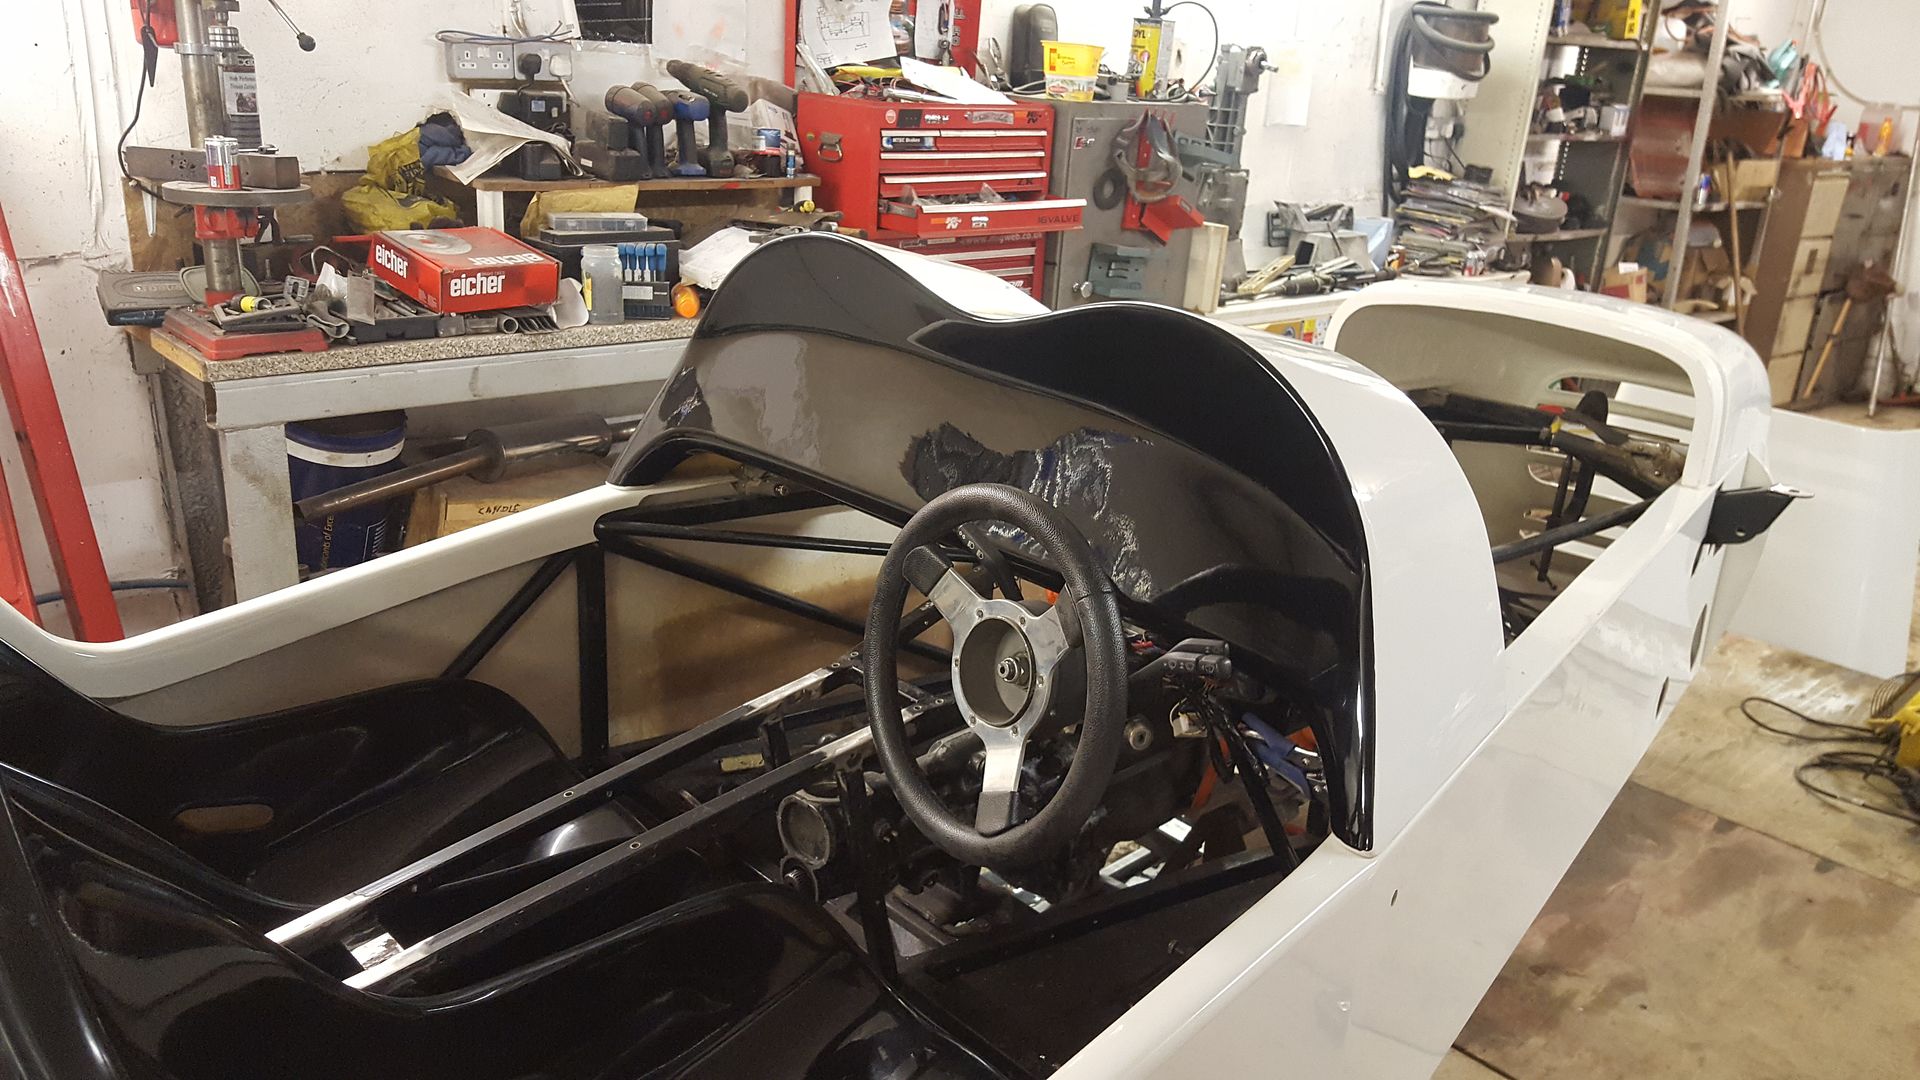
I tried the wheel in to check that wasn' down between my legs, it' right at the bottom of it' adjustment here but I need to cut the
scuttle to move it up, but is able to go up another 50+mm
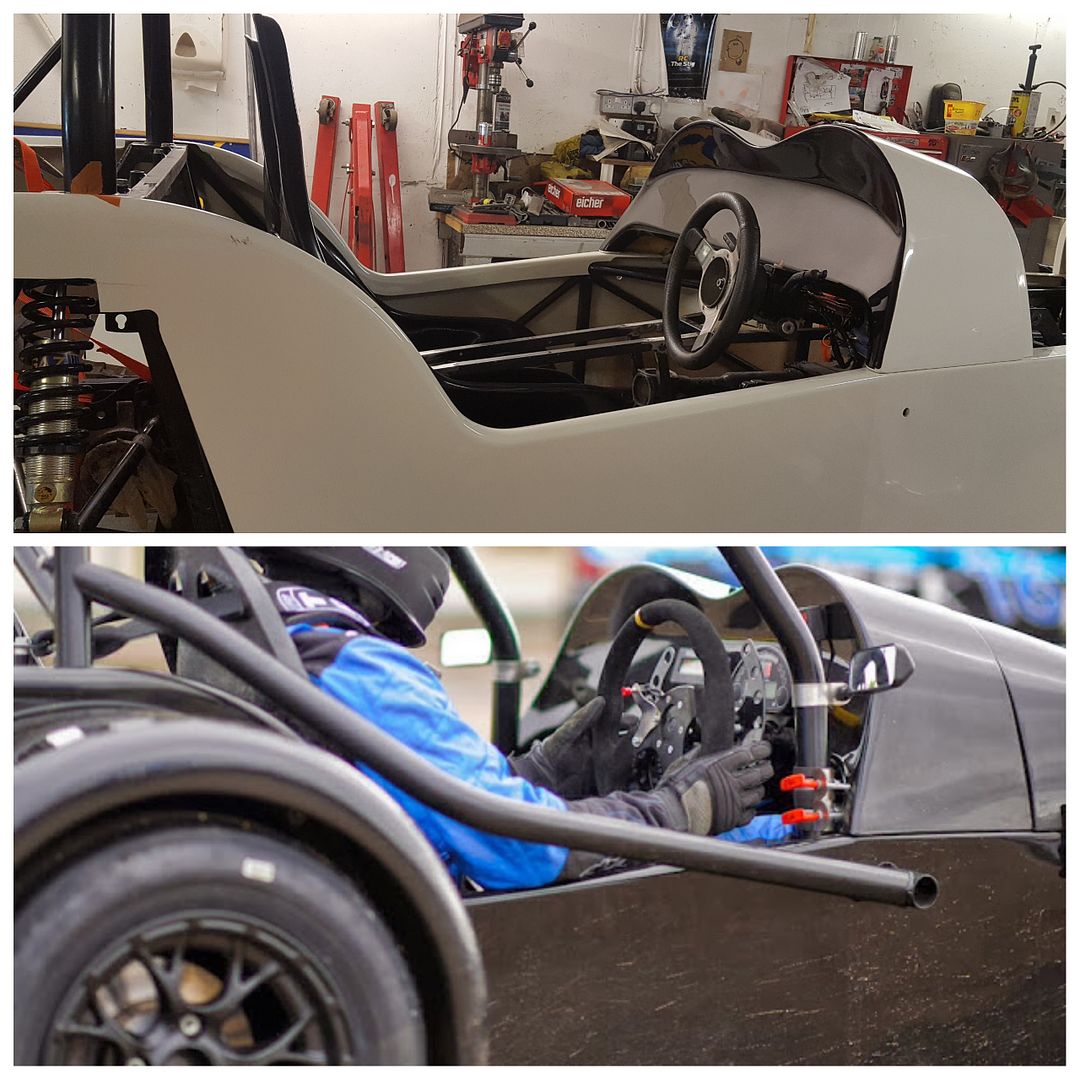
So it think it will all be ok.
|
|
|
40inches
|
| posted on 17/11/17 at 09:42 AM |

|
|
I had the same problem with the MK and GRP seats, needed 25mm box section for mounting, plus 50mm spacers, plus the thickness of the slides.
[Edited on 17-11-17 by 40inches]
|
|
|
CosKev3
|
| posted on 17/11/17 at 09:43 AM |

|
|
Don't raise the seat too much,my new seats this year are slightly higher than my old ones and with a aeroscreen my helmet starts to lift at
speed now as the air is getting under it.
From my experience you want your eye line tight on the top of aeroscreen,so you can't actually see the nose cone from your normal seated
position.
You need to sit yourself up in seat when parking etc to see nose cone.
|
|
|
super-ron
|
| posted on 17/11/17 at 02:31 PM |

|
|
Ah good, I'm glad raising the seat is an actual thing. Now I know it works I can play with the height.
|
|
|
super-ron
|
| posted on 20/11/17 at 01:05 AM |

|
|
Waiting on some 25x50 box to turn up so I can decide exactly where the body will sit. It's really hard to measure because all the edges are
rounded and curved, and it fits from the mould are done freehand. So it's really tough to get a proper measrement between the chassis and body.
I taped some aluminium strips at certain points from the chassis
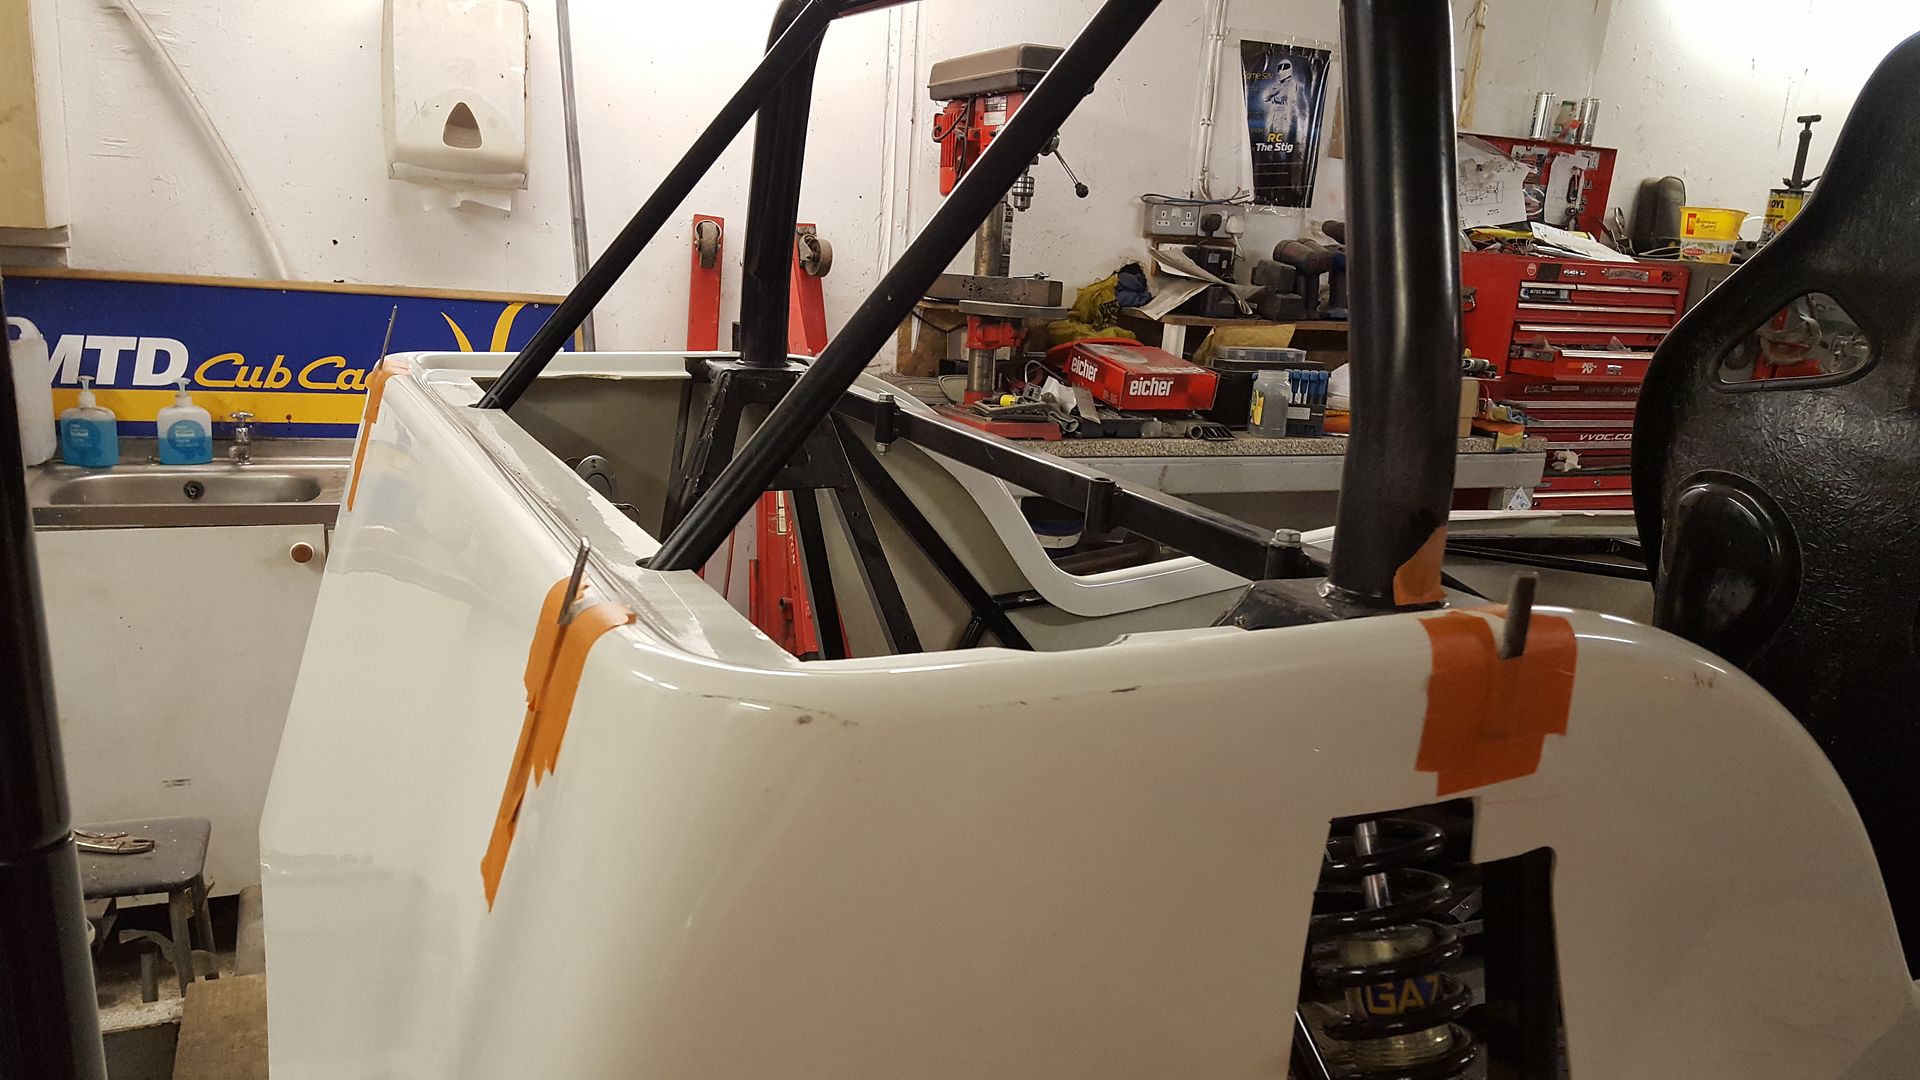
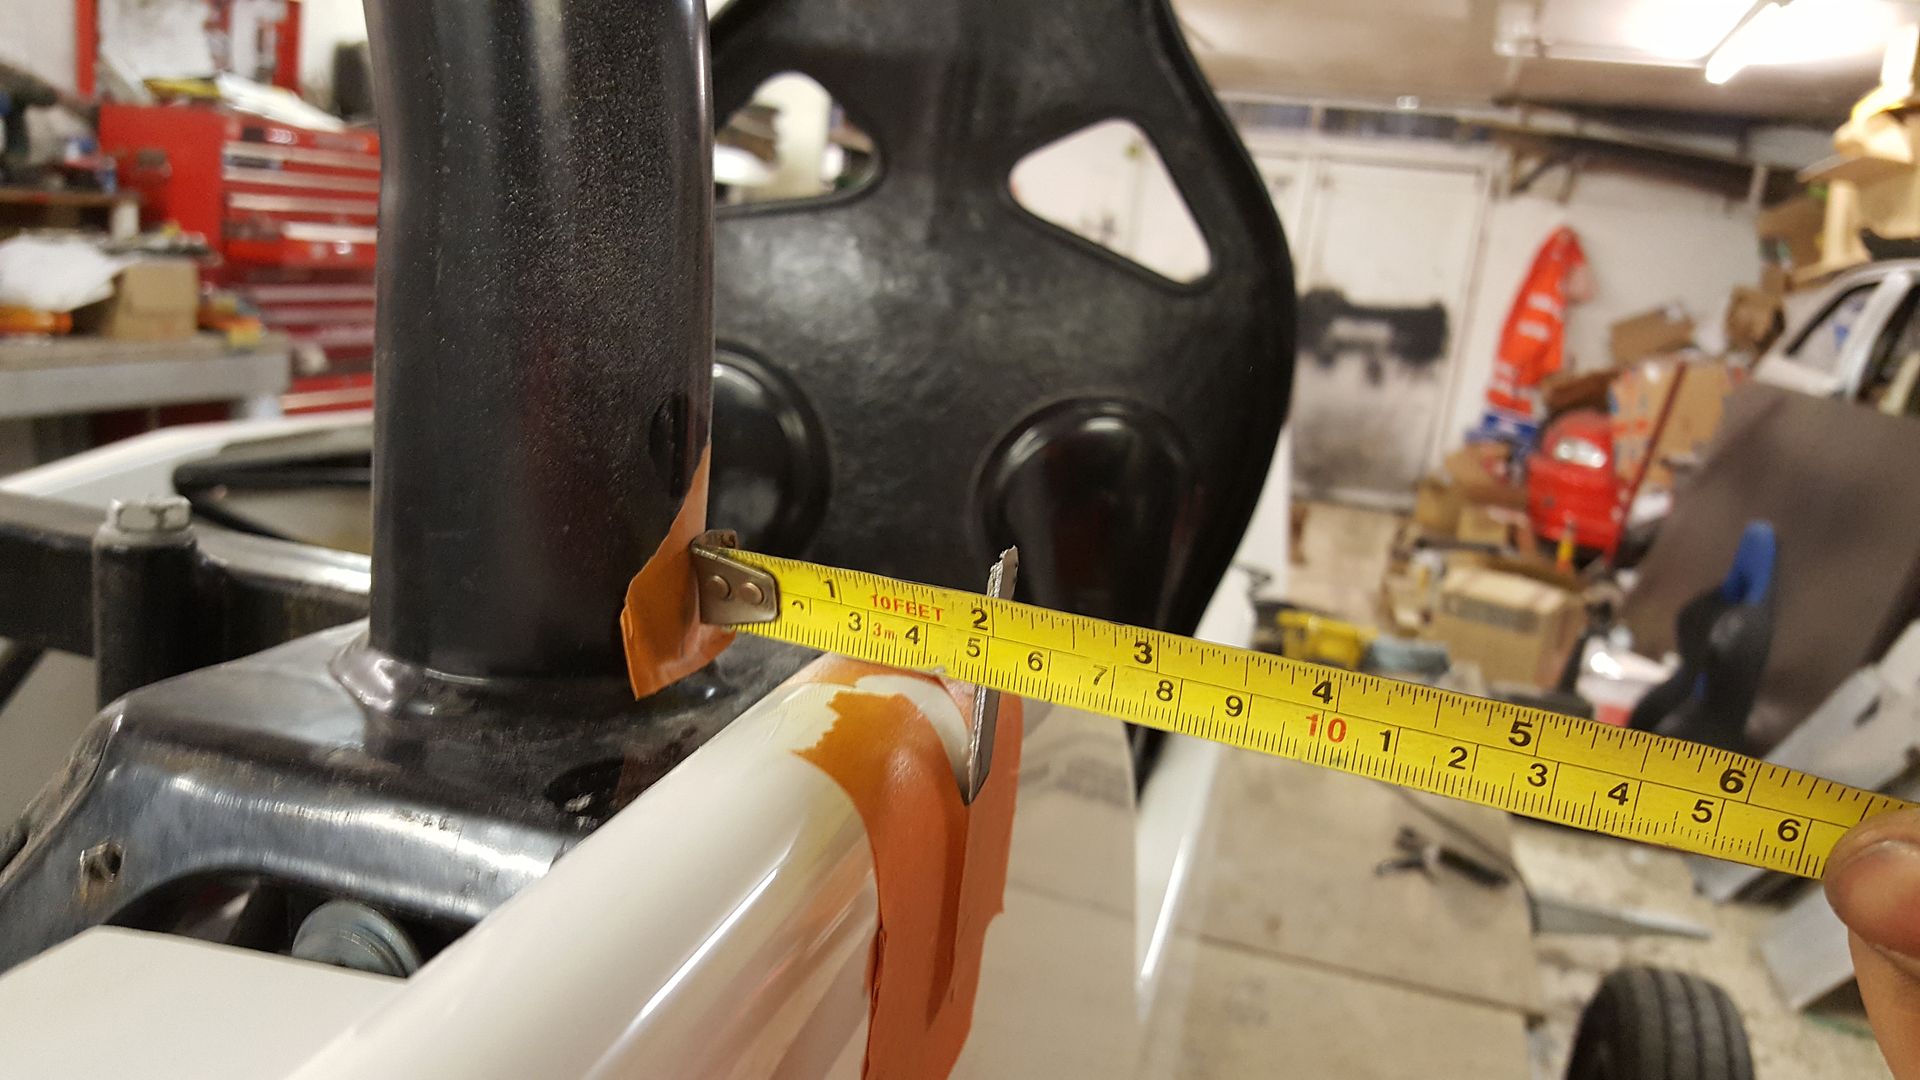
I tried the tank in too to make sure you can get it in and out with the body on, if needed
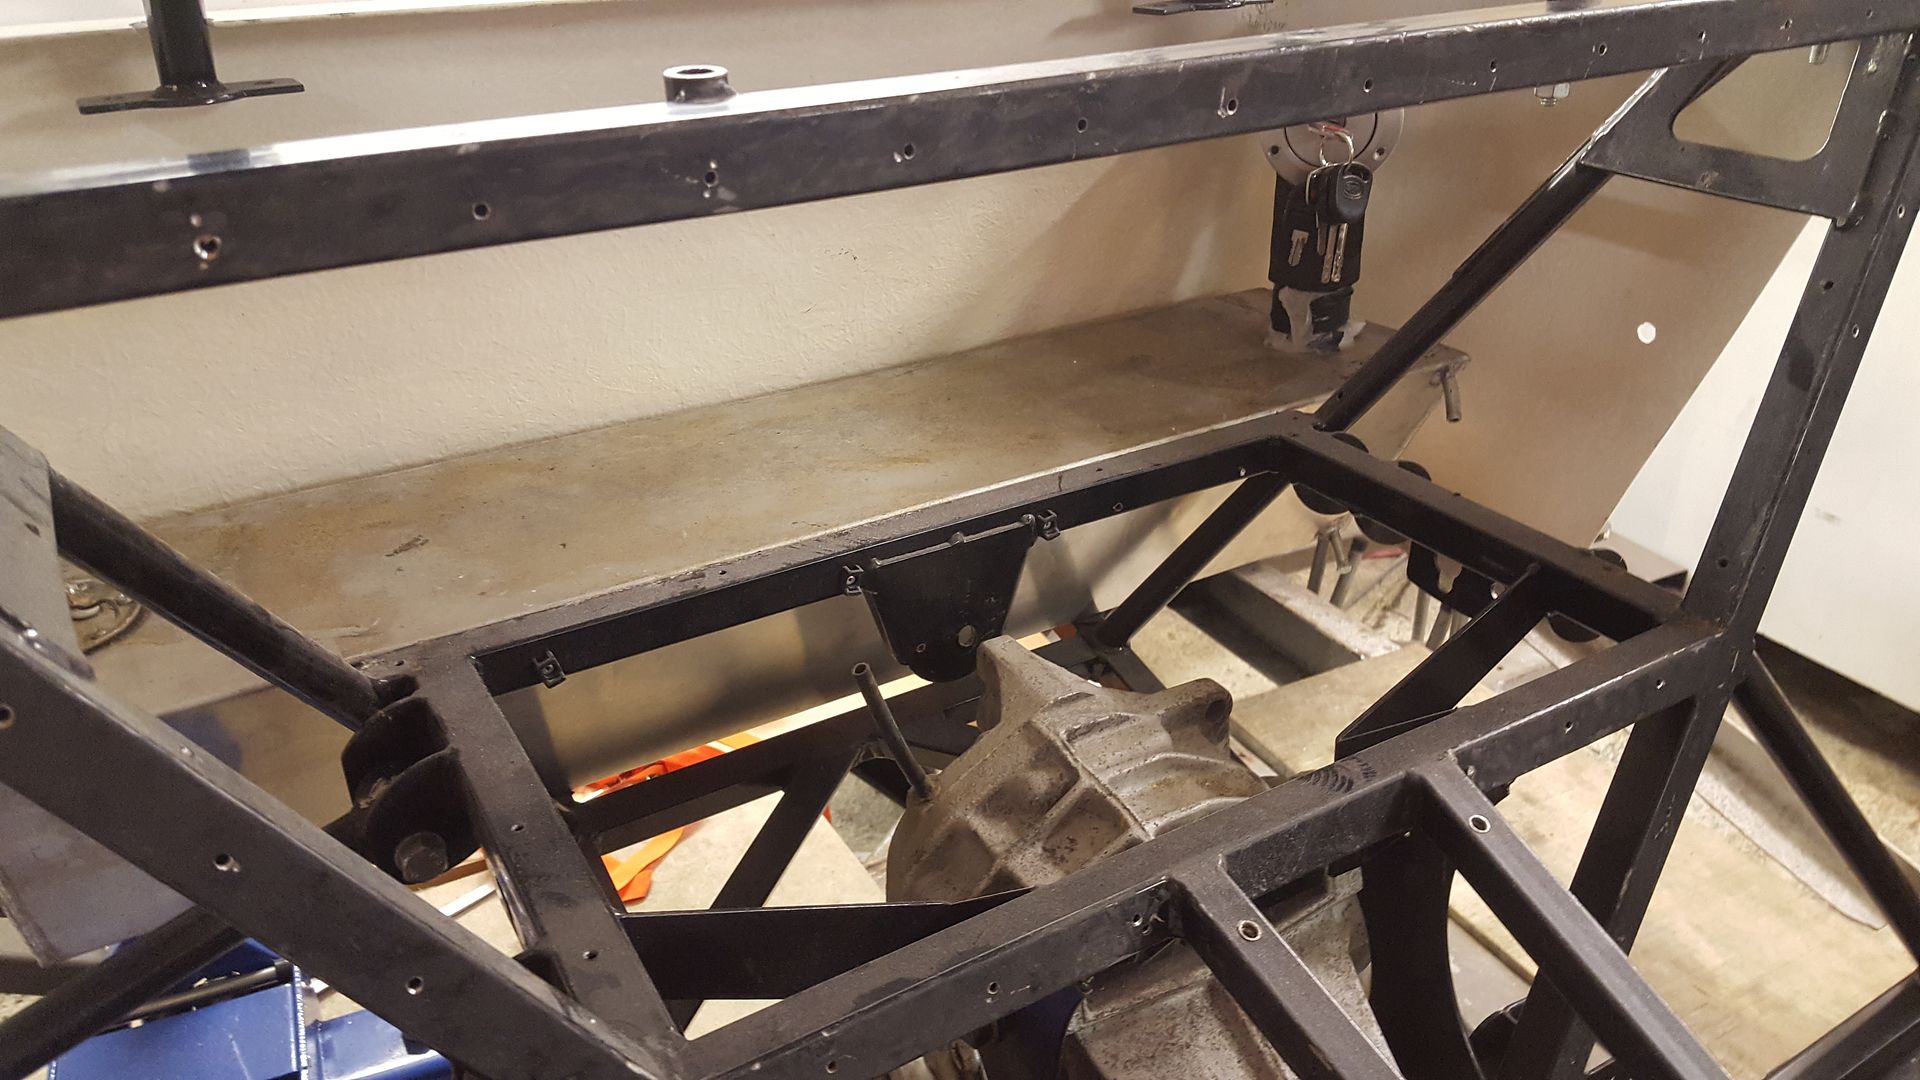
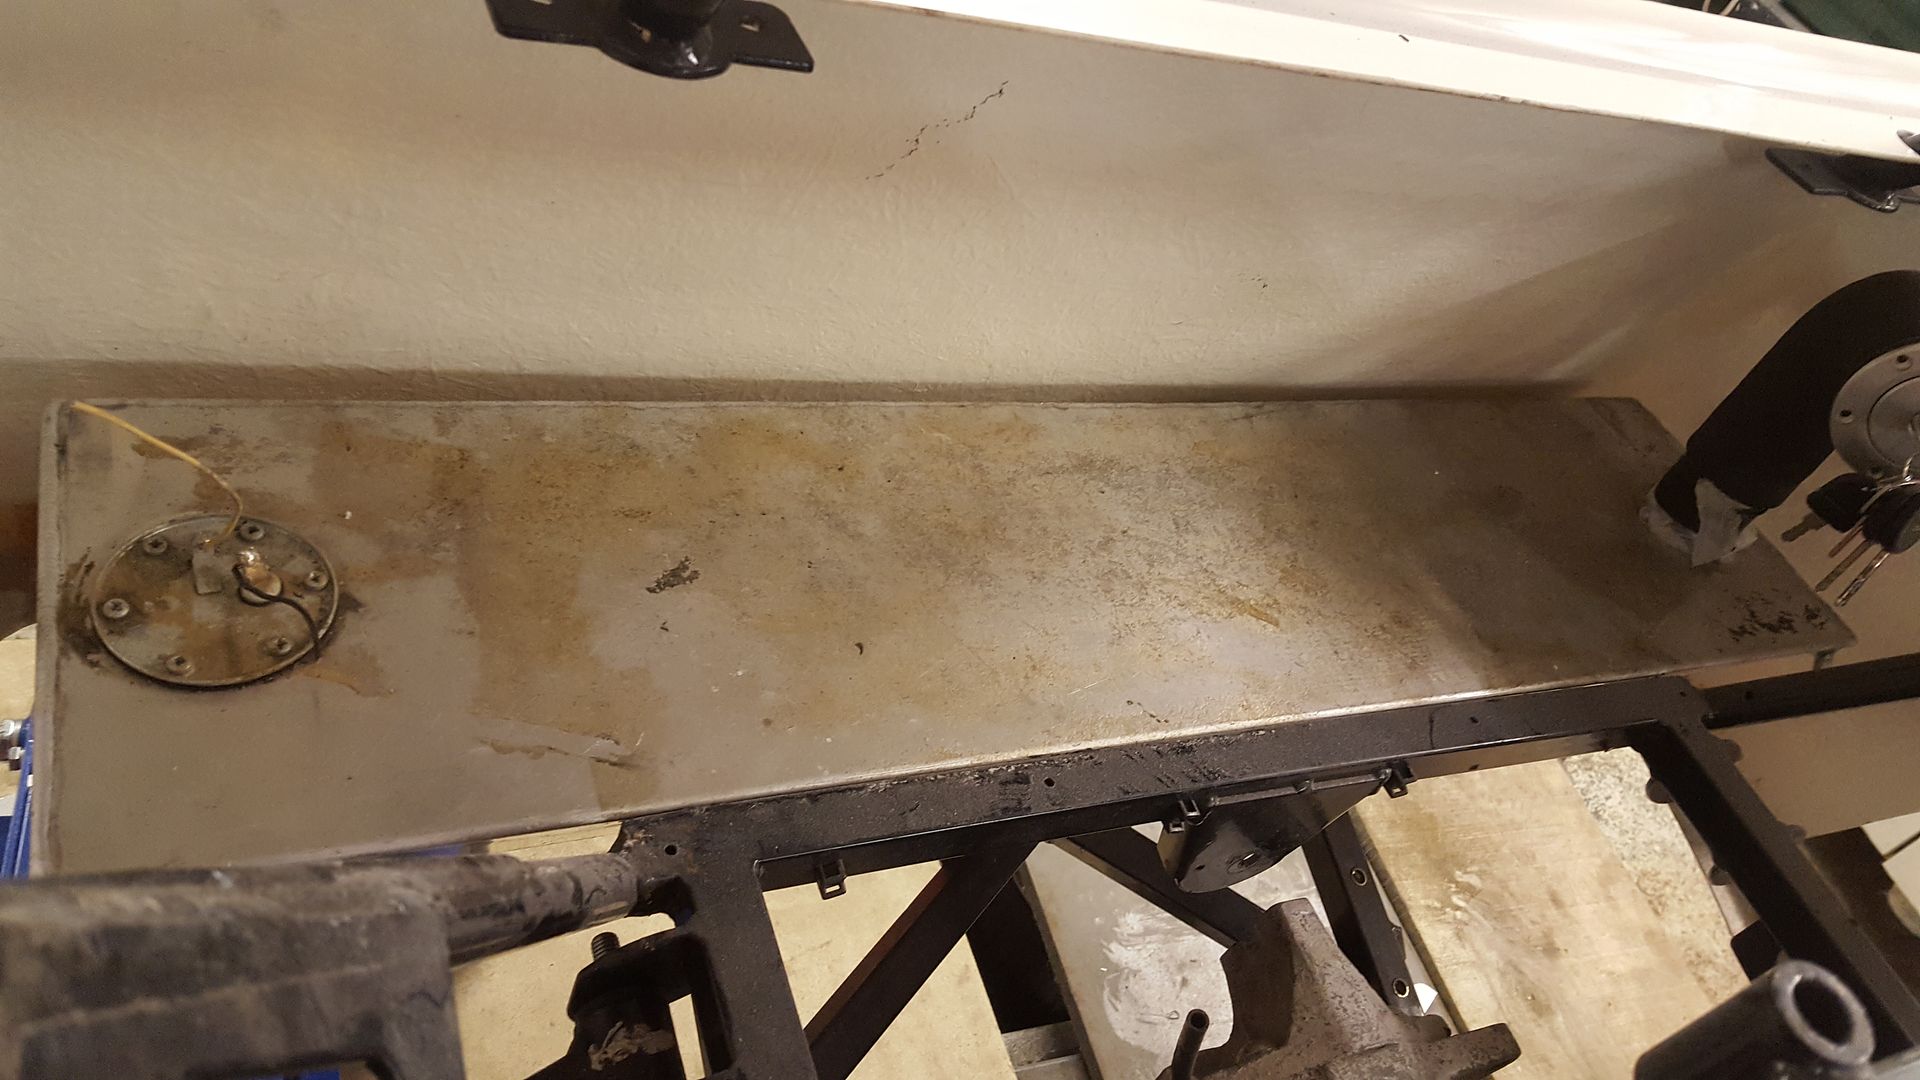
All the GBS boot panels fit perfectly.
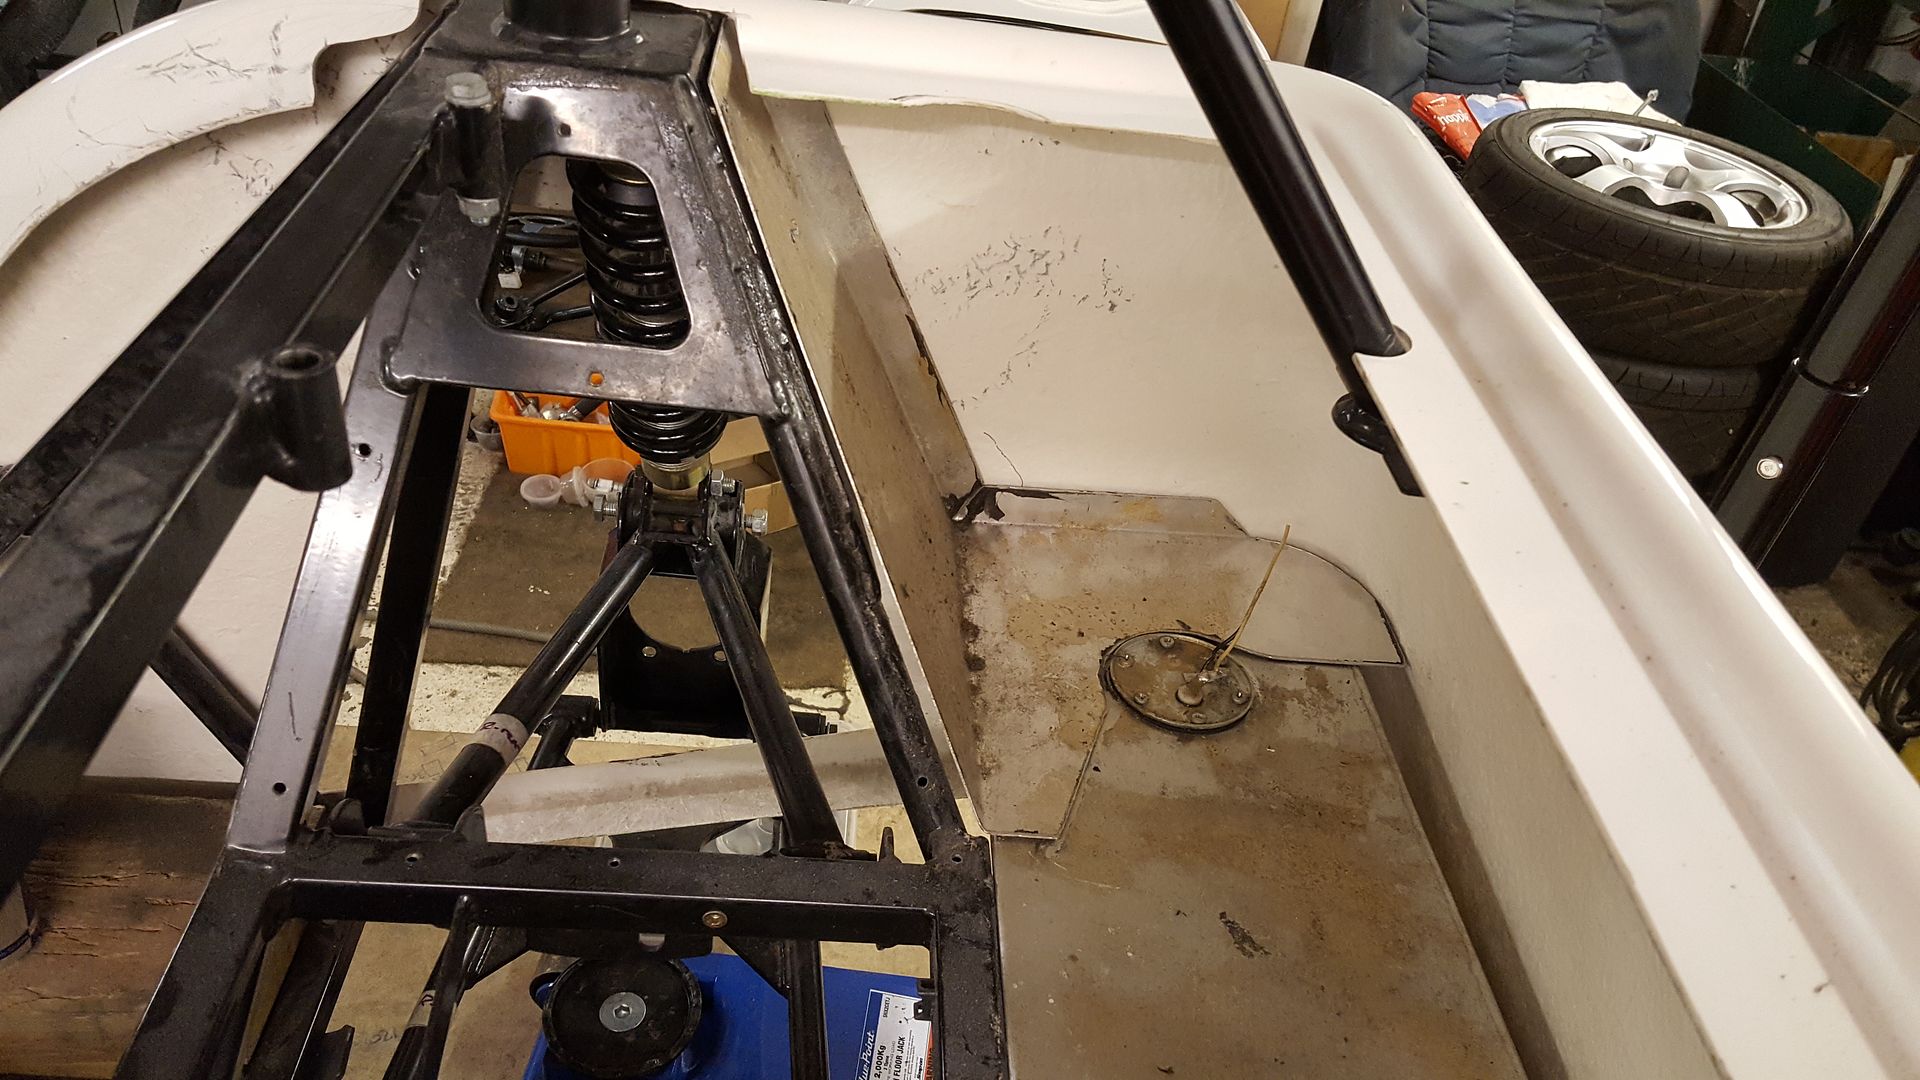
I'm going to put some rails down the back as there is very little protection to the fuel tank, even more so with a fibreglass tub instead of a
steel one. It only takes someone to reverse into it with a tow bar and it's through the tank.
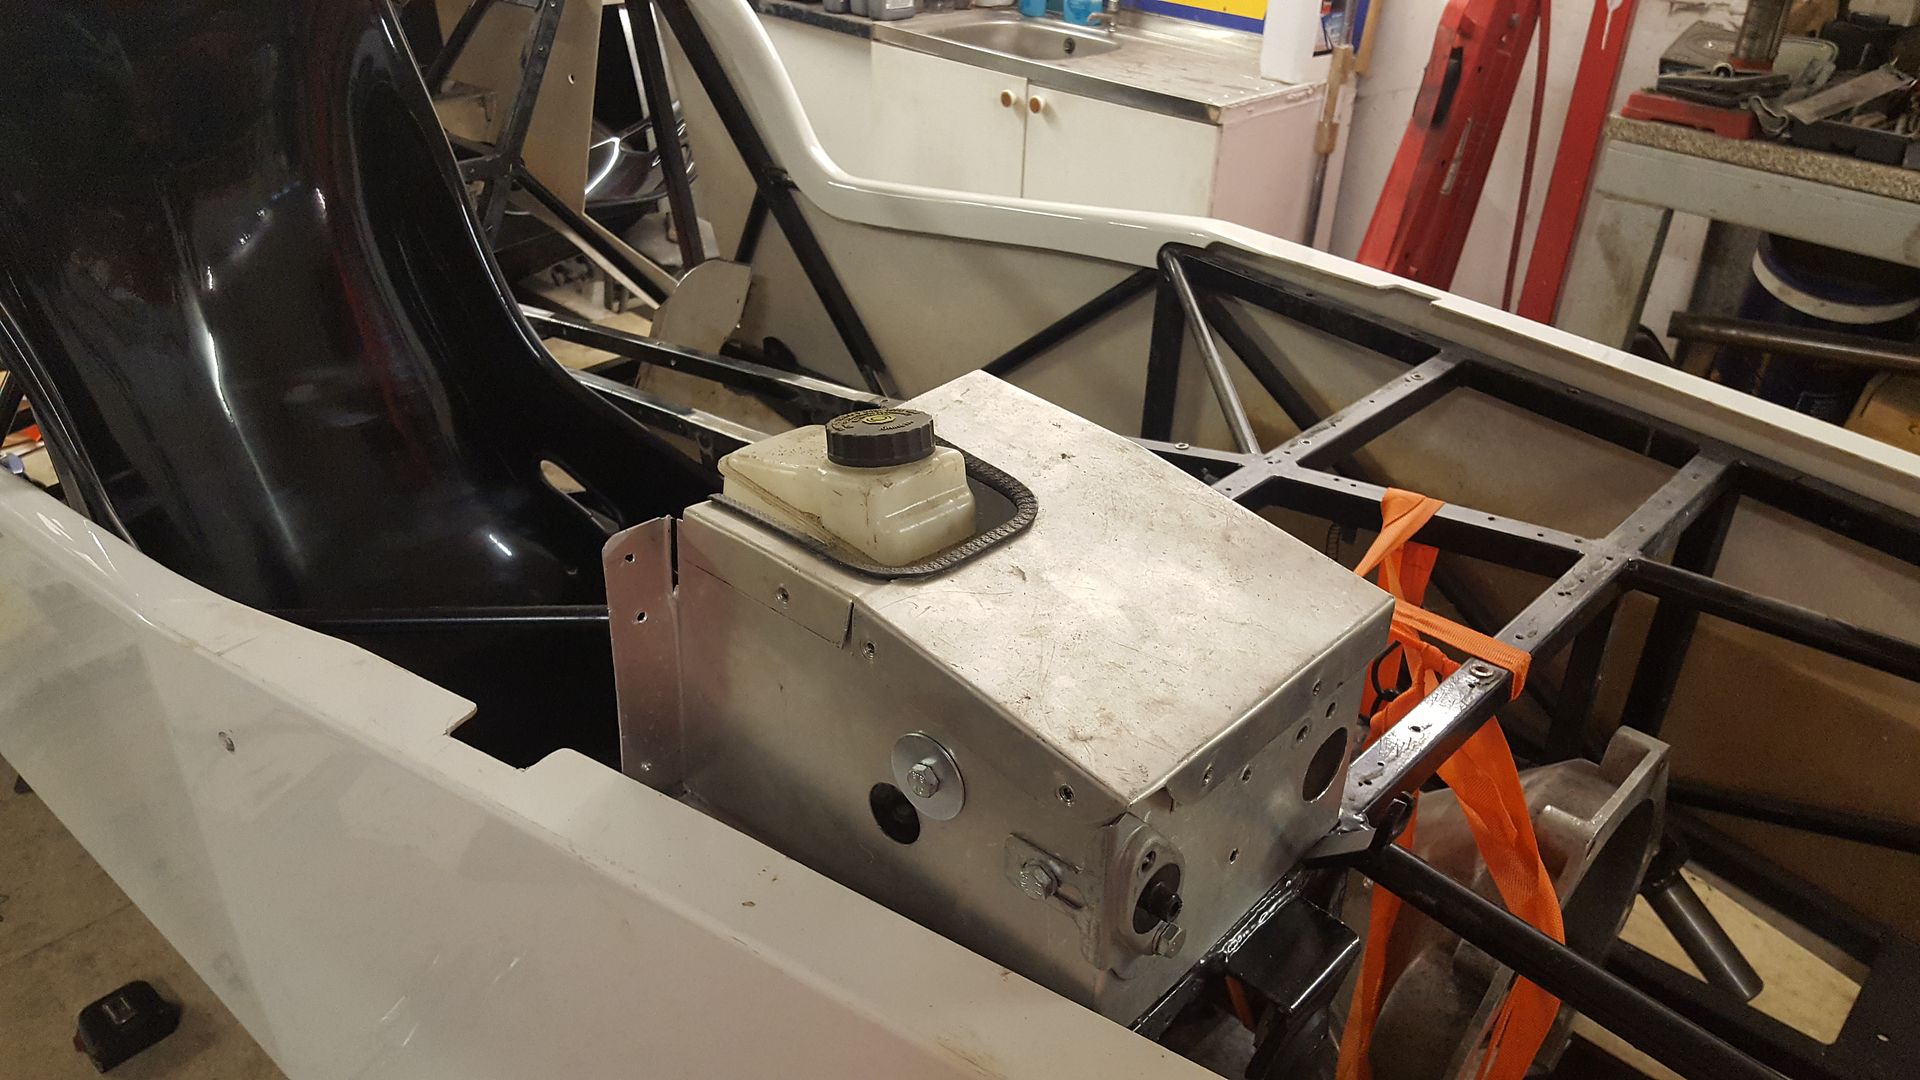
The standard gbs brake set up uses a Sierra 4 port mastercyliner
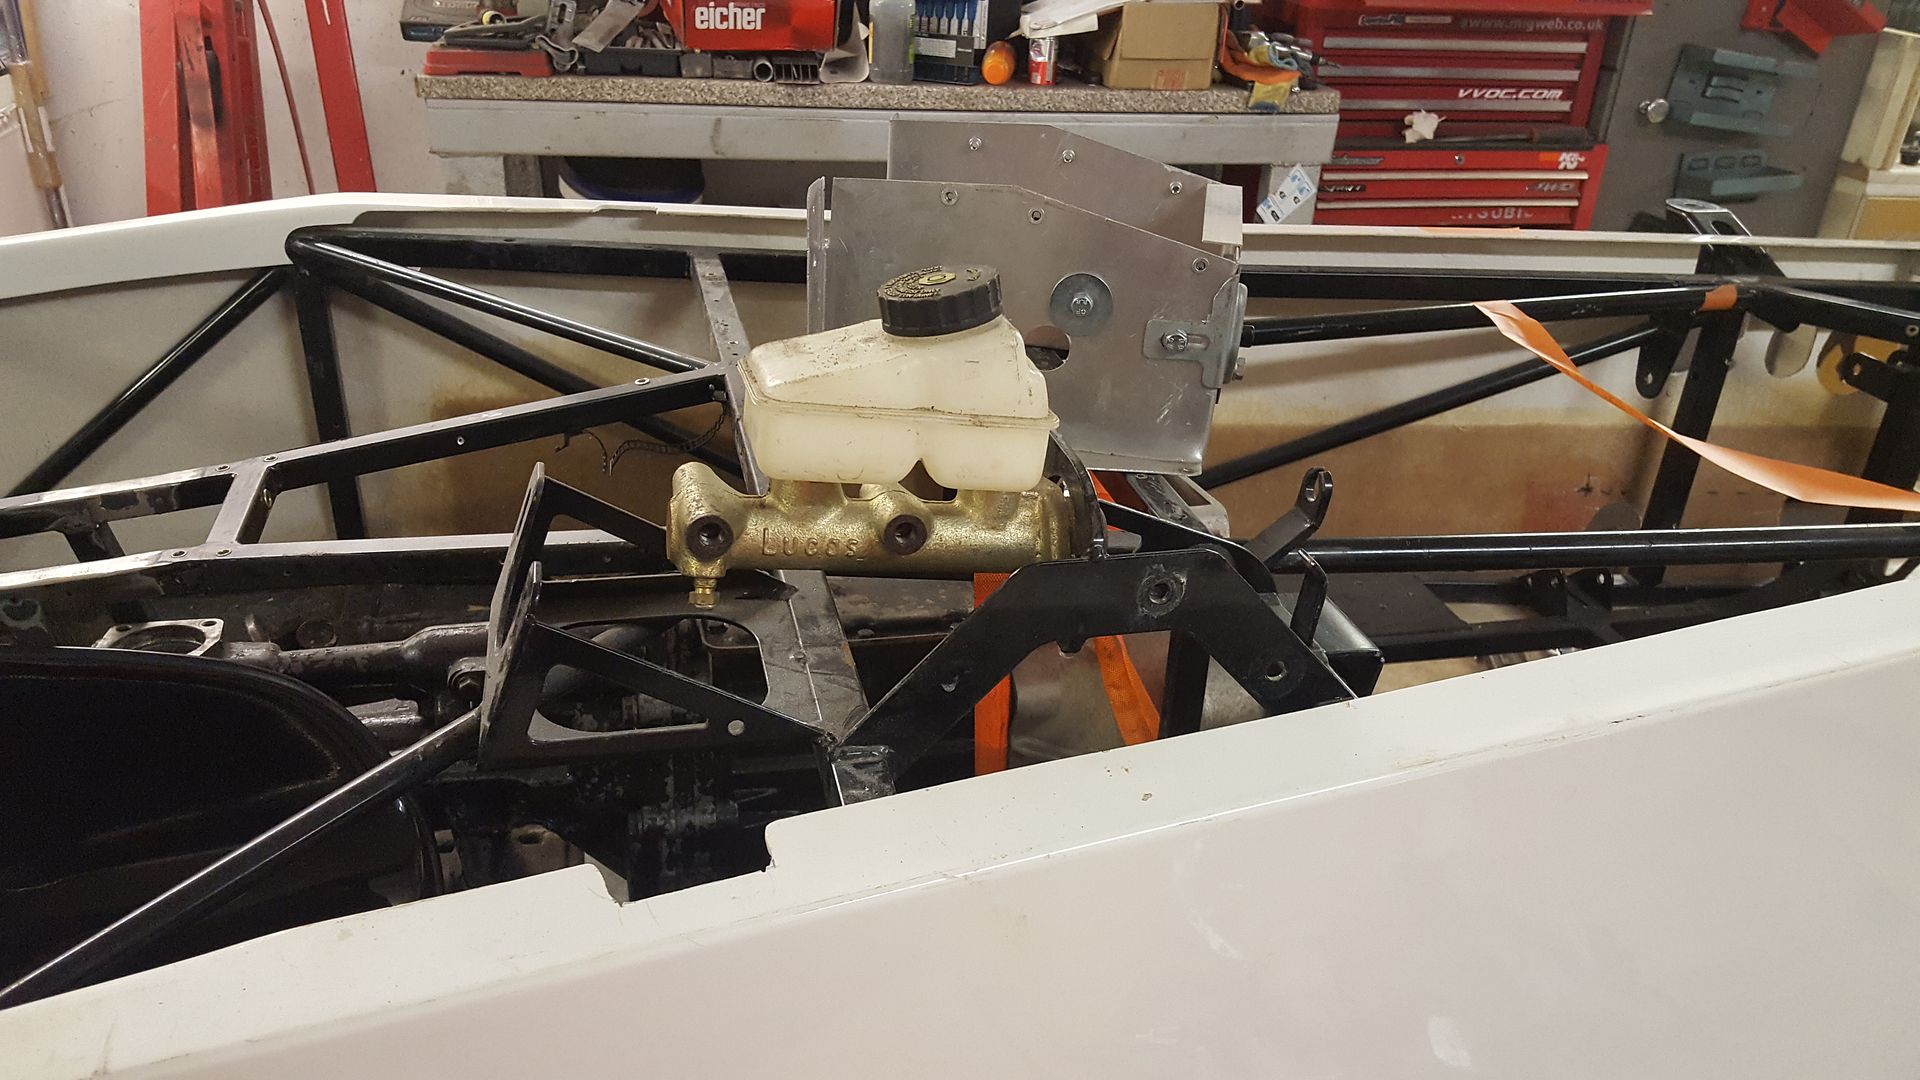
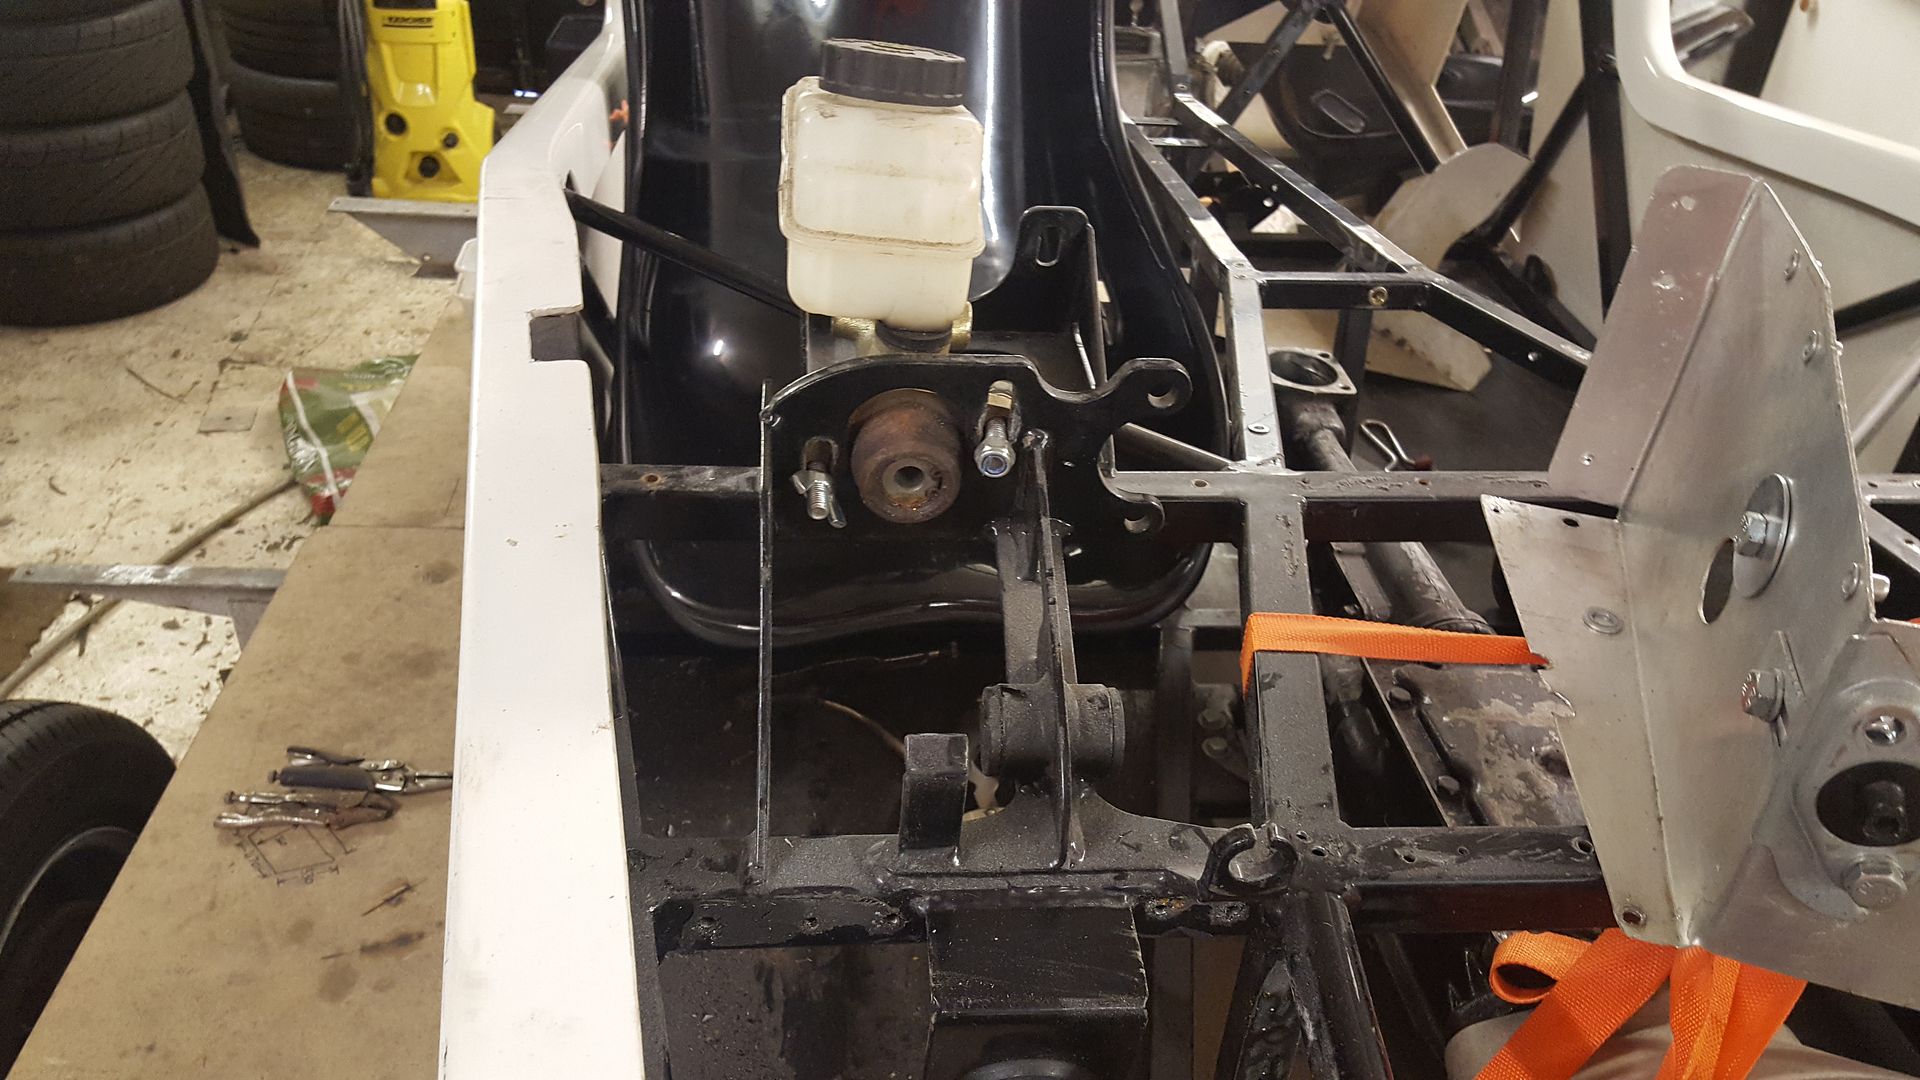
Then they have a little panel around it
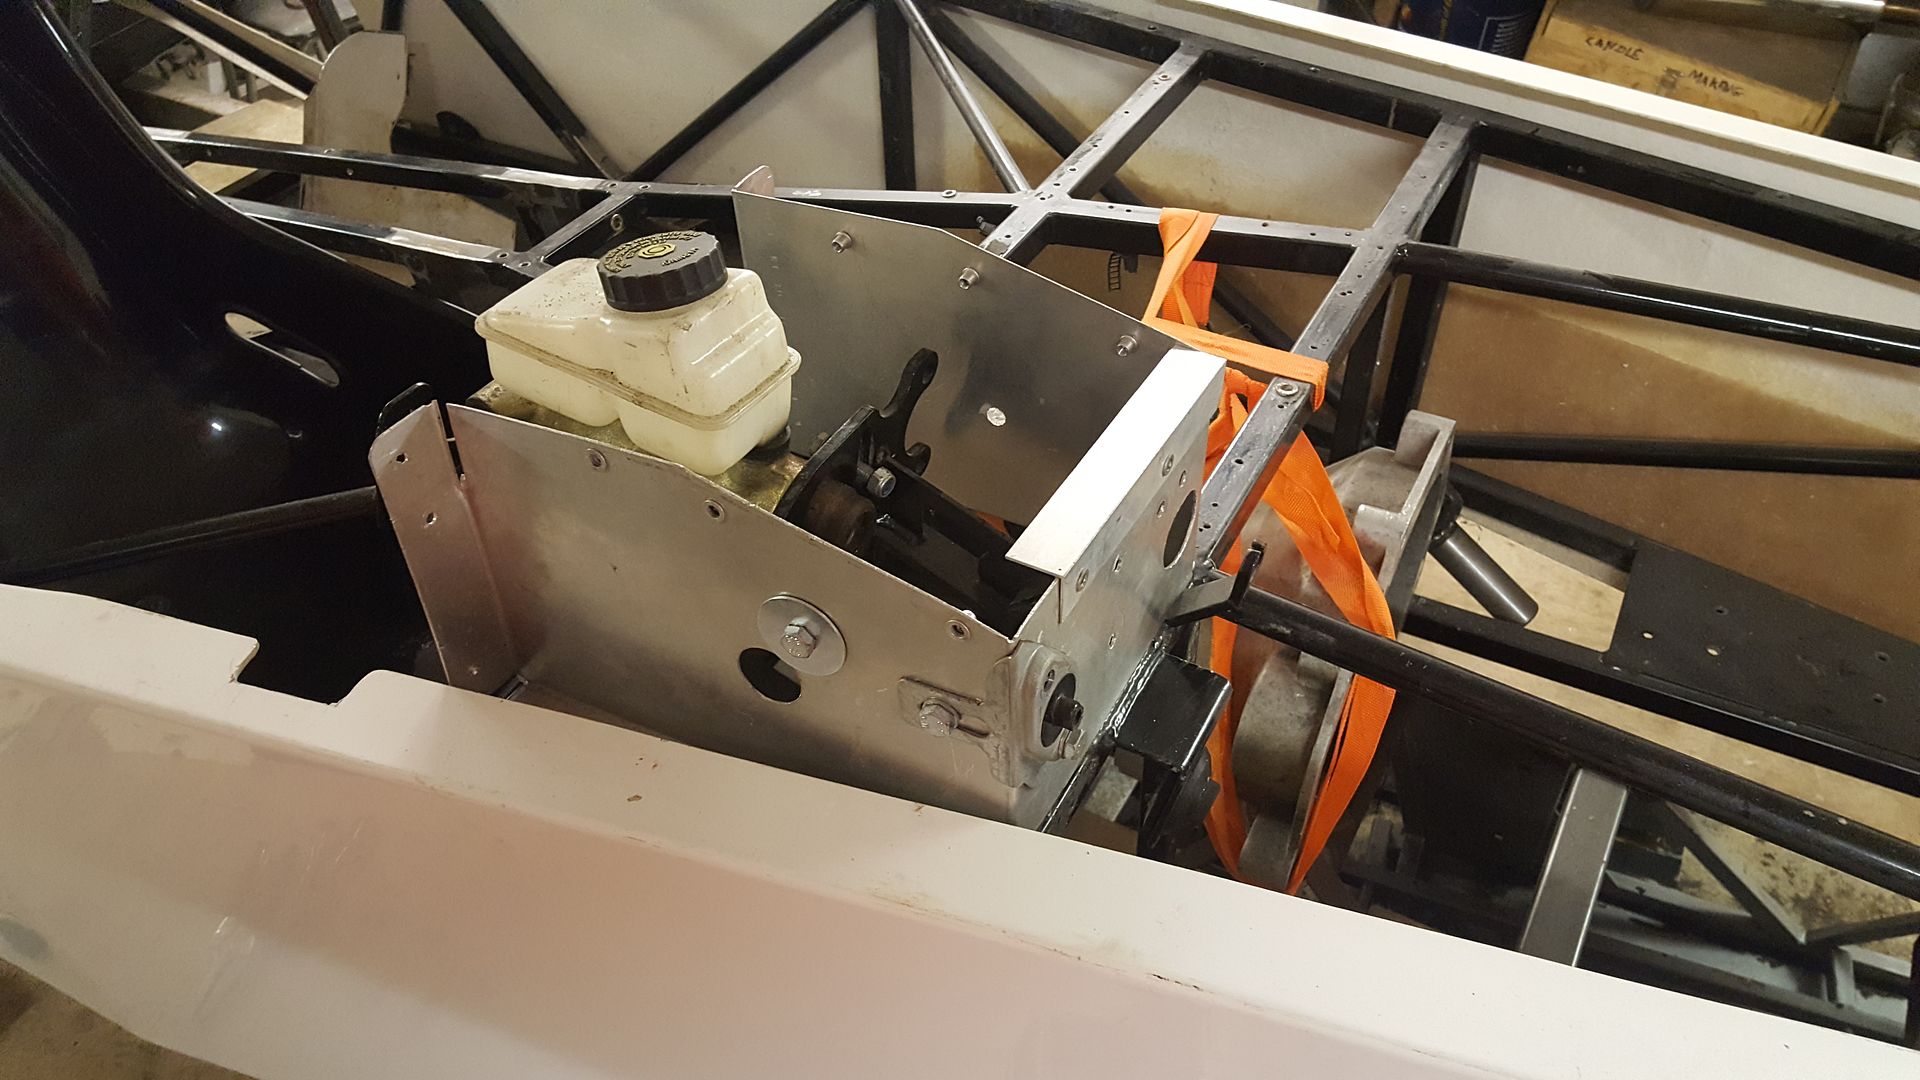
And a lid which then keeps your feet and the engine bay separate
The Locost came with a proper bias set up, with the 3 separate resiviors, so I'm going to have a close look at the race series to see if
I can not that to fit.
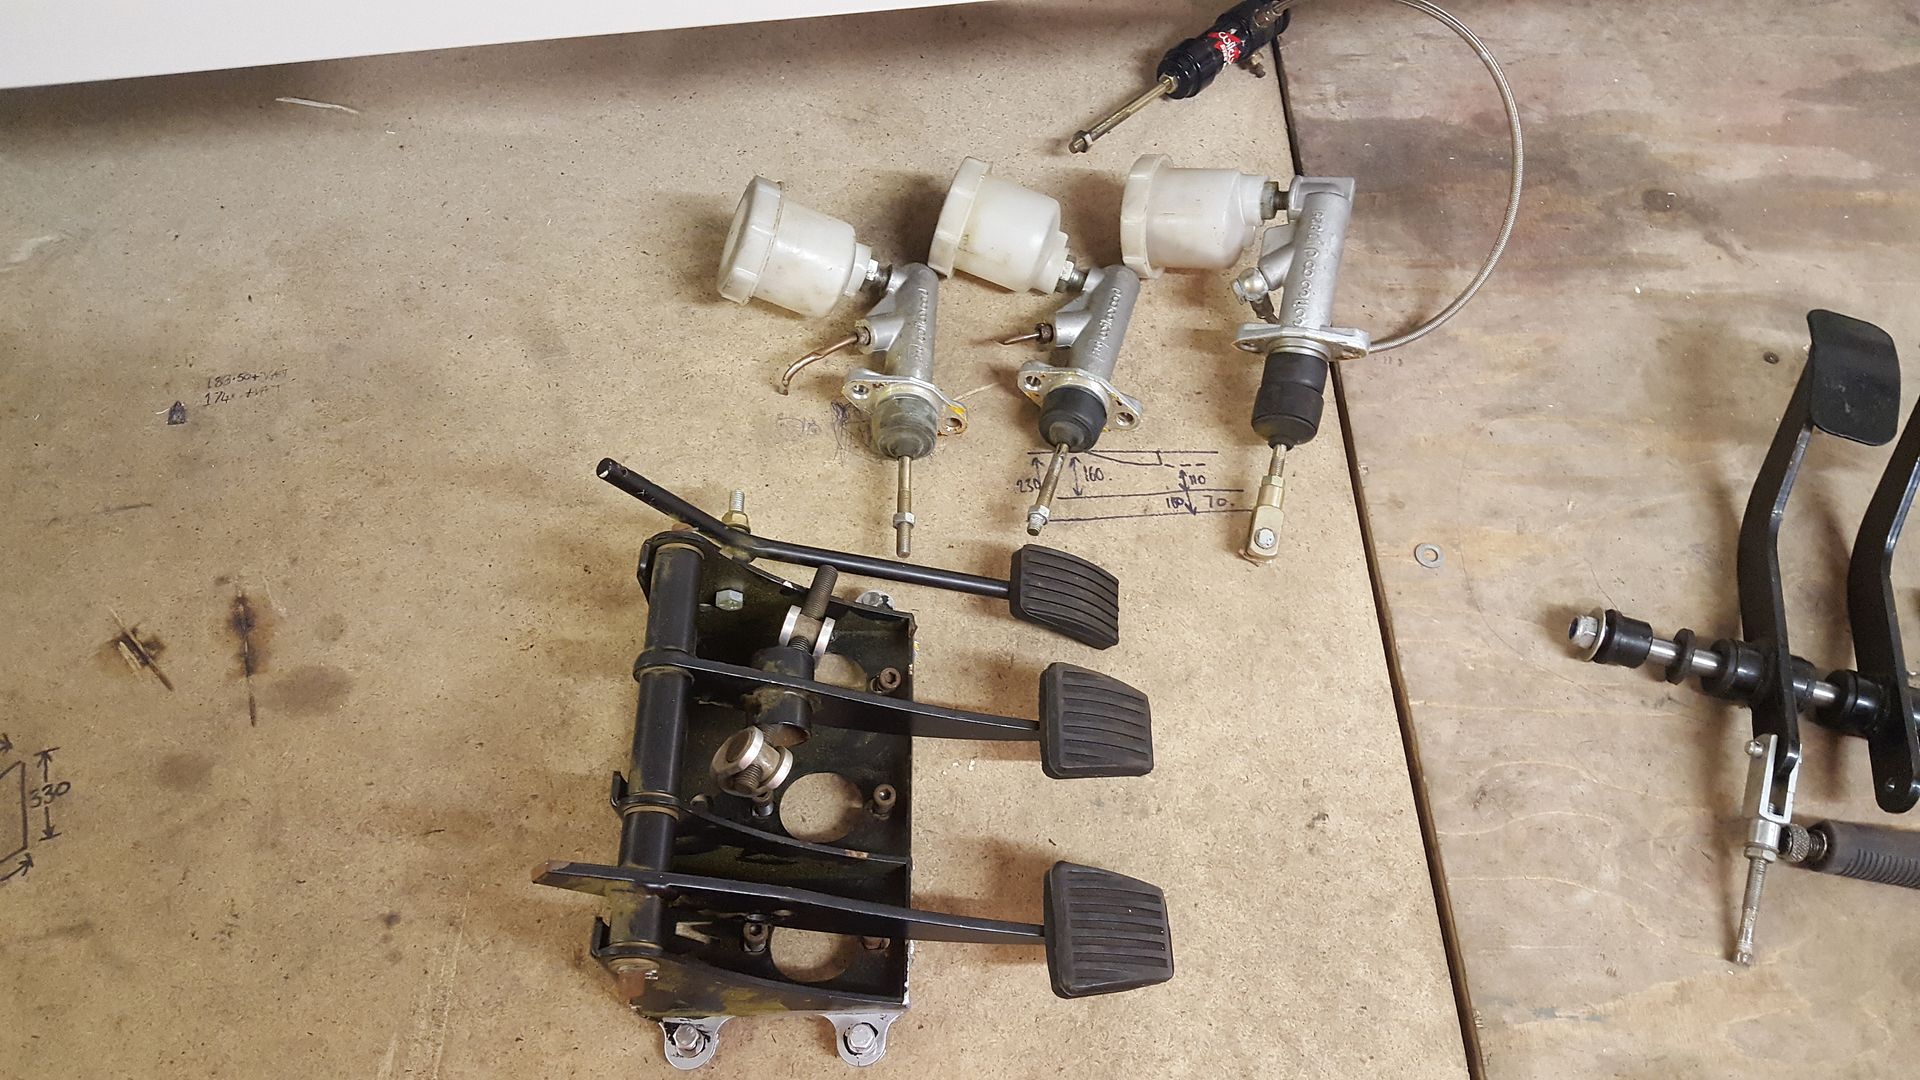
Due to where the steering shaft comes through I don't think I can use it as the locost was, but the gbs zero race series has them up where my
Sierra one is facing backwards so I'll have a closer look at the racing chassis to see if much is different in that area to mine besides the
extra holes.
|
|
|
super-ron
|
| posted on 21/11/17 at 09:14 PM |

|
|
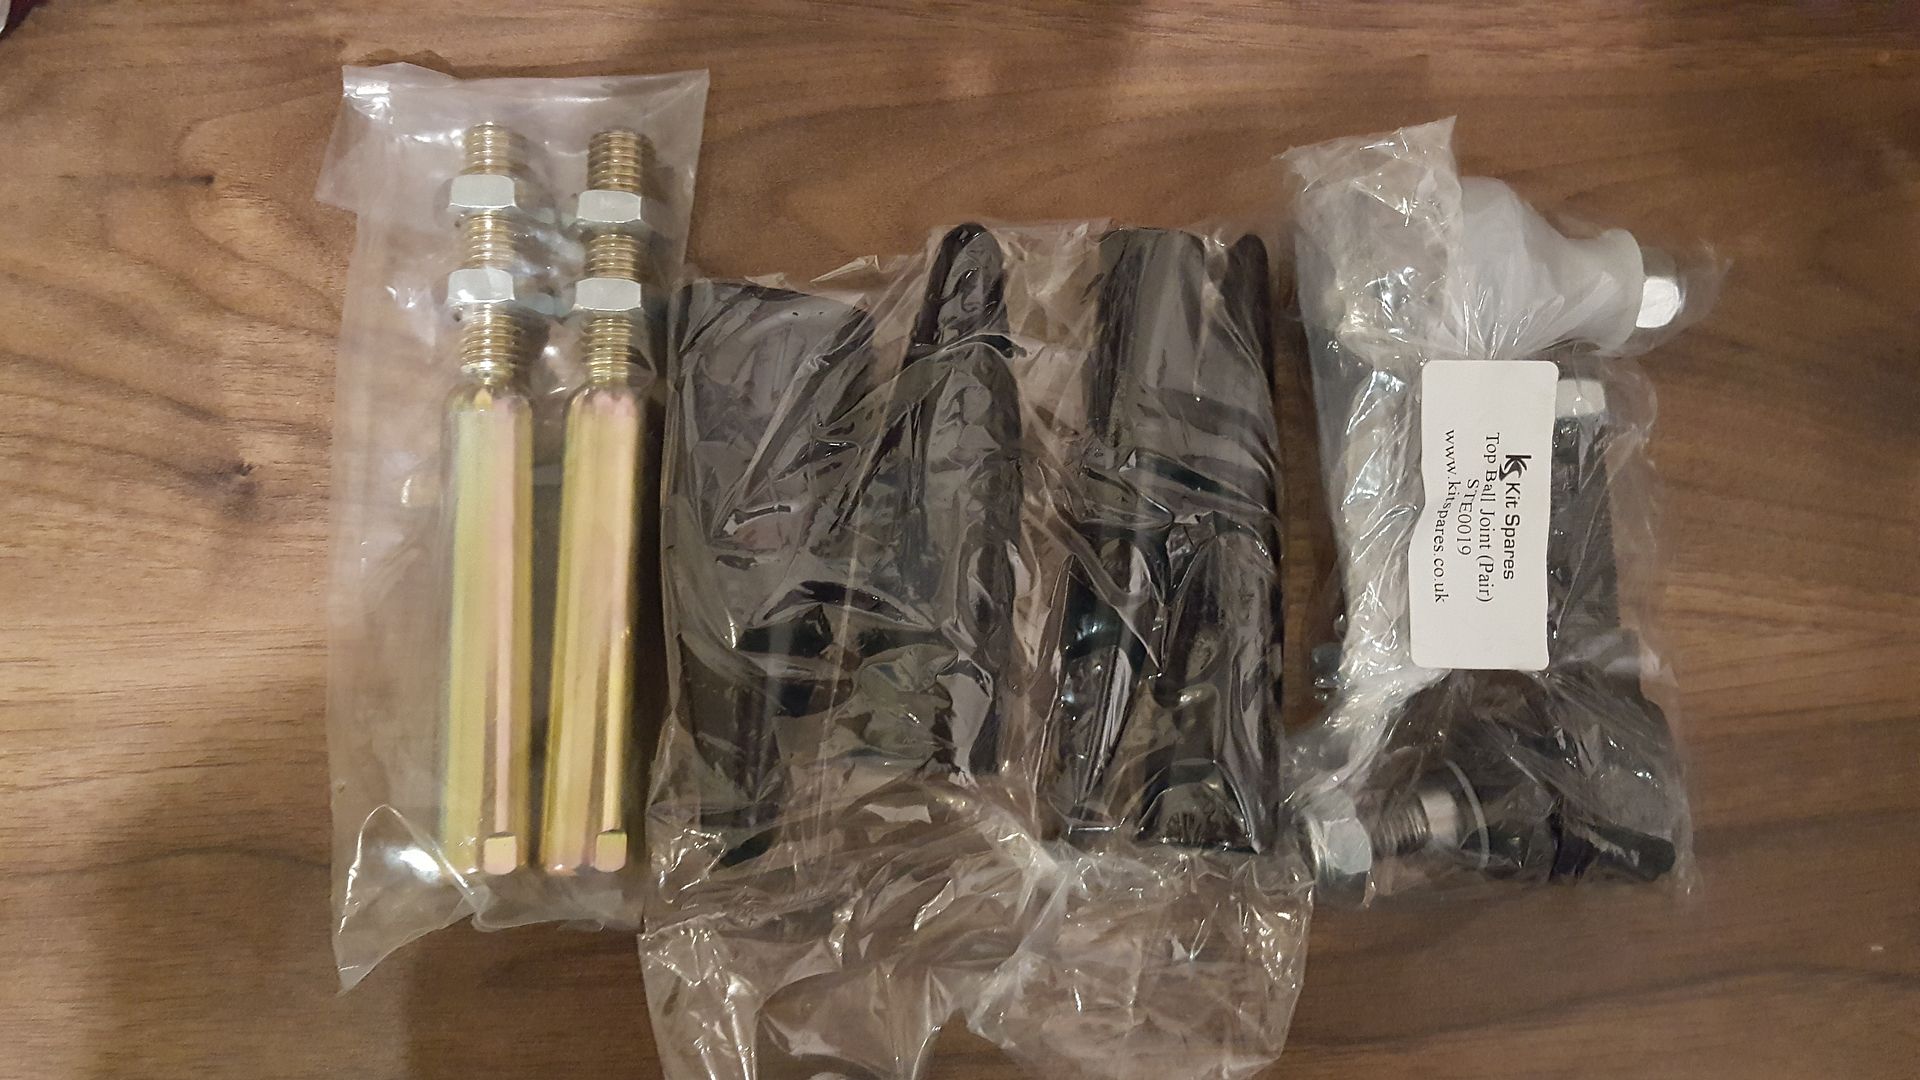
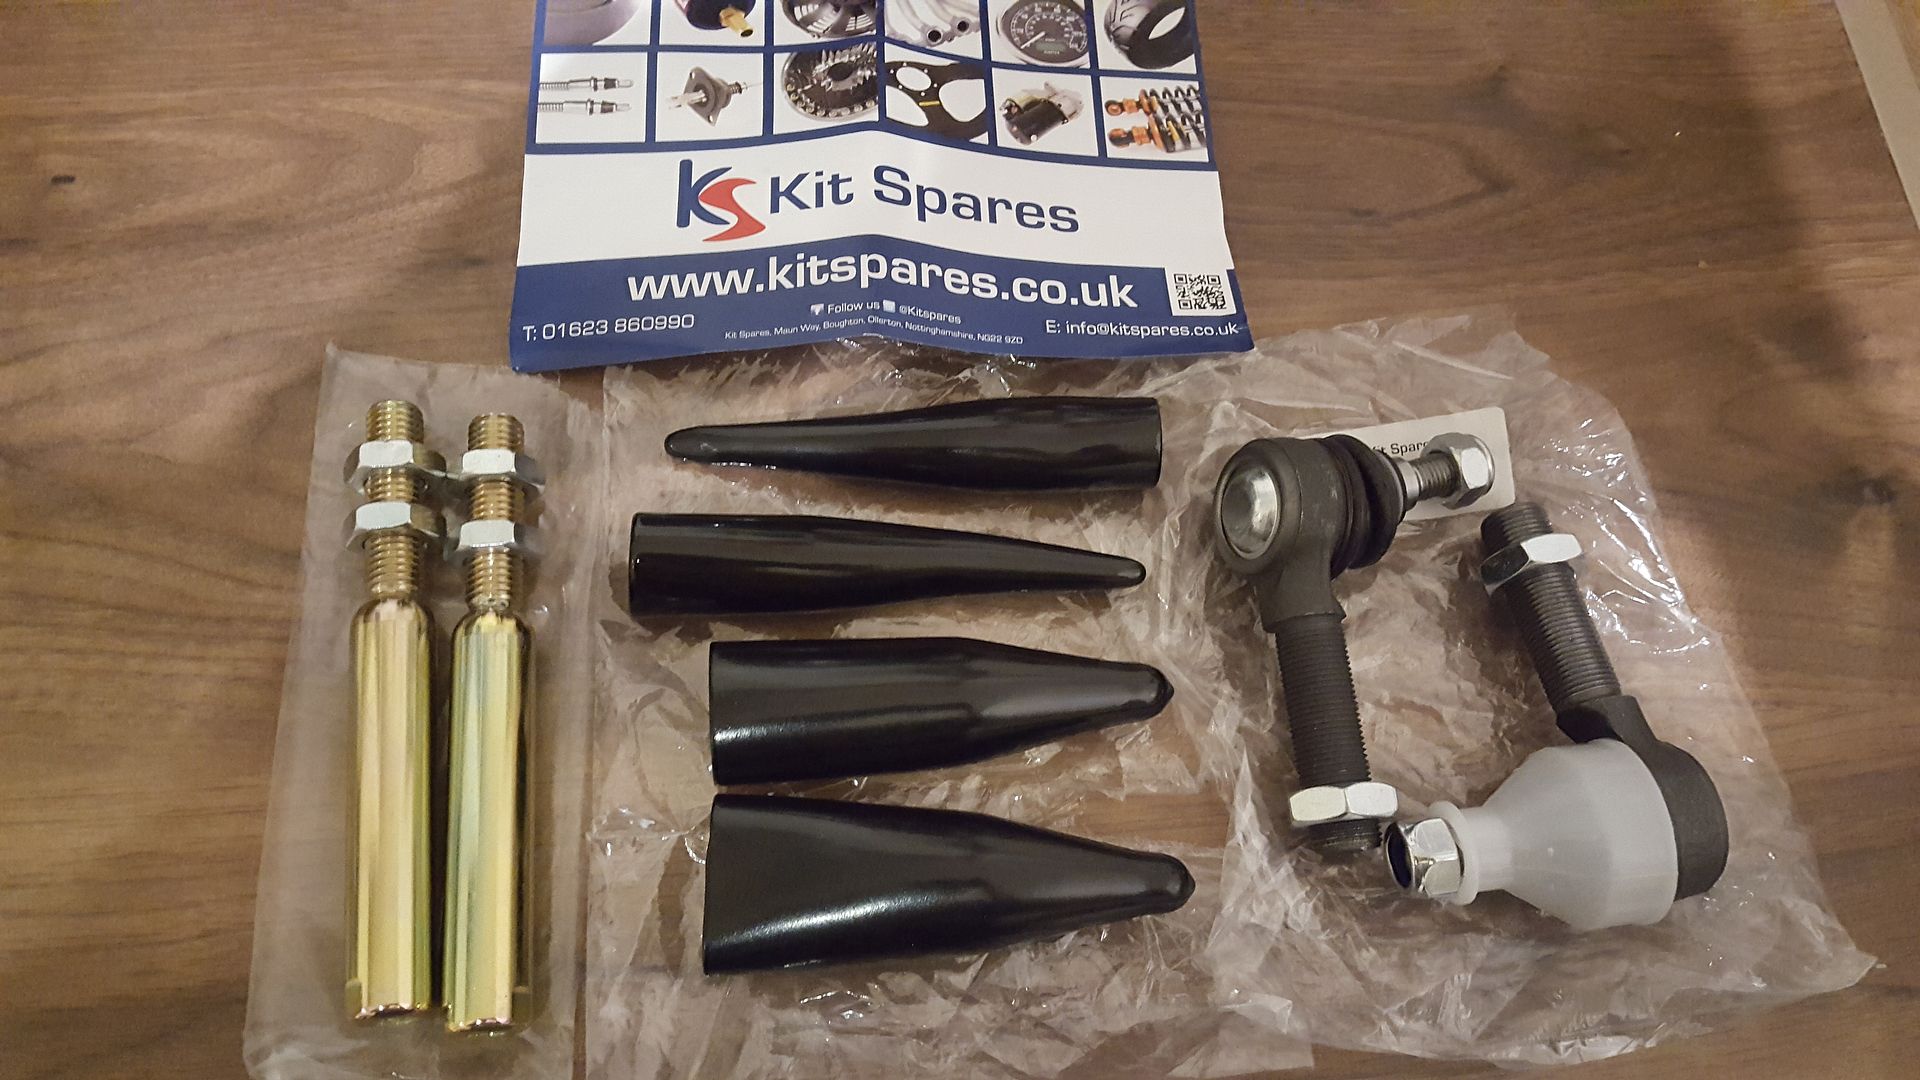
Phoned up GBS yesterday for a nice chat. I had a list of questions I wanted to know and Steve was happy to help.
First off was the front upper ball joints were different to my locost so I needed a pair of those. They had them on the shelf.
Next was the steering arm extenders. We went through our measurements and found the locost ones were shorter, again had these on the shelf.
Next was the propshaft. I knew already my locost one was too long. We compared measurements and it turns out mine is 65mm too long yoke to yoke. They
do have these in stock for £175, but as mine is brand new with all tight joints I'm going to look at getting mine shortened locally to see if
it's hopefully cheaper.
We went through the prices of all the interior aluminium panels seperatly as some I need and some I don't. They laser cut them all to fit
straight in. Alhough they aren't horrndously priced I think I will get a couple of 6x4ft sheet of alloy and spend a day making cardboard
templates to make my own to save some money.
The chassis came with a full Zetec engine mount kit, and they do full C20xe fitting kits. I think I will just weld Vauxhall flanges on the mounts I
have.
Like I said above the GBS ZERO Standard uses a normal 4 port Sierra master cylinder, but the ZERO RACE uses the bias pedal box. We had a chat about
the difference in mounts but they said as I'm using Standard Sierra calipers unless it' a focused race car a pedal box is overkill. And
bias boxes are a bit of a pain to get through the IVA test as they need to be locked in position ect. So I will keep the pedal box I have incase I do
want to upgrade at a later date, but I will build it up standard for now.
And finally I asked if they did a template for the front suspension holes, but they said all their panels are laser cut out ready. So again I'll
be getting the templates out.
That was yesterday and the bits turned up today. So my first dealings with GBS are good!
|
|
|
super-ron
|
| posted on 29/11/17 at 06:00 PM |

|
|
Few more deliveries.
A pair of Sierra cosworth rear wheel bearings
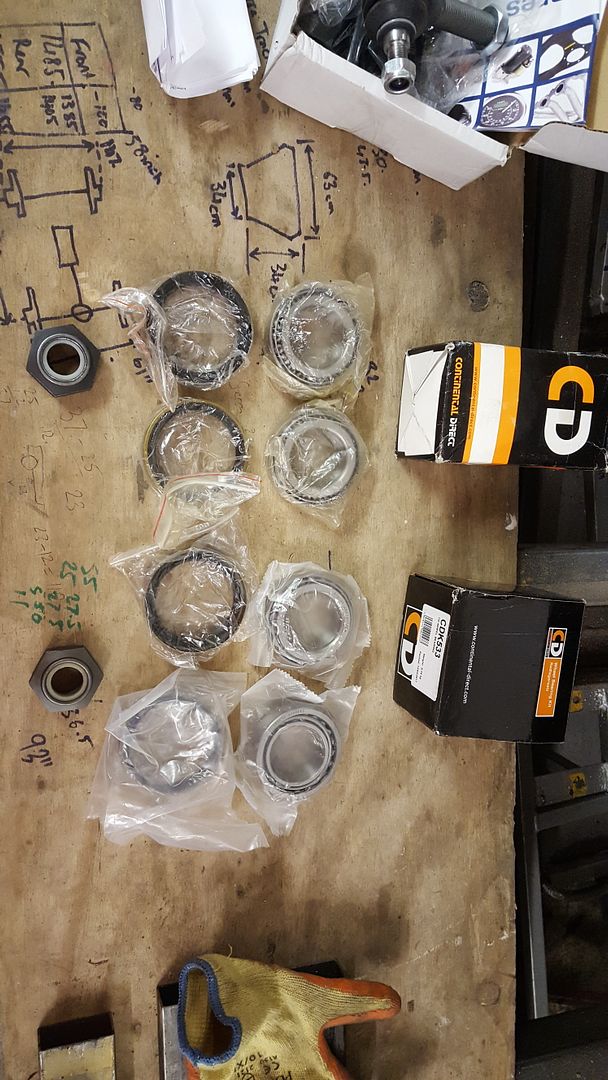
Tried the new track rods in the front arms, perfect fit
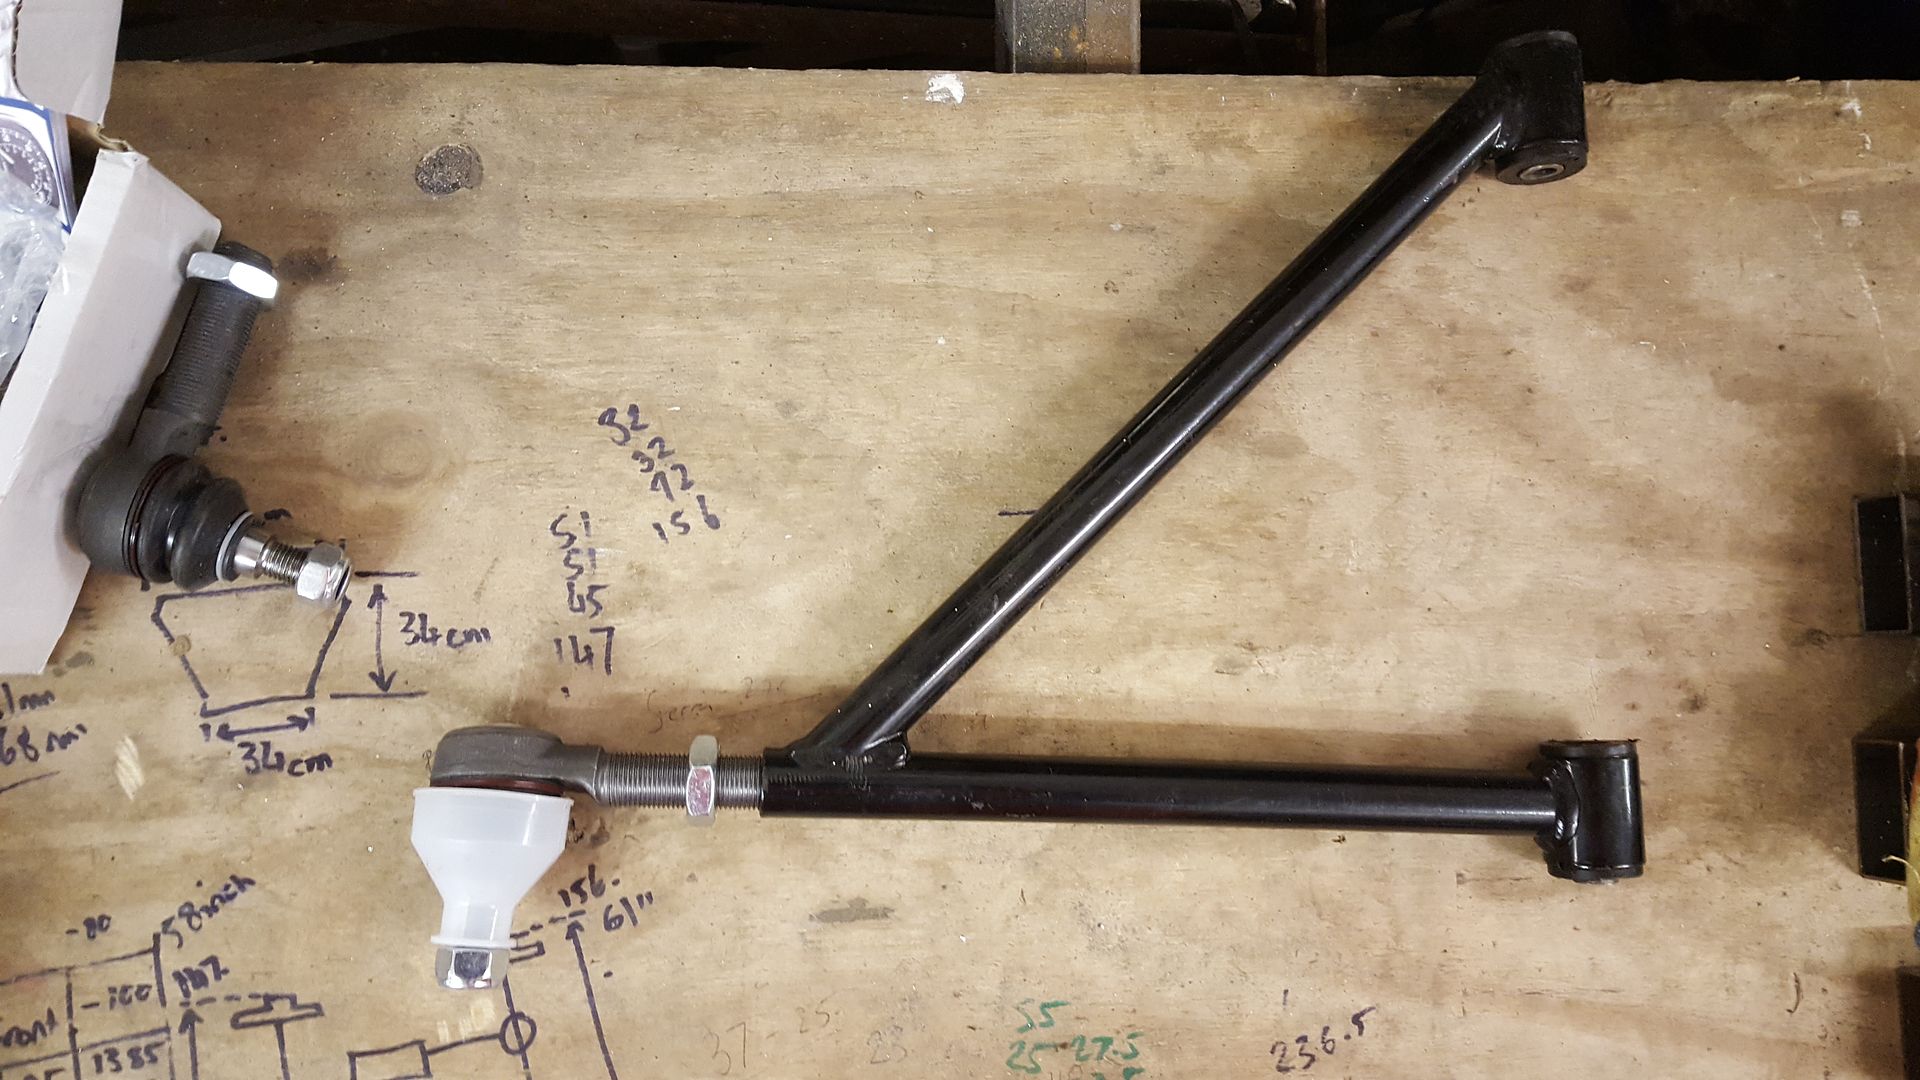
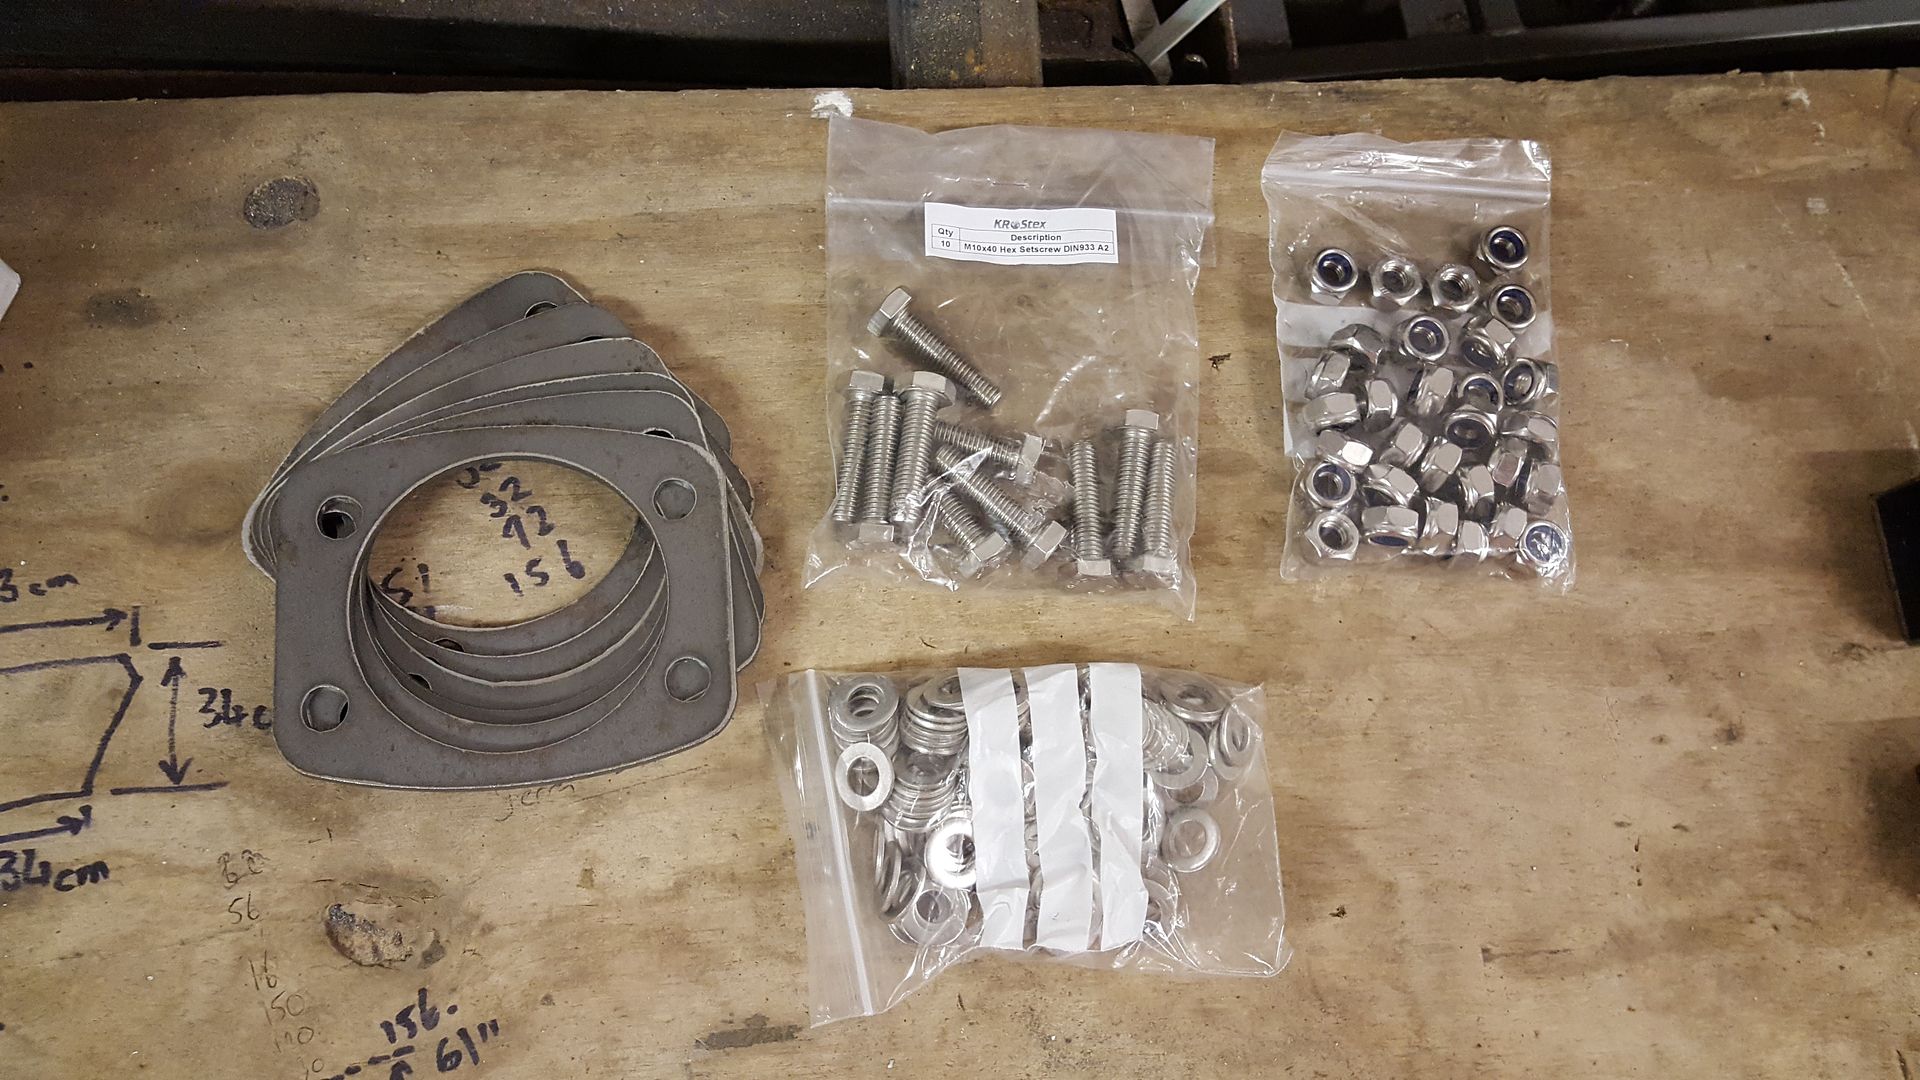
GBS sent me some spacers I apparently needed for the rear hubs to stop the c.v. joints locking out. And got the bolts from eBay
And some thin wall 25x50mm box to go on top of the chassis for the body to sit on.
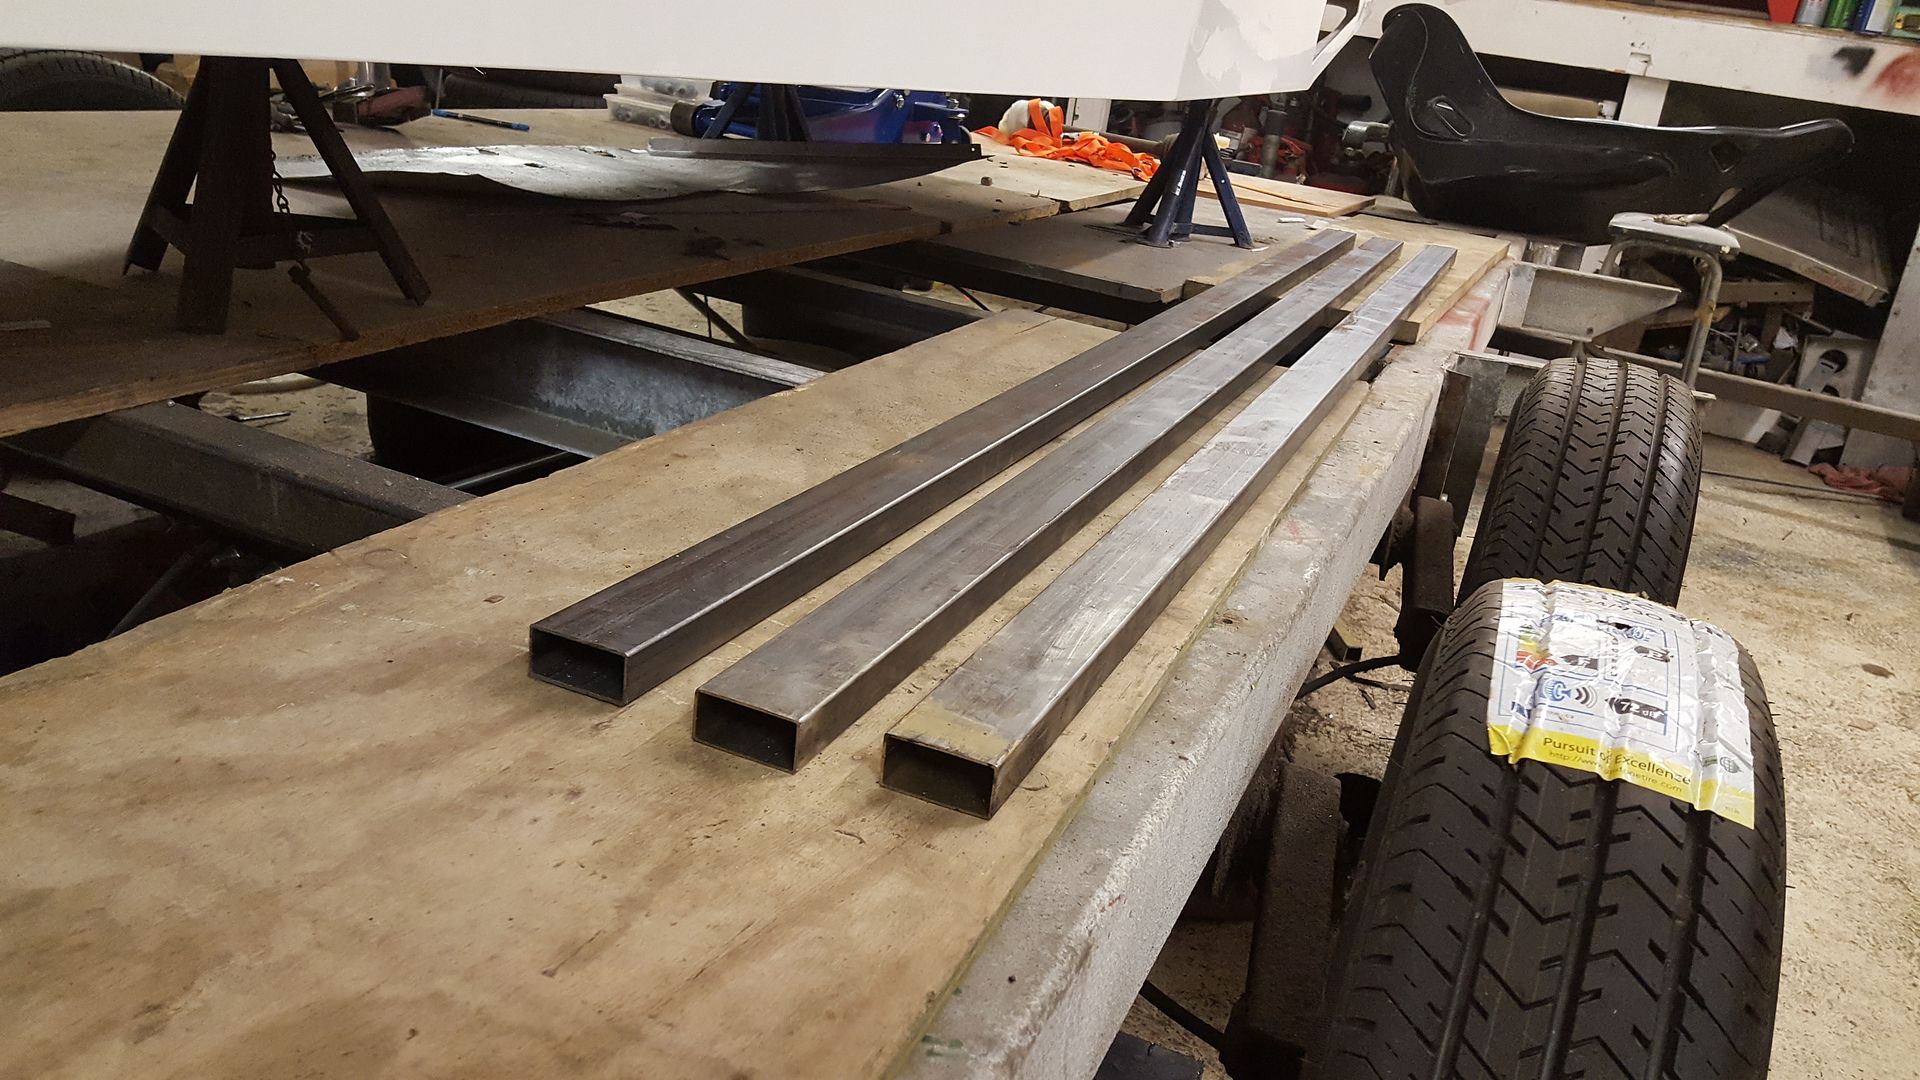
|
|
|
super-ron
|
| posted on 12/12/17 at 10:11 PM |

|
|
Couple more bargain eBay deliveries.
Won this sexy little number for £25. It' about 1.5 litres.
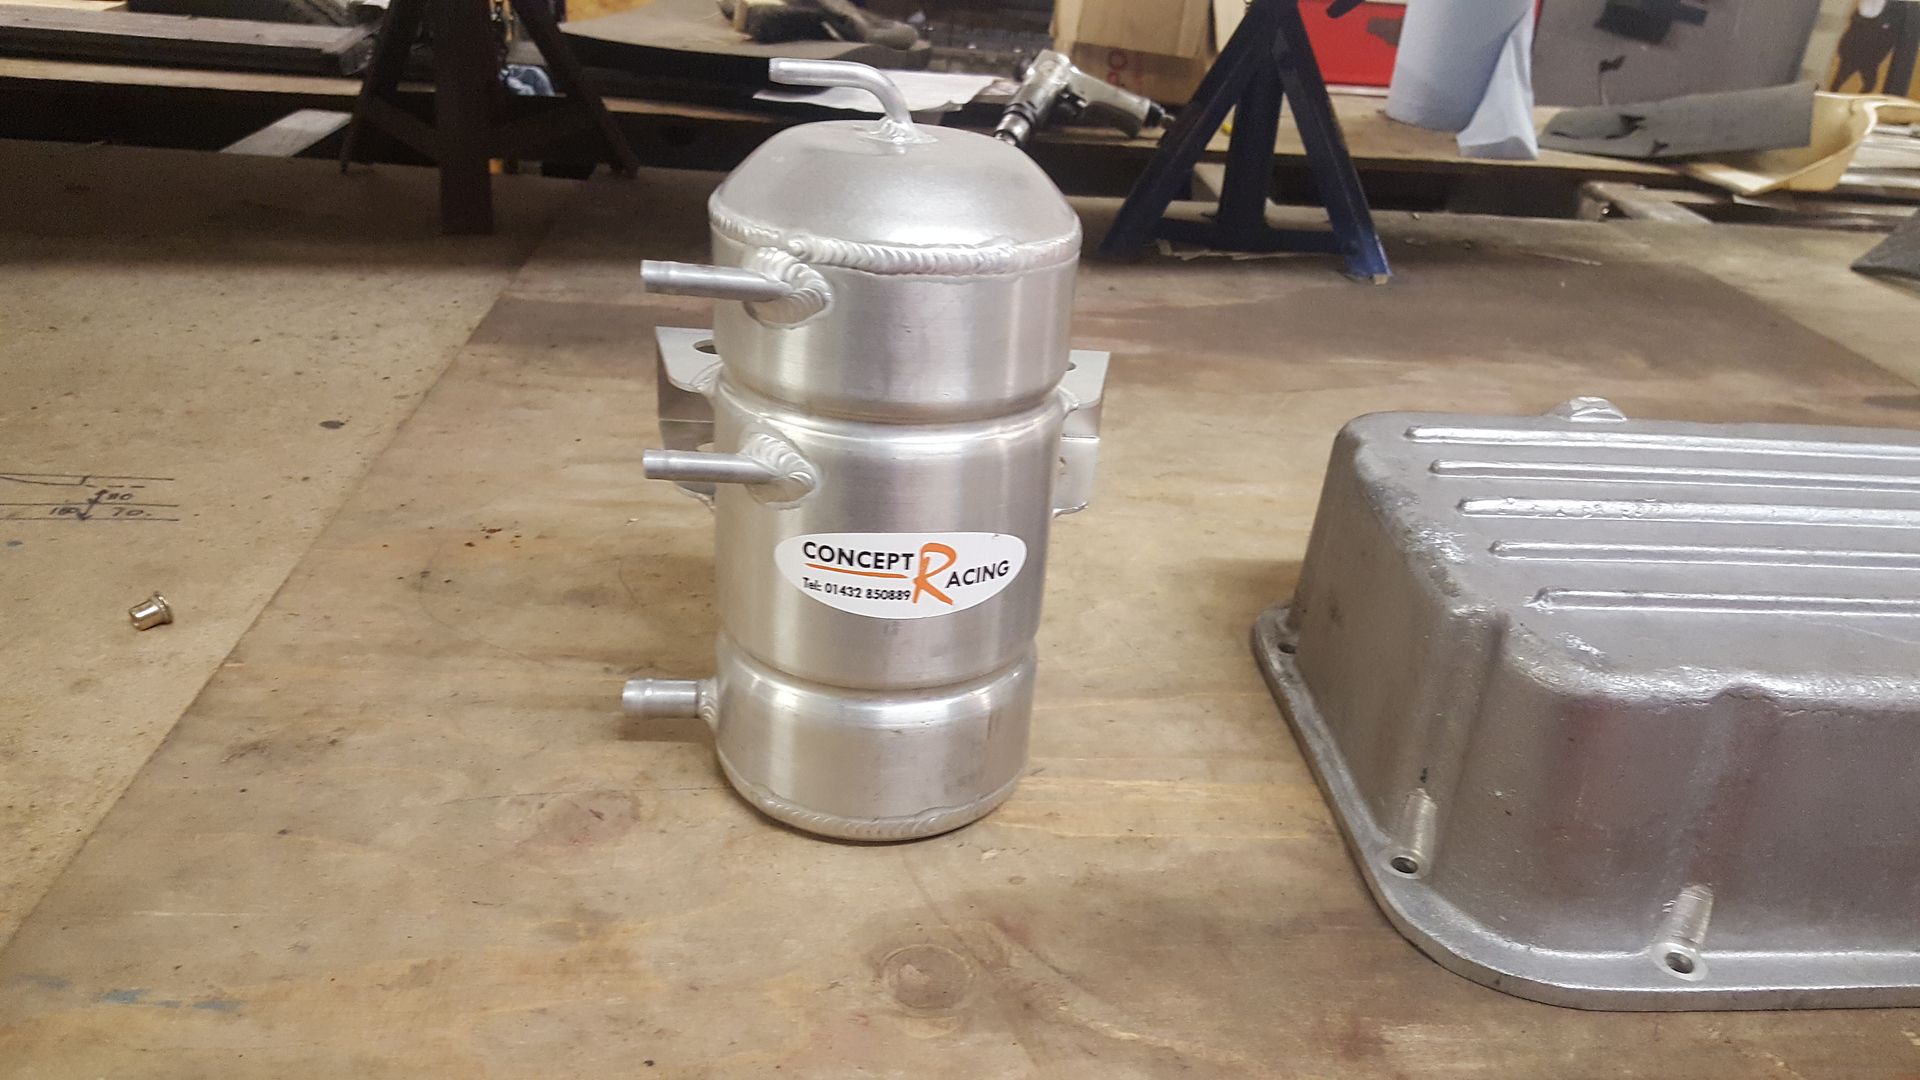
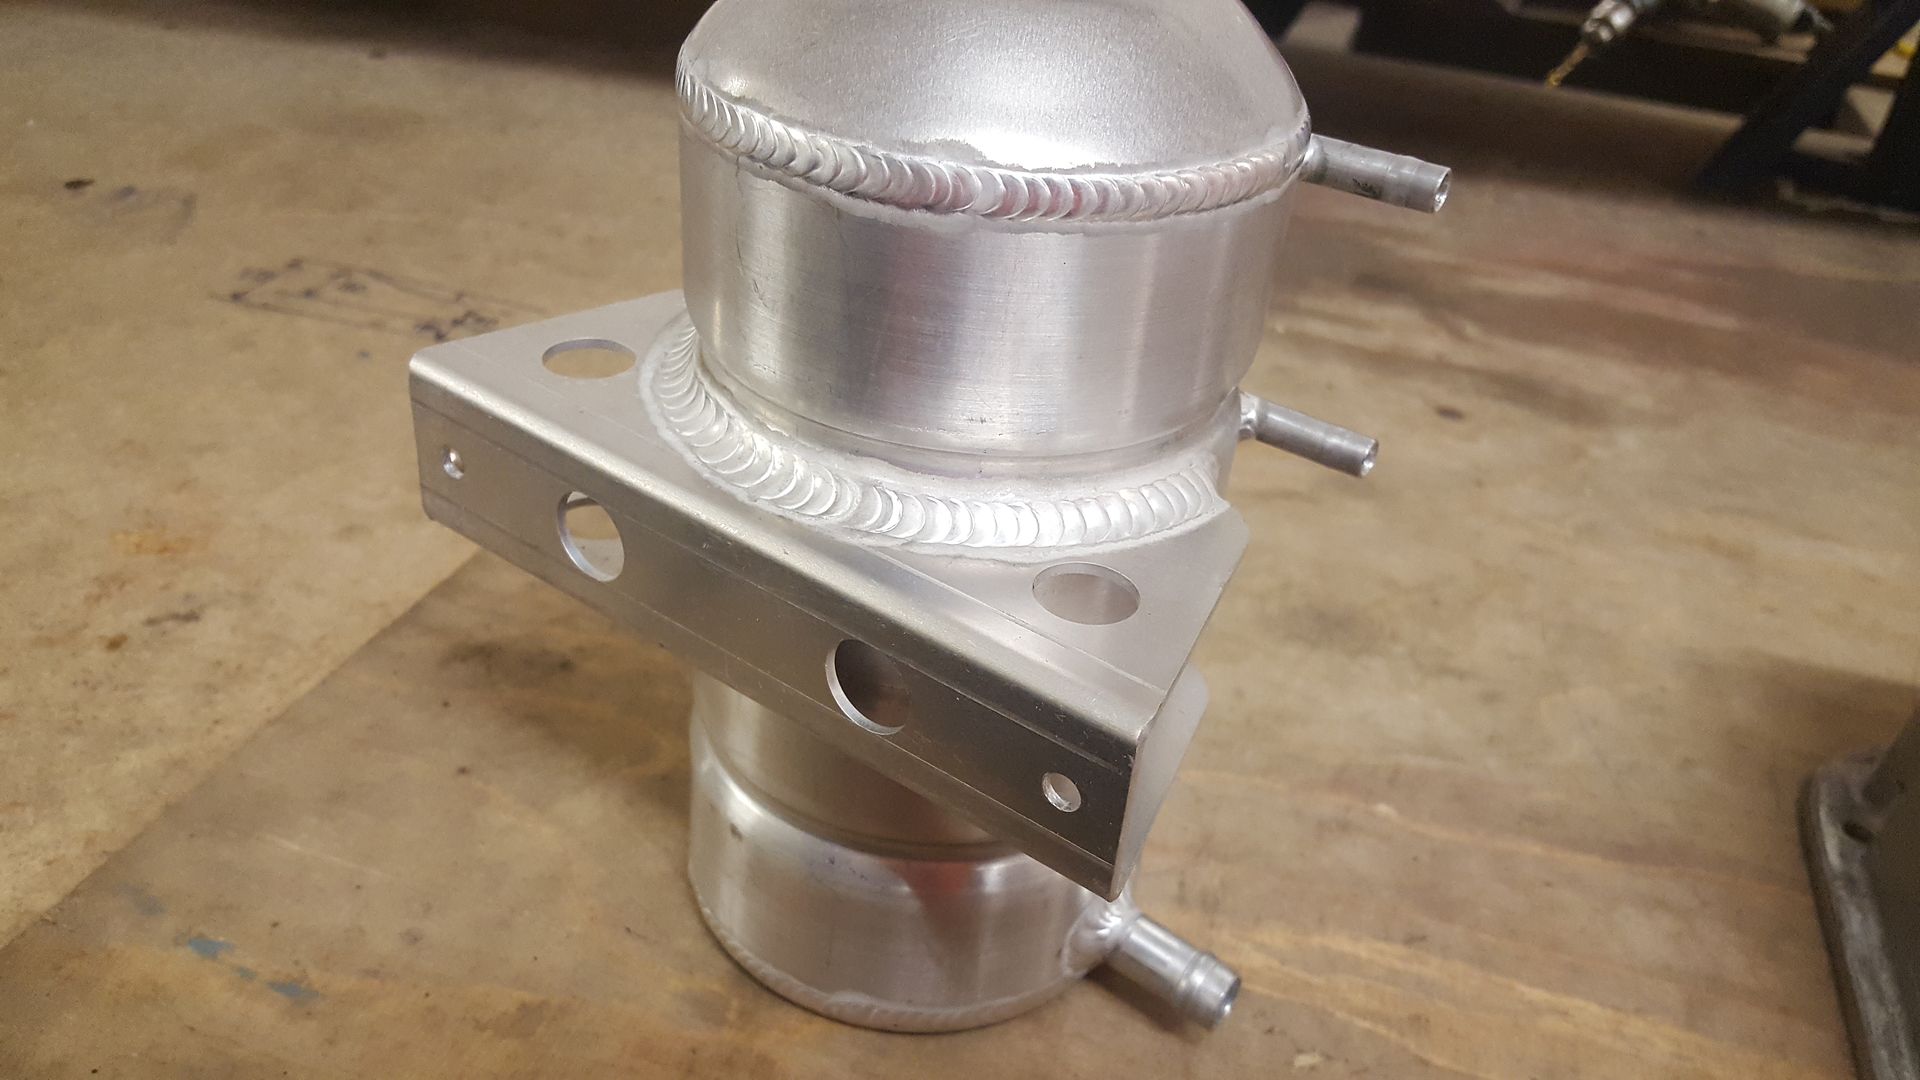
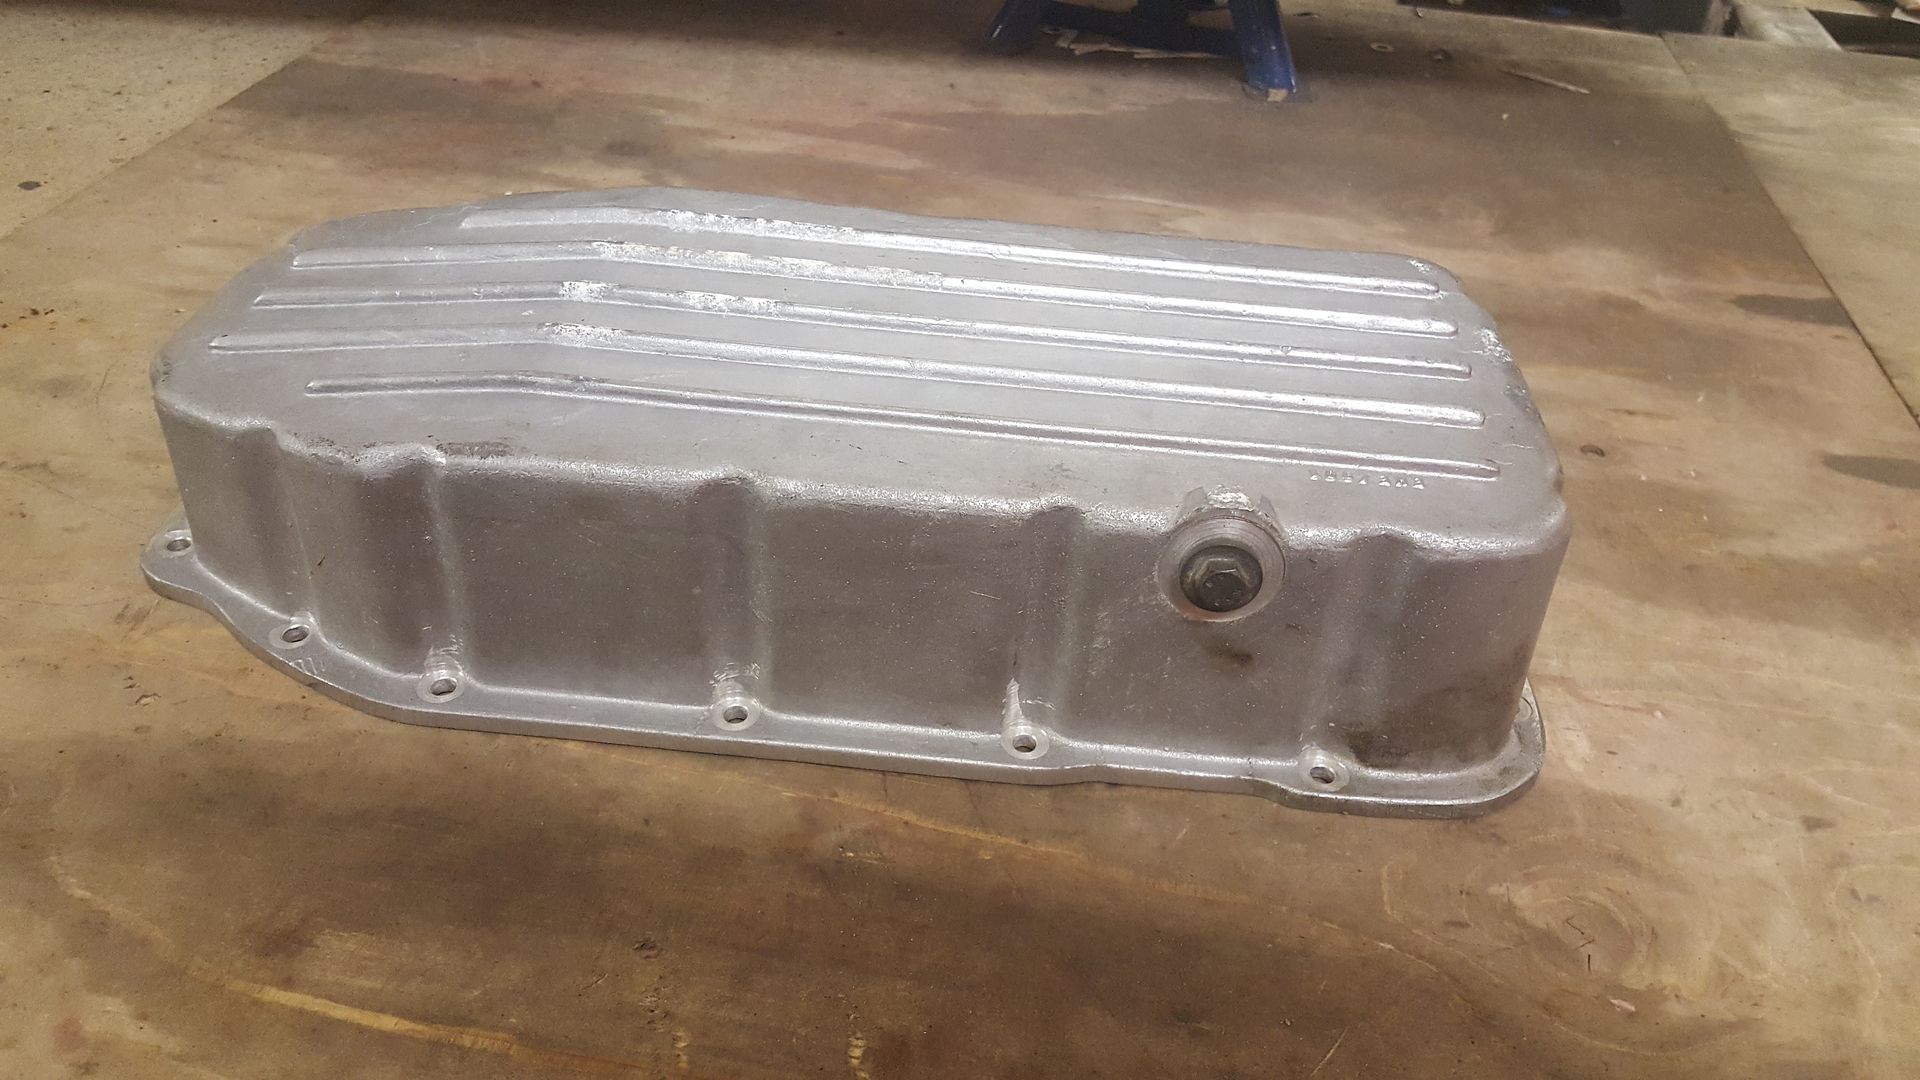
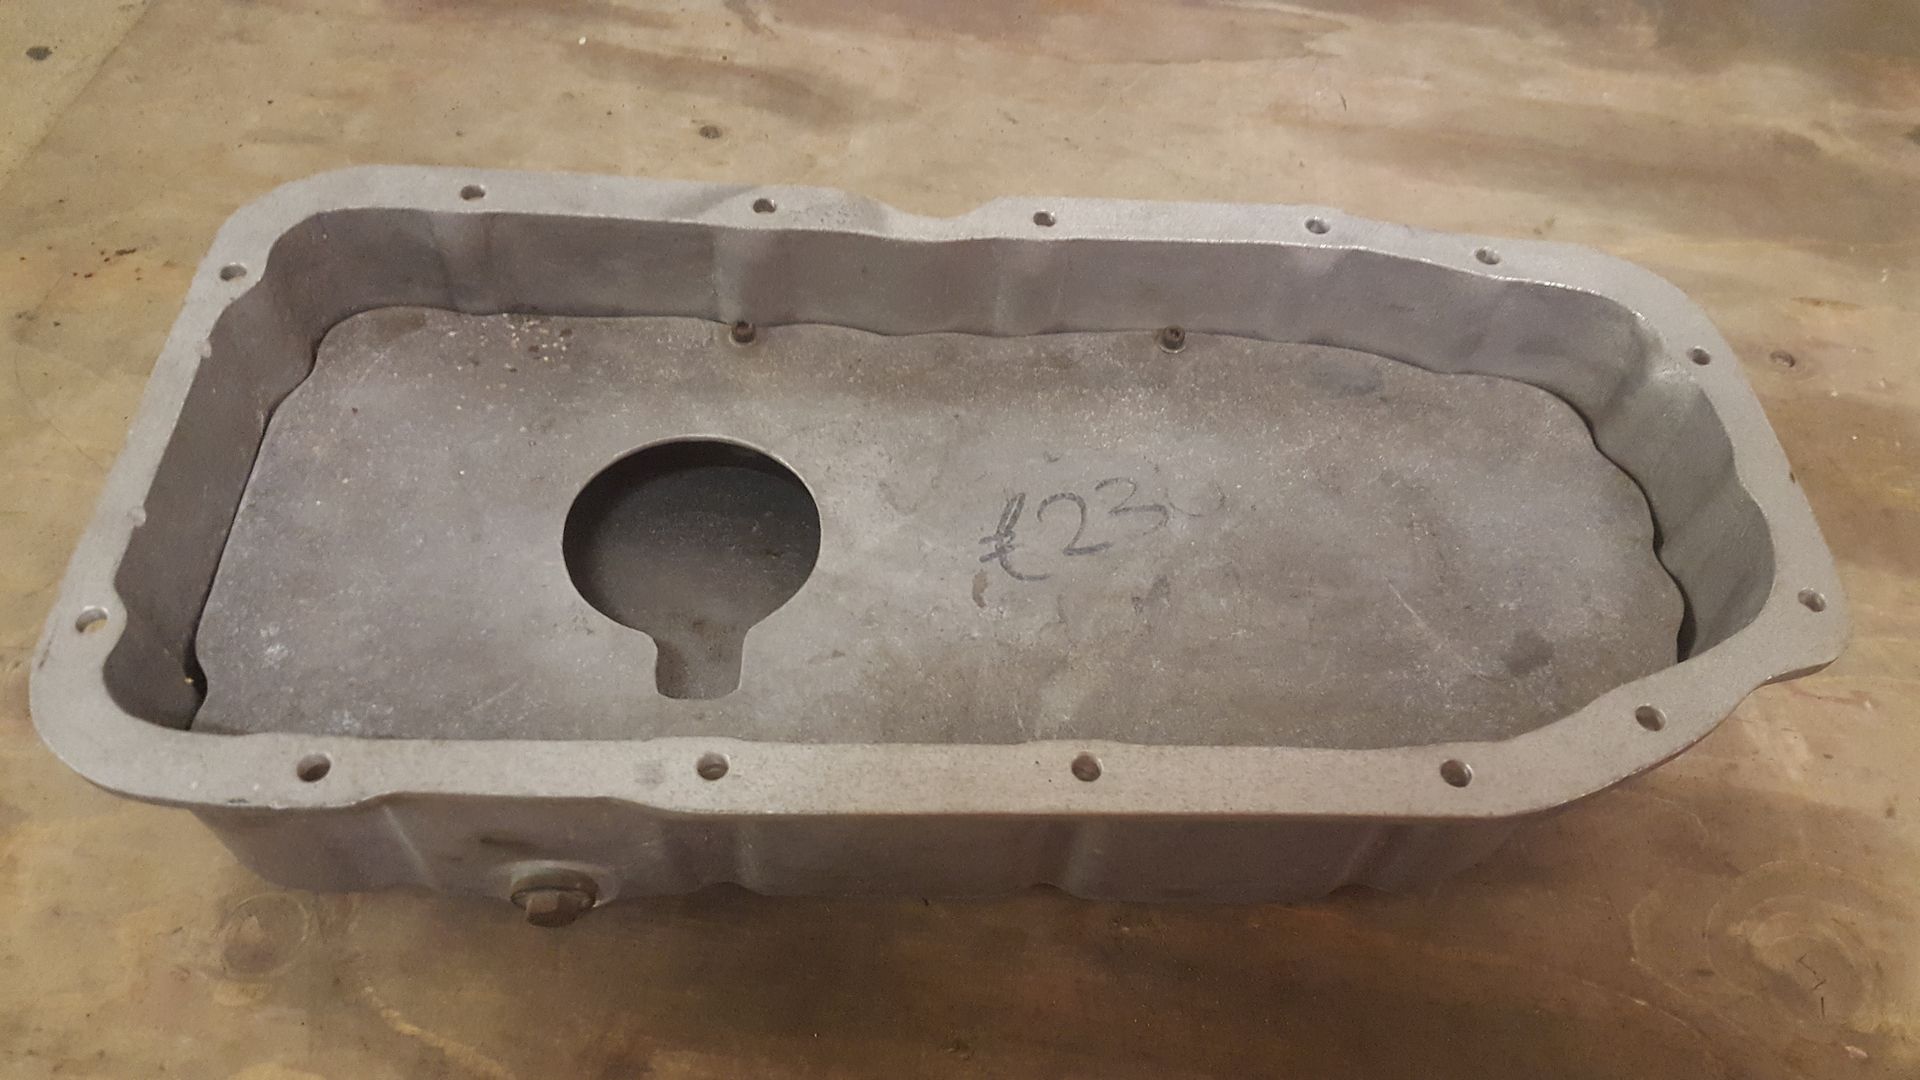
And this c20xe kit car shallow sump for £58. It's still got the £230 price tag written on the inside
Hopefully I'll find some spare time to actually get some progress soon.
|
|
|
super-ron
|
| posted on 22/12/17 at 10:01 PM |

|
|
Finally had a bit of free time to get dirty  I was at the point where I had to work out how I was going to mount the body. It may not seem like a ot
of progress but there's about 2 days work here. A lot of trying and thinking and re thinking. I was at the point where I had to work out how I was going to mount the body. It may not seem like a ot
of progress but there's about 2 days work here. A lot of trying and thinking and re thinking.
All the pictures so far of it all assembled are all just mole gripped together
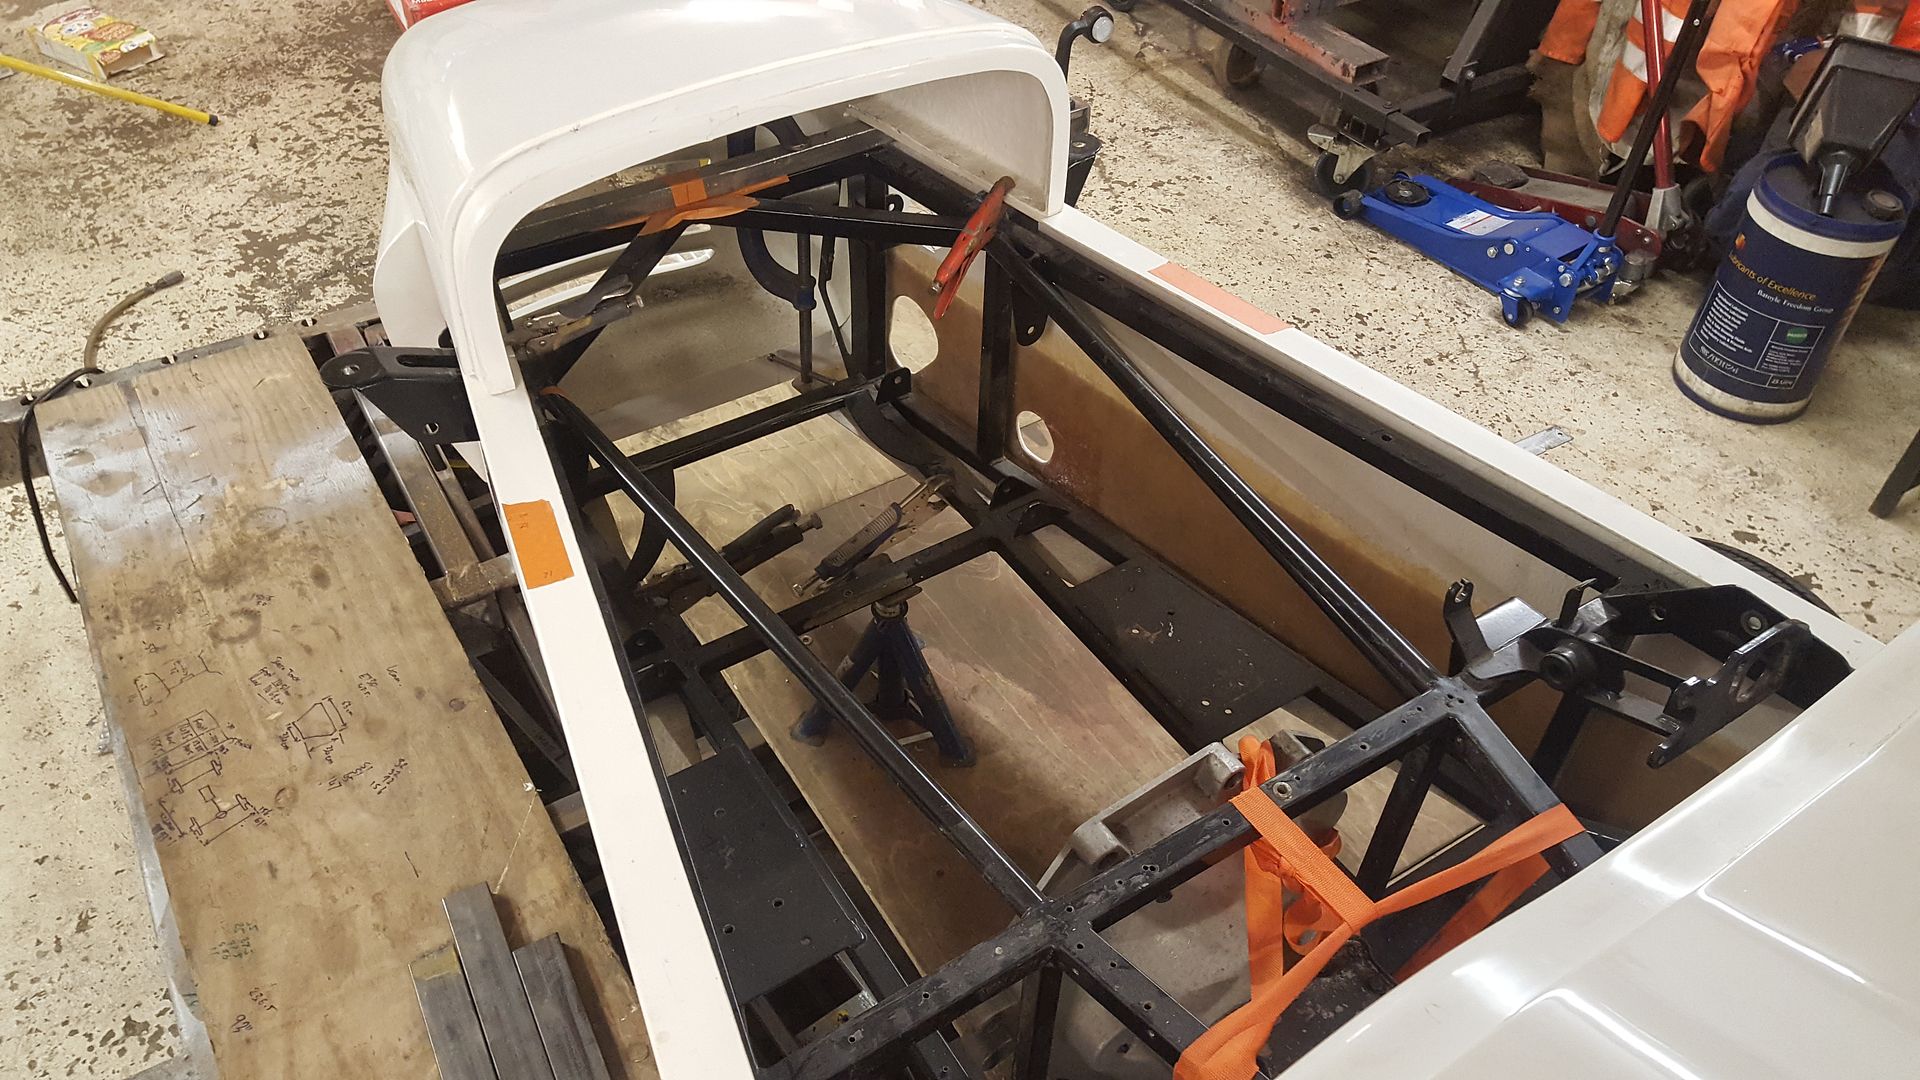
The other problem is that the MNR VORTX nose cone, and the side panels are around 50mm wider than the GBS ZERO chassis at the front. Meaning at the
front the body wouldn't be sitting on the chassis.
I'd just had a bar going across for now
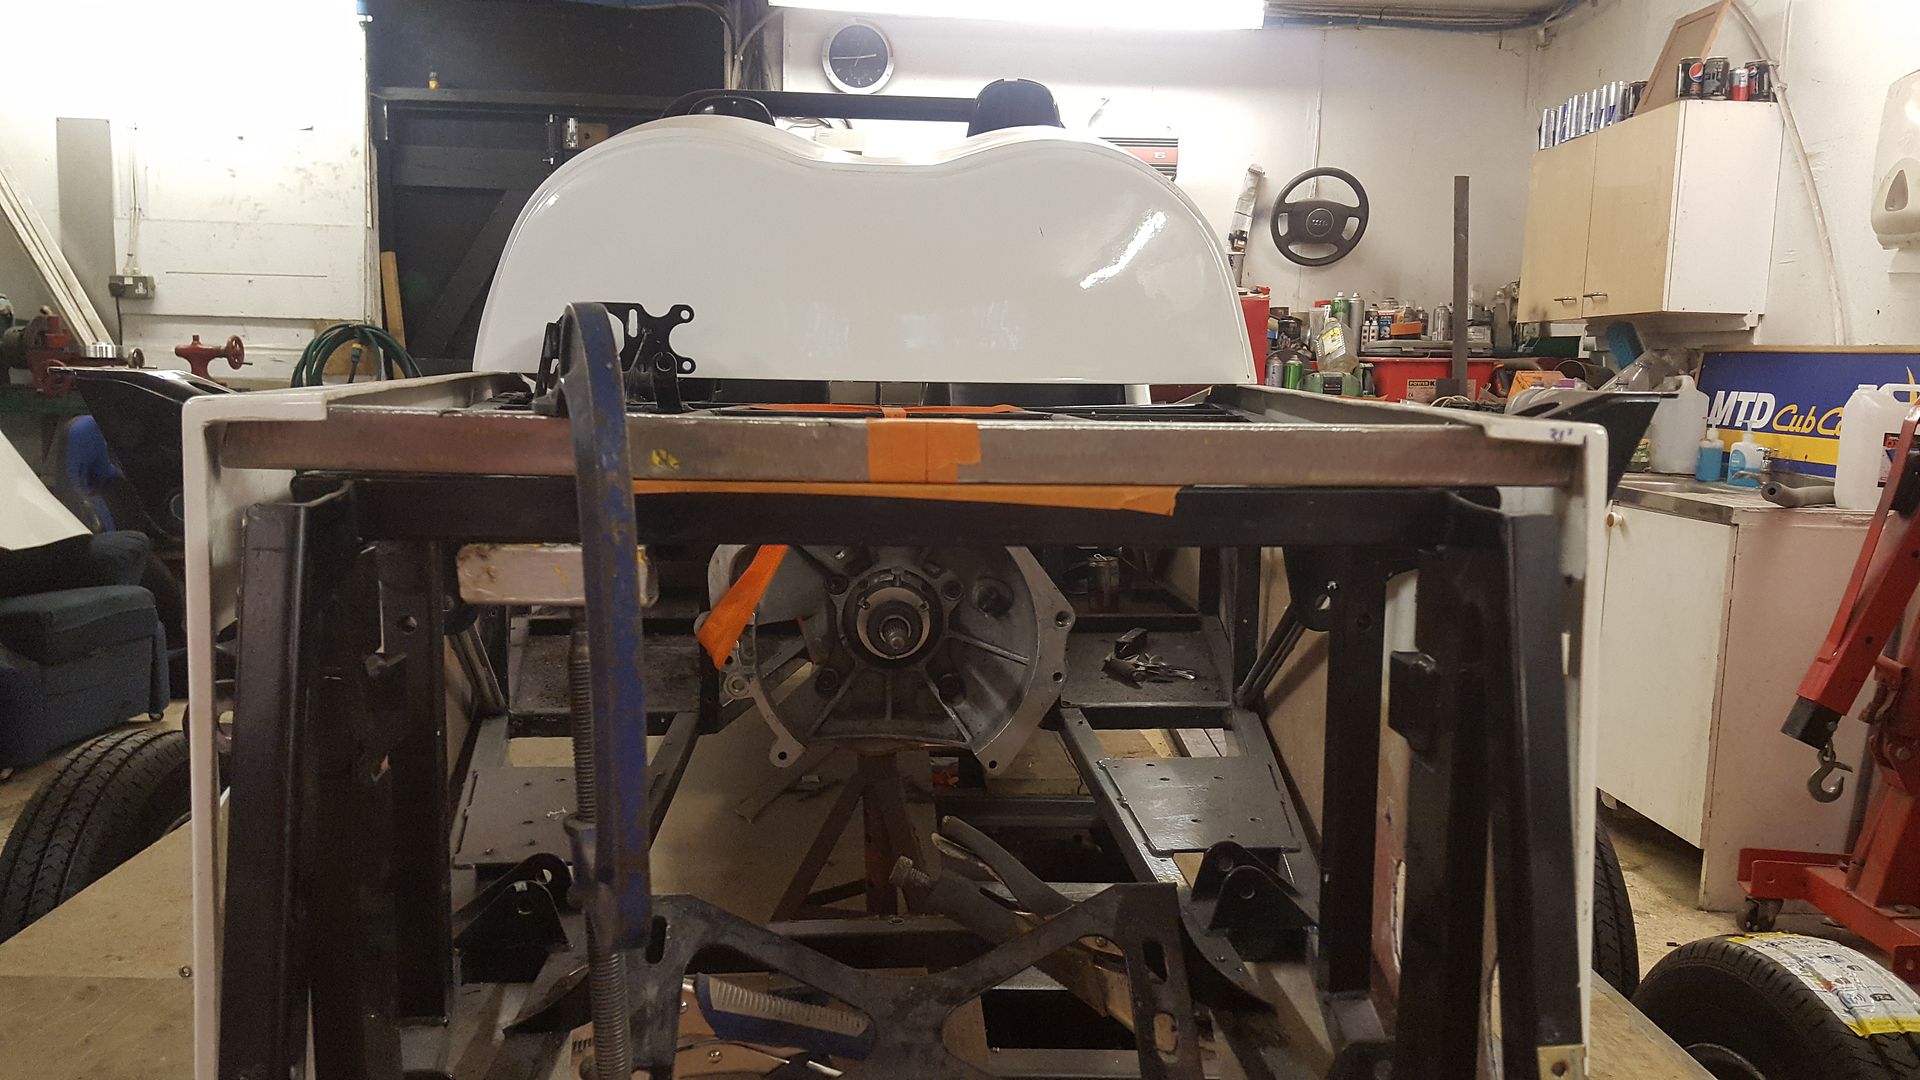
Annnnnd, the VORTX body is 25mm taller than the GBS chassis (although not really a problem, if you were to lean on it it would be!)
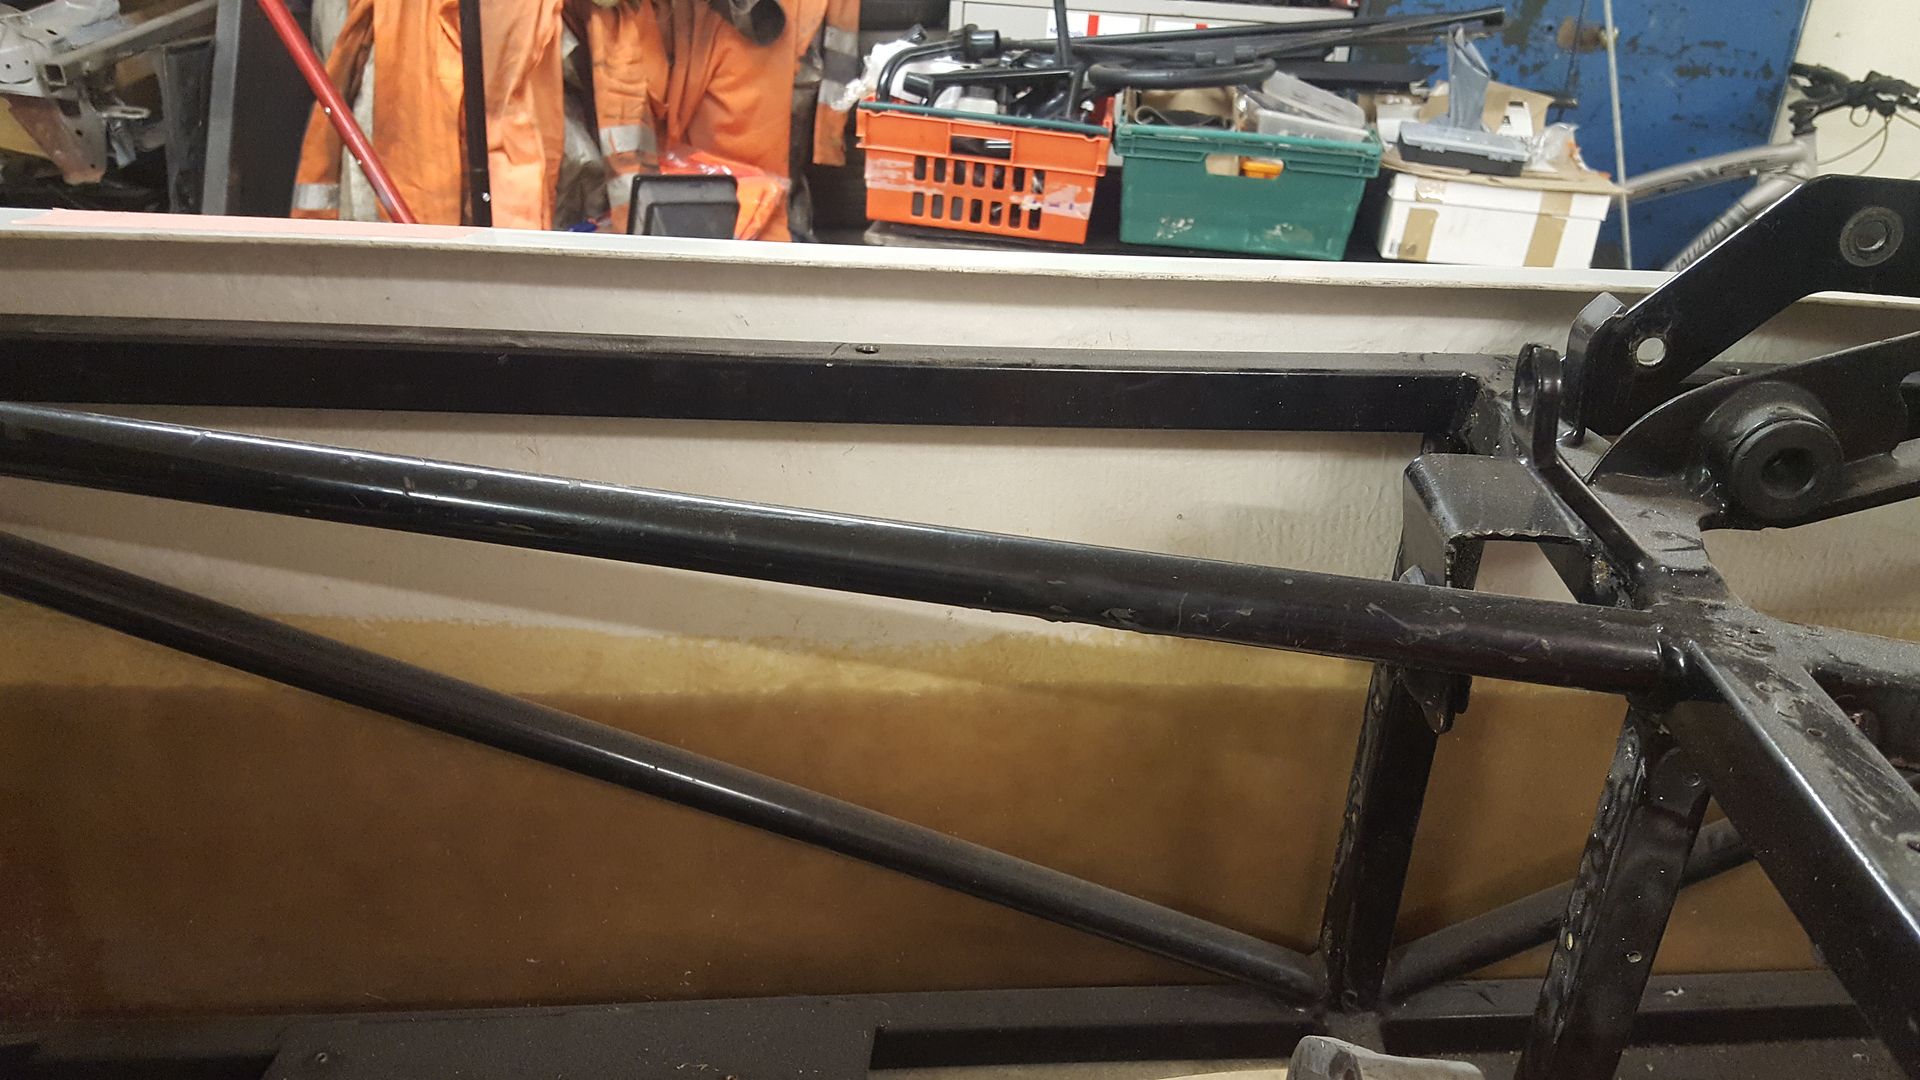
So I got some lengths of 25x50mm thin wall box to take up the height and width difference. So the 50mm wide will span the width at the front then fade
back in flush at the rear
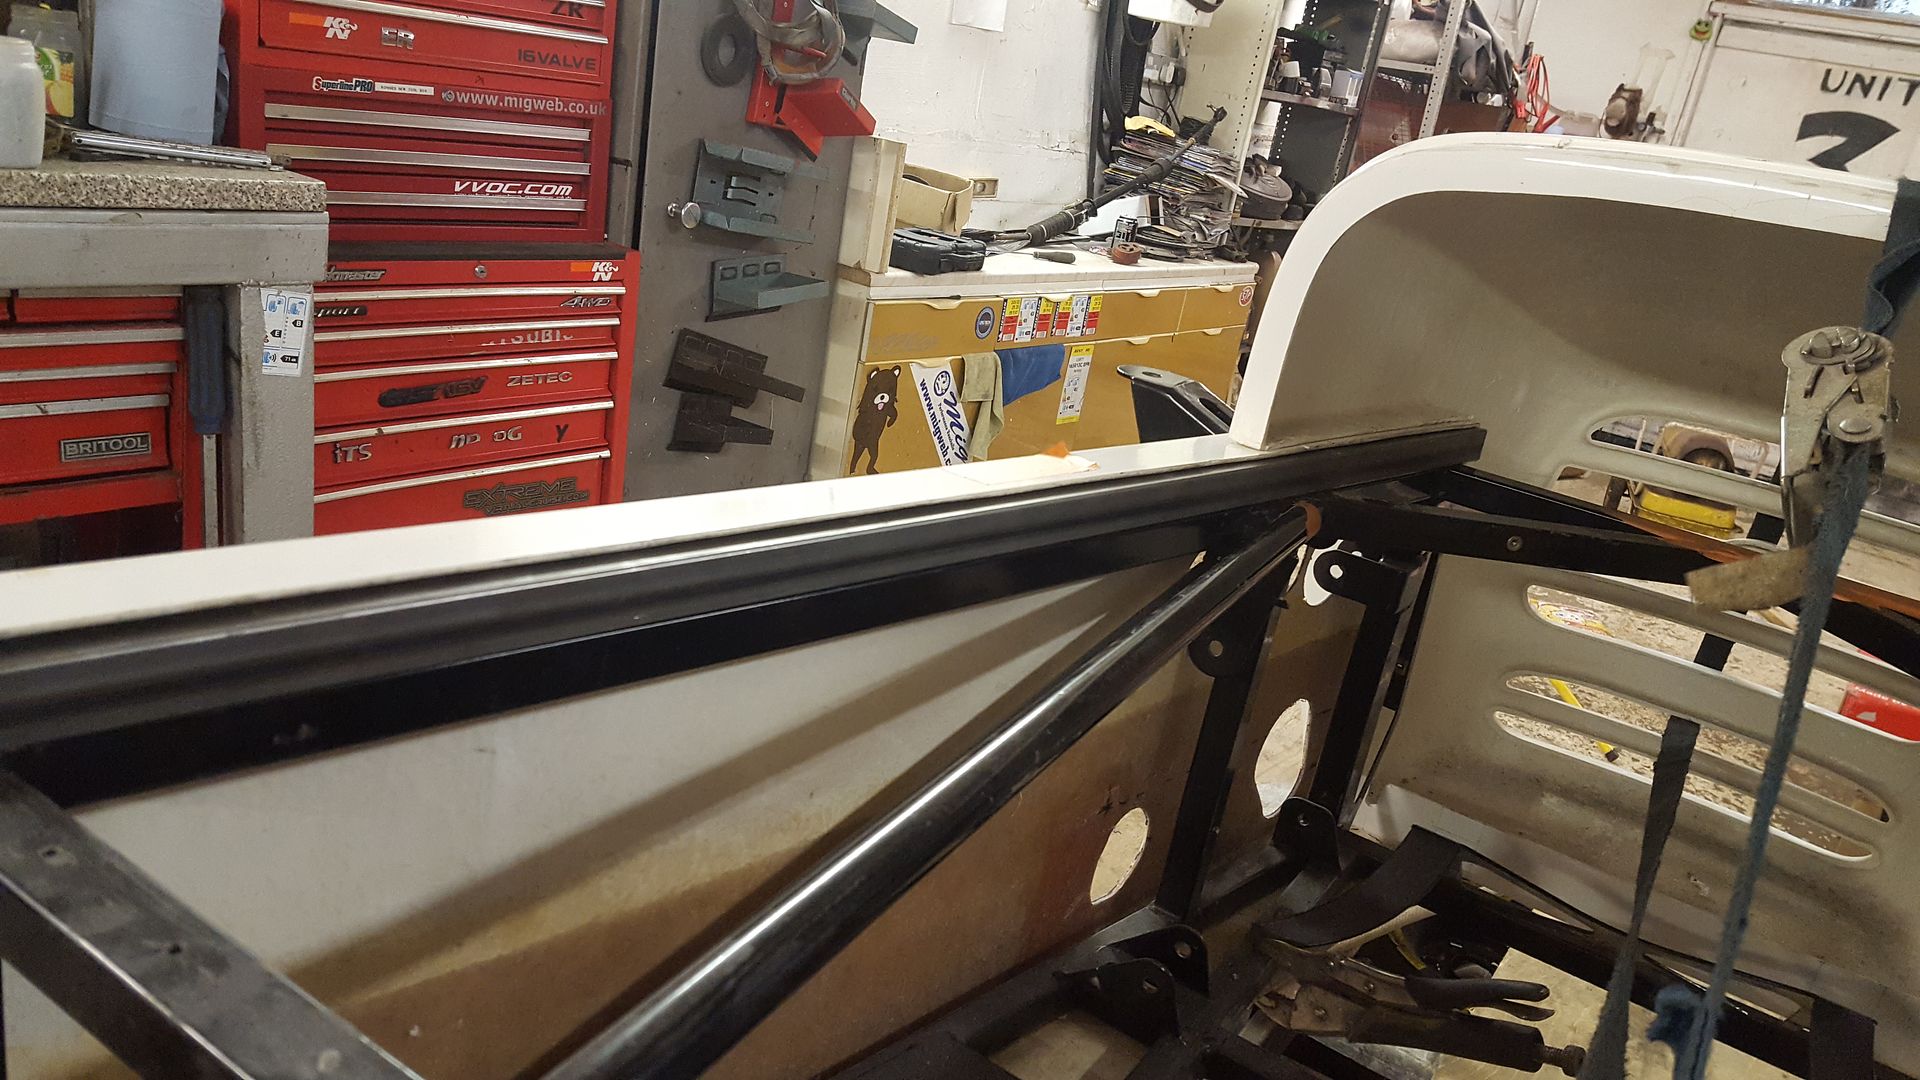
I can't weld these directly to the chassis because I need to be able to remove them to get the body on and off. So the need to be bolt on
So got creative with a bit of 25x25 box
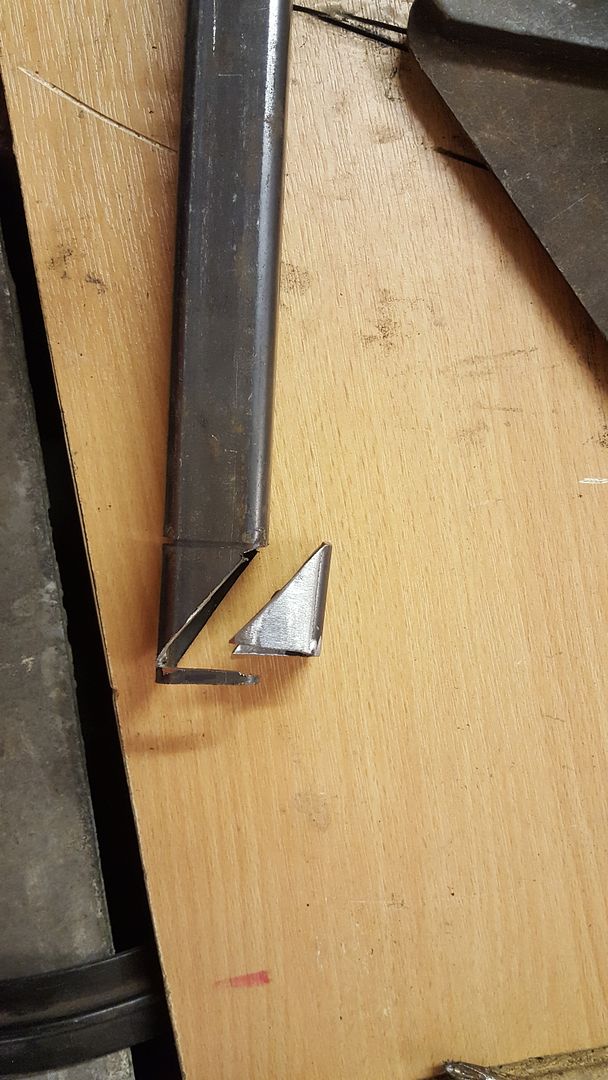
To make a tab
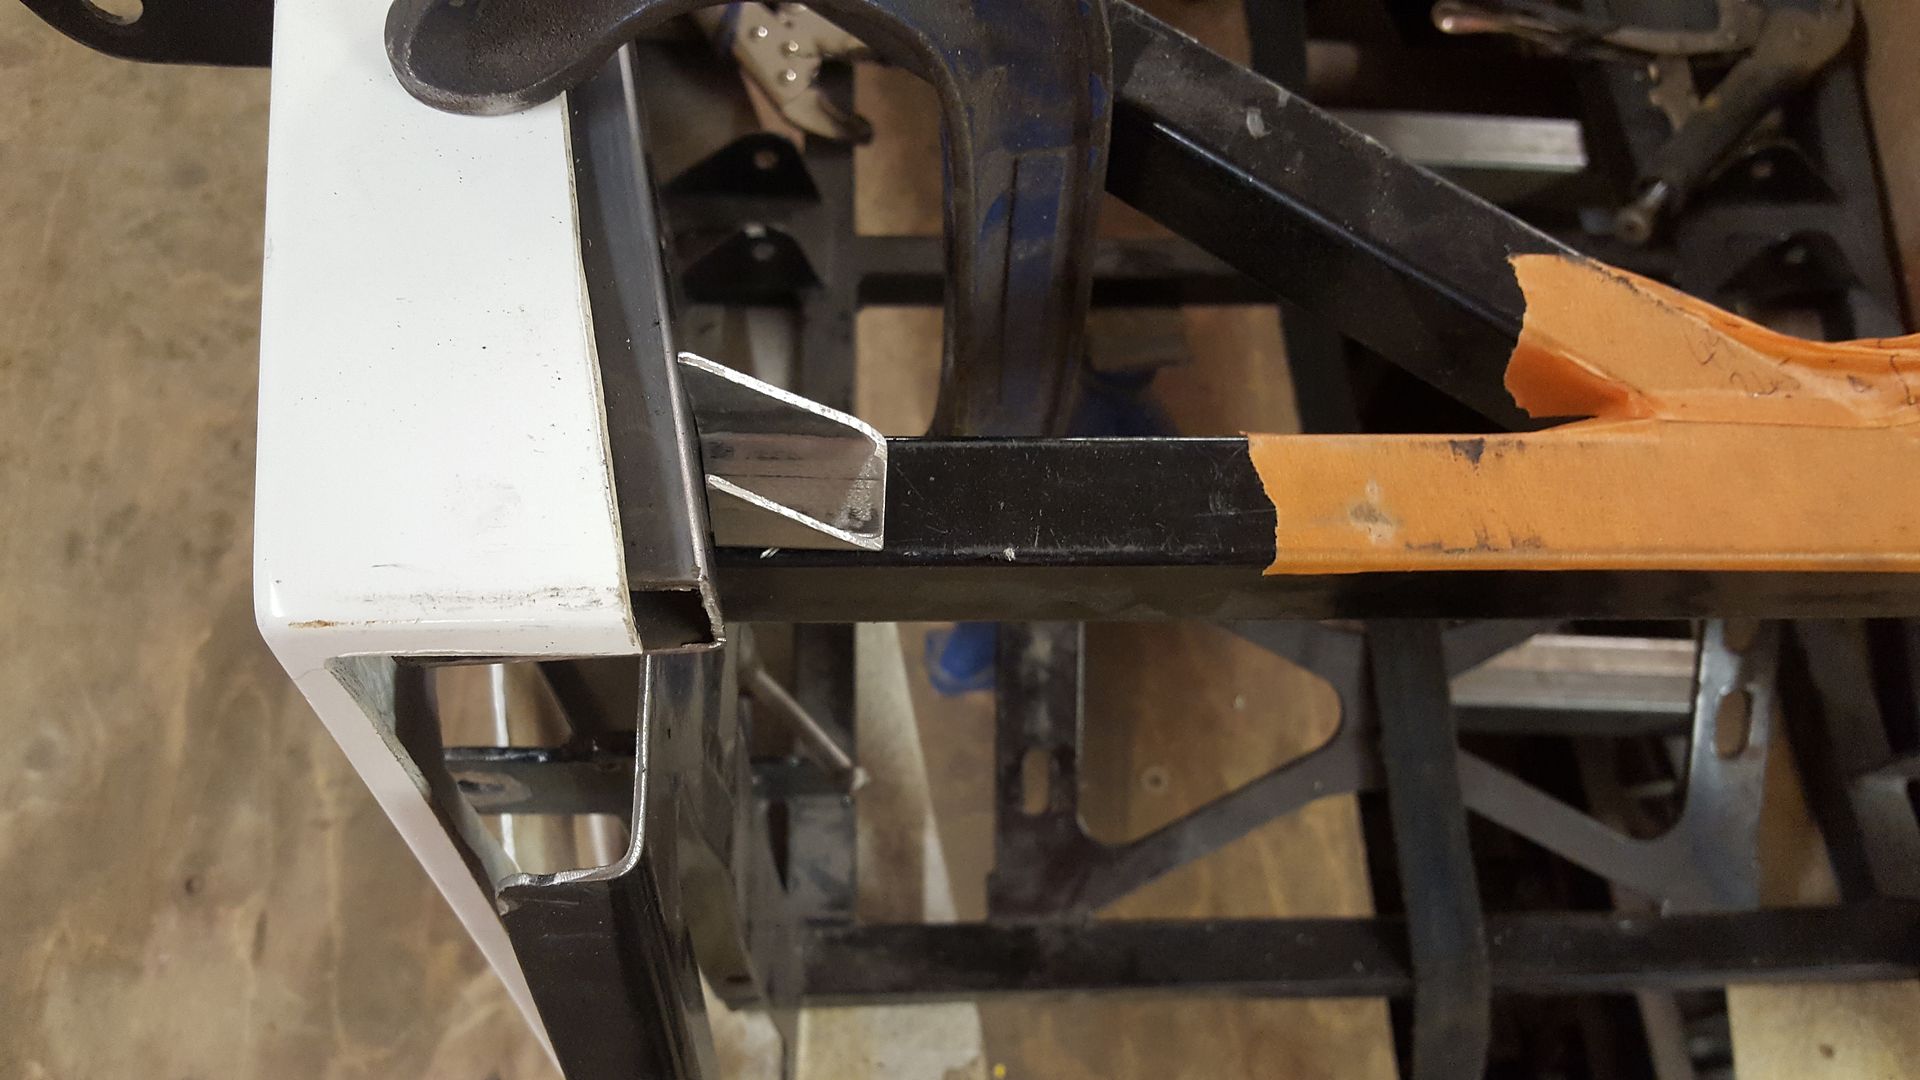
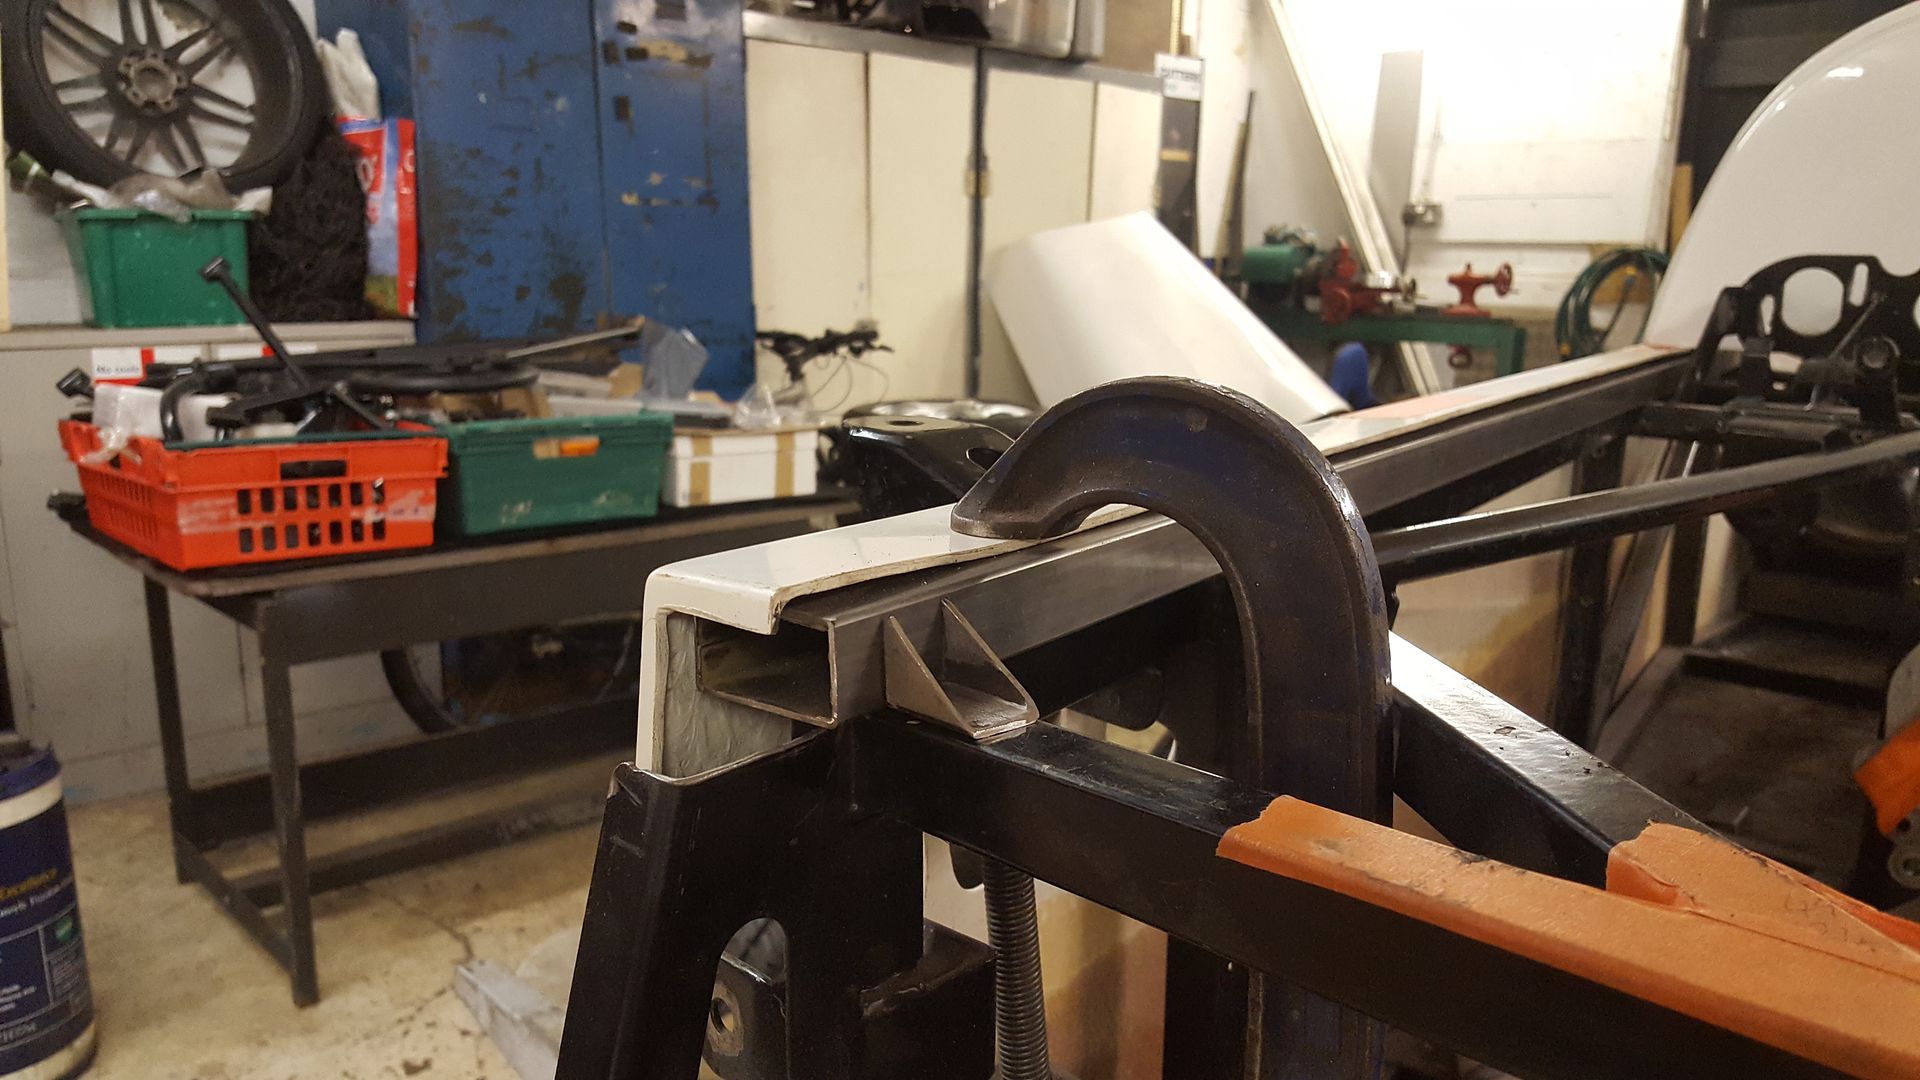
And another
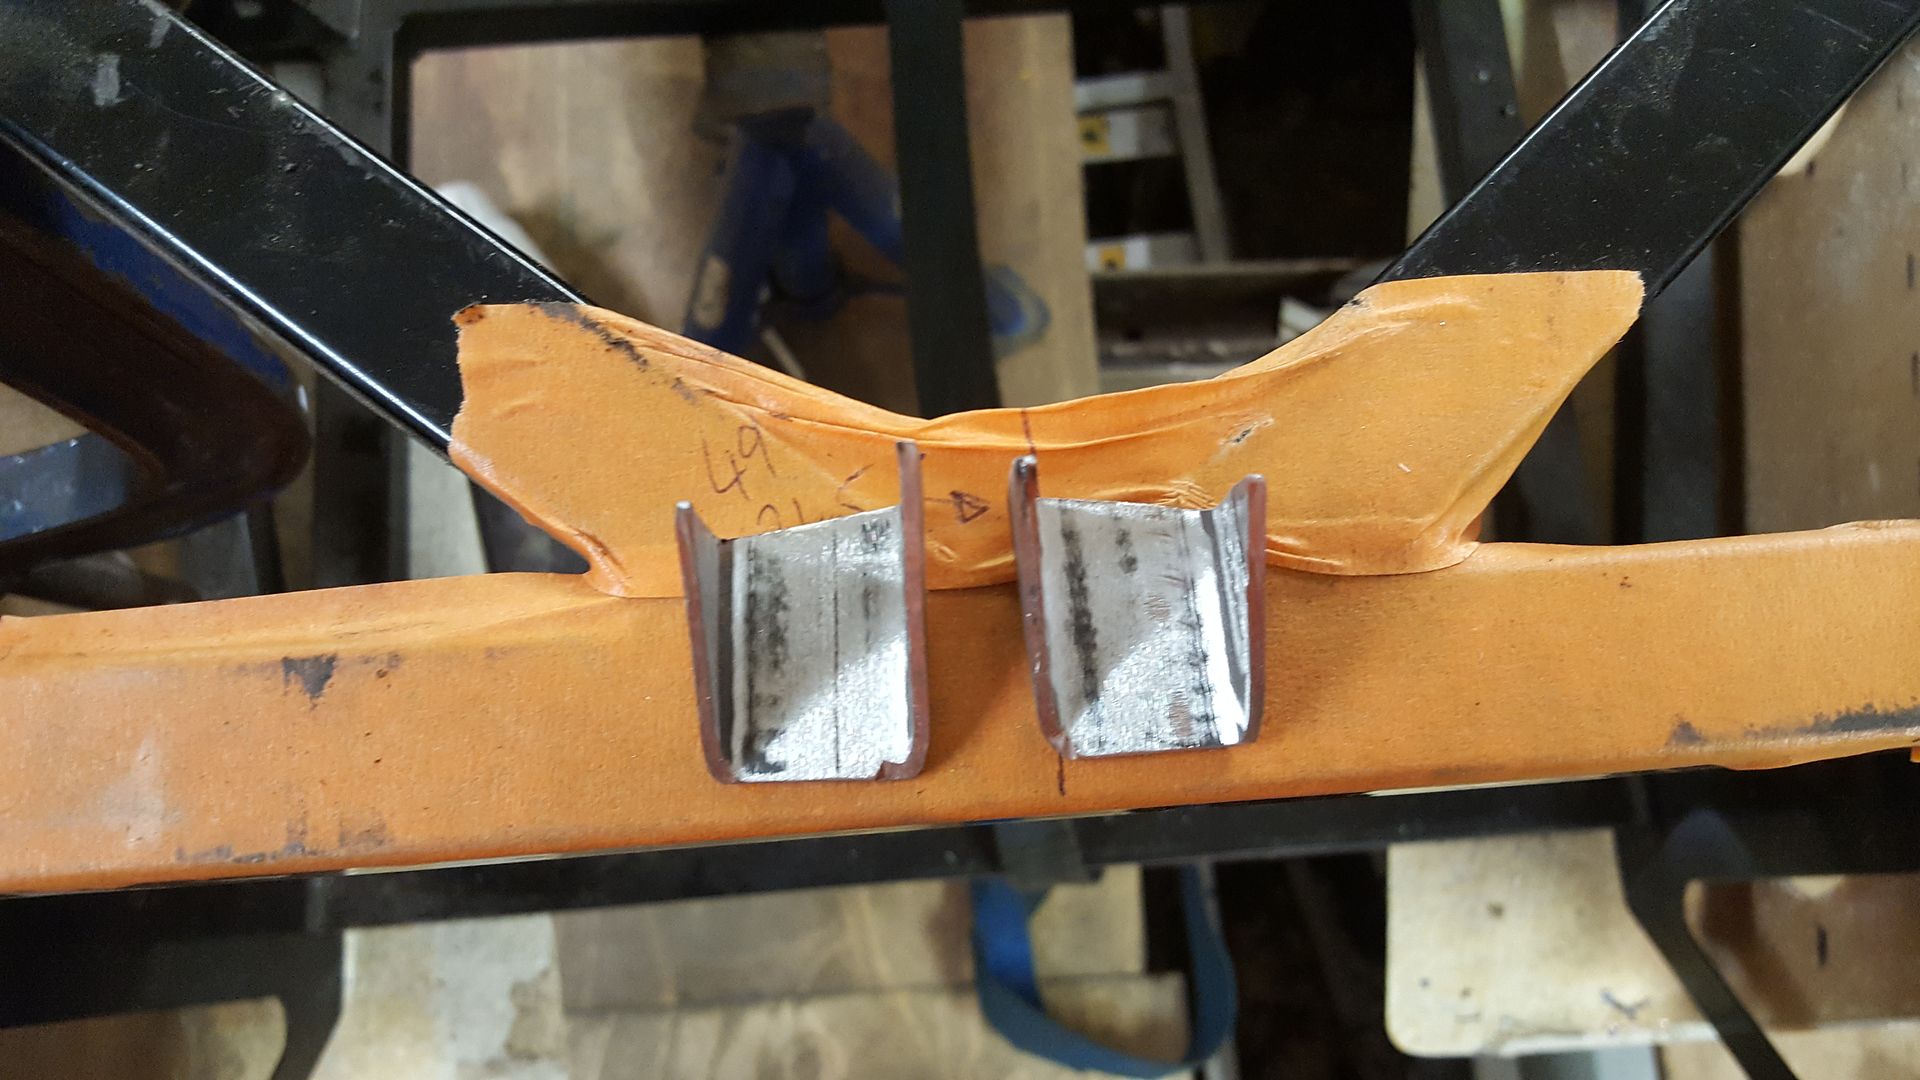
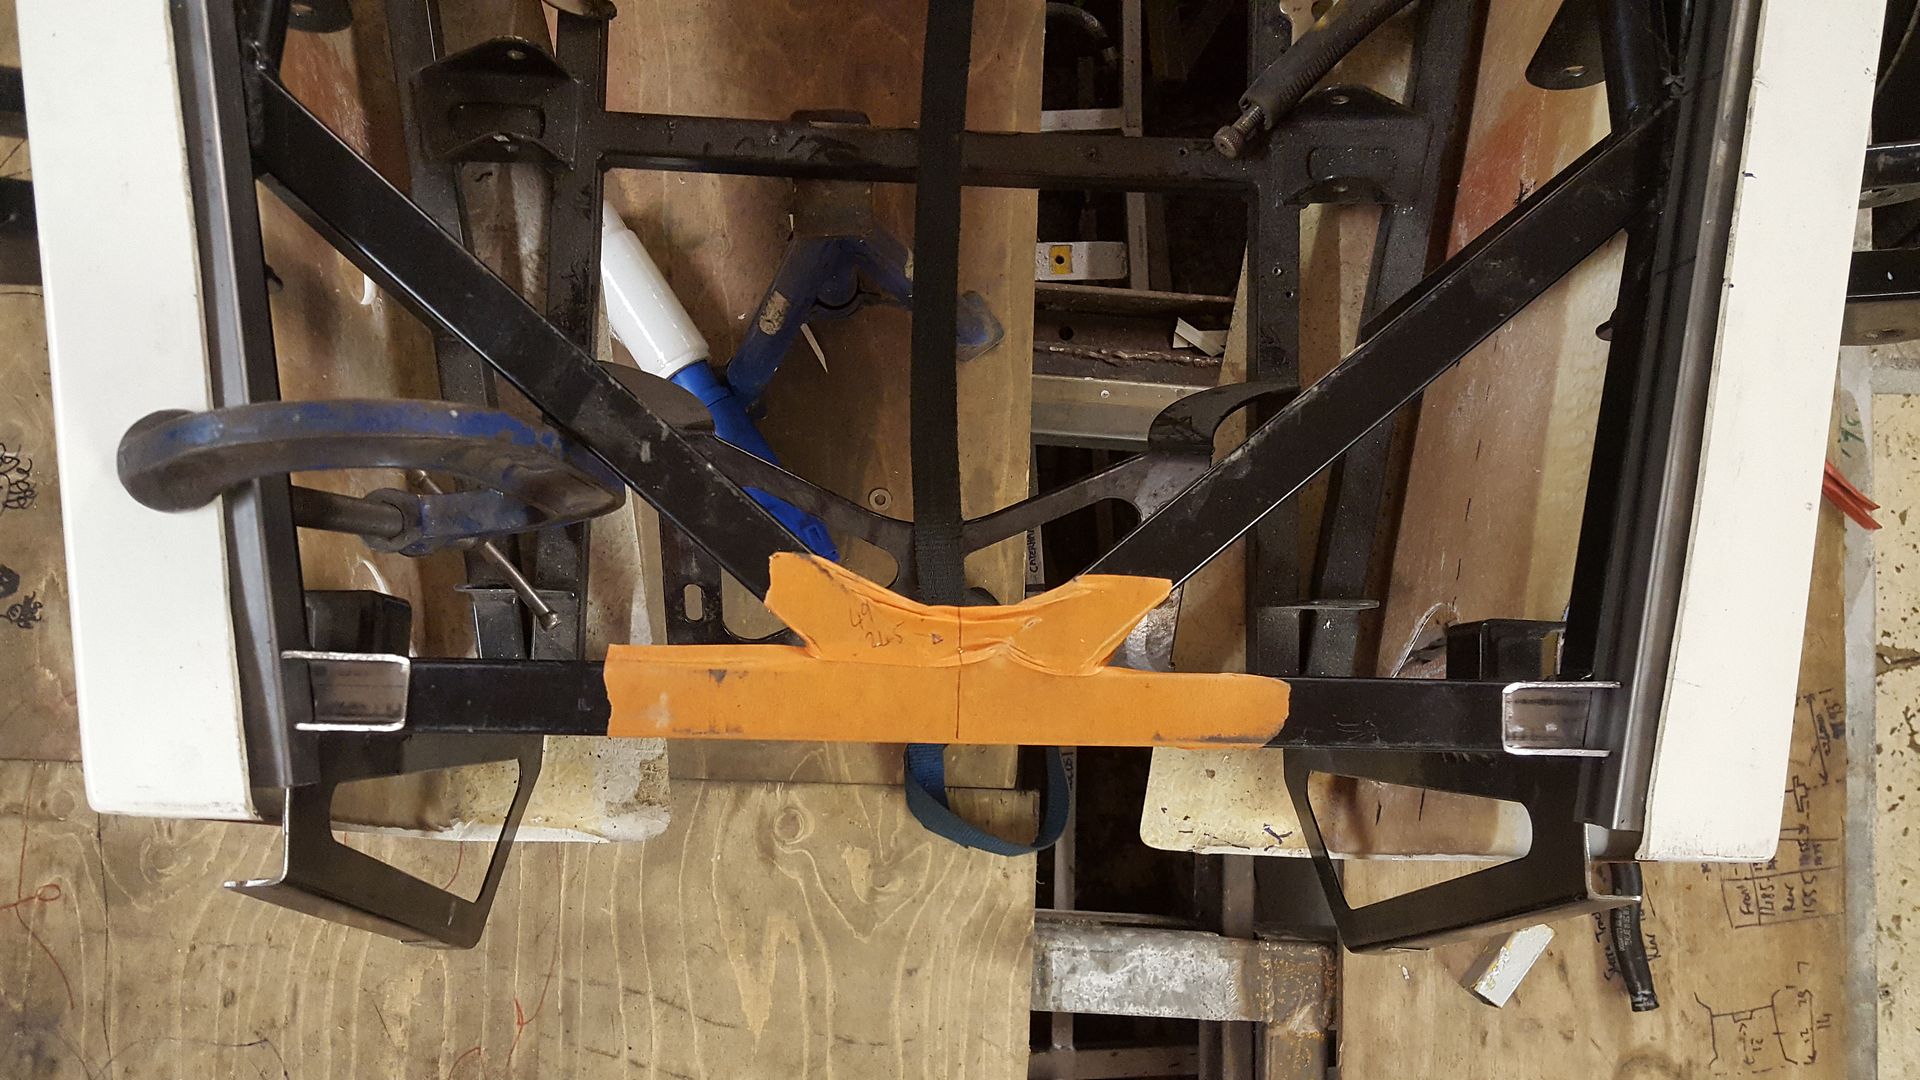
Welded them on
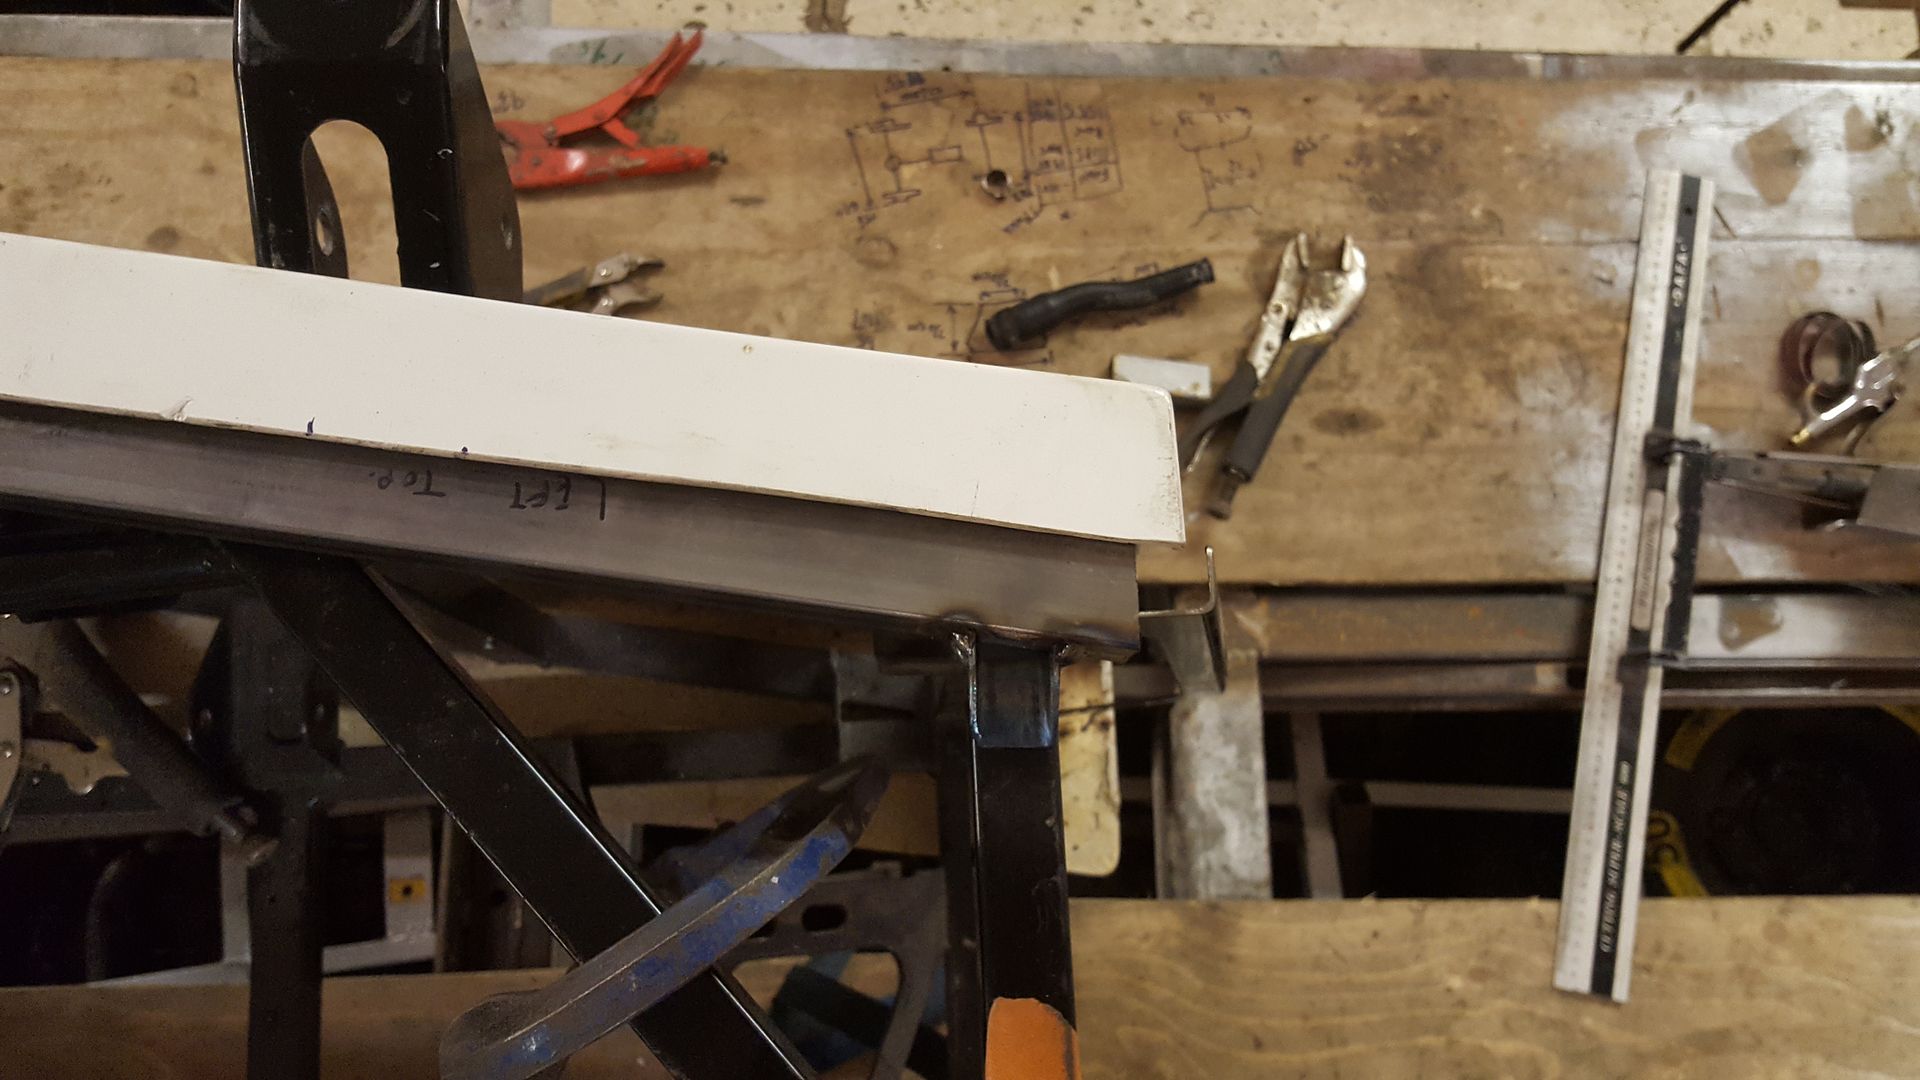
And could now start centralizing the body on the chassis
It' not easy being down here on my own, you need 20 pairs of hands yo keep trying it on and marking, or the odd rachet strap
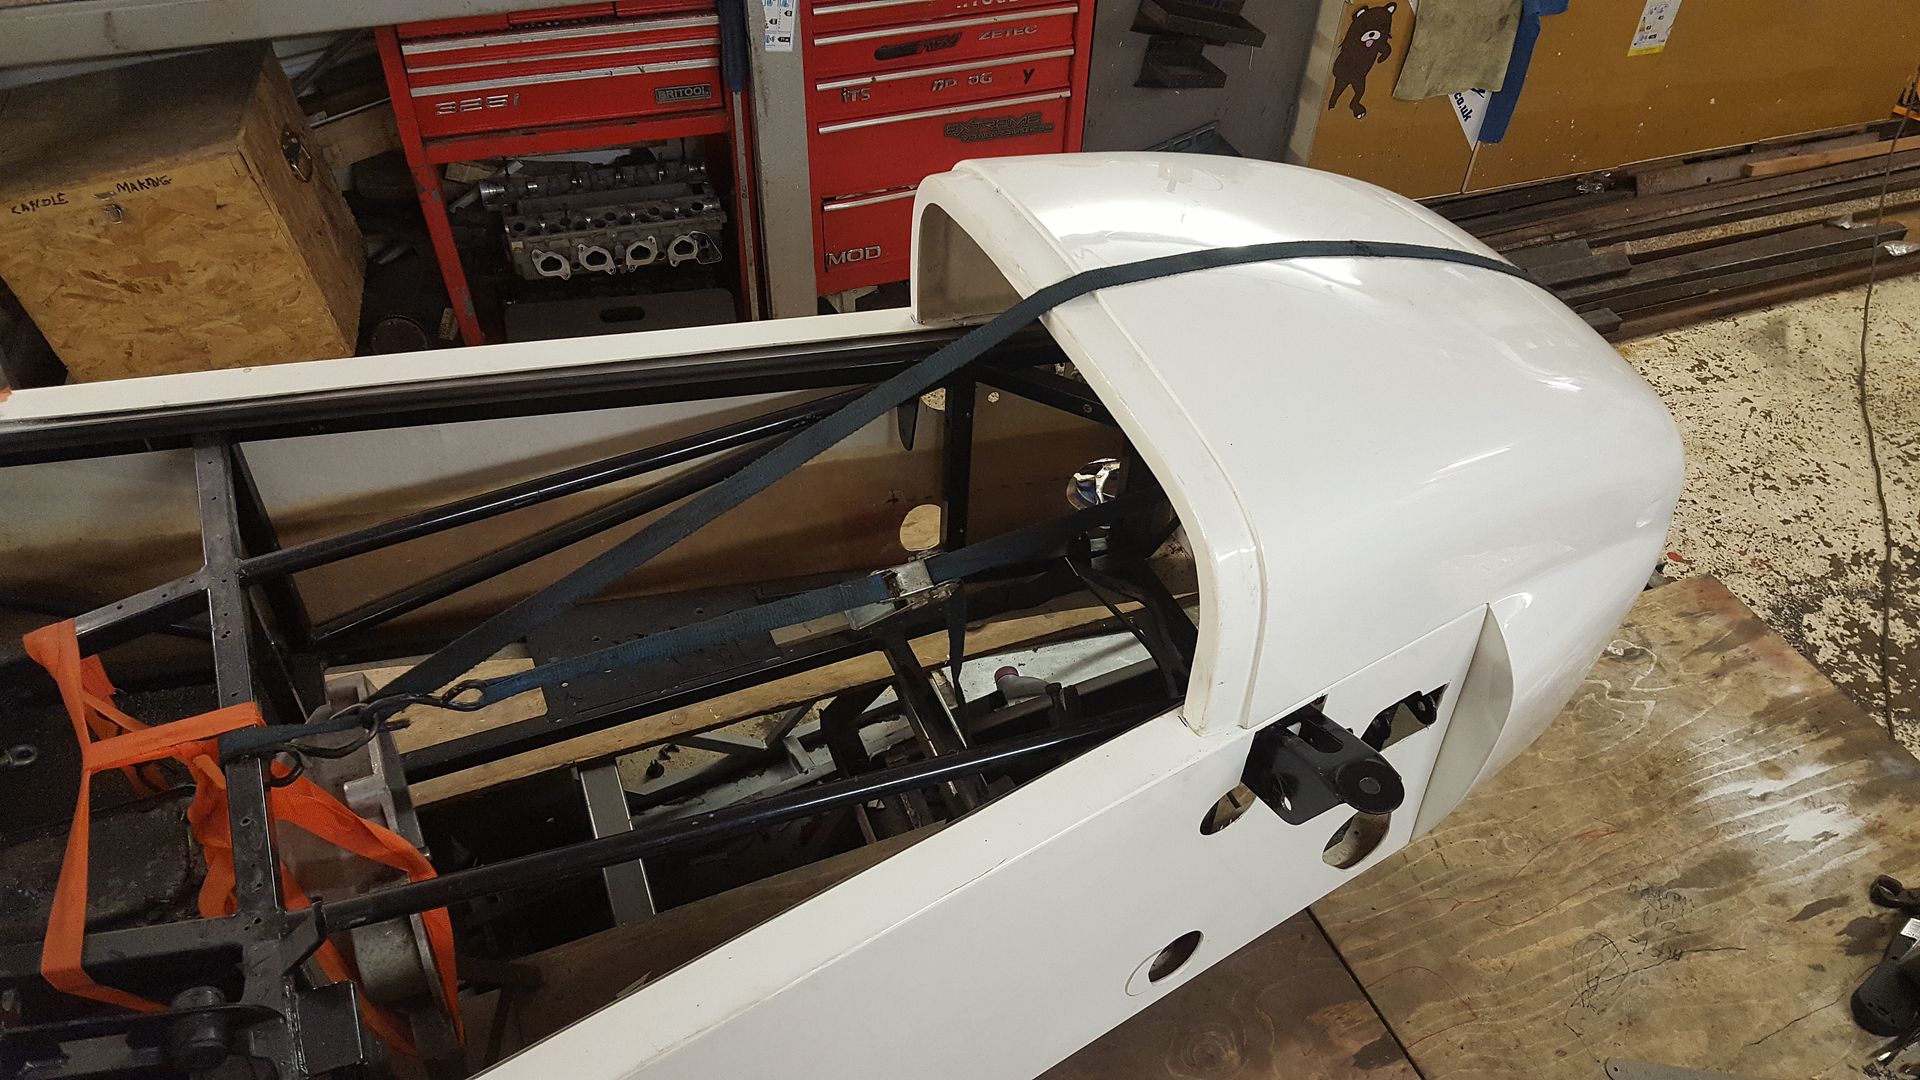
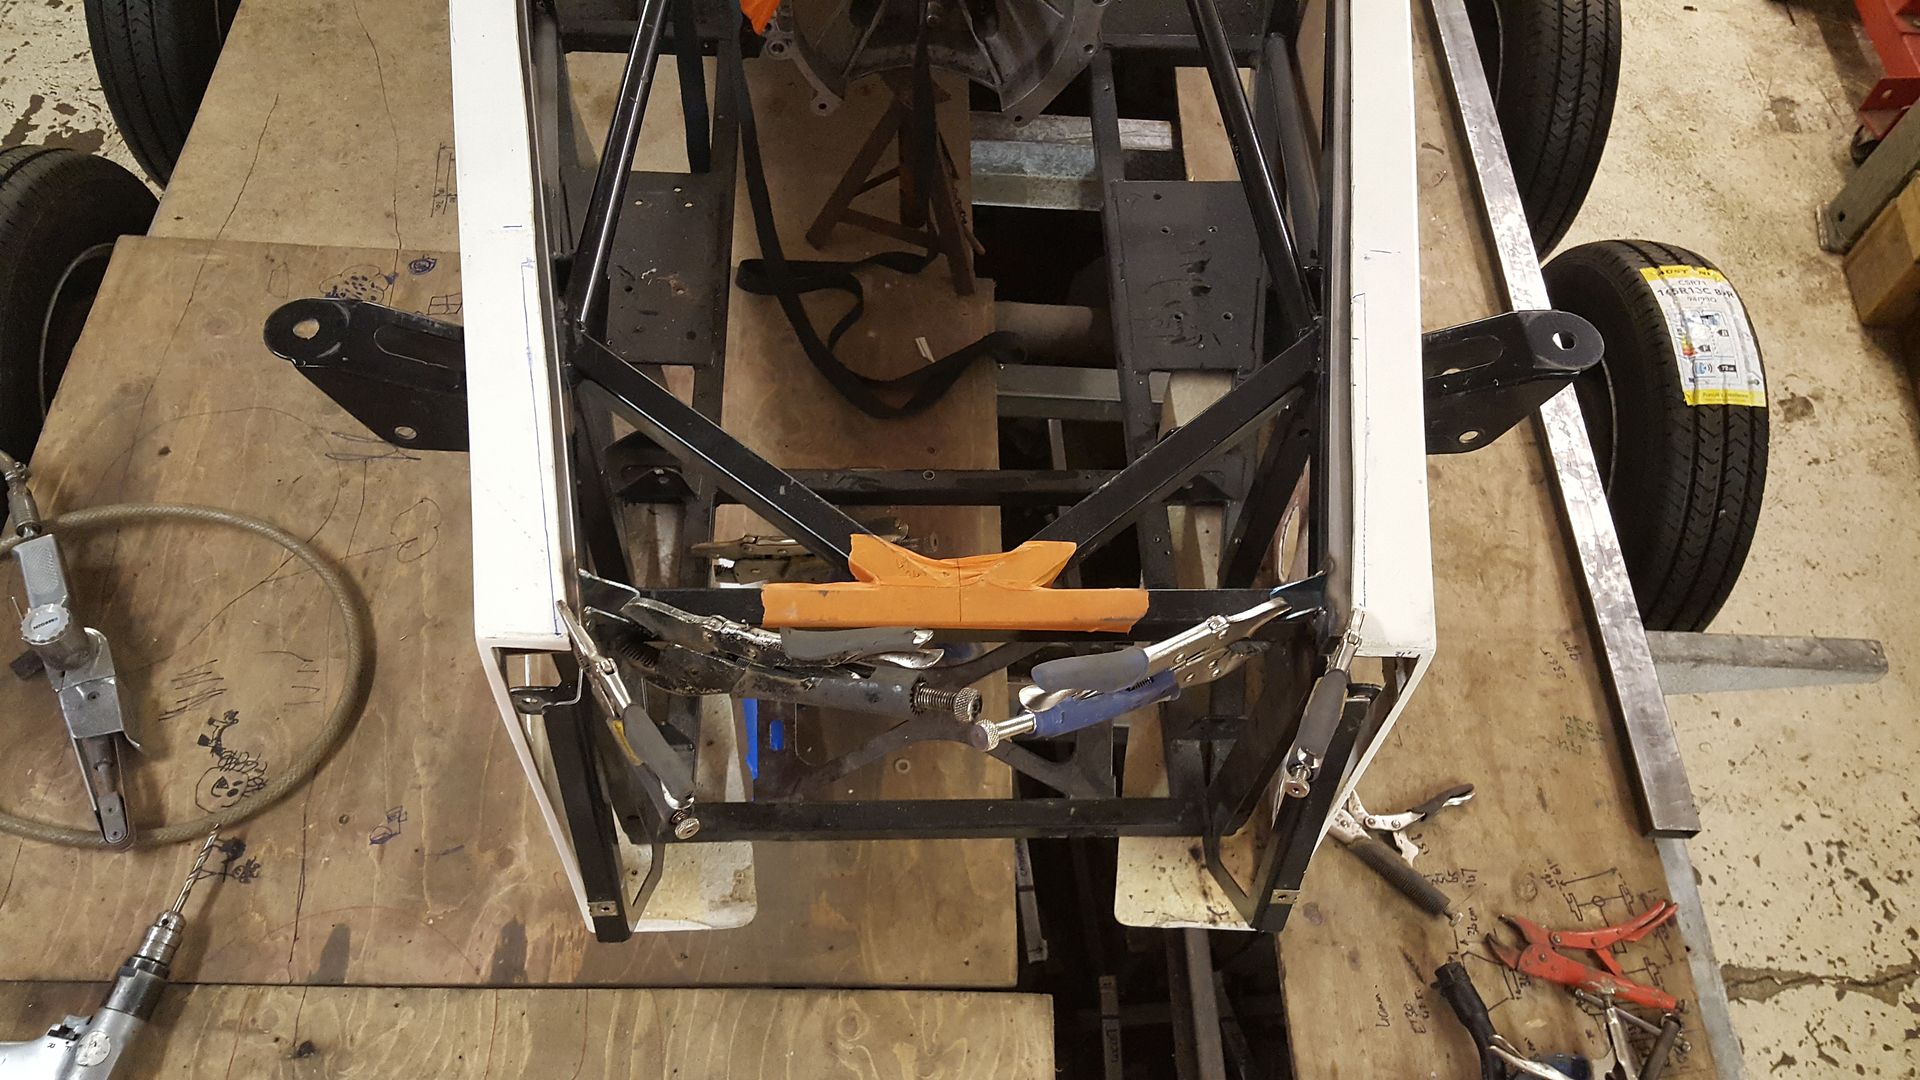
And got everything fixed to where I wanted it then I could start drilling
There will be more fixtures when I work out the best way to do It, but it's in position securely. The new beams are bolted to the chassis, and
the body and nose are bolted to the beams
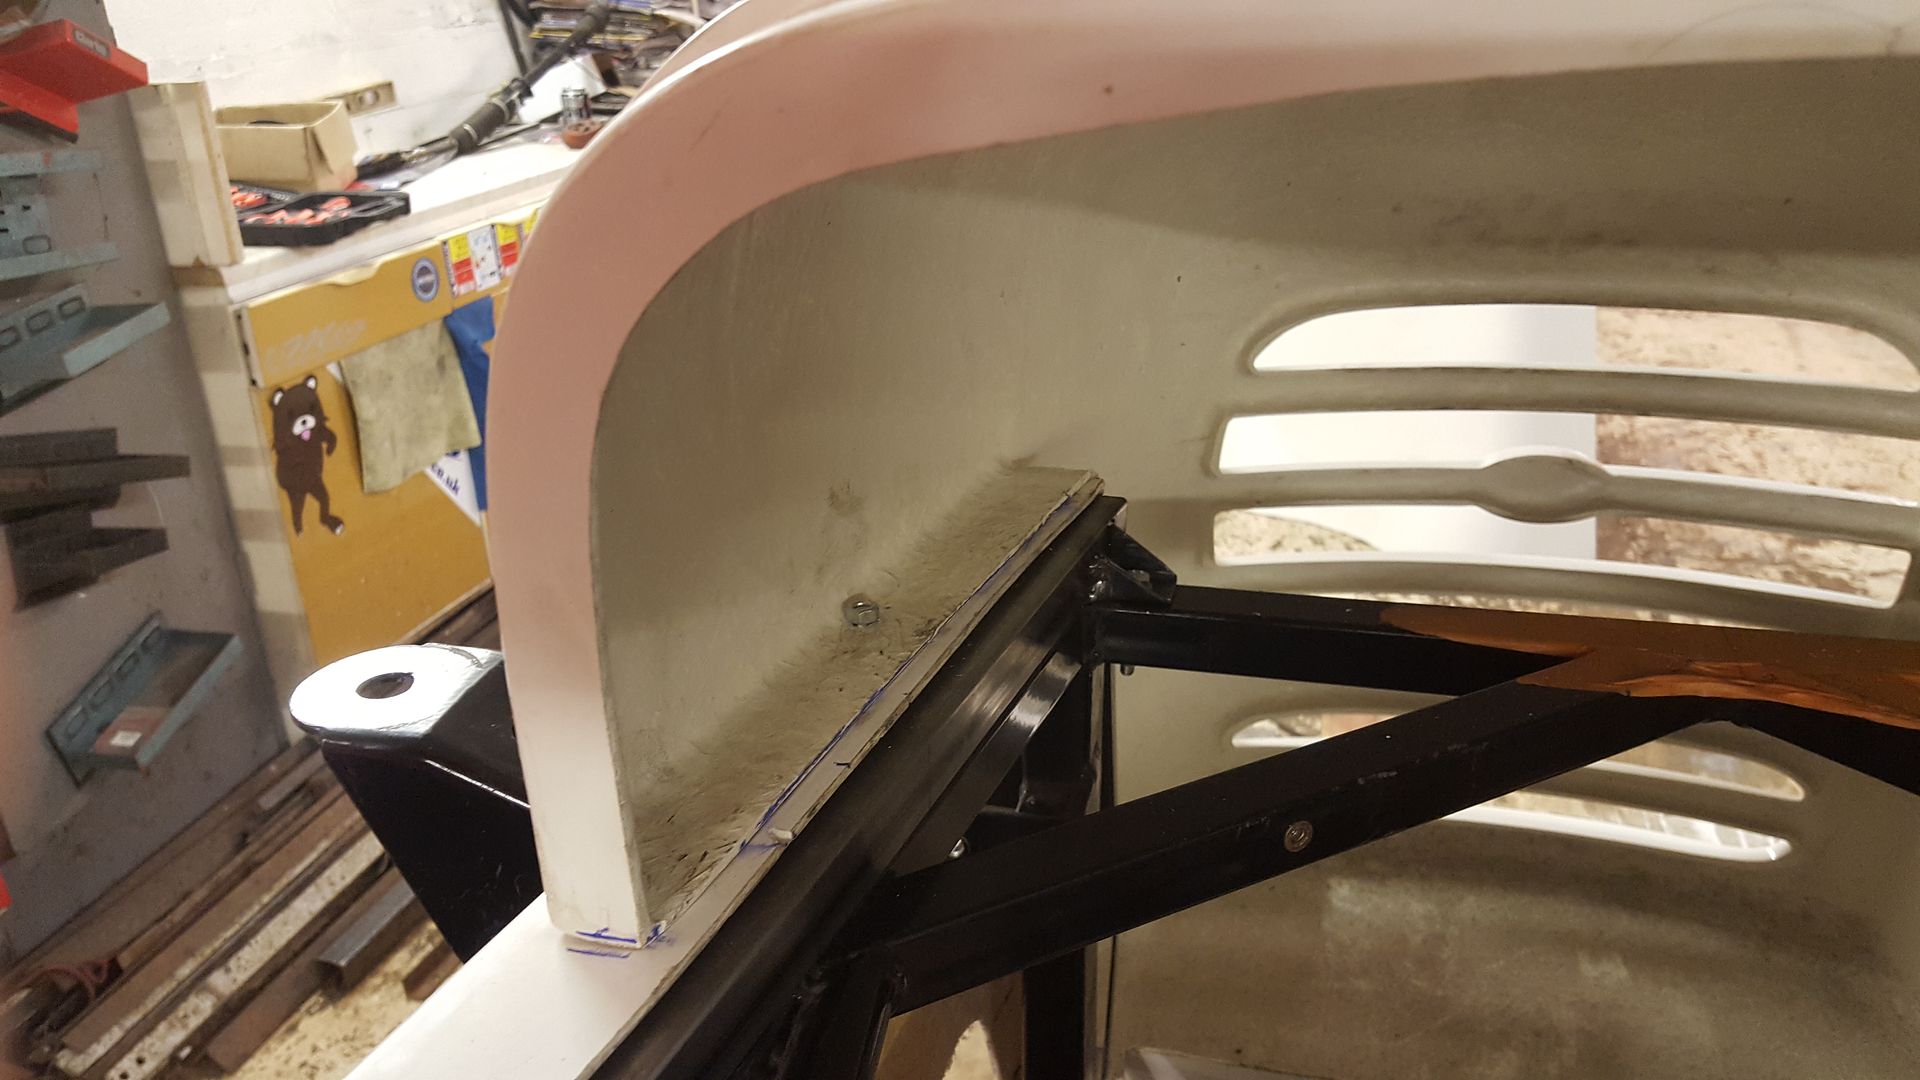
I plan on trying to have the nose cone and scuttle quick release so if I'm ever out and about and have a problem I can gain access with out
tools
Because the bonnet is open either end it doesn't hold it's shape as well as the nose and scuttle and flairs out naturally at the bottom
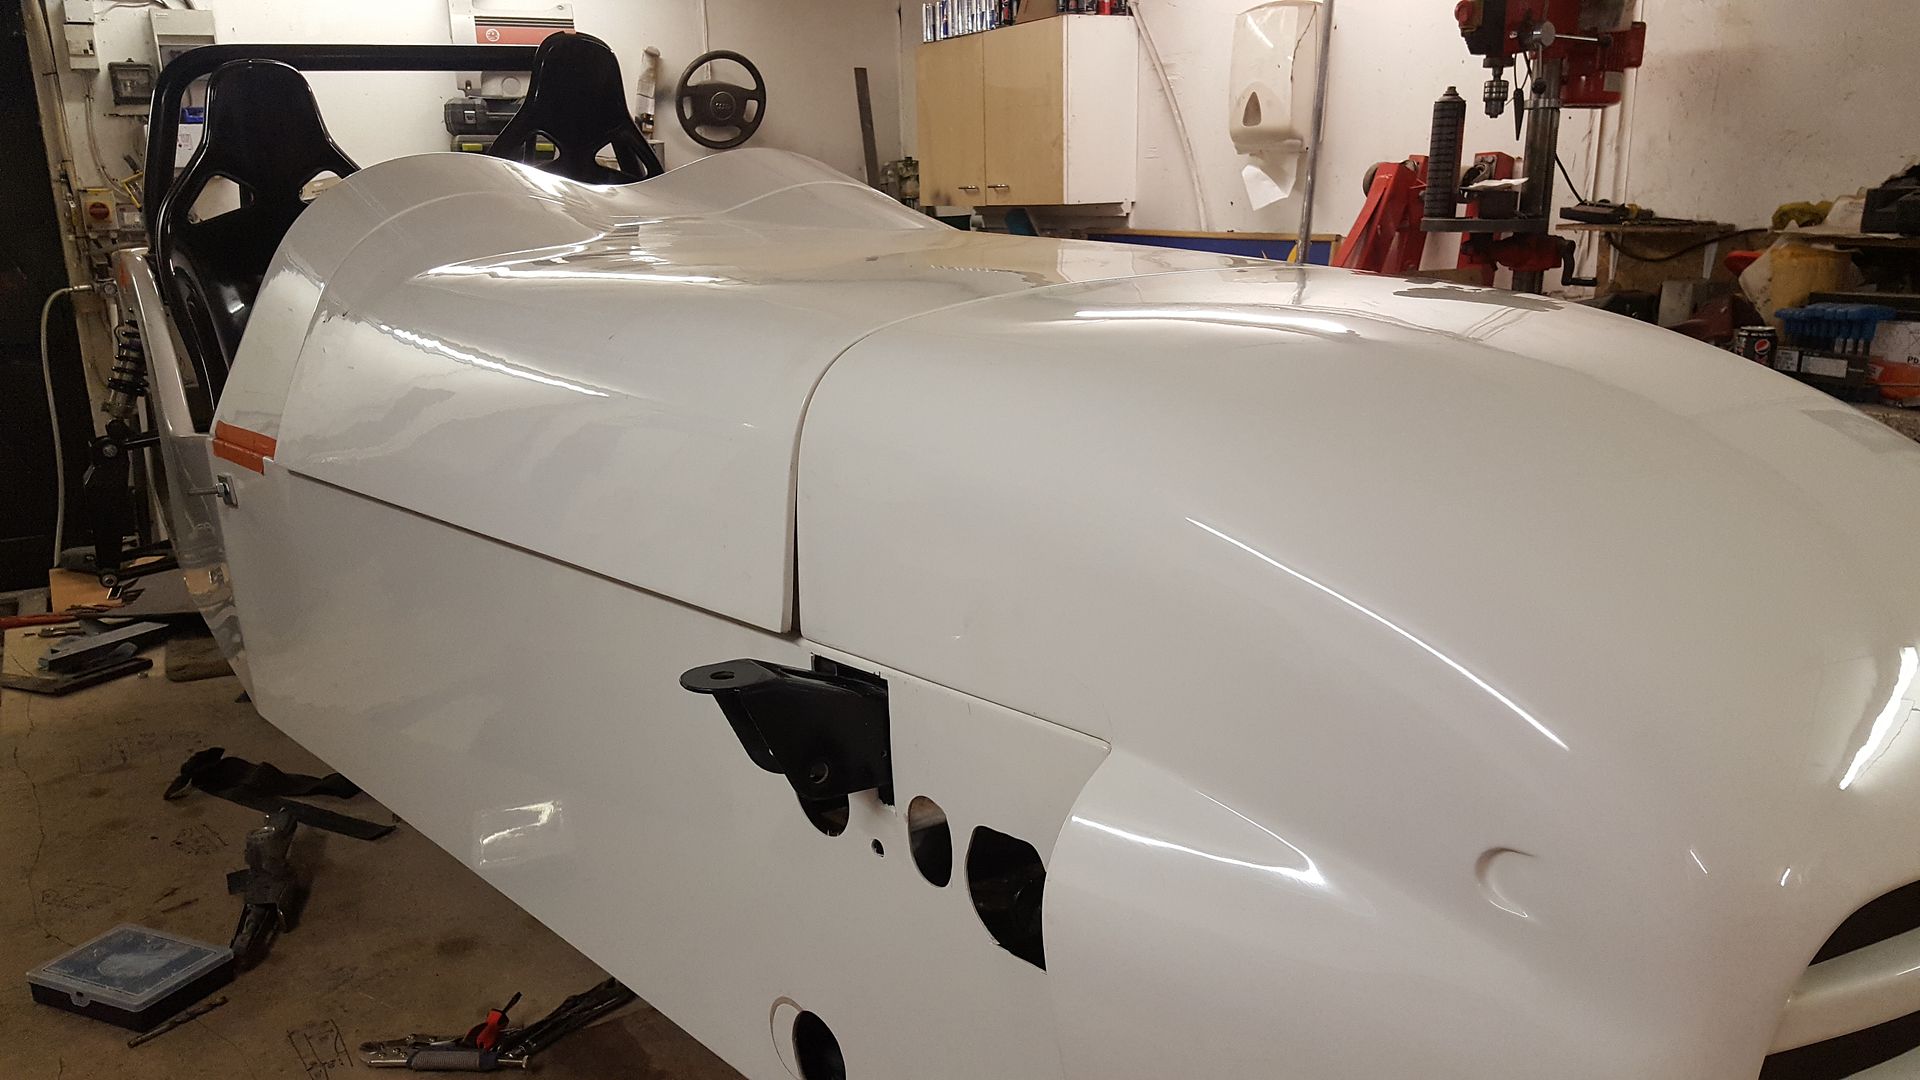
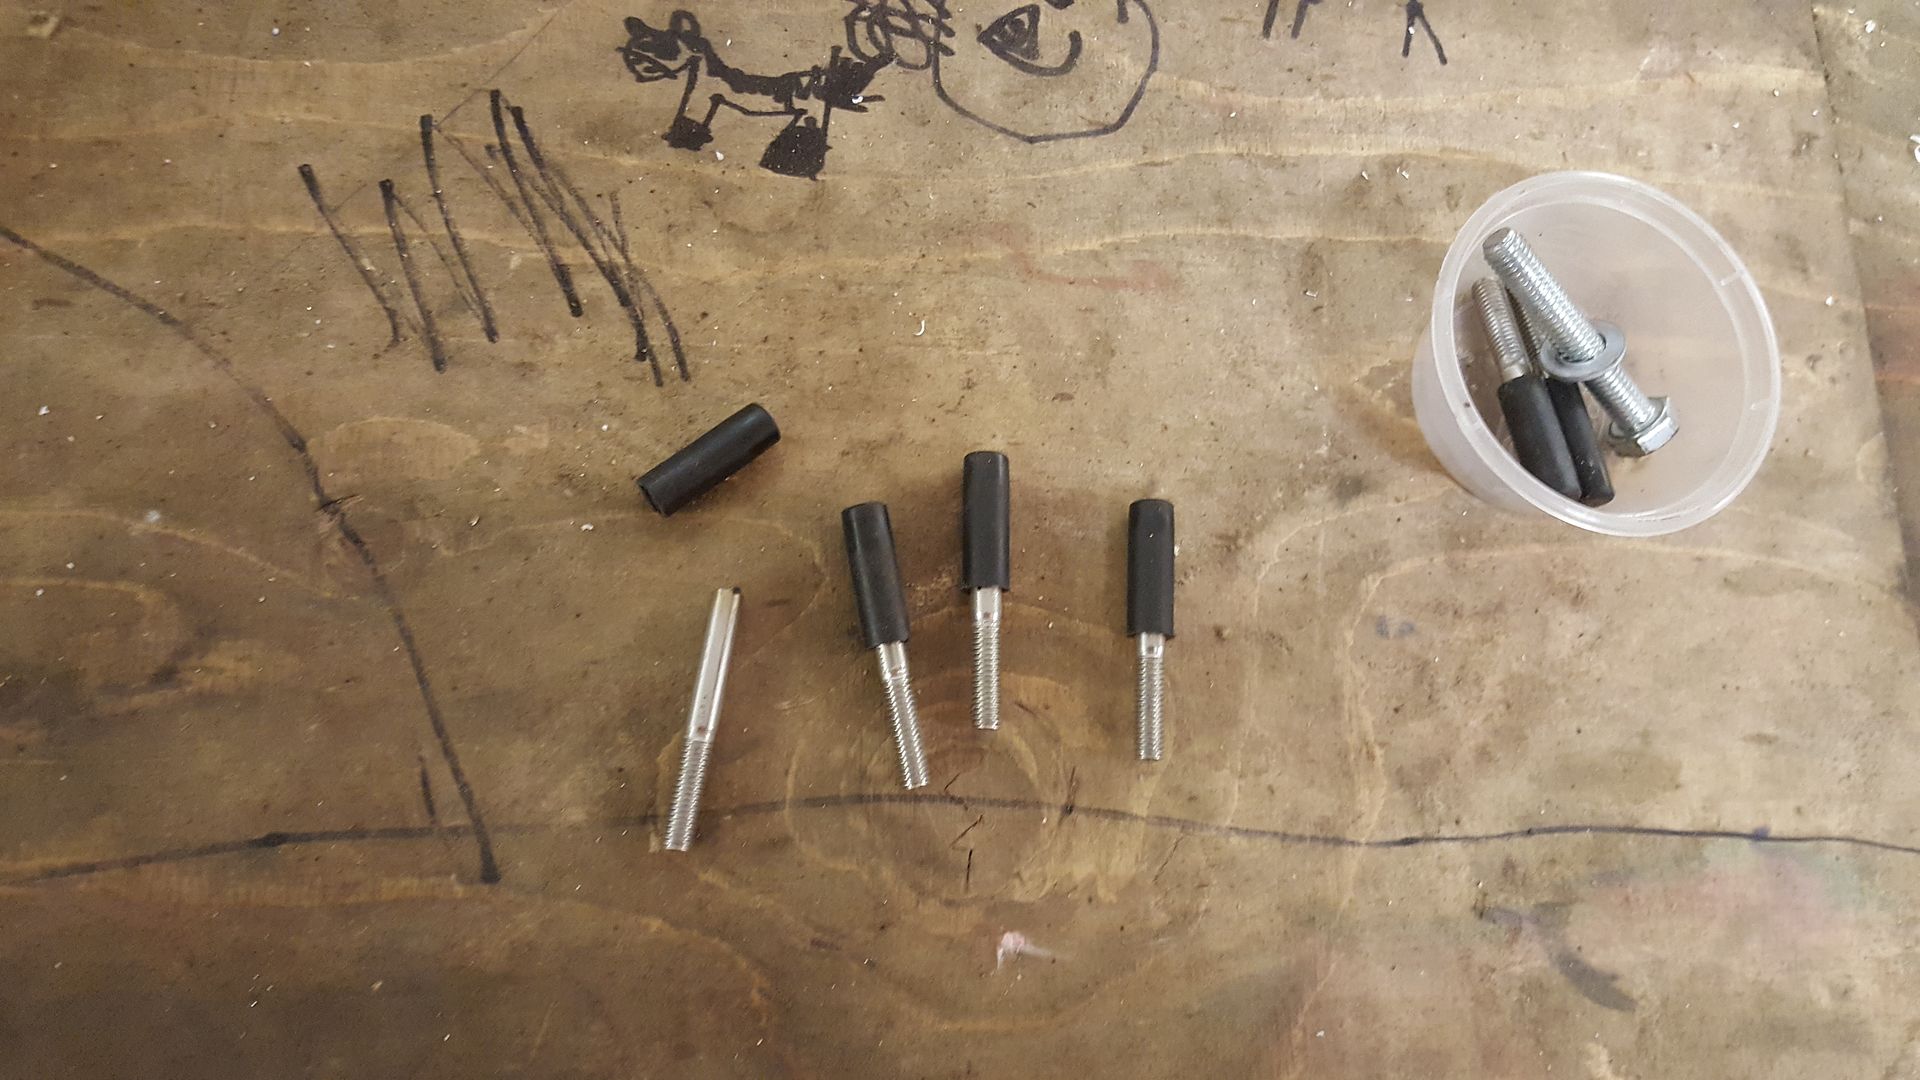
I found these nifty stubs in the box of bits that came with the car
Out came the friendly rachet straps again to keep it in position
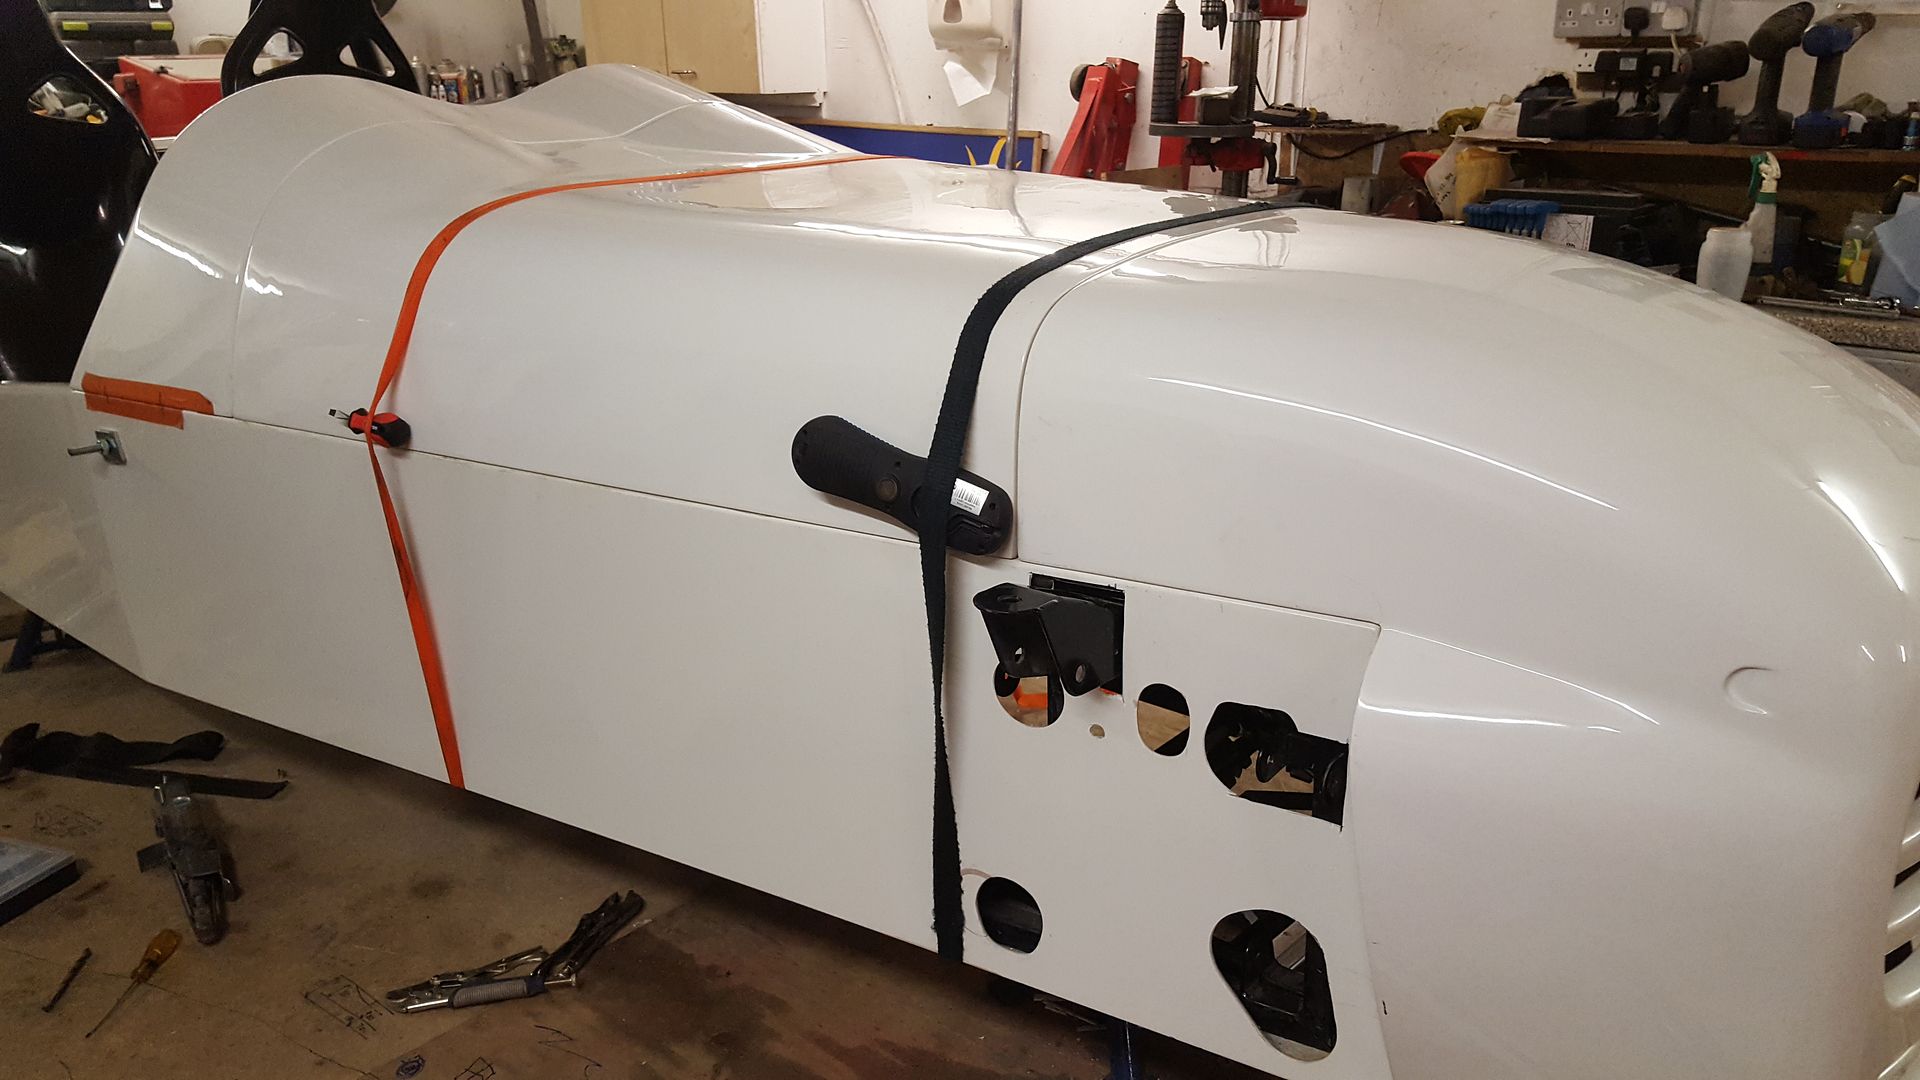
Then I clambered in the bay underneath and marked through the bonnet and body, drilled and tapped the rail and threaded them in
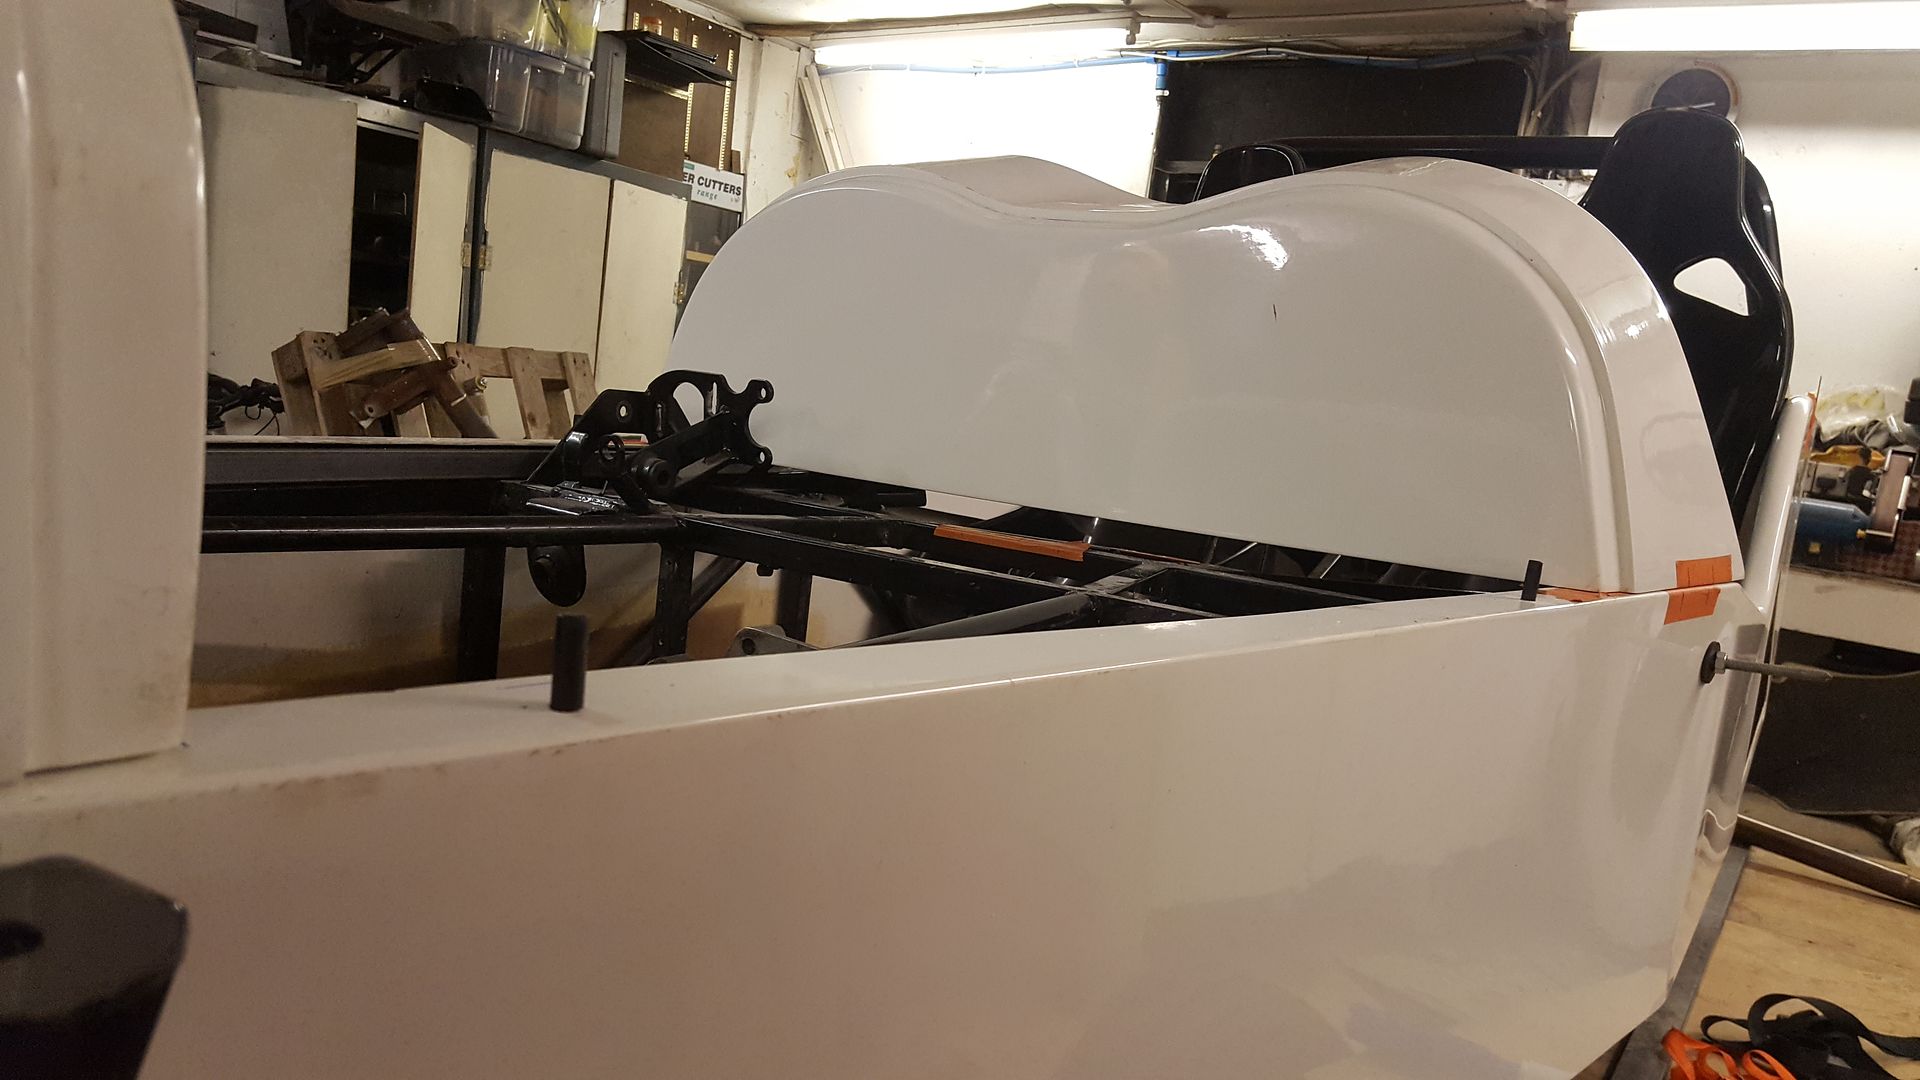
And the bonnet fits great now. Will have IVA over centre catches to hold it down
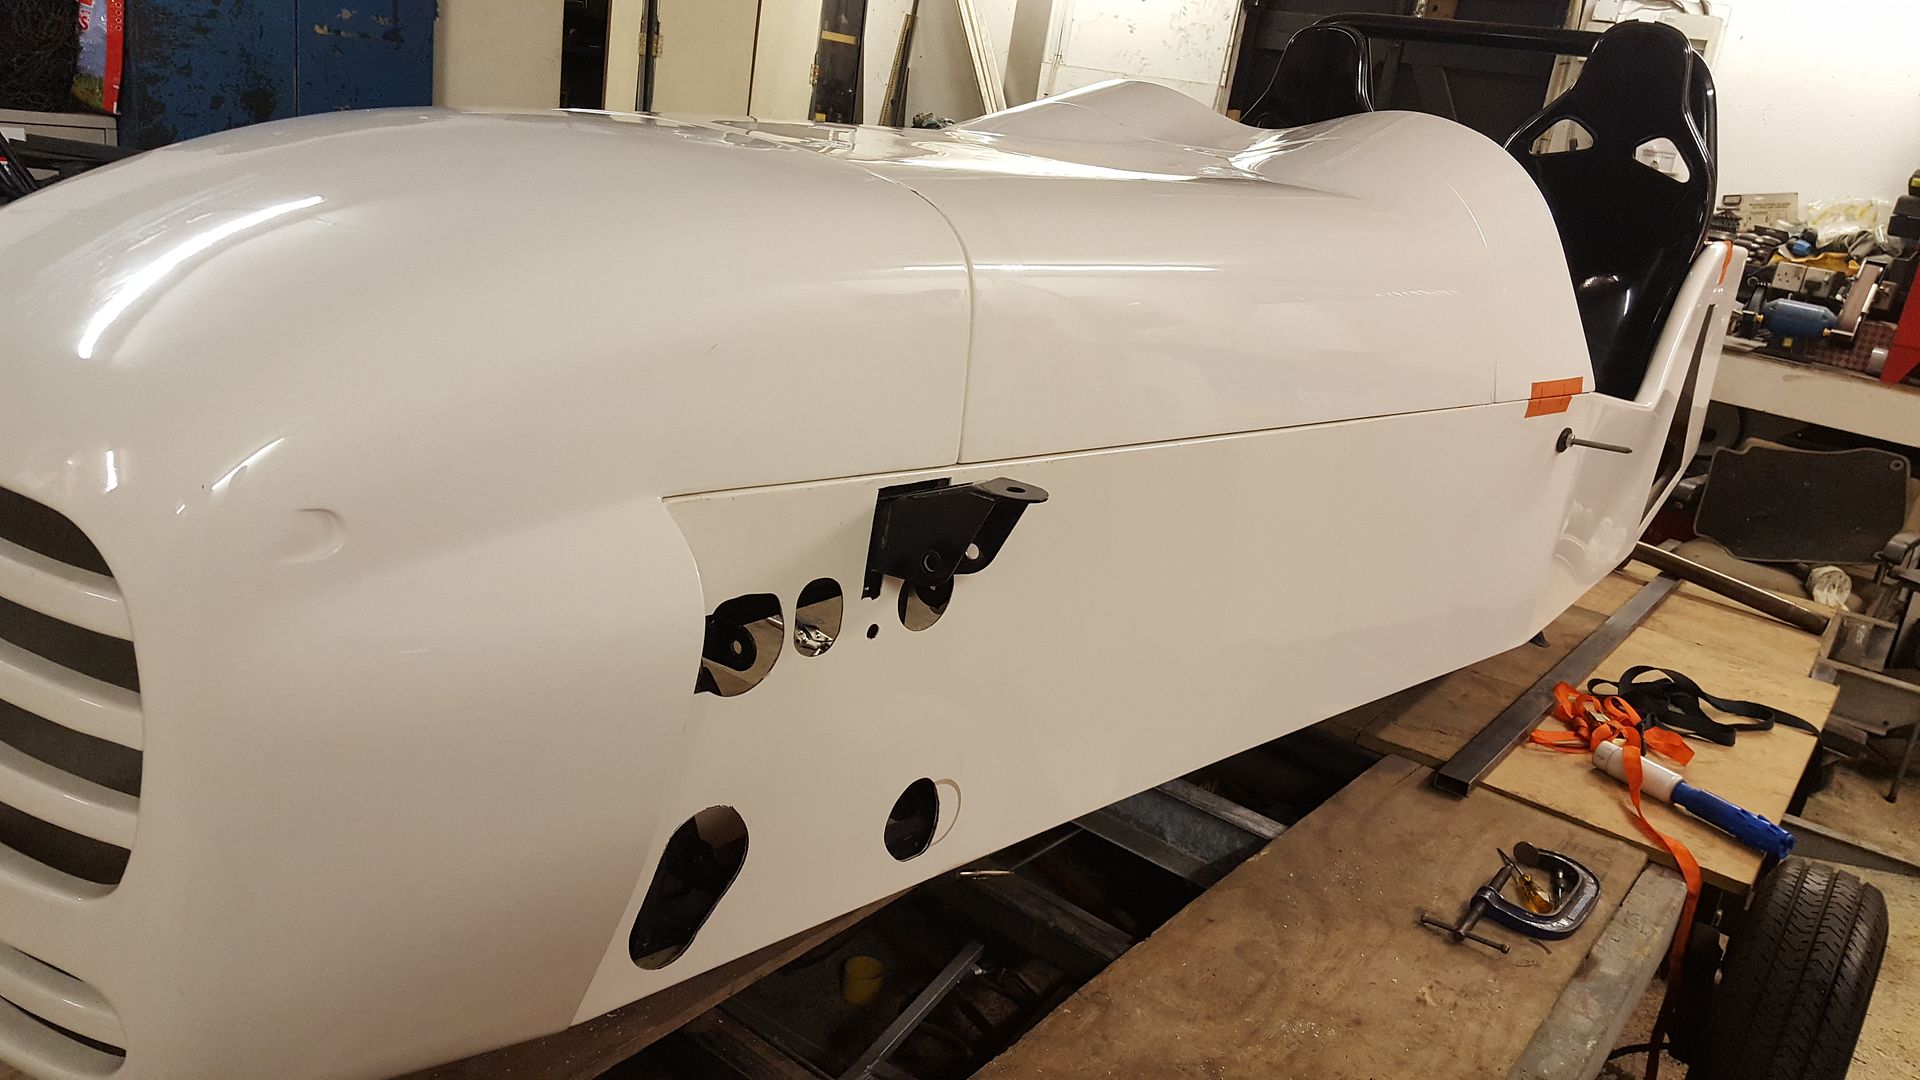
Just the scuttle to bolt down now but that's nice and straight forward.
I'm happy now I can see a direction it's going in again 
|
|
|
super-ron
|
| posted on 27/12/17 at 01:07 PM |

|
|
I drilled some more pegs on the rear to locate the scuttle.
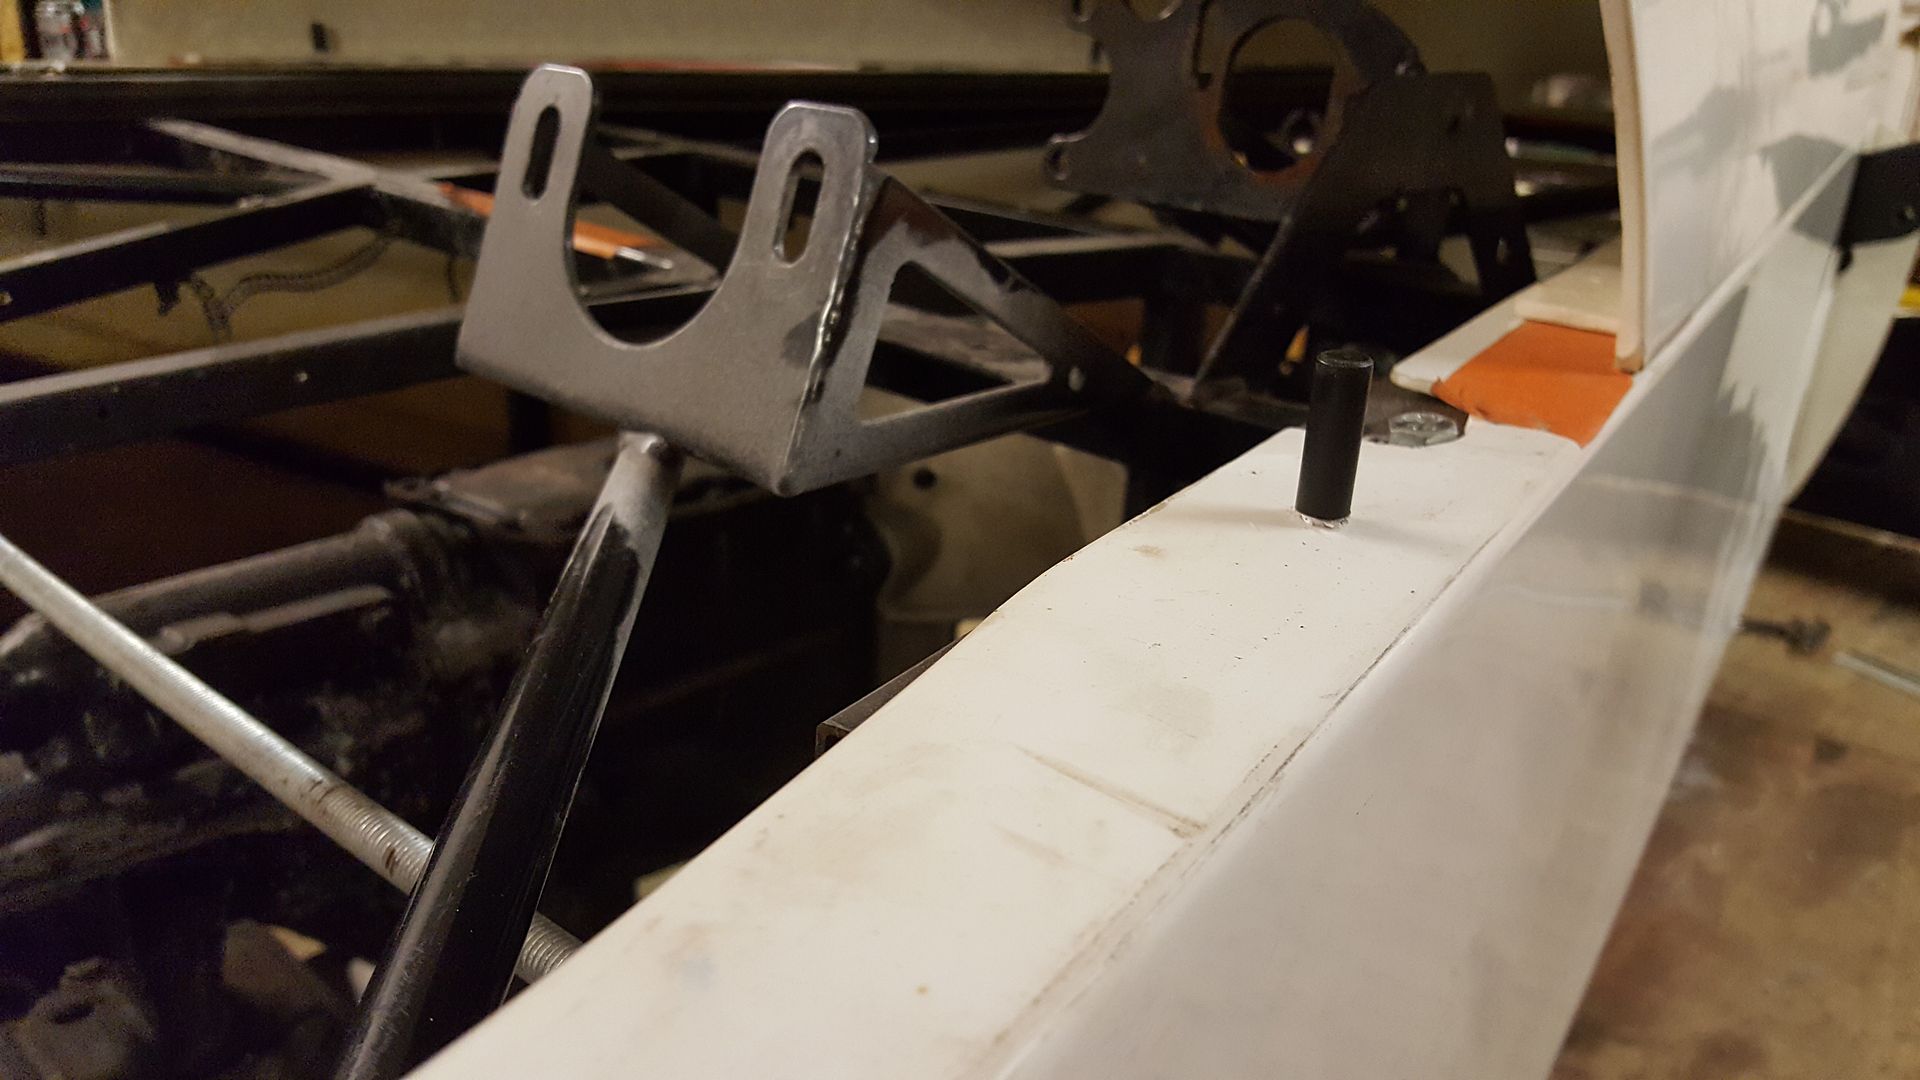
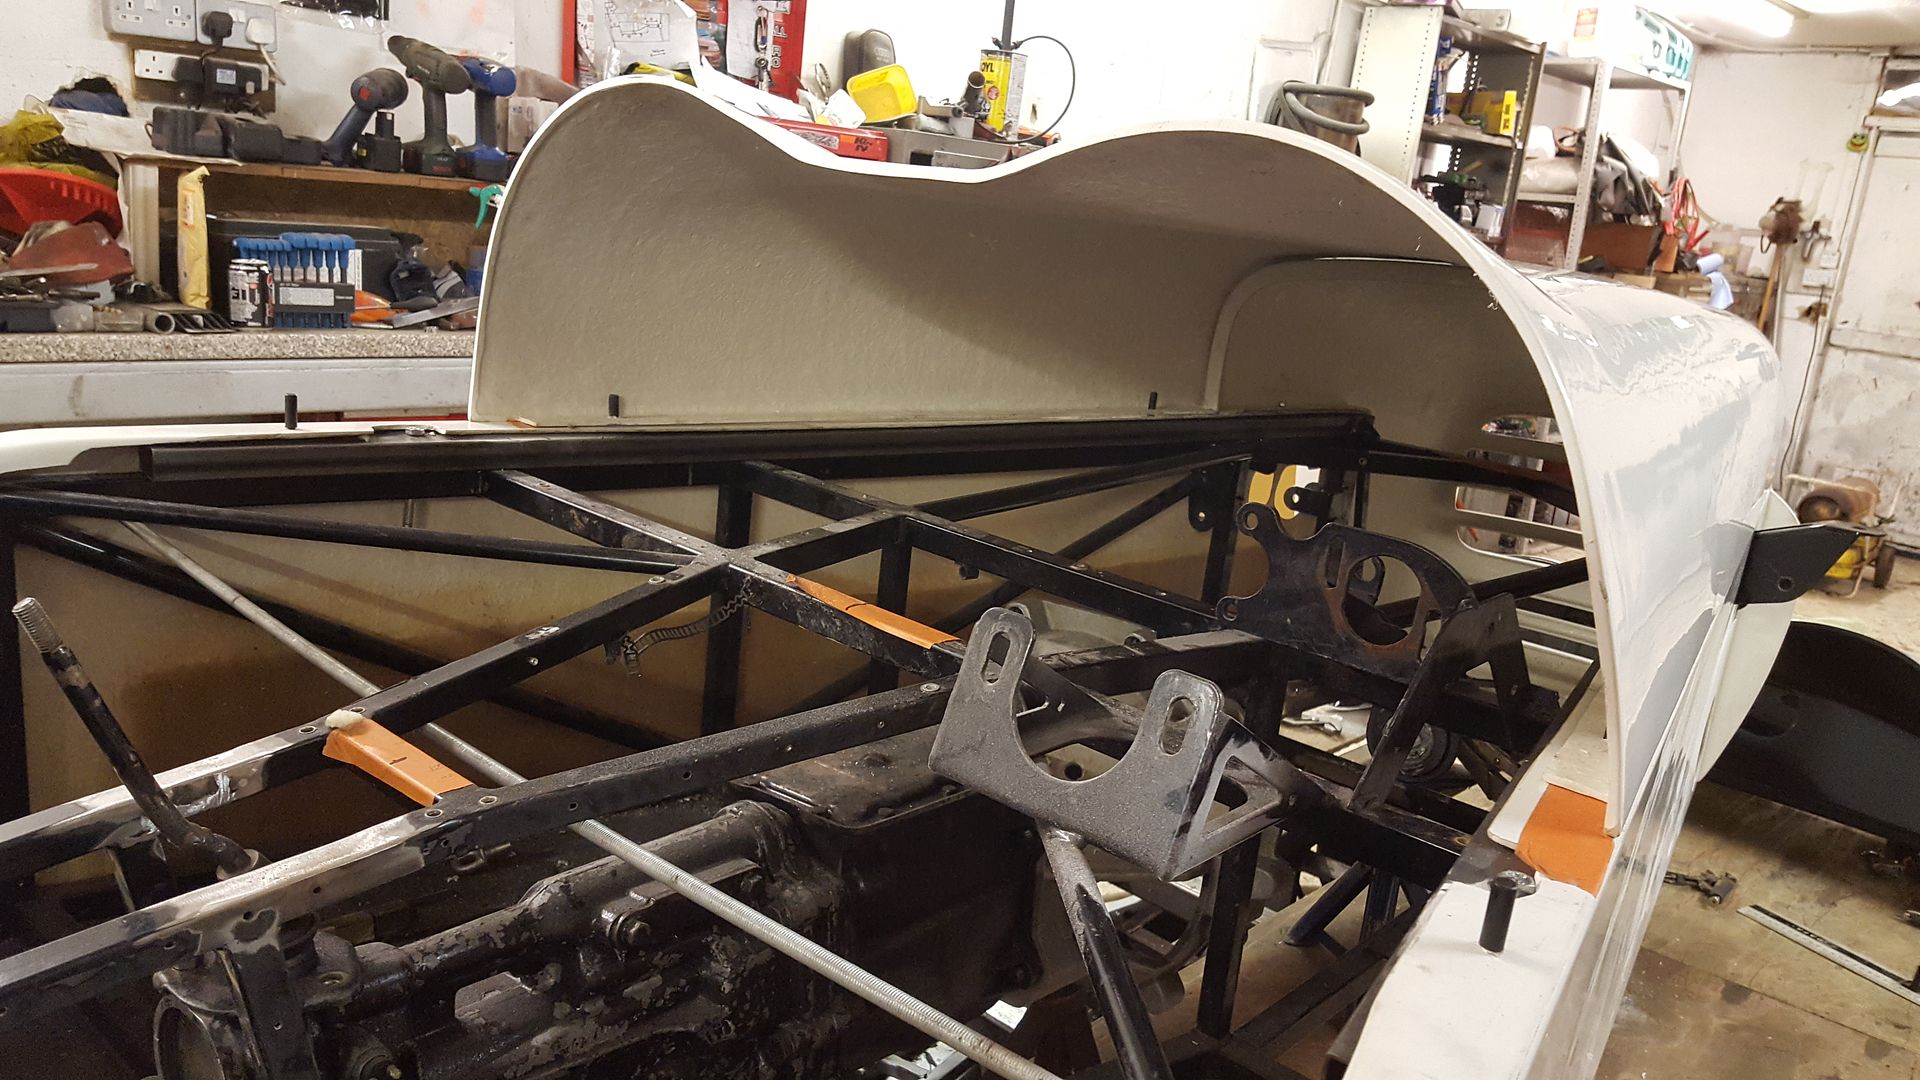
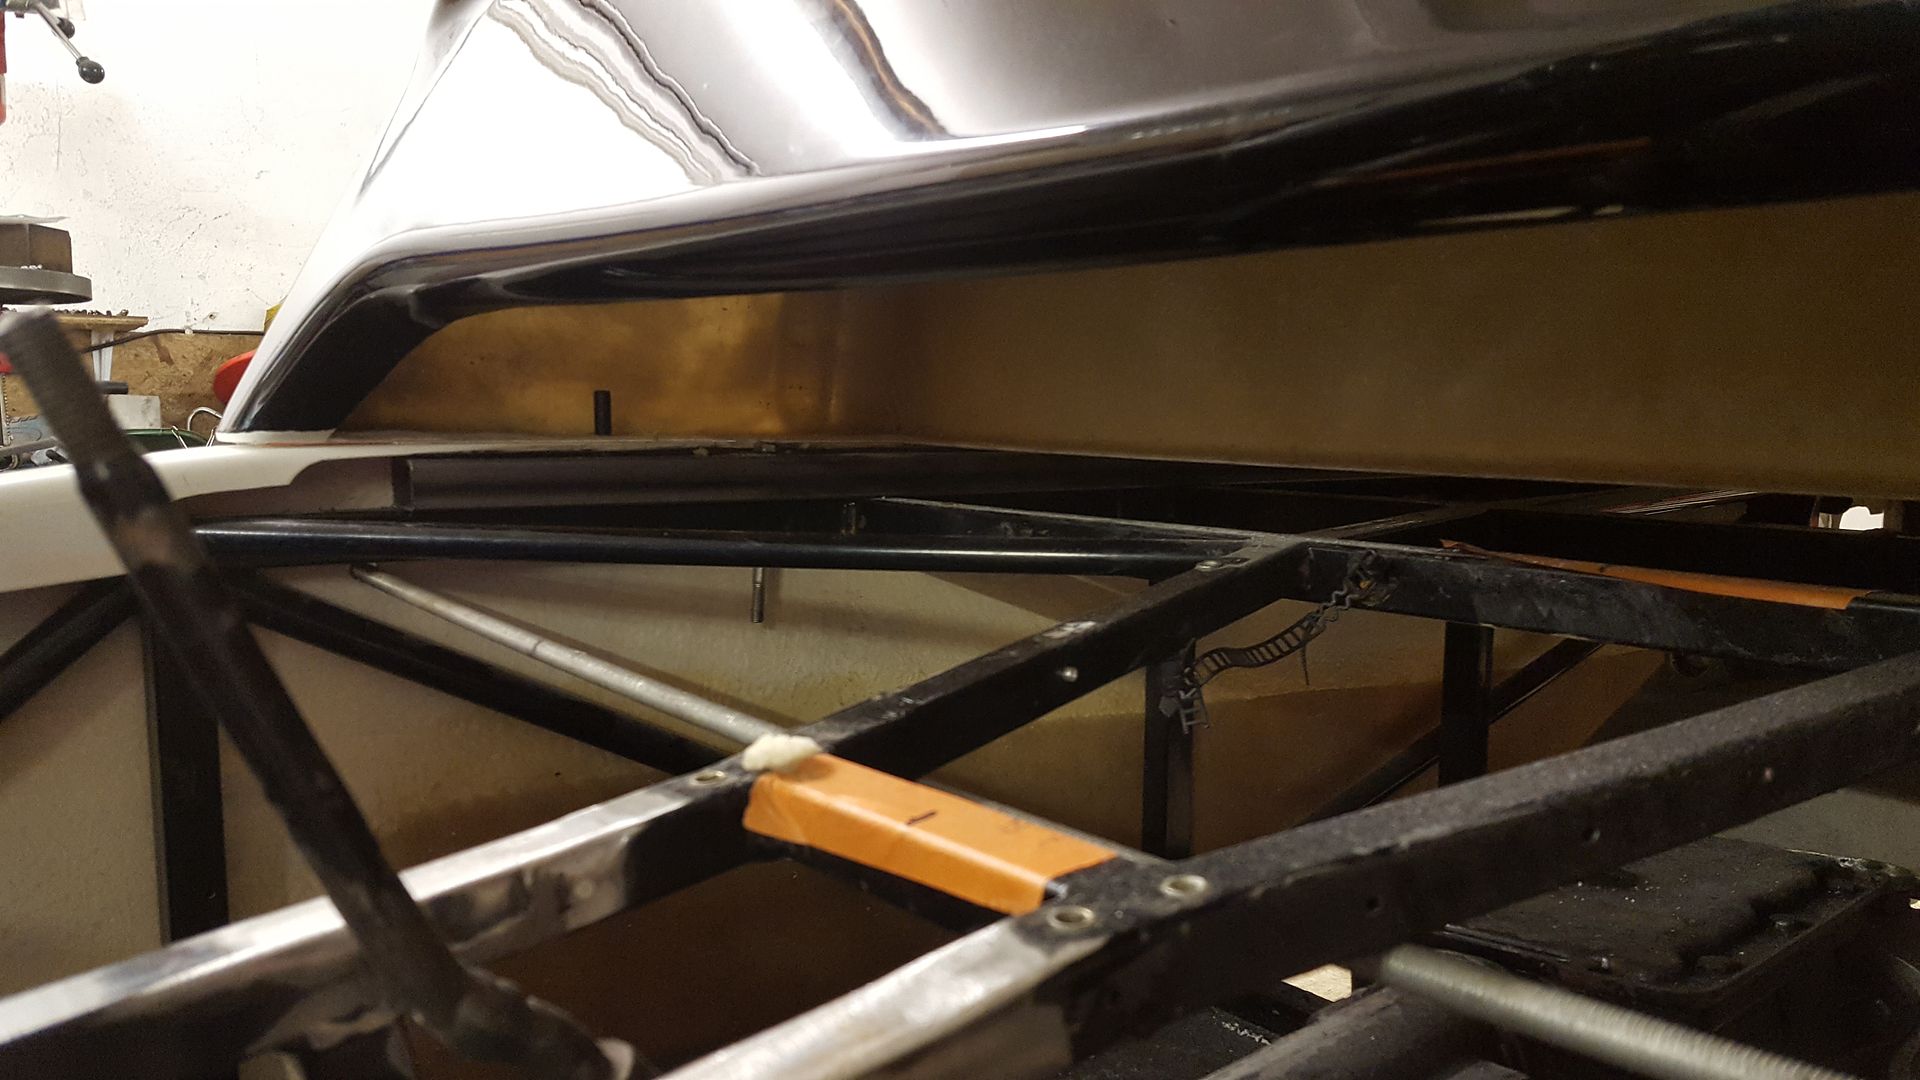
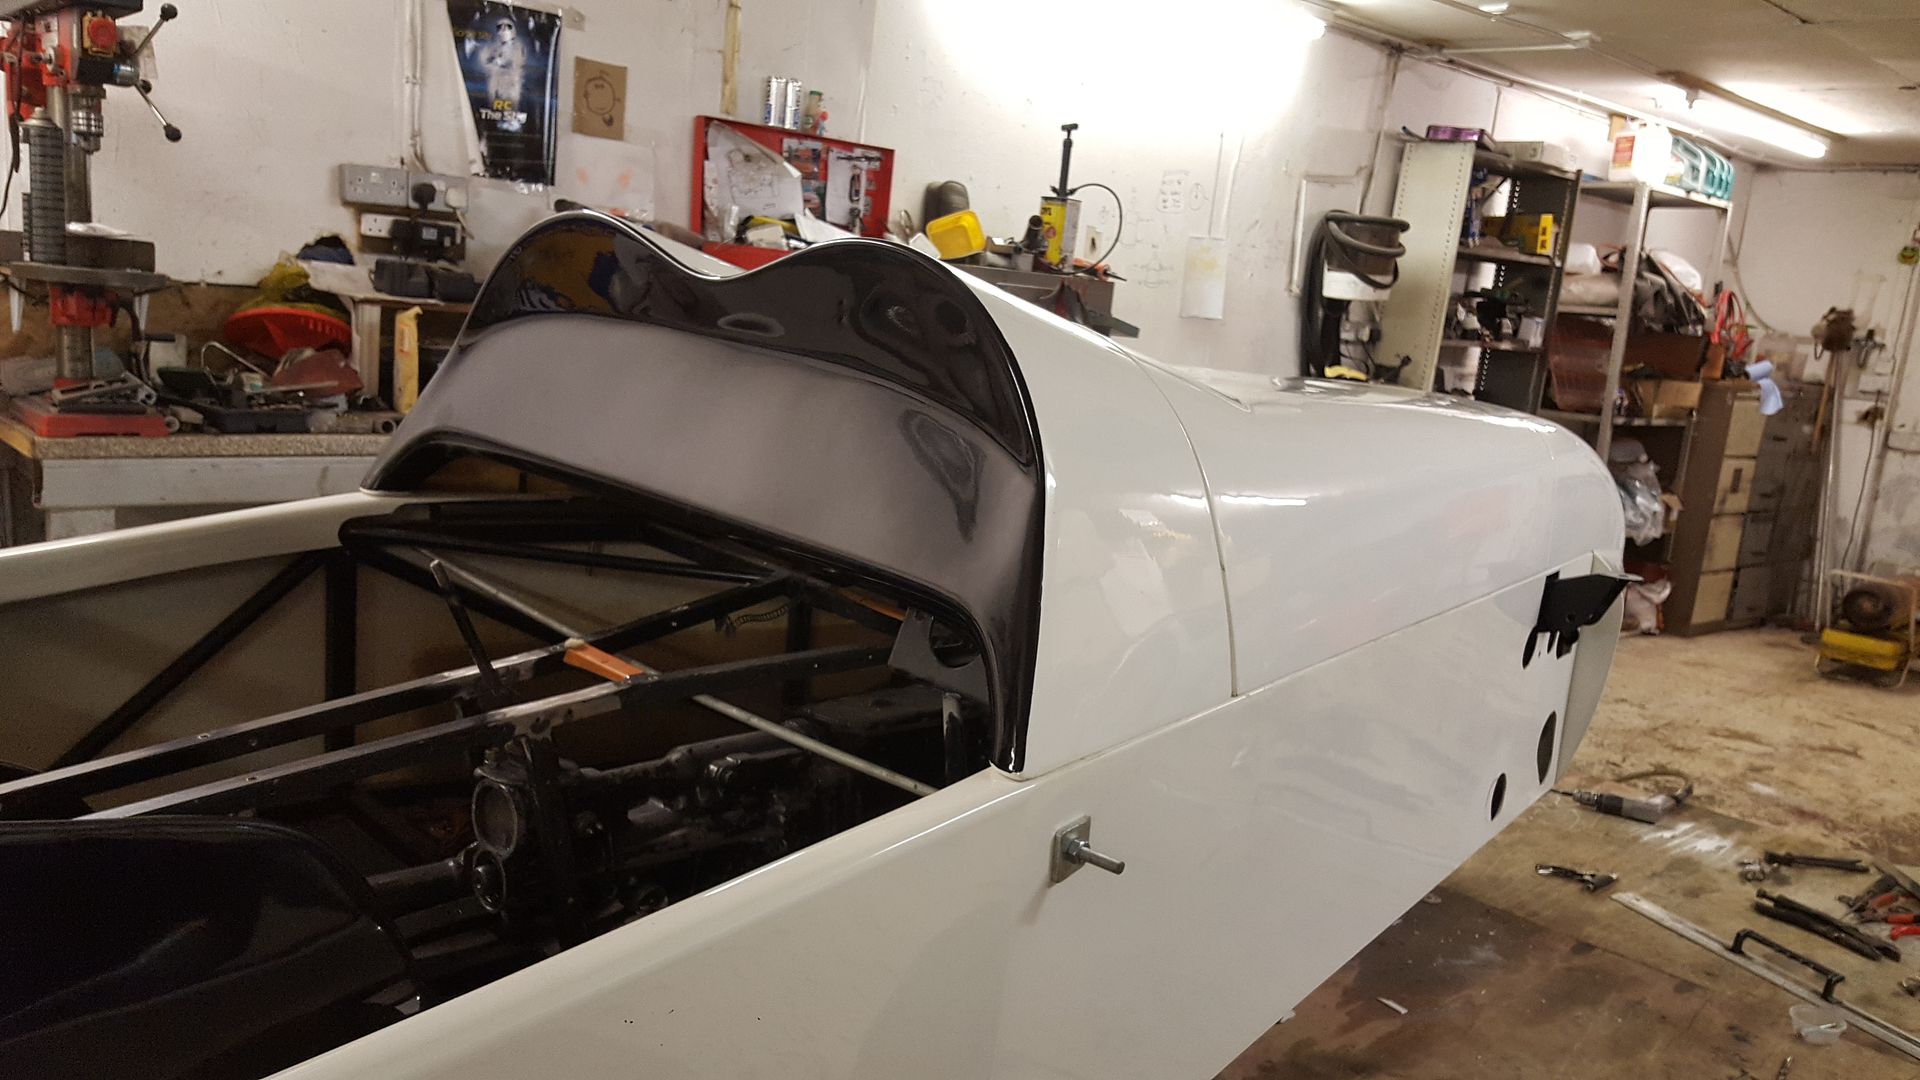
So I could now take off the threaded bar now the body is fixed in place
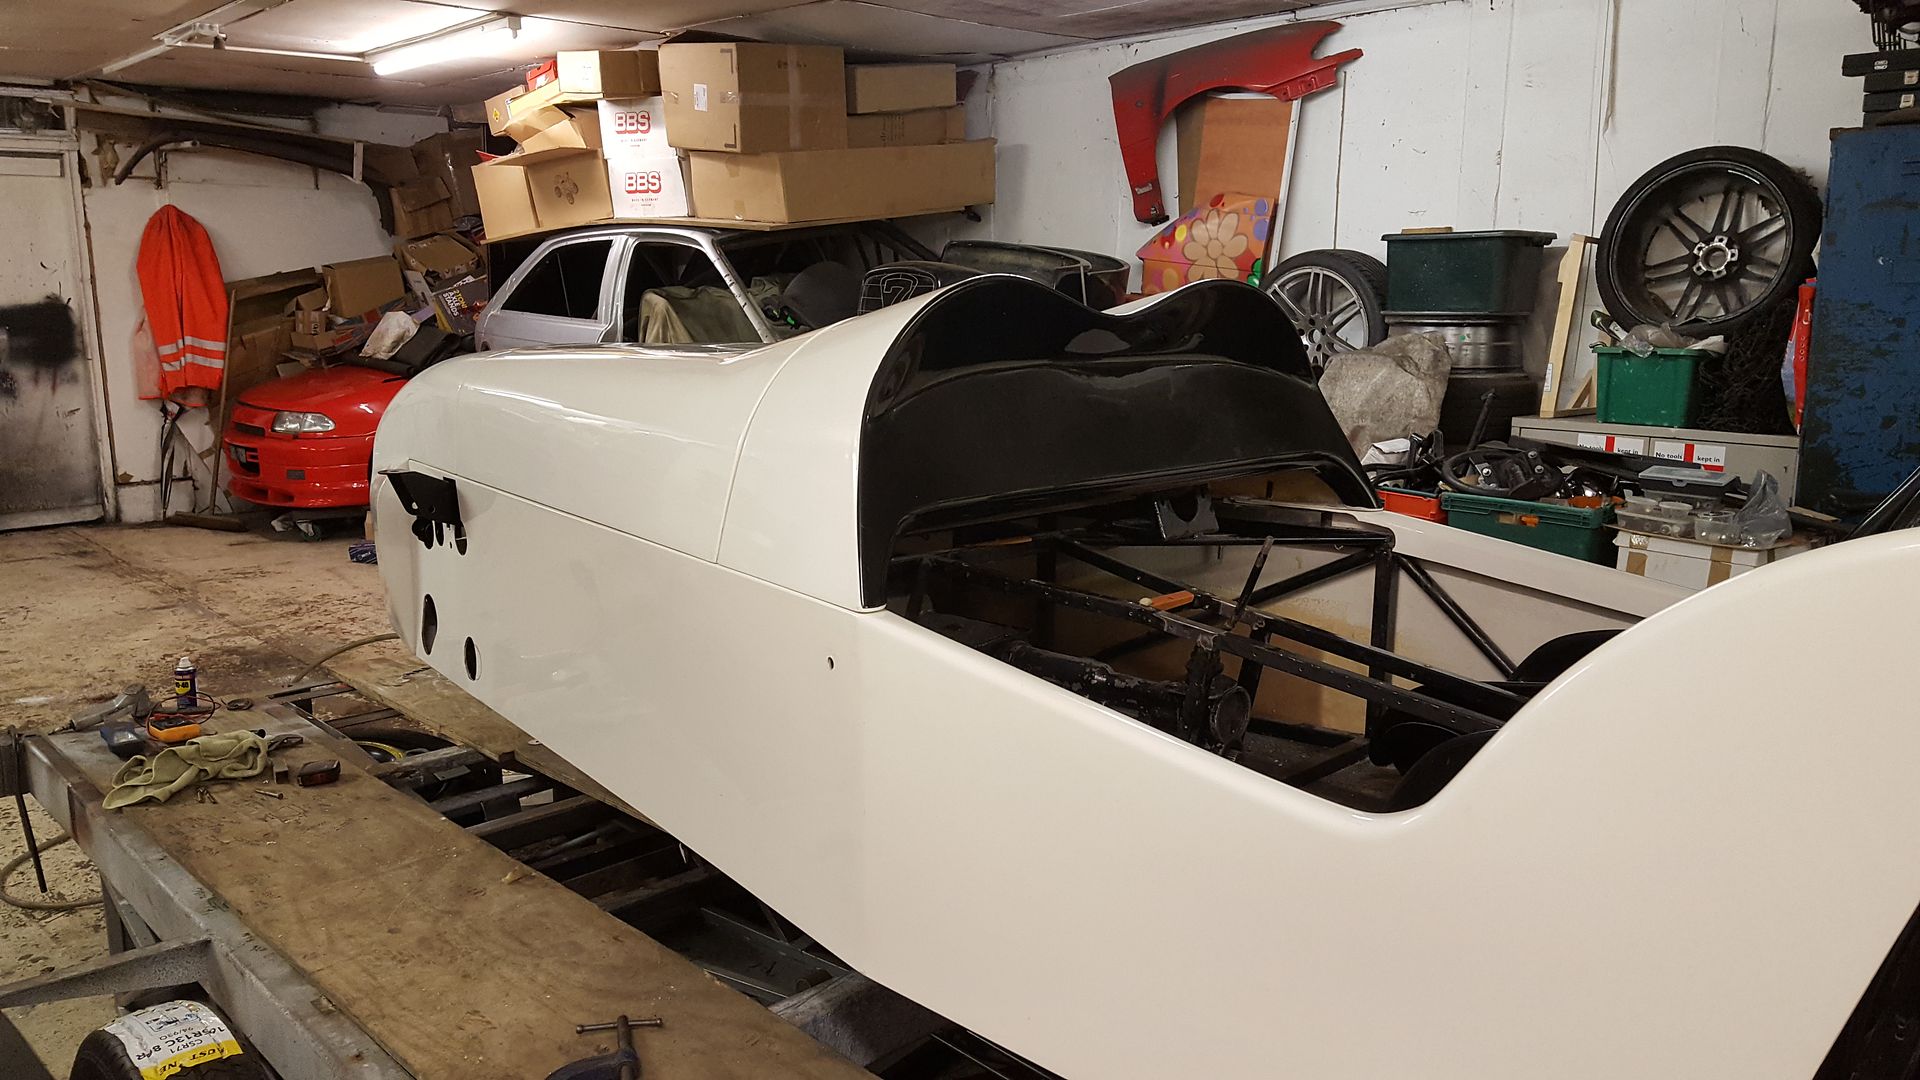
Now the body was fixed in the correct place I wanted to try the engine in to see of it cleared the bonnet. Lifted the block in
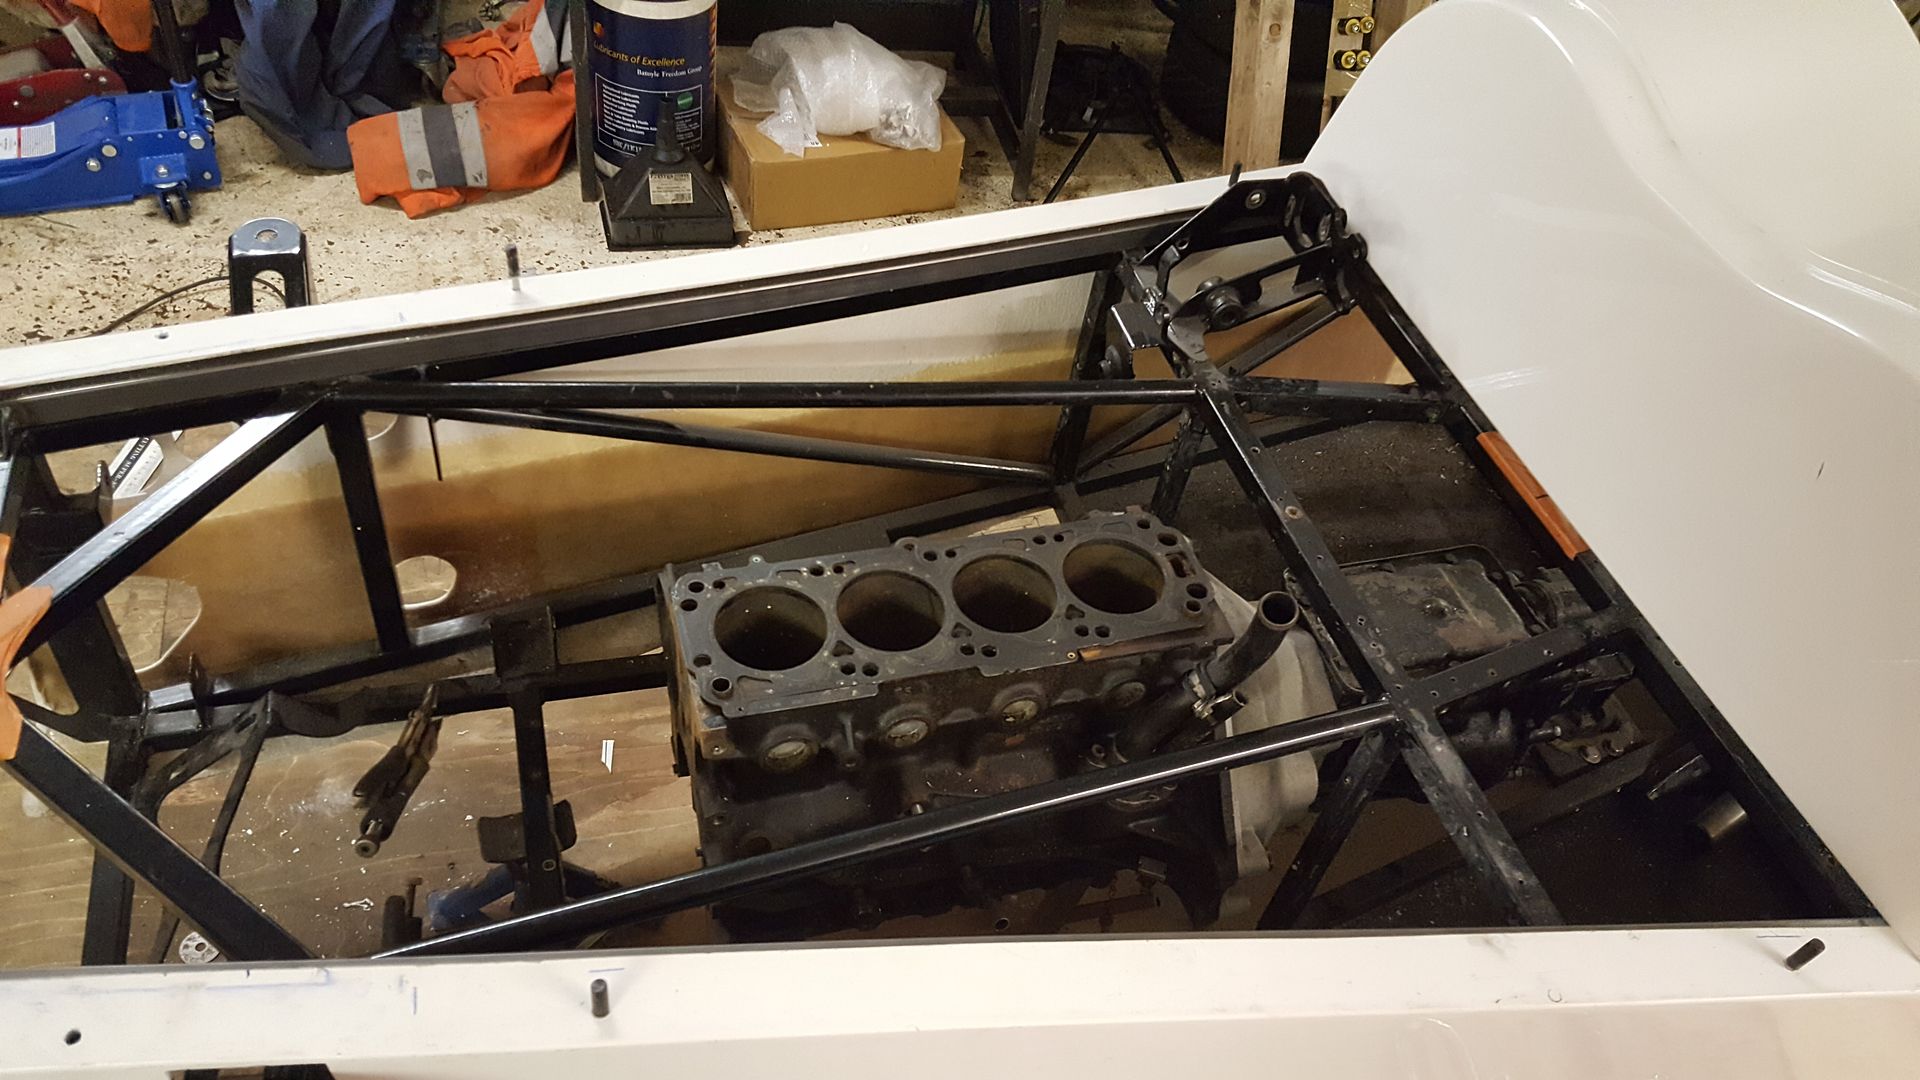
And bolted a head on
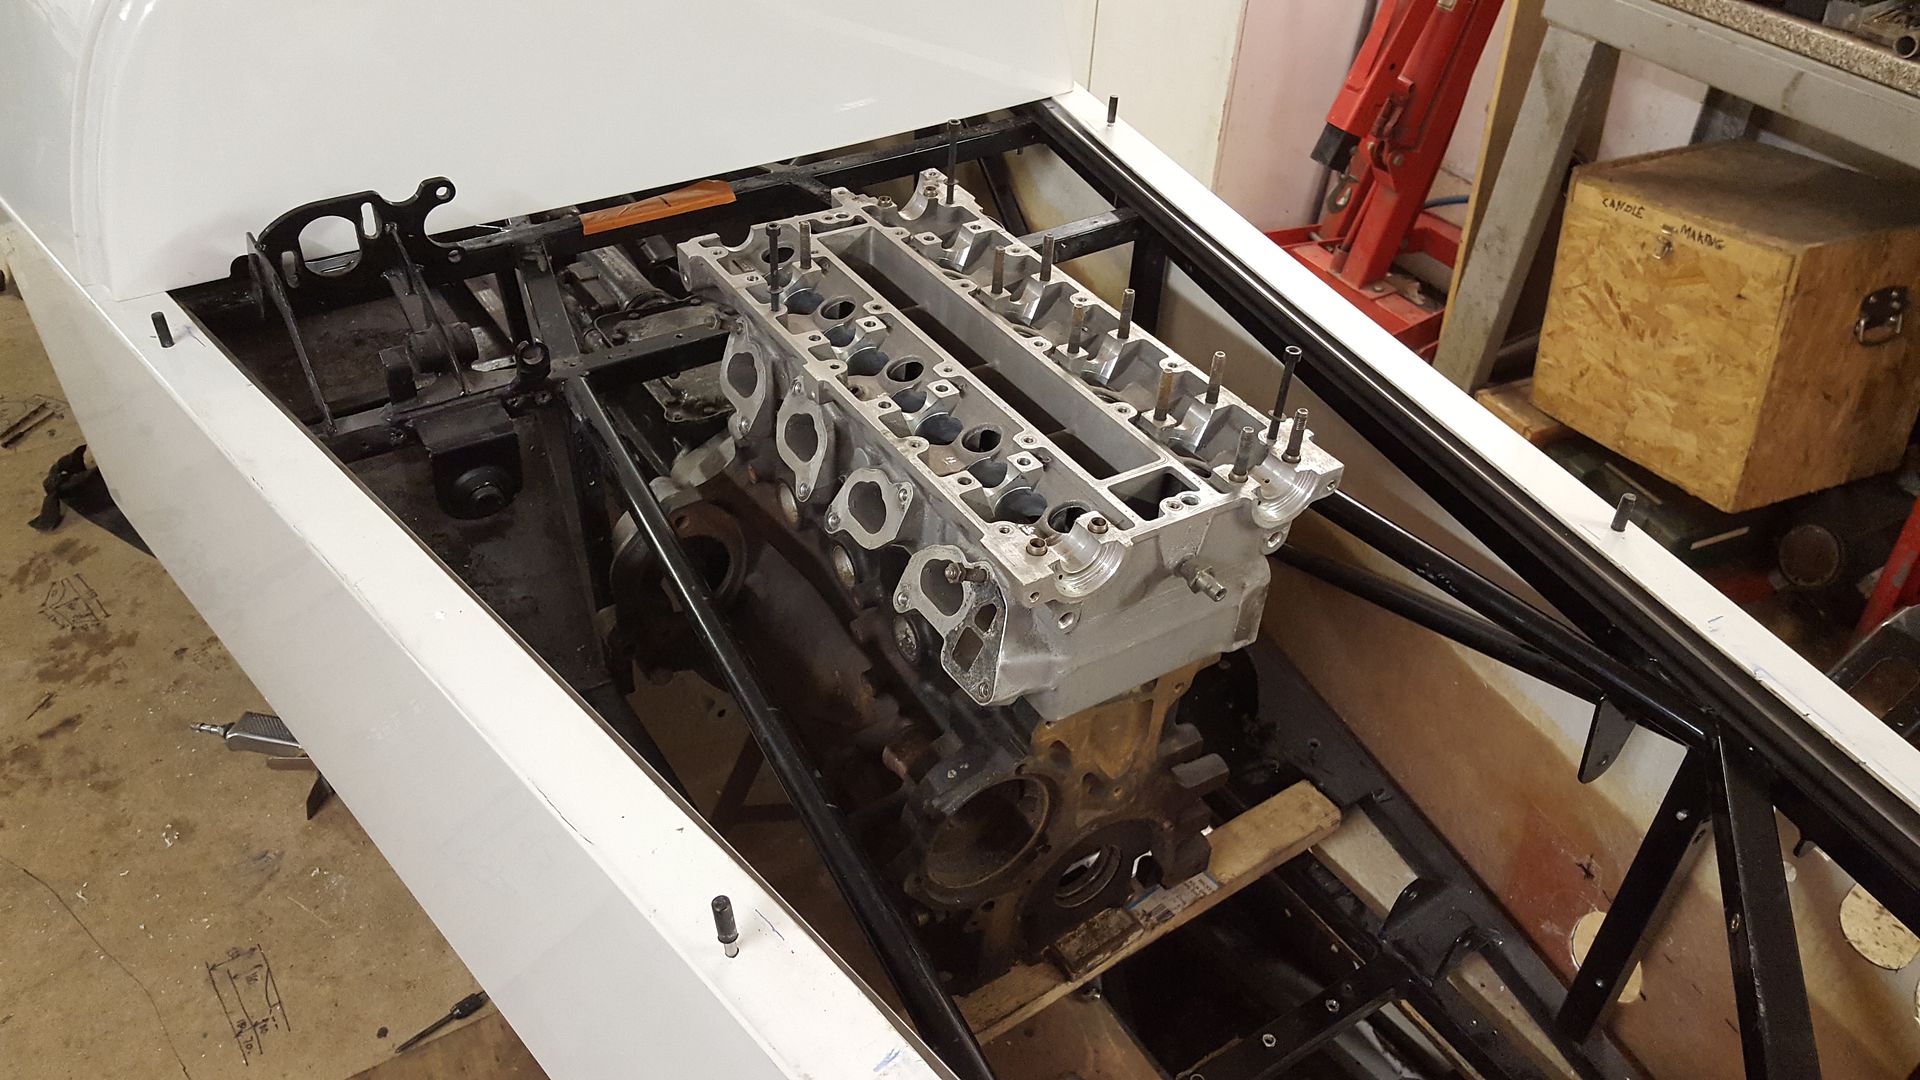
And got loads of room to the bonnet
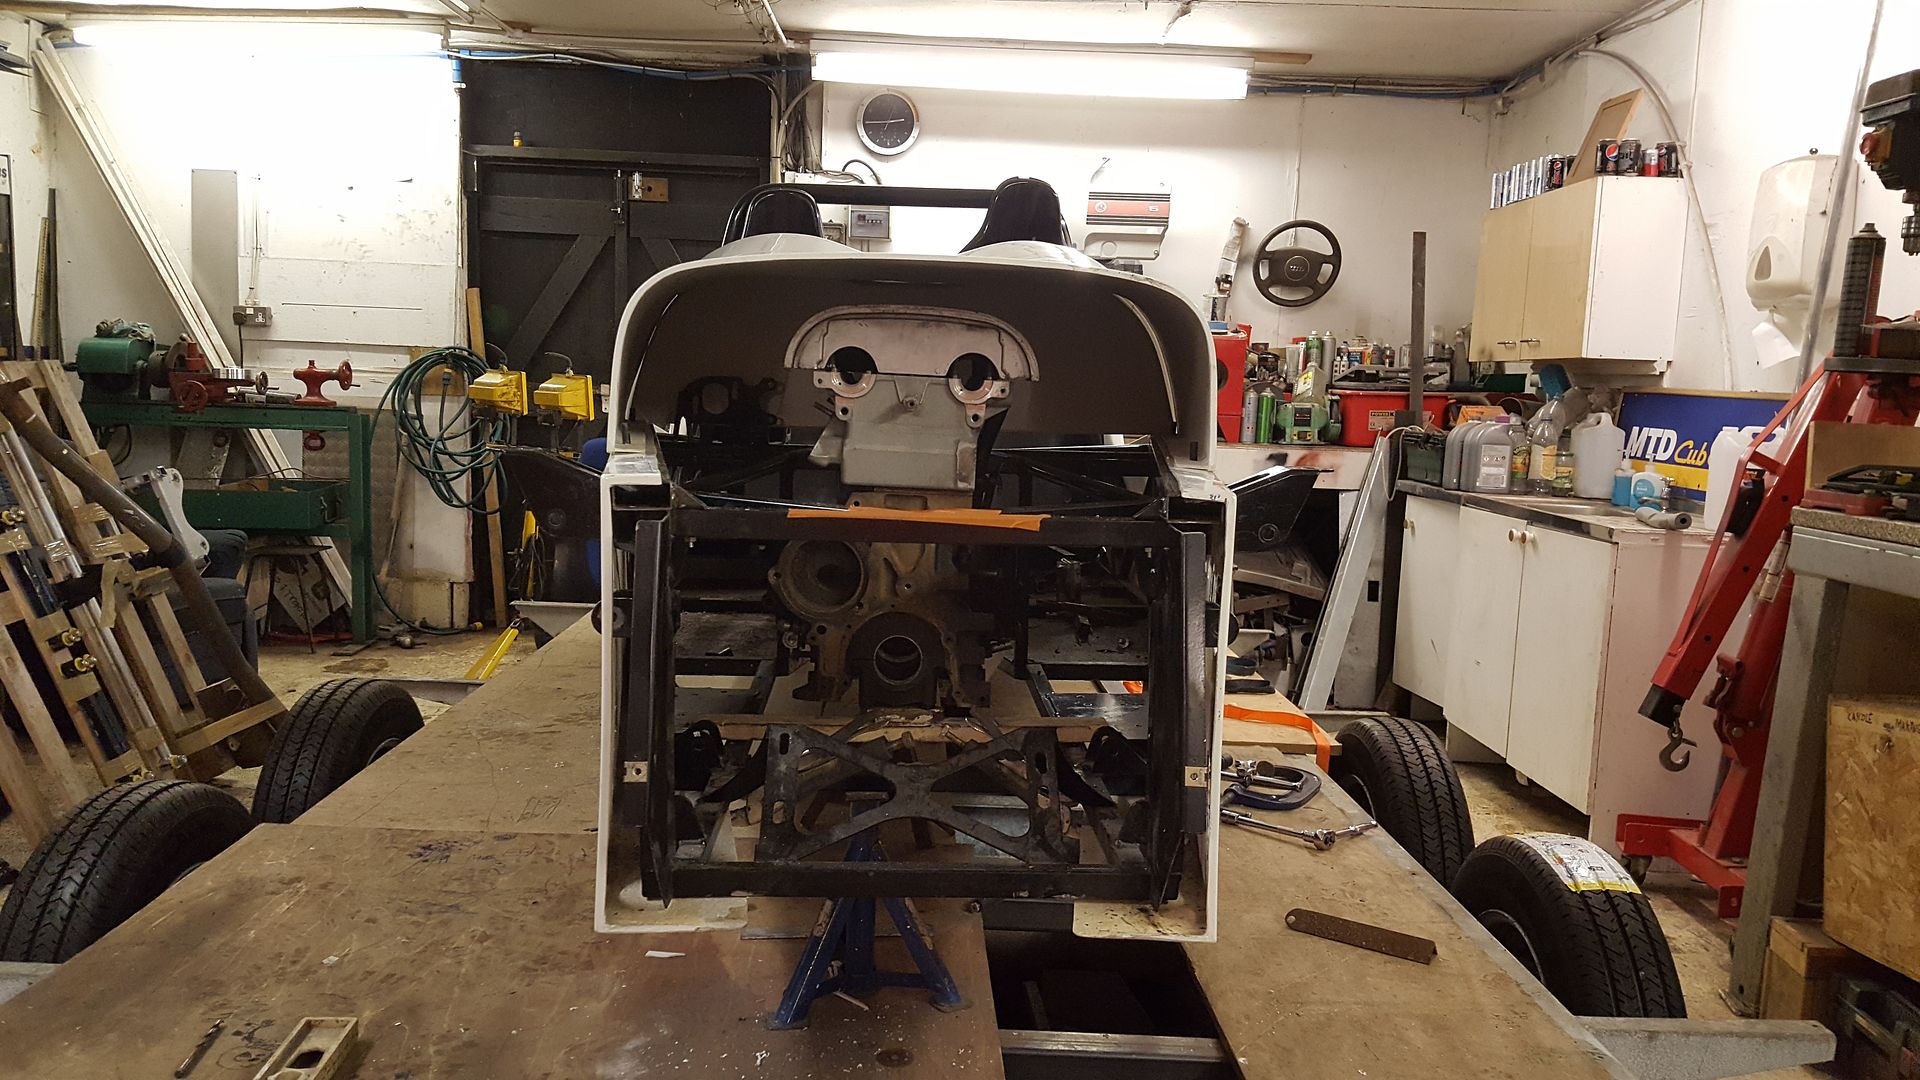
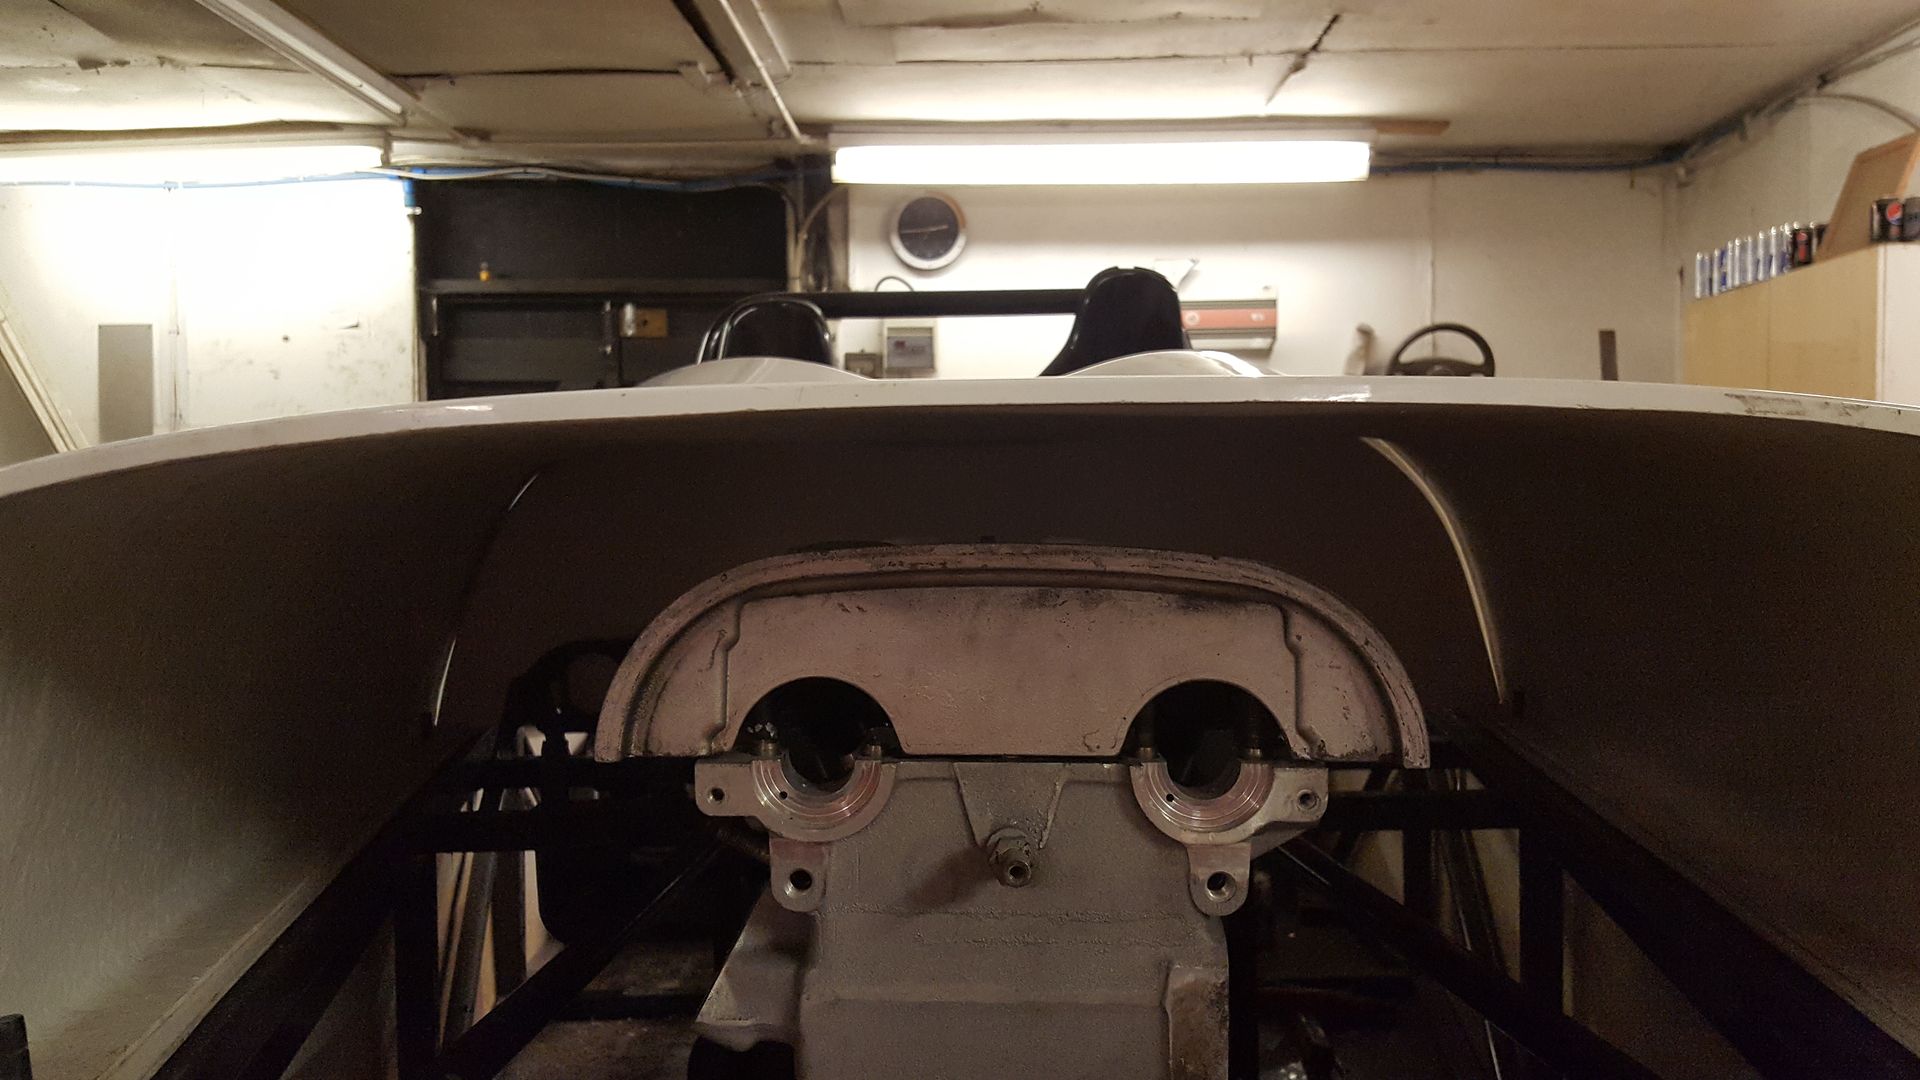
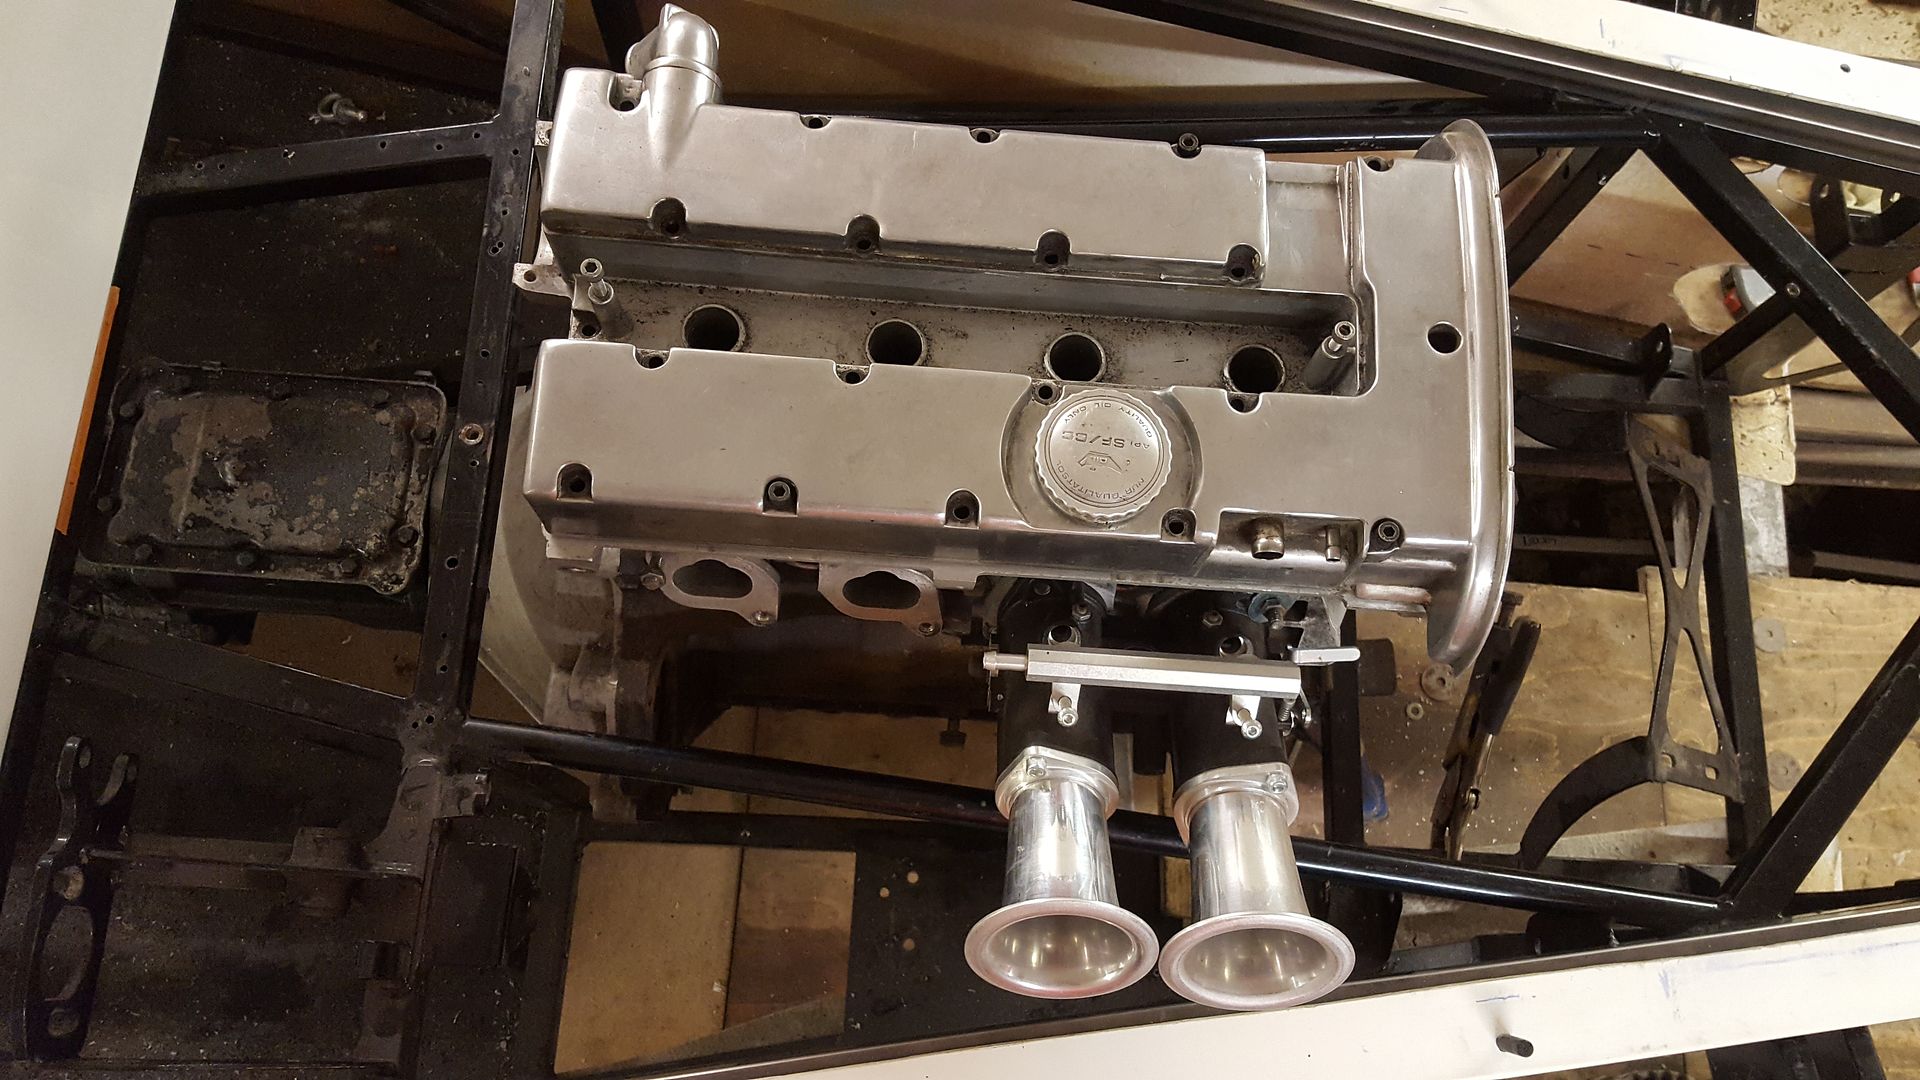
Tried the throttle bodies on
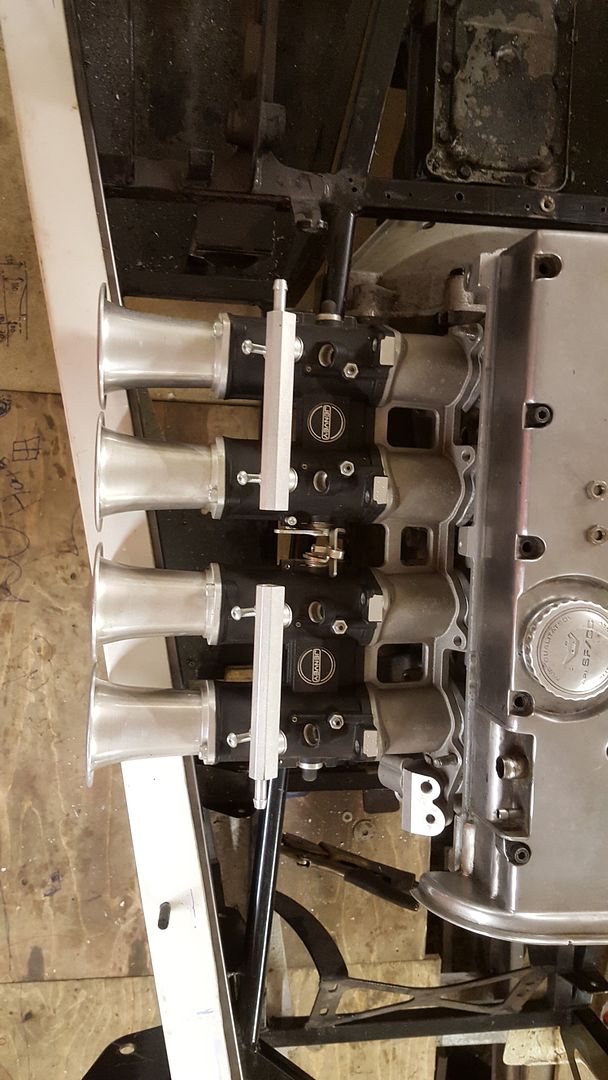
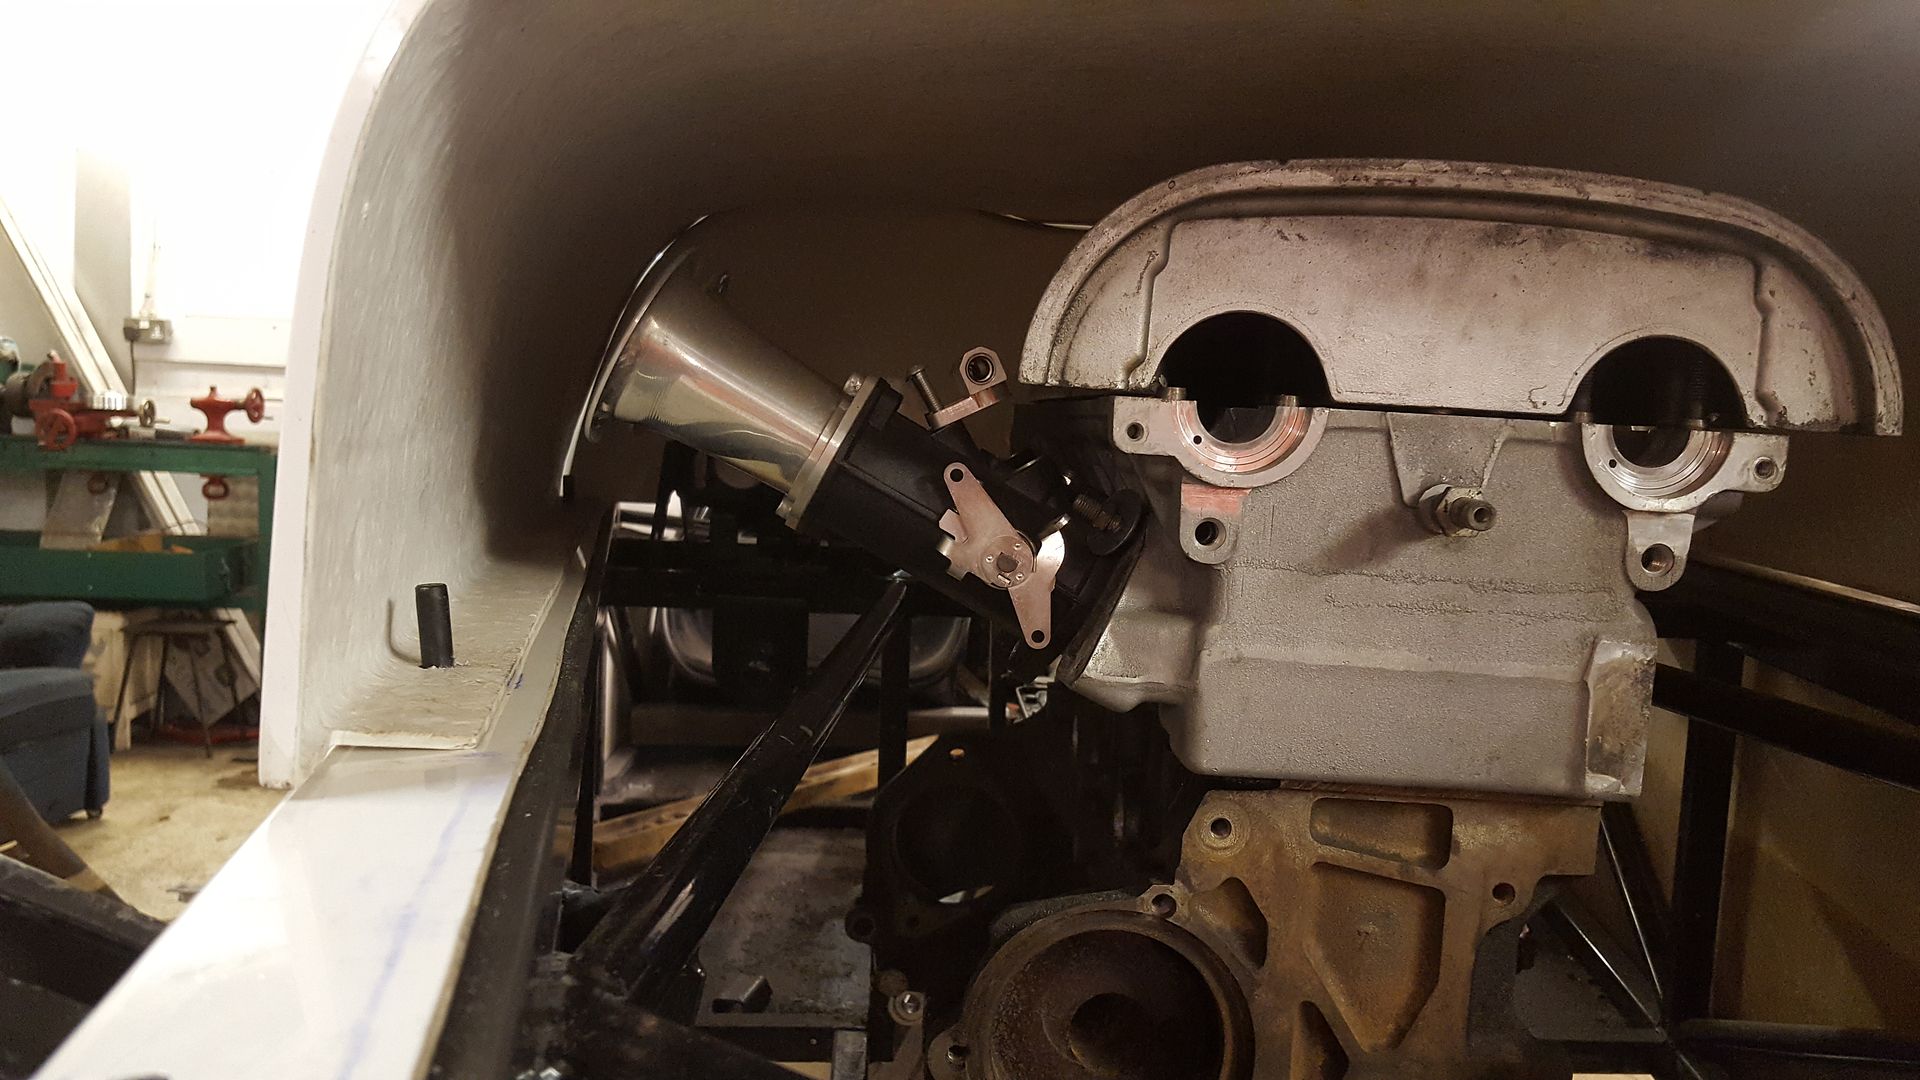
But now the body is raised 25mm plus the fibre glass the trumpets hit the body
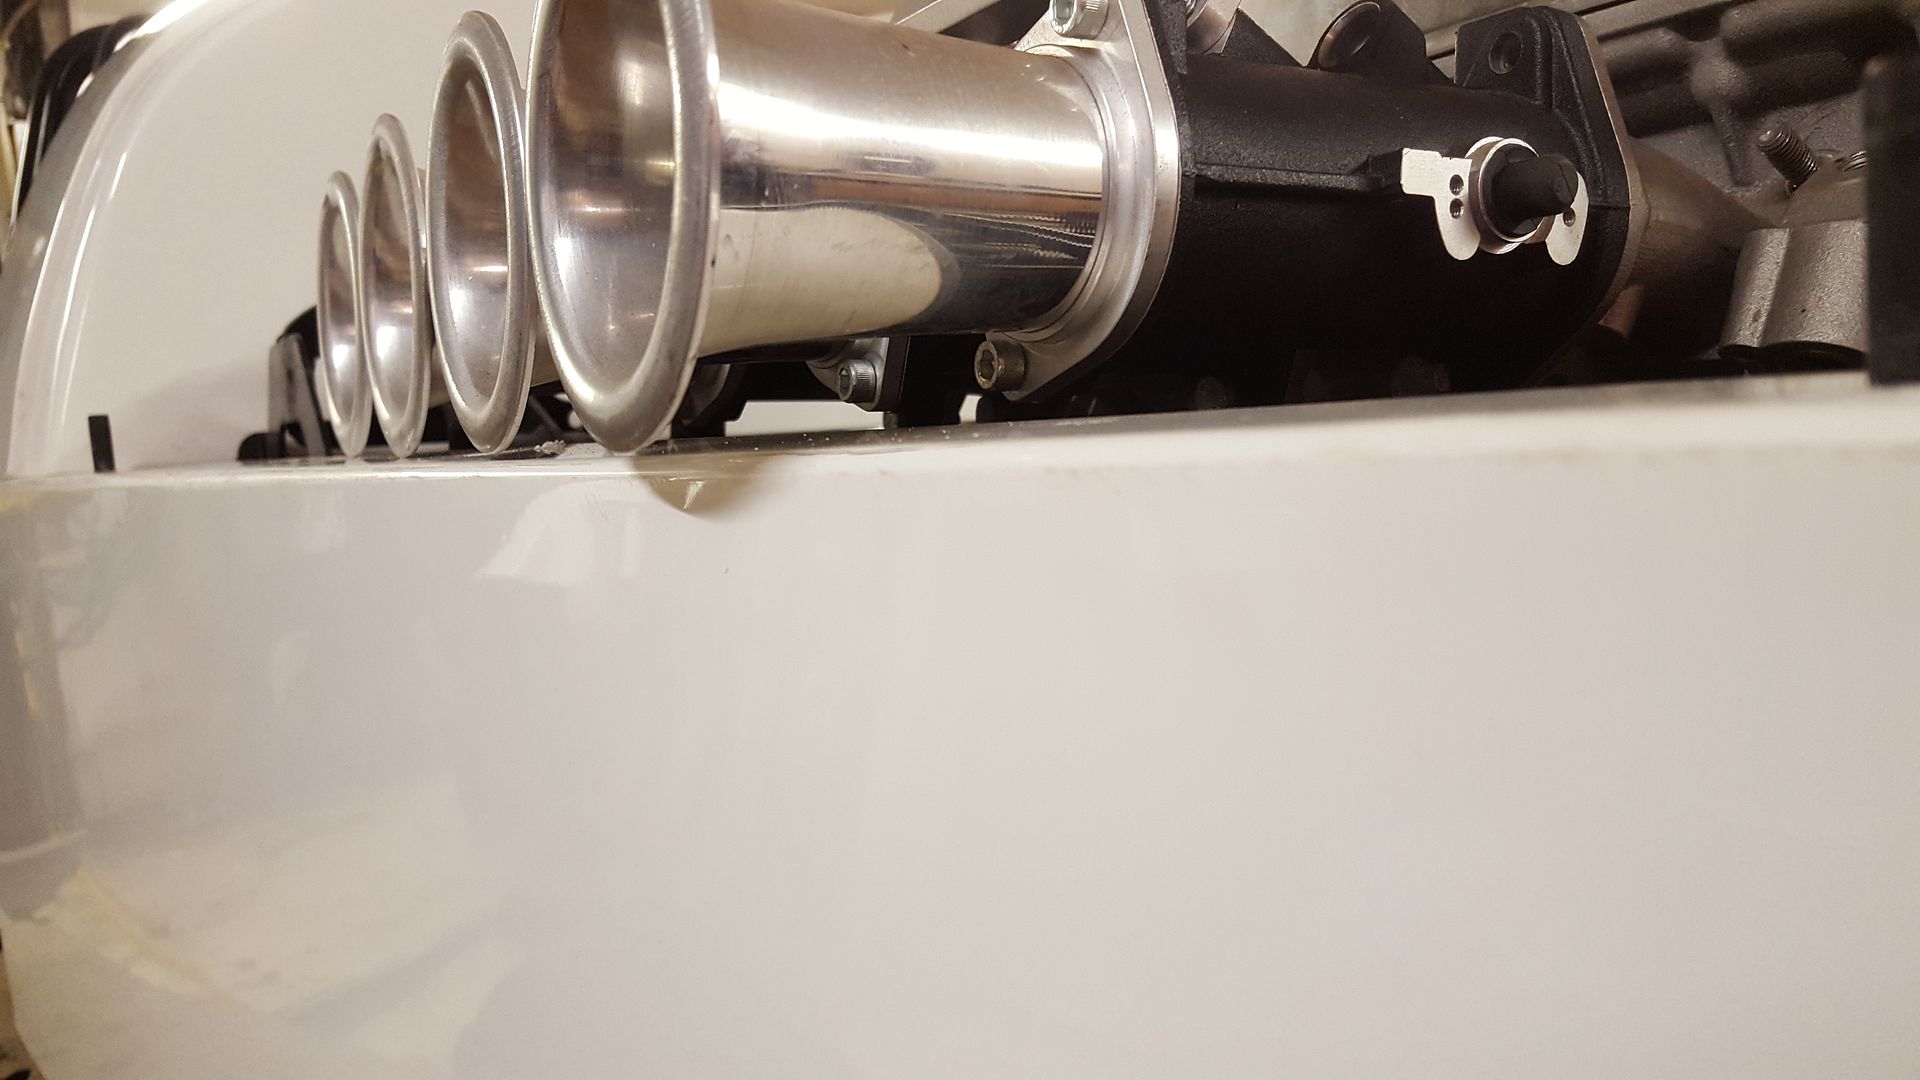
Not allowing them to seat
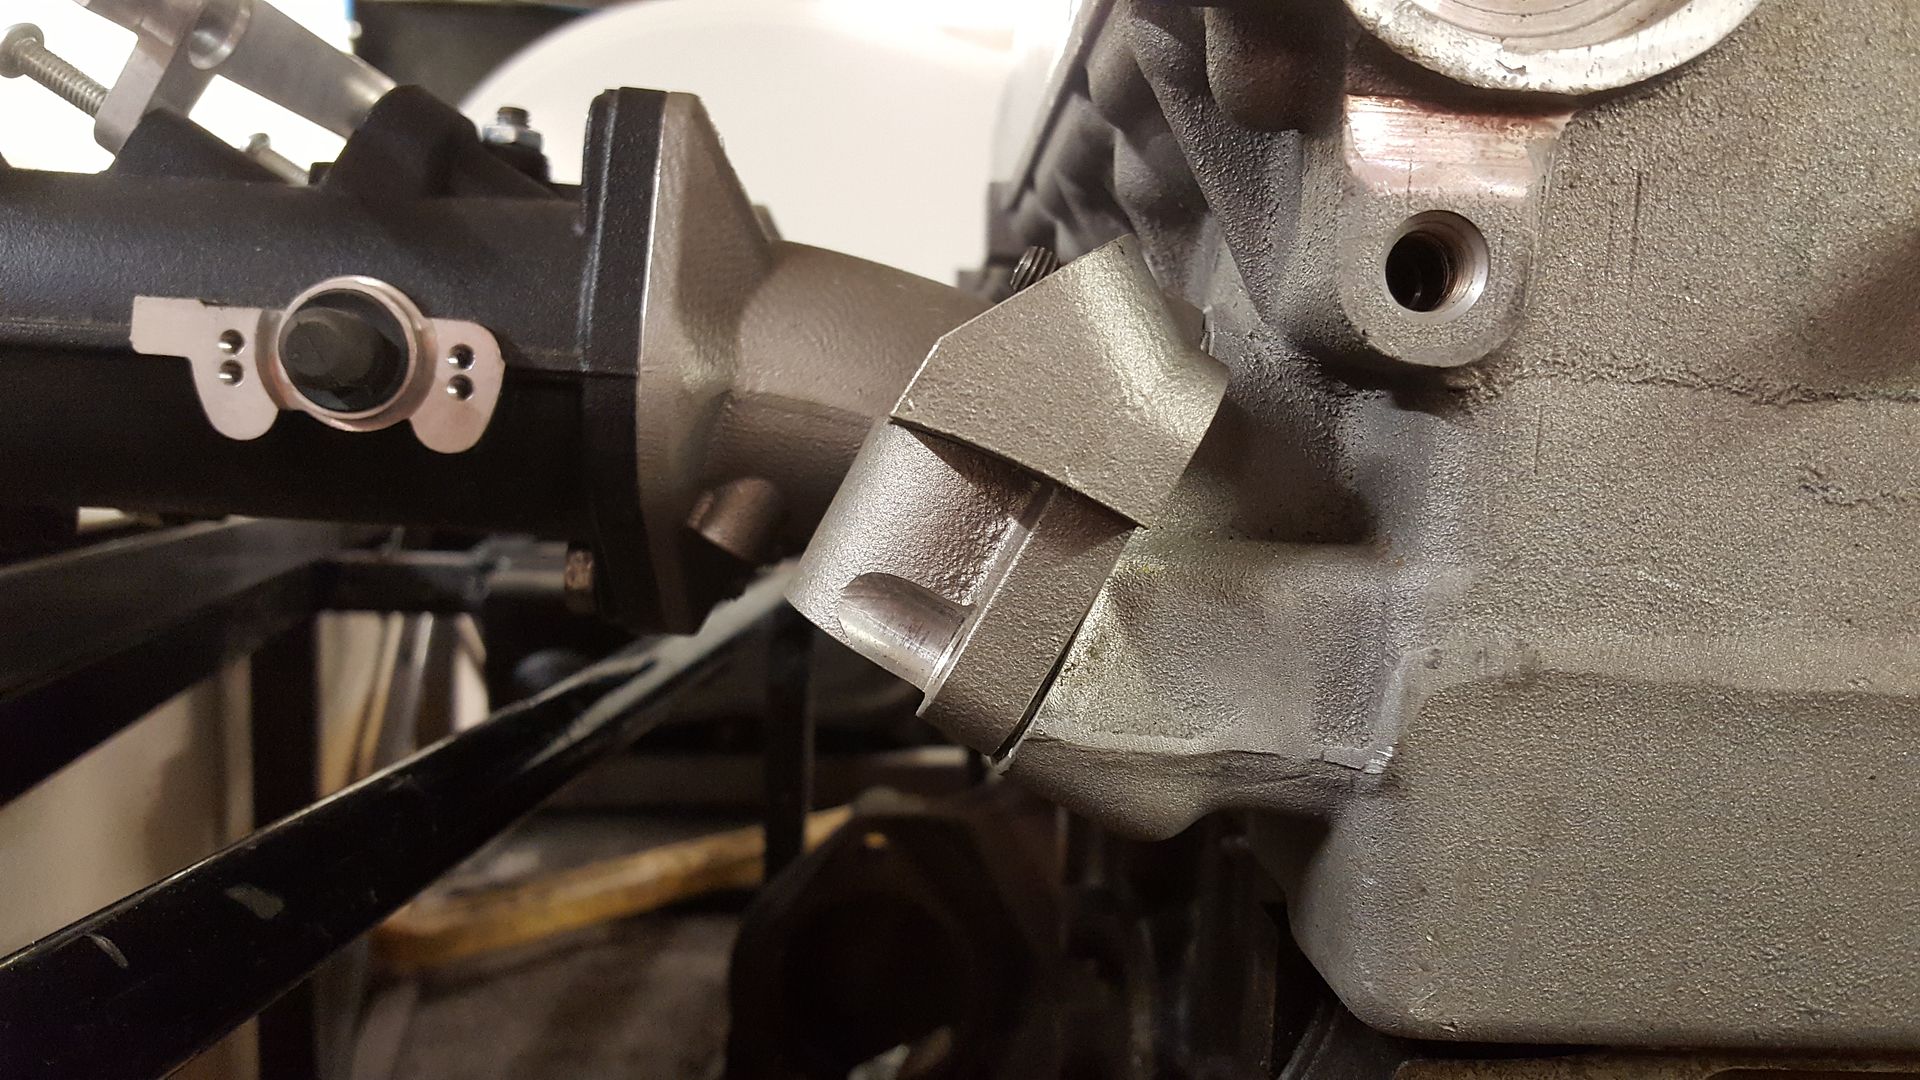
The exhaust can't come straight out like a GBS it will have to bounce up first, or go down internally like a caterham
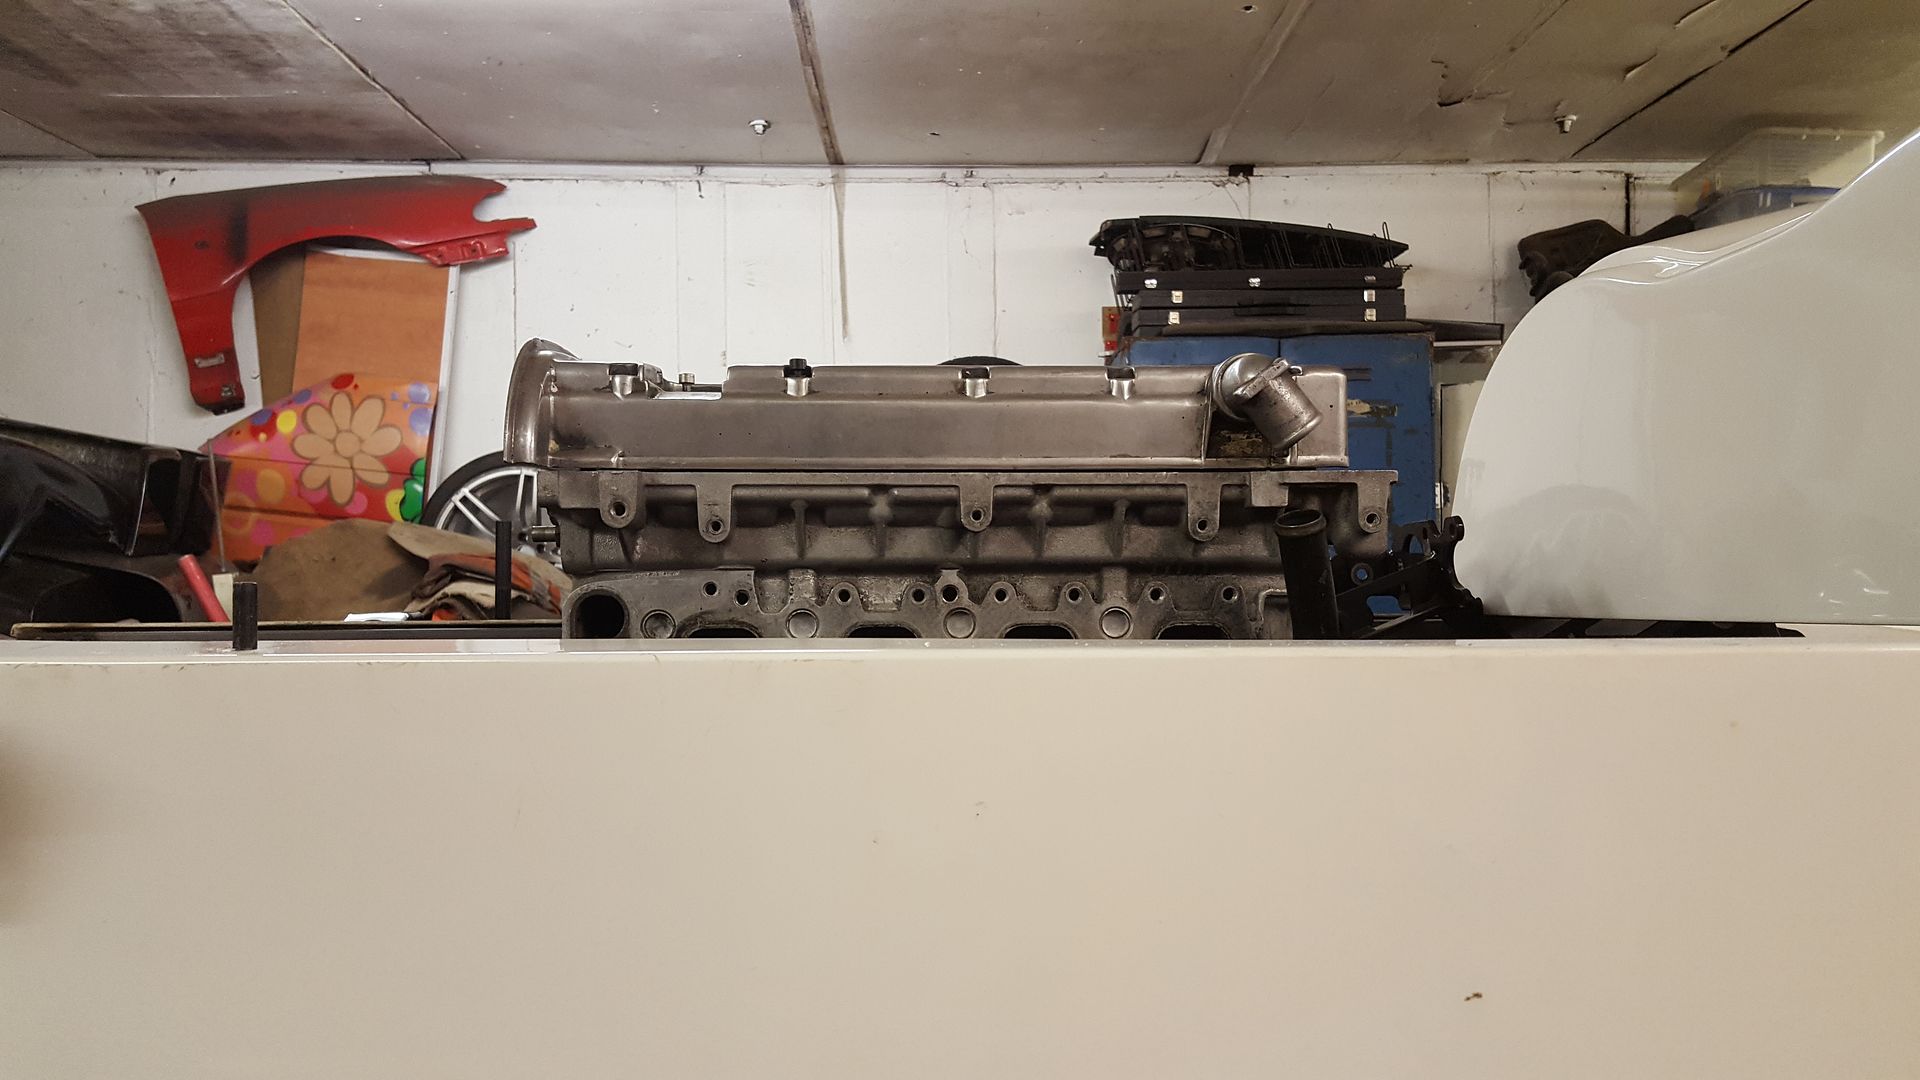
It fits on without the trumpets
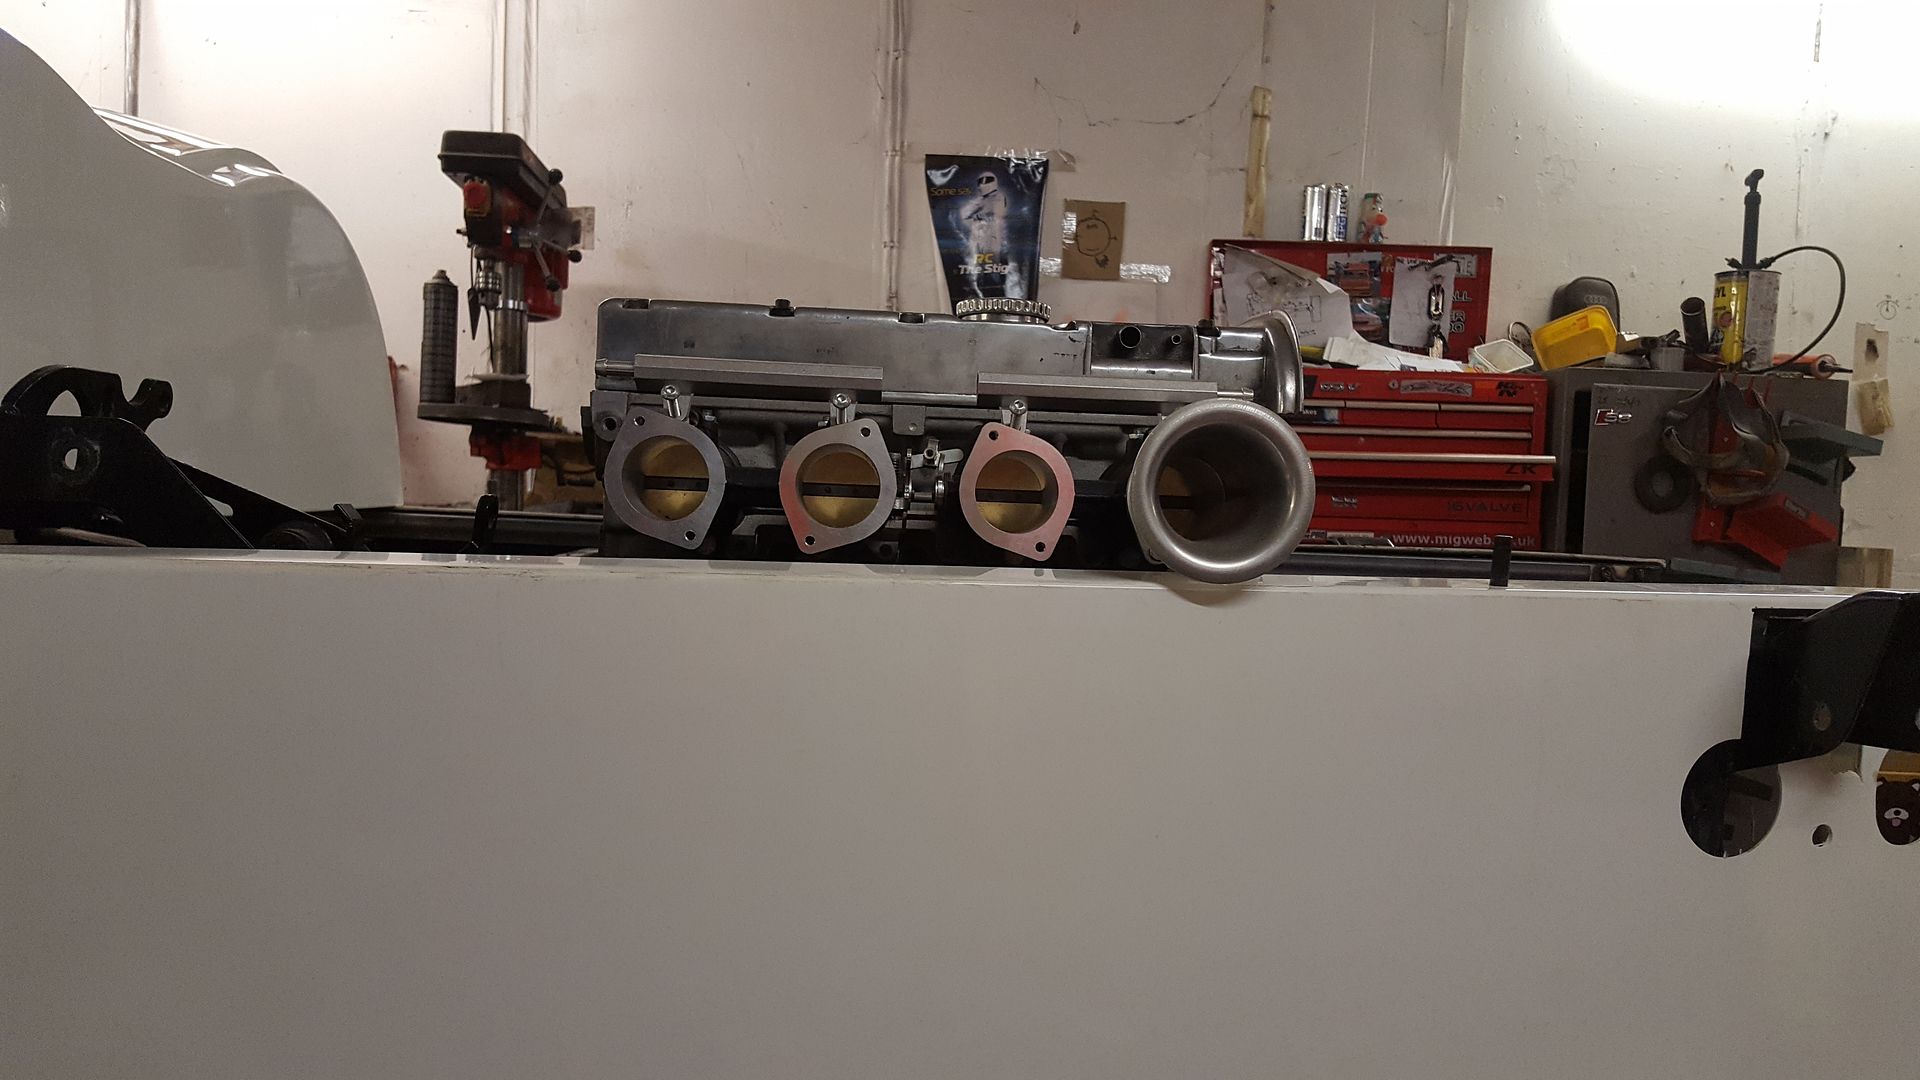
Without any trumpets it fits in, possibly allowing for a custom inlet
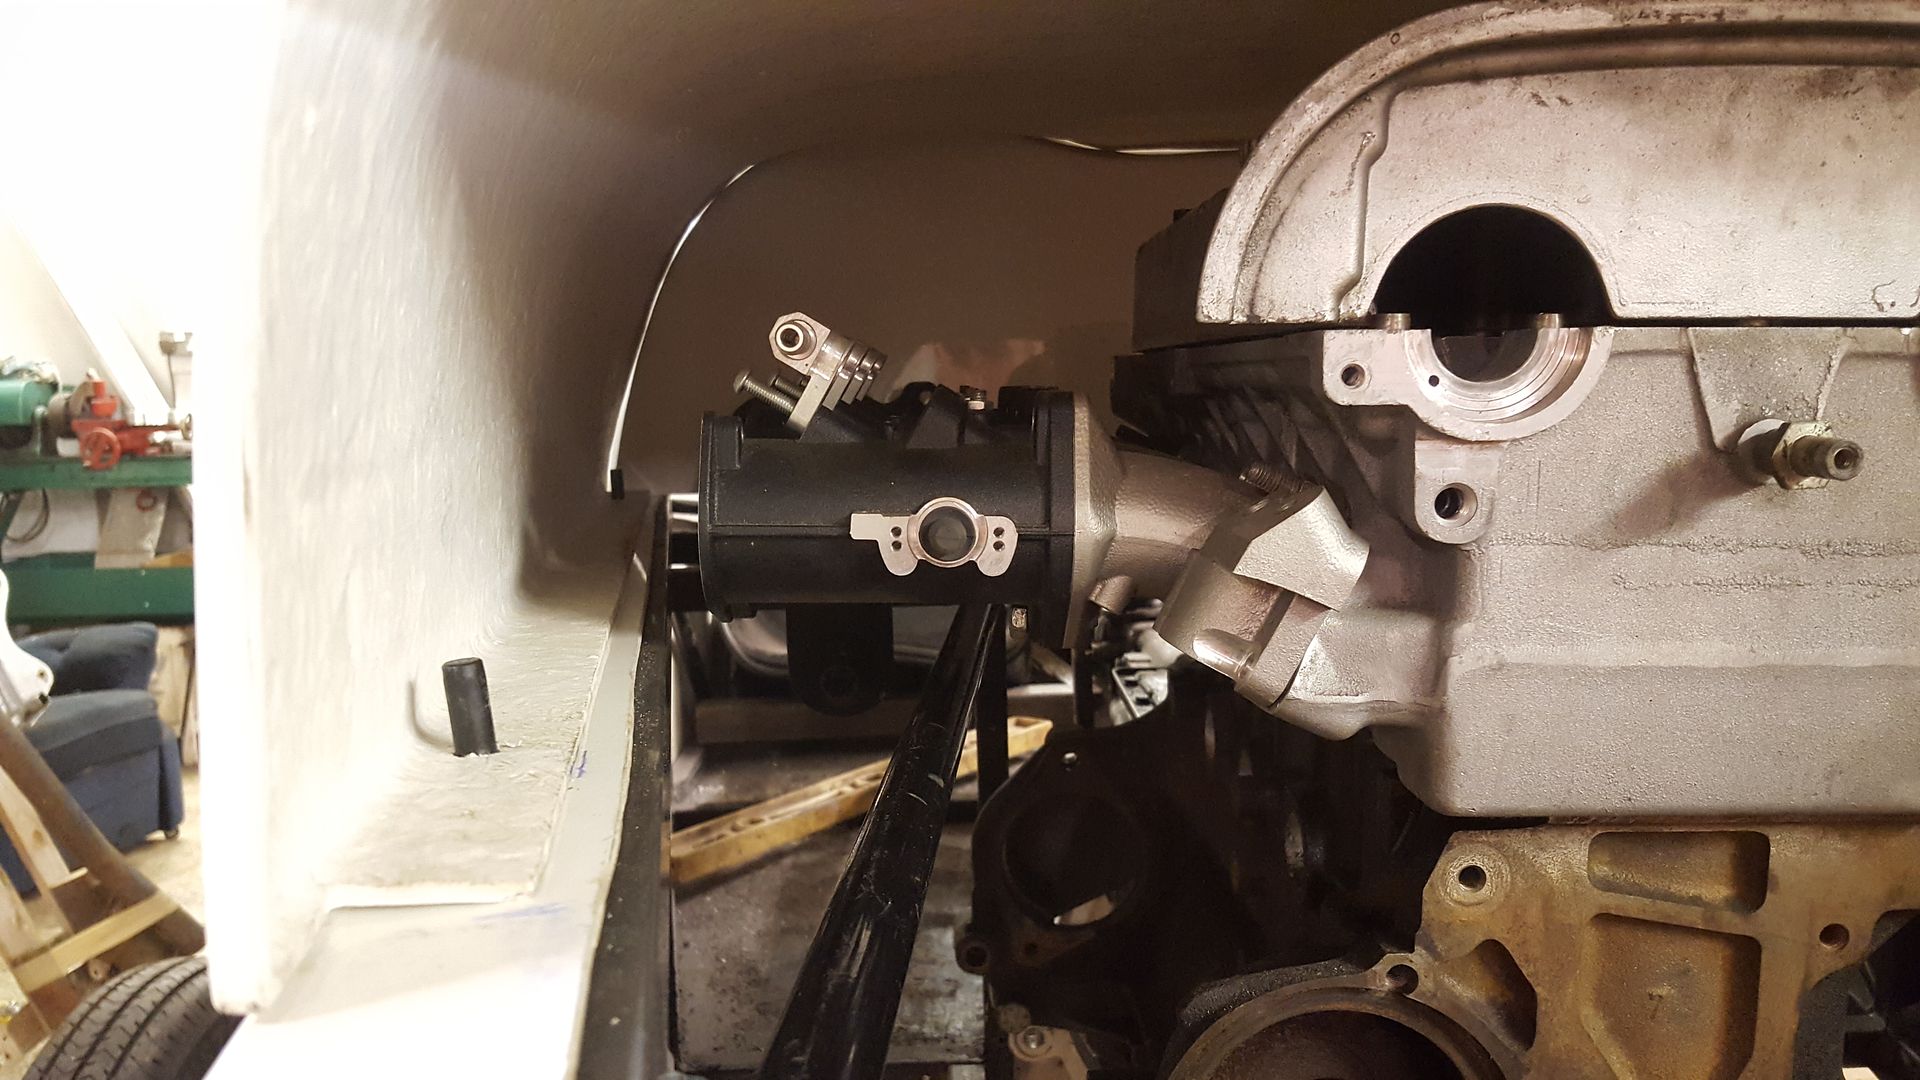
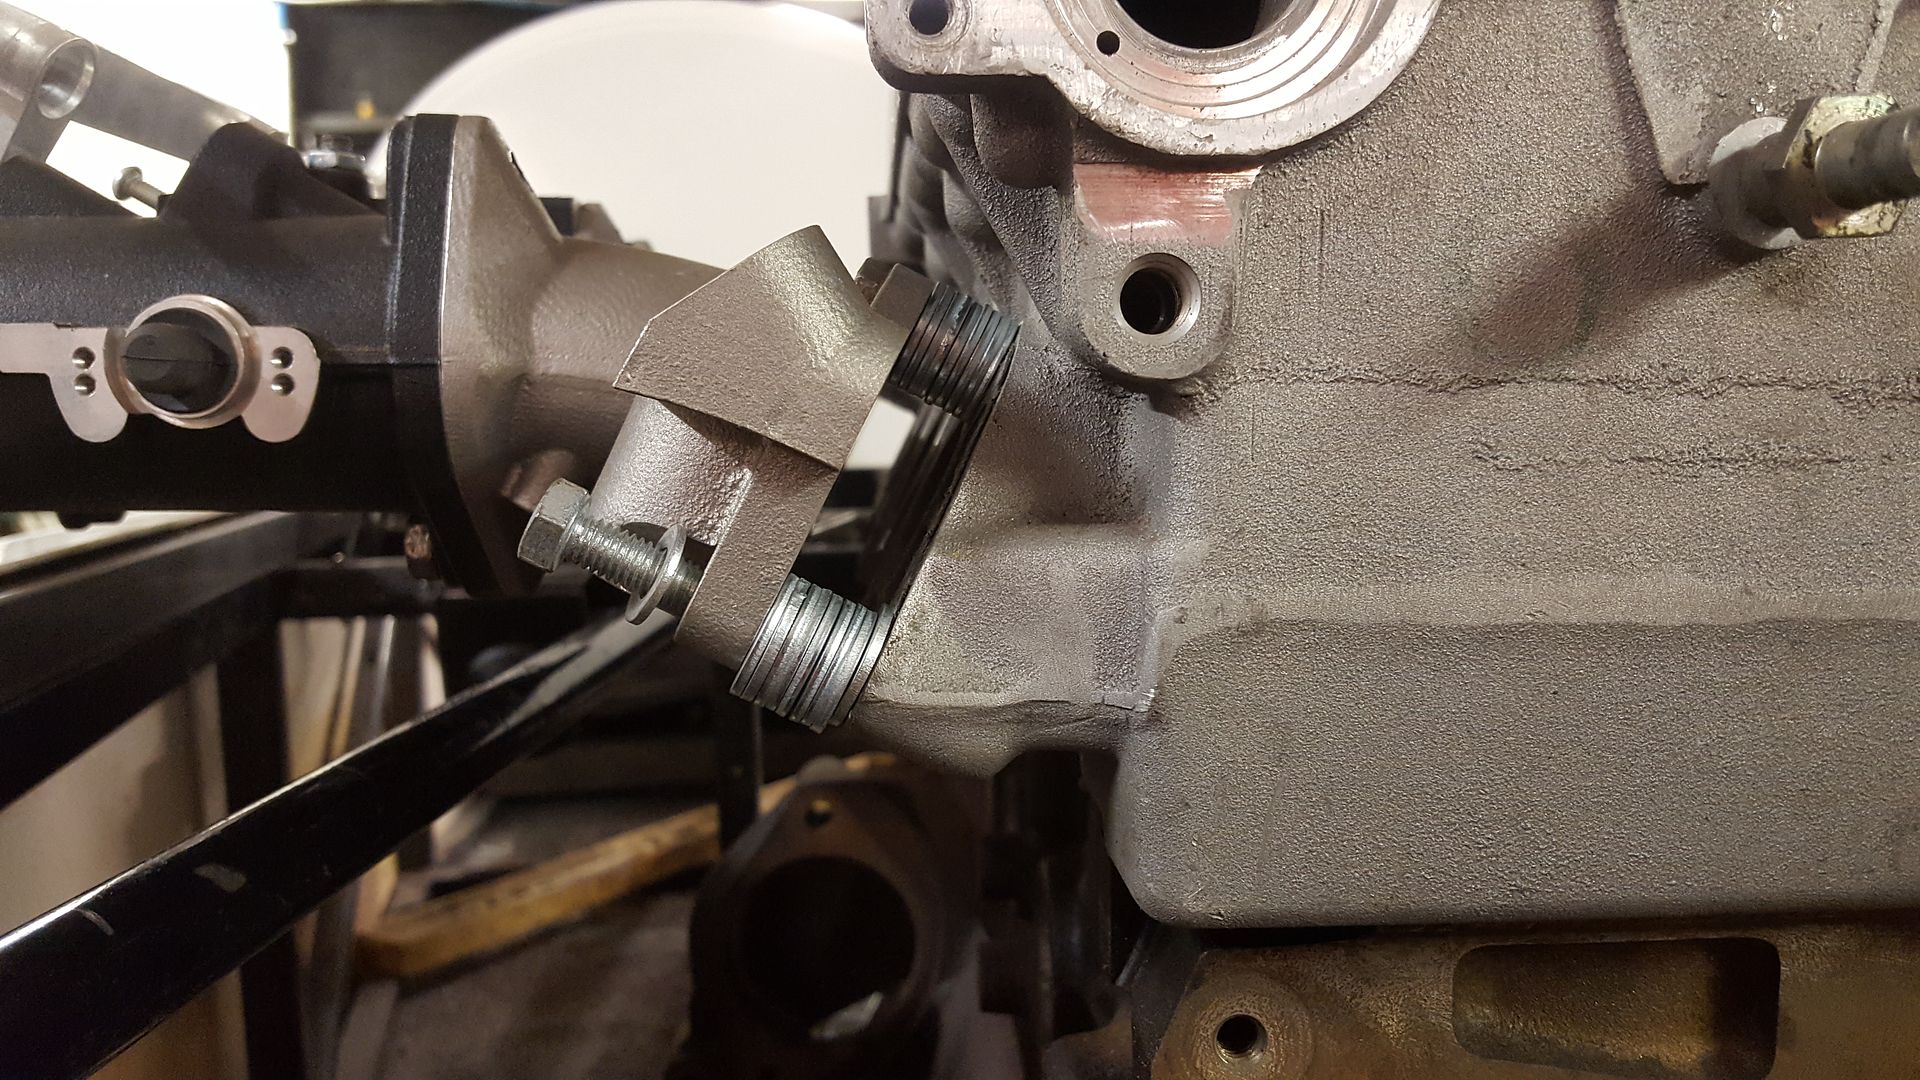
Another option is to put a 25mm spacer between the inlet and the head, because it's at an angle it raises it up, but also spaces it out
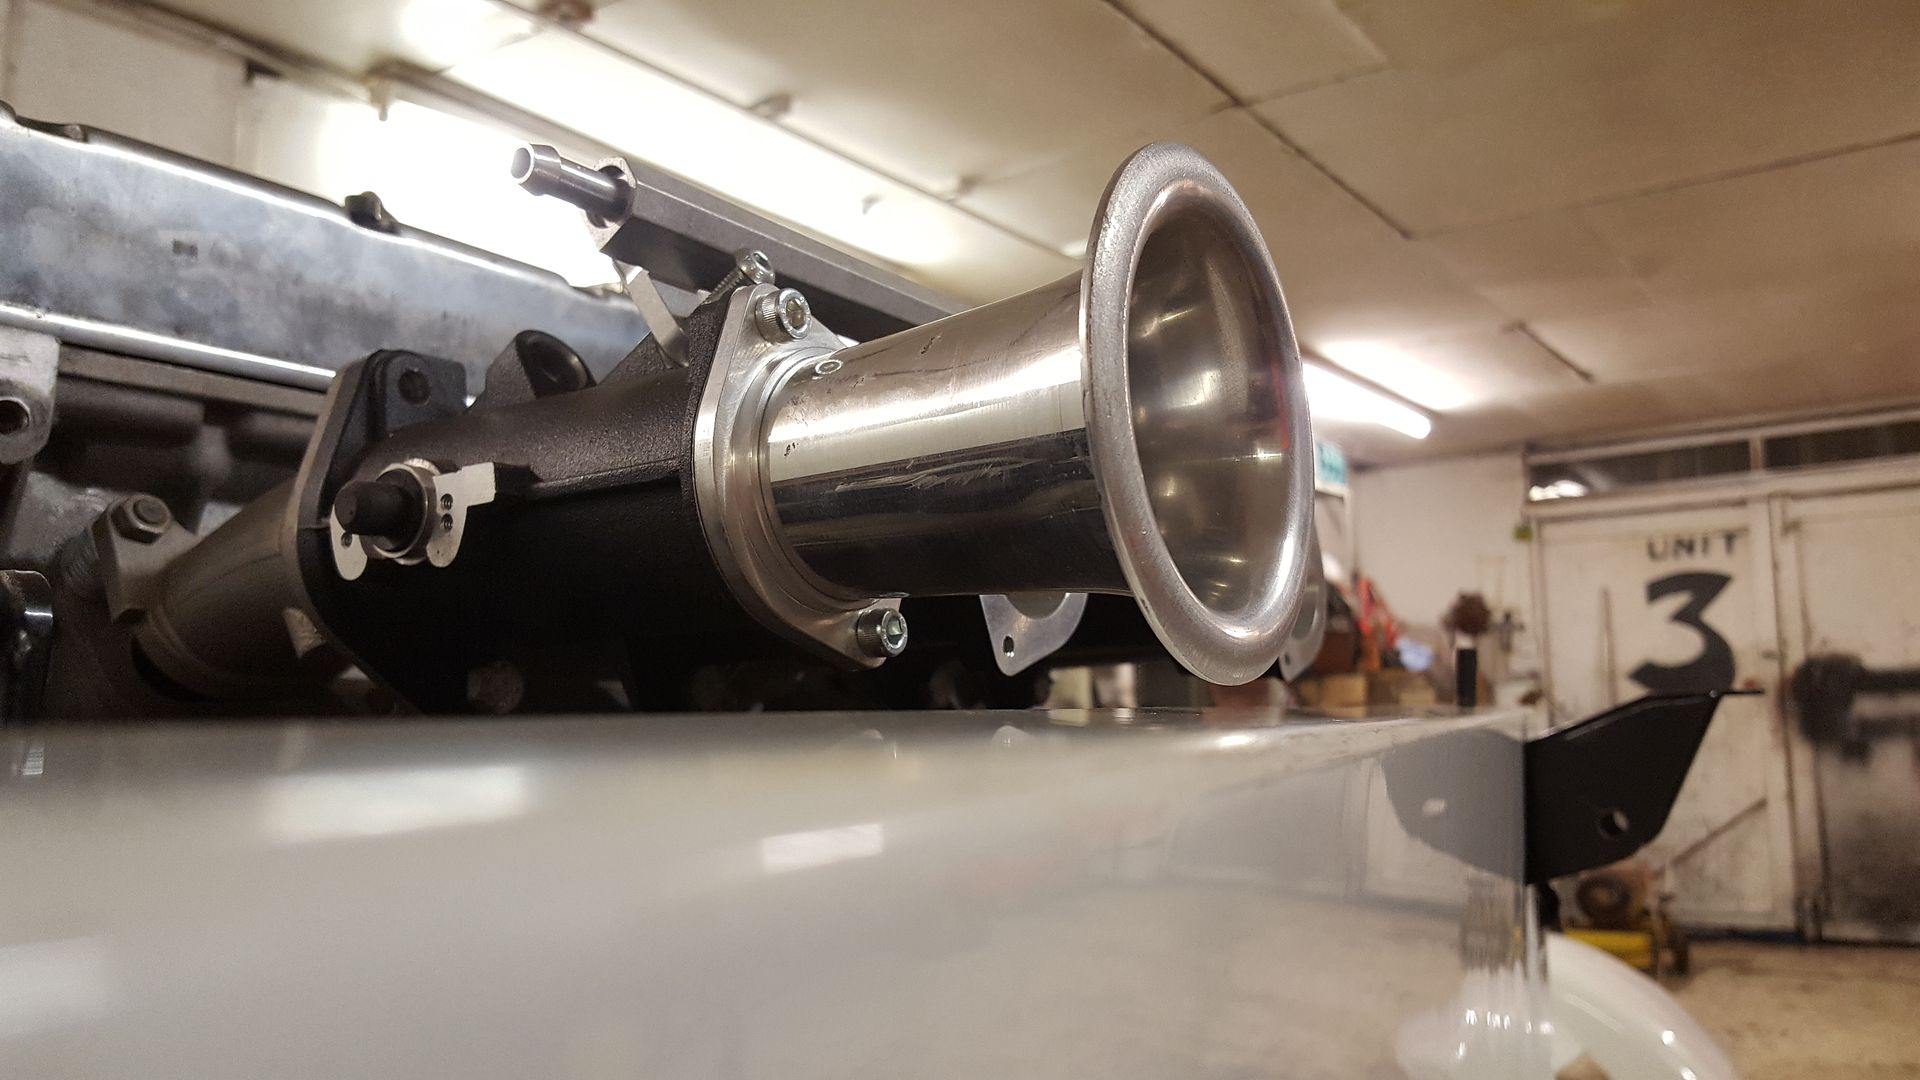
Some QED direct to head tbs would be perfect! But out of my price range :lol:
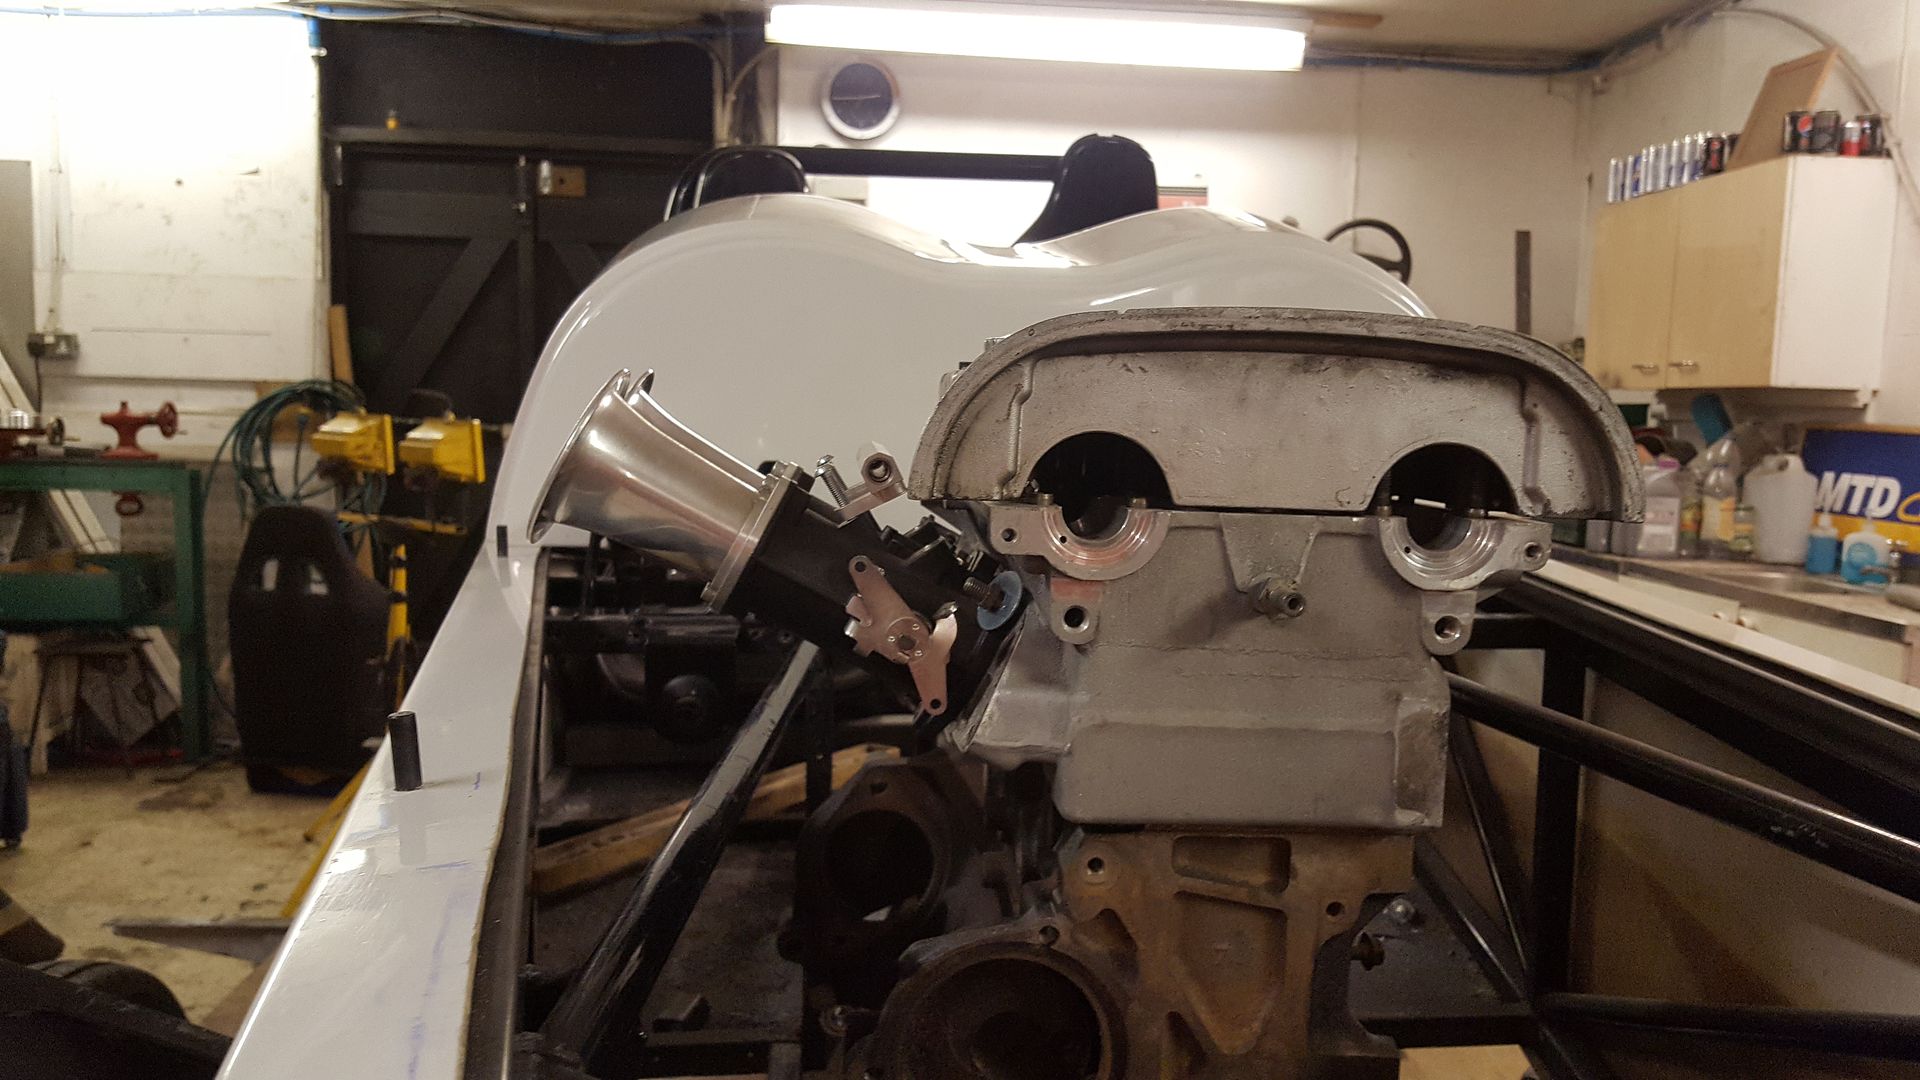
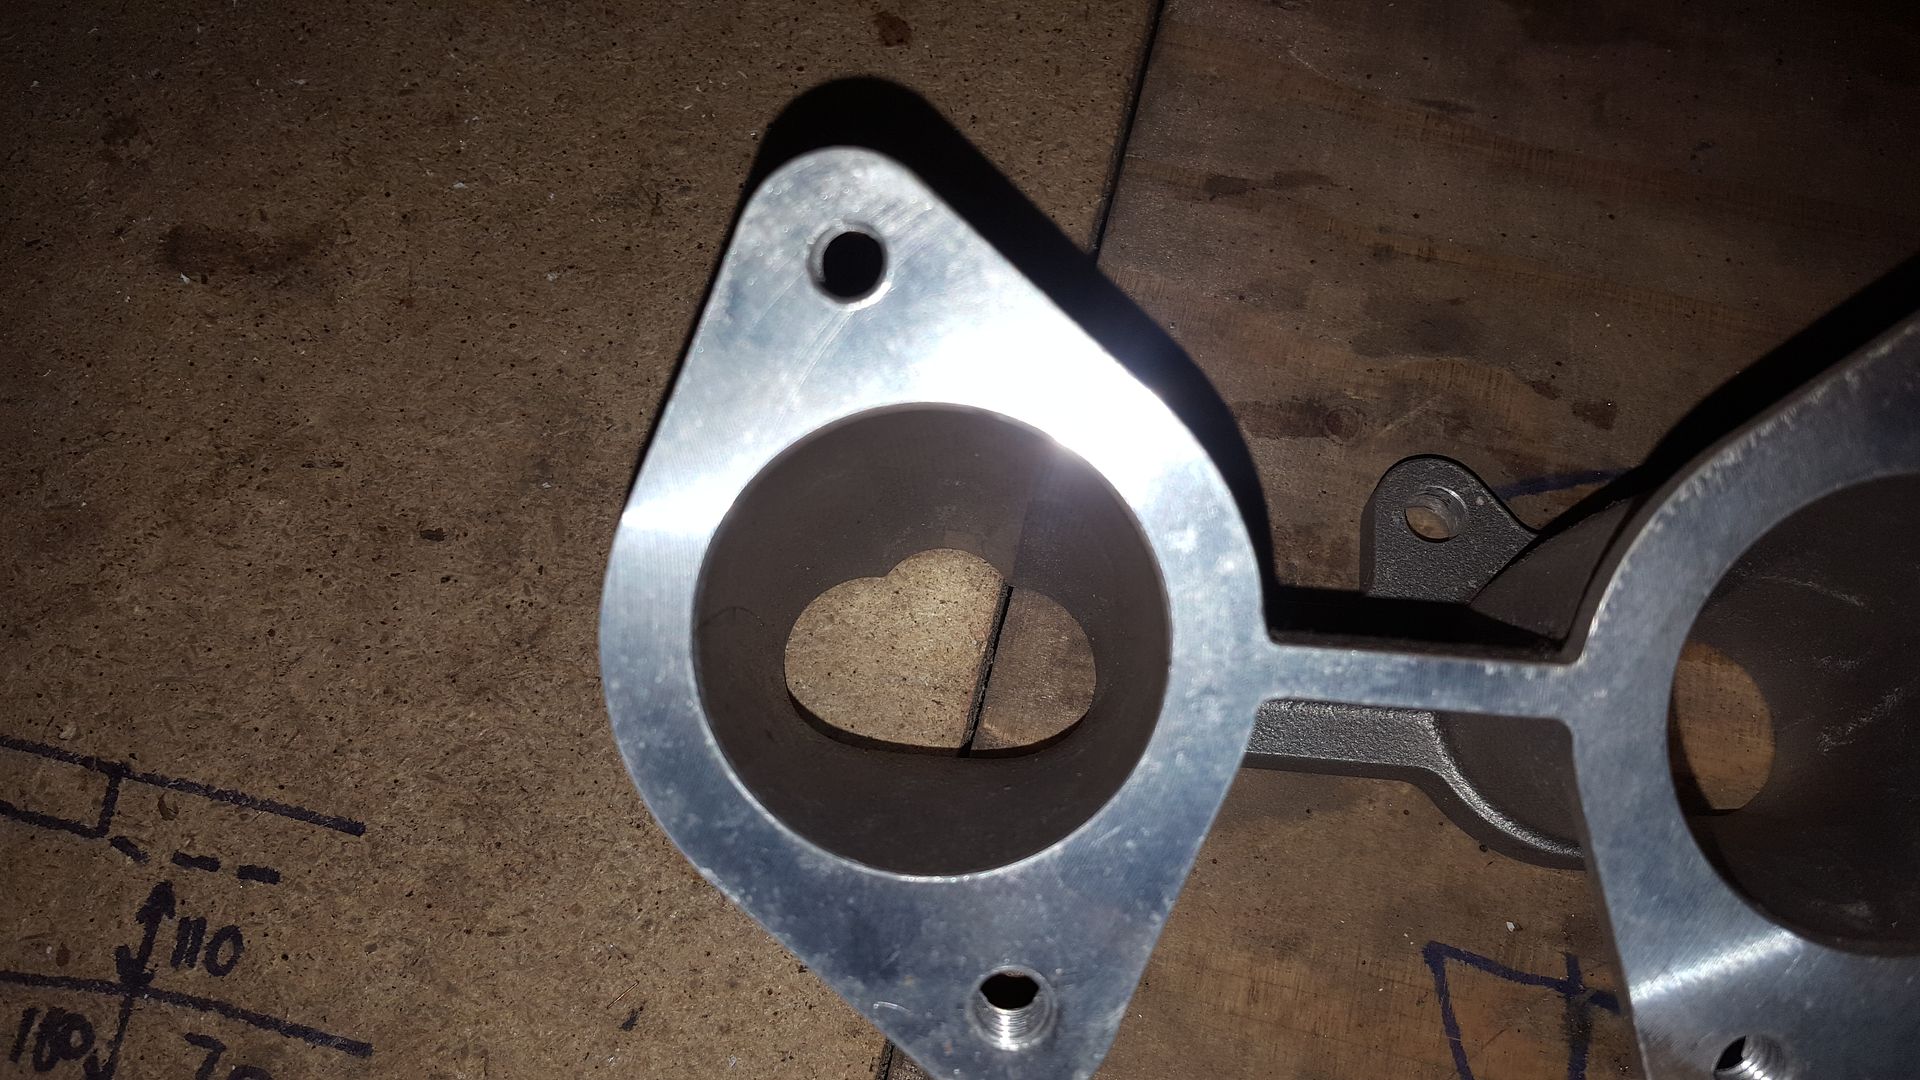
But with my parallel 45s there's no way you'd be able to round the inlet port to match
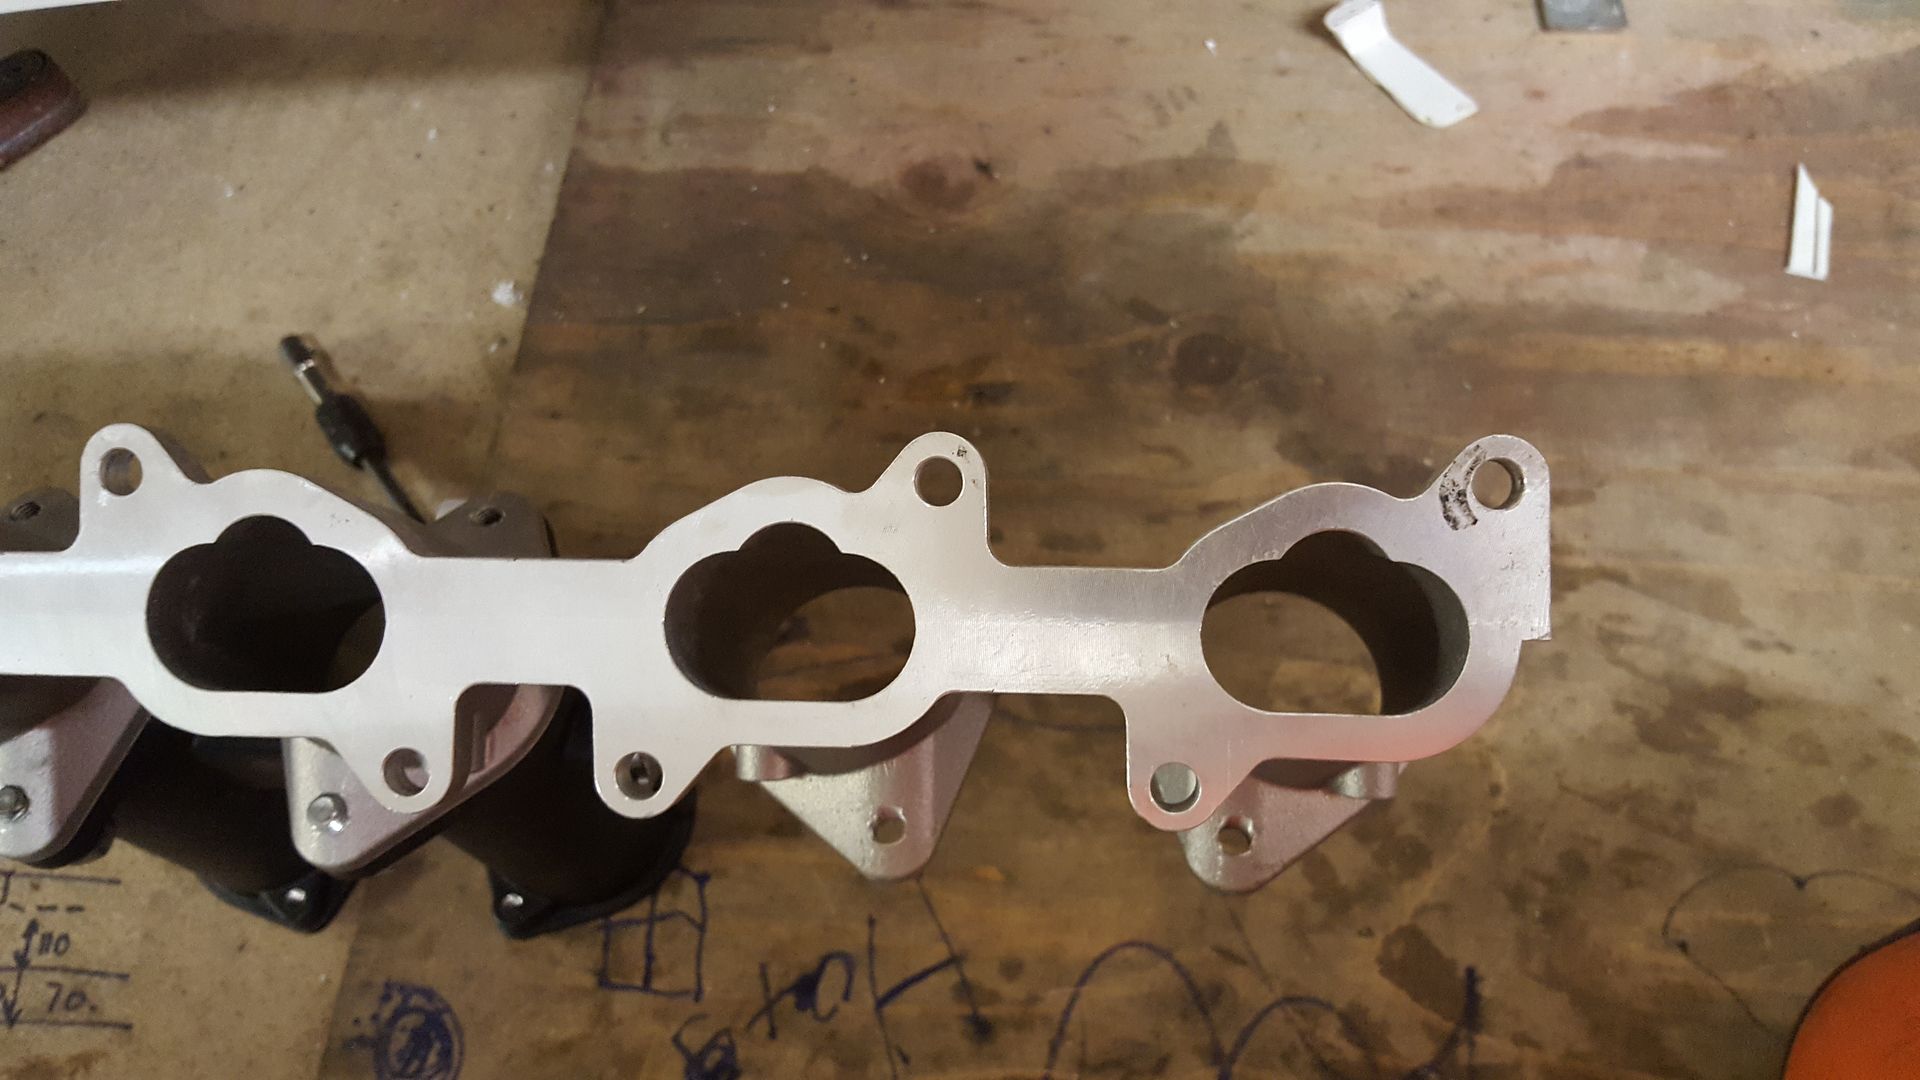
Jenvey do actually do a straight c20xe manifold. This is the one I have
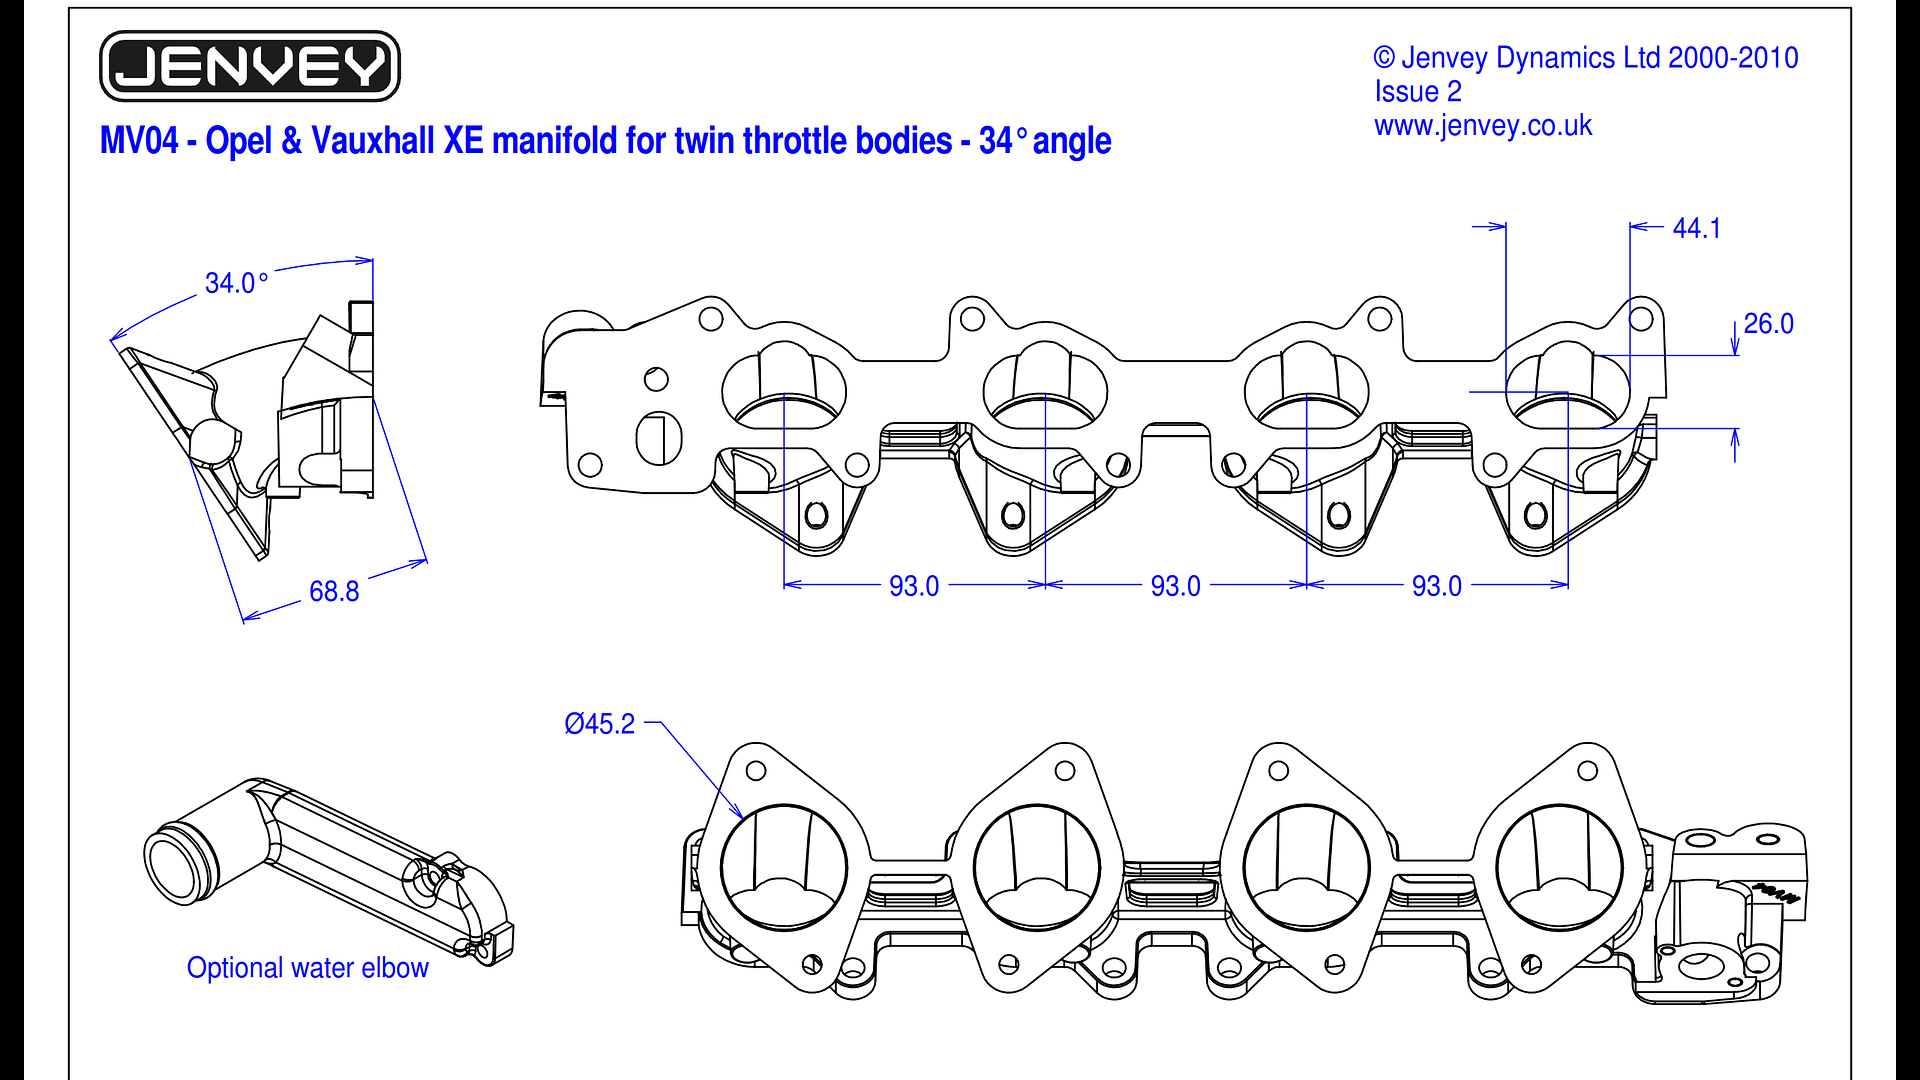
And this is the 0 degree one
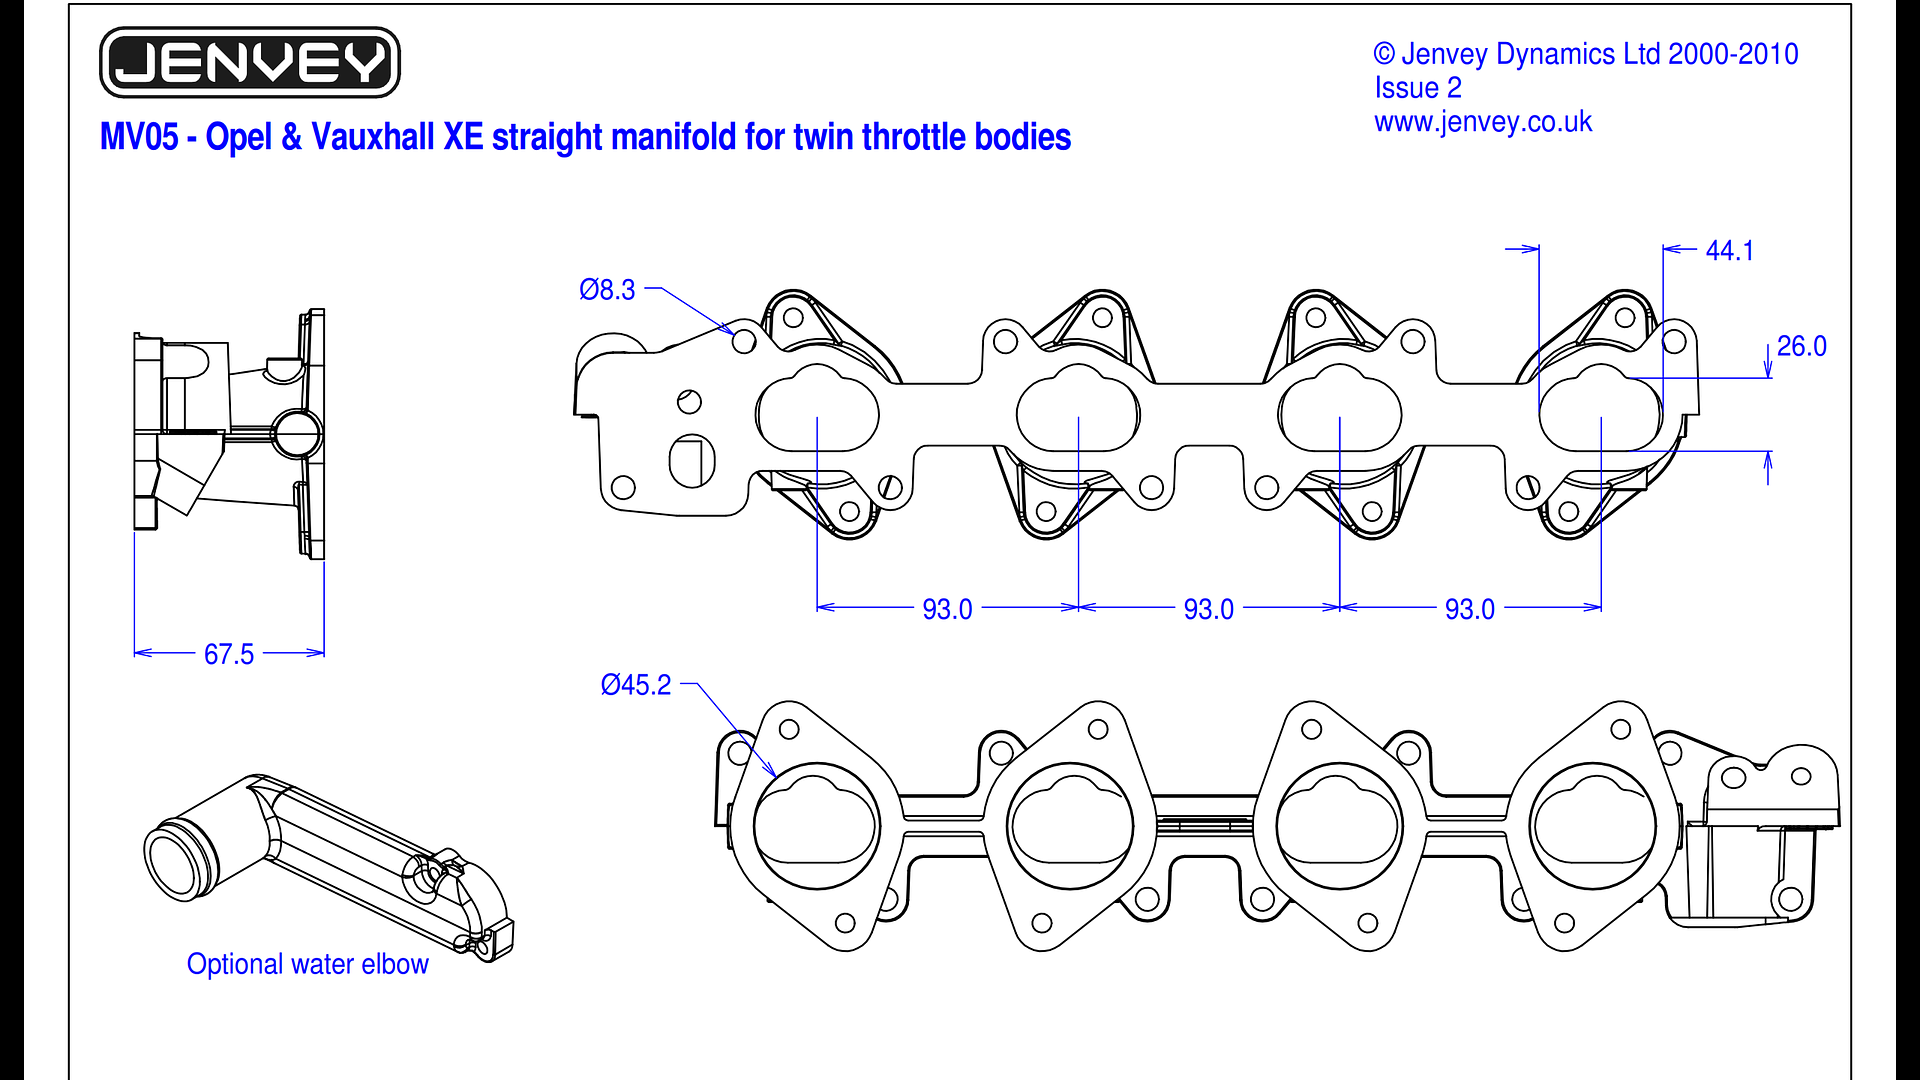
But it's £230 eek!
I might think about cut and shutting my manifold with a V making it a straight one then welding it back together. I do like the look of it up at
45degrees
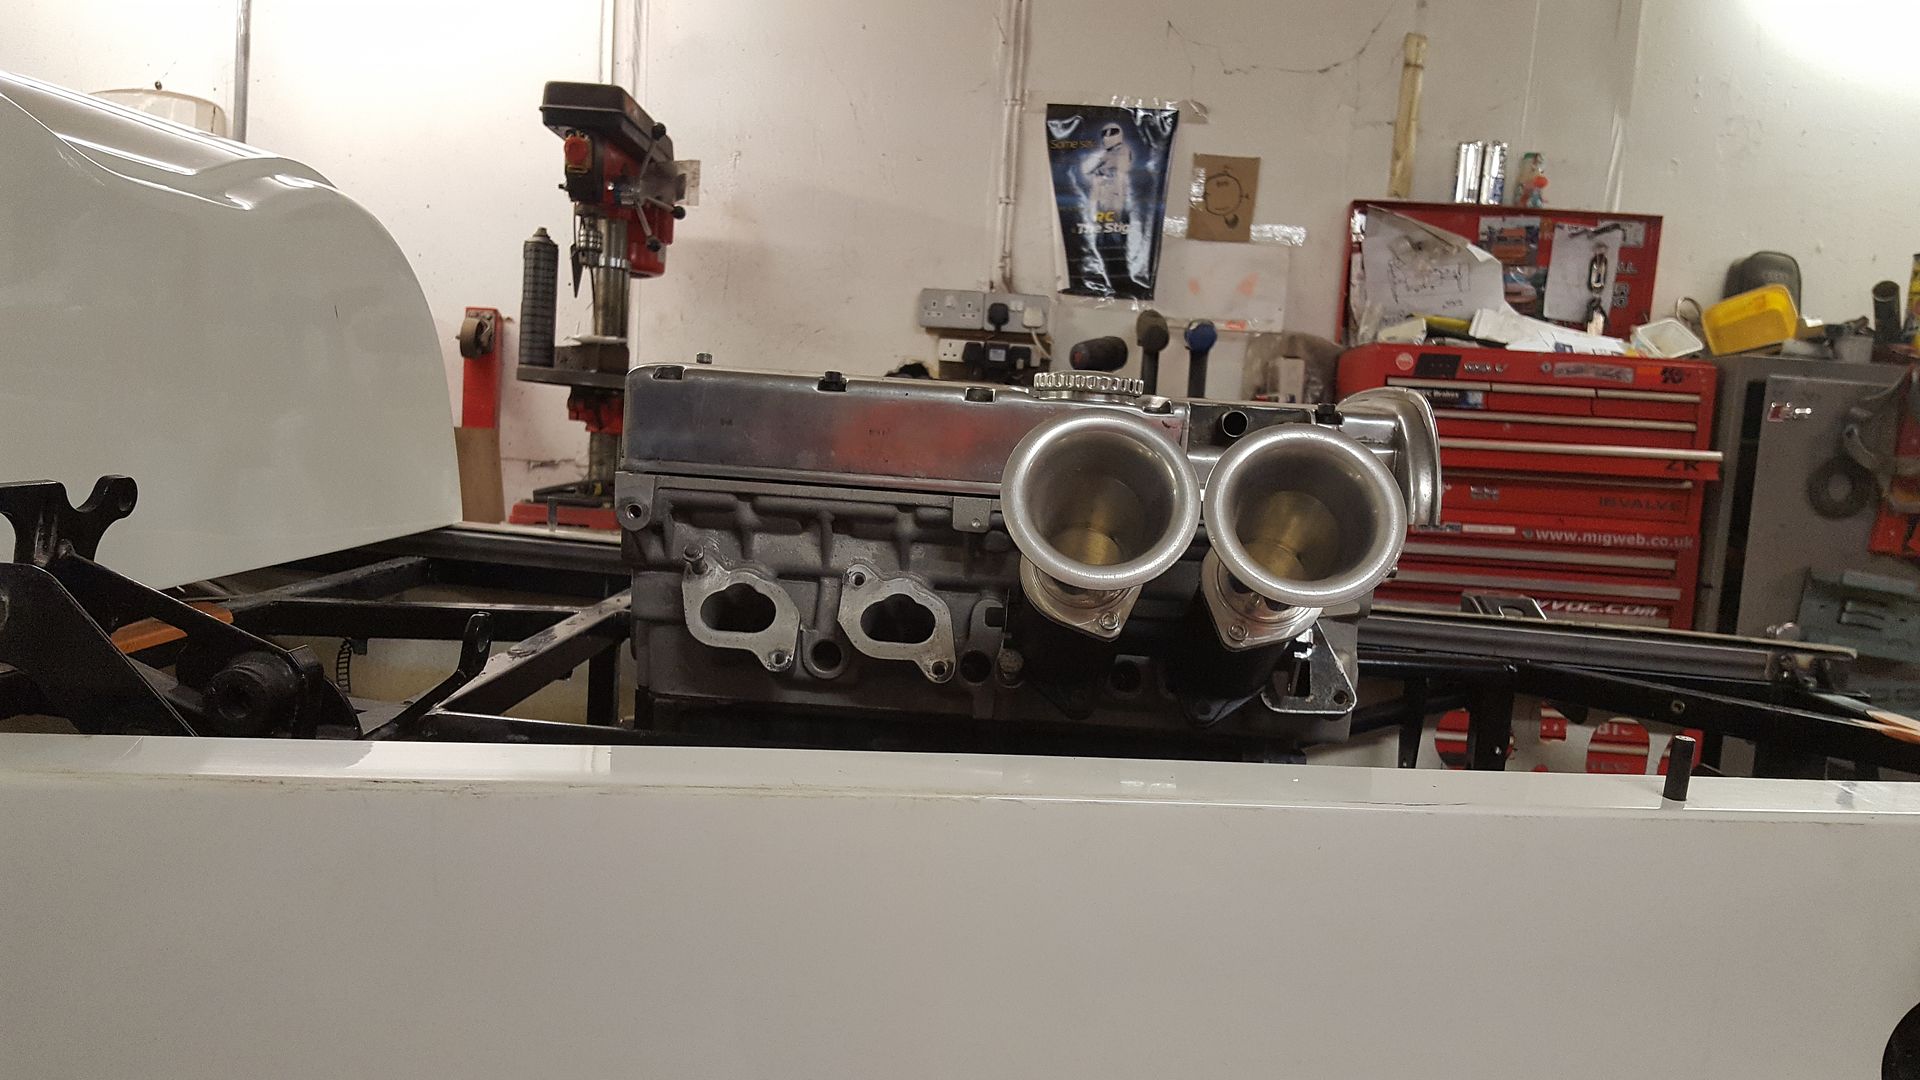
More thinking to do on that one....
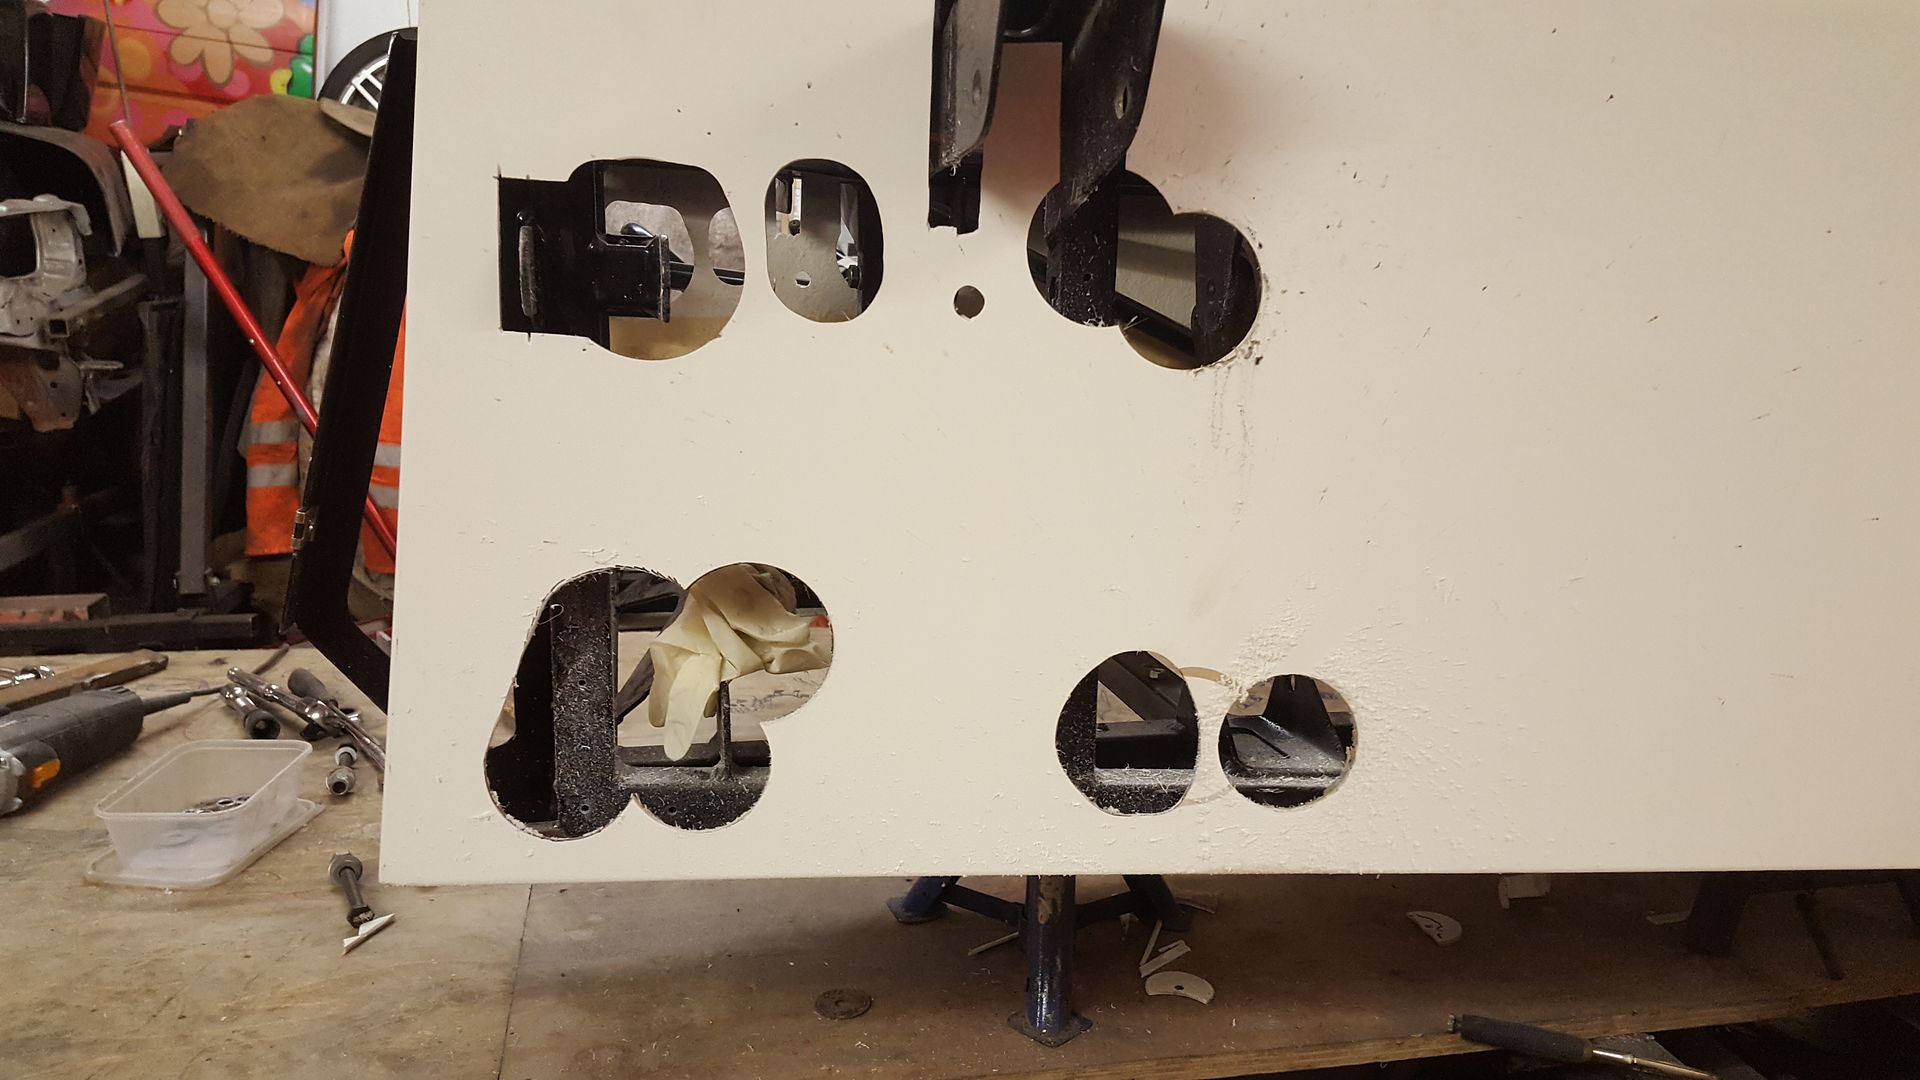
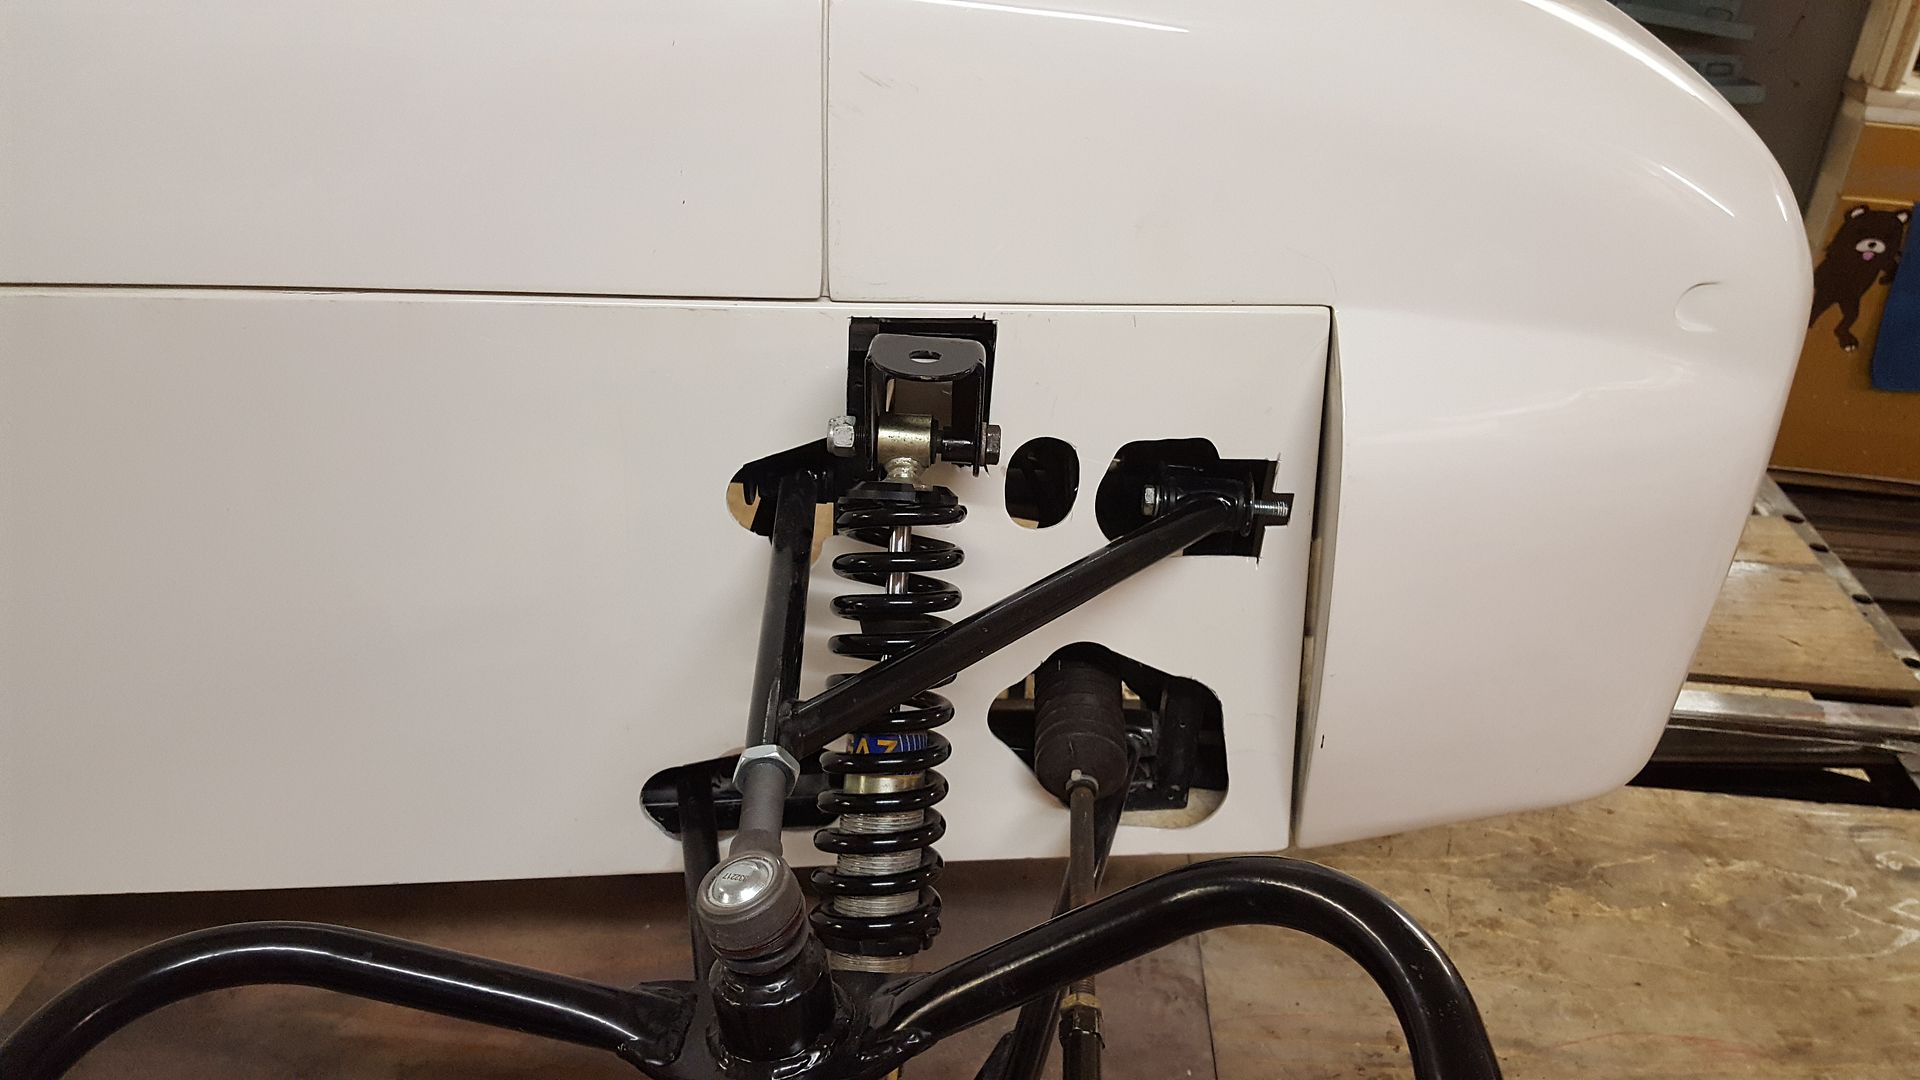
Also now the body's in the right place I could think about cutting out the holes for the front suspension
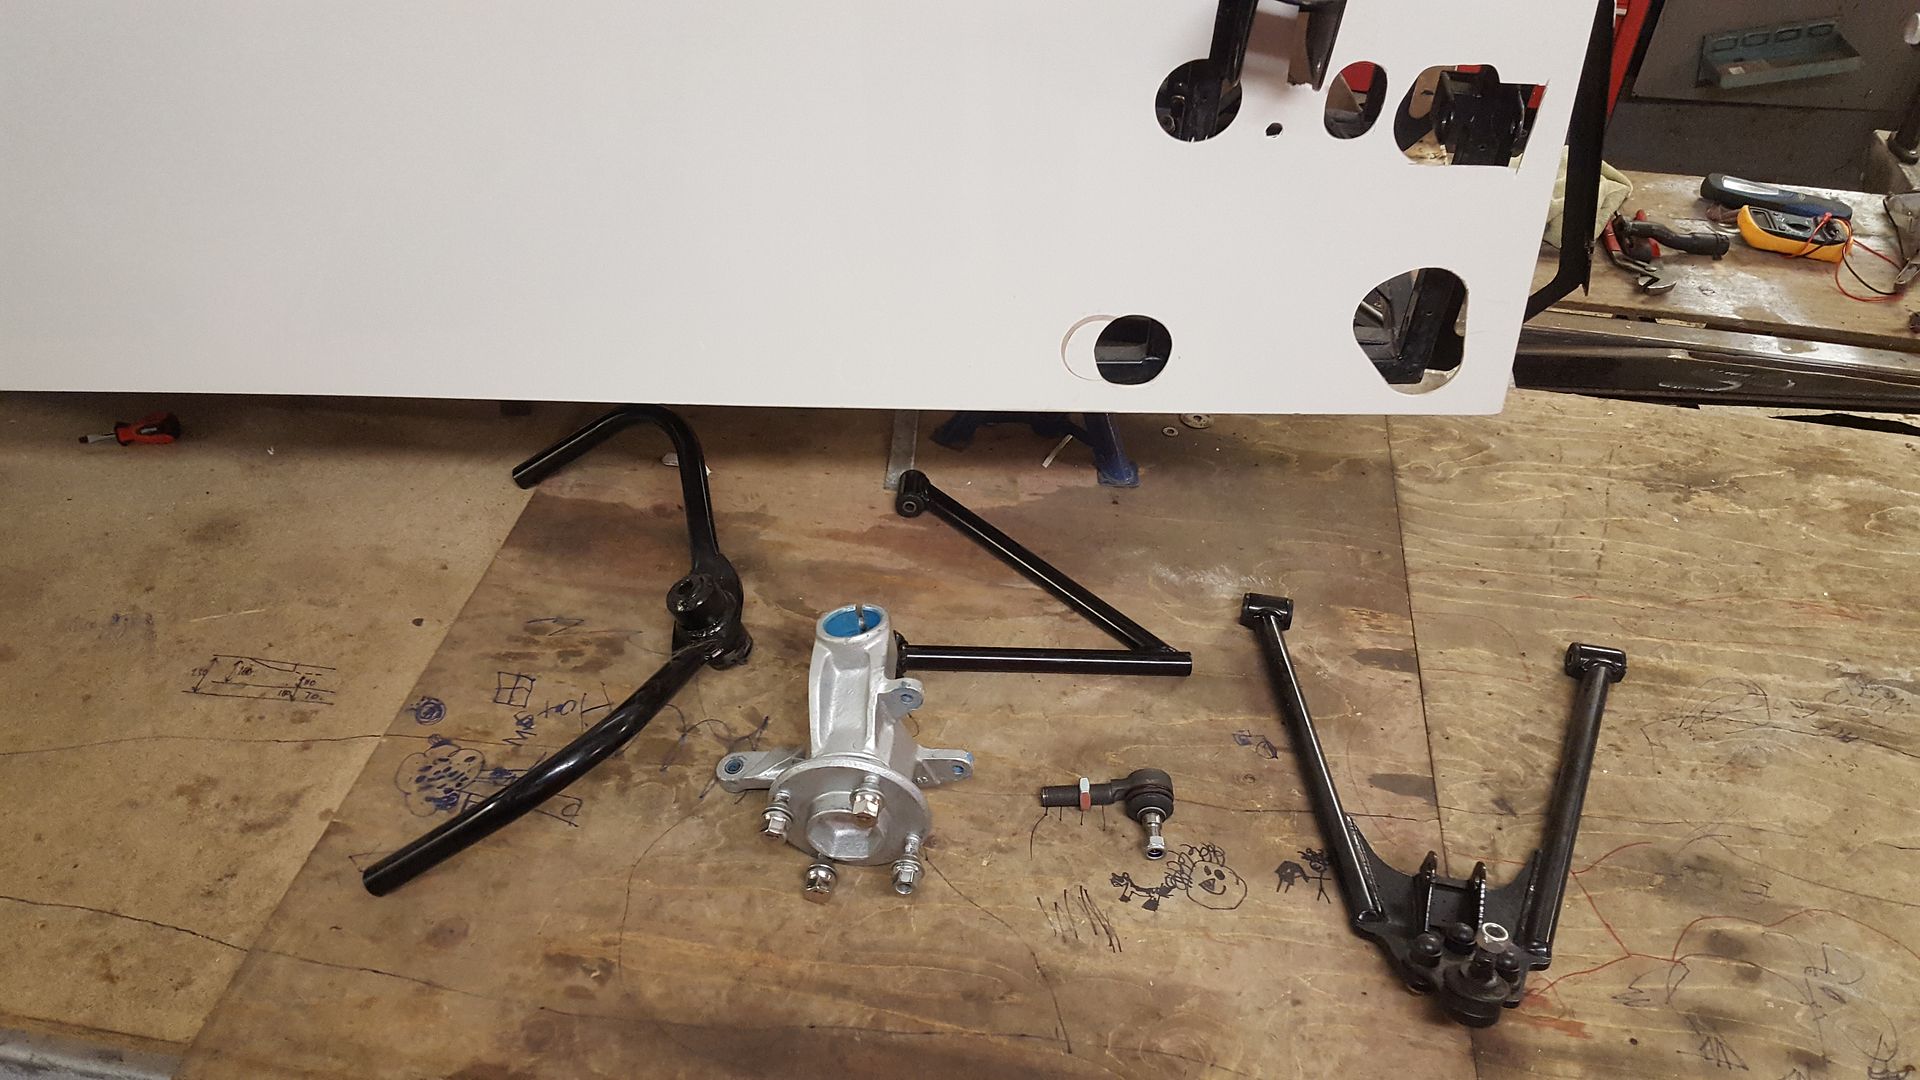
Got chopping
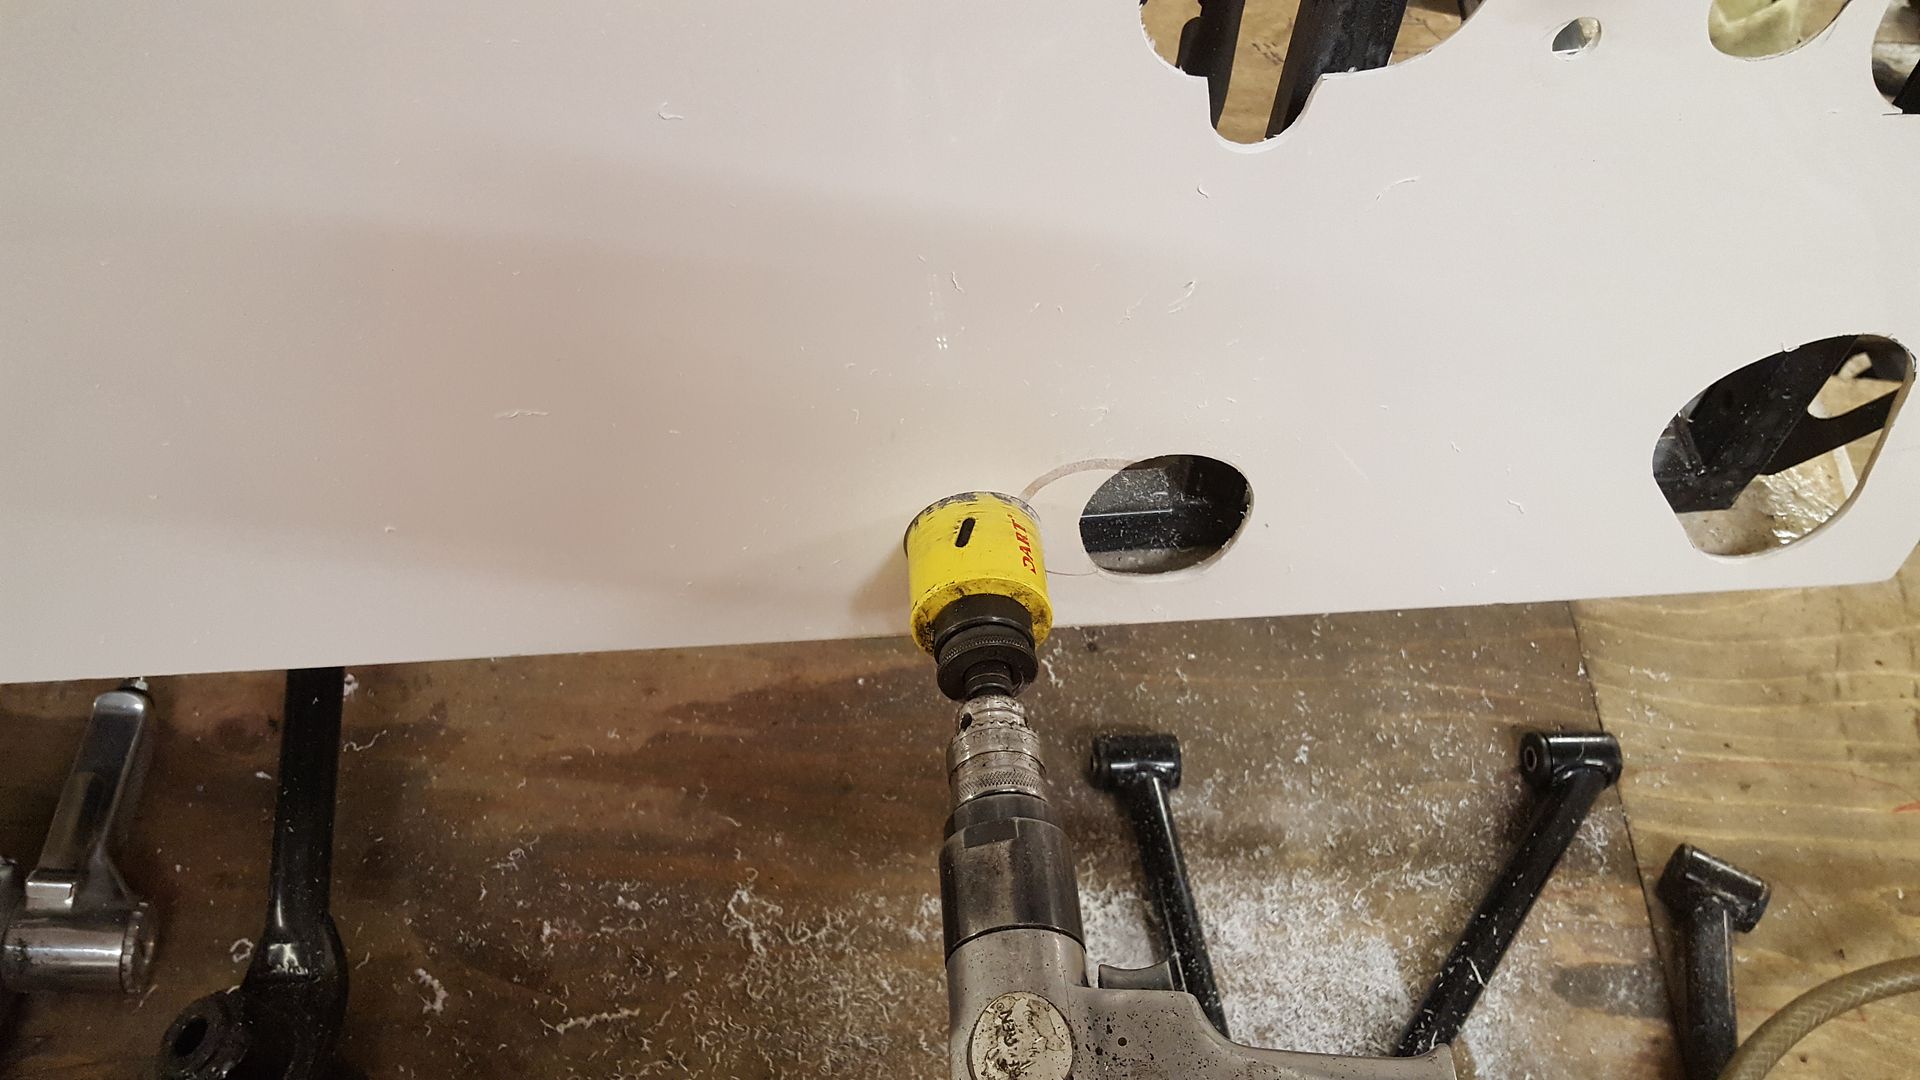
Until I could get the arms in
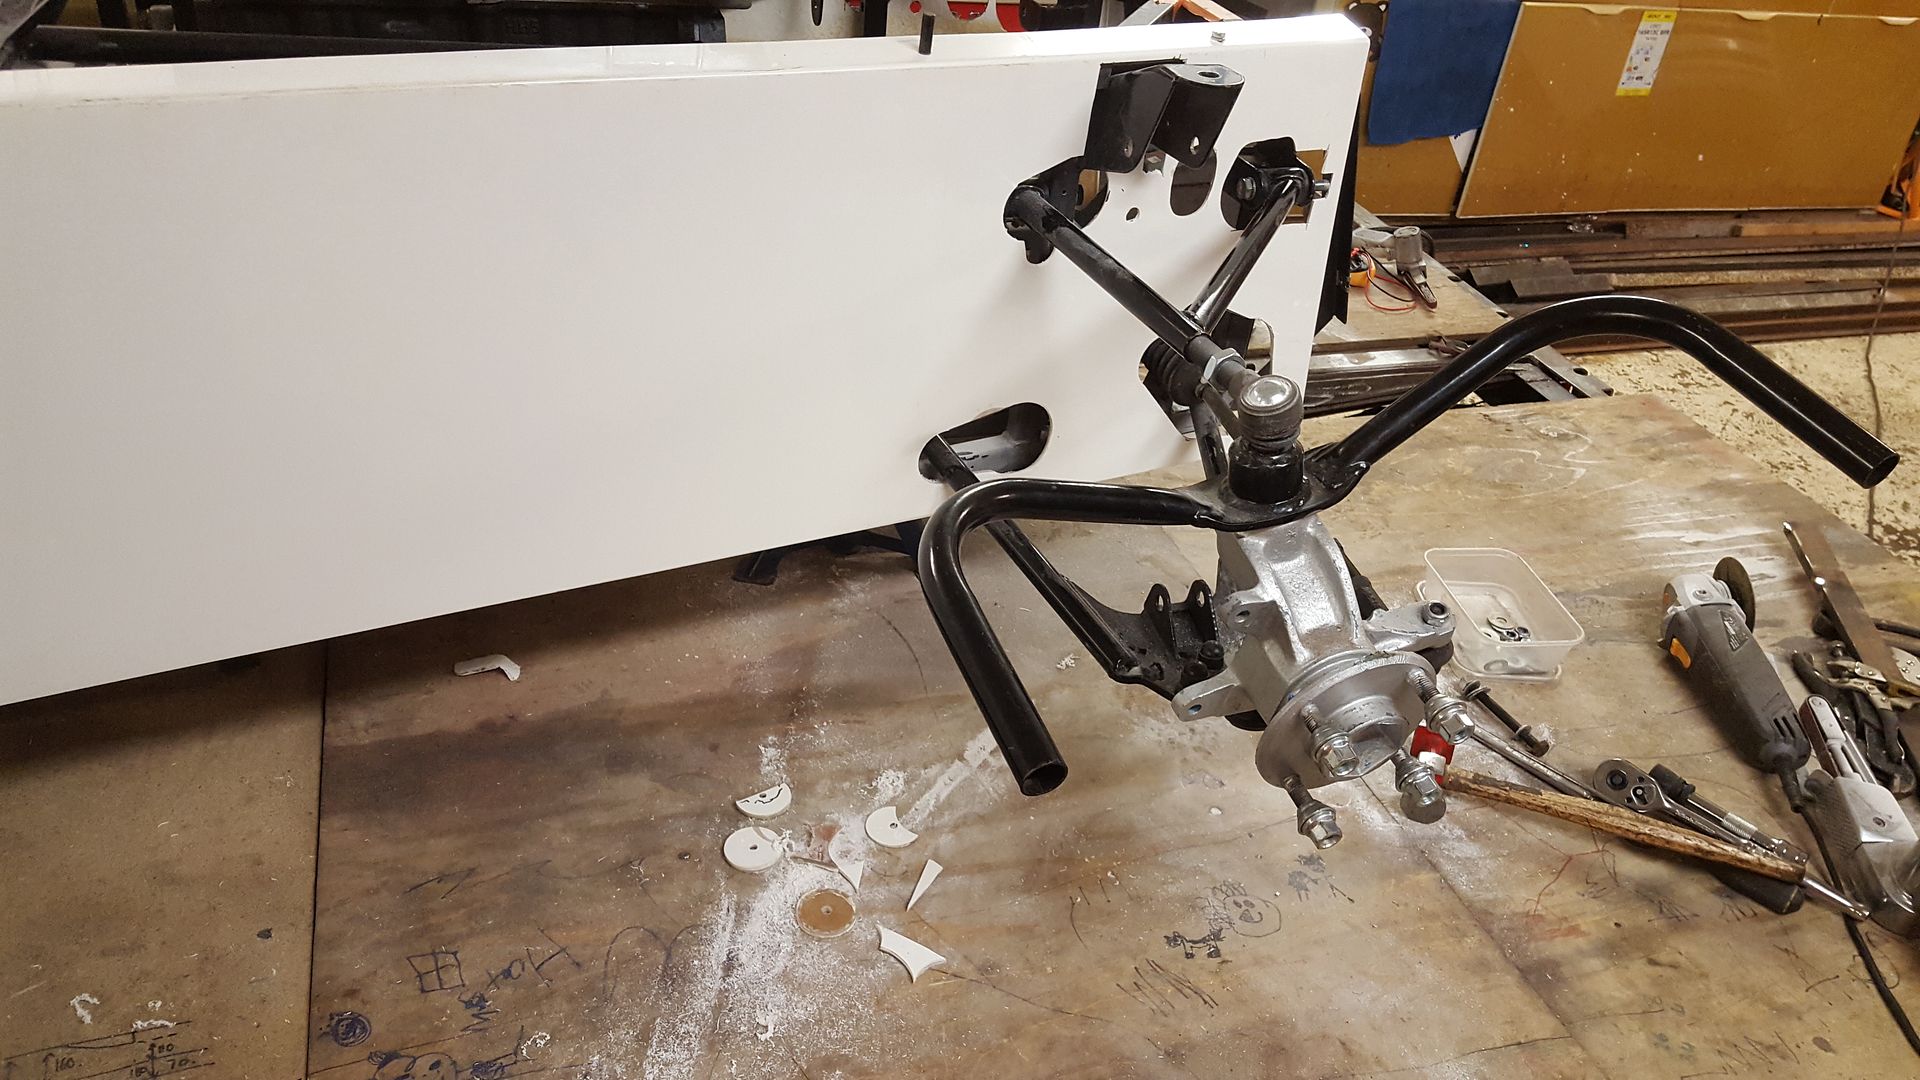
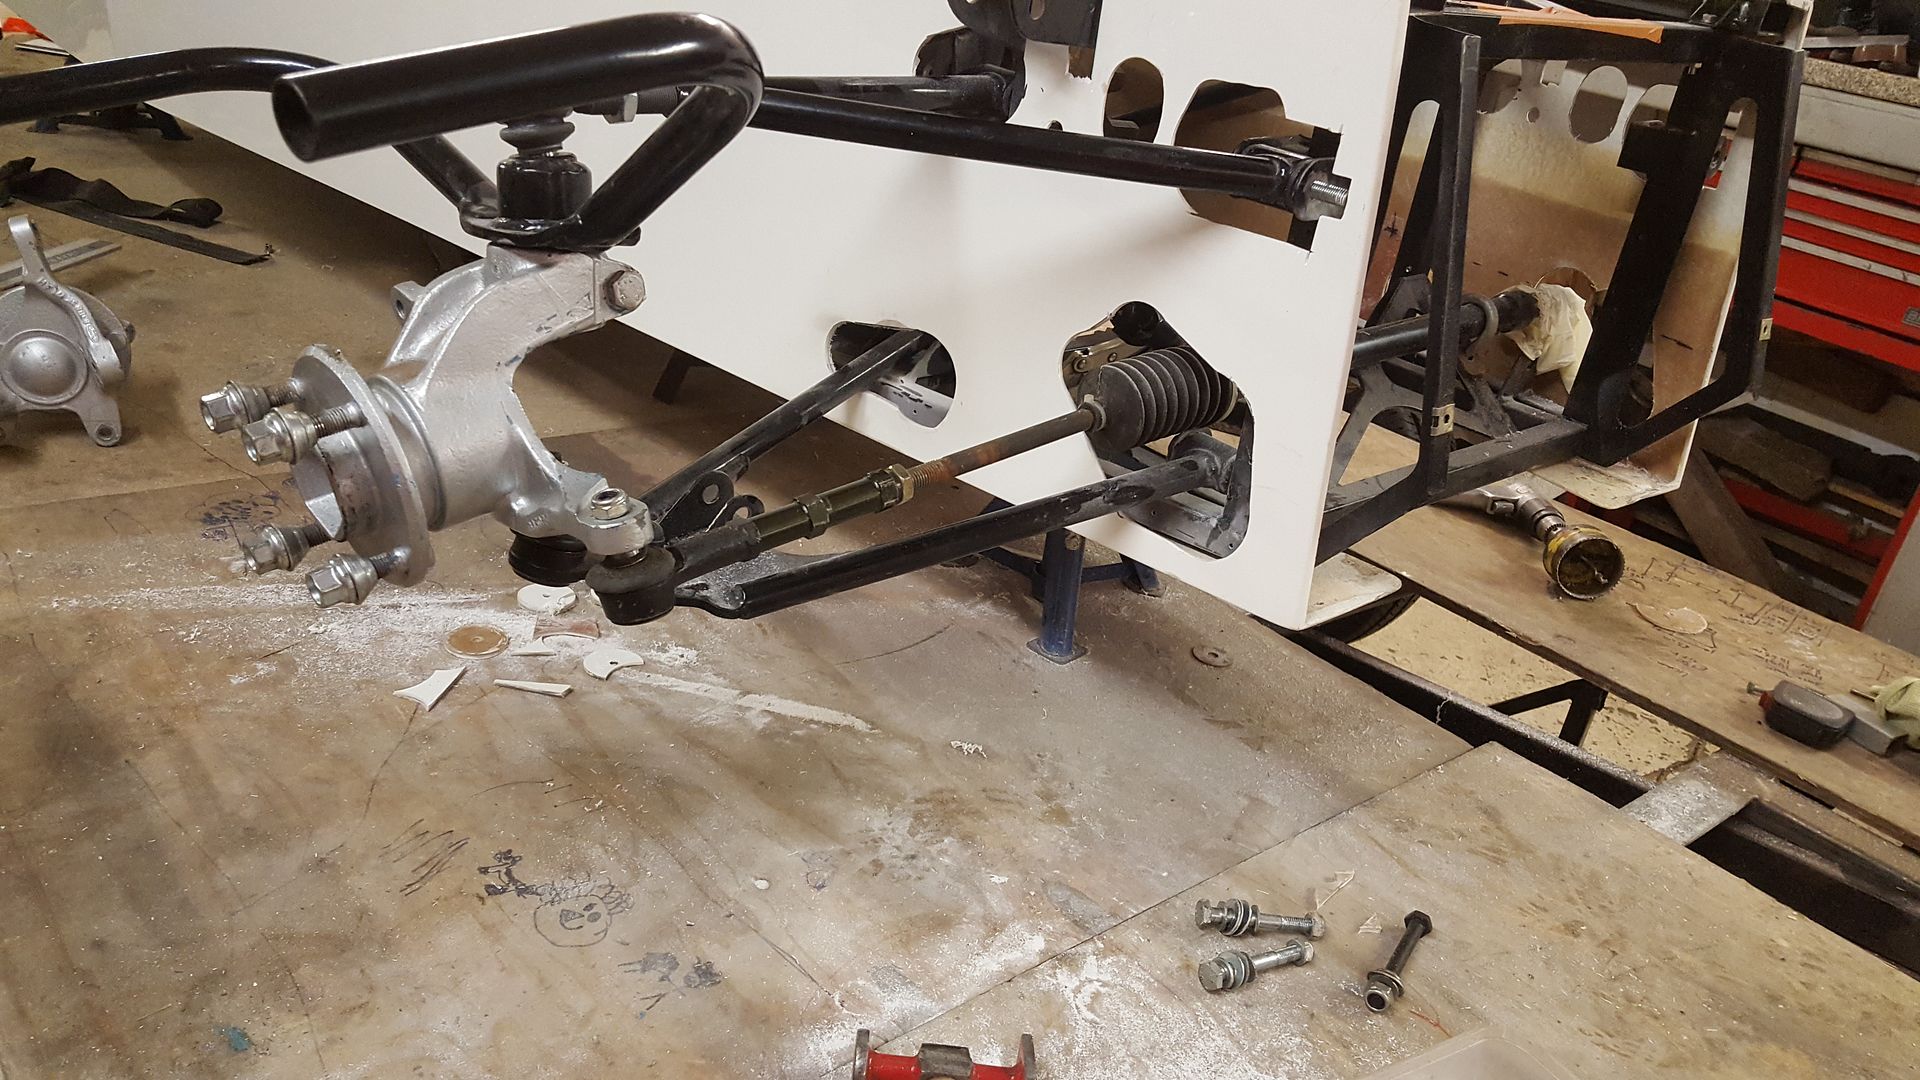
At full swing both ways

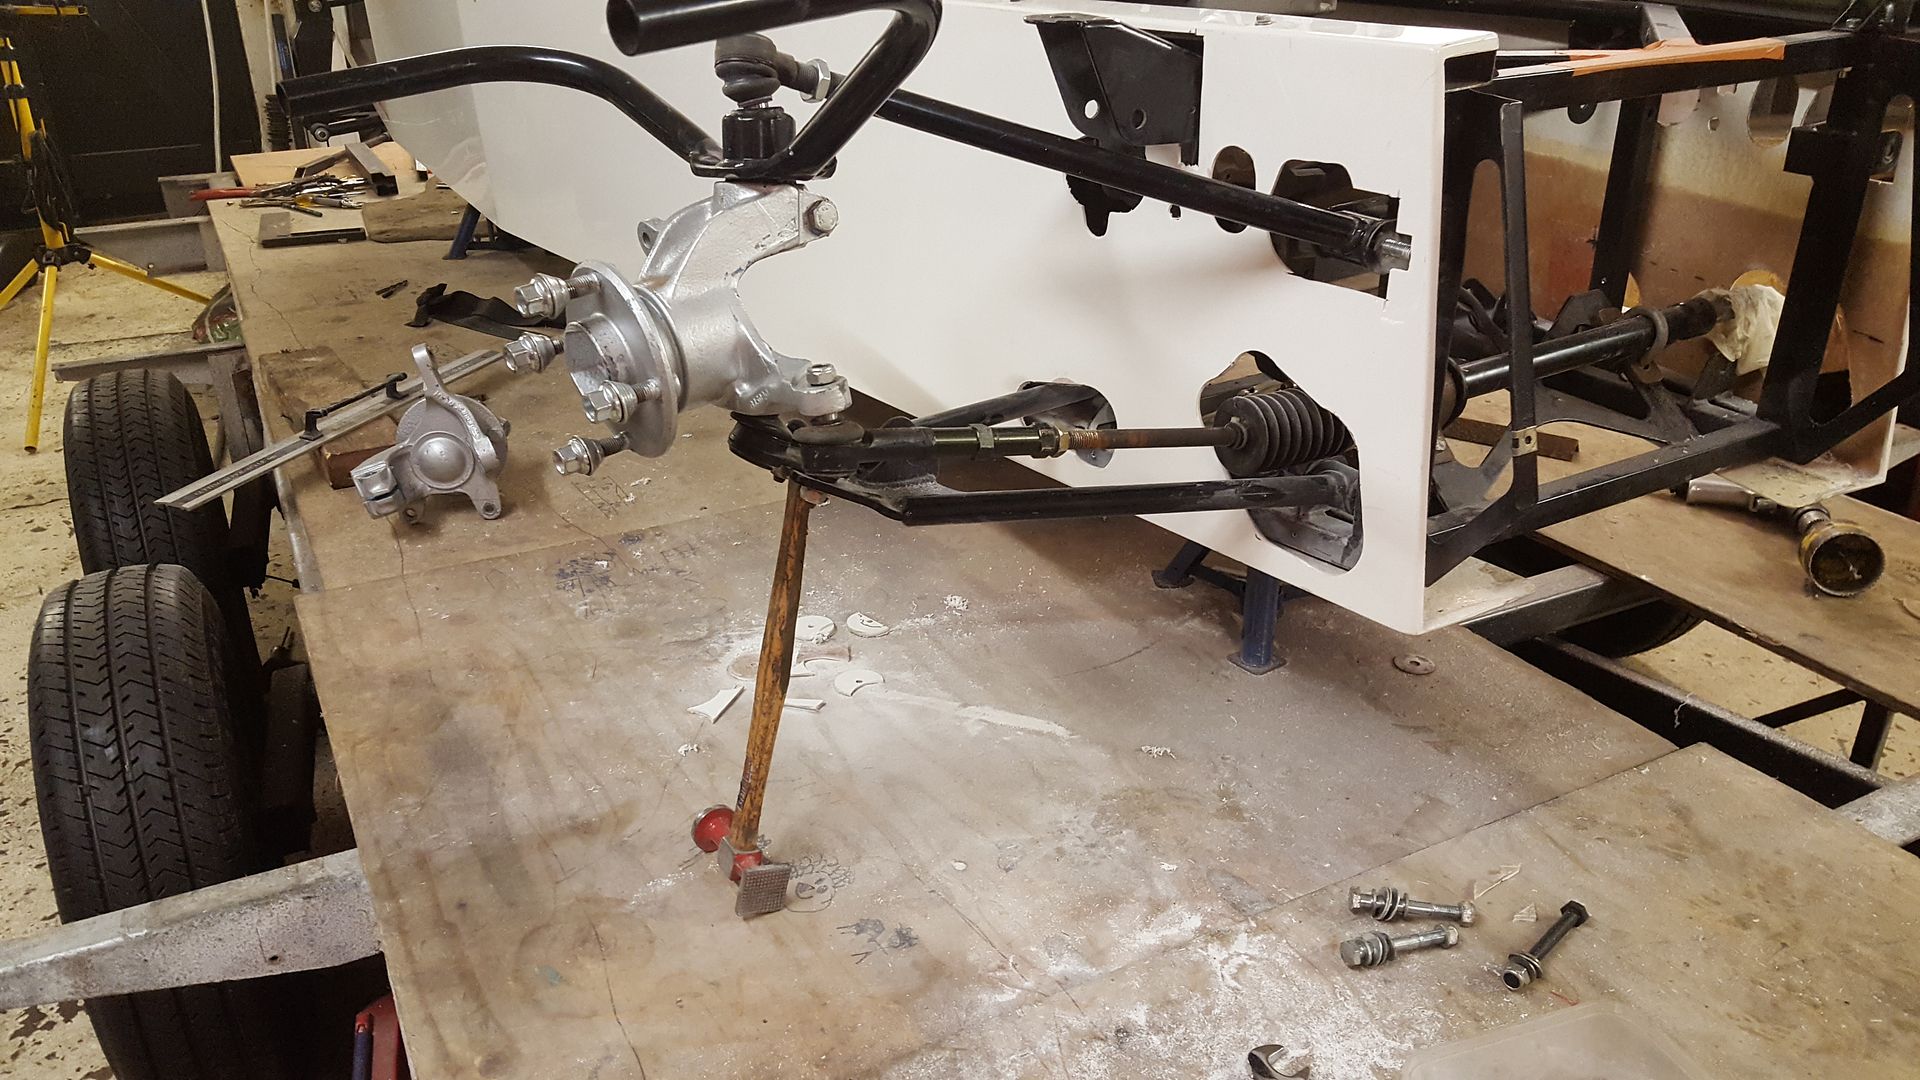
And the other side.
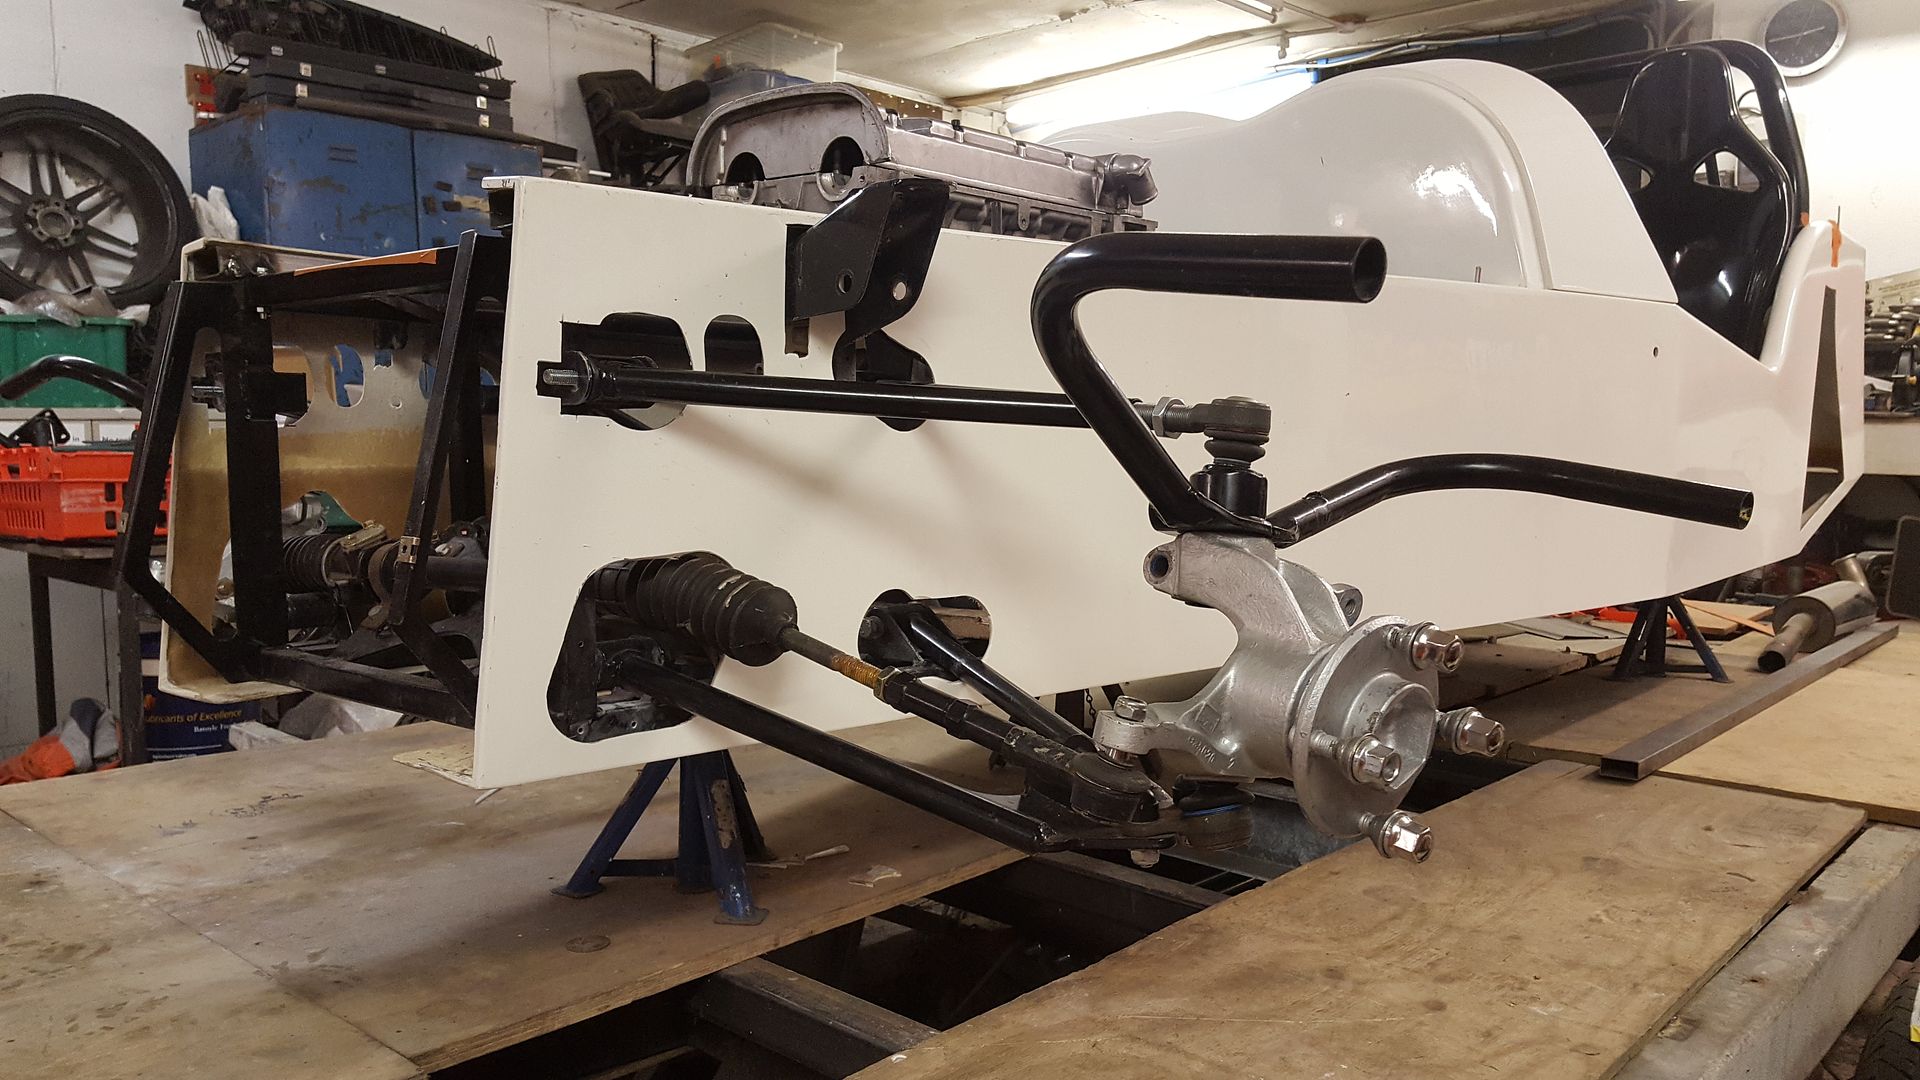
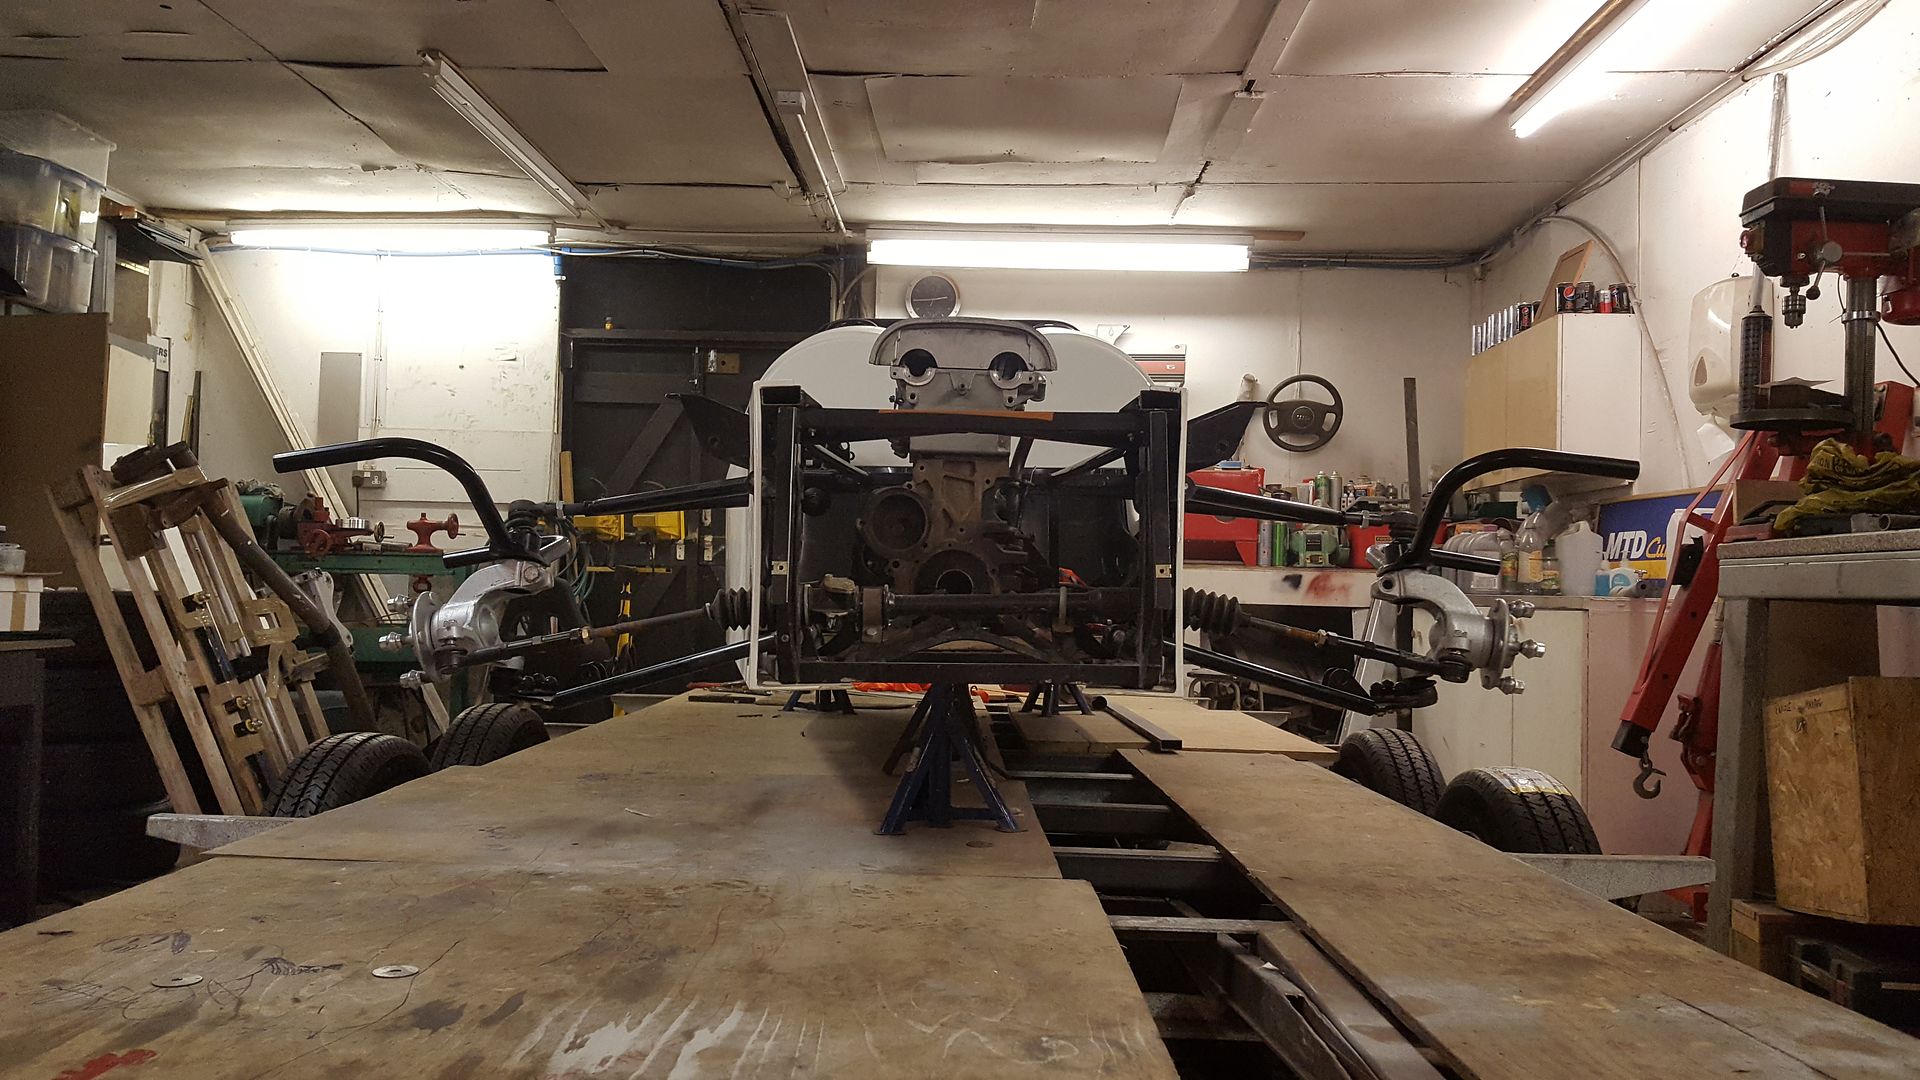
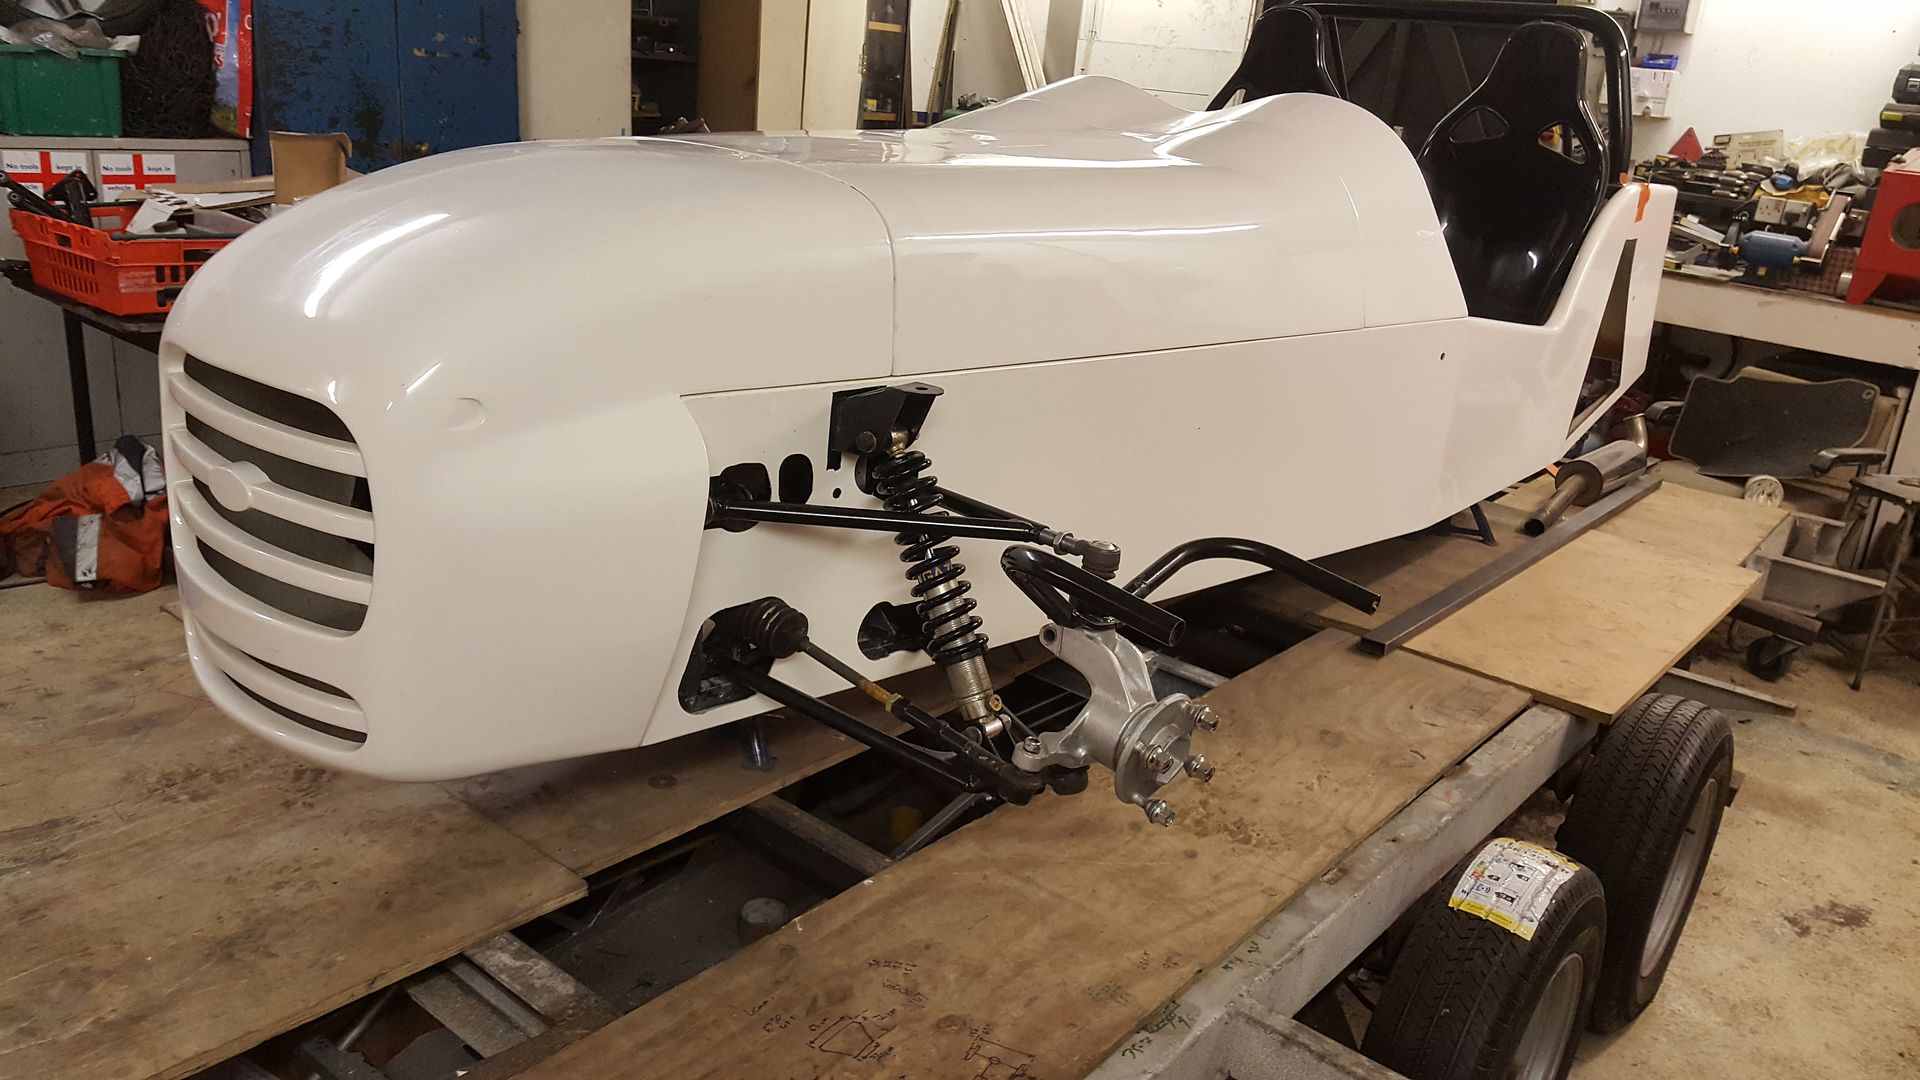
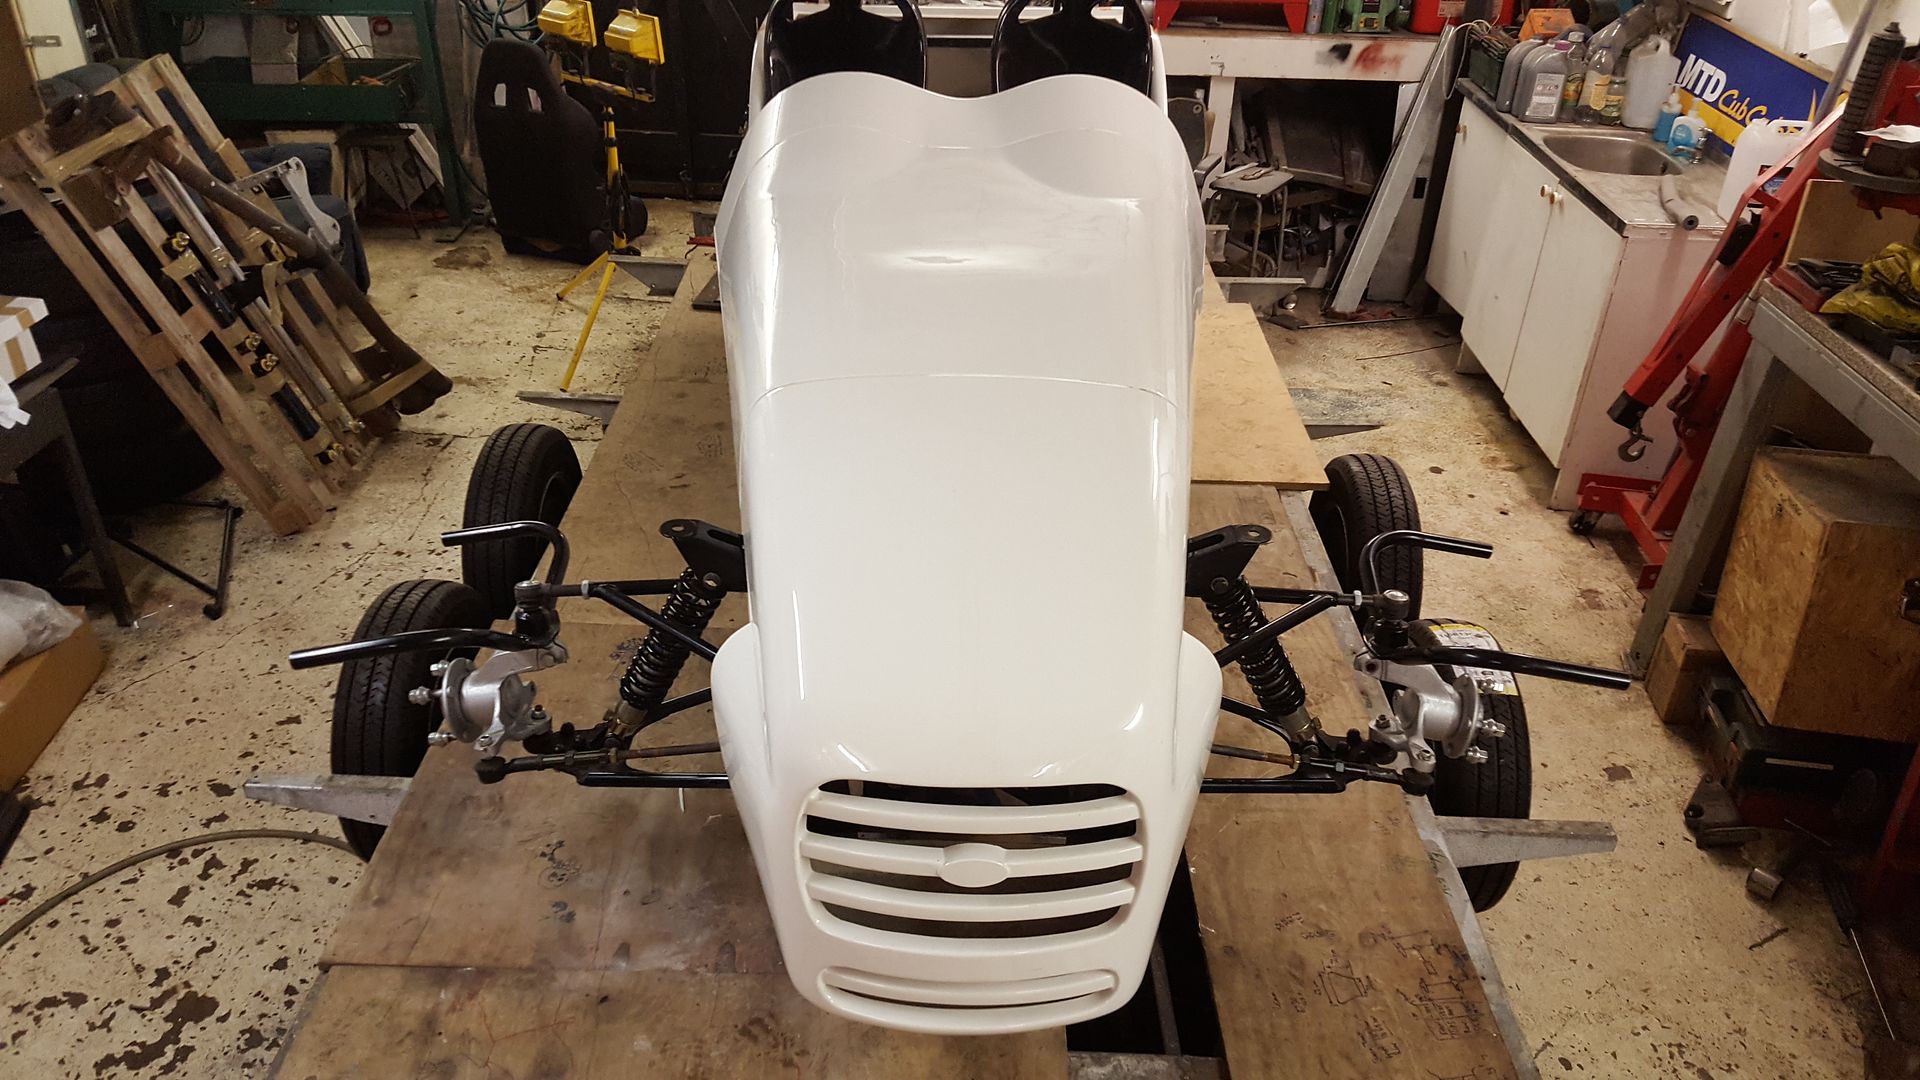
Tried the nose and shocks on to check clearance with everything
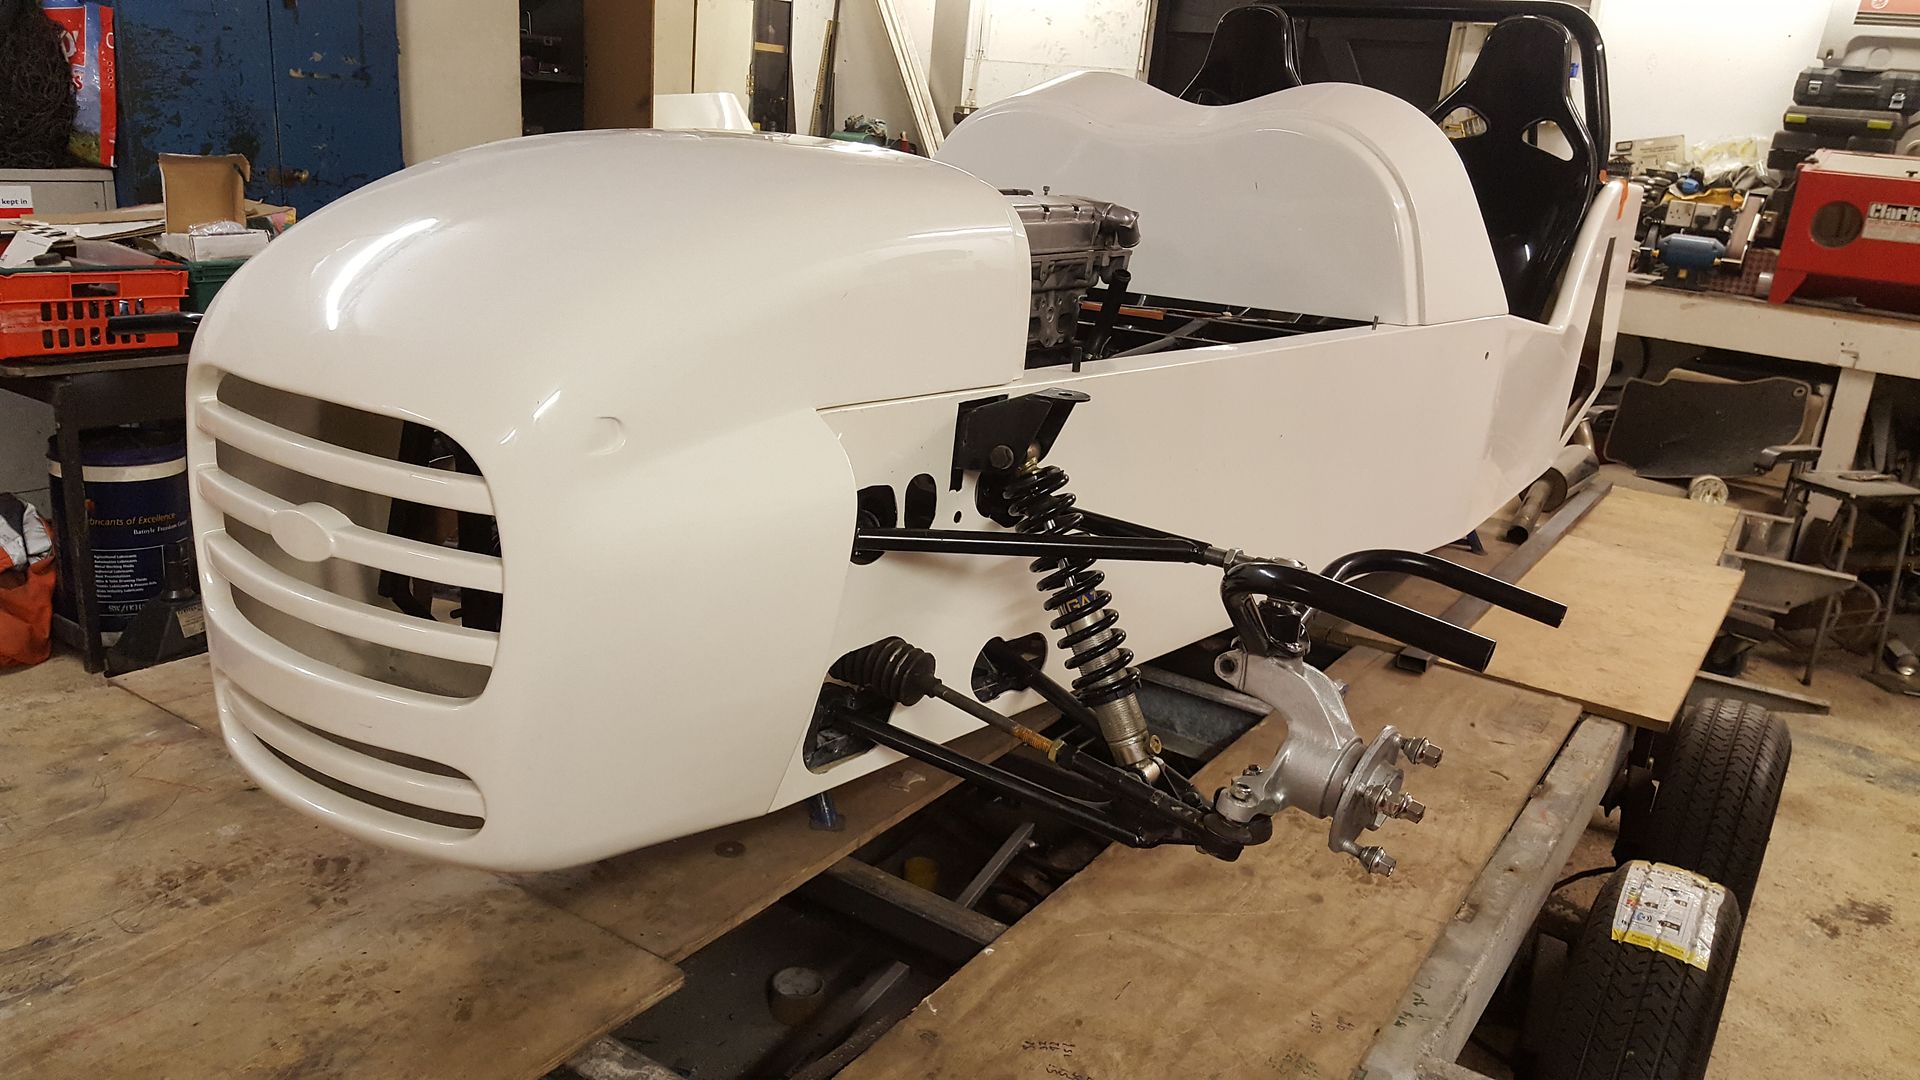
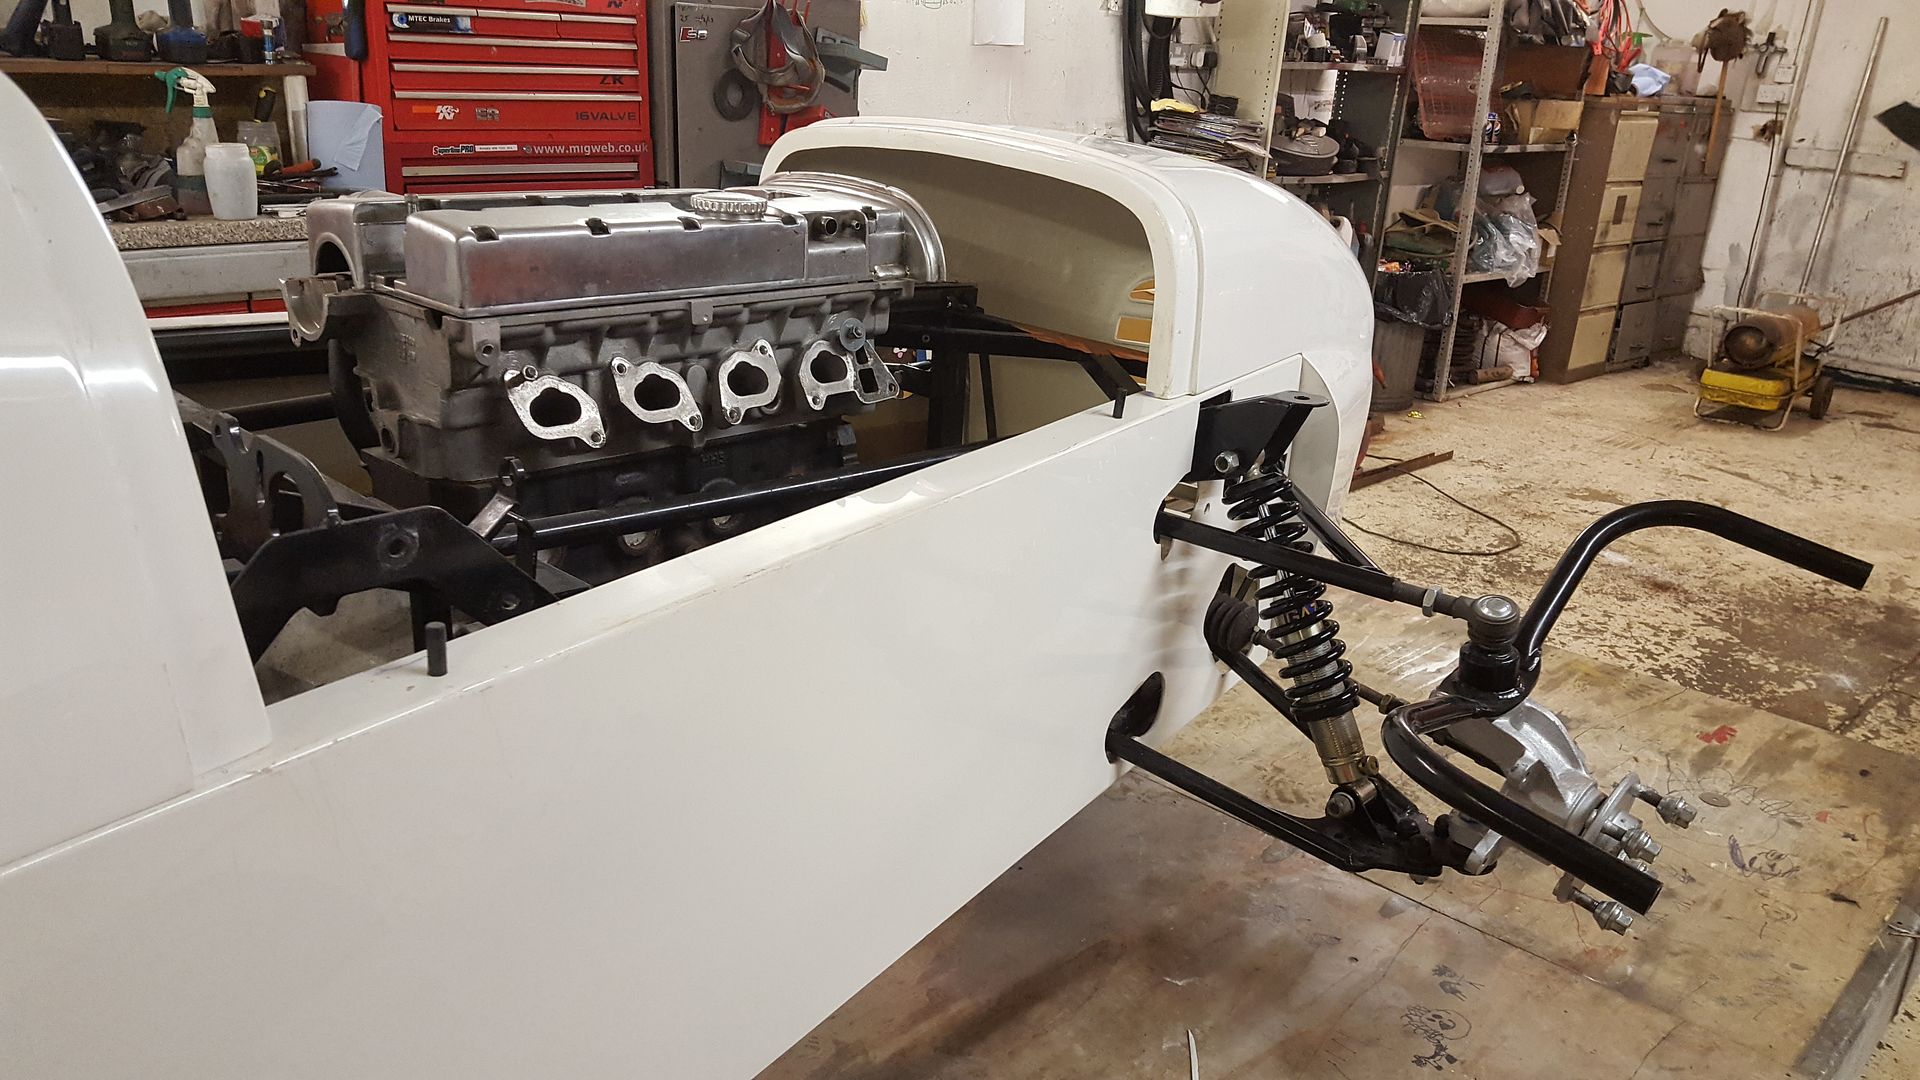
Next job will be to make cardoard templates around the front suspension so it's all nice and tight just allowing enough room to make it's
full swing. Then I'll fibreglass matt all the holes up flush and just cut out what I need after.
For now I just played a bit of dress up 
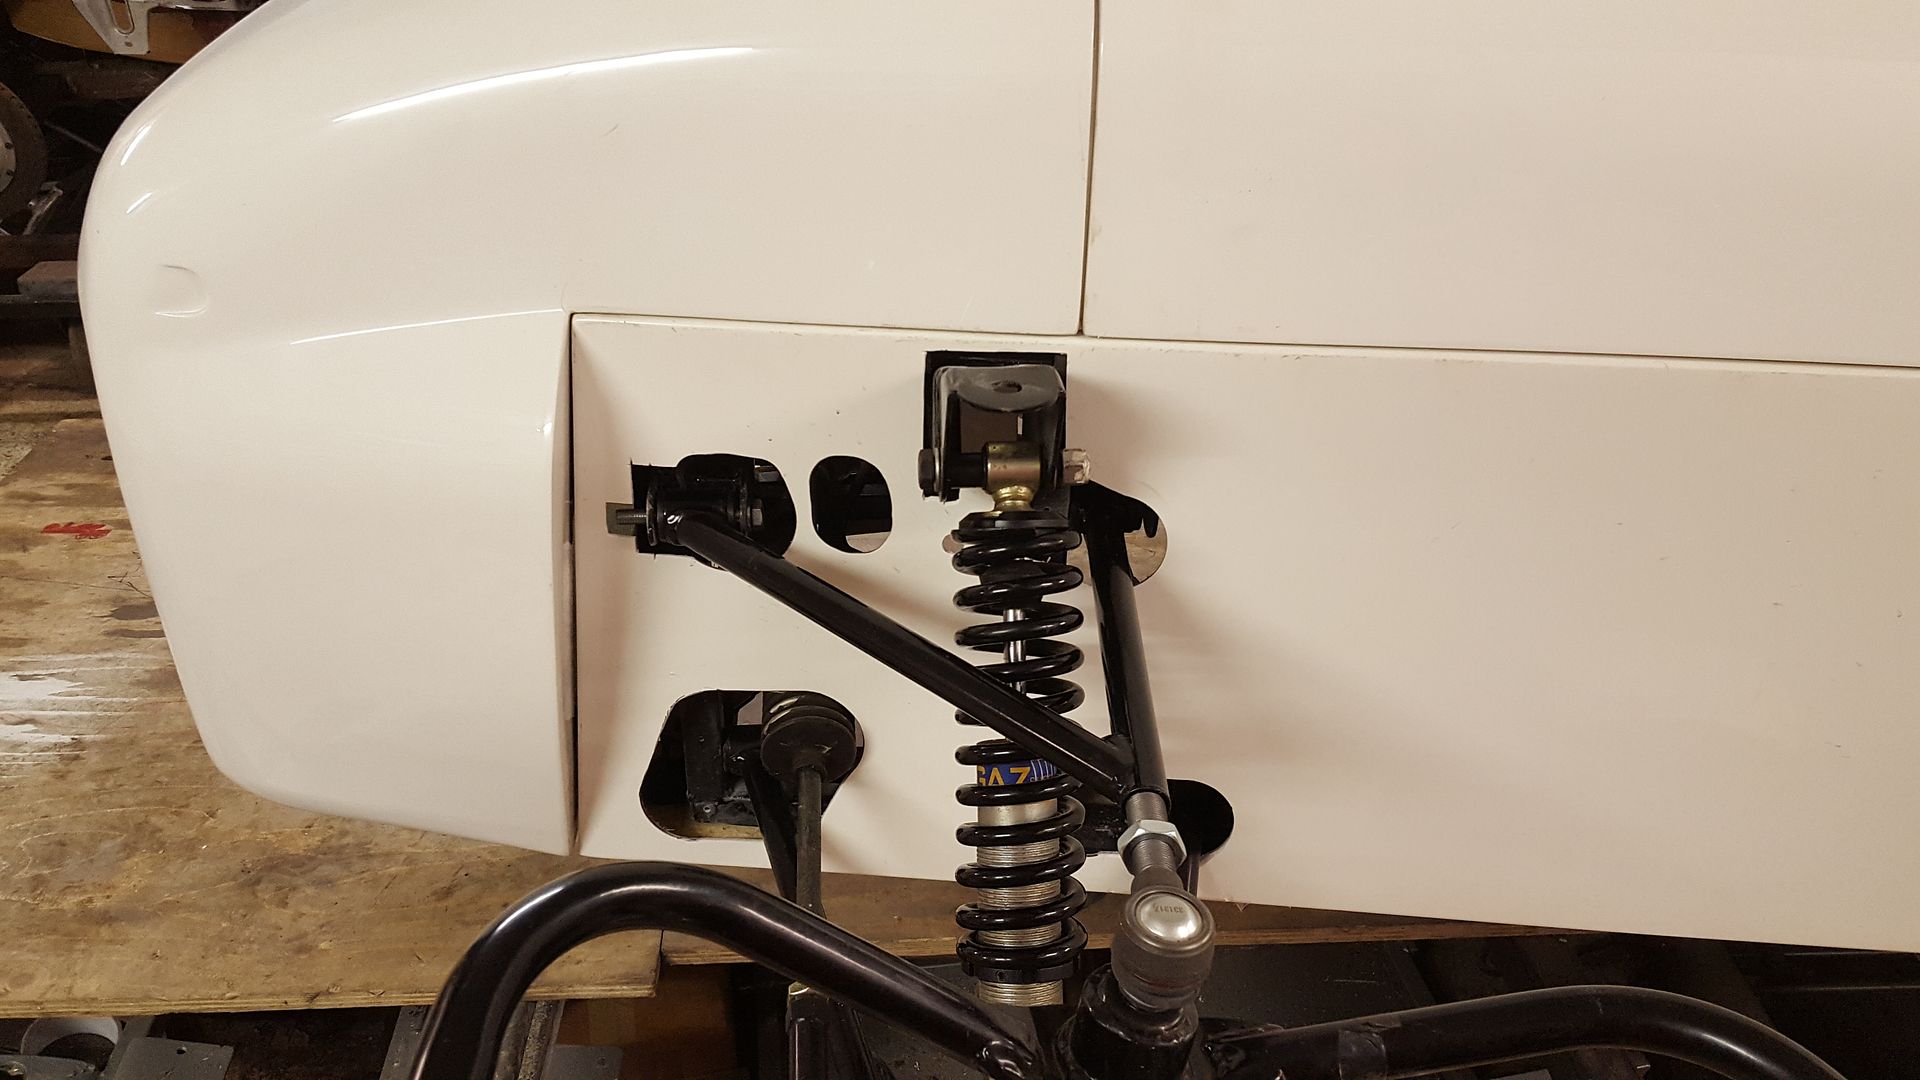
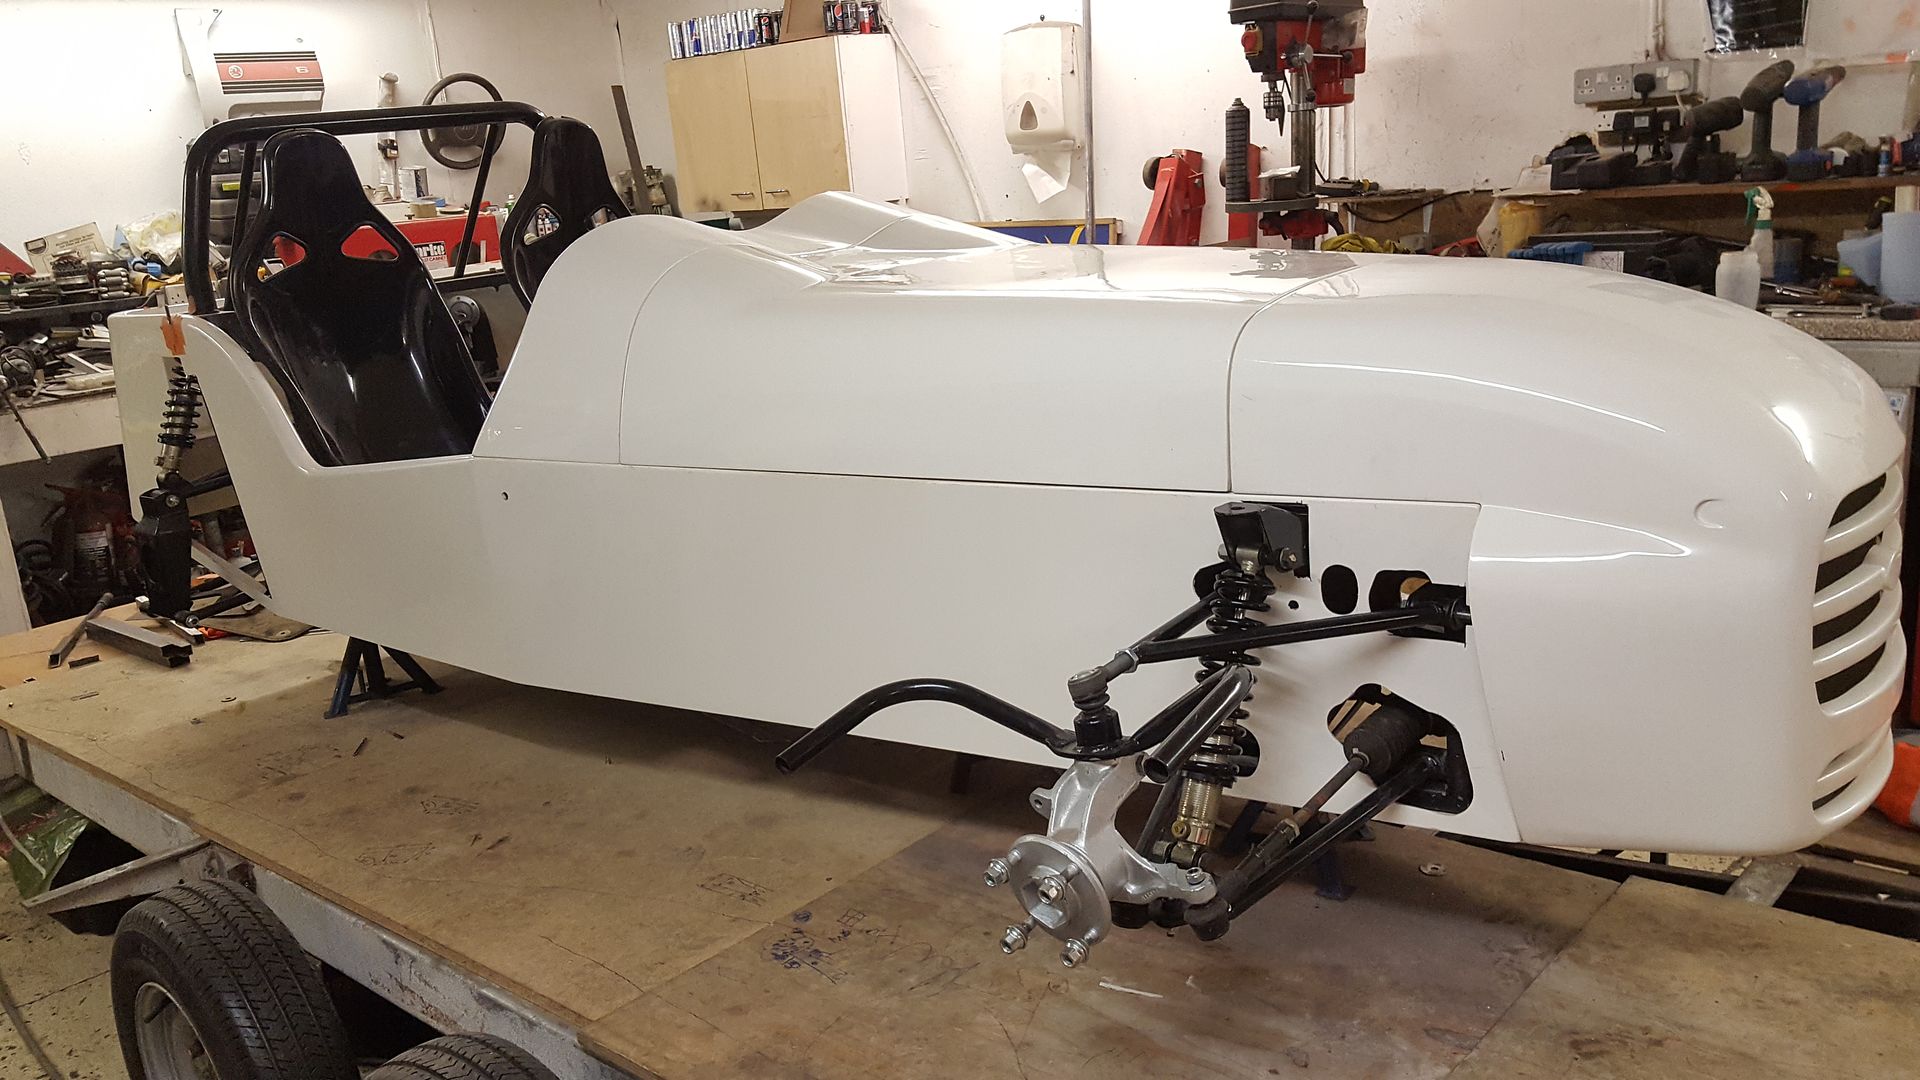
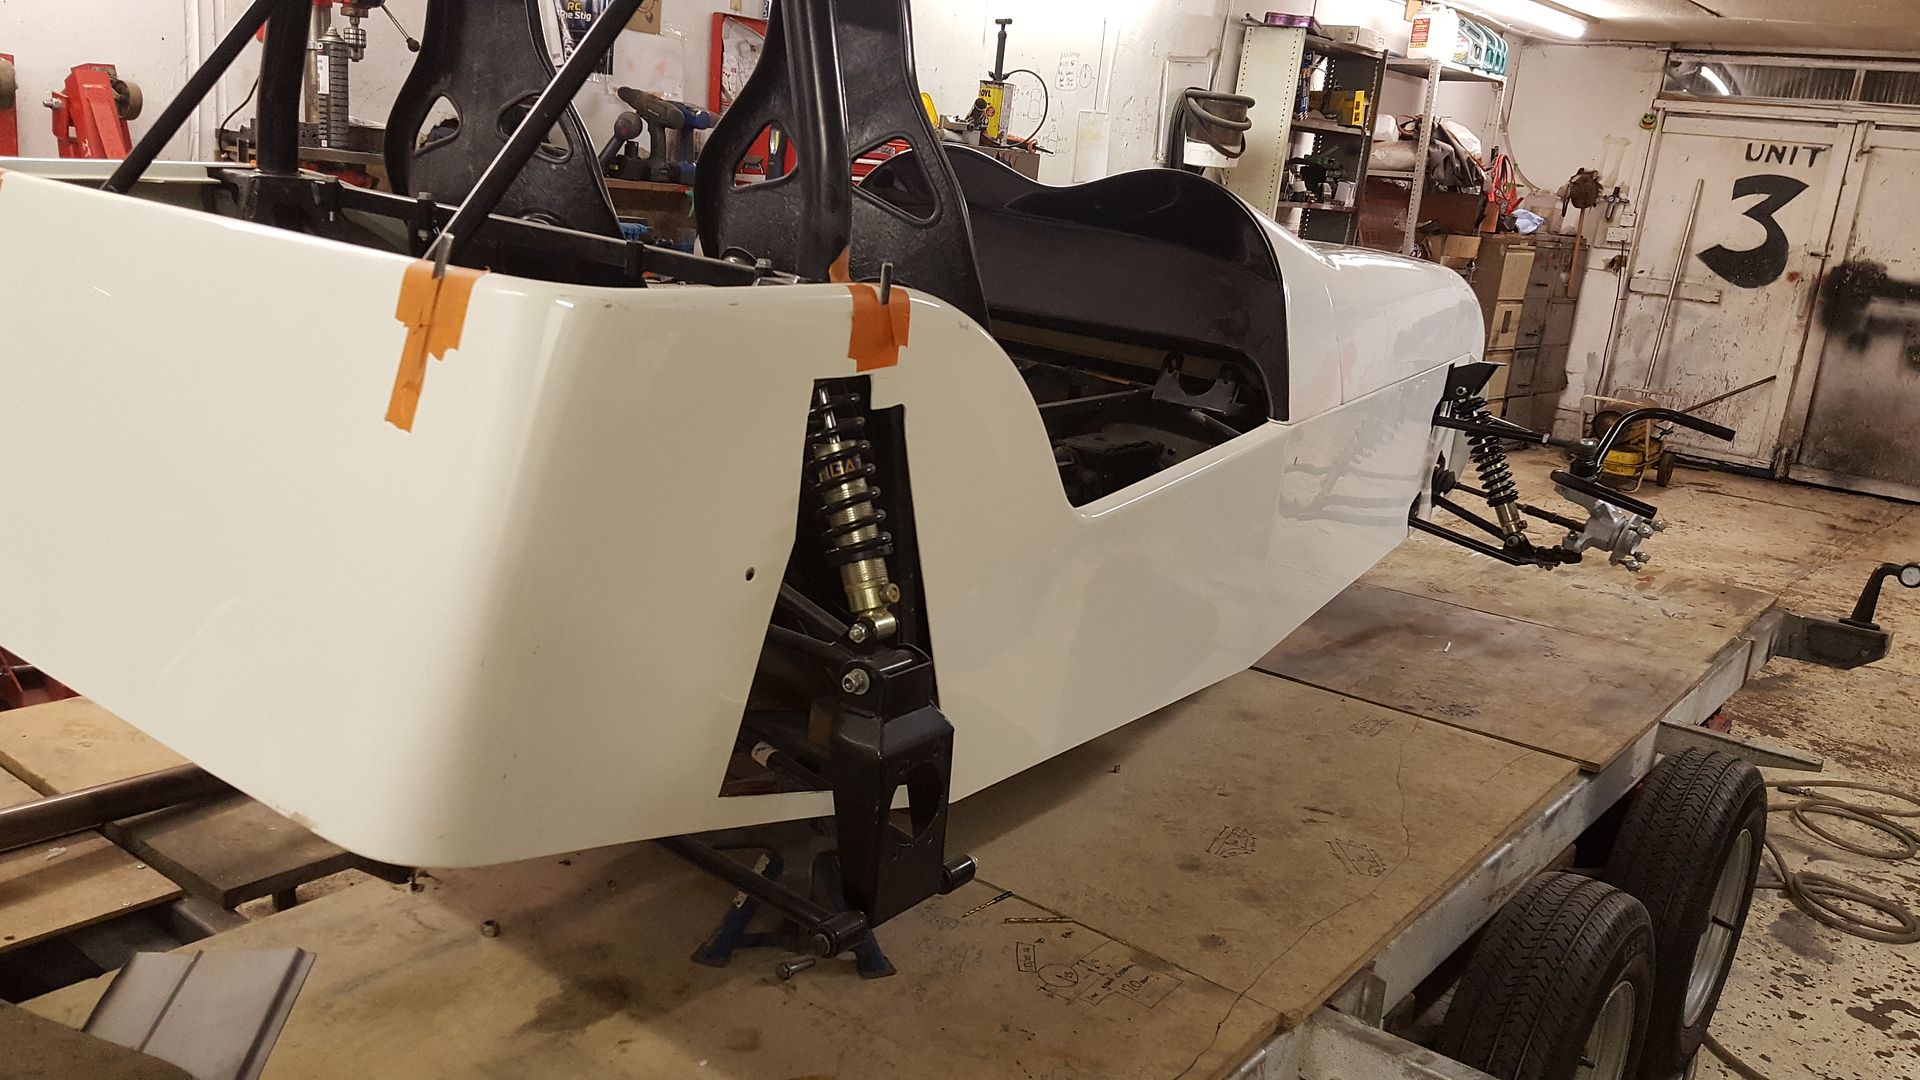
|
|
|
super-ron
|
| posted on 24/1/18 at 08:46 PM |

|
|
.
Was looking on eBay searching c20xe the other night and a new listing popped up.
4 Omega high compression pistons ..... buy it now £50!
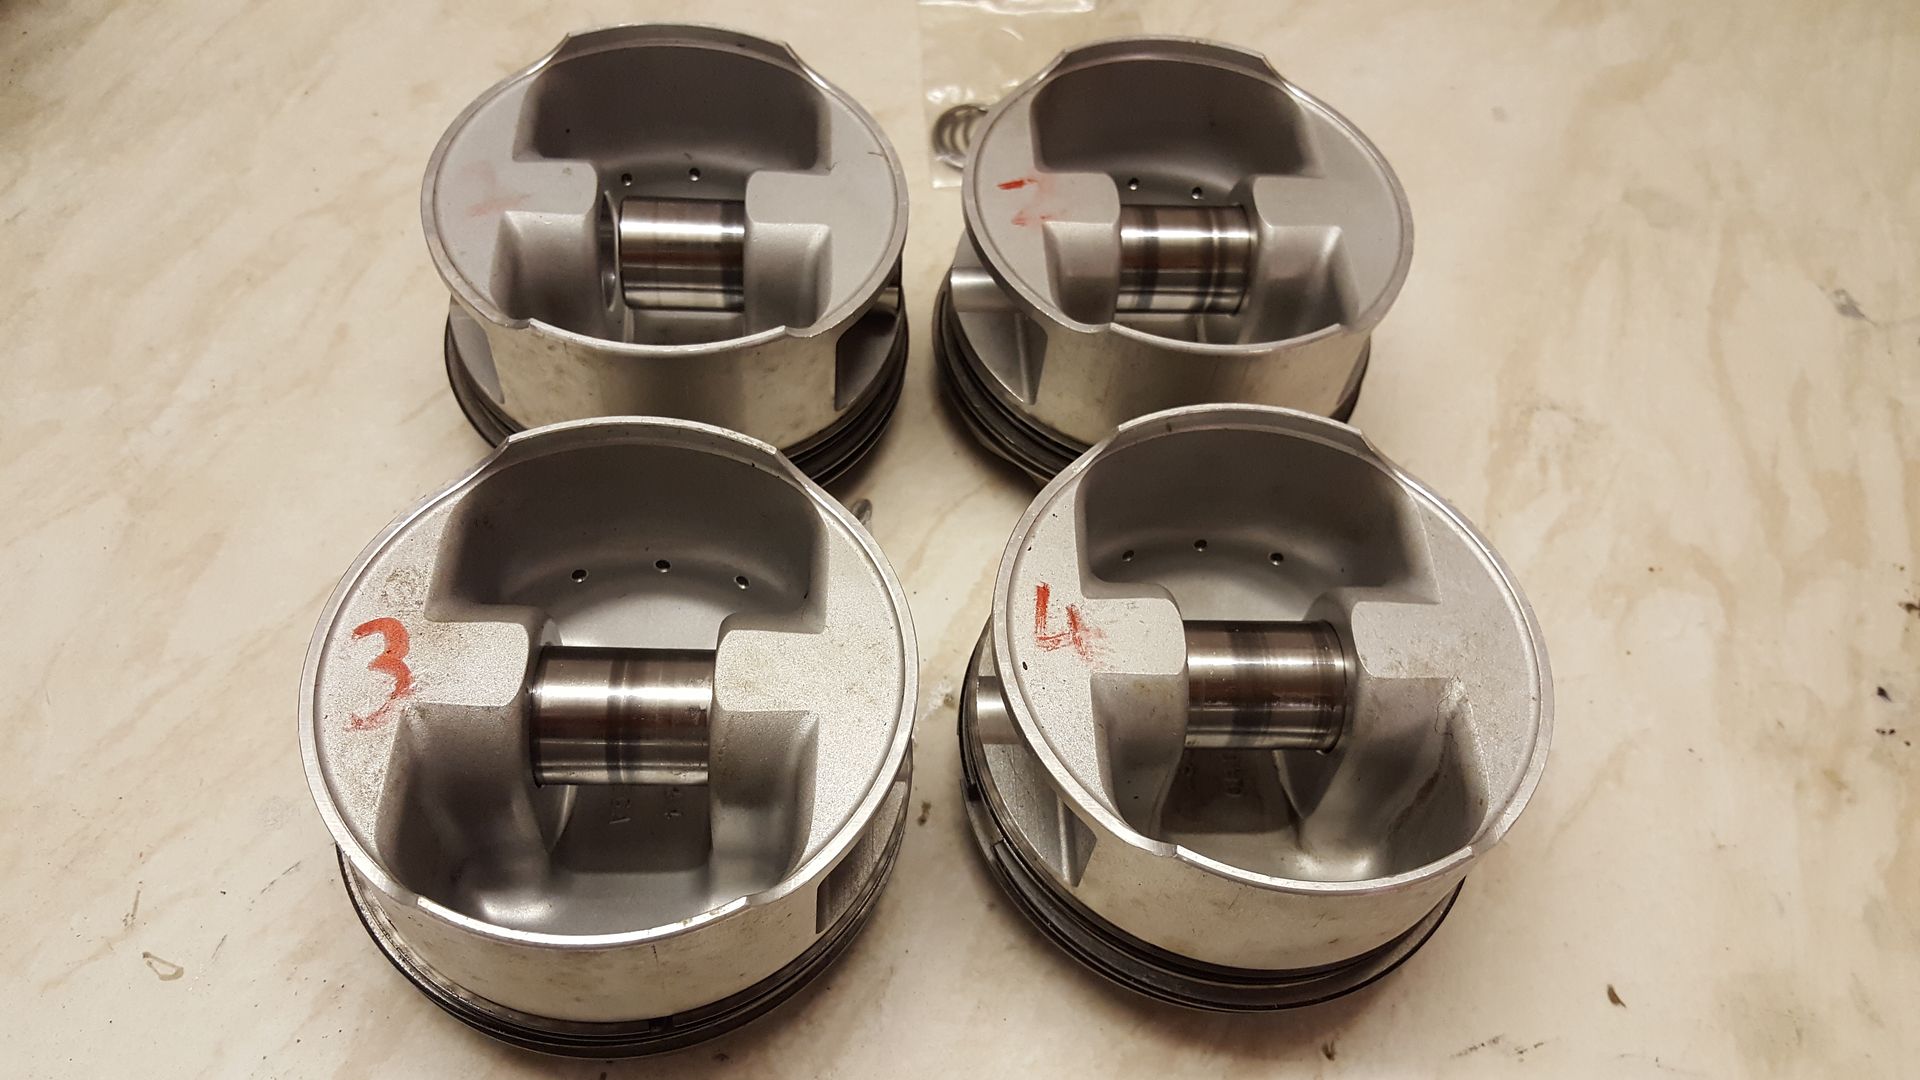
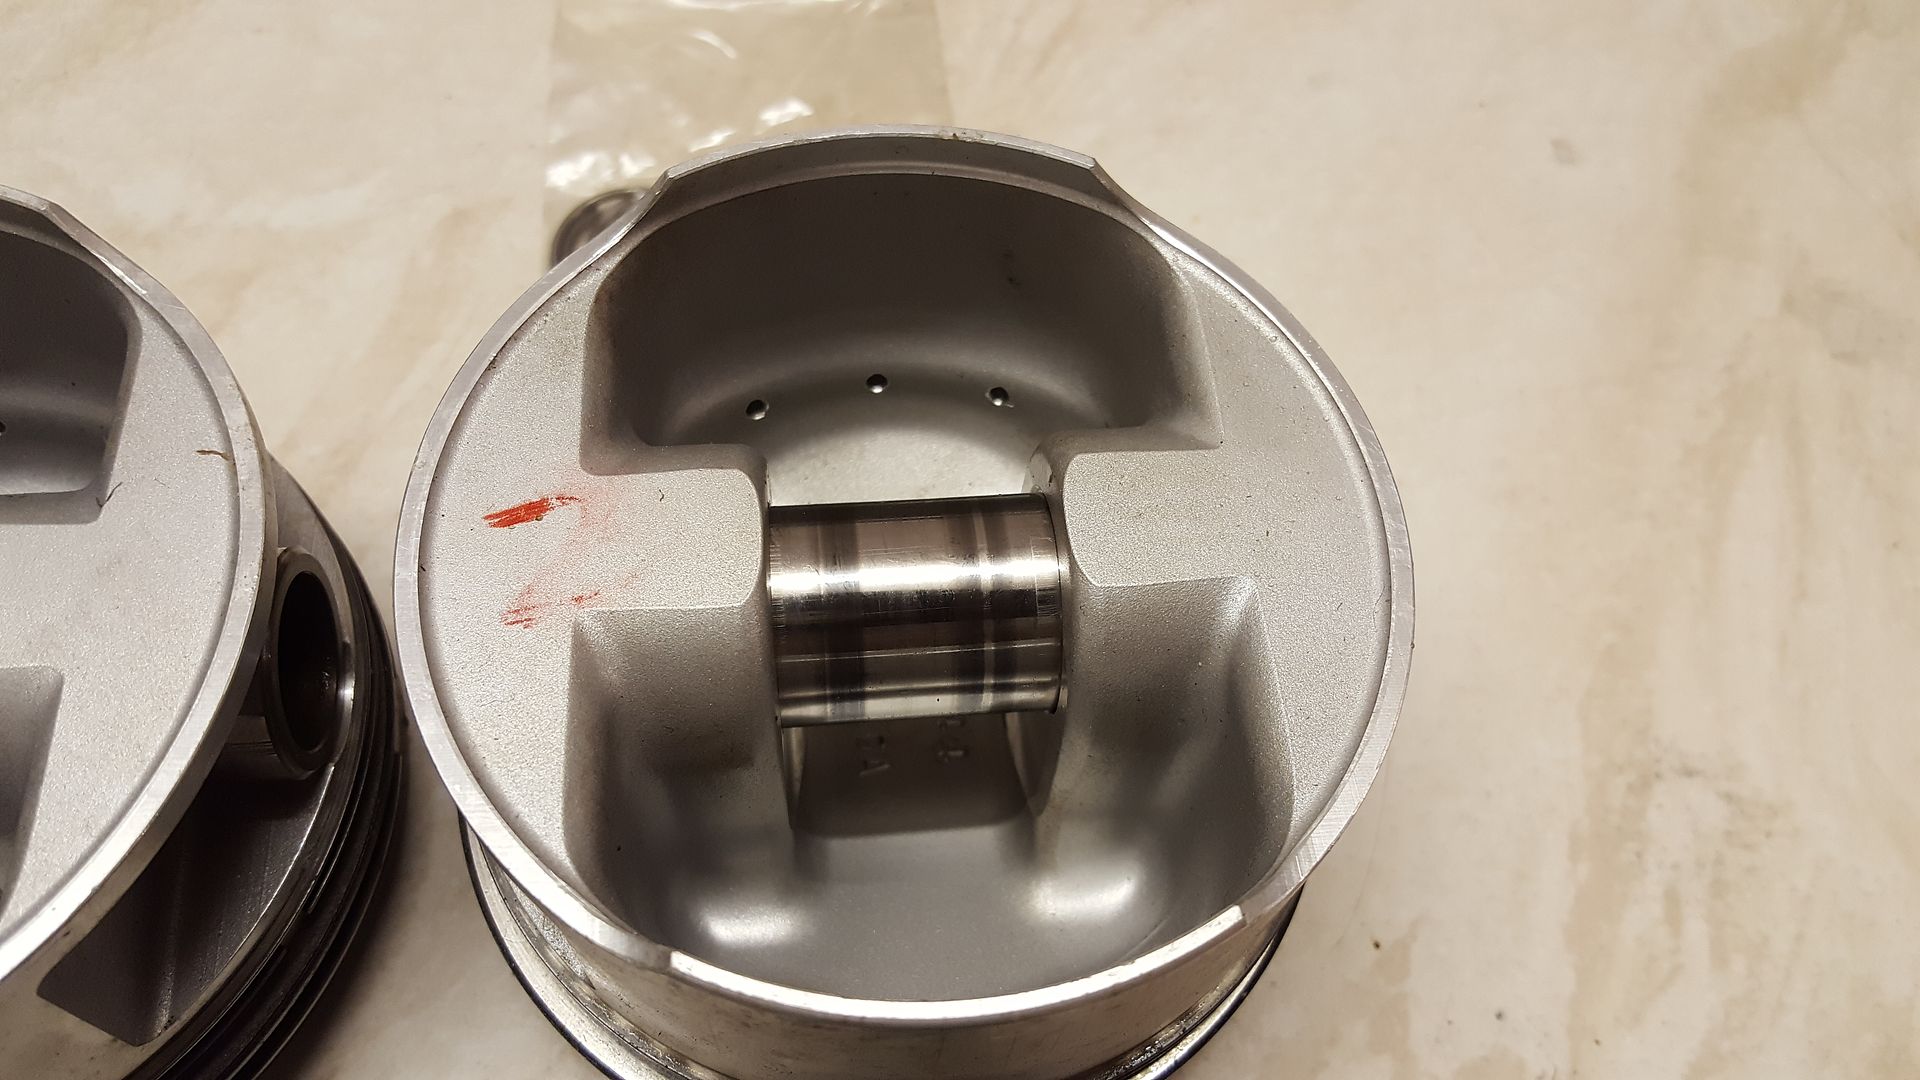
Thought that was too good to be true, or must be each piston or something, but sure enough it was 4 x Omega oversize high compression pistons removed
from a c20xe group 4 mk2 Escort. Clicked the buy it now and they arrved a day later!
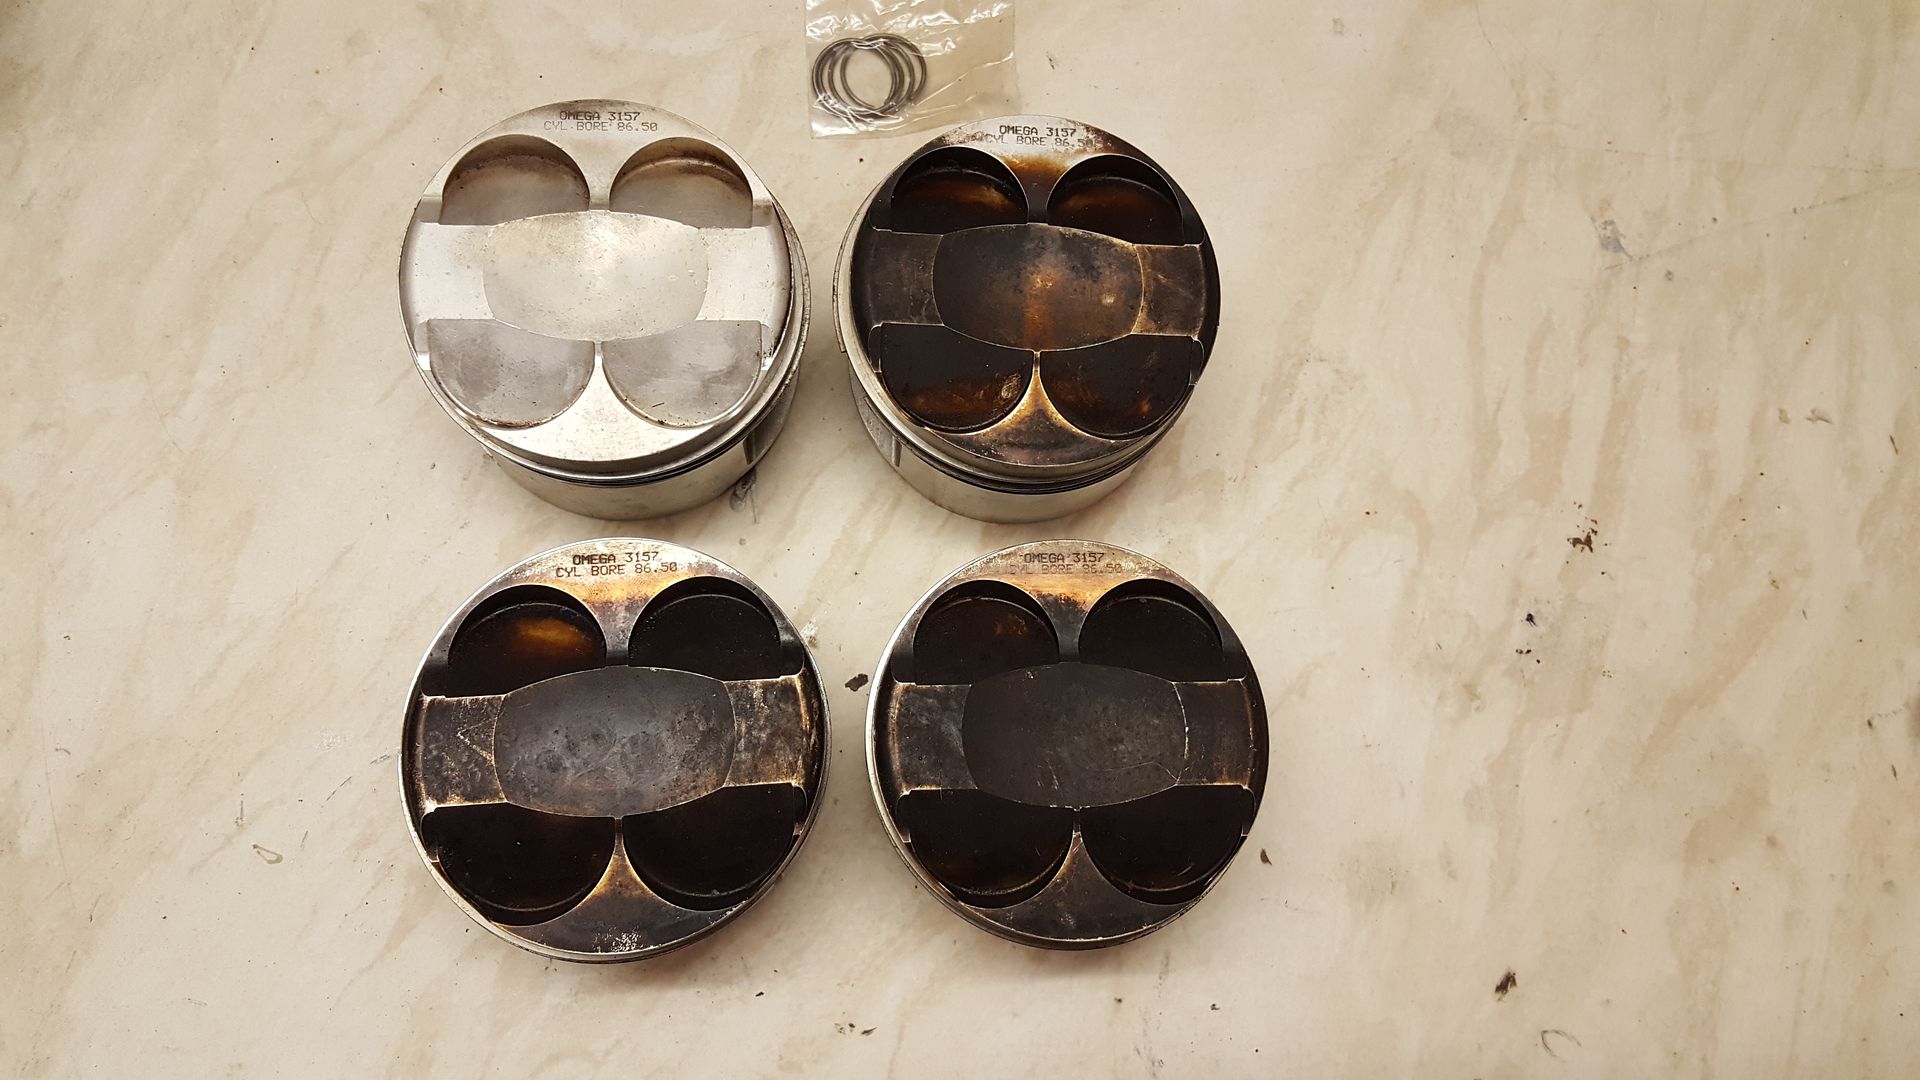
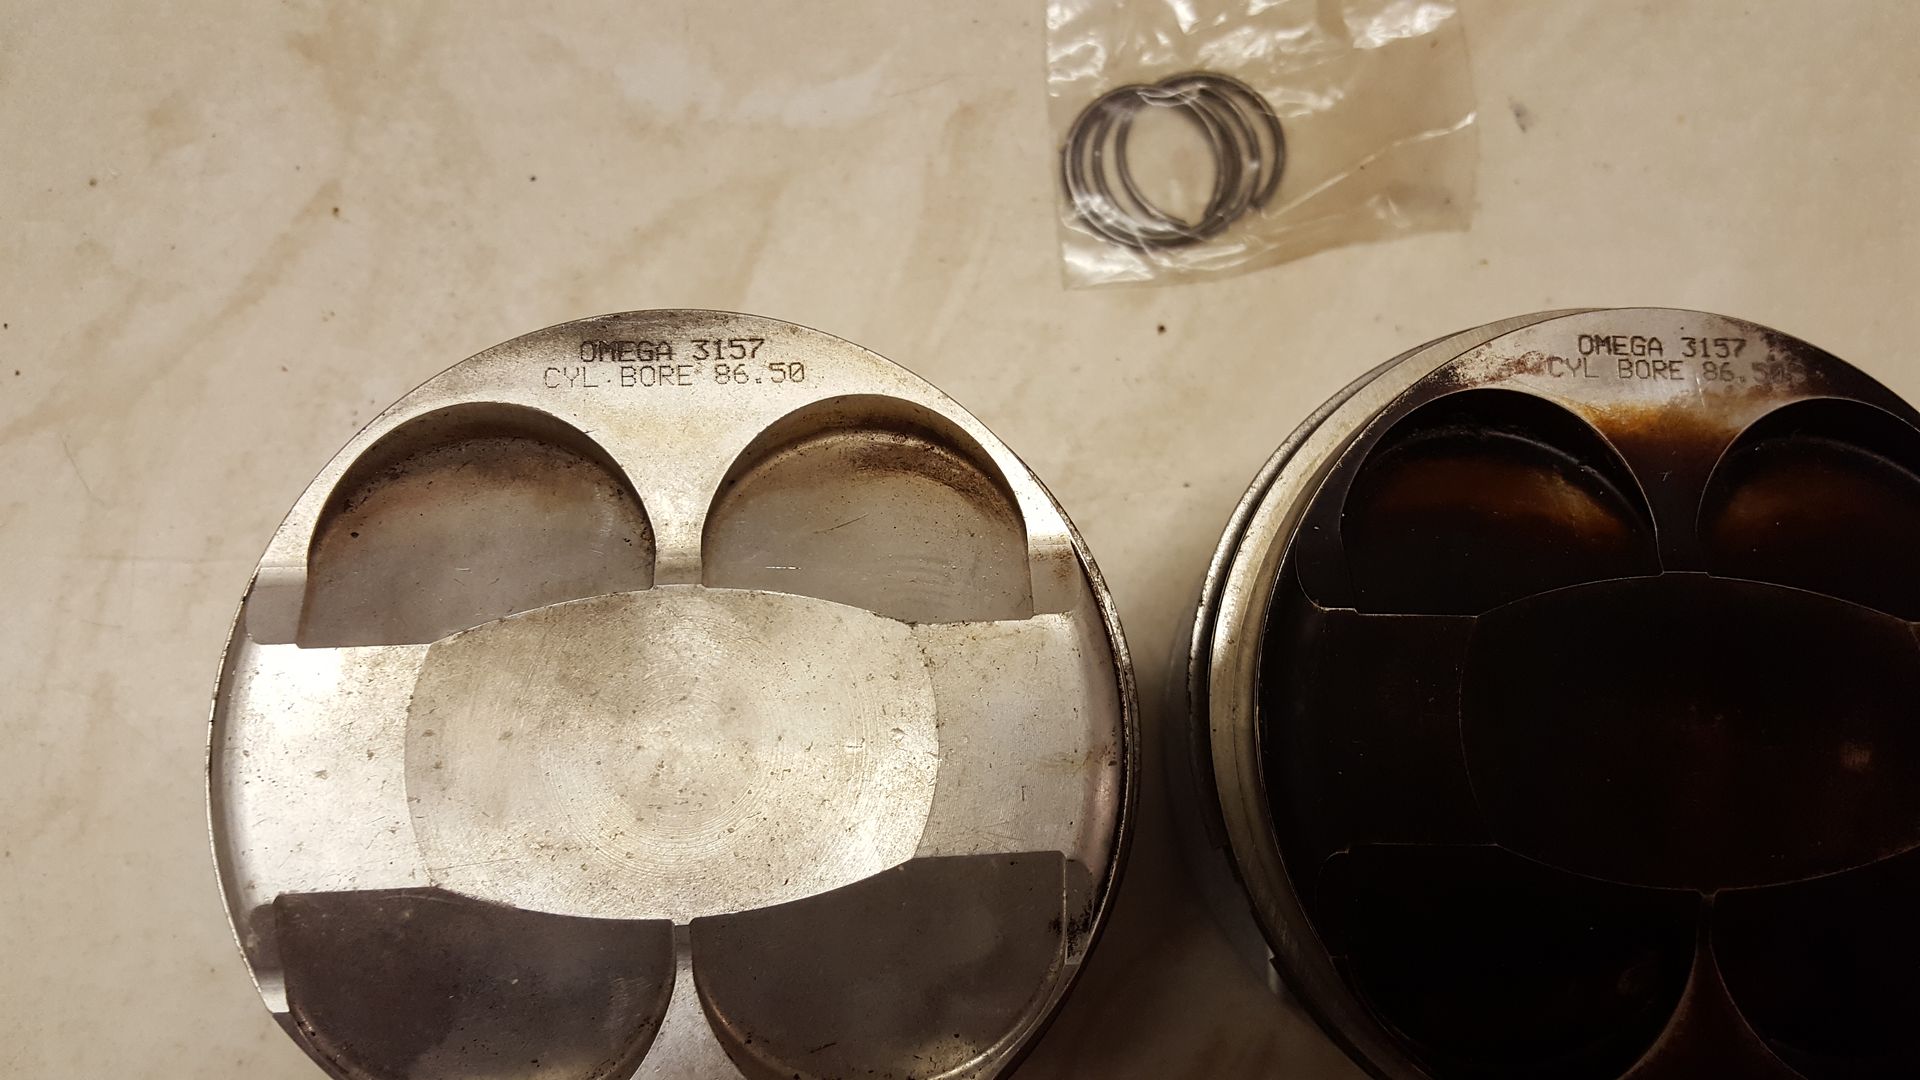
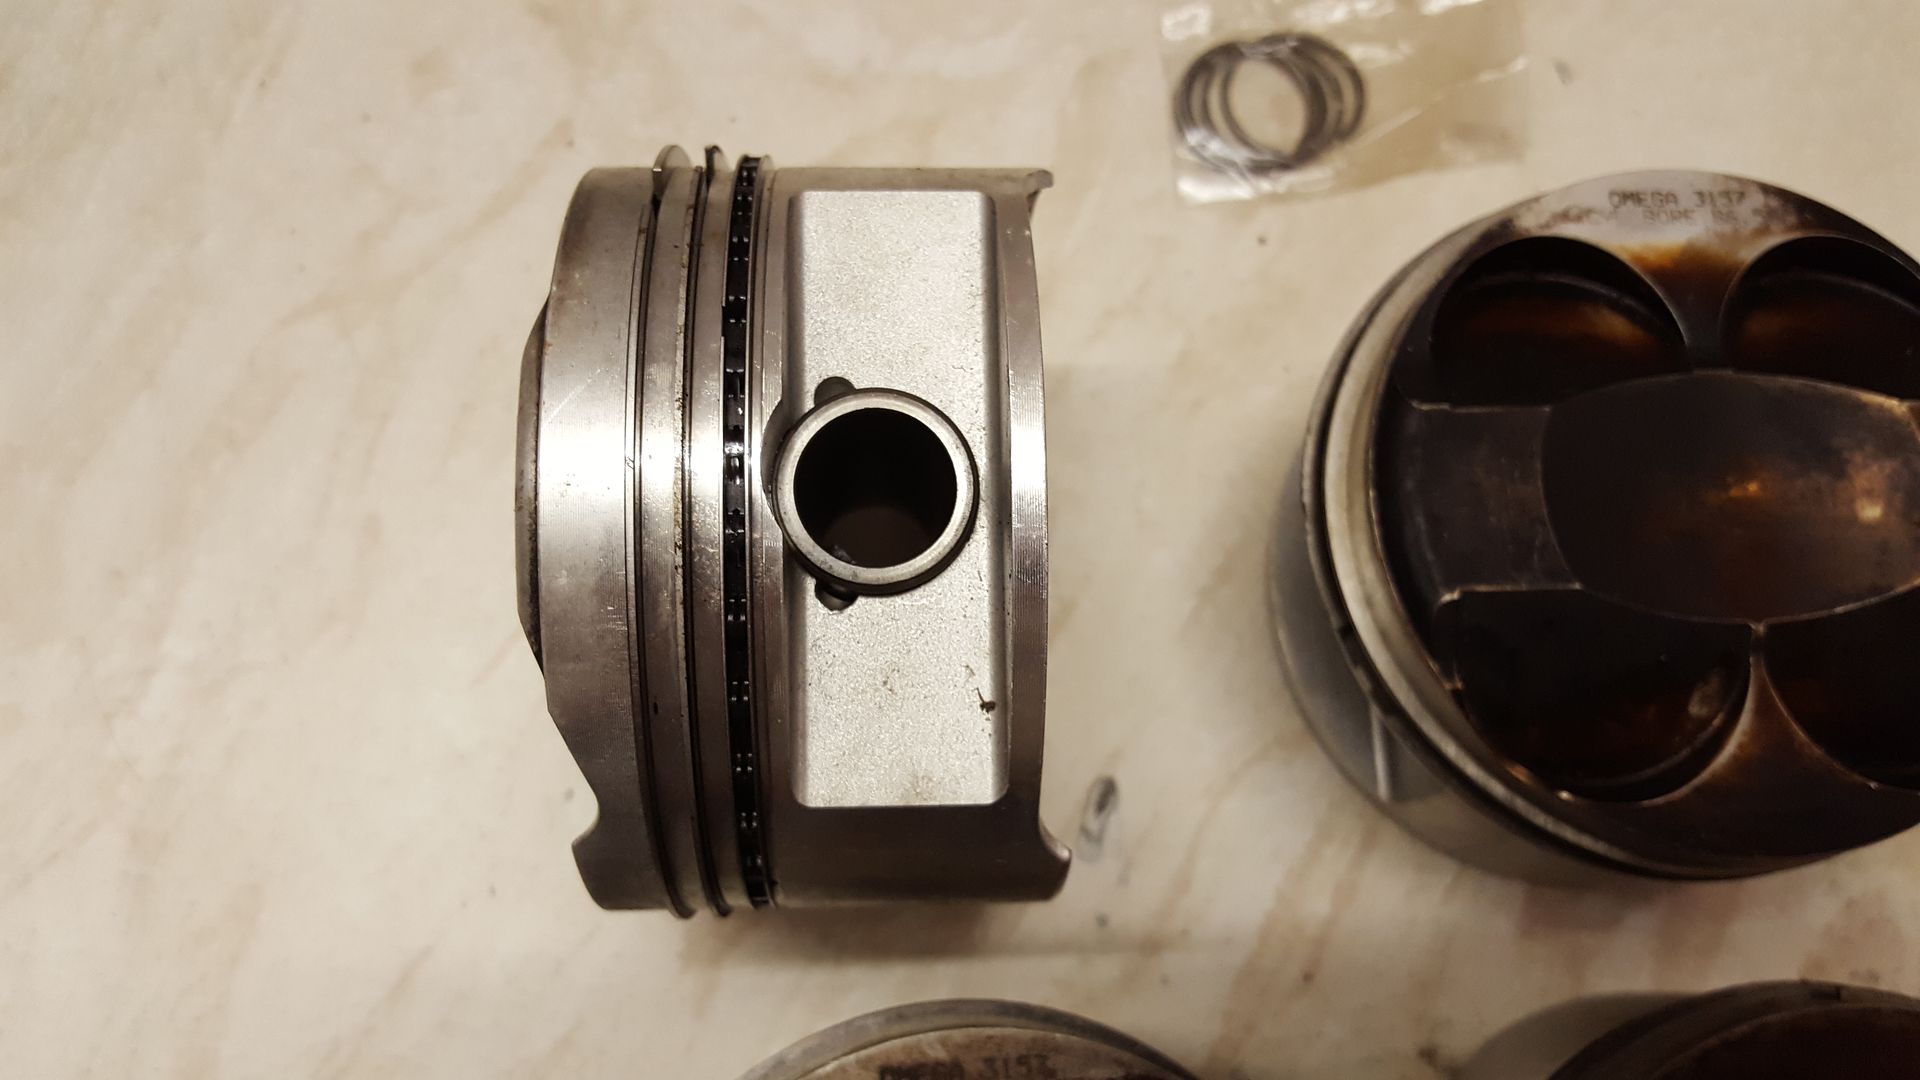
Spotless inside, these certainly haven't done much work
Here it is next to a standard c20xe piston
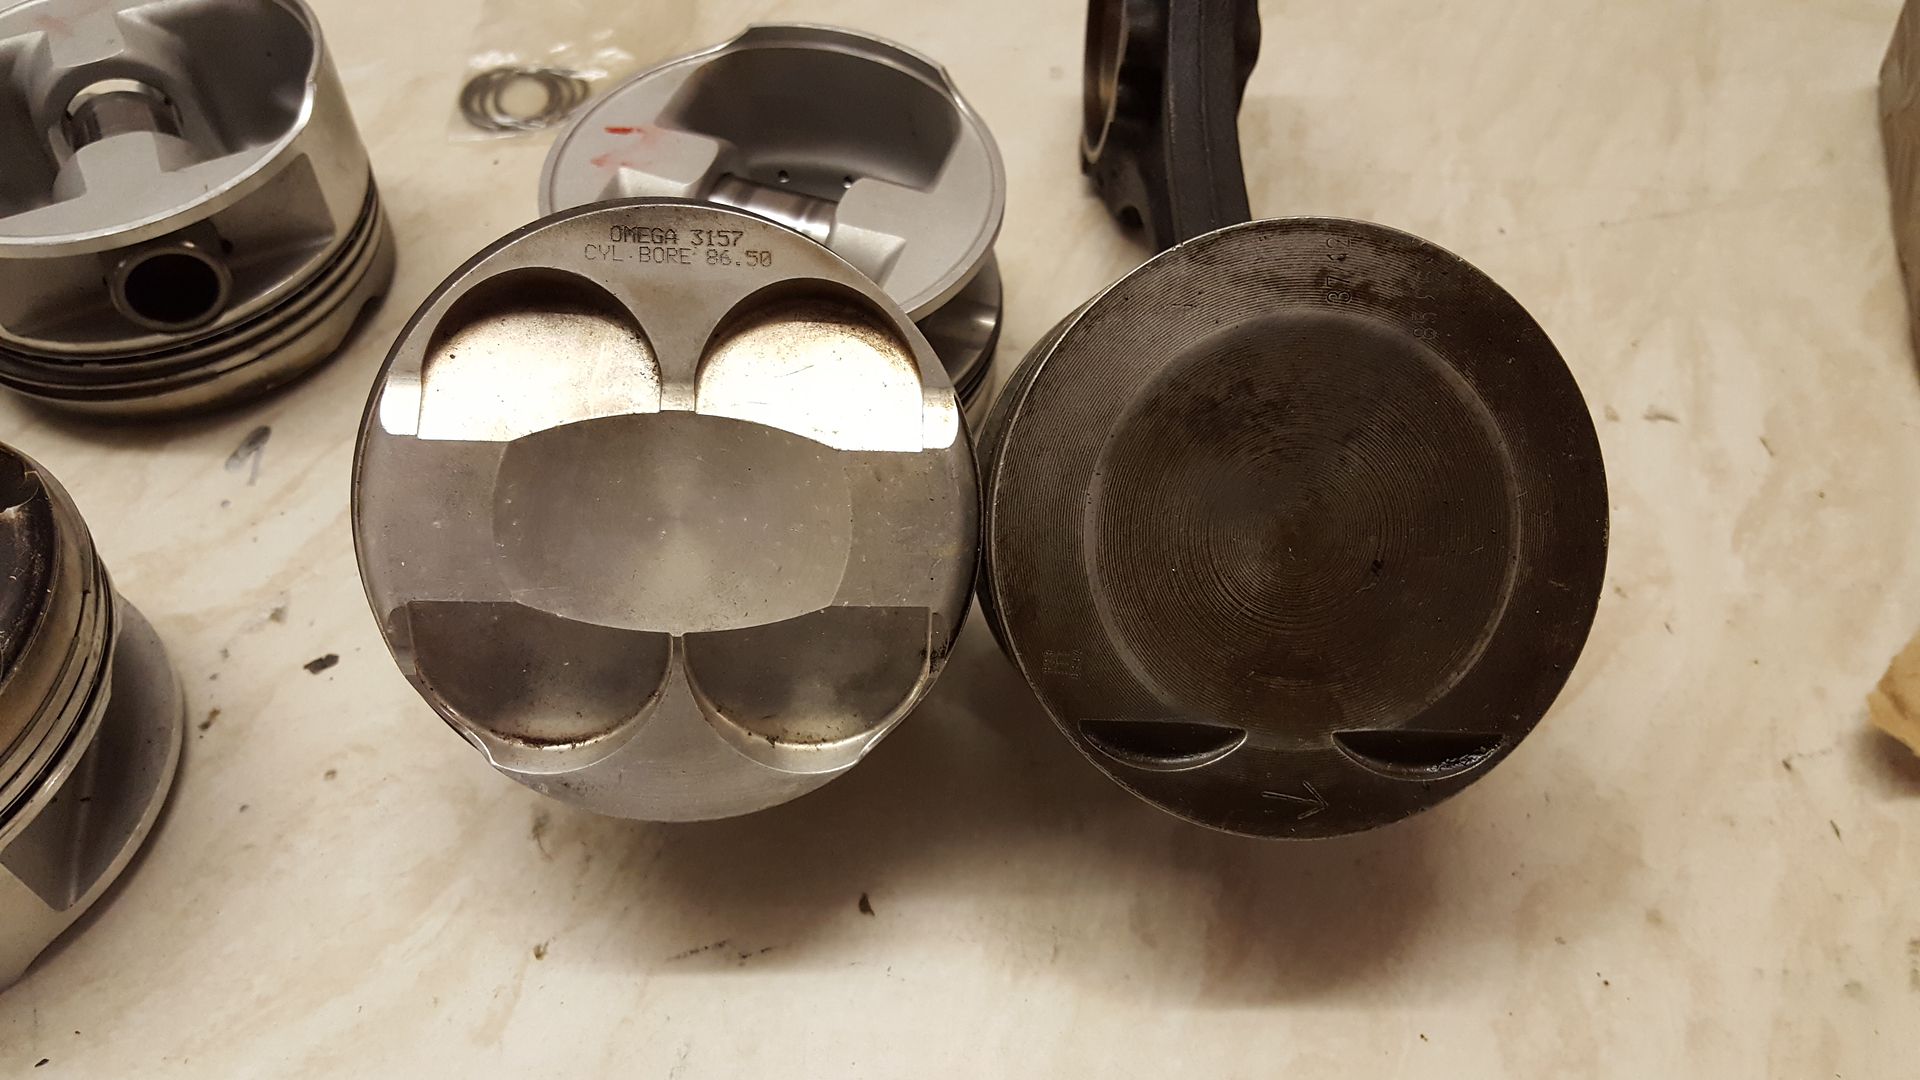
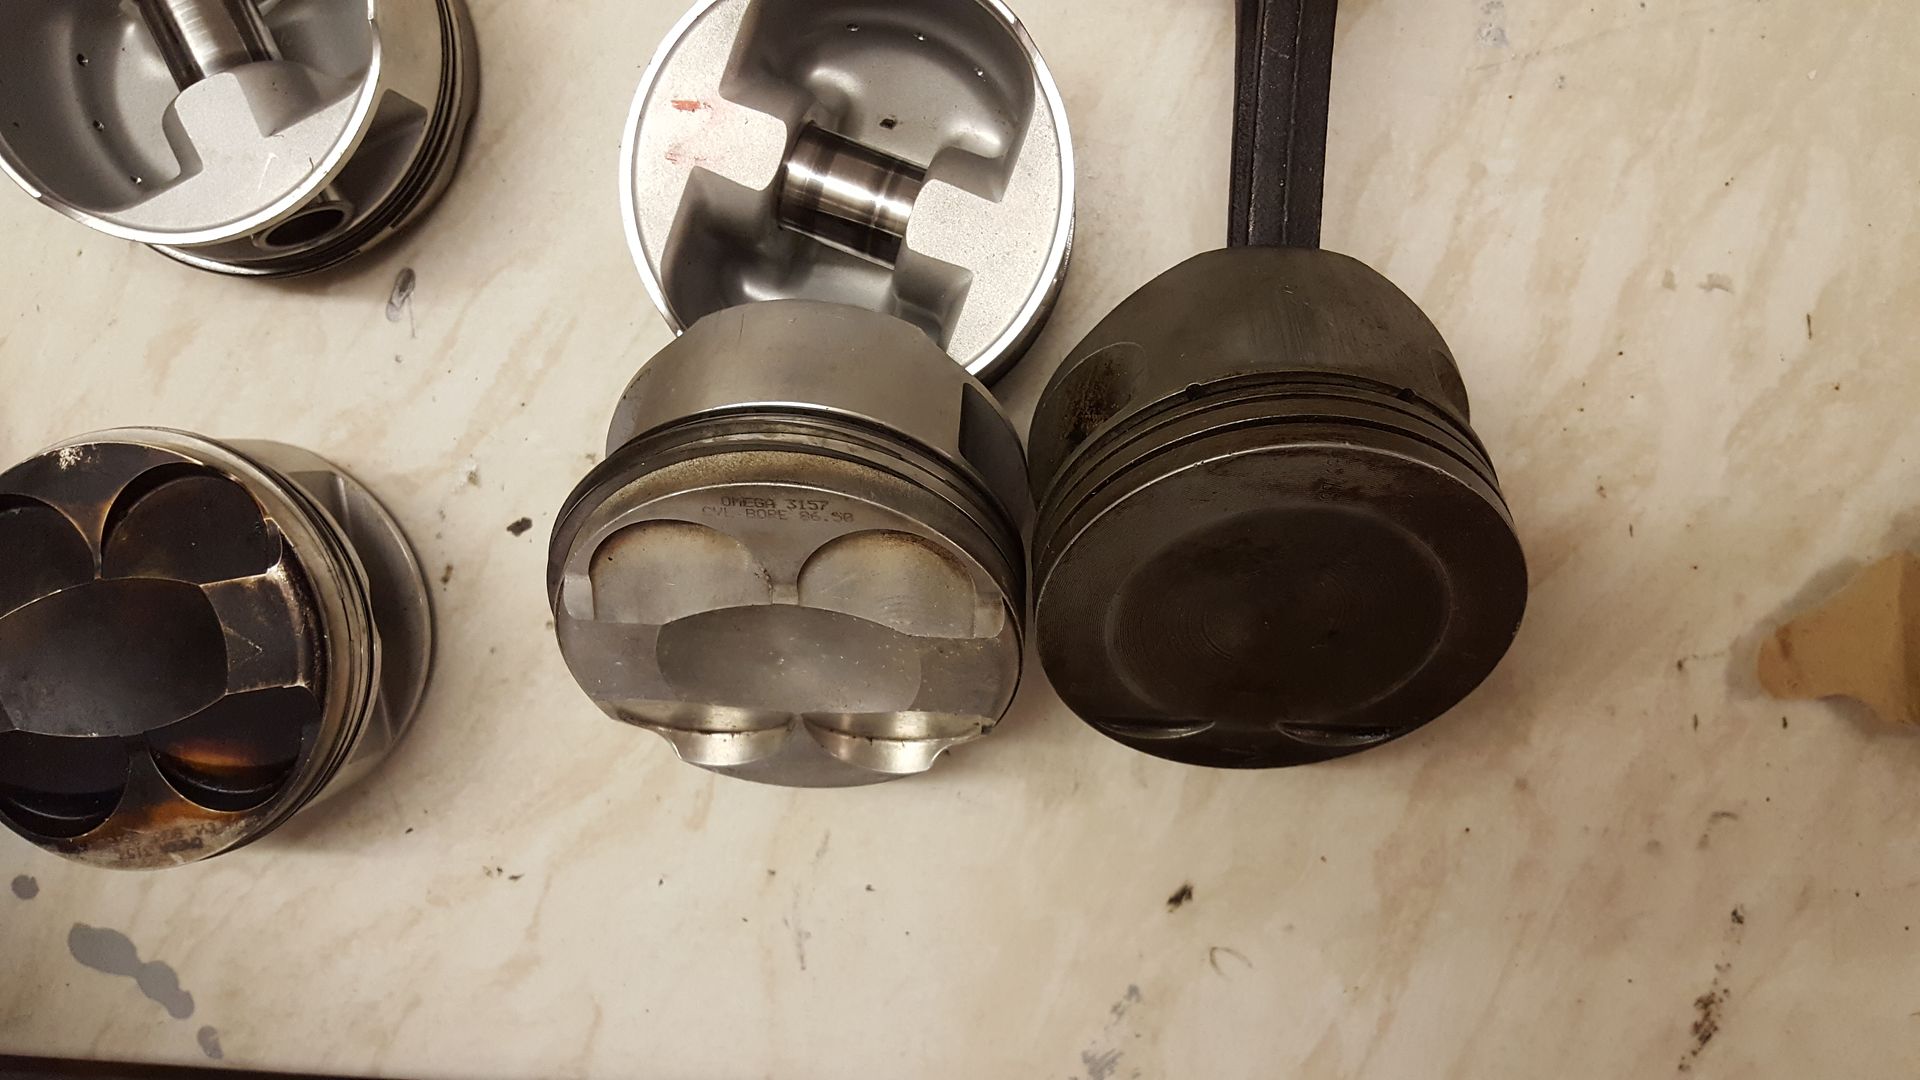
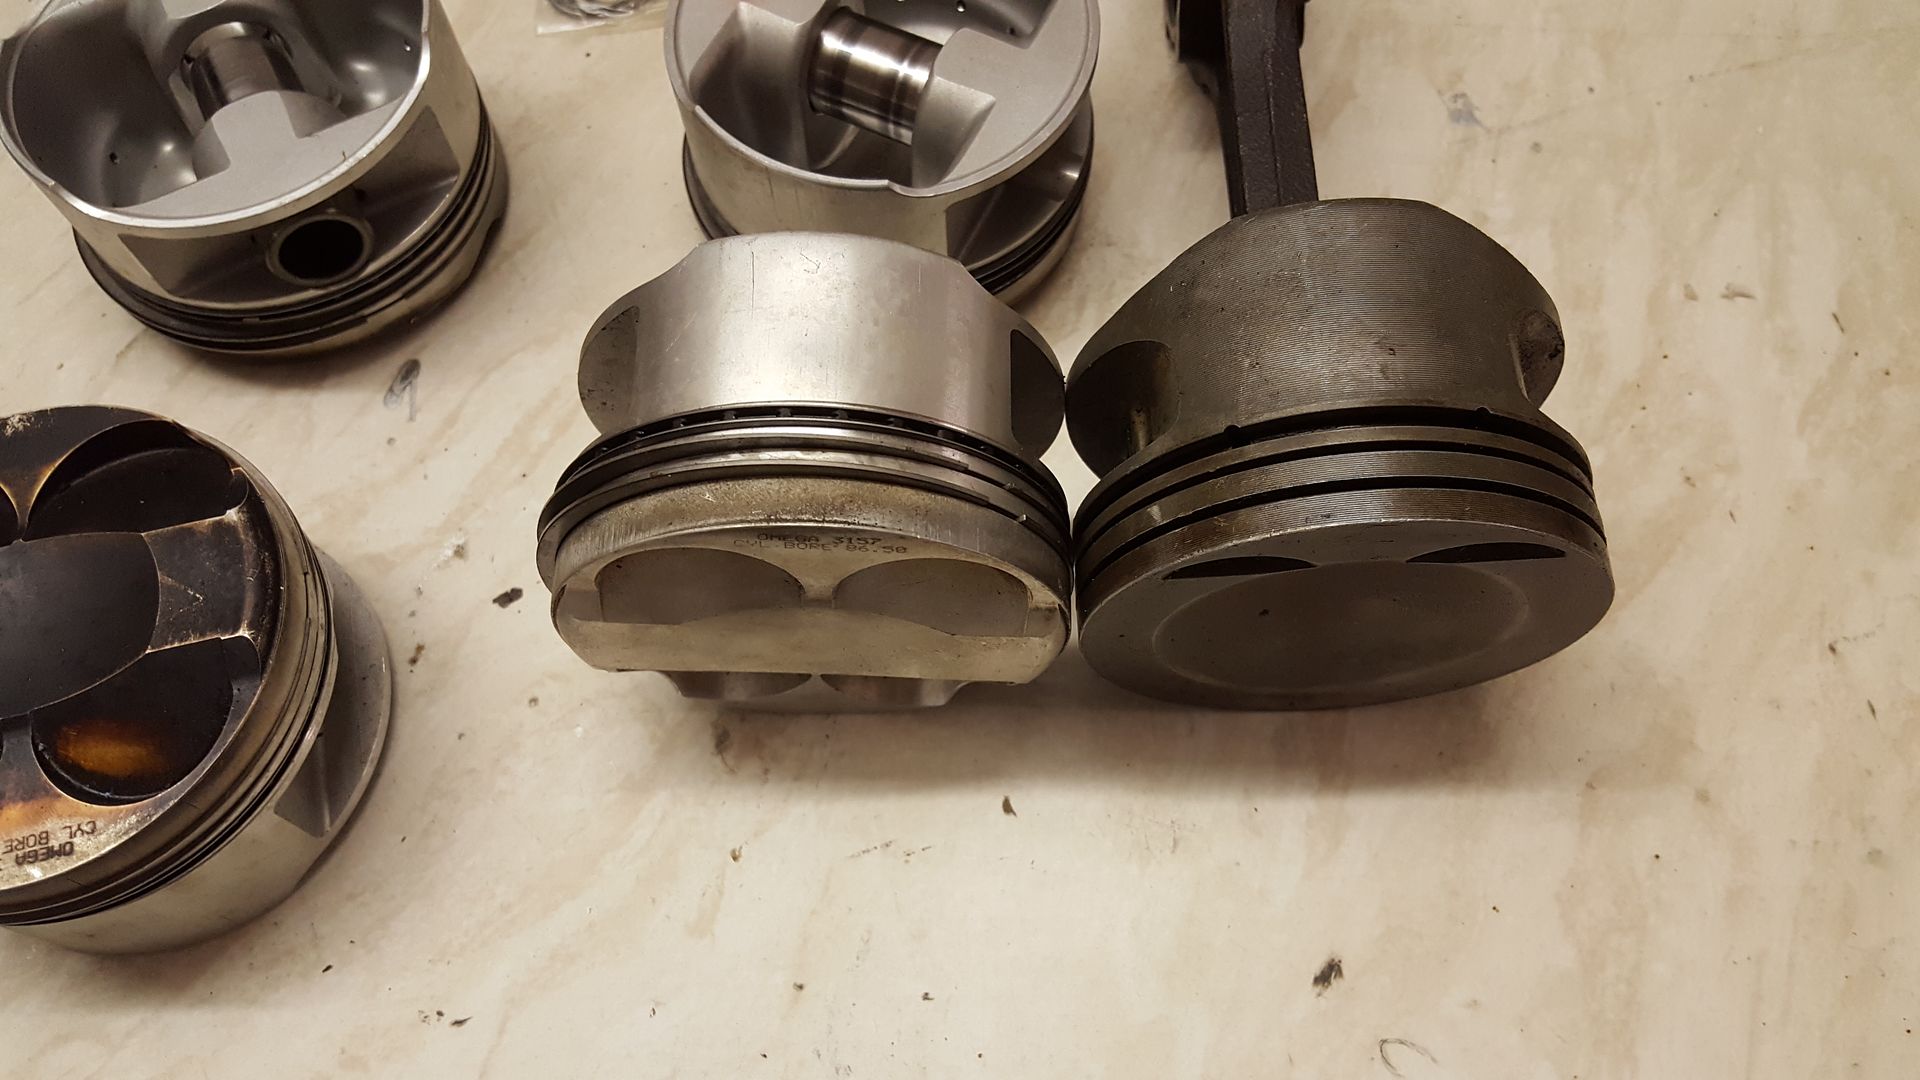
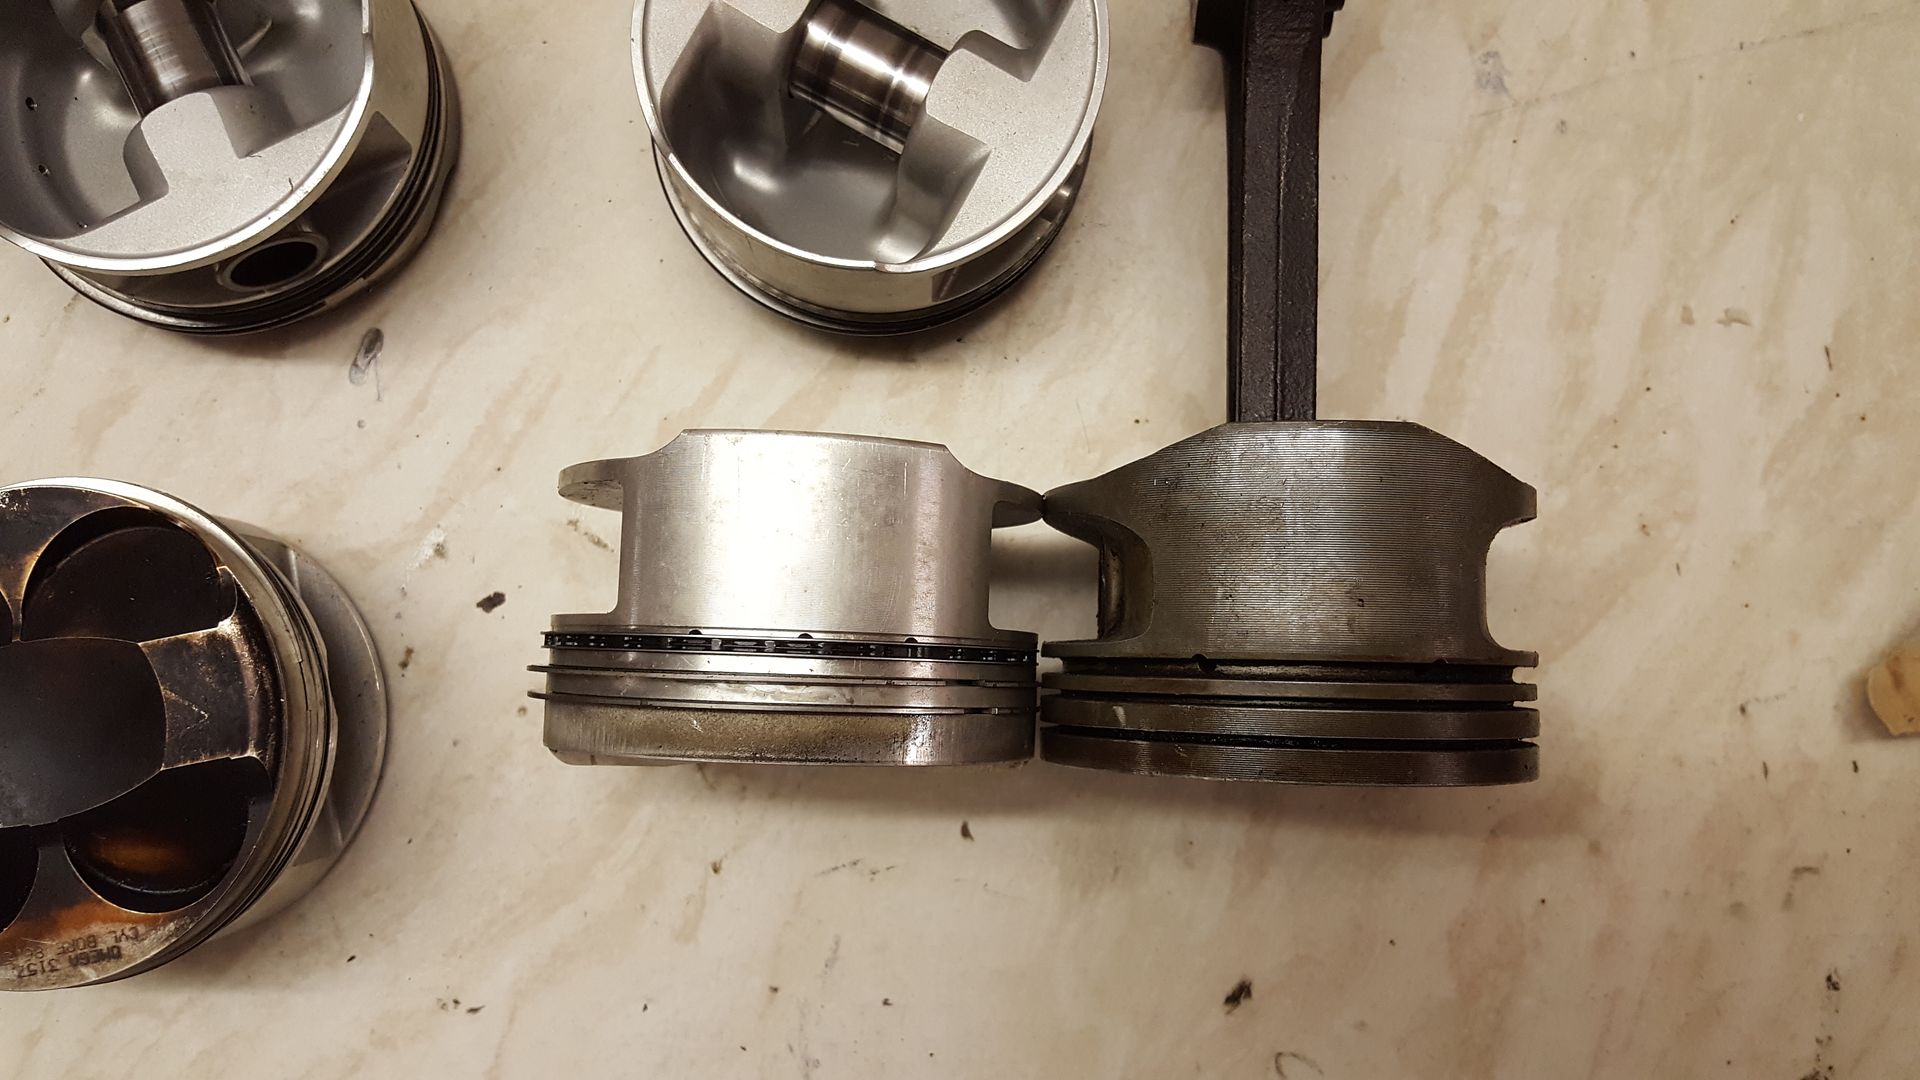
And here's my c20let LOW compression wossner piston in the middle
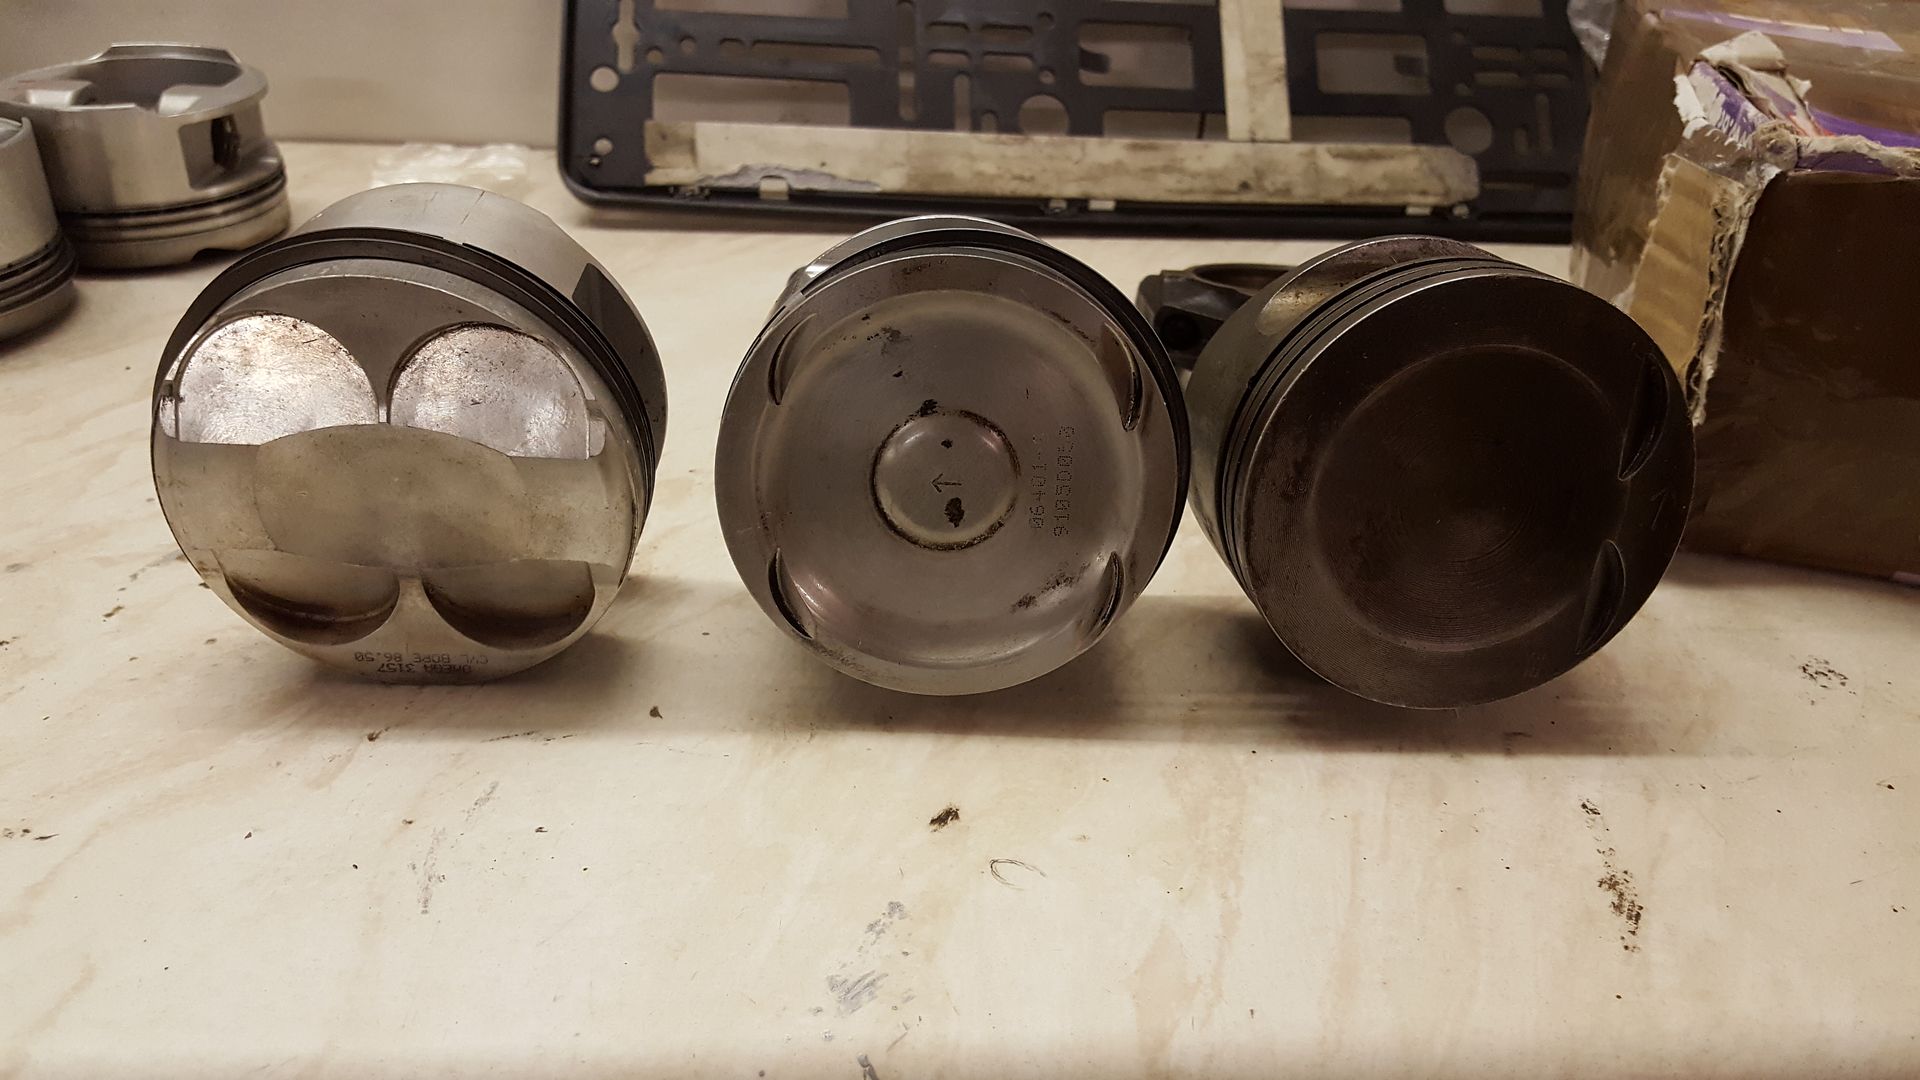
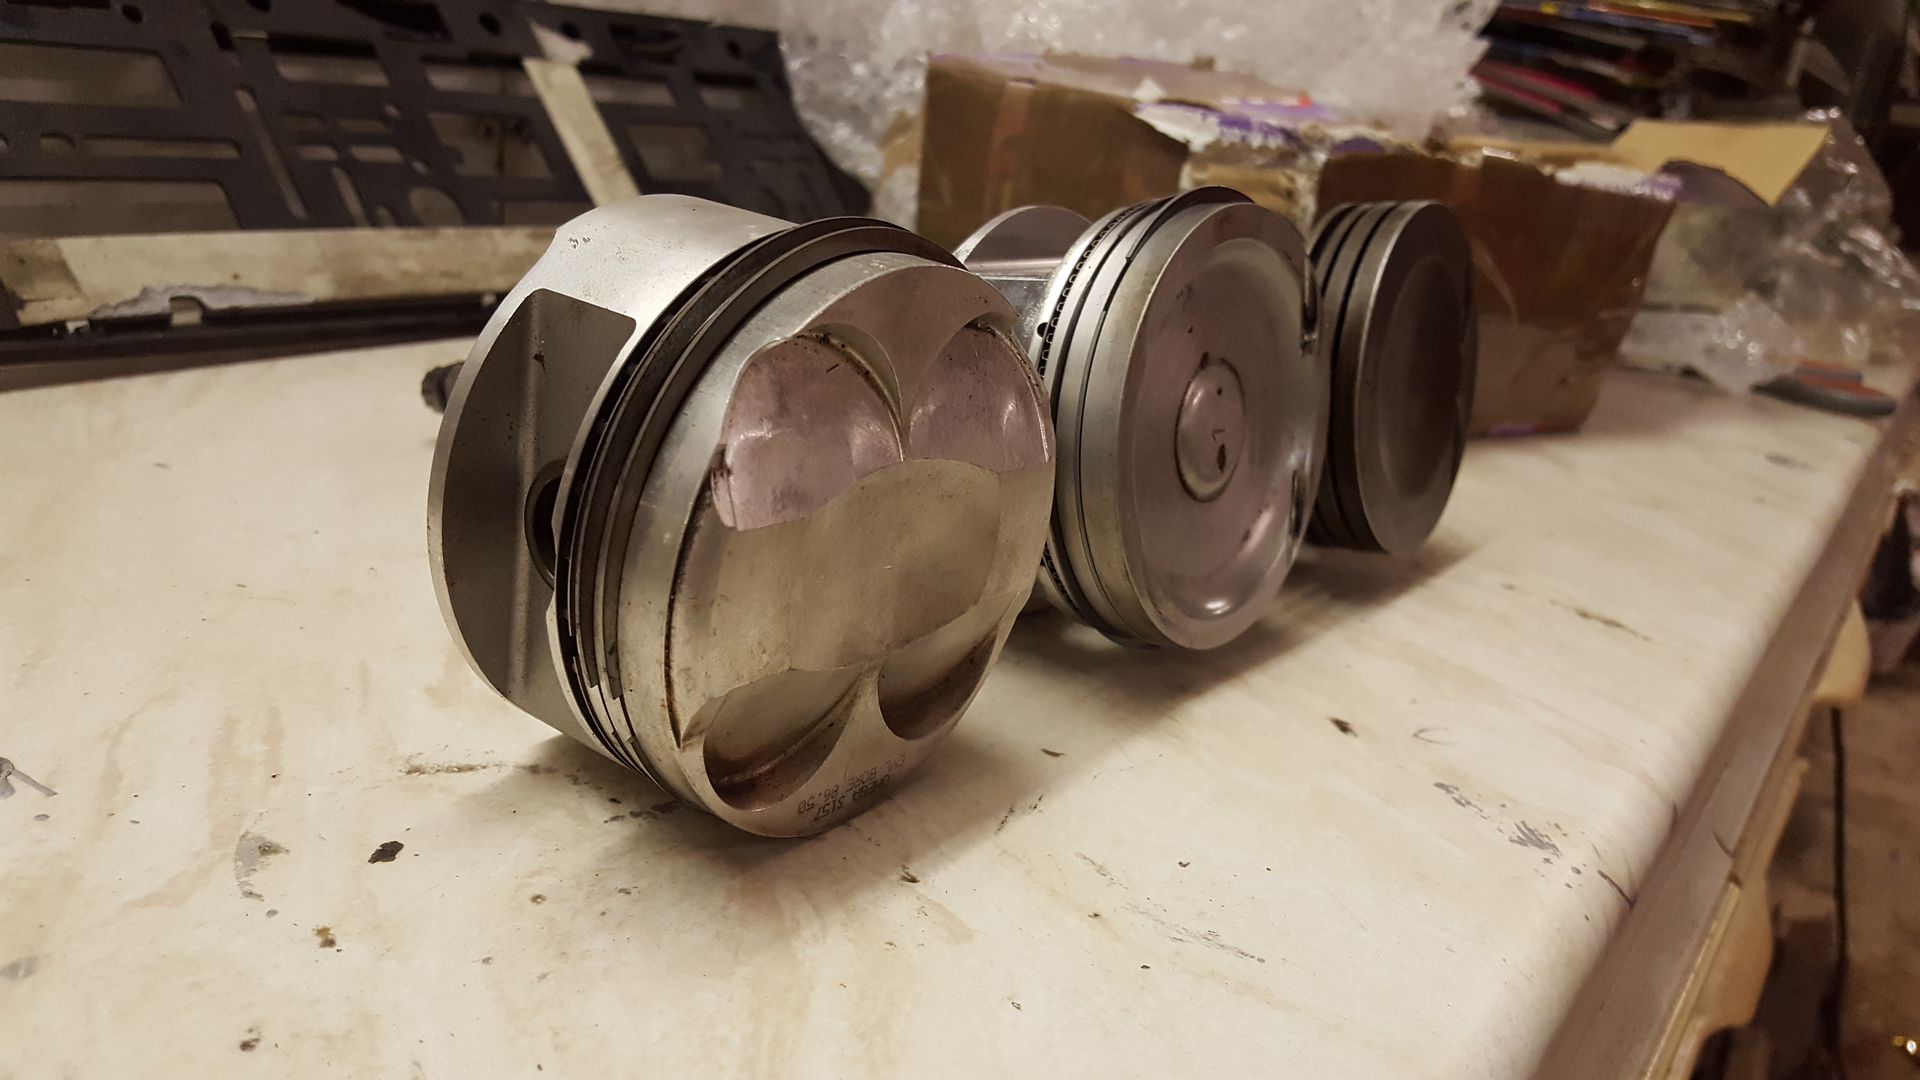
With the steel rods on the c20let pistons that will now be making their way to this build
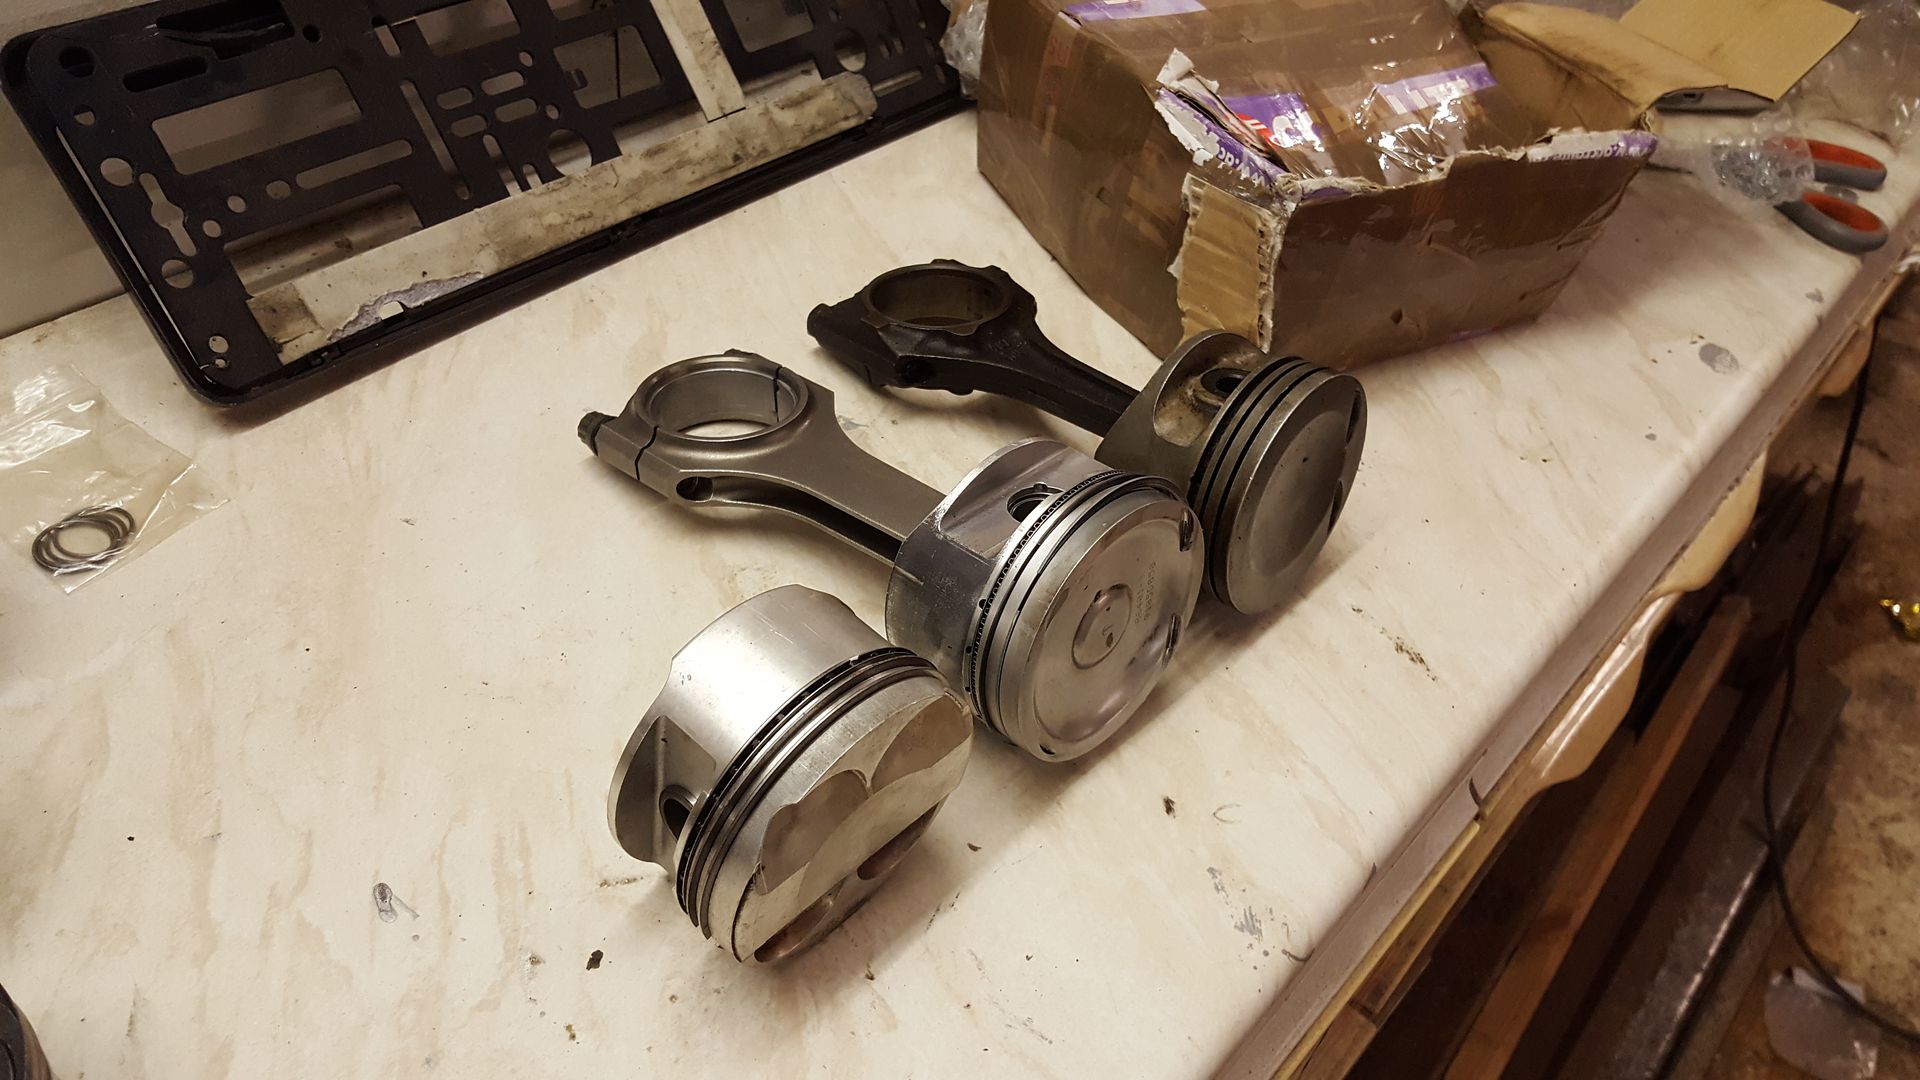
The tops have obviously seen combustion
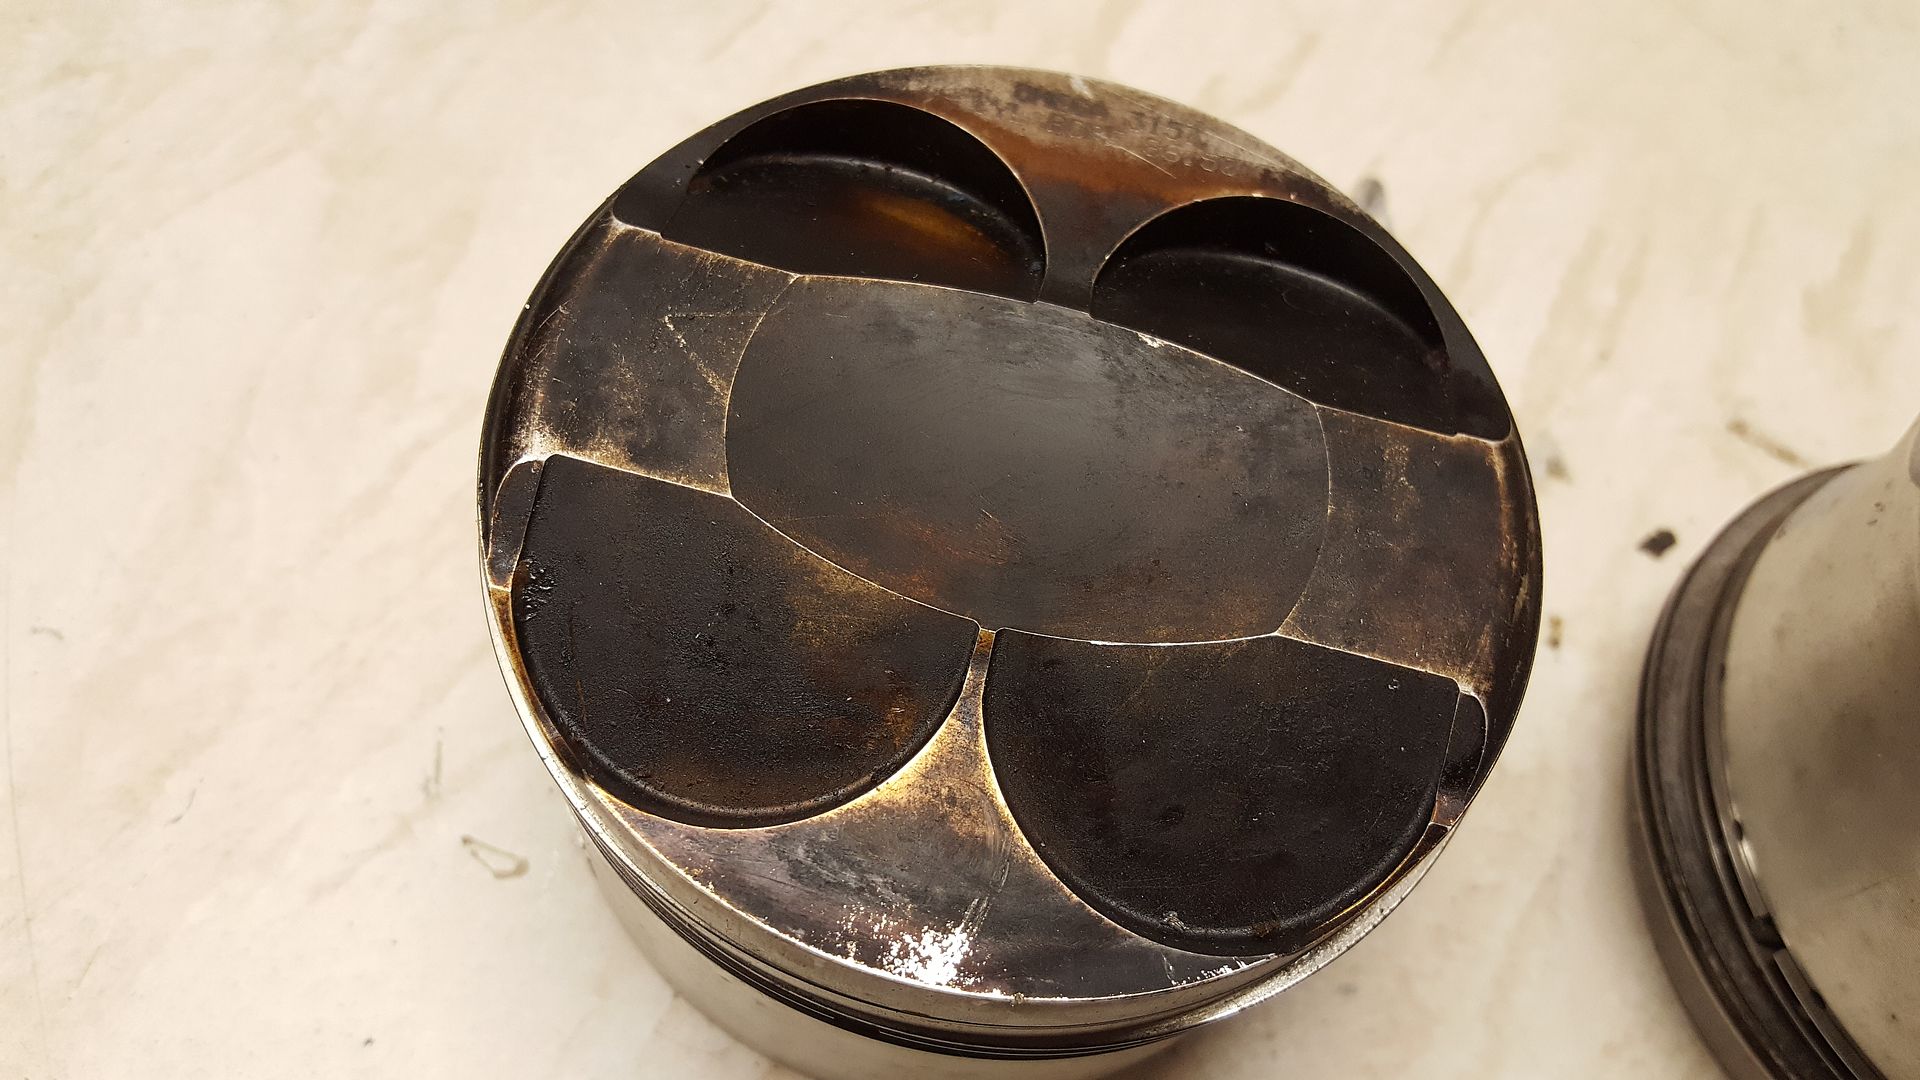
But that pretty much wiped off with some thinners
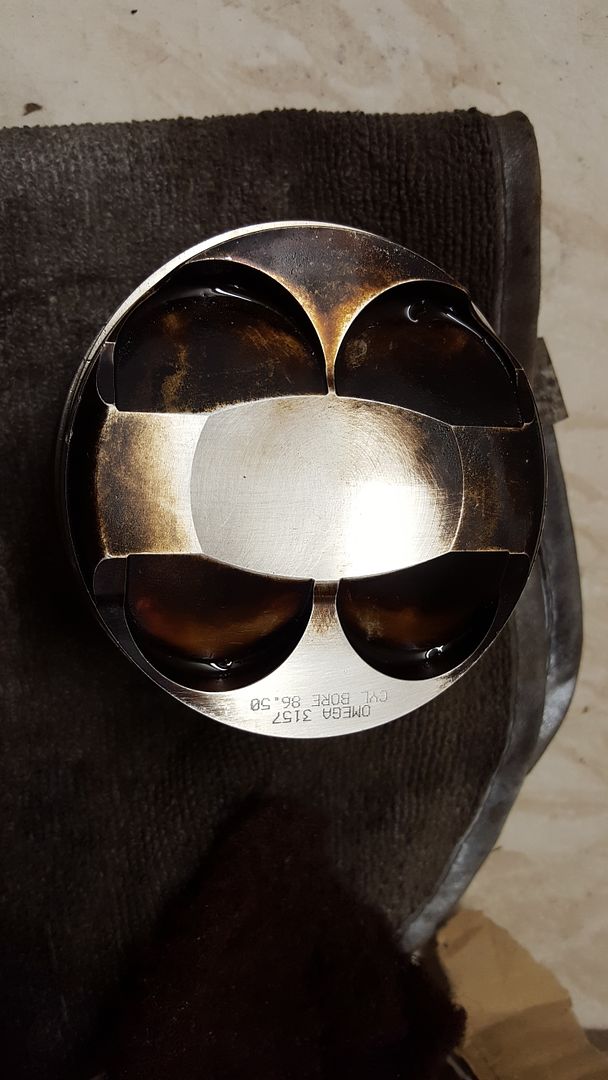
And they came up like new
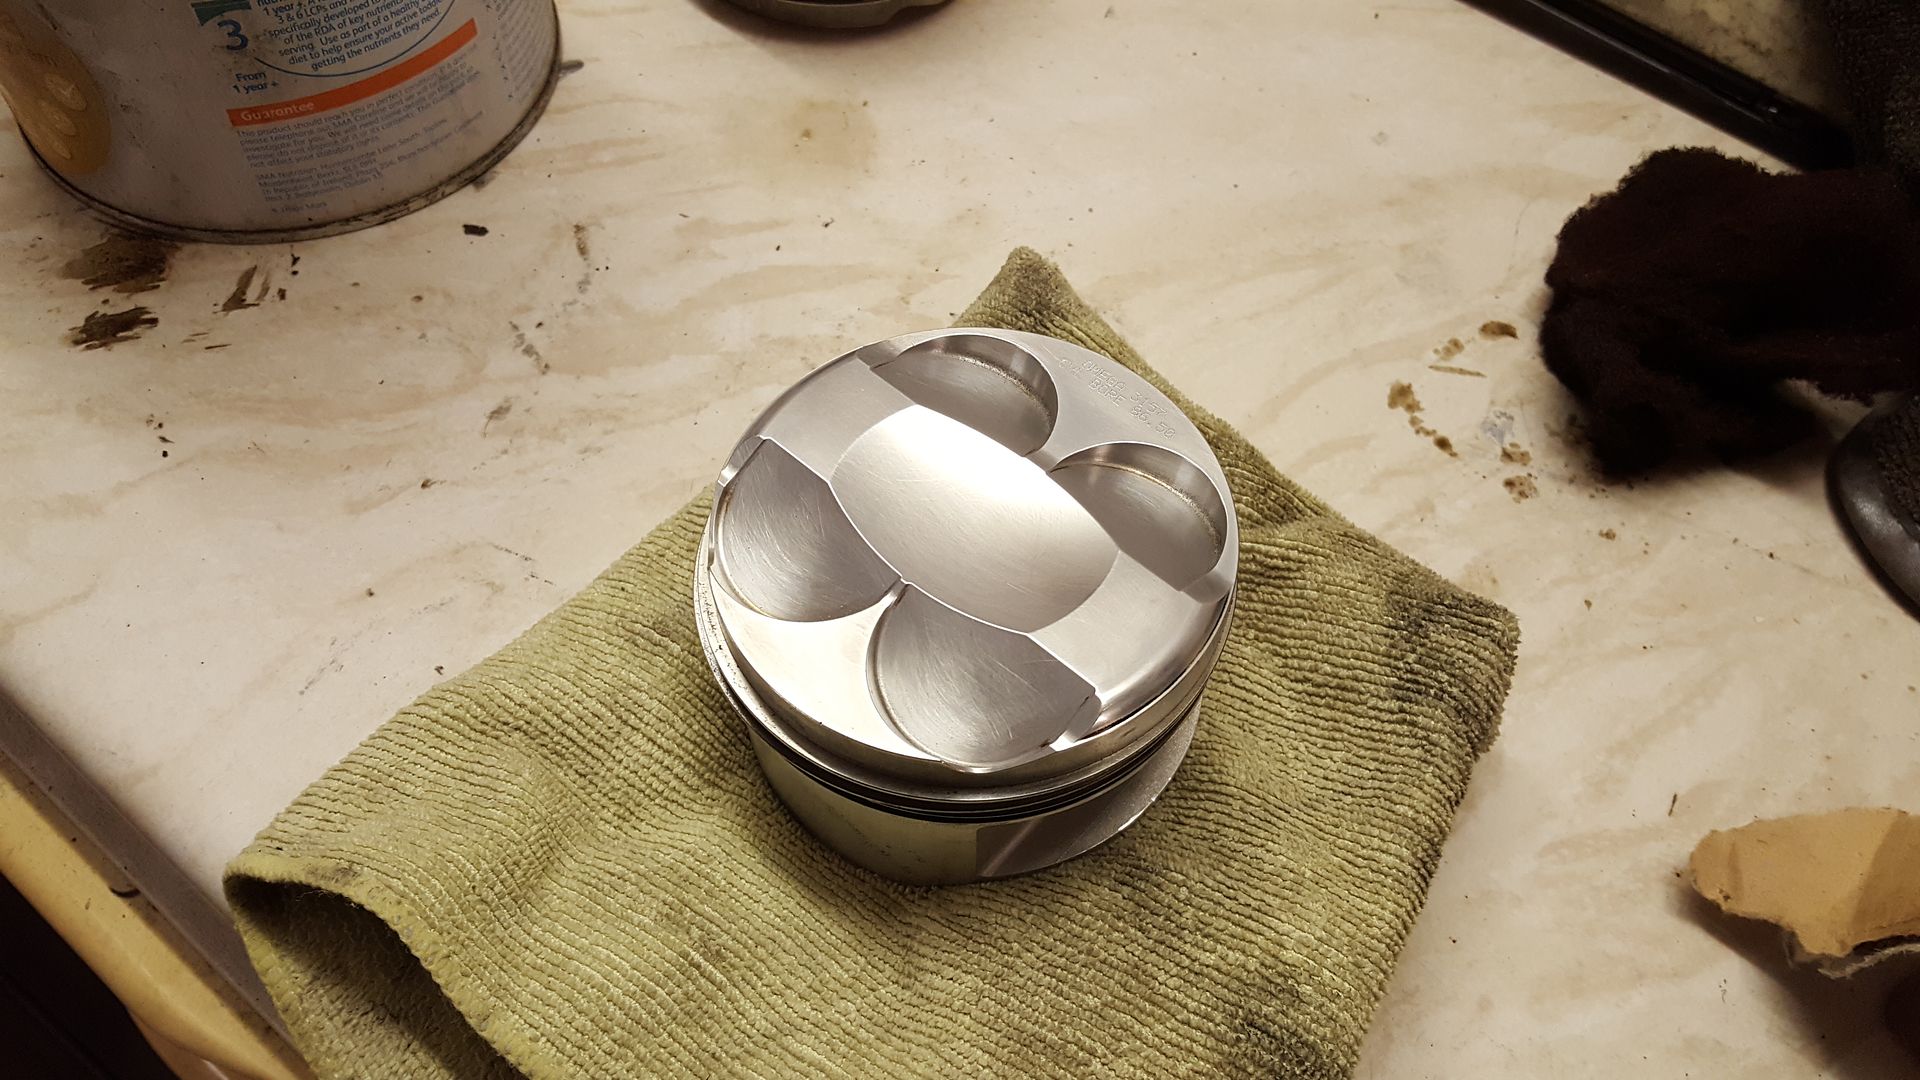
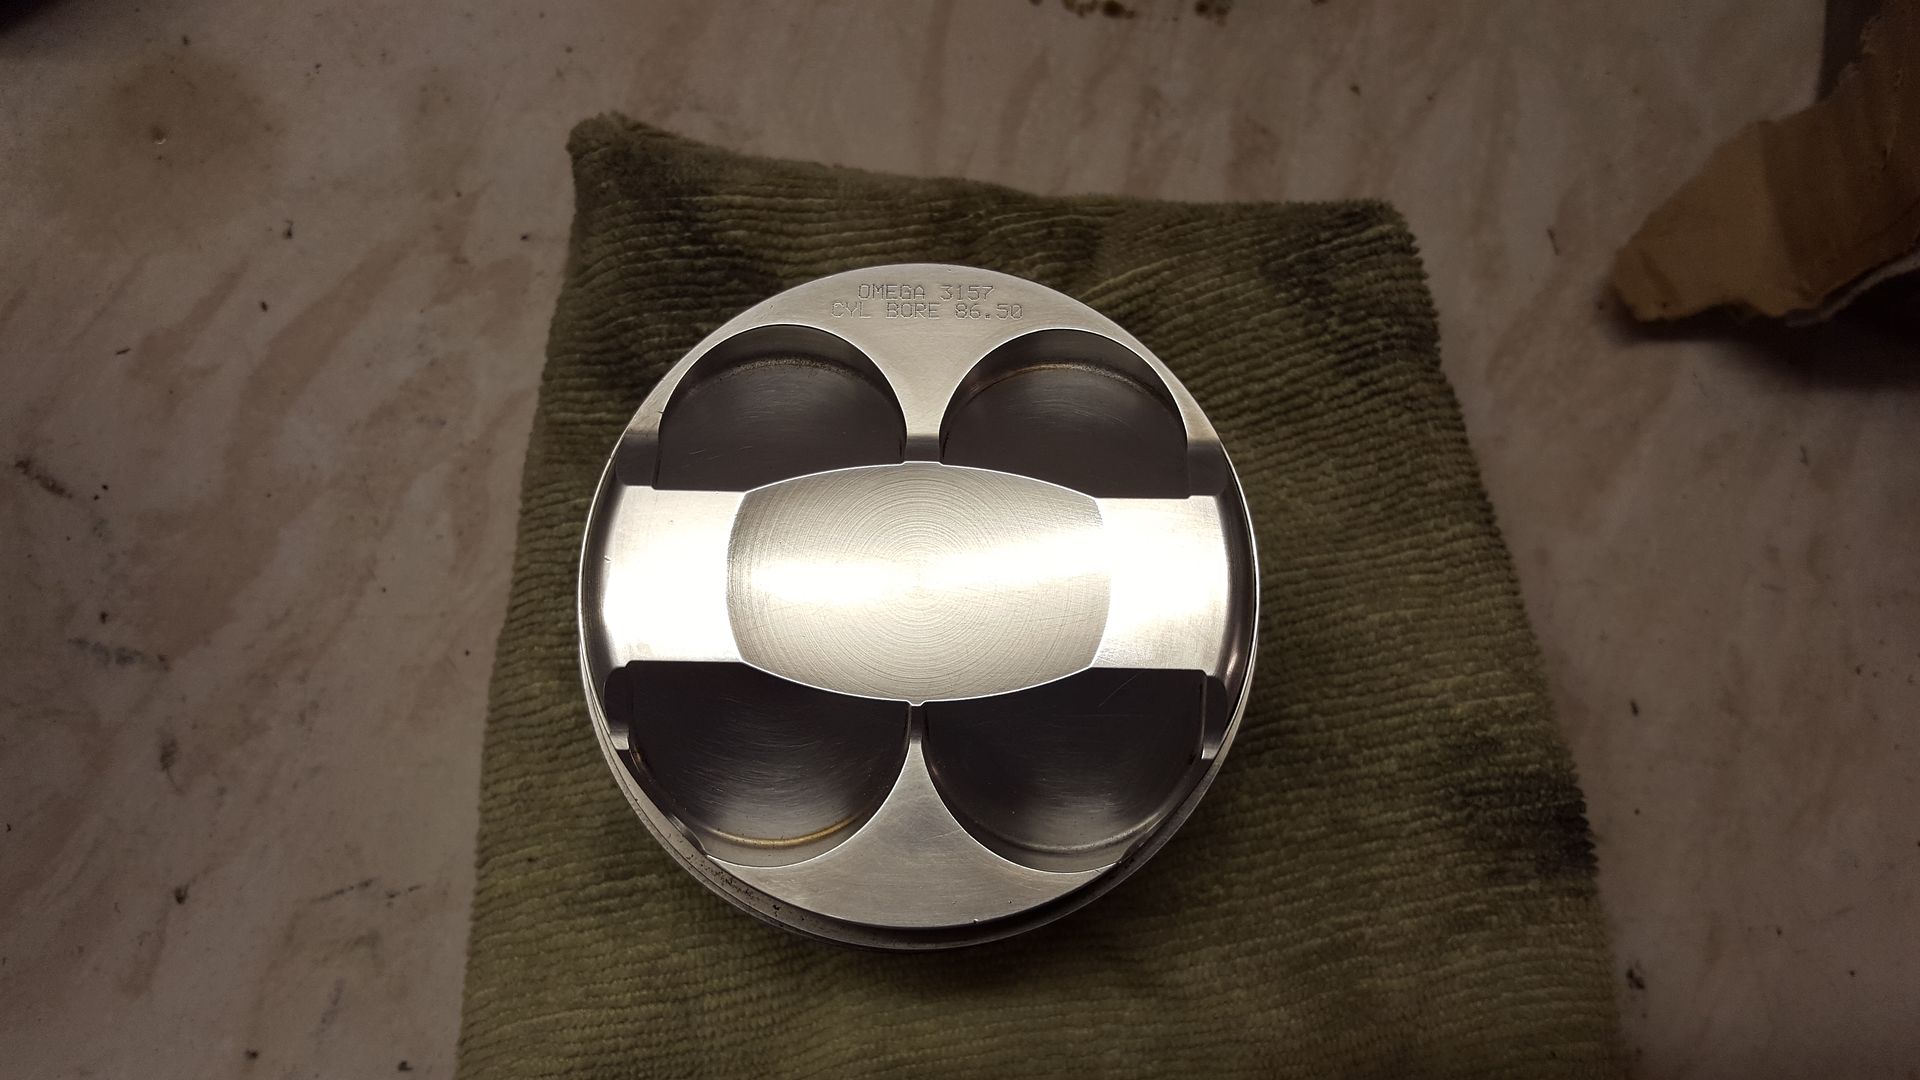
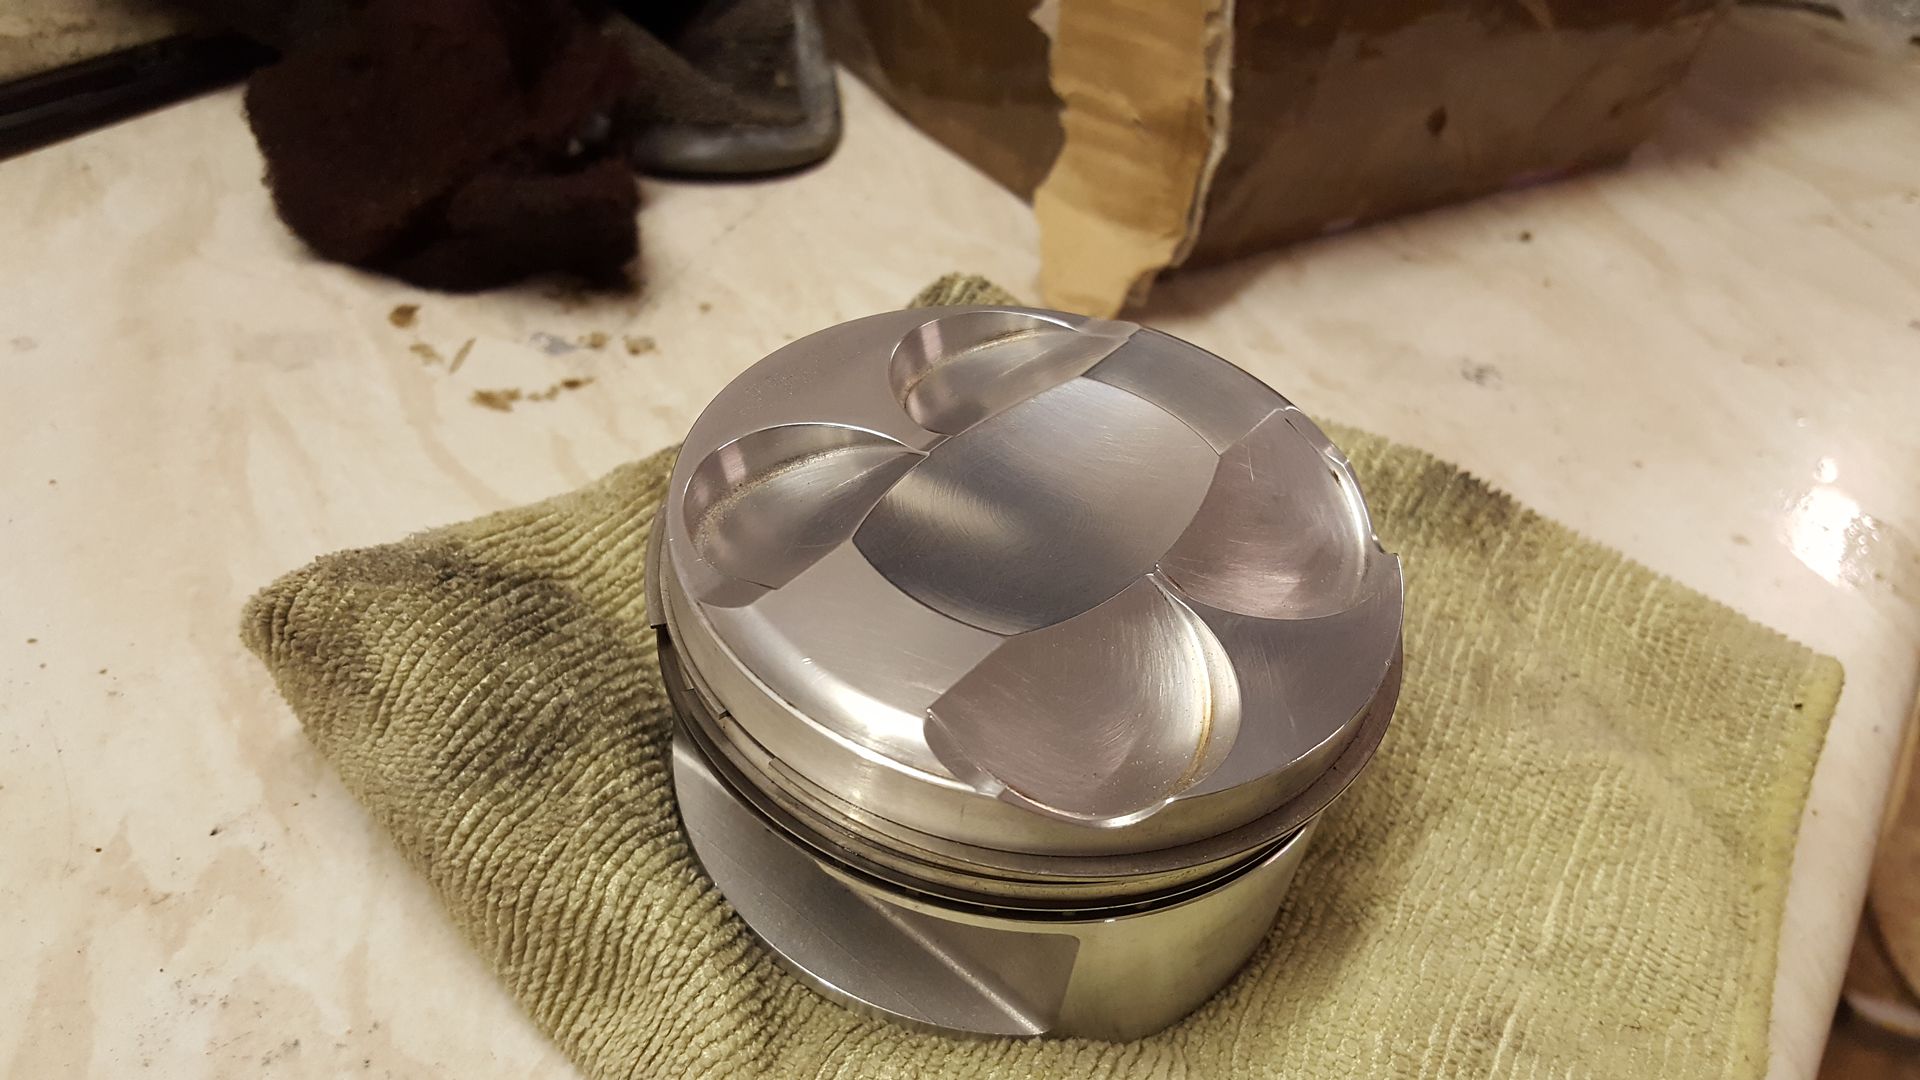
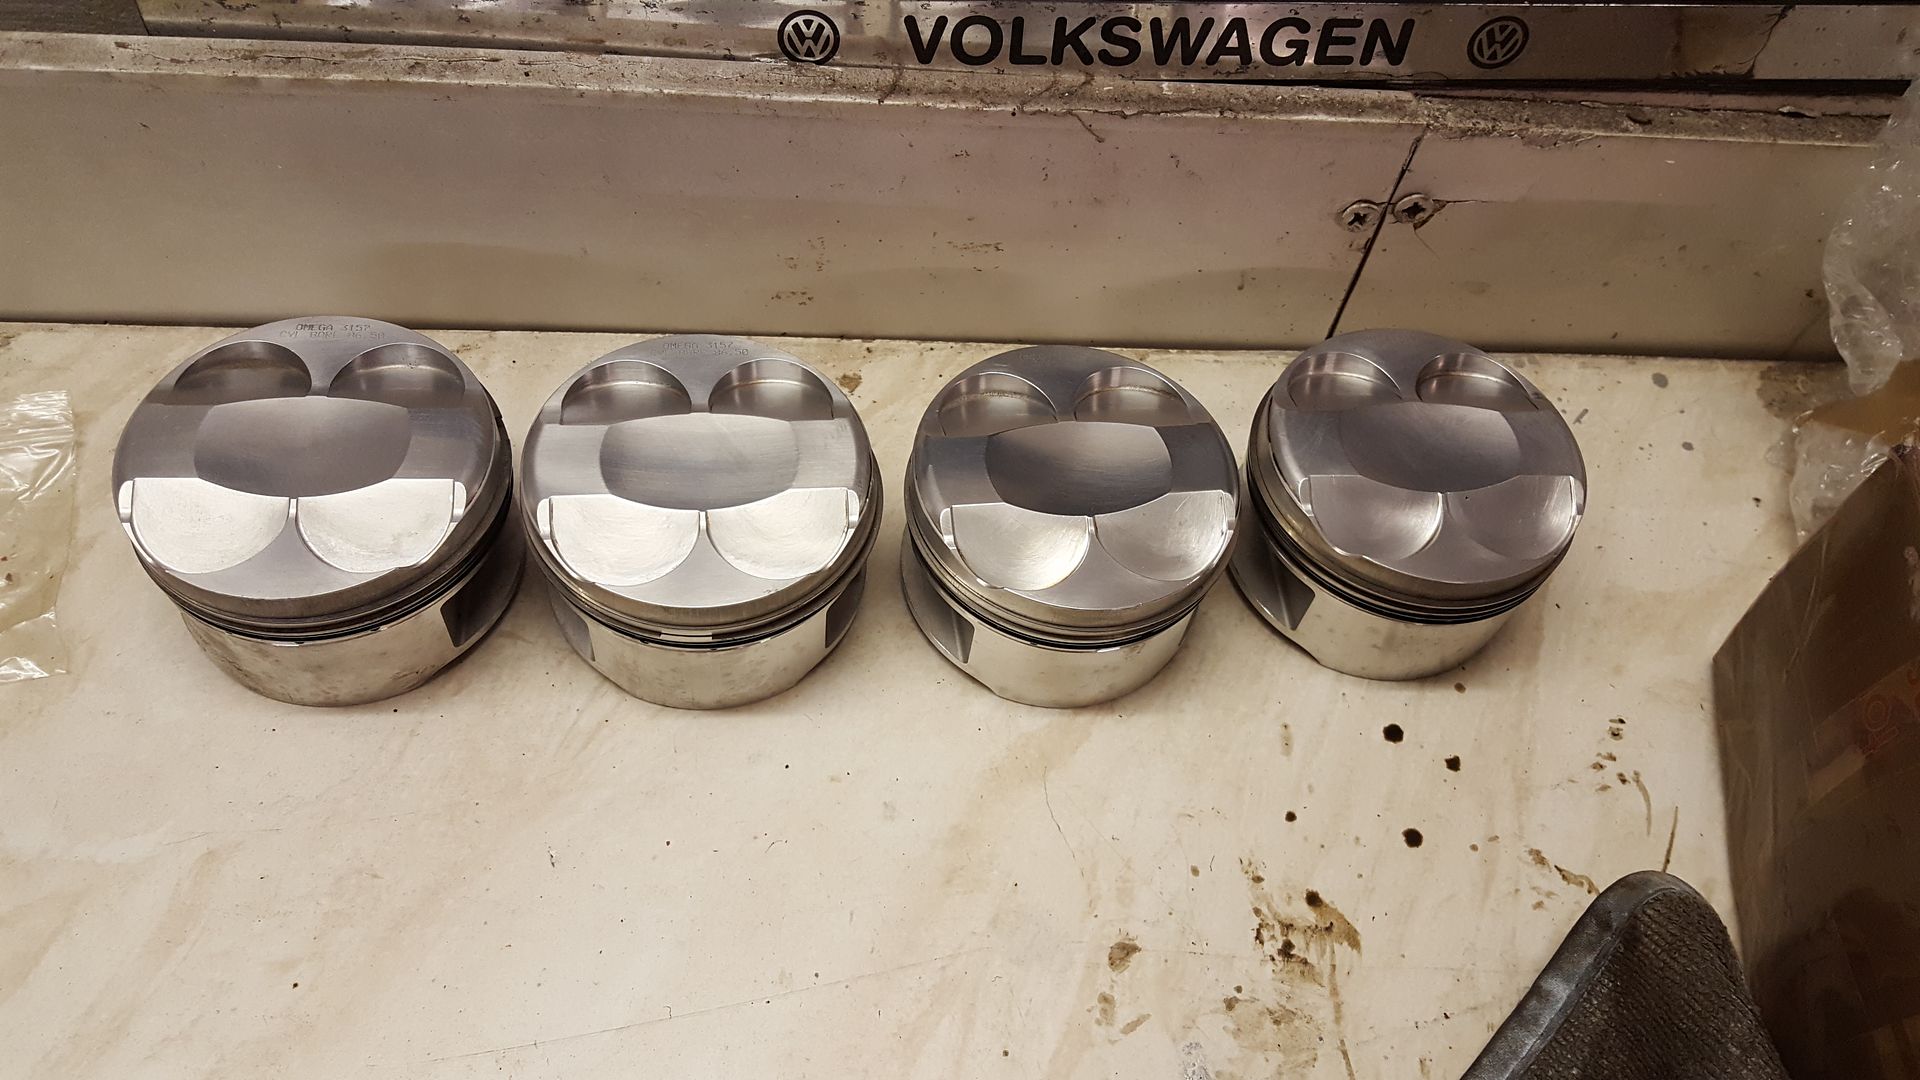
Very pleased with that. These are £500-600 new!!
|
|
|
super-ron
|
| posted on 27/1/18 at 03:00 PM |

|
|
I little bit more done. As this is a GBS ZERO/ MNR VORTX hybrid there's a bit of a problem at the rear with the fuel tank being a bit vunrable.
The GBS has the fuel tank down low behind the diff right at the back. The rear clam on a GBS is usually stainless steel so offers good protection.
The MNR body I have is fibreglass, and on the mnr the tank is higher up and the roll cage goes right over it.
With my configuration though the single skin alloy tank is only protected by a bit of fibreglass. Anyone reversing into it with a tow bar would go
straight through it, or if I have a bit of a spin on the track :lol:
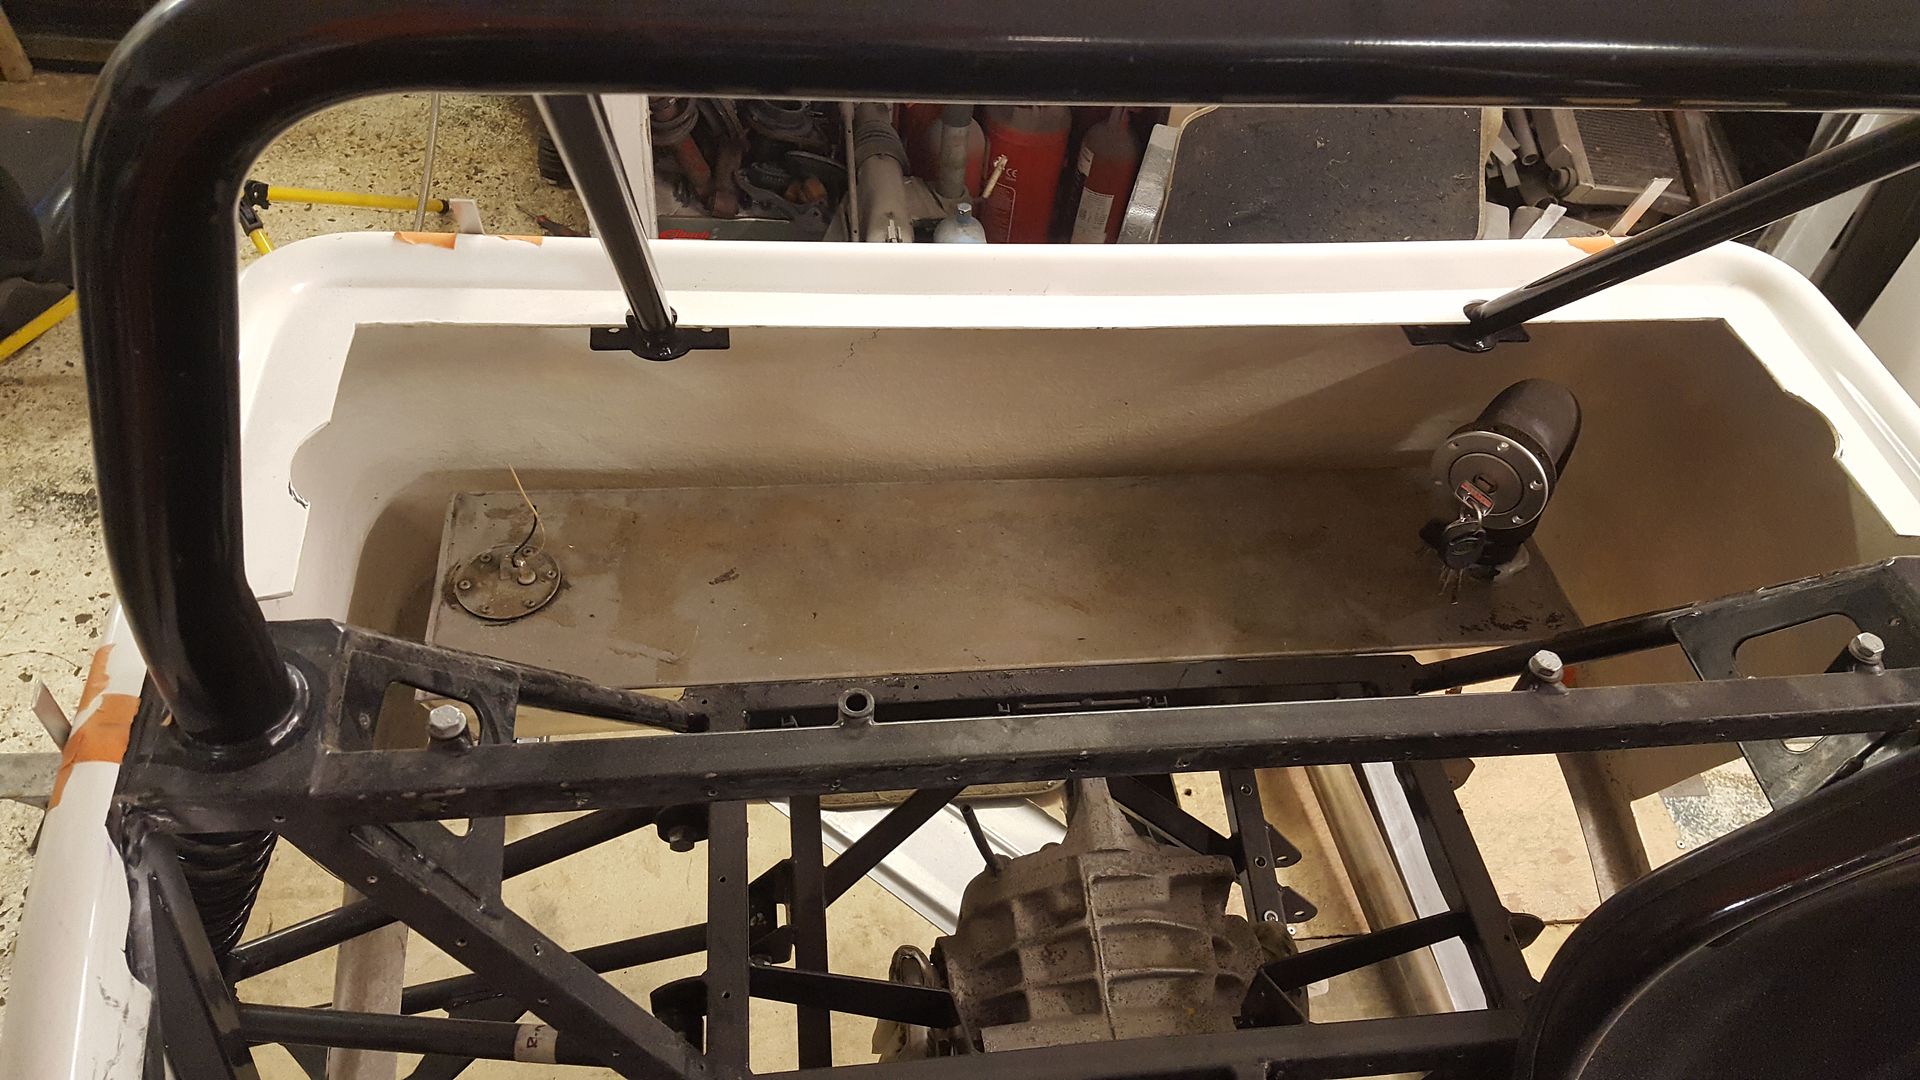
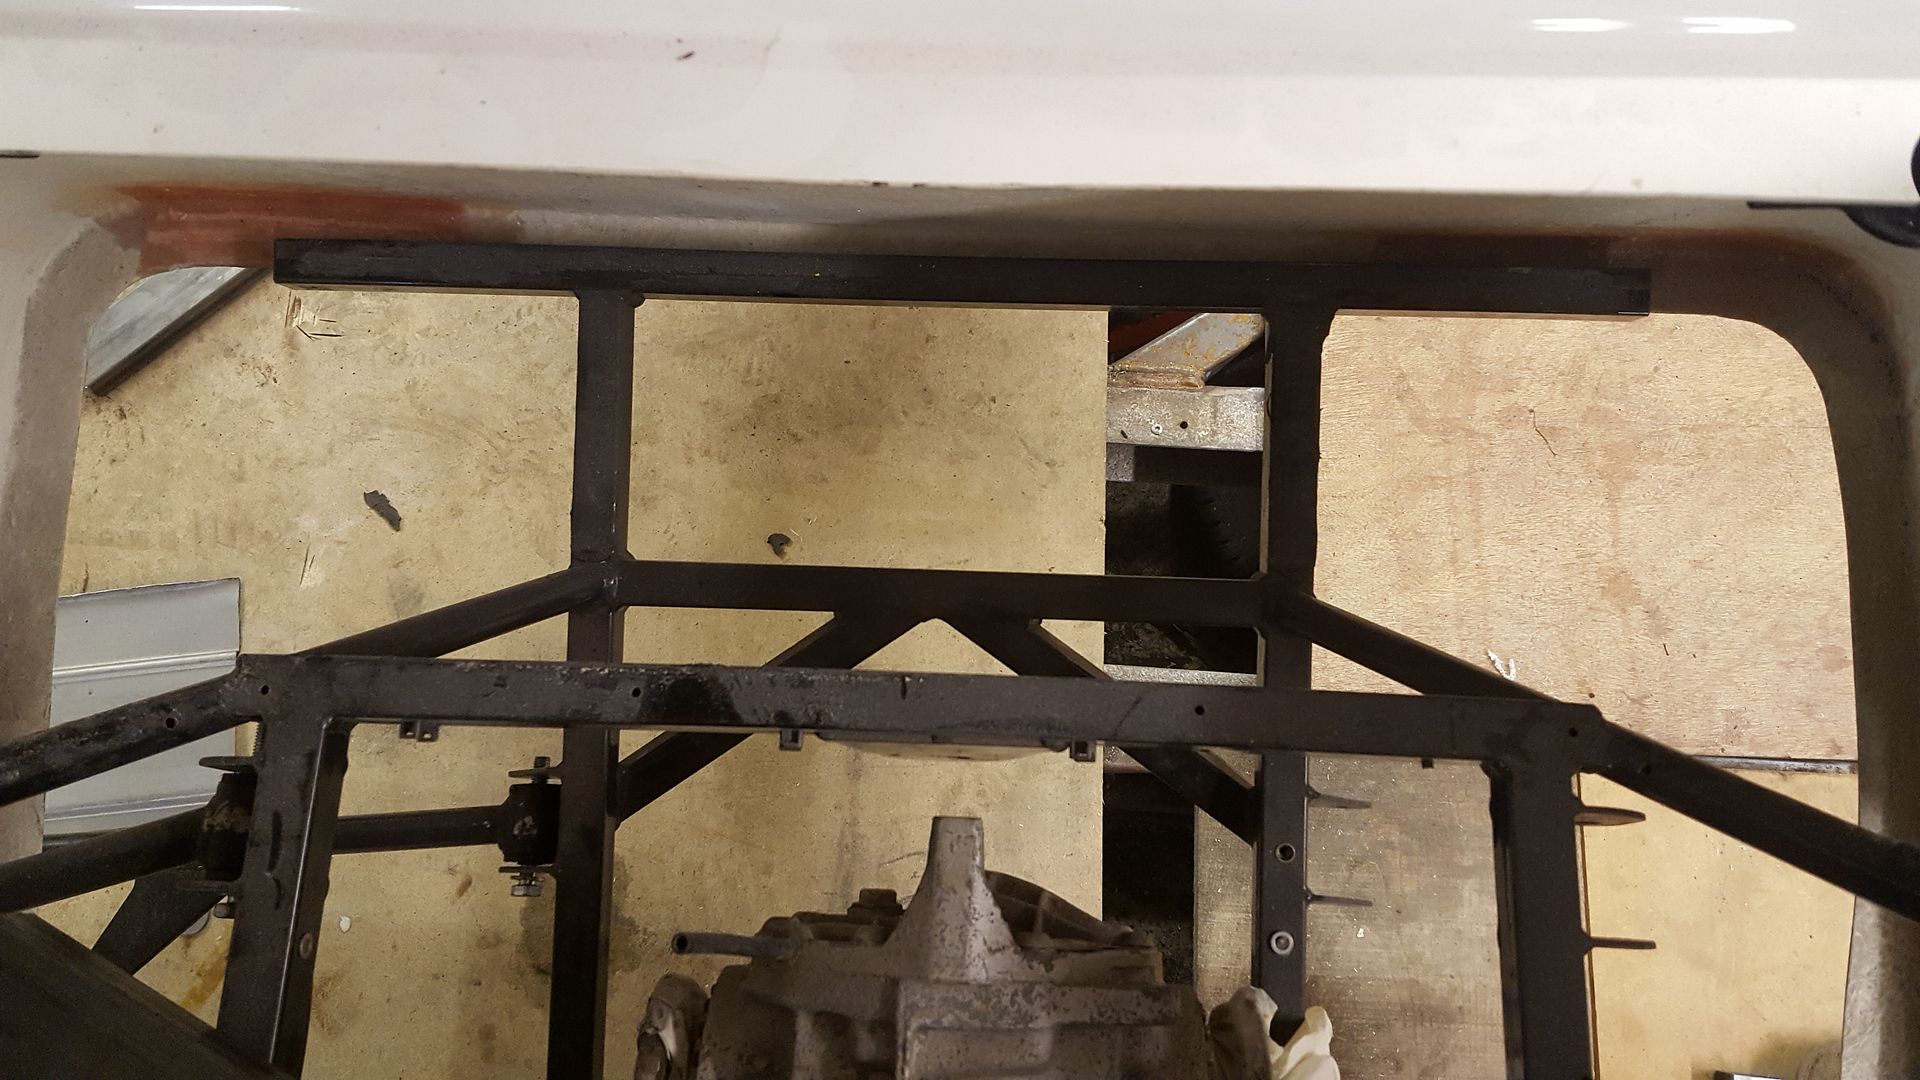
So I chopped up the remains of the locost chassis for some of the tubing
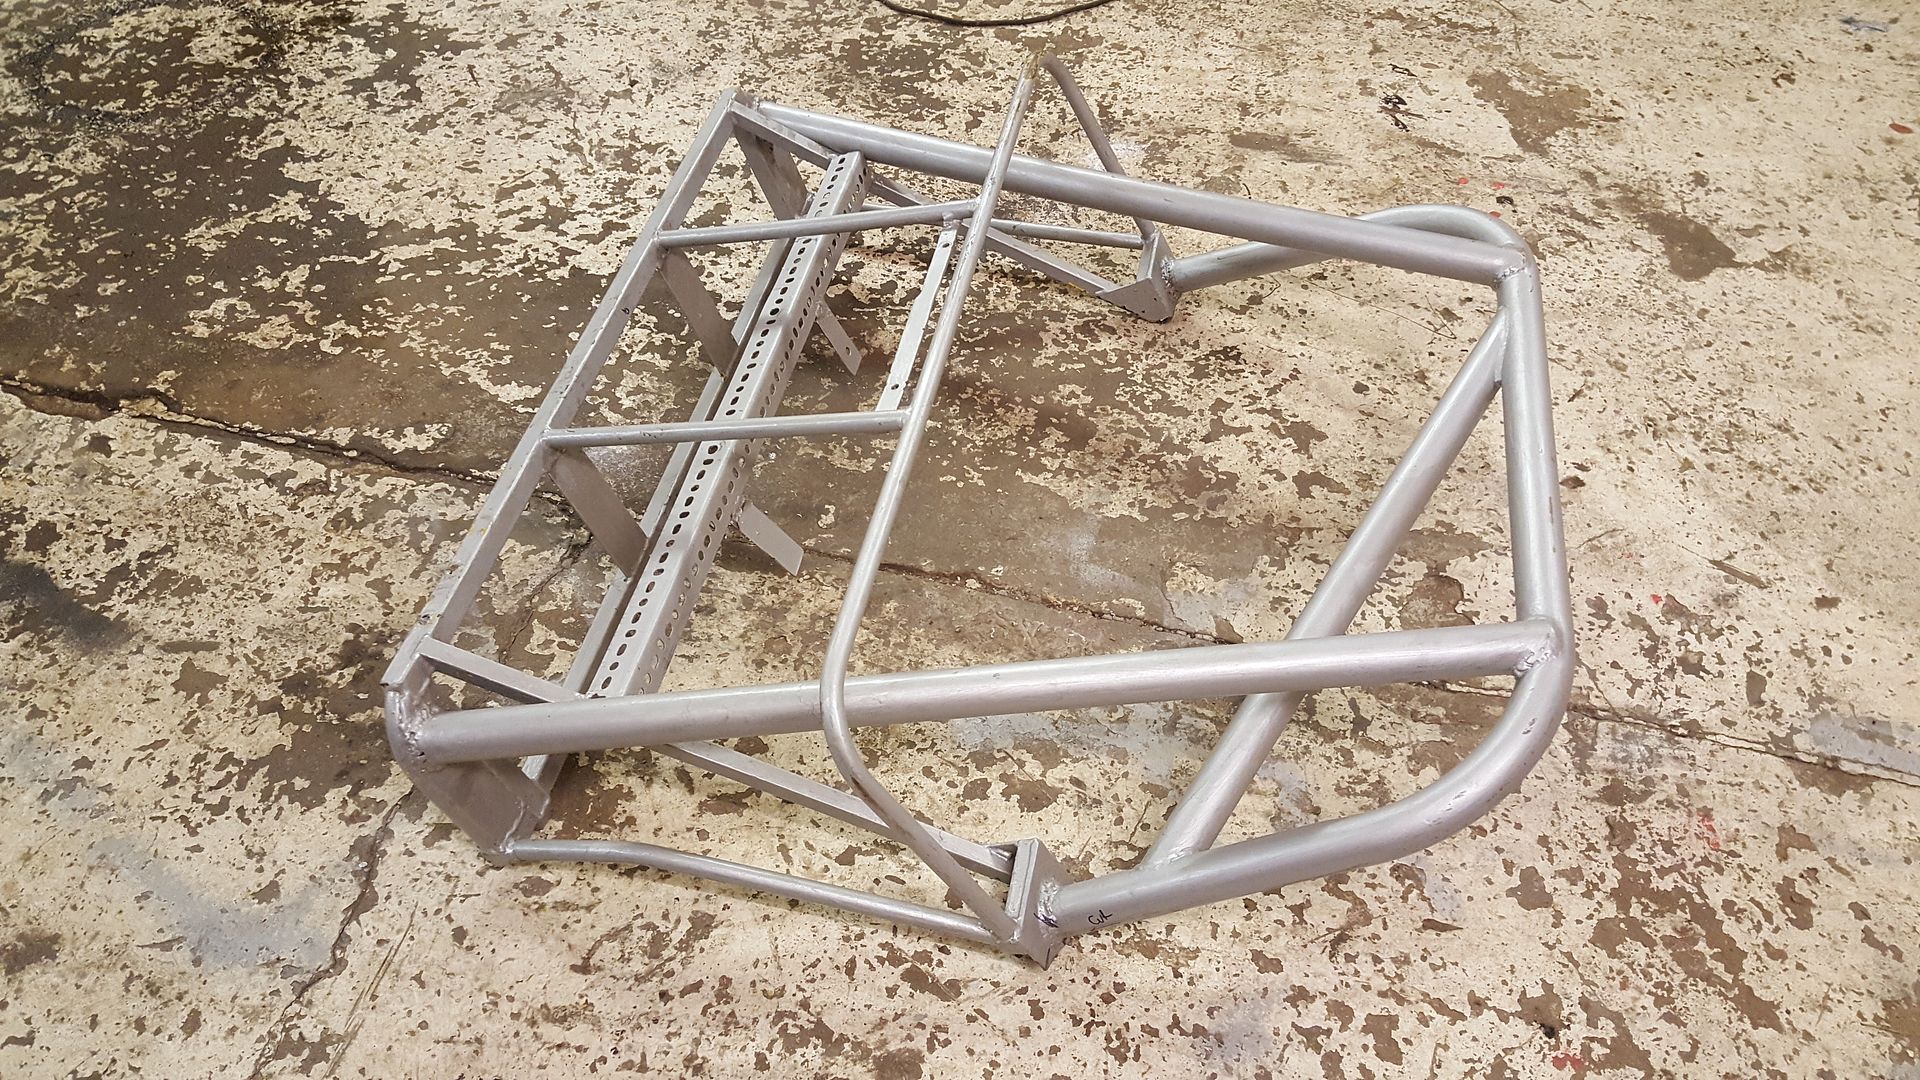
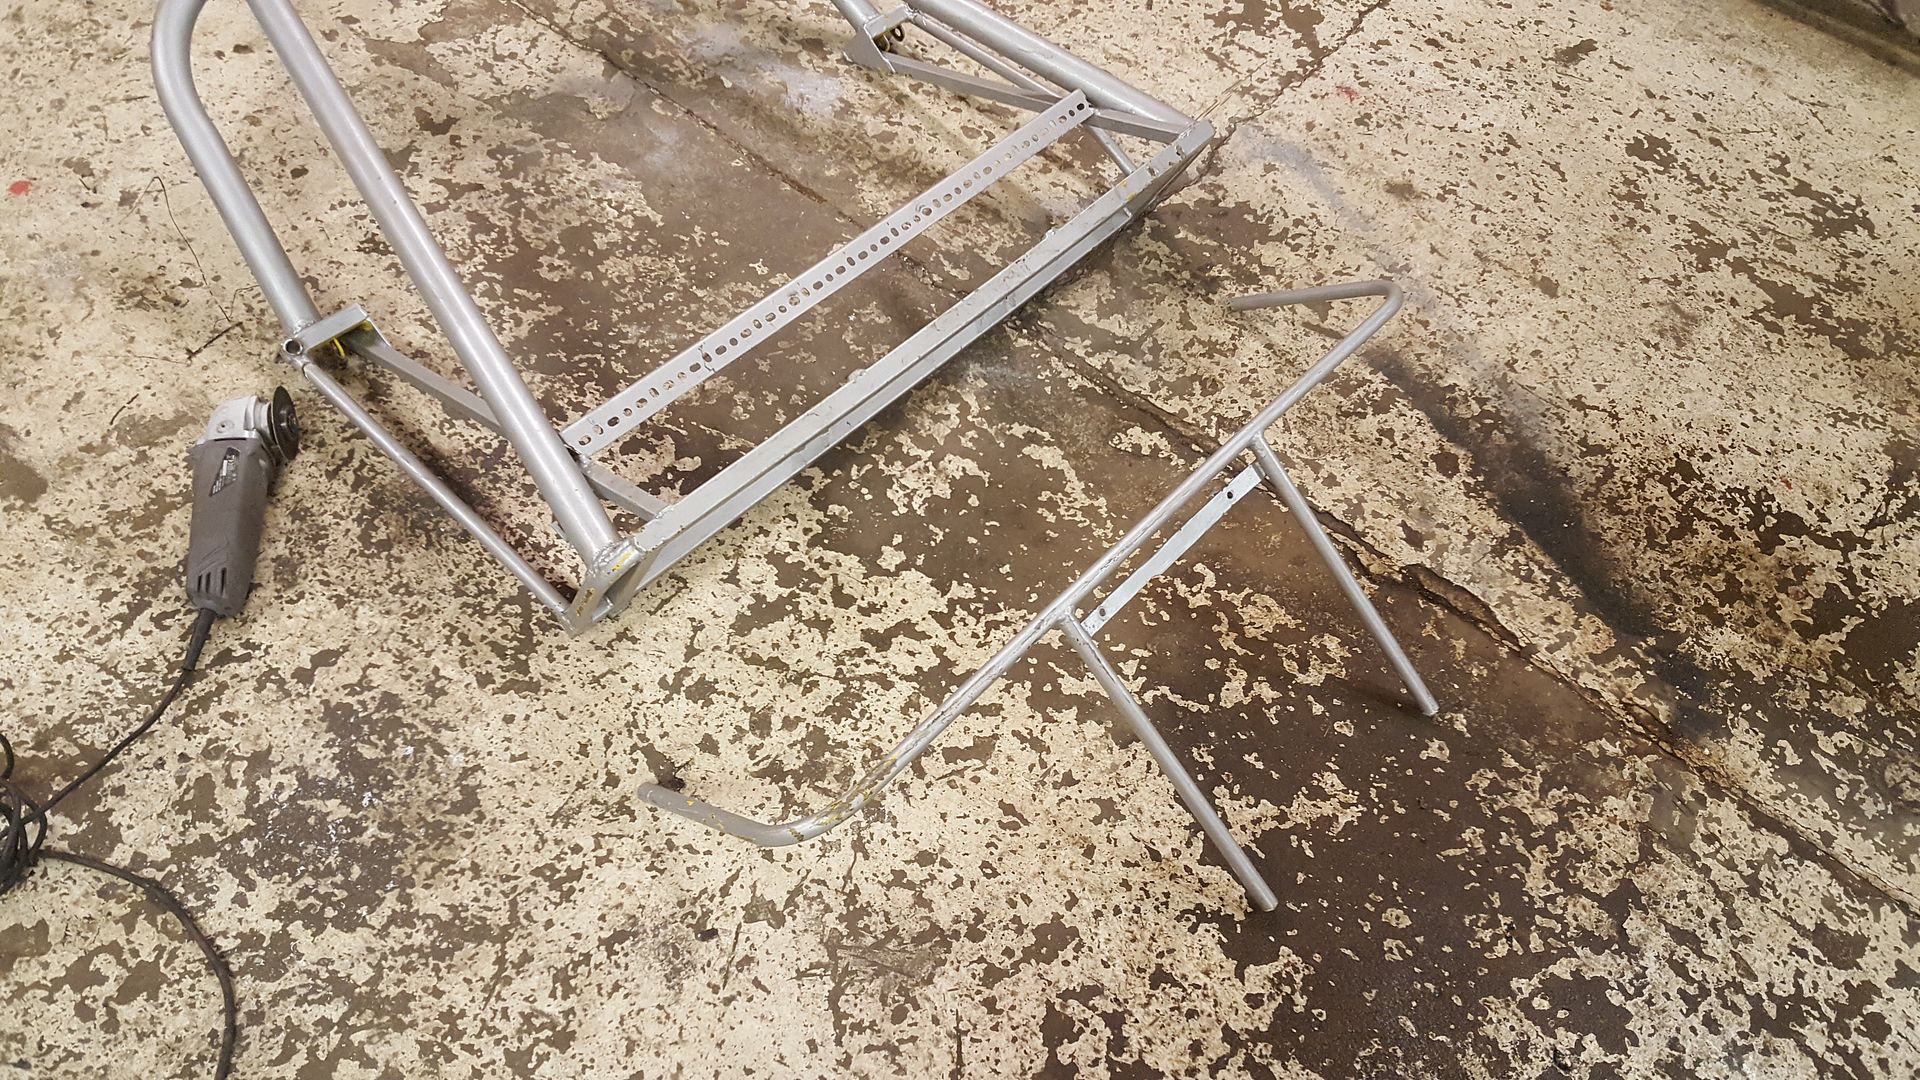
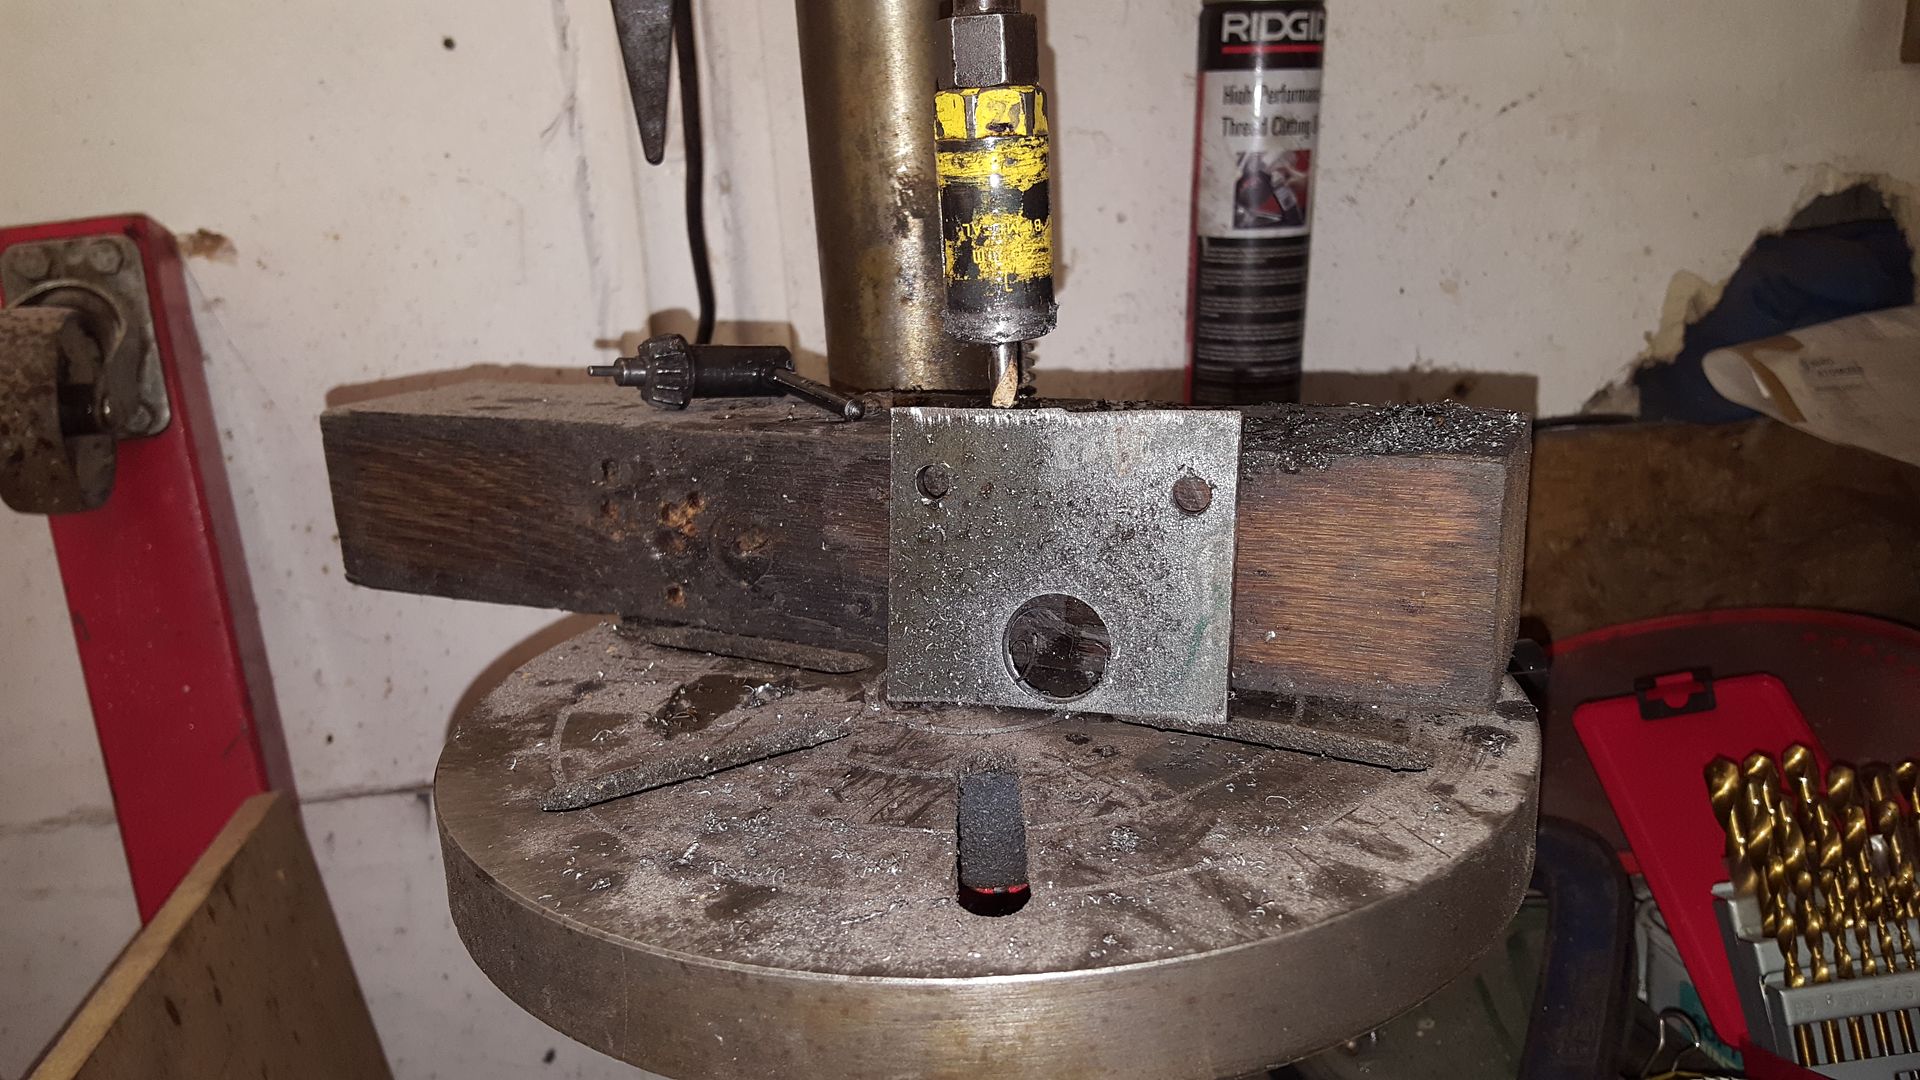
Started making some plates to bolt to the GBS roll bar
And made a skeleton down to the bottom and round the sides to mount the tub to, and hold the alloy plate in place
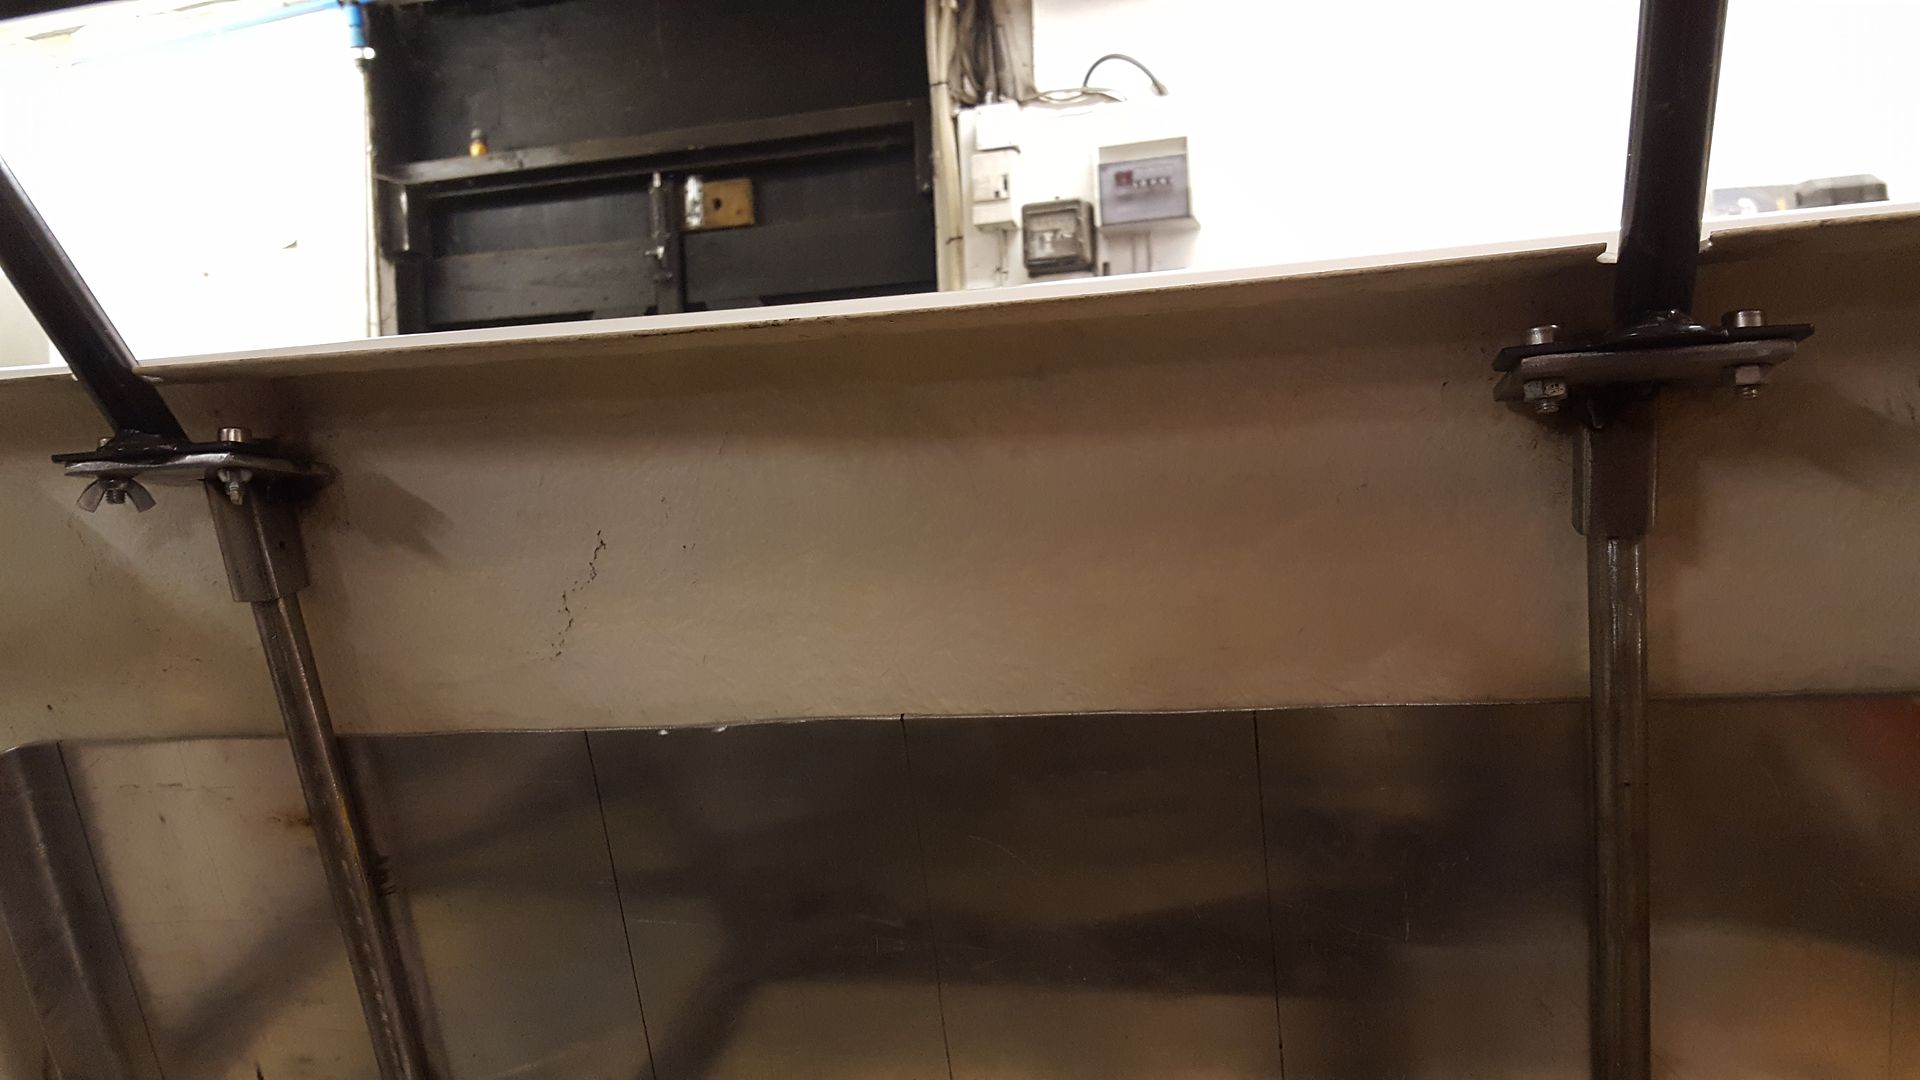
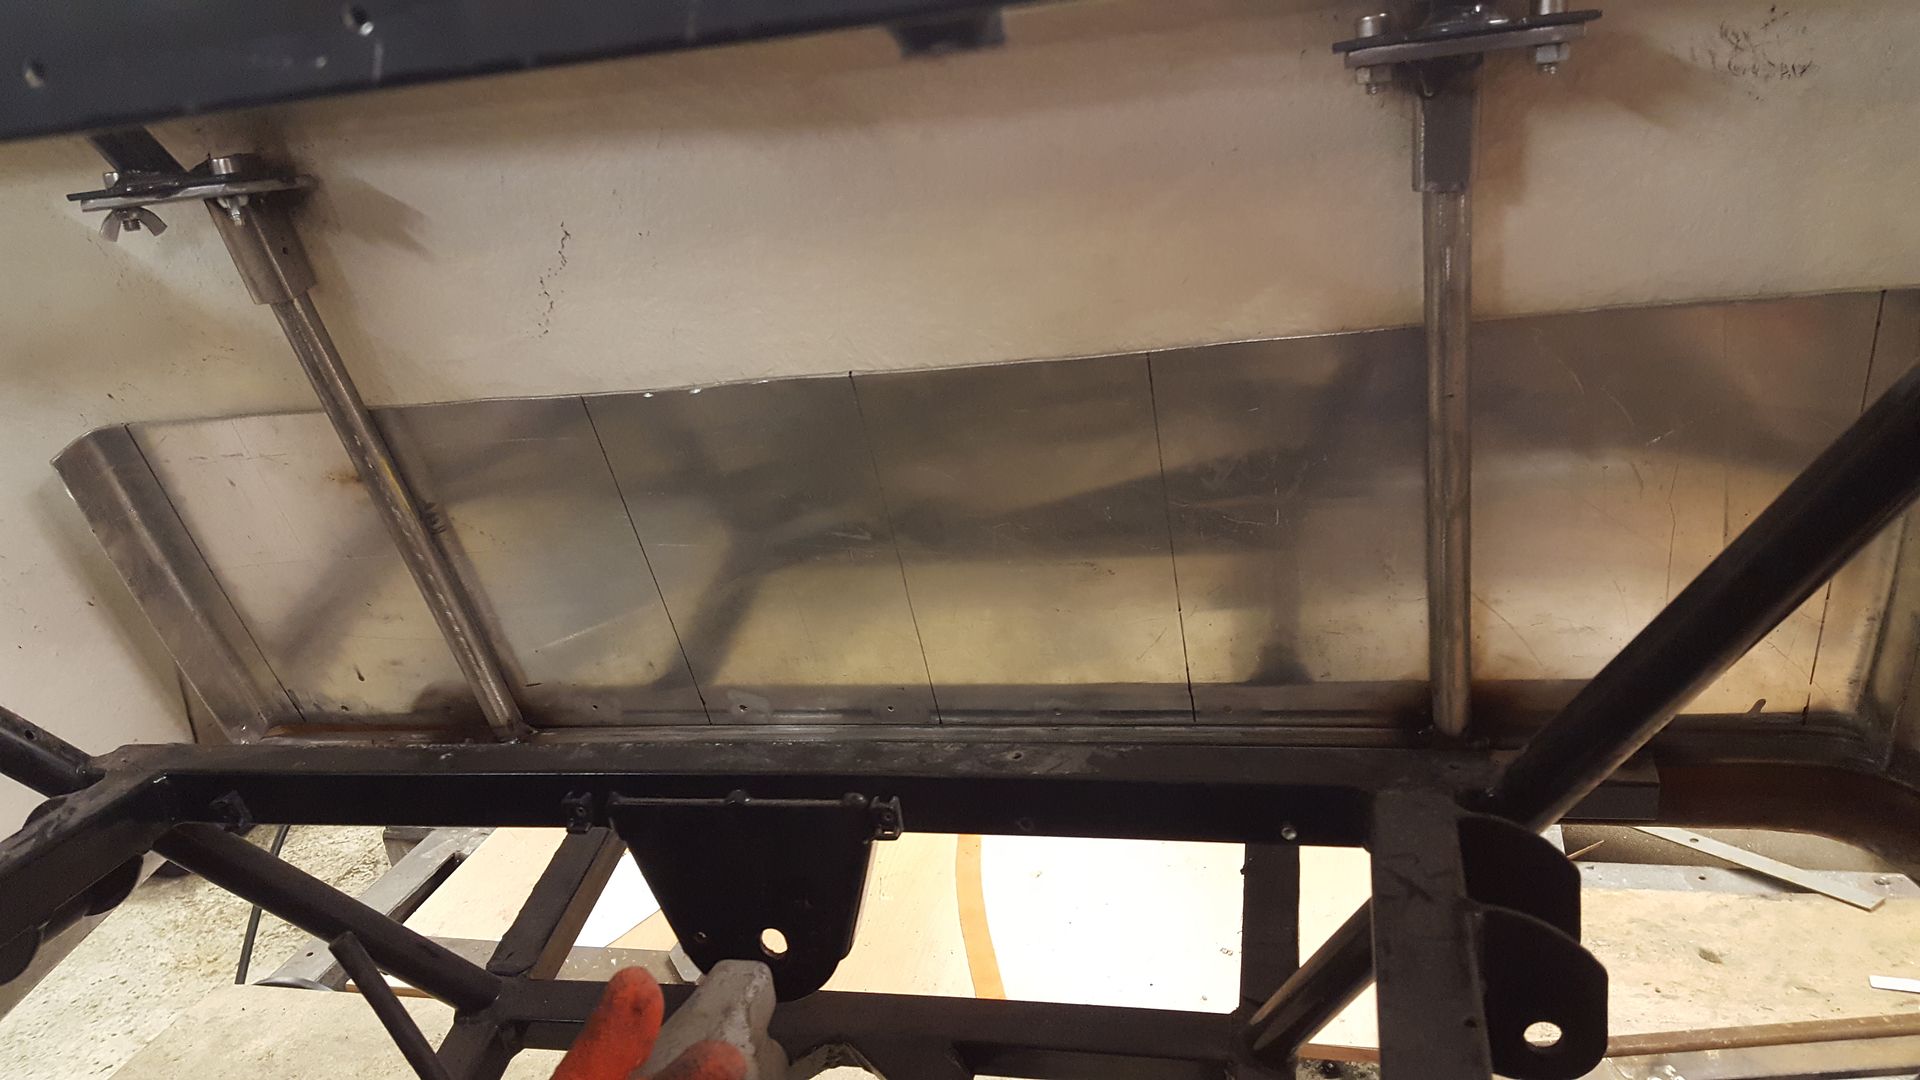
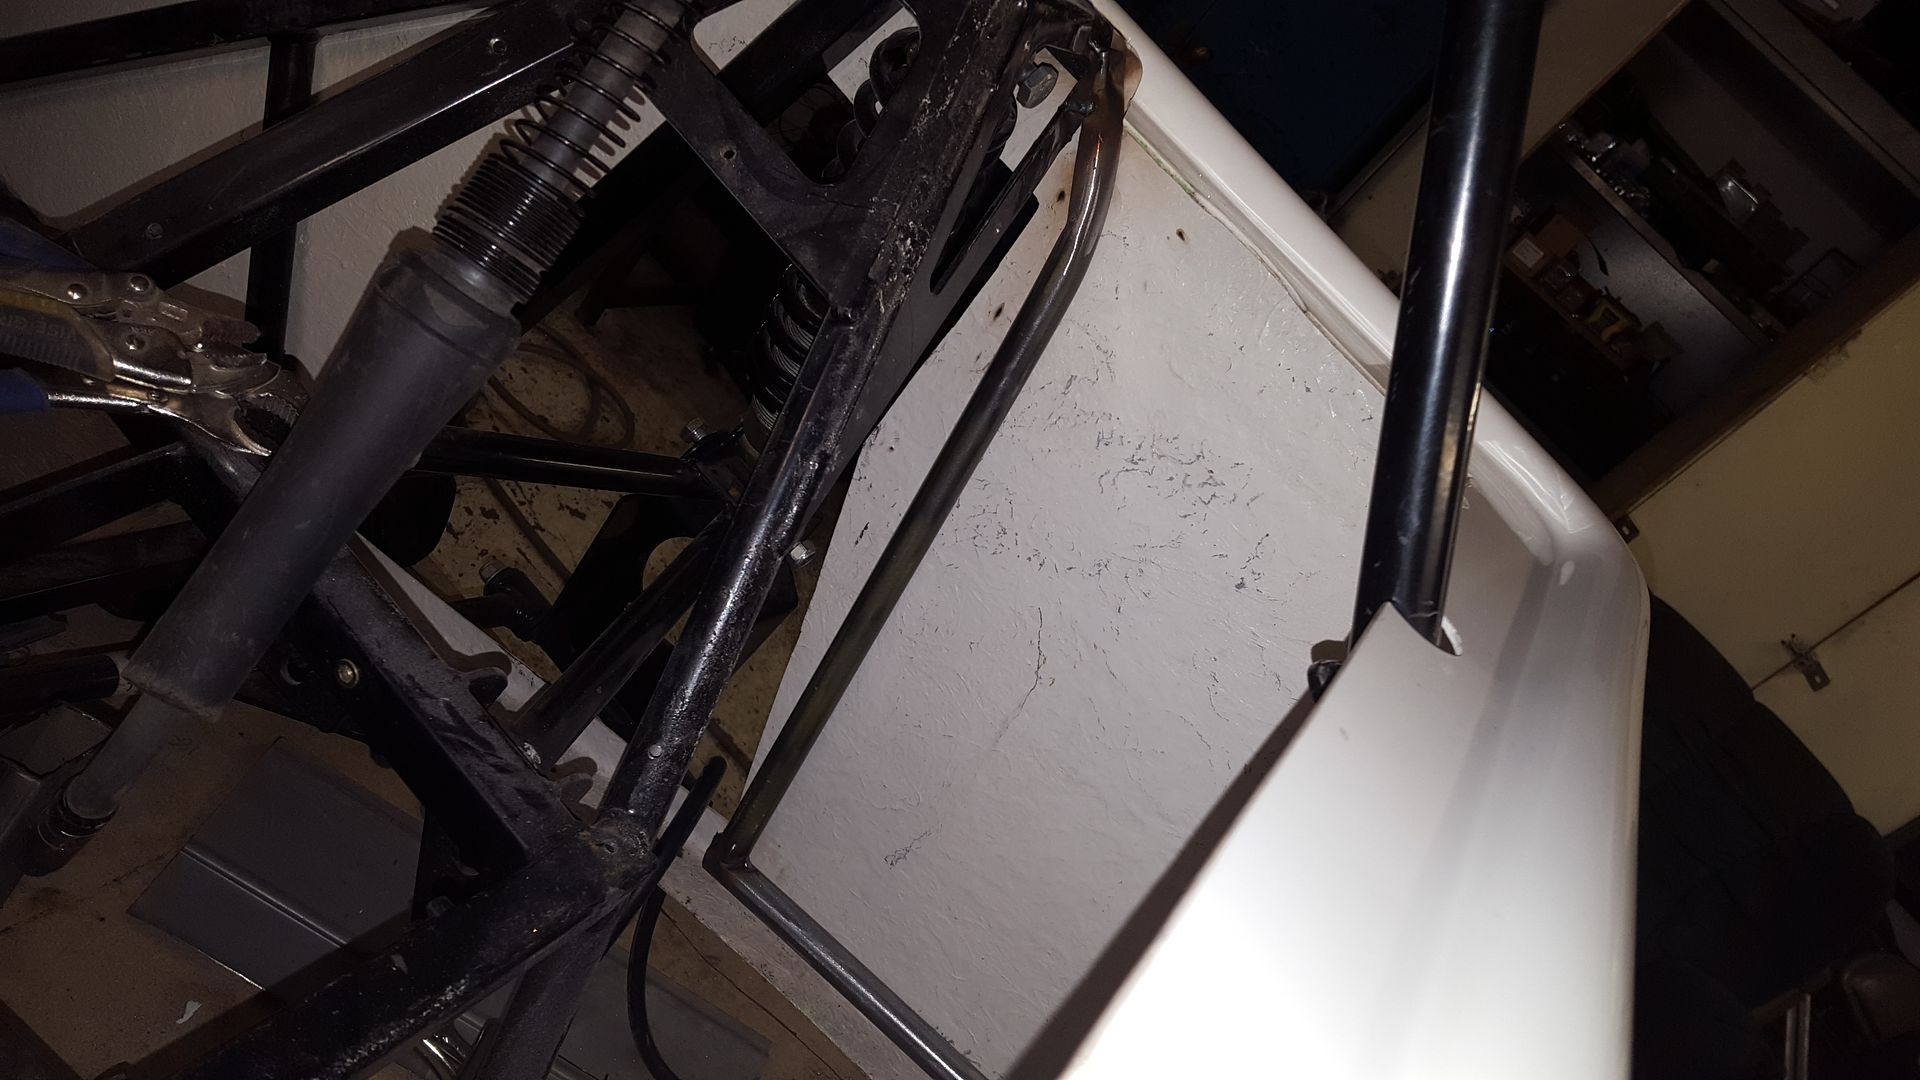
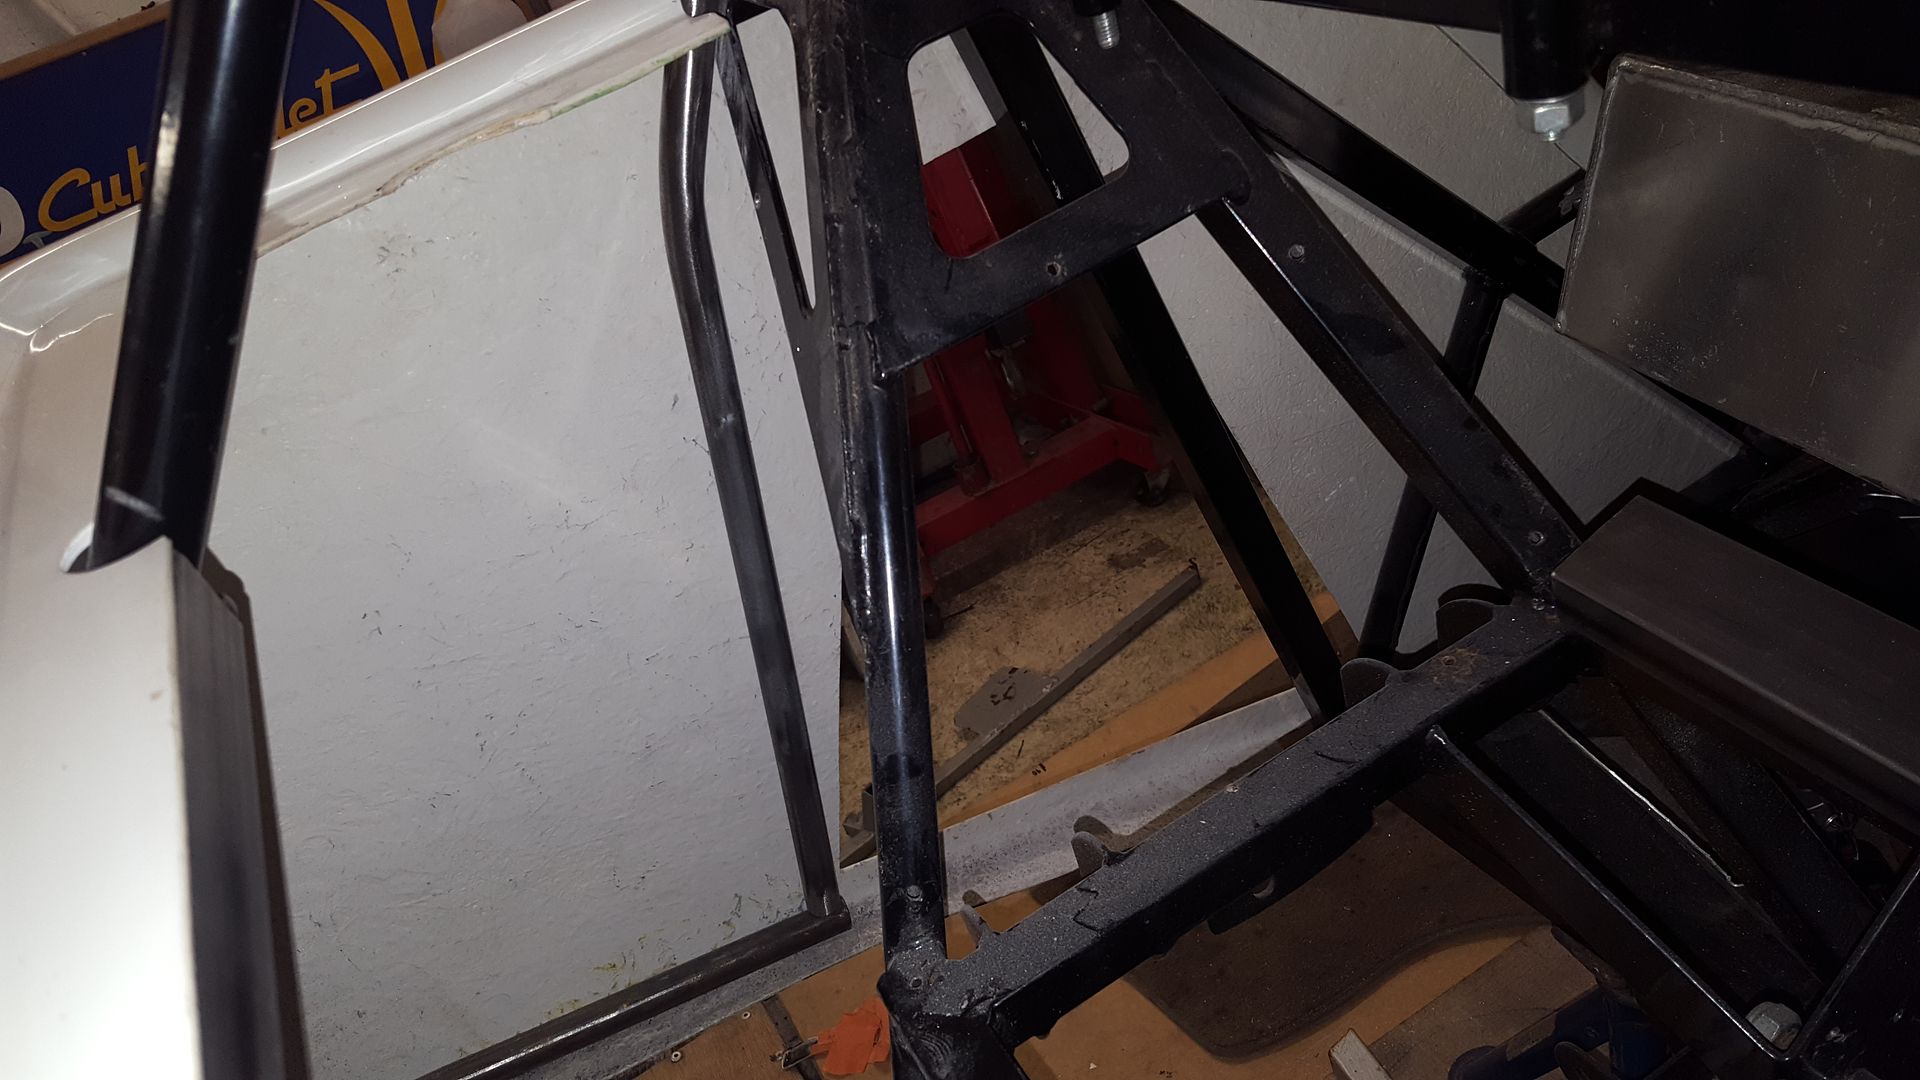

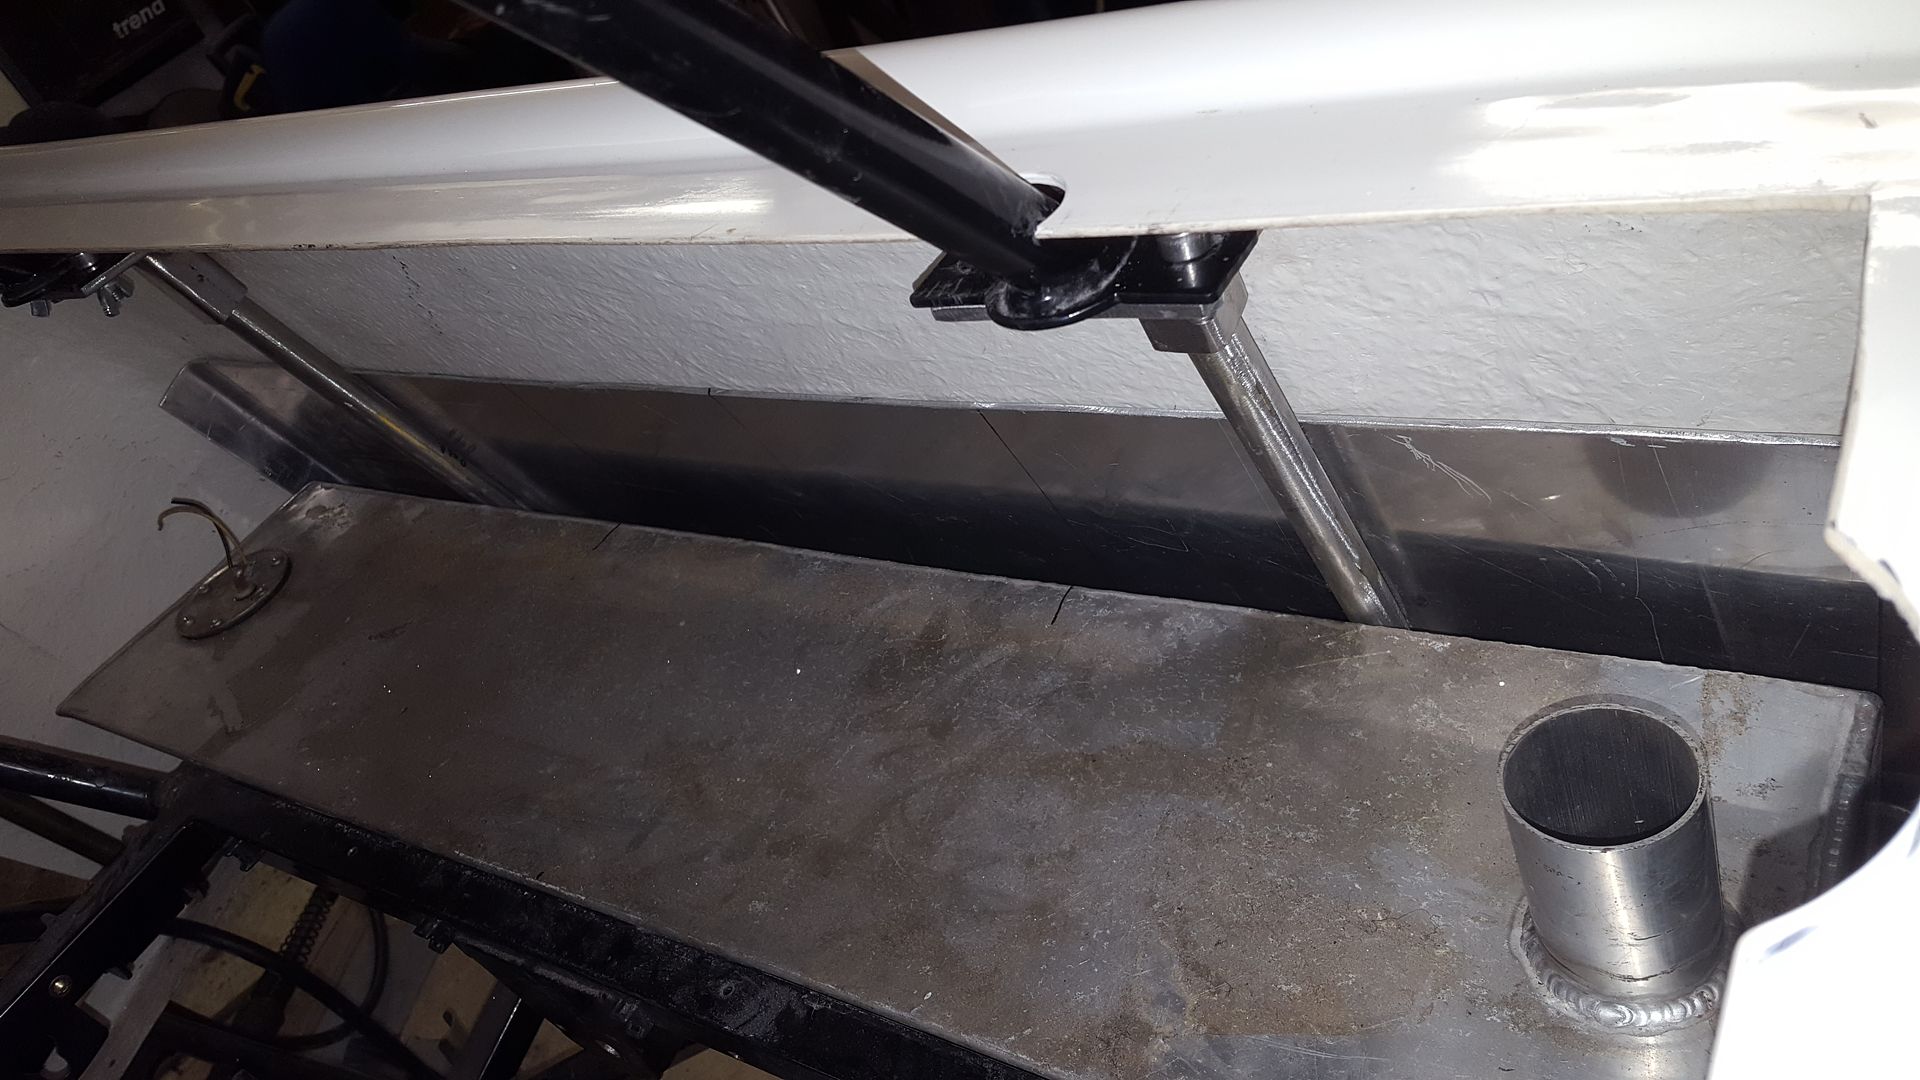
Will put some of the corrugated plastic sheeting like you use for car port roofs between the alloy plate and fuel tank.
It's just all tacked at the moment, will weld it and paint it once the body is back off.
|
|
|
CosKev3
|
| posted on 27/1/18 at 05:45 PM |

|
|
99% of seven type cars only have the fibreglass rear panel behind the fuel tank!
Looks good what you are making,but will only offer protection at low impact speeds IMO.
|
|
|
super-ron
|
| posted on 27/1/18 at 07:35 PM |

|
|
quote:
Originally posted by CosKev3
99% of seven type cars only have the fibreglass rear panel behind the fuel tank!
Looks good what you are making,but will only offer protection at low impact speeds IMO.
Completely agree. This is more to prevent anything piercing the tank at low speeds, or me backing in to anything.
If anyone thumps me up the arse at 30mph I have no doubt I'll be sitting in a firey inferno.
|
|
|
super-ron
|
| posted on 28/1/18 at 10:23 AM |

|
|
I was planning on buying a c20xe for this, but the prices of complete engines have sky rocketed! And most of a complete package I wouldn' be
using anyway, I wouldn't be using the loom or ecu, inlet manifold, exhaust manifold, sump, dizzy, electrics, rocker cover, flywheel.
I have got my complete c20let here out of the Astra to rob for parts, so I started looking for a xe bottom end complete so if have the xe pistons and
a good c20xe engine number for registration.
But then things have changed again with the purchase of the new sexy omega pistons. The parts needed has been reduced further more! So all I need was
a c20xe block with engine number. I browse on eBay I spotted a bare block for sale, it's obviously been sitting for a while but I'm not
too worried as it needs boring out for the 86.5mm pistons. He also had an early lighter xe crank. Again been sitting and will need some machining but
that will be fine too.
£50 For the block and £50 For the early crank.
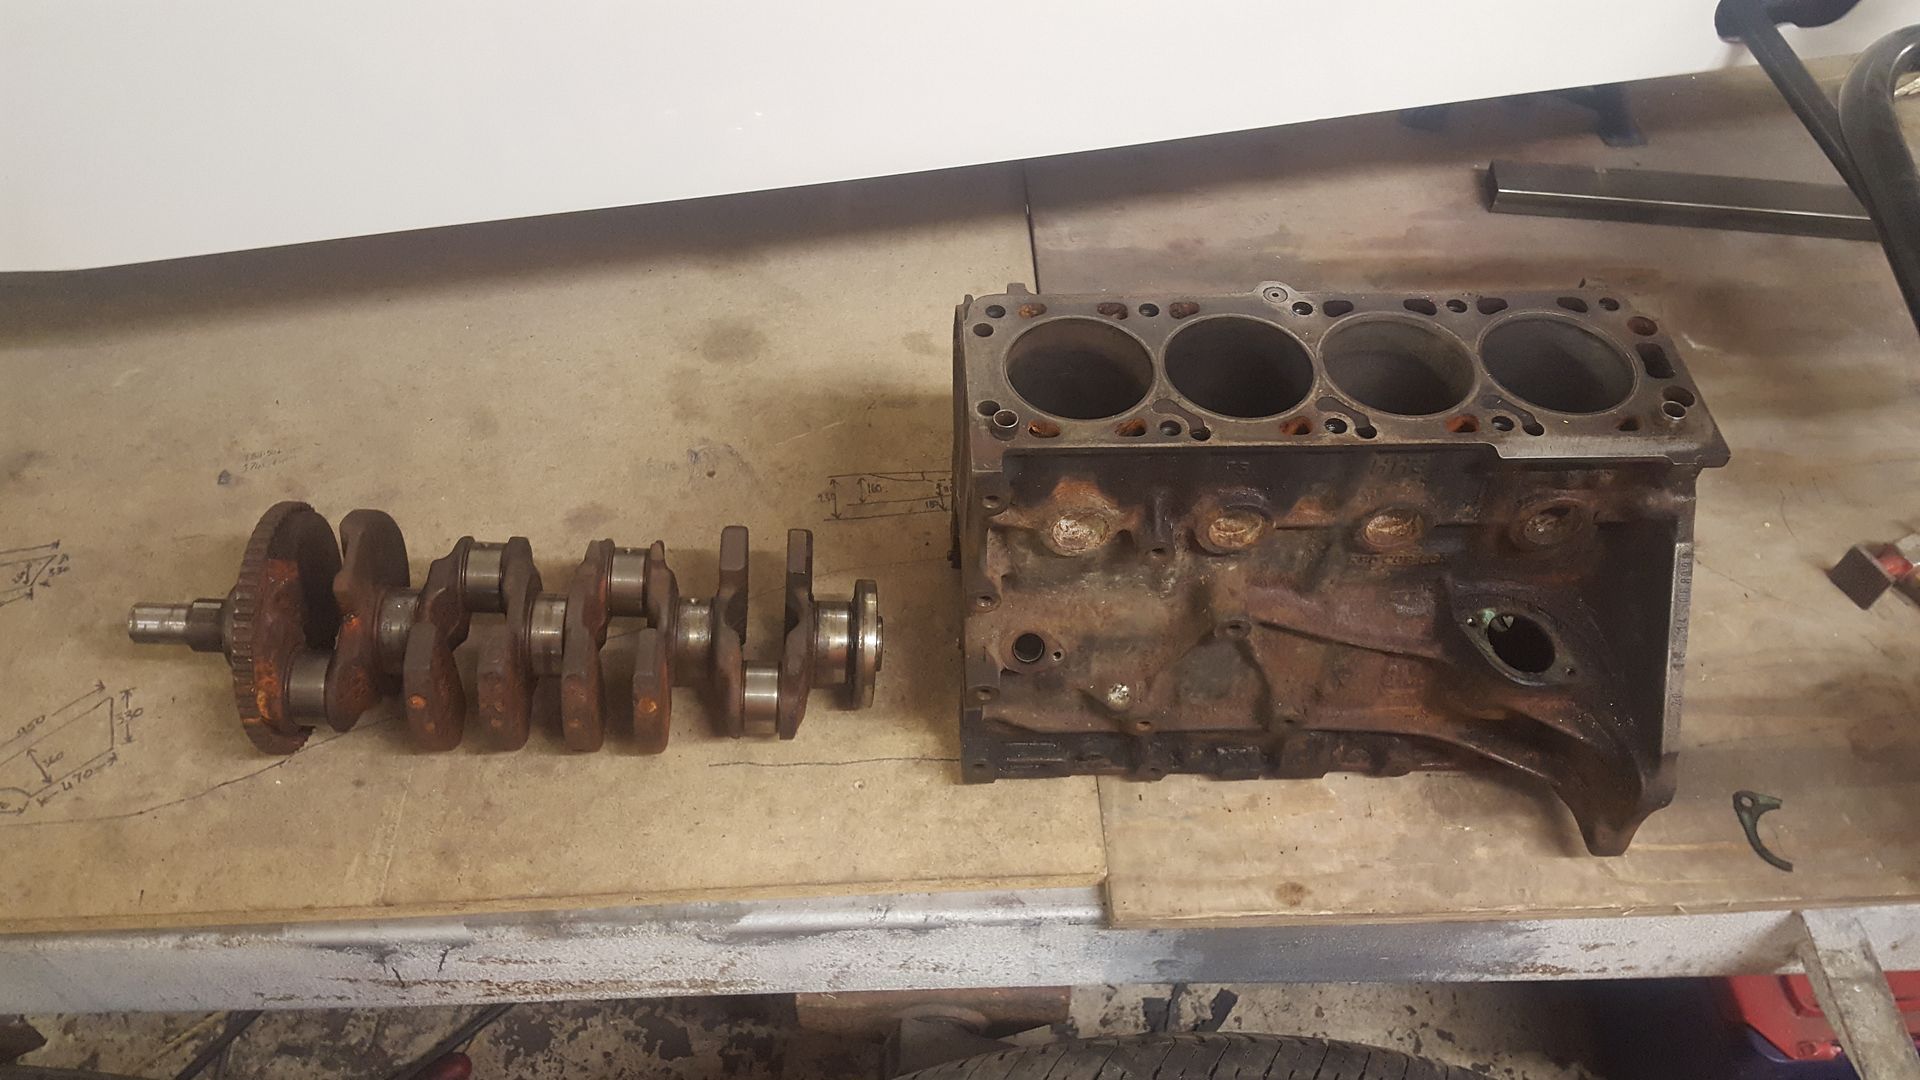
Bores aren't horrendous but need doing, not a problem as I need to take it out to 86.5mm
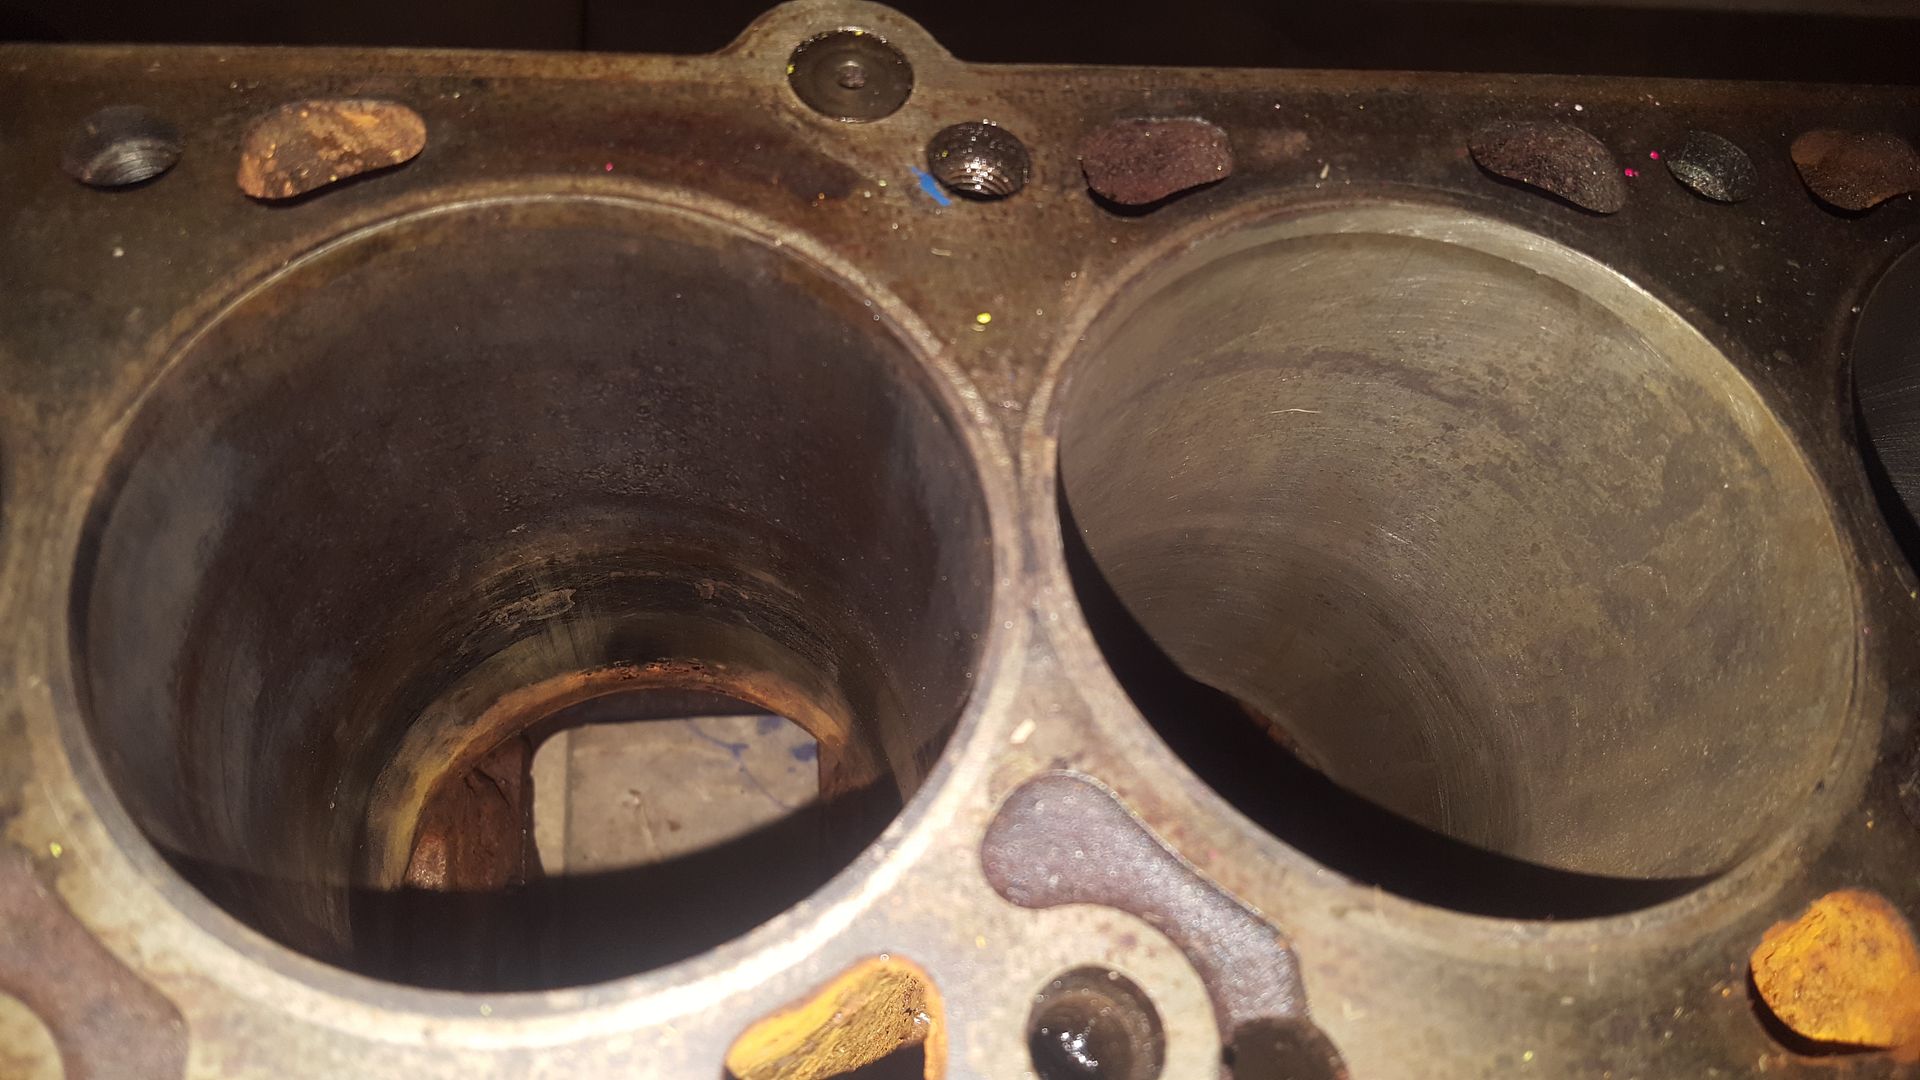
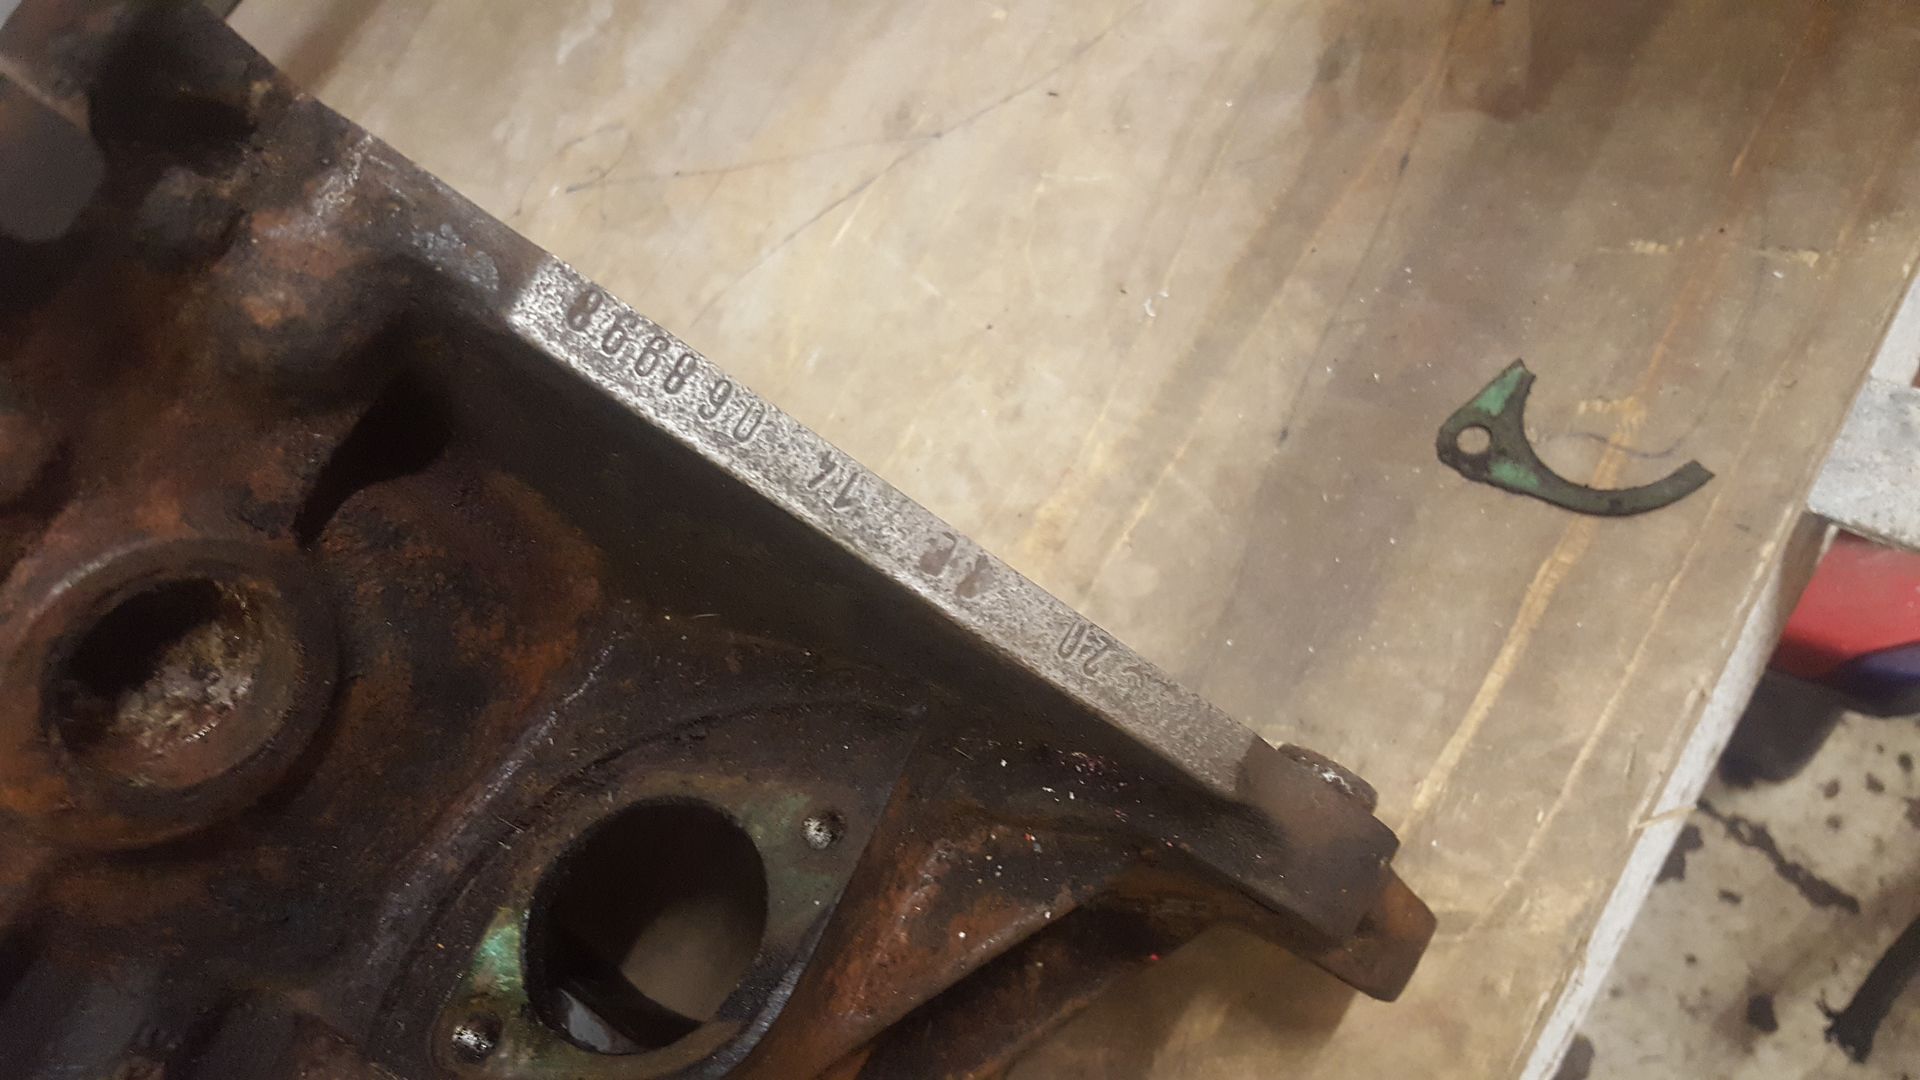
And it has the engine number. Looks like a 5 year old has stamped the C 2 0 X E, the other ones I've seen have been nice and uniform
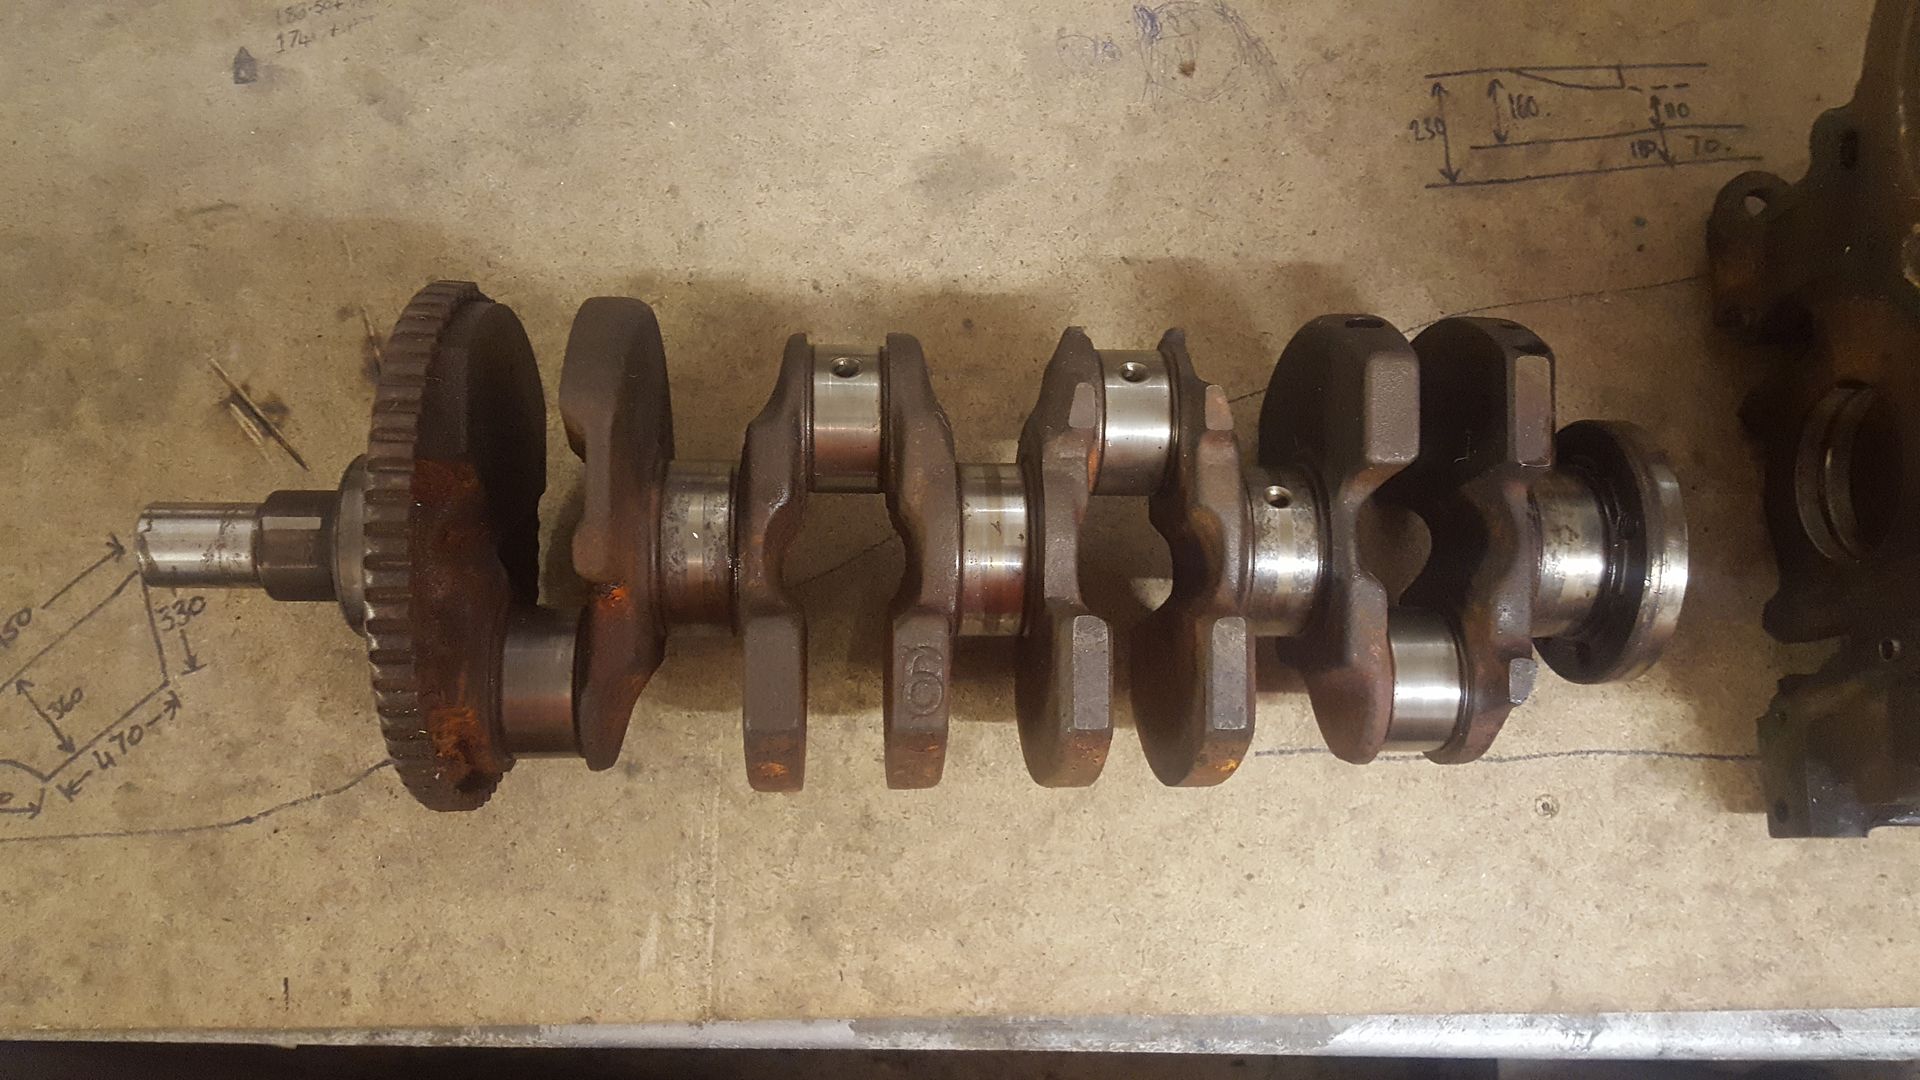
And the big ends look good but the mains will need a grind on the crank
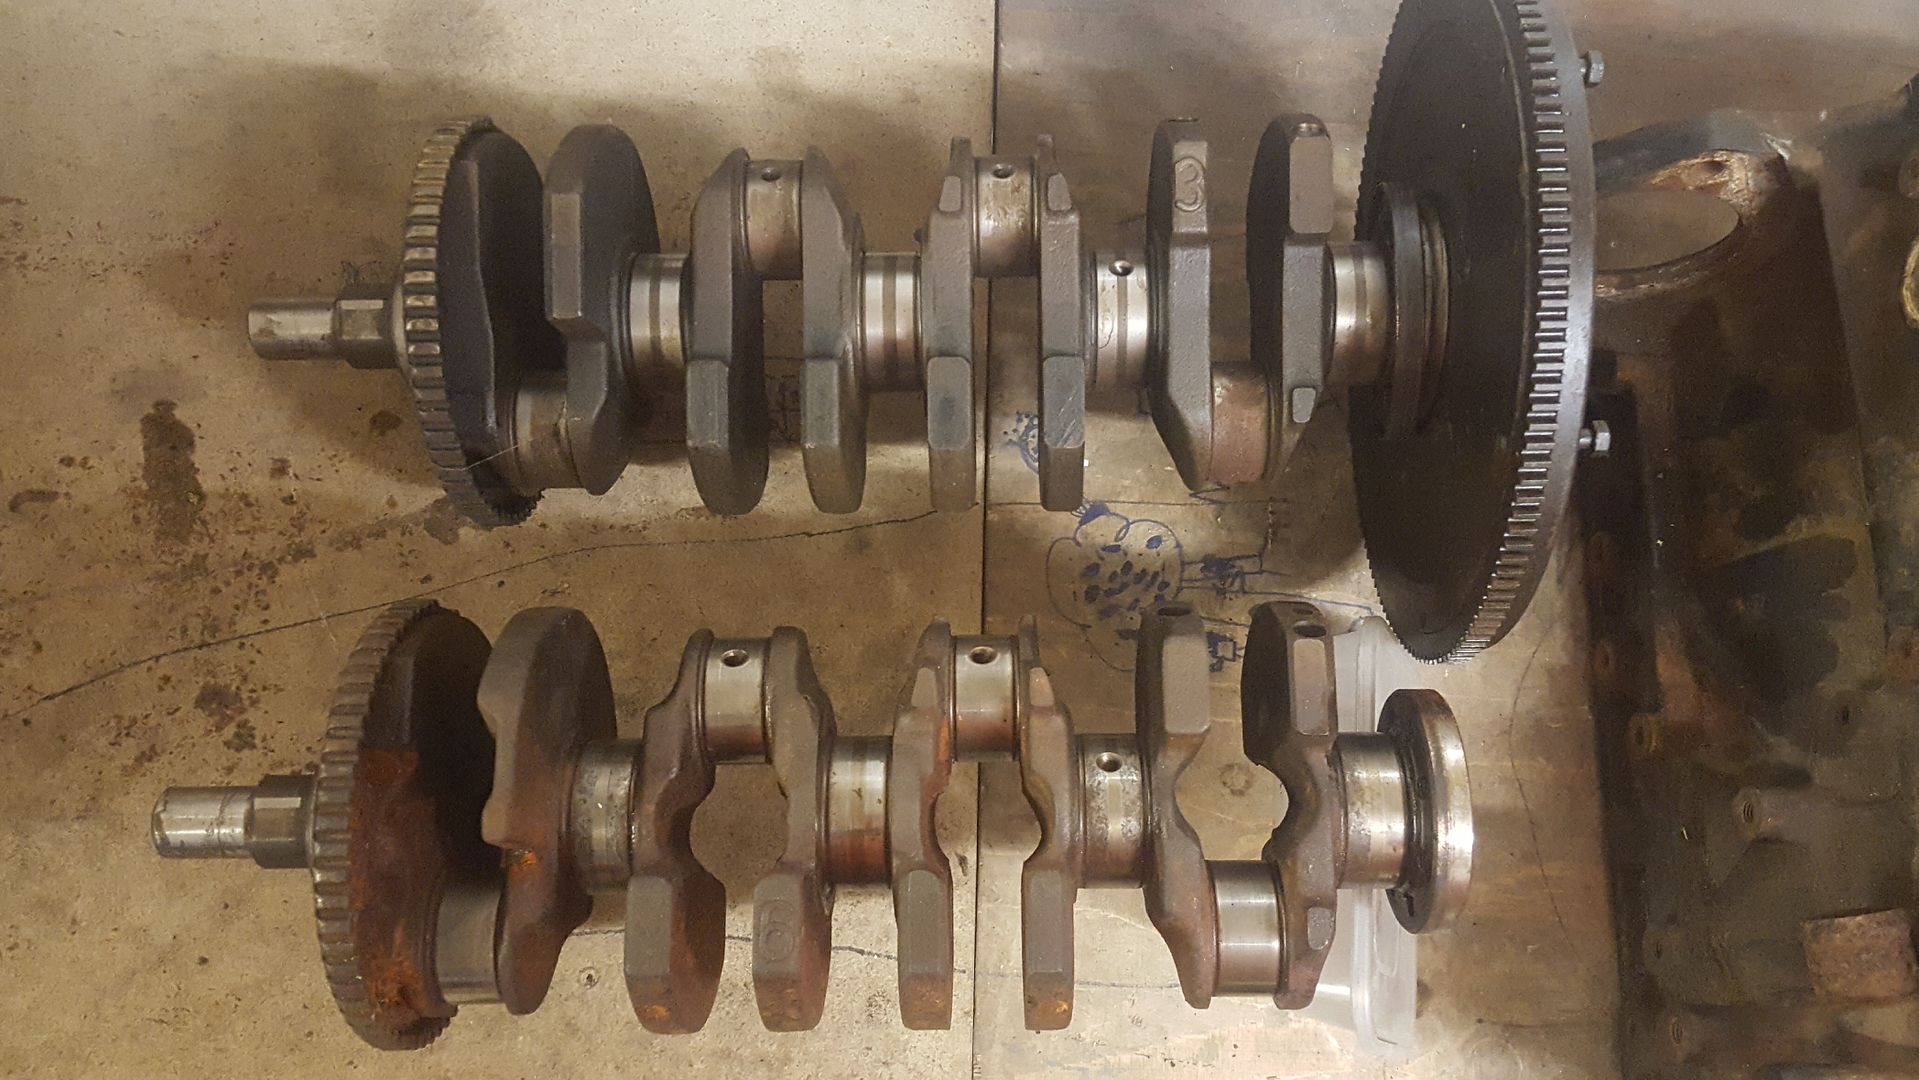
Here it is with a standard crank above. It's obvious how much lighter it is, I'm sure the internet says 2kgs!!
The guy had a load of other bits he was clearing out if I was interested, a compete c20xe that needs a rebuild. Another Gm head, a rocker cover,
cambelt cover and backing plate, cam pulleys and a few other bits. He said £200 For the lot!
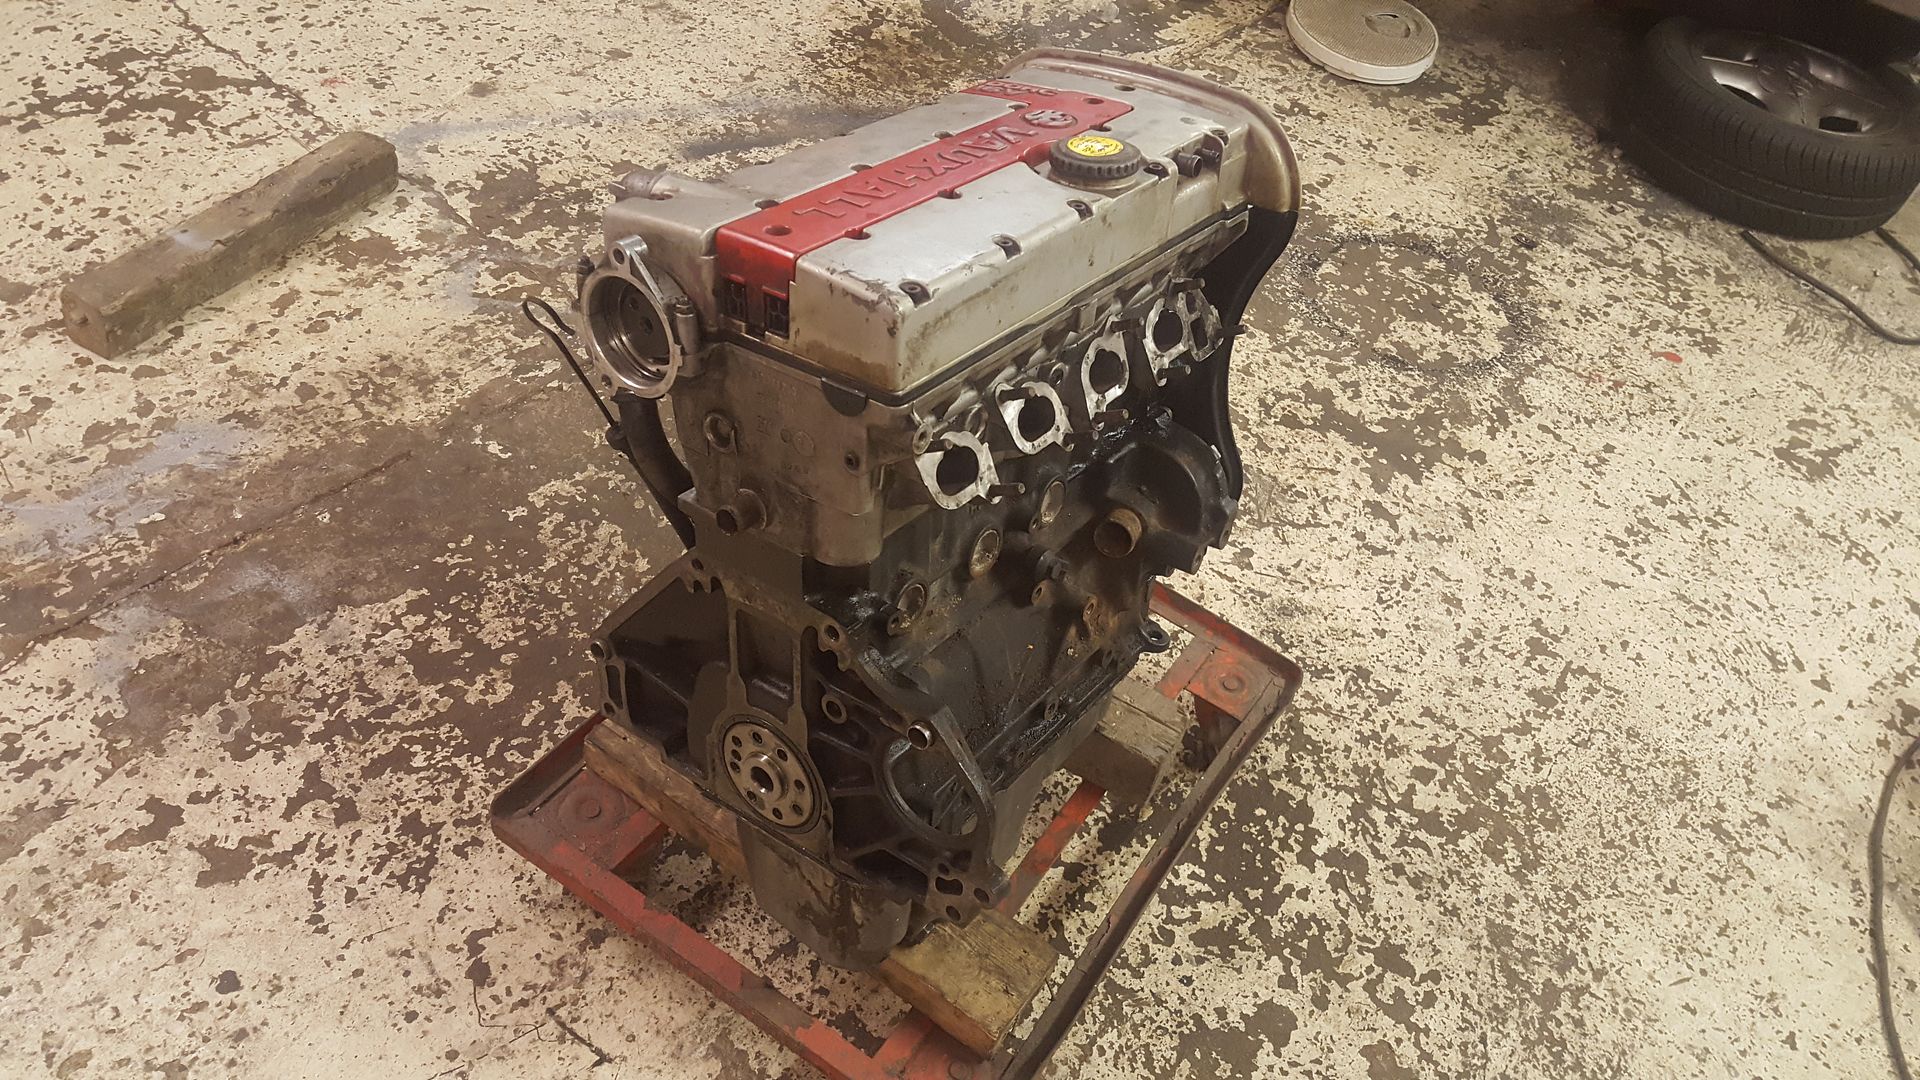
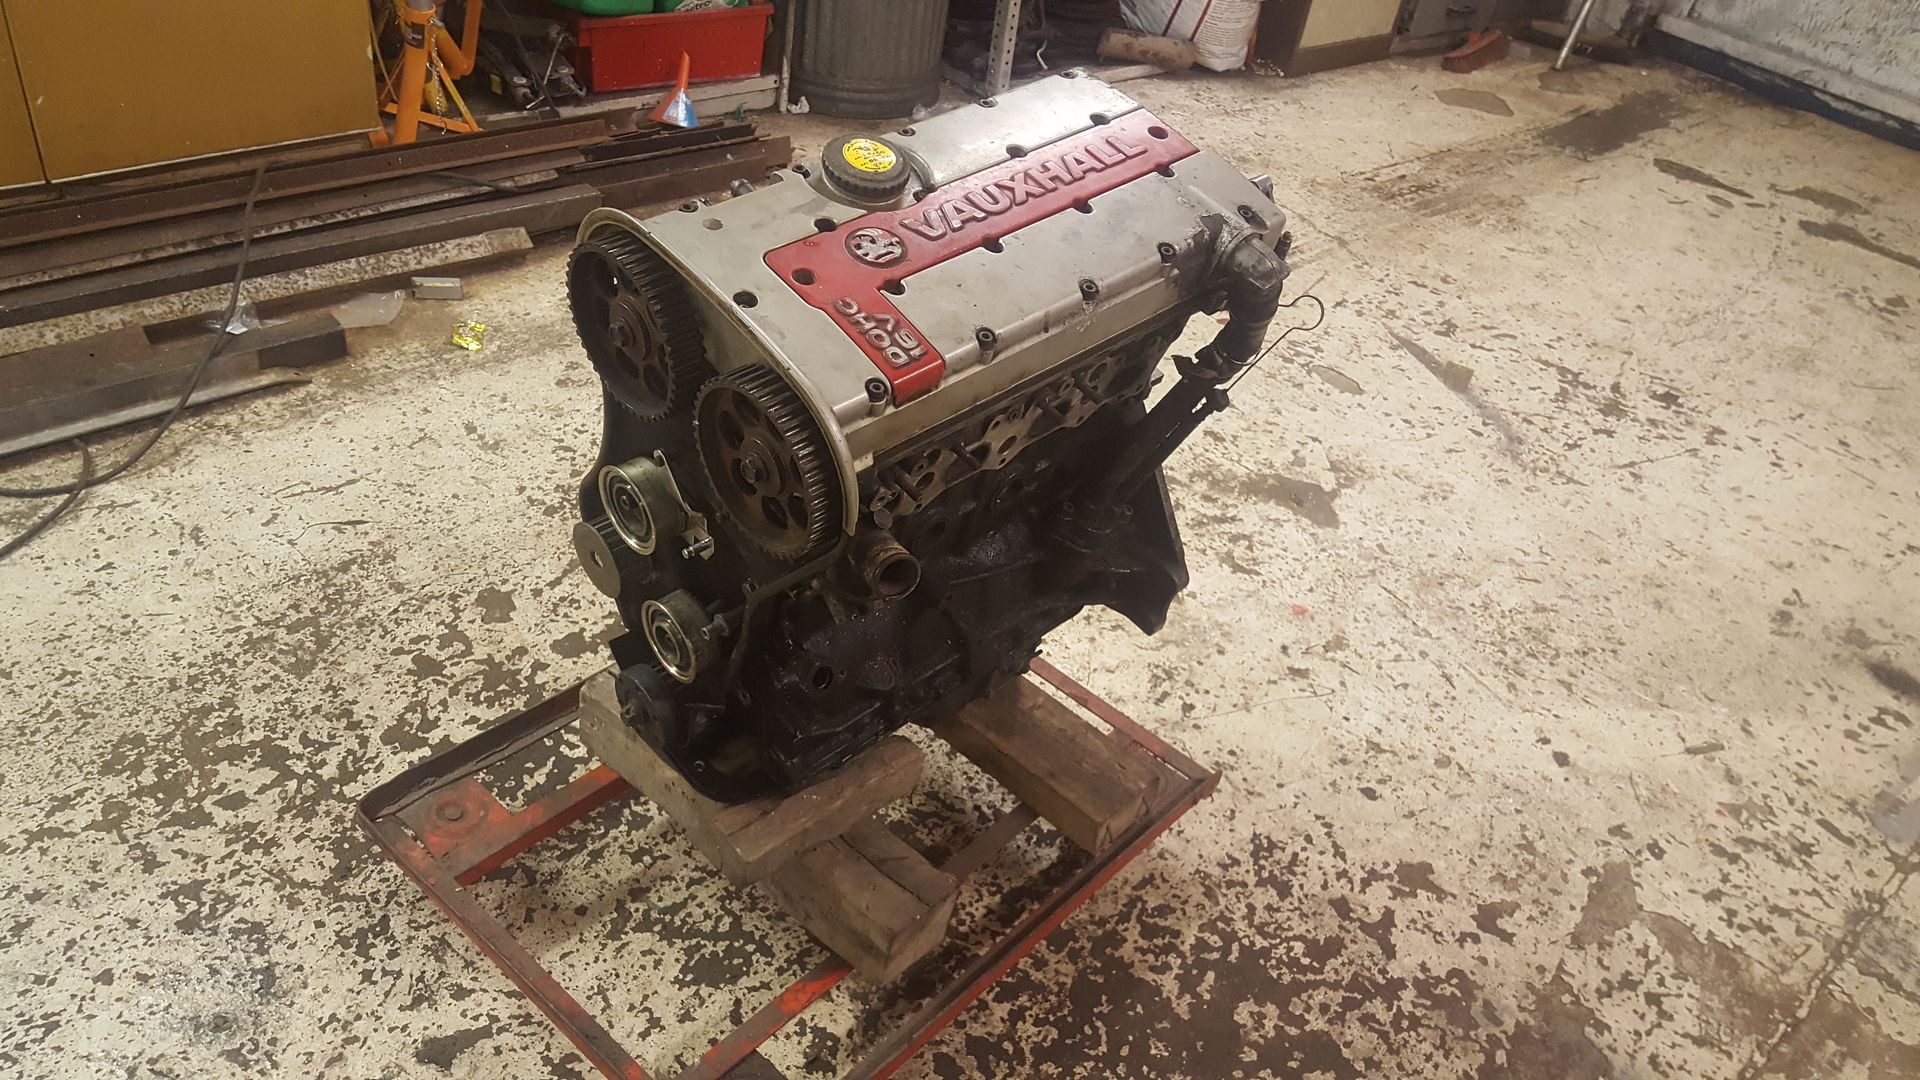
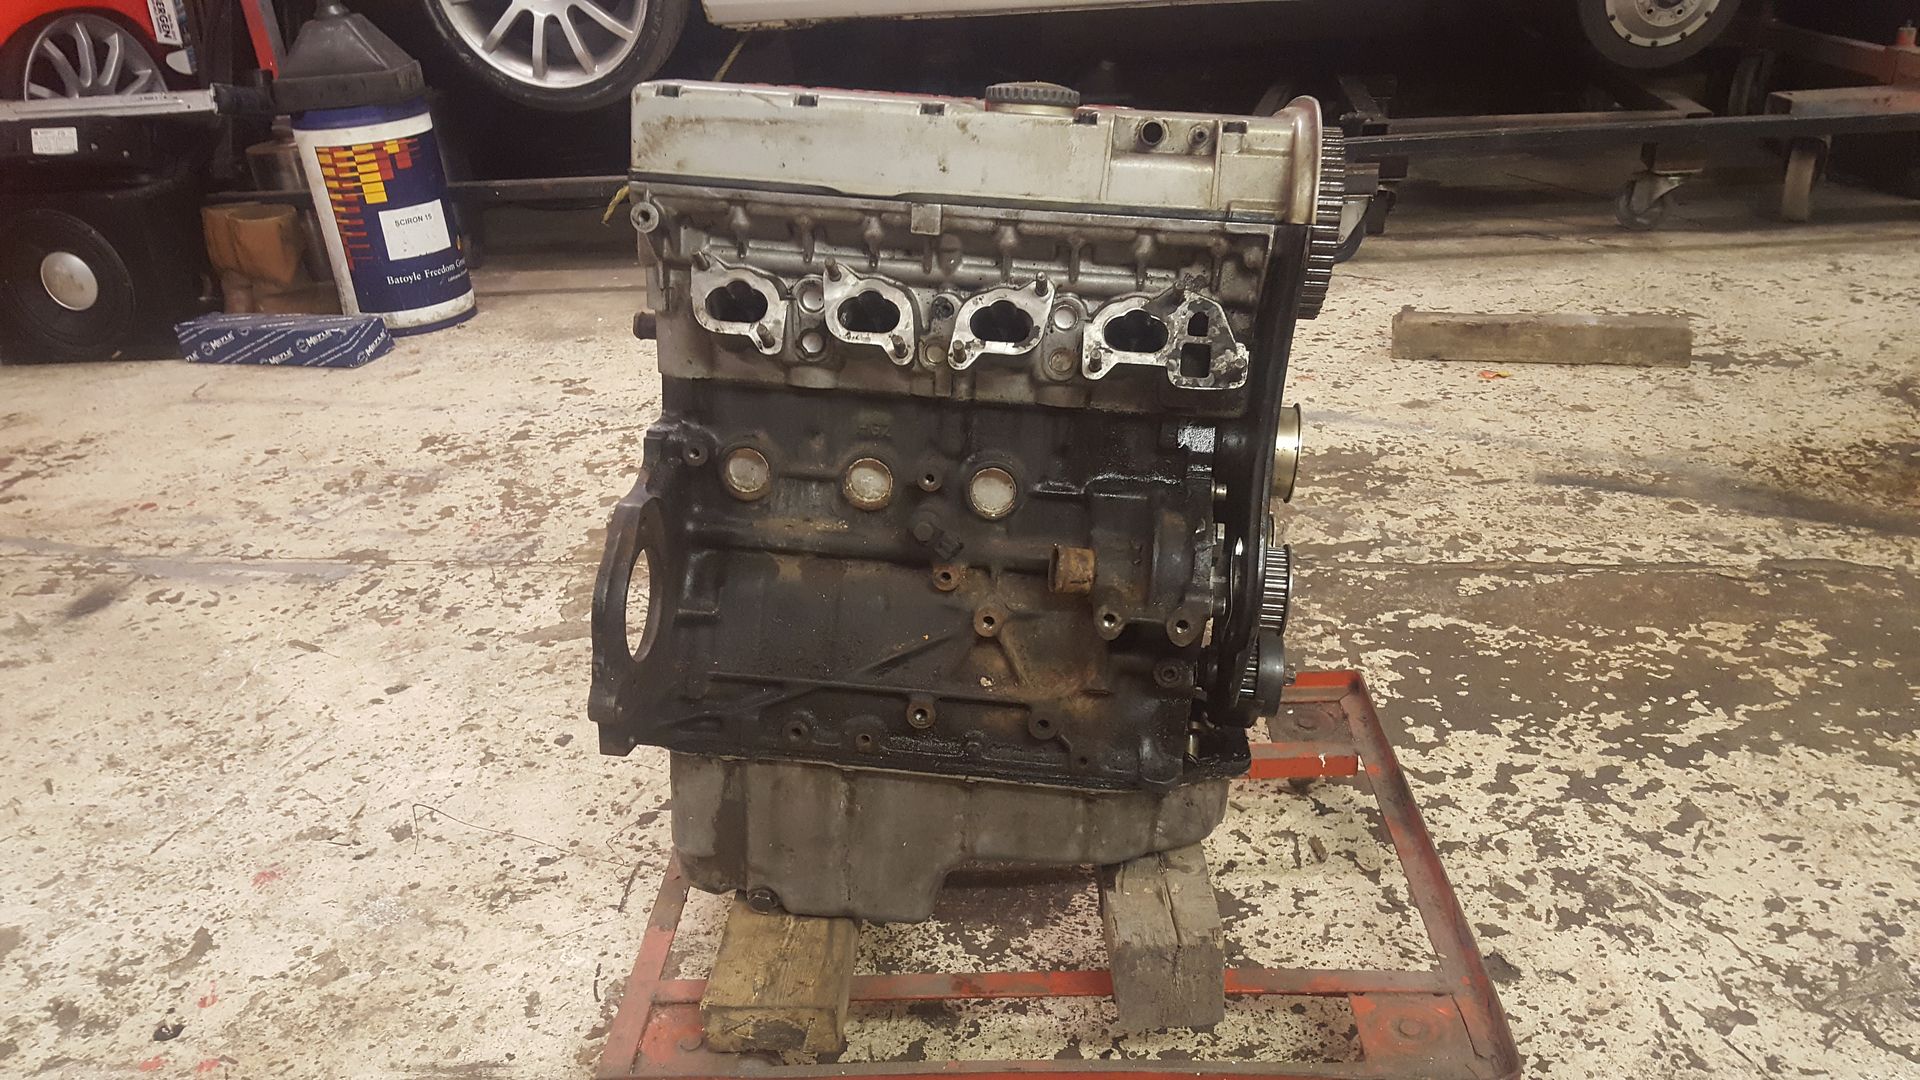
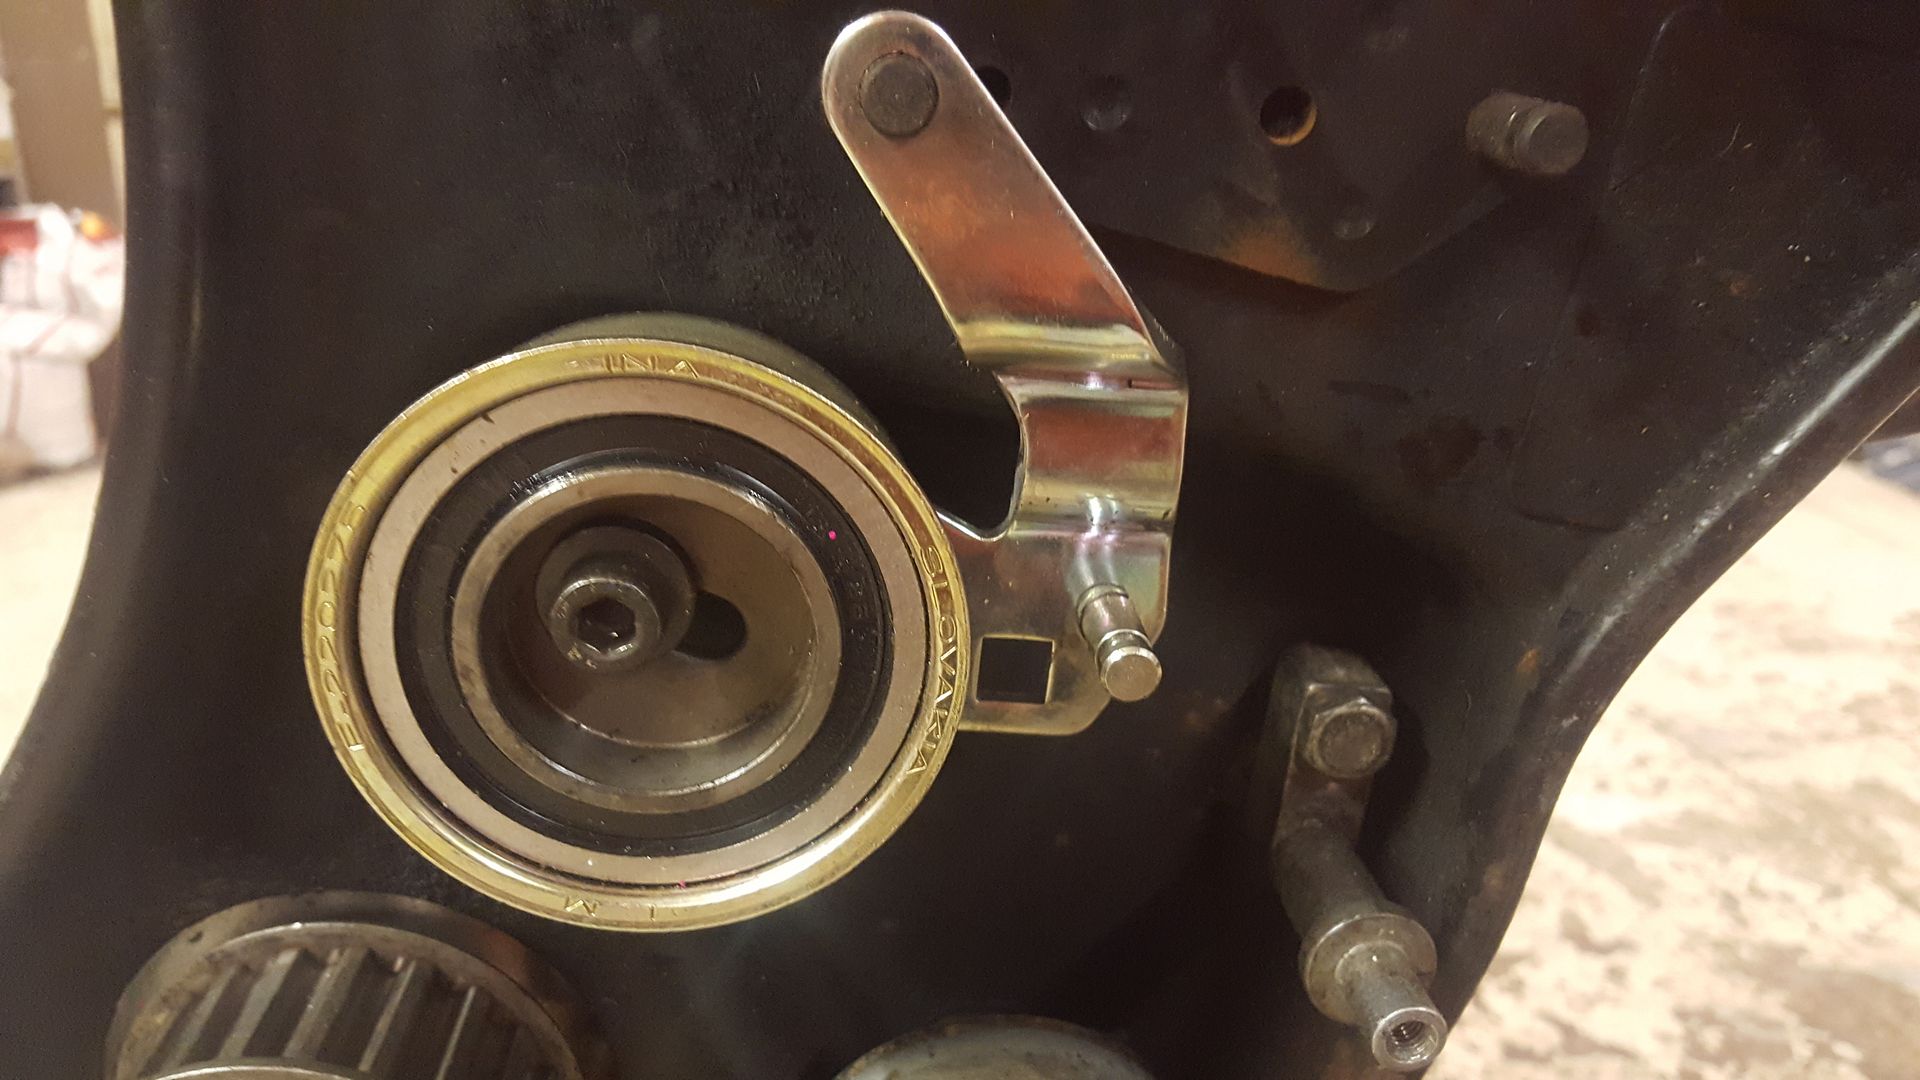
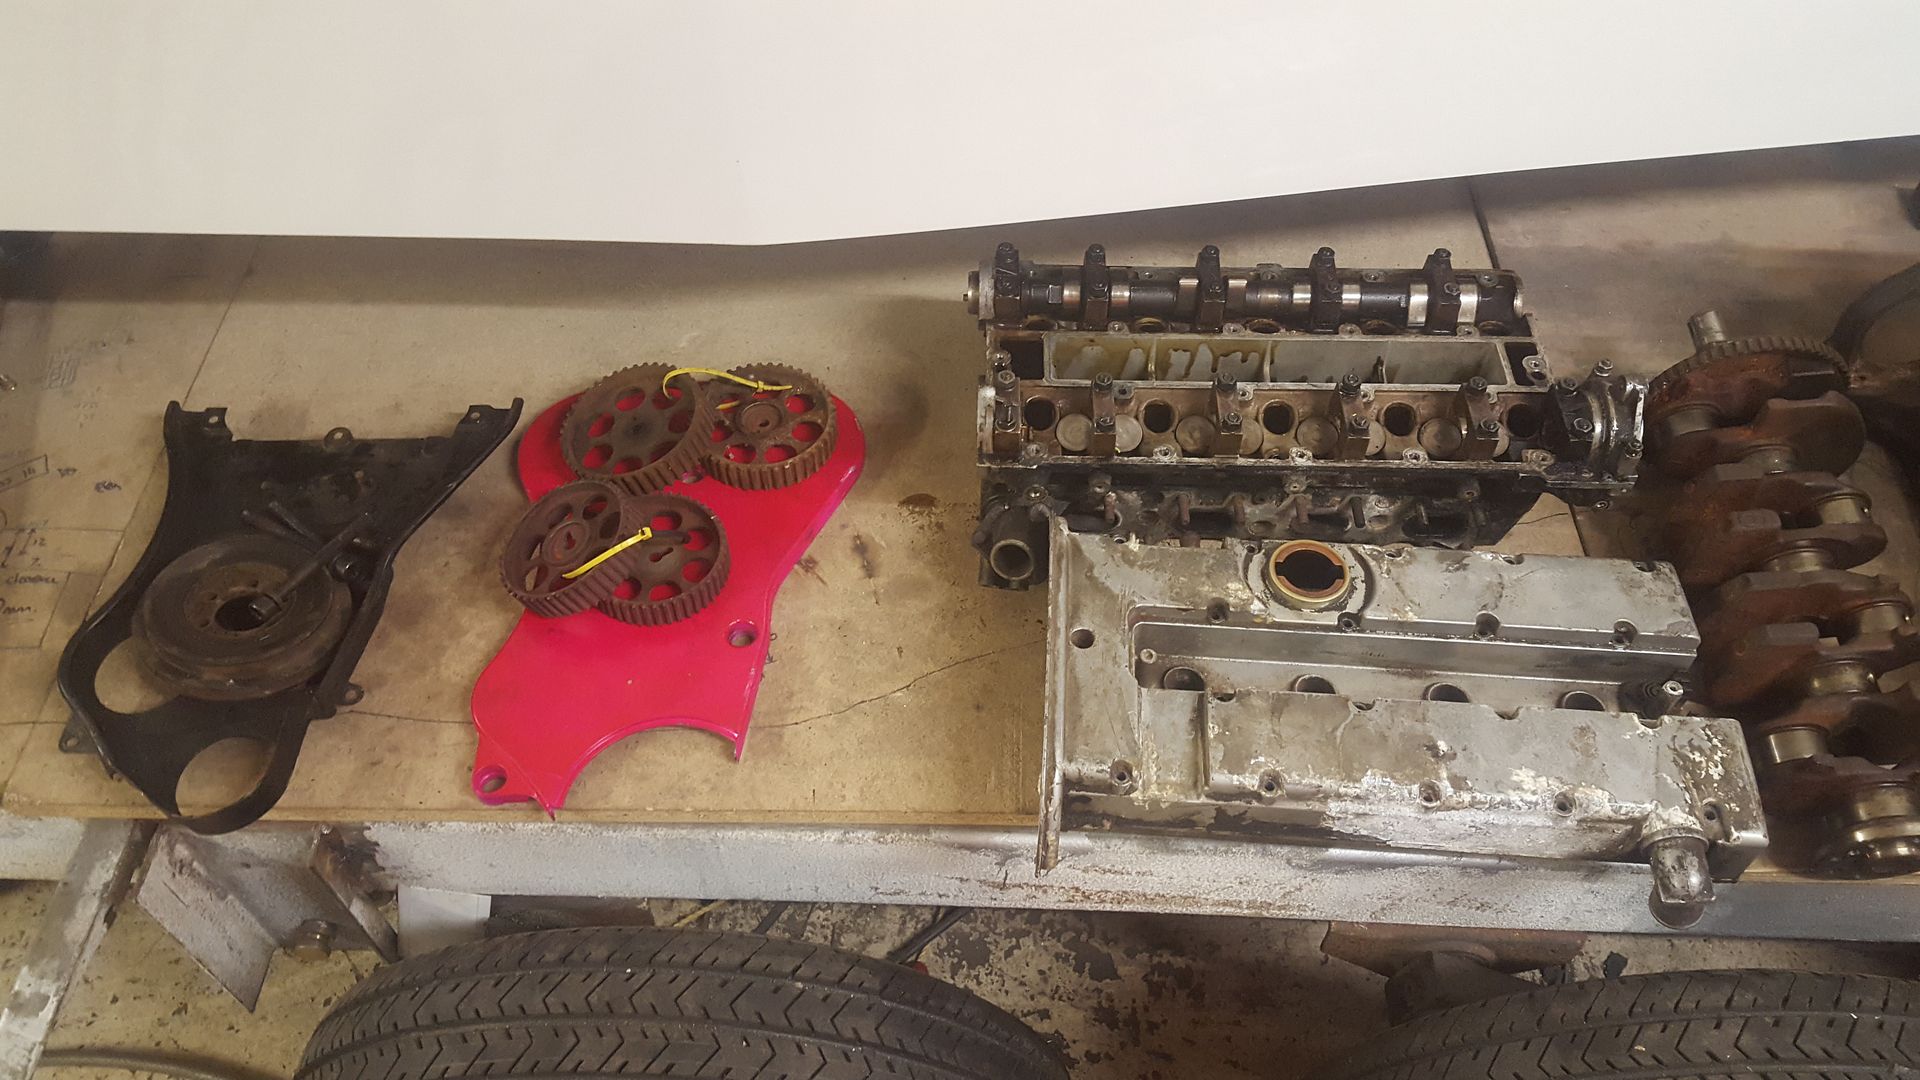
So now bar bearings rings and gaskets I think i have everything I need. From the bottom up it will be the Westfield shallow sump, this new c20xe block
and early crank. I'l be using the steel rods from my c20let with their arp bolts, attached to the new omega high compression pistons. I have my
TTV lightweight billet flywheel from the c20let. The c20let also has genuine zlet oil pump and nylon valve. Top end I have my coscast head from the
c20let, it's ported and polished and has oversized inlet valves (from memory). I have ARP head studs and nuts from the c20let. I have standard
set of c20xe coil pack cams and dizzy blank, ideally I want some big cams to make the most of the engine but will just play the waiting game for some
to come up cheap. Intake will be the Jenvey throttle body setup and will be running on the Megasquirt V3 from the c20let.
Will just keep the other c20xe as a spare and rebuild if and when.
|
|
|
alistairolsen
|
| posted on 1/2/18 at 01:52 PM |

|
|
Hi Ron,
I've been following your build on MIG, but sadly my login and the email address with it are long since dead there so I cant reply.
Looks like good progress so far and looking forward to more!
Al
My Build Thread
|
|
|
CosKev3
|
| posted on 1/2/18 at 05:59 PM |

|
|
What make are the front cycle wing brackets? 
|
|
|
super-ron
|
| posted on 1/2/18 at 07:48 PM |

|
|
quote:
Originally posted by alistairolsen
Hi Ron,
I've been following your build on MIG, but sadly my login and the email address with it are long since dead there so I cant reply.
Looks like good progress so far and looking forward to more!
Al
There's a name blast from the past, would you believe just the other week I searched back to your Volvo project on MIG wondering if it ever got
finished?!
|
|
|
super-ron
|
| posted on 1/2/18 at 07:50 PM |

|
|
quote:
Originally posted by CosKev3
What make are the front cycle wing brackets? 
That's all standard GBS ZERO front suspension. Their cycle wing brackets are part of the front 'mushrooms'. Very very sturdy!
|
|
|
Daf
|
| posted on 1/2/18 at 08:59 PM |

|
|
quote:
Originally posted by CosKev3
What make are the front cycle wing brackets? 
You can buy them with just a hole to weld up to your own mushroom - that's what I've done.
Loving this build, keep it up - nothing better than a thread with good stuff going on and regular updates of interesting stuff.
|
|
|
CosKev3
|
| posted on 1/2/18 at 09:19 PM |

|
|
quote:
Originally posted by super-ron
quote:
Originally posted by CosKev3
What make are the front cycle wing brackets? 
That's all standard GBS ZERO front suspension. Their cycle wing brackets are part of the front 'mushrooms'. Very very sturdy!
Look good,nice and simple design 
Be interesting to see how the arches sit,do they supply different ones for different sizes of wheel?
|
|
|
CosKev3
|
| posted on 1/2/18 at 09:20 PM |

|
|
quote:
Originally posted by Daf
quote:
Originally posted by CosKev3
What make are the front cycle wing brackets? 
You can buy them with just a hole to weld up to your own mushroom - that's what I've done.
Loving this build, keep it up - nothing better than a thread with good stuff going on and regular updates of interesting stuff.
Ah right that's good to know,got any pics of how your arches sit? 
|
|
|
super-ron
|
| posted on 1/2/18 at 09:40 PM |

|
|
quote:
Originally posted by CosKev3
quote:
Originally posted by super-ron
quote:
Originally posted by CosKev3
What make are the front cycle wing brackets? 
That's all standard GBS ZERO front suspension. Their cycle wing brackets are part of the front 'mushrooms'. Very very sturdy!
Look good,nice and simple design 
Be interesting to see how the arches sit,do they supply different ones for different sizes of wheel?
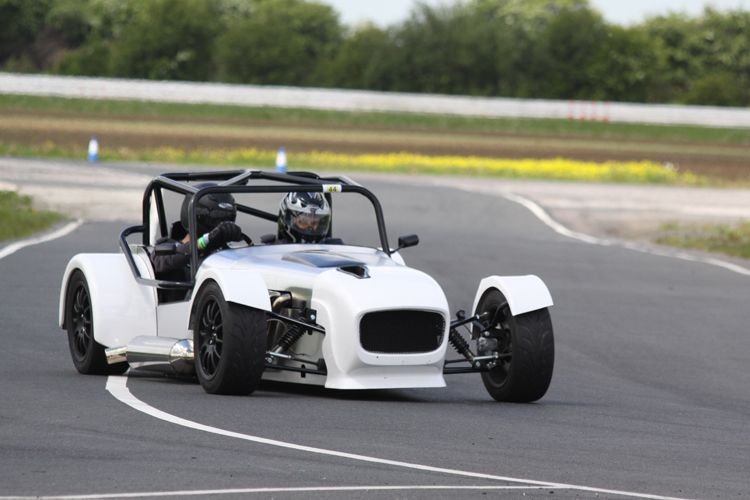
Not sure on that one. All the ZERO 's come with 15inch wheels so that's what they're tailored to, don't know if they offer
other options. The carbon fibre wings I got earlier in the build are from a caterham so for 13inch wheels. I offered them up and it looks like
they'll be too small to cover enough tyre, but we'll see....
Here's a pic of ZERO front wings
|
|
|
CosKev3
|
| posted on 1/2/18 at 09:58 PM |

|
|
Cheers,sit nicely on that one 
|
|
|


