J666AYP
|
| posted on 3/12/18 at 05:18 PM |

|
|
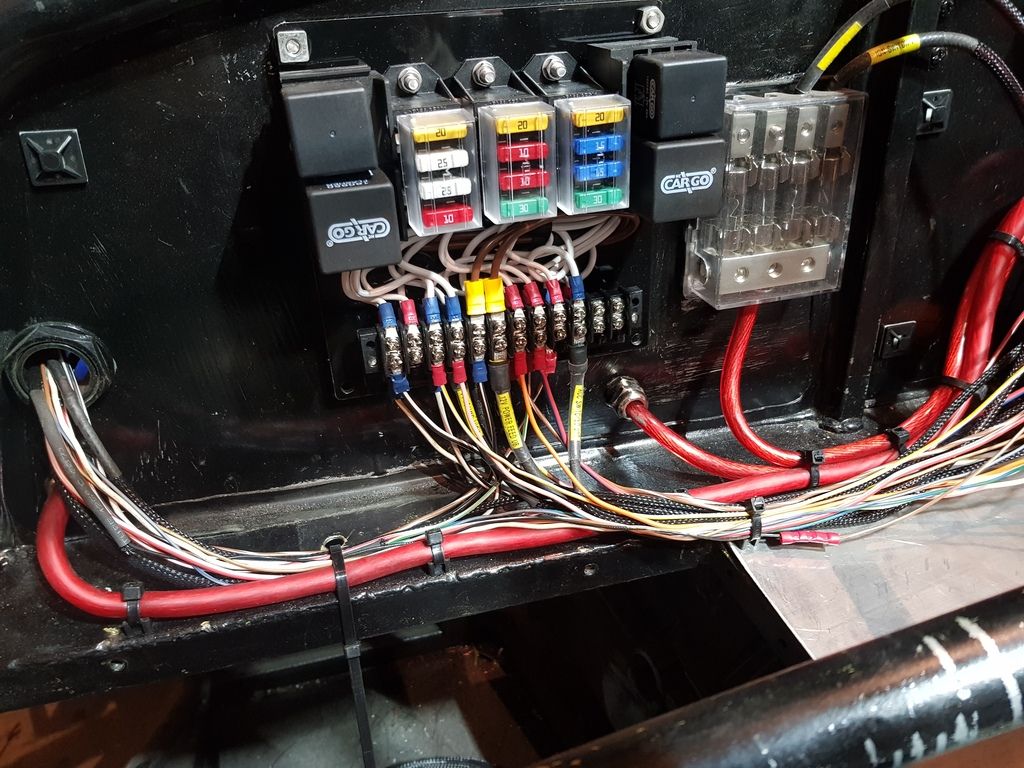
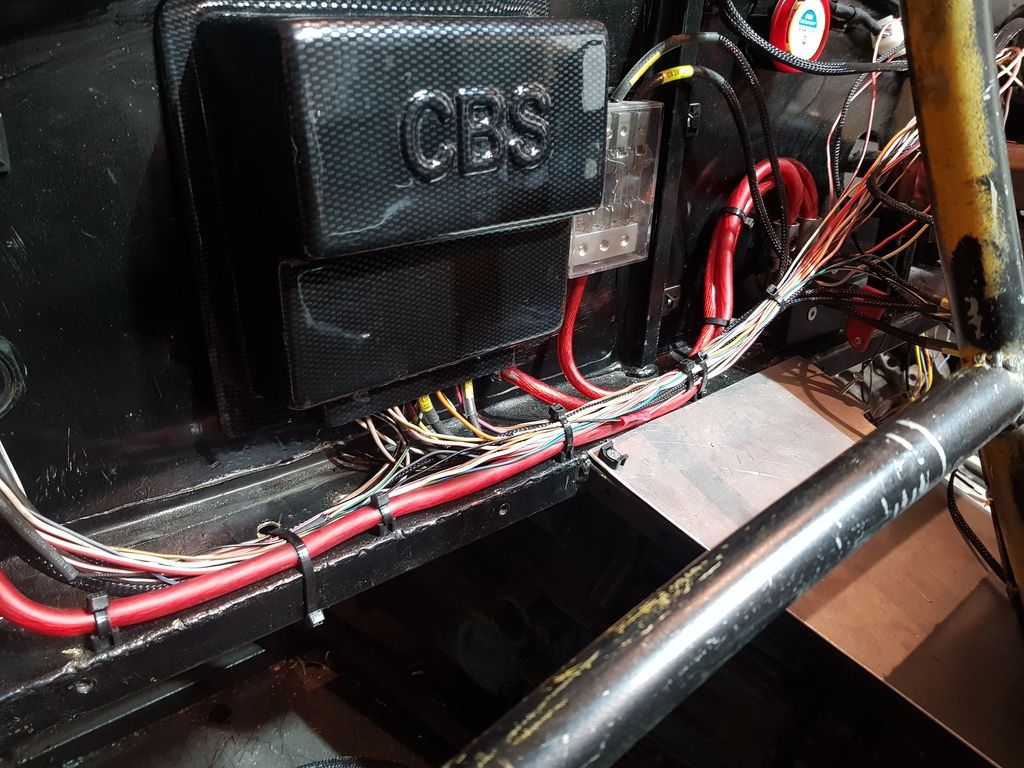
Well that was easier than expected 
|
|
|
|
|
big_wasa
|
| posted on 3/12/18 at 07:12 PM |

|
|
quote:
Originally posted by J666AYP
quote:
Originally posted by big_wasa
What label machine have you got ?
I've got two looms to build and that would add a nice touch.
Cheers
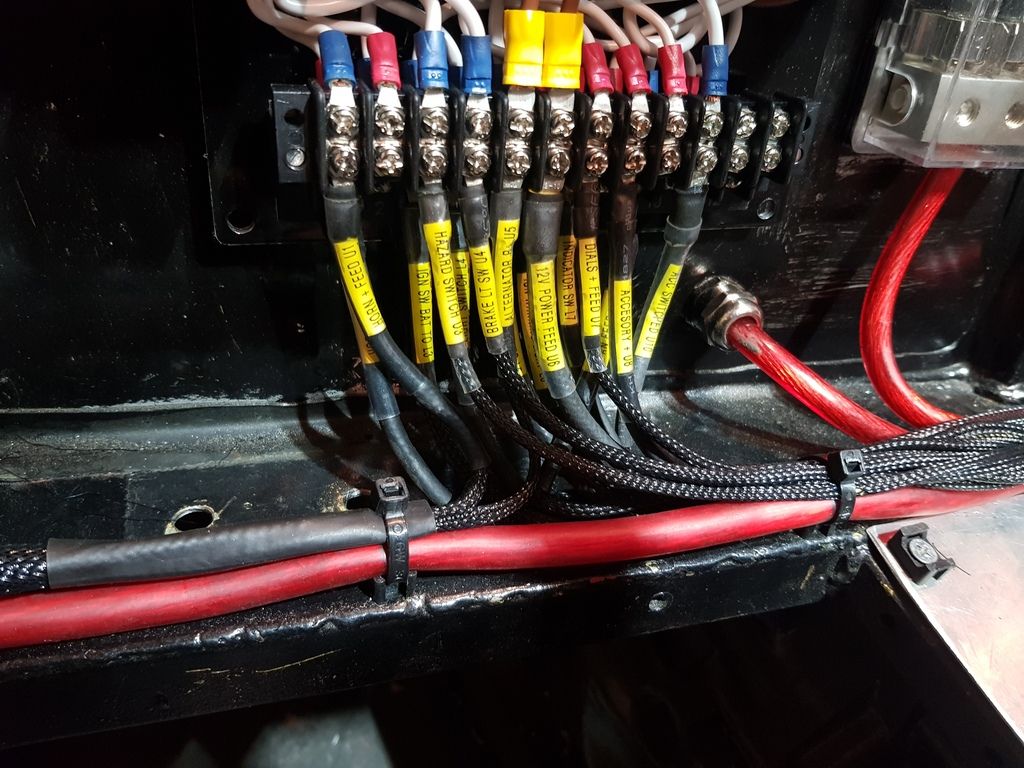
Just a cheapy amazon one mate and some clear heatshrink tube from china. Let me know what you want and I will run some off for you if you want.
Jay
Thanks I will have a look.
|
|
|
J666AYP
|
| posted on 4/12/18 at 09:34 PM |

|
|
Thats better
|
|
|
nero1701
|
| posted on 5/12/18 at 07:23 AM |

|
|
Looks really good mate
|
|
|
Iomlocosts4
|
| posted on 5/12/18 at 06:33 PM |

|
|
Hi
how long does the propeller shaft have to be?
|
|
|
J666AYP
|
| posted on 6/12/18 at 09:42 PM |

|
|
quote:
Originally posted by Iomlocosts4
Hi
how long does the propeller shaft have to be?
Hi mate, In all honesty I have no idea as yet. The std merc one cant be used due to the length of the sections and the slip joints.
When I take it to the place in town to get the prop made I will forward on the dimensions.
Jay
|
|
|
J666AYP
|
| posted on 6/12/18 at 09:43 PM |

|
|
quote:
Originally posted by Iomlocosts4
Hi
how long does the propeller shaft have to be?
Hi mate, In all honesty I have no idea as yet. The std merc one cant be used due to the length of the sections and the slip joints.
When I take it to the place in town to get the prop made I will forward on the dimensions.
Jay
|
|
|
Iomlocosts4
|
| posted on 7/12/18 at 01:08 AM |

|
|
quote:
Originally posted by J666AYP
quote:
Originally posted by Iomlocosts4
Hi
how long does the propeller shaft have to be?
Hi mate, In all honesty I have no idea as yet. The std merc one cant be used due to the length of the sections and the slip joints.
When I take it to the place in town to get the prop made I will forward on the dimensions.
Jay
Thank you. Its alright, I was just wondering if you already made the measurement. A custom prop shaft will save some weight.
The support bearing will not be needed and the remaining tube will be large enough diameter and short enough length to be easily shortened and still
be over engineered. This seems like a good opportunity for DIY.
|
|
|
J666AYP
|
| posted on 9/12/18 at 05:28 PM |

|
|
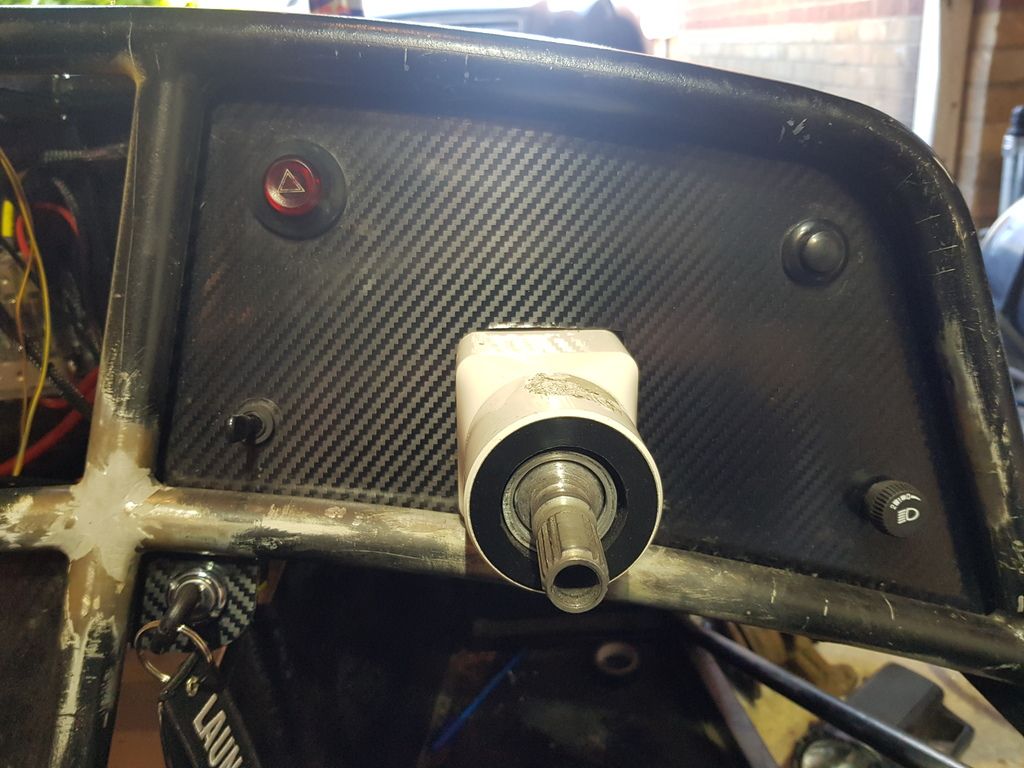
More slow progress on the electrics.. I now have:
•Working indicators
•Working light feeds all round (need to buy headlamps, rear fog and reverse lamps)
• Working hazard switch and feeds
• Fan wired (need to buy a temp switch)
• Horns wired
• Alarm/immobiliser completed and wired to indicators
• Fuel pump feed
• Ignition switch and light sorted
• Oil temp feed/sensor all done
• 3rd brake light mounted and wired (mega bright, should keep me safe from the school run mum's in 4x4's)
• 99% of loom routed through car
• Working inertia switch
• Common grounds done and dusted
• Power cables fixed to chassis
I have brought some cheapy tail lights as a 'up and running' fix but I quite like them so they may stay. Just need to make up some pods
for them.
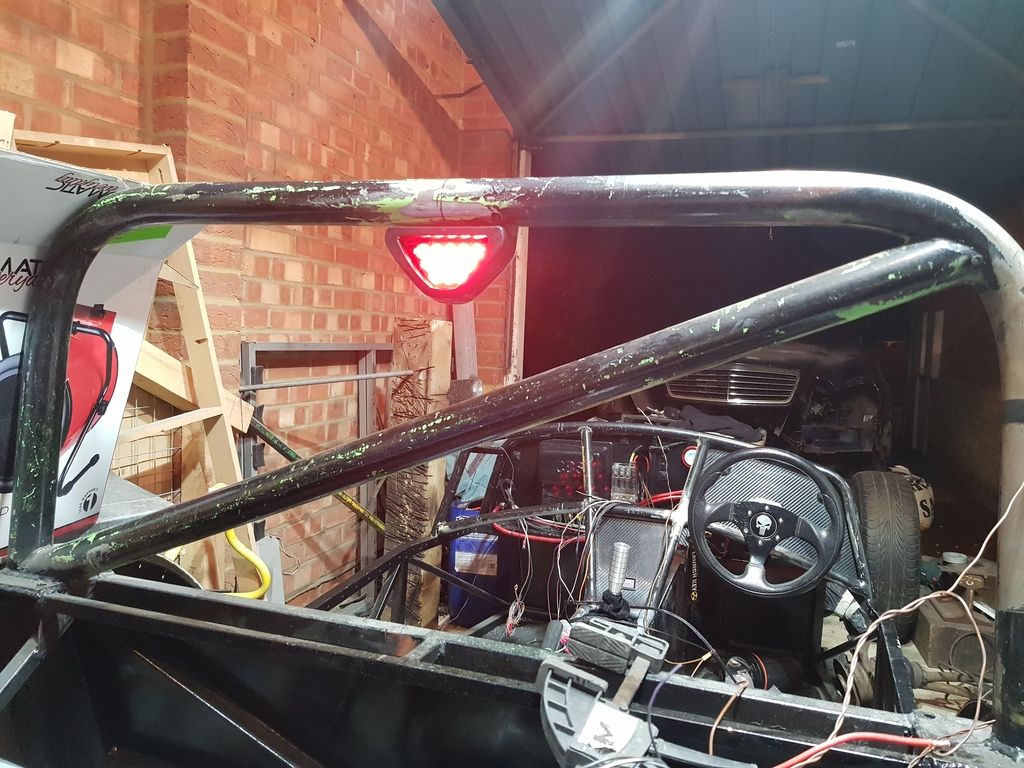
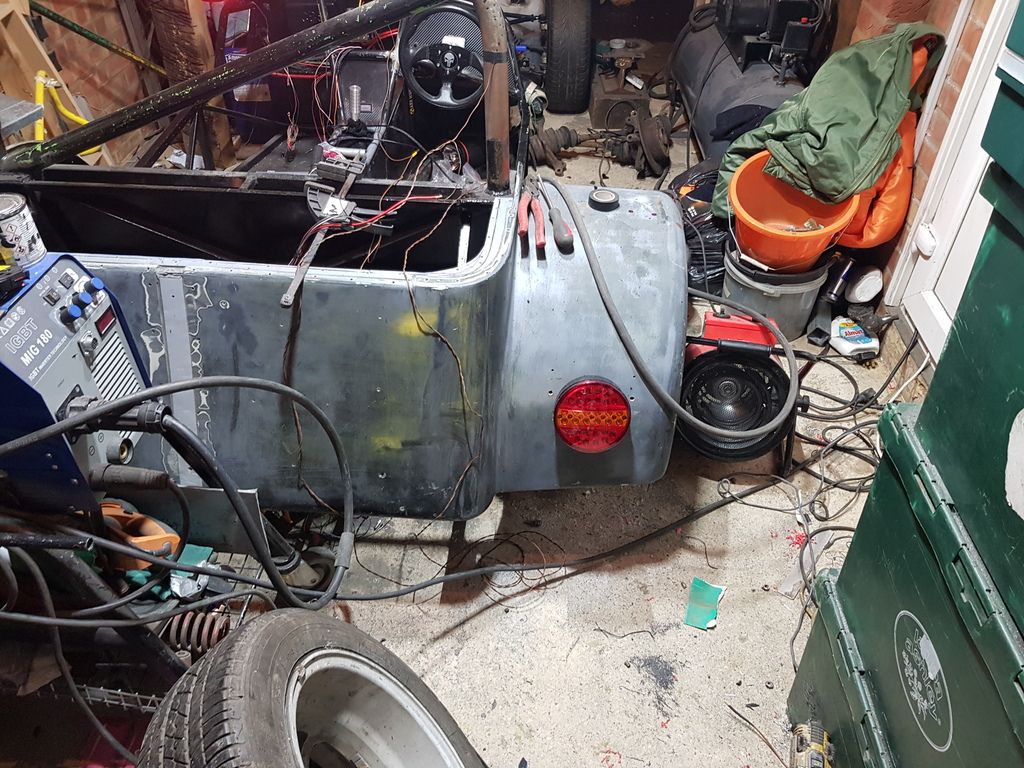
|
|
|
J666AYP
|
| posted on 12/12/18 at 04:09 PM |

|
|
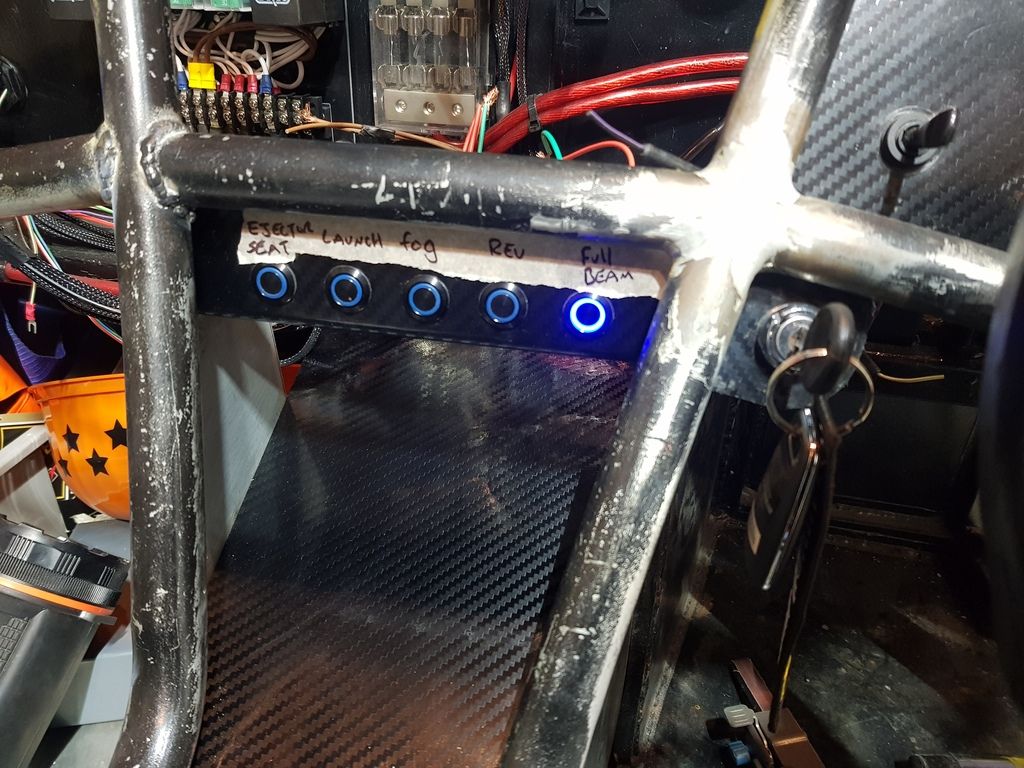
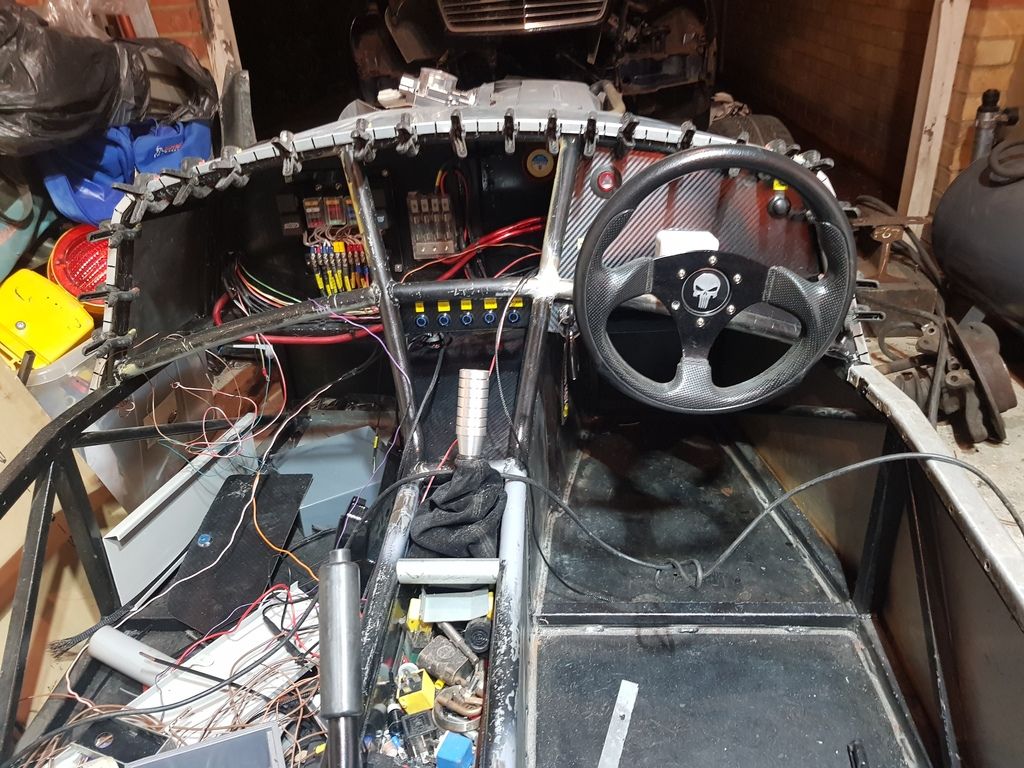
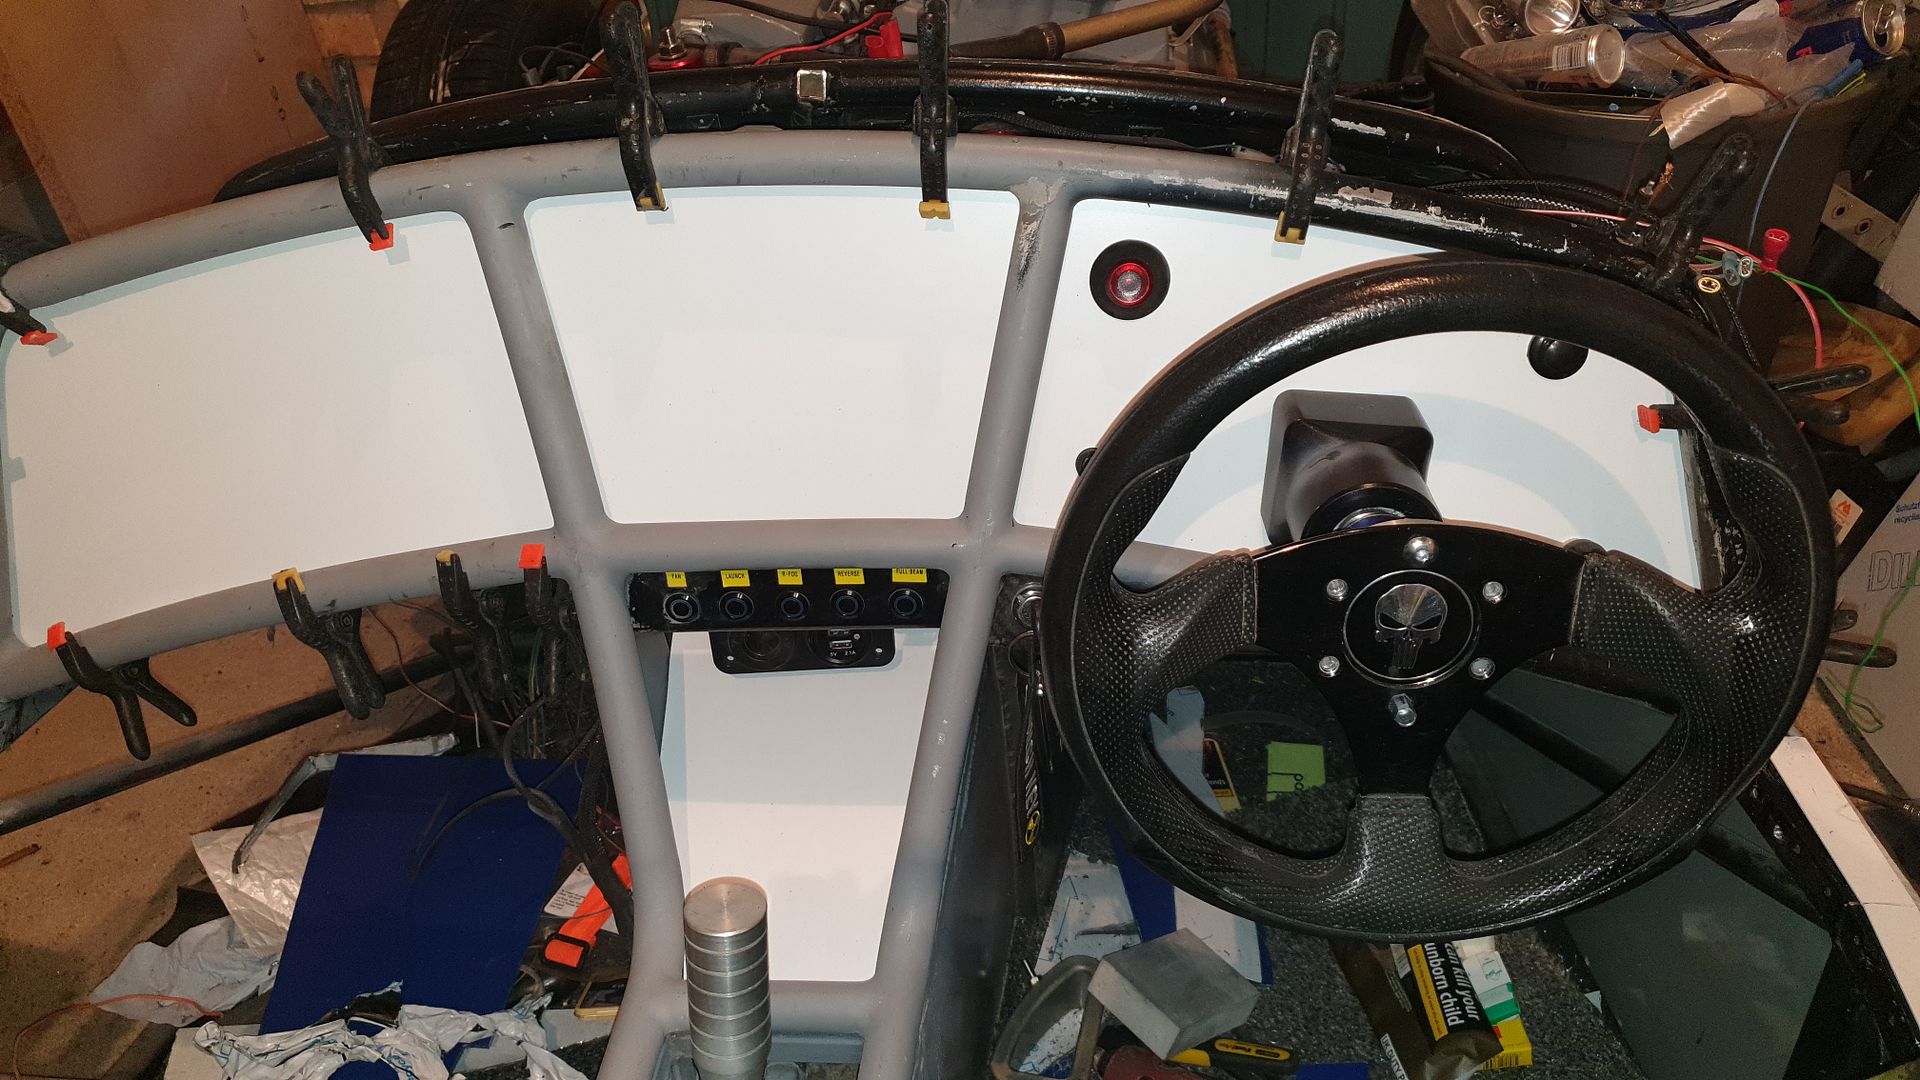
I was not happy with the flat pannel in dash so I have changed it abit. I now have a new cubby hole as a bonus.
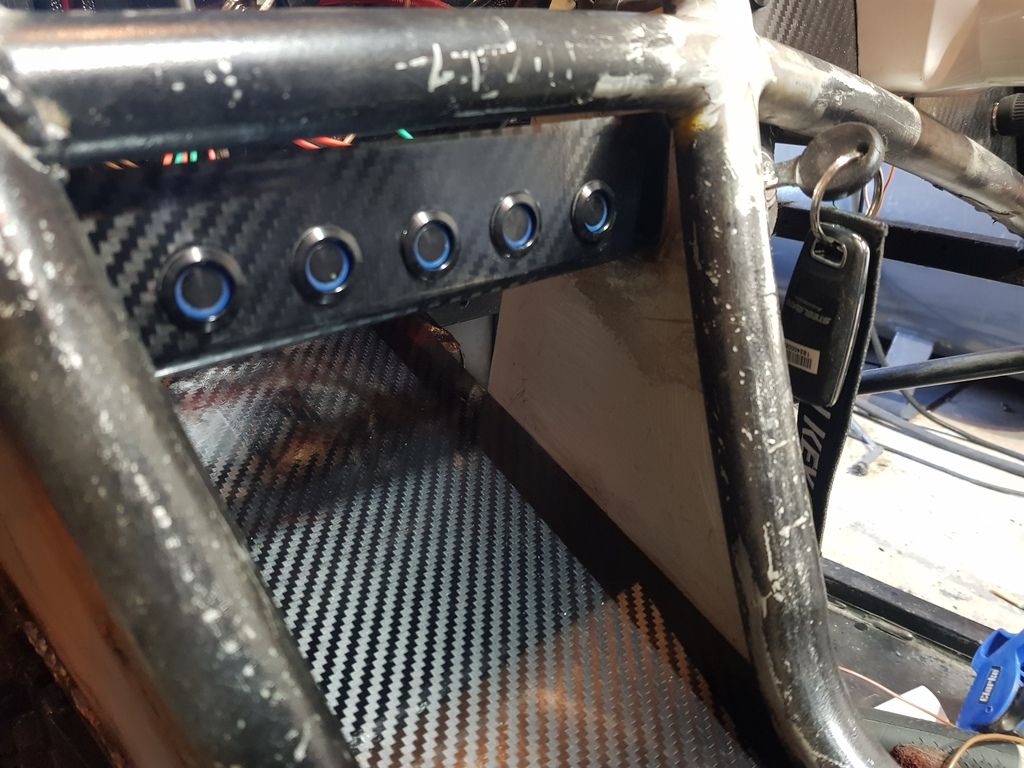
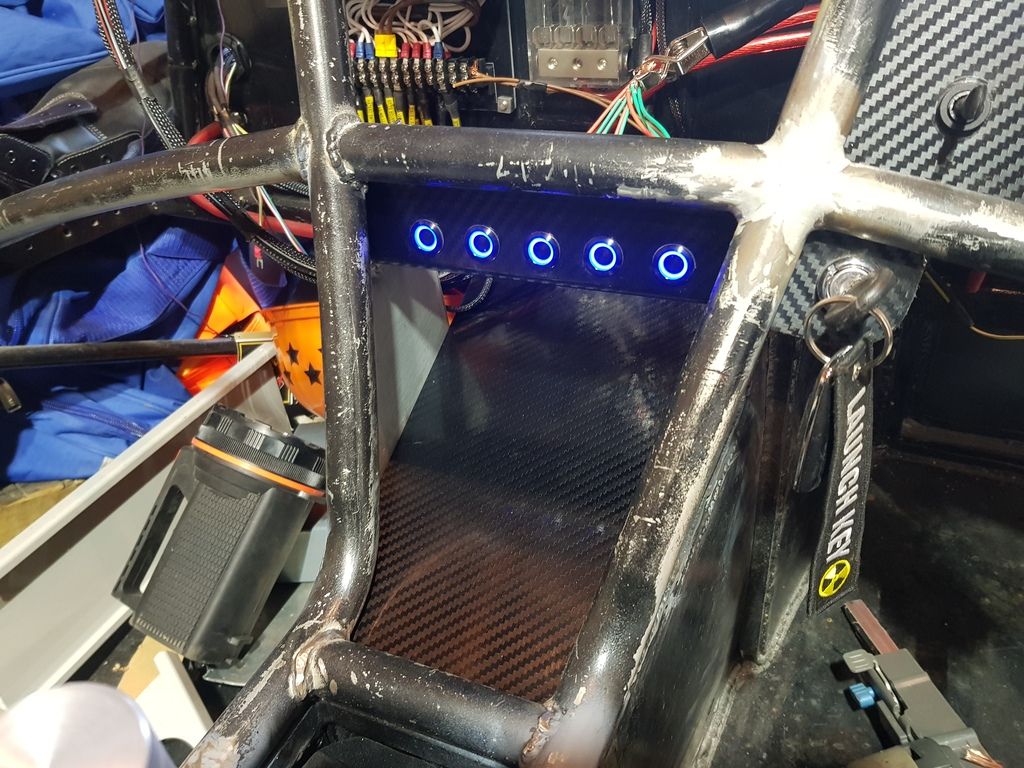
|
|
|
J666AYP
|
| posted on 20/12/18 at 05:57 PM |

|
|
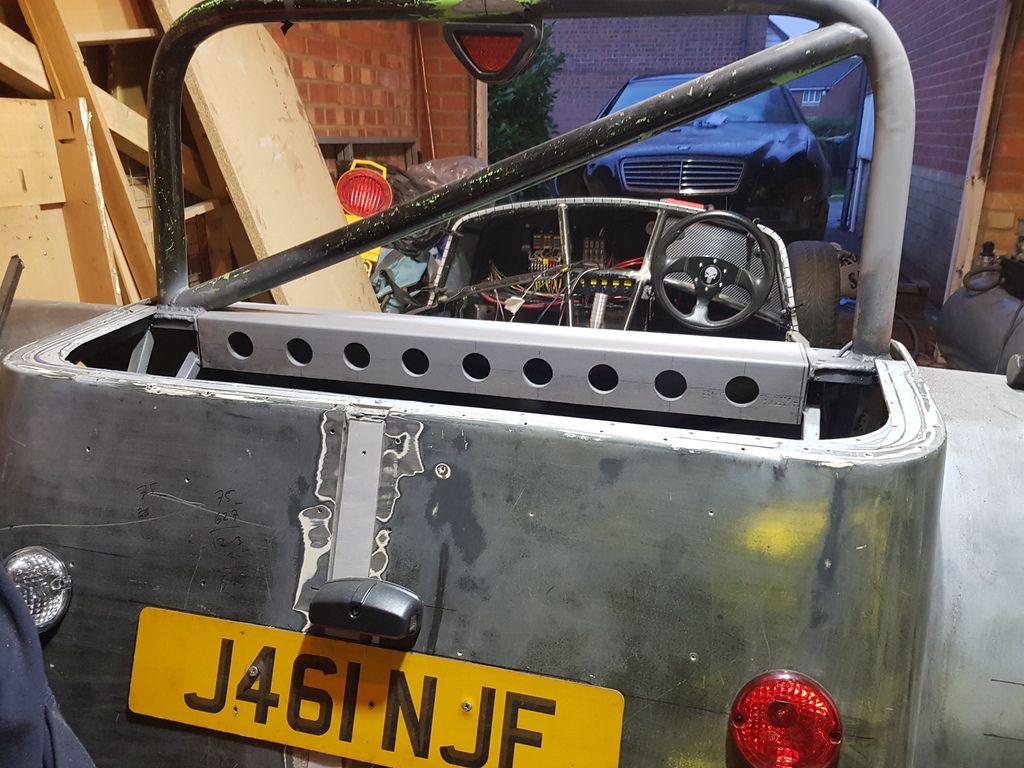
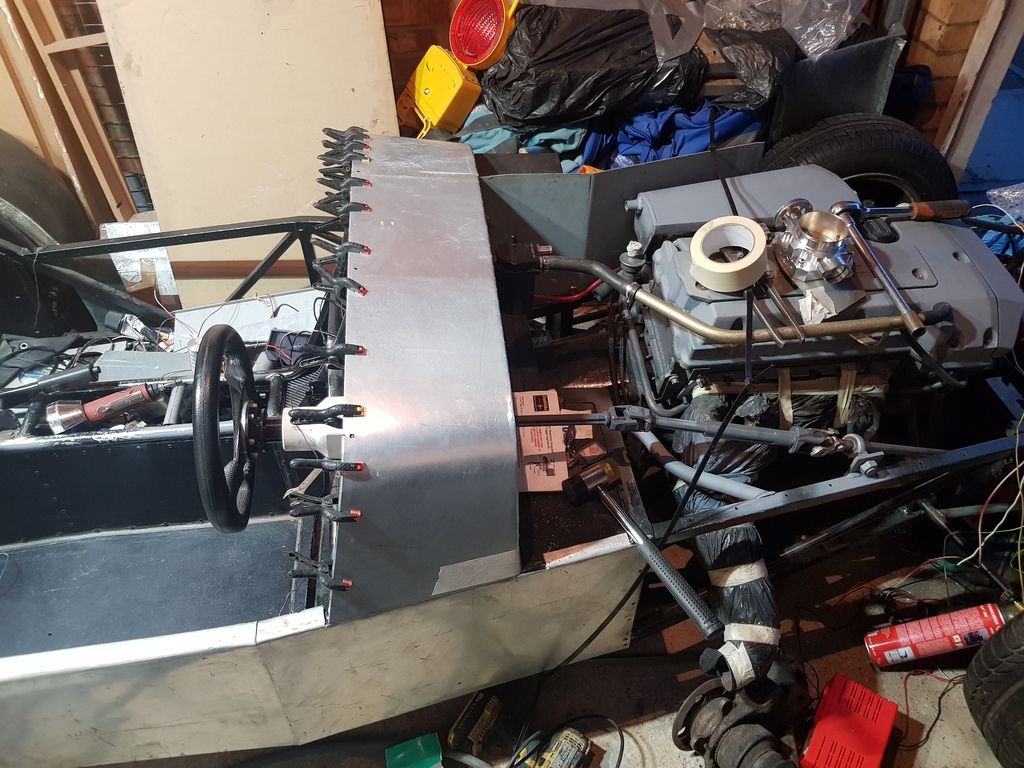
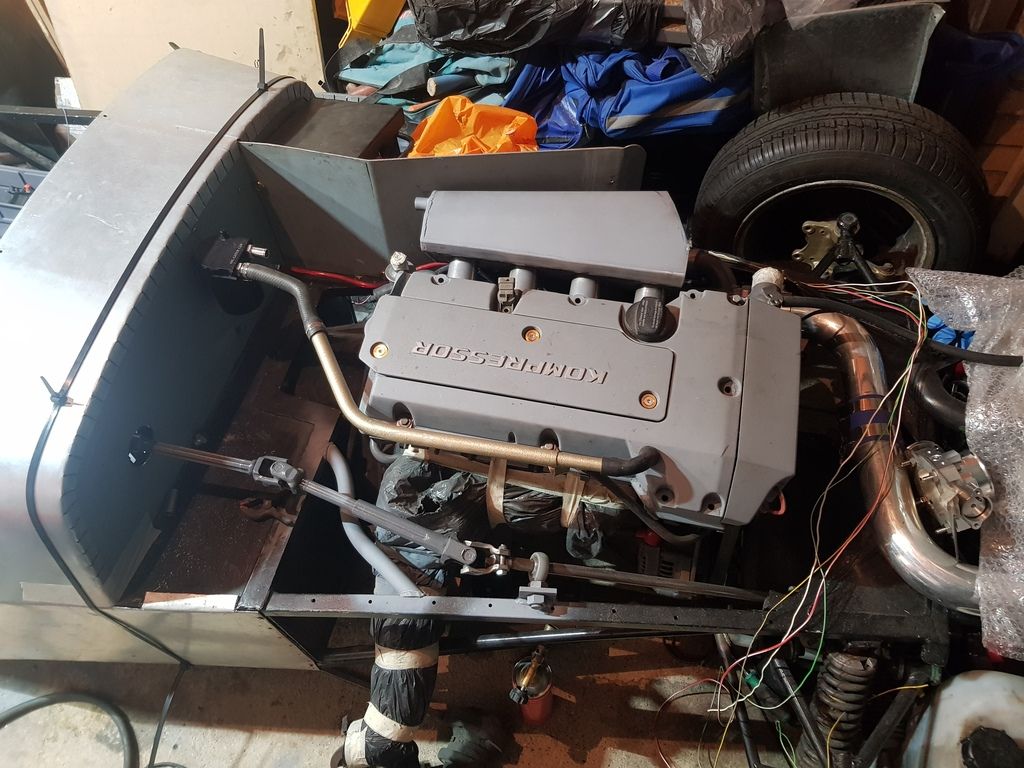
Abit more progress. Going to brace the diff frame into the harness plate and do abit of triangulation. Also all the rear lights are fitted and
working. Have also started to mock up the bodywork ready for mould making.
|
|
|
PAULD
|
| posted on 21/12/18 at 10:30 AM |

|
|
Glad to see you are getting on with the back end Jay. If I can help give me a call, I sent you my new Phone number, hope you got it.
|
|
|
J666AYP
|
| posted on 21/12/18 at 11:06 AM |

|
|
quote:
Originally posted by PAULD
Glad to see you are getting on with the back end Jay. If I can help give me a call, I sent you my new Phone number, hope you got it.
Hi Paul, hope you are well buddy. Have not recieved your new number mate, drop me a text when you get chance.
Jay
|
|
|
J666AYP
|
| posted on 24/7/19 at 01:41 AM |

|
|
A bit of progress, fingers crossed I will have more time to work on it from now on.
Belts finished
Inlet nearly done
Car loom almost finished
Diff blasted
Manifold elbow now 3" not 2.5"
Larger injectors brought
Diff breather reworked
Coolant hoses nearly finished just need a couple of weird elbows
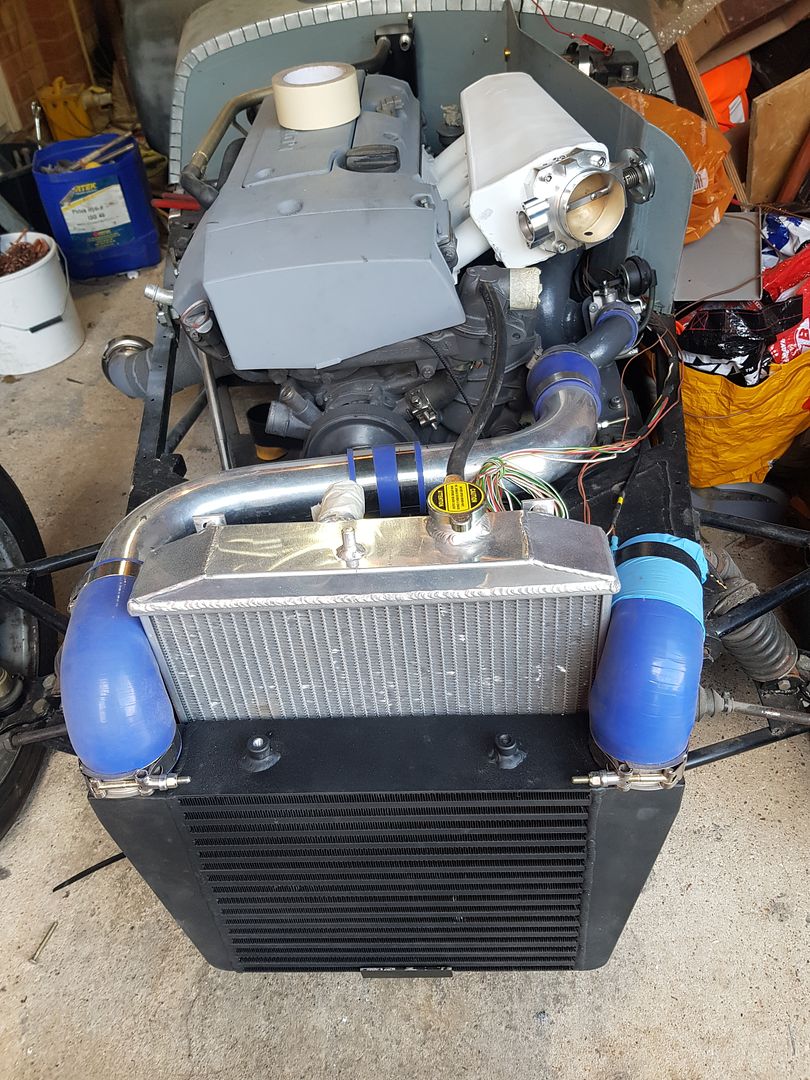
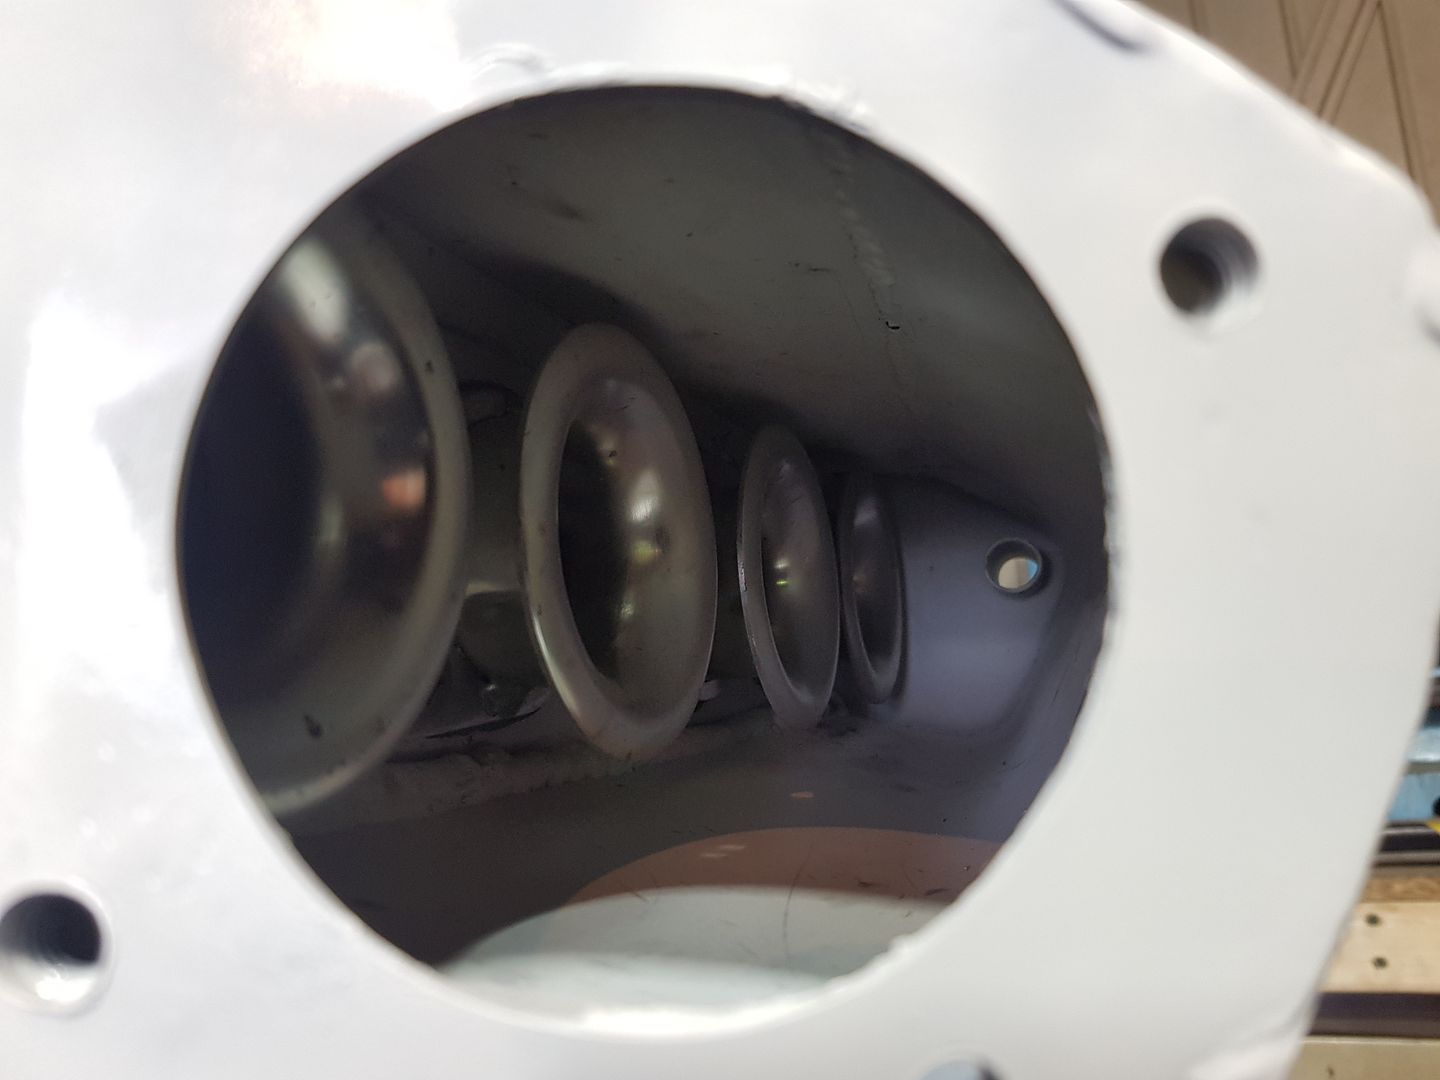
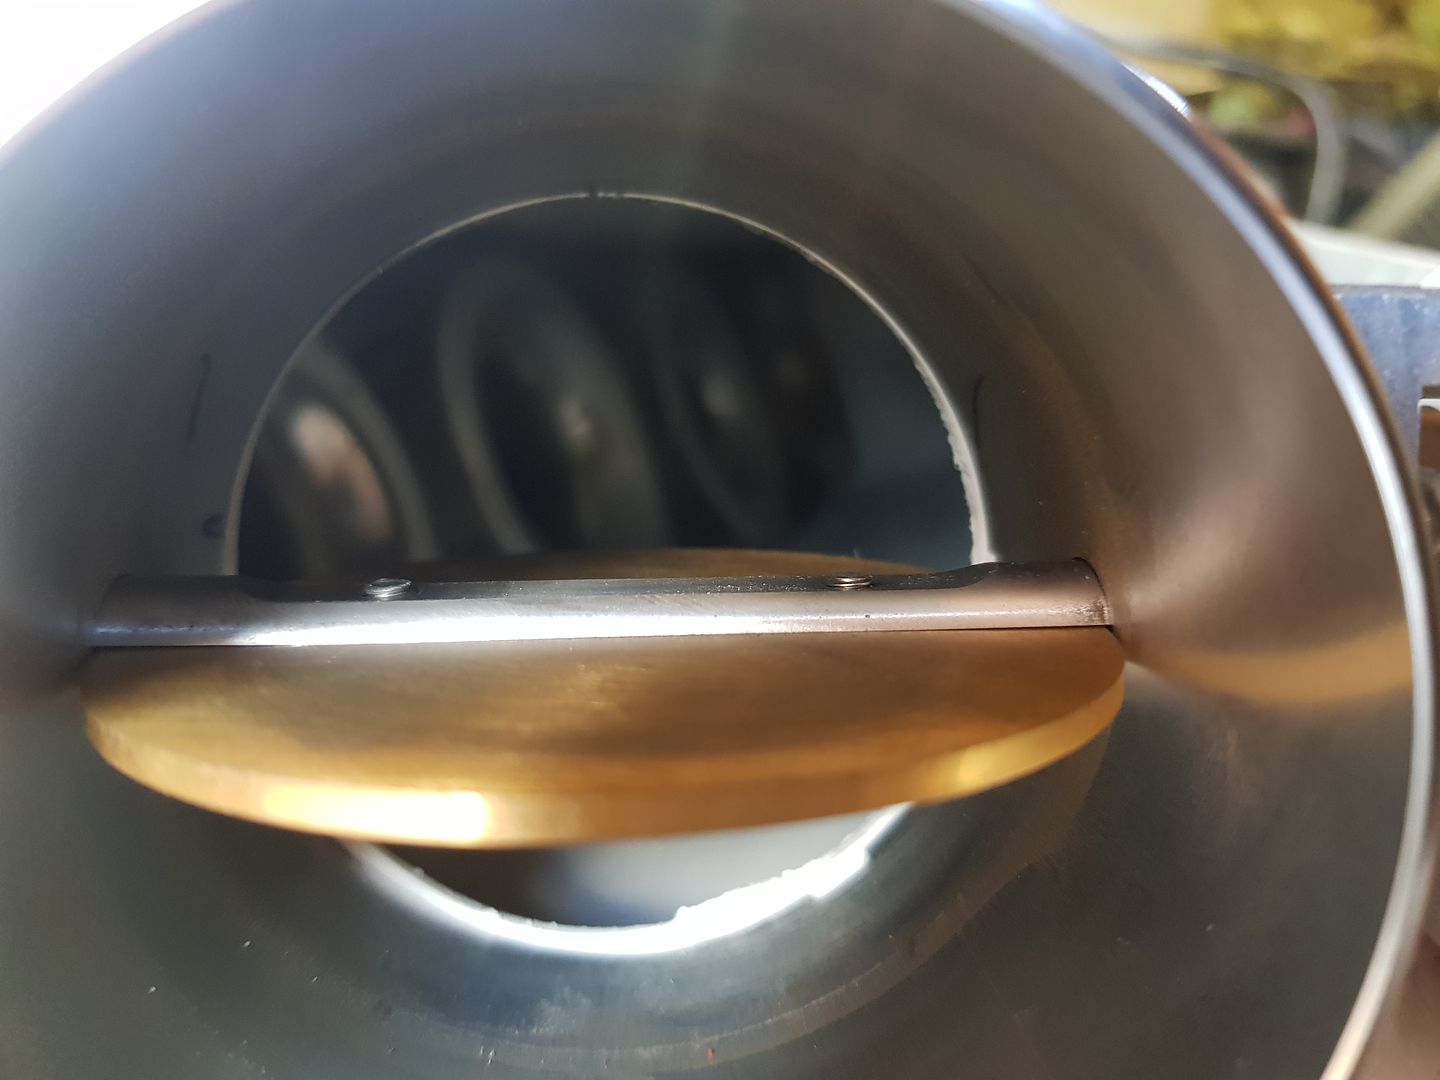
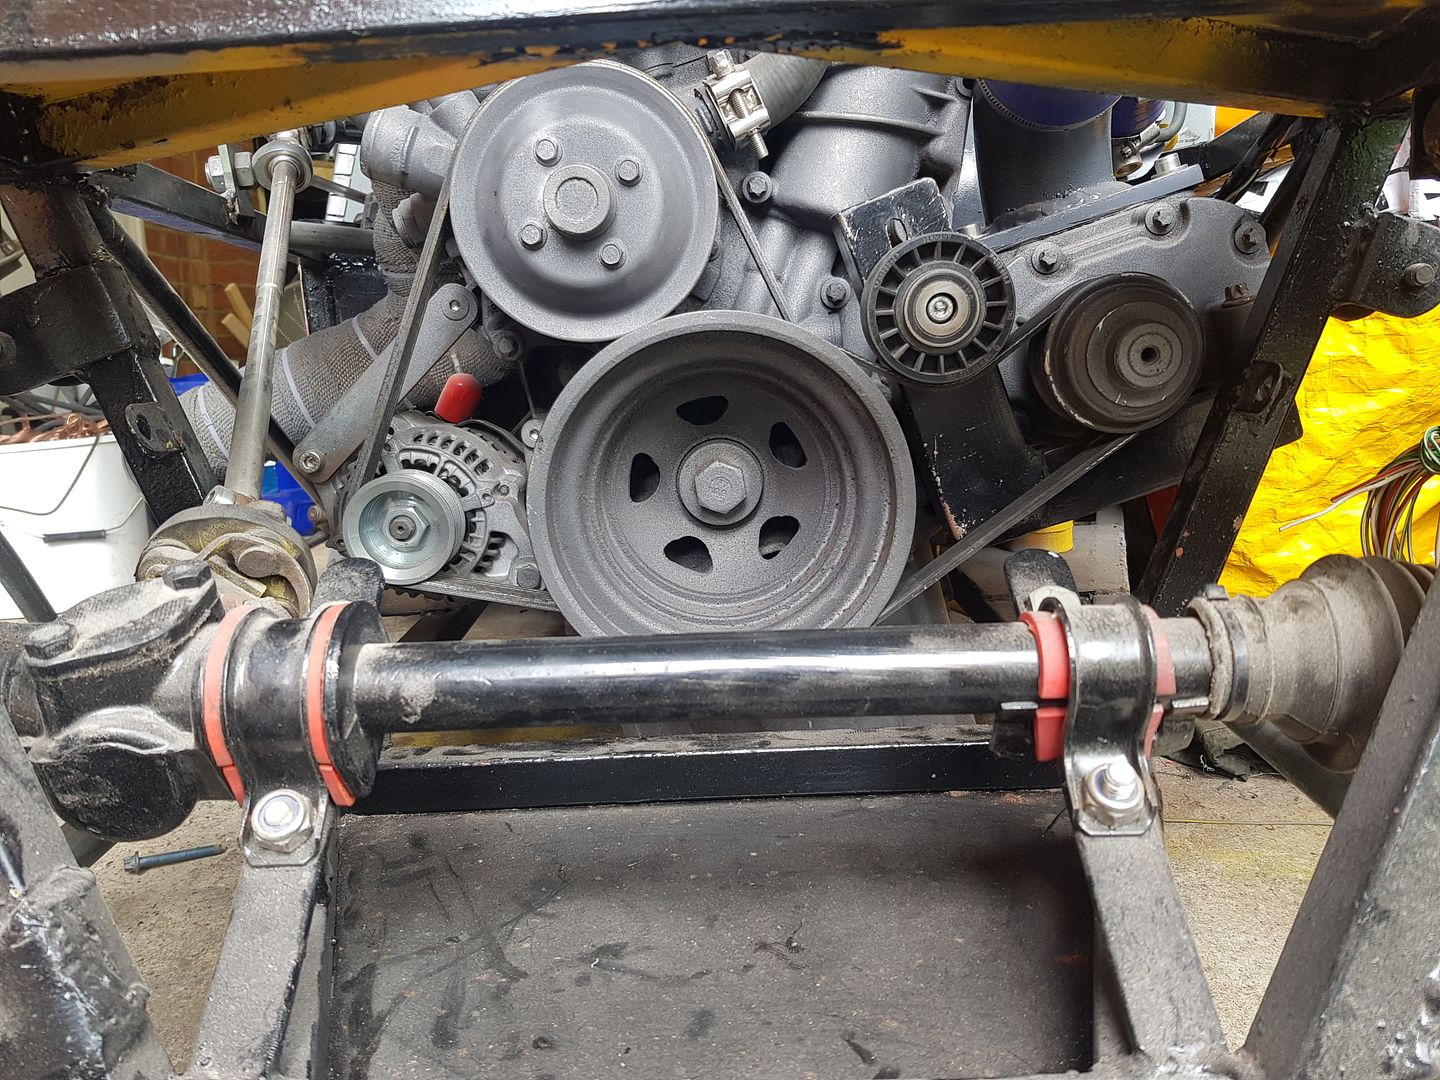
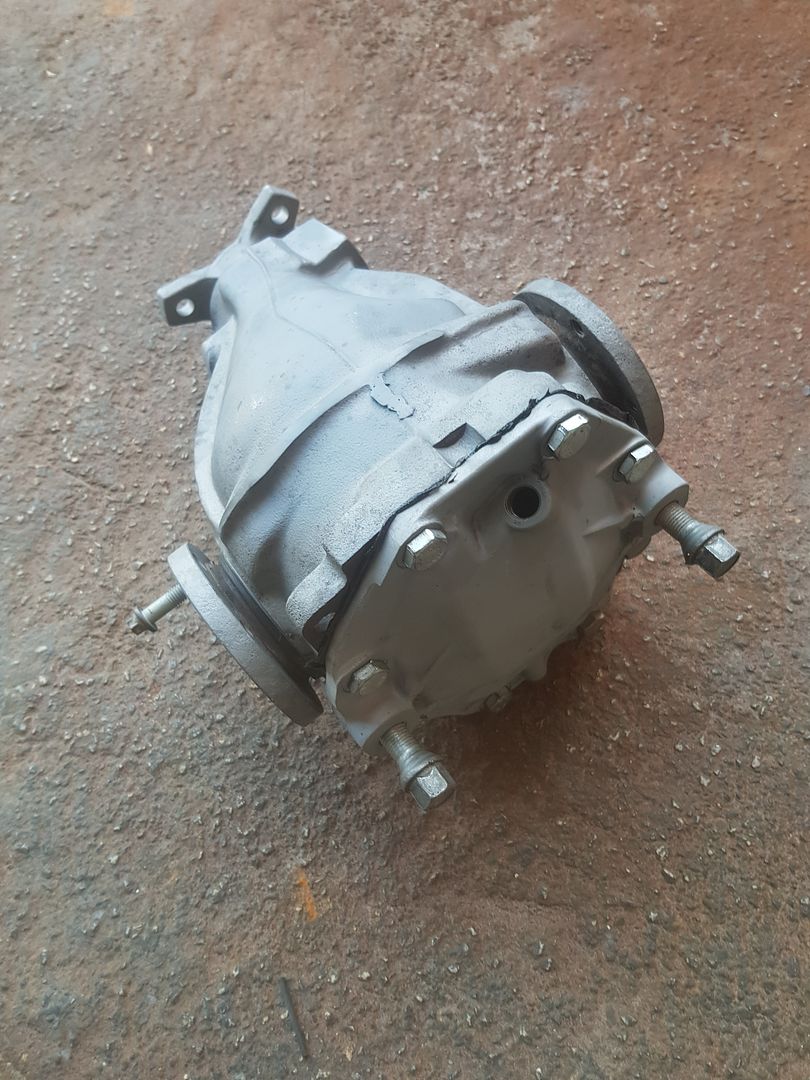
Oh and just for the record sandblasting sucks.
|
|
|
J666AYP
|
| posted on 9/8/19 at 01:54 AM |

|
|
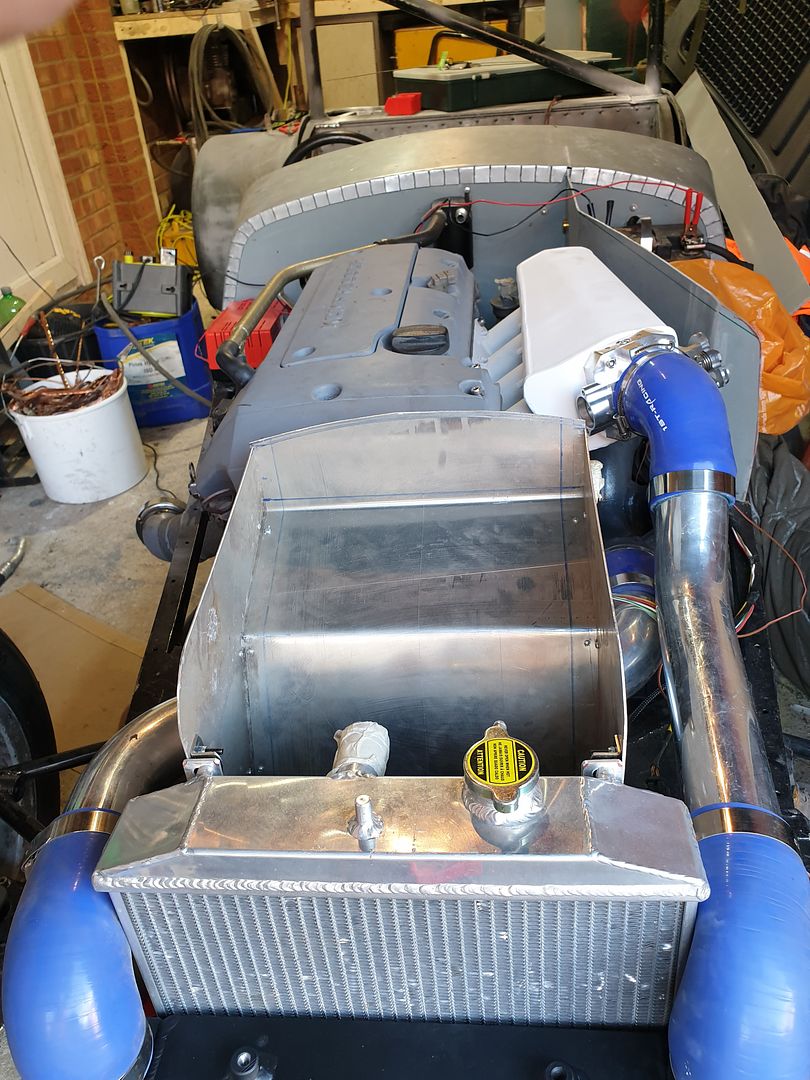
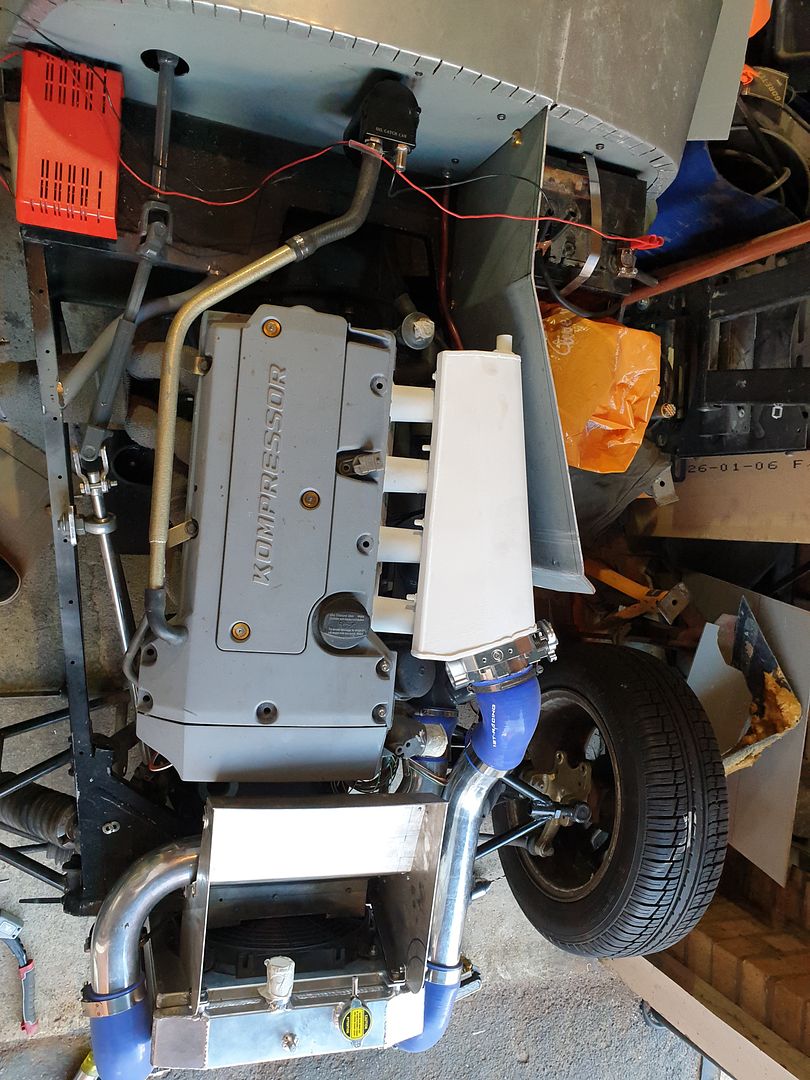
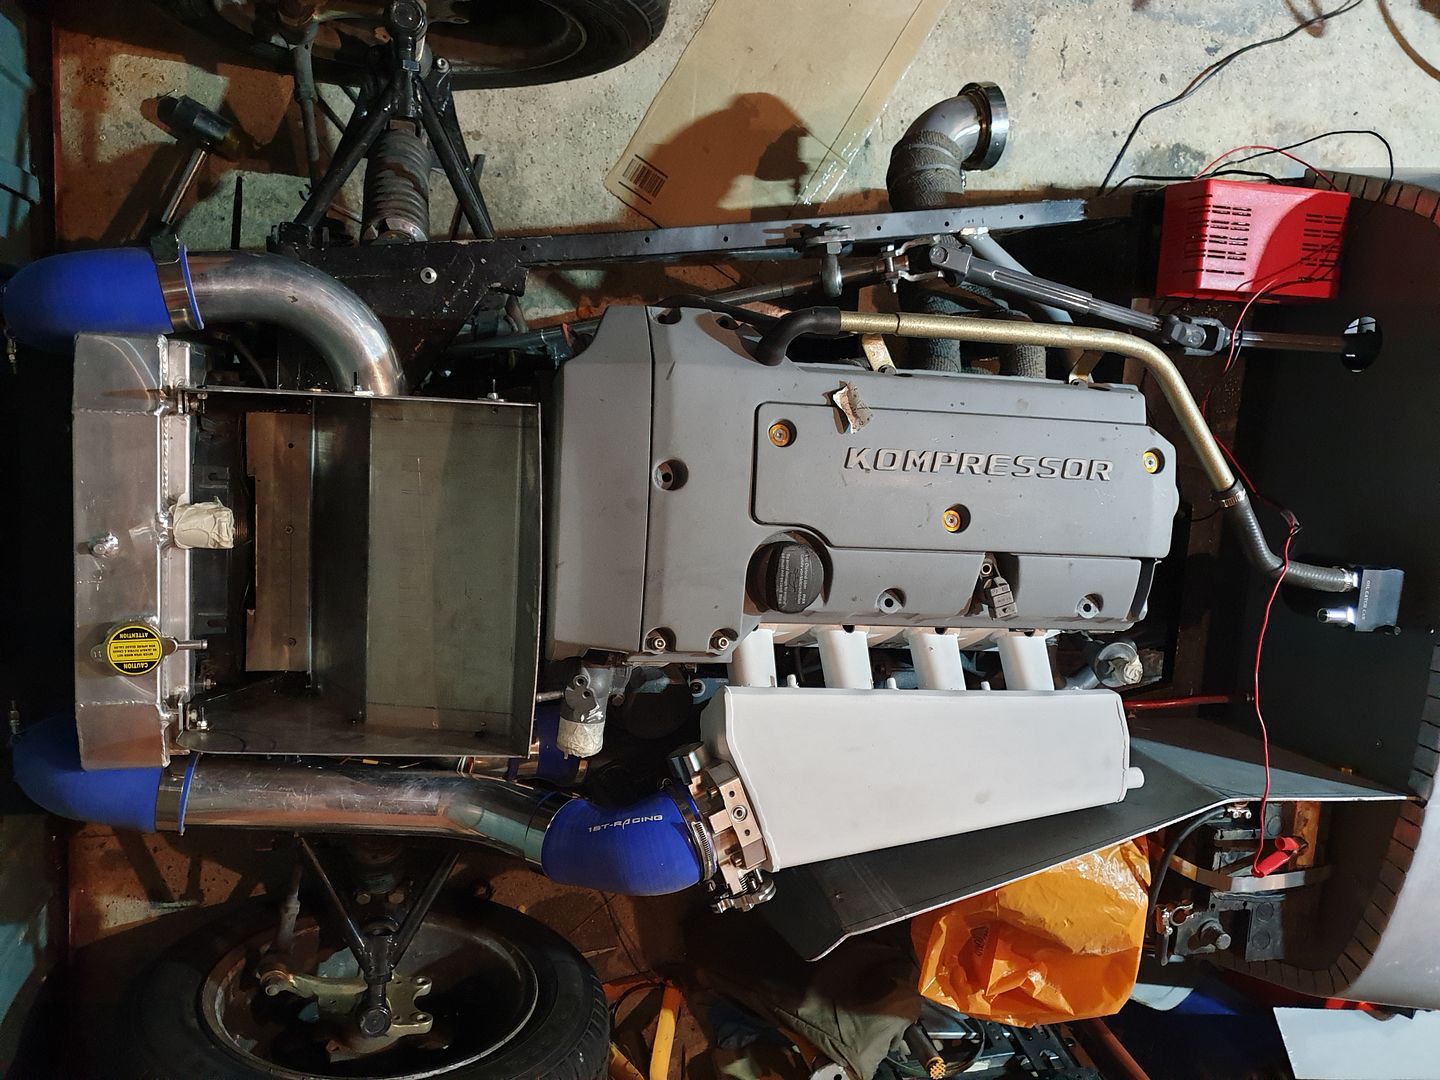
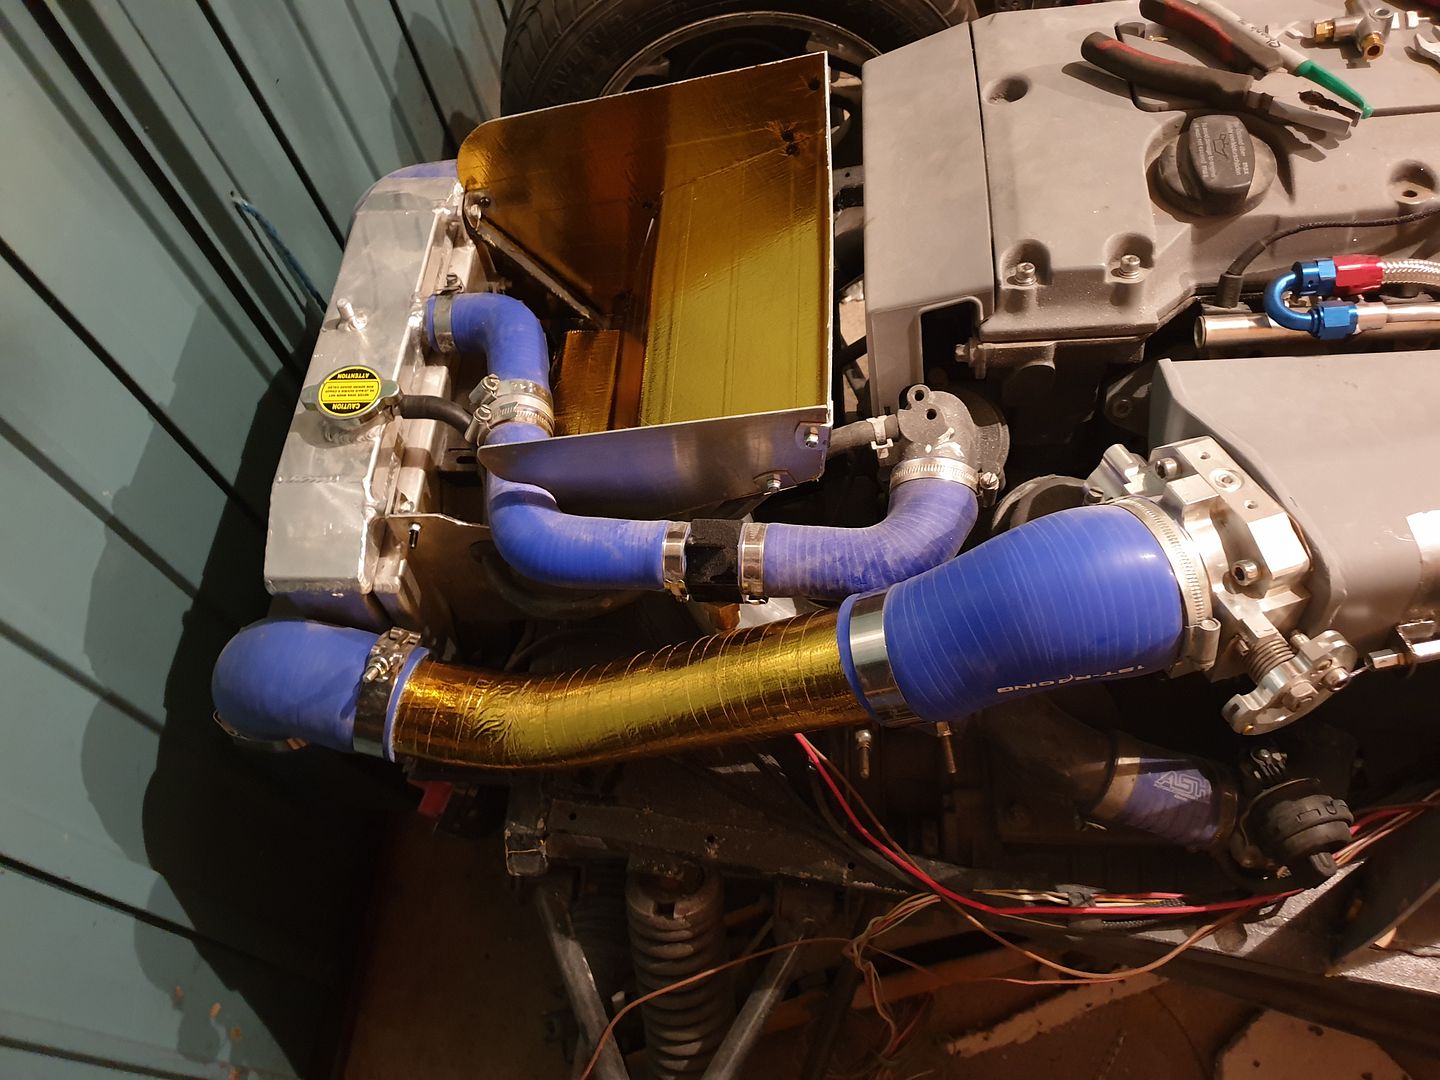
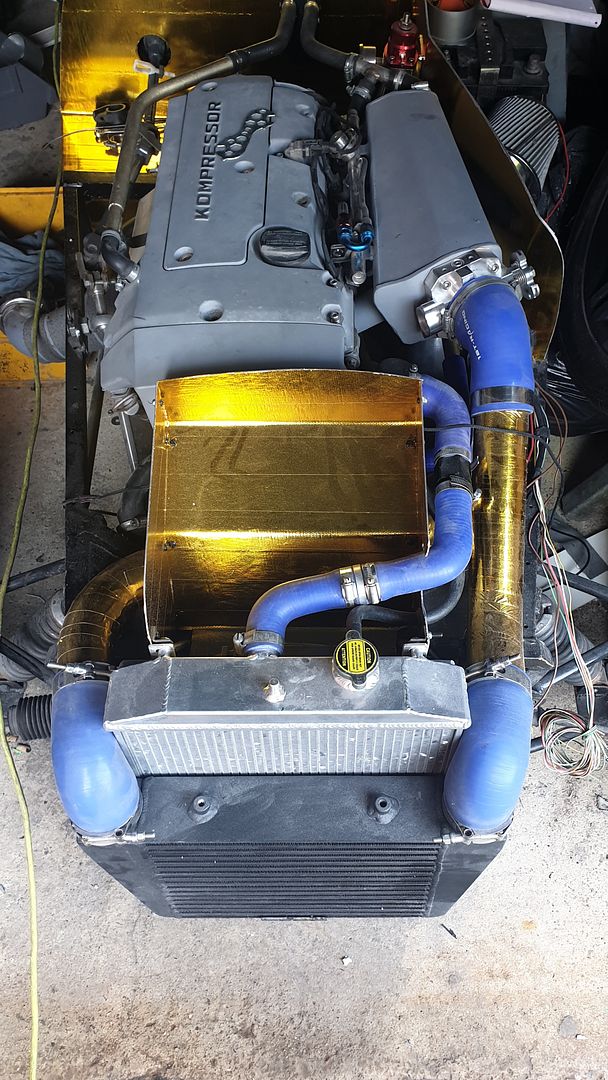
Have been doing some tinkering. Was thinking about potential future issues and how to avoid them... I have already walled off the cone filter from the
engine bay to reduce intake temps. This got me thinking about airflow (or lack of it) inside the engine bay.
My rad/fan is shrouded on the back side so I thought I would do some ducting. The top half will vent straight out of the nose cone (was very shocked
at just how much air it throws out). It also stops a load of hot air blowing onto my boost pipes and should reduce the parachute effect in the engine
bay.
The bottom half when built will blow through ducting, past the exhaust manifold and out the O/S wing hopefully taking some of the heat away with it.
Anyway still a working progress but you get the idea.
[Edited on 9/8/19 by J666AYP]
|
|
|
J666AYP
|
| posted on 10/8/19 at 02:48 PM |

|
|
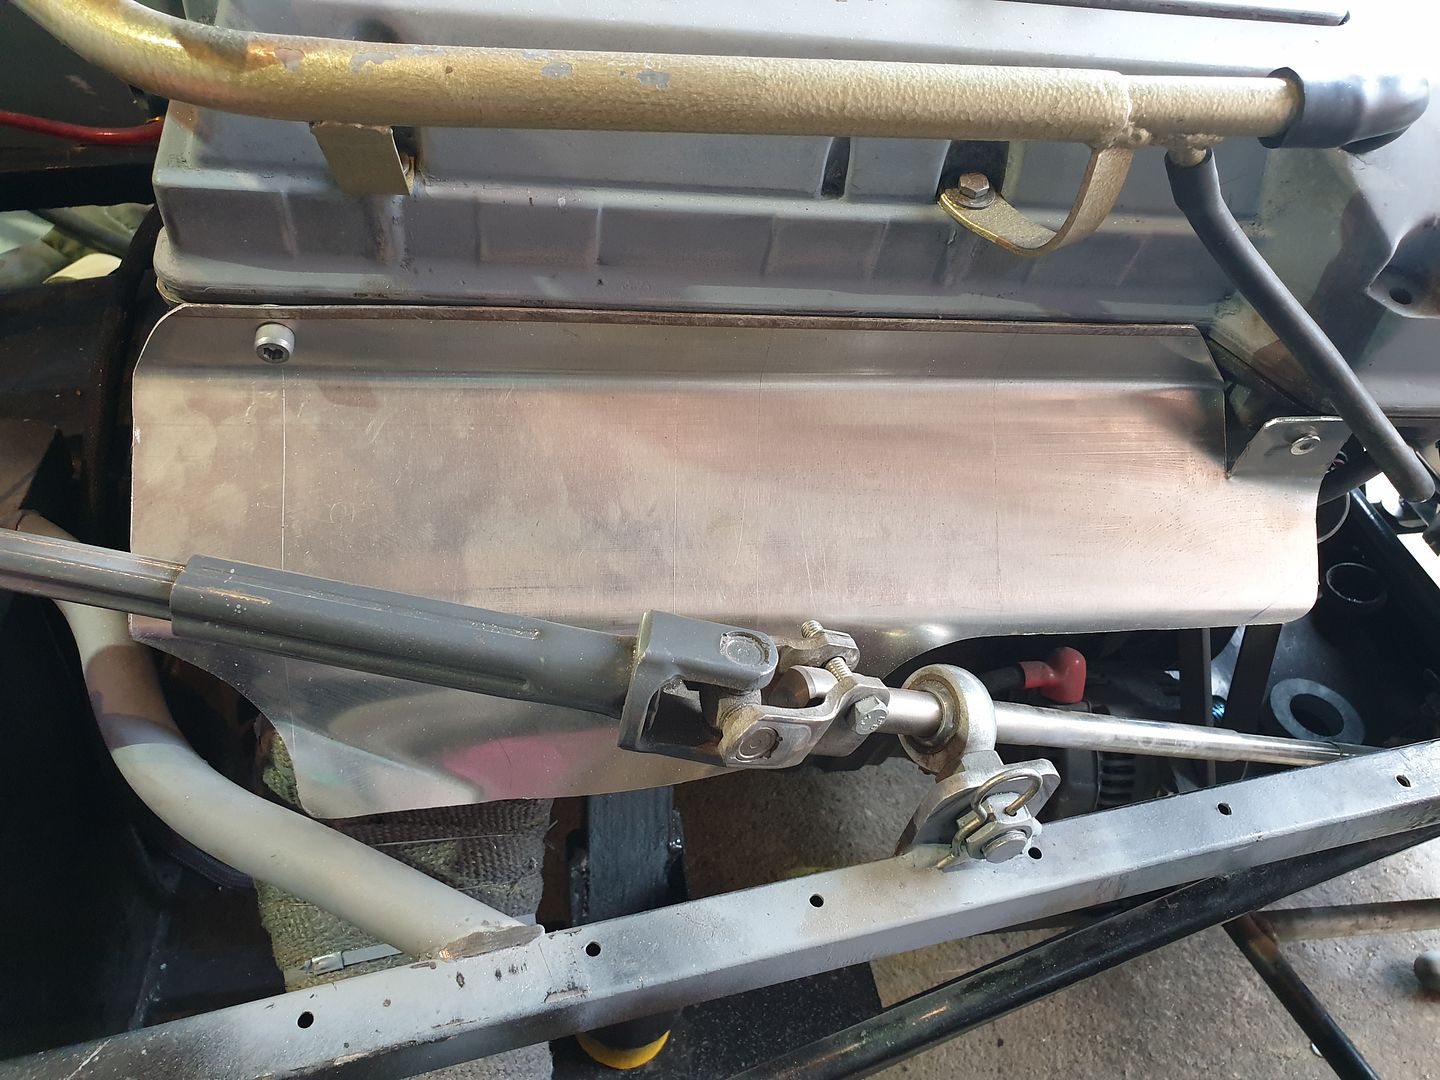
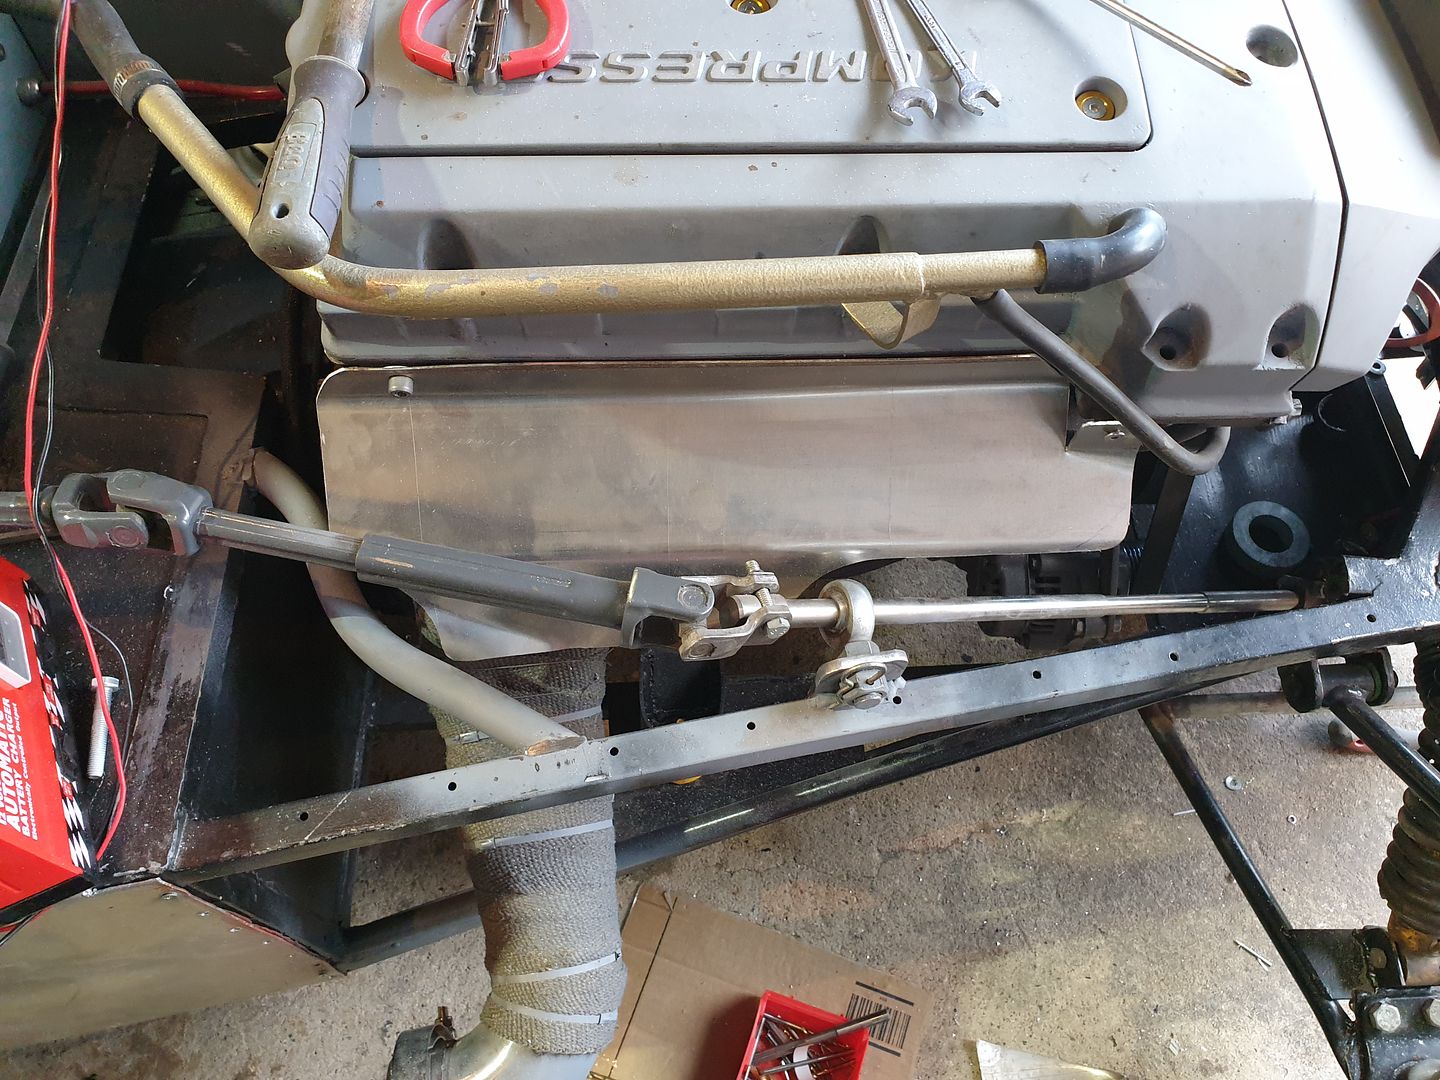
Messing round in garage last night
[Edited on 10/8/19 by J666AYP]
|
|
|
J666AYP
|
| posted on 3/9/19 at 10:03 PM |

|
|
Has been a busy couple of weeks!
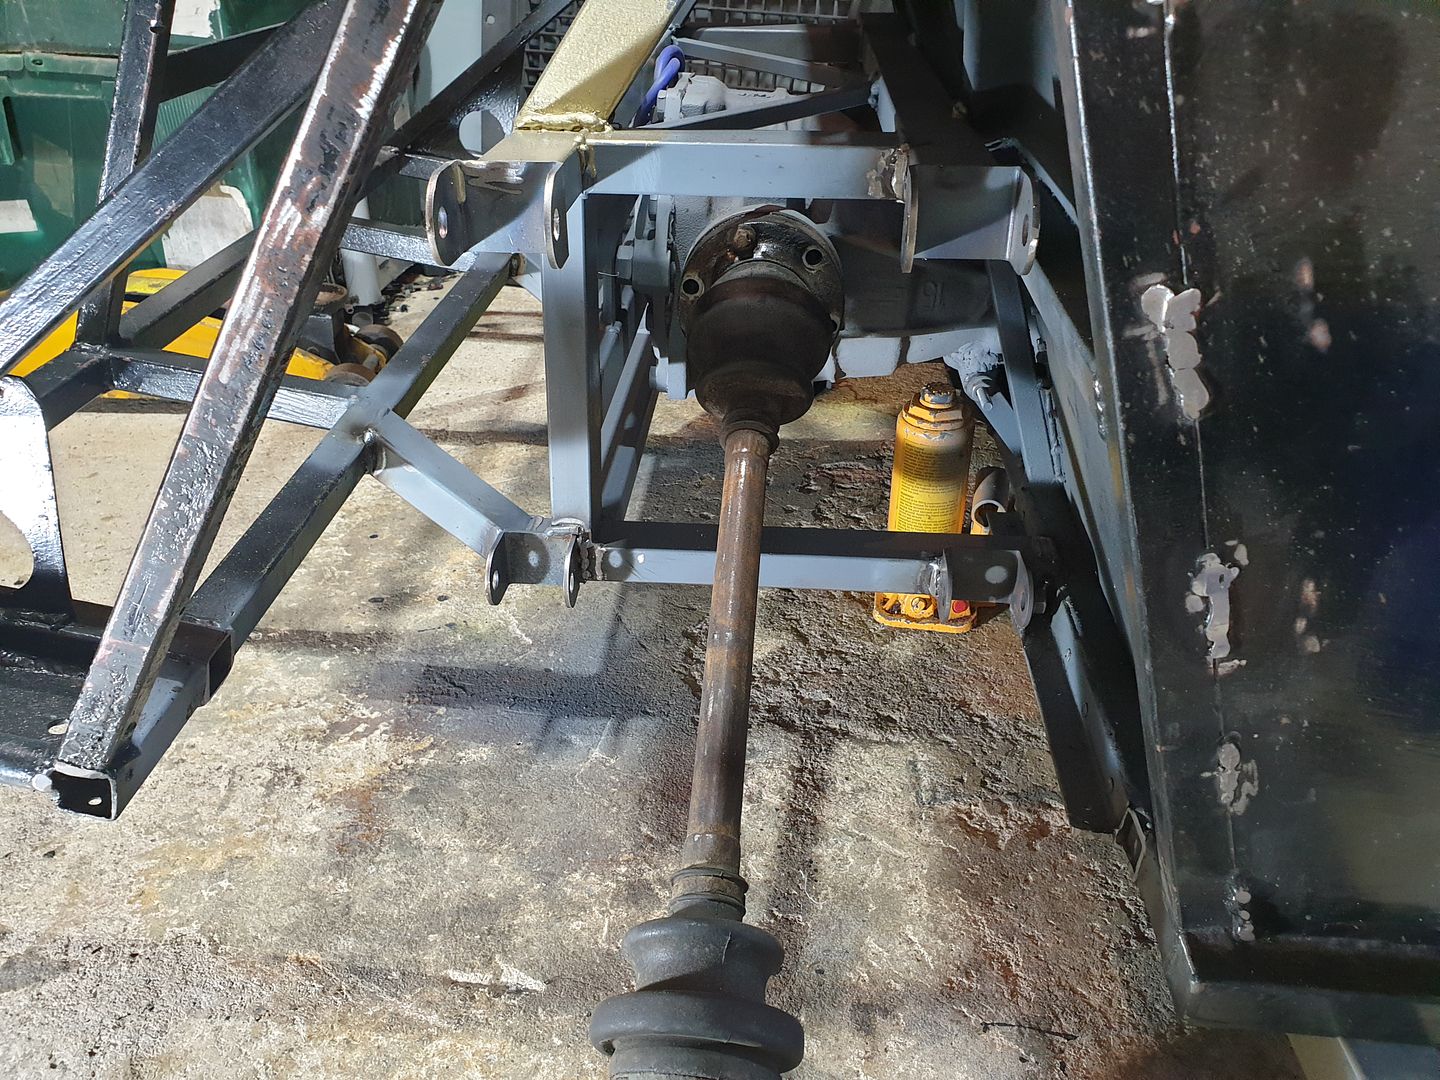
I had enough of trying to find a way to make the rear diff/suspension mounts up using the existing frame.... so I cut it all out and started again. I
now have a nice level section for mounting from and its rock solid. Just a few welds under the car to finish.
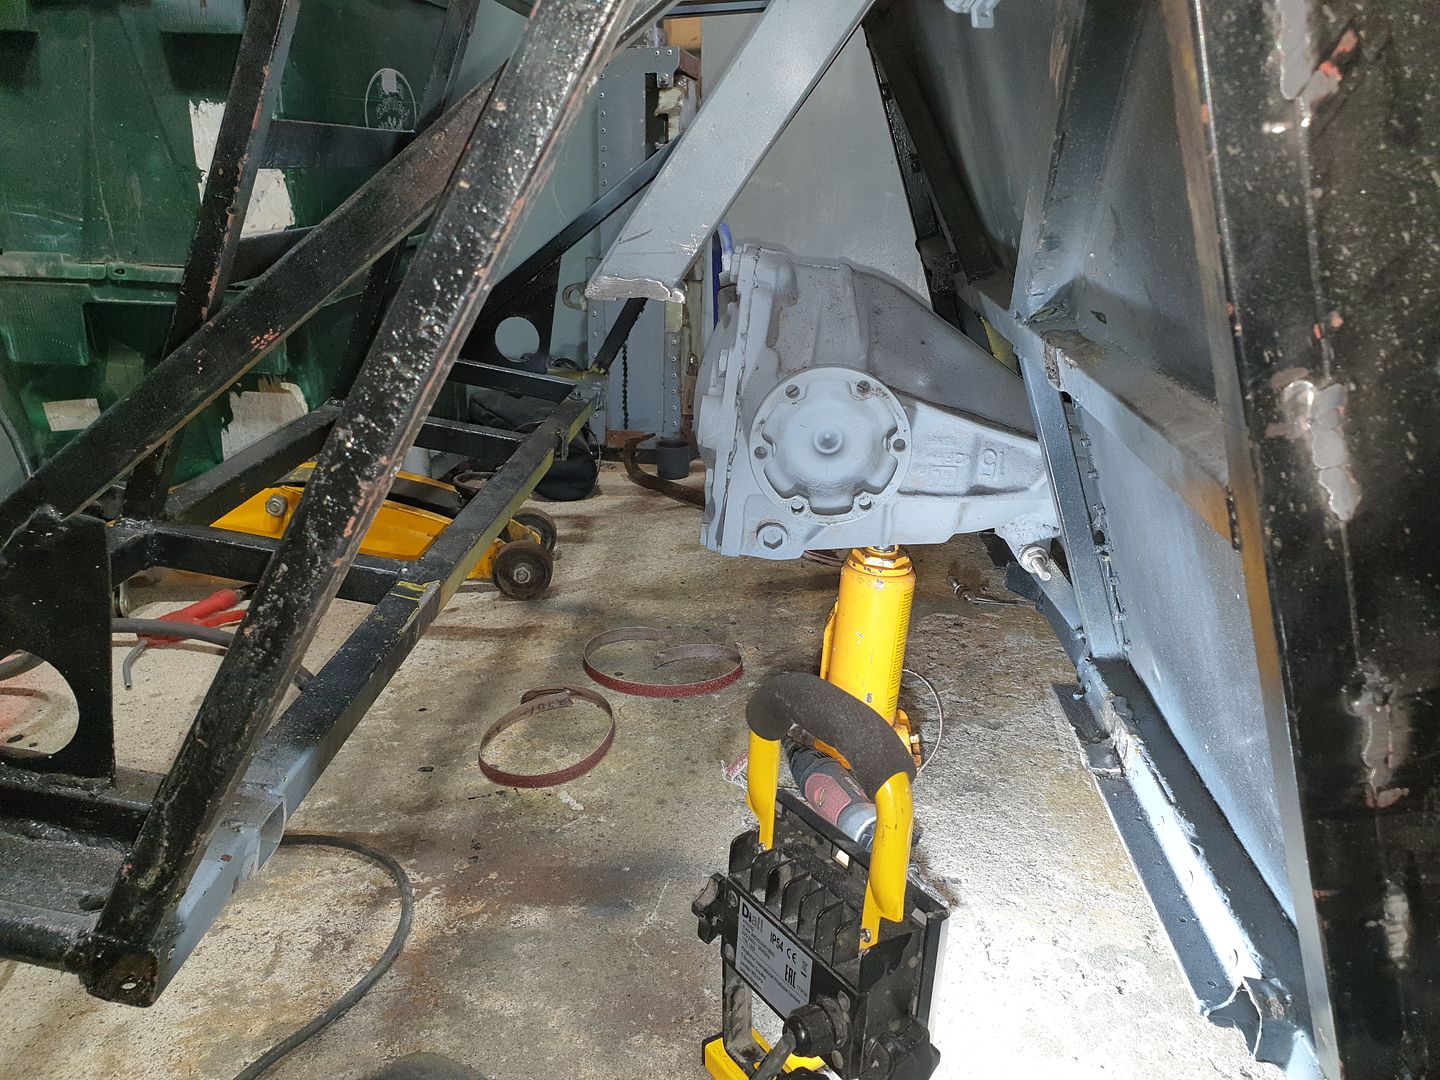
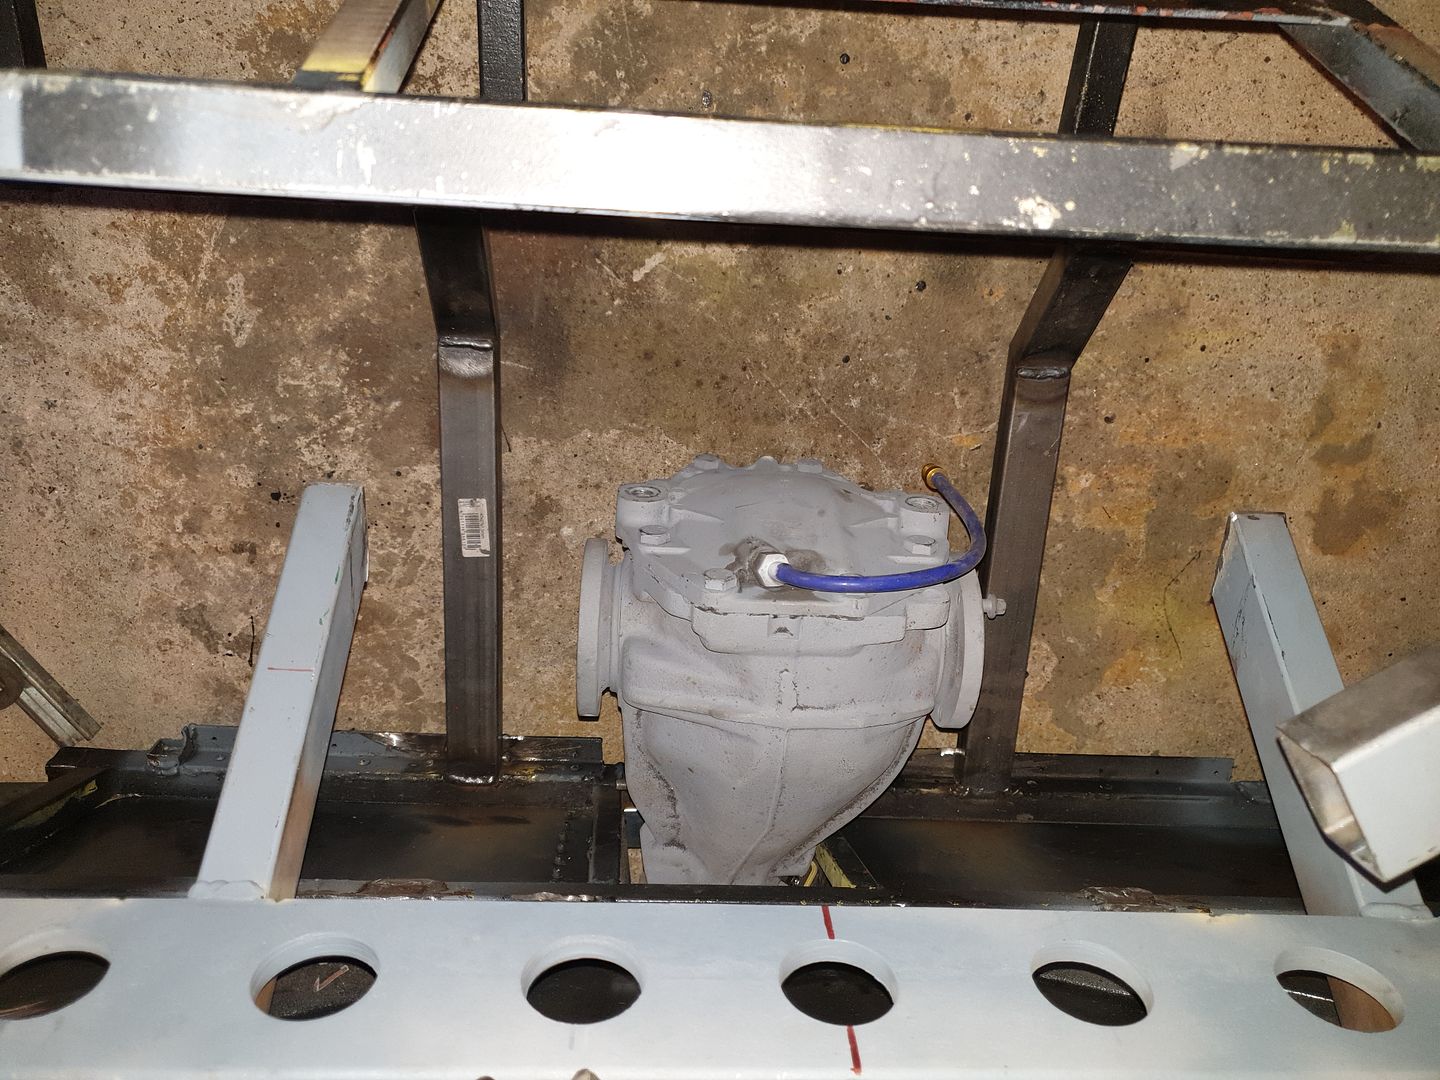
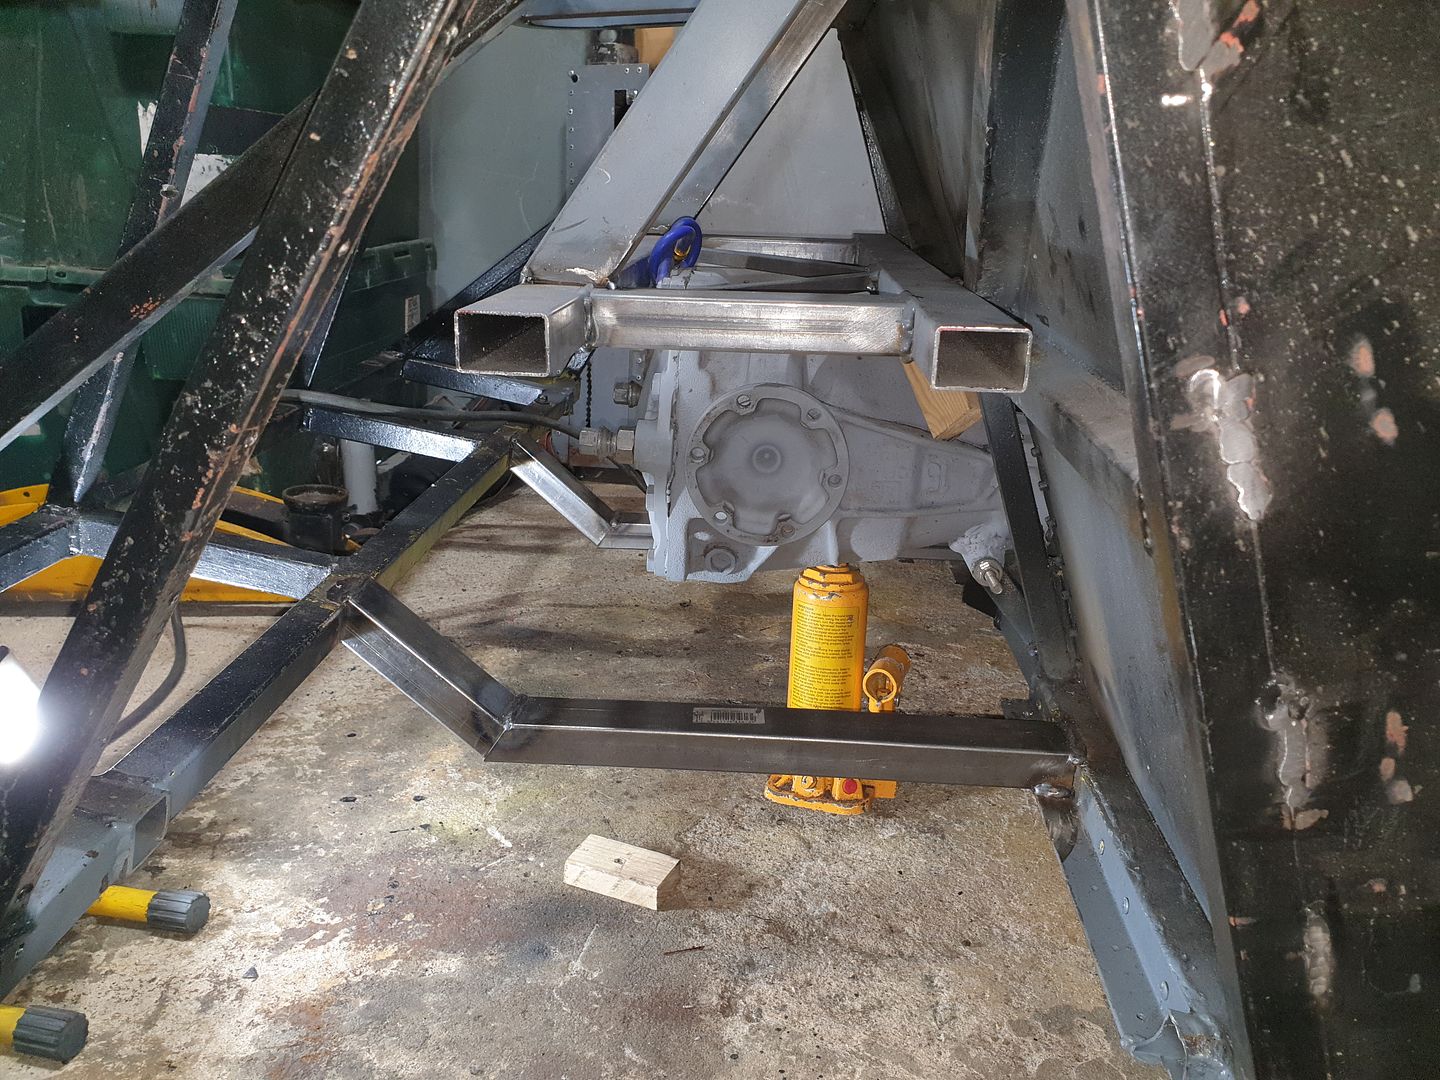
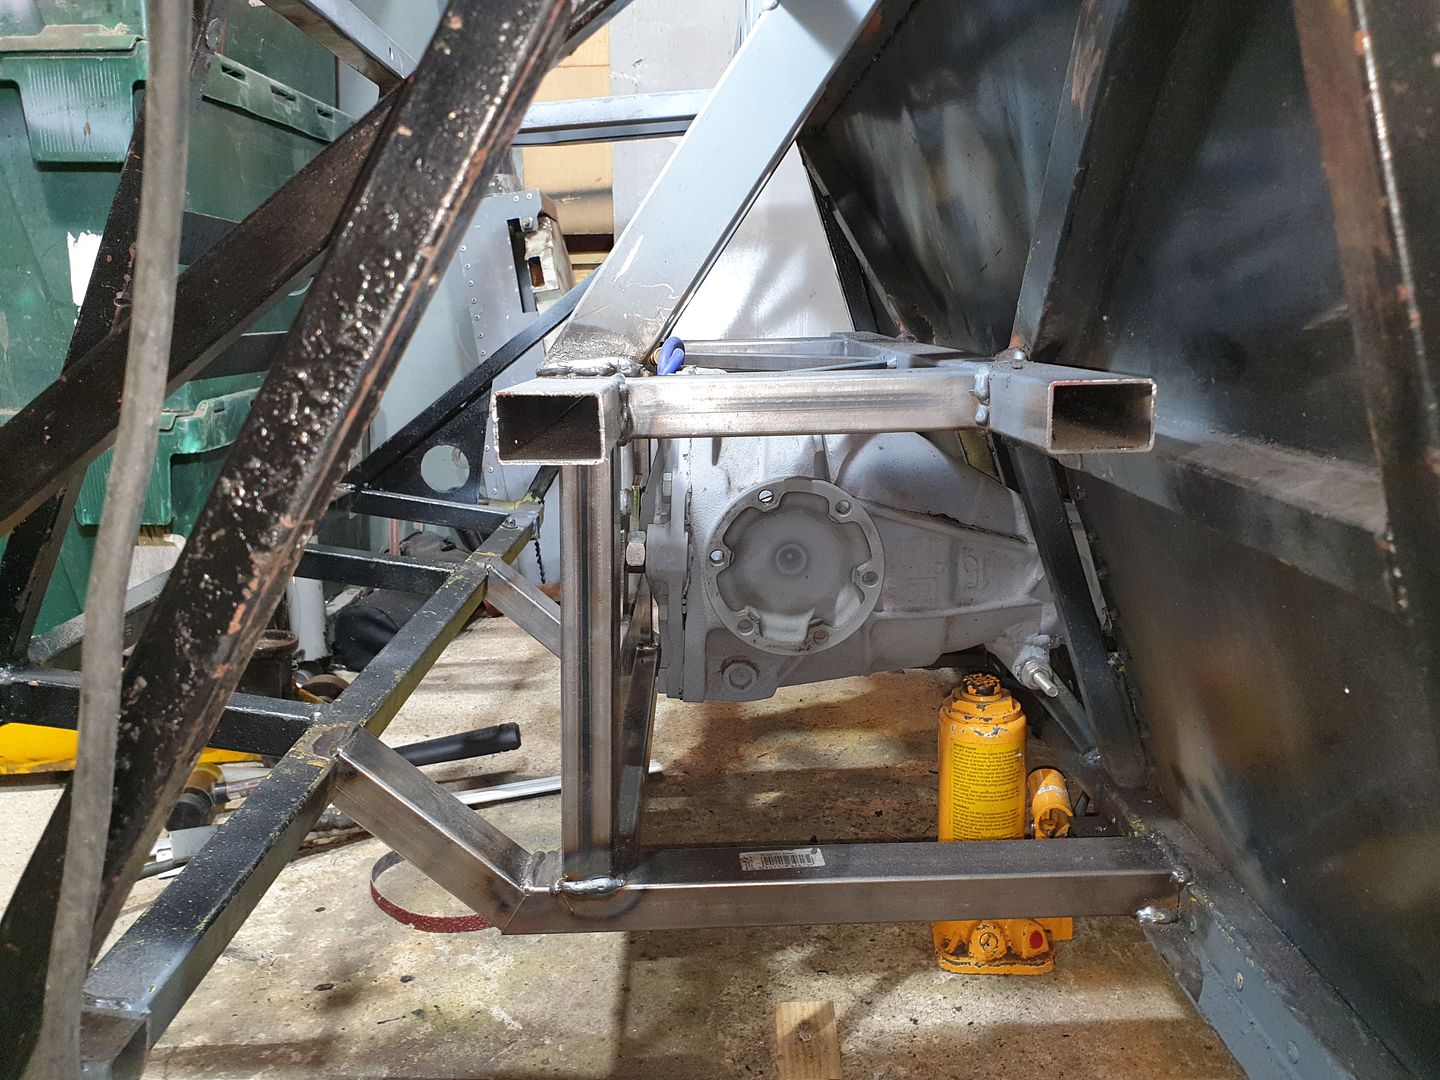
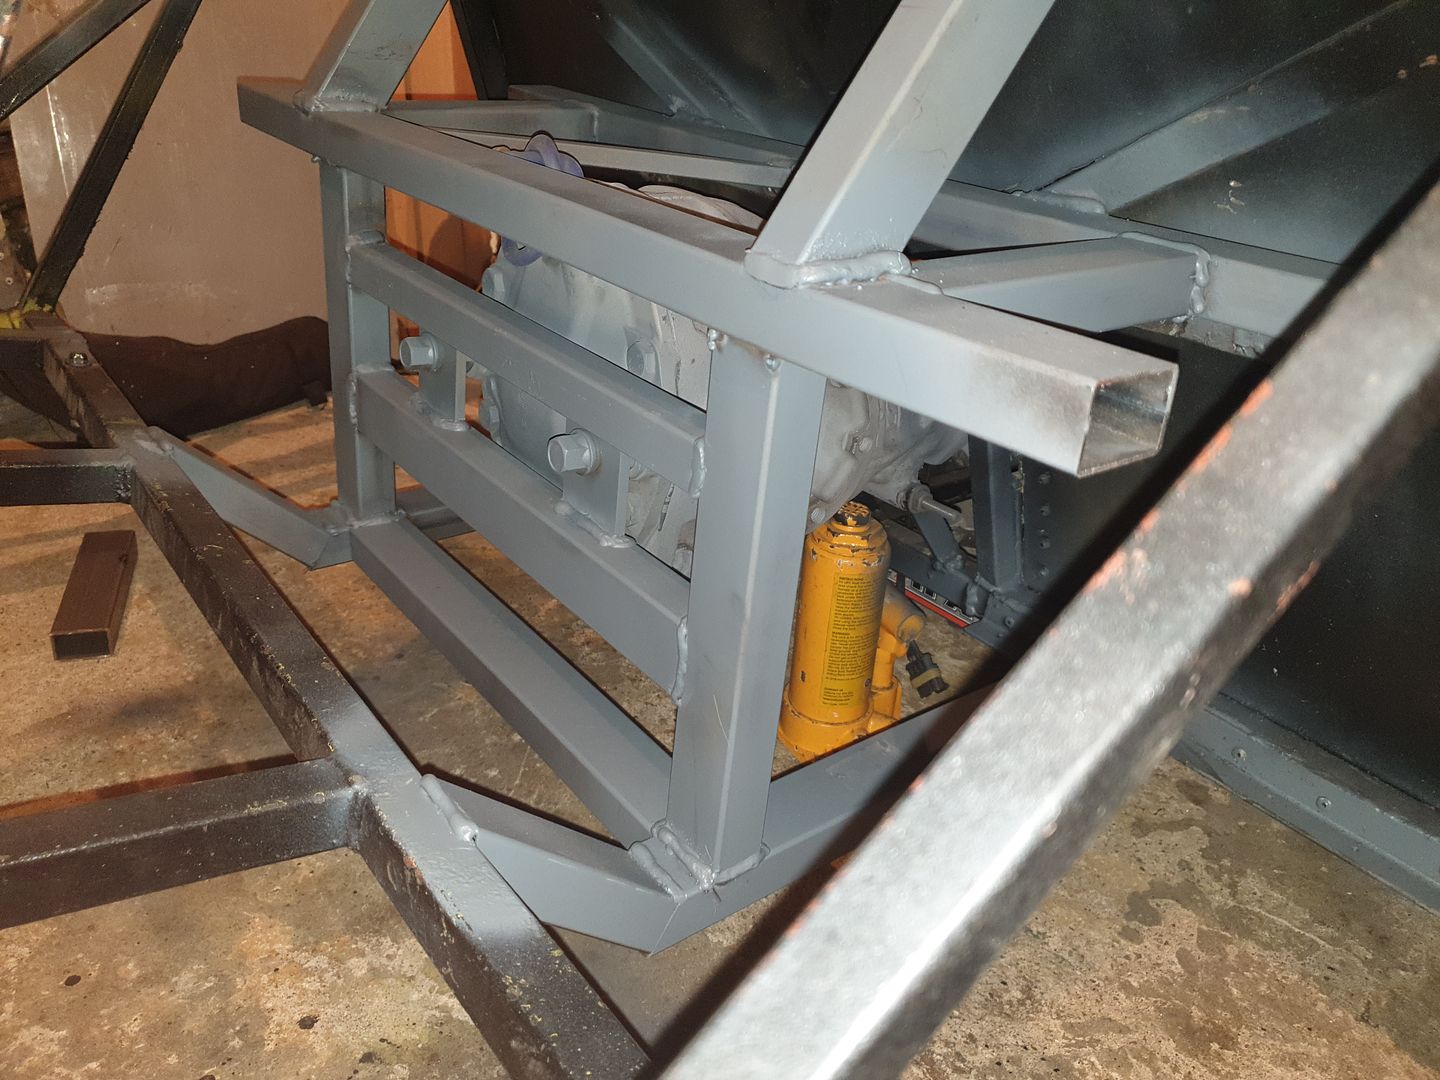
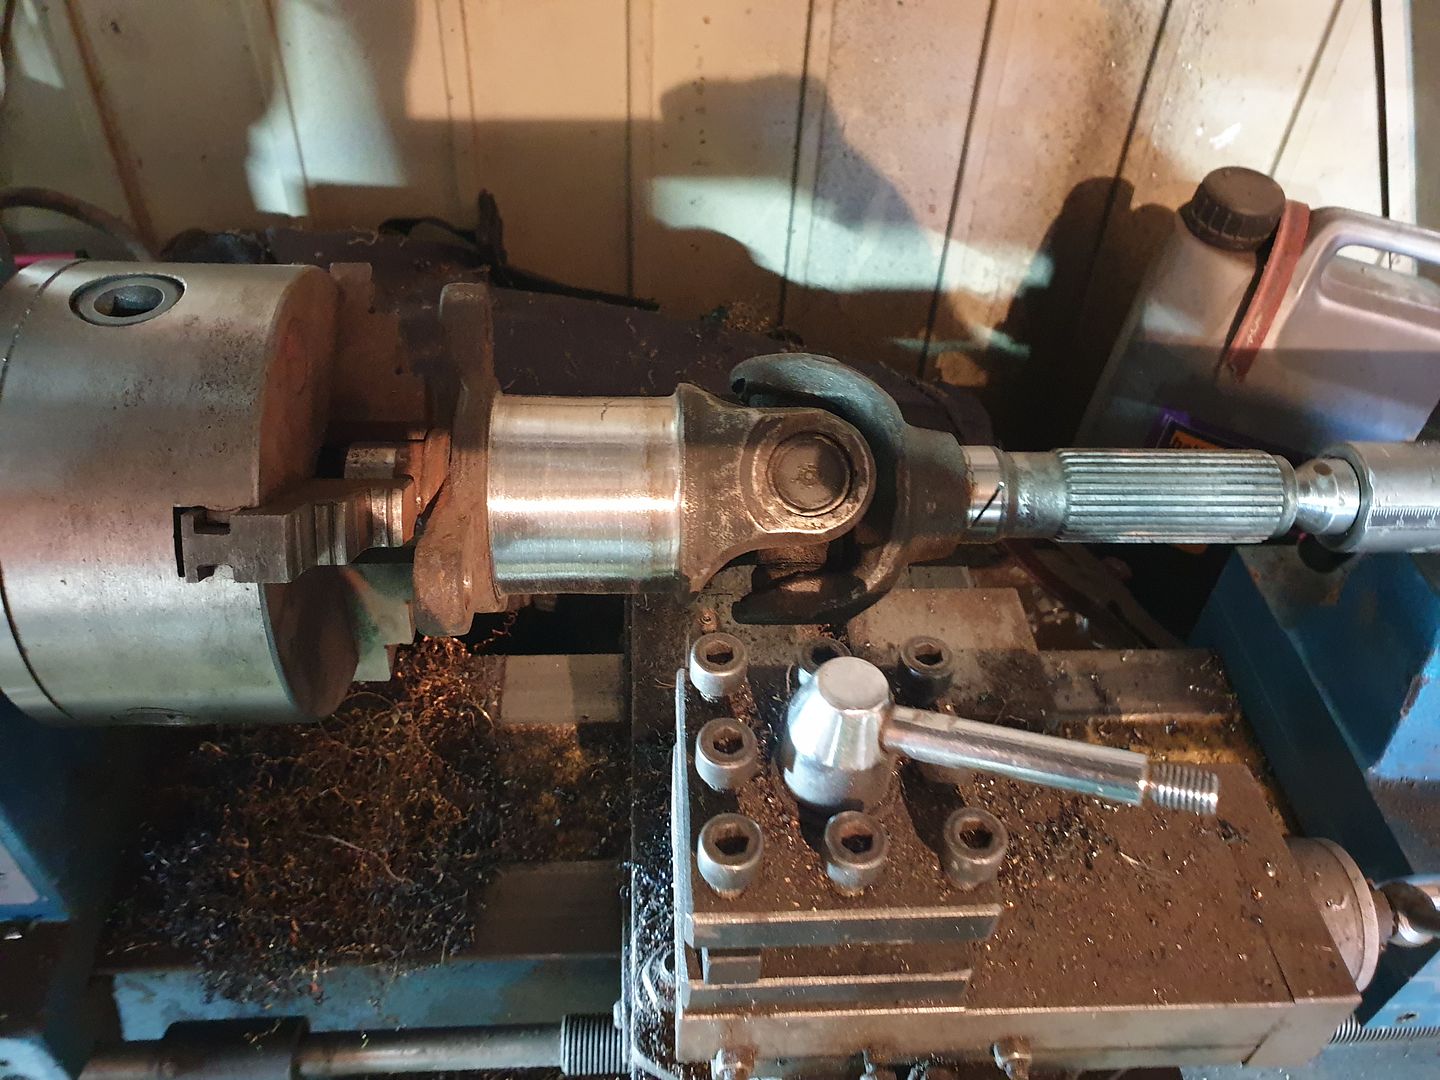
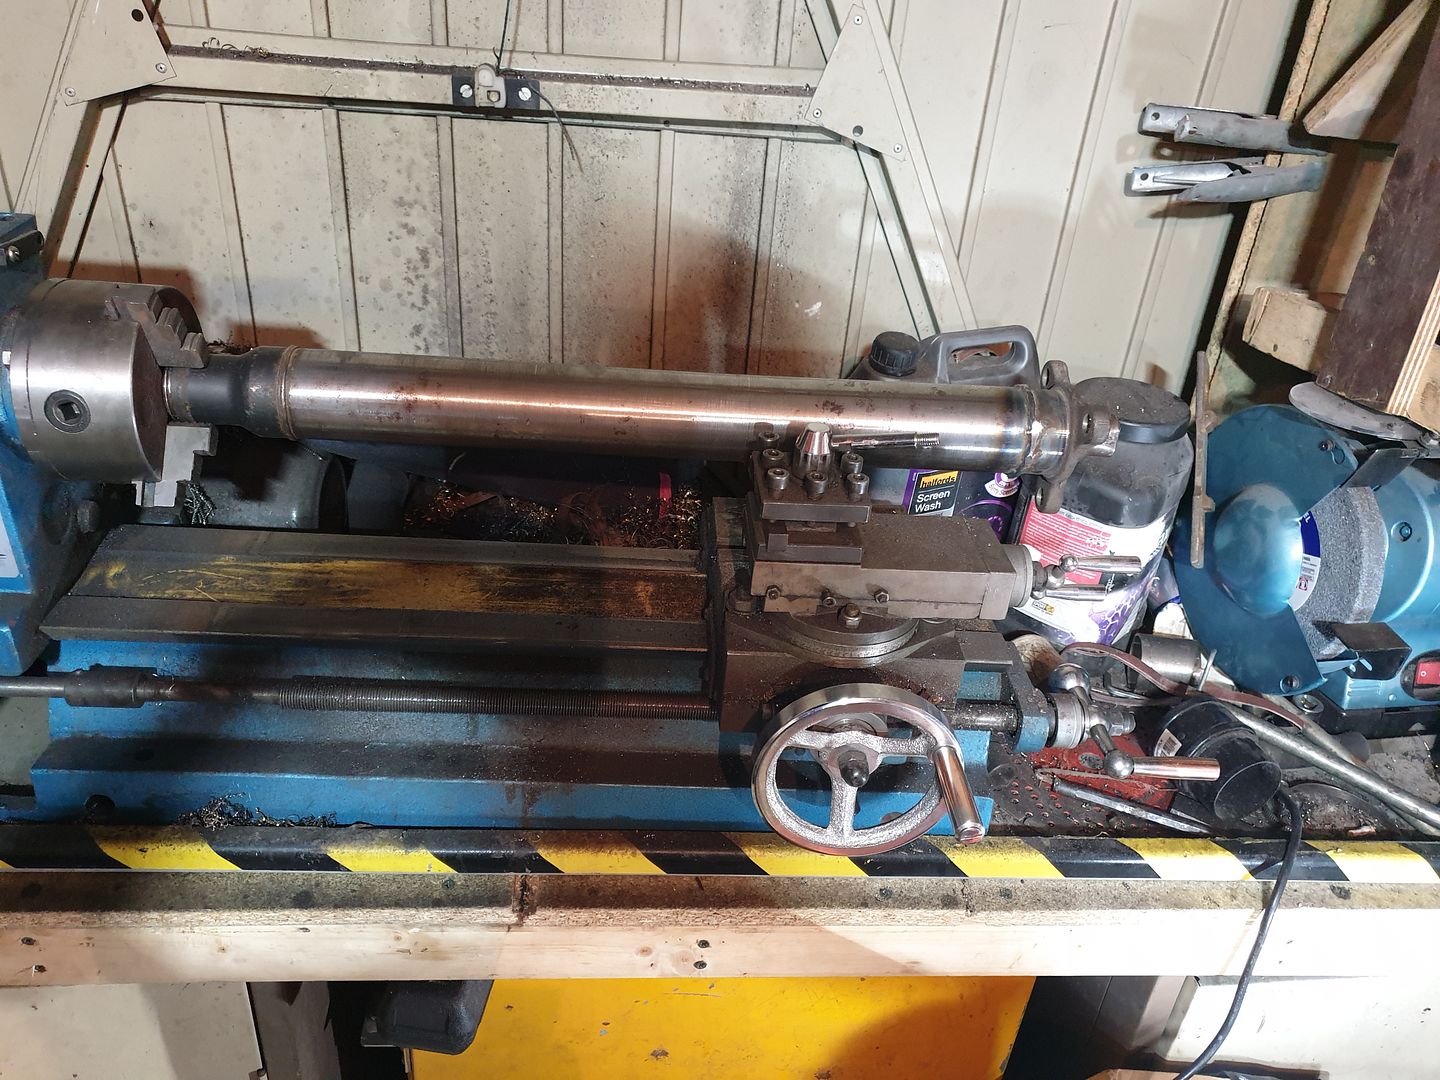
I have also cut down my diff (only for mocking/setting up until I get a professionally made one). Cut ends have been trued up on the lathe, cored with
a smaller ID tube, then been sleeved twice on the outsides (with seaming and turning between sleeves. Was all done on the lathe or jigged and has
minimal run out so not too shabby at all. (Bottom pic not finished, was the only photo I took).
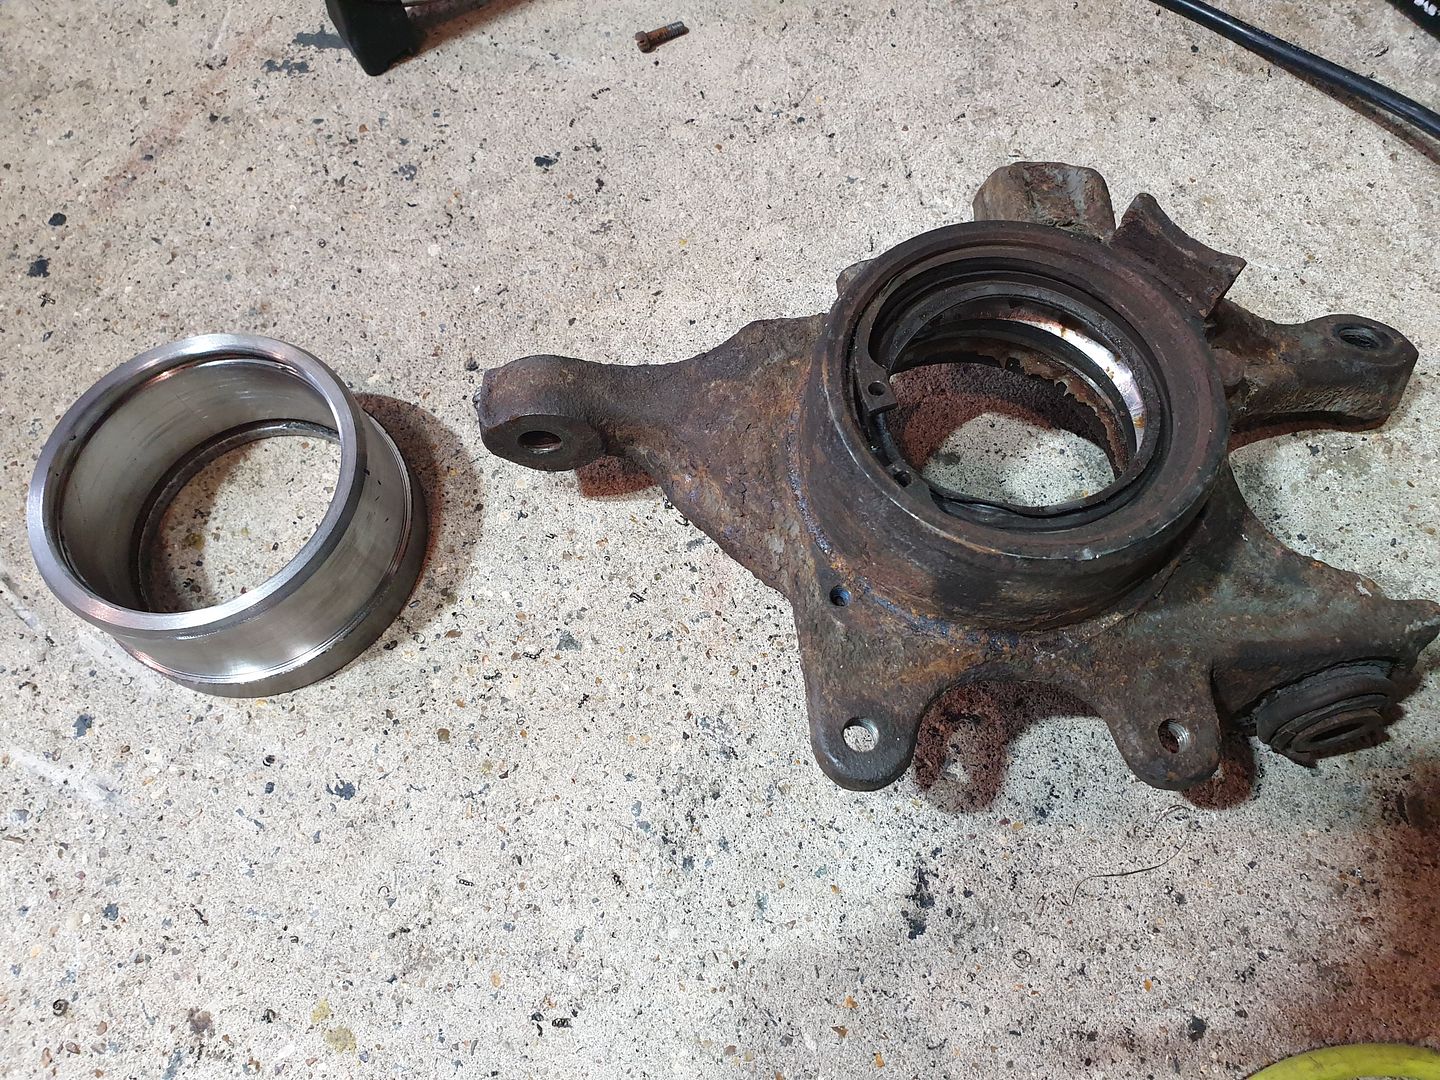
I have also turned down the original uprights (cast steel not iron) so I can use the bearing sleeves for my uprights when I make them.
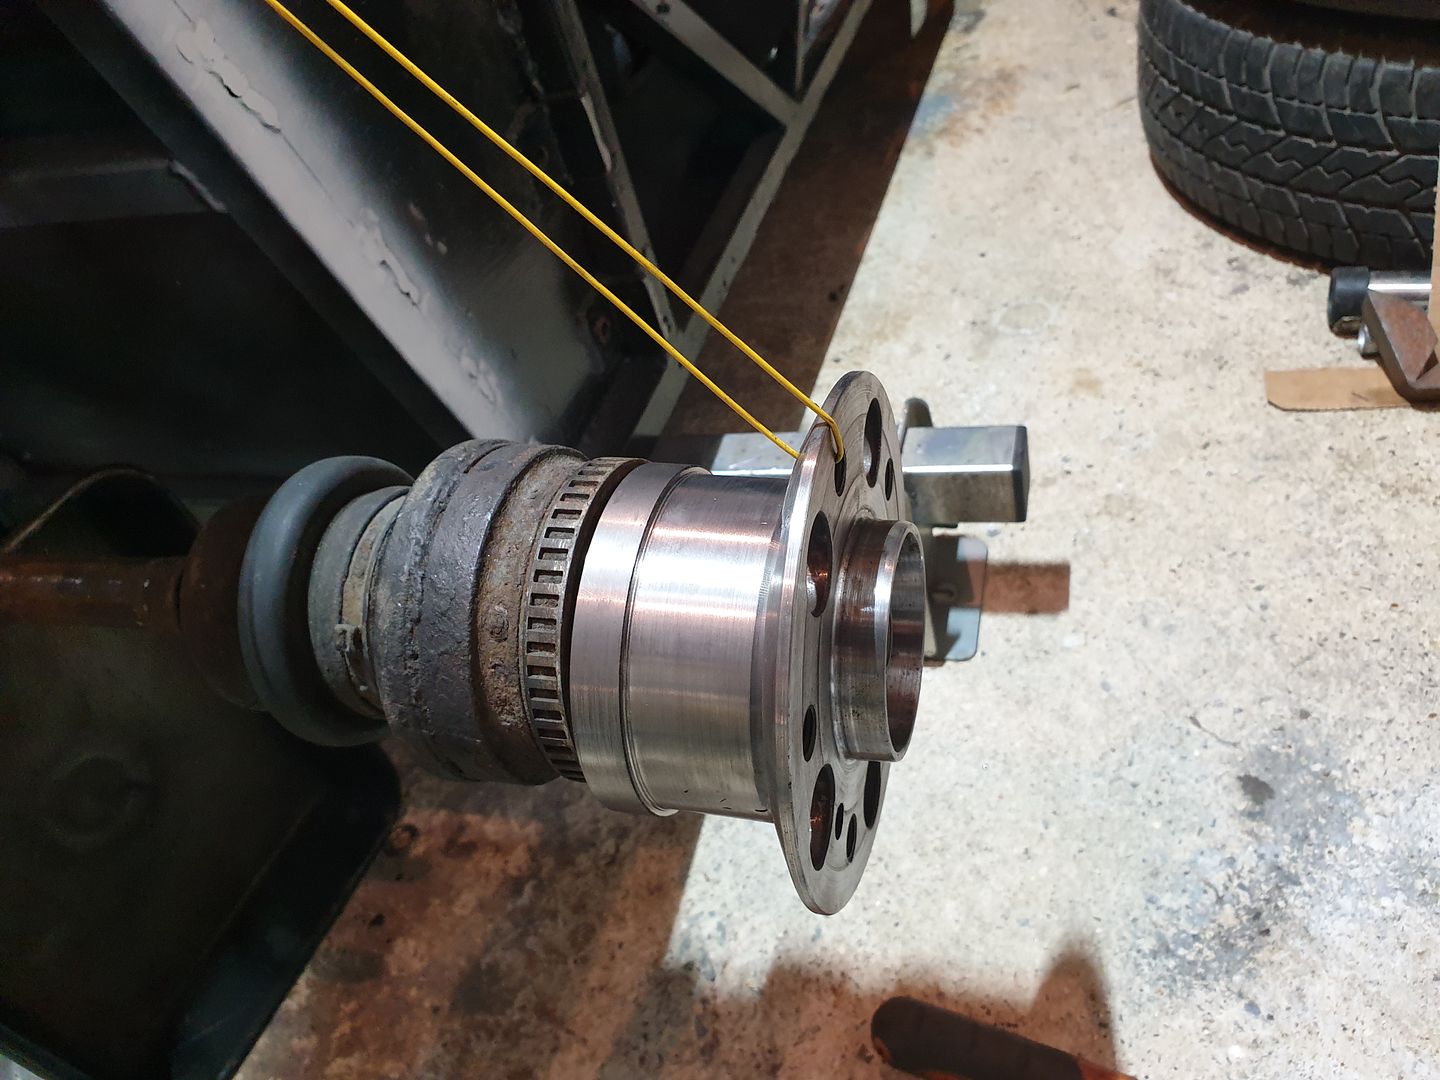
So now its onto the uprights and rear wishbones.
[Edited on 3/9/19 by J666AYP]
|
|
|
big_wasa
|
| posted on 4/9/19 at 04:07 PM |

|
|
I cant believe you got the prop in the lathe 
How will you stop the bearing carrier distorting when you weld it ?
[Edited on 4/9/19 by big_wasa]
|
|
|
J666AYP
|
| posted on 4/9/19 at 04:18 PM |

|
|
quote:
Originally posted by big_wasa
I cant believe you got the prop in the lathe 
How will you stop the bearing carrier distorting when you weld it ?
[Edited on 4/9/19 by big_wasa]
Hi mate,
The plan is to turn down some solid stock and press that into the race when I'm welding it to stop it from distorting and press it out when
cool. Fingers crossed 5" of solid stock in the core and slow welding will stop any distortion.
And the lathe was mainly used to turn down the weld beads and to check the run out with a dial. It was clamped into tube holders for the majority of
the welding. The inserts I turned down on the lathe were swing press (hammer) tight so it was near enough true to start with for sleeving.
Jay
|
|
|
J666AYP
|
| posted on 9/10/19 at 09:45 PM |

|
|
Been a busy few weeks! Managed to start building my rear uprights so I can use the Mercedes shafts/Mercedes diff. They still need some bracing but I
ran out of gas for the welder half way through and have not had chance to grab a new bottle as yet. Have decided to use the poly bushes on the diff
end and rose joints on the spinny rubbery end for ease of adjustment. Will get the joints and tube on order when I stock up on gas.
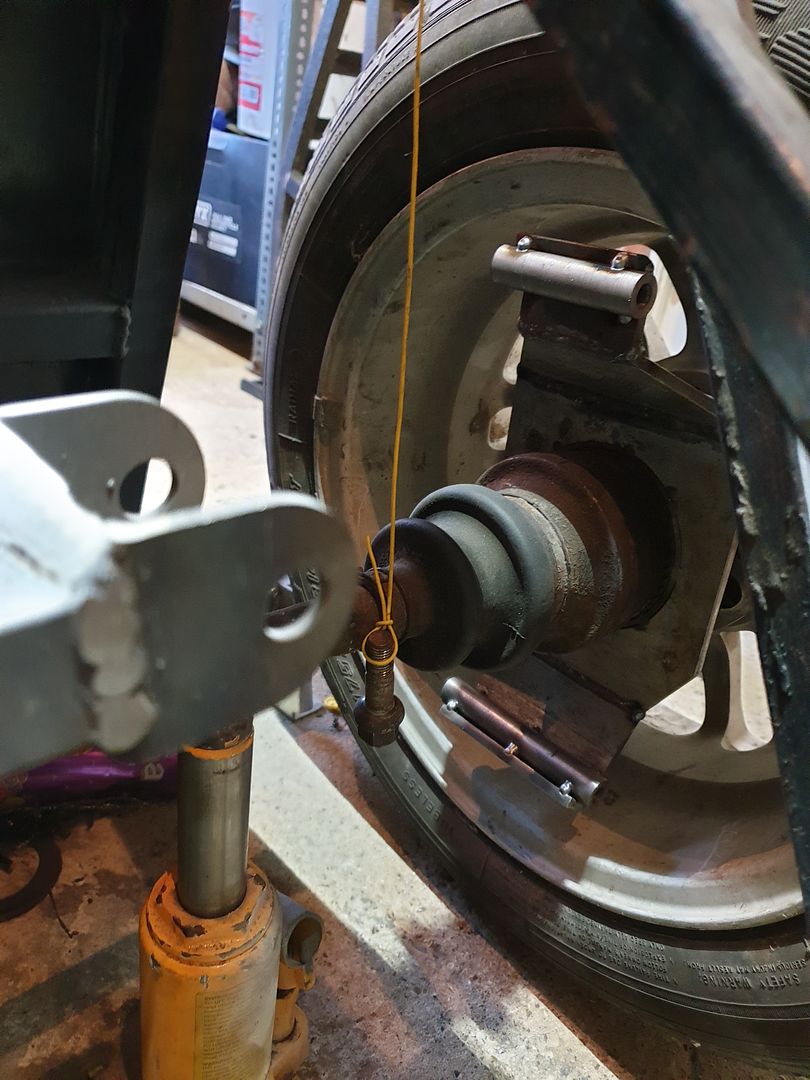
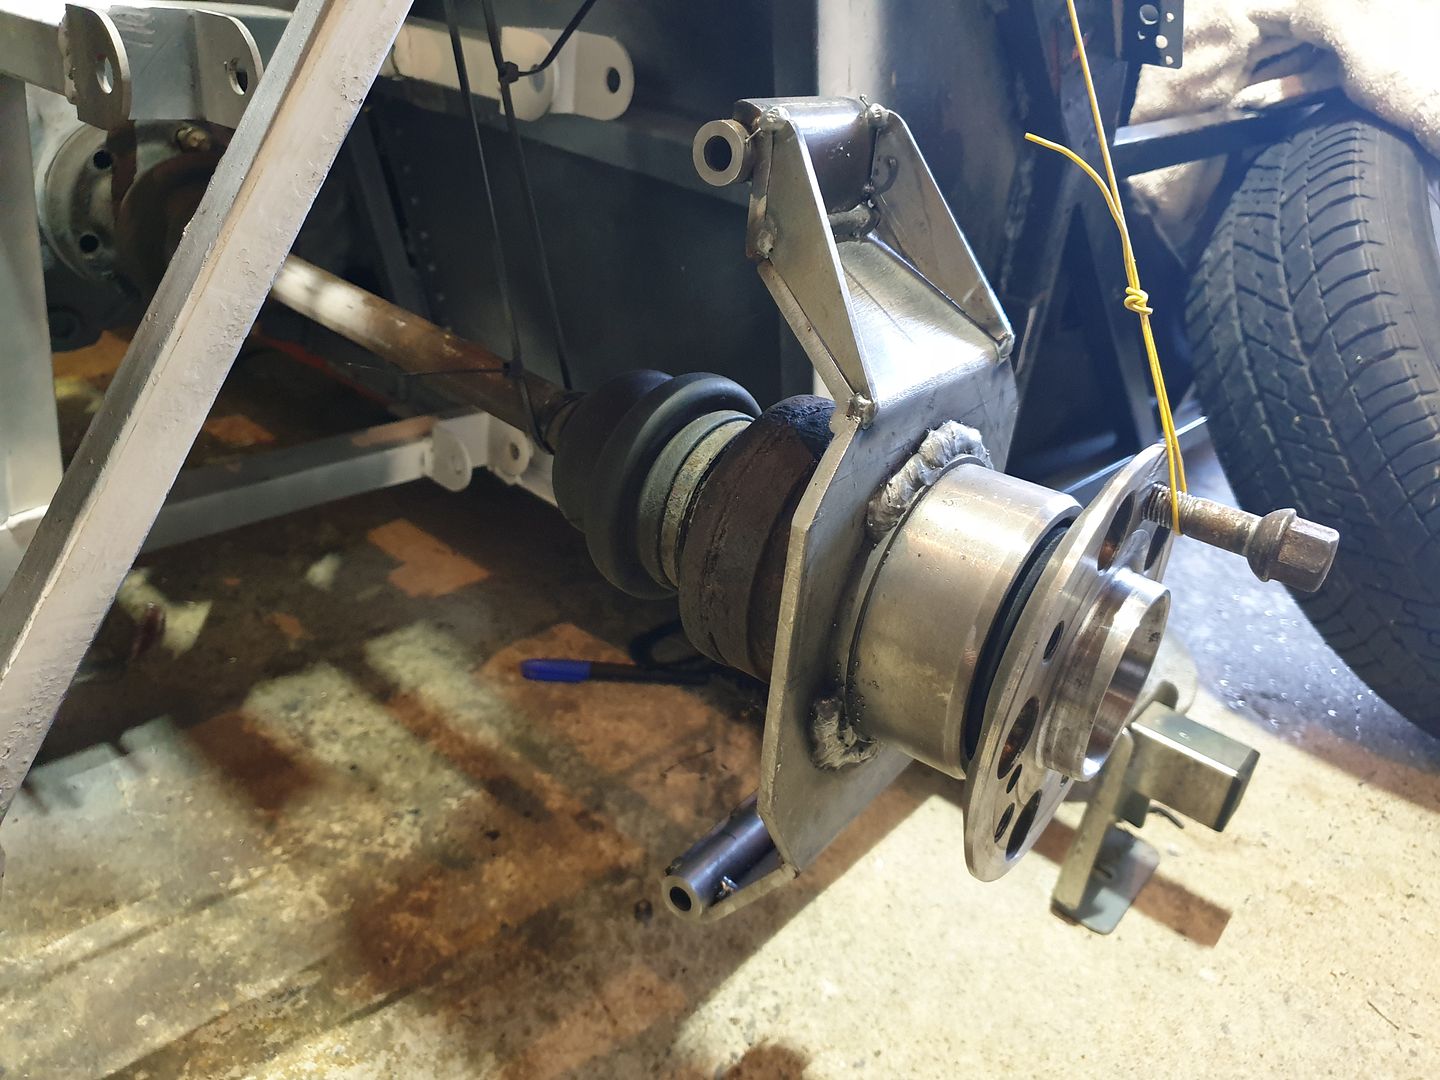
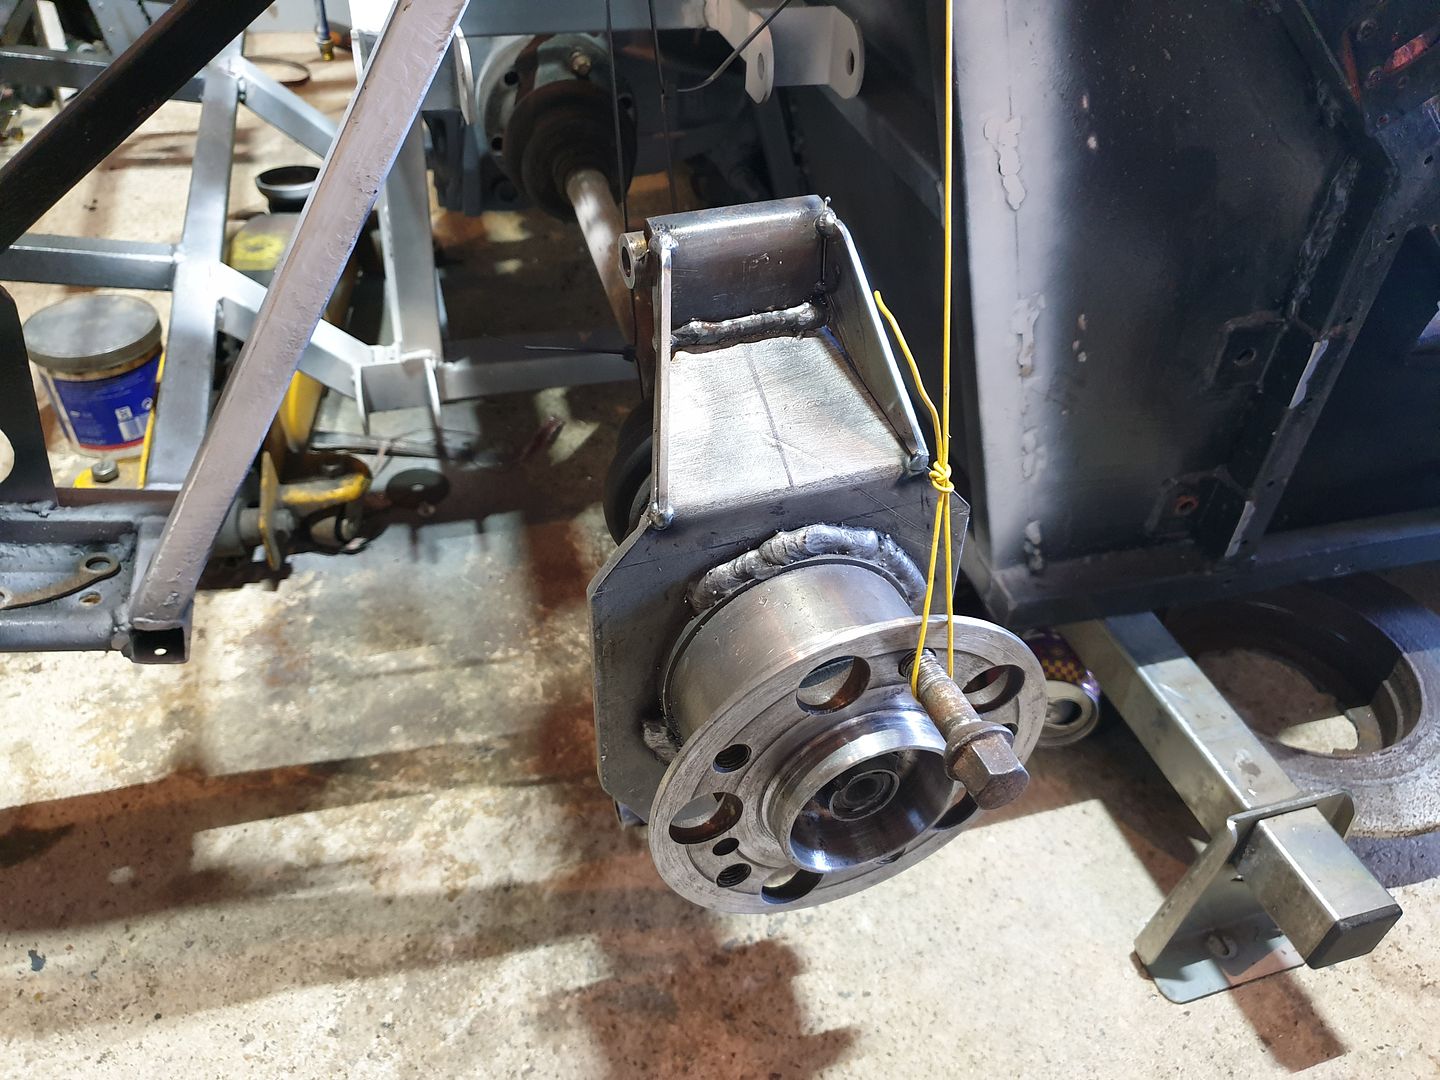
I ditched my original plan for the heater bypass plumbing as I had to knock up a engine block breather that sat right in my way on the N/S. So
it's now routed round the O/S, just need to knock up a couple of brackets to hold the pipe up away from the manifold.
I have also got a inline fan switch that's all plumbed in and wired up.
And I found a smaller variation of the Mercedes fuel rail for a SLK that fits better than the huge CLK item. I have gutted the standard regulators
internals as I am using a adjustable item for the larger injectors/mapping.
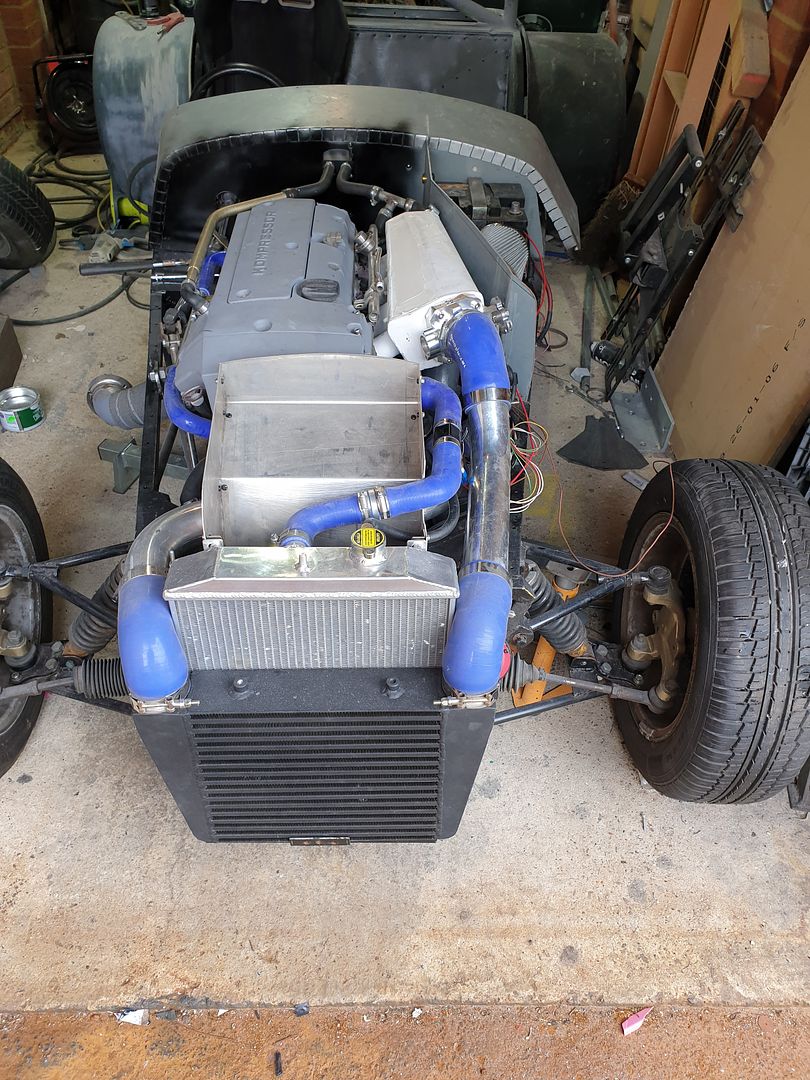
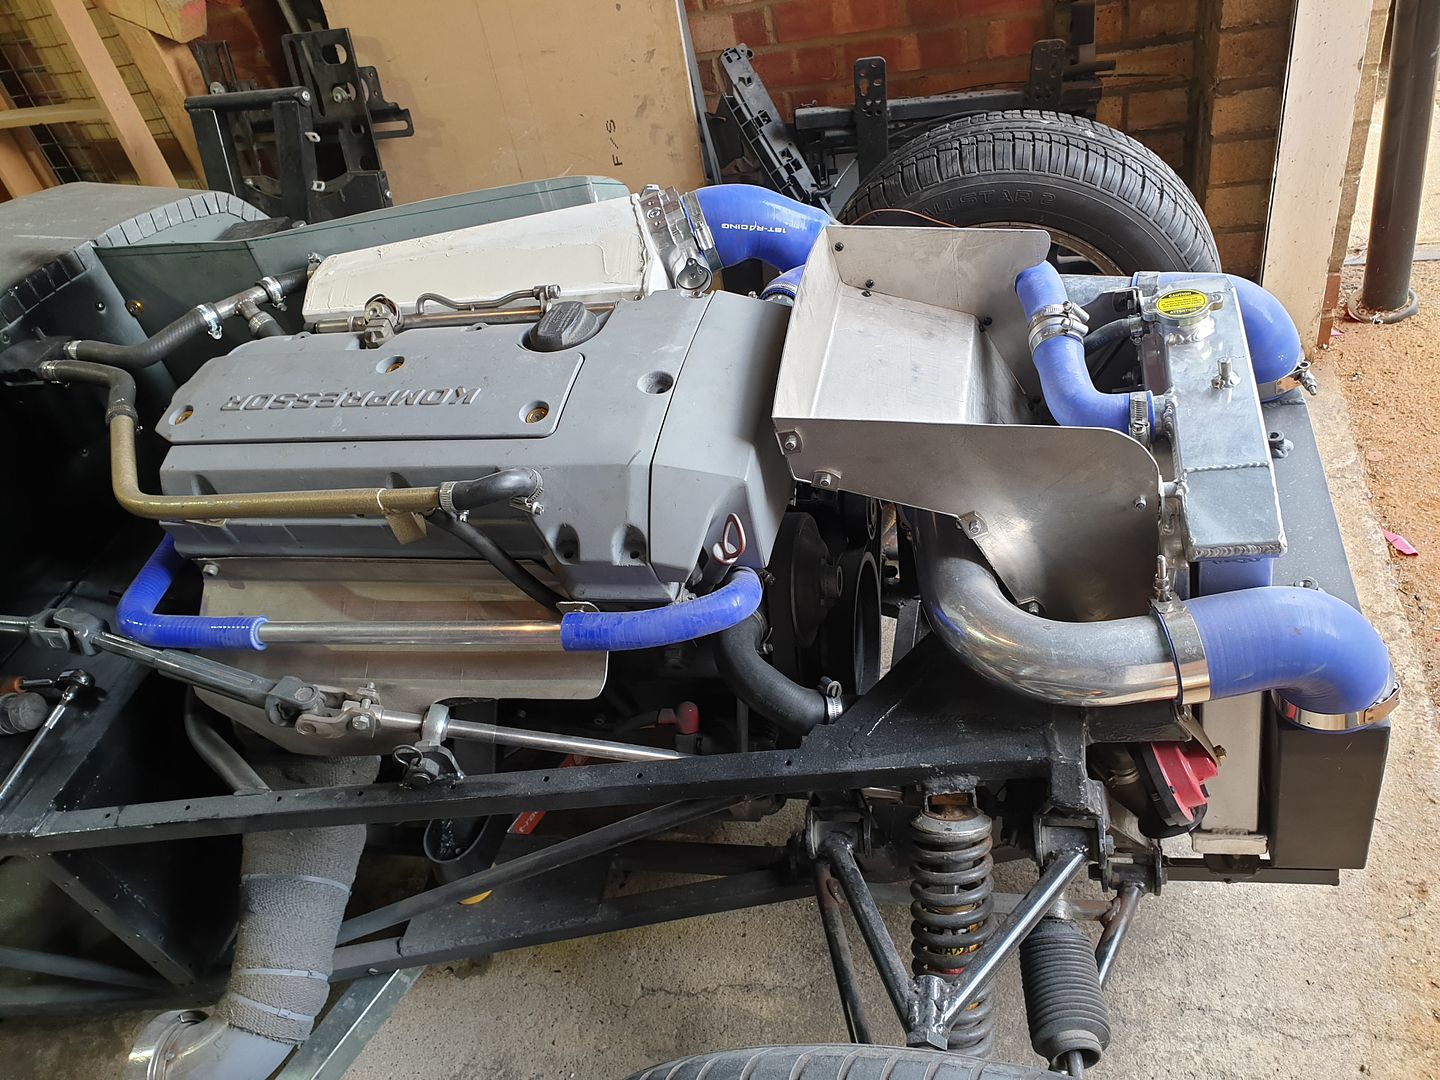
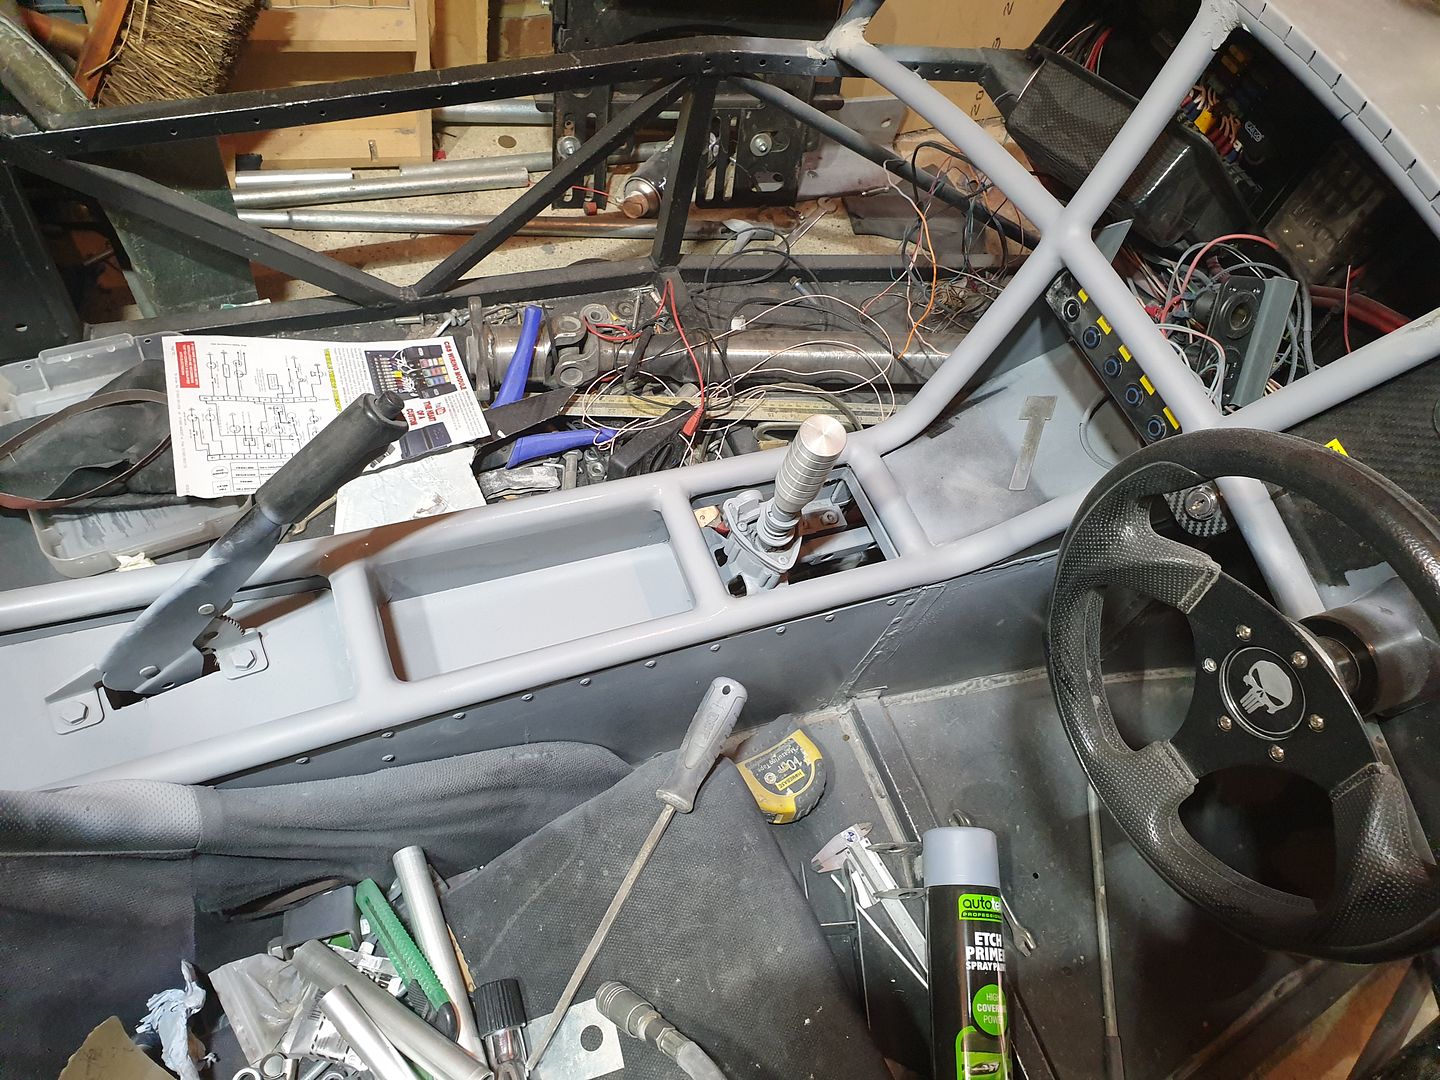
I also got fed up of looking at the multicolored interior frame so I have started filling the weld joints and smoothing it all out ready for paint.
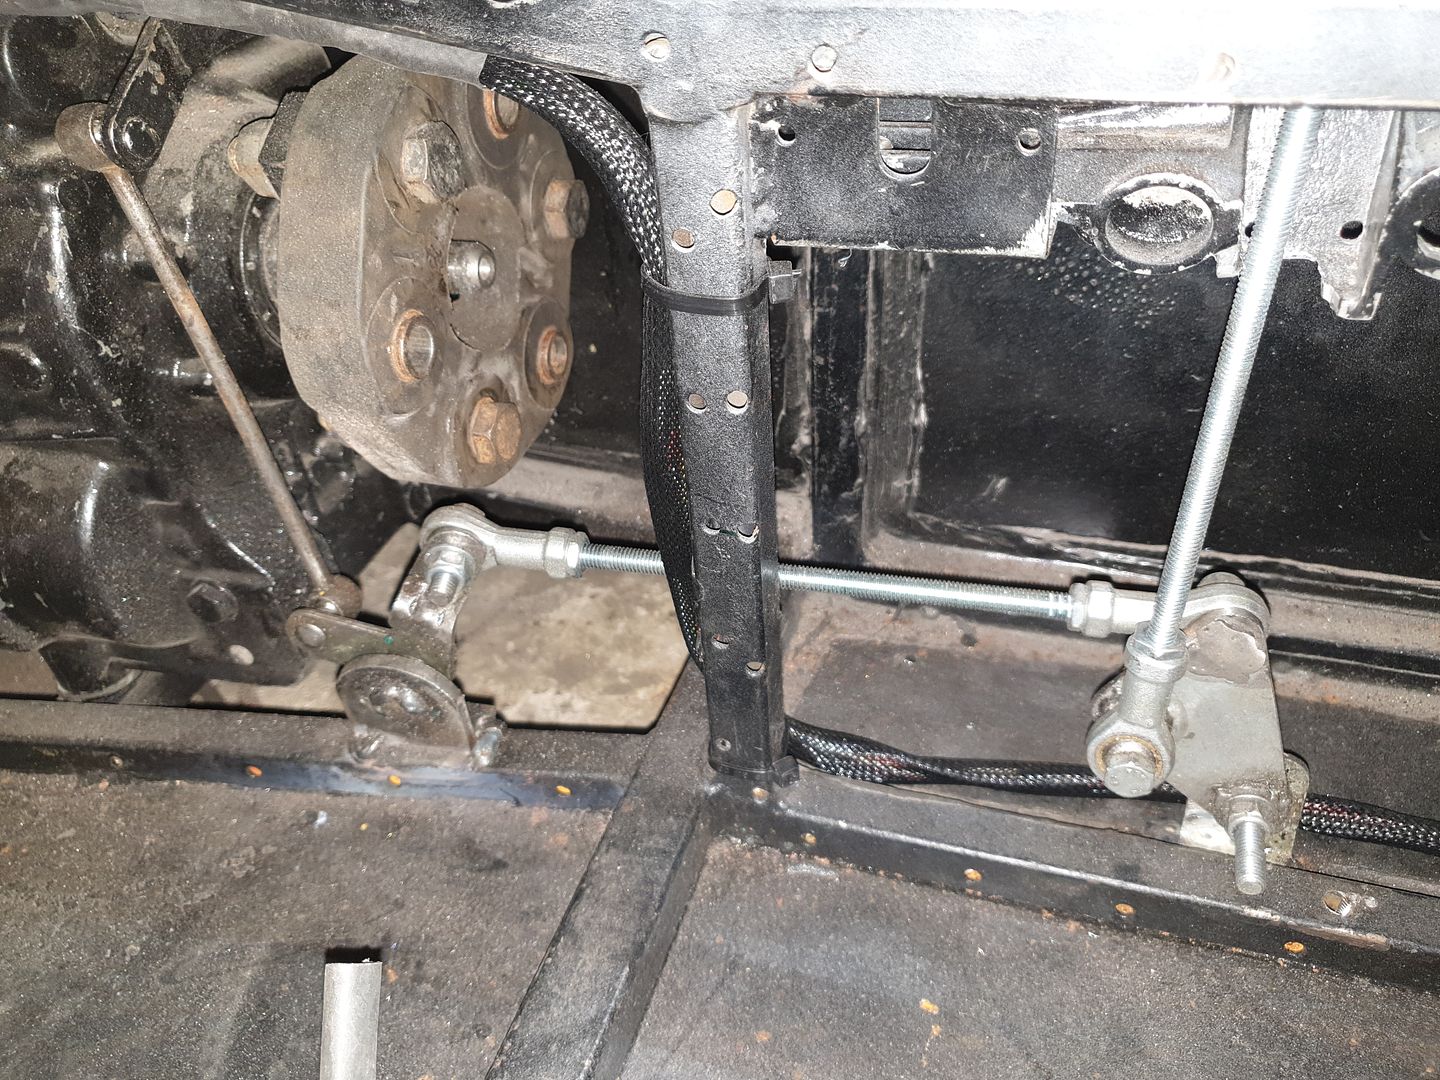
I also got the hump with the standard sloppy cable gear selector so I remade it with joints and rods, has a far more positive feel.
|
|
|
number-1
|
| posted on 10/10/19 at 03:05 PM |

|
|
Hello mate, looks like lots of hard work has gone into that so far! I may have missed it in the thread, but are you using 1 or 2 throttle bodies?
|
|
|
40inches
|
| posted on 10/10/19 at 03:08 PM |

|
|
Is it just me, or are the Photobucket pics all blurred?
|
|
|
J666AYP
|
| posted on 10/10/19 at 06:39 PM |

|
|
quote:
Originally posted by number-1
Hello mate, looks like lots of hard work has gone into that so far! I may have missed it in the thread, but are you using 1 or 2 throttle bodies?
Yes mate it's been a nightmare so far, every job I have started seems to create five or 6 new jobs. But I spose that's part of the fun. On
the plus side having to redo everything has given me the chance to change all the fixings, I now only need 4 sockets, two Allen keys and a screwdriver
to strip the whole thing down to the frame.
And I'm using the 3" throttle on the inlet, and a vac operated one from a cooper-s on the upper SC manifold.
Jay
|
|
|
J666AYP
|
| posted on 10/10/19 at 06:40 PM |

|
|
quote:
Originally posted by 40inches
Is it just me, or are the Photobucket pics all blurred?
They are showing up ok on my phone, photobucket is probably playing up yet again.
Jay
|
|
|
J666AYP
|
| posted on 1/6/20 at 10:14 PM |

|
|
Hi all,
Have not been up to much apart from work lately, but have managed to get a few bits done on project nightmare.
First of all the bushes I got from the bay-of-E that did not fit have been modified and are now spot on. It seems they were slightly too large to fit
the crush tubes that were also about 7mm to short. So I fired up the lathe and made myown. They now fit like a dream and the bush rotates around the
crush tube.
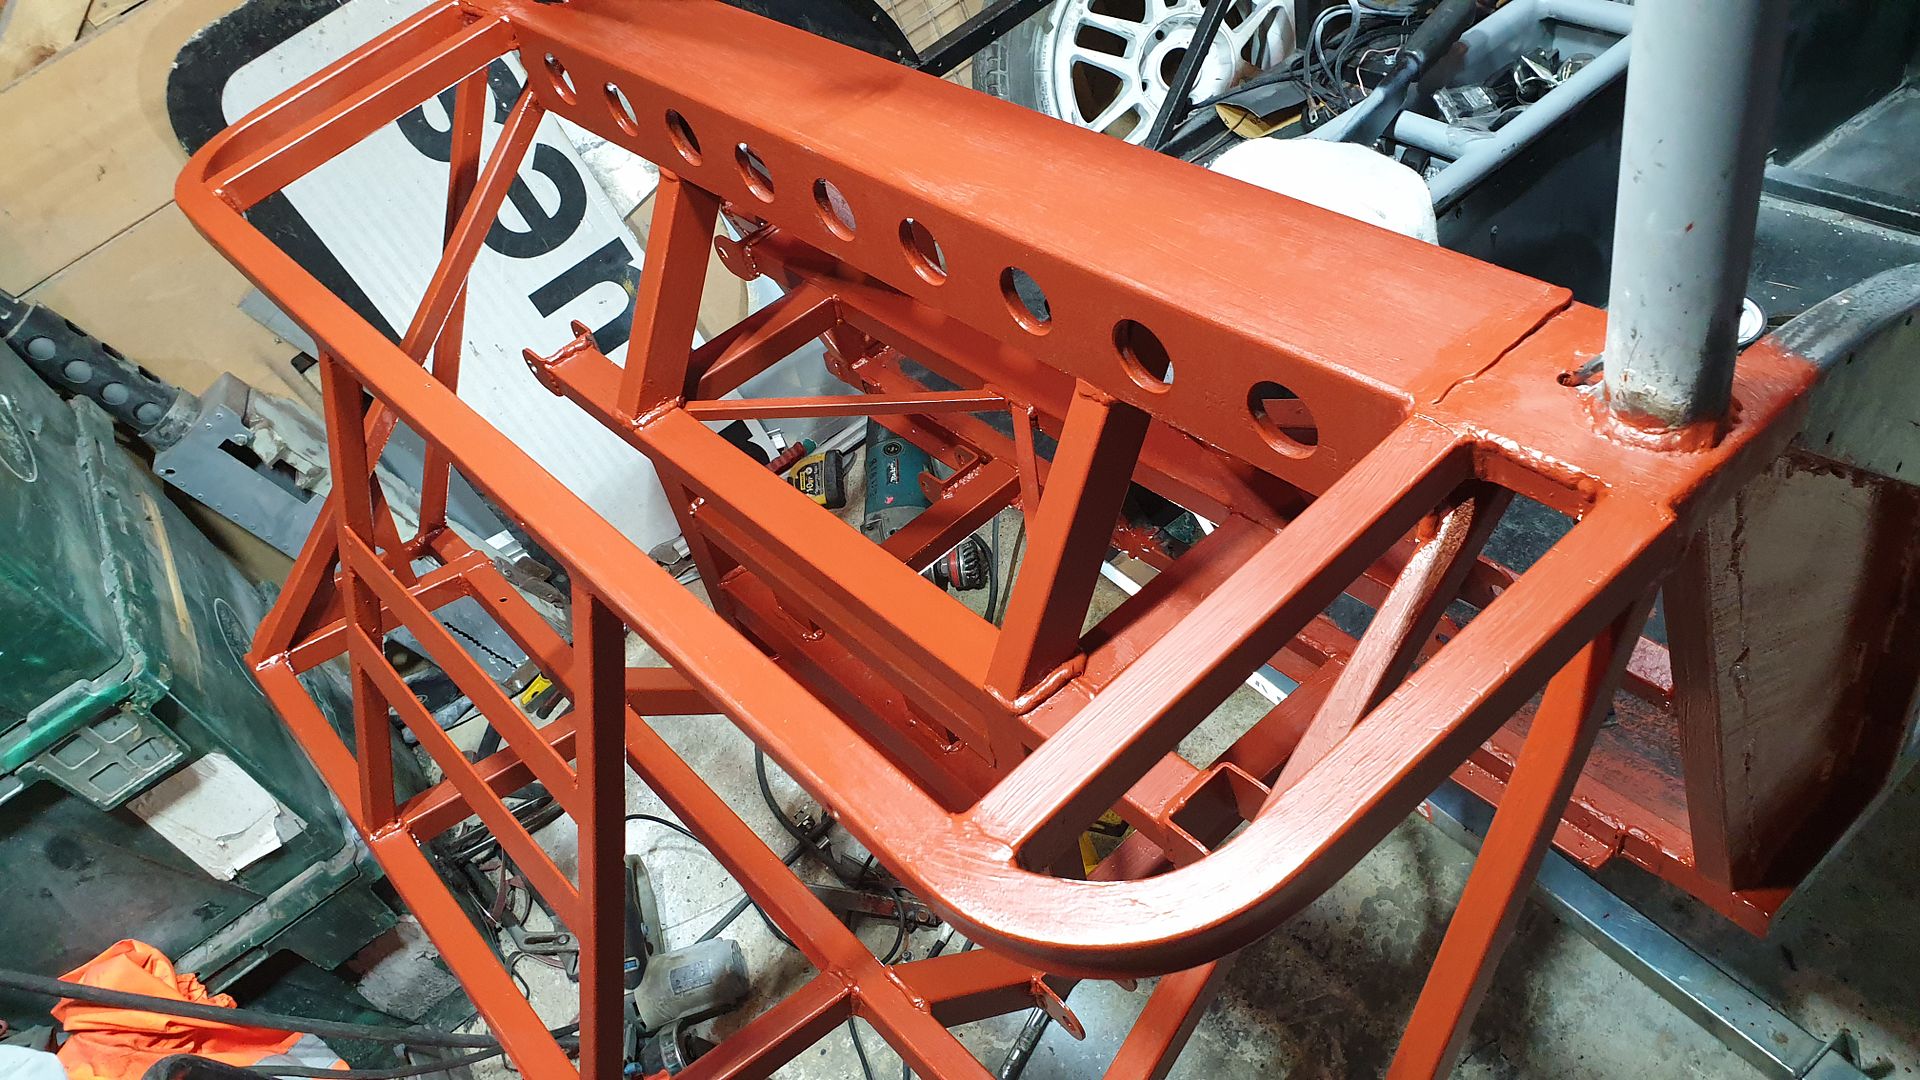
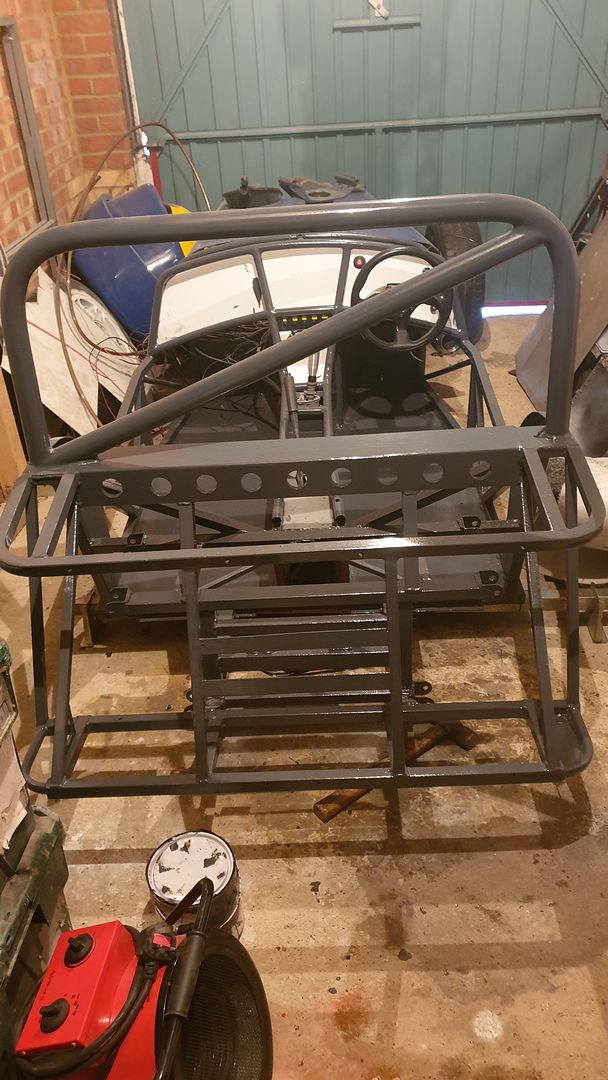
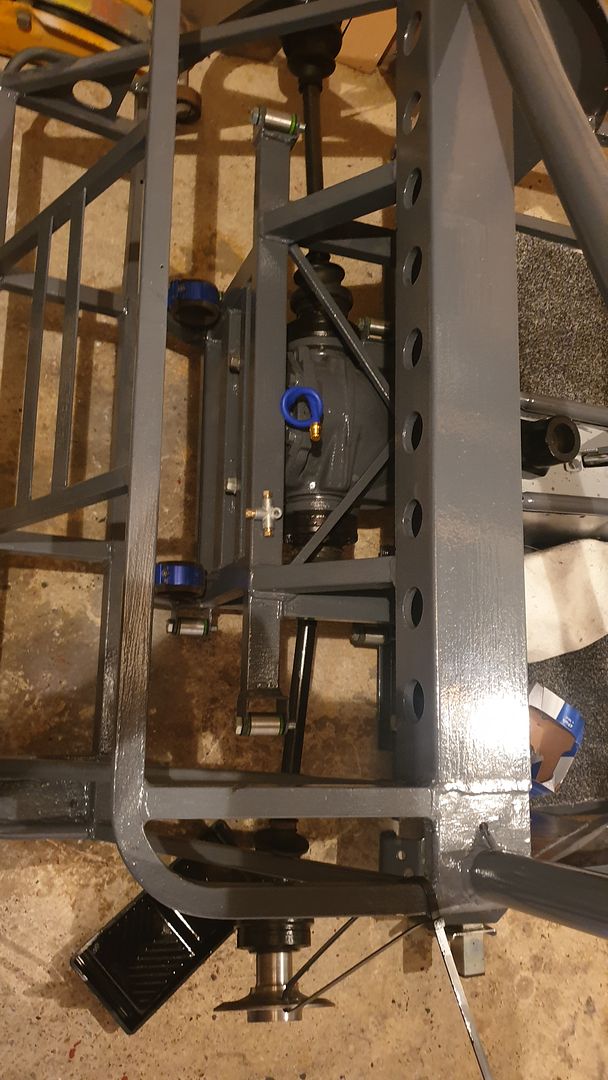
I finally got fed up enough to turn the car upside down and do all the welding underneath the new rear end and painted it while I was at it. The
shafts and diff have also been blasted and painted.
The standard fuel regulator was a touch anemic so I removed all the internals and fitted a adjustable one, not sure if it's going to be any good
though as its 100% chinesium alloy.
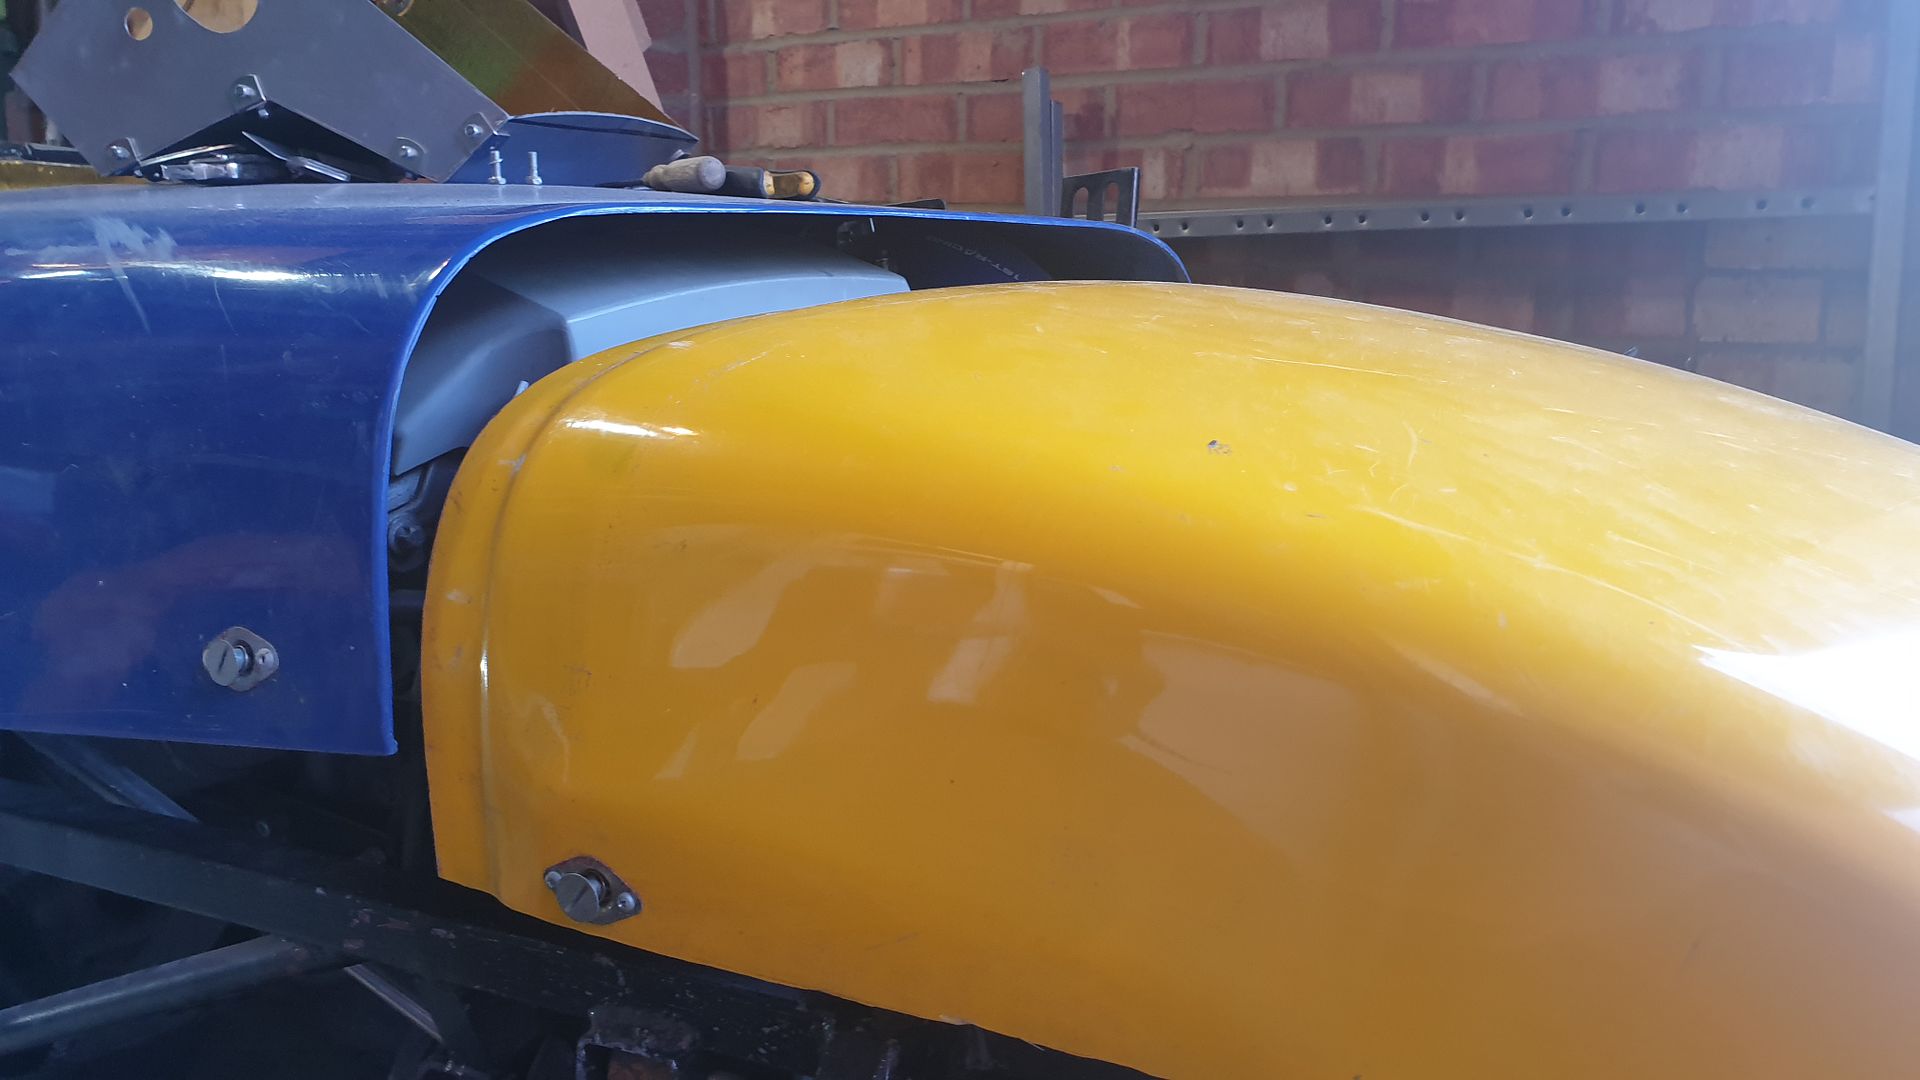
I have also started getting some assorted body pannels for butchering, it seems like the nose and bonnet will need chopping and expanding.
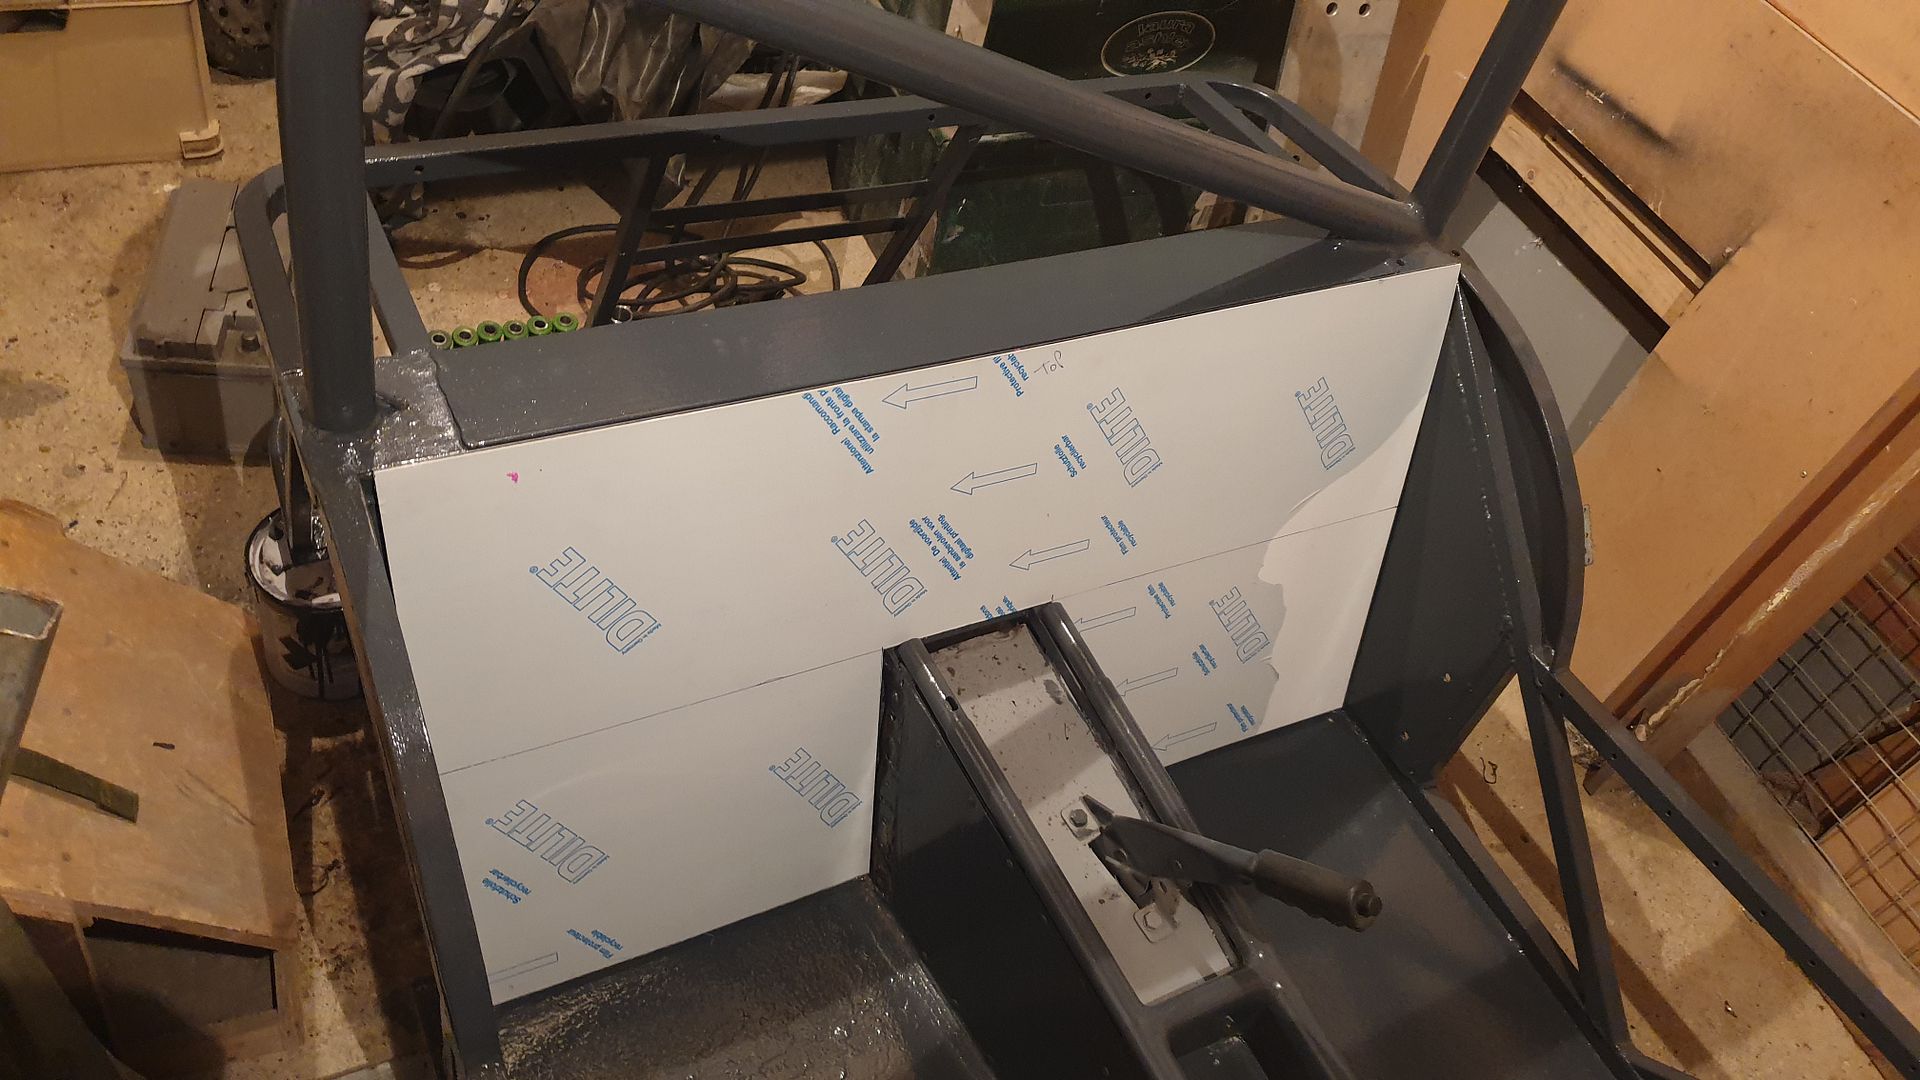
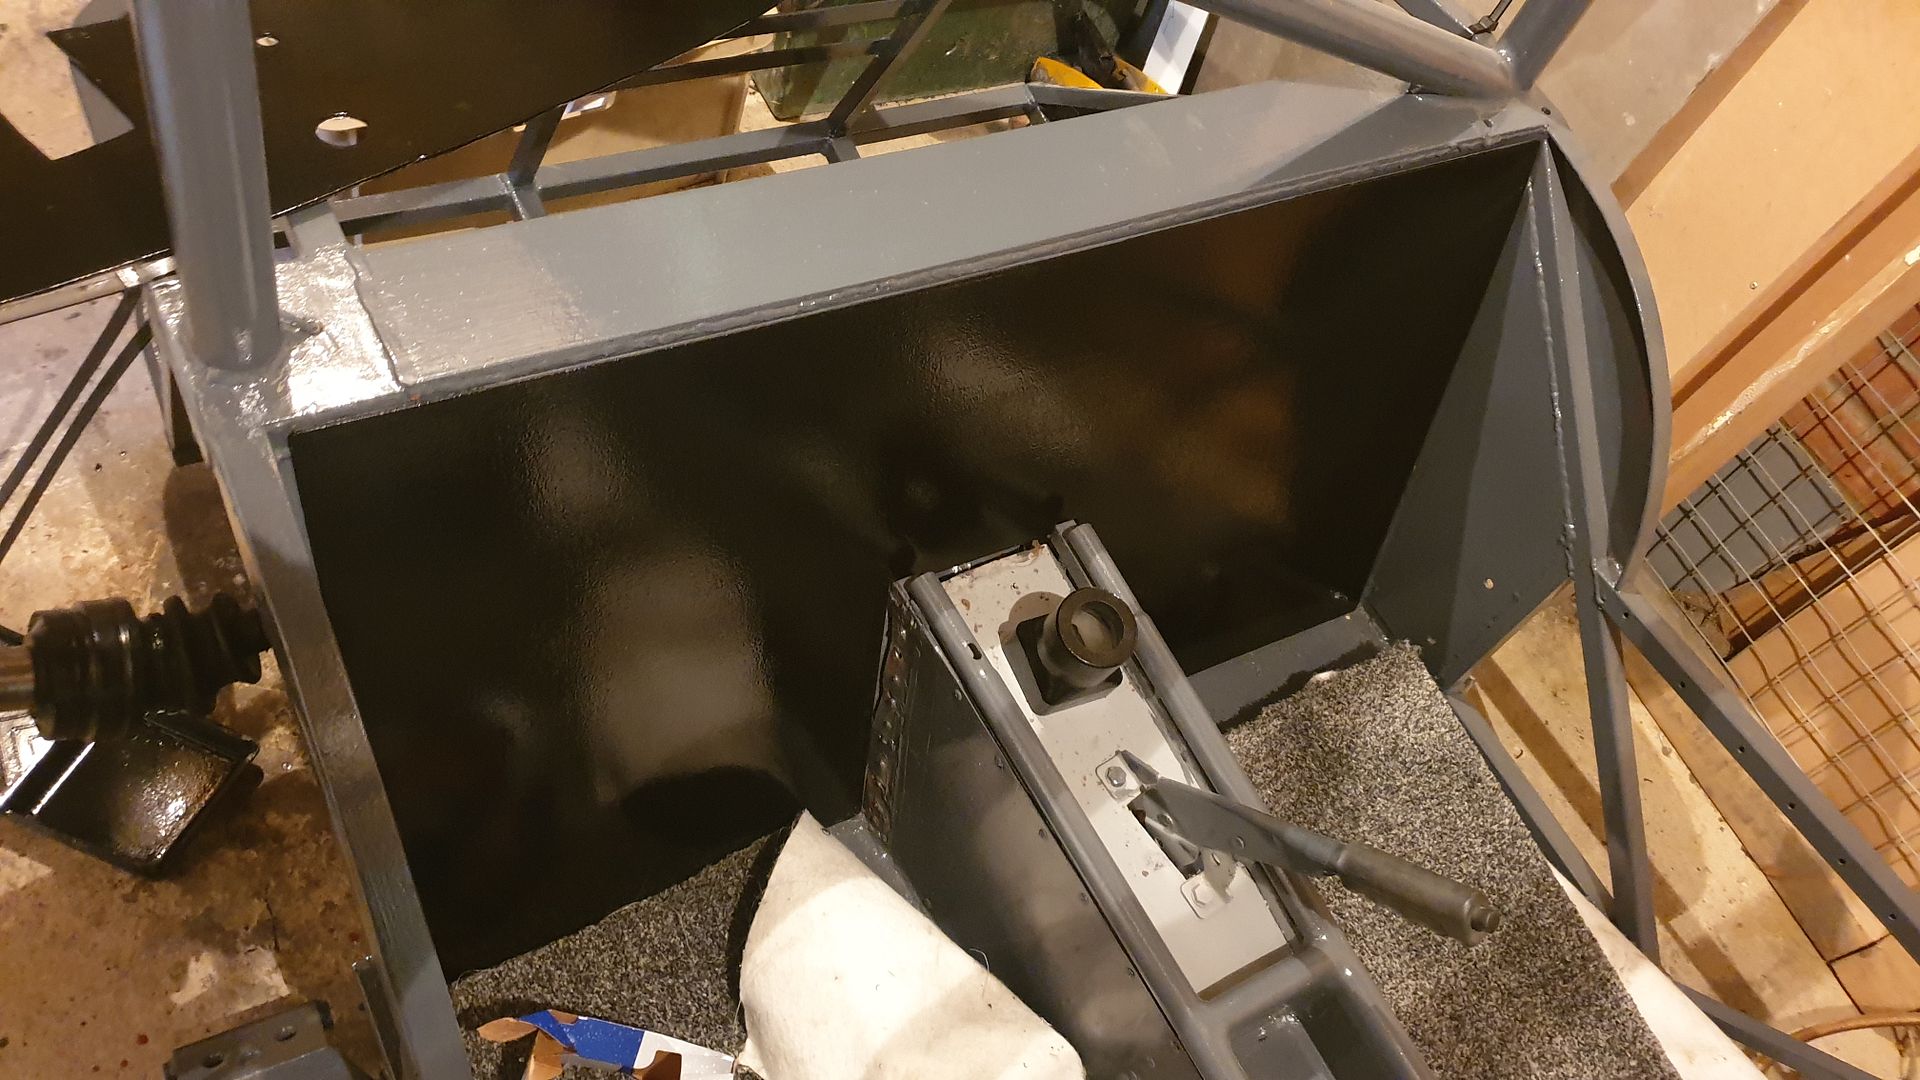
Oh and I got fed up of the rear bulkhead being all dented up so I have swapped that for a sheet of alloy/foam composite type stuff and bonded it
on.
Next will be the seats and fuel system... wish me luck...
J
|
|
|


