b14wrc
|
| posted on 3/7/11 at 03:14 PM |

|
|
Garage update, new photos
Hi all,
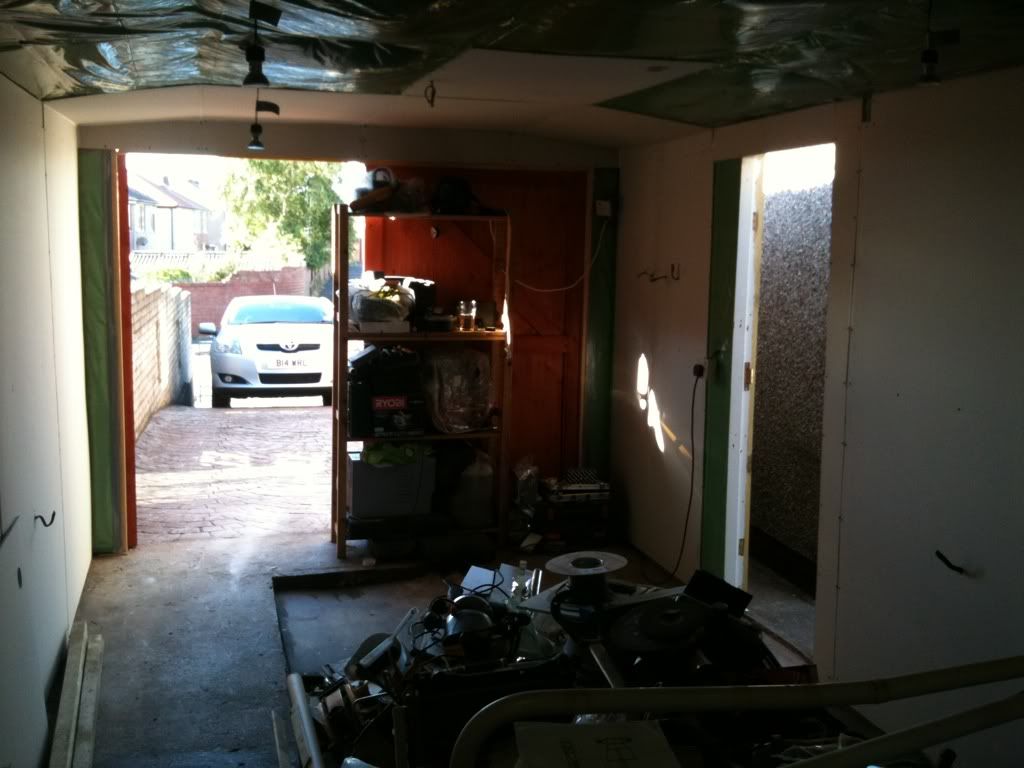
Well I have left progress updates for a few weeks, the workshop is really coming together now.
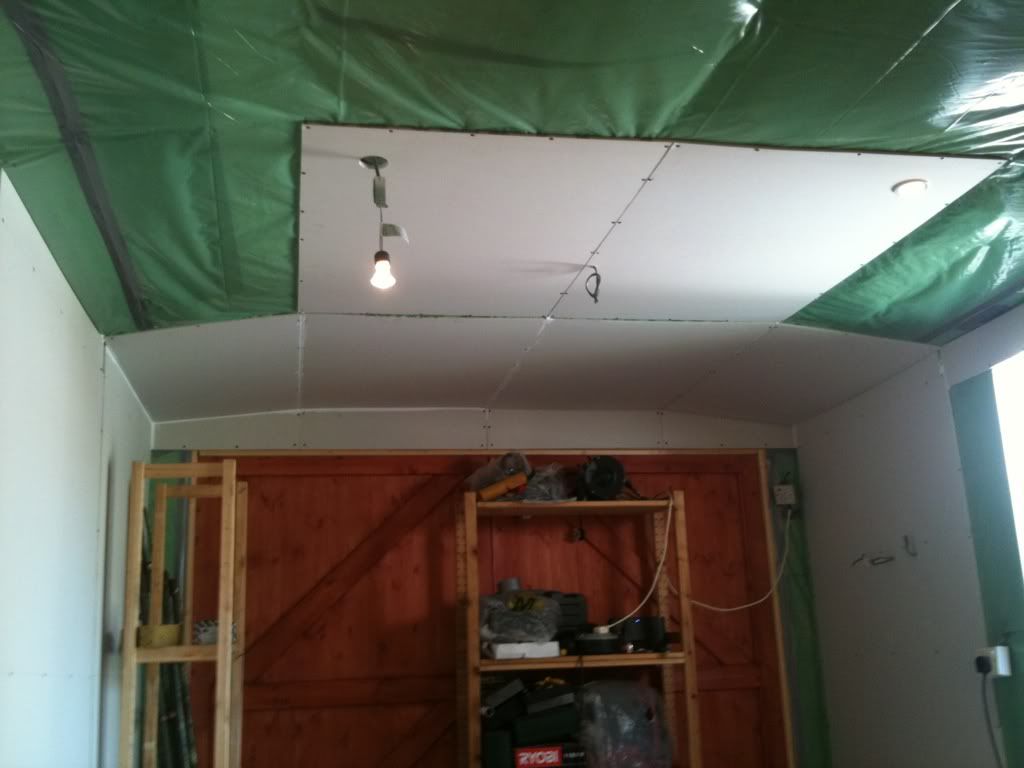
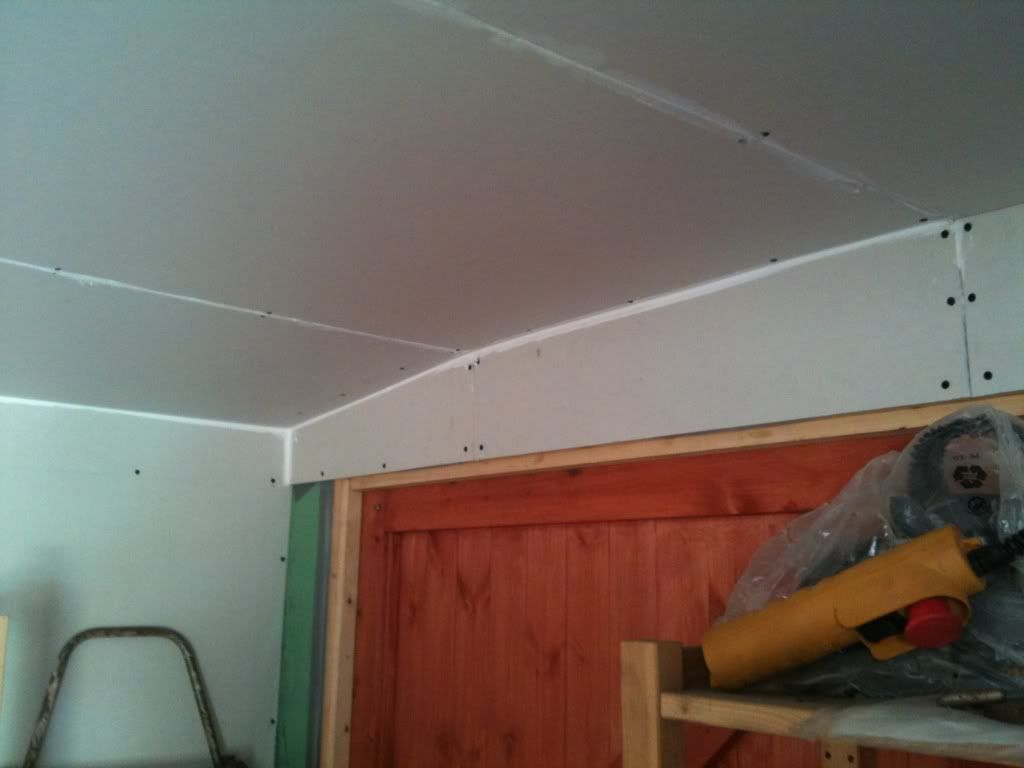
The whole thing got sheeted out with plastic and now I am busy plasterboarding it. It really makes a difference, nice and cool in there. Can't
wait to get it painted.
Rob
[Edited on 3/7/11 by b14wrc]
20vt powered rear engined locost
|
|
|
|
|
ashg
|
| posted on 3/7/11 at 04:06 PM |

|
|
that is going to be warmer than the house in the winter  just out of interest how much do you think its cost you so far for all the insulation? my
current workshop was done by the previous owner but when i build the new workshop i will have to start planning what it will cost me. just out of interest how much do you think its cost you so far for all the insulation? my
current workshop was done by the previous owner but when i build the new workshop i will have to start planning what it will cost me.
Anything With Tits or Wheels Will cost you MONEY!!
Haynes Roadster (Finished)
Exocet (Finished & Sold)
New Project (Started)
|
|
|
omega0684
|
| posted on 3/7/11 at 04:15 PM |

|
|
remember to make sure its breathable, you don't want condensation setting in making your tools change colour! 
I love Pinto's, even if i did get mine from P&O!
|
|
|
Confused but excited.
|
| posted on 3/7/11 at 04:28 PM |

|
|
Where did you get all those old pink wigs? 
Tell them about the bent treacle edges!
|
|
|
MikeCapon
|
| posted on 3/7/11 at 05:19 PM |

|
|
Nice job
I presume you are going to tape those joints?
|
|
|
b14wrc
|
| posted on 3/7/11 at 05:27 PM |

|
|
Hi all, thanks.
Yes I am going to tape the joints and paint it all White. Got some special paint which is also insulation. Screws will be hidden I think.
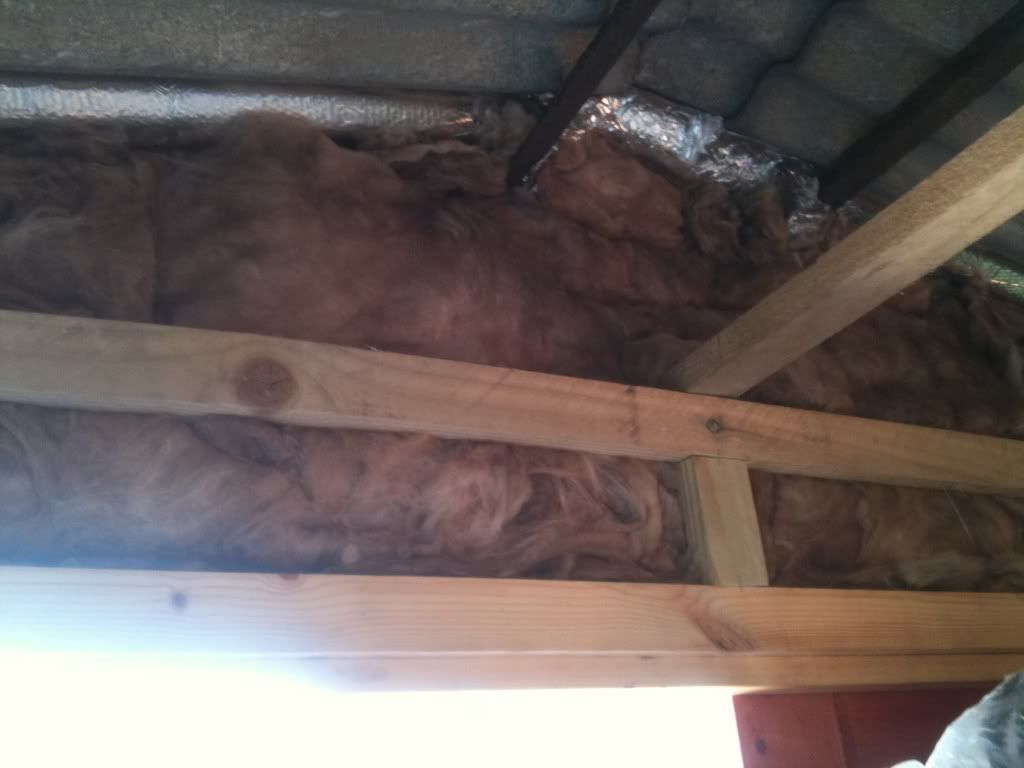
As for venting it:
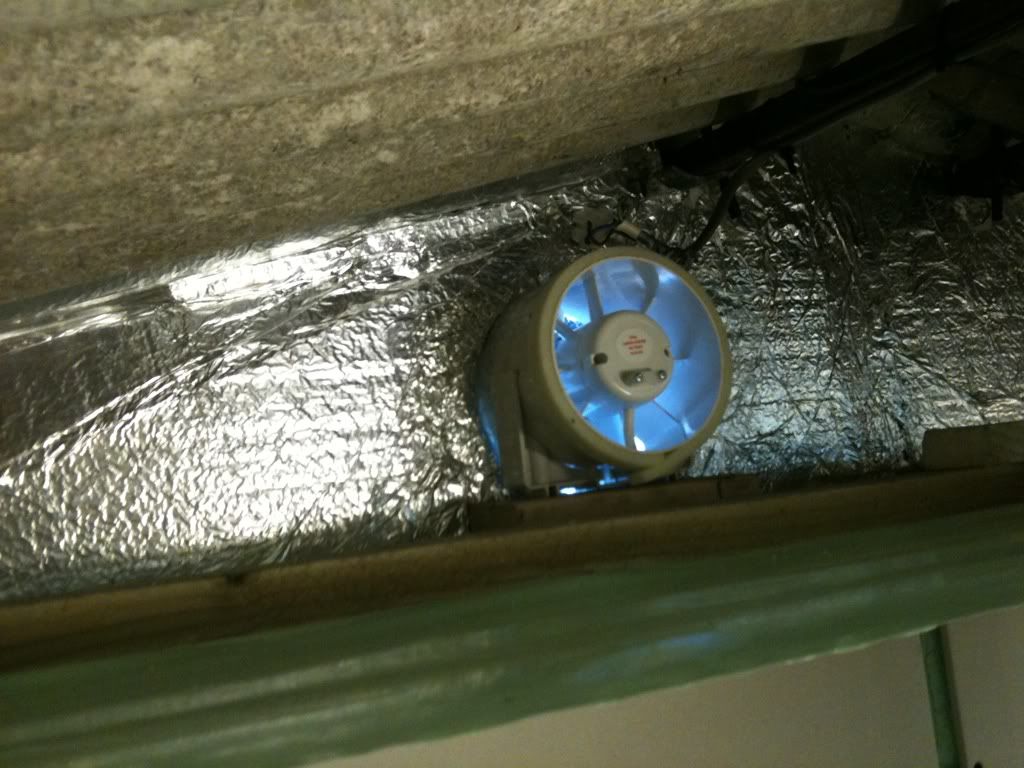
Hope this will suffice.
I think it has cost in the region of £750 so far, including both doors. I have most materials to finish now. Just need floor paint I reckon. Will be
getting my hands on a full kitchen in a few weeks to use as the work bench, so that's saved me a load of cash.
[Edited on 3/7/11 by b14wrc]
20vt powered rear engined locost
|
|
|
b14wrc
|
| posted on 3/7/11 at 06:04 PM |

|
|
Oh, and I need to order new sockets as I have added a few new ones.
Pink wigs??
Rob
20vt powered rear engined locost
|
|
|
snapper
|
| posted on 4/7/11 at 04:41 AM |

|
|
The recessed halogen lights need fire boxes over them or they will set fire to the glass wool insulation.
I eat to survive
I drink to forget
I breath to pi55 my ex wife off (and now my ex partner)
|
|
|
b14wrc
|
| posted on 4/7/11 at 08:40 AM |

|
|
Morning Snapper,
I have been reading into fire boxes, I see the point of them, but reading through the B&Q instructions I have for the lights, there is no mention
of protecting against heat in this way. Building regs for party walls require a fire box as setting fire to your neighbours property is not ideal….
 Not sure what the rules are for a garages or work shops, it is not a habitable space? Not sure what the rules are for a garages or work shops, it is not a habitable space?
All the instructions say is keep the space around the light 100mm. All insulation must have this gap.
So all I intended to do was push all the surrounding rock wool back to this distance. There is foil and a vapour barrier which will also need to be
pushed back.
I have a similar construction in my down stairs loo and porch, and the lights in there have not set fire to the insulation…… Appreciate others
thoughts on the subject.
Rob
20vt powered rear engined locost
|
|
|
woodster
|
| posted on 5/7/11 at 06:30 AM |

|
|
I always thought insulation was fire proof And that the lights over heating just damaged the actual light ...... I could be wrong 
|
|
|
b14wrc
|
| posted on 5/7/11 at 07:31 AM |

|
|
I think it is fire resistant – not fire proof, like you, I think if you covered over the bulb with 100mm of rock wool (which the instruction say don’t
do!) you will most likely over heat the bulb, reducing its life. But I am not chancing it catching fire, so the rock wool will be at least 100mm away
from the bulb at all sides.
Surely the worst part of the ceiling is the plasterboard – paper part, which is in direct contact with the hot edges of the bulb. Yet this is
considered not combustible……
20vt powered rear engined locost
|
|
|


