Turbo Manifold Update :D
After having this week off of work, I had some spare time to get my Turbo manifold made up, didn't take nearly as long as I thought it was going
to, had planned to start it on Thursday and spend a few hours a day on it and get it done by Sunday and I would have been happy. But decided since
things were going so well I'd continue to batter on with it and finished it at 11pm last night, freeing up the weekend to do other things with
family and also do other bits and bobs to the car.
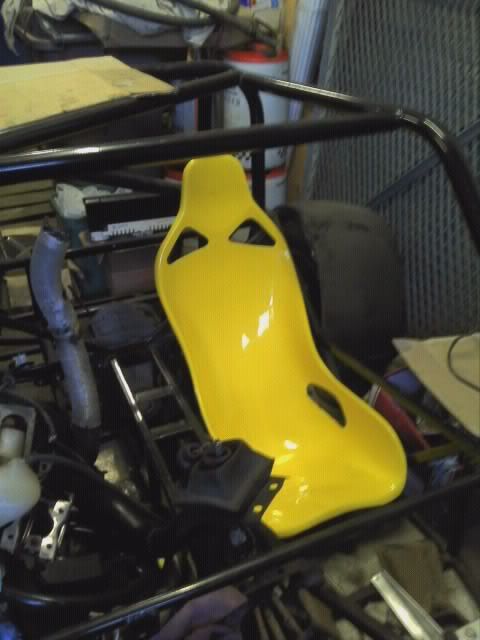
Anyways I'll let the pictures do the talking, first off are a couple of pictures of the nose cone and the scuttle that I've picked up
recently, and also my seats that are a perfect fit.
Seat in position on the passenger side
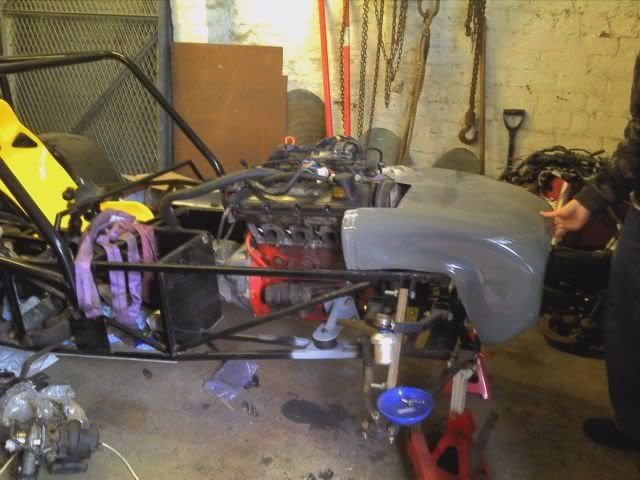
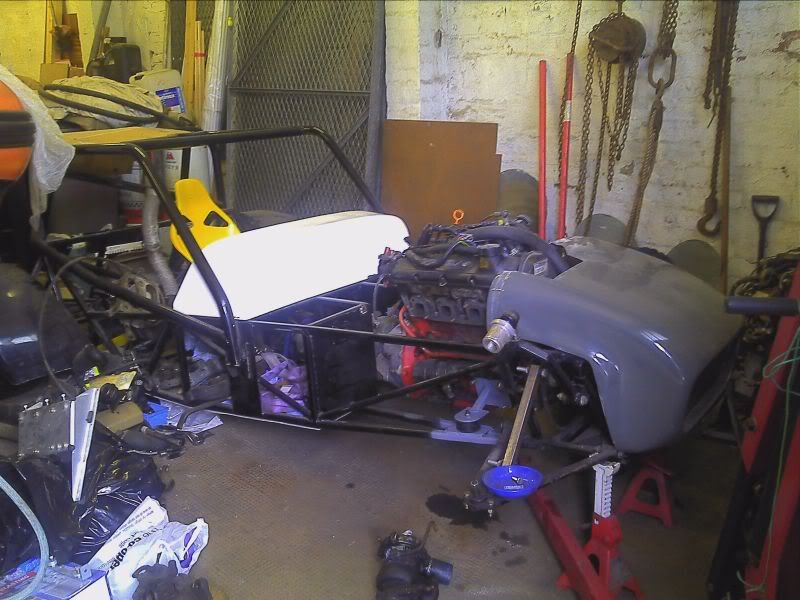
Nose cone which needs work as the rear of it is sitting to low, followed by the scuttle in position and the nose cone at the correct angle.
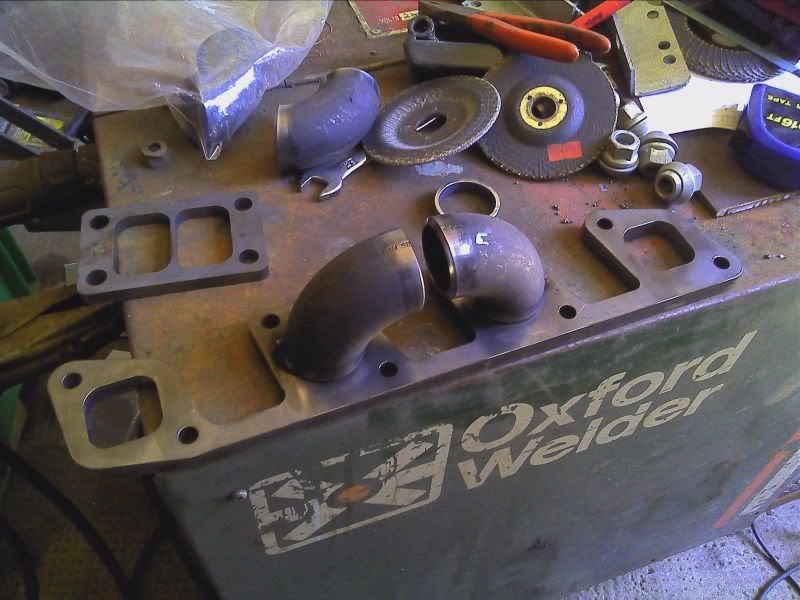
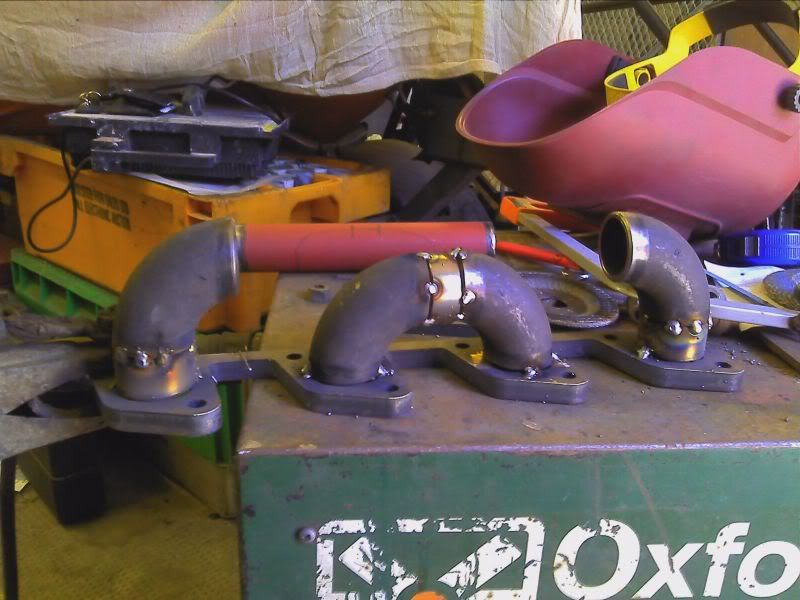
Beginning the manifold, join cylinders 2 and 3 together...
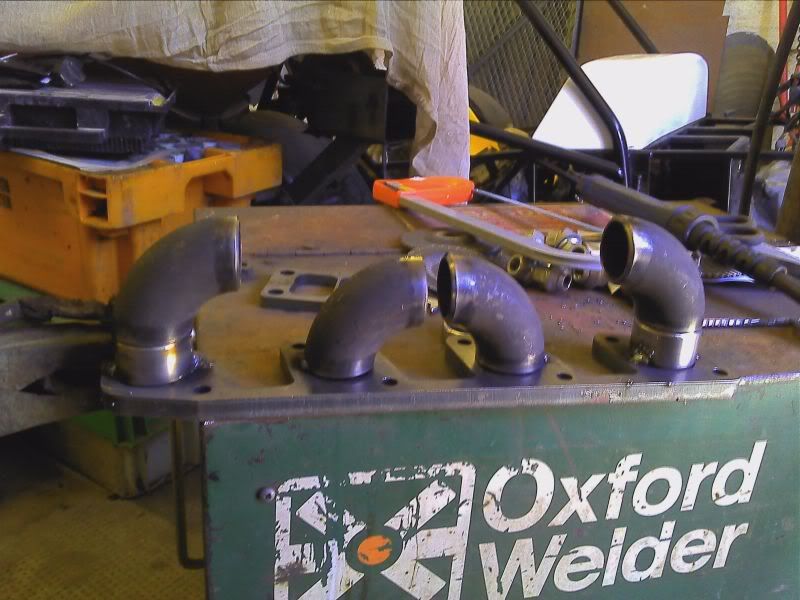
Join 1 and 4 together but raise them a little higher...
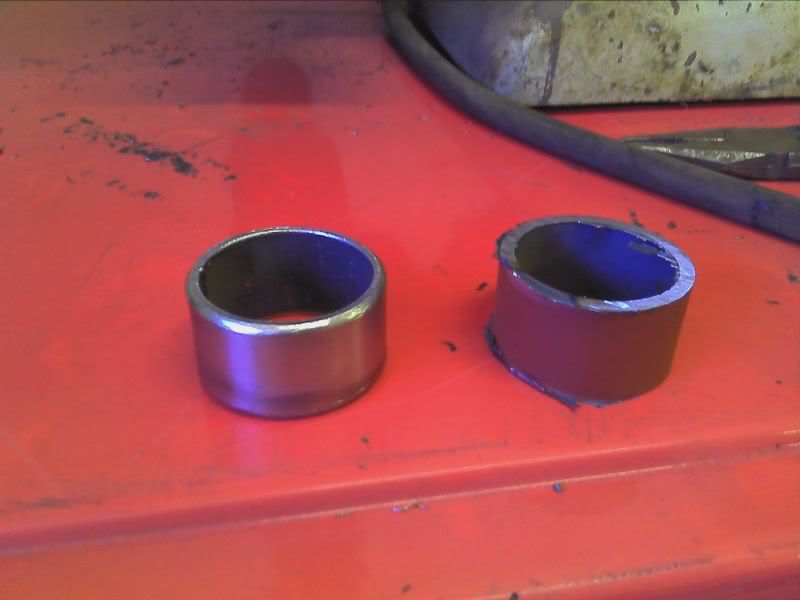
Making the small sections to raise 1 and 4 up, a before and after shot...
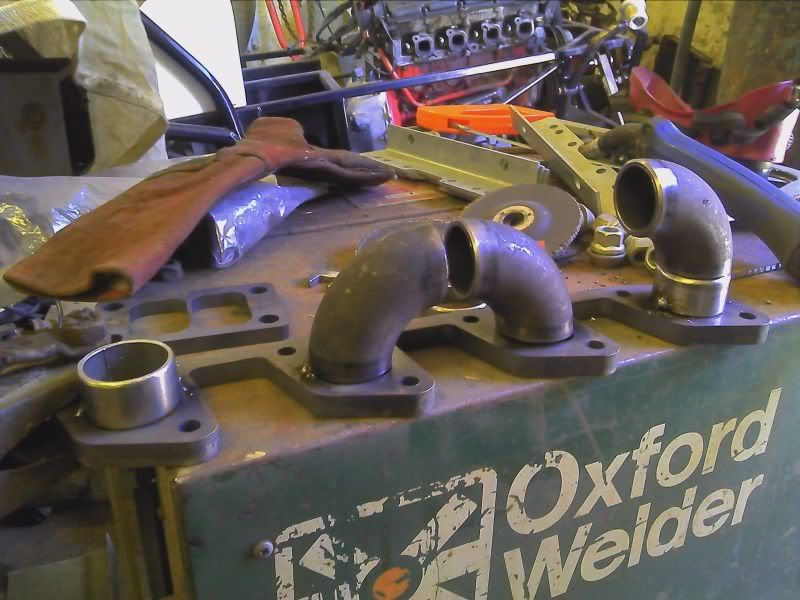
The beginnings of all cylinders taking shape and tacked in place...
Join 2 and 3 together and tack in place...
After a good amount of time, fitting, removing a little more material, testing again, removing etc to get the main pipe to fit...
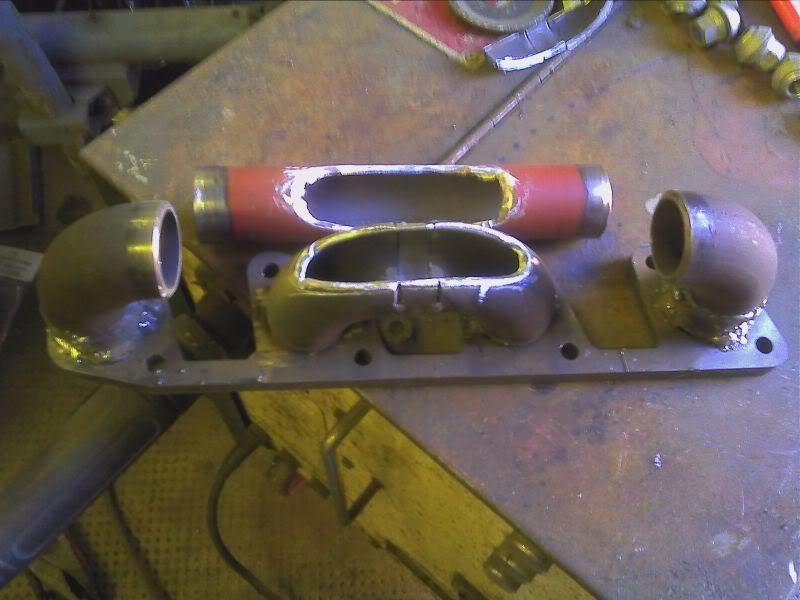
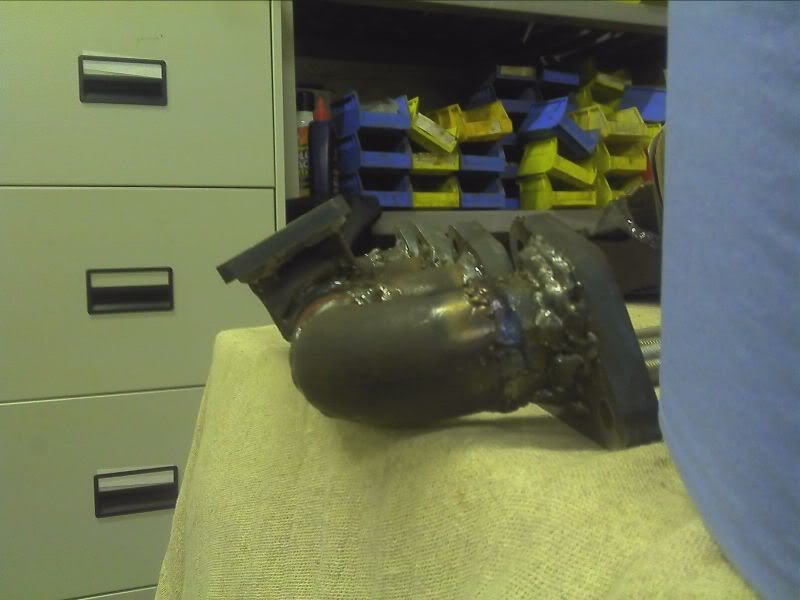
Making the collector area to join onto the T3 flange...
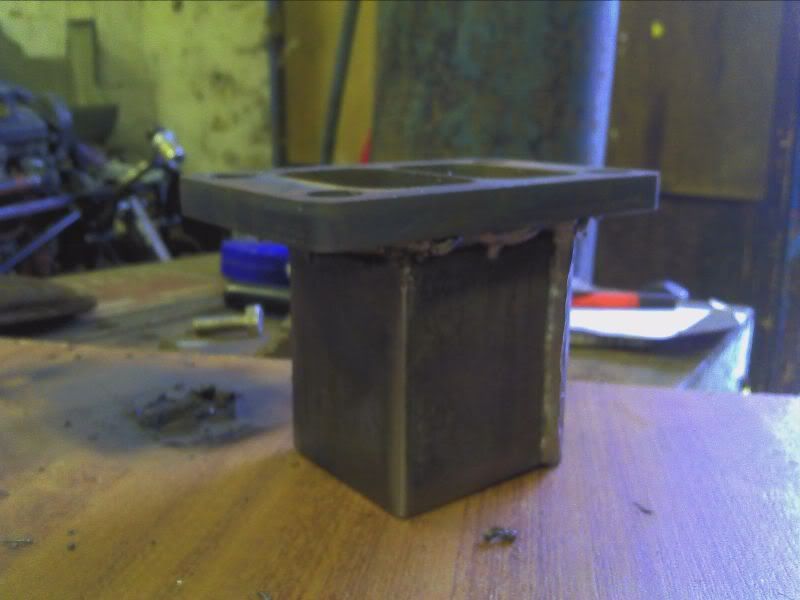
Cutting out the section on the manifold for this to fit...
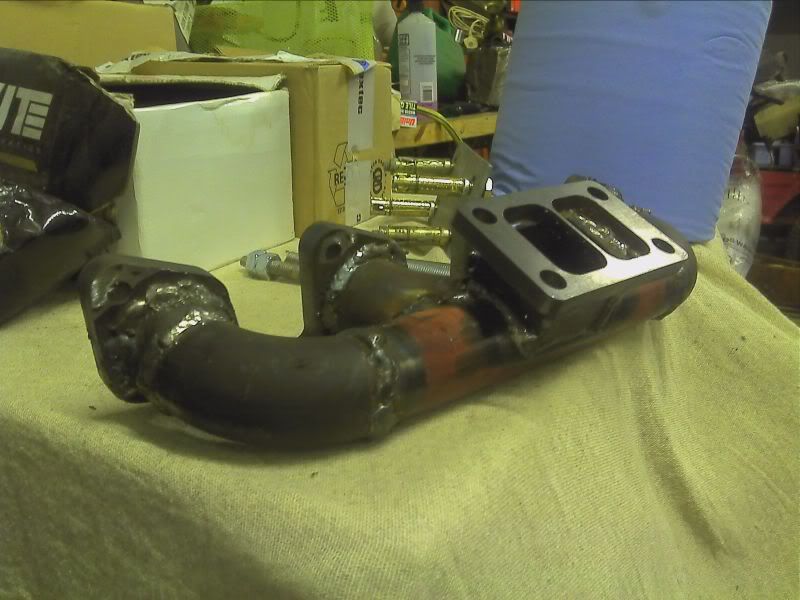
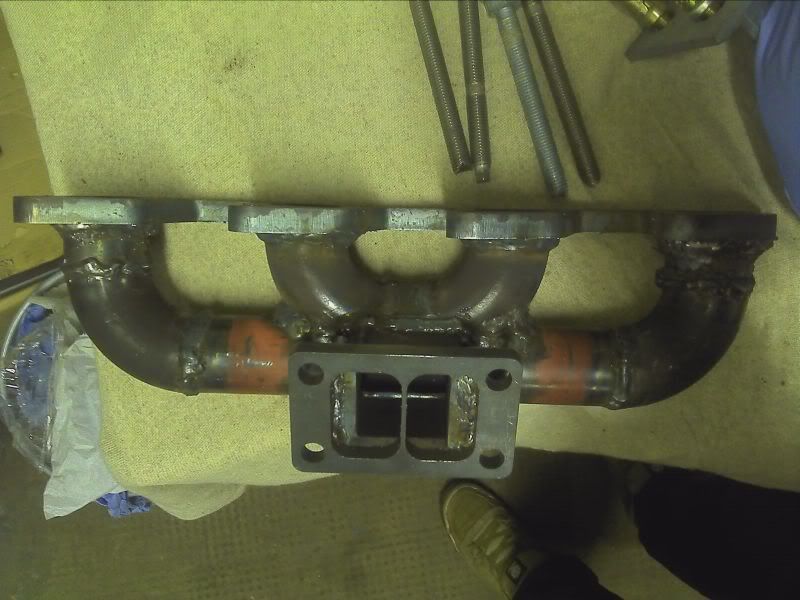
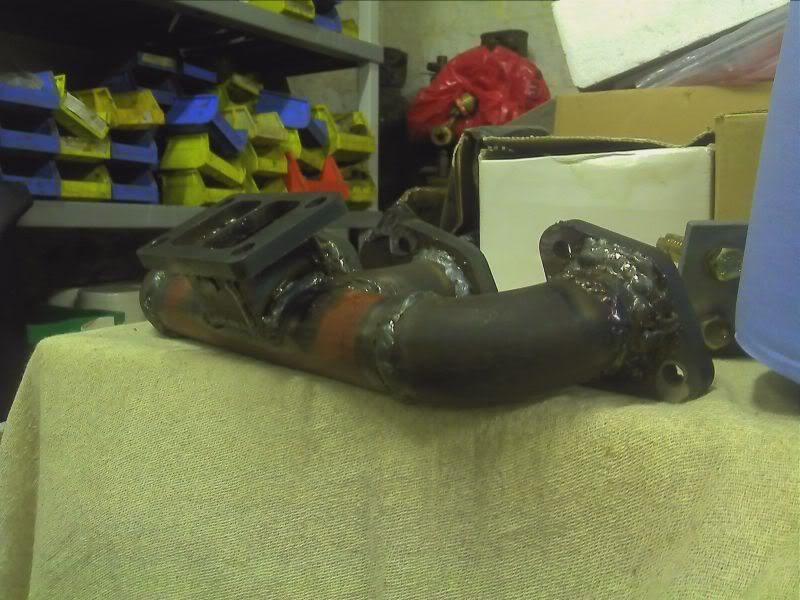
Then all of it together...

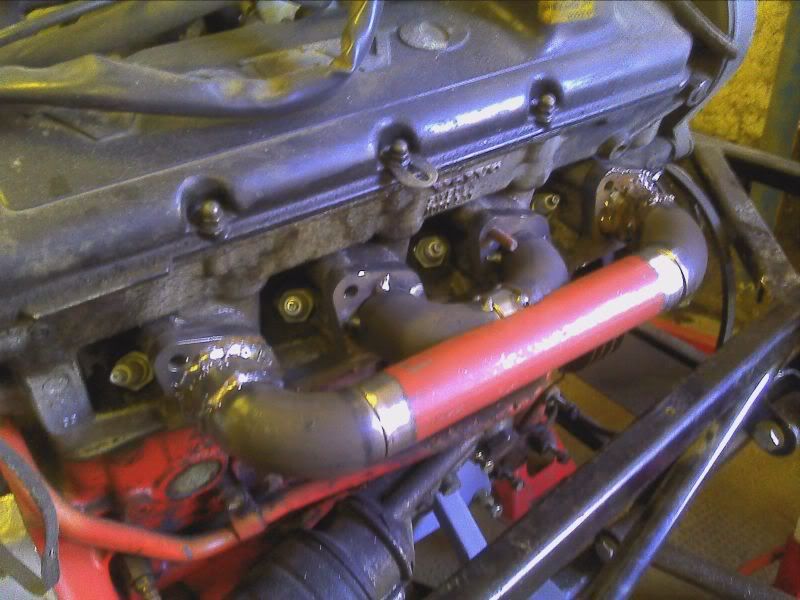
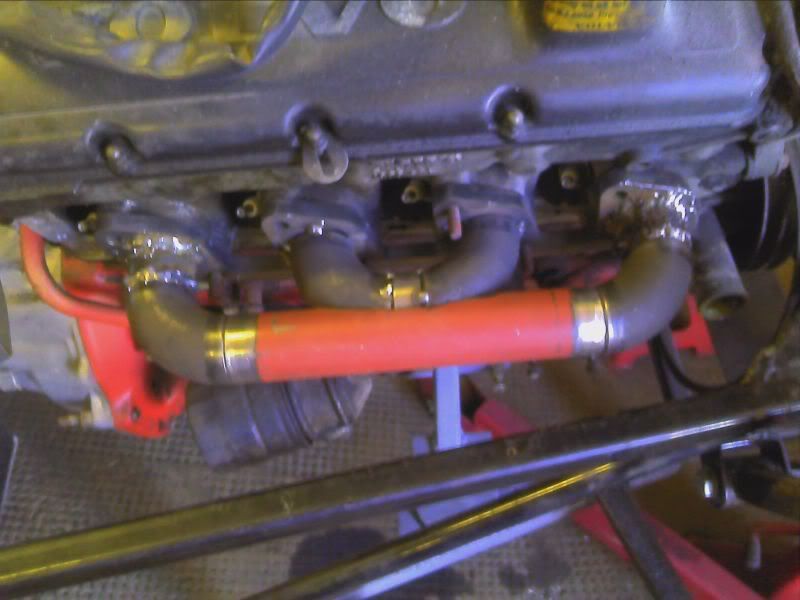
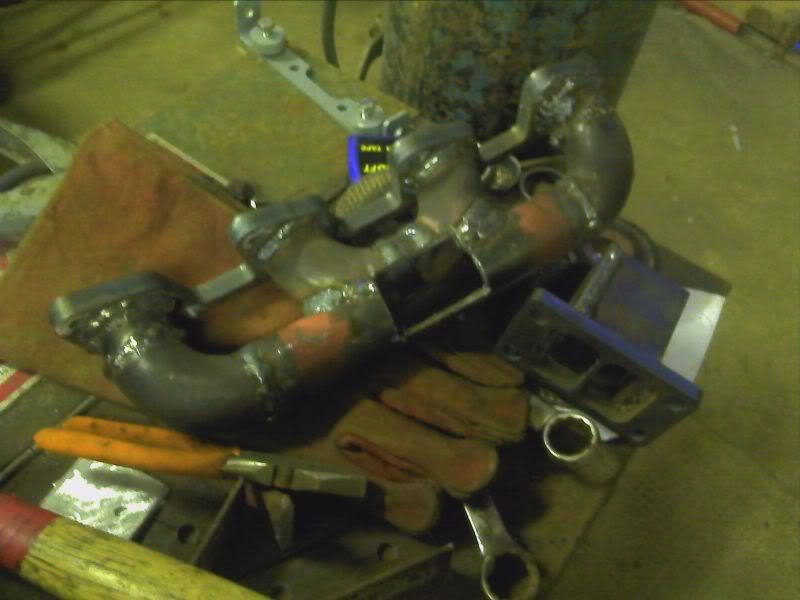
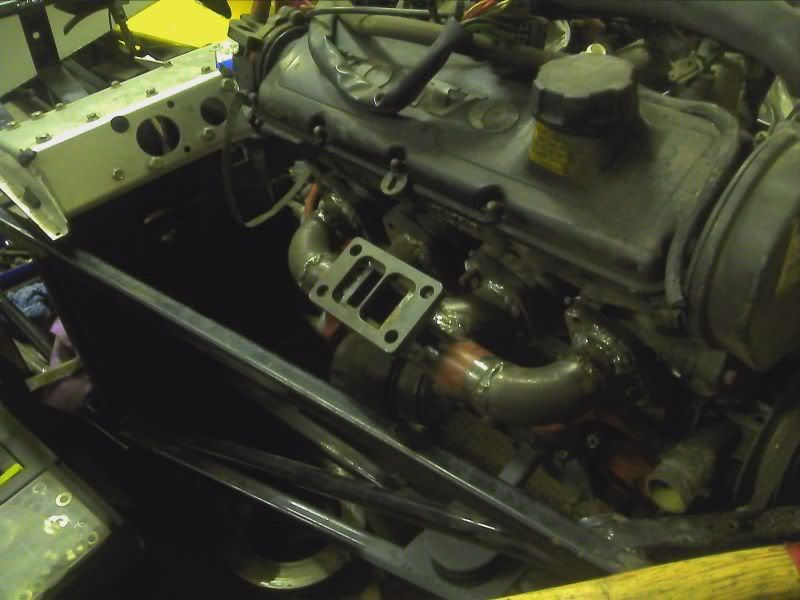
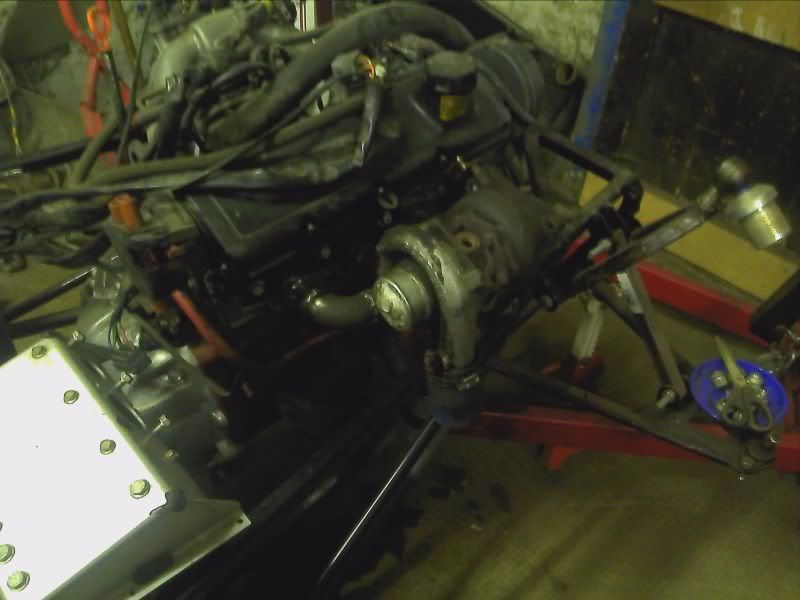
And fitted to the engine to show its position...
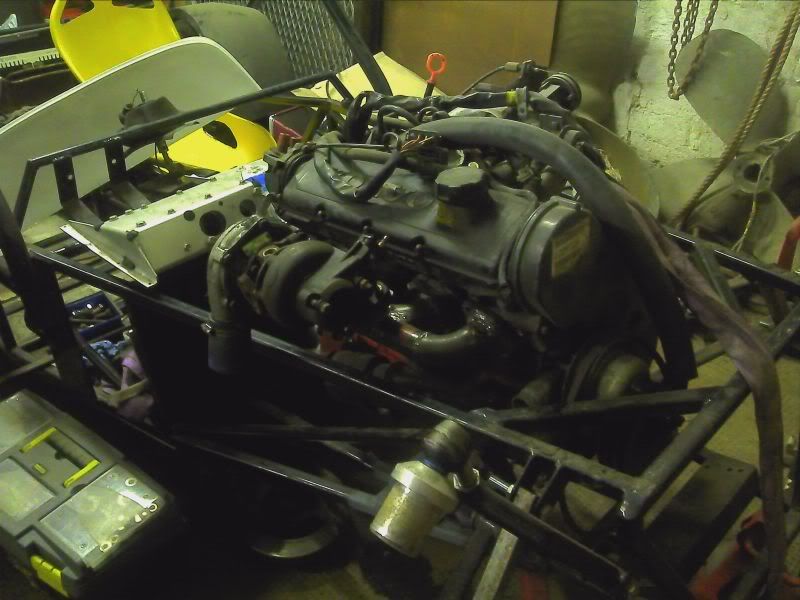
Then the money shot with the turbo in position, was very happy when the standard actuator fitted into place (not pictured however)...
I am very happy with how it has turned out, I have a few more things to do to the manifold yet, I need to make a bracing arm to take a little more of
the weight off of the head studs, need to send it away to get the faces machined as the heat generated in the welding has slightly warped the flanges,
(when 1 and 4 are tight to the head, 2 and 3 are about 1mm off).
Total cost was about £120 as I got the flanges from RSII in the US and then got stung for shipping TAX, GUTTED!!! Then some pipe work including 6
welding elbows and 1m of 42.4mm OD railing pipe.
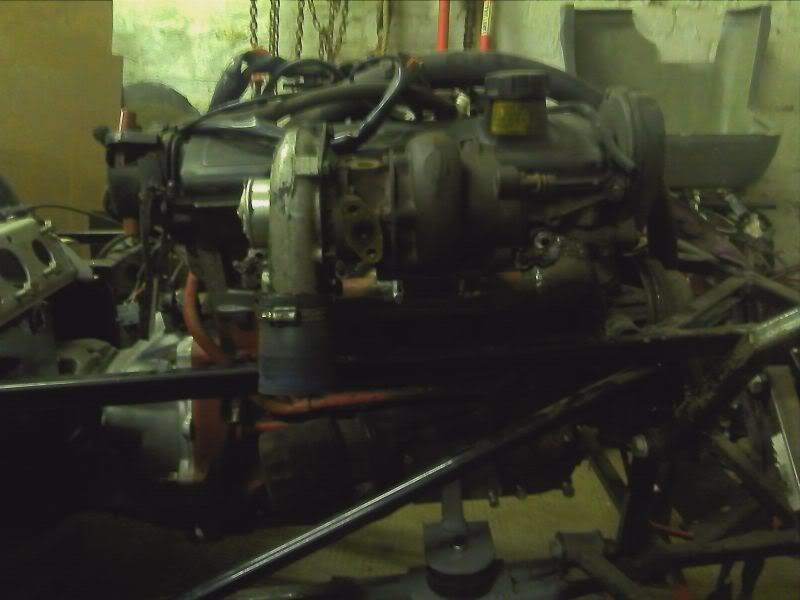
As you can see the turbo sits in a funny position, it will protrude the side of the bonnet and perhaps slightly the top as well but a bulge will sort
that as this is the only location I could get it to fit into. I'm running the exhaust forward first, then down and back up the side of the car.
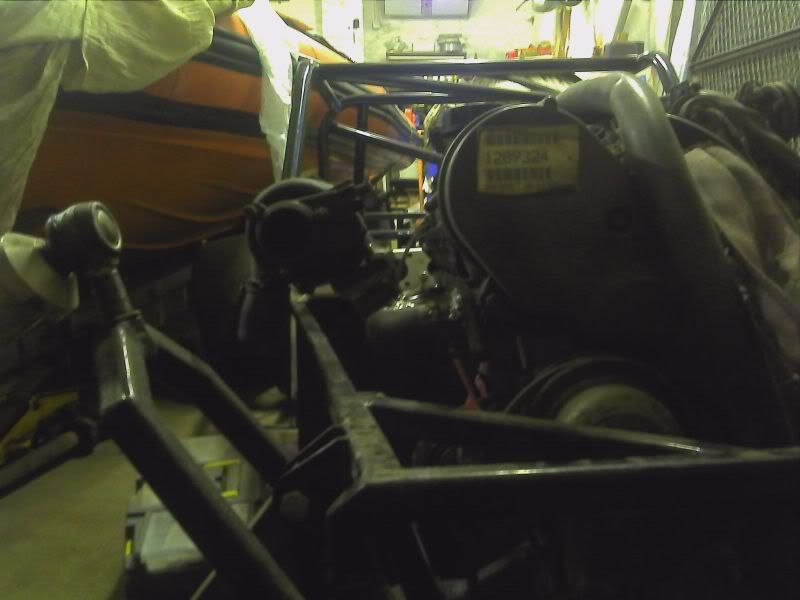
The air filter is now pointing towards the driver and there is loads of room to make an air box. The air outlet from the turbo will come just outside
of the chassis over the top rail before entering the lower body panel and making its way toward the gearbox where it will be fitted to a Subaru
Impreza Top Mount then into the inlet manifold, keeping the pipework short and keeping boost lag to an absolute minimum.
I hope you have enjoyed reading and looking at my pictures from the past couple of days, I couldn't be happier of how it's turned out.
More to come over the weekend I hope 
Cheers Mark
|