
Floor (or other panel) drilling pattern
jps - 15/8/14 at 12:52 PM
I'm going to be drilling my floor shortly in order to rivet/bond it in place.
The floor panel is a 1-piece 3mm affair aluminium - and will be rivetted all around the outer edge and to the underside of the transmission tunnel.
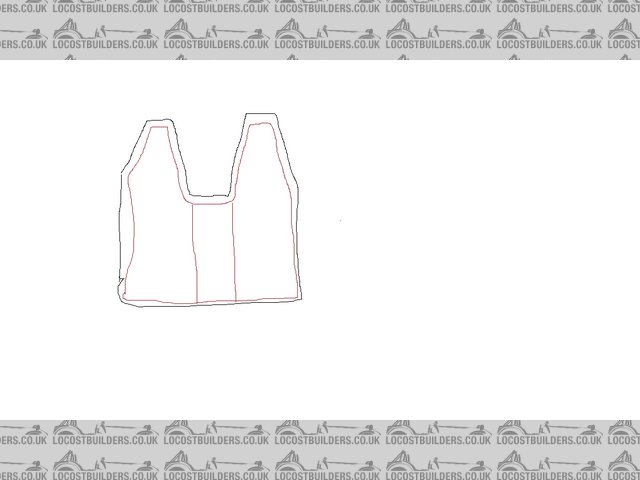
Attached is an extremely poor representation of the panel (black lines) and where the rivets will go (red lines).
Should I drill the holes for the rivets in a specific pattern to ensure the panel stays flat - e.g. starting from one corner and then working
diagonally across to the opposite corner? Or working from the centre outwards
Or should I drill a locating hole in each corner and then work to the middle?

Floor sketch
[Edited on 15/8/14 by jps]
adithorp - 15/8/14 at 01:02 PM
I'd drill locating holes in the corners then start riveting in the middle (top+bottom of your pic) working outwards.
3mm seems very thick and therefore heavy. 2mm is plenty.
mcerd1 - 15/8/14 at 01:52 PM
get some aircraft 'skin pins' like Cleco's or the 'British' type
they don't cost much and make the job much easier - you fit them instead of the rivets as you drill each hole to keep the panel perfectly in
place.
then once all the holes are drilled you can remove the panel, clean it all up, apply the PU sealant and then rivet it knowing that all your holes will
line-up exactly 
sickbag - 15/8/14 at 02:04 PM
When I drilled my floor I held it in place with clamps on the chassis then drew all the way around the the chassis bits with a marker pen. Removed the
floor panel then drilled the rivet holes in the floor sheet with it on the bench. Then offered it back onto the chassis and clamped it back as before
then drilled the chassis straight through the holes I made in the floor panel. I rivetted as I went along. Obviously you need to be able to tip the
chassis upside down for the last bit but it doesn't take much effort.
jps - 15/8/14 at 02:18 PM
Cheers guys - the material was free, hence the thickness choice, i've got about 30 clecos ready to pin whilst drilling - and had planned to
follow the method that 'sickbag' suggests - just wasn't sure whether (like bolting up a cylinder head) a certain pattern would help to
minimise any lumps and bumps on the panel!
adithorp - 15/8/14 at 02:40 PM
I'd get all the holes drilled then remove to get rid of any swarf before cleaning, applying PU and riveting, rather than drill and rivet as you
go.
James - 15/8/14 at 05:09 PM
I'm not sure I see the benefit of a one-piece floor?
Having the tunnel panelled just means it fills with cr@p from the road and there's reduced route for engine heat to exit.
Keep it simple and lighter, and just panel in each person's half.
James
nickm - 15/8/14 at 05:25 PM
Hi
I have always drilled panel and chassis simeltaneously, remove deburr clean out swarf etc, quick wipe down with some white spirit, squeeze on sealant
panel on then rivet. Think most build books will say rivet from the centre out.
I wouldnt worry about the tunnel either i had a Tiger with propshaft and i wouldnt have wanted the floor in the way for if i needed to check/work on
it. Now on a mid mounted build and the tunnel is the cooling pipe run, brakes, fuel so no propshaft but i reckon i have 5kg of swarf/crap in there
that i cant get out.
Hope this helps
Nick M
motorcycle_mayhem - 16/8/14 at 08:57 AM
nickm - The JP cars I've seen have no space in the tunnel for access when it's full of stuff, the cooling pipes stack atop each other,
making it even difficult to get an exit point at the front of the tunnel. A cooling leak results in a swimming pool? If the later J cars are on the
scale of the 'Fat' Riot (that JP burgundy/tan device), does the tunnel get bigger too.. dunno.
My advice to this chappie (as another has said) is the *keep a separate tunnel floor section*. This can then be removed for prop inspections, etc., as
well as getting the rubbish out.
Perhaps others could also advise him on rivet spacing? I've seen a huge difference between the likes Westfield (relatively large) and some others
(very narrow spacing).
nickm - 16/8/14 at 05:11 PM
Agreed no space, i cant even get the nut onto my harness bolt as my hands are to big to get in there !!! i shouldnt end up with a leak as i have solid
pipes all the way thru.
I think the J16 extra width is all in the seats not the tunnel, i know when i drove JPs Riot i was on the width limit at the top of the seat and i am
not that big so i would have thought he would have increased the seat not the tunnel.
I agree with the prop space especially as he will have to mount the g/box and prop shaft in there later on.
Nick M
