
2004 MK Indy Busa Project
yellowcab - 2/3/12 at 07:29 PM
Hi guys,
Not really a 'build' thread as such, as it's already built - but I'll certainly been changing a few bits & bobs on the car as
time goes on, in between being on track, which is 99% of the reason I've bought it.
Throwing money at it isn't something I'm interested in, my mindset is very much - get it on track, like NOW. Avid track day & sprint
goer, I'm interested in nothing that doesn't make me go quicker, smoother etc.
My YouTube channel is (cringes at the username) www.youtube.com/trackdaynova
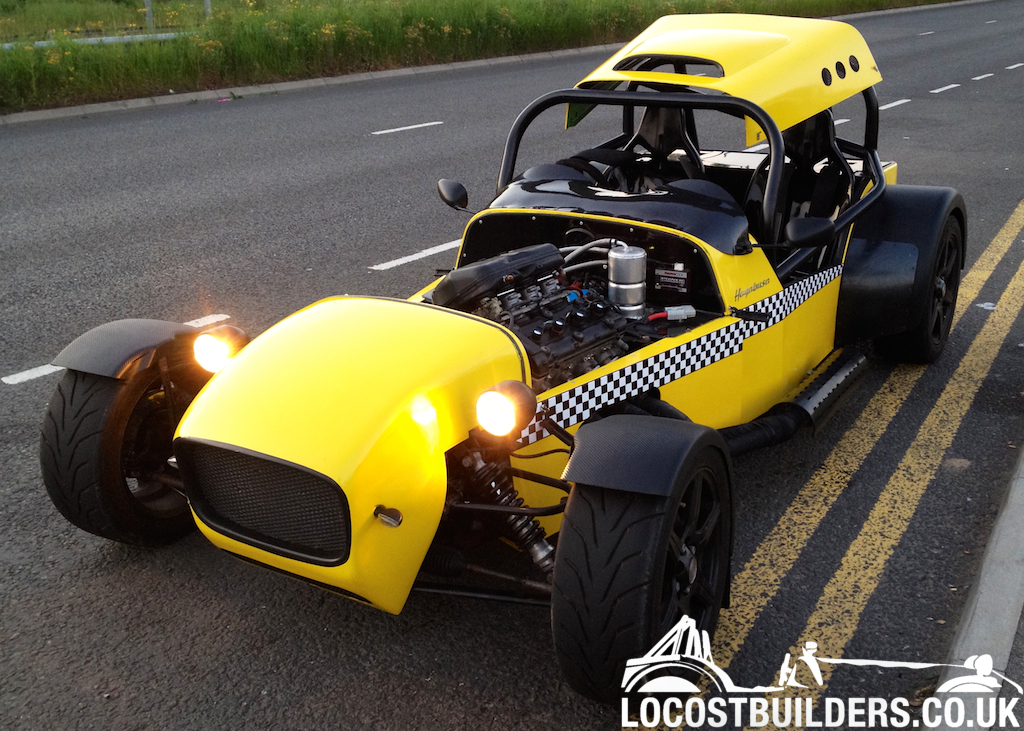
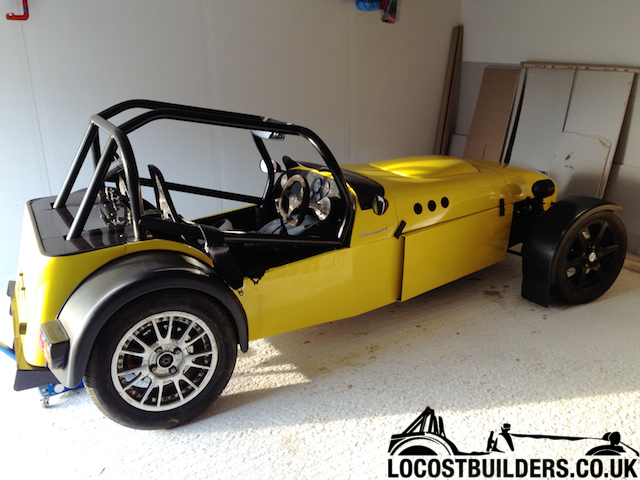
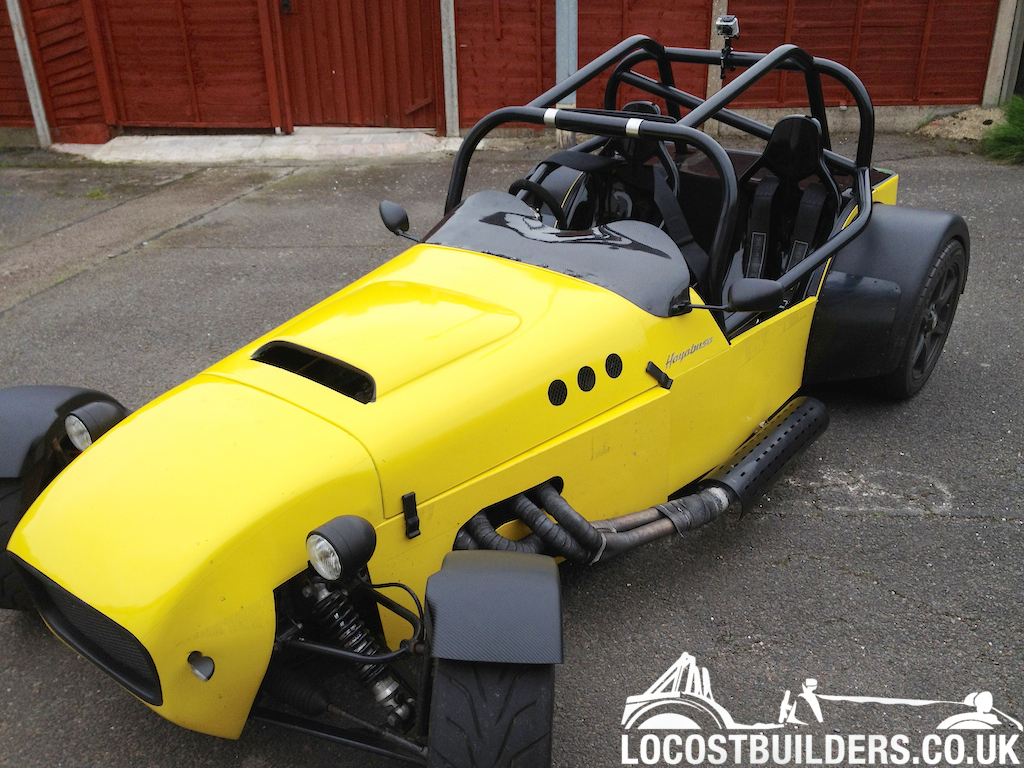
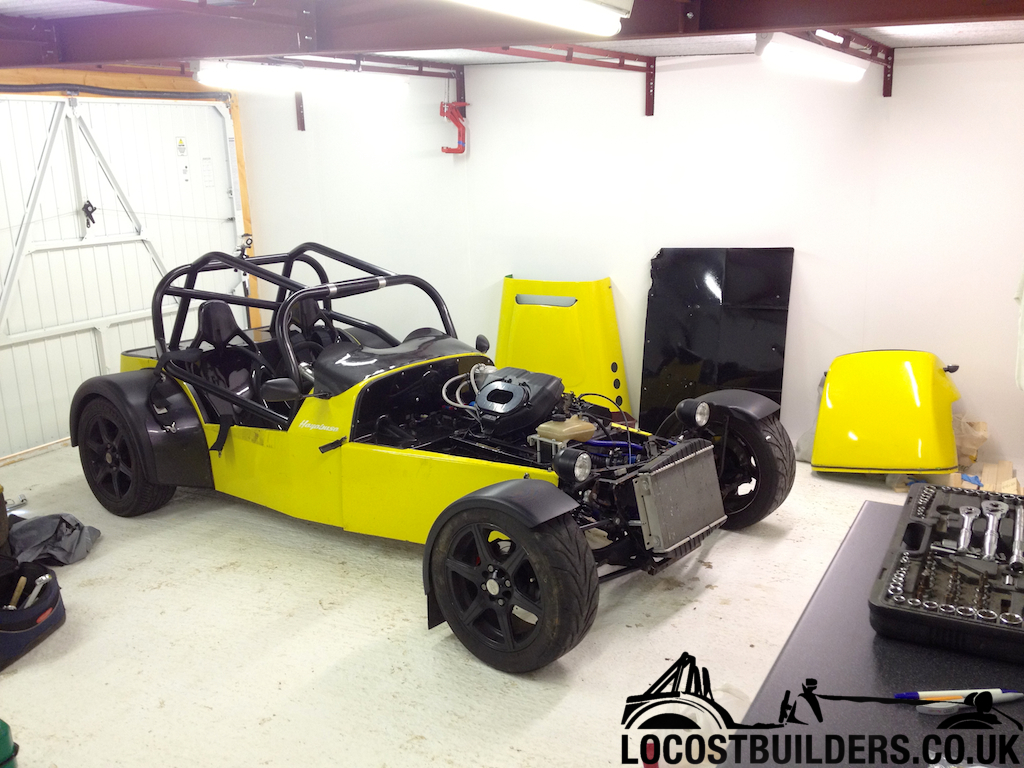
For now, here is the first photo of her at home, but being a photographer - they'll be plenty more.
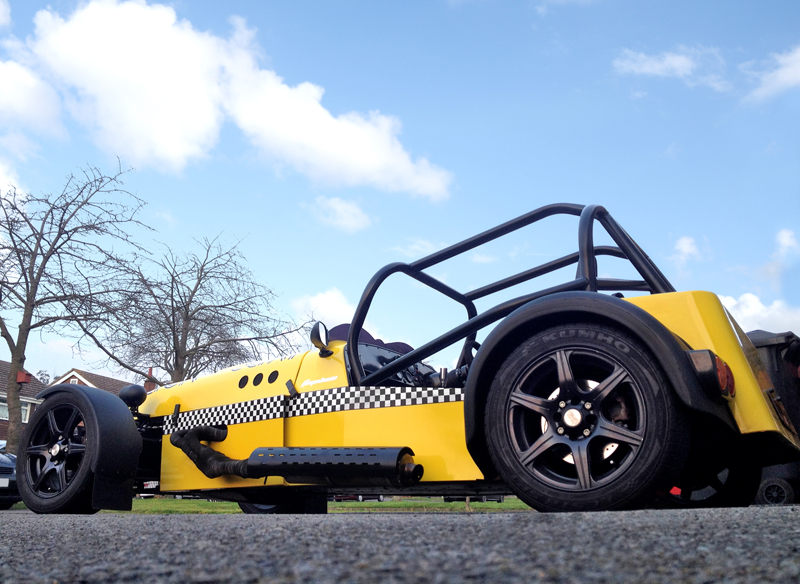
Yes the heavy 15s will go along with the Kuhmo Ecstas, but got some reading up to do on whether to drop to 13s or not, as the FD is already at 3.14,
so wouldn't want to limit my top speed much more...
Thanks for reading
Olz
danny keenan - 2/3/12 at 07:38 PM
hi olz
please join our MK Owners page on facebook.i update this all the time with our new products and there are some real nice cars on there.
check out our new rear diffuser on there
any help you need with your car just ask me.
thanks danny mk sportscars
yellowcab - 2/3/12 at 08:01 PM
Hiya Danny,
Thanks for the warm welcome - I'll nip over to Facebook now to click Like have a read...
Got so many questions to ask, but would sooner search and read forums, rather than doing the annoying newbie thing of asking questions that have been
covered over and over again  )
)
Take care
Olz
afj - 2/3/12 at 08:04 PM
dropping to 13s wont decrease your top speed as long as your on 205/60 at the rear
yellowcab - 2/3/12 at 08:10 PM
Awesome, Thanks... so the rolling radius on my current 205/50/15's is the exact same as a 205/60/13... in which case... what to buy...
I'm unfamiliar with even the PCD of my current wheels, I can only presume they are Ford fitment which I believe is 4x10⁸... so I guess the R500
wheels won't fit as I believe they're 4x100...
What offset am I after, and also are they 6J fronts, 8J rears?
afj - 2/3/12 at 08:27 PM
the radius is about the same as 195/50/15 so may drop a couple mph my compomotive cxrs are 6 inch front 185/60 and 7 rear 205/60 and the off sets
are about et27 rear and 23 front and seem to sit about right on my old 15s had 6.5 wide and et36. the only problem with 13s is the rear brake
caliper clearance if using sierra calipers i and other here had to remove the coil return spring some on here have sourced a custom small spring, i
just fitted a compression spring on the hand brake cable, wheel choise is limted to compomotive cxrs team dynamics pro race 1.2 and some expensive
split rims oh think daniel mason on here has cateringvan wheels look very
daniel mason - 2/3/12 at 08:38 PM
I have r500's on my Mnr. 4x 10⁸
Proby - 2/3/12 at 08:47 PM
Great pic Olz....
Andy B - 2/3/12 at 08:50 PM
We dropped from 7 x 15's shod with 205 50 15's to 7 x 13's on 205 60 13, the difference in diameter is negligible but we took 12kgs out
overall. We are using pro race 1.2 wheels which are available in all the usual et offsets and ford fitment. Noticeable improvement in handling as
well.
Regards
Andy
yellowcab - 2/3/12 at 10:09 PM
afj - thanks for the gen on the radius' and wheel/tyre options, will certainly be looking into them!
Daniel - nice one, always imagined r500 wheels were 4x100, nice to know they'll go on Ford hubs!
Proby - just a quick snap using the iPhone, not cracked out my proper gear & rig on it yet lol
Andy - looking forward to unsprung weigh advantage and handing too  )
)
big_l - 2/3/12 at 11:39 PM
your car looks nice mate congrats 
where you based ???
yellowcab - 3/3/12 at 12:25 AM
Just in between Leicester & Coventry on the M69 :-)
yellowcab - 3/3/12 at 06:19 PM
lol broke it already, a spirited drive down the country roads going through the gears leaves me with a snapped gear linkage rod just where it enters
the engine bay... luckily it snapped whilst in 3rd gear, so pulled over, switched off, had a look, and then drove it home...
Can only presume its a relatively common procedure just due to the nature of the wear & tear such a joint... lol
Hey ho, great excuse to have a tinker
daniel mason - 3/3/12 at 06:32 PM
i assume its a stick shift,so have you thought about a paddle shif setup? think andy bates does a nice one if my memory is correct!
yellowcab - 3/3/12 at 07:09 PM
I kinda liked the idea of a stick shift, up until this afternoon lol
Just felt with paddle shift it'd take some of the 'driving' out of things, but maybe not...
What kinda money are they? any links to any pic setups?
danny keenan - 3/3/12 at 08:25 PM
if its and old linkage its madde from rpush rods.we now make them with a push pull cable.they work alot better and never break.
its the same cable we use on our paddle shift system which works really good.
thanks danny
yellowcab - 3/3/12 at 08:38 PM
Danny, would you recommend that I replace with cables either way then, rather than what I currently have?
Regardless of sticking with stick shift or going paddle?
danny keenan - 3/3/12 at 08:42 PM
its alot smoother gear change with a cable instead of rods.i would change it for what it costs.
you have my mobile numer if you need any help or advice.
thanks danny
yellowcab - 3/3/12 at 08:49 PM
I'll give you a tinkle tomorrow is that's OK? Or would you rather me wait until Monday?
danny keenan - 3/3/12 at 09:00 PM
tomorrow is fine mate any time you want.
thanks daany
yellowcab - 5/3/12 at 08:42 PM
Managed to see what's actually broke on my shifter, and it's the DynoJet Quickshifter itself, it has '07 1 PULL' written on it,
and the threaded bar has sheared off... Surely these should be high tensile no?
yellowcab - 13/3/12 at 09:41 PM
Just a small update, sent the unit back to Dynojet UK who confirmed that the fault was not a manufacturing defect which I kinda knew, they told me to
look out for a slight twist in my gear throw... As a gesture of goodwill, they have offered me 25% discount on a replacement unit which is good of
them, so doing that.
For now, I went down to B&Q, got 30" of steel tubing (£4.18), 1mm wall thickness x 16mm diameter, rounded the shoulders off two m8 nuts,
popped them in the ends and seam welded them, smoothed them off, popped the rose joints back on, and job jobbed... Car fixed... Just means for now I
have to use the clutch to change gear, ad no full throttle up changes!
Here is a small video I made because I was bored from before I broke it last week sometime  )
)
http://m.youtube.com/watch?feature=mhee&v=MZekIs2zkv4
yellowcab - 17/3/12 at 01:01 PM
broke it again, luckily I was with a group of mates in a well kitted out garage at the time - so removed said broken part, looked at why it broke, and
improved it - win win!!!
The supporting bracket that was operating/ holding the clutch arm into the gearbox stripped the threads out of the gearbox upon a hard 'rev
up' (it was in gear at the time, but clutch was depressed)
Rolled the car forward thinking it was proper broke to find an M8 nut (not snapped) with the last three threads being full of alloy... offered up the
bracket to put the bolt back in, and it was only held in by those three turns of the bolt...
So we got a longer bolt, and screwed it in the correct amount, whilst cutting a new thread into said gearbox hole.
Clutch pedal feels more solid than before now, not as much 'loose play' as it were... however it could be tighter with some of the sloppy
joints being replaced, in the near future  )
)
yellowcab - 20/3/12 at 04:40 PM
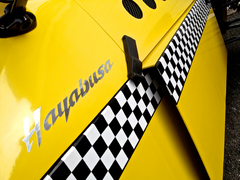
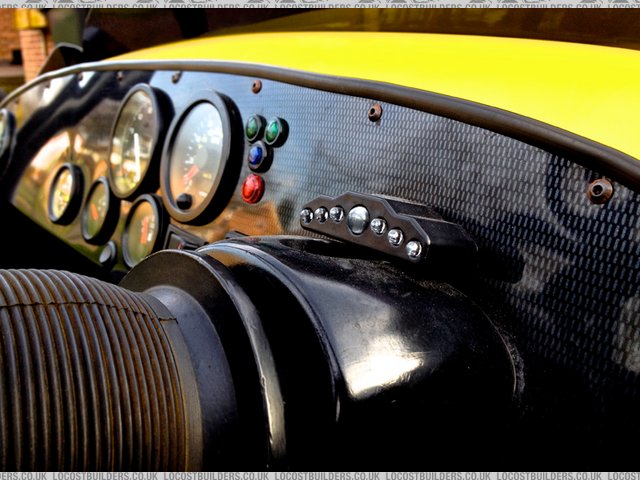
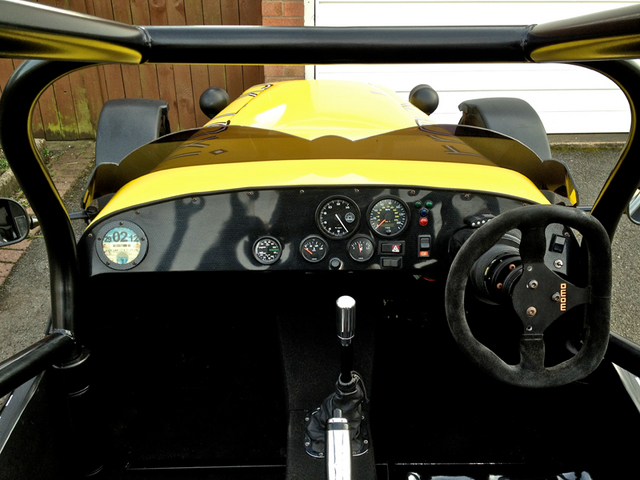
Some old pics that I took that I forgot to upload...

Description

Description

Description


Description
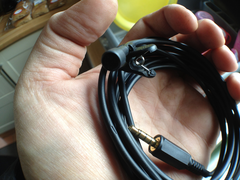
Bought a mini-mic so I could record on my iPhone with zero wind noise, so the mic is placed behind the dash

Description
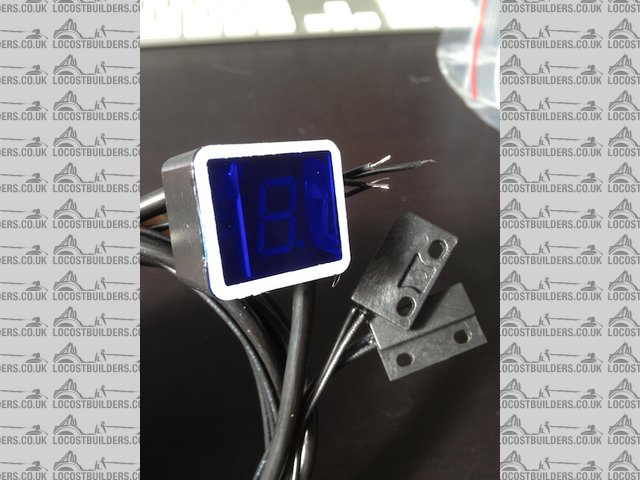
Gear shift indicator cheap eBay bobbie came today

Description
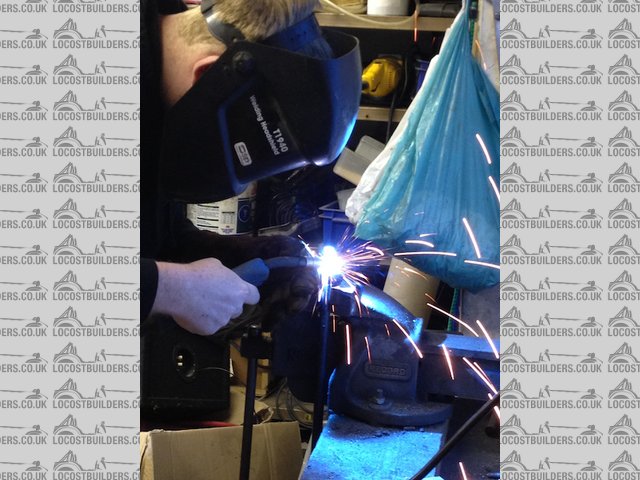
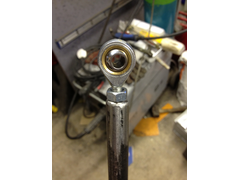
The fix on the broken gear linkage

Description

Description
yellowcab - 20/3/12 at 04:43 PM
Decided to measure up and design my own MK Indy rear diffuser, so we got making a ply-wood template so its a constant continuation of the flat floor,
which will prevent the rear clam acting as a parachute slowing the car down under hard acceleration
Underside showing the continuation, large fins on the outside, slightly shallower fins on the inners to channel the air correctly


Description
Larger out fins

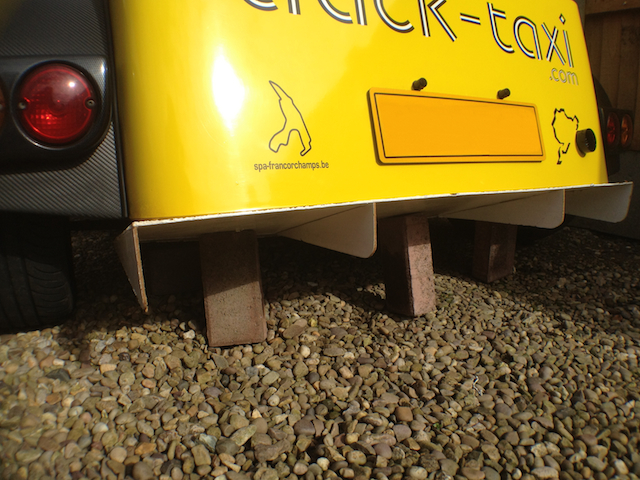
Description
Being made out of 1.2mm alloy sheeting, with folded outer fins, and TIG welded inner fins
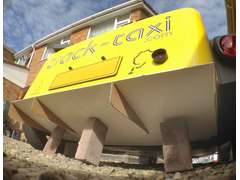

Description
Edge will be rolled and rounded to keep Mr.MOT tester happy, and to keep within guidelines, protrudes the rear of the car by 25mm

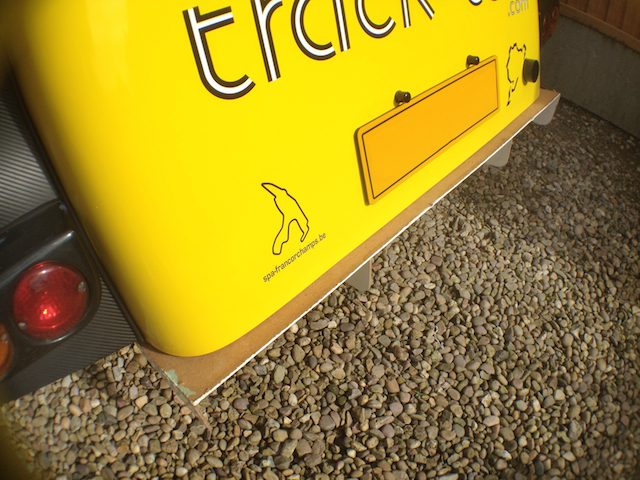
Description
Proby - 20/3/12 at 06:30 PM
Lookin good! iPhone mic sounds a good idea!
afj - 20/3/12 at 06:48 PM
Diffuser looking great, just need a splitter at the front next 
yellowcab - 20/3/12 at 07:52 PM
iPhone mic behind the dash completely exposed was still too distorted from engine & exhaust tone, so I cut some roll cage padding up, and wrapped
that around it to make a muffler for it, reduced it loads but still distorts under hard-loud-pedal
Next up, is to cut our kitchen sponge up (don't tell the wife) and stick the mini-mic in the centre of that...
One thing I really dislike about trackday/race/car videos is distortion and wind noise lol
yellowcab - 20/3/12 at 07:54 PM
AFJ, good shout, there is already an alloy plate under the engine, but only held on with cable ties, so will be making a front splitter too.
Not fussed about it having louvres in, as I have the wide fin/ wings to aid engine bay cooling to keep engine air temps ambient 
yellowcab - 25/3/12 at 08:14 PM
still battling with a horrid distortion from exhaust drone...
http://www.youtube.com/watch?v=d1nArJg2p-I&feature=plcp&context=C49fe7e6VDvjVQa1PpcFMYEPmjO7dsRaWLWeieKQWg2sc7EBZokn4%3D
Proby - 25/3/12 at 08:32 PM
Was that mini mic with or without the wife's washing up sponge? 
yellowcab - 25/3/12 at 08:38 PM
I kid you not... the mic has roll cage padding taped round it, then a bathroom sponge taped around it, then stuffed in a jewellery ring box, taped up,
then another bathroom sponge taped around it, and then in a carrier bag to keep it waterproof, and tape around it... I think its just a sh*t mic
lol
Oh and I've moved it from behind the dash as I thought it was too close to the engine, now to behind the passenger seat, to which I now thing its
too exhaust droney... so I'll move it again to behind the under the drivers seat I think...
yellowcab - 28/3/12 at 11:19 AM
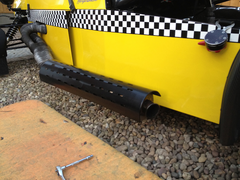
Removed, repacked and refitted exhaust to try and get it a little more quiet - whether its worked or not I don't know, maybe a larger longer can
would have been a better alternative, as this can is only 20inches x 4.5inches, and I think a new 22inch x 6inch would have done a better job
Hey ho...
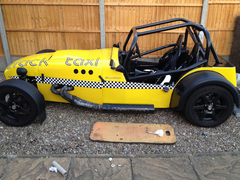

Description

Description
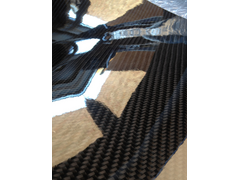
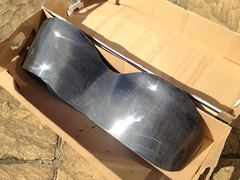
Took delivery of my new carbon aeroscreen today - any tips on how to fit it neatly?

Description
A1 - 28/3/12 at 12:16 PM
measure up from the scuttle/side panel line on each side then tape in place, fix it on one side then do the other.
yellowcab - 28/3/12 at 12:51 PM
Ahhh nice one... didn't really think about it but my scuttle is stepped, but it doesn't matter come to think about it.
I've taped it on and sat in the car to see if any visibility is reduced and it's pretty perfect! My drivers seat is really low down you
see.
Had to remove my mirrors and then I'll plonk them back ontop othe sides of the screen
yellowcab - 30/3/12 at 06:16 PM
so on with the carbon aeroscreen that I purchased from Aerodynamix...

Description
Removal of the old home made perspex one which has served its job very well!
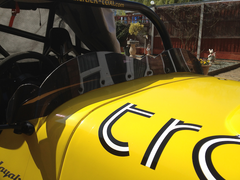

Description
It was a stepped scuttle type one
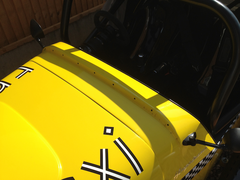

Description
As per above advice, I taped it down to begin with to get angles and measurements


Description
Rivetted on, following the curvature of the car
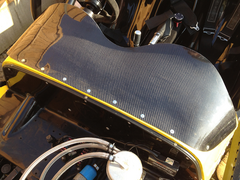

Description
Didn't like the silver, didn't fit in with the colour scheme, so coloured the rivets black
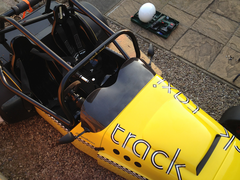

Description
All done
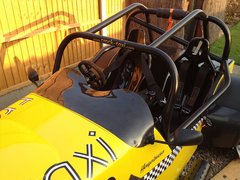

Description
Very happy with my purchase - outstanding service from Julian @ Aerodynamix too
yellowcab - 30/3/12 at 06:18 PM
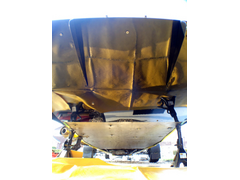
today we fitted the diffuser, and was very happy to see it weighing in lighter than some others, at 3.65kgs
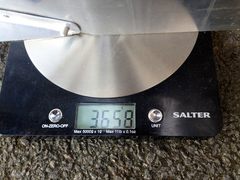

Description
this is just the prototype riveted version for now, will be sold one once the final templates are made
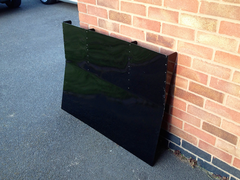

Description
arse end up in the air, diffuser slid underneath
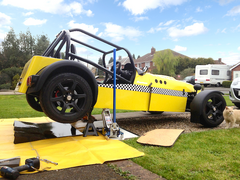

Description
like for like comparison, open rear diff, and rear clam acting as a parachute
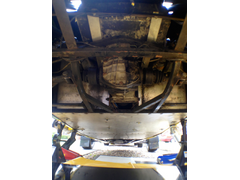

Description
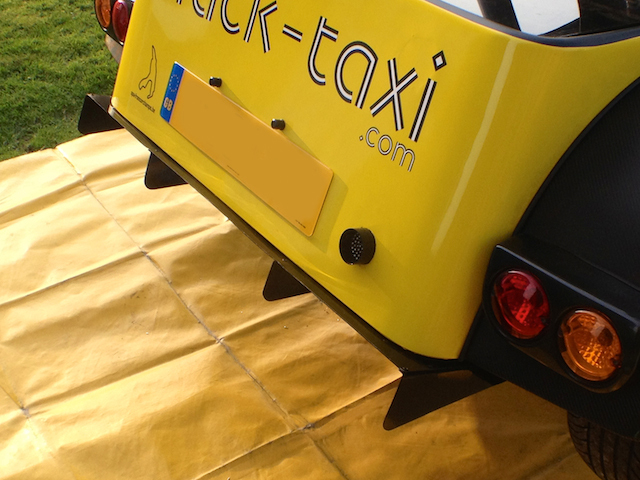
gloss black diffuser on, attached the the existing floor, and rear clam

Description
Exits the car by 25mm, and rounded edges

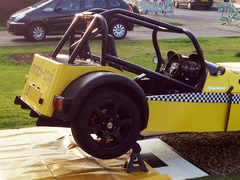
Description
Grrr

Description
All done - now onto the next task
Coopz - 1/4/12 at 05:31 AM
The carbon screen looks great... Fits really well on the MK Scuttle. Your car also looks superb keep the updates coming 
yellowcab - 1/4/12 at 10:36 AM
Thanks Coopz, yeah very happy with the fitment on the screen considering they're not 'specifically' MK...
I'll keep the photos coming, don't worry 
[Edited on 1/4/12 by yellowcab]
yellowcab - 12/4/12 at 04:36 PM
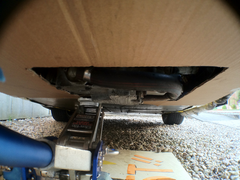
Set about making more aerodynamic changes to the car, so decided to look at the front of the car...
As it sits, completely open to the underside of the Busa lump
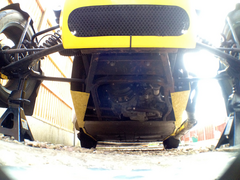

Description
It's going to protrude the front of the underside of the nosecone by 50mm, and 60mm wider at either side (the shape isn't exact, it will be
rounded to suit the lines)
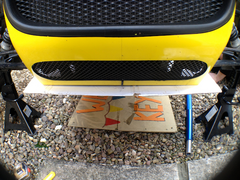

Description
Jacked the car up to ensure front arms at full droop will clear even when air-born
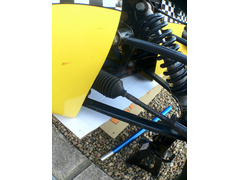

Description
The kick out/ change of angle - will not be a right angle, either rounded or smooth
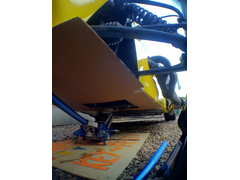

Description
The sides follow the lines of the wider gills at the side of the engine bay
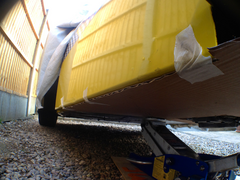

Description
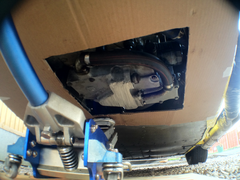
Where the sump of the Busa engine hangs down, rather than boxing it off, I'll make an upside down alloy bonnet scoop facing backwards for better
aerodynamics and for hot air to escape if need be

Description

Description
Going to make it from 1.5mm alloy to keep the weight down
[Edited on 12/4/12 by yellowcab]
[Edited on 12/4/12 by yellowcab]
Nick DV - 12/4/12 at 06:13 PM
Are the marks on the bottom of the sump due to it hitting the ground?  If it is, I'd include a skid plate when you sort out the aero aids!
Cheers, Nick 
yellowcab - 12/4/12 at 07:22 PM
Yep, there isn't much of the sump left lol - I will be looking for a new one in due course lol
Also, thats the main reason for the splitter, the aero benefits was secondary...
[Edited on 12/4/12 by yellowcab]
chris_harris_ - 13/4/12 at 12:23 PM
Very nice looking car. I like the mods.
What have you fixed the Aeroscreen to the scuttle with. Have you used tinnerman washers, as this was what i was thinking of doing, with countersunk
screws?
Chris
yellowcab - 13/4/12 at 12:23 PM
MOT complete, passed with no advisories!
yellowcab - 13/4/12 at 12:32 PM
Hiya Chris,
I decided to use standard 4mm stainless rivets with washers underneath them to spread the load so to speak to prevent any cracking,
Let me know what you decide to use.
andrewmorpeth - 13/4/12 at 12:41 PM
are you running a dry sump system or standard?what diff have you got?thanks
yellowcab - 13/4/12 at 12:53 PM
Running a standard wet sump, and the rear diff is a LSD standard unit with 3.14 fd
andrewmorpeth - 13/4/12 at 01:00 PM
ive just changed my diff from sierra 3.14 to a bmw 2.35 out of a 2000 320d had to change propshaft and drive shafts but what a difference!it will do
70mph in first now!still pulls away ok and car is now more driveable on road.have you had any problems with oil surge?what size oil cooler are you
using?
yellowcab - 13/4/12 at 01:14 PM
not had any problems as yet - but will be investing in an acusump system certainly lol
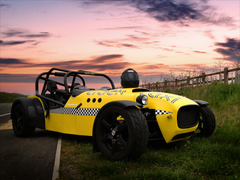
here is a quick shot i took when i had run out of fuel again lol

Description
andrewmorpeth - 13/4/12 at 01:19 PM
looks nice!have you done any trackdays yet?
yellowcab - 13/4/12 at 01:22 PM
not in this particular car no, but previously yes www.youtube.com/trackdaynova
Proby - 13/4/12 at 01:46 PM
quote:
Originally posted by andrewmorpeth
ive just changed my diff from sierra 3.14 to a bmw 2.35 out of a 2000 320d had to change propshaft and drive shafts but what a difference!it will do
70mph in first now!still pulls away ok and car is now more driveable on road.have you had any problems with oil surge?what size oil cooler are you
using?
Sorry to hijack the thread, but out of interest, what are your speeds in each gear now? Not heard of anyone trying a 2.35 from a beamer? 
Nick DV - 13/4/12 at 02:09 PM
quote:
Originally posted by yellowcab
Running a standard wet sump, and the rear diff is a LSD standard unit with 3.14 fd
That doesn't look like a standard 'Busa sump from where I am looking at it from. Accusump is a good idea 
Cheers, Nick 
Pat_T - 13/4/12 at 02:11 PM
quote:
Originally posted by yellowcab
not had any problems as yet - but will be investing in an acusump system certainly lol
here is a quick shot i took when i had run out of fuel again lol


Description
is that near the Earl Shilton traffic lights? If so I ran out of the fuel there a couple of weeks ago too!
(I'm in Hinckley too, have been following the thread with interest, have a 2.0 C20XE Redtop powered Stuart Taylor  )
)
yellowcab - 13/4/12 at 04:43 PM
Very good eyes! Yes it's the end of Clickers, lol
Ran out of petrol twice now, one Sunday after another! lmao #ineedafuelgauge lol
Love the fact you have an XE, if I didn't get a BEC, it'd have to be a TB'd XE with Elite Seq SCCR
yellowcab - 14/4/12 at 03:21 PM
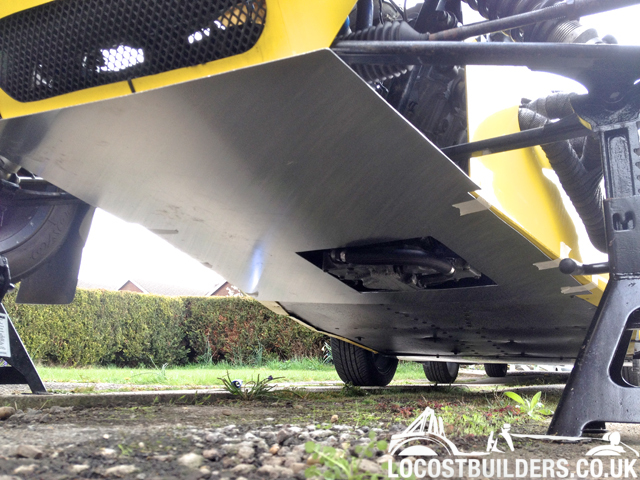
Spent some time this morning making the front aero splitter and engine under tray / sump guard... some photos of the progress...
1.5mm alloy sheet cut to cardboard template
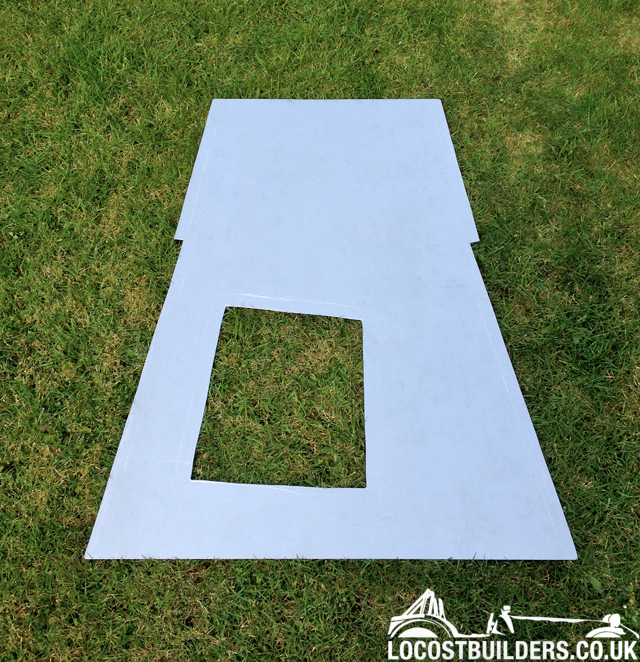
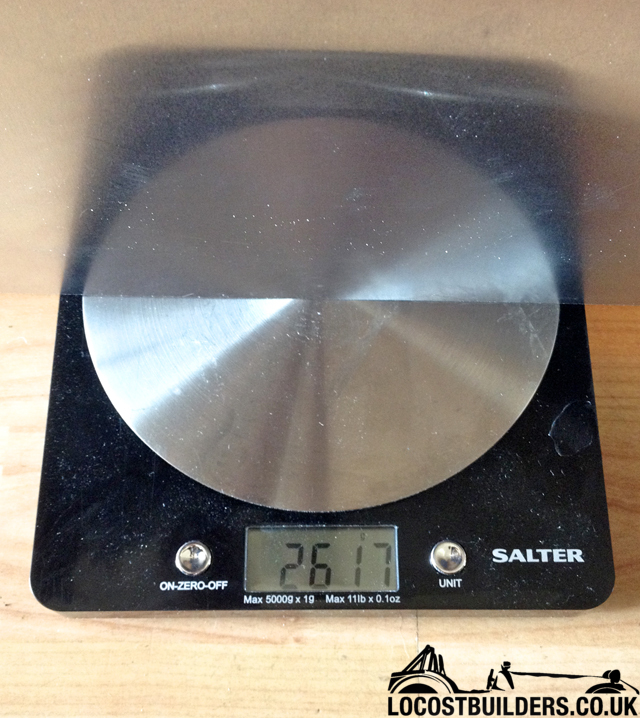
once cut out - weigh it, 2.61kgs... nice and light
will attach to the wider gills of the side of the bay, and where the flat floor begins
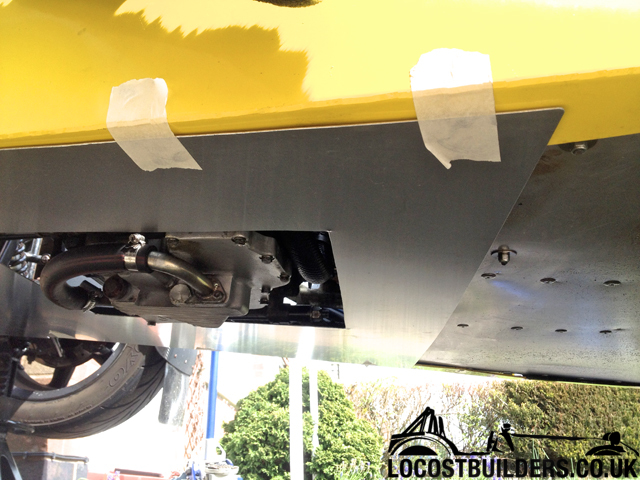
Obviously the sump guard isn't attached yet - we were just making sure measurements were correct at this point
From the front of the car, looking back
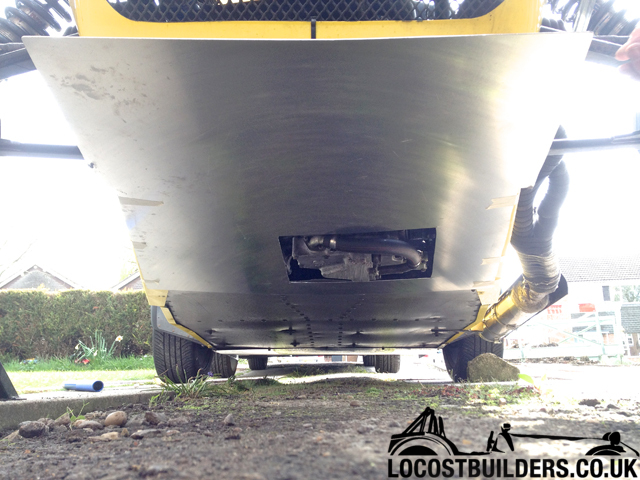
Protrudes out 50mm, and 60mm either edge at the front
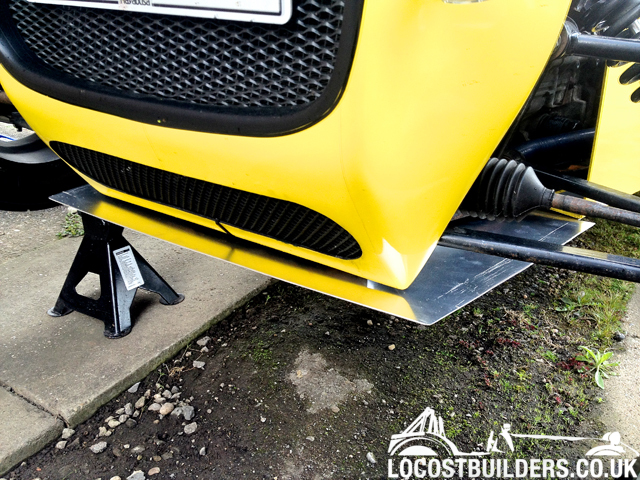
Flat floor from front to rear now...
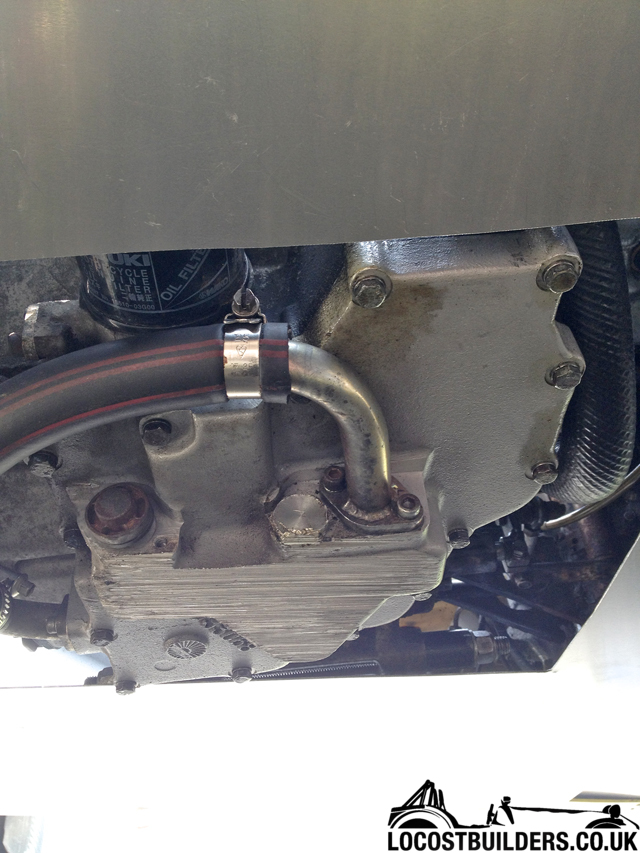
And someone was asking about the sump on the car, this is a close up... lol
chris mason - 14/4/12 at 06:57 PM
Looks like your running a Westfield Dry sump system (pace iirc)
It might be worth looking in too these, as i did find when i was searching for one myself, that the westy one was not too reliable on track 
yellowcab - 17/4/12 at 11:01 AM
Having looked again - you're completely right in that it's a Westfield Dry Sump Pan, but I'm running a wet sump system lol
Twin40 - 17/4/12 at 11:38 AM
is that a bit dodgy running a dry sump pan on a 'wet' system? does is hold enough oil in it to provide lubrication?
yellowcab - 17/4/12 at 04:53 PM
it's been running like that since 2004, and being a well renown track-taxi all over the UK, Ring and Spa, I'd can only presume its fine?
I didn't build the car originally mind
Twin40 - 18/4/12 at 06:37 AM
Fair enough!! Shows what little i know! Loving the updates mate, keep them coming. 
yellowcab - 18/4/12 at 01:13 PM
Please don't think I was being funny, I thought the same about the lack of oil it holds, but it seems to be fine...
Acusump will be bought anyway, just to be sure, to be sure
yellowcab - 18/4/12 at 07:26 PM
So today I went about removing, analysing, criticising, saving weight, making, and refitting...
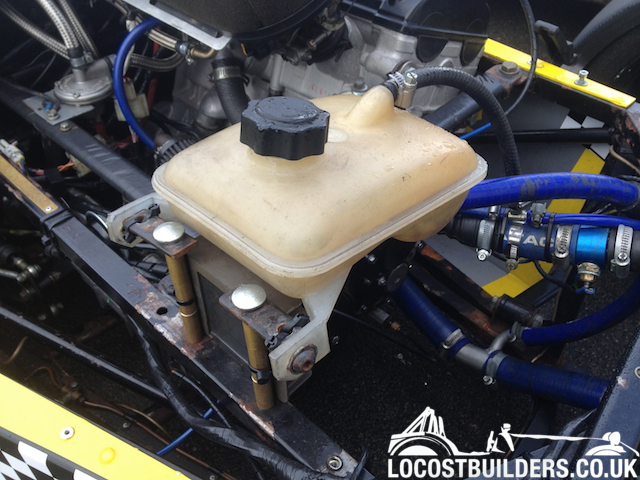
Todays victim, the bodgery that was the header tank 'bracket'
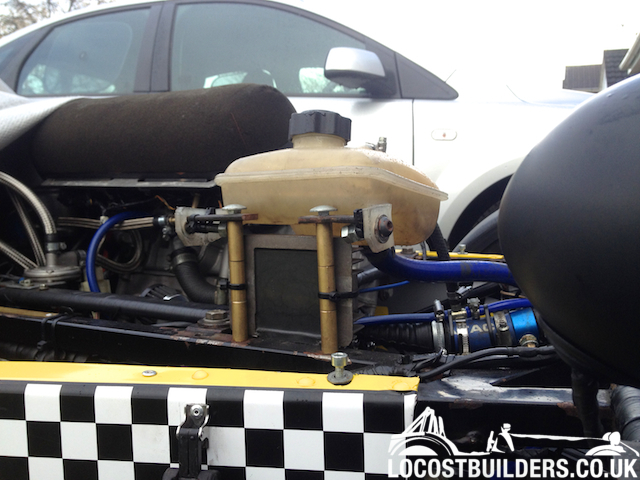
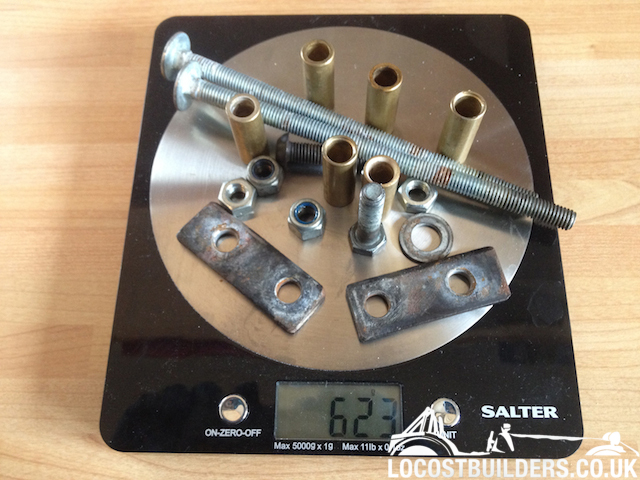
Closer inspection, saw three spacers, different bolts, mis-fitting coach bolts, mix & match washers, cable ties, and a sloppy fitting header
tank
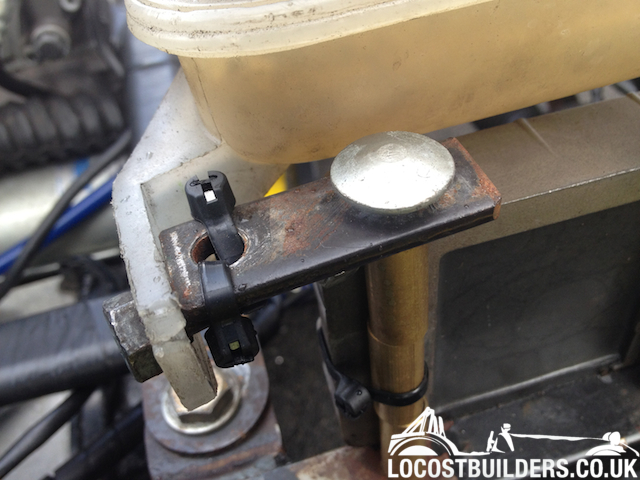
Parts weighing 623grams
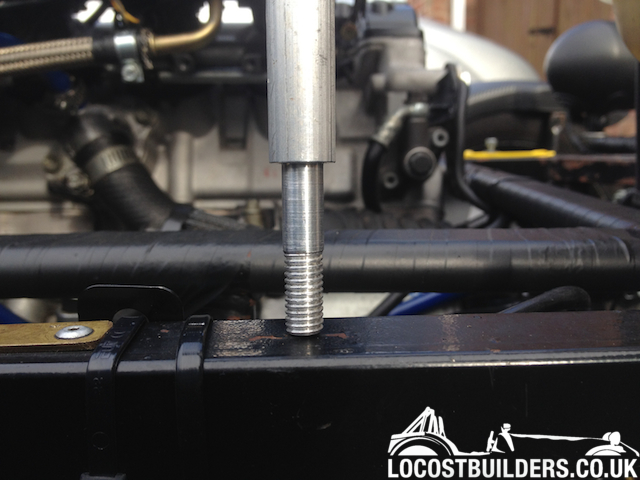
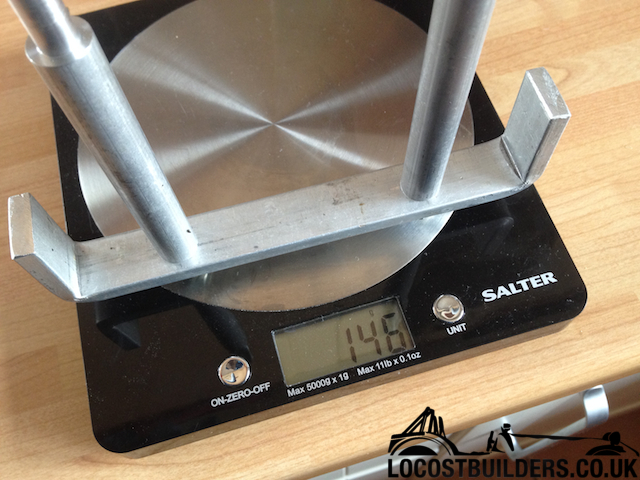
New part, turned down aluminium bar, with threads, with a bent 'T' section for header tank fittings
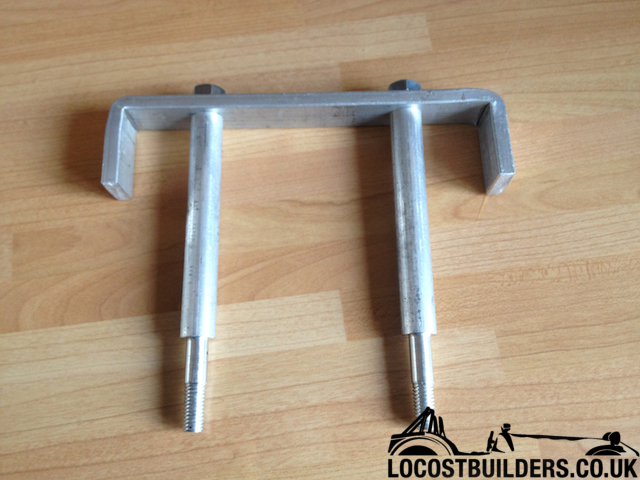
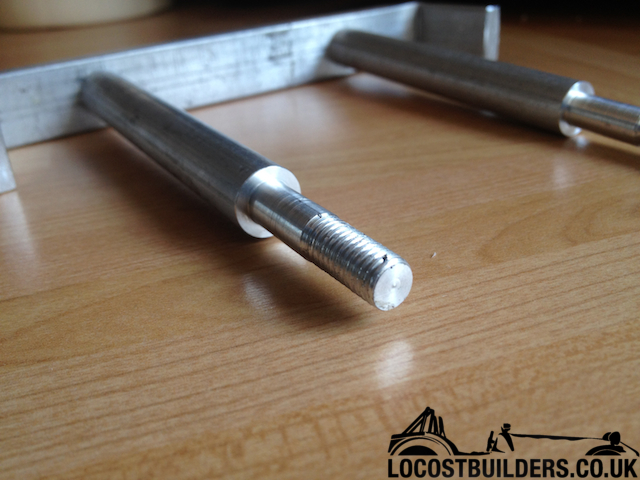
Nuts on top for easy removal
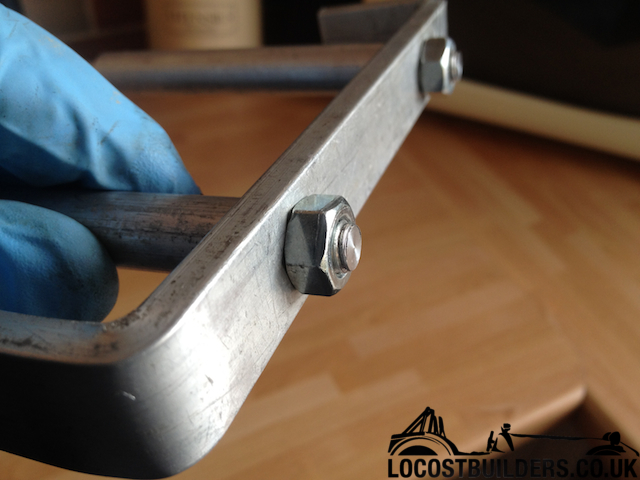
Will drop through the box section in the original places
Weighing in at 146grams
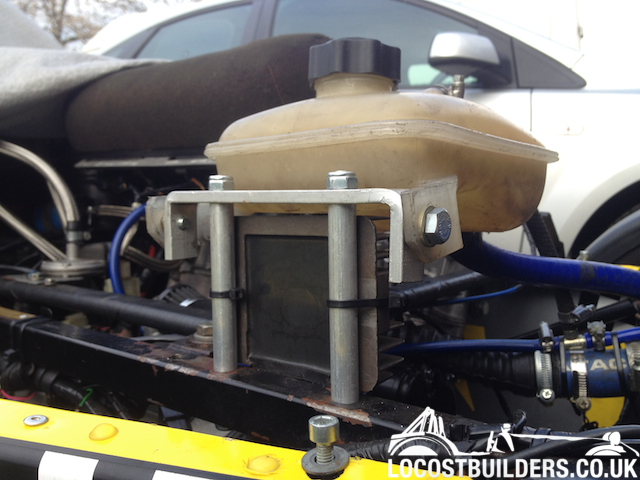
Fitted
Looking forward to the winter to continue stripping down, cleaning, and refitting
yellowcab - 20/4/12 at 08:22 AM
So whilst I was replacing the header tank bracket for a nicer looking and lighter version, I noticed these more weight saving to be had...
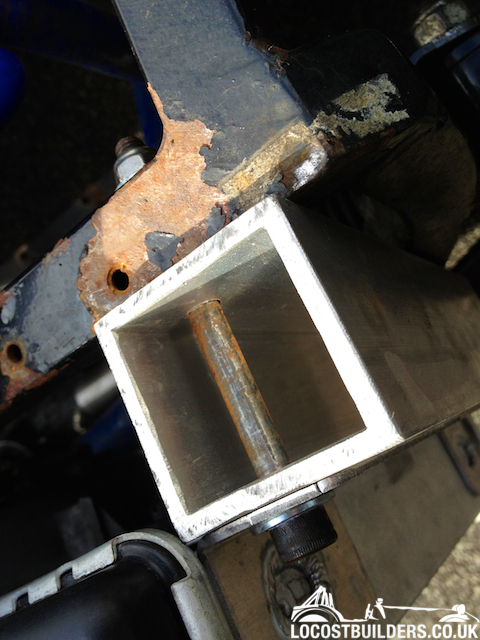
Rather large section of 4mm walled box section alloy, simply spacing the radiator from the from the front of the car
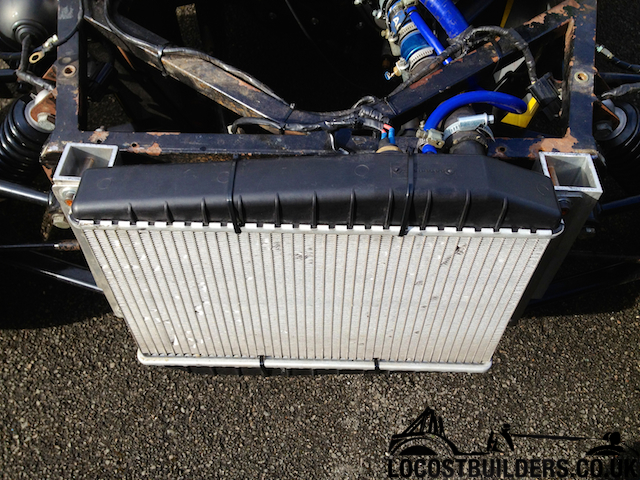
Overkill much, considering they're only being bodged on by one bolt at the top anyway
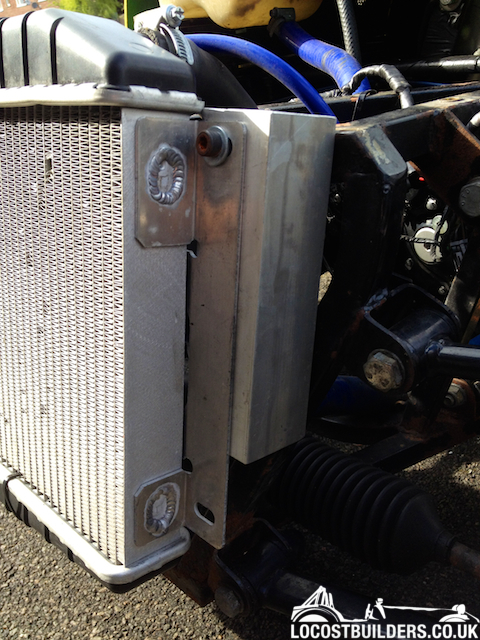
I still can't wait for winter to strip it all down and refurbish the chassis itself
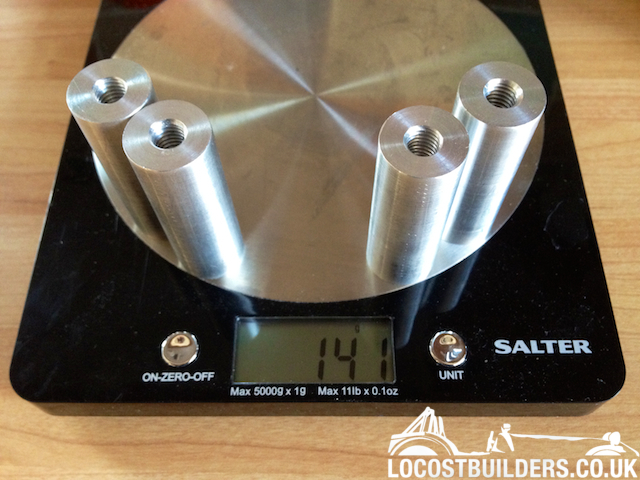
999grams, you what, a kilo... I don't think so
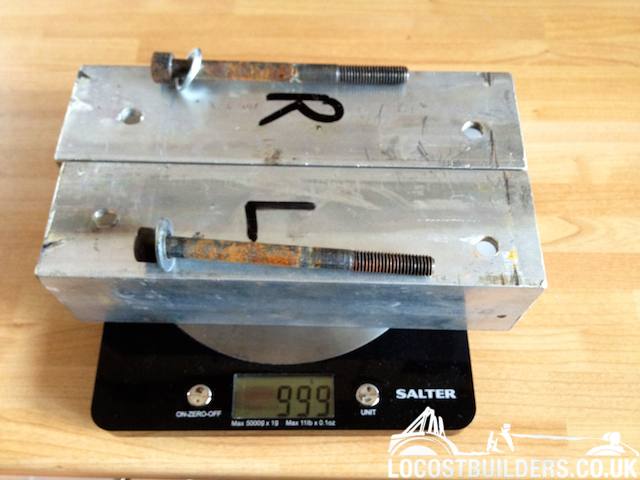
Get solid alloy tube, clean up face
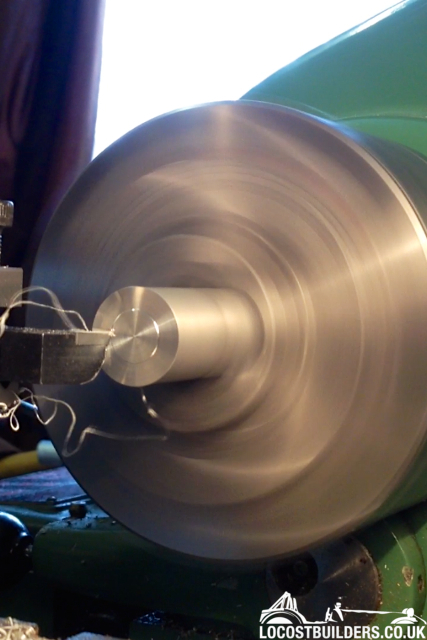
Drill centre hole
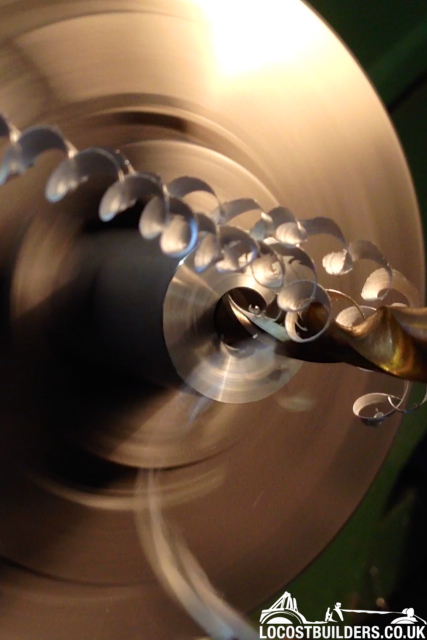
Tap an M8 thread in either end
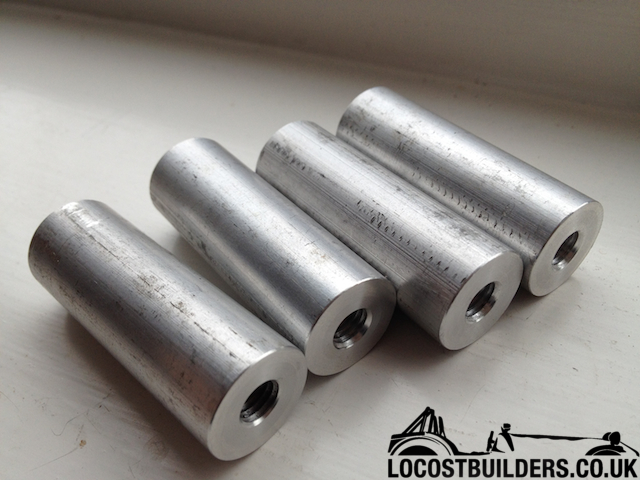
Turn them down so they look nice
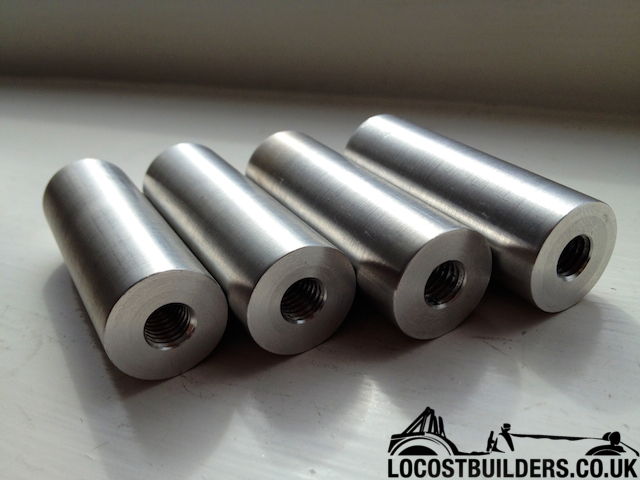
141grams... win win
[Edited on 20/4/12 by yellowcab]
[Edited on 20/4/12 by yellowcab]
sdh2903 - 20/4/12 at 08:57 AM
Nice work.
Must admit bodges like that really annoy me, why go the expense of a busa engine at £0000's then fit the header tank like that!
yellowcab - 20/4/12 at 04:19 PM
I have to agree with you too... where I understand these cars are 'Lo-Cost' there is a limit...
It costs nothing to make things look nice (imo of course)
Benzo - 20/4/12 at 07:13 PM
High Mate,
You must be KeithRobinsons Mate, he was telling me and showing me pictures of your motor a few weeks ago!
Hope you are enjoying it, i miss my Busa!
yellowcab - 20/4/12 at 07:24 PM
Hello bud, that's right, I'm the little irish fellas mate  )
)
It's really enjoyable, looking forward to getting some track days booked!!!
T66 - 20/4/12 at 07:27 PM
Some nice mods going on there, keep posting the pictures. My little Fiat came from Earl Shilton
yellowcab - 20/4/12 at 07:33 PM
Thanks for the comments, the mods aren't anything spectacular or unique, just tatting whilst the weather is rubbish!
I tend to look around the car, see what can be lightened, improved, or removed lol
Even if I knock of the best part of a kilo each time, if I do that 10 times, then happy days!
sebastiaan - 20/4/12 at 07:37 PM
It seems quite a lot of stuff is bolted straight through the chassis box section. Once you get round to stripping her down for a chassis refurb,
it'll be a good idea to weld crush tubes into these holes so you can properly do up the bolts without crushing the chassis members.
Nice work by the way!
ReMan - 20/4/12 at 08:18 PM
quote:
Originally posted by Pat_T
quote:
Originally posted by yellowcab
not had any problems as yet - but will be investing in an acusump system certainly lol
here is a quick shot i took when i had run out of fuel again lol


Description
is that near the Earl Shilton traffic lights? If so I ran out of the fuel there a couple of weeks ago too!
(I'm in Hinckley too, have been following the thread with interest, have a 2.0 C20XE Redtop powered Stuart Taylor  )
)
Nice Pic
And Pat I only spoke to the previous owner of your car today who mentioned it was still local
yellowcab - 20/4/12 at 08:36 PM
eh up bumpkin, you off your jollies now then?
Benzo - 20/4/12 at 10:04 PM
quote:
Originally posted by yellowcab
Hello bud, that's right, I'm the little irish fellas mate  )
)
It's really enjoyable, looking forward to getting some track days booked!!!
he's a mini gangster that boy.. bloody nova blew me off the road last summer, i had no idea that little thing was so sharp! he hasnt got his
balls from the freezer yet and put it on the track tho 
yellowcab - 23/4/12 at 12:40 AM
So this weekends rain didn't stop me tinkering lol despite getting wet several times...
So I say to the misses "just going to work on the car", "its pouring with rain" she replied... ermmmm
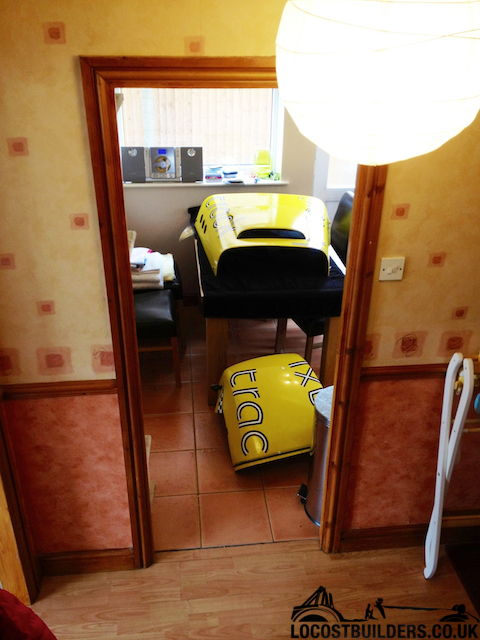
Hope she doesn't realise... No longer a taxi - can I change my name on here? de-taxi-stickered...
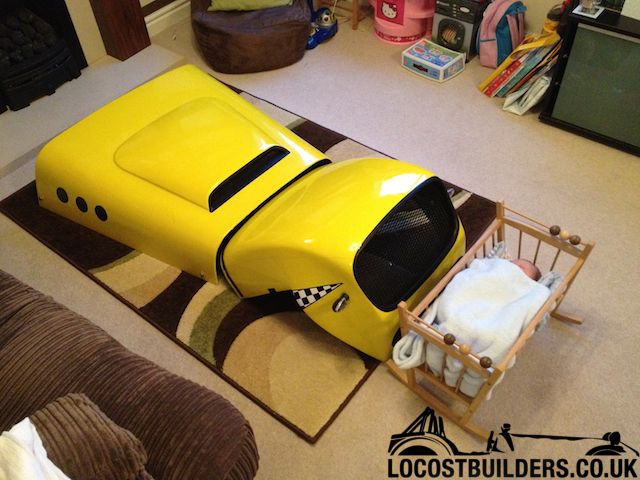
This bar that does nothing, other than hold the headlights...
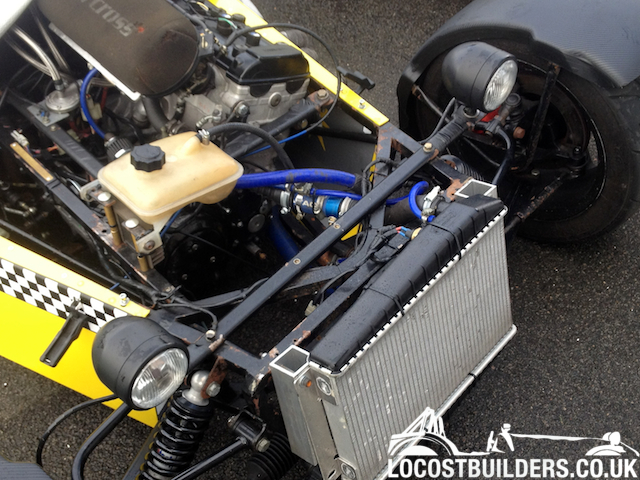
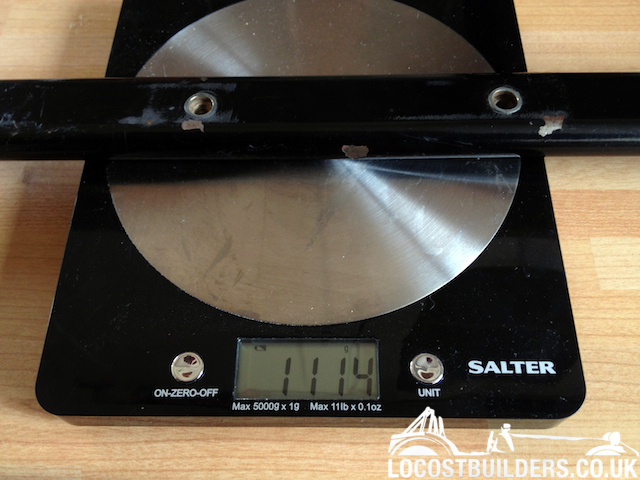
Steel?! How heavy?!
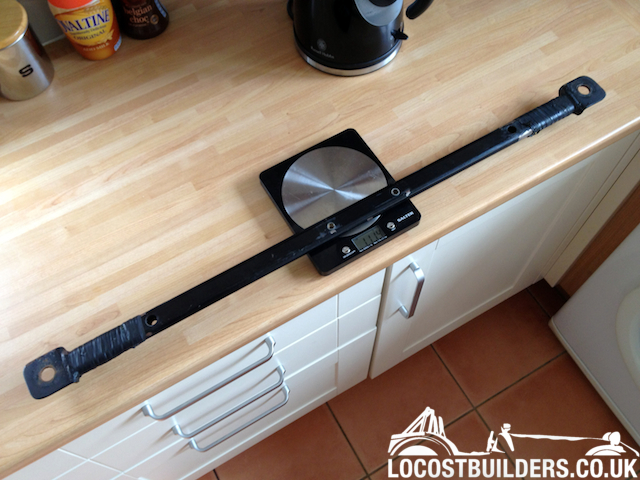
1.1kg eek
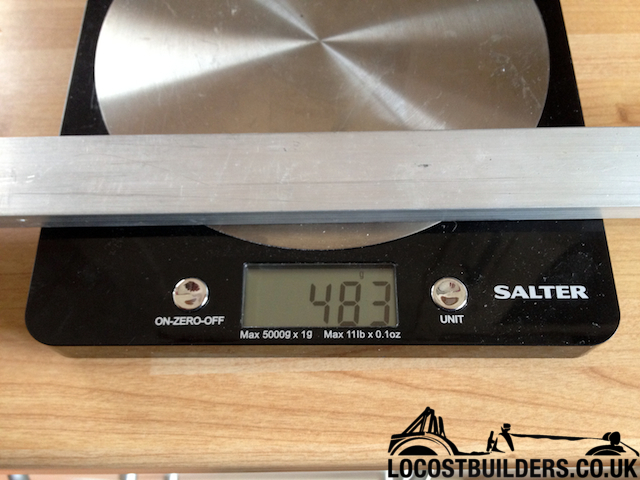
Exact aluminium replacement, less than half the weight...
No need for the bit in the middle crossing the bay, nothing gets mounted on it, ditch it...

Thats better!
Now to tart them up a little, as silver doesn't "go" with the car...
3M Dinoc Carbon Wrap...
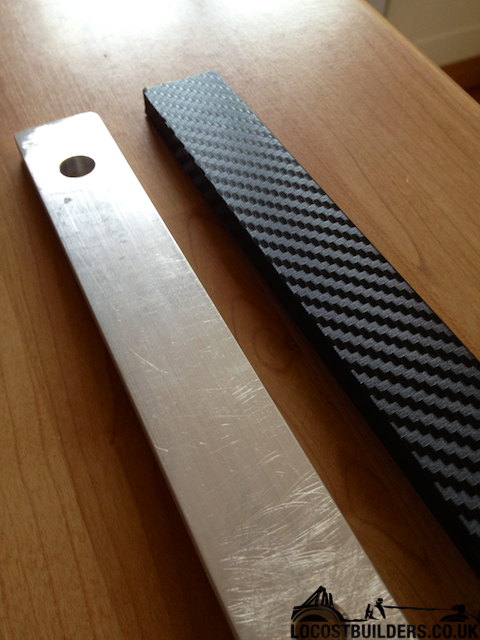
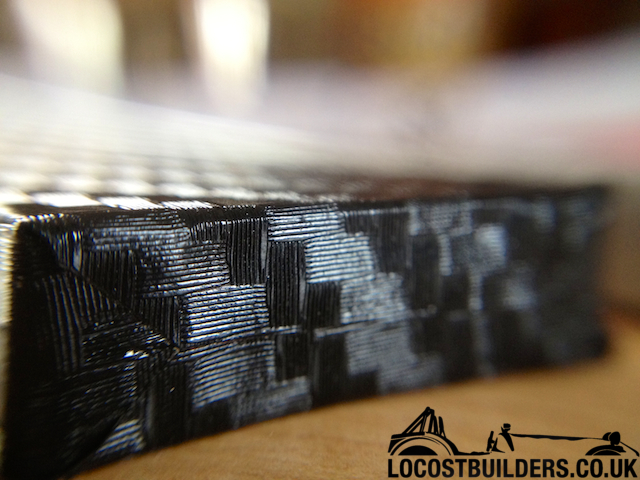
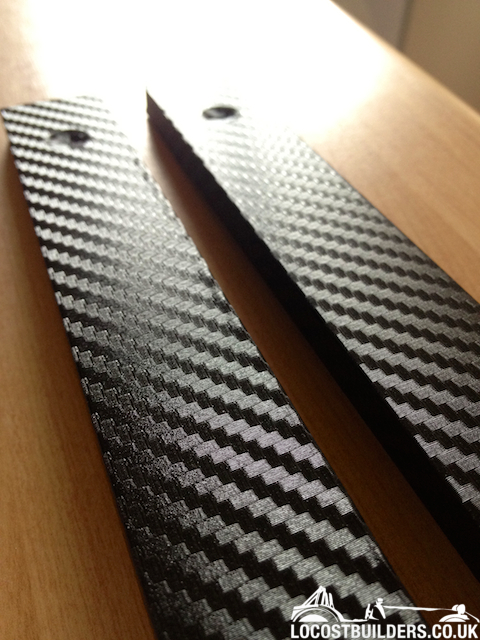
Refitted, another 909grams lighter... almost another kilo off...
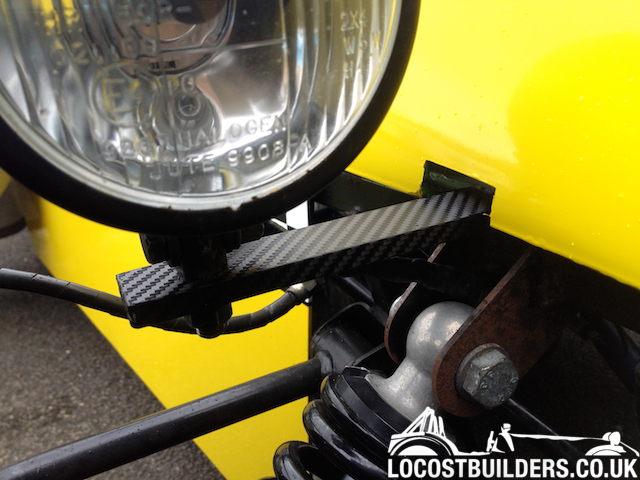
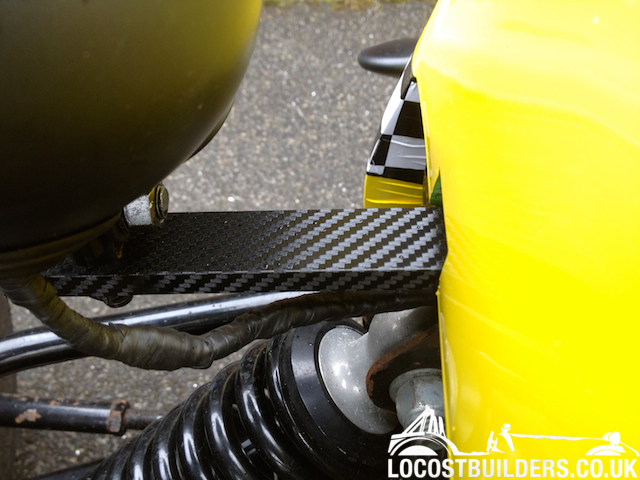
yellowcab - 23/4/12 at 12:49 AM
Saving between the headlight stays, header tank bracket and the radiator mounts is already 2.315kg, not a great deal, but every little helps...
Next up is the copious amounts of spacers to bring the steering wheel out far enough so it's comfortable, and also the rear panel behind the
seats (unsure of 'proper' name for it)
This is the current setup on the car for the steering wheel to the the correct distance away that suits...
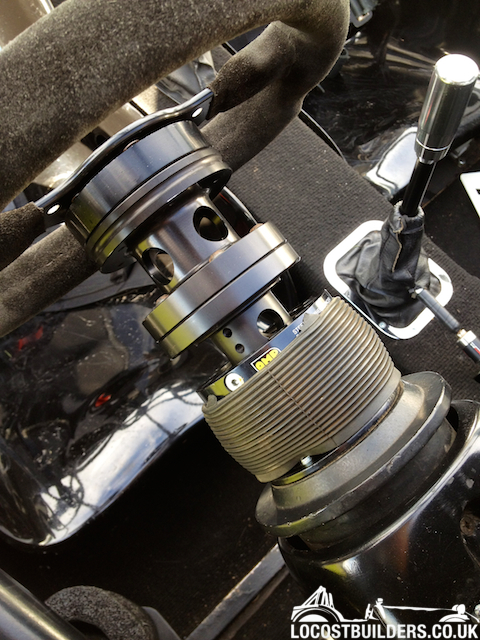
From bottom to top... standard sierra 'hub', with a sparco boss, with an OMP adjustable spacer, bolted to another OMP fixed spacer, bolted
to another OMP fixed mini spacer...
In total there are 28 bolts, 6 washers and 3 nuts... not happy with the amount of weight, joins, and possible failures... so making a completely
custom shaft from a 3" diameter x 7" long solid aluminium cylinder.
yellowcab - 23/4/12 at 01:06 AM
This is the progress so far, comments and suggestions welcome as always...
Current setup complete weighs 2.485kg
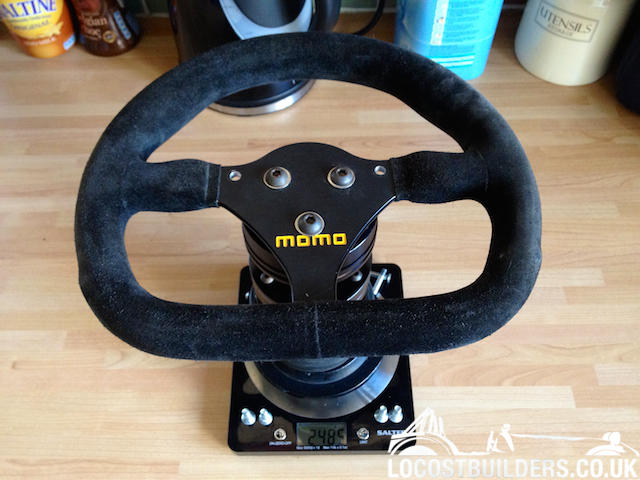
However, weigh is very much secondary in this process, first and foremost is safety, less joins, less possibly failures, secondary is aesthetics to be
honest, as I very much disliked the first version, and third would be weight
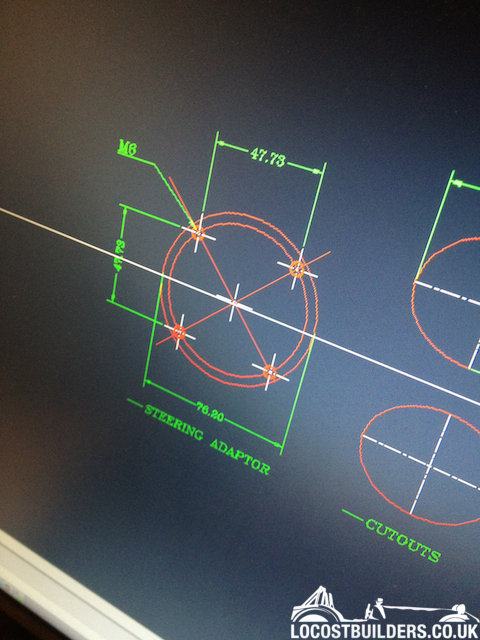
A good friend had a faff around on AutoCAD for me... so we knew exactly what we needed to make
Standard manky off the shelf Ford Sierra cast alloy boss, very out of true, not symmetrical, typical production line finish
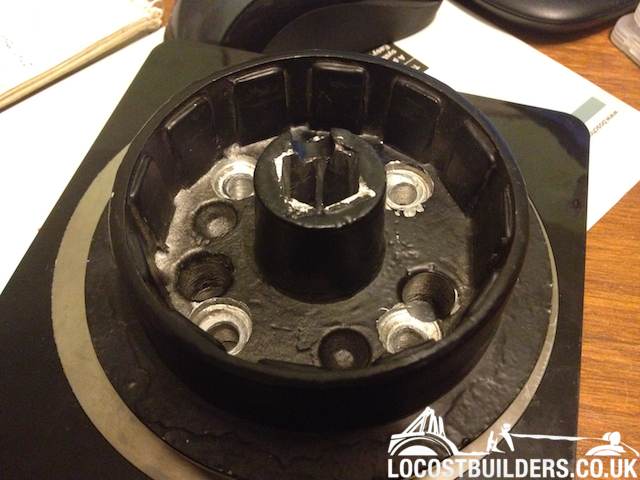
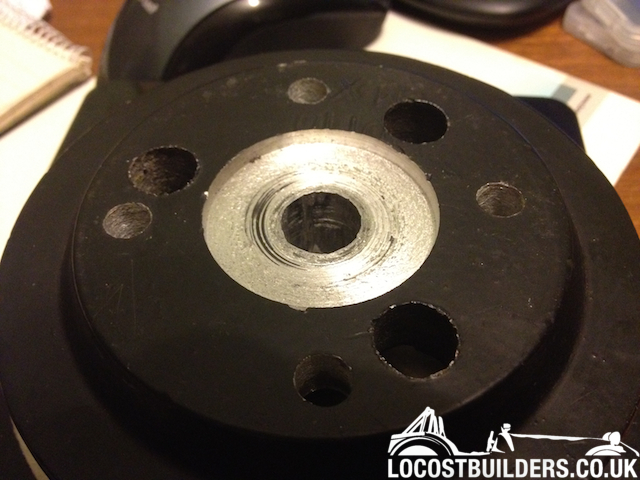
First we wanted to be sure that what we were mating our new adapter to was true, clean and turned symmetrically... so on the lathe it went...
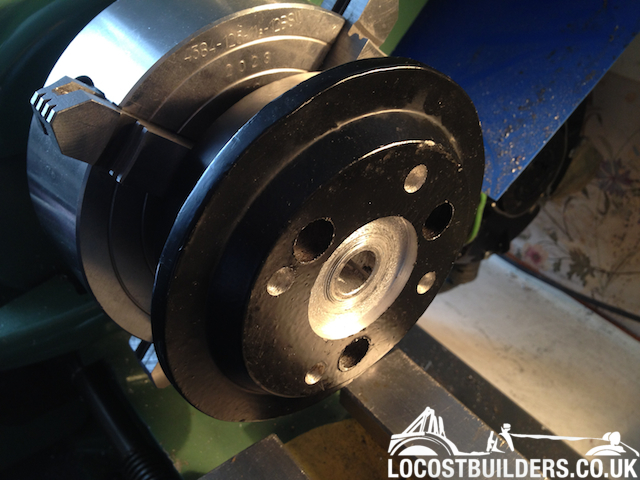
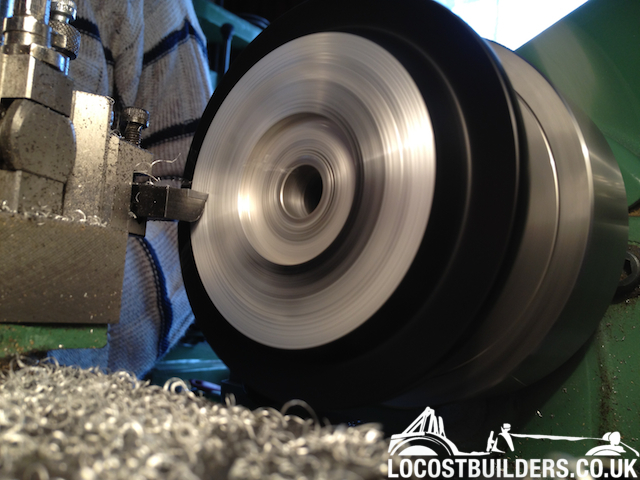
First up the outer face was so far out that had we have mounted our new adapter to it - the wheel would have dramatically moved (and has been doing)
as it was rotating
The centre bore where the 22mm bolt fastens was particularly chewed up, so we cleaned that up whilst we were there, to ensure a nice surface to
tighten to
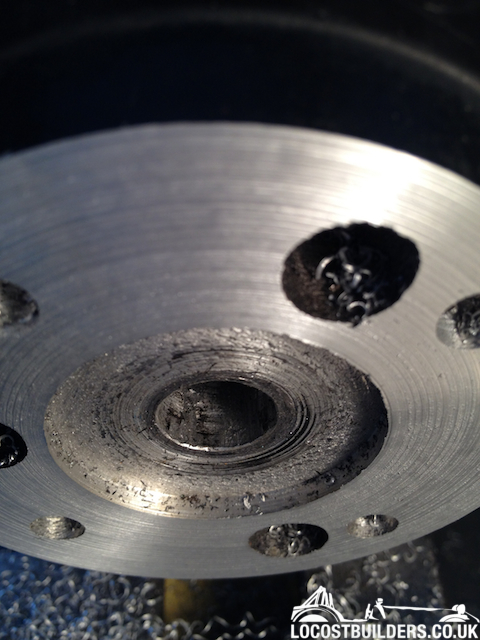
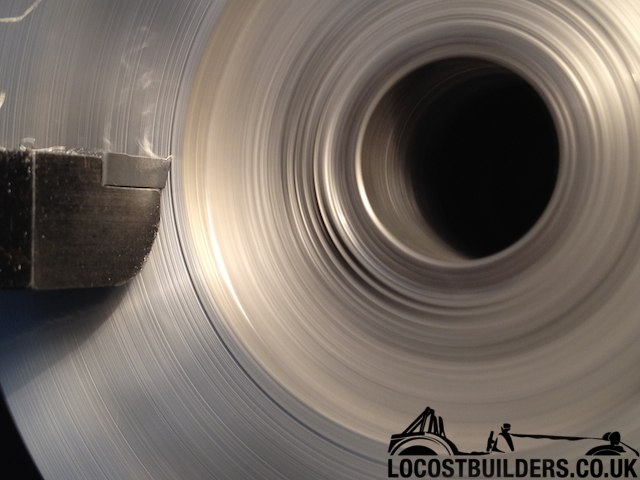
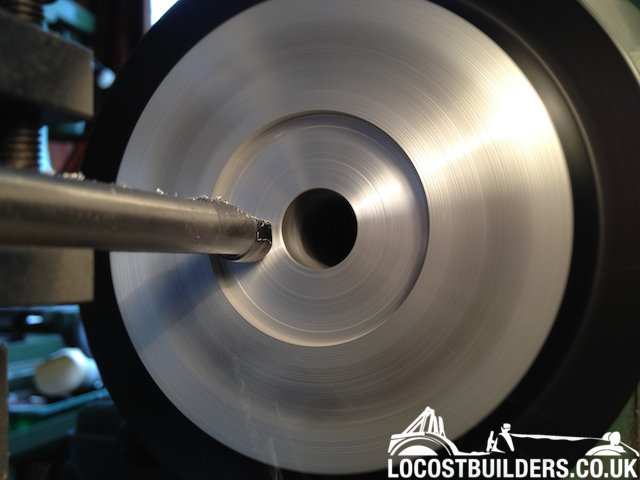
All done
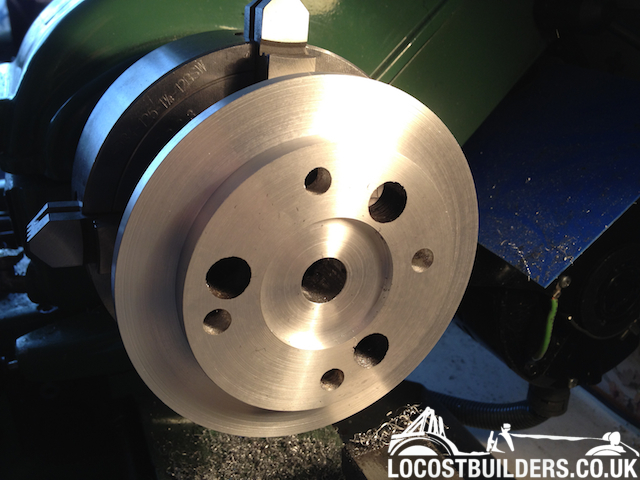
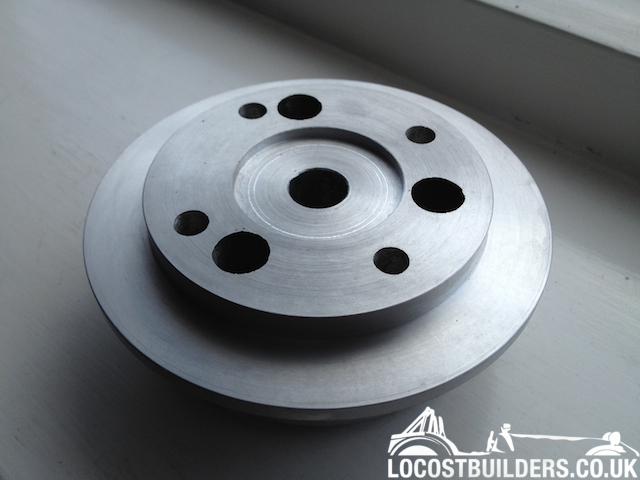
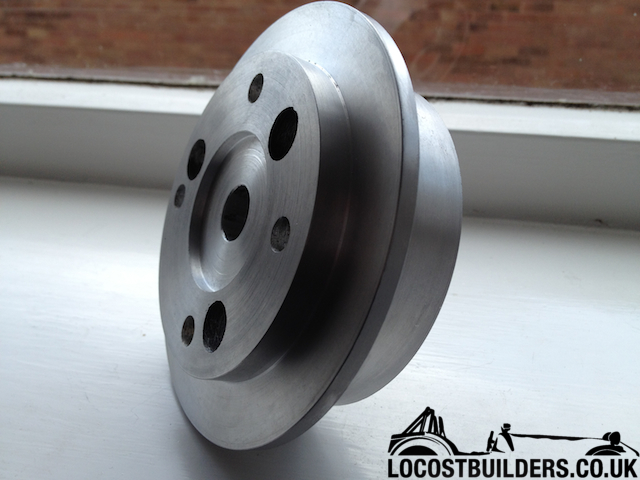
Very happy with the results, especially considering it's all seen too, so we made it look nice considering we could...
From a standard off the shelf Ford item, which was incredibly 'out' to something that is 100% true, symmetrical, bespoke and made for
purpose...
The end results, purely for interest, the original item was 0.571kg, the end result is 0.409kg...
The CAD drawing is below for those remotely interested... after all, thats what these forums are for, right? learning from each other... the adapter
will be hollow with a centre bore of 32mm, which gives enough room for the external diameter of the 22mm securing bolt (ext dia = 30mm).
The two ends are solid alloy 25mm x 3inch diameter to make the securing bolts blind (the bolts being from the steering wheel to the adapter (left had
side) and from the steering adapter to the above Ford Sierra hub, therefore they do not poke through the alloy end caps.
The centre tube will be turned down to 2inch diameter, with a 5mm wall, with 9x half inch holes drilled through for ease of getting the steering wheel
& adapter off again for future use of being able to put a bar through, and a wee bit of weight saving maybe
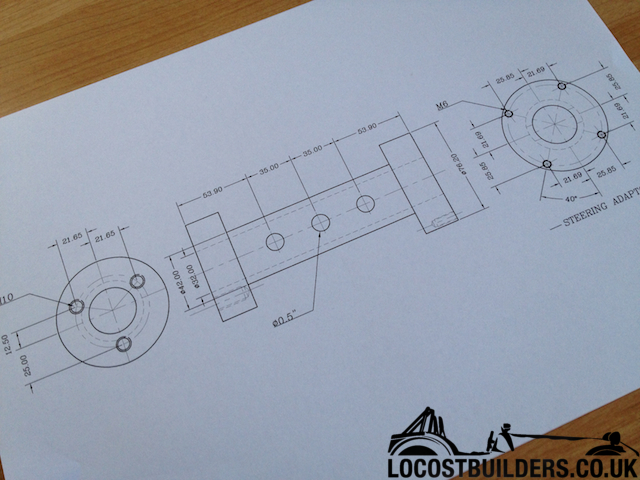
[Edited on 23/4/12 by yellowcab]
ReMan - 23/4/12 at 07:14 AM
Nice work.
You do realise that the headlight bar is structural on the bendy MK chassis dont you? 
Seriously, did you get those to mount stiff enough to prevent the lights bouncing?
yellowcab - 23/4/12 at 08:50 AM
Well they're done up FT, and there is no movement upon physical persuasion by one.
However, when I pull up outside your house with no headlights, take the answer as no lol
yellowcab - 23/4/12 at 06:50 PM
Today I tinkered and had a play around with making a MK Indy Hayabusa Airbox to quieten down the induction noise...
Boshed together some cardboard for a very rough shape
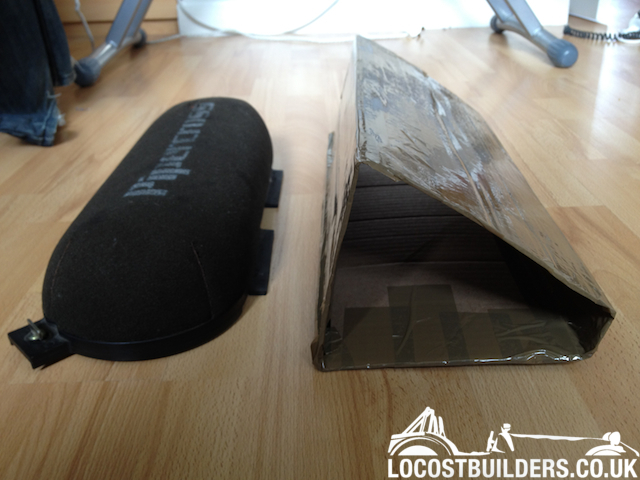
Plonked it on to see what it'd look like, and how it'd fit
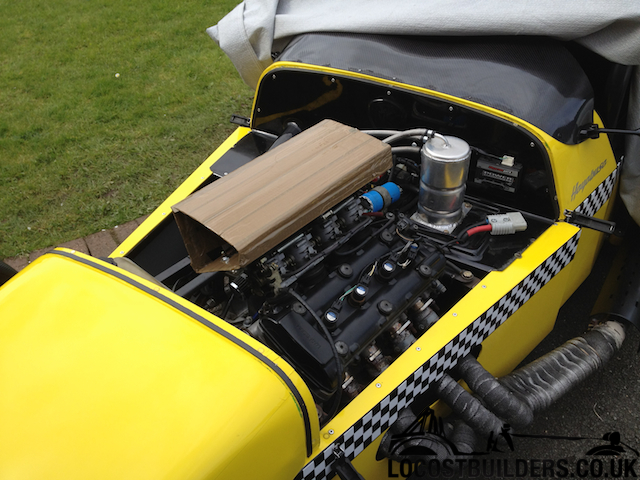
Fits but marginally too high (even with bonnet scoop) and is also too long front to back, needs trimming by 55mm
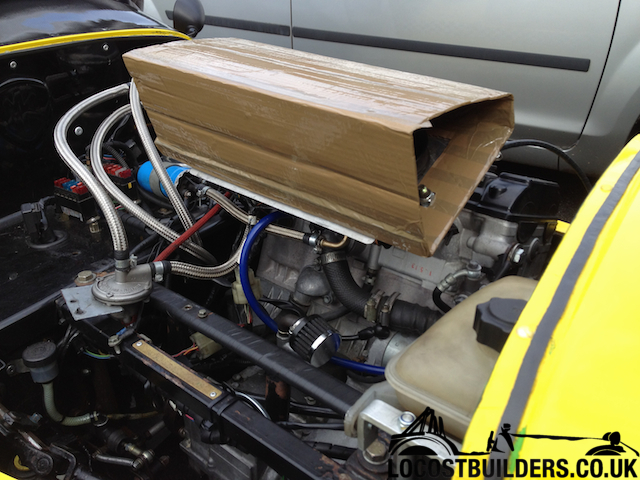
Can see the height problem, but I thought the scoop would accommodate this - it doesn't lol
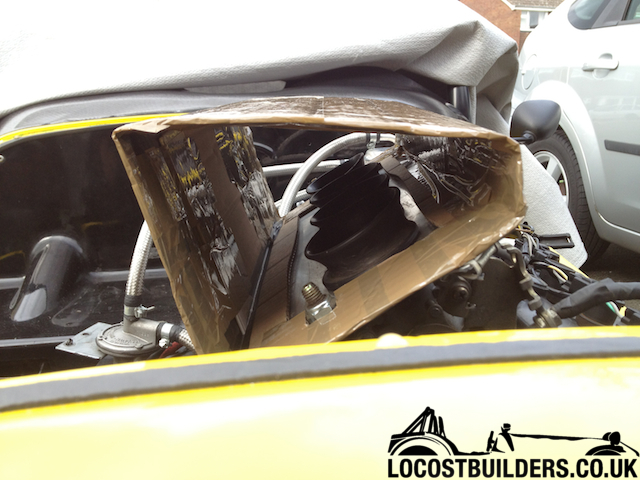
So I made a MK2, which is smaller in length front to back, and height... here is a photo with the bonnet on, it clears by 11mm all-round
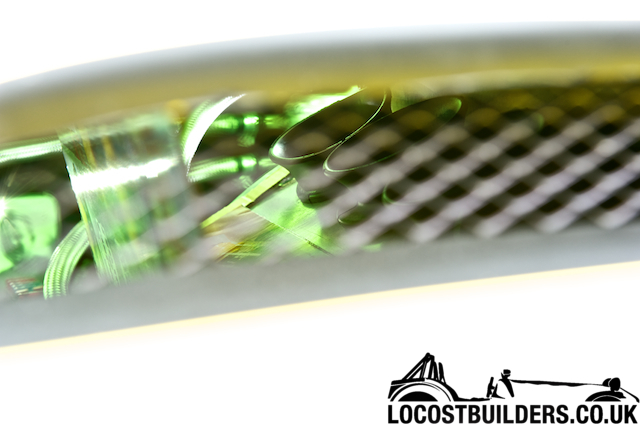
A directed cut from the front of the car with the nose cone removed so I can see the clearance
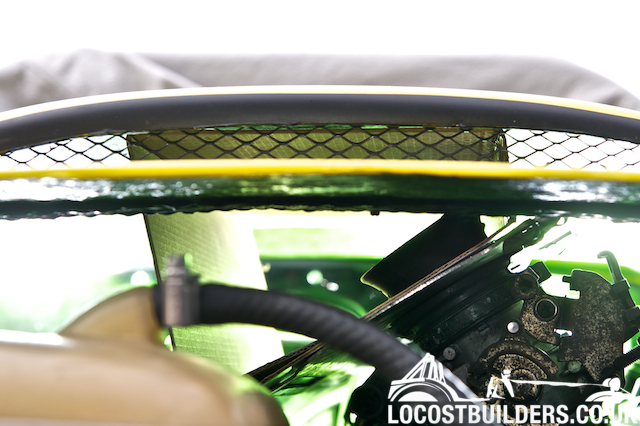
Front end with air box template on
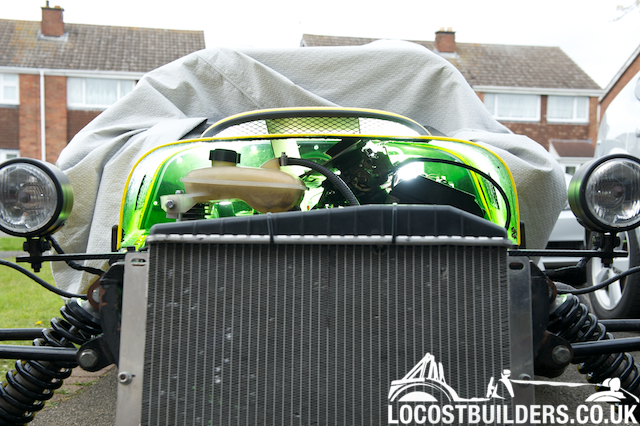
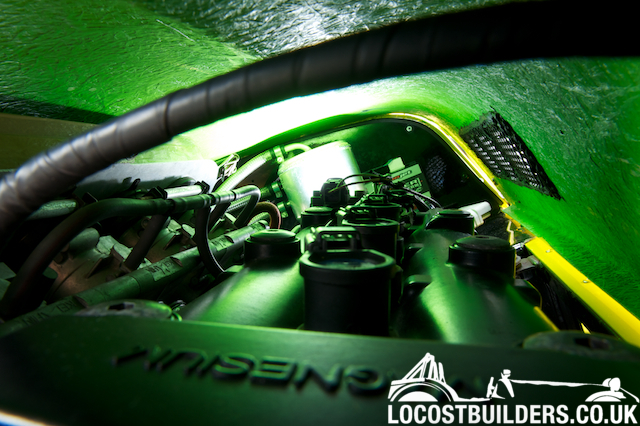
Funky photo just because I like the Kawasaki green inside
yellowcab - 23/4/12 at 06:52 PM
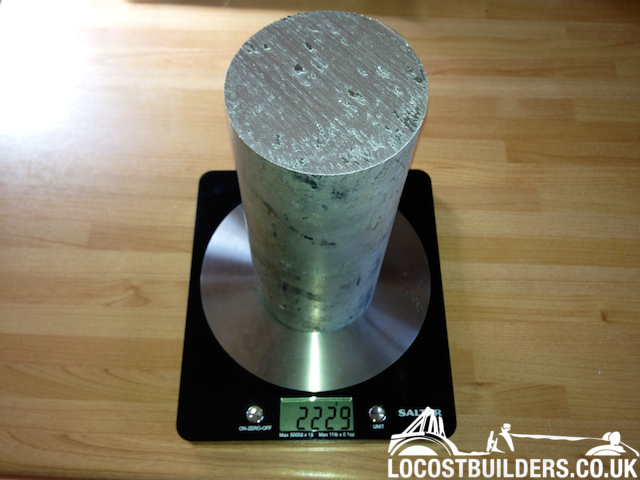
Also had a quick play with the steering adapter, here is the solid chunk 2.22kg of alloy
On the lathe and beginning of the turning down
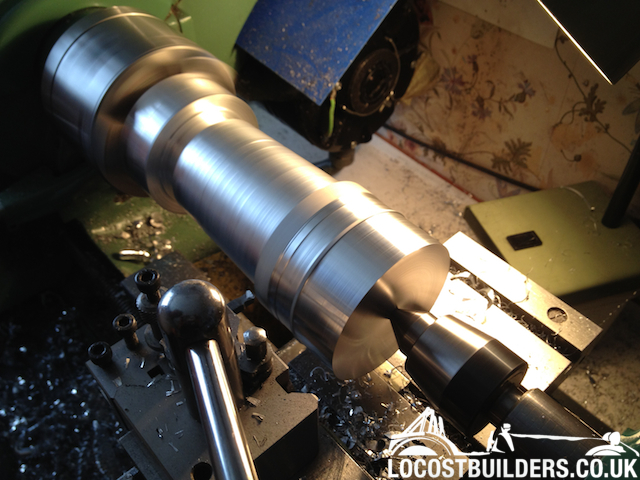
This is the centre down to 50mm... which will be turned down further to 42mm, then a centre 32mm hold bored out
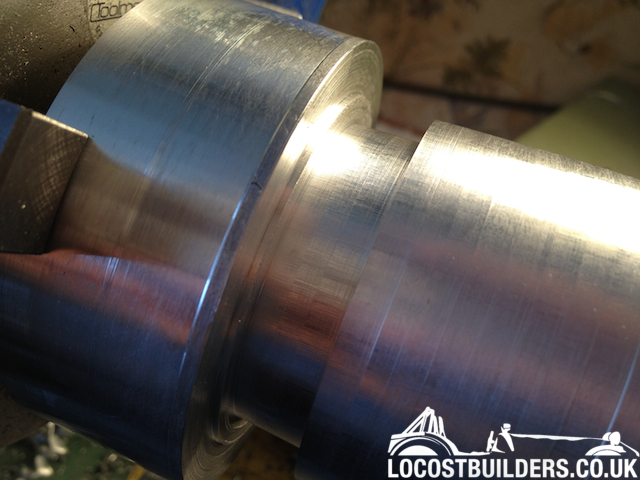
That is all for this evening...
SausageArm - 23/4/12 at 07:17 PM
Interesting stuff and a great car, keep the pictures coming, it's a great thread to read.
What kind of lathe do you have?
[Edited on 23/4/12 by SausageArm]
yellowcab - 23/4/12 at 07:28 PM
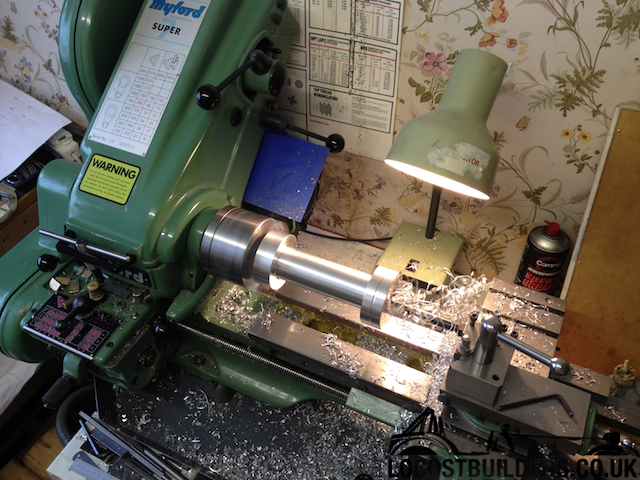
It's my neighbour doing the lathing but he has a Myford Super, if that means anything to you lol...
I was just about to knock this thread on the head and delete it, as there doesn't seem to be any traffic or interest
wylliezx9r - 23/4/12 at 07:39 PM
I find it interesting too. Don't delete ! LOL
Proby - 23/4/12 at 07:47 PM
Don't knock it on the head! I have been reading, great pic and an interesting read. Keep it up! (and ow, I'll try to put a few extra
comments on)
ReMan - 23/4/12 at 08:00 PM
Is the lathe in his bedroom?
I can see wallpaper behind it 
yellowcab - 23/4/12 at 08:04 PM
Cheers chaps, the lack of comments sometimes makes me uneasy, as I don't really have much experience with MK Indy's nor Hayabusa engines,
infact, it's my first one so I hope someone would pipe up and comment if i was doing something incredibly wrong, or hadn't thought about
something!
I like the interaction of a forum as that's what it's all about :-)
Colin, yes, it's in his front bedroom sat next to his milling machine lol
[Edited on 23/4/12 by yellowcab]
wylliezx9r - 23/4/12 at 08:16 PM
Have you tested the car with the front and rear diffusers yet ? I'm very interested in this as my car with it's little zx9r seems to be
hitting a brick wall @ around 100mph, I think the backend is acting like a parachute. I imagine it will be beneficial to have a flat as floor as
posissble.....It's good enough for F1 cars afterall 
yellowcab - 23/4/12 at 08:21 PM
The rear diffuser has made a major improvement, not only 110mph+ but the stability...
The rear clam acting as a parachute not only slows you down, but it would lift your rear end up causing loss of traction with the slightest blip in
the road... Therefore it feels so much more planted at high speeds and feels much more sucked to the road...
Speak to Steve @ SA Fabrication he'll knock you one up no problems
ReMan - 23/4/12 at 08:23 PM
4200 Views is pretty good I'd have said?
Keep it up
yellowcab - 23/4/12 at 08:24 PM
Sorry, only answered half your question...
The front aero splitter hasn't been fitted yet I am in the process of making the scoop to accommodate the sump that hangs below the rest of the
car...
Which reminds me, I must get back onto that... Don't want to stray onto any more projects, cheers for the reminder :-)
yellowcab - 23/4/12 at 08:25 PM
4135 of those is probably me updating lol
Pat_T - 23/4/12 at 09:46 PM
I'm still reading too! Nice work with the vinyl, i've been wrapping my entire car the last few days, i'll get some pics up soon!
sdh2903 - 23/4/12 at 10:00 PM
Milling machine and lathe in a bedroom. Certainly beats working in a cold garage!
Is he single by any chance? either that or a very understanding partner
yellowcab - 24/4/12 at 07:22 PM
Only a small update on the steering adapter, my neighbour turned down the centre section slightly more, but the heat in generates is vast, so had to
keep taking small bits off bit by bit... so anyone want a dumbbell? lol its getting there slowly 
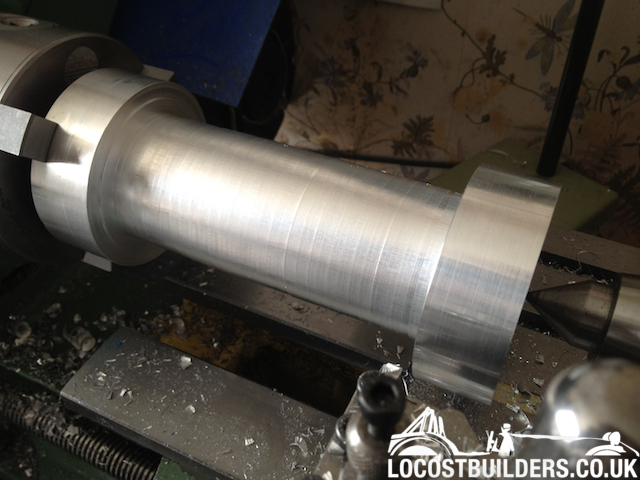
Thanks to the reminder from wylliezx9r, we cracked on with making the 'scoop' for the front aero splitter/ engine bay skid tray
Took some detailed measurements and worked out all the angles that were needed, cuts and folds
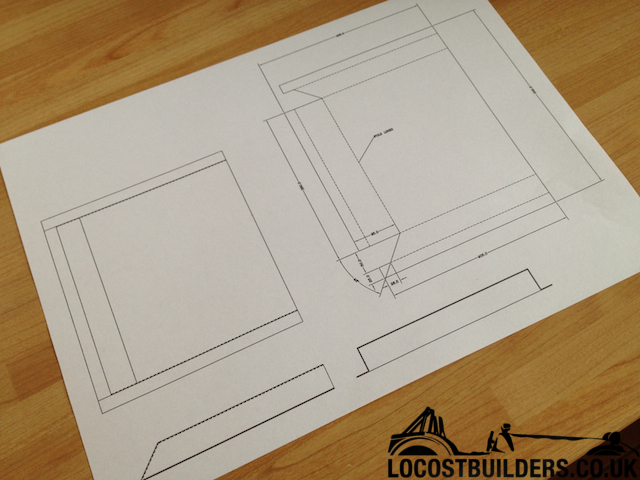
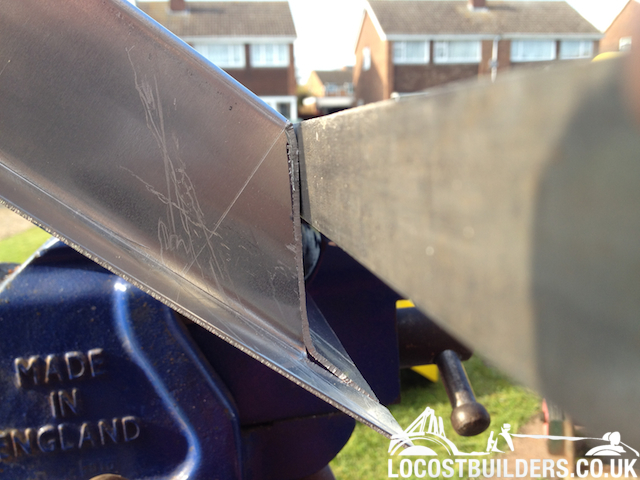
So you generally bend from the outside in, remembering which way to go, 25mm up, which will be rivnutted on, then 50mm down (the depth of the sump
hanging down)
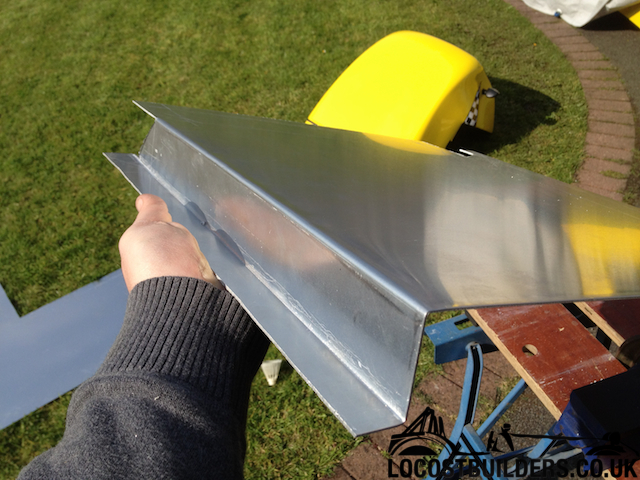
Leaving a 135degree bend down to meet the existing metal
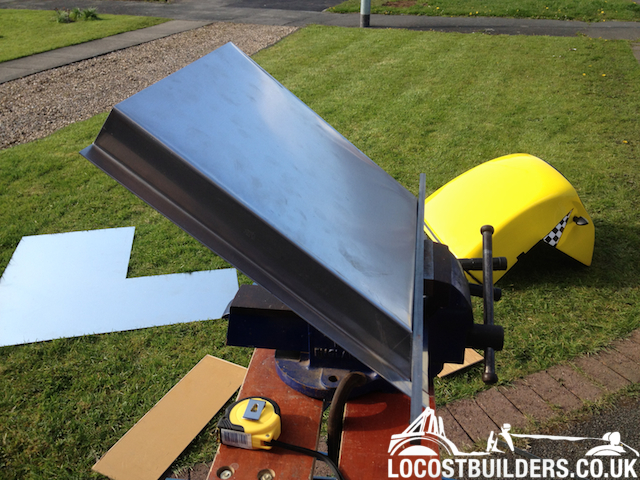
Nicely butted up
This is the scoop that will be facing backwards to let hot air escape
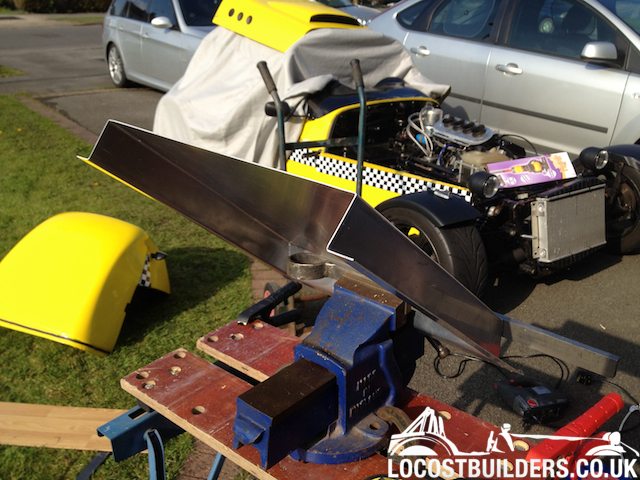
All done, was going to weld the angle, but there is absolutely no point, so not doing so
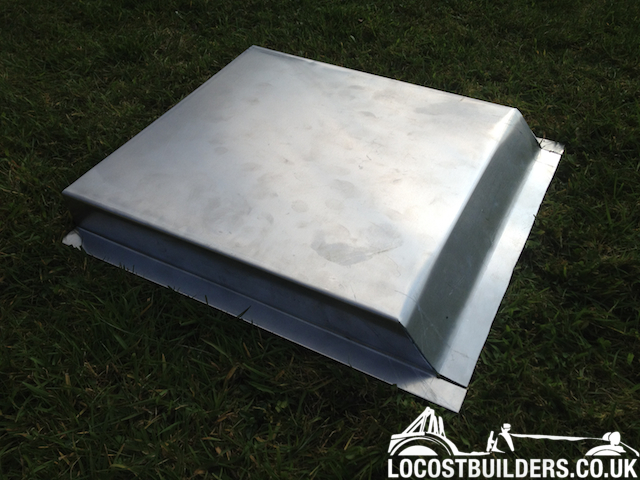
Rested ontop of the splitter, I will use rivnuts for this section, so I can get to the oil filter and sump plug without dropping the whole splitter
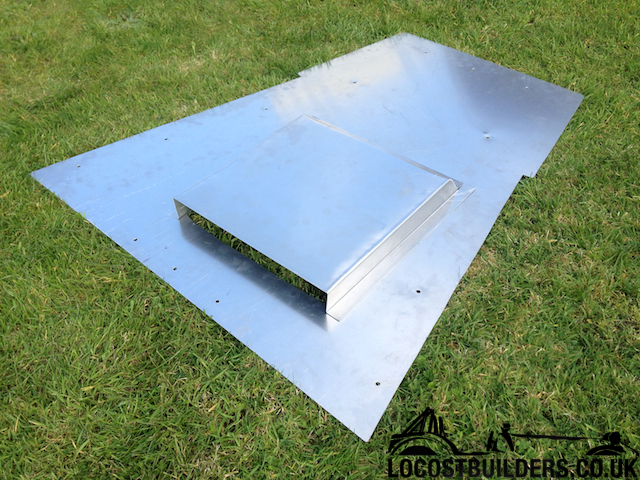
How it will look once on the car
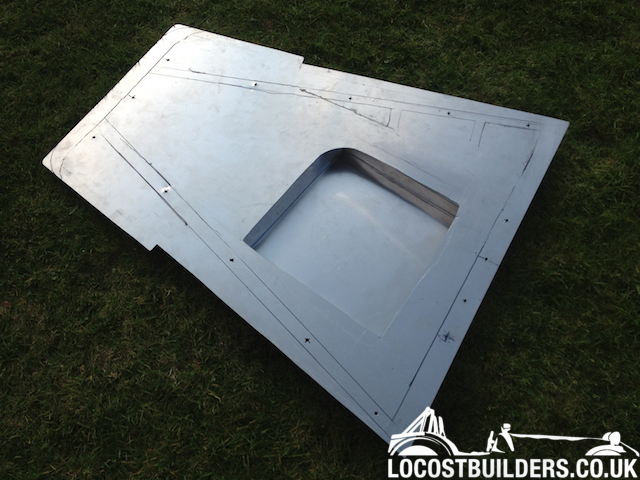
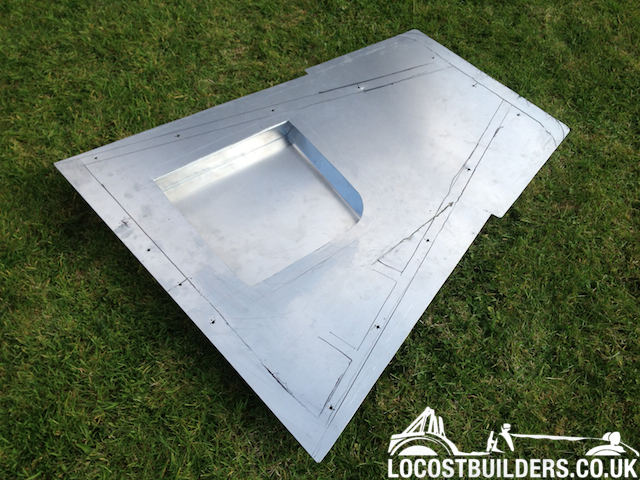
welderman - 25/4/12 at 07:57 AM
Keep up the good work, great reading 
[Edited on 25/4/12 by welderman]
wylliezx9r - 25/4/12 at 09:05 AM
Nice bit of folding on that sump cover fair play !
yellowcab - 25/4/12 at 10:06 AM
Hey thanks for the kick up the backside, it wouldn't have got done without your reminder!
Today the weather is crap, so it's a turning day, steering adapter progress day!
yellowcab - 25/4/12 at 05:19 PM
So due to the shocking weather, and no garage yet - a very much 'indoor' day today - so efforts turned to turning (see what i did there
lol)
Rough cut the steering spacers, down to the correct 45mm OD centre bore...

Final geared cut to create the nice smooth shine, before emerying for polish
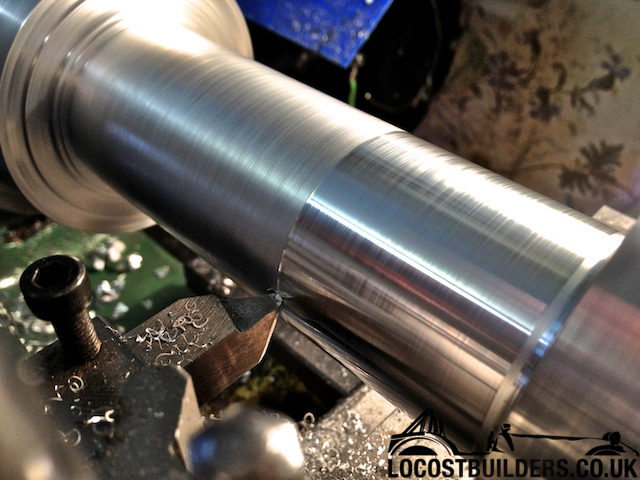
Radius cut into steering wheel end for decorative purposes only

Photo of said lathe for those interested...
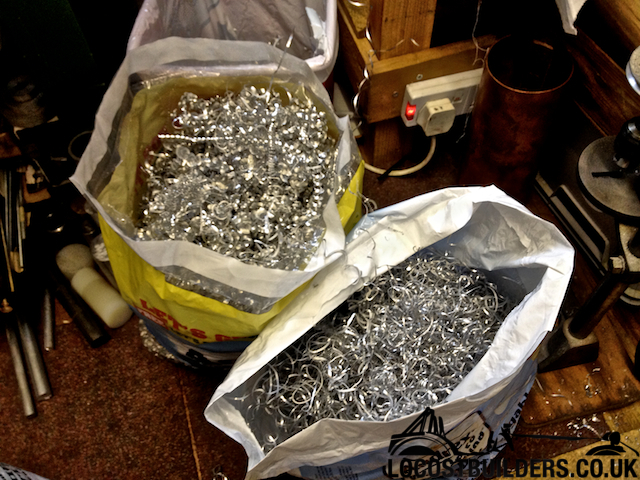
2 of the three plastic bags full so far...
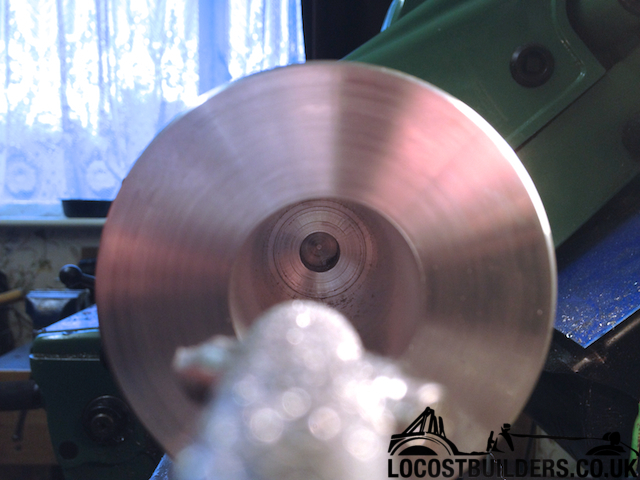
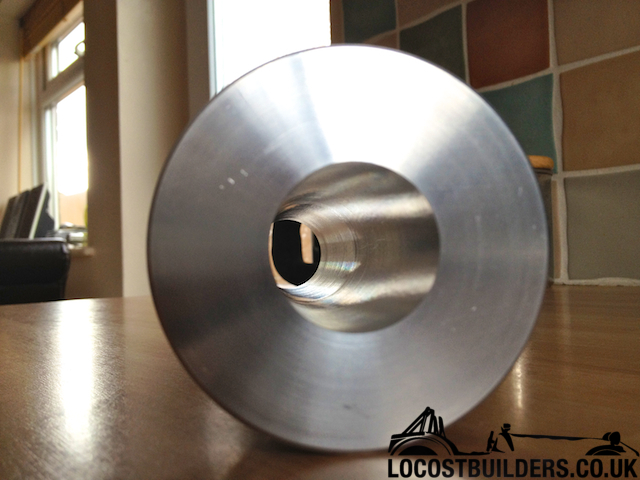
Centre bore drilled to half inch, then turned out to 32mm to cater for the OD of a 22mm socket, which is 30mm
Thats it for today folks 
DavidW - 25/4/12 at 07:56 PM
Great thread, please keep updating!
David
chris_harris_ - 25/4/12 at 08:18 PM
This is great reading. Keep up the good work, and inspiration for the rest of us!
yellowcab - 26/4/12 at 03:42 PM
Continued crappy British weather and no garage leaves me with still slow moving 'indoor' work...
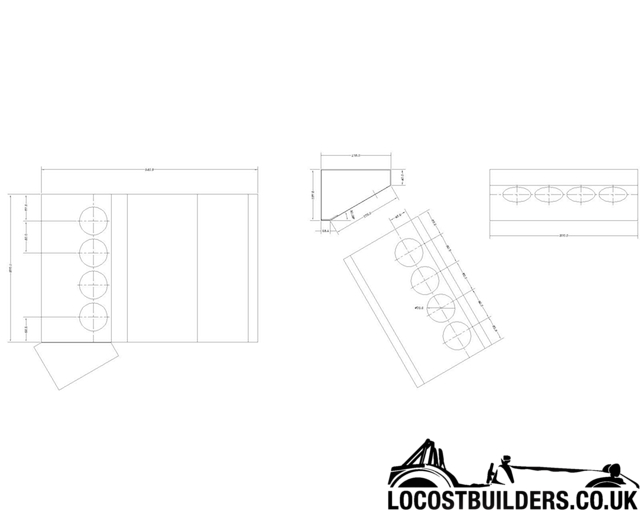
Had the air box drawn up in AutoCAD so I have precise measurements and angles to work to, this box is 5.5litres of air, I know the standard Busa box
is around 8.5litres, but considering I've seen highly tuned race cars run off the Pipercross PX-600 airboxes which are less than 3litres,
I'm happy with the design and size...
This is the box, you will notice that the leading edge is going to be left open altogether, or boxed off with a slot cut into it to marry ups with my
bonnet vent, after all, the sole reason for the box is to reduce induction noise...
Slow work but I'm happy with how its taking shape... final polish on the lathe to be done once the holes are drilled and tapped
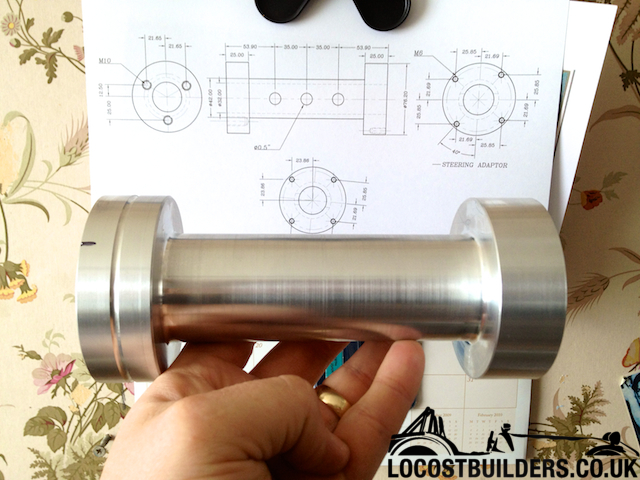
A far cry from the original 2.2kg chunk lol
12x half inch, or 3/4 inch holes will be drilled in it to aid removal in the future
Mike insisted on smooth boring the inside despite it not being seen lol
yellowcab - 27/4/12 at 11:53 AM
Cant see where to post about Brakes... doesn't seem to fall into any particular category - so I will ask the readers of my thread instead
lol...
Will brakes that have been removed from an MK Indy with Cortina uprights, fit straight onto my Sierra uprights? or will I have to make some new alloy
callipers brackets/ spacers?
yellowcab - 27/4/12 at 05:55 PM
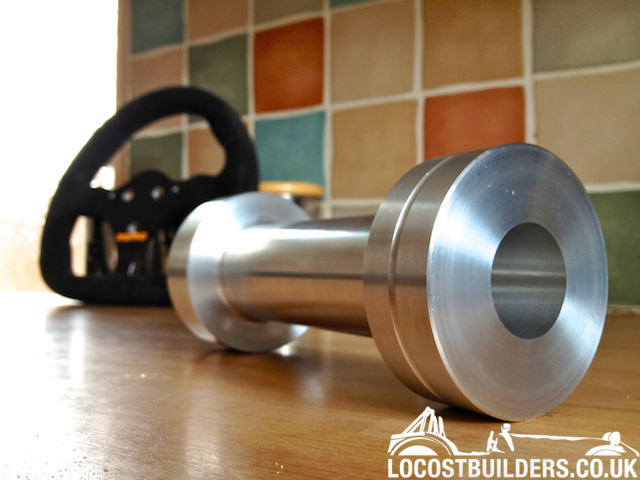
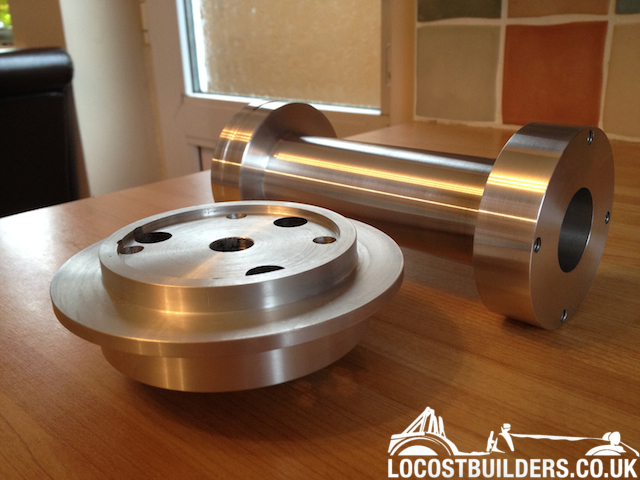
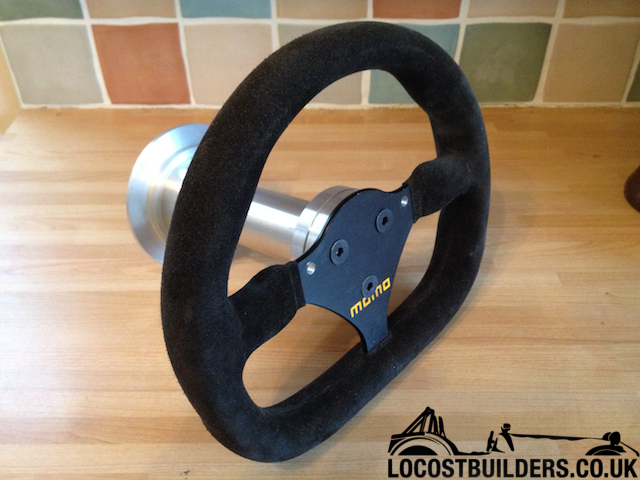
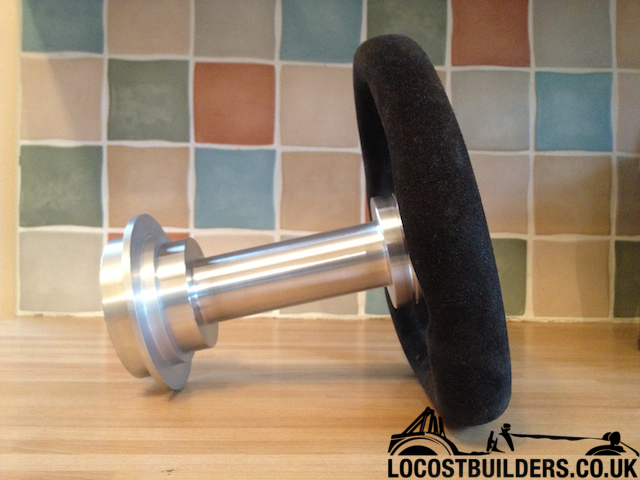
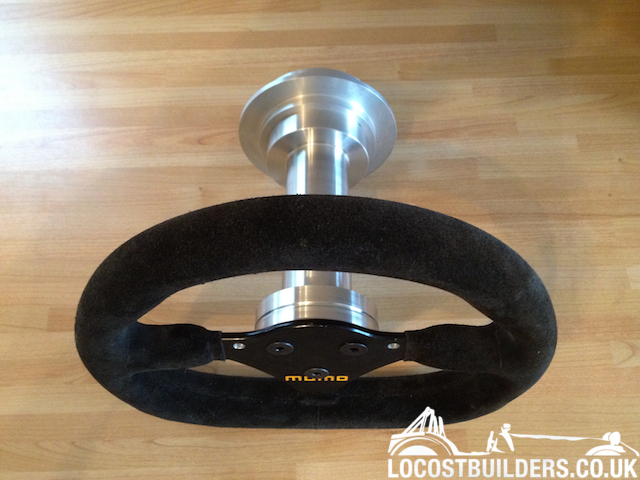
Long awaited and slow progress but well worth it, we have a finished custom article, yay!
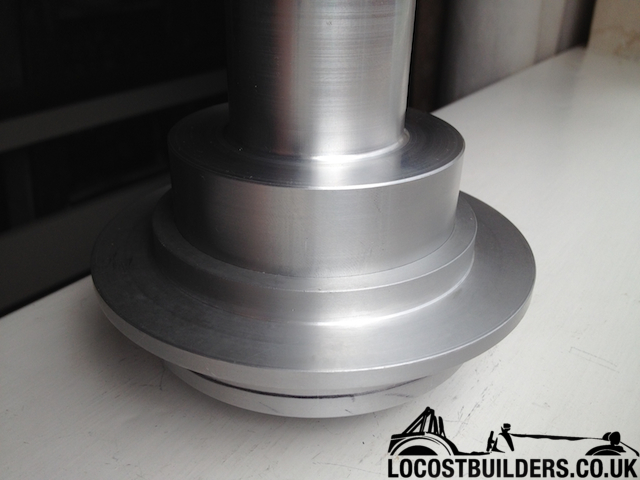
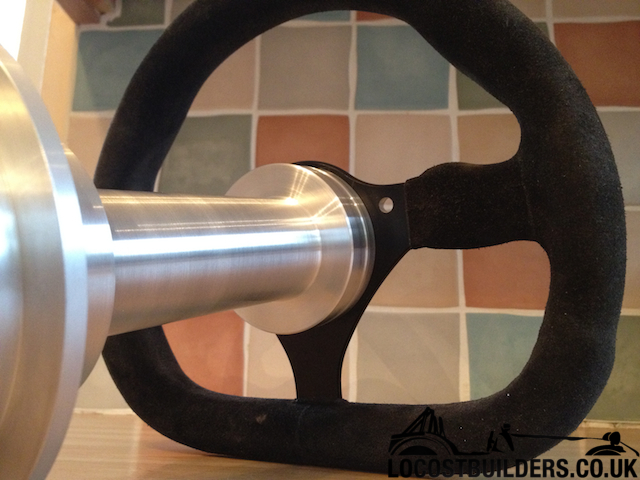
Decided we didn't like the 'bolted on' look from the steering spacer to the Sierra hub, so we turned out the diameter so the spacer
would sit snug 'inside' the Sierra hub
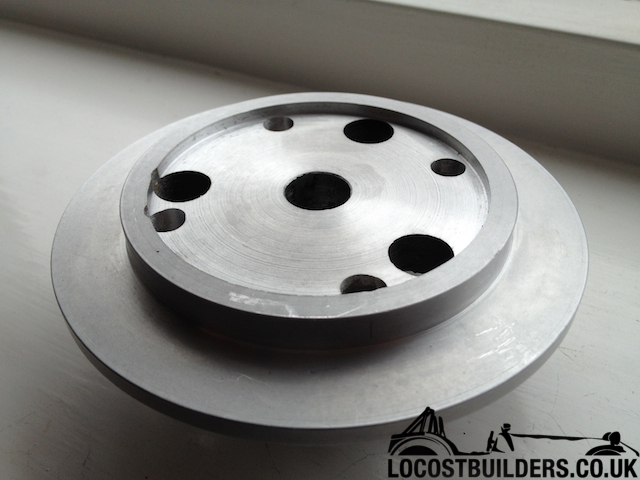
Like so... looks like one unit
Two finished bits
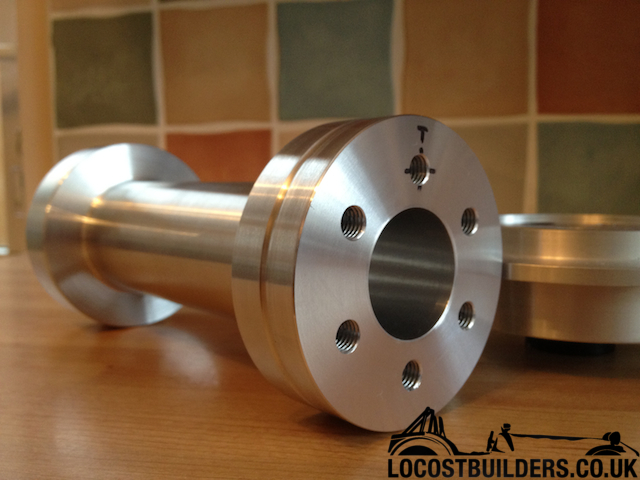
We drilled and tapped 6 holes in the conventional holes if ever I change steering wheels
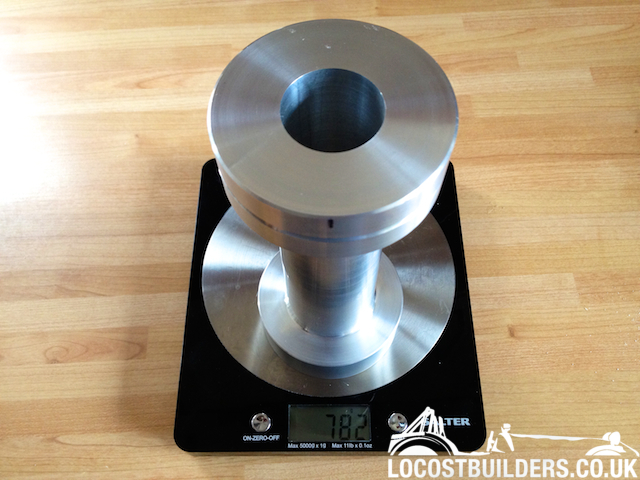
Total setup, with all bolts 1.673kgs, down from the original 2.485kg, thus saving 812grams, best part of a kilo, but please remember the weight was
secondary, and we could have made it with a thinner side wall, but at the end of the day, its steering the damn bathtub! So safety comes first!
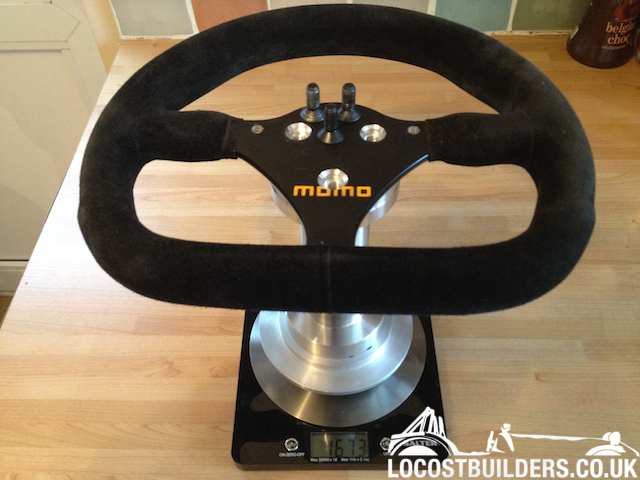
Finished look, off the car - because its pissing down again lol
[Edited on 27/4/12 by yellowcab]
afj - 27/4/12 at 06:55 PM
Spot on looks 
SeaBass - 27/4/12 at 07:53 PM
Very tidy... I'm reading this thread too.
ReMan - 27/4/12 at 08:22 PM
quote:
Originally posted by yellowcab
Cant see where to post about Brakes... doesn't seem to fall into any particular category - so I will ask the readers of my thread instead
lol...
Will brakes that have been removed from an MK Indy with Cortina uprights, fit straight onto my Sierra uprights? or will I have to make some new alloy
callipers brackets/ spacers?
Are you sure it's an Indy with Cortina hubs?
Either way, not a straight swap, but why would you want to?
yellowcab - 27/4/12 at 08:30 PM
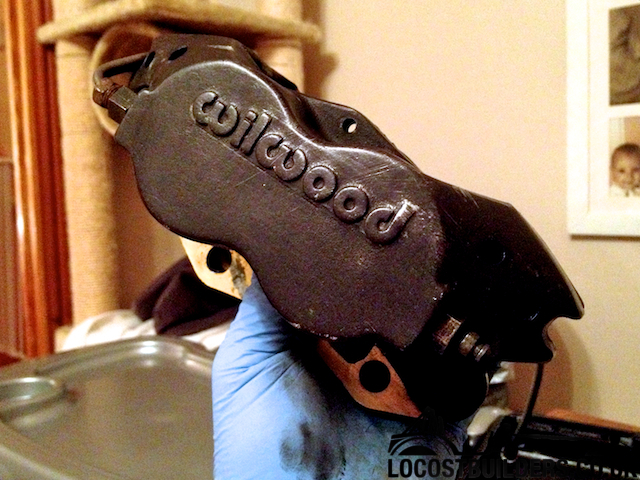
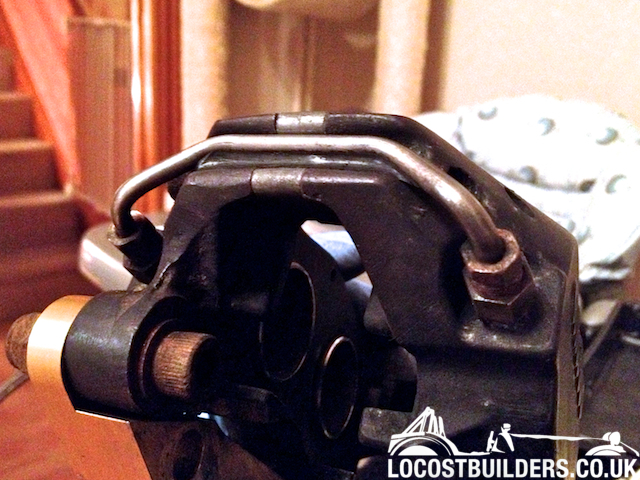
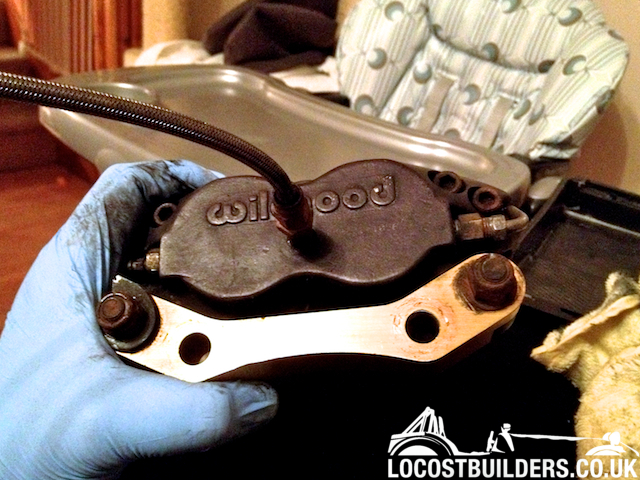
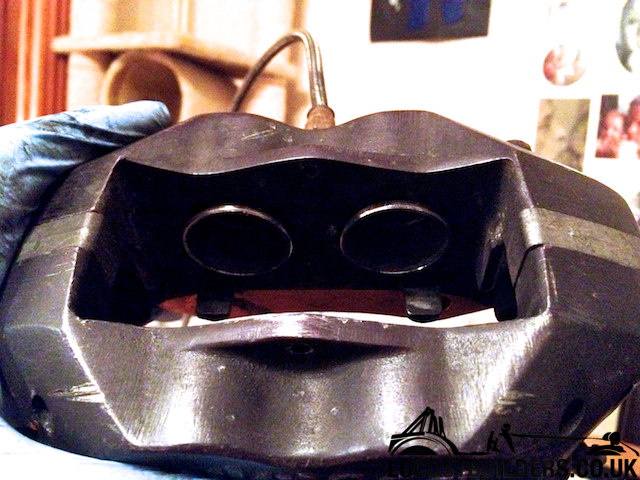
They're Wilwood 4-pot calipers, 245mm drilled & vented disks and Mintex 1144 that have been removed from Jon Ison's MK Indy with Busa (I
think it's an Indy?)
Going new brakes for unsprung weight advantage of alloy calipers, will make up some new brackets then, just wasn't sure of the holes will be in
the correct place... :-)
ReMan - 27/4/12 at 08:49 PM
Right, that's different 
Std cCortina calipers would have been debatable
yellowcab - 27/4/12 at 08:52 PM
and now? lol
will they fit you reckon?
Jon Ison - 27/4/12 at 08:53 PM
Jon here, no it's a locost cortina uprights, as I said when you collected them 99.99999% sure there not a direct fit onto sierra uprights, I
would see what rally design want for a set of adaptors, the cortina ones fitted will sell.
Reading your "blog" and the desire to save weight a very small part of one og my wing stays is still on one of the callipers, remove that
and a few grams will be lost 
Great to meet you btw, shame we didn't have a little more time to chew the fat, put this thread on my watch list.
[Edited on 27/4/12 by Jon Ison]
yellowcab - 27/4/12 at 09:04 PM
Hey Jon,
Thanks for dropping in... totally get you regarding fitment and I gave them a good clean up last night with IPA & brake cleaner, noticed a bit of
your wingstay is still attached lol
When I bought the at it was already really light, so looking forward to getting it back on the corner scales!
yellowcab - 27/4/12 at 10:01 PM
Now we're onto them, here are the pics of said brakes from Jon  Thanks again
yellowcab - 29/4/12 at 08:05 AM
Lack of garage took its toll last night, half way through the night it seems the car cover blew off, and I came out this morning to my MK full of
water, proper bathtub stylie...
The seats full of water, floorpan, harnesses, steering wheel soaked as it was sat in the passenger seat awaiting refitting goes without saying
everything is soaked considering its not stopped raining
Hashtagpissedoff
ReMan - 29/4/12 at 08:38 AM
Make sure you have some drain holes in the floor
It dries quicker when you jetwash the inside of the car
Otherwise the rest is remarkably durable, needs to be in this weather
yellowcab - 29/4/12 at 09:05 AM
another weight saving tip from Colin... Good shout, currently there are none, so there is about 2inches of what in my car currently
bobinspain - 29/4/12 at 10:28 AM
quote:
Originally posted by yellowcab
Cheers chaps, the lack of comments sometimes makes me uneasy, as I don't really have much experience with MK Indy's nor Hayabusa engines,
infact, it's my first one so I hope someone would pipe up and comment if i was doing something incredibly wrong, or hadn't thought about
something!
I like the interaction of a forum as that's what it's all about :-)
Colin, yes, it's in his front bedroom sat next to his milling machine lol
[Edited on 23/4/12 by yellowcab]
I've been following your thread all the way along. I haven't piped up, as although I have the same car a great deal of what you're up
to (lathe-work and talk of milling machines) reminds me of my 'engineering workshop theory and practice' O-level in 1965. Since then,
I've been a 'pen-pusher' and much of what you're up to is quite frankly, beyond me.
Keep up the good work though. Just because I've nothing to add doesn't mean I'm not interested, (not to mention lost in admiration).
Well done!
 Bob.
Bob.
yellowcab - 2/5/12 at 11:32 PM
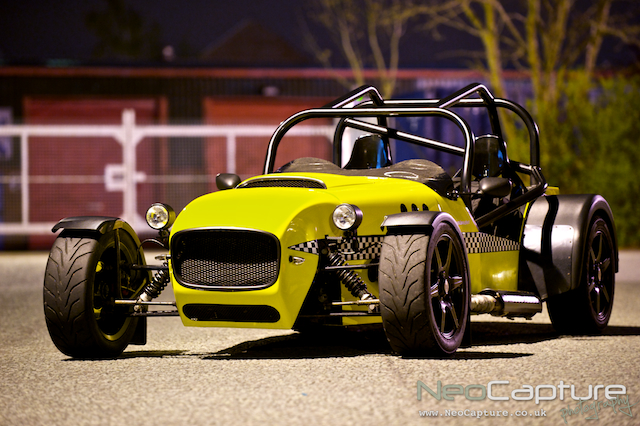
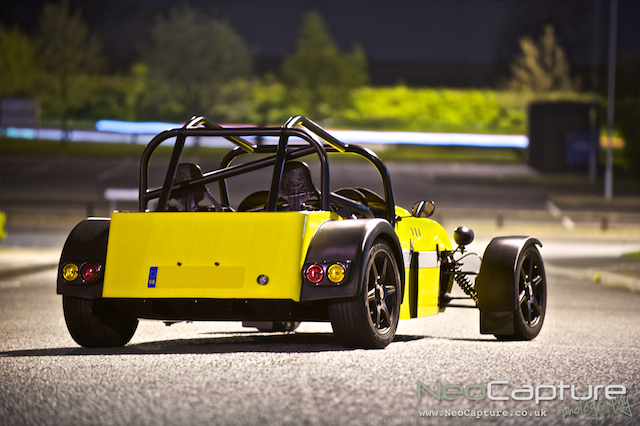
Got bored tonight so decided to pop out to take some photos...



[Edited on 2/5/12 by yellowcab]
welderman - 3/5/12 at 06:00 AM
 pictures and keep up the good work.
Most weight saving thing i did was loose a stone and a half of fat !
Proby - 3/5/12 at 06:59 AM
Awesome pictures Olz, can I book some lessons please????  Your car looks great!
snippy - 3/5/12 at 08:35 AM
Looking at the 2nd photo above it looks like you`ve fitted eyelashes to your headlights!  Then I realised it`s just the circular bonnet vents in the
back ground. Have a look you`ll see what I mean
[Edited on 3/5/12 by snippy]
yellowcab - 3/5/12 at 01:18 PM
haha totally see what you mean, oh it does look very feminim!
I'm up for doing a shoot on anyone's car if they're up for it...
Let's hook up and I'll show you the ropes
yellowcab - 4/5/12 at 07:12 PM
Firstly would like to apologise to Colin/ ReMan - I said I'd pop over today to lend a hand but I completely forgot, wasn't intentional,
intact, I was oblivious until the wife said 'are you not going over Cols anymore...' - Sorry bud! D'oh!
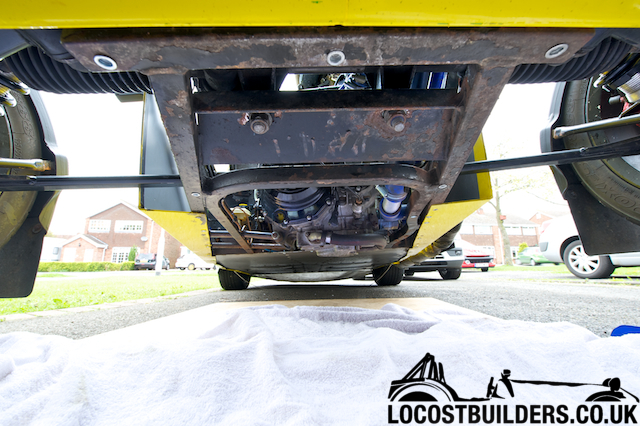
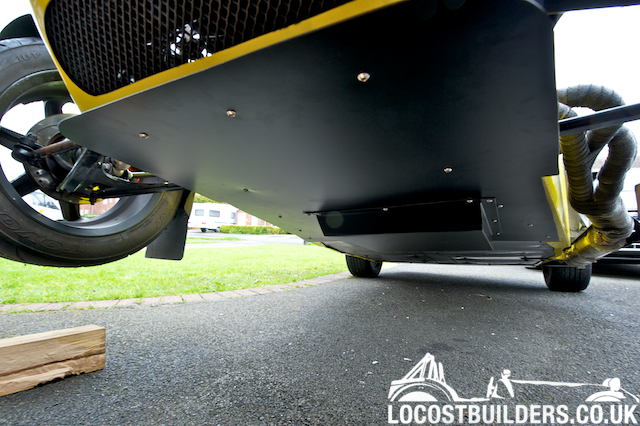
Not much of an update, got the front aero diffuser / splitter powder coated, had it back today
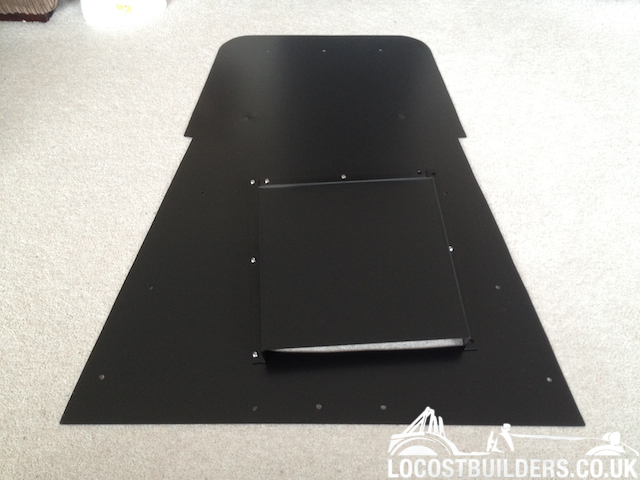
Open under side before and after...
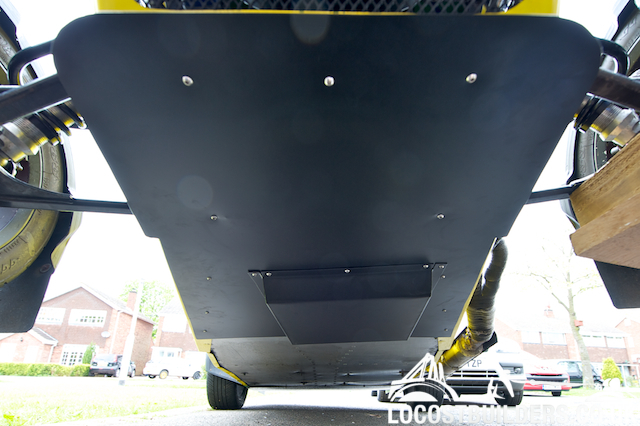
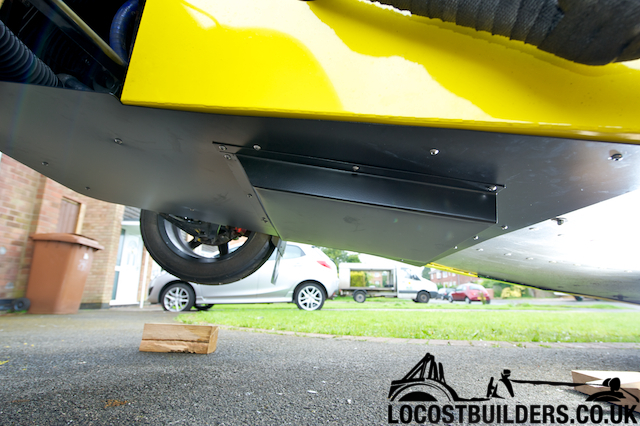
Side on view for those that sent me a message asking for one
Open rear end to let out hot air
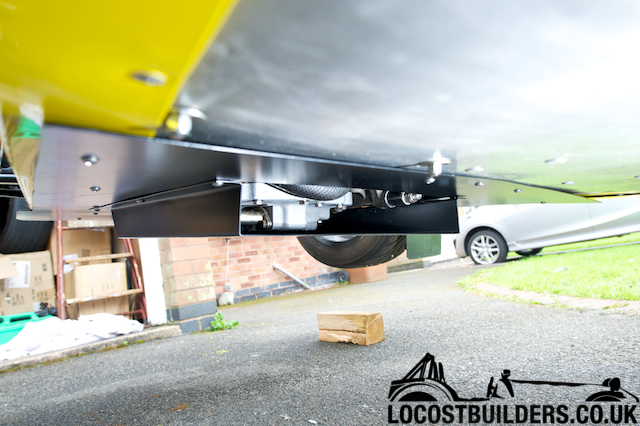
Made the centre piece removable for oil changes, and quick fixes
Engine bay look in through OSF
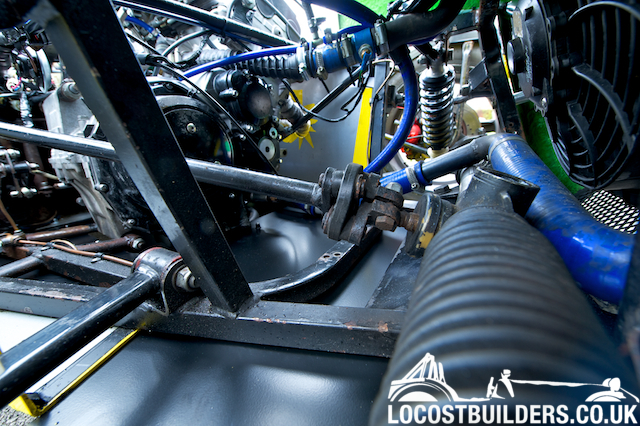
Looking down towards nosecone & rad at front, from standing at passenger side
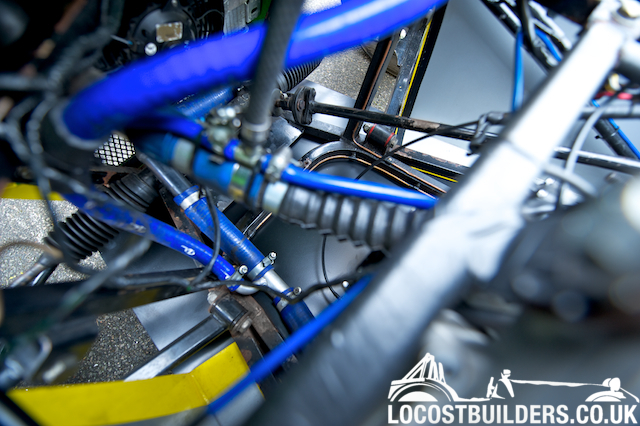
Offside, side view of flat floor from inside bay
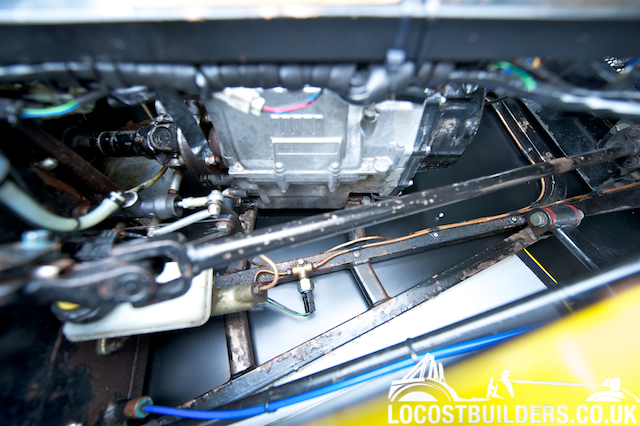
That's all folks!
maccmike - 4/5/12 at 07:34 PM
I love your car!!!
But if I had one critism, its yours and not mine!
Custardpants - 4/5/12 at 09:19 PM
cool, looks good. Hows the airbox?
yellowcab - 4/5/12 at 09:27 PM
ahh funny you should mention that - in the process of finding a way of making as big as air box as possible, with a cubic air capacity of at least
8.5cu/litres.
we made one which was 5.5 but didn't favour it as it was too restrictive, so ditched it and started again...
this is where we are upto on AutoCAD, so we know precise dimensions, angles and capacity that will fit inside the engine bay, and clear the bonnet
& vent...
this is the new design... which keeps the original air filter in situ - which in turn will mean that I can leave the front leading edge that will
'butt' up to the bonnet vent open
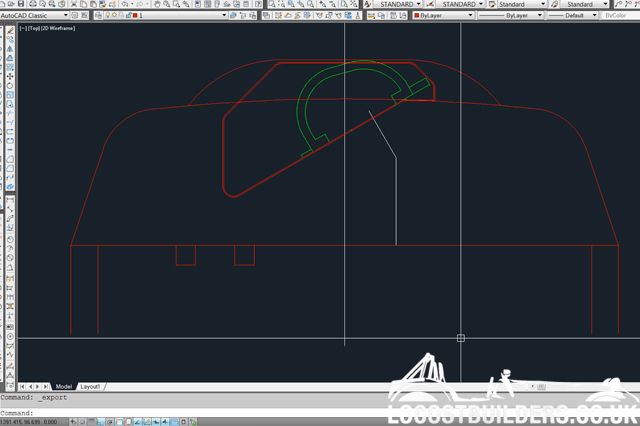
This has a capacity of 9.42cu/litres of air
[Edited on 4/5/12 by yellowcab]
jaik - 6/5/12 at 05:31 PM
Just thought I'd let you know I'm enjoying this thread, keep up the good work, it's giving me some great ideas for when I get mine

[Edited on 6/5/12 by jaik]
yellowcab - 6/5/12 at 05:41 PM
Cheers!
Wanted: Hayabusa updated clutch.
Trip home from Stoneleigh didn't quite go to plan, clutch decided to depart and smash into thousands of pieces after a spirited drive again...
lol
hashtag/bagofspanners
Proby - 6/5/12 at 06:08 PM
Spotted your car today at Stoneleigh, looked as good in the flesh!  sorry to hear about the clutch, if its like changing a blade clutch (which
I'm sure it can't be much different), then its a piece of cake!
yellowcab - 6/5/12 at 06:23 PM
Music to my ears as always Proby!
Thanks for your photos on your gear indicator btw, very very helpful!!!
PAUL FISHER - 6/5/12 at 07:24 PM
Its always a good idea aswell to change the oil and filter, after your clutch has gone like that, bits of it get everywhere
noc231073 - 6/5/12 at 07:43 PM
Just fit a genuine Suzuki clutch with heavy duty springs .. Way better than any of the after market upgraded clutches
Any easy to change .
yellowcab - 6/5/12 at 08:00 PM
Wonderful - thanks for the advice...
Paul - it was also my intention to do exactly that as I haven't changed the oil since I've owned the car yet...
So is it as straight forward as removing the end plate, and diving in?
ReMan - 6/5/12 at 08:07 PM
http://www.carlsalter.com/suzuki-service-manuals.asp

As said If you want me to bring a 10mm spanner....
PAUL FISHER - 6/5/12 at 08:14 PM
Yes simple job, drain oil, remove cover, remove clutch bolts and springs, remove plates and steels, then refit new clutch in reverse order. Removing
old gasket from the cover and cleaning everything up etc takes longer than changing the clutch itself, but its a only 1 hour job at the most 
[Edited on 19/05/04 by PAUL FISHER]
yellowcab - 6/5/12 at 09:39 PM
Helpful as always, this forum!
Thanks Colin, and Paul for the quick run down, so a 10minute job with Colin Reman on the case, yeah?
ReMan - 6/5/12 at 09:54 PM
Shore ting
PAUL FISHER - 6/5/12 at 09:58 PM
quote:
Originally posted by yellowcab
Helpful as always, this forum!
Thanks Colin, and Paul for the quick run down, so a 10minute job with Colin Reman on the case, yeah?
Oh no,, it doe's not work like that, with a fellow locostbuilder round helping out it always turns into a 3 to 4 hour job at least, kettle on
time, chin wag time, talk over car mods time etc etc
yellowcab - 7/5/12 at 10:00 AM
Do people with Busas tend to have a list of 'suppliers' in their favourites that they'd like to share?
Nick DV - 7/5/12 at 10:23 AM
quote:
Originally posted by yellowcab
Do people with Busas tend to have a list of 'suppliers' in their favourites that they'd like to share?
For genuine Suzuki parts, your local dealer will be the best place, but for stuff like oils, you can shop around - as long as you get the right stuff.
For your uprated springs try Big CC or someone like that.
Cheers, Nick 
BobM - 8/5/12 at 04:28 AM
quote:
Originally posted by yellowcab
Do people with Busas tend to have a list of 'suppliers' in their favourites that they'd like to share?
As already stated most stuff from local Suzuki dealer but I also occasionally used to get stuff from Powertec, now changed their name to Radical
Performance Engines:
http://www.rpeonline.co.uk/categories/Suzuki-Hayabusa/
Also on Ebay (often have more stuff than currently):
http://stores.ebay.co.uk/Powertec-Engineering-Ltd
Also occasionally stuff from BigCC Racing:
http://www.bigccracing.com/shop/category.asp?idCategory=50
yellowcab - 8/5/12 at 06:32 PM
Thanks for your replies guys, I've bookmarked all those ready for future use.
Weather was nice (ish) today, so I thought I'd drain the oil in preparation for having a look at the condition of the clutch...
So off came the sump plug and oil filter and let it drain... thought I might swell whip off the end cover just to have a nosey at the carnage
inside...
I've read theres no need to remove the 3x 5mm alleys, just the 8mms on the outside, so I did that...
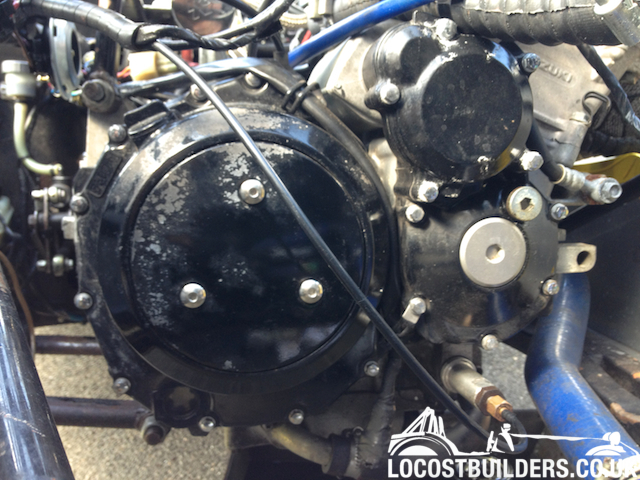
Oh, hello... ermmm... thats alarming, one spring and bolt missing, and the remaining five were finger tight - no need for a rachet or spanner
here...
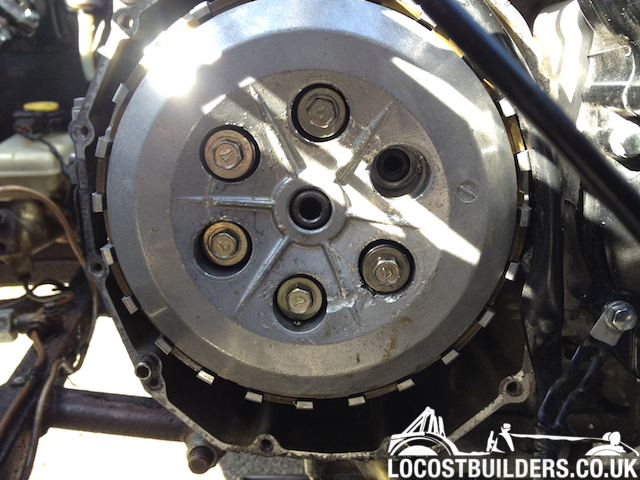
So here is the spring... and blind caps from the inside of the black plate
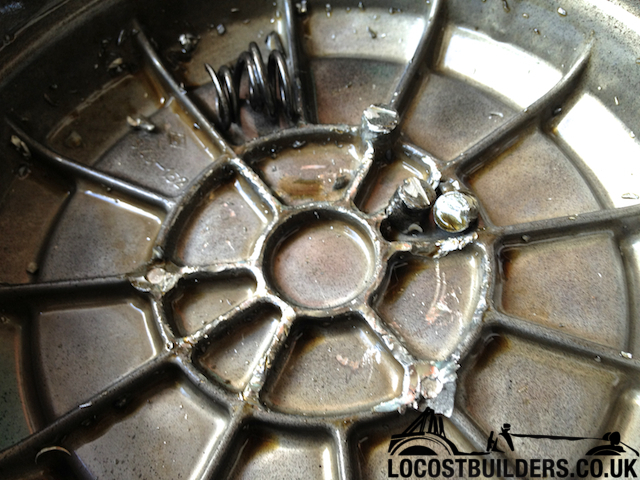
Thought I'd have a mooch for the bolt itself lol, please if you see anything that doesn't look right - just say...
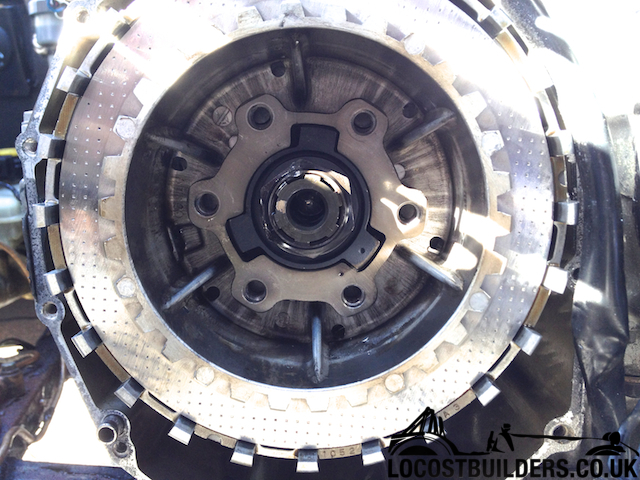
No wear, no swarf, no chunks from any ring gears missing
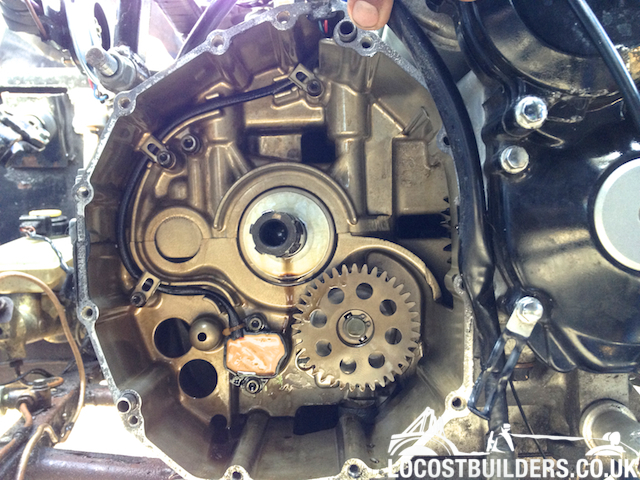
Off came the sump - no swarf... absolutely none
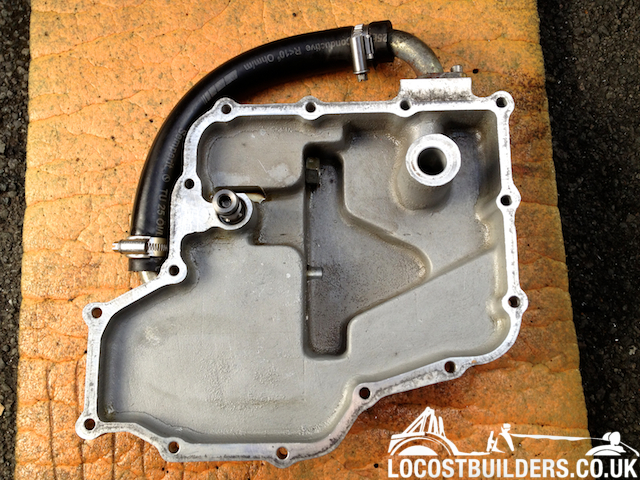
May replace this lol
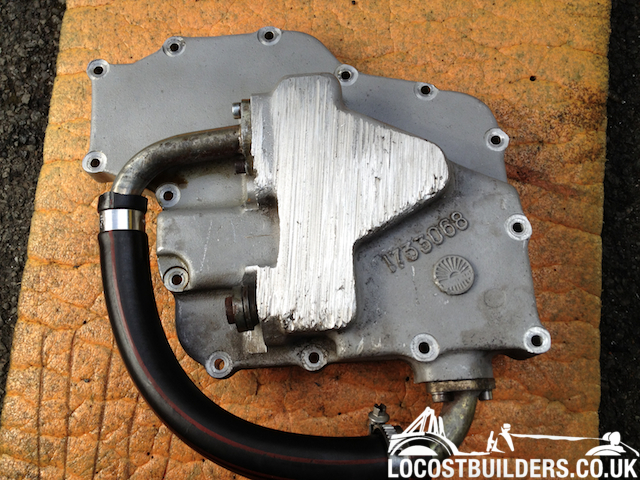
I presume the gasket is a standard item?
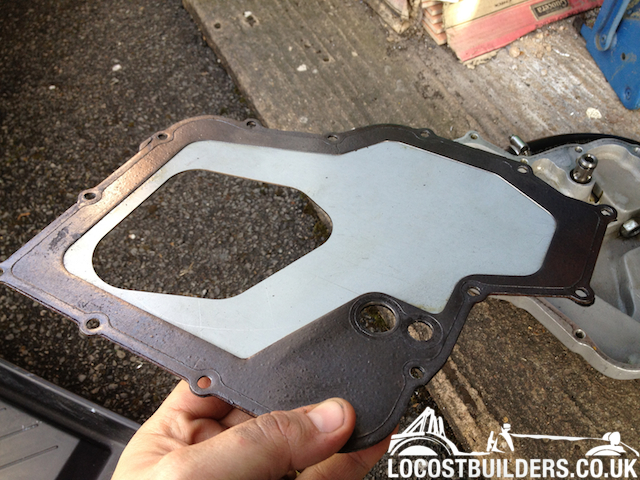
One of the victims...
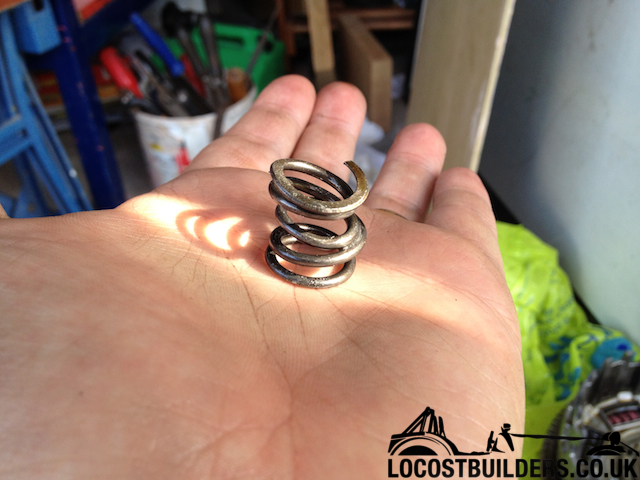
Does this look OK still?
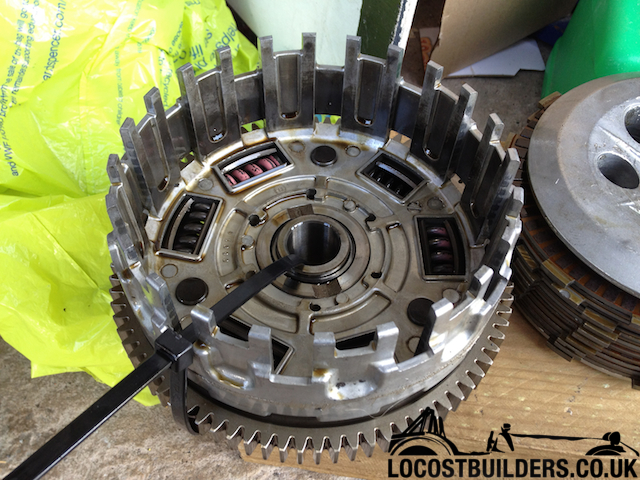
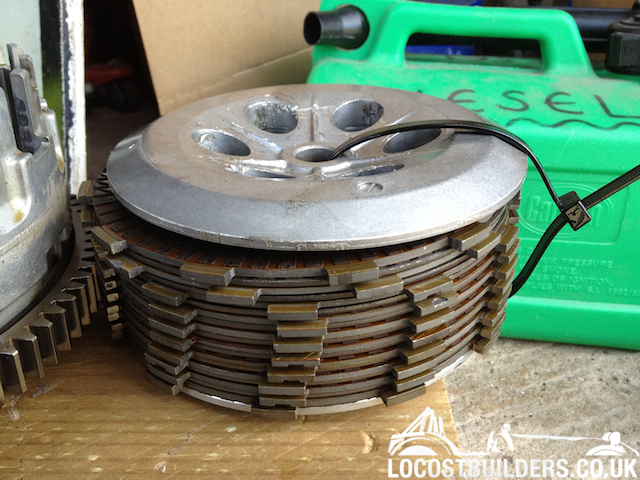
Would these grazes concern you?
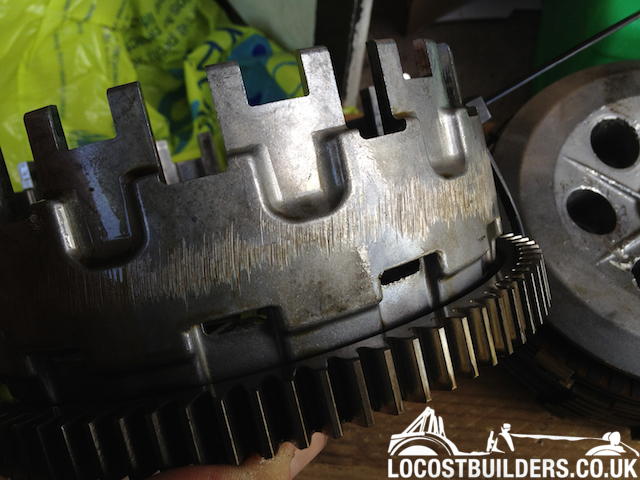
Looks OK here too
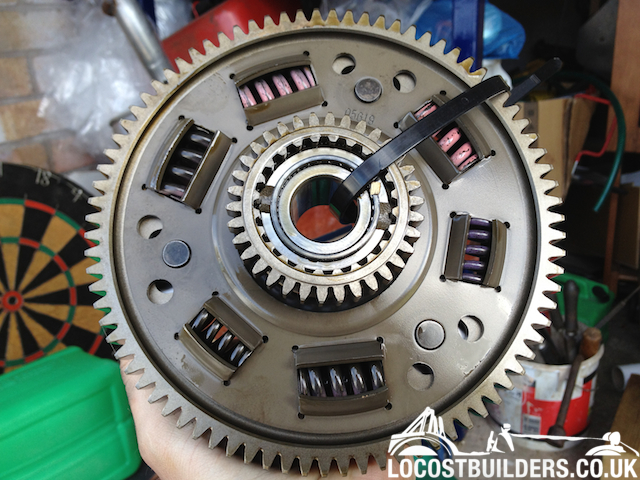
At this point, we were confused as to how the bolt managed to work its way loose, get battered around the engine/ gearbox with no damage, no swarf,
and all teeth on all the ring gears still...
Decided to poke my camera up into the engine & box itself to take more detailed pics
Looks fine in here:
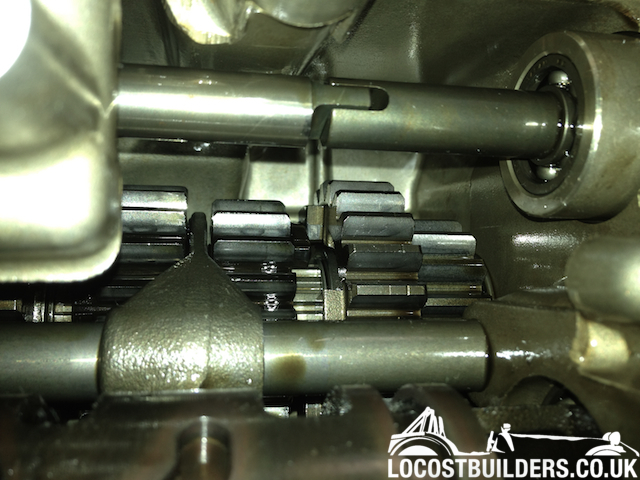
No swarf in the box side:
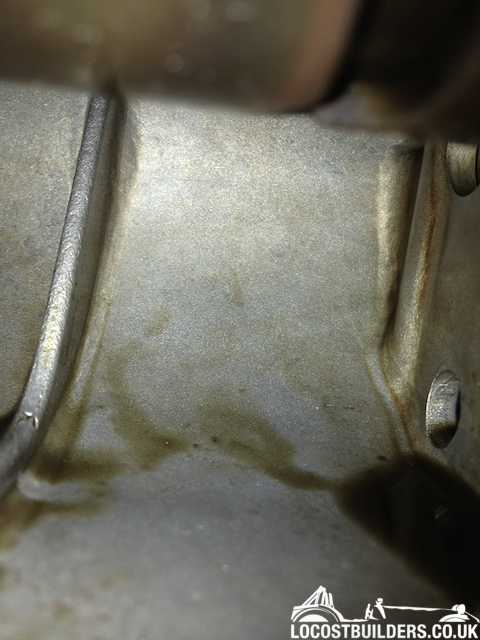
Oh hello Mr. Gilbert
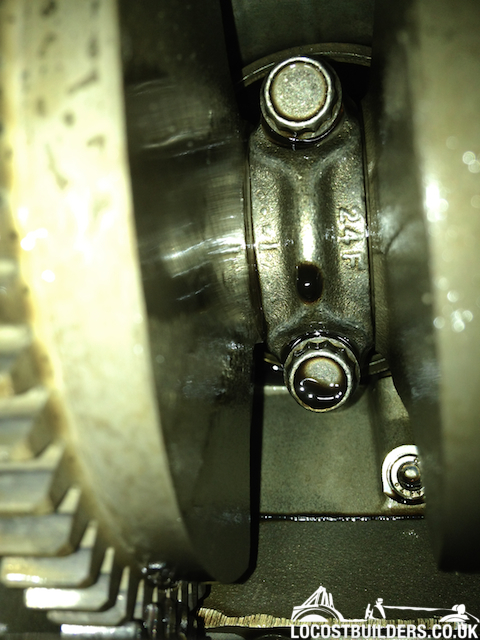
Very clean, no clinks, no marks

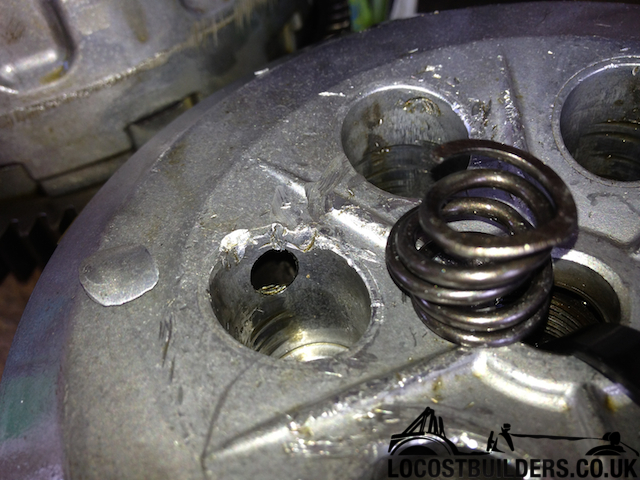
Seems as though a bolt was there, as it had poked a hole in the side of the first plate, the piece of alloy to the left is the bit, and the spring
obviously
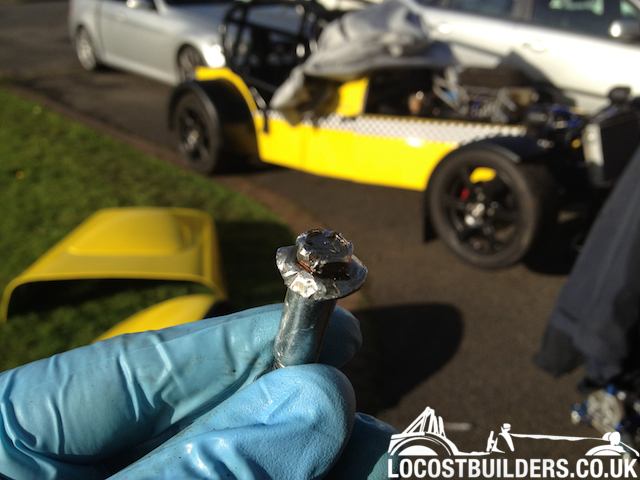
Got rid of the oil... and this little beauty had come out the sump plug hole whilst draining the oil lol
My questions are...
What 'actually' needs replacing, obviously the uprated clutch springs, and bolts... and yes I'll do them up...
Do I need to replace the black outer cover just because some of the innards have been scraped off?
Do I necessarily need to replace the bare alloy plate where the 6 bolts pass through because of the hole? I'm guessing not as its all a wet
system anyway...
Any advice, or warnings, or photos that are alarming - please say!
Look forward to hearing your thoughts
Olz
[Edited on 8/5/12 by yellowcab]
Nick DV - 8/5/12 at 06:50 PM
Not sure what to advise re the results of the bolt/spring coming out, but first impressions to my very untrained eye, is that you got away lightly.
Now that your sump is off, and I can see how shallow it is, I can't believe that you have had no oil starvation problems!  Has the car been on
a circuit or just fast road use? Maybe it says something for the 'Busa oil system.
Cheers, Nick 
PAUL FISHER - 8/5/12 at 07:33 PM
Looks to me you have been lucky, no real damage done, if the clutch was ok before the bolt came out (ie was not slipping) you could just get away with
springs and bolts, torque them up to the correct setting which is not very much, only about 26 ftlbs but check in the manual, alot of people over
tighten them, snap them or stretch them.
While you have the plates out you may aswell micrometer them up to see how worn they are.
PAUL FISHER - 8/5/12 at 07:40 PM
Just add I would just reuse the alloy clutch cover, no real damage done to it
And the grazes/scratch marks on the basket are just grinder marks from the manufacturing process to remove casting marks.
[Edited on 19/05/04 by PAUL FISHER]
ReMan - 8/5/12 at 08:05 PM
See it's dead easy is'nt it 
To echo Paul, I'd re-use it all, even the gasket.
Just need a new set of springs and bolts
My guess someone who'se stripped one of those alloy? bolts before ( I have the t shirt) has been too careful tightening them up?
Check them all but otherwisse get it back together pronto
yellowcab - 8/5/12 at 08:44 PM
Thanks chaps for all your help and advice.
You're right, just going to replace springs with RPE 10% updated ones, and a new bolt. :-)
Oh, bought a new sump pan too lol
BobM - 9/5/12 at 05:25 AM
quote:
Originally posted by Nick DV
Now that your sump is off, and I can see how shallow it is, I can't believe that you have had no oil starvation problems!  Has the car been on
a circuit or just fast road use? Maybe it says something for the 'Busa oil system.
It's a dry sump, isn't it?
BobM - 9/5/12 at 05:30 AM
quote:
Originally posted by yellowcab
What 'actually' needs replacing, obviously the uprated clutch springs, and bolts... and yes I'll do them up...
Do I need to replace the black outer cover just because some of the innards have been scraped off?
Do I necessarily need to replace the bare alloy plate where the 6 bolts pass through because of the hole? I'm guessing not as its all a wet
system anyway...
Any advice, or warnings, or photos that are alarming - please say!
I'd say you've been a lucky boy 
I agree with the others, all you need to replace is the bolt and spring.
Looking at your pics, the damage to the pressure plate and the outer cover look purely cosmetic. The steel plate I could see looked pristine with no
signs of bluing. Your basket looks in good shape too - when they wear they get grooves around the inside which cause the plates to stick in them and
you get a grabby/juddery clutch. I've reused sump gaskets many times before without problem.
Nick DV - 9/5/12 at 11:41 AM
quote:
Originally posted by BobM
quote:
Originally posted by Nick DV
Now that your sump is off, and I can see how shallow it is, I can't believe that you have had no oil starvation problems!  Has the car been on
a circuit or just fast road use? Maybe it says something for the 'Busa oil system.
It's a dry sump, isn't it?
Doesn't look like it cos the hose is only linking the to outlet ports on it. They don't connect to anything!
Cheers, Nick 
yellowcab - 9/5/12 at 01:02 PM
Wet sump system with a dry sump pan to help with under car clearance issues 
Massive thanks to Mike, along with Rob & Lee @ RPE - they've sorted me out with everything I need...
Gen Suzuki Oil Filter
Replacement 'post'
Replacement 'bolt' that goes into above 'post'
6x 10% uprated clutch springs
3x Clutch pulls/ pressings
And the 2x 4" thin piece of circular metal that go under the last cork clutch plate
All arriving tomorrow, off to Shell petrol station to get some Shell Ultra 15w50 as thats what RPE advised
So from thinking my replacement 'clutch' was going to set me back around £280 ish... the total cost after discounts is around £36
BobM - 9/5/12 at 01:06 PM
quote:
Originally posted by yellowcab
Wet sump system with a dry sump pan to help with under car clearance issues 
Ah, I was wondering about the odd hose arrangement! Looks to me like you still need more clearance!
quote:
Originally posted by yellowcab
All arriving tomorrow, off to Shell petrol station to get some Shell Ultra 15w50 as thats what RPE advised
Generally recommended to avoid fully synthetic oil intended for car engines to avoid clutch slip.
yellowcab - 9/5/12 at 01:10 PM
The sump pan was like this from before I bought the car... so who knows what its been scraped on...
Seems to flat, and uniform scrapes to be the odd speed bump here and there, but what do I know lol
Such nice and helpful guys at RPE - very impressed
yellowcab - 13/5/12 at 05:03 PM
Just waiting on a new Westfield dry sump pan before I decide to put the clutch back together.
On a side note, thinking unsprung weight - 1x 15" wheel + tyre = 16.2kg, which means the set of four is 64.8kgs in total
Does anyone have the information of what both 13" Team Dynamic Pro Race 1.2 + tyre weighs... and a 13" Minilite + tyre weighs?
jaik - 13/5/12 at 05:21 PM
I'm pretty interested in the wheel & tyre weights too, it's quite easy to find wheel weights, but without the tyres it's
meaningless for comparing different sizes.
ReMan - 13/5/12 at 06:31 PM
http://www.locostbuilders.co.uk/viewthread.php?tid=166487
locoboy - 13/5/12 at 08:53 PM
I have just found this thread and its great, good honest down to earth work, no Bulls**t just a bloke fettling things, having fun and learning along
the way, keep it going, nice car and nice photos too...........
mangogrooveworkshop - 13/5/12 at 10:23 PM
Very tidy... I'm reading this thread too
1 make sure the vent pipe from the diff has a catch bottle or vents outside your diffuser. ps Diffs get very hot 
2 make doubly sure the radiator over flow leads to the outside of you under tray .
3 Put some strength into the top mount for your steering as you have added a long leaver to the steering column (when you drive it in anger you will
be shockedhow soft the top mount is.)
locoboy - 14/5/12 at 08:15 PM
I would advise you use threadlock on the bolts you use in your rivnuts for your removable undertray bulge. The ally undertray will probably be subject
to quite high vibration and you don't want it falling off after all your hard work!
yellowcab - 14/5/12 at 08:30 PM
then the rivnuts themselves would spin in the holes when you try and remove the bolts lol
already considered it mind, but I totally appreciate what you're saying lol
sdh2903 - 14/5/12 at 09:02 PM
Just use spring washers instead of thread lock, should do the trick. Worth doing as like said there will be a fair bit of resonance.
yellowcab - 15/5/12 at 04:37 PM
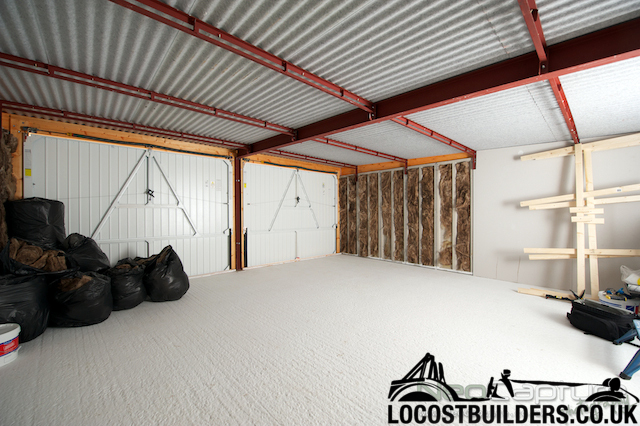
finally after whats felt like years of waiting for planning permission, i finally i have a man-shack
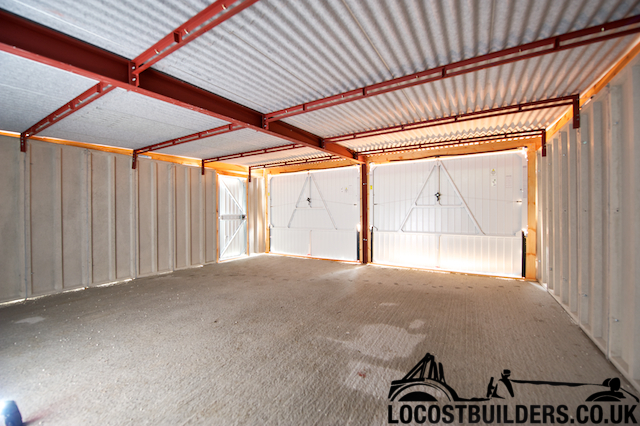
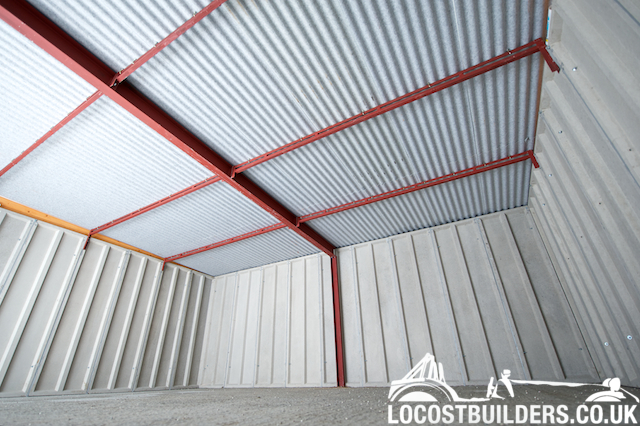
no more getting wet!
[Edited on 16/5/12 by yellowcab]
aka_shortie - 15/5/12 at 04:56 PM
That man cave looks massive, i want one lol.
You going to box it out / insulate it? Heard they suffer ventilation / condensation problems 
yellowcab - 15/5/12 at 04:59 PM
galvanised steel roof has anti-condensation backing thankfully, else i probably wouldn't have opted for it...
the idea is to insulate walls with loft insulation, then 'dab & grab' plasterboard, kitchen vinyl black & white checkered flooring,
and insulating back of garage doors, add a PIR security light & alarm, then to put sofa, tv, fridge, coffee machine in the corner, and some carpet
as i hate laying on a hard floor lol
aka_shortie - 15/5/12 at 05:02 PM
Impressive, cannot wait to see it finished.
Hope you actually have some garden left lol 
yellowcab - 15/5/12 at 05:04 PM
hopefully going to have an exhaust extraction pipe too, so can run the car with garage doors closed to stop people peeking in
ReMan - 15/5/12 at 08:49 PM
TBH I find that amount of space offensive
(Sobbing into chips)

Custardpants - 15/5/12 at 08:54 PM
Omg thats amazing! My garage is just too full of workbenches, lathes and machinery - i know, didums. Can't get anywhere around the car though!
yellowcab - 16/5/12 at 09:30 PM
Just awaiting new dry-sump pan from Westfield tomorrow, then will be back on with the clutch rebuild so I can drive the bugger again...
The slight misfire issue that was occasional might have had something to do with HT leads 1 & 4 weren't clicked down, just resting ontop of
the spark plug lol
Looking forward to driving it with the new clutch shims & pawls fitted, with the verbal help an LCBer 
ReMan - 17/5/12 at 06:40 PM
quote:
Originally posted by yellowcab
galvanised steel roof has anti-condensation backing thankfully, else i probably wouldn't have opted for it...
the idea is to insulate walls with loft insulation, then 'dab & grab' plasterboard, kitchen vinyl black & white checkered flooring,
and insulating back of garage doors, add a PIR security light & alarm, then to put sofa, tv, fridge, coffee machine in the corner, and some carpet
as i hate laying on a hard floor lol
IS THE FRIDGE IN YET?

puma931 - 17/5/12 at 06:59 PM
when is the shed warming party?

Proby - 17/5/12 at 07:51 PM
That garage space looks hhhuuuwwaaggee! Very nice!
yellowcab - 18/5/12 at 06:39 PM
hiya guys, sorry not been on much... been tinkering, not made fantastic progress, but its going in the right direction for the man-cave.
here are some pics so far... after spending ages at looking at RaceDeck, and Eva Anti Fatique garage floor tiles, and then picking myself up off
the floor when i worked out 30m2 of the stuff, I opted for smooth white garage floor paint
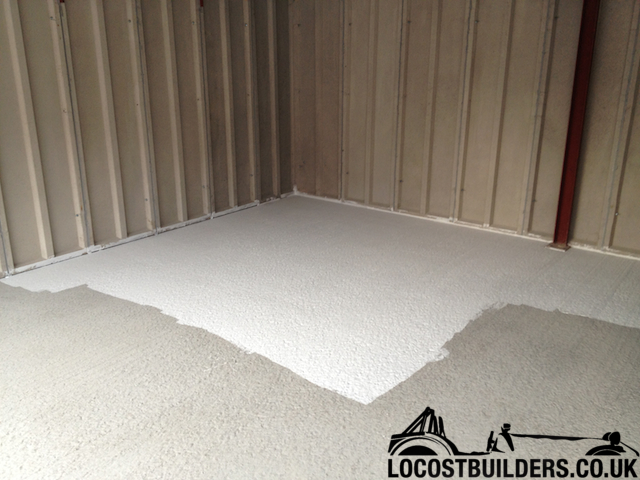
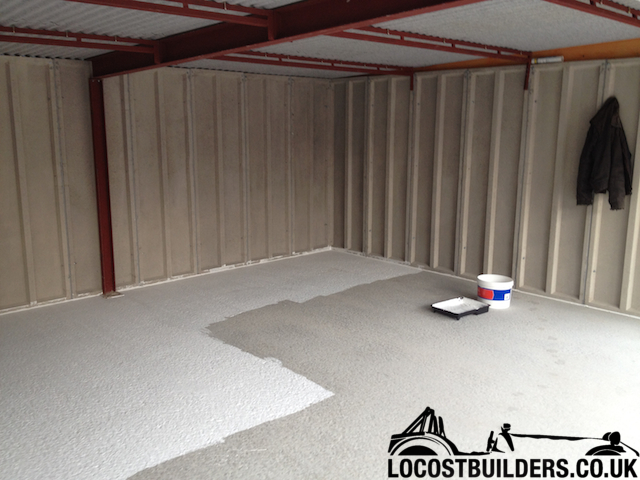
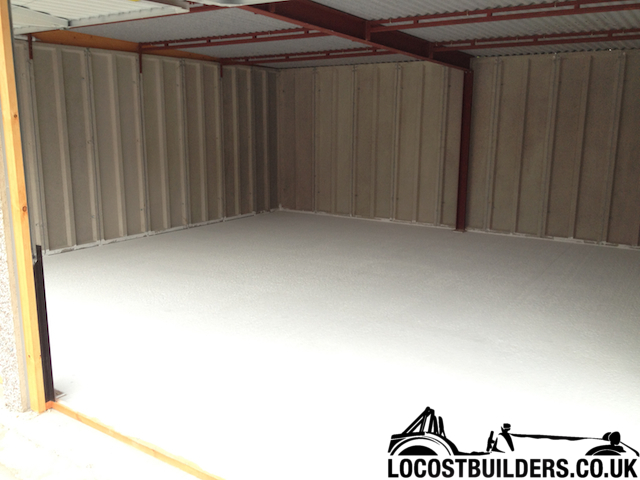
That was last night, so let it dry over night and really happy with the single coat that we applied, and it sealed the bare concrete at the same
time...
Off I pop to Wickes to take advantage of their 'Make Your Home more Energy Efficient' guff... 2x rolls of 100mm loft insulation
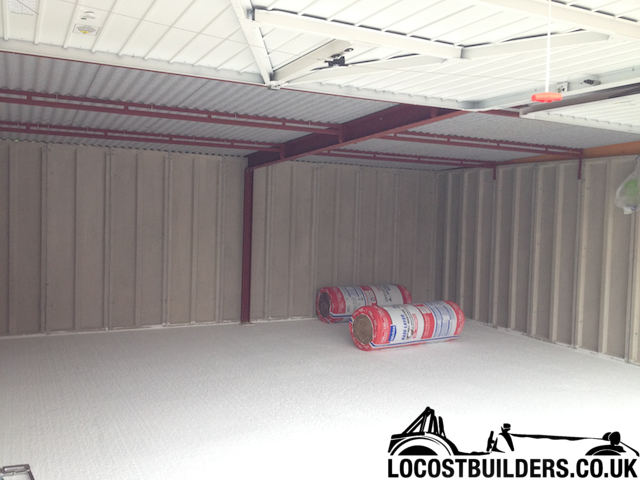
Cut into strips, to place in between the concrete ribs of the garage
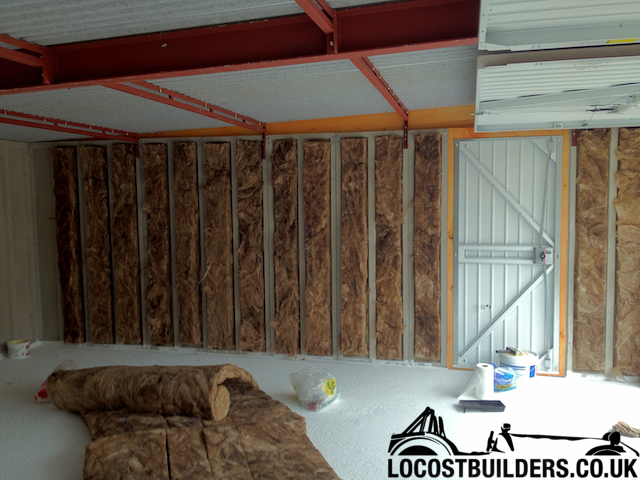
Done... nice and cosy - already reduced / eliminated echo
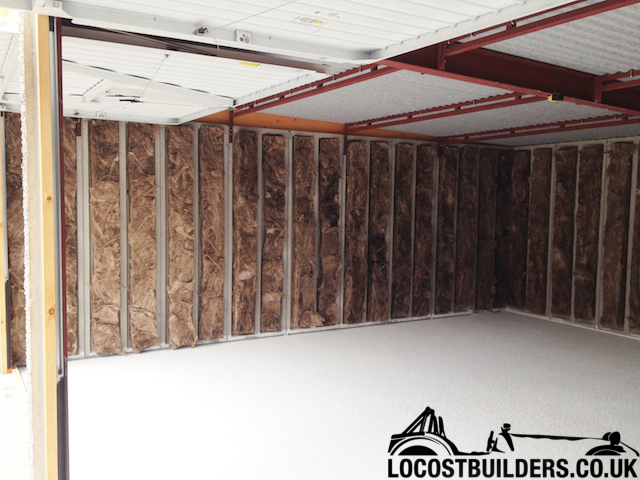
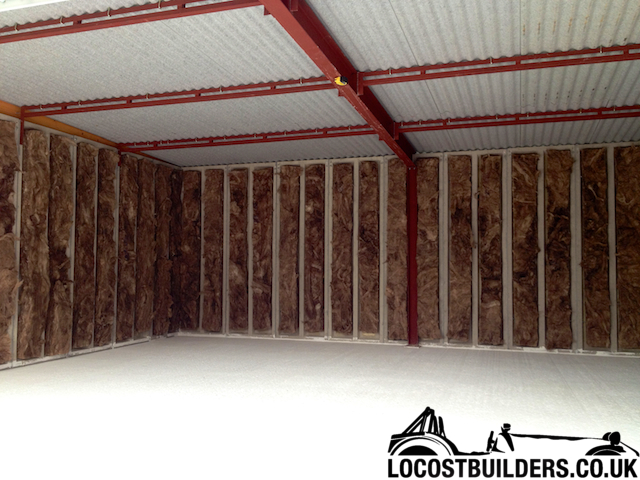
So the idea was to 'no more nails' the plasterboard, to the exposed ribs of the concrete, but it doesn't seem to be working - so might
have to drill/ rawl plug/ and screw the plasterboard on
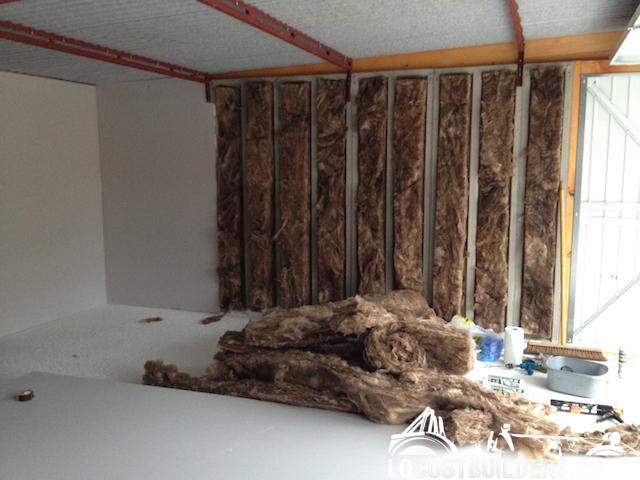
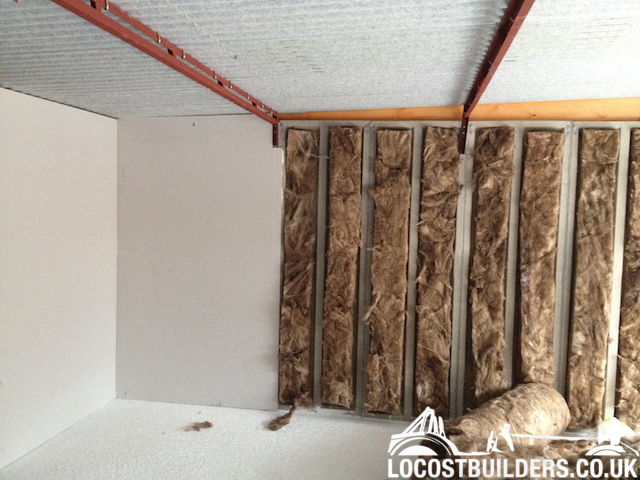
HowardB - 18/5/12 at 06:53 PM
Wow, that is better than my house,...

yellowcab - 18/5/12 at 06:54 PM
lol don't you start aswell, already had the wife comment a few times on... "so when is the bathroom getting done?"
yellowcab - 19/5/12 at 06:57 PM
knackered, tired, cold, itchy...
hashtag/ihateloftinsulationwithapassion
yellowcab - 19/5/12 at 07:33 PM
couple of progress pics of partial plaster boarding, the centre piece left as thats where generator & exhaust extraction ducting will exit the
garage
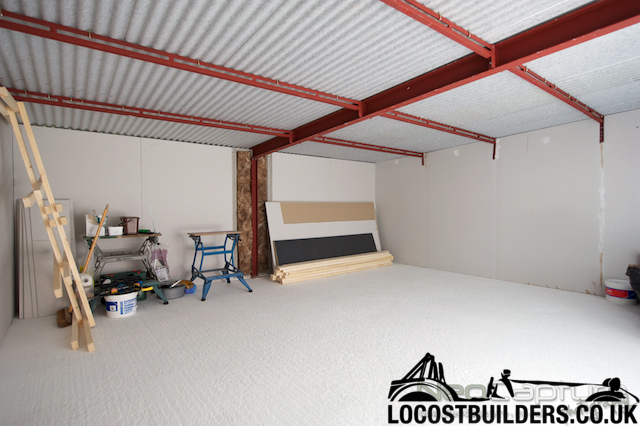
walls will be painted white same as flooring
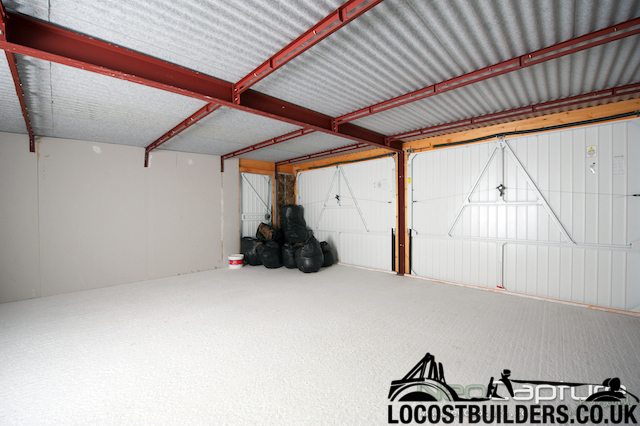
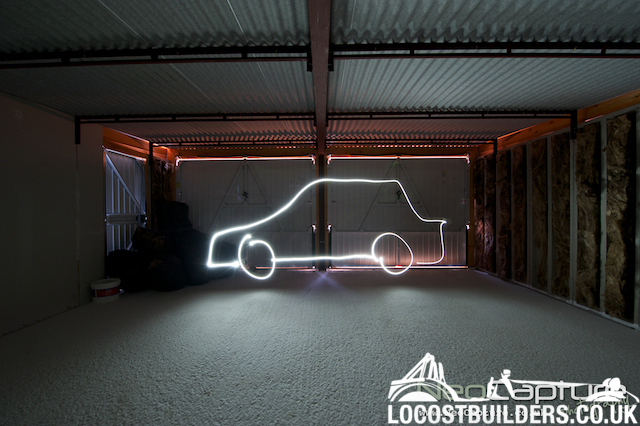
bit left to do - taking longer than i anticipated but I wasn't originally intending on following the angle of the garage roof
and my car fits in with plenty of space - yay!
yellowcab - 23/5/12 at 11:04 PM
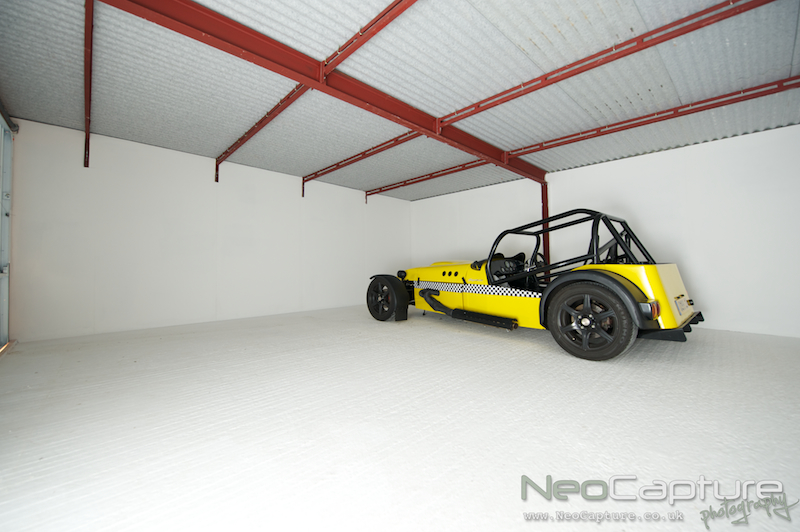
finally finished... feels like it's took forever
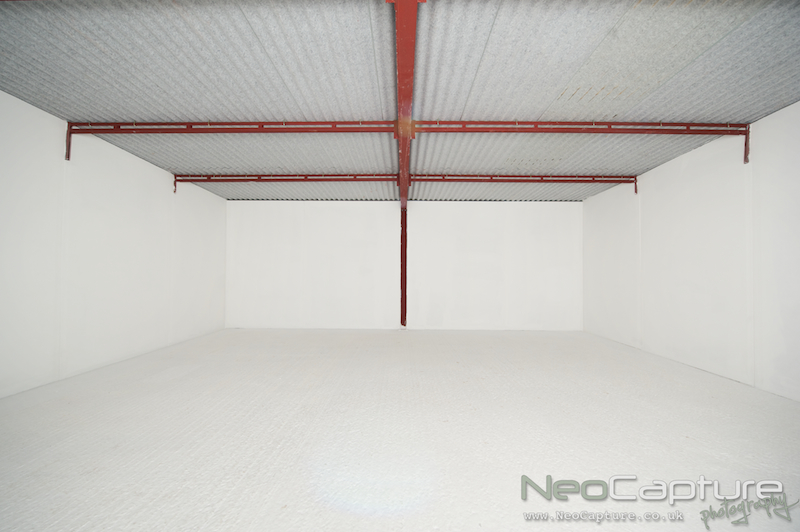
So after building some work benches, we decided to clear out because it'd be rude not to have a little photoshoot in the studio lol
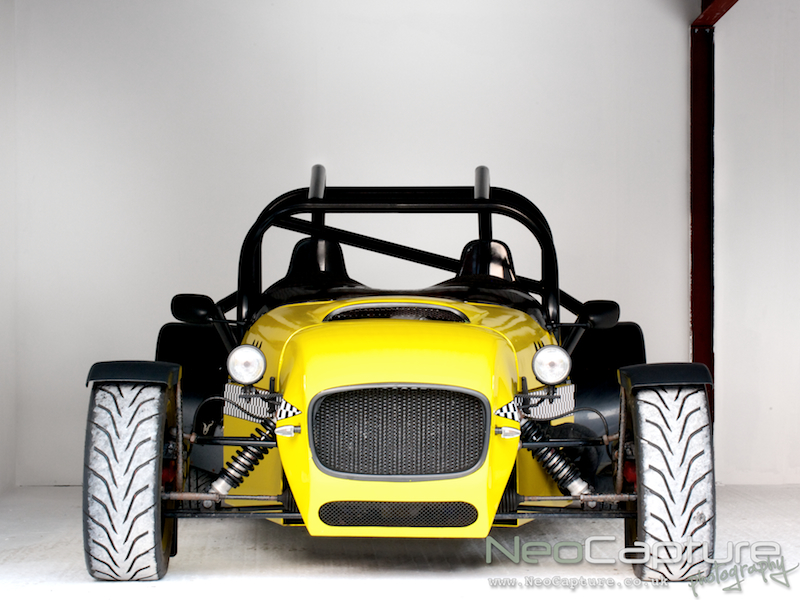
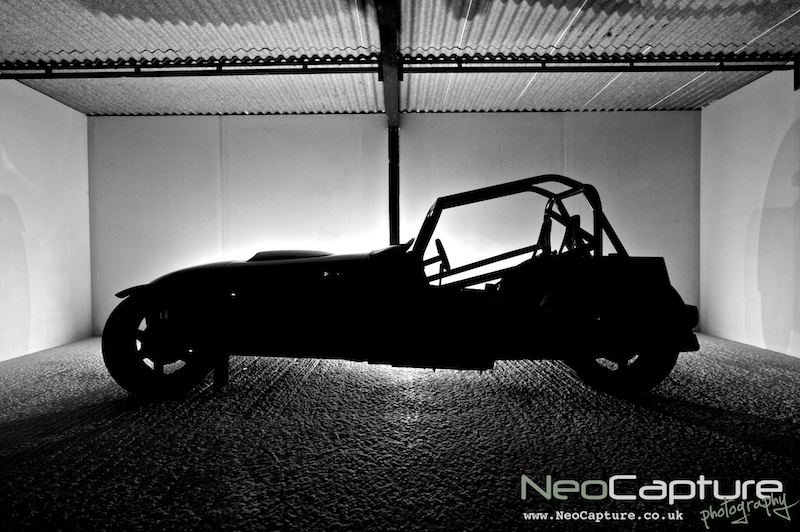
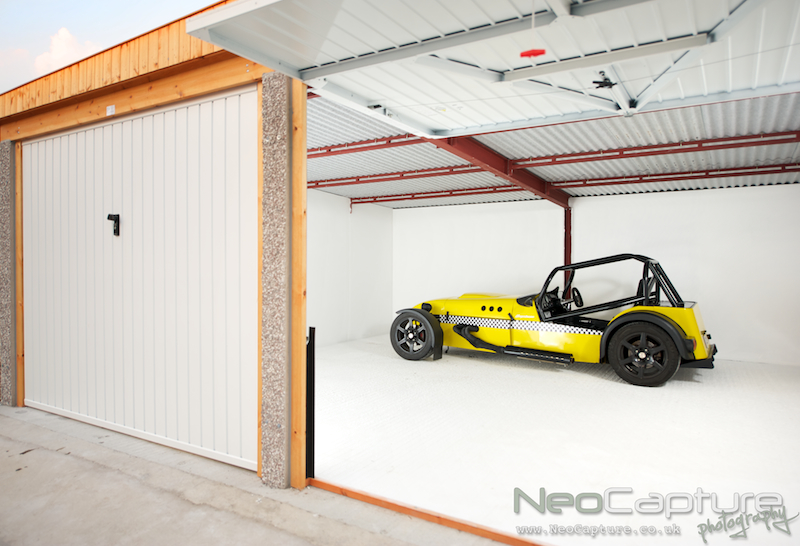
rb968 - 23/5/12 at 11:09 PM
Shangri-la mate.
Lovely photos as well. Not jealous at all 
Rich
RK - 23/5/12 at 11:32 PM
That is just rude. I'm sorry, but children are on here from time to time.
Well done all round! Fancy a trip to Canada to do mine like that? While yer at it, you can make my car look like that too.
cosmick - 24/5/12 at 07:16 PM
Judging by the colour of your tyres, i think you should have waited for the paint to dry before driving in to your new spangly garage. Your car looks
lost in there. Hang on, how did it get in there with no clutch?
cosmick - 24/5/12 at 07:20 PM
I have seen these kind of photo booths before, All white with white walls to photograph cars in and so on. I don't think this is a garage at all.
I think this is a photo booth.
Proby - 24/5/12 at 08:06 PM
Very  will be a shame to get it dirty in there!
tegwin - 24/5/12 at 09:06 PM
Nice garage. Are you going to insulate the roof? Seems odd to do the walls but not the ceiling :-)
yellowcab - 25/5/12 at 07:02 PM
the plasterboarding is purely for aesthetics really and being able to reduce echo, we only got the insulation because it was free... so the intention
wasn't trying to keep heat in as such... i hear what you're saying though, but wouldn't want to board the roof as it'll reduce the
little height even moreso
Pat_T - 12/6/12 at 09:28 PM
any updates? 
maccmike - 12/6/12 at 09:55 PM
I f'kin hate you! 
yellowcab - 13/6/12 at 08:00 AM
Update is, clutch is fixed and put back together with uprated clutch springs.
Feels solid, very bitey, and clutch pedal even more stiff than before now - but have been advised by Mike that I need to move the fulcrum down towards
the floor (pivot) point in order to get a easier pedal, and more forgiveness on bite point...
That's just a 'for now' until I get a new clutch MC...
Other than that - efforts have turned towards the garage, it's pretty much done now  )
)
yellowcab - 13/6/12 at 08:14 PM
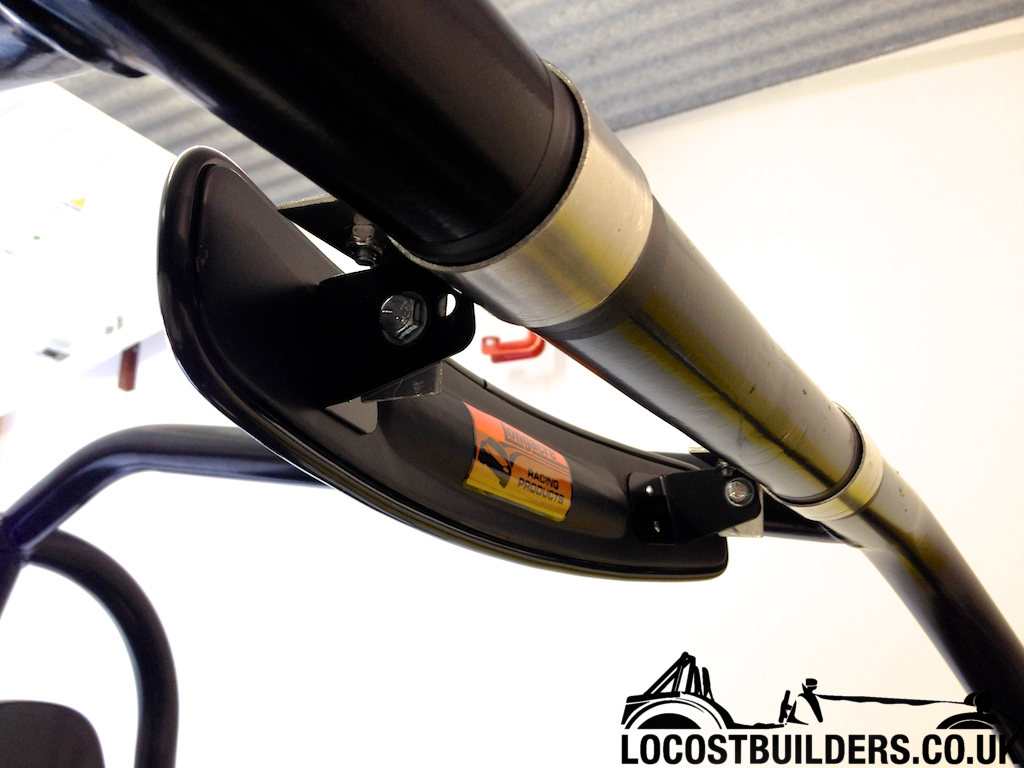
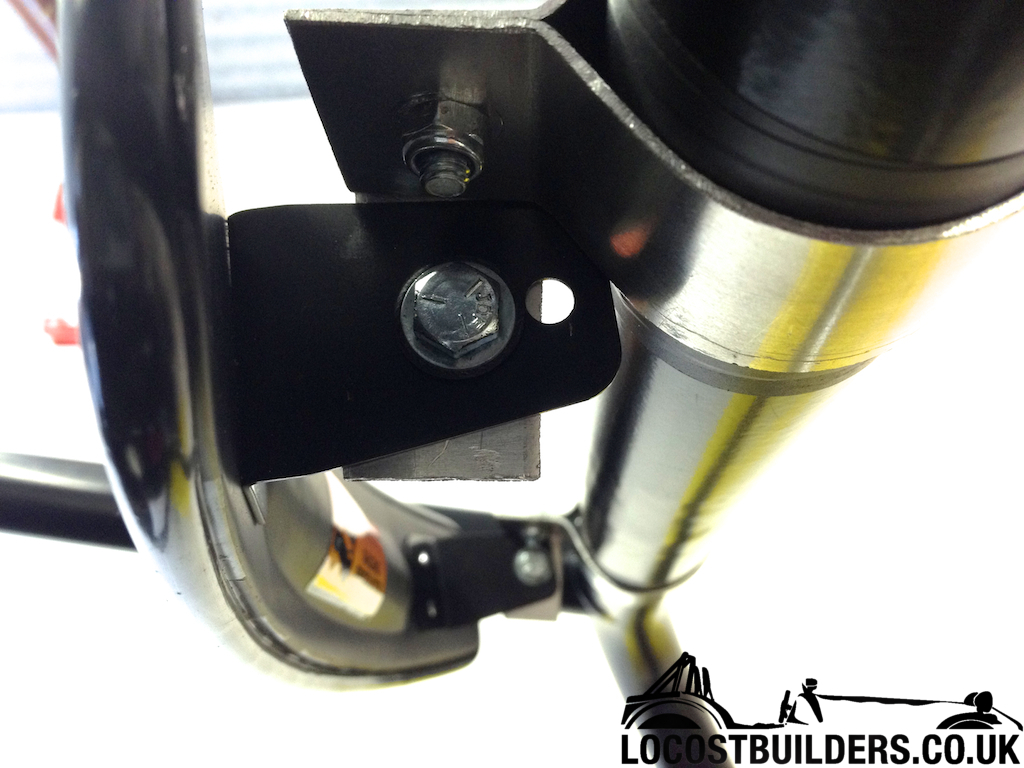
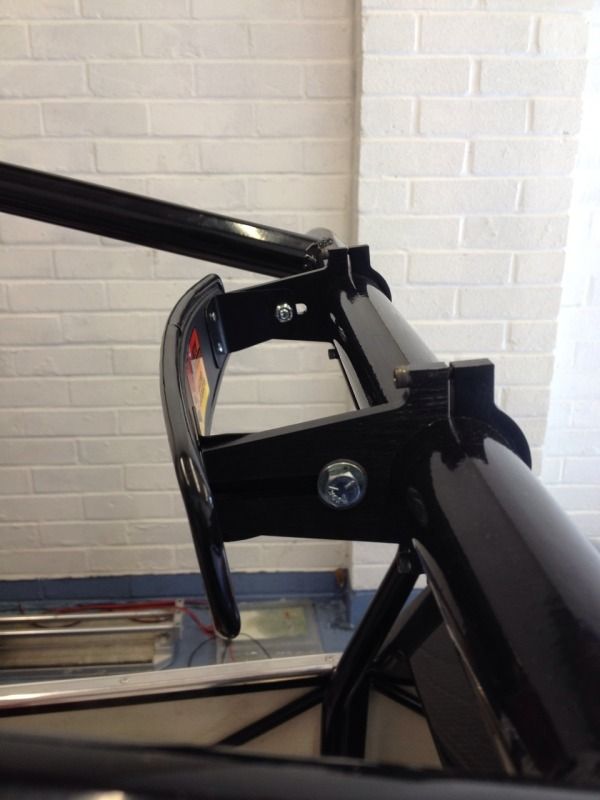
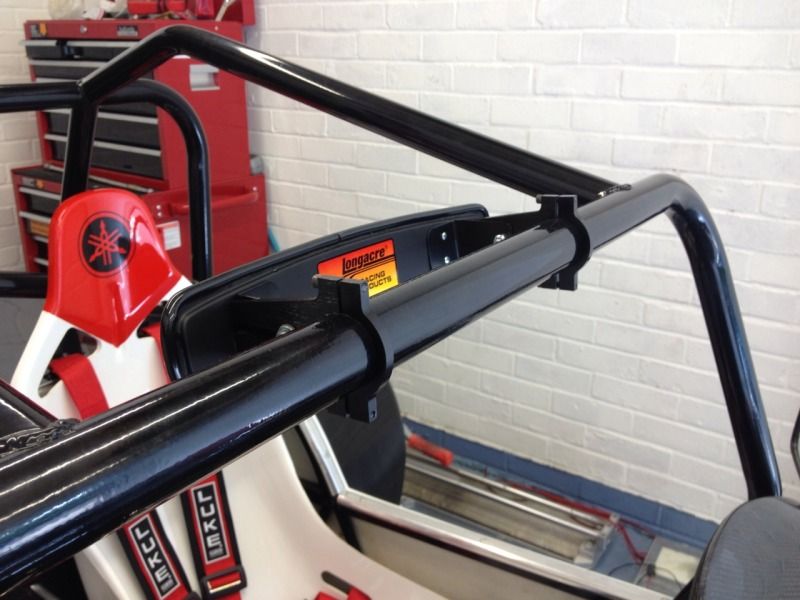
most boring update ever - but i bought a 17" Longacre mirror, and got advised to make my own brackets, so I did lol
Not great, nor pretty, but it holds the mirror nice and secure... just need to file the undersides off to match the contour of the mirror sticky out
bits
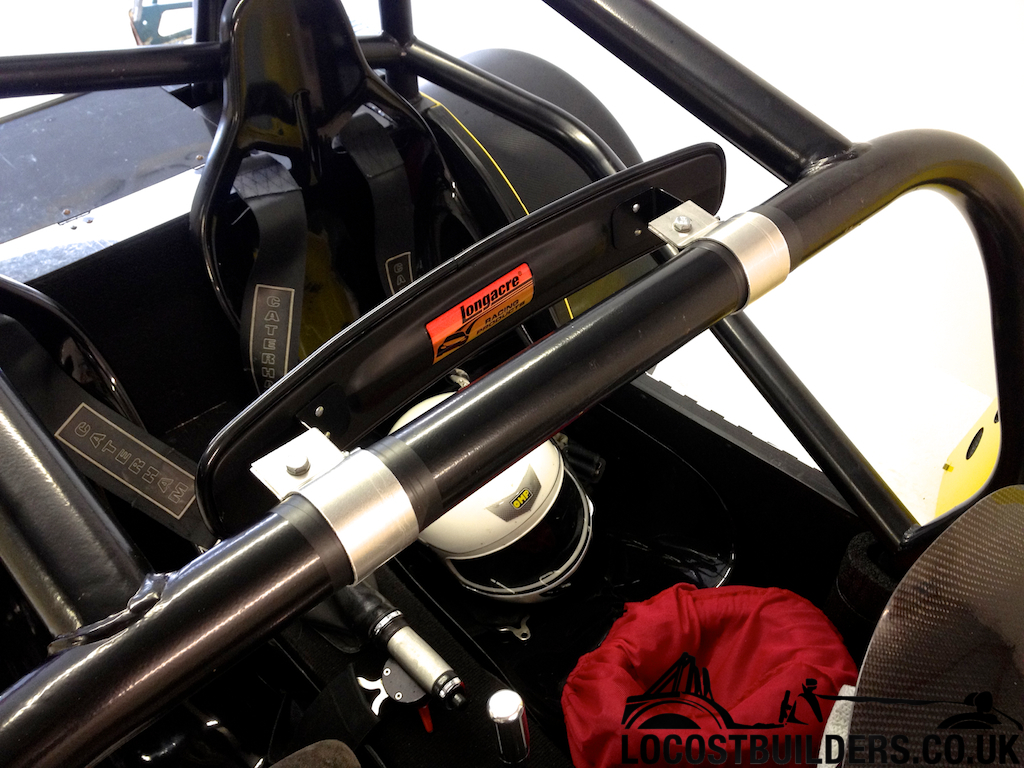
these bits the lugs that hang down just need filing down
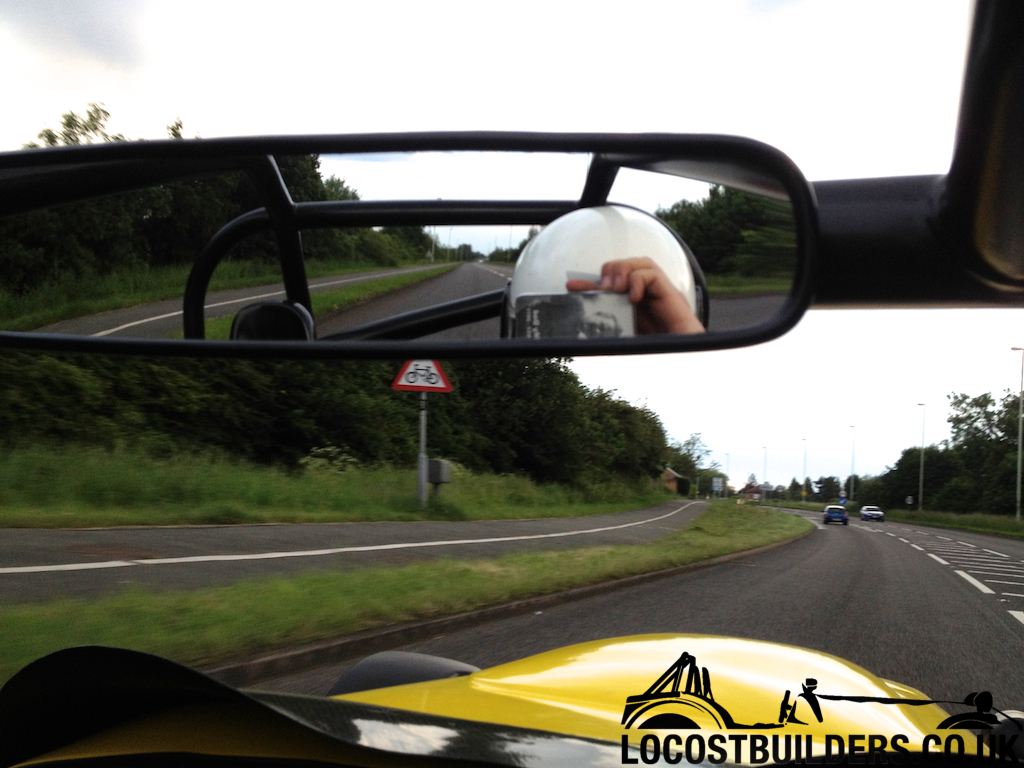
drilled a second hole in the mirror itself so it tilts slightly towards the driver, so i can see over my right shoulder
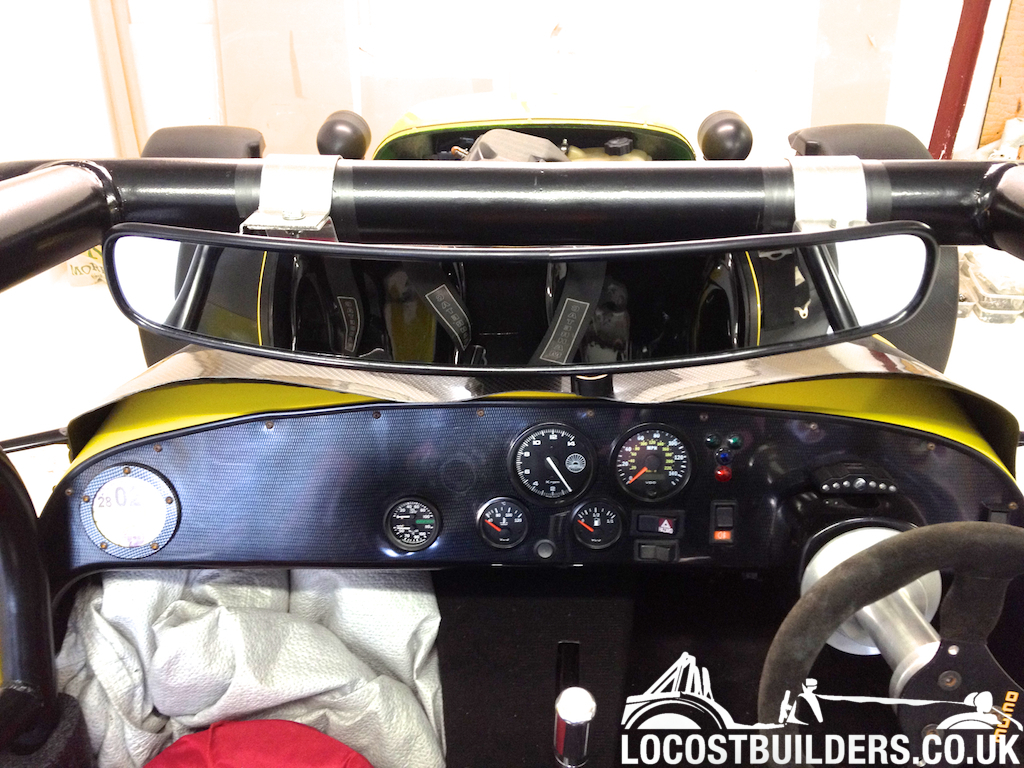
Like so... fitting it straight gives you lots of rear passenger viewing, but no rear drivers...
hashtag/thatisall
yellowcab - 13/6/12 at 08:17 PM
infact i'm going to remove the brackets, and make the holes elongated so i can pull the passenger side of the mirror out moreso
cosmick - 13/6/12 at 08:25 PM
You Tart!!!!! Men are supposed to scratch their balls when they sit in a car not do their make up or keep looking at themselves in the mirror. Well
done for getting the clutch back together and the car back on the road.
yellowcab - 13/6/12 at 08:31 PM
All thanks to you Mike - thanks for your constant help and support - you still on the premium rate 0891 number?
You can 'just' see the air box in the pic from the back of the car looking forward  )
)
yellowcab - 13/6/12 at 08:38 PM
Oh I've just found some dead old photos from doing the clutch
After spending hours and hours on the phone to Mike - I have it together again
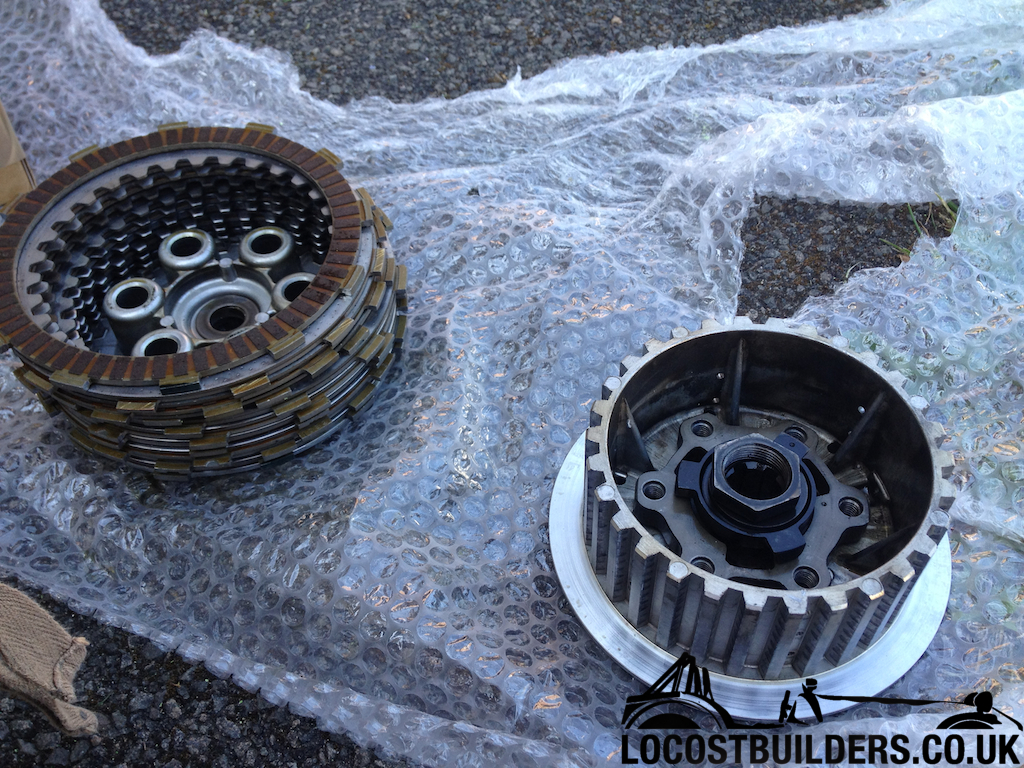
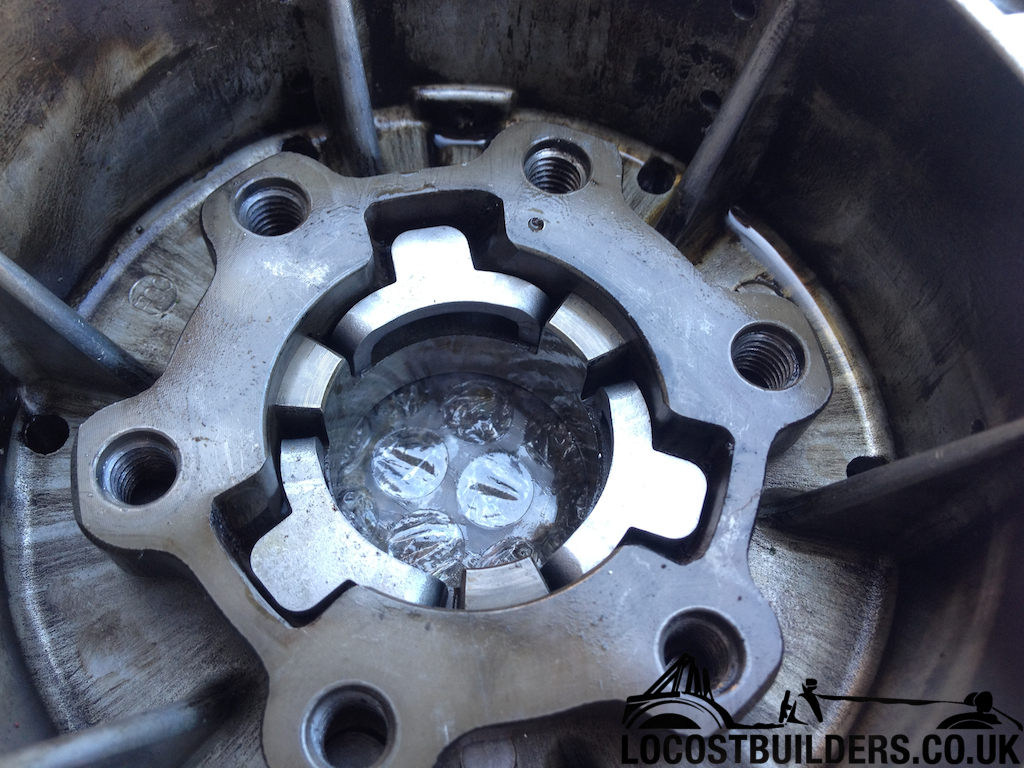
Advised by the god himself to buy these clutch pawls from Radical - so I did... haven't a clue what they do - apparently take the
'ramp' out of the clutch, but I'm buggered if I can feel any difference
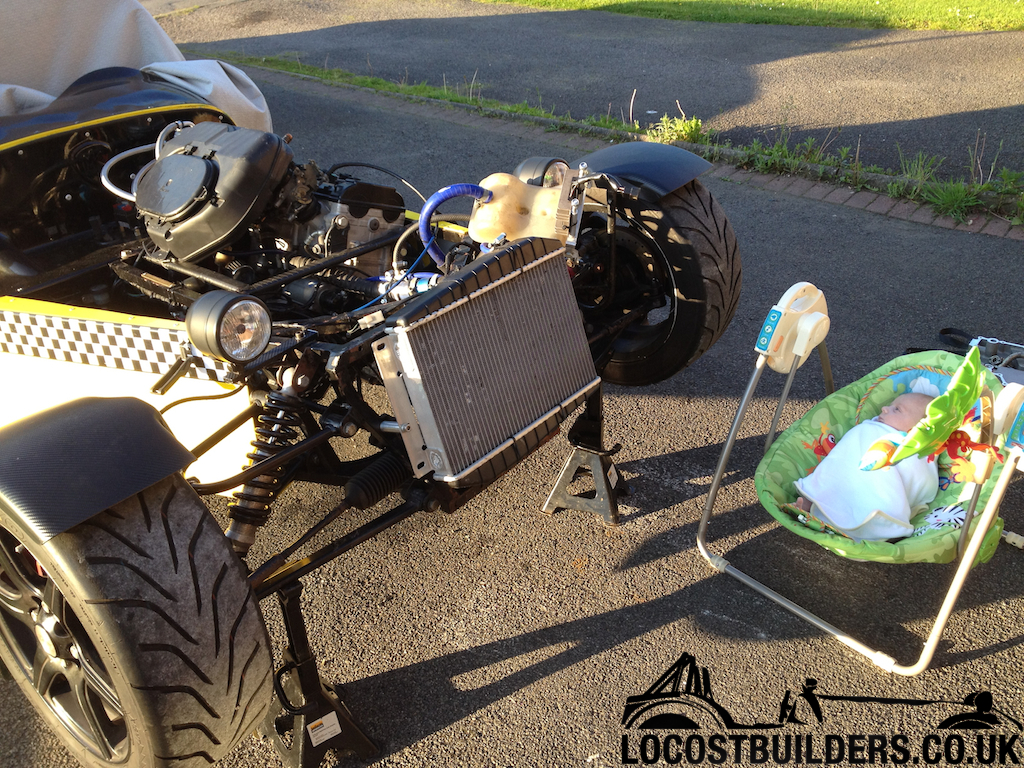
Misses popped to Asda, and asked me to watch the boy for a couple of hours, so he mucked in... 3 weeks old FTW
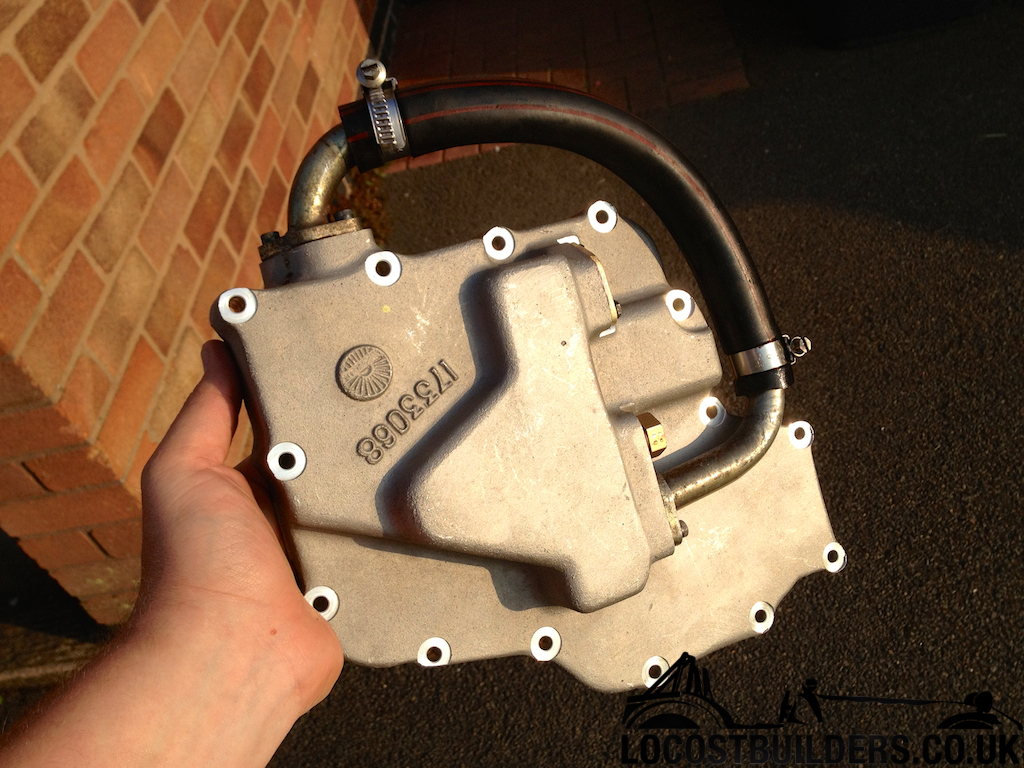
New dry sump pan from westfield at a bargain price from eBay
test run - pulled over to check for leaks, noises, leaks, leaks, leaks, noises - but there were none (note - air box mike)
that is all
[Edited on 13/6/12 by yellowcab]
yellowcab - 15/6/12 at 10:57 PM
So after meeting Mike (the god) at Stoneleigh, he advised me to scrap the air box construction idea considering there was a much simpler way of
sorting my induction noise out... fit a standard Busa air box, so I did 
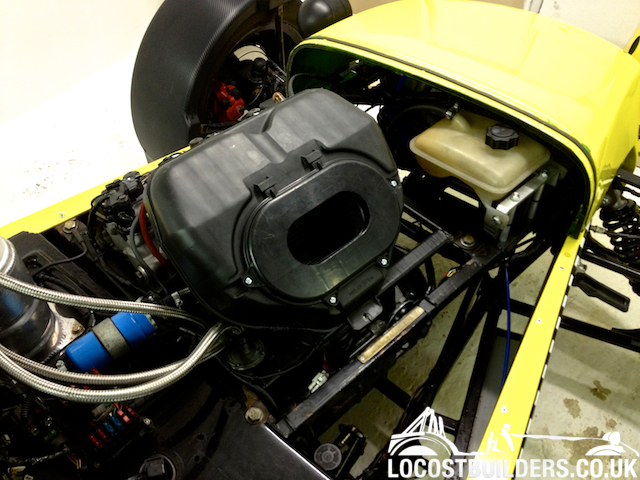
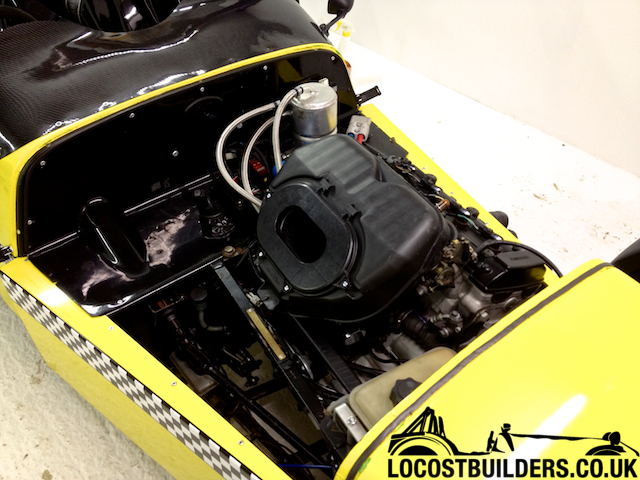
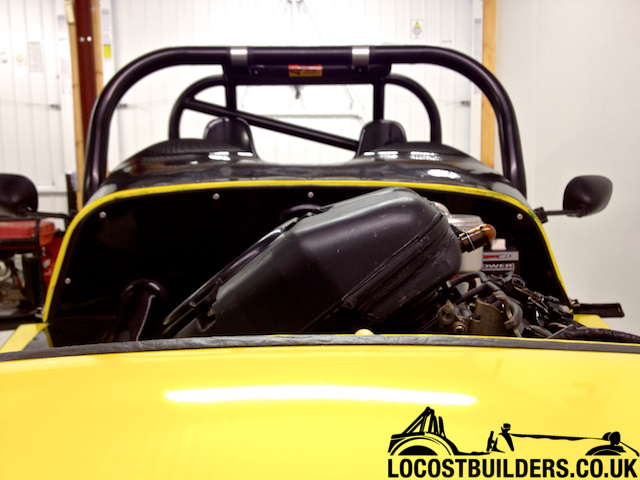
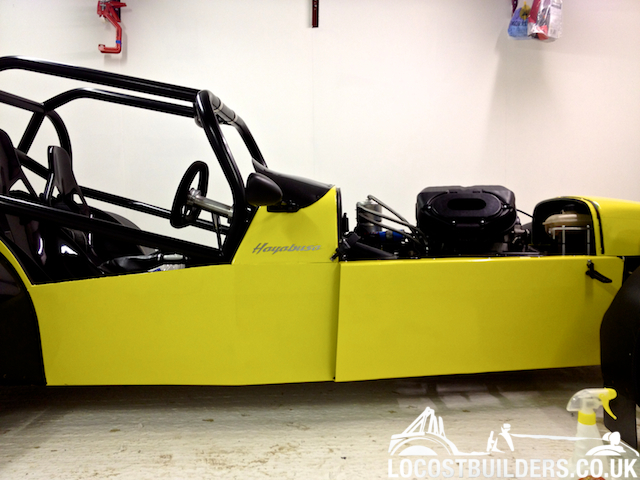
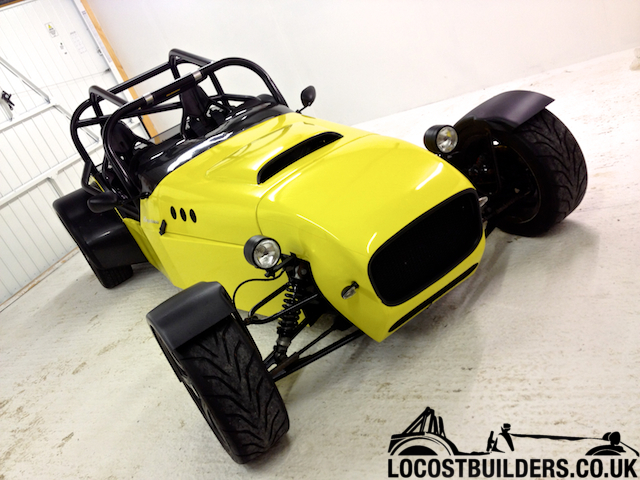
Finished the final de-taxi'ing of the car now, some might have liked the decals, I personally didn't, so yay - I'm "just another
yellow kit car" now
[Edited on 15/6/12 by yellowcab]
cosmick - 16/6/12 at 09:55 AM
The car is starting to look really good now and slowly ironing out all the little niggles. One point to share is the airbox is not Hayabusa but GSX R
with the same diameter intake rubbers. Cheaper to buy and same volume. Get the intake hooked up to the air scoop and have some ram effect next. Have
you done the clutch pedal mod yet?
[Edited on 16/6/12 by cosmick]
yellowcab - 16/6/12 at 10:16 AM
Thanks Micky Blue Eyes... the car is 'slowly' getting to where I want it to be...
Pedal is on the agenda - along with some long awaited track days!
perksy - 16/6/12 at 03:51 PM
That looks very nice indeed 
and so much better without the stripes imho
Gti6boy - 16/6/12 at 04:32 PM
I love your car so much 
I just purchased the same but chopped down the brackets to as small as they could go. The passenger side was cut 10mm bigger as I had the same
problem
yellowcab - 16/6/12 at 04:51 PM
Ahhh you're much posher than me with your proper brackets! lol
yellowcab - 21/6/12 at 06:26 AM
Finally after owning the car for 11 weeks, I've booked the first 'track' day
Off to RAF Barkston Heath on Saturday for their Autotest/ Slalom/ Drift day at an airfield, which is perfect for what I want in practising in the car,
and getting it setup to how I want.
I'd only get black-flagged at Donington for 'testing' / pushing limits, and the boys in blue seem also to have a problem if you do it
on the road - so seems ideal.
Myself, a friend in his drift MX5 and Col 'ReMan' are all going up to get wet! wahooo
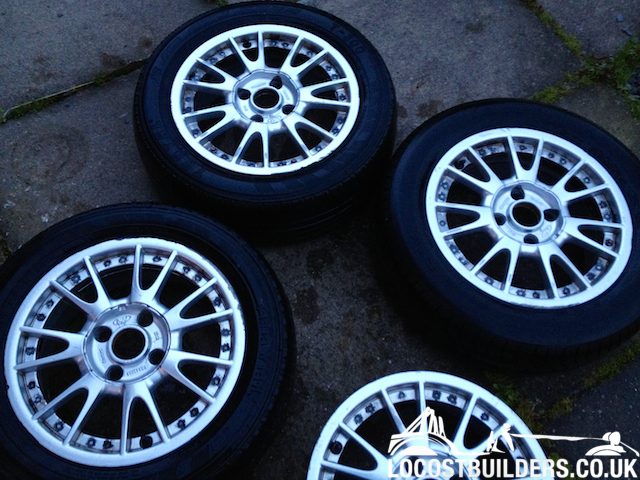
So I managed to find some crabby wheels with tyres to stick on the rear for hooning around as I don't want to send my R888s up in smoke, it was a
gamble as I didn't actually know what setup was on the car already... so bought these Borbets for £30 with 3 tyres
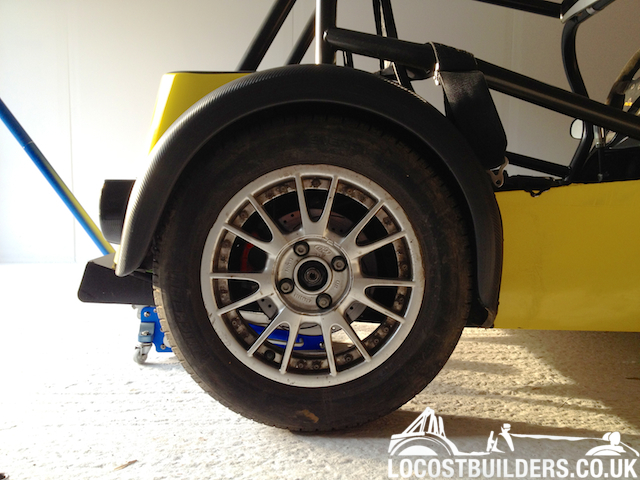
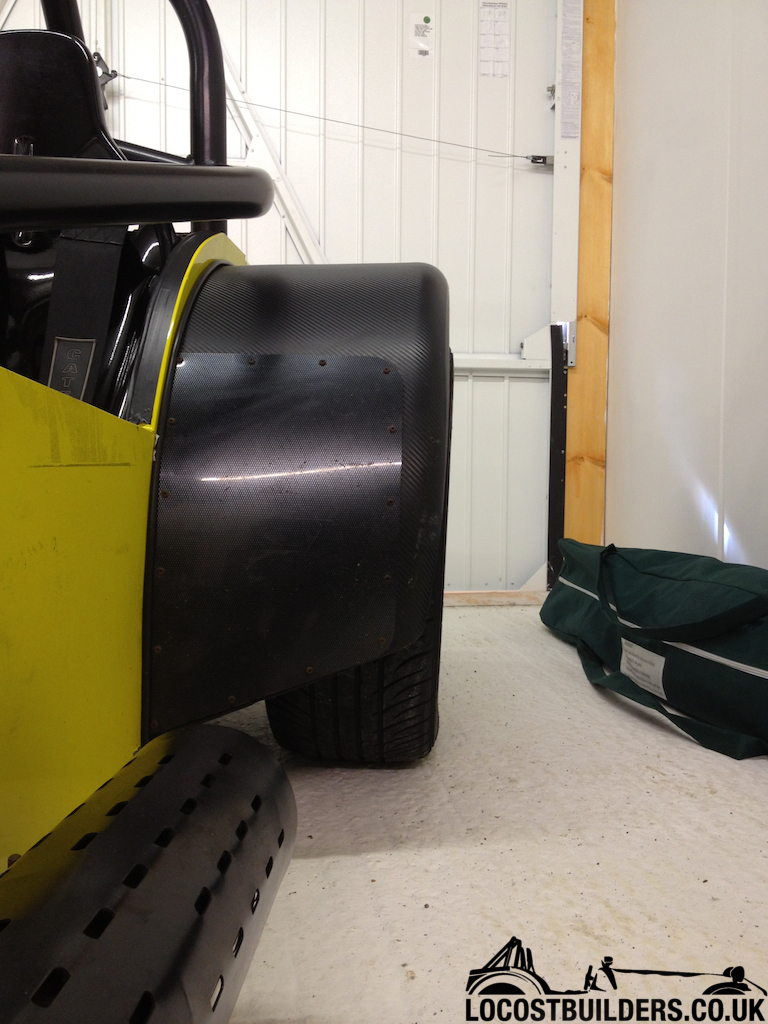
They fit, so thats a bonus, but only on the rear - the front cycle wings are so tight around the 195-50-15 tyres at the front, that these 195-60-15
tyres foul - that doesn't matter, just means that I will run crappy tyres to trash on the rear
Fit OK, 4x10⁸ stud pattern, ET40, 6J 15
Gave them a clean up - and getting one tyre removed, and putting my Maxi Tarmac rally tyres on two of them for when I want some rear wheel grip lol
Also bought a Go-Pro HD Hero2 Motorsport Edition camera, and then got ripped off by having to buy a roll cage mount lol - so I'll have some
footage of me not being able to to drive lol
ReMan - 21/6/12 at 07:15 AM
I signed up on the undersrtanding that the sun would be shining 
yellowcab - 21/6/12 at 07:25 AM
Girl !
yellowcab - 23/6/12 at 08:50 PM
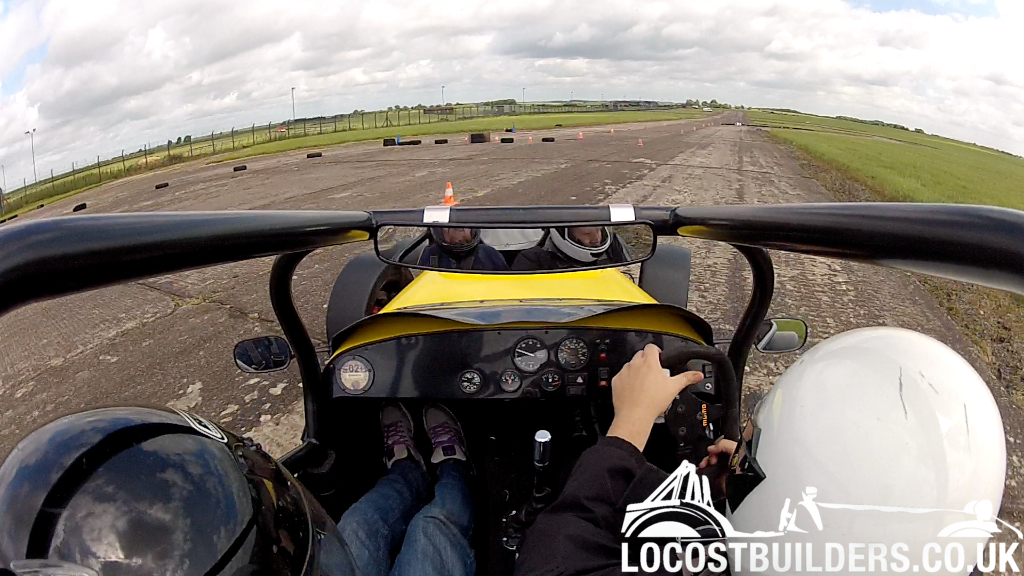
Holding a drift/ slide, arse hanging left, we were travelling left also towards the blue cone on the left hand side of the photo
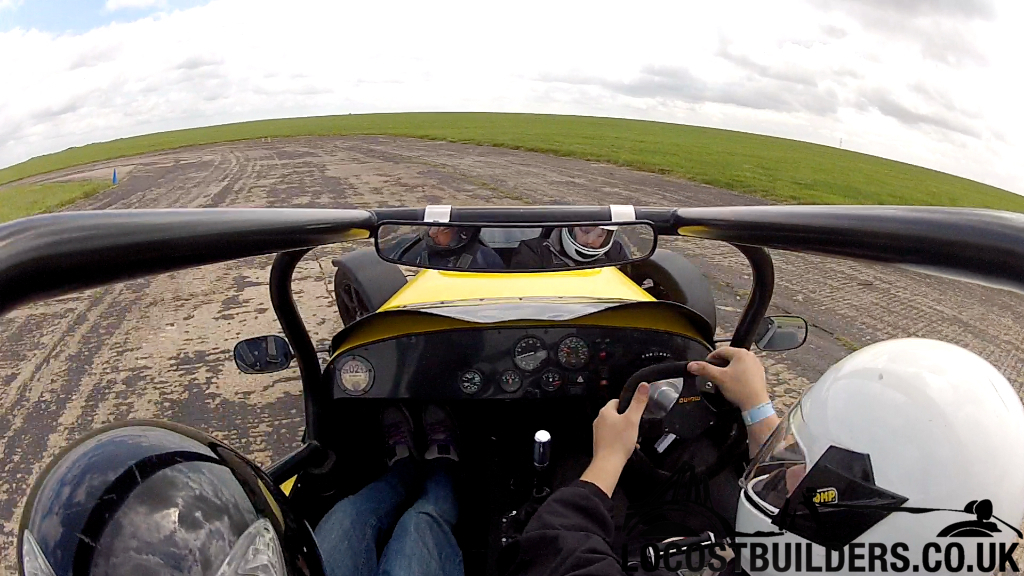
Hanging back down the main straight
[Edited on 23/6/12 by yellowcab]
cosmick - 23/6/12 at 09:07 PM
Glad to see you have finally been able to drive the car in anger where you can experience the true performance of a Hayabusa powered car. It looked
like a lot of fun.
yellowcab - 23/6/12 at 09:27 PM
Me & ReMan on the way there, filling up...
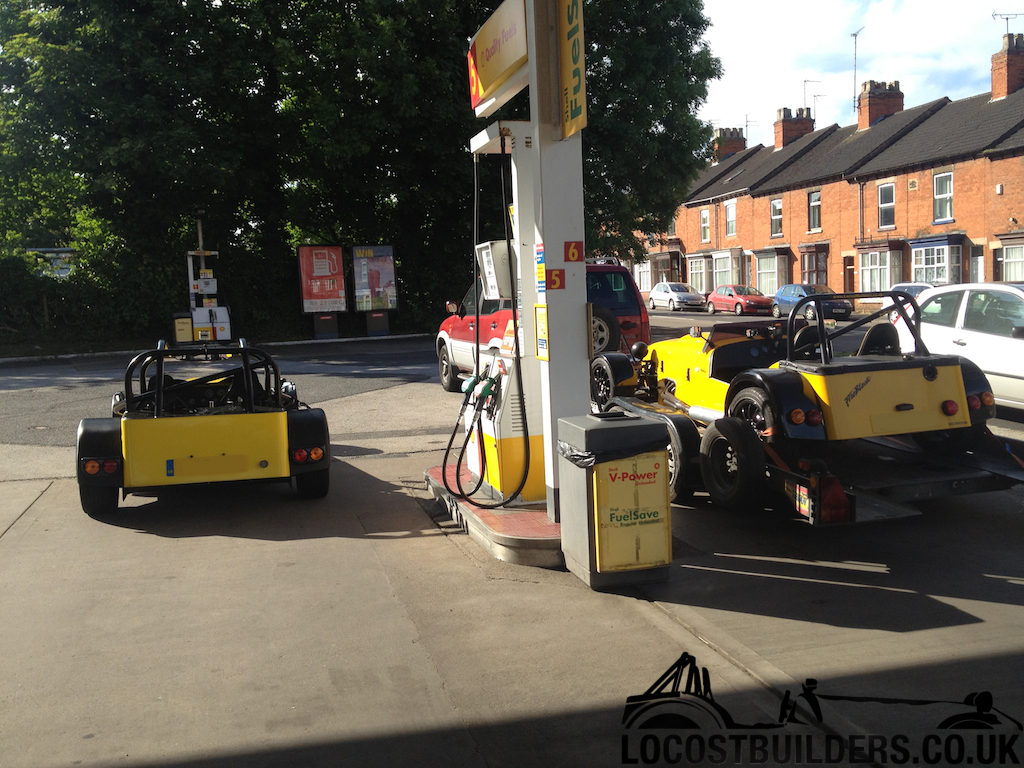
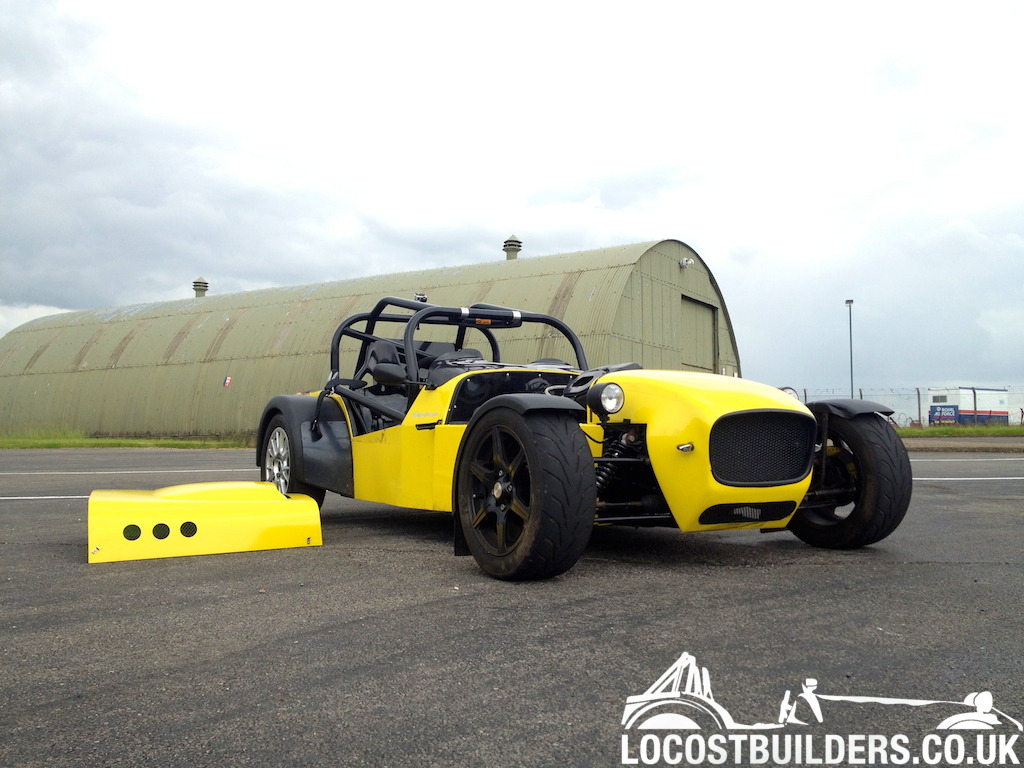
bahhh broke it again, but fixed it
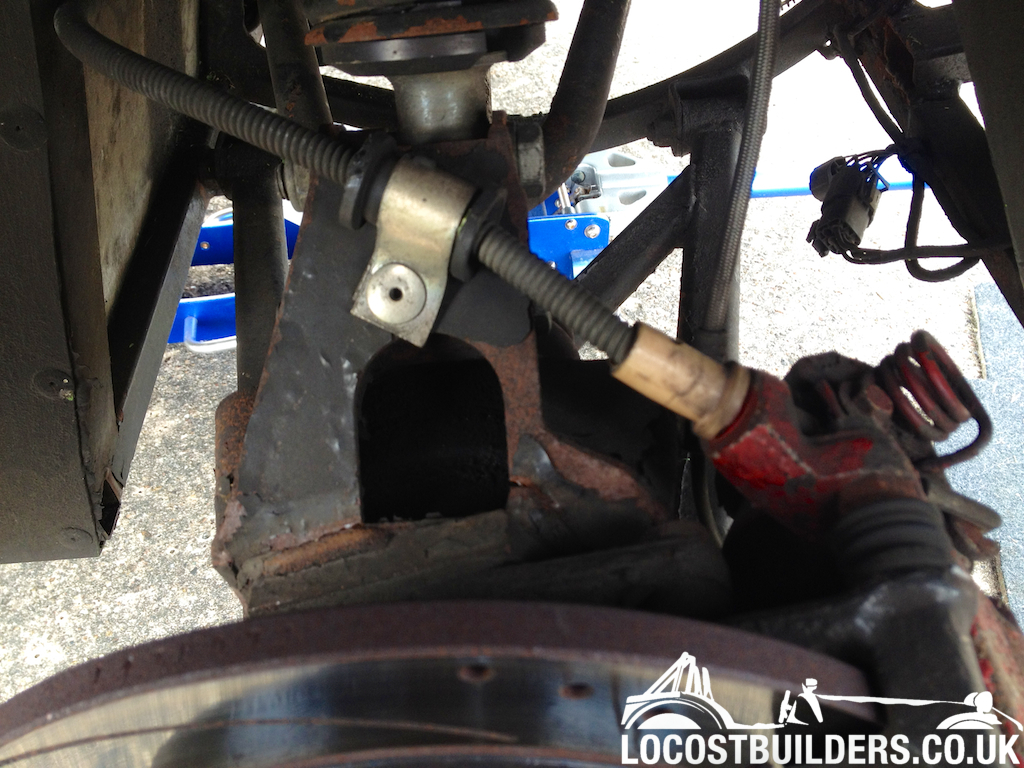
seems the previous owner had hit the bottom of the rear near side wheel, causing the upright to fracture giving me major positive camber on the
nearside, and the correct negative camber on the offside... does anyone know where I can get a replacement rear upright?
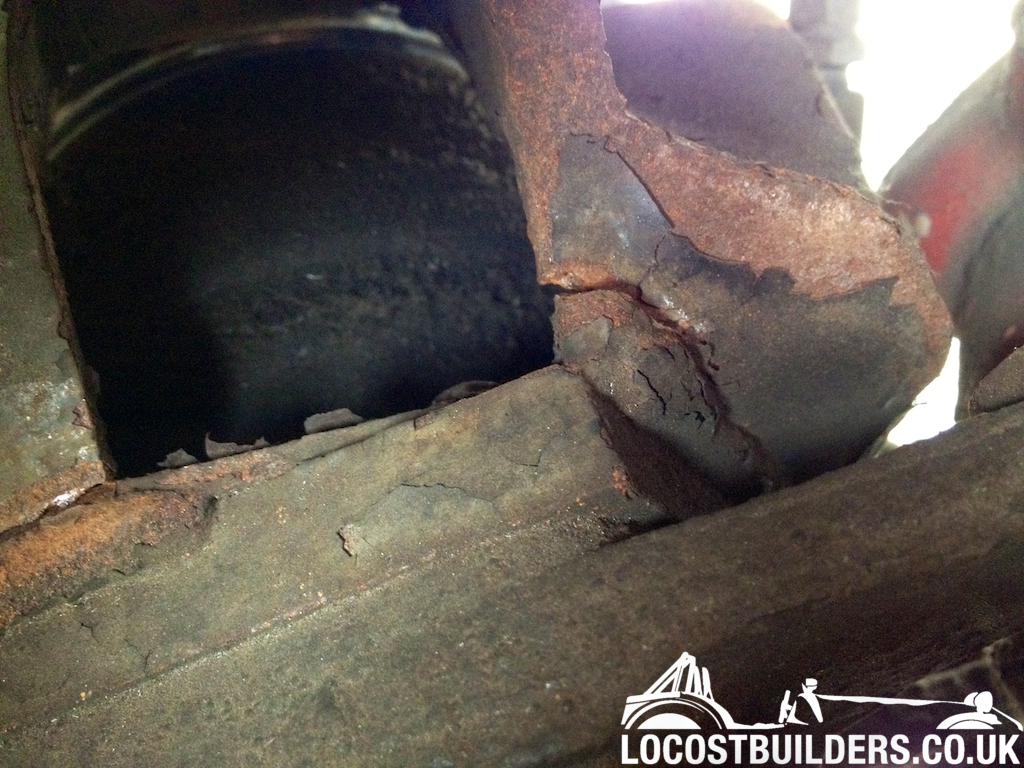
[Edited on 23/6/12 by yellowcab]
daniel mason - 23/6/12 at 09:33 PM
Crikey! All seems pretty corroded back there. Have you stripped it down and had a deeper look
yellowcab - 23/6/12 at 09:43 PM
Not yet - only got home about 2 hours ago lol
Video is now live: http://www.youtube.com/watch?v=ddflS7W_tAk&feature=youtu.be
Enjoy 
yellowcab - 23/6/12 at 10:16 PM
One handed sprint video...
PS: no, I didn't like the way the white apex pole looked at me 54s lol
http://www.youtube.com/watch?v=ffczZKGhFyQ&feature=youtu.be
yellowcab - 24/6/12 at 11:43 PM
So, it seems that the fracture in my rear upright may have already been there - but the trackday on Saturday certainly worsened it, I had a mooch back
through some old photos - this is what I found...
The day I bought it in January
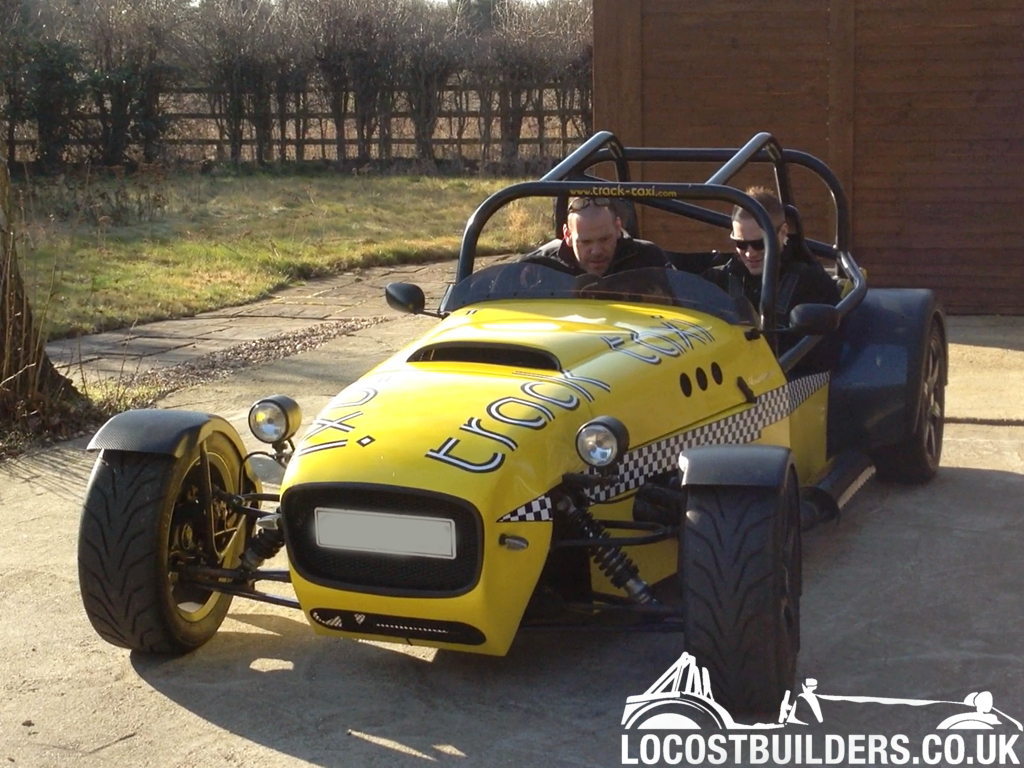
About 4 weeks ago
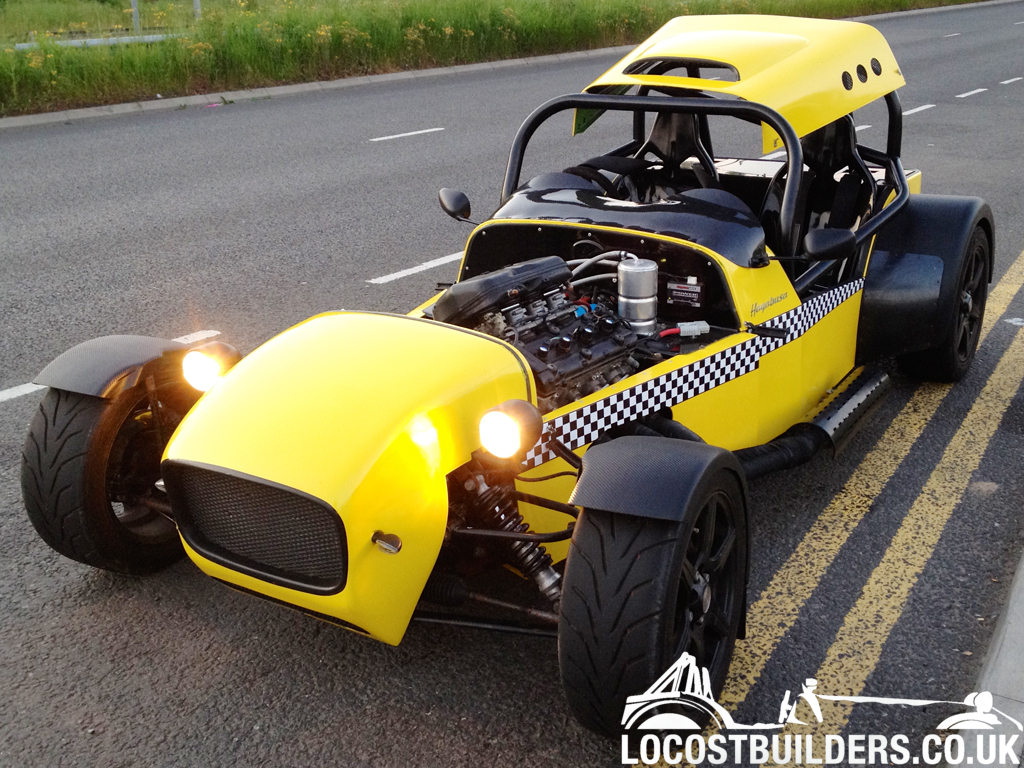
Weekend before last...
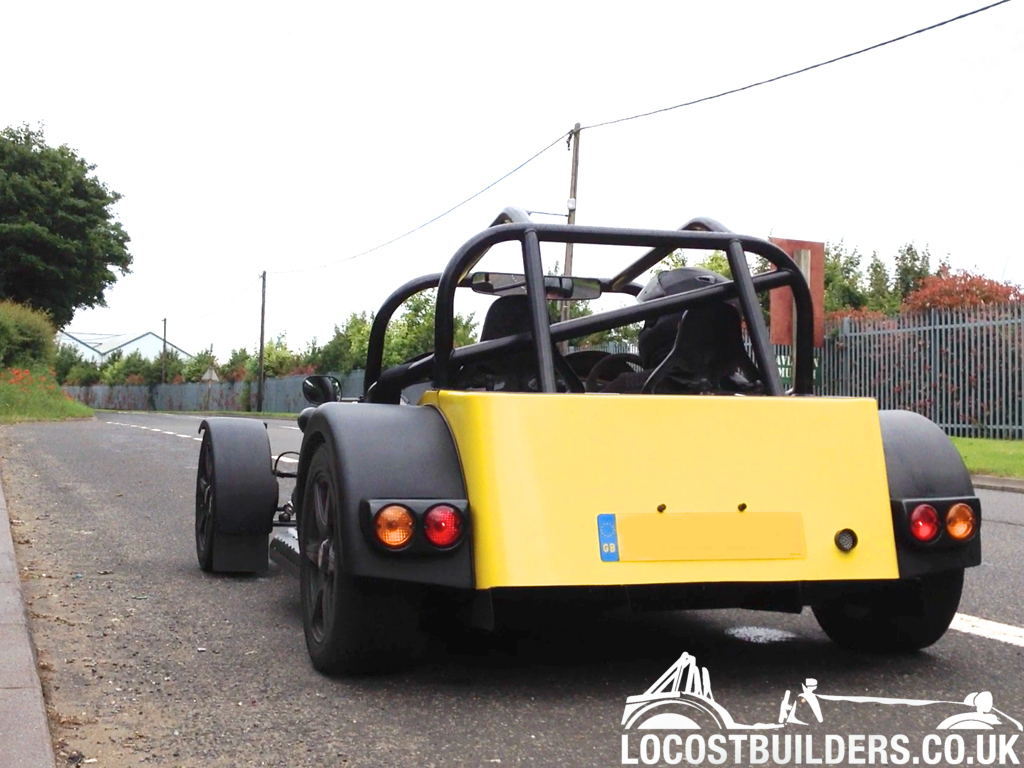
Noticed positive camber at the rear at the track day on Saturday and found these fractures
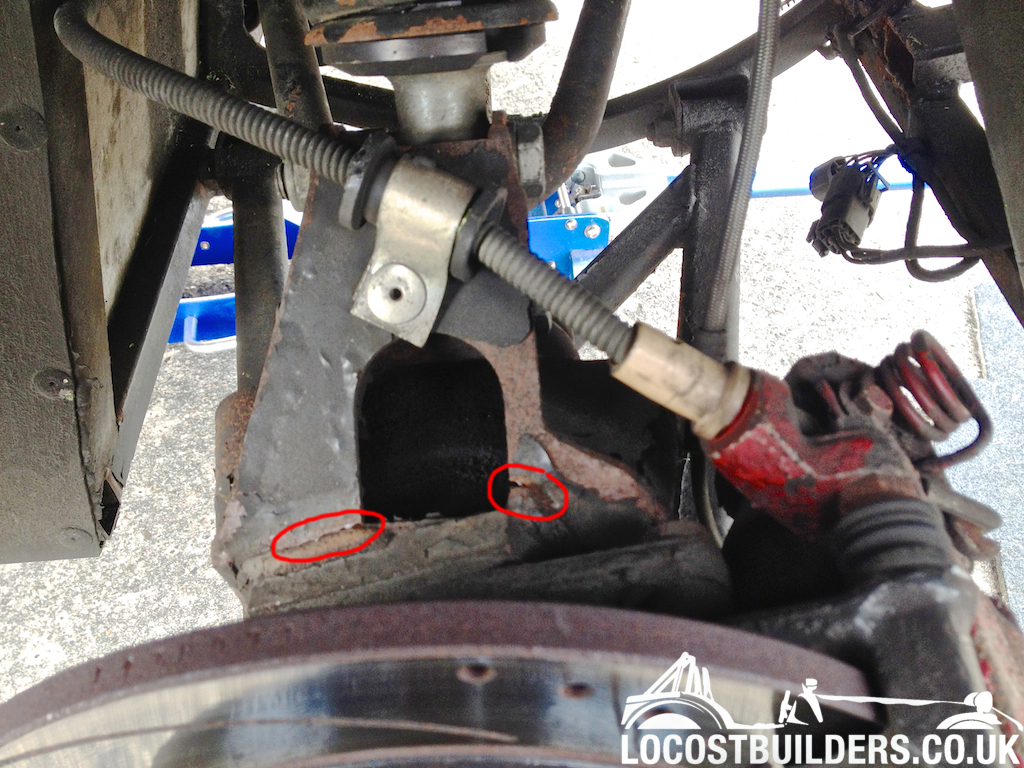
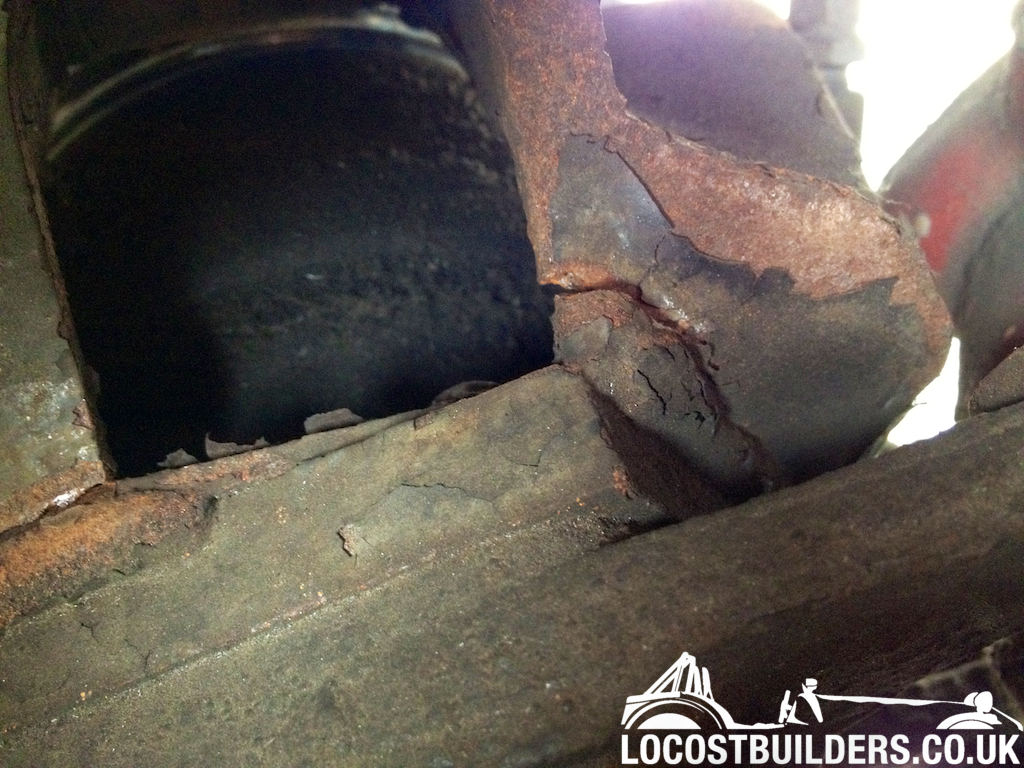
Saturday evening, arriving home after track day
This evening, after tinkering with the car
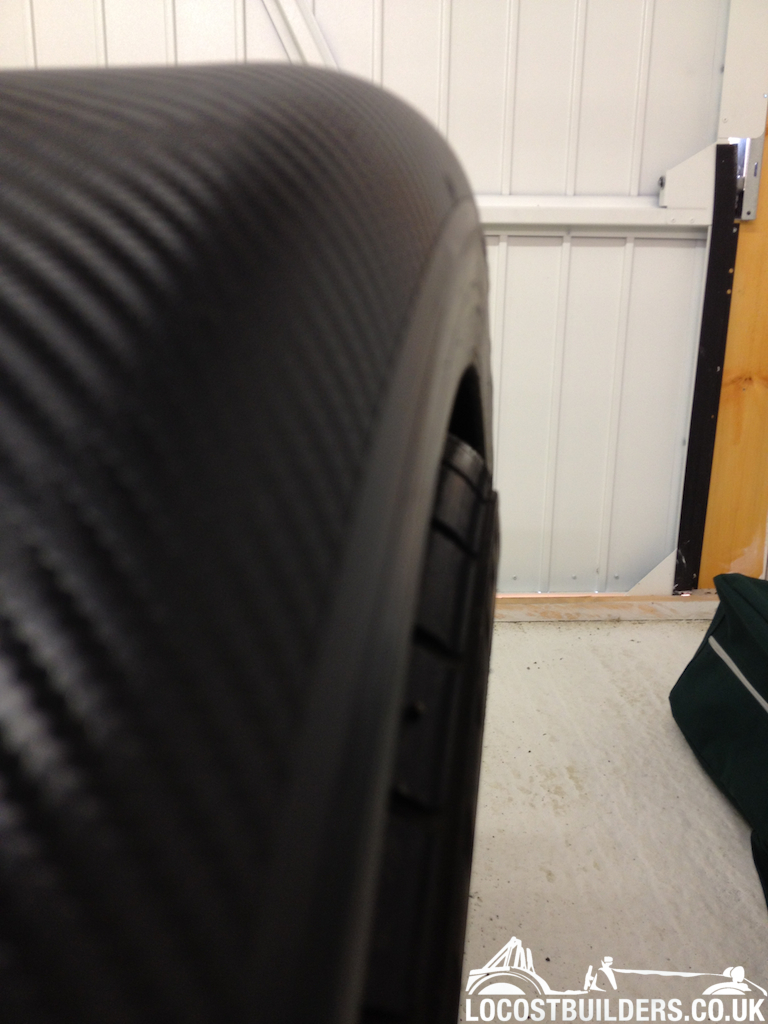
My guess of +postive 2deg camber wasn't far out:
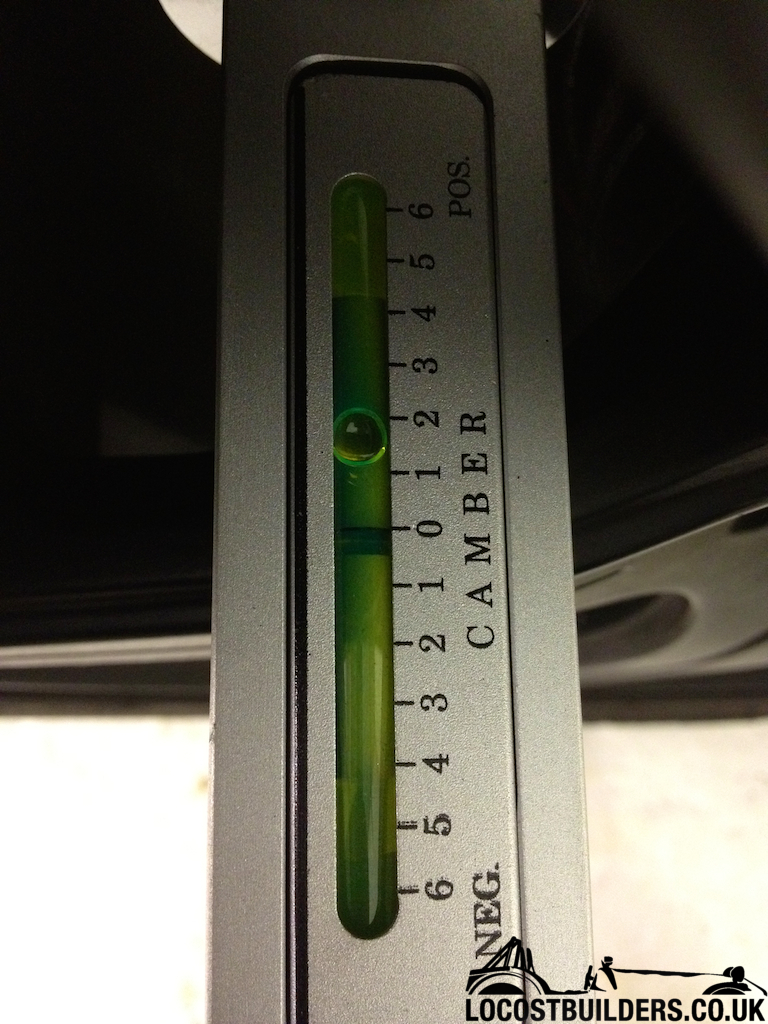
Offside rear looks fine, as it should, nicely tucked under
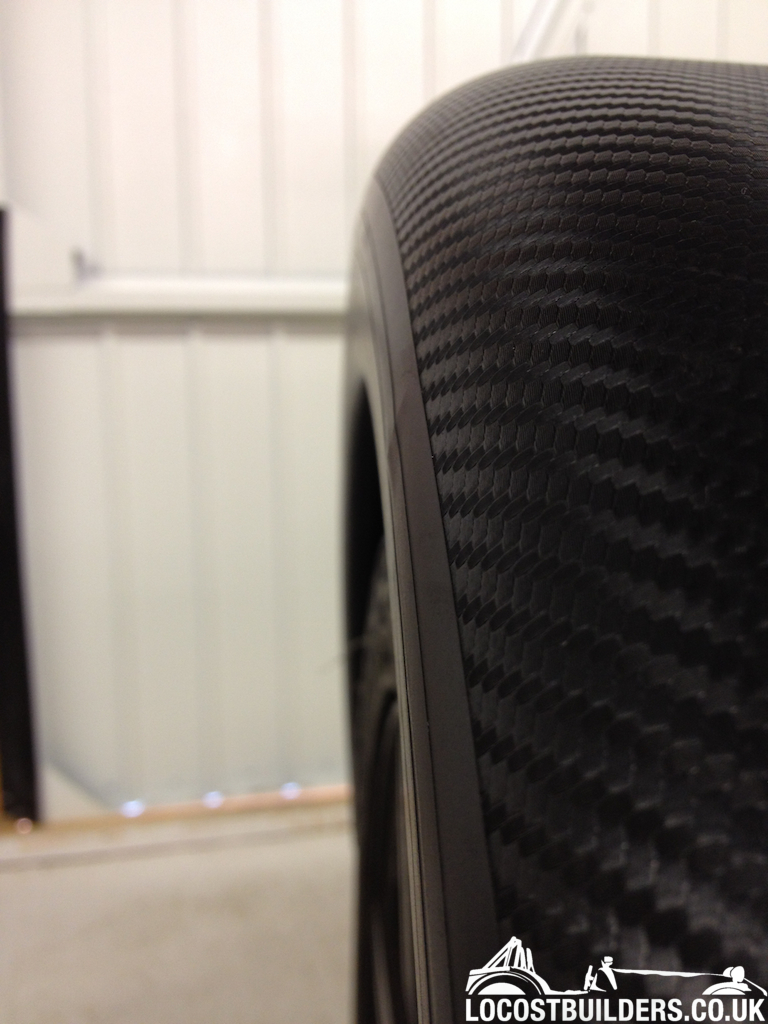
neg 1.5degrees of camber, cool
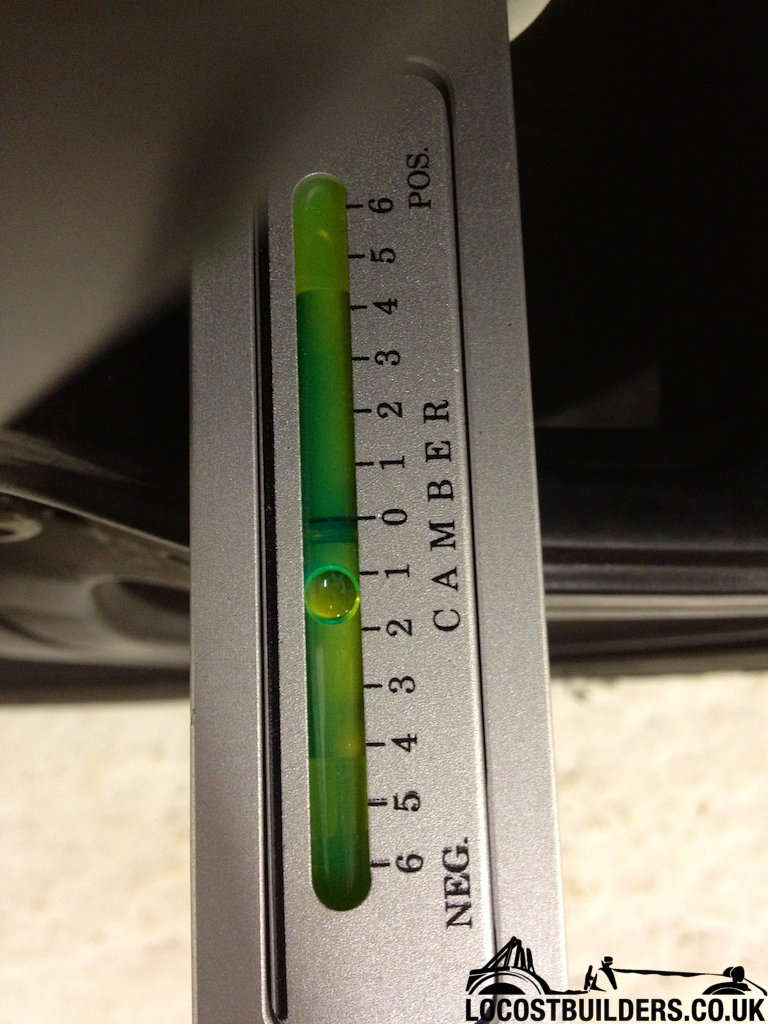
The rough surface, bumps, drifting has obviously made it more apparent, and we spotted it before it did any real damage.
yellowcab - 24/6/12 at 11:50 PM
So on with tonights other activities, I took some bits of and had a bit of a tidy up
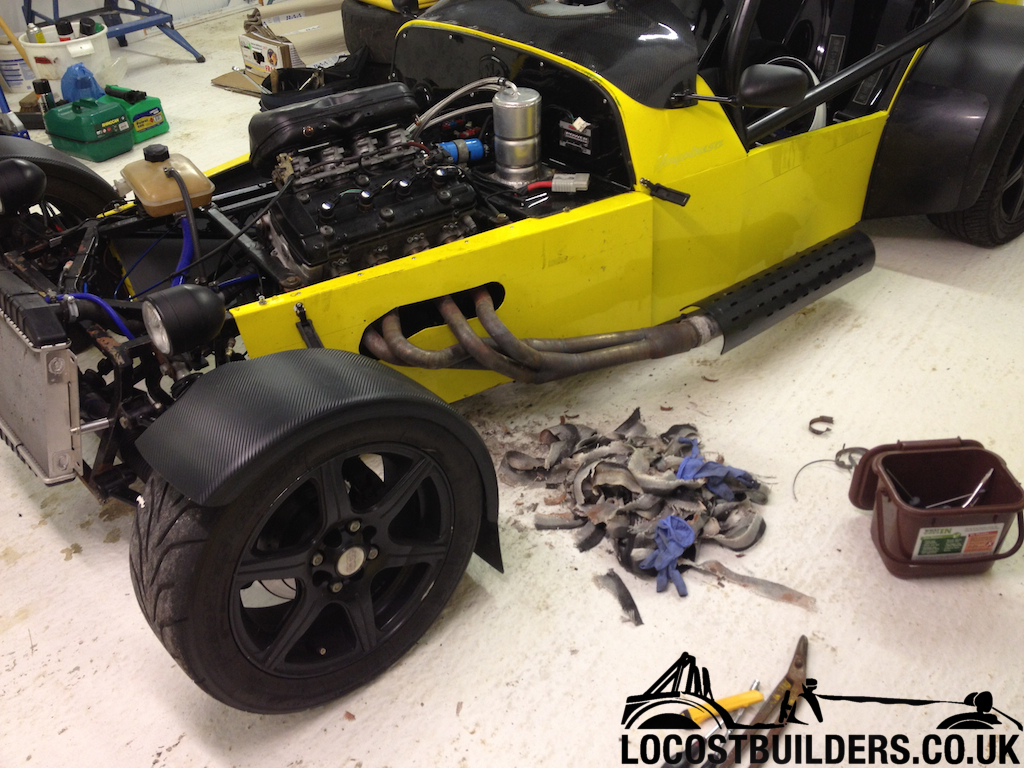
The manifold heat wrap got torn on Saturday, so I decided to take it all off
Where the wrap was being held on the primaries right near the head with jubilee clips, I noticed that it wouldn't slide down the primary to
outside the car, as it was hitting something
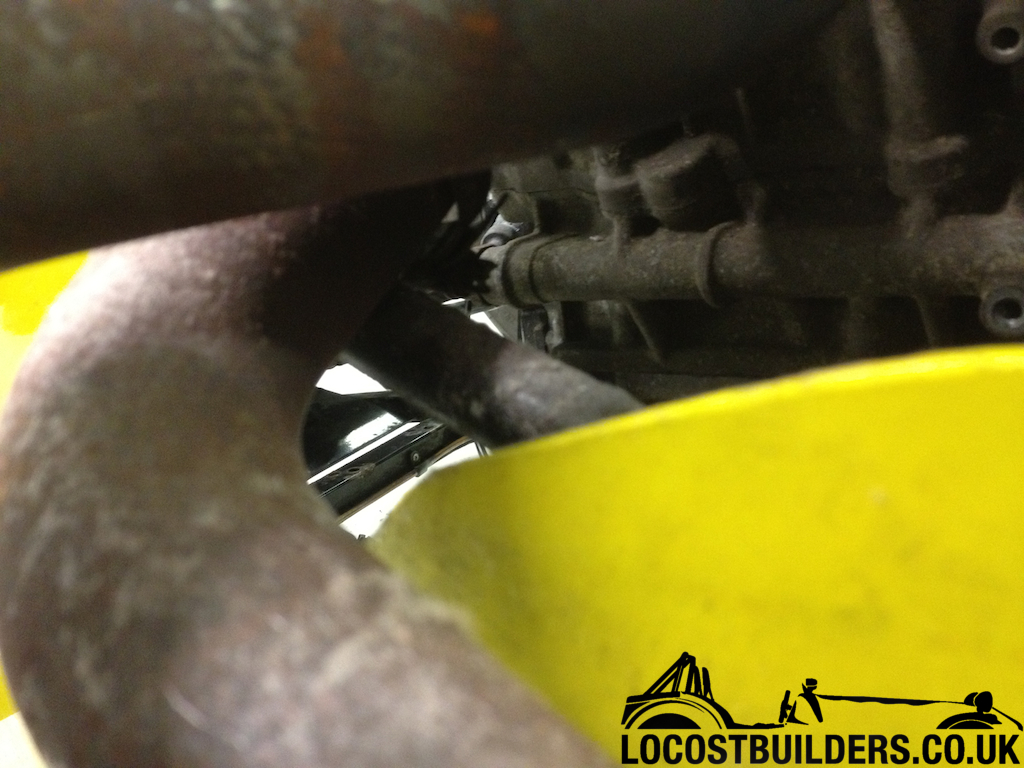
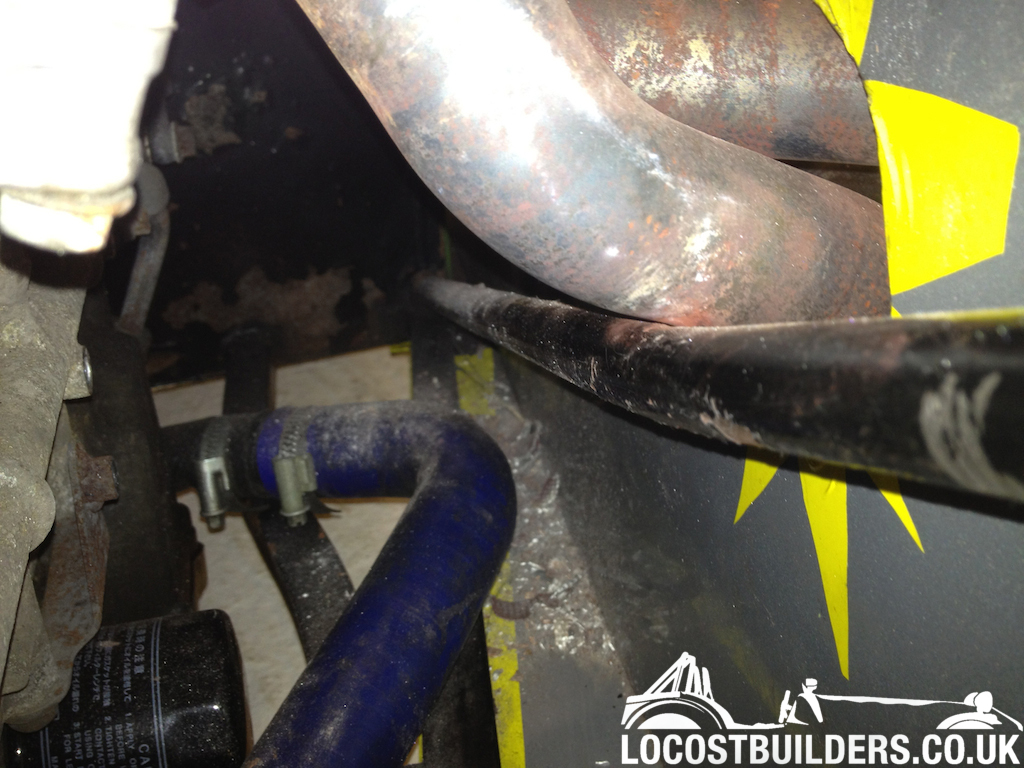
Popped the camera inside to see that the triangulation bar is bent and is rest on the manifold primary - this is probably what the resonation through
the car is, or would you not think such a think could cause vibration? either way - I don't like it, any ideas of how I can correct it?
Meanwhile, I spat on her, and gave her a wipe
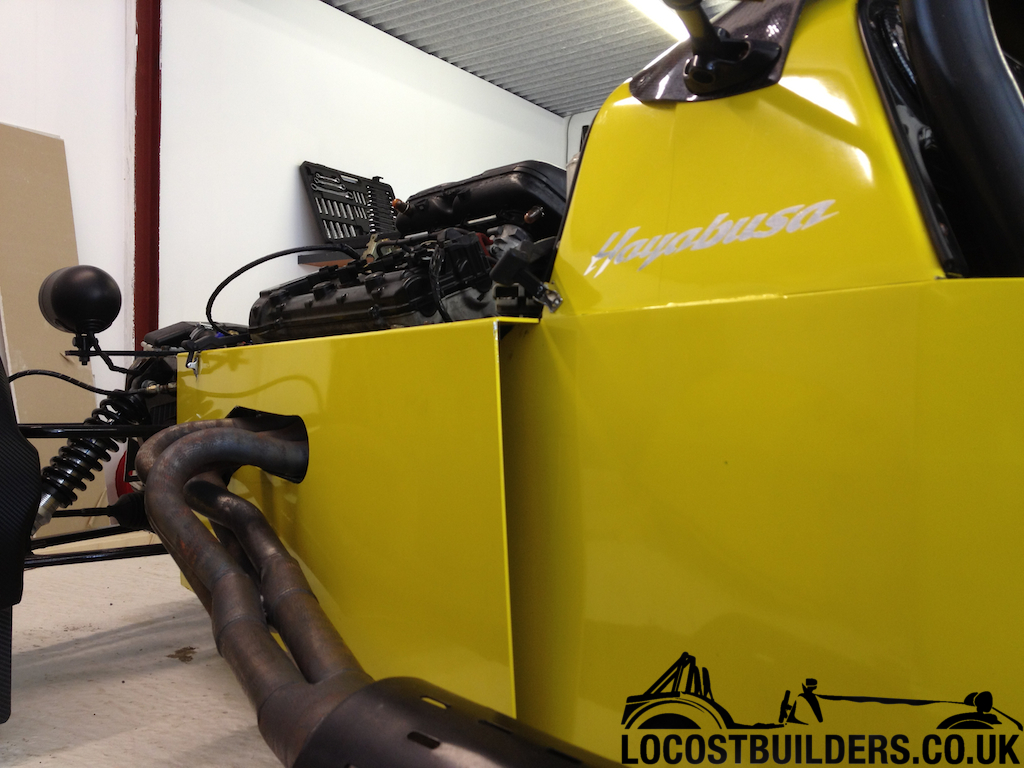
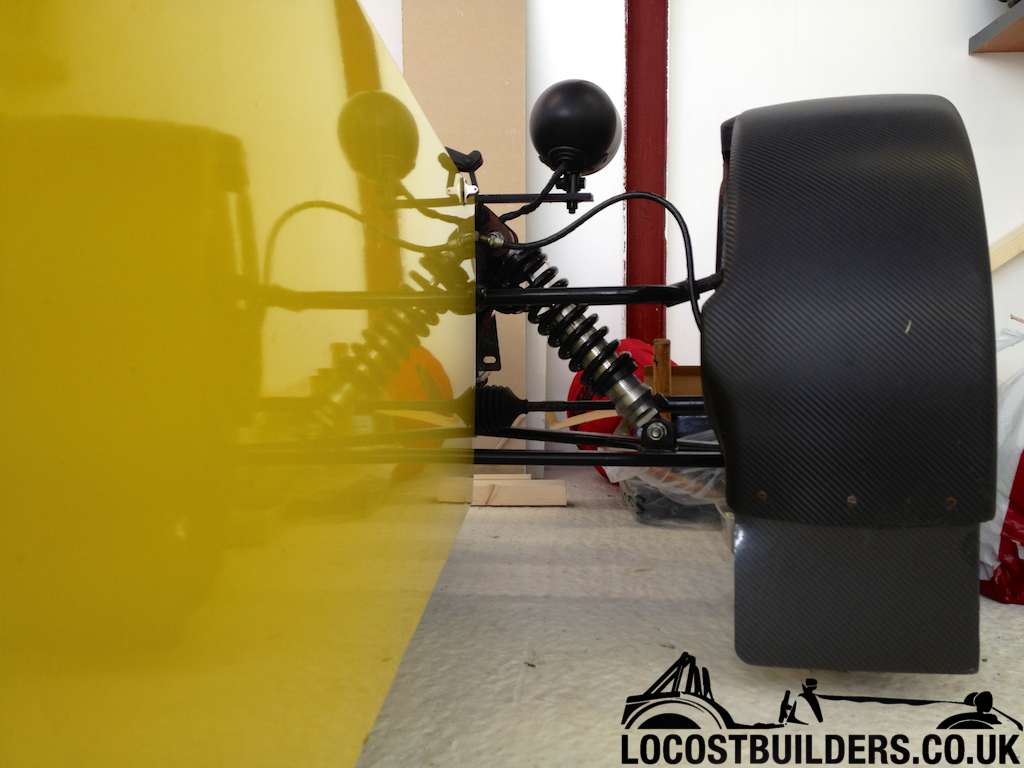
[Edited on 25/6/12 by yellowcab]
yellowcab - 25/6/12 at 12:02 AM
Got chatting to a Caterham owner who was particularly fast and well planted around the Sprint circuit, and just by eye he said the rake of my car was
definitely out... I think I remember him saying that the rear of the car should be circa 25mm higher than the front?
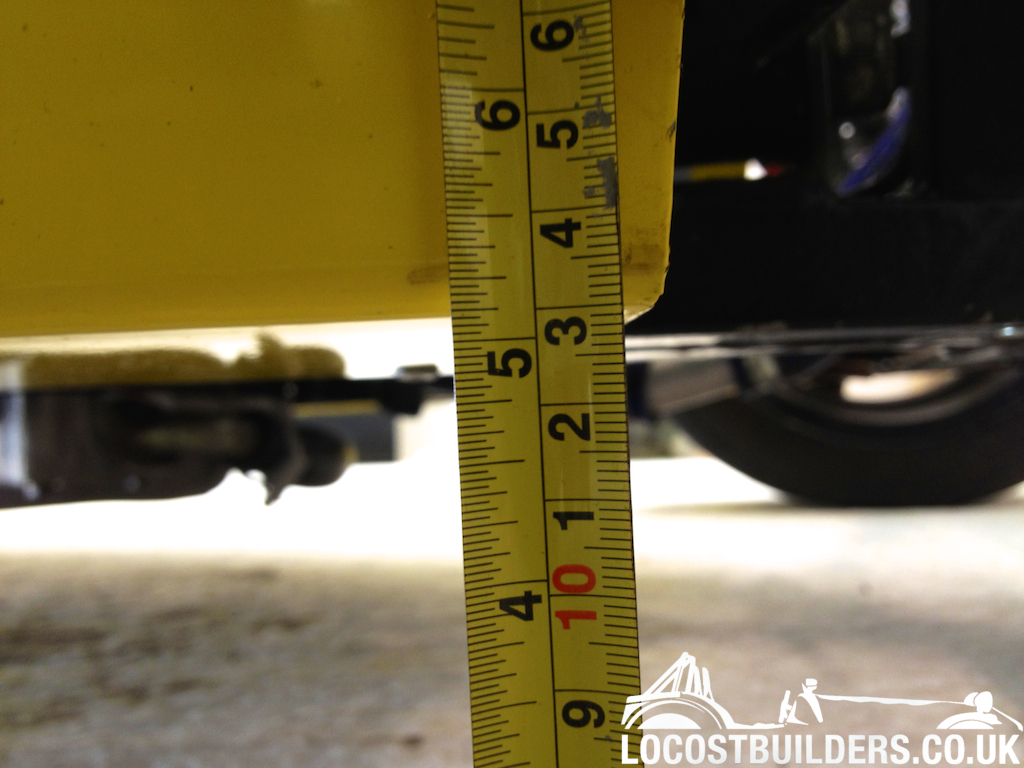
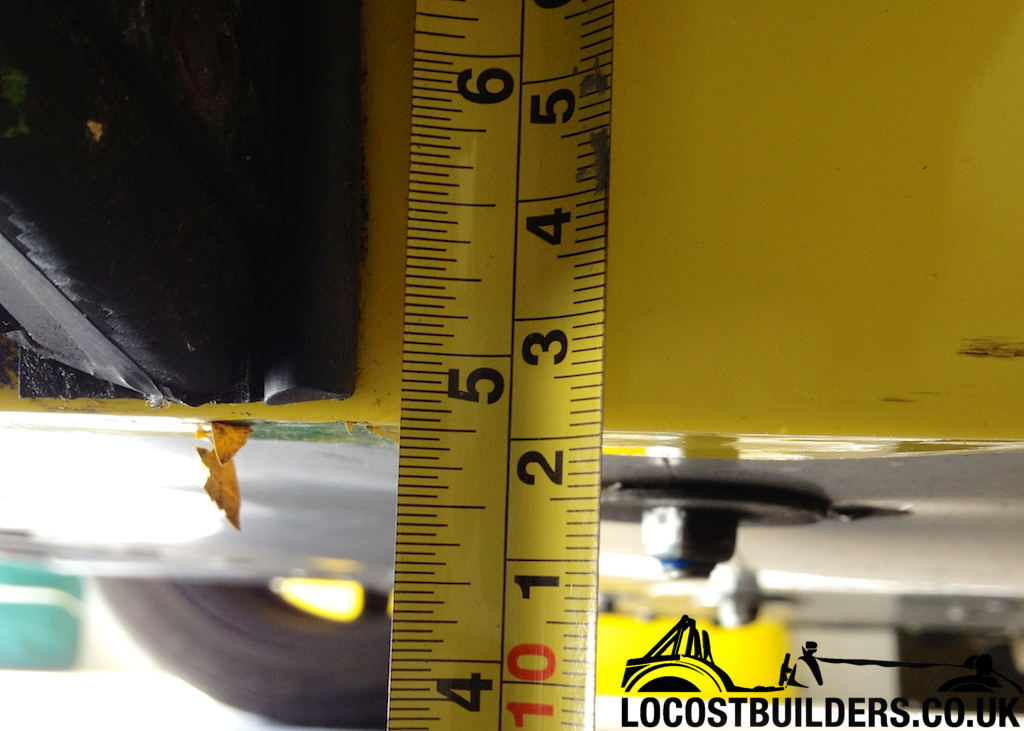
So tonight I measured the corner of the chassis
Drivers front, 130mm from the ground:
Drivers rear, 121mm from the ground
Passenger rear, 118mm from the ground
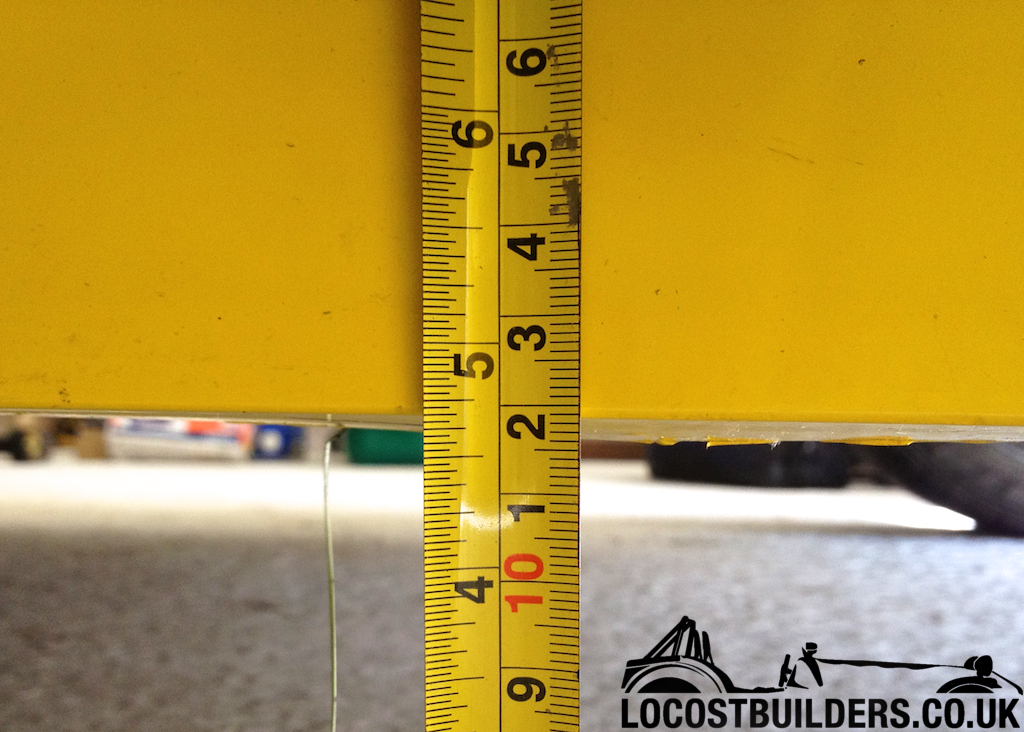
Passenger front, 122mm from the ground
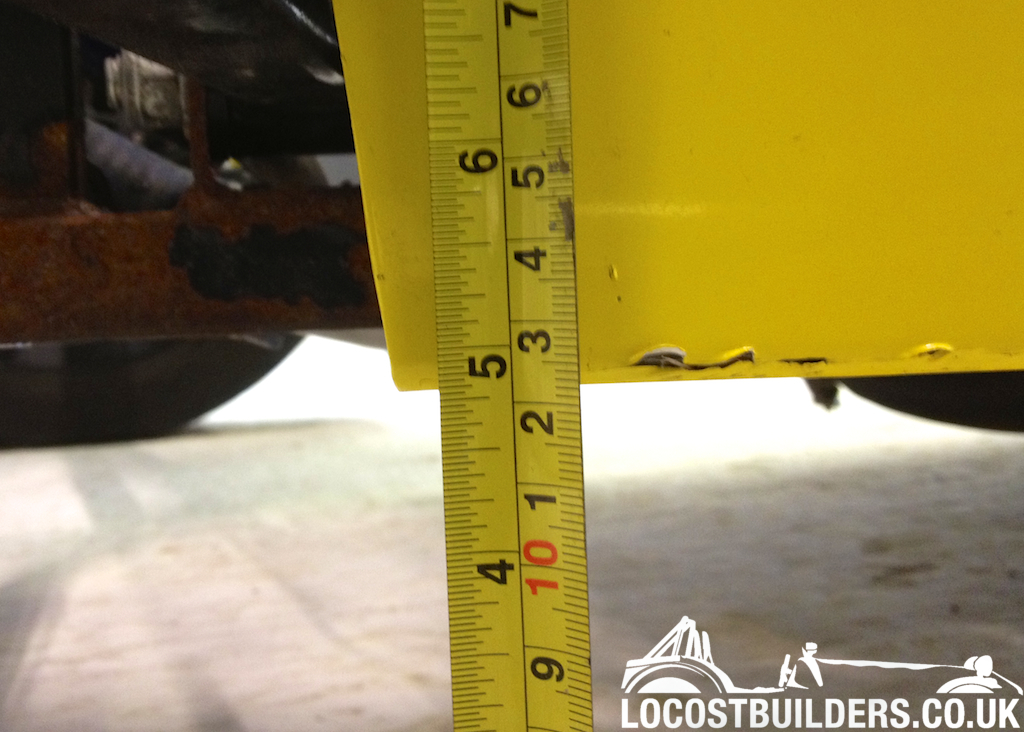
So all in all, my rear is lower than the front by 12mm at maximum, and 9mm at minimum.
Would anyone mind measure theirs for me please? so I know whether just to raise the rear, or to raise the front aswell?
I appreciate wheel & tyre sizes play a part in height from the ground, but its more the difference between front and rear that I'd like...
for reference I'm on 15" wheels, with 205/50/15 tyres.
Thank you in advance for anyone willing to do this for me.
For how skittish the car was on Saturday, not surprised given the factors so far - but going one further, the car currently has 450 lb springs on
each corner, front and rear - so I whipped off the fronts, but not sure what to put where out of what I have
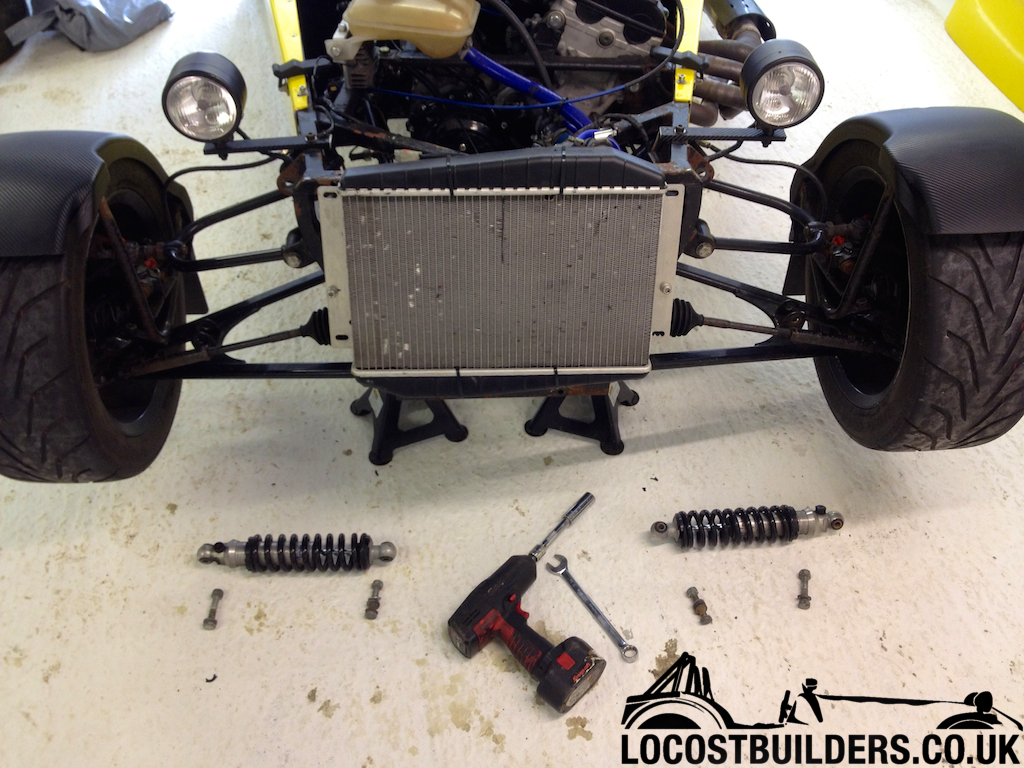
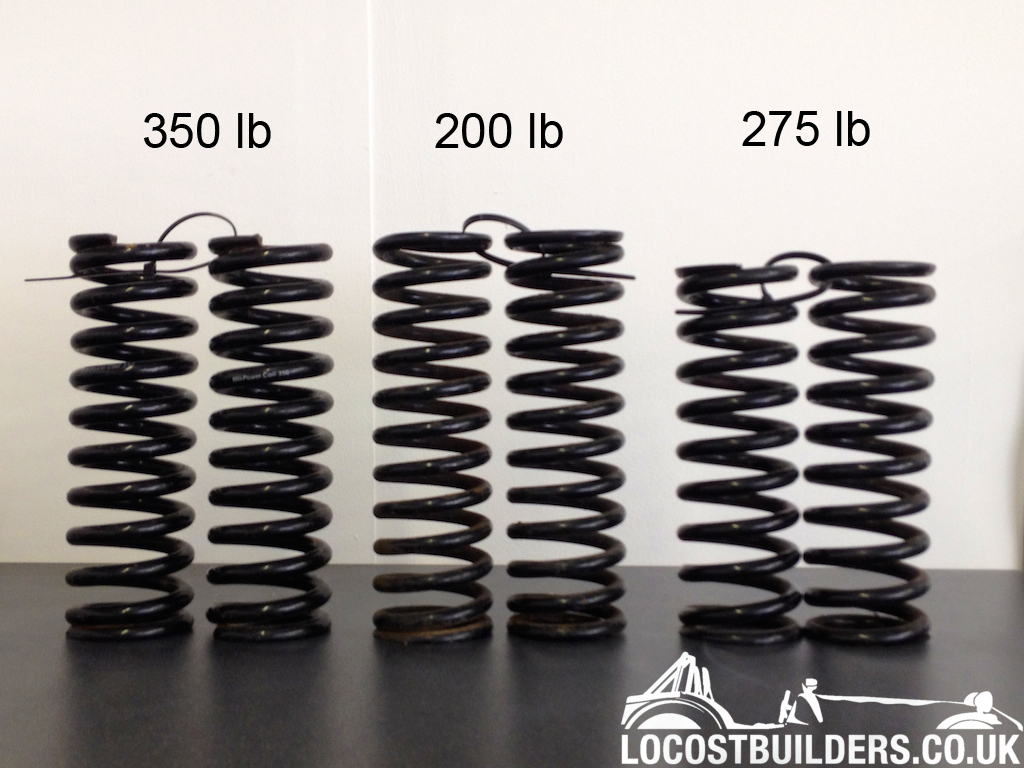
Again, any advice on what setup I should start with before my next test day, would be greatly appreciated.
I obviously have 4x 450 lb springs aswell as the above, if it helps make a decent combination
Currents:
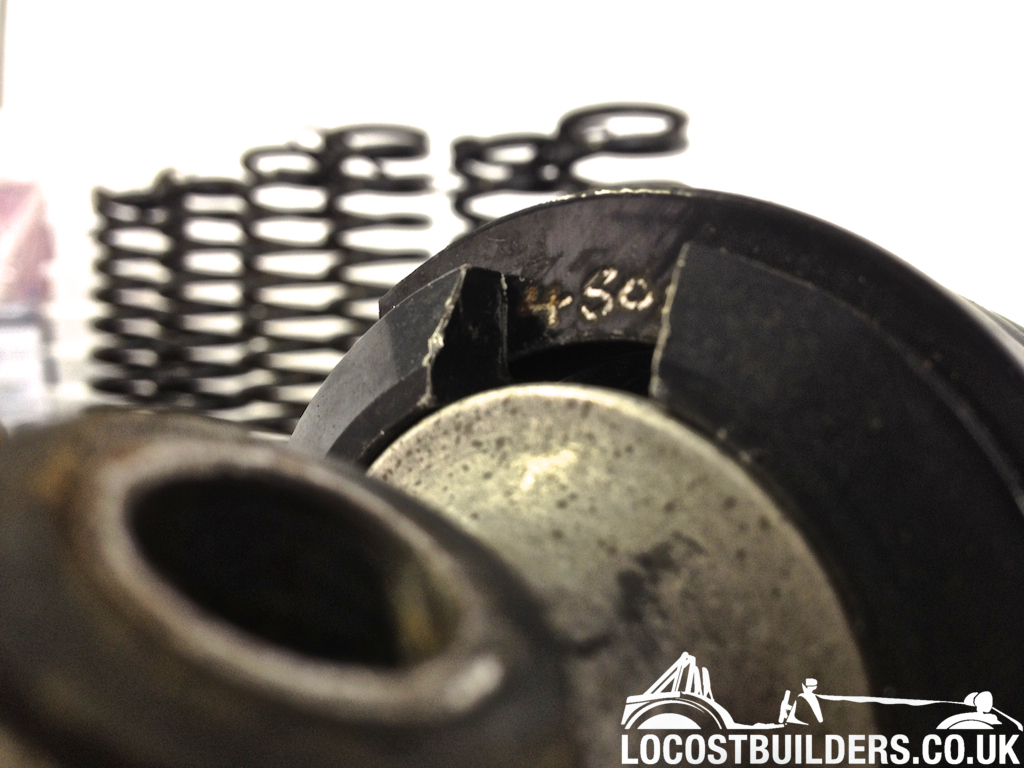
[Edited on 25/6/12 by yellowcab]
ReMan - 25/6/12 at 07:15 AM
Mines 140 rear 110 front
Of those springs, *personally* I'd go for the 275 front and 350 rear
The only think is I guess that those are 8" 275's?
which *might* put you too low at the front, you'd have to try it. I know 8 and 9 inch have been used on indy
[Edited on 25/6/12 by ReMan]
yellowcab - 25/6/12 at 07:32 AM
Yes you're correct, the 275lb springs are 8" the others are 8.5".
Damn 110 at the front is low!
My sump would almost be touching the floor of I dropped a further 20mm... However it's answered my question that your rear is 30mm high than
front respectively.
bobinspain - 25/6/12 at 07:48 AM
Factory build MK Indy Busa-R. Chassis: 115mm front, 140mm rear. 15" Wheels, Toyo 888s.
I have the billet sump with swing arm pickup.
I still need a ramp to get on/off the driveway owing to the peculiar sloping geometry, (see photo archive).
Lowest point under the car is the electric reverse.
Great job by the way and superb photographs.
[Edited on 25/6/12 by bobinspain]
Davegtst - 25/6/12 at 07:54 AM
It seems a bit strange that some MK engines are mounted lower than others. My sump is pretty much level with the lower chasis rails with the billet
sump fitted which allowed me to fit a flat panel under the entire engine bay. Re the handling have you thought about taking it to someone like
procomp who can set it up properly and advise on the best spring rates.
yellowcab - 25/6/12 at 09:44 AM
I'm not adverse to taking it somewhere for the final corner weighting as that's specialist bits of equipment, but I'm the type of
person that wants to do 99.999% of it myself through research and development, trial and error.
I'd never dream of taking it somewhere as it is without even giving it a go myself, just not in my nature, and I love nothing more than to
tinker, learn and improve.
It's how I learn, by teaching and asking questions from those with relevant experience. Rather than just throwing a blank cheque at a company and
telling them to fix it.  )
)
sdh2903 - 25/6/12 at 11:26 AM
I've just had my kit geo setup (not an indy tho) and with regards to the rake the guy suggested that 25mm was a little much. He suggested a max
of 15mm. Might help a bit with sump clearance!
yellowcab - 25/6/12 at 11:51 AM
Thanks chap.
I feel awfully nervous to lower the front end much more due to dry sump pan hanging so low.
For me to get as low as bobinspain 115mm or ReMan at 110mm it means dropping the front a further 15-20mm eeek!
Pezza - 25/6/12 at 04:40 PM
We went for 75mm clearance under the sump on our Indy, with the rear being 20mm higher than the front (measured from the lower wishbone mounts rather
than side panel, with my dad in the drivers seat)
This book came in quite handy for us.
Car felt much more stable after we set it up.
1 degree rear toe in, 0.5 degree front, 1 degree neg camber front.
ReMan - 25/6/12 at 07:53 PM
And I can lend you said book
But you knew I was going to say that did'nt you
yellowcab - 26/6/12 at 06:14 PM
Thanks for the book Col'
Went down the garage just, fitted the 275lb springs to the front, and its incredibly soft just pushing on the front of the car, the sump isn't
far from the floor!
Does this sound right? Going to put the 350lb at the back, and see how it feels on the road...
yellowcab - 26/6/12 at 11:20 PM
So went down the garage for an hour this evening, here are the front legs back on, couldn't preload the springs any more than this without a
C-spanner, so I did them this much by hand...
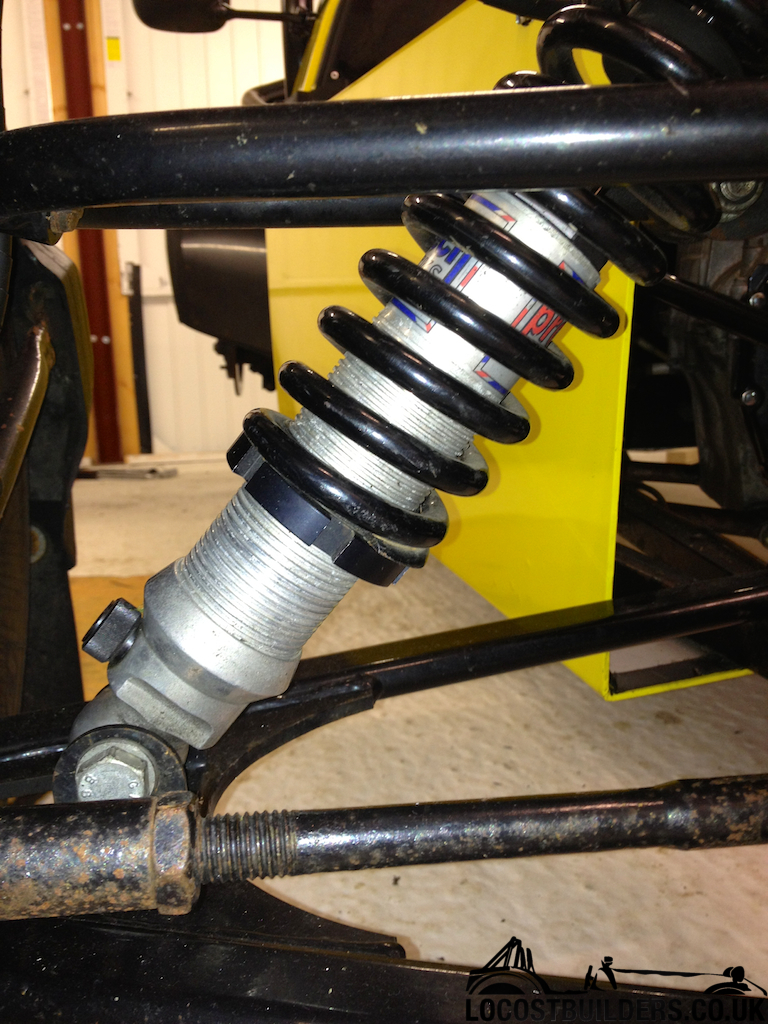
So my attention turned to the rear setup, someone earlier in the thread asked for a photo of the rear without the wheel on, can't remember why,
but here it is anyway:
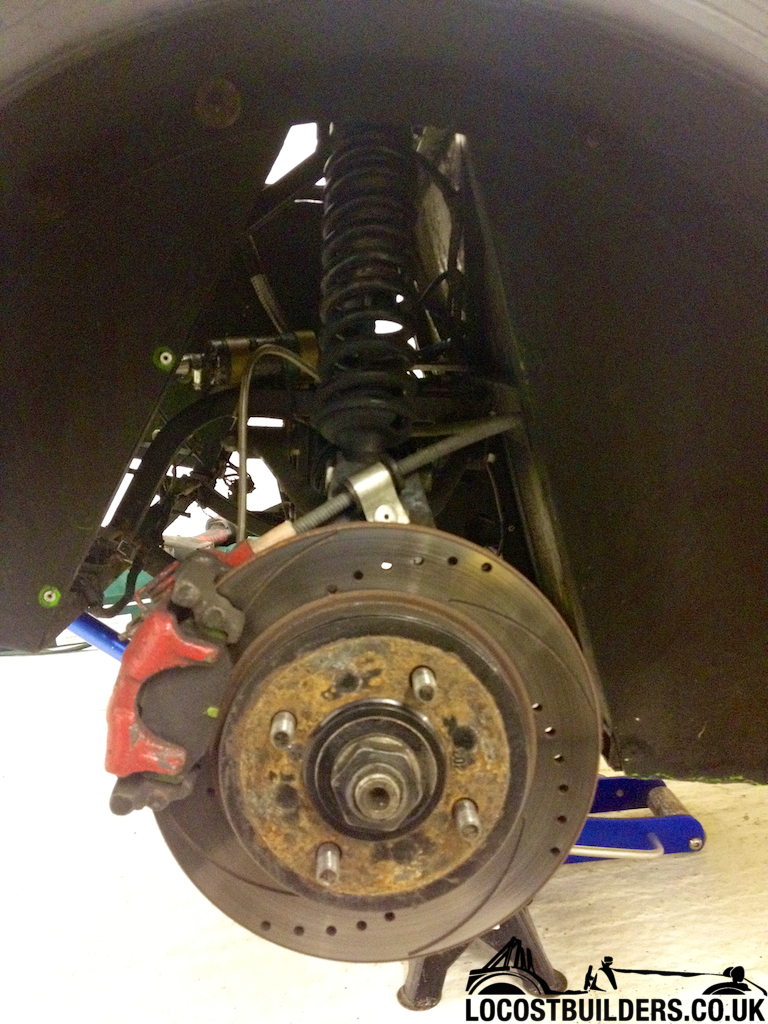
Rear shock absorbers mounted upside down, previous owner told me it was because you could adjust them easier... 
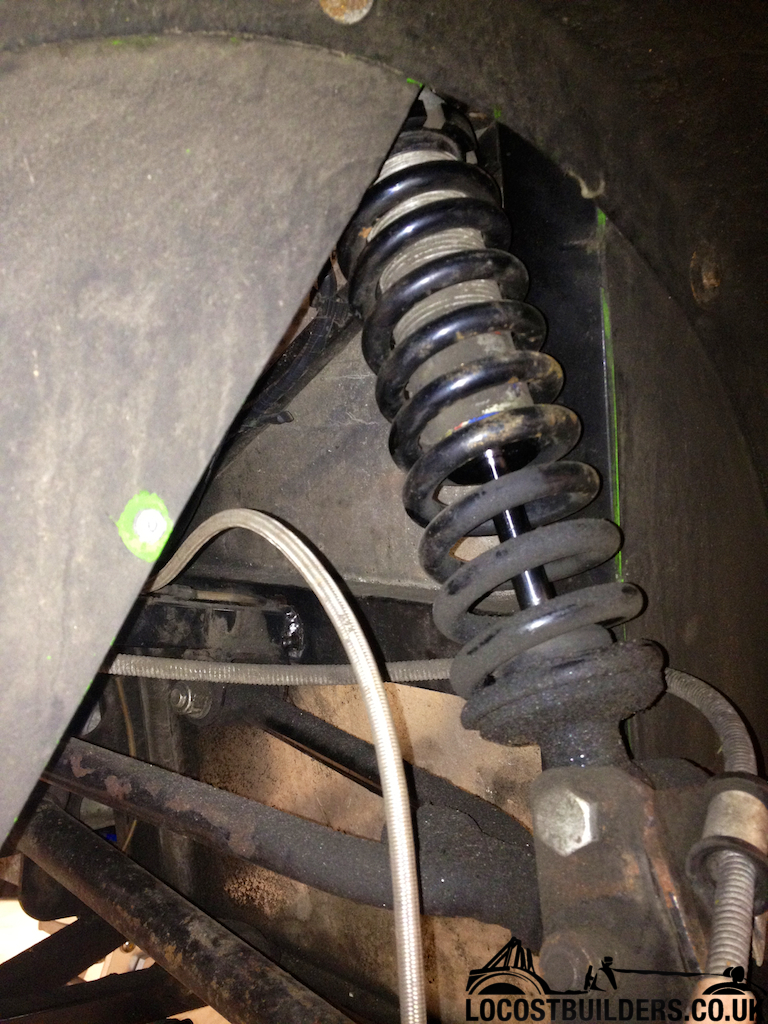
As you can see, upon jacking up the car, the spring just rattles around and is no where near the threaded spring 'seat'
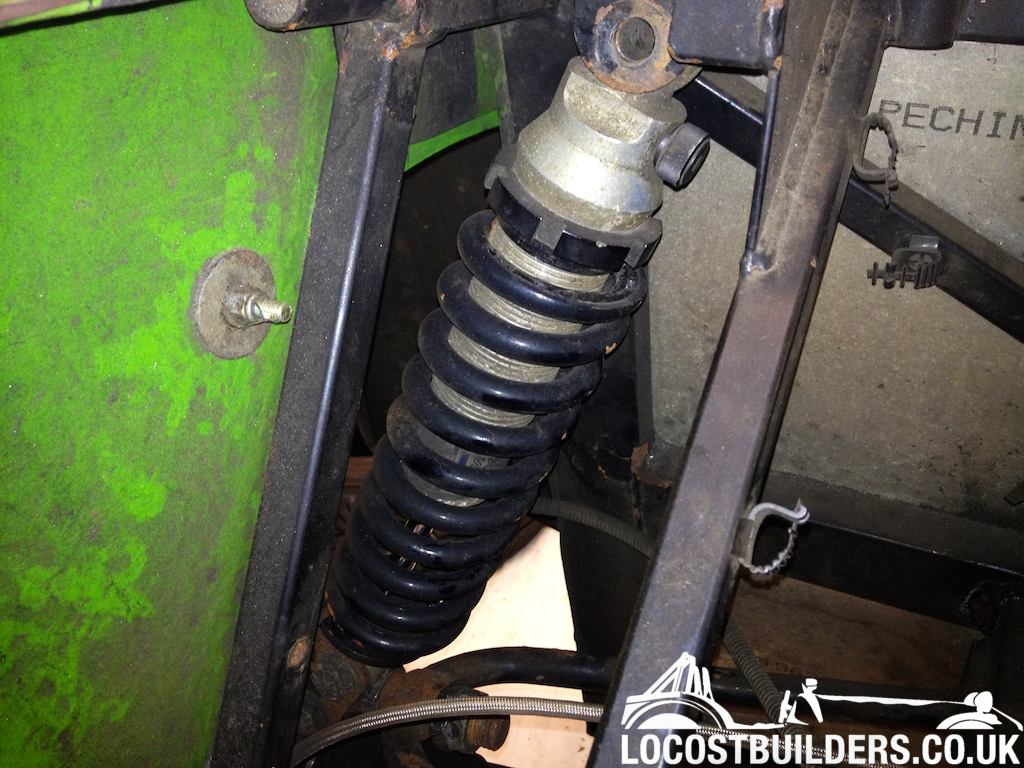
As I suspected, another pair of 450 lb springs at the back aswell...
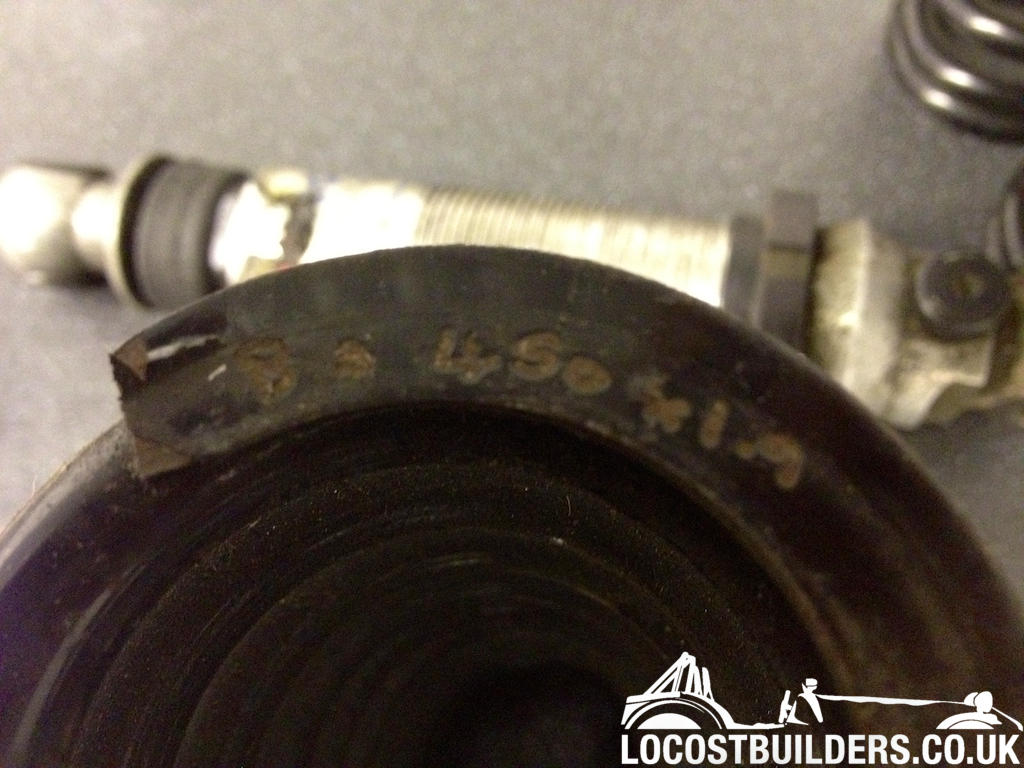
Mike - you were right regarding the open length of the Protechs being 13inches eye-to-eye
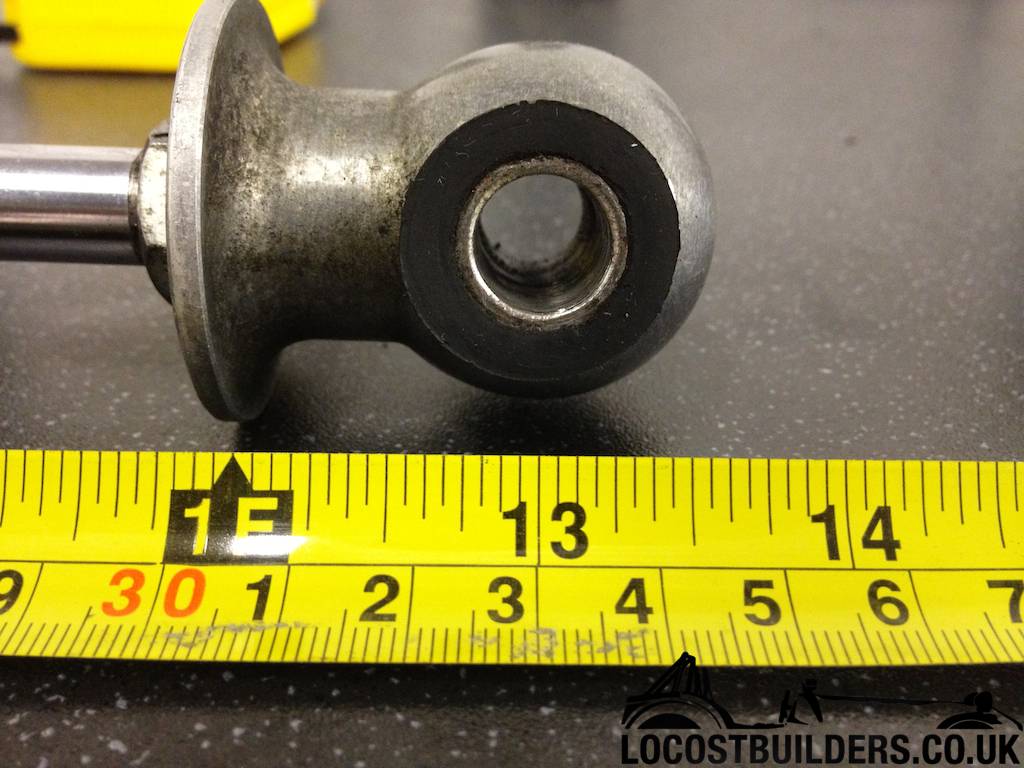
Gave them a quick wipe down for now, knowing they'll be off again soon
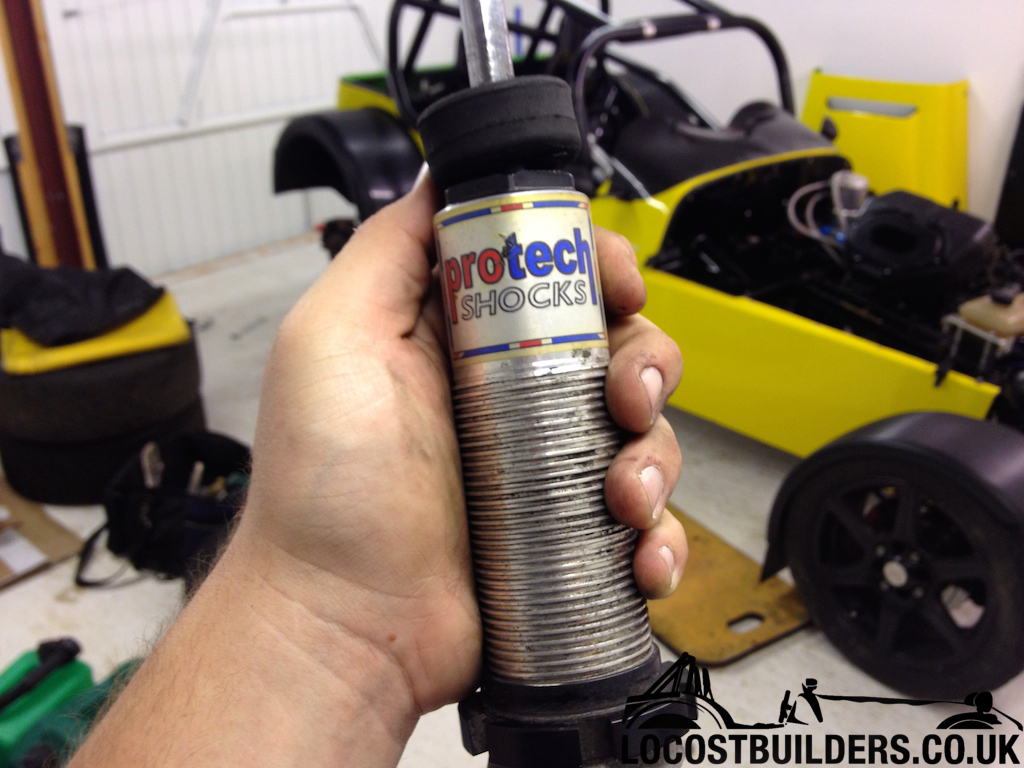
Managed, struggled, and about killed myself getting some 8.5" springs onto the shocks, and again, preloaded them this much without C-spanners -
still need more
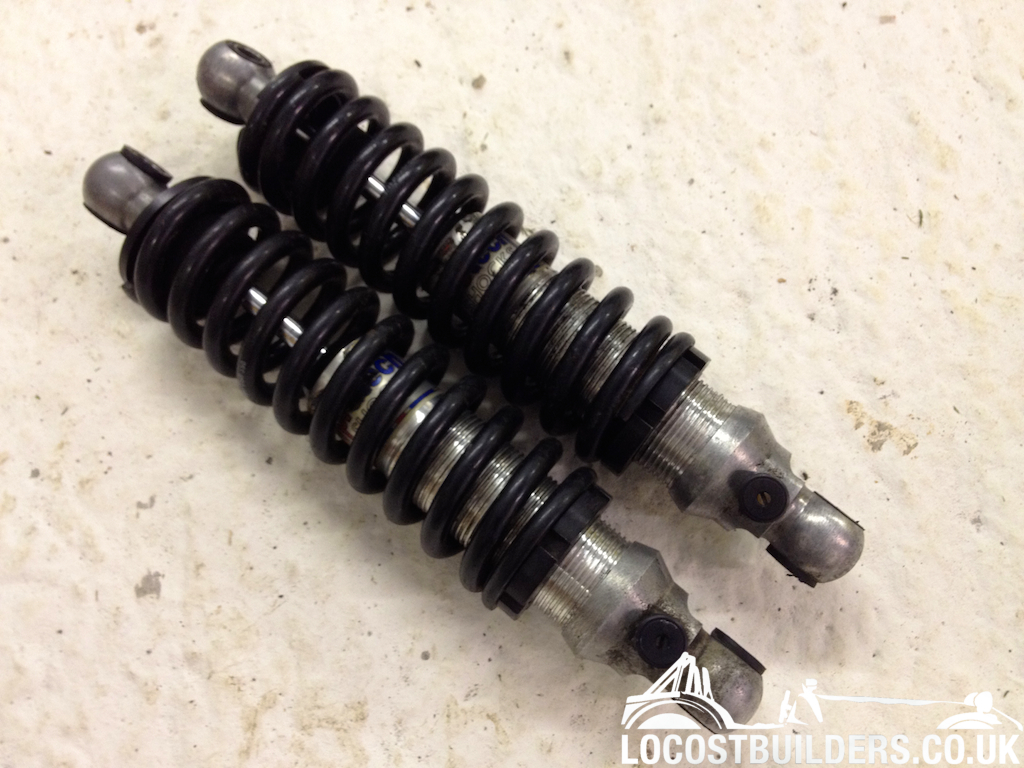
Fitted to the car the correct way up, Mike - they sit slightly angled
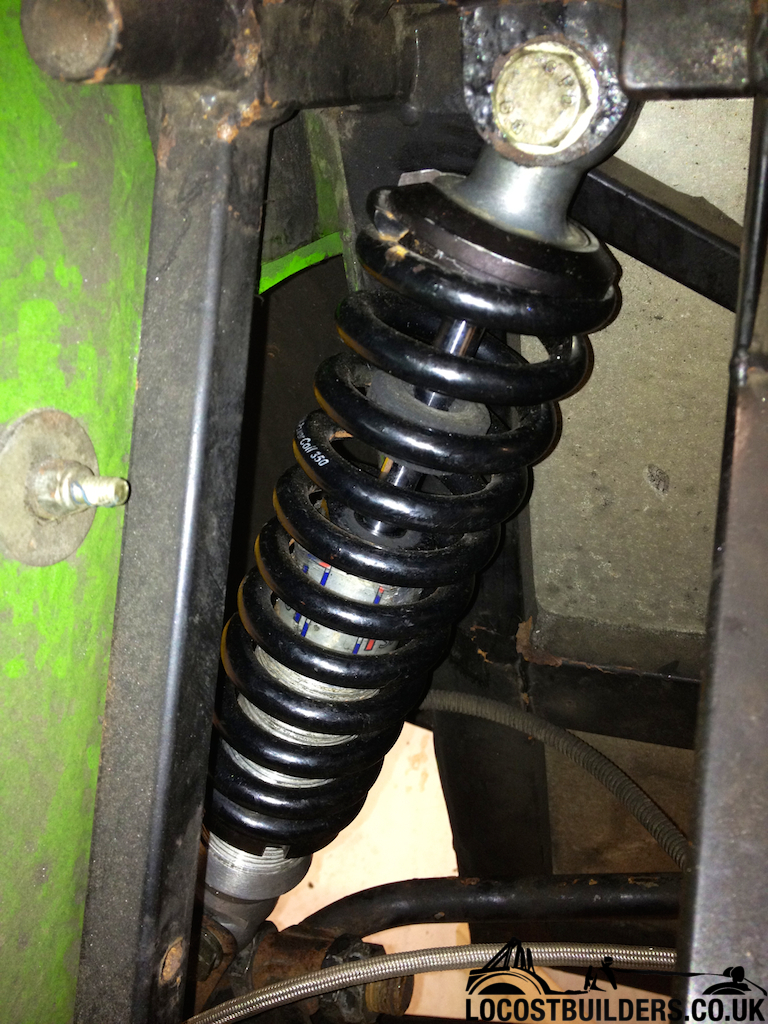
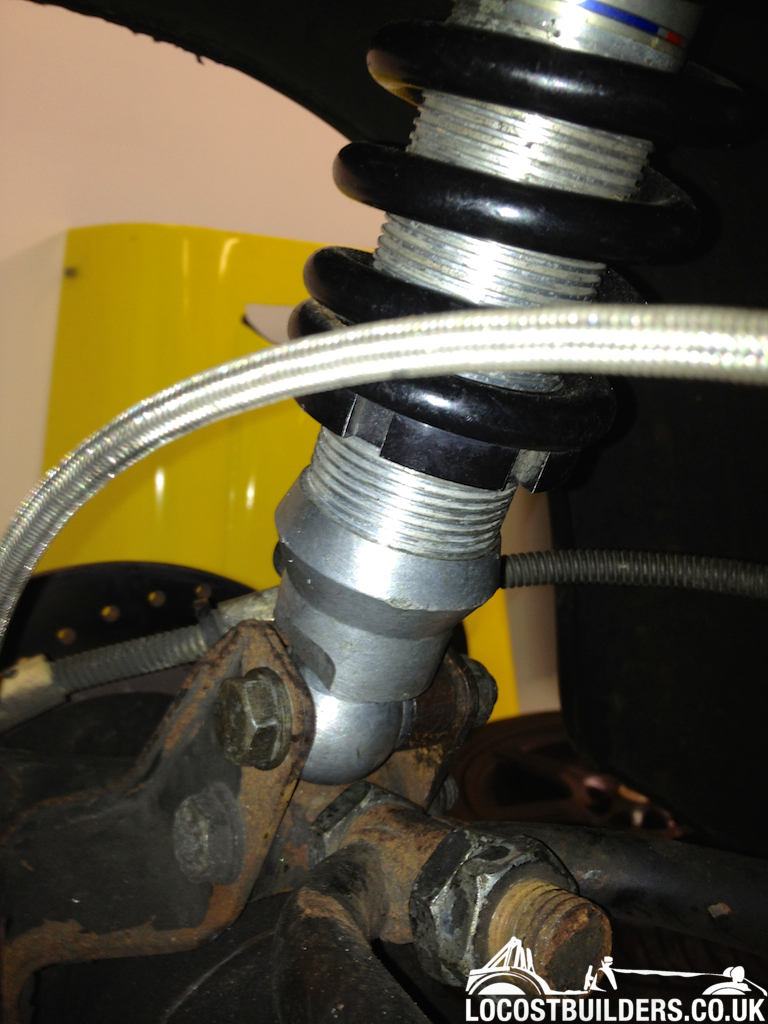
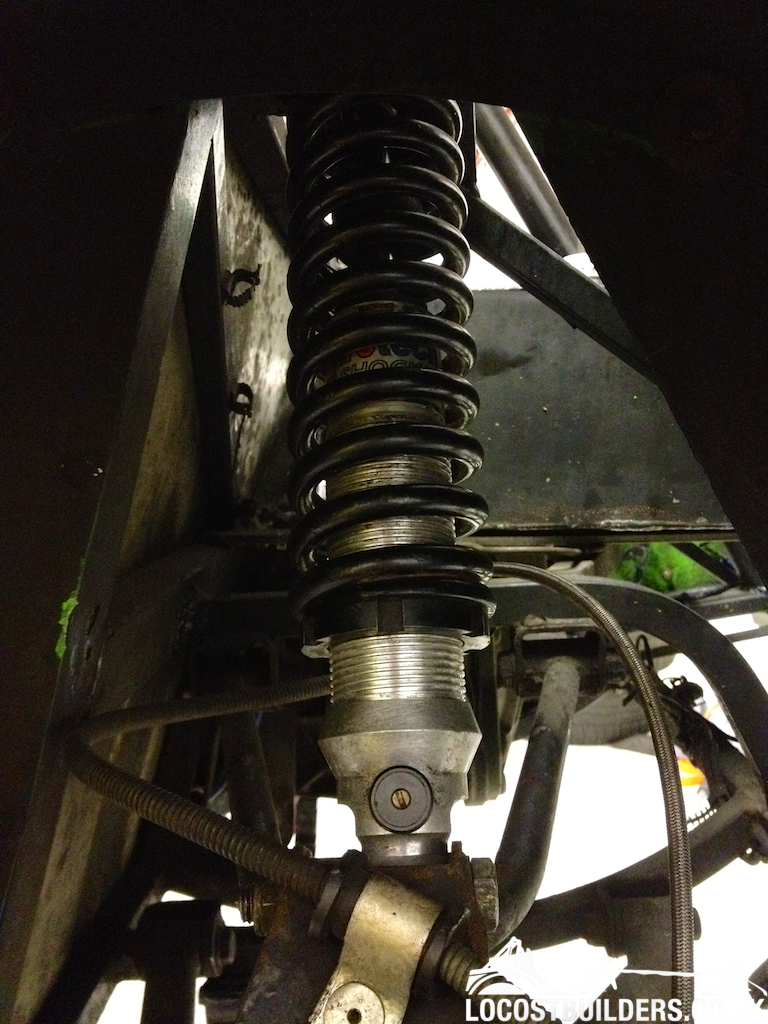
The car sits 'normal' now, as in, what I saw every other kit car sitting like at Stoneleigh, with the rear end higher than the front
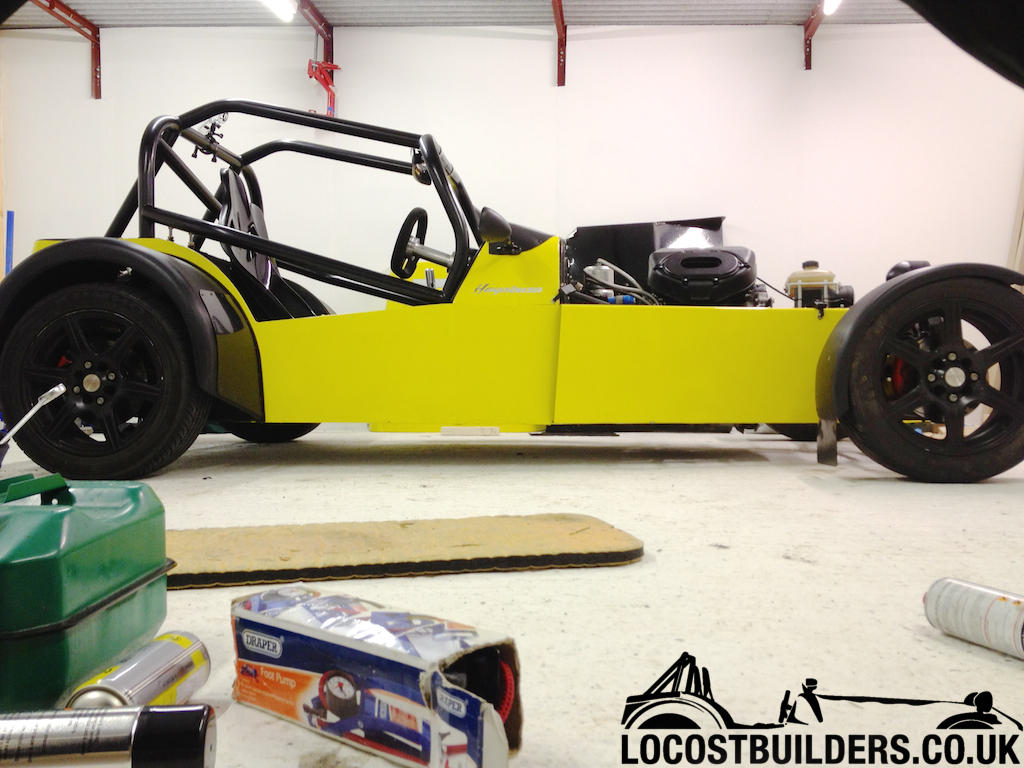
Time for some measurements
Drivers front - hardly change 132mm (2mm higher than previous)
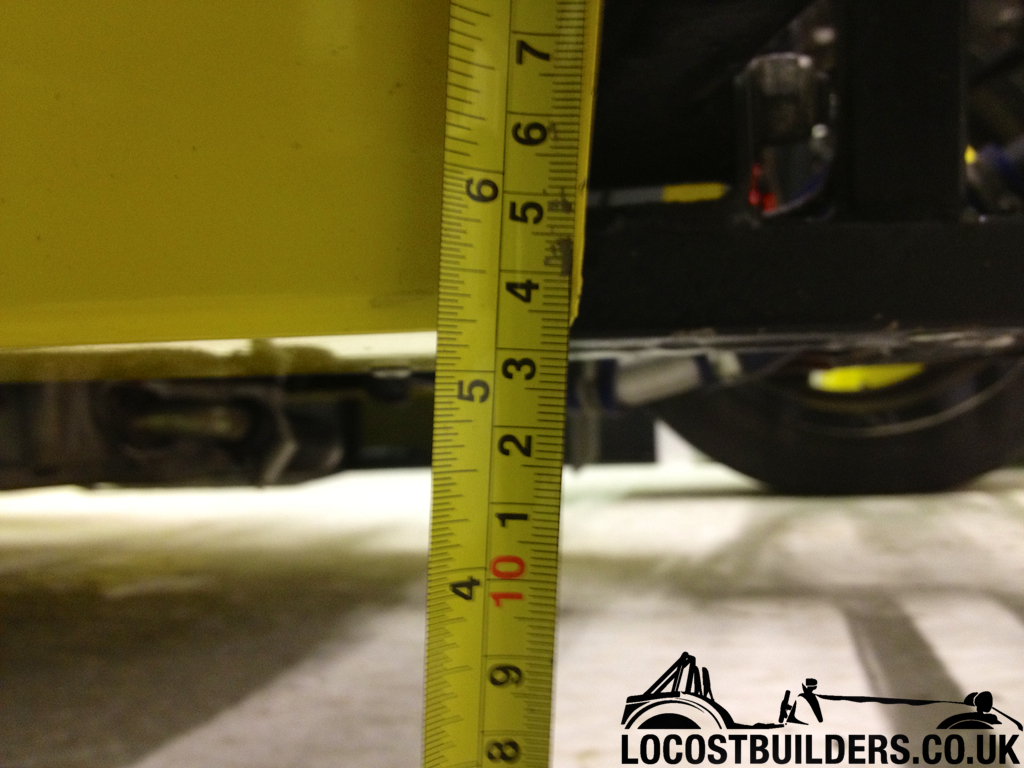
Drivers rear - big difference 154mm (33mm higher than previous, now +22mm higher than the front)
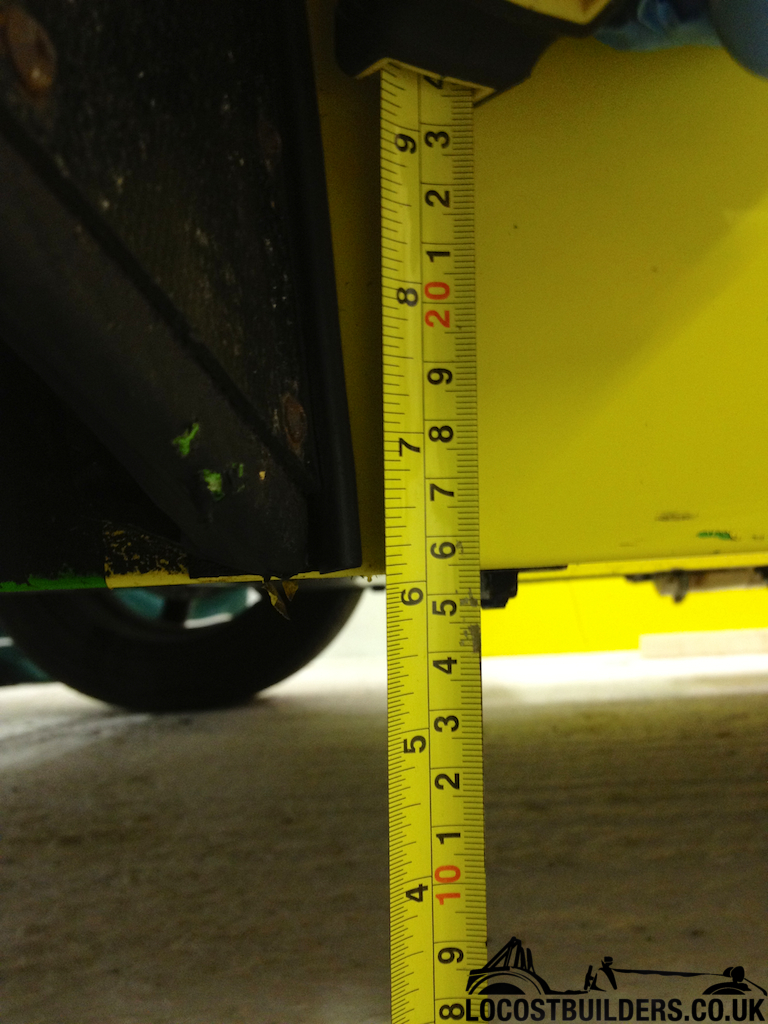
Passenger rear - big difference 148mm (30mm higher than previous, now +19mm higher than the front)
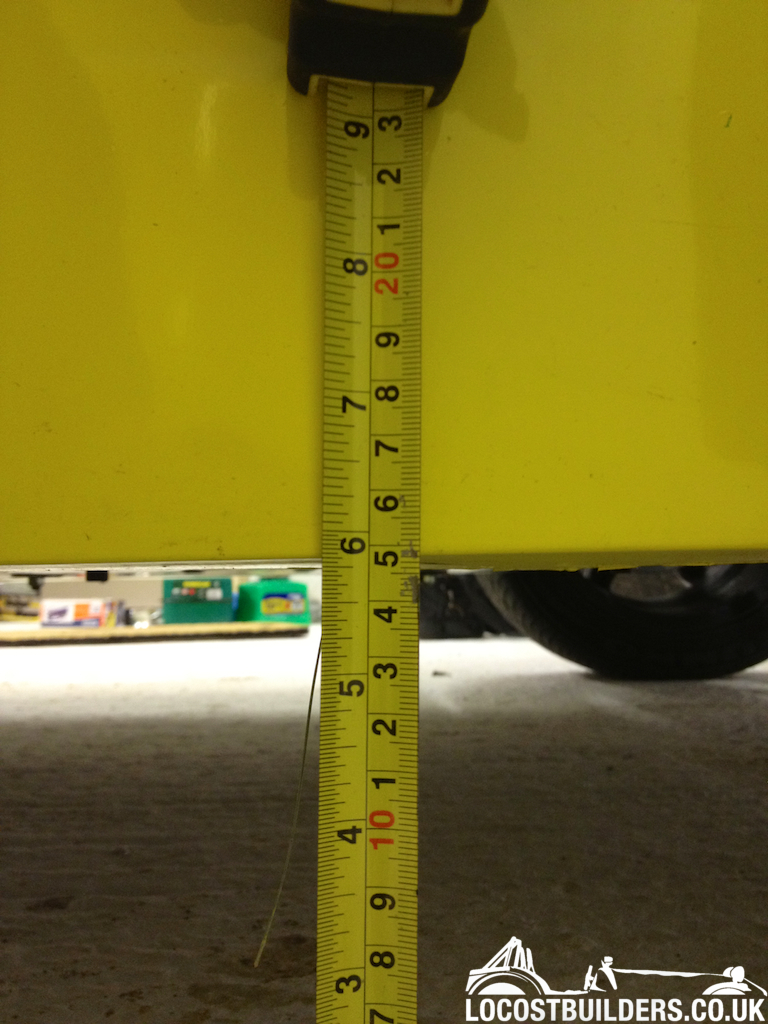
Passenger front - hardly change 129mm (7mm higher than previous)
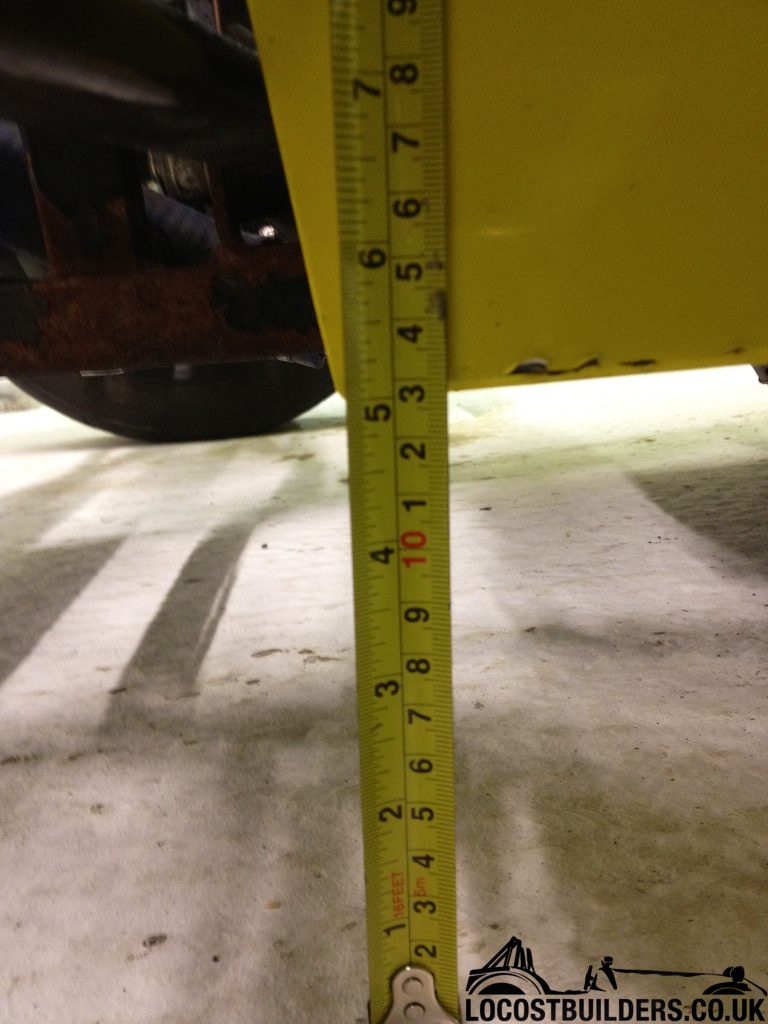
I left drivers rear an extra thread higher so when I sit in it, it should even out a little
So now my car has gone from 450lb on each corner, with the shock absorbers all on fully softest.... to 275lb 8" at the front, 6 out of 13 clicks
on the shocks, and 350lb 8.5" on the rear, again with 6 out of 13 clicks on the shocks
Just as a starting point, and see how I go...
[Edited on 26/6/12 by yellowcab]
yellowcab - 29/6/12 at 07:21 PM
Going to be removing the 350 rears, and swapping them for the 200s as advised by Protec (through Mike) and Danny.
New Simpson Bandit lid came today, as old one was getting a bit big.
New rear uprights ordered through Danny @ MK - and booked my next trackday at RAF Wittering on Sunday 22nd July
roadrunner - 29/6/12 at 08:21 PM
All the ground corner measurments will be meaningless when you finally get it corner weighed. Apart from front to back.
I initally set my suspension up with a tape measure at the corners, like you. But when I got it on the scales there was a slight difference on
opposite coners.
Get it wright with the scales for best handling.
Imagine a four legged table with one leg 1" shorter than the other three, thats what a car is like if the opposite coners dont weigh the same.
Brad
Pat_T - 2/7/12 at 08:22 AM
Not only this but depending on whether you intend doing most trackdays one-up or two-up, get it corner weighted with realistic driver/passenger
weights in the car, and half a tank of fuel....

yellowcab - 2/7/12 at 10:36 PM
not looking at shaving 100ths off a lap time, just in it for a laugh really, but i appreciate what you're saying if i was to get it corner
weighted.
no photos - as no point, but completely ditched the crappy flat shifter i had - and replaced with a solid bar, so no more clutch less up changes for
me...
oh and i put the 200lb springs on the rear and removed the 350s as per Danny @ MKs recommendation.
Had my first dealing with Danny on Friday afternoon regarding my rear uprights - couldn't have been any more helpful - said he'd have some
made up for me on Tuesday, and powder coated Wednesday, got a call today saying that they've been made already and being powder coated tomorrow -
so top notch service from Danny @ MK  Thanks chum!
yellowcab - 6/7/12 at 05:52 PM
Great service received from Danny @ MK Sportscar, got a delivery this morning of these... so thats this weekends job sorted:
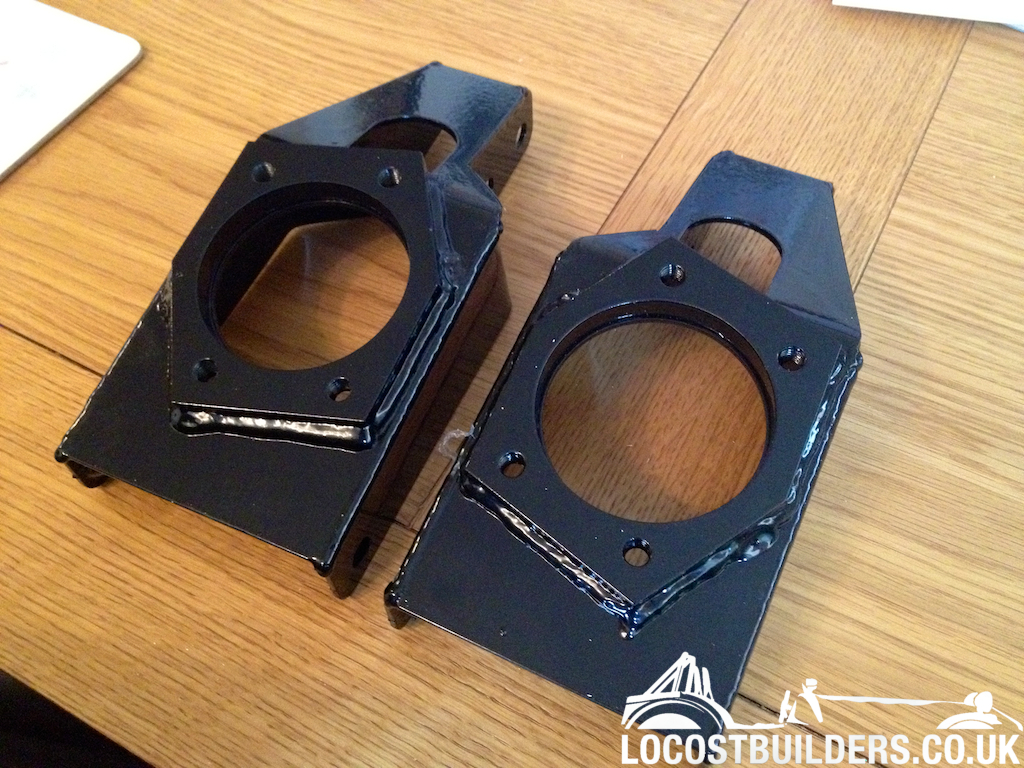
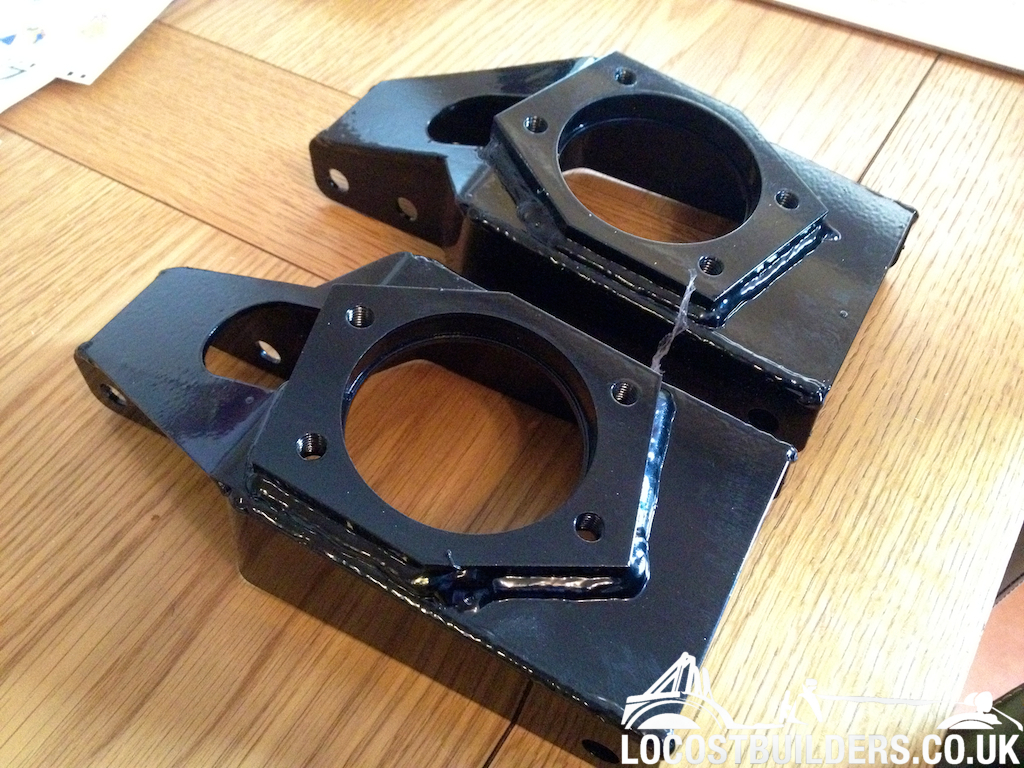
yellowcab - 7/7/12 at 07:40 PM
strange height difference between old bent one... and the other two...
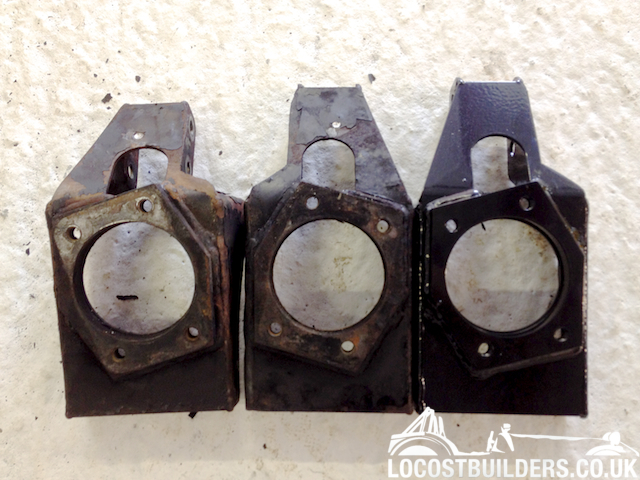
seems to be shorter and fatter than the other two... and slightly not straight
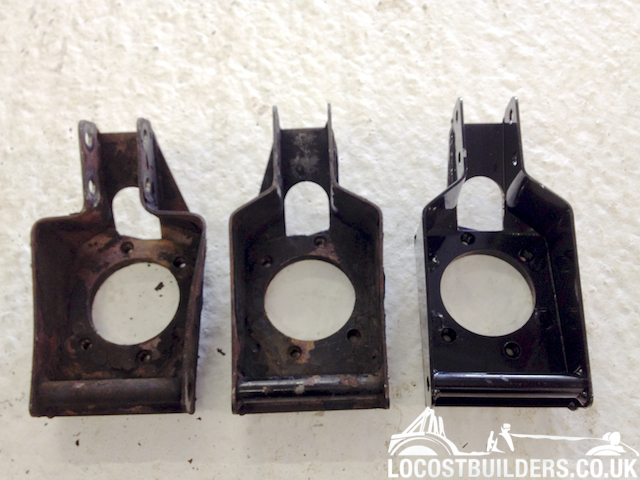
ahhh right, so thats where my positive camber come from lol
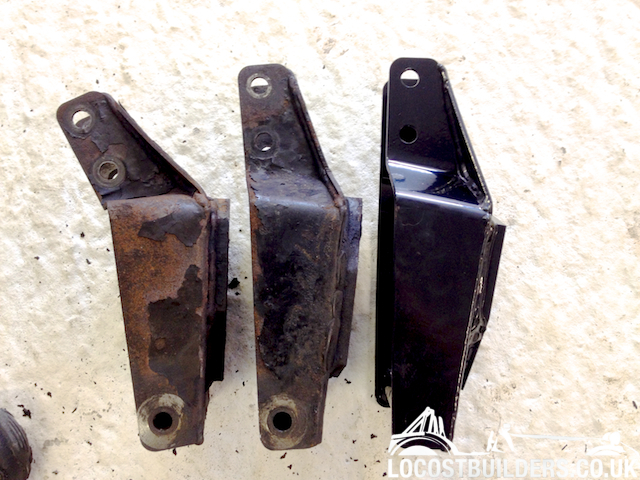
yellowcab - 7/7/12 at 07:57 PM
Someone must have a recommendation to a good alloy fabricator:
http://www.locostbuilders.co.uk/forum/35/viewthread.php?tid=172134
sdh2903 - 7/7/12 at 08:18 PM
Try martin at MK engineering. Has done a few bits for me, always been good quality/price/service.
danny keenan - 7/7/12 at 09:02 PM
hi olz
jim at alloy racing fabrications makes our petrol tanks for us.he will make one to any size you need.
his welding ang fabrication is the best.
thanks danny
yellowcab - 7/7/12 at 09:15 PM
Thanks Chaps!
From an email that I've had back from one fabricator, it seems I need to know what I want first lol
I didn't think to measure the outlets or note the position I want them etc
Nor did I think about sender and pump setup that I want lol
yellowcab - 9/7/12 at 05:08 PM
Of course it wouldn't go smoothly... anyone have a relevant part number to hand for this badboy...
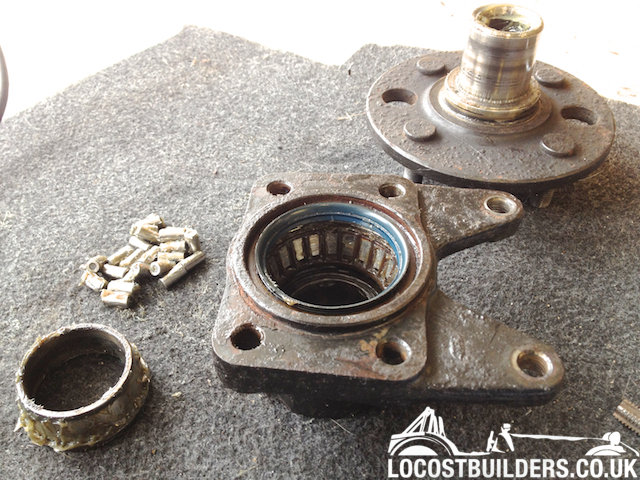
May aswell replace all of them whilst I'm there... they seem to be well worn items...
MRLuke - 9/7/12 at 06:52 PM
Loving the "do it right the first time" approach in this thread  Car looks ace.
yellowcab - 10/7/12 at 07:23 PM
anyone with a Sierra manual please advise on how to remove the rear wheel bearing please?
yellowcab - 10/7/12 at 07:29 PM
fed up of it looking like this already, and its only been 3 days lol
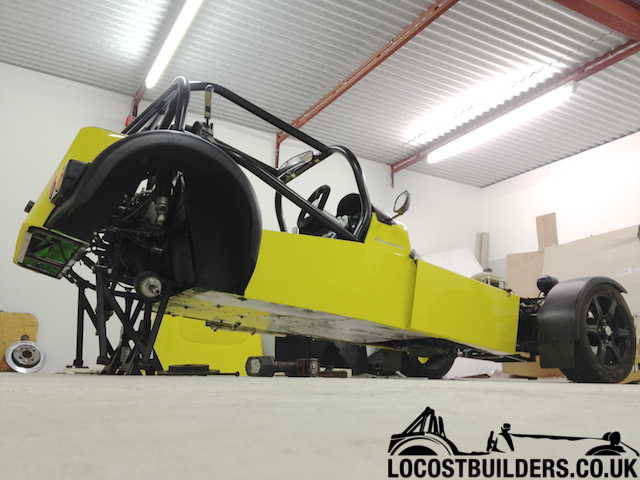
on the plus side, i cleaned the back of the rear panel so it's shiny again (for now) and got a wire brush to the diff as it was caked up
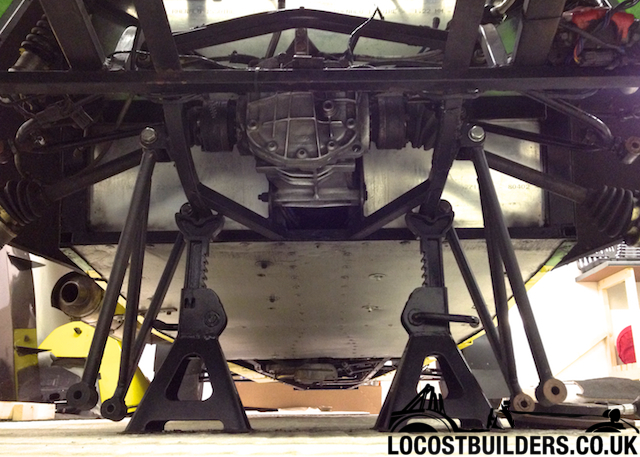
wire brushed, primered, and sprayed the rear hub carriers - but need to know how to remove the bearings?
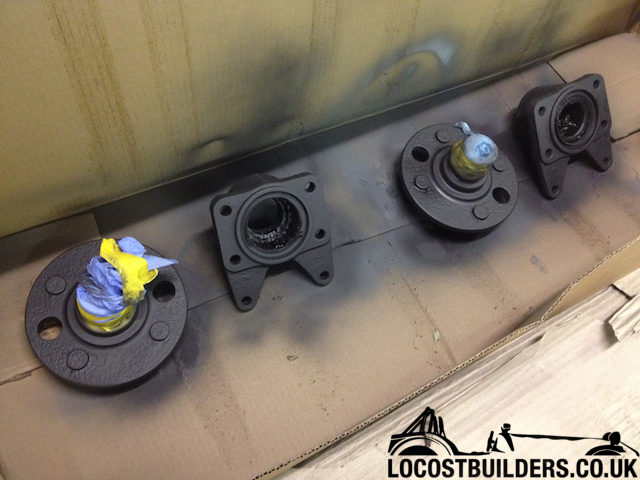
the two people who have sat in my car, Mike & Col have both commented on the fact my clutch pedal feels like you're trying to push a brick
through a key hole... was advised 'for now' to move the fulcrum down towards the pivot point...
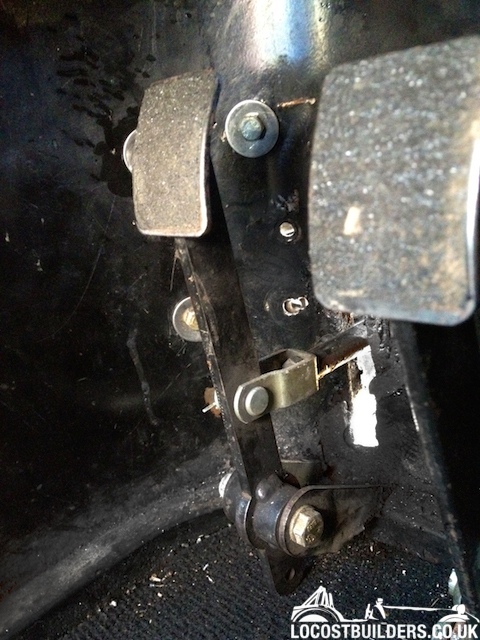
So off it comes...
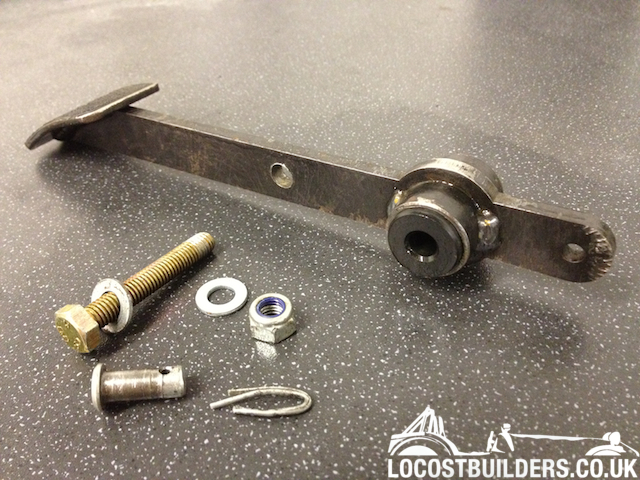
Hmmm no wonder everything felt so sloppy near the linkage (a lot of play back & forth without the pedal moving), considering the hole is supposed
to be the same size as the stay... the new hole will be reamed
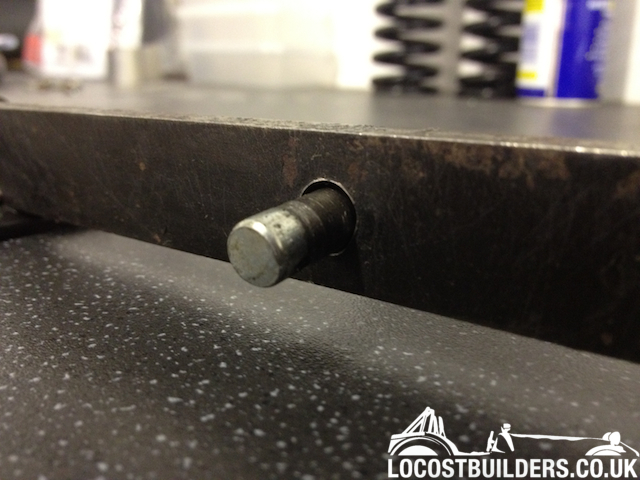
Also, another conclusion that the plastic 'bush' is smaller in width than the pedal itself, so when the bolt it tightened up - it was
clamping the pedal, which was stopping it returning to the correct position, and also making it hard to push down... going to get a new brass bush
turned up 30thou bigger than the clutch pedal width, so the pedal isn't been clamped
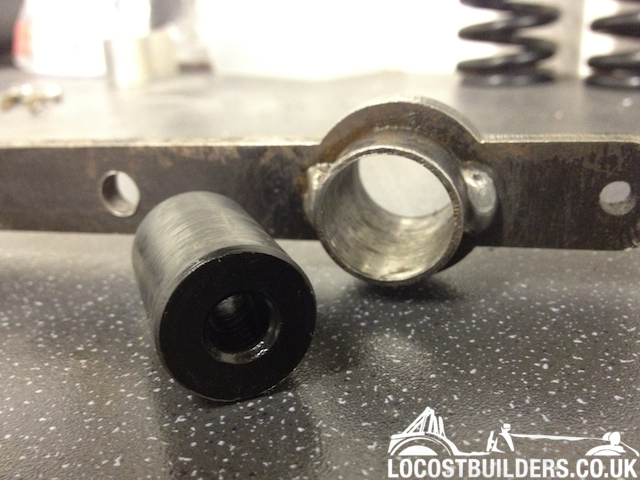
That's all for now, new wheel bearings being picked up tomorrow 
[Edited on 10/7/12 by yellowcab]
yellowcab - 14/7/12 at 02:54 PM
Clutch pedal done, super light operation now - looking forward to having a feel of the more forgiving bite point lol
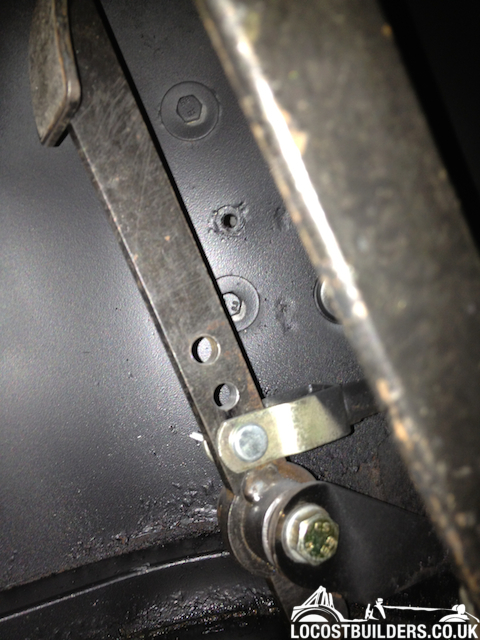
On with fitting rear uprights, please point out if I've done something wrong...
This top calliper bolt hole here...
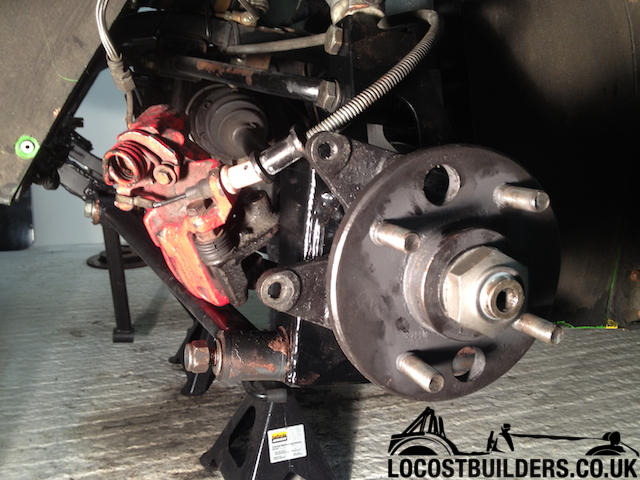
Looking through, you can see the shoulder/ weld of the upright, and its so close to the calliper bracket that you can't get the bolt in
straight...
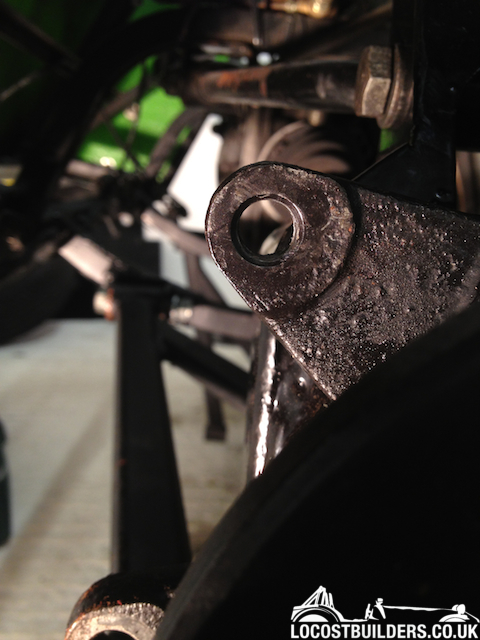
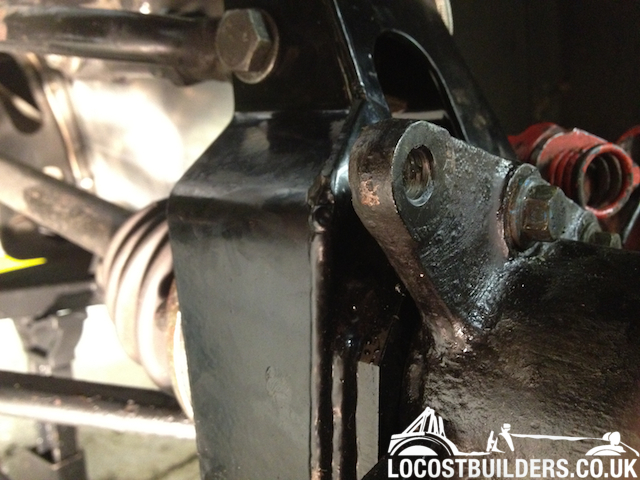
Silhouette to show what I mean, granted I'm now using a allen headed bolt now so the radius of the bolt head is smaller, but it still fouls
I've ground the welds back, so it just passes through, but not particularly happy about it
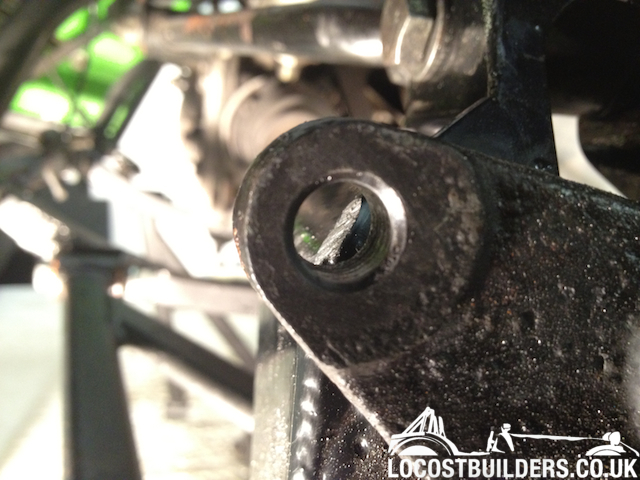
yellowcab - 23/7/12 at 07:40 PM
A few photos from the RAF Wittering day yesterday
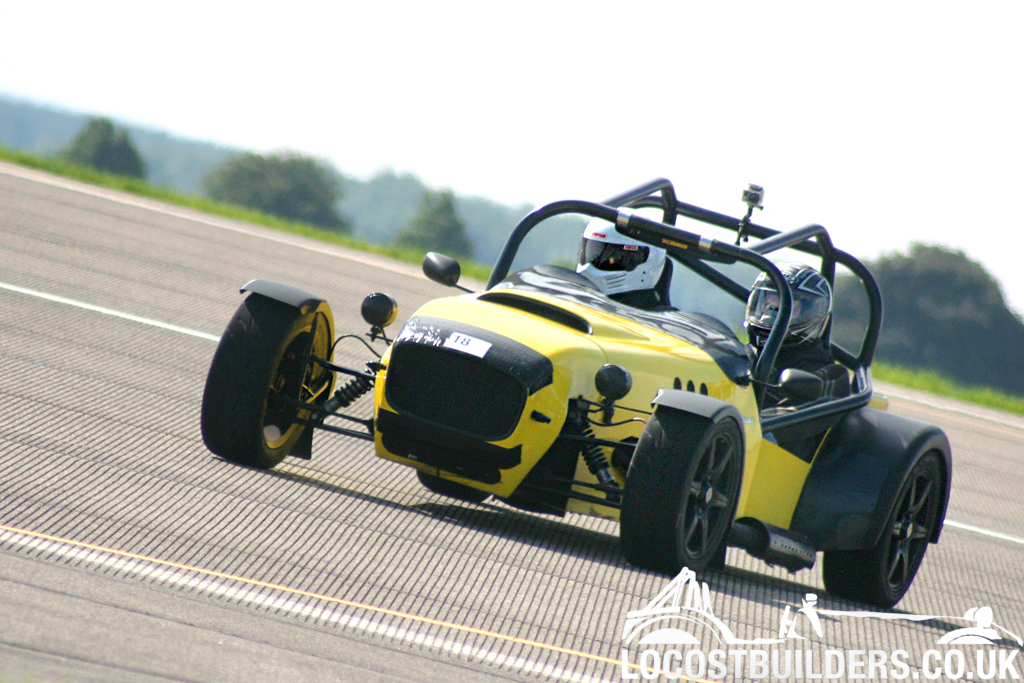
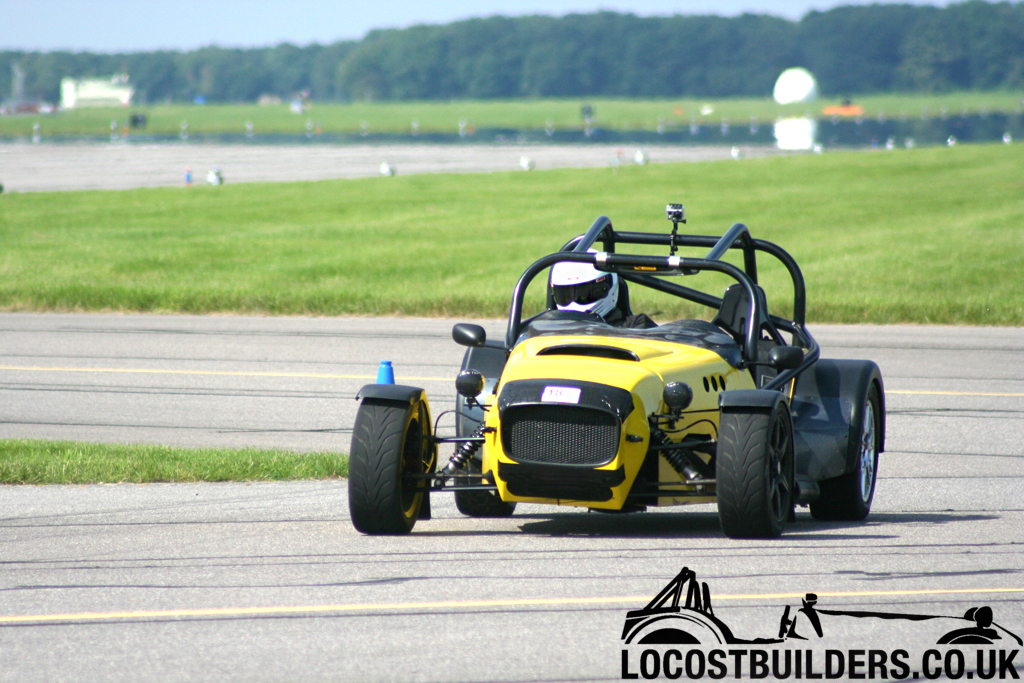
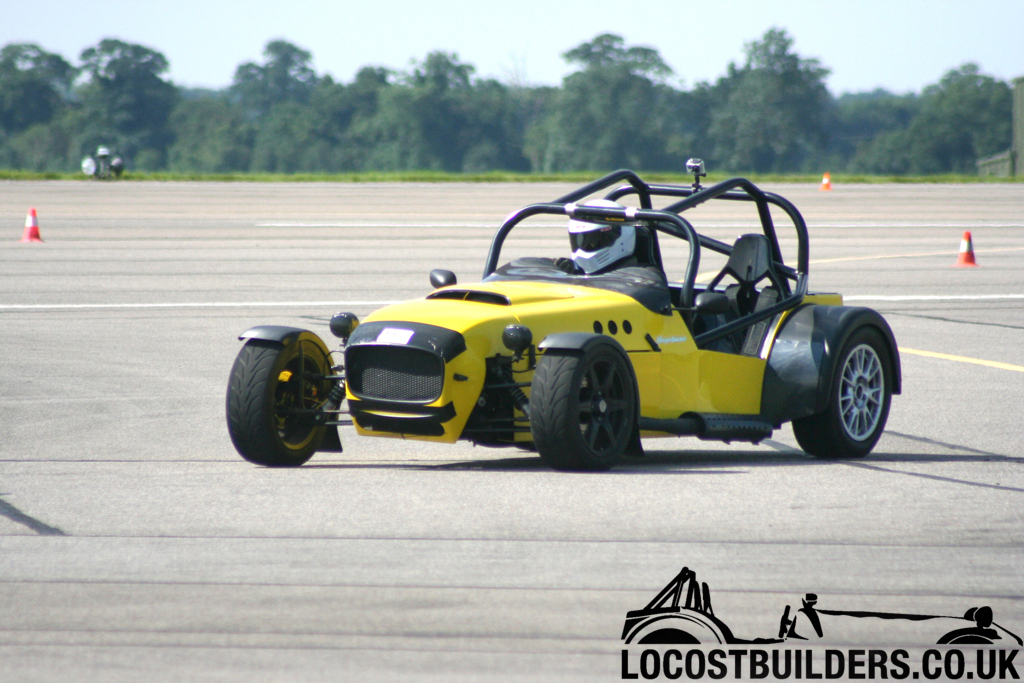
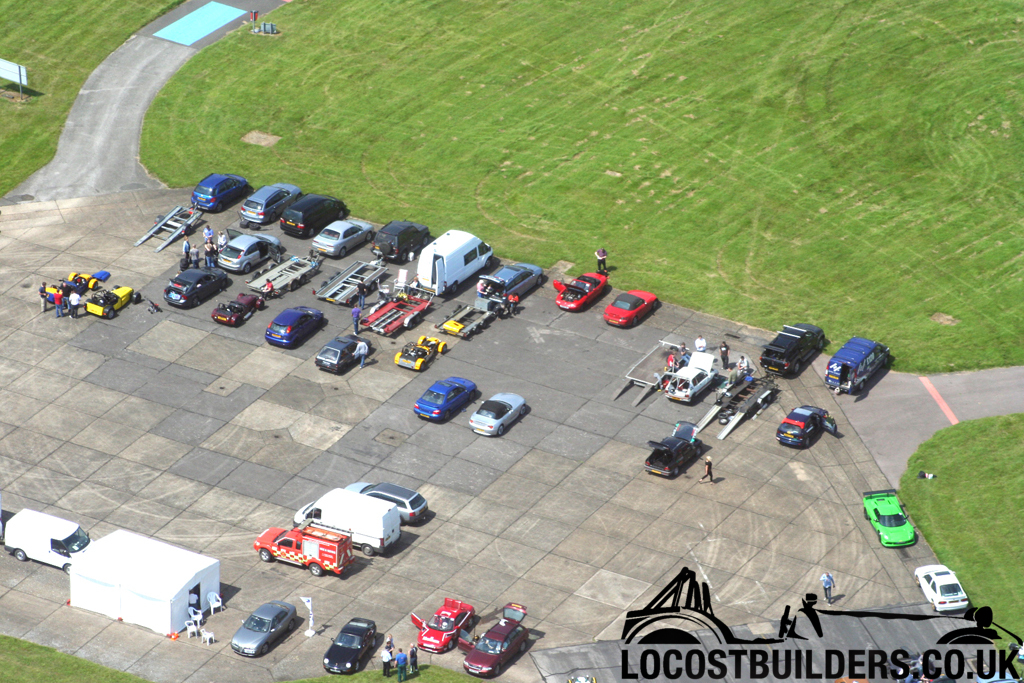
ReMan - 23/7/12 at 07:46 PM
Were they giving helicopter rides?
yellowcab - 23/7/12 at 07:48 PM
Yes, for £2.50 and a half eaten Mars bar.
slingshot2000 - 23/7/12 at 08:56 PM
And only yellow 7alikes were invited ?
Proby - 24/7/12 at 07:35 PM
Great stuff! Did you have a go on the ramp in the 4th pic??  )
)
yellowcab - 27/7/12 at 07:07 PM
Engine failure in full 1080p full HD for your visual and aural pleasure... rear geometry out beyond belief, felt like driving on ice with no rear
traction not even in a straight line hardly...
http://www.youtube.com/watch?v=2KMrADeXxqM&feature=youtu.be
yellowcab - 27/7/12 at 07:10 PM
Earlier during the day - still nursing the car around, but having good fun nonetheless lol
http://www.youtube.com/watch?v=9a2-KOA97kk
welderman - 27/7/12 at 07:18 PM
Bugger 
Custardpants - 27/7/12 at 09:42 PM
argh bugger. sorry to hear that. Do you know what caused it? oil surge?
yellowcab - 29/7/12 at 01:18 PM
Yep, running a Westfield dry sump pan on a wet system was always going to end in disaster... lol
Having watched the videos back throughout the day - the oil pressure behaviour didn't relate to the revs, but did drop massively under hard
braking which says to me the pickup pipe it towards the rear of the sump pan.
Hey ho - onwards and upwards... dry sump upon rebuild 
Nick DV - 29/7/12 at 02:07 PM
quote:
Originally posted by yellowcab
Yep, running a Westfield dry sump pan on a wet system was always going to end in disaster... lol
Having watched the videos back throughout the day - the oil pressure behaviour didn't relate to the revs, but did drop massively under hard
braking which says to me the pickup pipe it towards the rear of the sump pan.
Hey ho - onwards and upwards... dry sump upon rebuild 
Yep, I noticed that as soon as I watched the first video!
Cheers, Nick 
wylliezx9r - 29/7/12 at 04:57 PM
3 grands worth of engine go's pop and your glass is still half full, good man !
yellowcab - 27/8/12 at 12:01 PM
I finally found an hour un-interupted peace in the garage with no kiddie winkles around... so i whipped the engine out
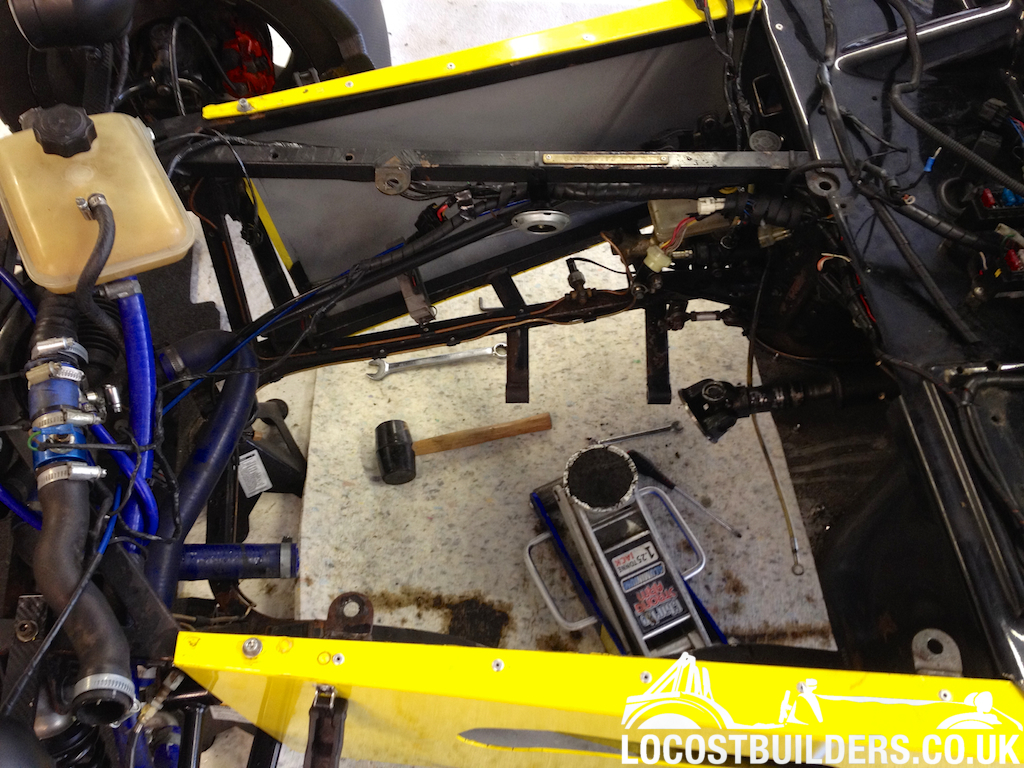
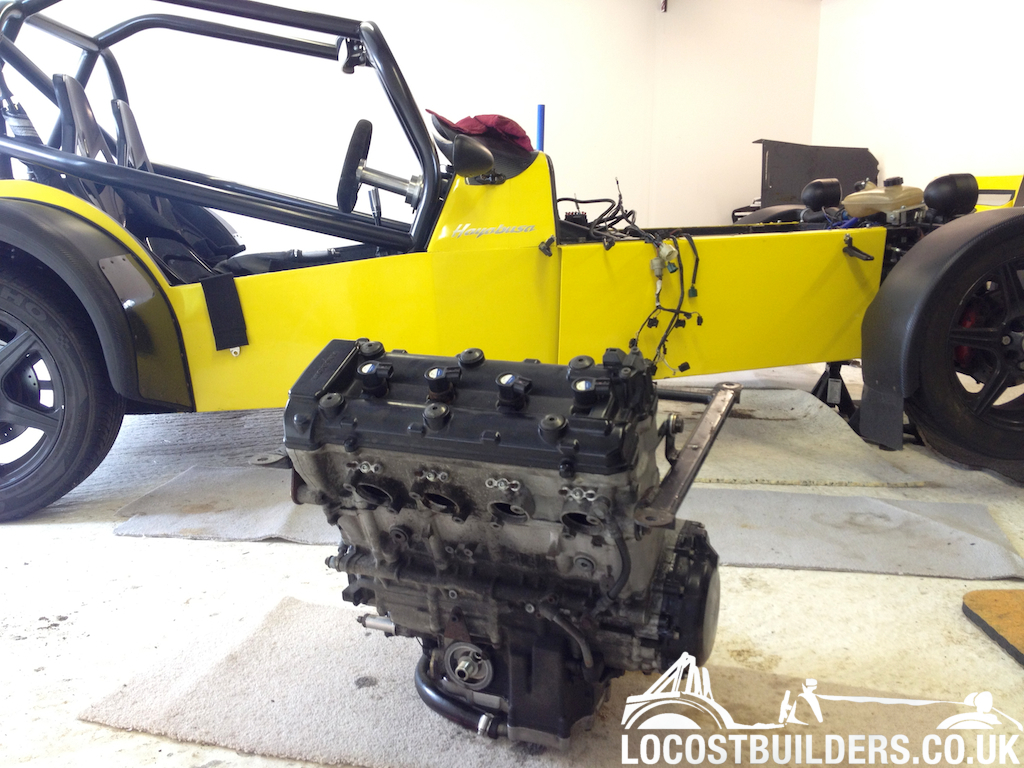
Worst update in history lol
jonabonospen - 8/9/12 at 05:52 PM
Cracking thread. Thats rubbish news about the engine. Hope you get it sorted.
SausageArm - 8/9/12 at 06:17 PM
Really bad news regarding the engine, the car was looking and sounding great, here's hoping for a quick fix! :-)
sdh2903 - 8/9/12 at 07:11 PM
What's the plan repair/rebuild or replace?
yellowcab - 4/12/12 at 10:27 PM
Not been on here much recently as been extremely busy with other projects, apologies for the late reply sdh2903.
The plan was always to rebuild the engine, but with a dry sump setup so it wouldn't happen again lol
So a very good friend of mine volunteered to rebuild my engine for me due to other commitments that I have, I would never have had the time to do so,
within only a couple of weekends, it was done - so it's had a new crank, new rod, new bearings & shells, and new gasket set through &
through.
He even managed to sort me a dry sump setup - to which he fitted and also located the trick parts to put the idler pulley on that looks incredibly
standard, to which we all know, isn't.
Here are some photos of the rebuild:
hmmm, whats up with these:
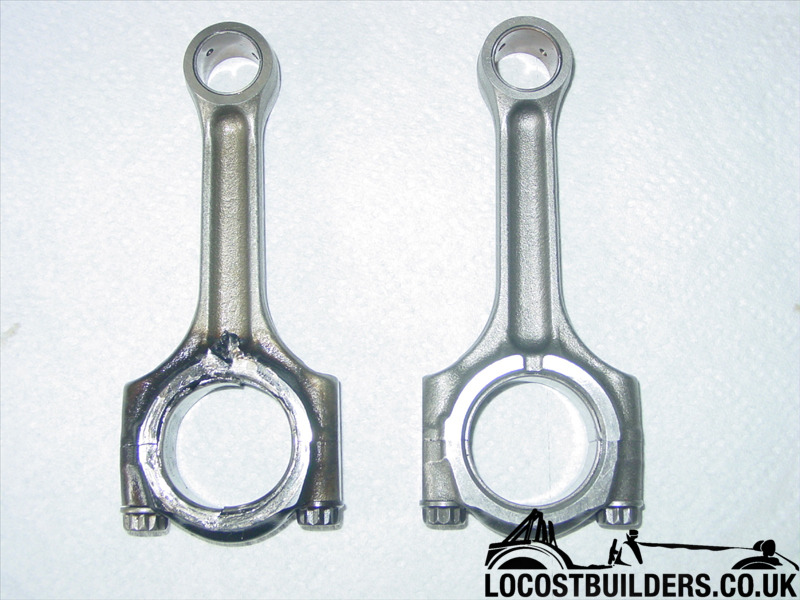
Crank cases all cleaned, sand blasted & sprayed
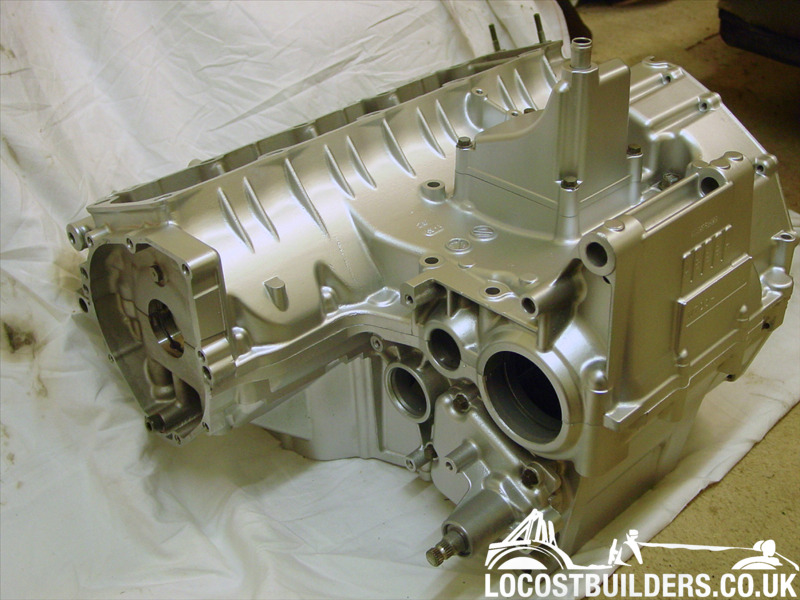
Back together again...
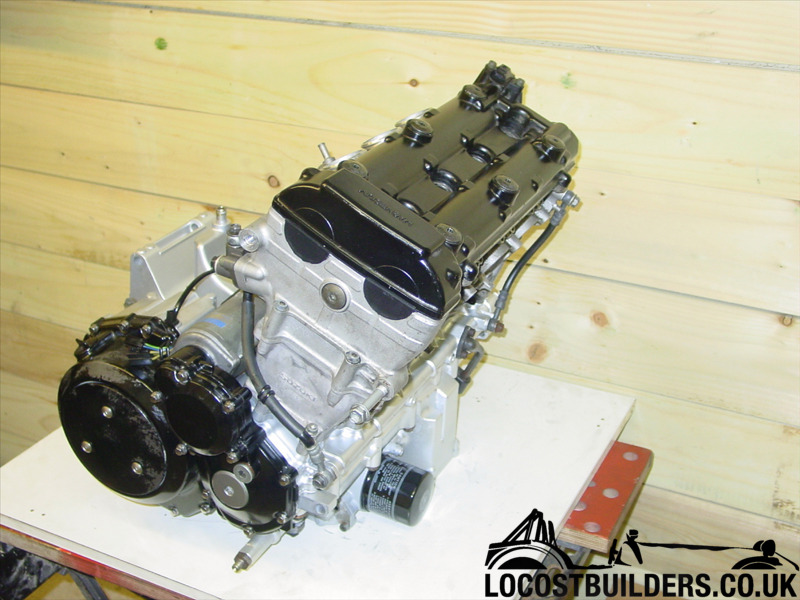
New bits...
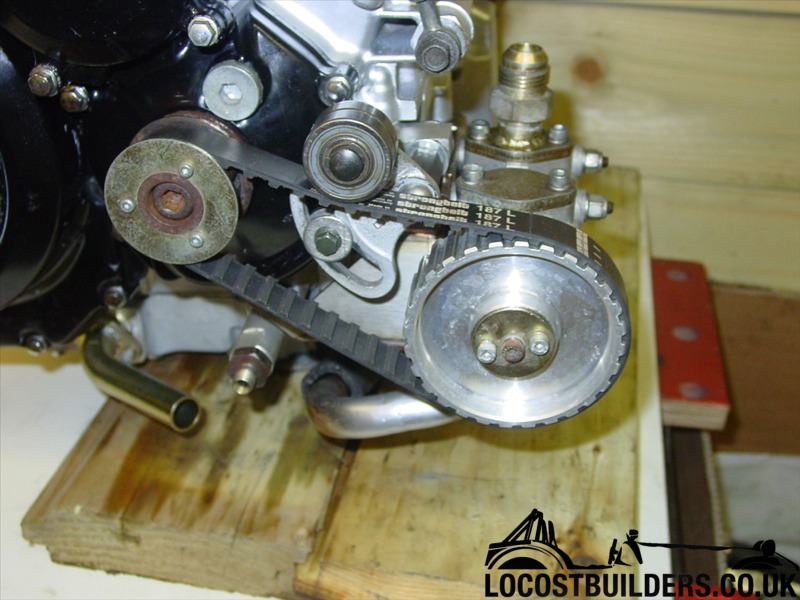
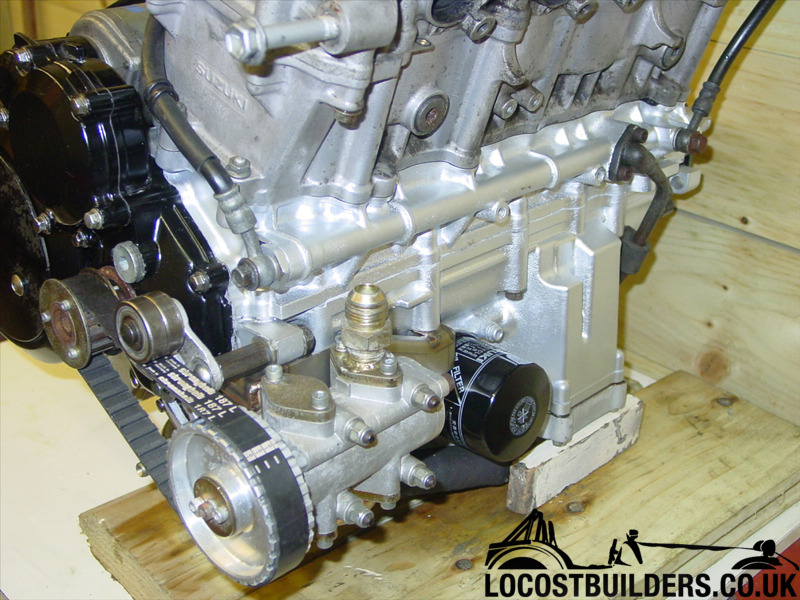
Awaiting to go back in...
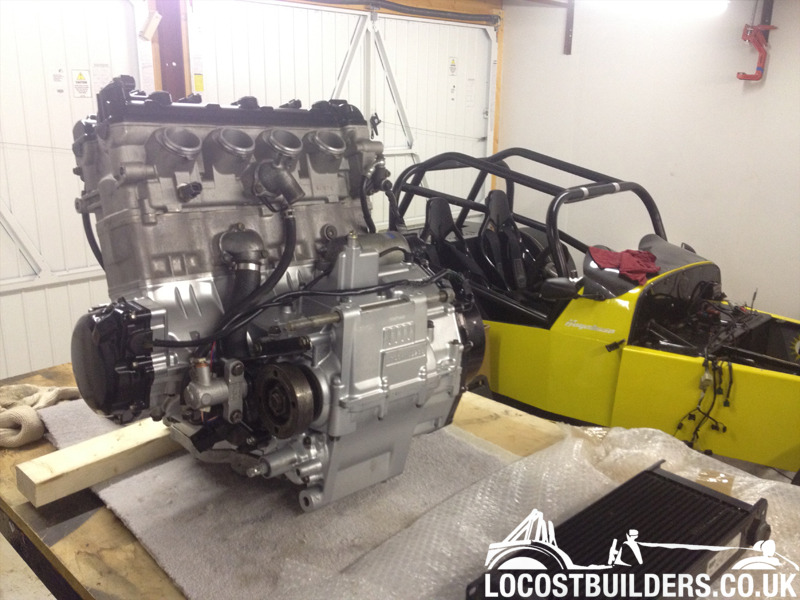
Must say a massive thanks to Mike for doing this for me!
[Edited on 4/12/12 by yellowcab]
[Edited on 4/12/12 by yellowcab]
yellowcab - 4/12/12 at 10:40 PM
Sorry, but 22'000 thread views?
Bloody 'eck!
RK - 5/12/12 at 02:49 AM
I've been through the duff engine thing and can relate to your woes. It will get better! You'll never stop doing things to your car; best
get used to it now! Spring is just around the corner.
yellowcab - 16/1/13 at 03:51 PM
So I've been threatening for a while to actually start doing things to my car, so I spent half hour in the garage yesterday just tidying up and
generally making myself feel better about the state the car was in
First up was to offer up the dry sump tank, I presume this is the normal position to which it shouldn't foul anything obvious, I know its where
it sits in a Westfield, but presume it can sit in a similar position?
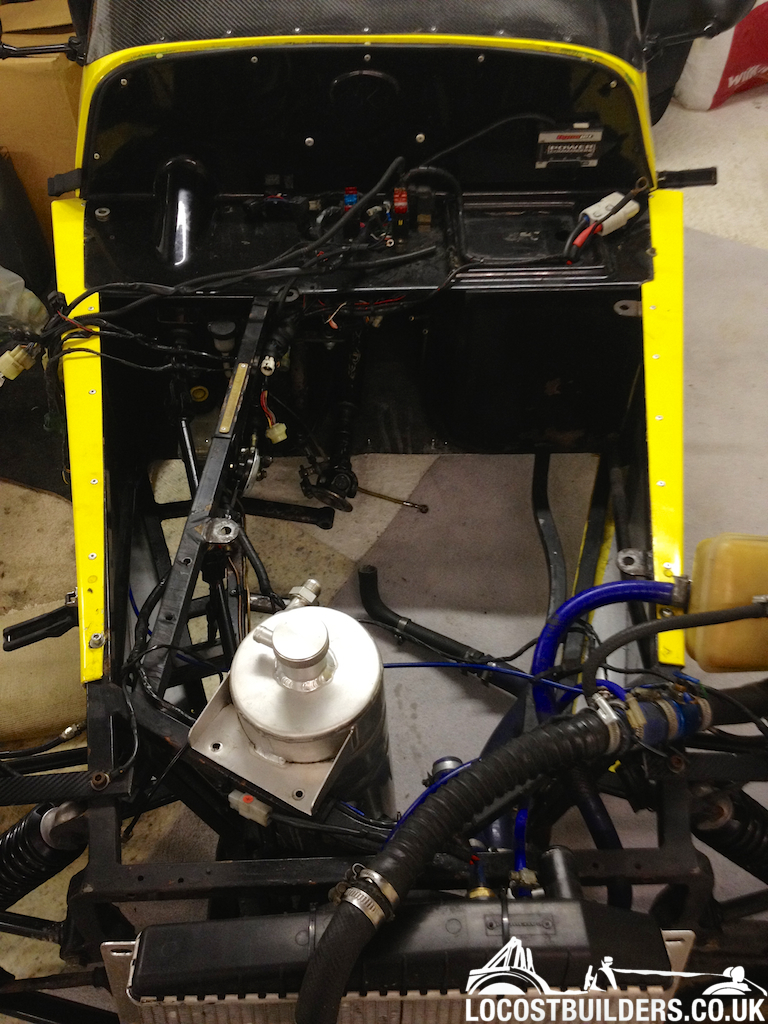
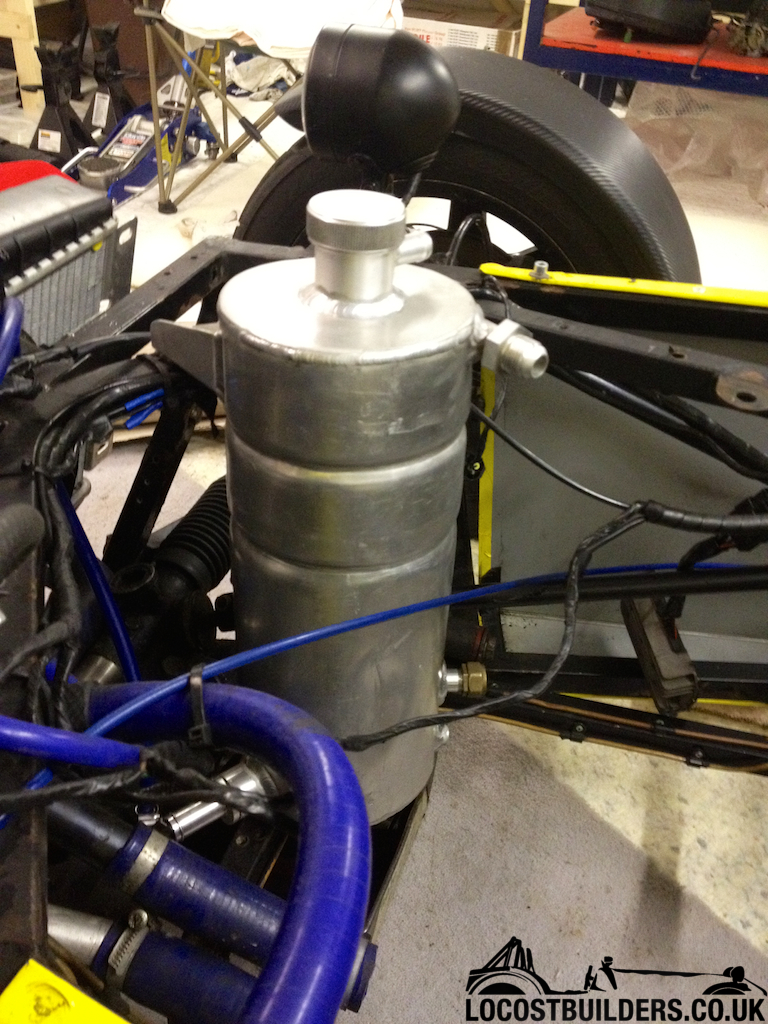
Took my old exhaust can off the manifold, and it was rattling like a bag of nails - all the old rivets that I had drilled out to repack it had
obviously fell inside, it now sounds like some kind of musical instrument... anyway - a new Aprillia RSV Mille can should make my car a little quieter
which is what I wanted
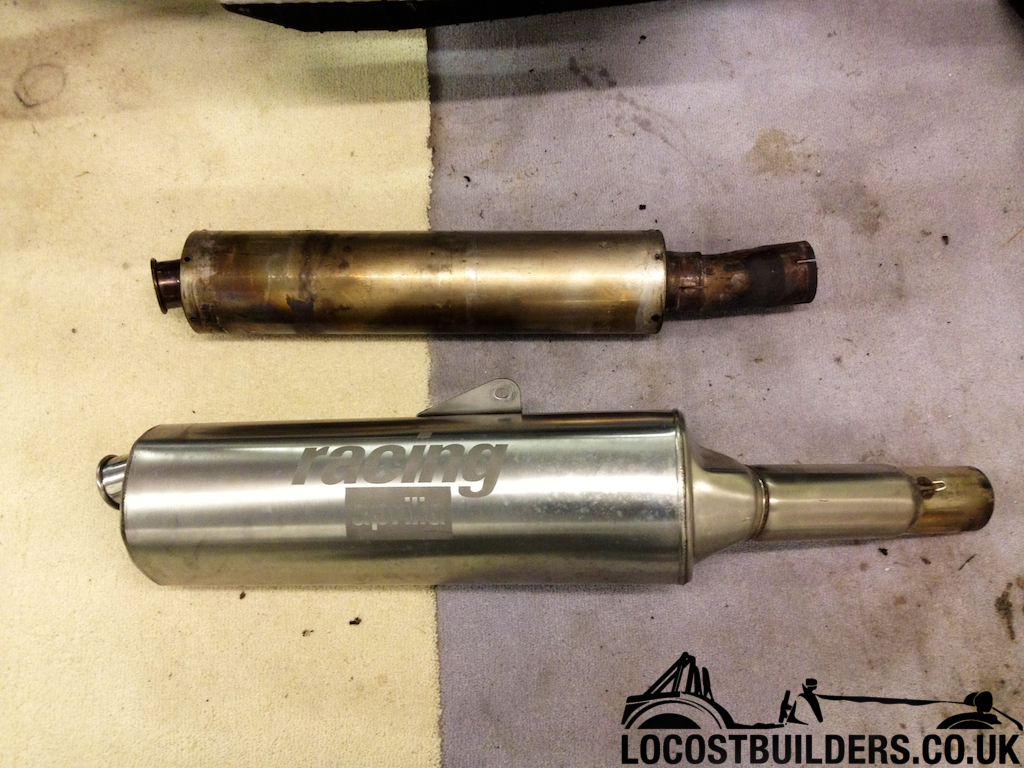

General tidy up, and get things off the floor so I have space around


Tonights task is to strip the side panels off, and freshen up the chassis

yellowcab - 16/1/13 at 06:33 PM
Popped down again tonight but only had 20 minutes, so whipped off the side panels to give me better access to the bay
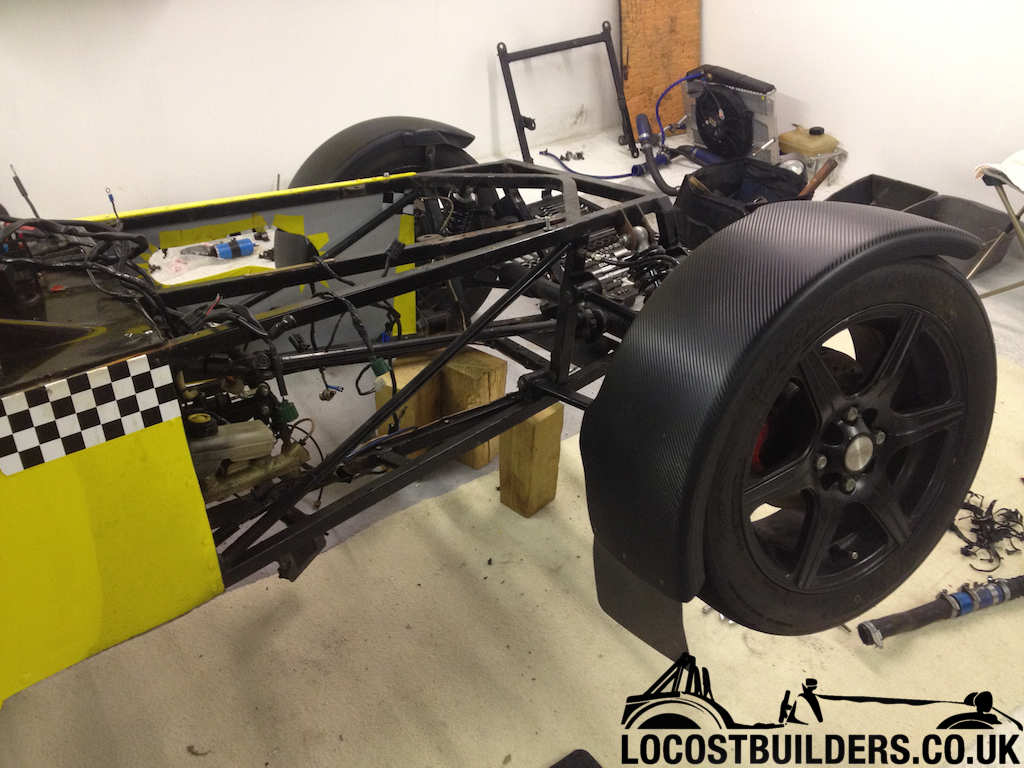
Can see the kinked chassis bar by the exhaust primary on on the nearside here
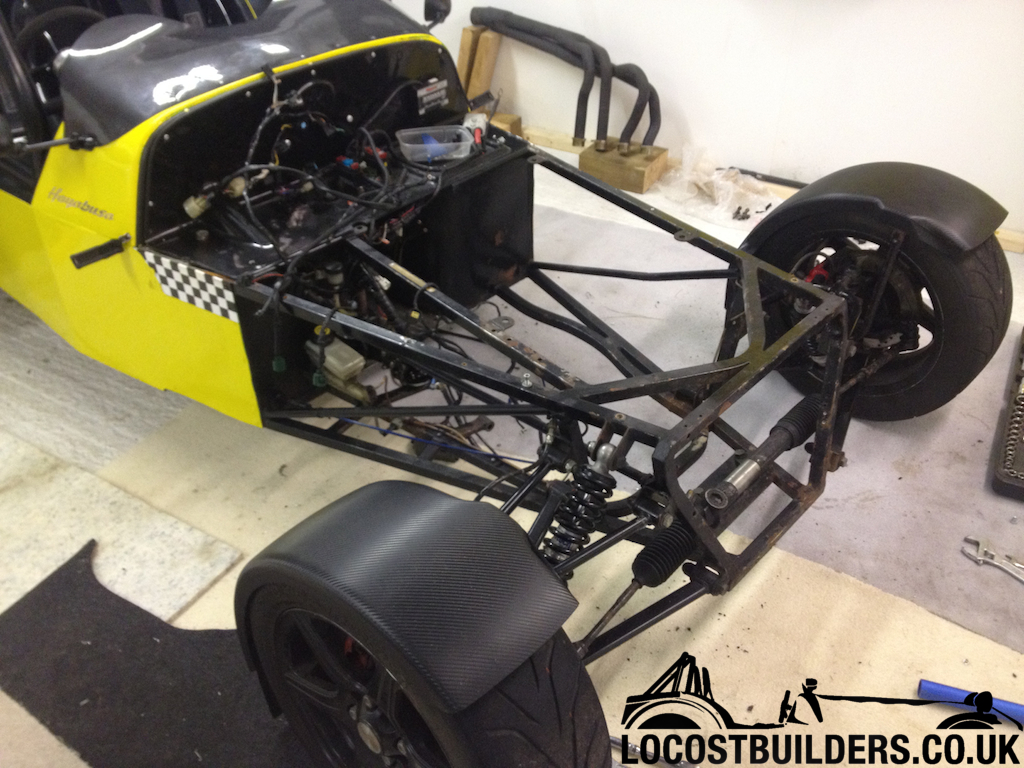
more pieces of the car hanging up lol

The loom looks scary as hell, for someone who isn't over confident with wiring, i hope it all goes back together lol
ReMan - 16/1/13 at 06:44 PM
Hope you are well, good progress I see.
But whoever put the engine back together should have put the long wobbly metal thing next to it, inside it
yellowcab - 16/1/13 at 07:08 PM
yeah I thought the engine felt lighter than before...
How are you? Sorry not been in touch for a while, hectic home life, this is the first time I've seen the car since it went bang pretty much!
[Edited on 16/1/13 by yellowcab]
maccmike - 16/1/13 at 07:34 PM
that once beautifully clean floor....
yellowcab - 17/1/13 at 08:47 PM
I'll just repaint it when the car is out lol
Oh, and when the weather has warmed up a little so it actually dries! lol
yellowcab - 23/1/13 at 06:44 PM
My god it's farking cold outside, couldn't stand much more than a couple of hours down there, here is the very little, but satisfying
progress I made lol
Gave the chassis a wash down with warm soapy water, and got rid of any stubborn road grease

Scraped off the flakey shitty paint (doesn't look powdercoated?!) and applied a thin film of Nitromorz

Back to bare

Still working away, before I wirebrush it all off
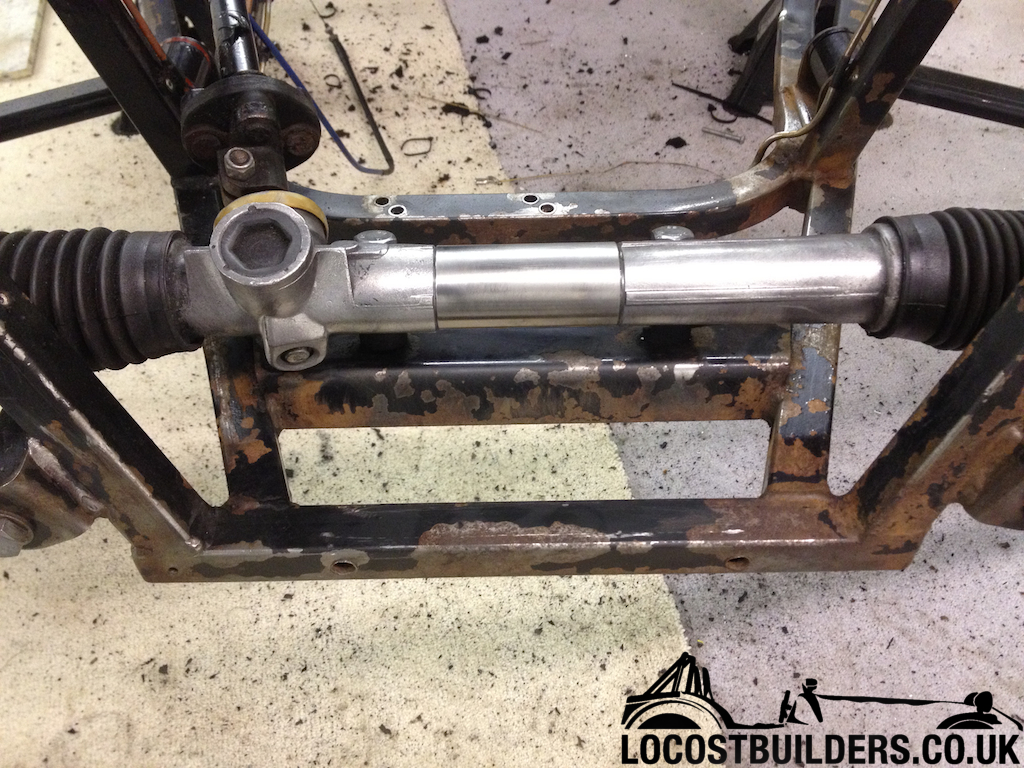
Odd place on the bulk head for paint to flake, but over the years I guess it's stone chips and gravel traps lol
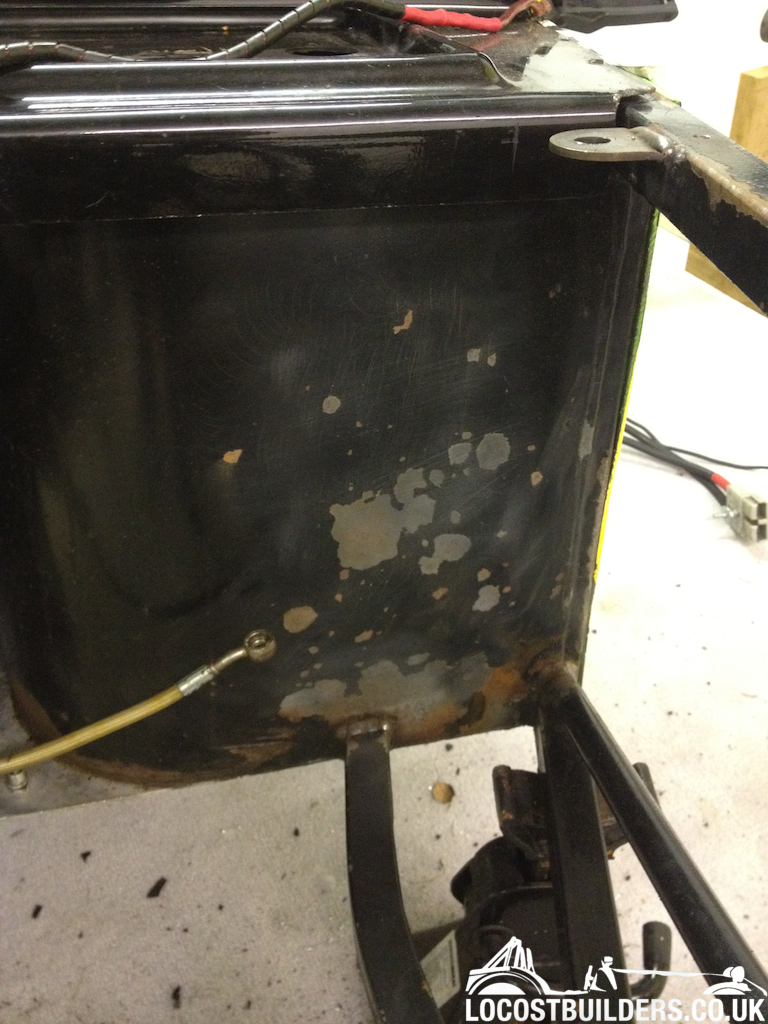
Begin the job... only the very first coat done tonight - as its not exactly ideal painting conditions

First coat
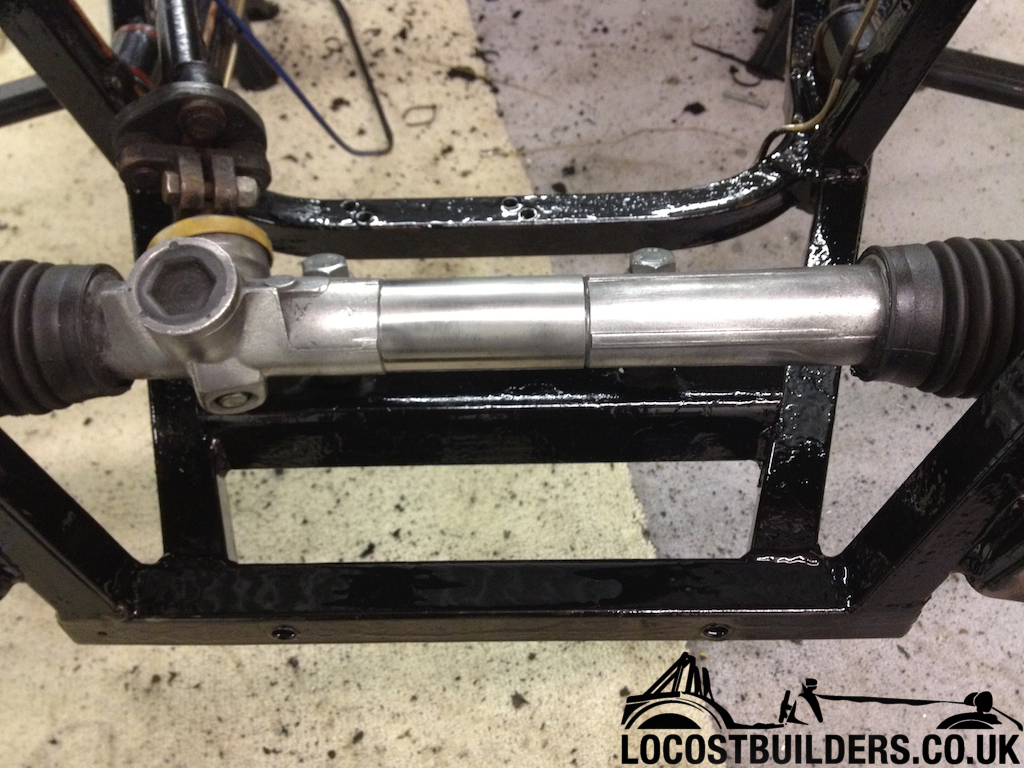
Looking better already

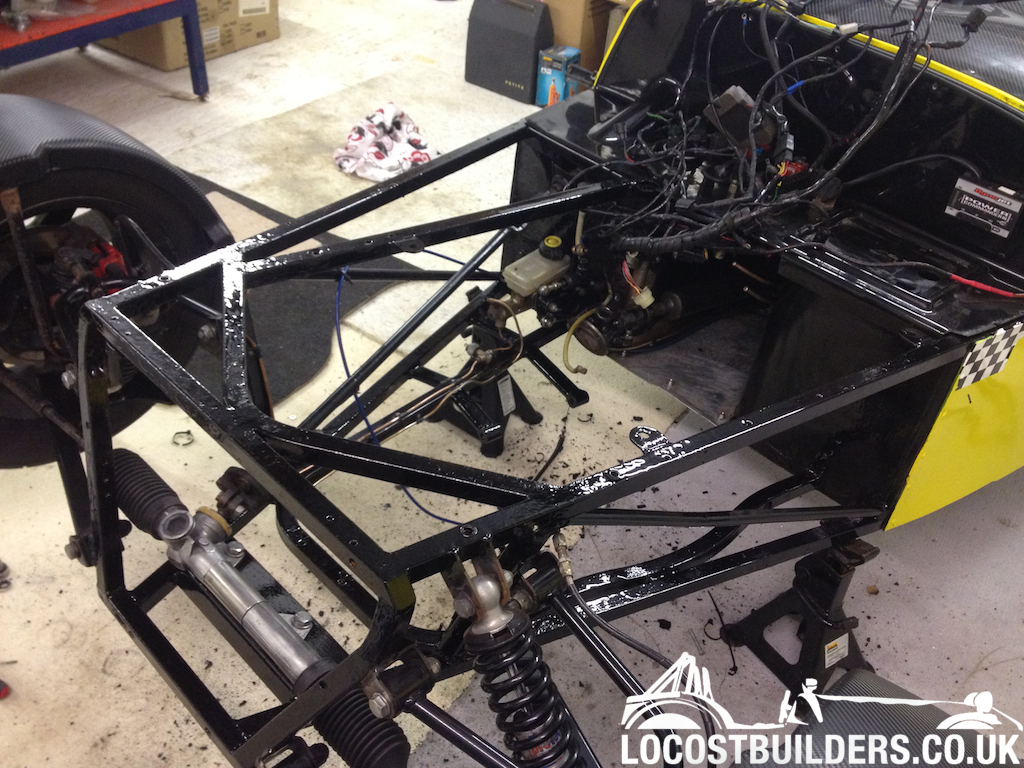
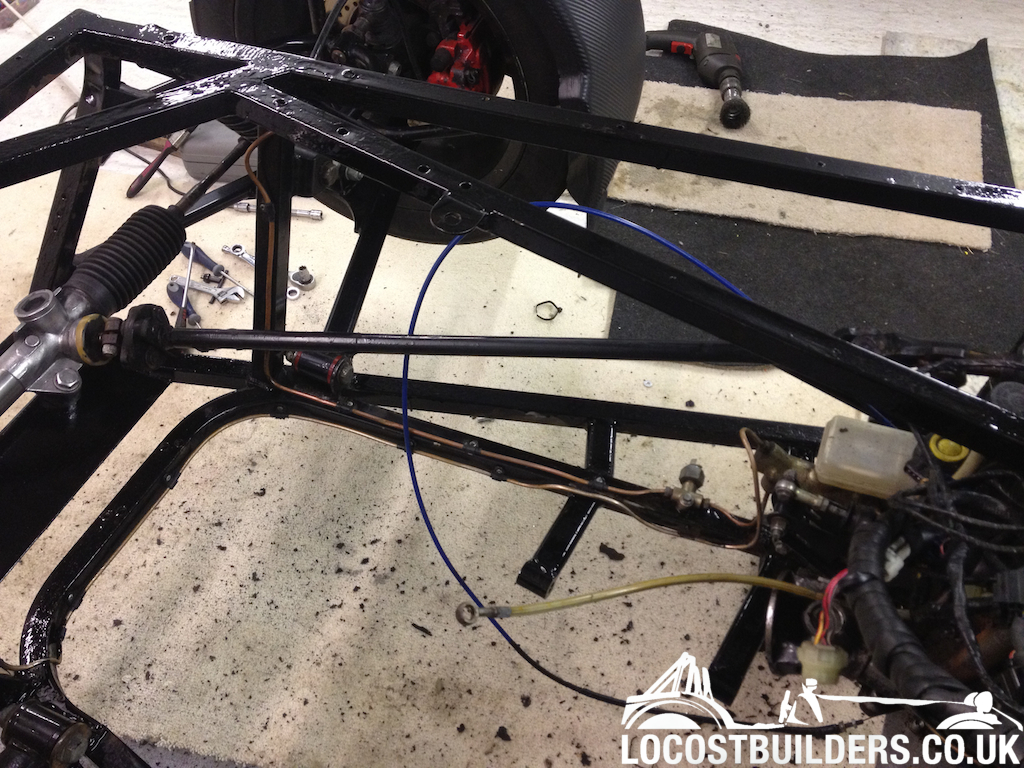
You'll notice that I still haven't removed the steering rack, suspension etc - its bceause I need the car mobile for now, once I come to do
the second coat, and tart it up - it'll all be removed.
The ideal painting temperatures are between 8 and 12 degrees, so in a garage which is minus 2... I have a feeling I'll go down tomorrow night and
it will have all reacted... we'll seeeeeee
That's all folks!
[Edited on 23/1/13 by yellowcab]
yellowcab - 23/1/13 at 06:46 PM
Also I've spoken with Danny and ordered some rear adjustable arms complete with rose joints so I can finally solve my rear wheel geometry
problem!
Looking forward to them arriving!
yellowcab - 24/1/13 at 06:50 PM
Went down the garage again for a couple of hours, stripped the rest of the front end of wheels, suspension, arms, brakes, steering rack etc so I could
continue refreshening up the chassis
Not very interesting, but pics nonetheless
One side gone

Couldn't split the hub carriers, from the arms for love nor money - so I removed them as is... however I do need to get the brake disks off, as
I'm replacing them - any tips anyone?
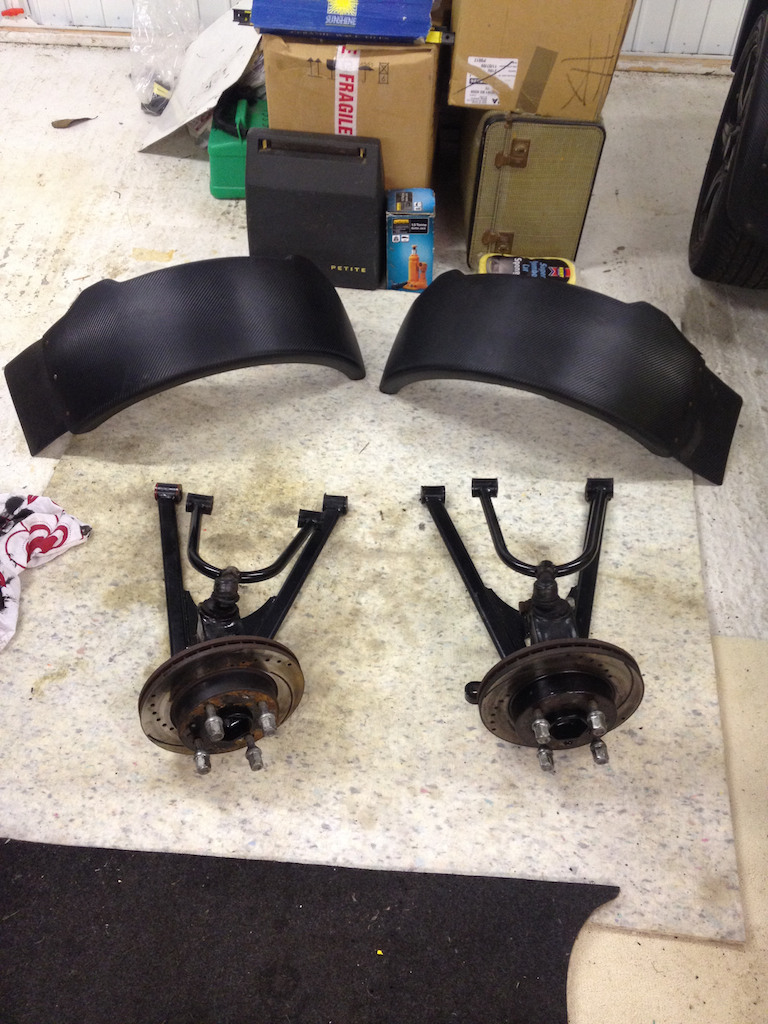
Freshen up continues, all mounting points now painted, and second coat applied to rest of the chassis


That's all for now folks, any help and advice in splitting the fronts would be greatly appreciated lol
[Edited on 25/1/13 by yellowcab]
yellowcab - 25/1/13 at 02:29 PM
Photos above now working - can't upload them to the Photo Archive on here for some reason?
Had an unexpected call from Danny Keenan from MK Sportscar today to say that my adjustable rosejointed rear arms had been fabricated, and powder
coated, and are awaiting despatch.
Yet again top notch service, considering I only called him on Wednesday, so 10/10 yet again for looking after me.
Cheers Danny!
Dangle_kt - 25/1/13 at 02:58 PM
What paint are you using on the chassis? Brush or rattle can?
Brilliant thread by the way, remember reading it a while back - shame the engine went west! 
yellowcab - 25/1/13 at 03:45 PM
I'm brushing it, so I can choose how much to apply in certain places.
I was sure to by proper Hammerite/ Smoothrite though, as the quality of the paint is amazing... it's had a good two coats so far, and letting it
set for 24 hours in between each coat.
Dead neat finish, and you can't see brushlines etc.
Thanks for the comments about the thread - looking forward to building it back up now all the components are going to be clean lol
Benzo - 25/1/13 at 04:01 PM
Looks much tidier! 
yellowcab - 25/1/13 at 04:11 PM
Cheers Benzo - just about to head out to the garage again now, to clean up the rack & arms, and second coat the front wings.
Next up is probably the rear end... we'll see how cold I get...
Buying a Clarke Space Heater tomorrow, looking forward to it not being minus 3 degrees in there!
Ben_Copeland - 25/1/13 at 04:14 PM
Olz, removing discs..... hit them with a hammer towards the hub if your not keeping them!
yellowcab - 25/1/13 at 04:21 PM
I am replacing the disks, as I bought some from Jon Ison, when I bought his Wilwood 4-pots...
I presume my current disks & brake setup isn't worth anything is it?
They're not very old you see....
[Edited on 25/1/13 by yellowcab]
yellowcab - 25/1/13 at 08:17 PM
Got the disks off, just used a rubber mallet...
Had my new replacements out the box that I got from Jon, and it seems that they're wrong stud pattern... the holes for the wheel bolts to go
through are tiny, and also look like 4x98, as opposed to 4x10⁸, so looks like I'll need new disks...
Would use my current disks, but they don't fit in between the jaws of my Wilwood calipers - grrrr
yellowcab - 25/1/13 at 08:23 PM
Old disks off

New disk on left, old on right... ohhhh

Old disk thicker, and also hub carrier part deeper

PCD well off, and smaller holes

On a brighter note, Nitromors'd the engine cradle, its awesome stuff
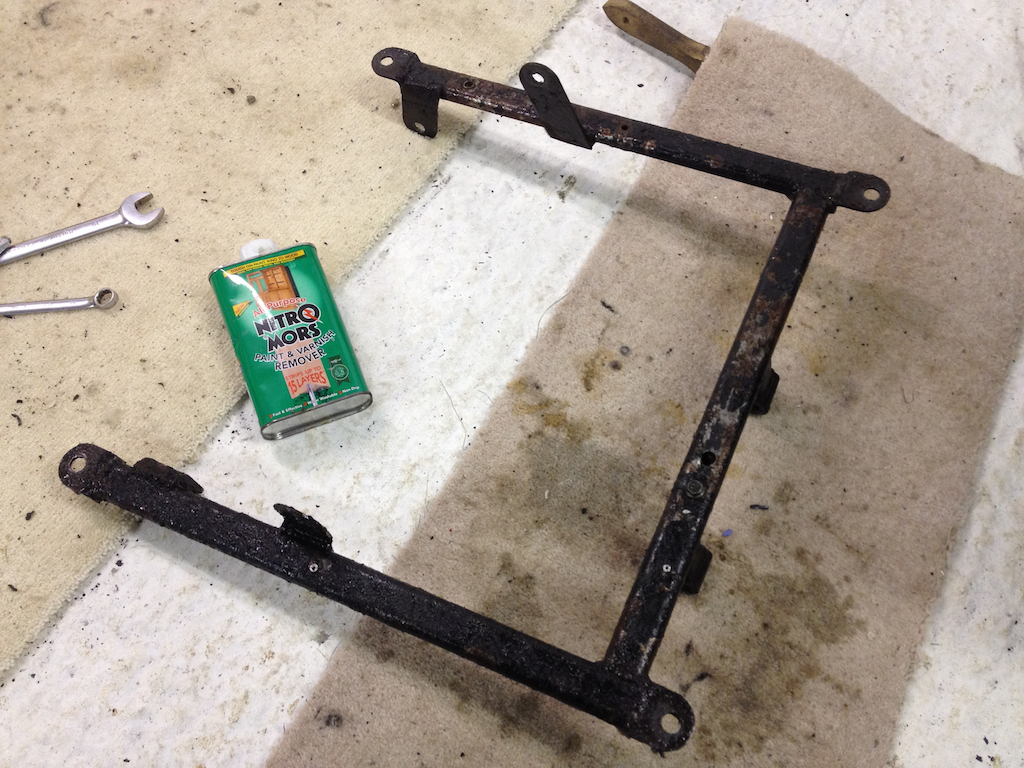

Done


Final coat applied

[Edited on 25/1/13 by yellowcab]
perksy - 25/1/13 at 09:42 PM
Fair play some good work going on there
Don't want to tell you how to suck eggs but i really wouldn't be using Hammerite on the chassis, It'll chip really easily 
(Its ok used inside the cockpit to match the black powdercoat of a black chassis etc)
Used POR 15 before with really good results on a chassis and wishbones, ok it needs overcoating afterwards but it lasted so much better
than Hammerite
yellowcab - 25/1/13 at 10:06 PM
Thanks for the reply, I did wonder how it would stand up over the years, it looks like it was never powder coated in the first place... So it's
been 8 years to get in its current condition...
The only way of powder coating it would be to strip it back to bare bare, which wasn't an option as I want to get it back on the track within 4
weeks lol
chris mason - 26/1/13 at 09:05 AM
iirc, Jon's car runs cortina hubs, your using sierra, neither the calipers or discs will fit. The callipers may be useable with a fabricated
bracket, but the discs, probably not so.
yellowcab - 26/1/13 at 05:28 PM
Chris you're totally right, and I now remember Jon telling me this - so I know its completely my error...
They're now up for sale for someone else to take advantage of  )
)
yellowcab - 27/1/13 at 06:51 PM
Never liked my current gear mechanism setup with the rod, as it was always very clunky operation because of the bracket
Looks grotty, so was time to remove the last bits to finish prepping the bay for a tidy up
Anyone that can offer any better advice, maybe by going gear cable route - please share your experience and opinions

The offending item which was always hit & miss

With that removed, it was time to look at the clutch mechanism setup, very grotty - and well in need of some TLC, again, think its way over
complicated - so would appreciate any advice, or suggestions on how to get a neater setup

All removed, wiped down, de greased, ready for Nitromors before prepping, priming & repainting

Please say if you can see anything that can be improved

Thanks in advance for any opinions, help, advice or suggestions!
yellowcab - 30/1/13 at 09:31 PM
Massive thanks to Danny @ MK Sportscar for yet again fantastic customer service & delivery... here are my new goodies to sort my rear end geometry
out...
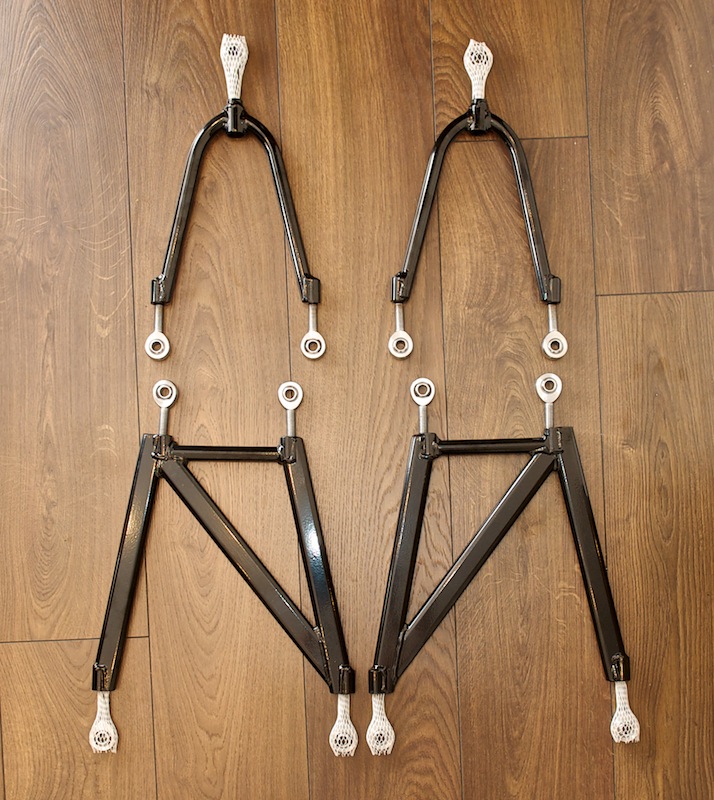
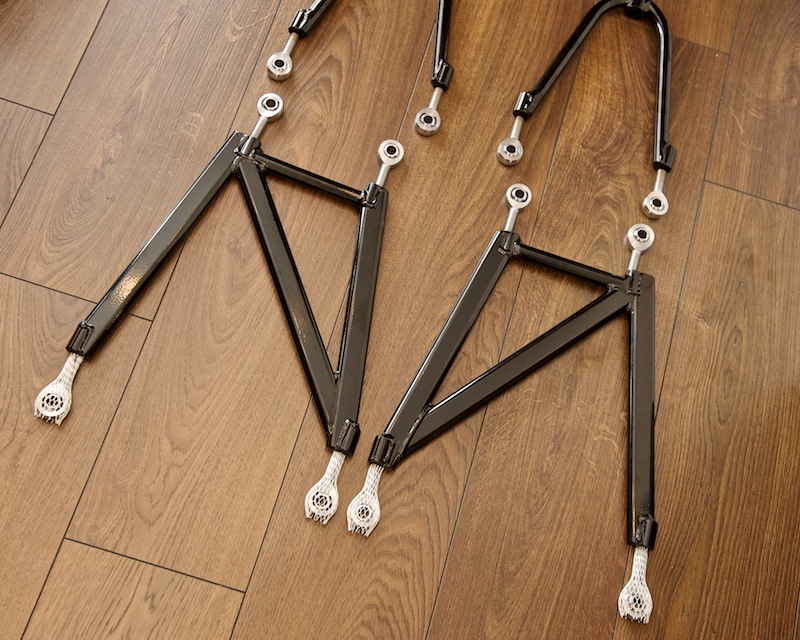
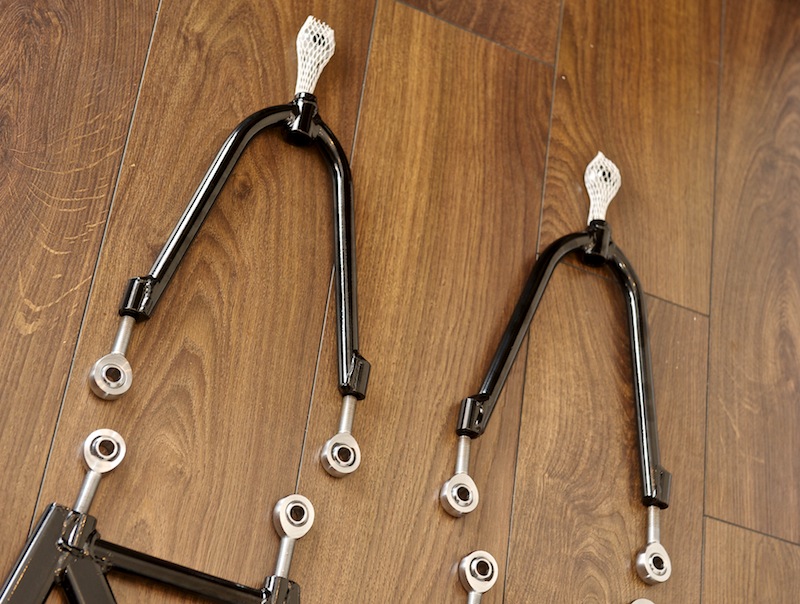
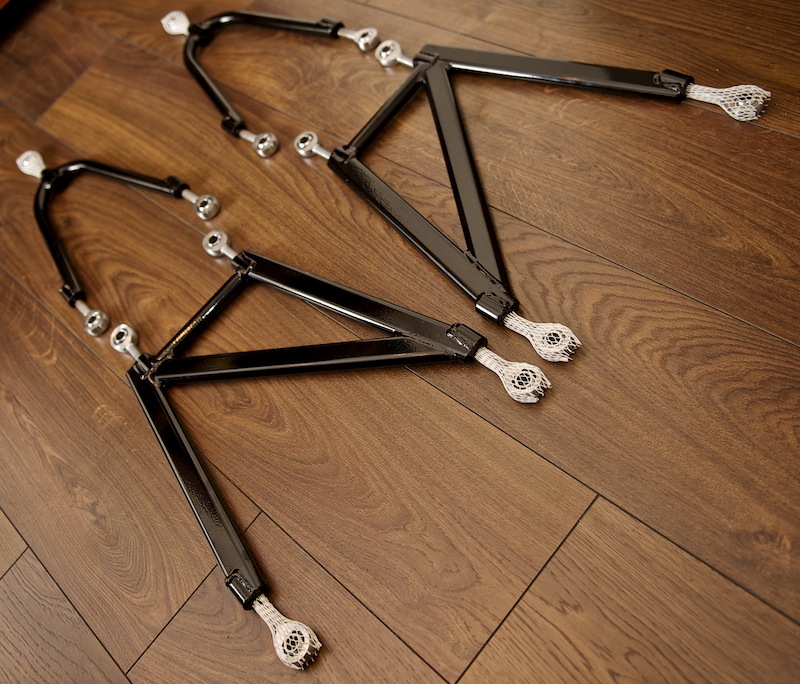
Yes, 7 photos of exactly the same thing - because they're that sexy
ceebmoj - 30/1/13 at 11:09 PM
Floor looks nice as well
snakebelly - 31/1/13 at 02:08 AM
Those bones should definitely give you some room for tweaking! Boy is it going to be a harsh ride at the back though, mostly track miles I'm
guessing/hoping?
[Edited on 31/1/13 by snakebelly]
yellowcab - 31/1/13 at 02:49 PM
Indeedy, once its up and running... along with reliable - I would say its predominantly just a track toy - I only keep it taxed & insured for the
odd good weekend weather blat... (last good weather on a Saturday was back in 1984 by all accounts)
So yeah - probably a good 75% track, with 25% road... but that ratio hasn't been achieved yet due to the unreliability of it lol
yellowcab - 1/2/13 at 11:28 AM
More bits for the rebuild... thanks to Mike & Lee @ RPE for his little parcel
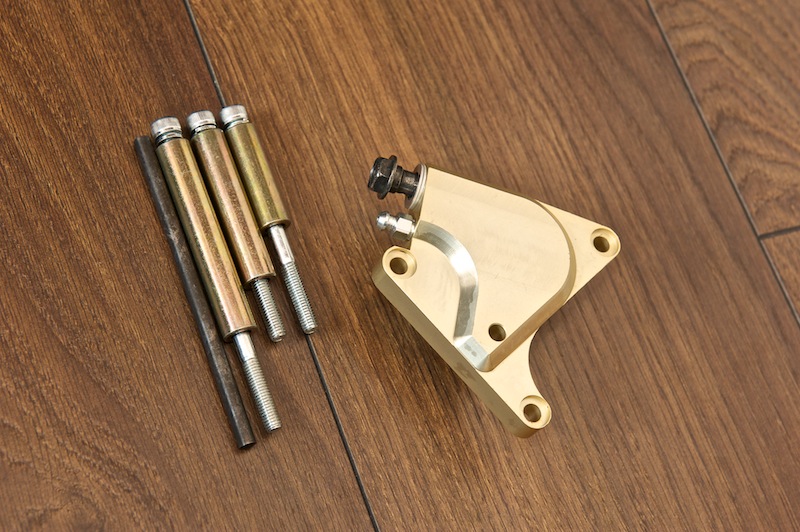
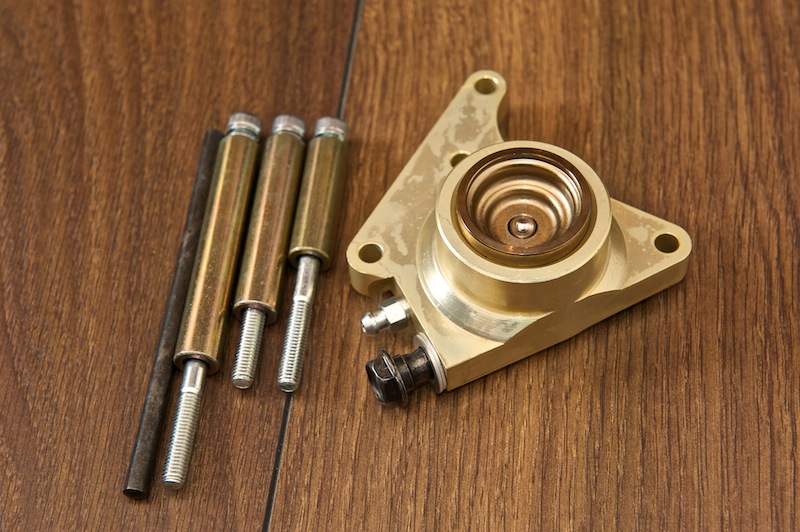
yellowcab - 1/2/13 at 05:43 PM
Massive massive thanks to Ben for this little arrival - very happy with these badboys (beware: more product shots)
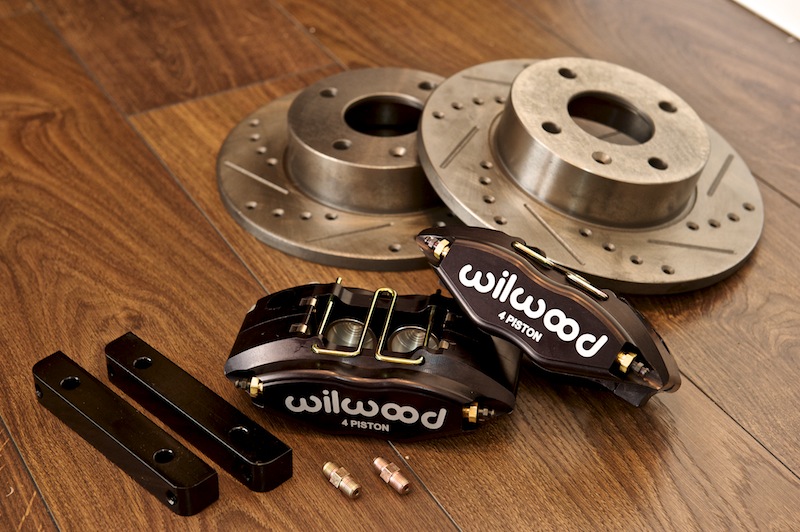
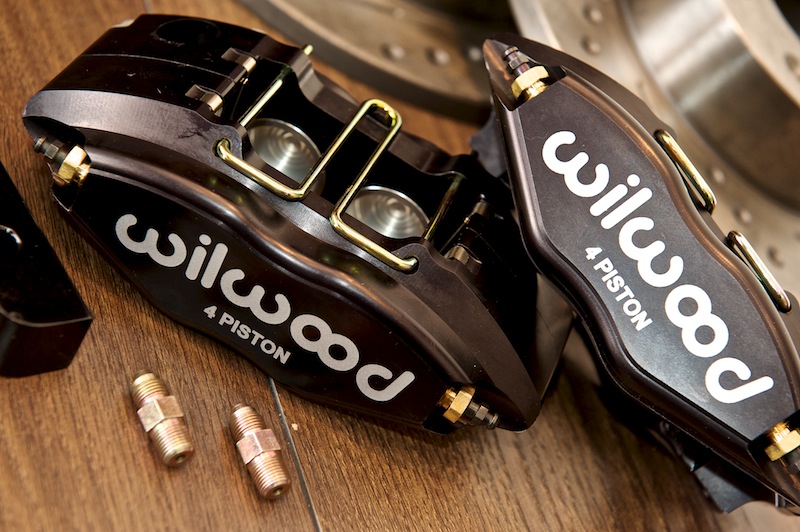
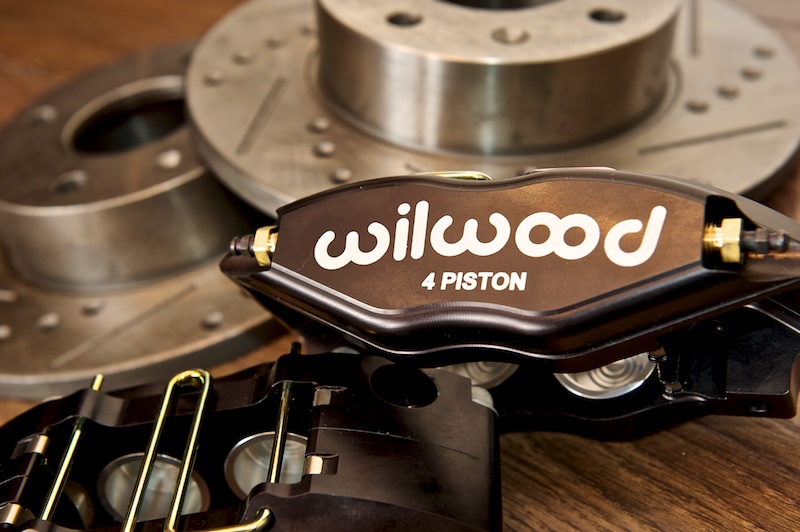
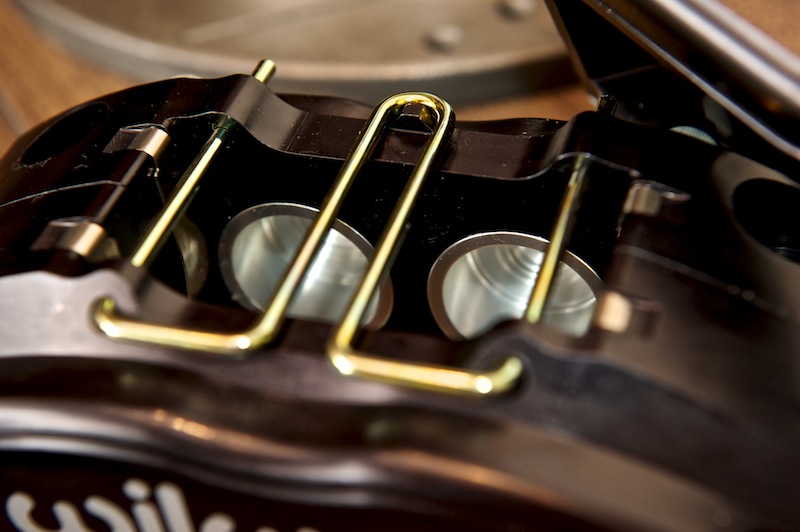
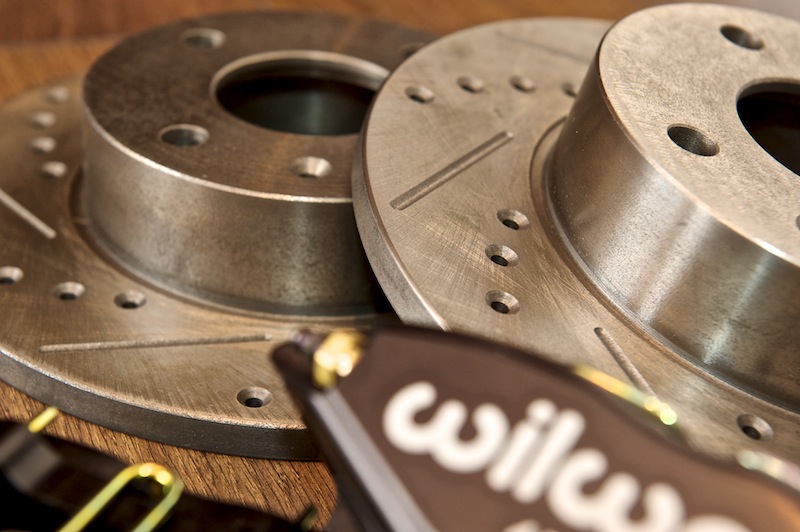
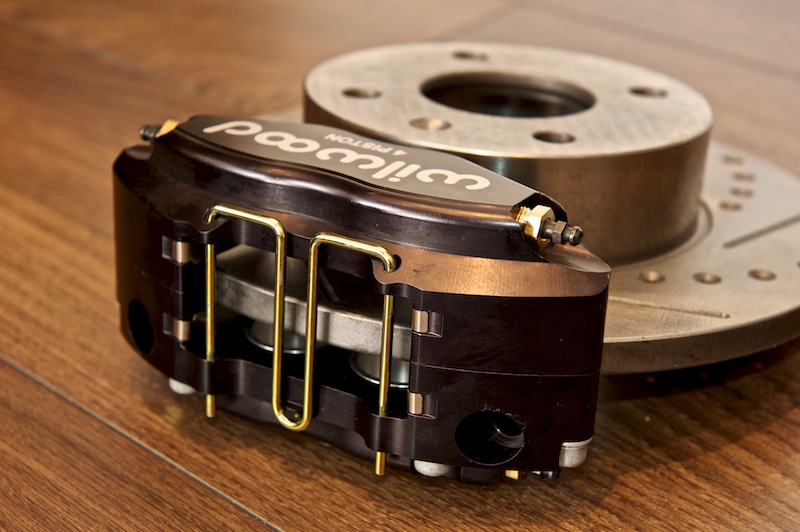
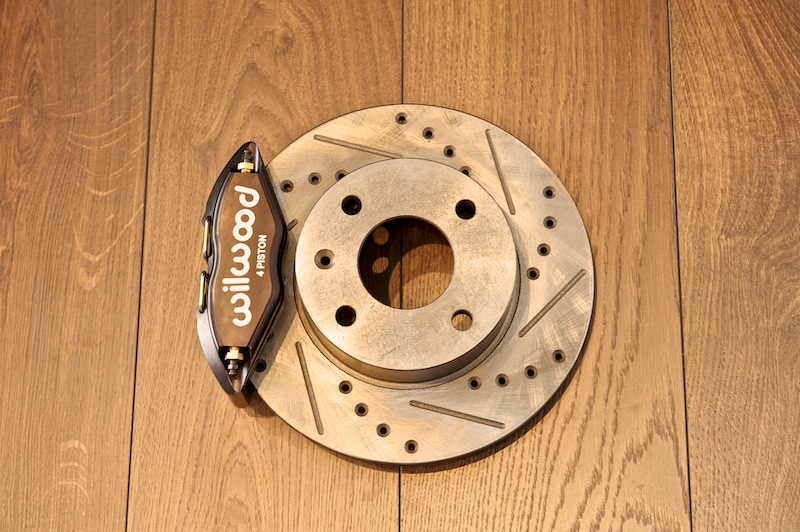
parkiboy - 1/2/13 at 06:33 PM
I'll be very interested to see your dry sump fitted, mine was done by day tuners and they put it through the fibreglass bulkhead into the
passenger footwell. Said that was the only place they could get it to fit however it way be a different tank to which you are using, which tank is
it?
If you get yours nice and tidy there I may have to rethink my current dry sump setup, it works but isn't the prettiest thing.
yellowcab - 1/2/13 at 06:39 PM
It's a standard Westfield Megabusa item that we won from eBay - was only about £22 I think, has a little ding in it, and could do with some metal
polish - but it already has the cut out so it fits around the box section...
It's where it would sit in a Westfield, which is why I presumed mine would go there too - lol
Any pics of your setup?
parkiboy - 1/2/13 at 06:47 PM
Nah I haven't as of yet, I shall take some this weekend and see people's opinions on it, I do believe my tank is a sbd motorsports one, it
was designed specifically for the busa apparently but it was around £300 and it is bloody massive to be honest!
It is a possibility they only put it where it is so they didn't have to mess around with some wiring that would be in the way, for some reason
the guy who built it put the Ecu there.. I'm wanting to redo all the wiring but it looks scary lol.
yellowcab - 1/2/13 at 06:55 PM
tell me about it mate, i was disconnecting wires left right and centre the other day absolutely crapping myself as I have no idea how it all goes back
together!
i'm advising you now, if your car currently works, then keep it like that!
wish i hadn't bothered with what i have done to mine already... however needs must!
yellowcab - 1/2/13 at 07:03 PM
for those that read this post regularly... I need you opinions & advice please lol
So the stripdown and clean up continues, and the wiring needs redoing whilst I'm at it - I'm sure I can shed a few kilos in unwanted wires,
and plugs that are just taped out the way!
On the MK, the bulkhead leading into the tunnel is curved, which, it might have looked pretty one day - or rather Ben pointed out is probably for a
Type 9...
You can see the grotty bulkhead on the left hand side, probably not as bad as it looks, just needs a good lick of paint
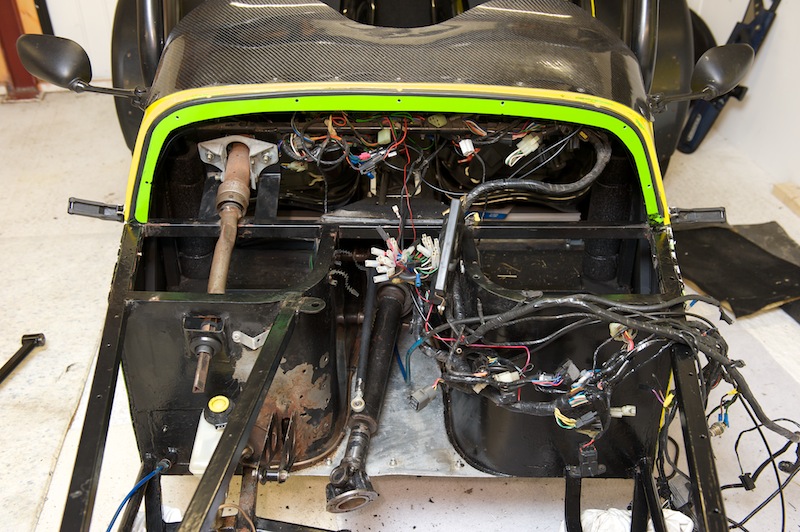
Here is a close up of the mess, the random holes which looks like a cross between a cheese grater, and a sieve... these were holding the gear shift
mechanism onto the bulkhead lol the clutch bracket is welded on as you can see, but it is done so as it enters the curve to the tunnel
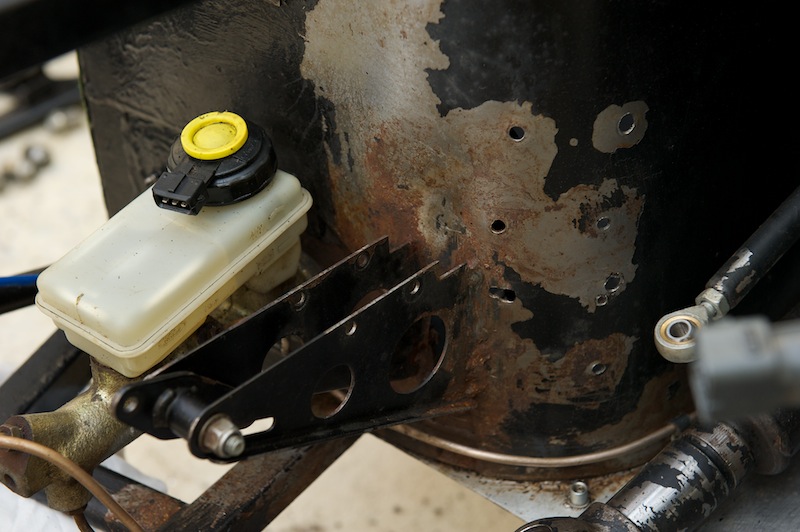
I wanted to cut it off and replace it anyway, and get a Wilwood clutch 0.625 master cylinder with an integral reservoir, but my problem is below, the
master cylinder obviously has to exit the pedals and bulkhead at a 90degree angle, which means it cant be bolted straight on, also - the slotted hole
of where the old clutch pedal rod would also cause an issue.
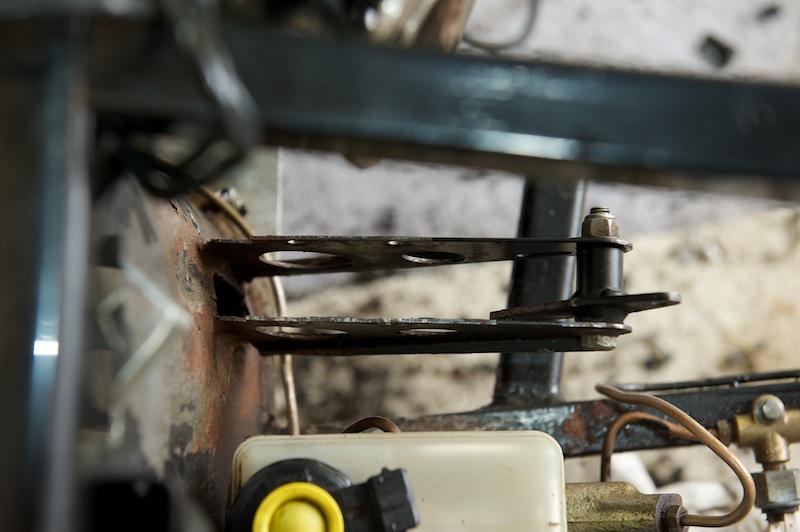
Would you advise me just to get the angry grinder out, cut the whole lot out, re-weld a new piece in... without a curve... I'm aware i'd
have to then replace the front to rear copper brake line...
Or do I just put a section in where necessary?
Answers on a postcard sent by pigeon please.
[Edited on 1/2/13 by yellowcab]
yellowcab - 1/2/13 at 07:08 PM
Oh, and its probably worth mentioning that the bulkhead has previously been patched up...
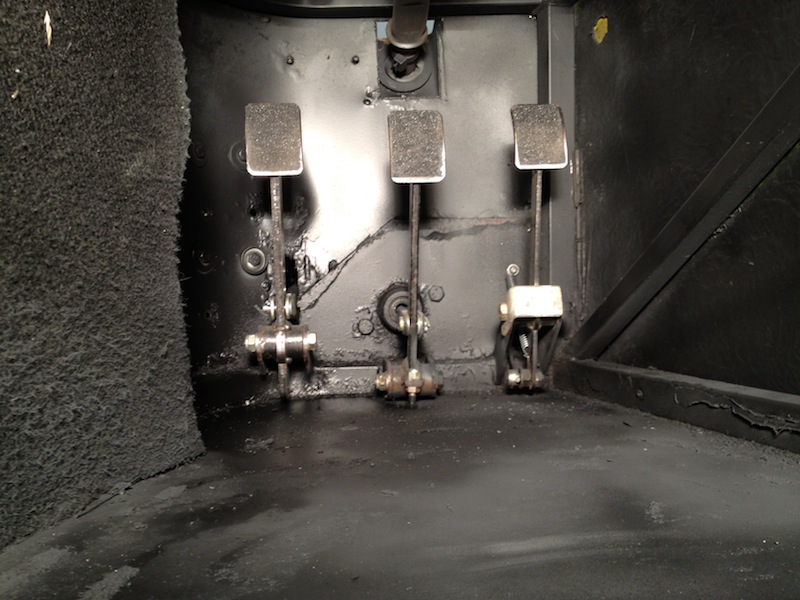
sdh2903 - 1/2/13 at 07:27 PM
While you've got it stripped cut it all out and do it proper. Gets rid of all the botch bits and makes clutch cylinder mounting easier. If you
don't, You will look back at it in a few months and wish you had.
Won't cost much, tenner for sheet metal, tenner for some copper/nickel brake pipe and an afternoons work.
[Edited on 1/2/13 by sdh2903]
yellowcab - 2/2/13 at 01:01 PM
I agree - I think if it don't do it - i'd regret it!
yellowcab - 3/2/13 at 06:31 PM
So a big thanks to Col today who lent me a couple of hours, and some kit so I could get cracking.
Sometimes all you need is a fellow LCBer to tell you to stop fannying around and get on with it... so we did...
We lopped off the old clutch mount, and welded up the cheese grater holes from the old gear linkage bracket

Looks better than I had imagined already, and gone back to bare metal, and will prime & repaint it
Secondly - fitted the Clutch Slave Cylinder to the engine, so its another thing out the way

At that point, turned attention to the rear, whipped off the rear wheels and had a mooch at the pickups etc

Also removed the fuel tank, high pressure pump, to measure up for a new tank

The measurements I have for the new tank is 19cm deep at the bottom, 12cm at the top, 40cm high, and 53cm wide... my concern with this is that it fits
snug under the lip of the rear clam, and I'm pretty sure I won't have enough height for the inlet pipe...
Relph - 3/2/13 at 08:22 PM
Hi mate, great thread. Do you mind me asking where you got your clutch slave cylinder from ? And how much ?
Thanks
yellowcab - 3/2/13 at 08:32 PM
You can get them direct from SBD for £190 for the whole fitting kit, or Danny @ MK Sportscars for the same amount.
Extreme sell them, as do Nova.
I happened to get mine from a friend, it was surplus to requirements
Rob55 - 4/2/13 at 12:18 AM
When you have it stripped back as far as this would you not consider putting in a brake bias pedal and separate master cylinders? Seems an ideal time
to do it!
[Edited on 4/2/13 by Rob55]
yellowcab - 5/2/13 at 05:41 PM
Having got my engine cradle back from the powder coaters in gloss black, and how nice it looks and smooth - it's made me decide to strip back my
newly painted chassis back to bare metal, and I've placed an order today with Frosts for some POR Paint Stripper, POR Marine Clean, POR Prep
& Ready, POR Rust Preventative and POR15 Blackcote lol lol lol 
Should have it looking a damn site nice than the Hammerite/ Smoothrite currently does, and more permanent!
yellowcab - 5/2/13 at 06:35 PM
Almost went a whole post without a photo - jeeeeez whats up with me!
Anyway - the reason I wanted away with the standard clutch MC and bracketry was because of the 3 little rods, 4 rose-joints, and a pivot all might
have had the slightlest play in them, add all the bits of play up - and you get a sloppy pedal (ohhh errr) that together with the remote reservoir
that I wasn't keen on visually...
Searched eBay for the cheapest 0.625 Integral MC I could find, which was £24.99 free delivery, and this little beauty turns up, very happy - as
I've had CompBrake components before on previous cars, pedal box in my Nova, eccentric top mounts etc.
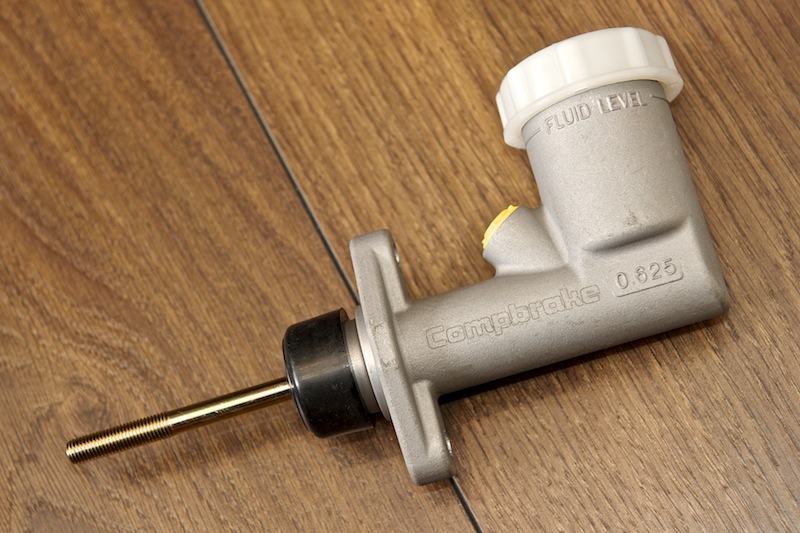
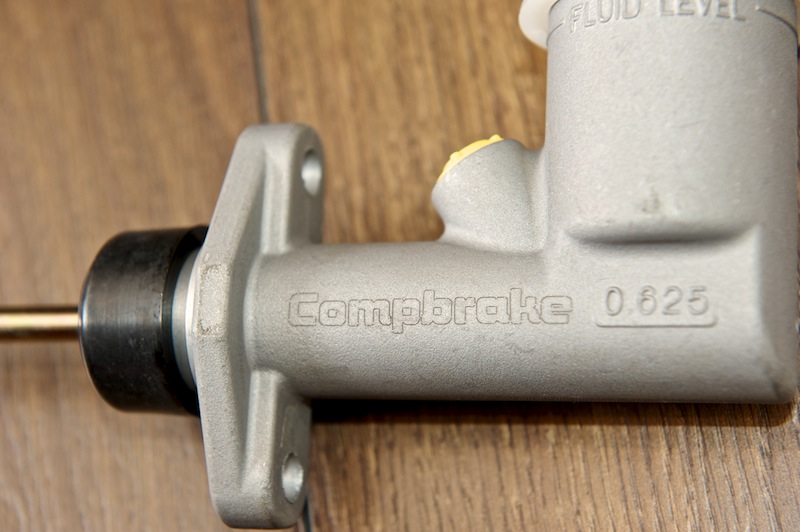
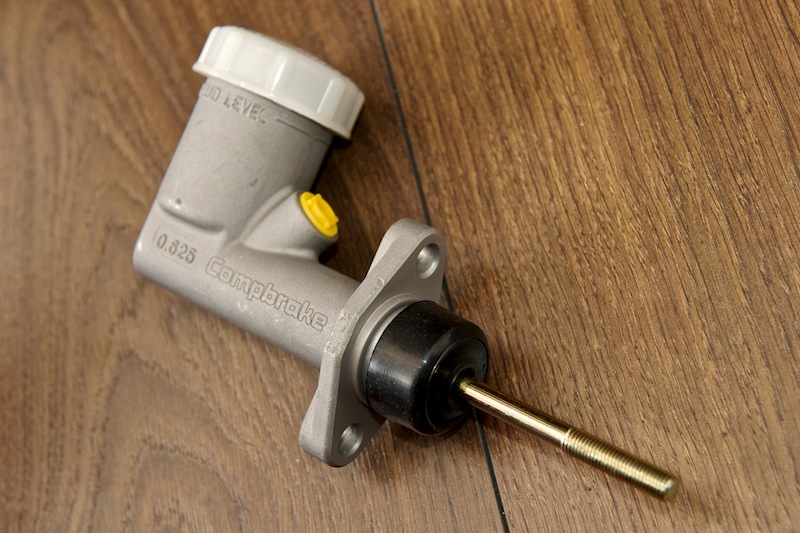
perksy - 5/2/13 at 07:31 PM
quote:
Originally posted by yellowcab
Having got my engine cradle back from the powder coaters in gloss black, and how nice it looks and smooth - it's made me decide to strip back my
newly painted chassis back to bare metal, and I've placed an order today with Frosts for some POR Paint Stripper, POR Marine Clean, POR Prep
& Ready, POR Rust Preventative and POR15 Blackcote lol lol lol 
Should have it looking a damn site nice than the Hammerite/ Smoothrite currently does, and more permanent!
Good Man 
If your going to all the trouble your going to you might aswell do the best job with the best materials you can.
Like i said before Hammerite won't last long for your application and is better suited to garden gates.
Please make sure you follow the safety instructions with POR 15 as it can be nasty stuff.
Benzo - 5/2/13 at 07:47 PM
quote:
Originally posted by yellowcab
Having got my engine cradle back from the powder coaters in gloss black, and how nice it looks and smooth - it's made me decide to strip back my
newly painted chassis back to bare metal, and I've placed an order today with Frosts for some POR Paint Stripper, POR Marine Clean, POR Prep
& Ready, POR Rust Preventative and POR15 Blackcote lol lol lol 
Should have it looking a damn site nice than the Hammerite/ Smoothrite currently does, and more permanent!
would it be a huge job to strip the rest now you are there and have it sandblasted and powdercoated?
yellowcab - 10/2/13 at 08:19 PM
Went down the garage this afternoon as I found a couple of hours (isn't it nice when that happens!)
Delivery from Frosts came rather quick
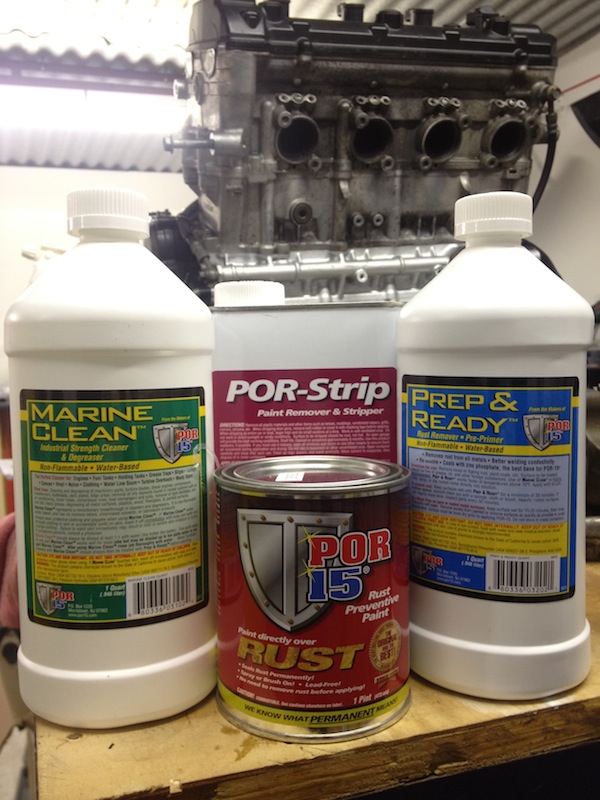
First things first, was the POR Strip... works a damn site better than Nitromors - and much cheaper!

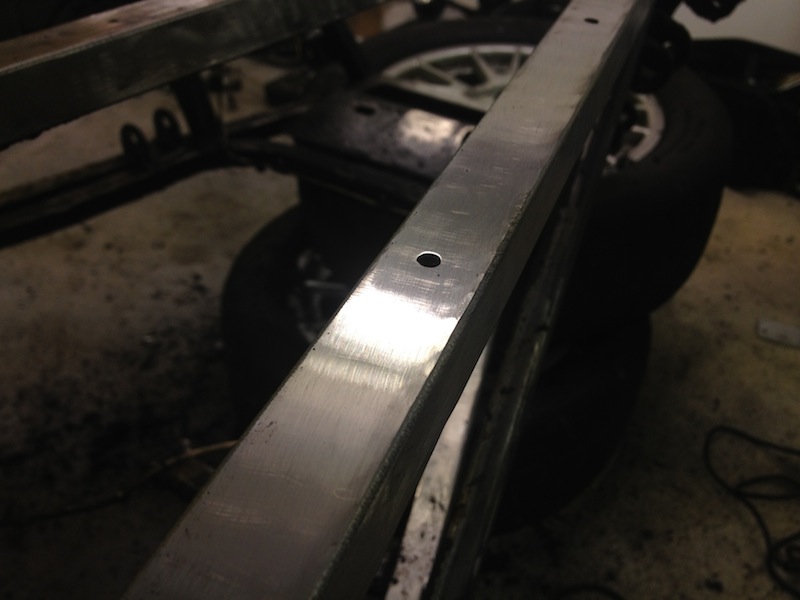
Then ReMan popped in to lend a second pair of hands, getting the car up in the air much easier to work on

Tacked together some 3mm, to make a right angle for the clutch MC to sit on, so it exits the pedal bang on 90degrees

Drilled the cylinder hole, and the mounting holes - and dry mounted it to make sure its all spot on
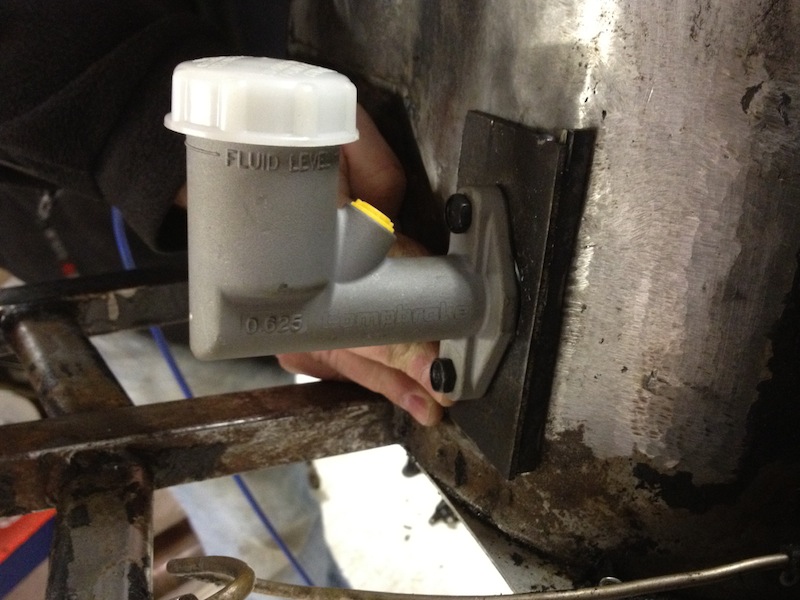
Seam welded it together, making sure plenty of penetration... I know tacks would have suffice, but better safe than sorry
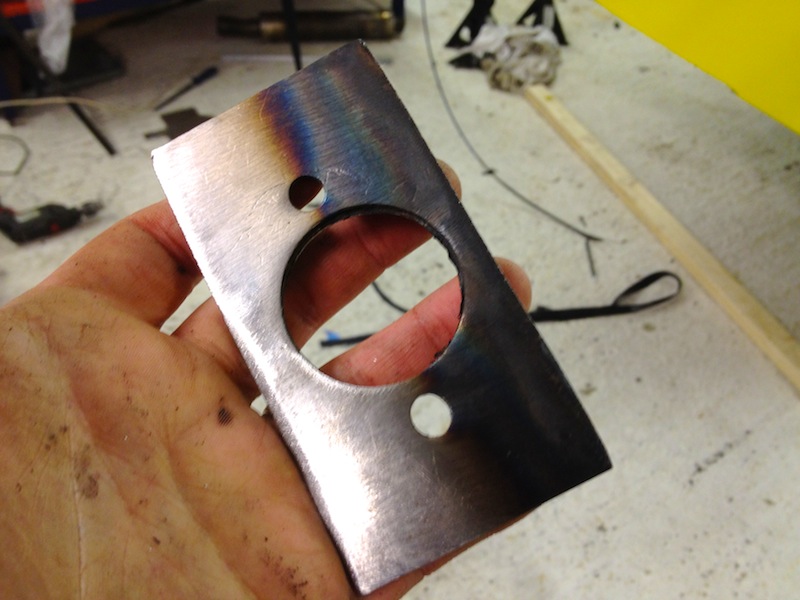
Both sides, on the inside and outside
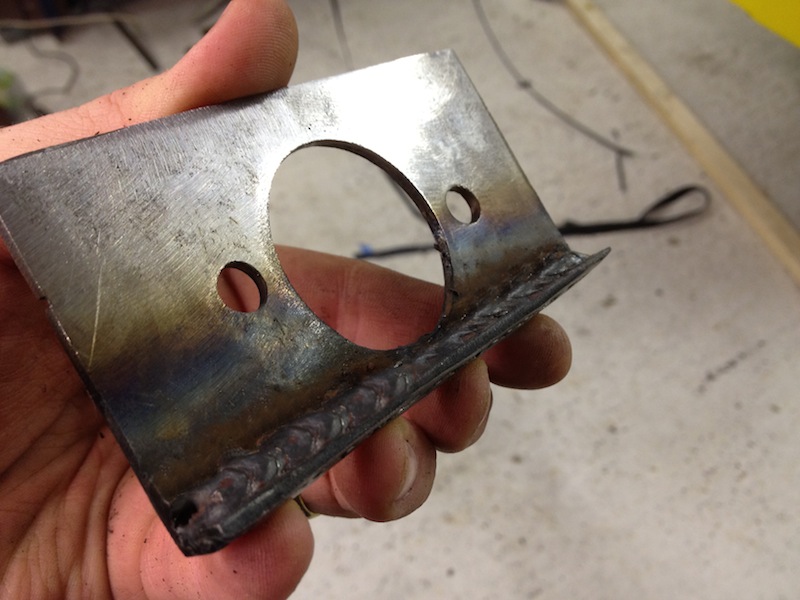
Tidied it up, buzzed it off ready for welding to the car
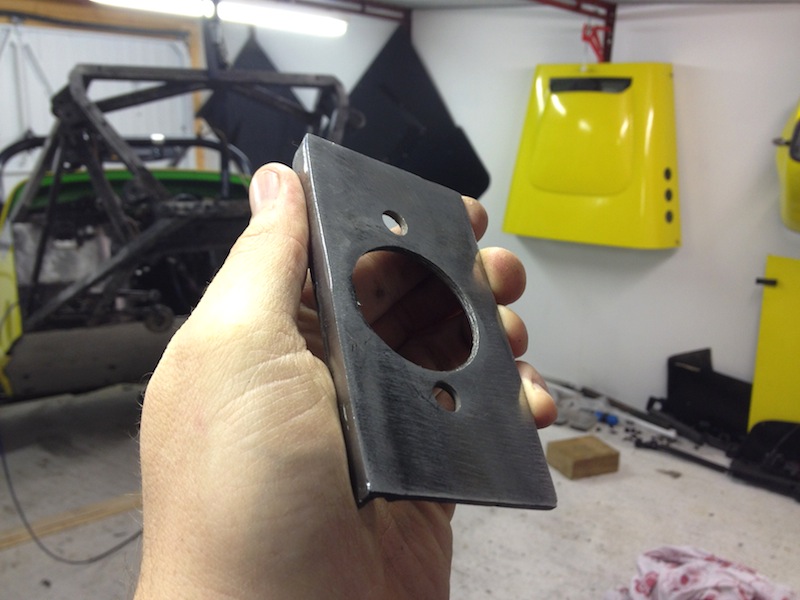
Job jobbed, thanks for your help today Col

[Edited on 10/2/13 by yellowcab]
:{THC}:YosamiteSam - 13/2/13 at 08:42 PM
quote:
Originally posted by BobM
quote:
Originally posted by yellowcab
Do people with Busas tend to have a list of 'suppliers' in their favourites that they'd like to share?
As already stated most stuff from local Suzuki dealer but I also occasionally used to get stuff from Powertec, now changed their name to Radical
Performance Engines:
http://www.rpeonline.co.uk/categories/Suzuki-Hayabusa/
Also on Ebay (often have more stuff than currently):
http://stores.ebay.co.uk/Powertec-Engineering-Ltd
Also occasionally stuff from BigCC Racing:
http://www.bigccracing.com/shop/category.asp?idCategory=50
another i use is
extreme engines
just found this thread - keep it up - some good work
btw the clutch i use is standard oem suzuki and use 10% stiffer springs from extreme - they work great
ceebmoj - 13/2/13 at 09:14 PM
Did you get the wilwood's from a trader? If so do you have a link im looking for a good price for a pair at the moment.
yellowcab - 13/2/13 at 09:15 PM
I got my Wilwoods from RalDes mate 
cfc999 - 14/2/13 at 11:06 PM
Just spent the last hour reading all your post's. Well impressed.
I had my 1995 Striker chassis stripped (placed in a big oven and cooked for 24hrs) then had a custom cage fitted and sent it back to be powder
coated.
The stripping plus the powder coating cost around the £200 mark.
Done by Ribble Technology in Preston Lancs.

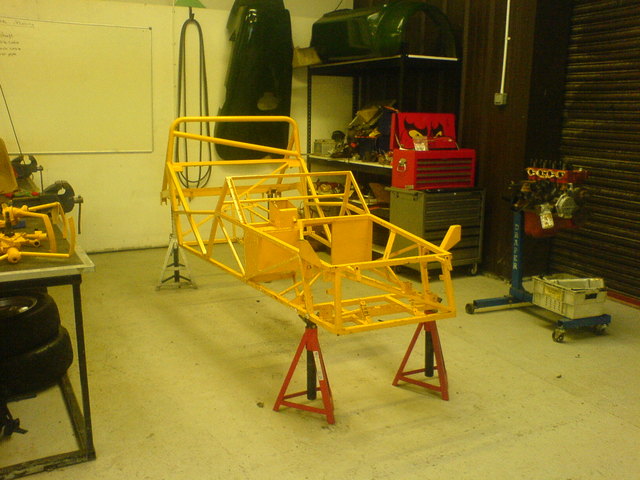
Description

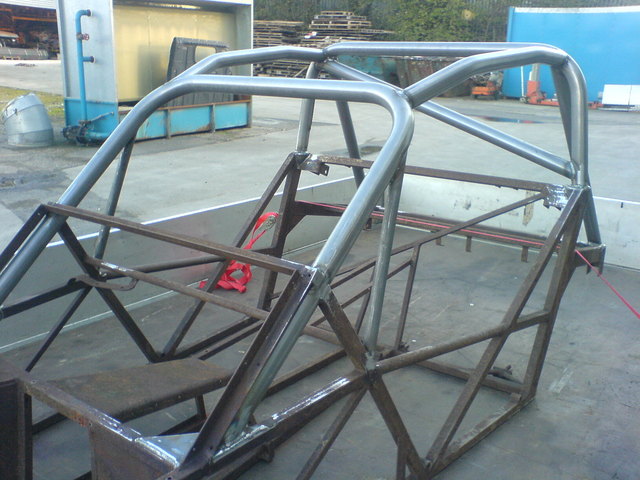
Description

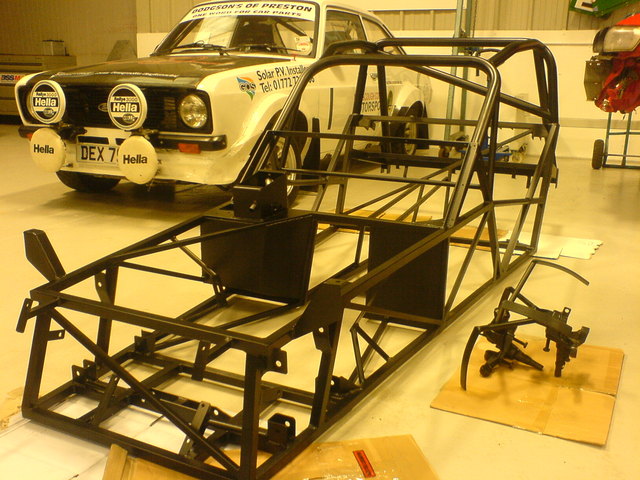
Description

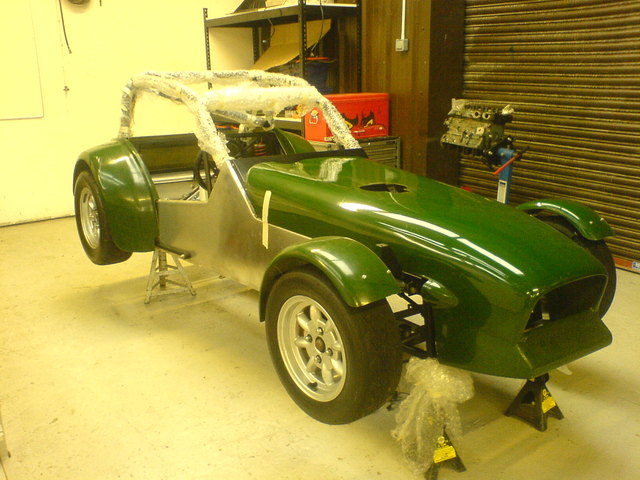
Description
[Edited on 14/2/13 by cfc999]
[Edited on 14/2/13 by cfc999]
[Edited on 14/2/13 by cfc999]
[Edited on 14/2/13 by cfc999]
phelpsa - 14/2/13 at 11:14 PM
quote:
Originally posted by cfc999
The stripping plus the powder coating cost around the £200 mark.
Done by Ribble Technology in Preston Lancs.
That sounds like a bargain to me!
yellowcab - 15/2/13 at 07:03 PM
cfc99 that does sound like a fantastic price mate! in hindsight maybe I should have continued stripping it back down to nothing - but hey ho,
i've got all the gear now, so its go go go.
So it still needs neatening up, but I welded my box section to the bulkhead for my clutch MC, and to give me the 90degrees that I needed
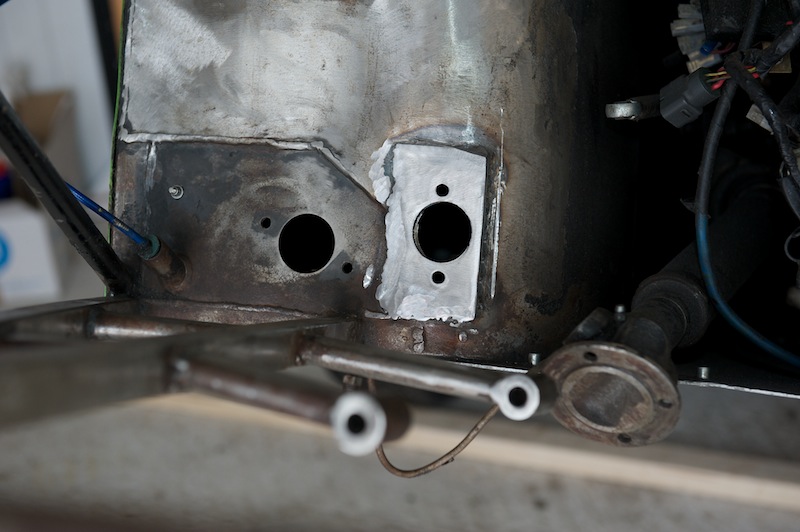
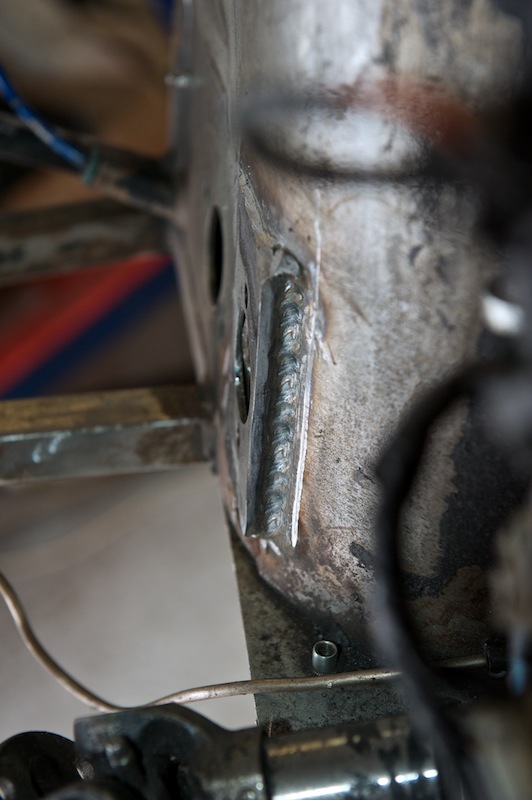
Front end now full stripped, awaiting dry fit of engine so I know where the gear cable brackets need to be mounted, then it'll get painted back
up again
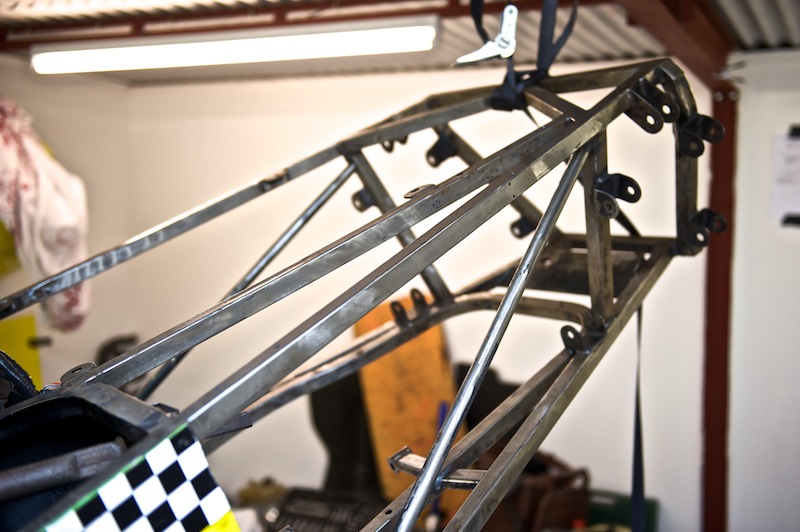
Off to the garage now, as the misses has mates coming around, win/win
yellowcab - 20/2/13 at 09:14 PM
So I spent a couple of hours in the garage tonight, doing something that I had been putting off doing alone... but I did it lol
Got the car down from the roof, and decided to dry-fit the engine, to see where I needed to re-weld the chassis tube that was fouling exhaust
manifold primary no1.
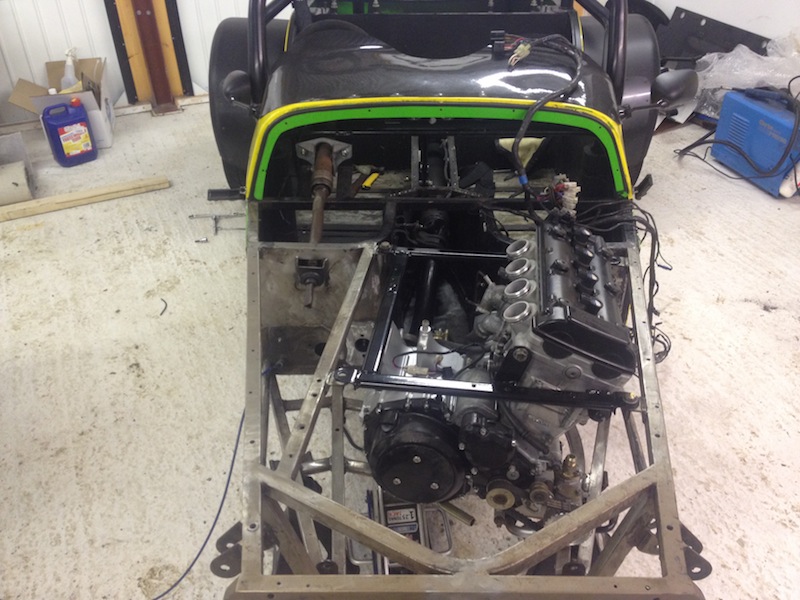
However, upon killing myself dropping it in by myself, I noticed that it wouldn't sit all the way down comfortably, and straight... which was odd
- because it was the same engine that I took out... or is it ?!.... NO, it has a dry sump setup & pump on it now...
So I see that the previous owner once upon a time also had one, as he decided to let a hammer, meet the chassis in order to get his to fit
See here is where it fouls
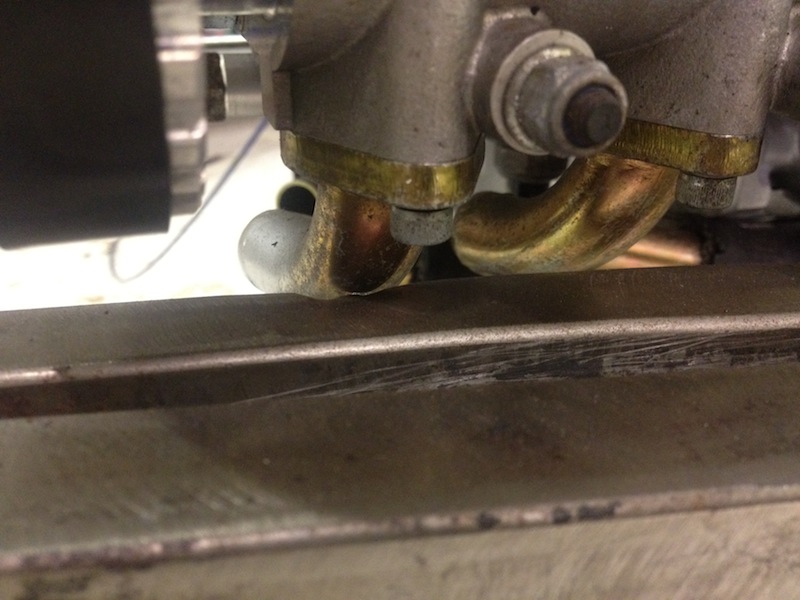
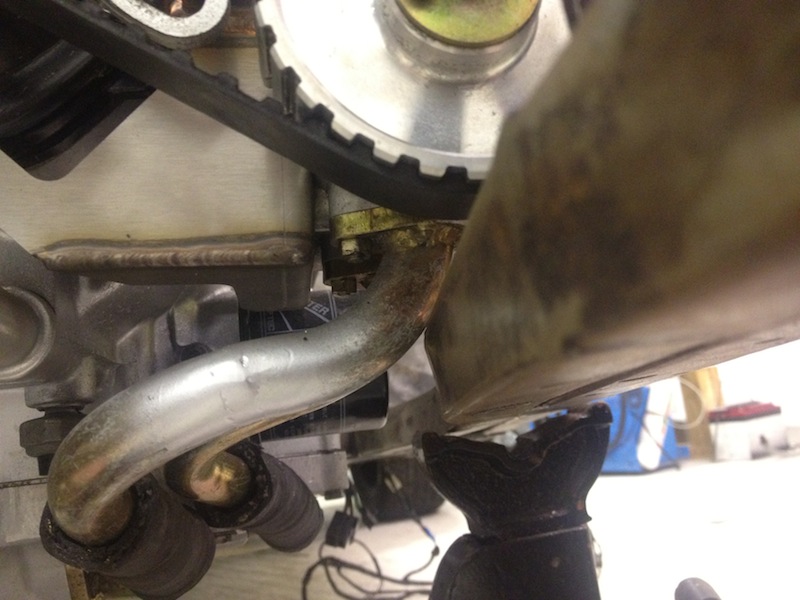
Continuing with that I had set out to do, I moved the triangulation bar down so the exhaust cleared nicely, and rewelded this back into place
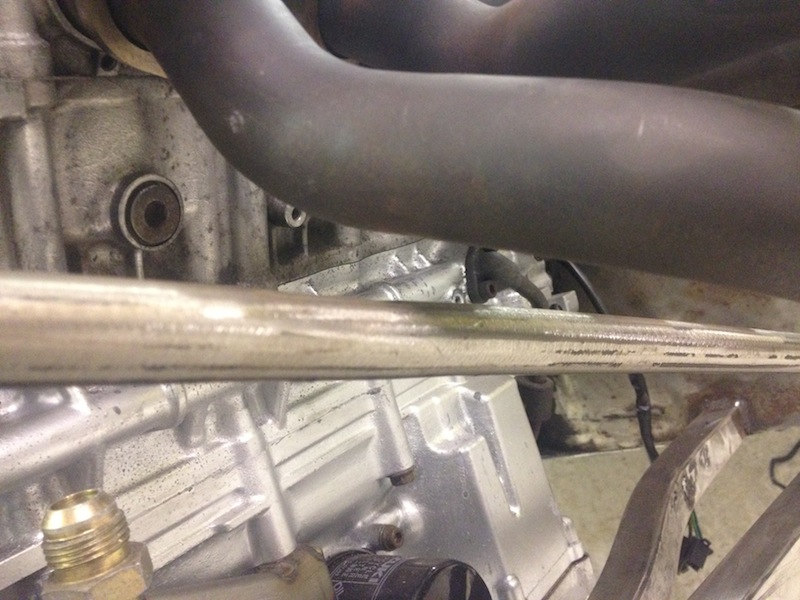
This is how far it had to be moved down in order to clear
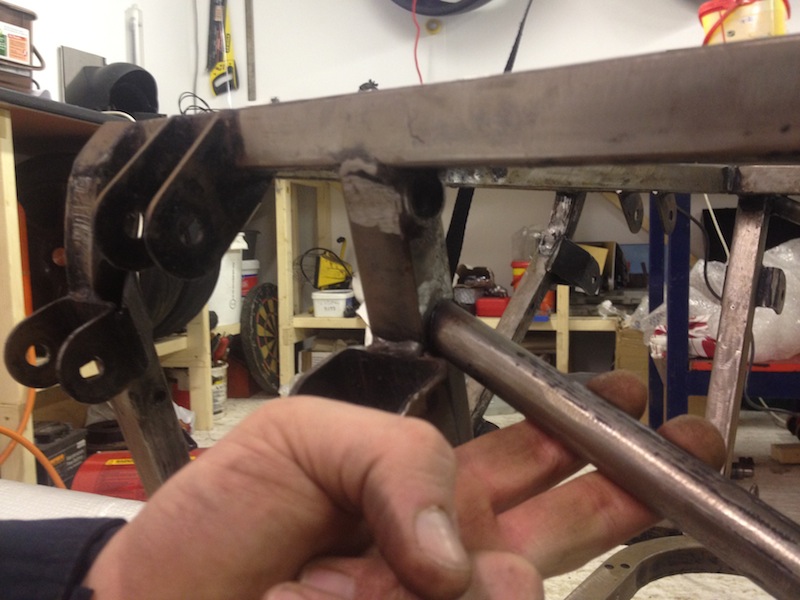
So I seam welded around the tubing making sure it got plenty of penetration - job jobbed!
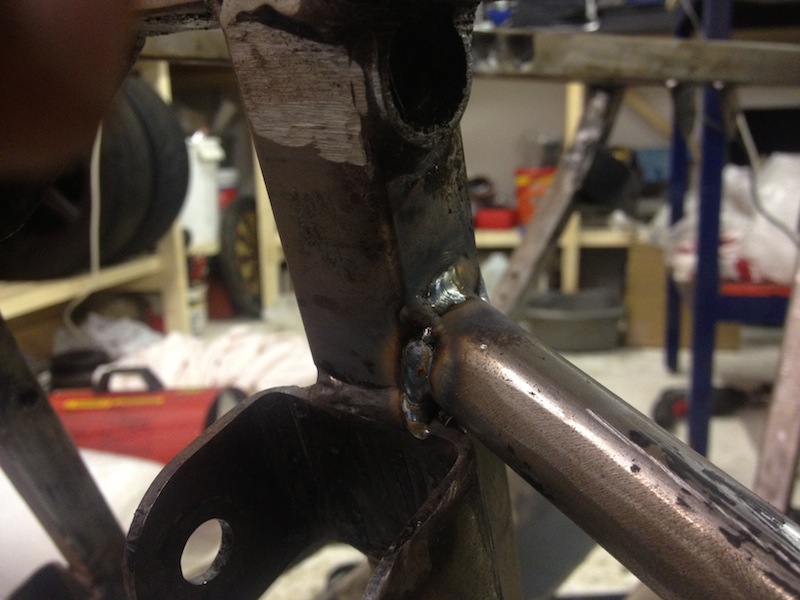
Next up was to weld the bracket to my chassis where the gear cable will be mounted, so I measured exactly 90 degrees to the gear selector take off in
the engine bay
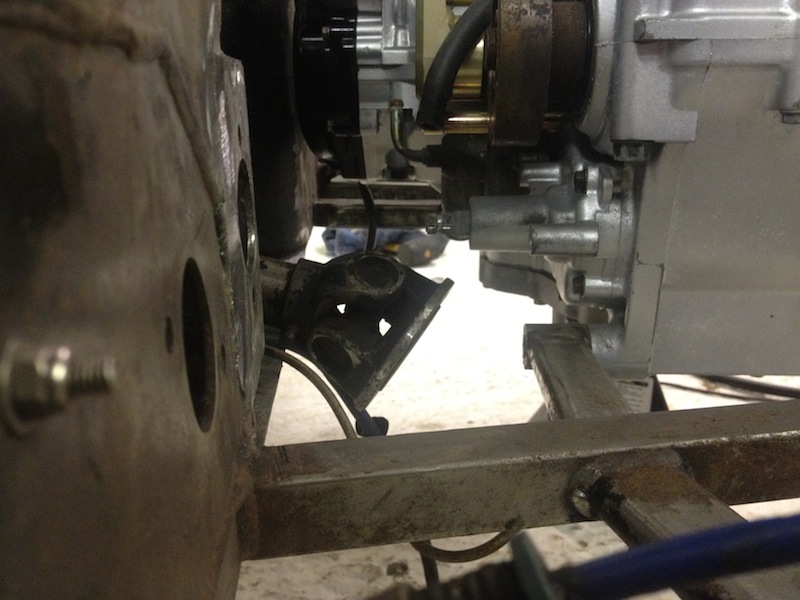
Peened a piece of 3mm, into a 90degree corner, and speaking to Andy Bates, he said for me to never under estimate the amount of force that goes
through a gear cable bracket when you're changing gears fast on a spirited drive, and also advised me brace it, so I cut a triangle out also for
strength
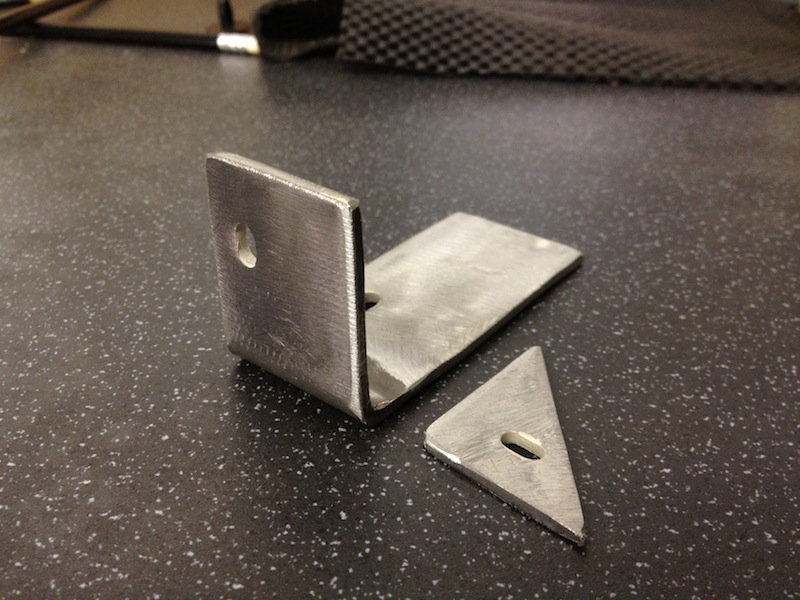
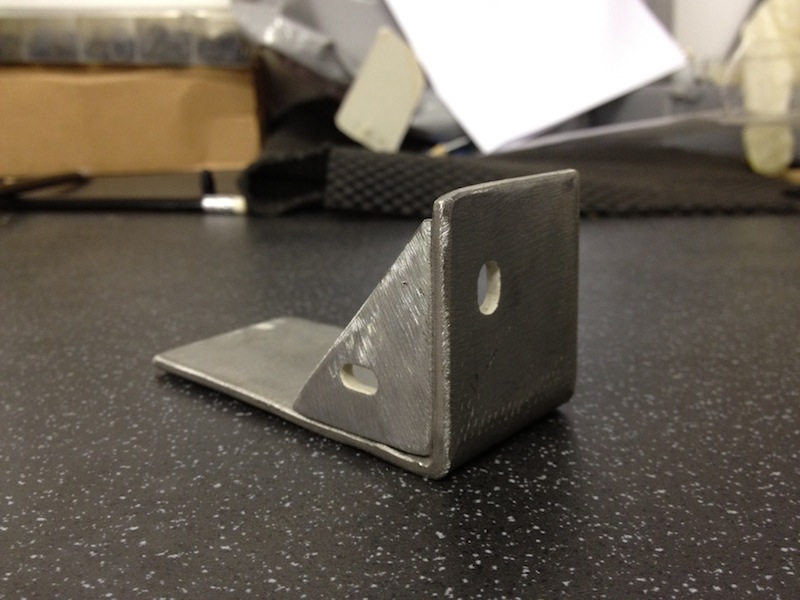
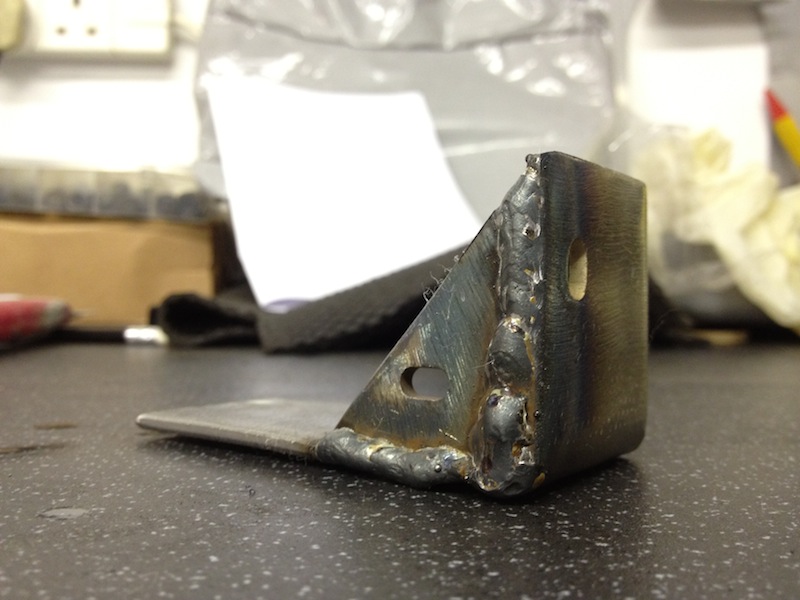
Offered it up 90degreed adjacent to the gear selector, and cut the back angle accordingly, so I had no messy metal over hanging the chassis
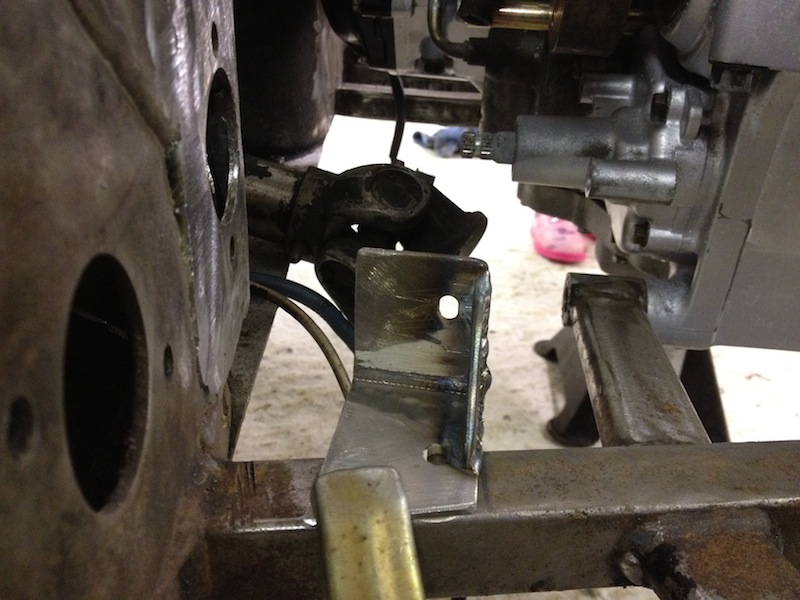
Buzzed it around with the welder, and pool welded the little hole in the centre of the of said bracket
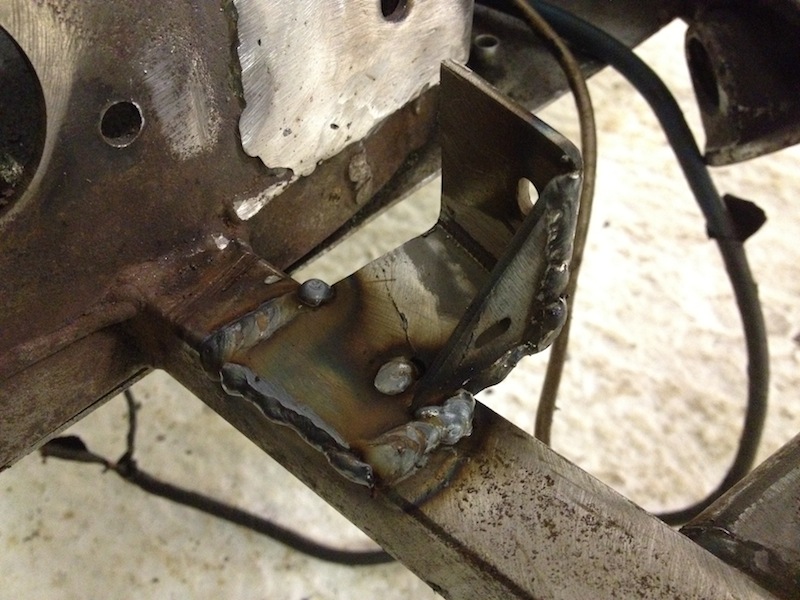
Lifting the engine back out seemed to be harder than putting it in in the first place so it had to stop for half time
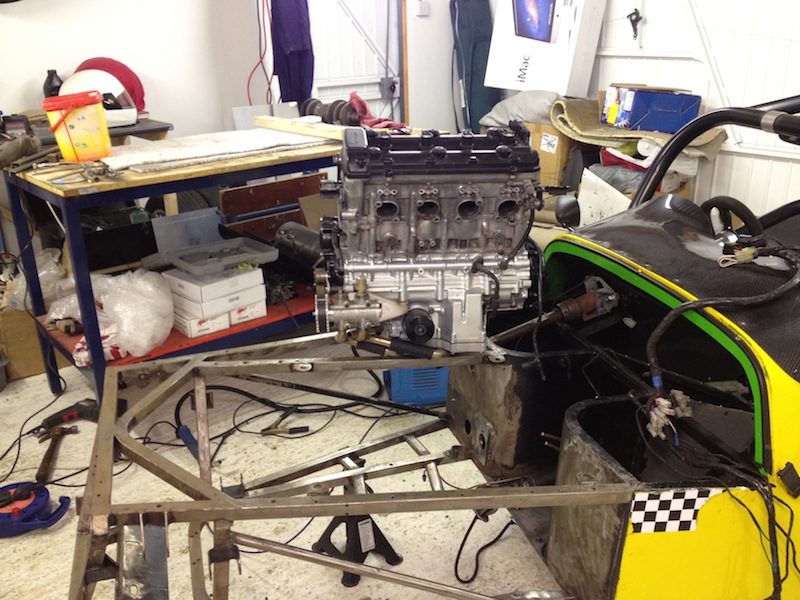
So I had pencil marked where the dry sump pipework had slightly fouled the chassis, although as you can see - it had already been whacked with a
hammer previously
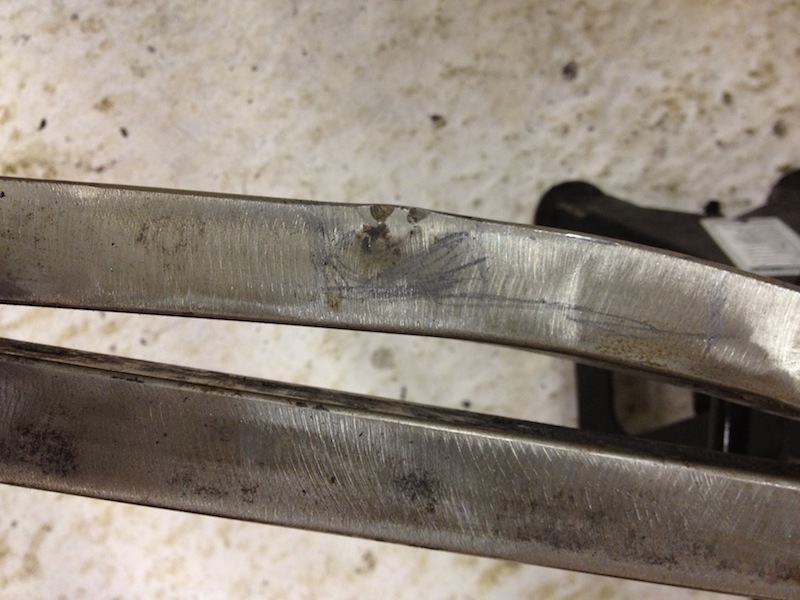
Got Mr Angry Grinder out - cut out the fouling piece
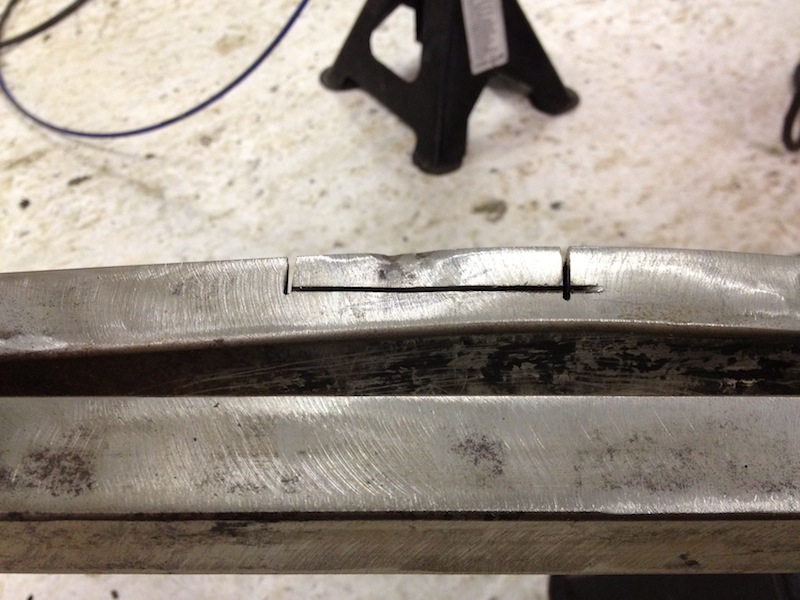
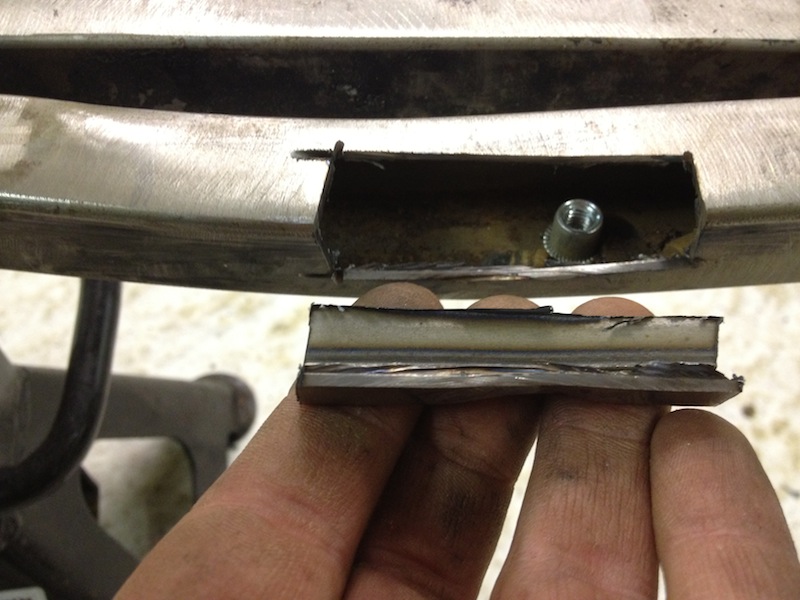
Got a new piece of angle, turned it upside down thus creating a upside down box
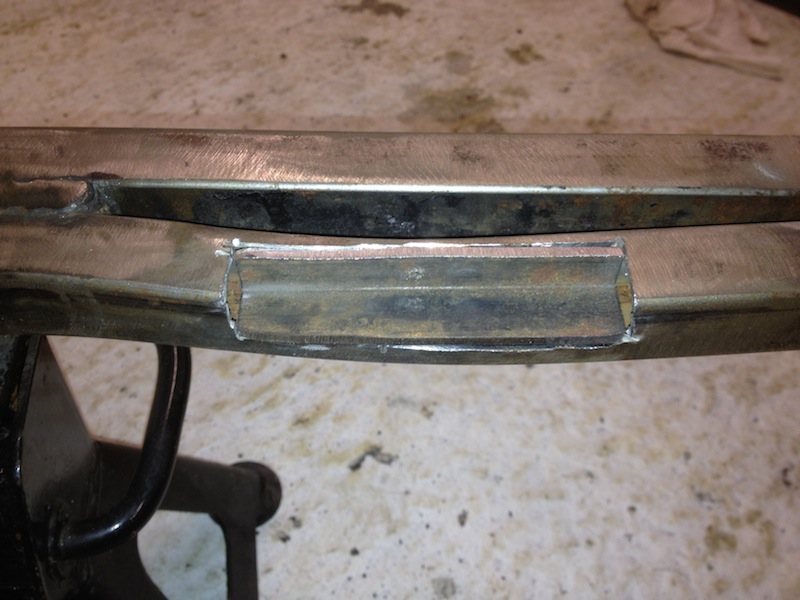
welded on the sides to make it waterproof and sealed
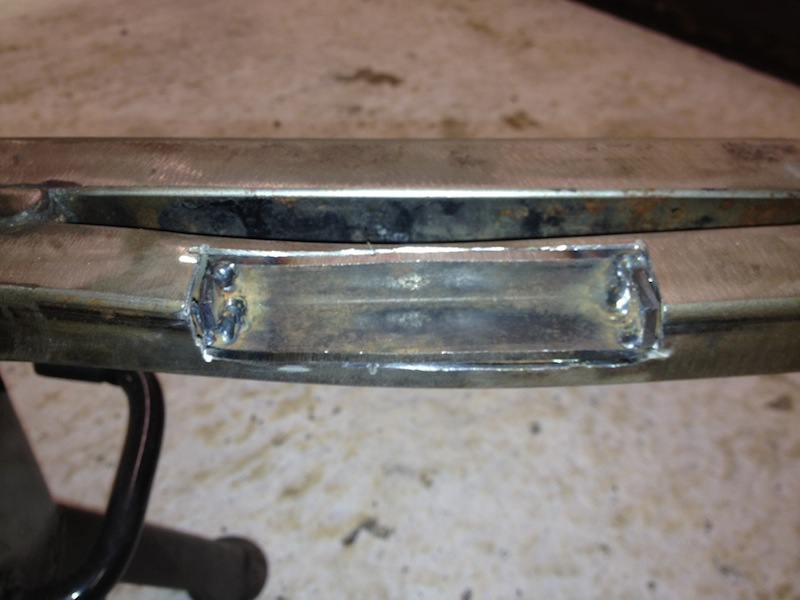
Seam welded around the whole boxing off
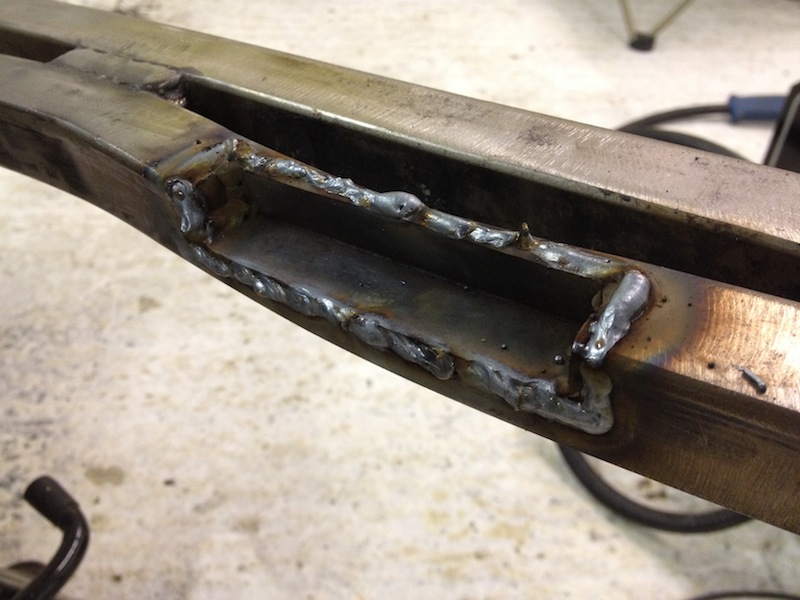
Buzzed it back so it was nice and smooth with no bits sticking proud - and we have the finished article now of a chassis that will not foul the
manifold primary, nor the dry sump pipework
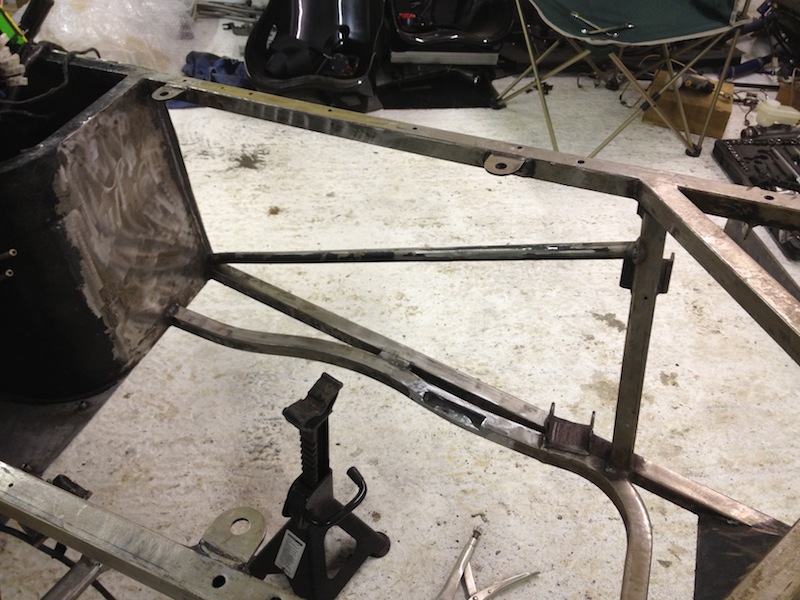
And a gear push/pull cable bracket in the engine bay - not drilled the hole yet - as I'm unsure the size of the thread & nut
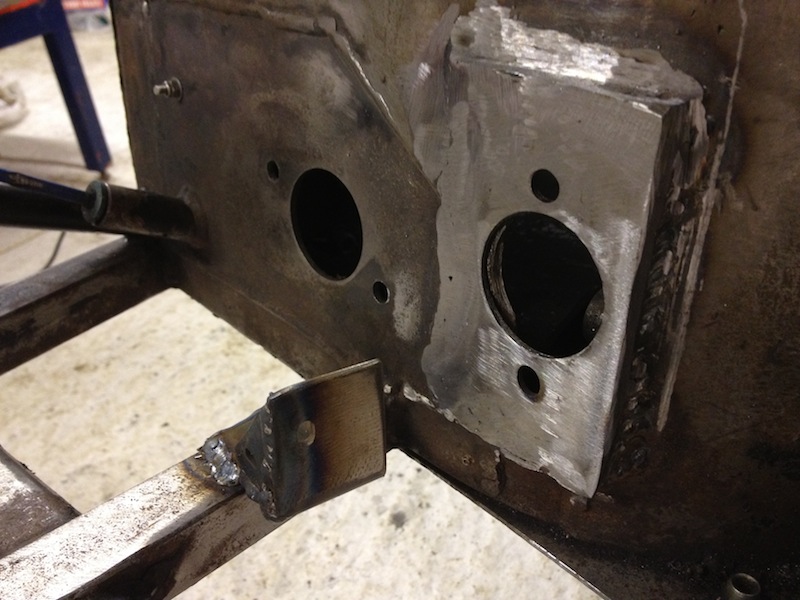
Now its time to crack on with prepping & painting the engine bay... again! lol
[Edited on 20/2/13 by yellowcab]
[Edited on 20/2/13 by yellowcab]
ReMan - 20/2/13 at 09:42 PM
Good work!
Proby - 20/2/13 at 09:53 PM
Looking good!
cosmick - 20/2/13 at 10:20 PM
I recognise that engine. Well done sir, keep up the good work.
yellowcab - 24/2/13 at 06:41 PM
Just a small update really, put some grey primer on the front part of the chassis, to protect it before I come to paint it properly.
It was pointed out by Danny @ MK that I had welded the gear cable bracket on the wrong side of the car if I wanted to pull back to shift up, and push
forward to down shift - D'OH!!! - so on I go and make another bracket, and weld it onto the correct (passenger) side lol

Also, my rear calipers have been mounted upside down, thus causing the bleed nipple to be at the bottom, and a bugger to bleed... can I not just flip
them left to right, so they're at the top - and also, will the handbrake cable still operate OK?


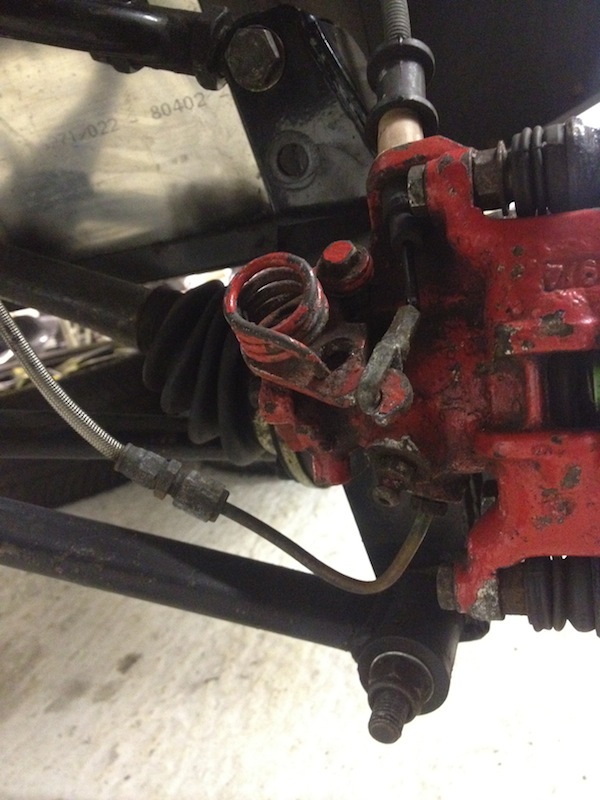
Did a little test, regarding positive camber in roll too... have a check:
http://www.youtube.com/watch?v=Yr11TIjzywI&feature=youtu.be
yellowcab - 3/3/13 at 04:03 PM
Things are coming together... slowly...
I've had a custom fuel tank made by Jamie Start, a very talented ally fabricator based in Hucknall, Nottinghamshire
I bought a Suzuki Hayabusa integral fuel pump, sender & float
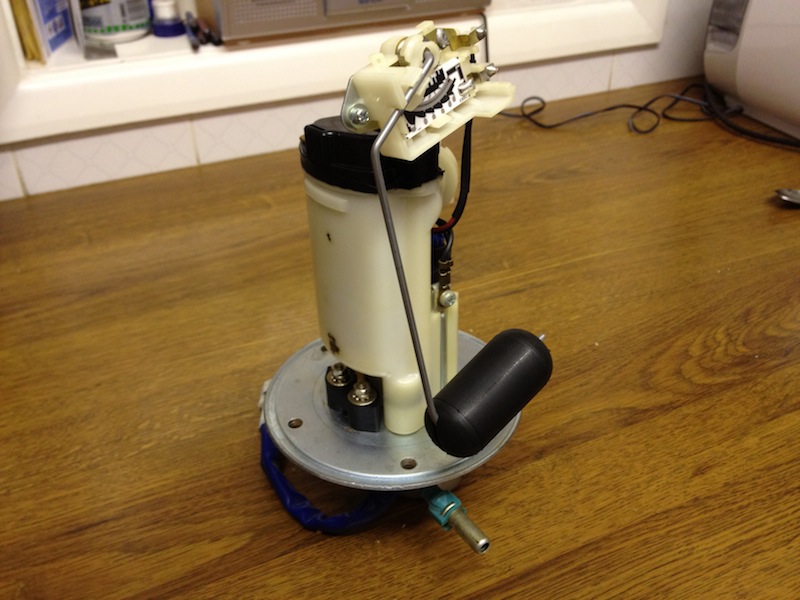

Sent it up to Jamie, for him to fabricate a mounting ring on the bottom of the tank, within a swirl pot
Tank being made with vertical baffles


Integral fuel swirl pot taking place, with a 14mm thick ally ring, for it to be blind drilled & tapped for the fuel pump to mount to
Dry fit of the pump, to be sure the float has free movement from top to bottom of the tank, without fouling the sides or baffles
Float at the top, and the gauge will read full... stops its travel about 20mm from the top of the tank

Finished article - very happy chappy
Nice snug fit... which means I can make some sort of boot for my camera equipment!
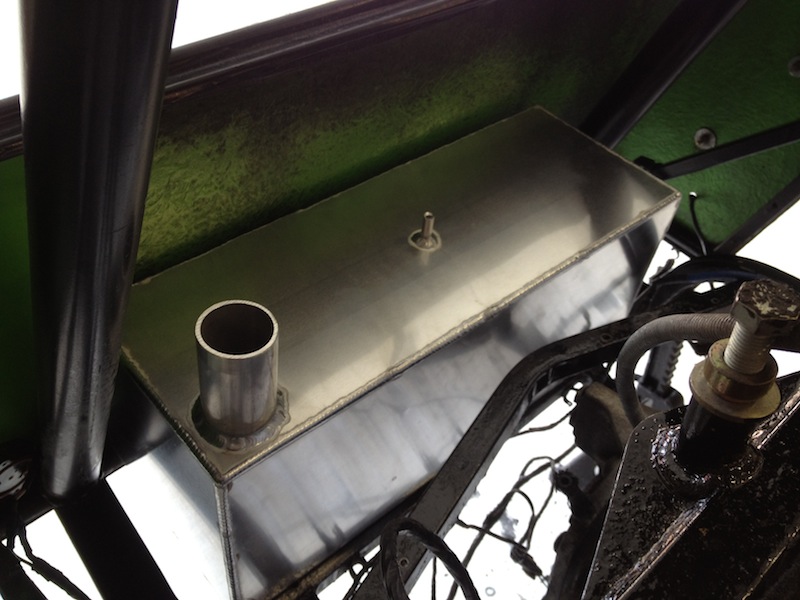
Behind the scenes, and 200 miles away, Mike has been working hard and rewiring my car, from memory - and has done a smashing job of streamlining my
existing bodged loom, and shed all the unnecessary wiring, which has halved the weight of the loom itself
My dashboard is being minimised from lots of buttons, lights and switches doing various things, to a simple set of Hayabusa clocks, which shows me
everything I need to know (bar oil pressure)


All my switches, lights and buttons are being replaced with a single Renault Clio MK2 indicator stalk, which will operate side lights, dipped
headlights, full beam, indicators, rear fog light and horn

All my old gauges, switches etc will now be for sale
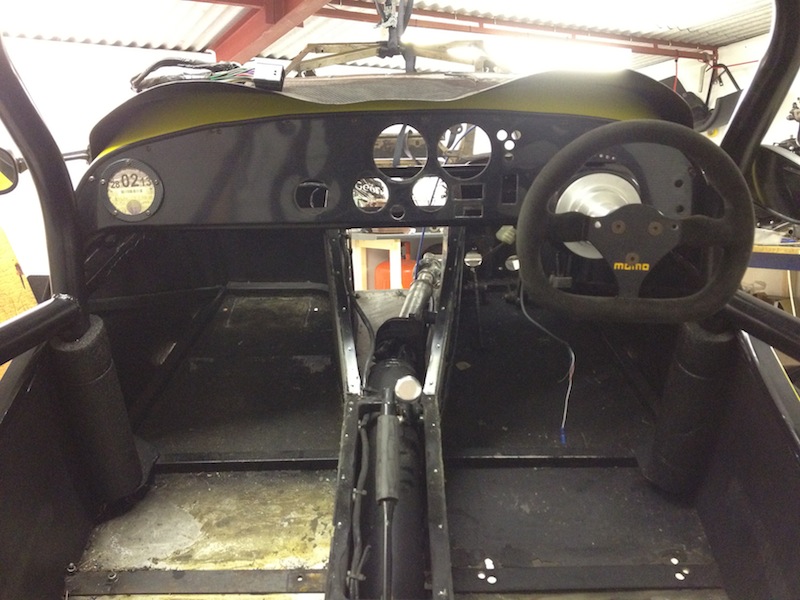
Whilst the POR15 chassis paint was out - I painted the bells and edges of the disks to prevent them from going rusty
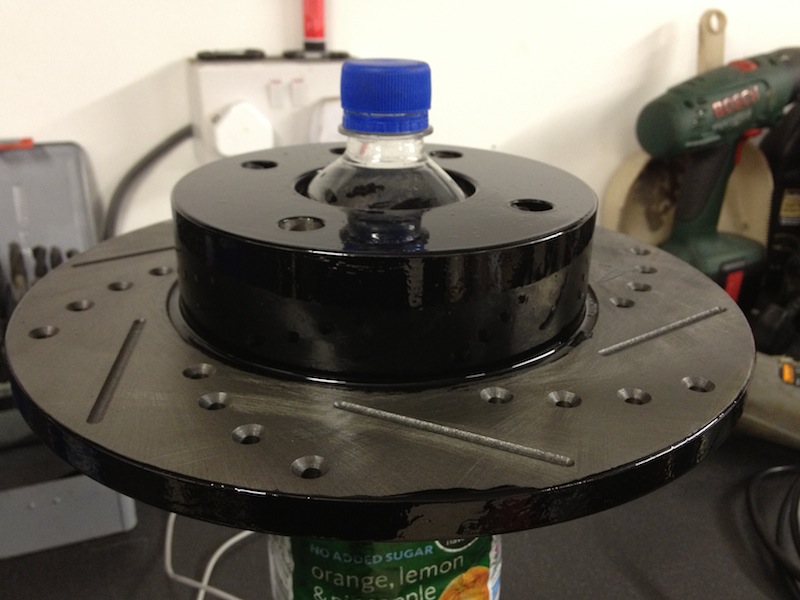
Whilst collecting my fuel tank from Nottinghamshire, I popped into Cabletec and collected my gear cables (thanks DK)
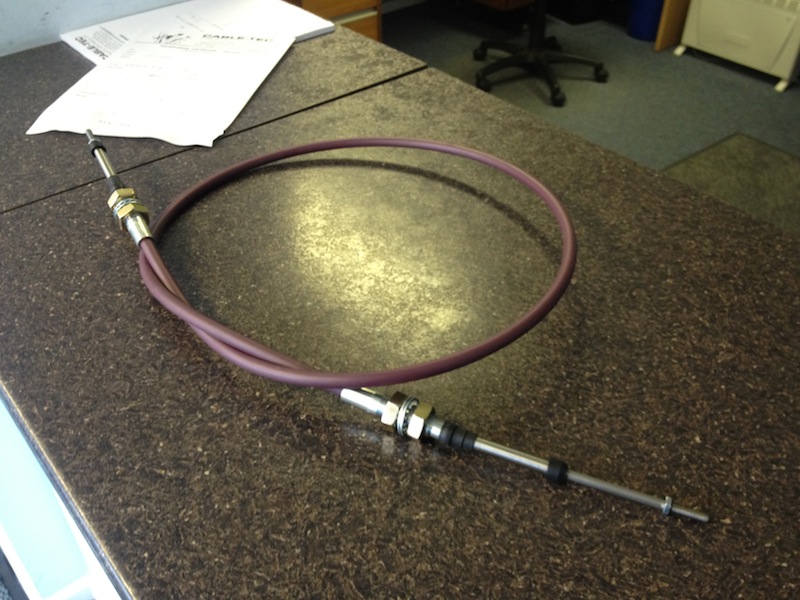
Had my Aprillia RSV Mille rear can remodelled at the rear end so the inlet pipe comes out straight, which should quieten things down a fair bit...
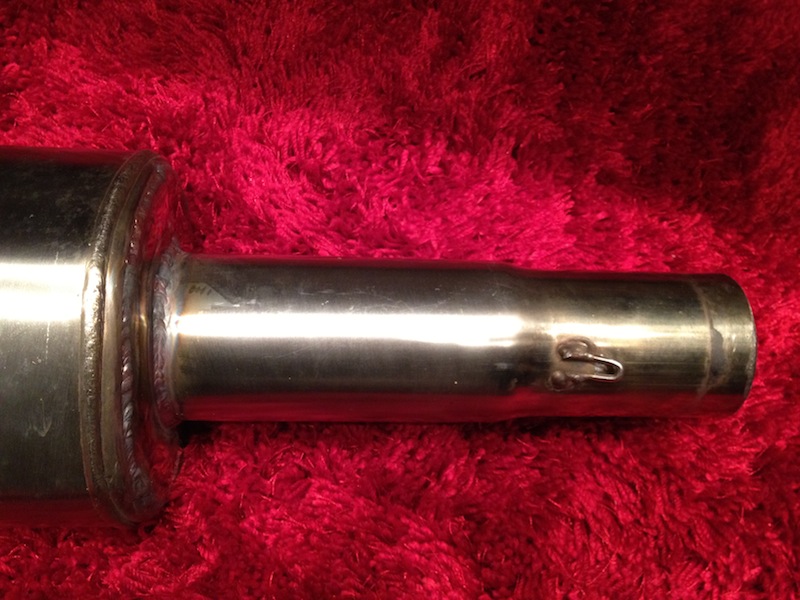

Chassis is now black (again) with the correct POR15

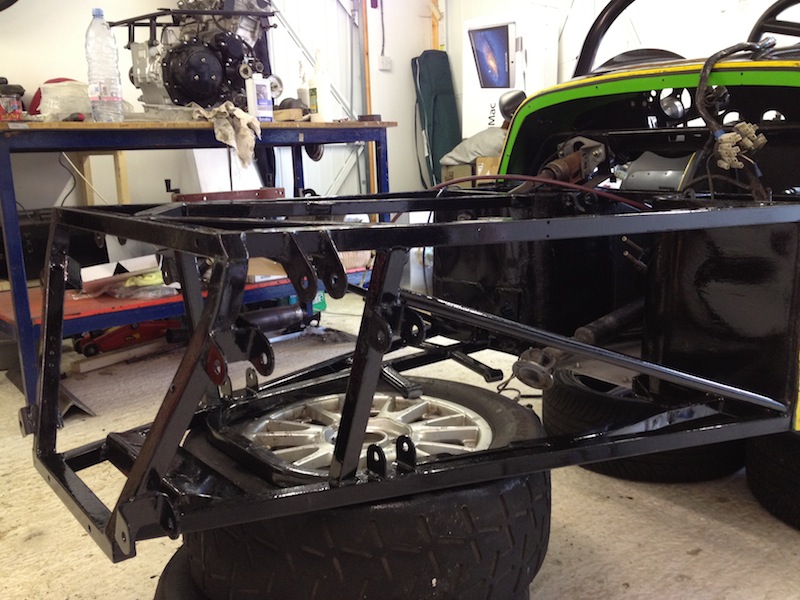
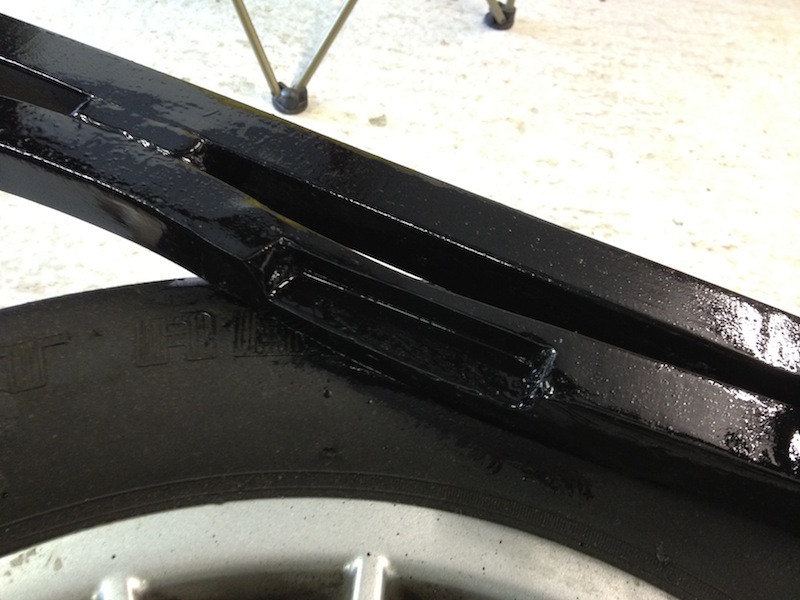
Thats all folks!
yellowcab - 8/3/13 at 05:58 PM
Nat - still can't remember your username (again) but thanks for all your work with remodelling the back end of my can, and my indicator bracket
welding you did today for me!
Some more progress on the car... thanks to cosmick, mikE and Col for your help!
Whacked the brakes on - just need pads & braided lines from Andy @ AB


Lost the swirl pot, and the amalgamation of braided fuel hose being wrapped around my engine, by, so much tidier look with battery in the correct
position
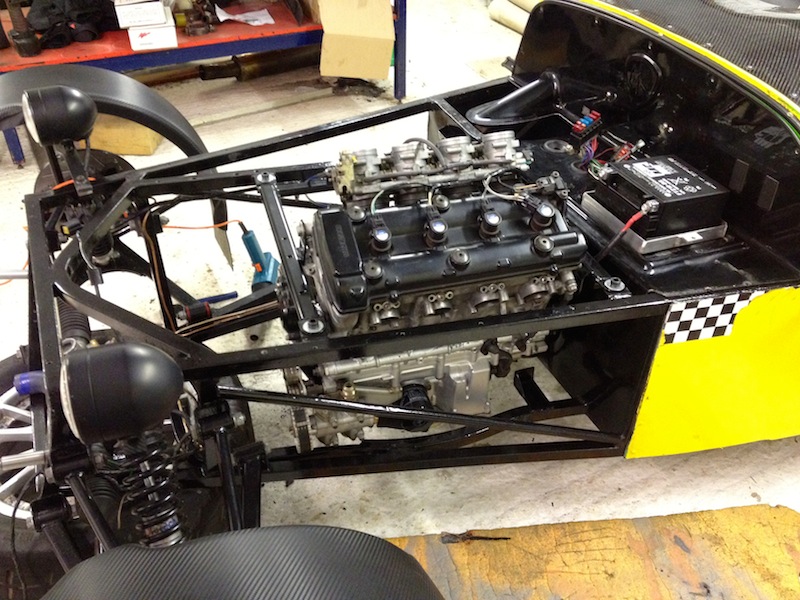
Thanks to cosmicks wiring wizardy, he managed to rewire my complete car from 200miles away, pretty much from memory, which enabled me to lose all my
individual gauges, switches, buttons, warning lights - for a set of standard Hayabusa gen1 clocks, fully working
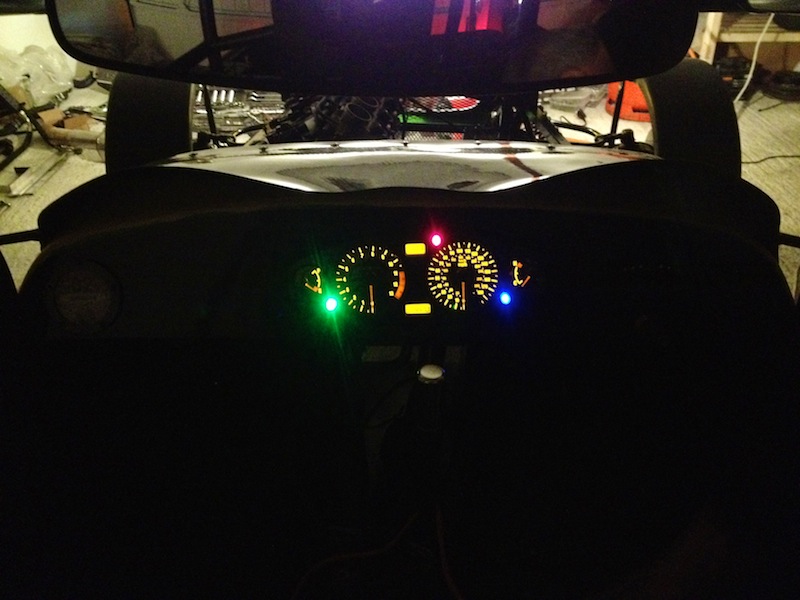
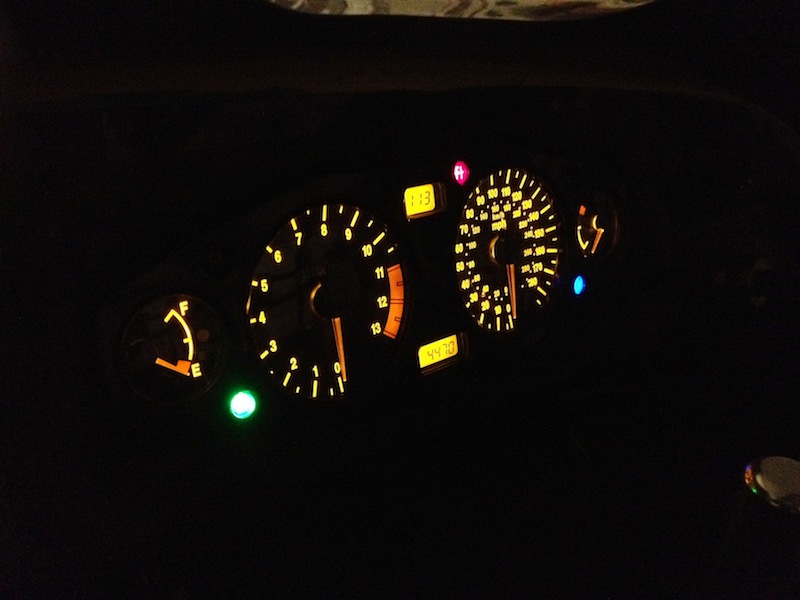
cosmick in the middle of re-wiring the rear end part of the car harness, rose jointed rear arms fitted
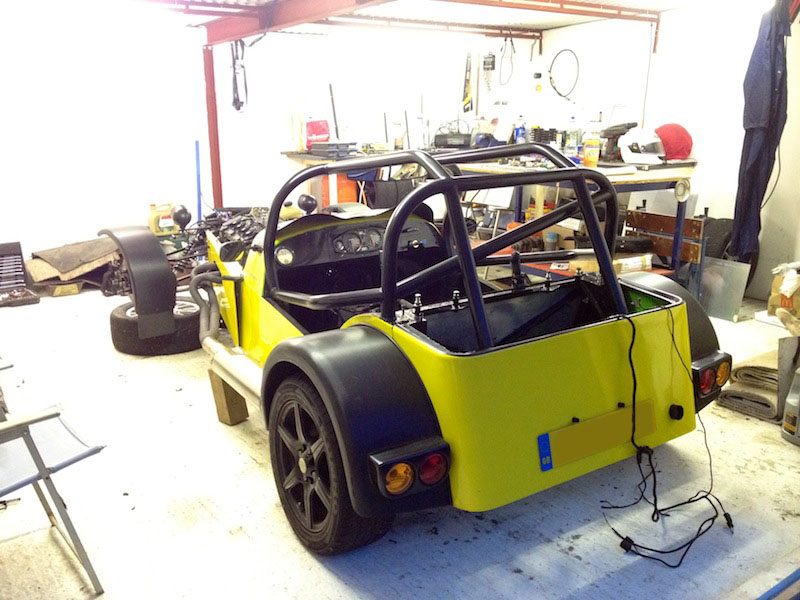
Dashboard bodged back in place, with Hayabusa clocks resting in, steering adapter off, Clio MK2 indicator stalk being trialled, manifold on (now
clears chassis) and new Aprillia rear car modified by Nat @ RetroPower...
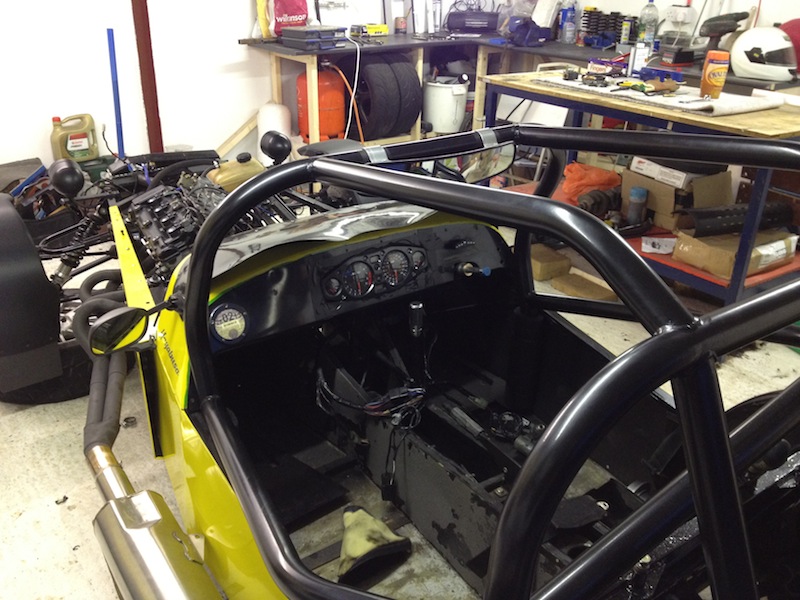

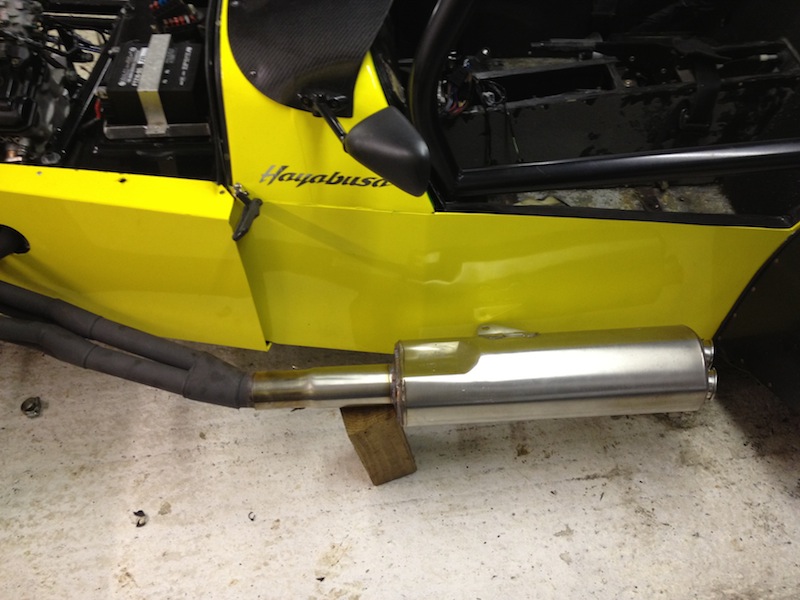
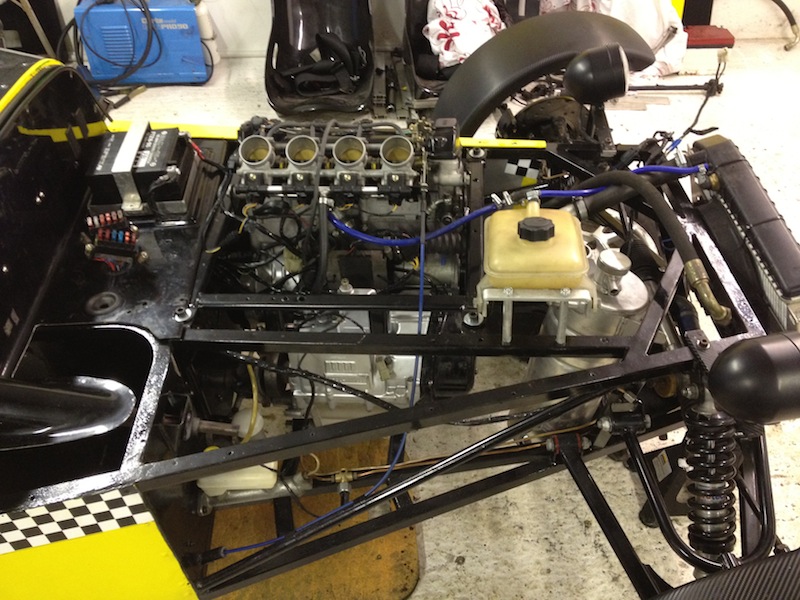
Ben_Copeland - 10/3/13 at 08:53 PM
Looking good mate. Keep the updates coming 
cosmick - 18/3/13 at 09:08 PM
I am waiting patiently for the next instalment.
yellowcab - 19/3/13 at 09:14 PM
Huge thanks to cosmick & Mike yet again - we have a 90% car which is complete.
We mocked up some ally brackets to mount the oil cooler so it would stand off the rad by 10mm...

Made four of, and riveted them together

Mounted and ready to be radius'd
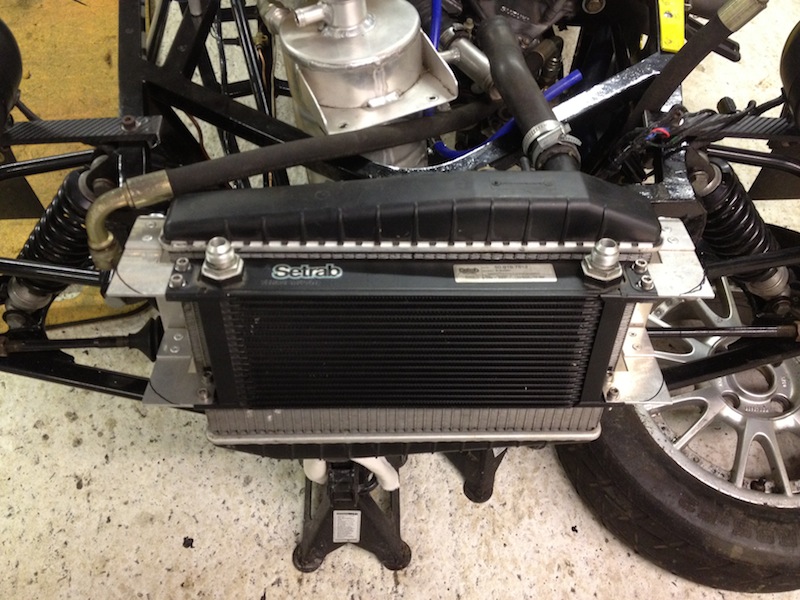
Done, and onto coolant pipe work and neaten up, dry sump tank still to be mounted correctly
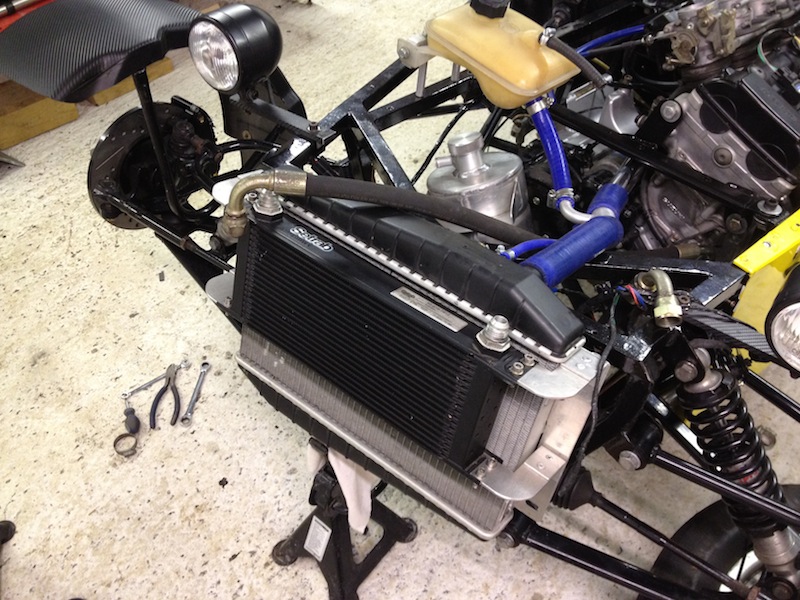
Dry sump tank mounted, and coolant pipes now in, header tank was in the dishwasher at this point.
Thanks to Mike who saved the day by using some vacuum cleaner metal pipework to extend coolant pipes so neatly
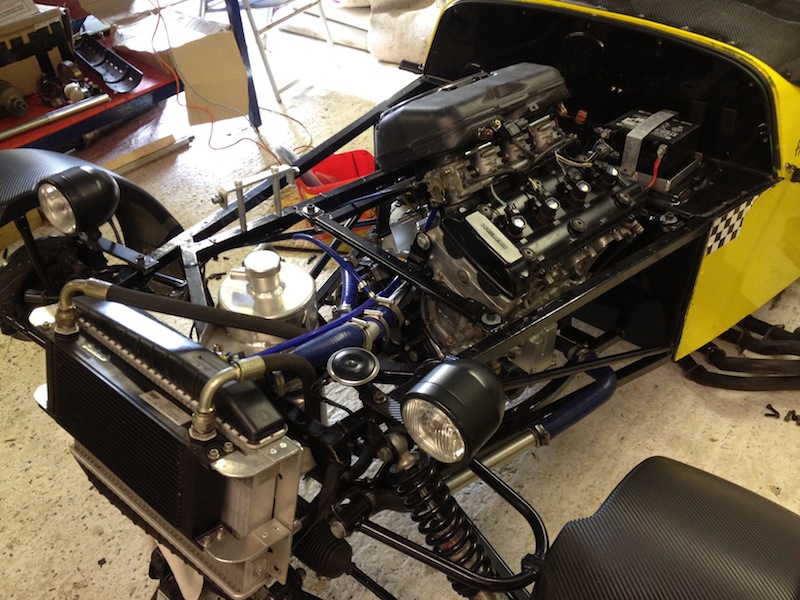
Horrid but very rewarding job of wrapping the manifold, used 19 metres in total
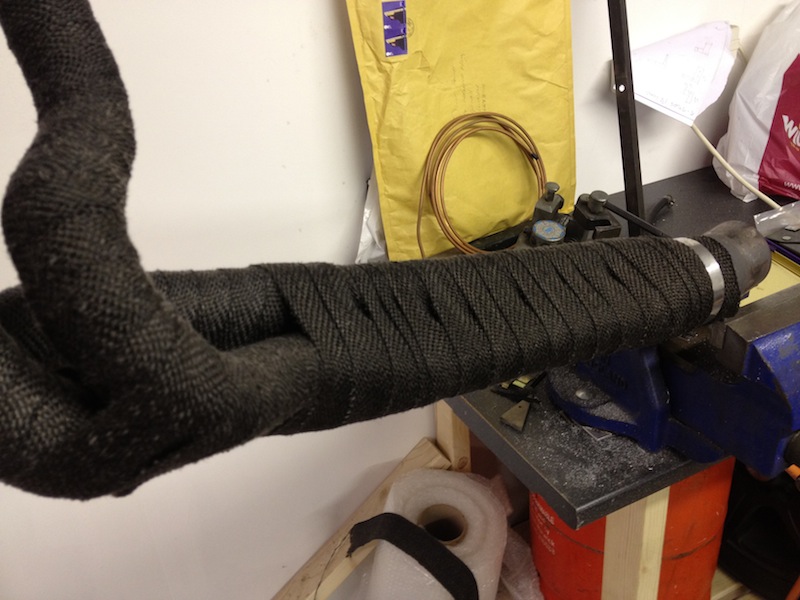
Scuttle area much more clean and tidy compared to what it used to be...
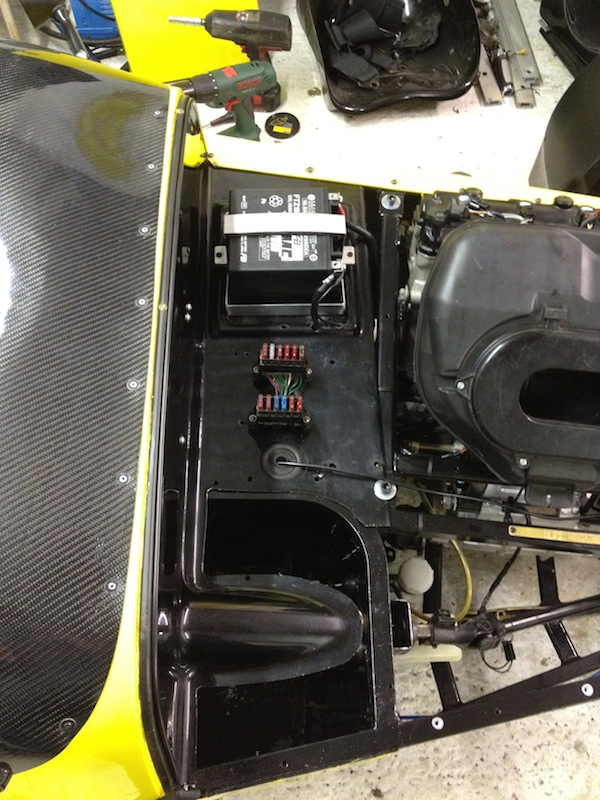
Coolant pipework neatened up too
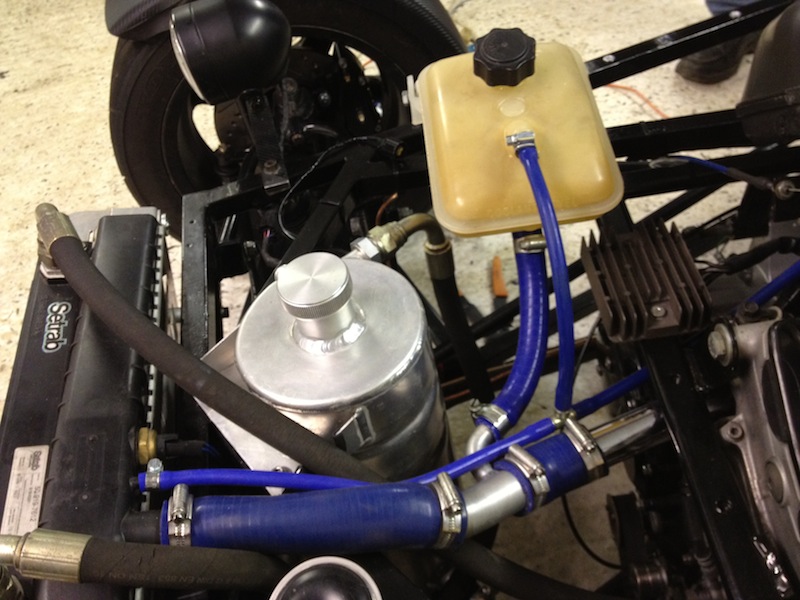
Mike advised a more direct route of the throttle cable, rather than going to timbuck-too and back, also his wiring wizardry makes the loom hard to
see

Old setup:


General pics of it outside, and running...
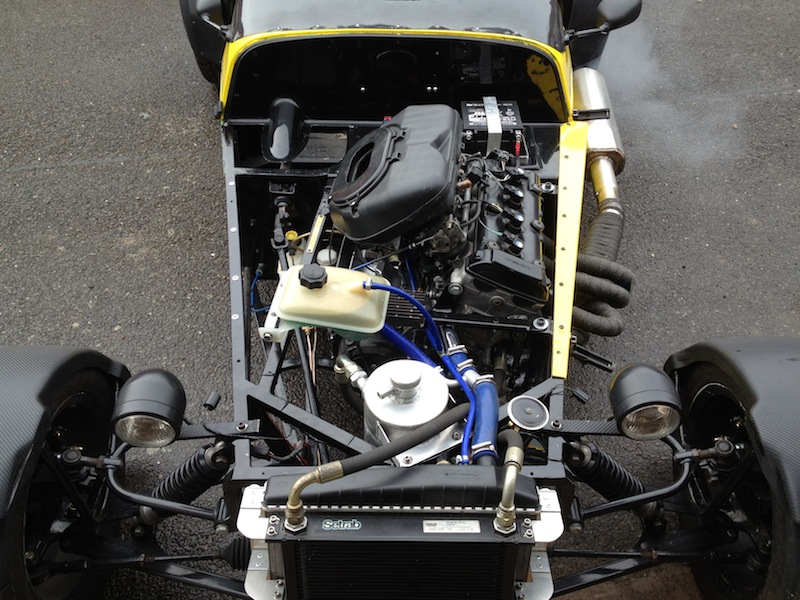
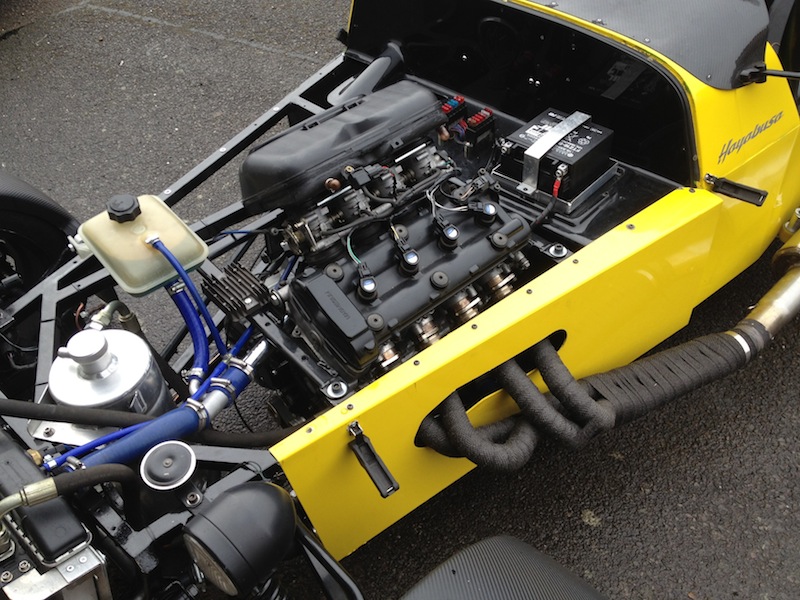

yellowcab - 19/3/13 at 09:23 PM
We jotted down things that had changed on the car, it started out as a mental note... but then we had to write it as the list got so long...
1. New Fuel tank and hoses, ditched return feed to tank
2. New genuine Suzuki Hayabusa fuel pump
3. Modified & streamlined main car wiring harness
4. Modified & streamlined No.2 wiring harness
5. Modified Hayabusa harness
6. New carbon dashboard
7. New Hayabusa instrument clocks - ditched individual gauges
8. New Clio MK2 indicator and light switch - ditched all separate buttons & switches
9. Engine rebuilt and refreshed
10. New dry pump system fitted, including custom idler pulley
11. New oil cooler mounted off radiator
12. New Rose Jointed rear suspension
13. New Wilwood 4-pot front callipers
14. New Wilwood Polymatrix E pads
15. New drilled & grooved solid front discs
16. New Compbrake integral clutch Master cylinder
17. New SBD billet clutch slave cylinder
18. New Hayabusa speedo pick up
19. New Geartronics gear indicator
20. Fixed dip beam wiring
21. New horn
22. Modified and improved gearchange mechanism
23. New airbox
24. Modified steering column
25. Modified steering boss
26. New Aprillia RSV Mille exhaust silencer
27. Modified and strengthened rear chassis
28. Modified front chassis rail to allow proper fitting of exhaust manifold
29. New Hayabusa battery and tray
30. Modified throttle cable and pulley system.
31. Modified clutch pedal bush
32. Modified brake pedal bush
33. Rubbed down and painted chassis
34. Modified radiator position and fan mounting.
35. Modified radiator hose layout
36. New braided brake hoses fitted
37. Balanced throttle bodies
I feel the car is now mine, built by me/ us... rather than having things bodged and blaming it on the previous owner...
Happy chappy!
Custardpants - 19/3/13 at 09:44 PM
Will be interesting to see how you get on with your willwoods. Did Andy specifically recommend poly matrix E for the rear calipers as well? I have
ds2500 on my fronts and smart pads on the rear, but I'm about to change my brake pedal moment to get a bit more leverage on the master cylinder -
as I'm still not as good on the brakes as a caterham  .
.
yellowcab - 19/3/13 at 10:15 PM
Andy recommended Polymatrix E's for my front Wilwoods, my rears are standard Sierra calipers and he advised me to stick with just standard
pads.
Think I actually had EBC Green Stuff in there, so will just leave them in.
I loved Ferrodo DS2500s on my Nova, awesome pad!
yellowcab - 2/4/13 at 09:09 PM
Got a carbon dashboard from Danny @ MK, yet again amazing customer service, couldn't ask for better!
Received my Wilwood Polymatrix E brake pads from Andy Bates too
Coming together slowly...
Benzo - 2/4/13 at 09:19 PM
With wilwoods and Sierra rears i needed a bias valve to turn the rears down, have you fitted one? might be worth considering.. mine was locking a rear
on the way into corners and upsetting the balance, only i watch back race video footage did i notice a puff of smoke braking hard at the end of the
straights.
INDY BIRD - 2/4/13 at 09:43 PM
Looking good but just one Pointer if I may , your rectifier or electric regulator as some call it, it's good to mount them on some Ali so to
disapate the heat from them as can over heat only a pointer thought,
It's good that it will be in some air to keep it cool,
Thanks sean
yellowcab - 2/4/13 at 11:31 PM
Cheers Benzo - I don't have a bias valve at the moment, so I will keep a close eye on that!
INDY BIRD - Good shout, I will certainly be sure to move it and mount it in a different place, cheers for the heads up!
yellowcab - 13/4/13 at 04:43 PM
Not much of an update really.
All ready to rock and roll with the car - first time I've been in the garage in a few weeks.
Got the tracking & basic geometry setup, so the rears are now parallel looking forward (nottowing out), and both have 1degree negative camber.
The fronts were also towing out horrendously, and now towing in by 1mm
Rear rosejointed arms are fantastic for that very slight adjustment - just can't wait to get it set up professionally.
Sytec inline fuel filter plumbed in and fitted, coolant pipes checked over, still have a slight oil leak from a couple of the dry sump pipes, but
nothing too serious.
Indicator stalk swapped over as I had a faulty one.
Just need braided lines now to go from my copper pipes to calipers, then it's on the road! waaahayyyy!
Got a new carbon dash from Danny Keenan @ MK Sportscar, just need to muster up the courage to cut it for the new clocks...
yellowcab - 13/4/13 at 04:50 PM
Couple of pics of the filler I bought from tank81, and also someone was asking about my exhaust, can & tailpipe angle, so here are a couple of
pics
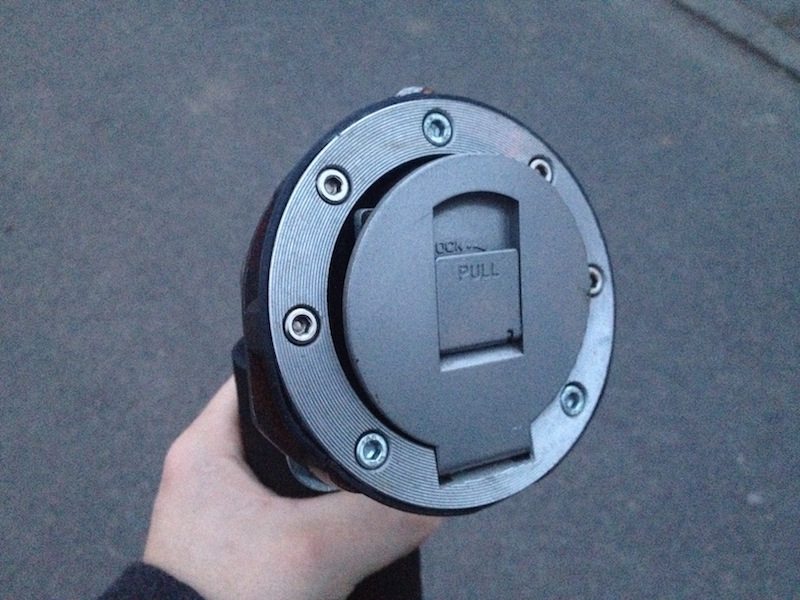
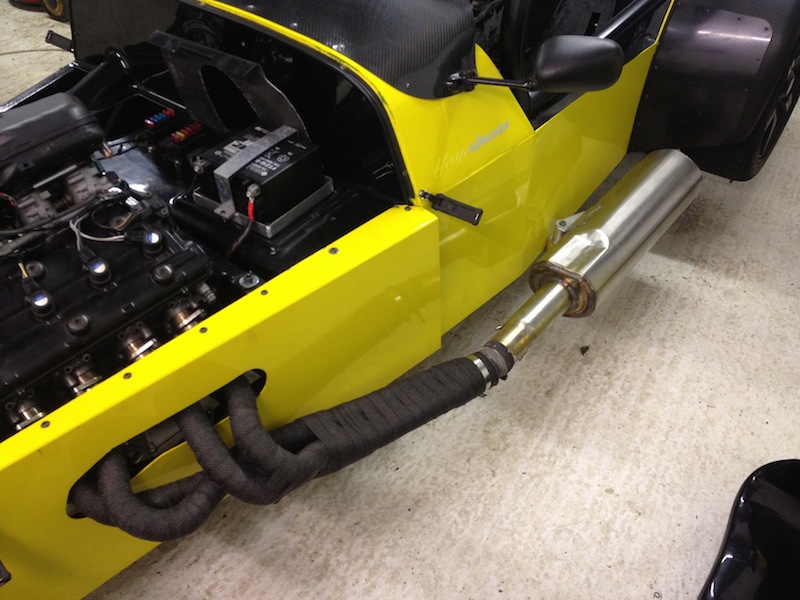
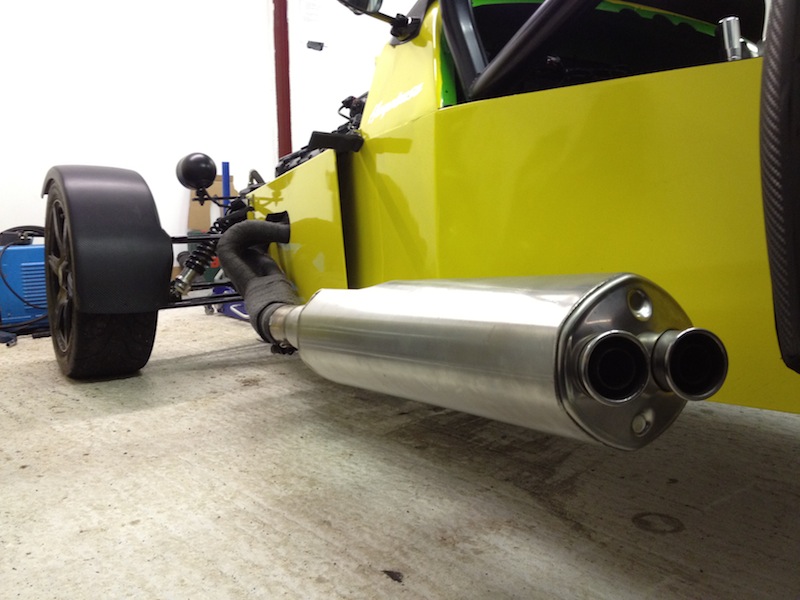
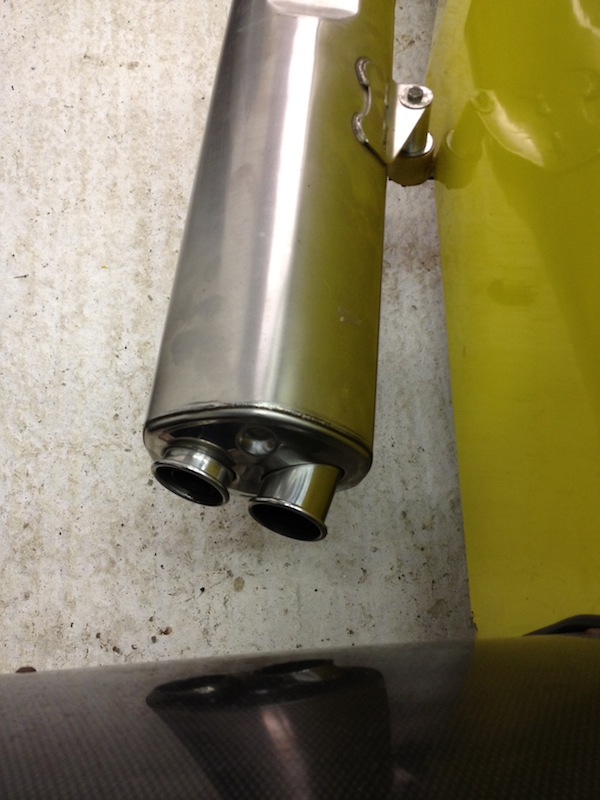
Ben_Copeland - 13/4/13 at 05:08 PM
Any idea what the fuel filler came off? Or what manufacture it is?
yellowcab - 13/4/13 at 05:11 PM
Suzuki Hayabusa mate :-)
yellowcab - 14/4/13 at 06:42 PM
Bit overkill on photos for such a simple job, but its the kind of photos I could have done with whilst doing it, and I couldn't find any,
anywhere, so thought I'd share how I achieved a simple (yet quiet satisfying) dashboard with Hayabusa clocks, sequential shift lights @ 10degree
angle LEDs, and a geartronics gear indicator, hidden, rather than ontop of dash...
It's all straight forward, but I enjoyed taking the photos along the way anyway.
I decided I wanted the clocks bang central to the car, and central top to bottom of the dash itself, so after nervously getting the holesaw out for
the steering column to begin with, I settled into just how robust the carbon dash is, they're not as fragile as they may look to begin with...
simple masking making it bigger than the clocks, so your jigsaw doesn't scratch the carbon
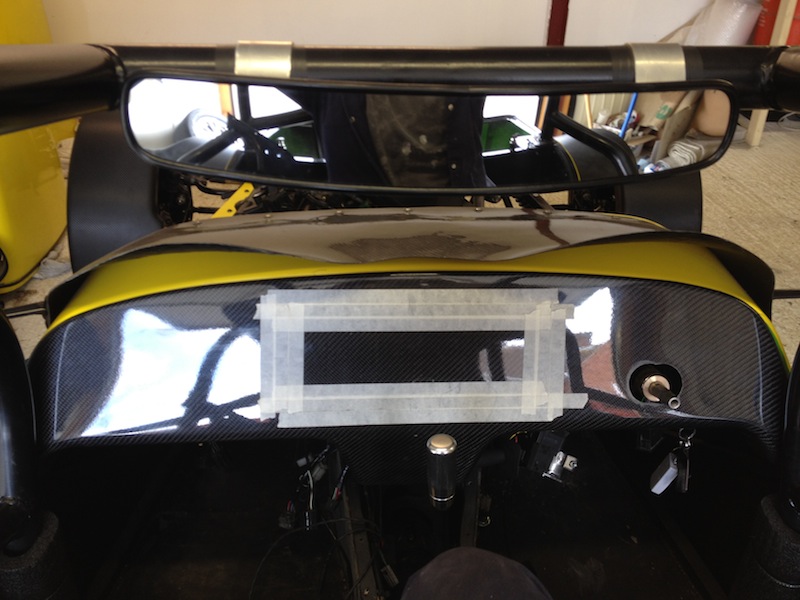
I've converted over to a single Renault Clio MK2 indicator stalk that does just about everything, and makes the dash look a lot cleaner, so I
masked off where the indicator stalk will be pushed back into the dash

Trial fit, everything clears, and can access the bracket that holds the indicator stalk in situ
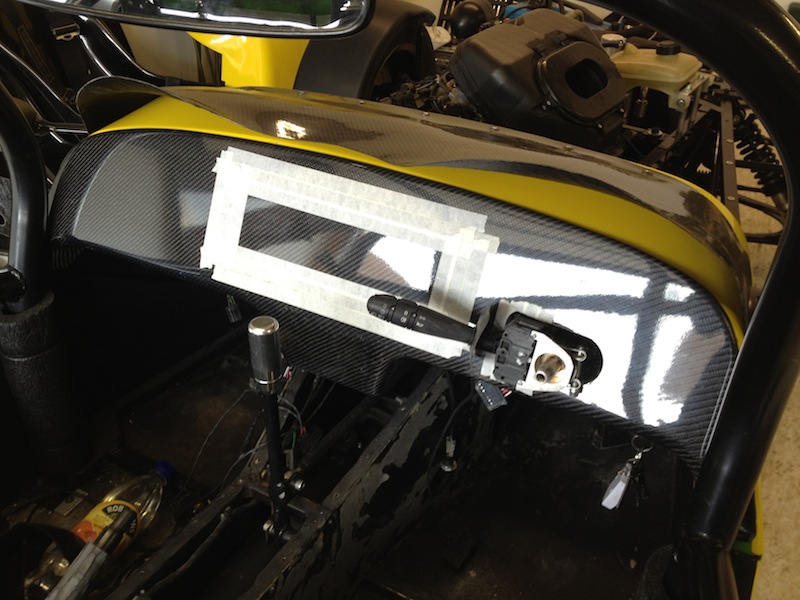
All cut out - very easy to do, time consuming, lots of intricate filing to get it tip-top, but very rewarding
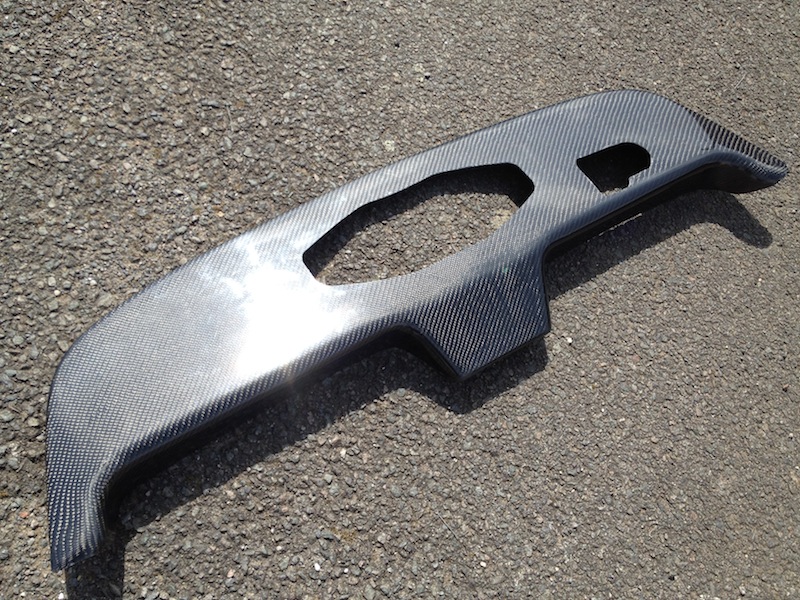

Next up is where to place sequential shift-lights, new geartronics gear indicator and hazard switch which is accessible and visible from the drivers
seat (with steering wheel on)
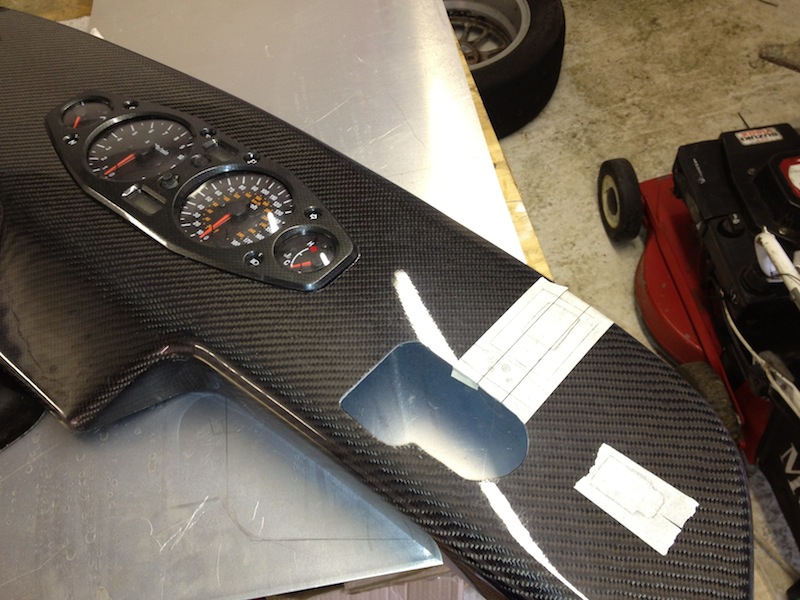

Most I've seen have just done it the way you would on a bike, and plonk it ontop of the dash itself like so, but I don't like the aesthetics
of doing so
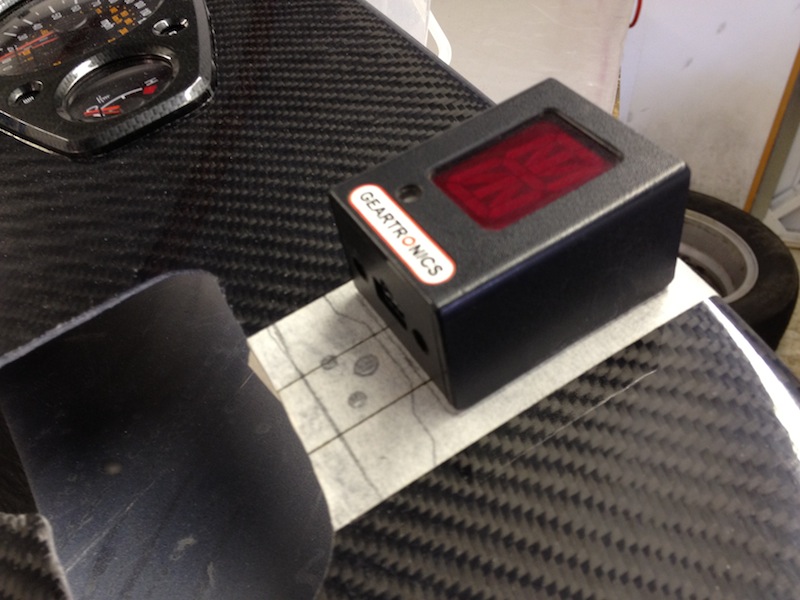
Made a bracket out of ally, rivnut it, drill two small hole either side (i was contemplating tiger seal so nothing was visible, but I wanted to be
able to remove it, so had to compromise (dagnabbit))

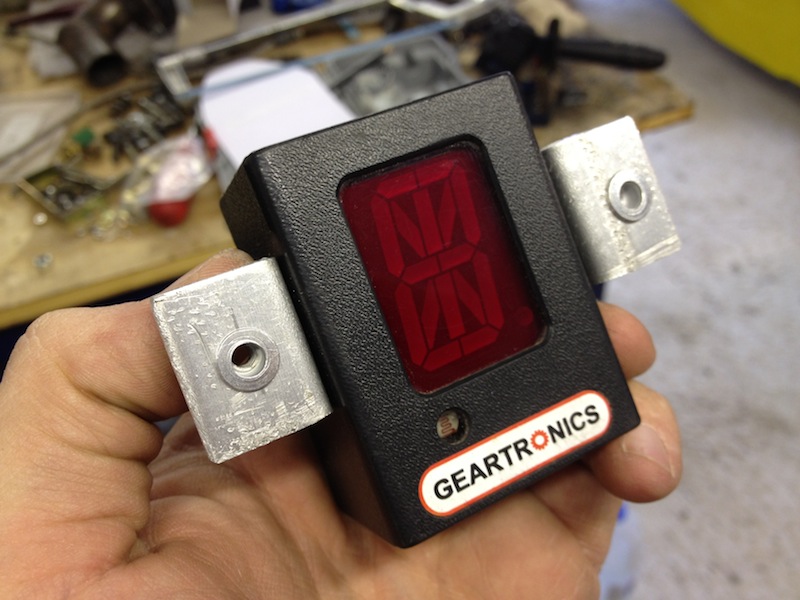
Mark out window that needs removing, along with light sensor (as the display dims as the light fades)
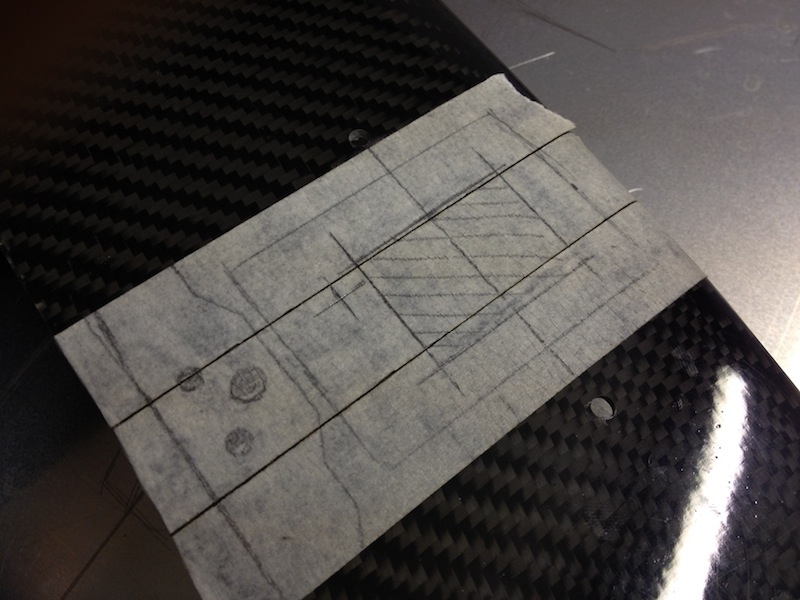
Job jobbed... very happy with result, time consuming but well worth it, you can't quite see the light sensor light on this photo
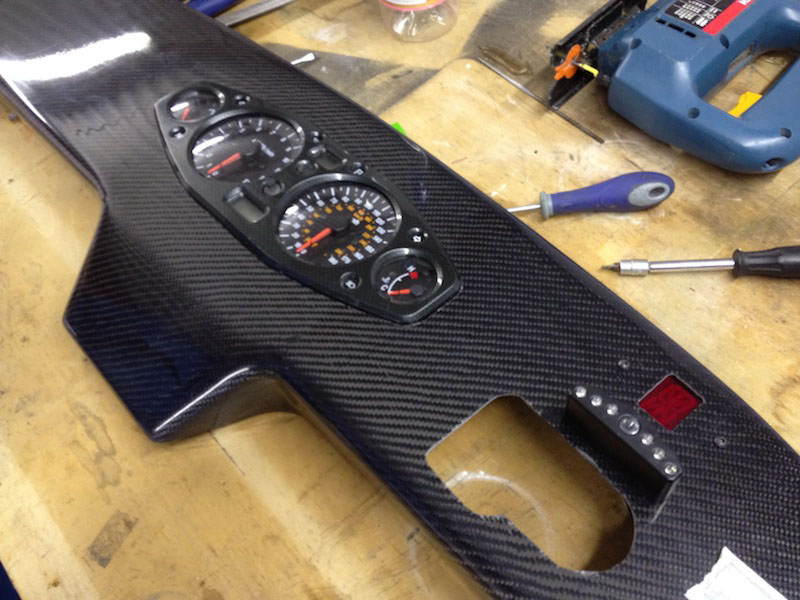
This is my view from the drivers seat, can see the shift lights & gauge easily, the hazard switch is in sight incase of any emergencies, the only
smaller gauge I can't see without physically moving my head is the water temperature gauge which is hidden by the edge of the steering wheel,
nothing major... you can see the light sensor hole in this photo

A better/ closer photo

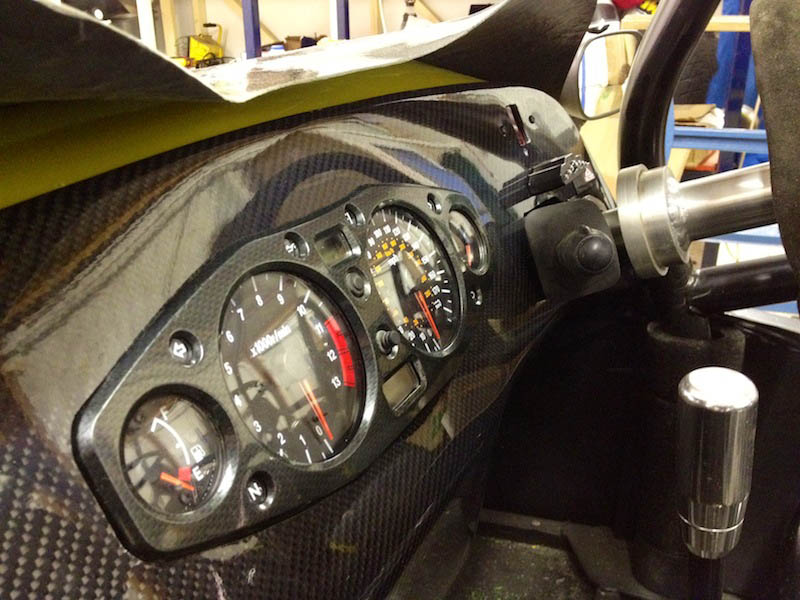
By the looks of this angle, I don't think the Go-Pro will be able to see the gear indicator, but thats not important lol
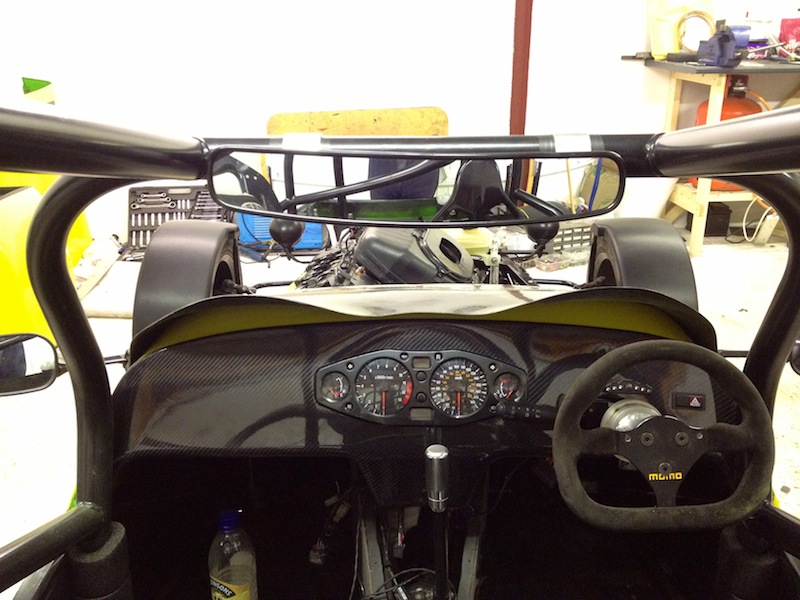
cosmick - 15/4/13 at 06:33 PM
But you will be able to see the speedo and rev counter so it will look superb. The dash looks excellent just like a bought one.
yellowcab - 16/4/13 at 02:43 PM
Just ordered braided brake lines from our very own RussBost, so expecting to get them in a couple of days... its nearing the time to drive it
again!
The rear double rosejointed arms, have given me the ability to set the static camber to -1degree by pulling out the bottom of the rear wheels, rather
than pushing the tops in... also for the first time, my rear wheels are now parallel pointing forward, the adjustability on the rosejoints is
phenomenal, any incredibly easy to adjust!
maccmike - 16/4/13 at 05:42 PM
looking great
yellowcab - 23/4/13 at 06:16 PM
So, had the MOT today, after finishing the car on Friday - and it passed with no advisories.
Very happy bunny considering the car has been built pretty much from the ground up again, and vastly improved.
Big big thanks to cosmick, mikE, ReMan, Ben_Copeland for all your help and constant support/ advice getting me back on the road.
Also, whilst I was down there they let me spend some time on their laser alignment machine so I could set up my static geometry, which we had only
done by eye... the before and afters are below... if anyone could see where else I could improve these static figures, please say - and I'll go
back down and adjust again lol
All ready for her test... everyone loves a front number plate cable tied on
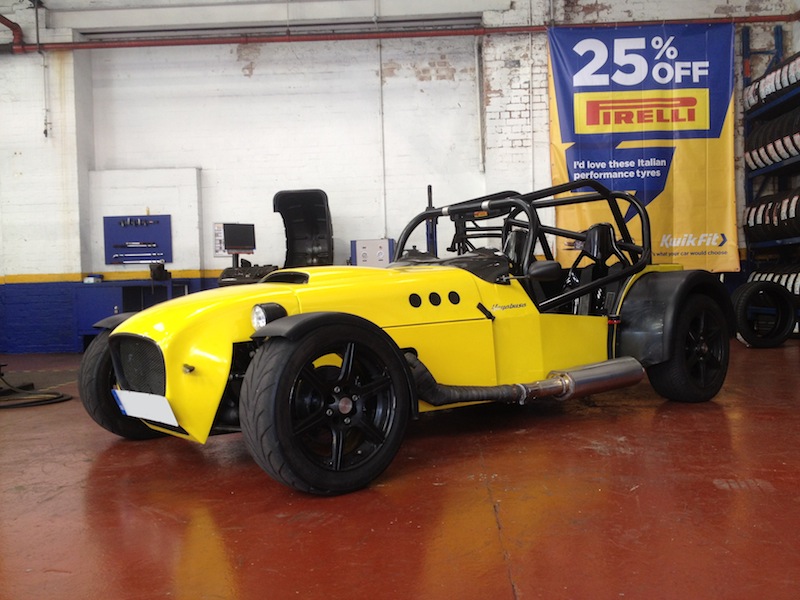


Whilst it was up on the ramps, I took advantage of being able to see it as a whole...
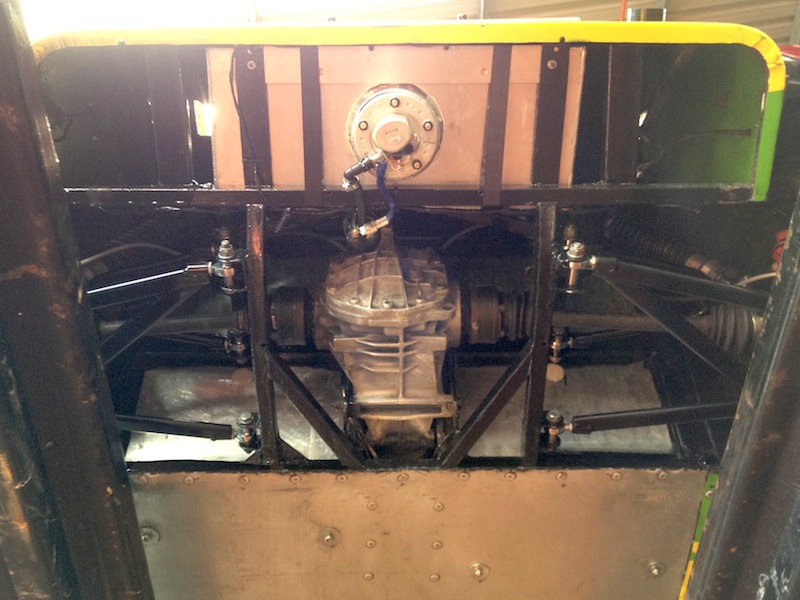
Rose jointed rear arms came useful

Underside of bay
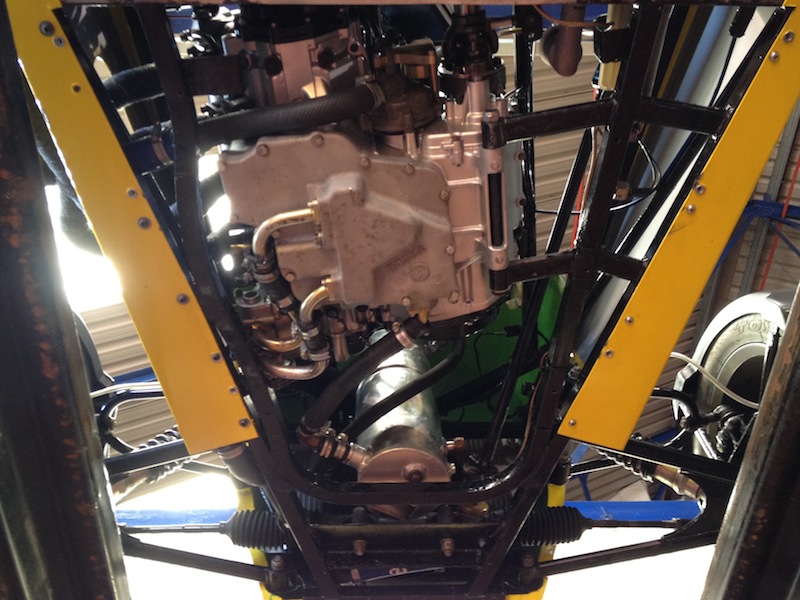
And finally here is the before and after geo setup, I know its not exactly right, but I ran out of time...
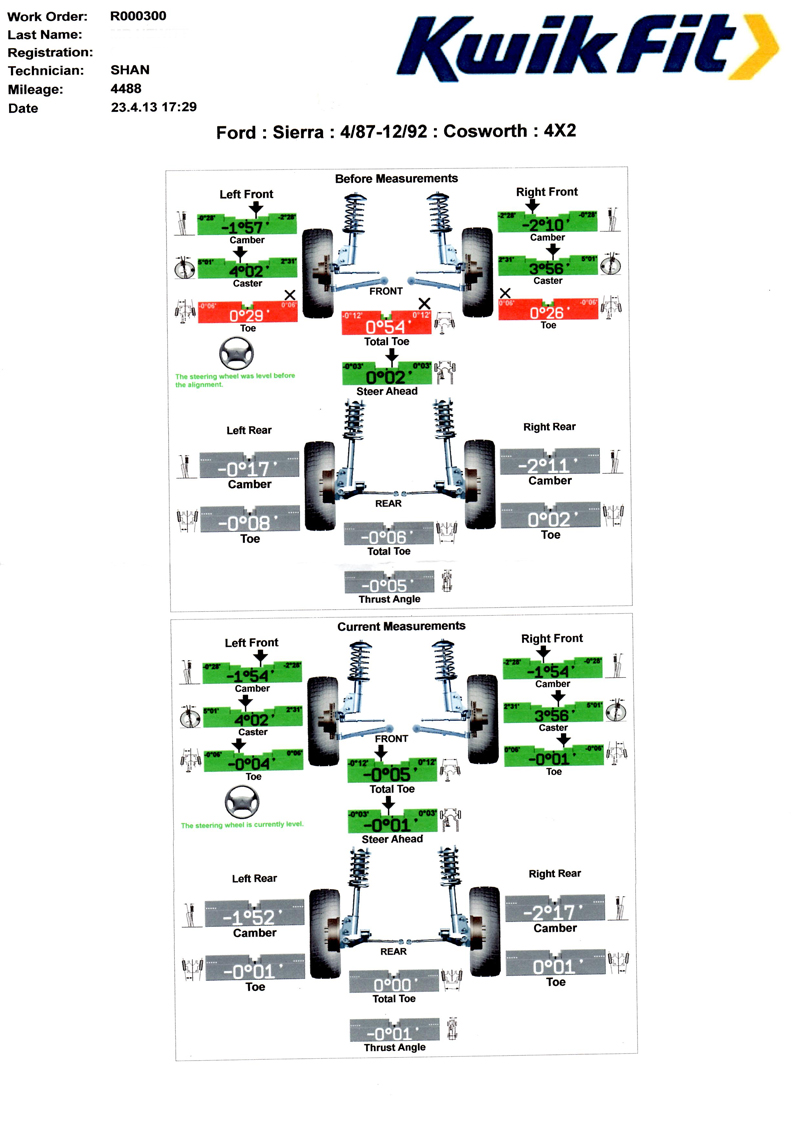
[Edited on 23/4/13 by yellowcab]
cosmick - 23/4/13 at 07:55 PM
Thank you for the compliment. It has been a real pleasure to help someone like you and the car looks so much much better for all the hard work put
into it. There has been blood, sweat and tears but it has been all worth it in the long run. When you take a step back and realise just what has been
achieved in 8 months it is truly amazing. It took me 3 years to get my car to the same standard.
Really looking forwards to Stoneleigh and a trouble free summer.
ReMan - 23/4/13 at 09:12 PM
Yes well done Ol, all I did was lend the MIG welder,.
Shame you didnt manage to get before geo measurements before you took it to bits 
It might be just the pics but is one lower wishbone set further back in the pivot bracket that the other on purpose?
Good work
yellowcab - 23/4/13 at 09:33 PM
Help is help is help Col, you did more than lend me a welder, your constant advice and popping around never went unnoticed 
Well done hawk eye, yes the drivers lower is set further back, rather than us dictating to the car that each rosejointed needed the provided 14mm
spacers either side, we did up the outer rosejoints on the back of the rear upright, as then measured to see what spacers we needed to make up for the
inboard so that they were all fitted in a relaxed state, an no pressure or twists was being put on the chassis, prior to doing them up.
With us doing the above, making adjustments is now very easy as the bolts just slide in and out by hand/ fingers without the need for hammers and pry
bars.
Don't get me wrong, initially we fitted the provided 14mm spacers inboard and on the outer, but it just became nigh impossible to get the bolts
through as everything was under so much stress... Also, the driveshaft didn't exit the diff at 90degrees either, as we'd have been forcing a
little castor on the wheel by moving it forward.
PS: still on look out for some 15" Pro Race 1.2s in black ;-)
ReMan - 23/4/13 at 09:38 PM
Relaxed uprights, got it, good plan
yellowcab - 27/4/13 at 05:49 AM
Since having insured and MOTd it's just a case of waiting until 1st May before I tax it.
Ordered a pair of 195 15 15 Toyo R1Rs, to replace my rear Kuhmo Ecstas... It unlike me to sway away from 888s but I wanted to at least give them a
go... Especially as keeping 15s is only a temporary thing, so didn't want to be spending too much if I hope to pick up some 13s at Stoneleigh
I went for 195s for the rear aswell as front so I could chop and change, as my rears are 888s so I will be ale to make a direct comparison between the
two sets
Next up is just to tart it up a little more aesthetically, want to move my wing mirrors up mounted from the rollcage, as currently they're on the
side of the scuttle, and can't see anything because of the rear cycle wings.
Want to make a new boot panel, and boot space now the fuel tank has been moved down, should have some storage for bits and bobs...
Ben_Copeland - 27/4/13 at 06:15 AM
I mounted my mirrors directly to the cage. Much better aesthetically and you can see a lot more. Had to weld a small plate to the cage so the mirror
had something flat to sit against. Then drilled and tapped through so the mirrors are screwed straight on.
yellowcab - 27/4/13 at 06:21 AM
Nice one Ben... I'll be sure to do exactly that, only thing that concerns me is that the cage is powder coated, so unsure how it'll look
once I've patched it up?
Ben_Copeland - 27/4/13 at 07:41 AM
Simoniz tough black spray paint. Perfect for touching up powder coat, once rubbed down flat etc
yellowcab - 27/4/13 at 08:04 AM
Sweet, I'll have a look at that then...
daniel mason - 27/4/13 at 08:52 AM
i rounded off the inside face of the mirror mounts so it sta flush with the curved cage,and simply drilled,tapped,loctite and fixed back! looked fine!
suzuki gsxr mirrors from mk were perfect for the job
yellowcab - 29/4/13 at 06:49 AM
Daniel- cheers for the tip, sounds very way to do, I'll have a good look later when I'm with the car :-)
Ben_Copeland - 29/4/13 at 08:01 AM
Little bit of caution with tapped the roll cage directly. You won't get many threads in just the rollbar ! So if you tighten a little too much it
could rip it straight out.
yellowcab - 29/4/13 at 11:03 AM
Trackday booked Sat 15th June @ Mallory Park
yellowcab - 1/5/13 at 12:33 PM

yellowcab - 1/5/13 at 12:47 PM
Been out in the car today, have no confidence in it at high speed, seems very light and wavey.
Had it tracked up so not sure what's causing the 'looseness'... it might be that I'm just not used to how quick it is, but I seem
to always remember it feeling very planted at high speed...
yellowcab - 1/5/13 at 12:48 PM
I've just been out for a spirited drive around the back roads of Mallory Park, and on corners it feels fine, very predictable.
However I've noticed I have around 7-8 degreees of play in my rack, so I can move my steering wheel from 11 oclock, through to 1 oclock without
my actual wheels moving at all, which is giving me the impression that I'm waving over the road, when I'm actually probably not...
When I wobble the steering wheel, as the sierra item bolts to the column just inside the engine bay, that moves also, the column bar also moves down
to the track, but as it enters the rack, there is no movement in the wheels
sebastiaan - 1/5/13 at 02:10 PM
Check the adjuster on the rack. You might need to knock up a "tool" from a piece of pipe to adjust it, but if that is loose, there will be
significant lash between rack and pinion, causing exactly what you describe.
Or the rack could be worn.
Did you have work done on the rack recently (fitted a quick rack maybe?)
yellowcab - 1/5/13 at 04:44 PM
Cheers boss, we had no luck, we knocked up a 21mm allen key but it was tight tight, couldn't move it either way... as it had been peened into
position in three places.
I'll probably end up getting a new pinion & rack to fit into it, not had it to bits since I've had the car, nor recently, so I guess its
just worn! lol
Ben_Copeland - 1/5/13 at 04:53 PM
Quick rack time!!
yellowcab - 1/5/13 at 04:57 PM
I think it already has one in, it's currently 2.5 turns lock to lock, which I believe is quick?
Something that I noticed whilst driving on the m1 cruising at say, 70mph, is when I let off throttle to decelerate, the car swerves to the left,
almost the torque of the torqueless engine relaxing, an the weight distribution making a difference?
I think the camber settings that I have don't help straight line things, so in going to reduce the negative camber on each corner a touch
sebastiaan - 1/5/13 at 08:12 PM
quote:
Originally posted by yellowcab
Something that I noticed whilst driving on the m1 cruising at say, 70mph, is when I let off throttle to decelerate, the car swerves to the left,
almost the torque of the torqueless engine relaxing, an the weight distribution making a difference?
I think the camber settings that I have don't help straight line things, so in going to reduce the negative camber on each corner a touch
I'd leave the camber as it is now and make the front toe in a bit. That should aid straight line stability. I used to have 3 degs of negative
camber on the front of my Indy without issues. But get the rack sorted first before experimenting with the alignment.
yellowcab - 1/5/13 at 11:38 PM
Surprise surprise its back in bits again...
Just nipped down the garage to have a look at the pinion adjustment nut
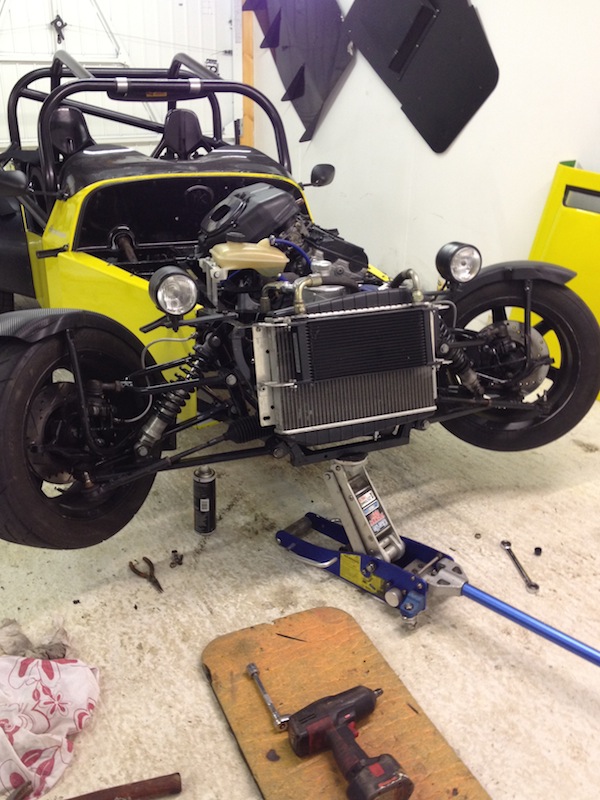
Whipped the rack off
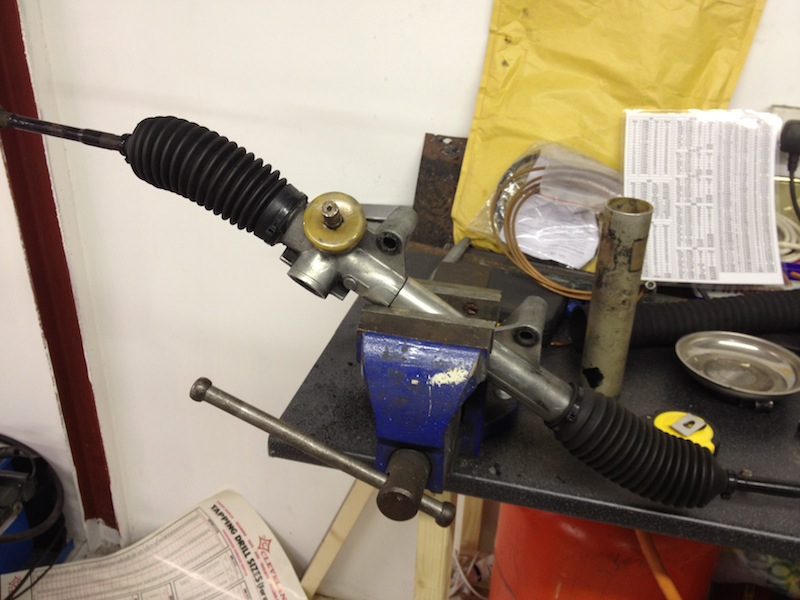
Bit of a struggle, but managed to undo the pinion adjustment nut
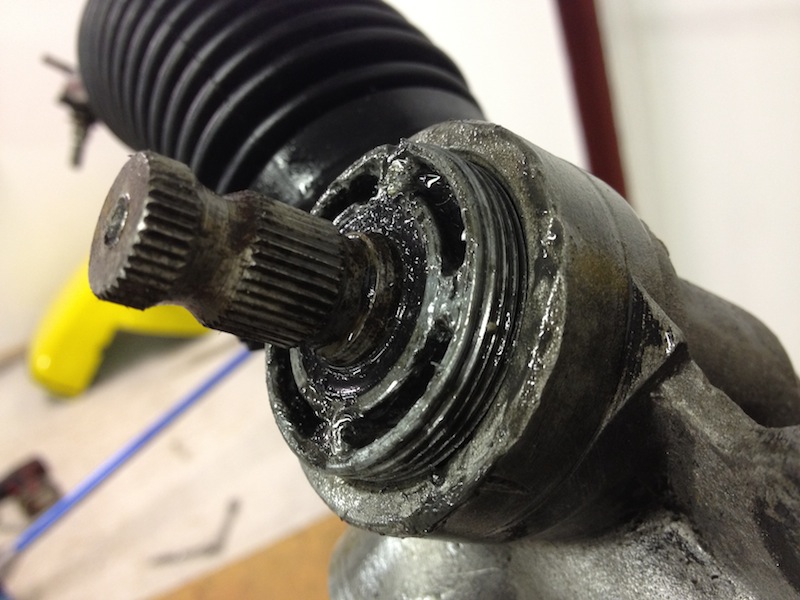
Bearing inside holds the pinion centralised, as the slipper spring holds the tension down onto the rack
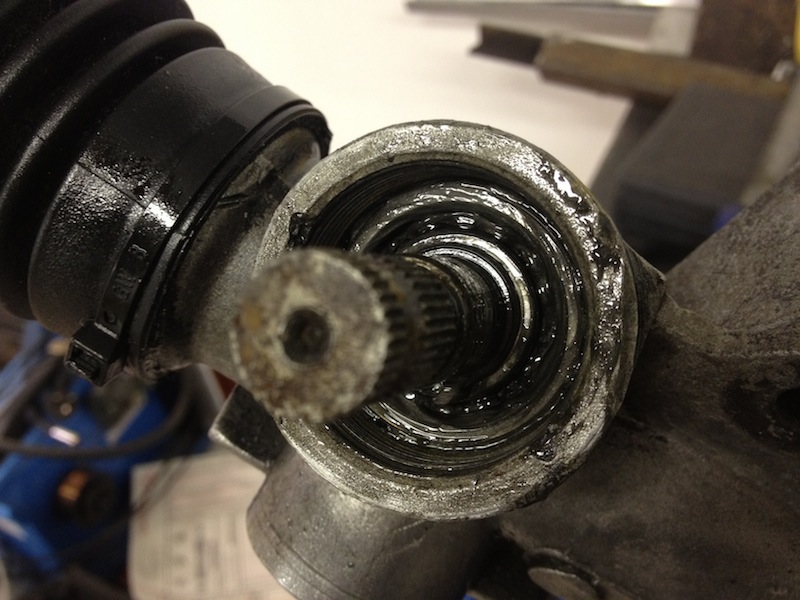
No real signs of wear on the teeth of the pinion itself
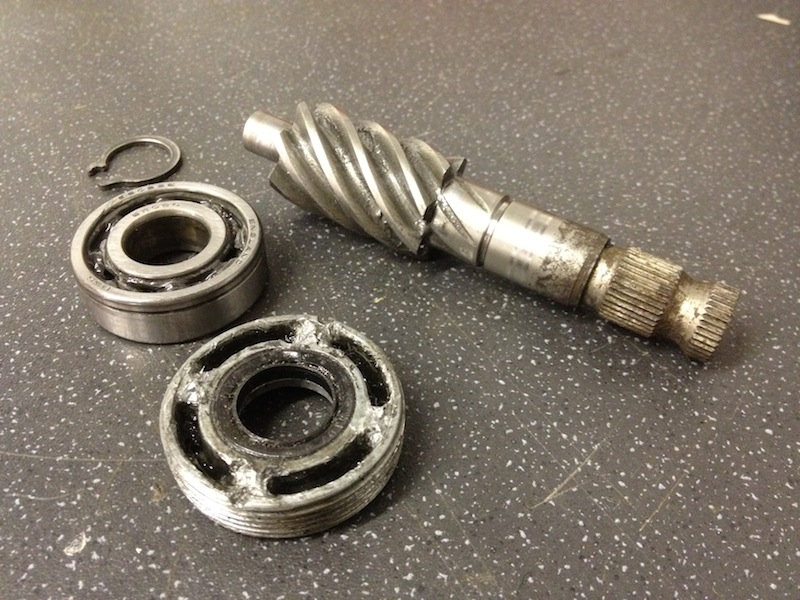
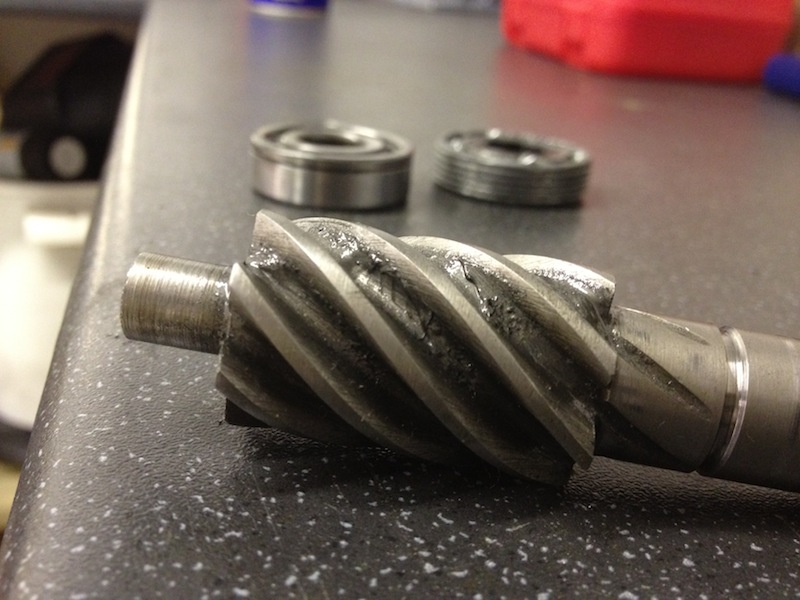
Nor the rack innards...
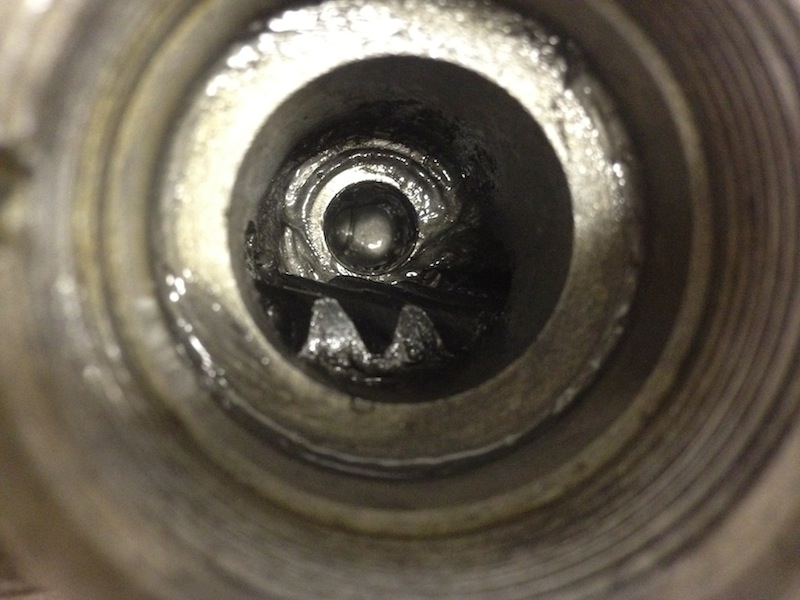
So built it all back up again, and its made sod all difference - still loads of play, but only when there is load on it, ie: the car down on the
floor... when in the air, it has no play
I'm thinking the bearing may be shot and needs replacing, as the pinion moves in and out slightly when you go lock to lock, which I'm pretty
sure shouldn't happen...
yellowcab - 2/5/13 at 06:46 PM
Problem solved...
Here's the breakdown, kinda difficult to explain.
Removed the rack again, removed the pinion adjuster sleeve, and the circlip and the bearing.
Then removed the plastic 21mm slipper nut, spring and slipper itself.
Not much wear on the Quaife item itself, but all the movement was from in between the bearing and the circlip. I thought when you tighten the pinion
adjustment sleeve up that it'd clamp the bearing nice and tight, it doesn't.
Two ways to cure would be to get a thicker circlip, which would eliminate the play, but it already fills the groove nicely.
So we replaced the bearing just because we could, then put a shim in between the bearing and the circlip which removed all lateral movement.
We followed the Haynes manual in setting it up, but with it being shortened and new innards we took the process principle, but adjusted it by feel.
We put the rack in the car, and put all the steering back on the could adjust the 21mm slipper plug in situ whilst wobbling the steering wheel so
there was next to no movement.
Obviously the tighter you go the more wear on the pinion and rack you will create, it also leads to a heavy steering car. So feels smoother with it
loose, and less gratey but then there is movement.
I've jeopardised the smoothness of the lock to lock transition for a right rack, everyone loves a tight rack, right?
yellowcab - 2/5/13 at 06:47 PM
I've now over tightened the slipper slightly, as it no longer self centres, and it makes it incredibly heavy to turn whilst stationary.
That said - I would sooner drive it like this all day long than have the play... but I will be backing it off as much as I can before introducing play
as Seb said above
Feel so planted and solid to drive now
Oh, another thing - laser alignment my arse, didn't think it felt quite right still, so did the tracking with a piece of string, and my drivers
rear was toeing out quite a way, so we tracked it up the old fashion way - this also has made a massive improvement!
yellowcab - 2/5/13 at 06:49 PM
No reason whatsoever for these photos, other than the fact I bloody love driving the car in this weather
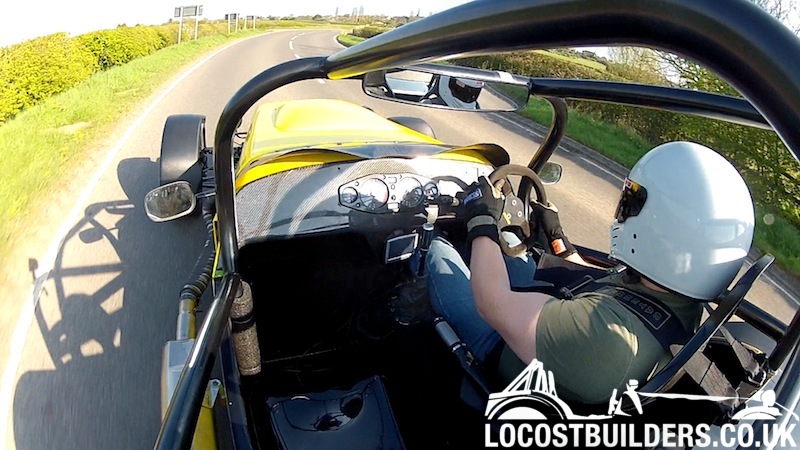
Brakes work OK...
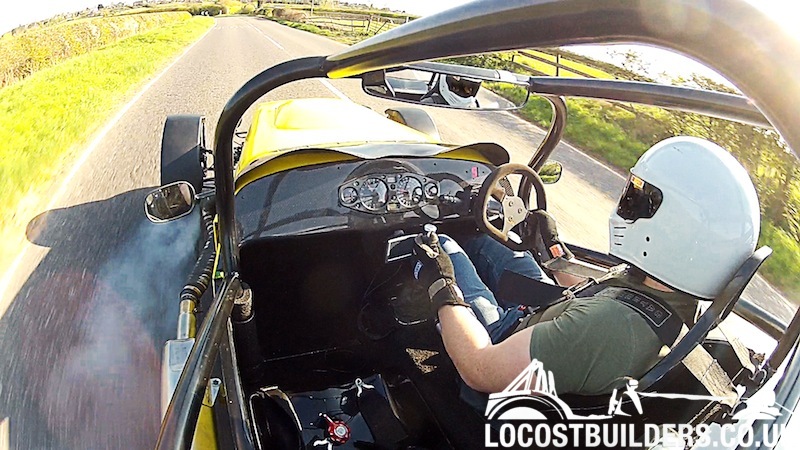
[Edited on 2/5/13 by yellowcab]
HowardB - 2/5/13 at 07:16 PM
Well impressed!
It looks so good, and so different from the "taxi" that you started with

40inches - 2/5/13 at 07:18 PM
quote:
Originally posted by yellowcab
Oh, another thing - laser alignment my arse, didn't think it felt quite right still, so did the tracking with a piece of string, and my drivers
rear was toeing out quite a way, so we tracked it up the old fashion way - this also has made a massive improvement!
KwiK Fit not do a good job then What a surprise
yellowcab - 2/5/13 at 07:19 PM
Cheers Mr B.
I prefer the look of it now, and will be improved when I get to Stoneleigh on Sunday to pick up some 13" Pro Race 1.2s hopefully!!!
yellowcab - 2/5/13 at 07:21 PM
Mr Inches, to be fair to them - they let me do the jiggery pokery as I know the manager there, they literally put the gauges on for me - and left me
to it... nothing beats a piece of string and 2 axel stands huh lol
40inches - 2/5/13 at 07:23 PM
quote:
Originally posted by yellowcab
Mr Inches, to be fair to them - they let me do the jiggery pokery as I know the manager there, they literally put the gauges on for me - and left me
to it... nothing beats a piece of string and 2 axel stands huh lol
Only thing better is a trip to Procomp 
yellowcab - 2/5/13 at 07:24 PM
I've sent Matt a u2u enquiring about a setup a couple of times, to no avail...
yellowcab - 2/5/13 at 07:32 PM
Oh, another little something was to stop my car melting... some real carbon fibre riveted on should stop it, especially with a melting point of 3500
degrees lol

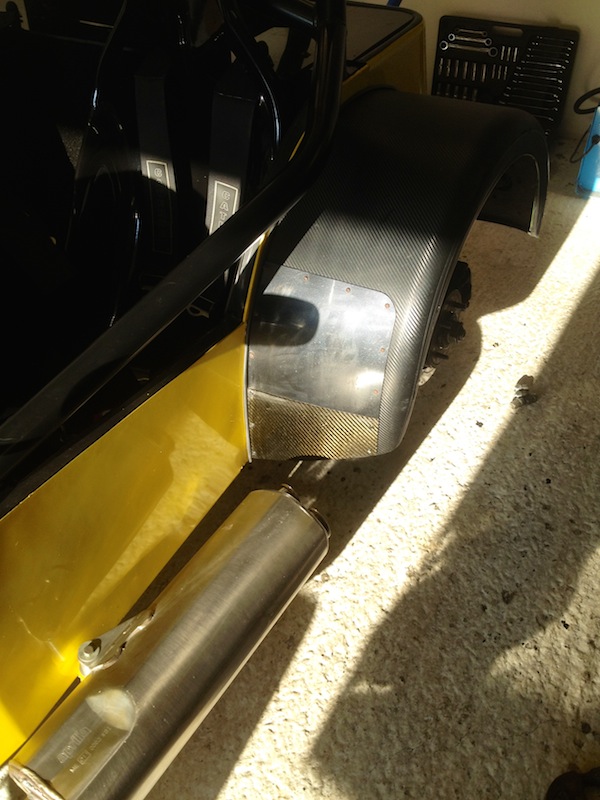
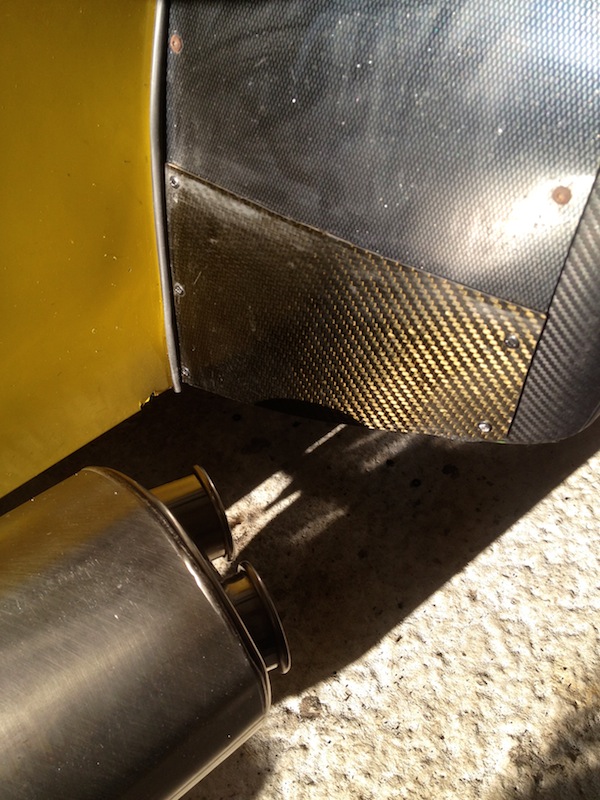
[Edited on 2/5/13 by yellowcab]
yellowcab - 4/5/13 at 05:58 PM
http://youtu.be/_E1ISDxNpJk
yellowcab - 4/5/13 at 07:40 PM
My Pre-Stoneleigh pics... if you recognise it, come and say 'Hi' 

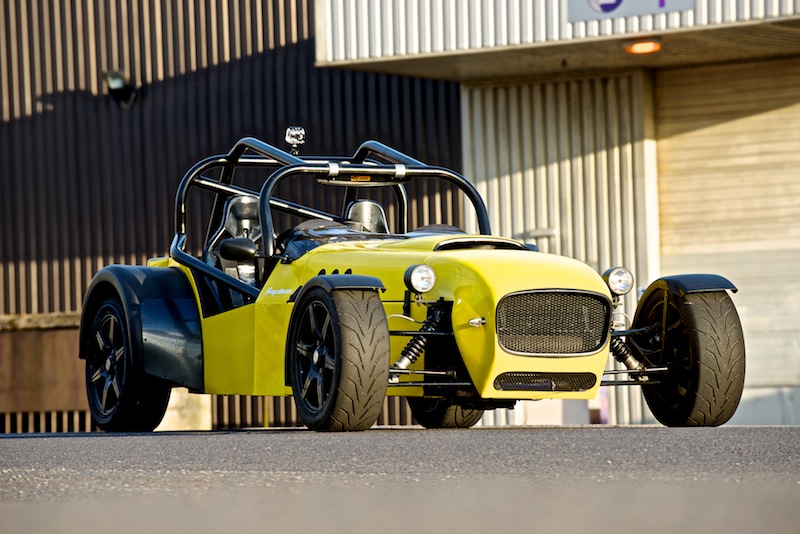
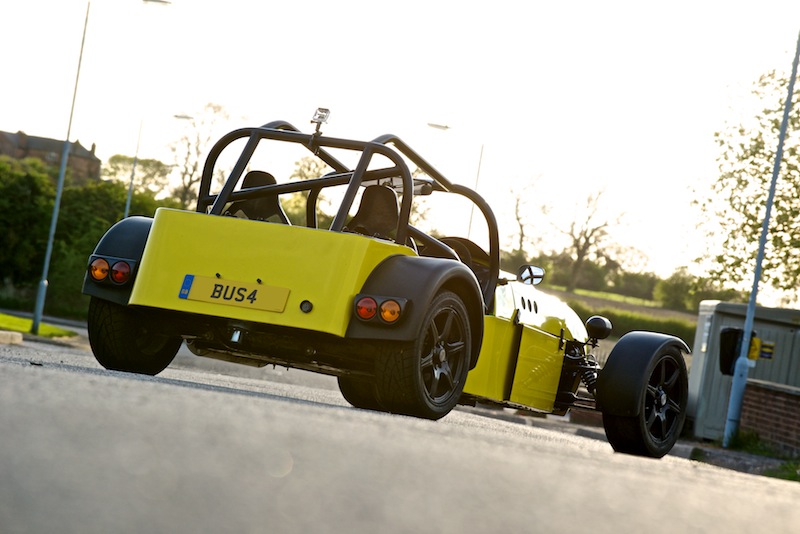
40inches - 4/5/13 at 08:06 PM
Shame! I was going, but Wife No 3 reminded me that we are going to see Bill Bailey in the evening, and I have to pick up a borrowed trailor for IVA on
Tuesday. Will catch up with you when the MK is road legal, any excuse for a blat
yellowcab - 4/5/13 at 08:11 PM
Certainly Dave, then I can drool over your custom made parts and give me ideas to stop me twiddling my thumbs!
See what I mean regarding my nose cone wrapping right under the chassis itself, rather than butting up to it...
Can you foresee this being a problem for what I'd like to do?
40inches - 5/5/13 at 10:04 AM
The hinge pivot needs to be just behind the bottom of the cone, if you use marine hinges with long legs you can bend them into an L shape. Or fix the
hinge behind the front chassis tube, going down to the cone.
daveb666 - 21/5/13 at 02:37 PM
Cracking working and photos as always Oliver.
Can't wait to meet up for a drive once mine is ready 
Benzo - 22/5/13 at 12:35 AM
Great plate! Did you buy it or was it just for the show?
knobby - 27/5/13 at 09:39 PM
Great read... Just spent my Sunday evening reading your thread.
Very inspirational, always wanted a MK Indy, should be moving into a house with a double garage towards the end of the year so perhaps 2014/15 might
bring one..
yellowcab - 15/6/13 at 07:19 PM
Fantastic day out with some great people at Mallory Park today
Car ran completely faultlessly - so a massive thanks to cosmick for his outstanding help getting the car back to the form it is.
A complete transformation from what it was like last year.
Here is a decent video from today, a tussle with a 205 which was great fun, I just didn't have the balls like him to take Gerrards any quicker on
the traction I had...
[Edited on 15/6/13 by yellowcab]
yellowcab - 15/6/13 at 07:23 PM
[Edited on 15/6/13 by yellowcab]
Benzo - 15/6/13 at 07:34 PM
Oh dear! You need to get out racing!
yellowcab - 15/6/13 at 08:26 PM
What makes you say that Benzo? my aggressiveness on track? lol
[Edited on 15/6/13 by yellowcab]
yellowcab - 15/6/13 at 08:39 PM
http://www.youtube.com/watch?v=qoWNZiDdQc4&feature=em-upload_owner
Benzo - 15/6/13 at 09:11 PM
quote:
Originally posted by yellowcab
What makes you say that Benzo? my aggressiveness on track? lol
[Edited on 15/6/13 by yellowcab]
The horns sprouting from your helmet on the chase!
cosmick - 16/6/13 at 05:04 PM
Hi Olz,
The car looks so much more in control now. No fighting the steering wheel like you used to. the driving looked like me at the steering wheel it was
that smooth LOL.
yellowcab - 16/6/13 at 06:56 PM

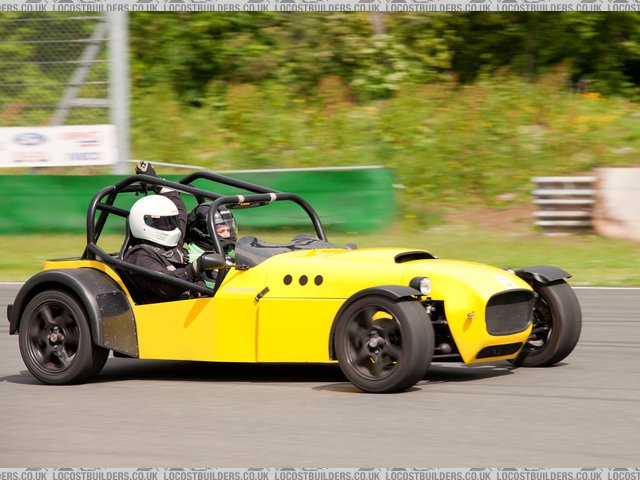
Description

Description
[Edited on 16/6/13 by yellowcab]
yellowcab - 17/6/13 at 06:28 PM
Some shots from my brother in law from the day 
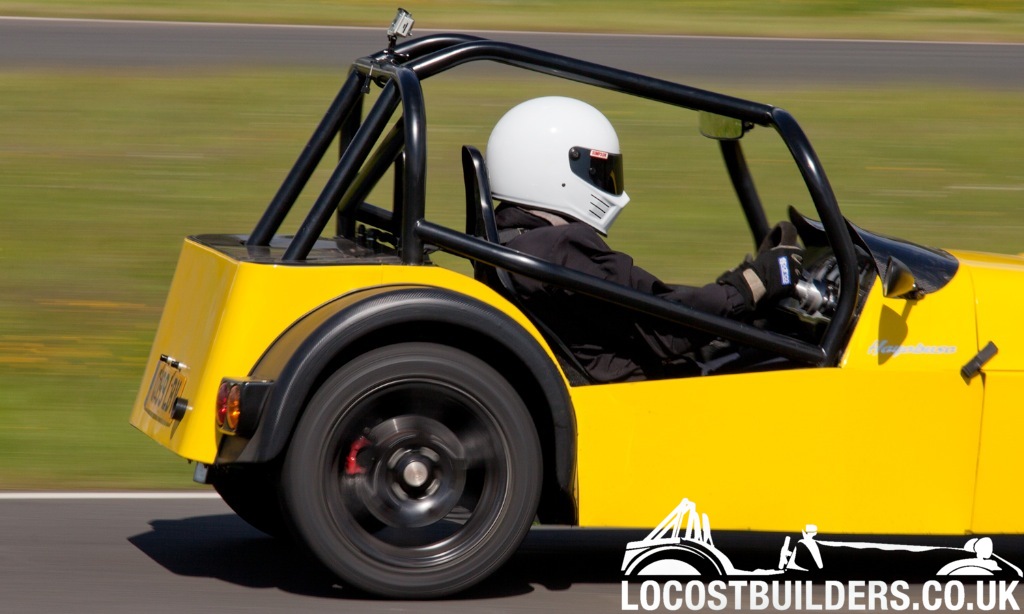

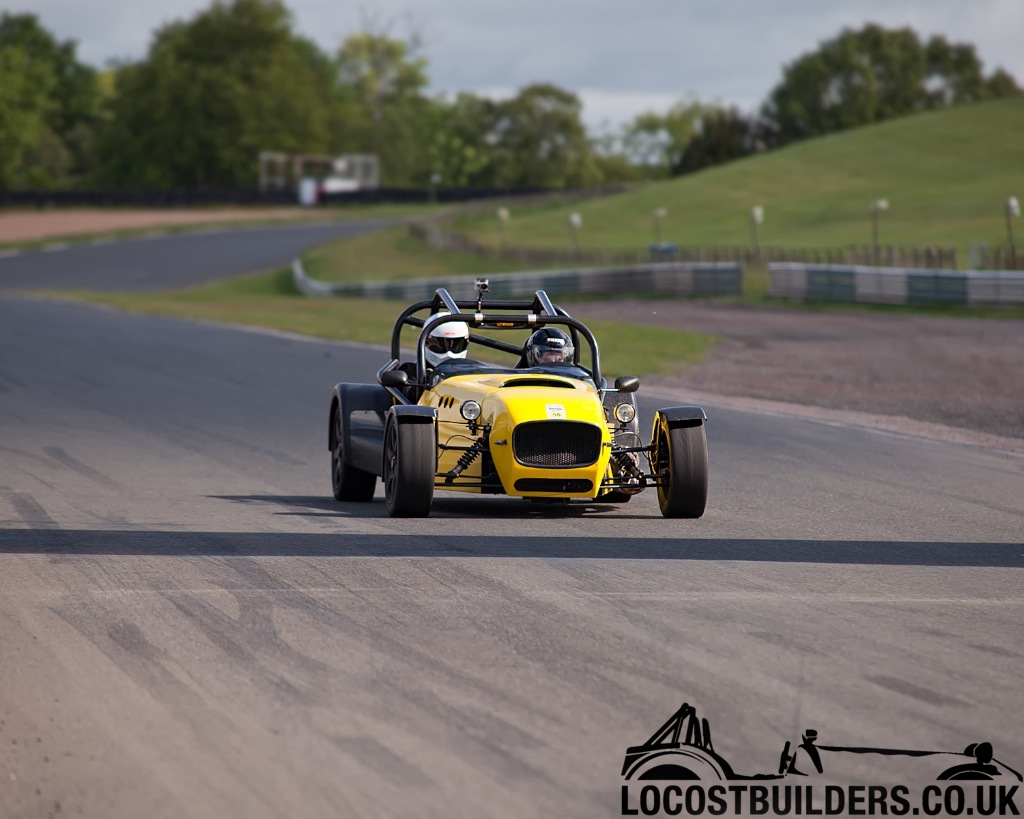
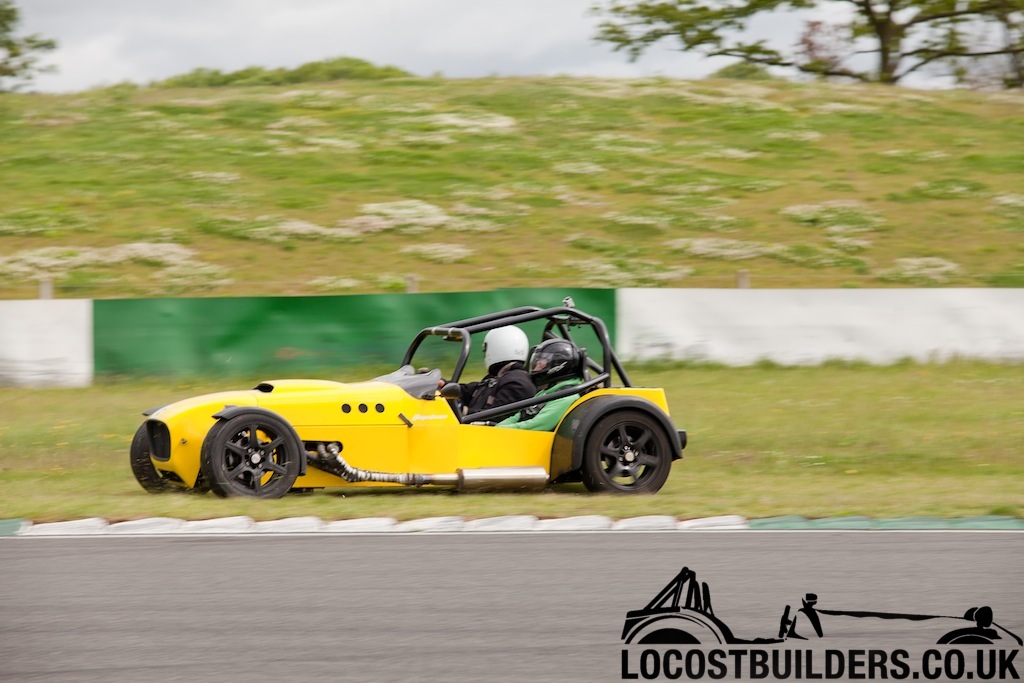
Benzo - 17/6/13 at 09:44 PM
Car looks great, anymore pics of the red Westie tho? I'm still trying to decide on colours for my new car!
Hopley89 - 19/6/13 at 09:42 PM
hi mate brilliant thread it has tuck me 2 days to read thought it tho 
but you have give me some grate ideas as im building mine at the moment
keep up the pics
dan
yellowcab - 2/7/13 at 07:03 PM
http://www.locostbuilders.co.uk/viewthread.php?tid=183182
The End!
yellowcab - 2/10/13 at 05:10 PM
Not selling it anymore, having had a couple of months of it doing nothing, got the love back!
Booked in to be setup at ProComp next Wednesday 9th October, so looking forward to seeing the results!
[Edited on 2/10/13 by yellowcab]
yellowcab - 11/10/13 at 06:44 PM
Been to ProComp in Birmingham and these guys are totally amazing, yet unassuming at the same time.
Upon arrival, I'll be honest, I was expecting gloss floors, high tech equipment and neon signs, reception area, coffee machine etc. To get to a
residential address for my sat nav to say 'you have reached your destination' was quite a shock, I looked around then heard some roller
doors being opened to reveal a concrete prefab garage at the side of a house. Never let this disappoint you, they need no gadgets, just their brains,
knowledge & experience is all they need.
Ivan & Matt, father & son team - very welcoming, first off was a coffee... ahhh settled!
Firstly, they do not slag off MK like a lot of people say they do, they simply state the facts that's are not quite right with the chassis, but
not just MK, just kit cars in general.
Never derogatory, just plain and simple terms, 'this is what we have to work with, this is how we are going to get the best from what we've
got', exactly what I wanted to hear.
I got there around 10am, and left at 7pm, a long and cold day but my god I learnt so much and understood things as they really take the time to
explain each aspect to you. It would be far far quicker and easier for them to ask you to drop of your car and leave it with them, but they don't
want that, they want you to know what they're doing at every stage, and more importantly, why they're doing it.
For the money, I really don't think I could have spent that money any better, to think if it was the kind of glam place I was expecting, the
price probably would have doubled if not trebled, they have it right, costs & overheads are relatively low. (i gather)
Can't recommend them enough, I just can't wait to get back on track again to really see the difference
So the treatment my car had was the usual:
Front camber, castor & tow
Rear camber, castor & tow
Rake & ride height
Chassis measurement check from datum
2x corner weightings, once before and once after geometry adjustments
Pro-Tech shock dyno'ing
Wheel bearing checked
Tyre pressures corrected (oops)
Positive camber in roll issue rectified
As I had rosejointed the rear arms on my MK Indy, it enabled us to move the rear upper wishbone outer mounting point upwards along side the bottom
shock absorber bolt, which significantly reduced the amount of positive camber movement when in roll.
In it's standard position, when in 1degree of roll, I think we calculated that that calculated to 1.2degrees in positive movement (it did not
move to +1.2degrees, it just moved in a positive direction by 1.2degrees)
After we had moved the upper wishbone outer rose joint up alongside the bottom shock absorber bolt on the upright, it now reduced the amount of
movement from +1.2degrees, down to +0.4 degrees in a positive direction.
Obviously this is still not perfect, we would not like any 'positive' movement in camber when in roll, however, as above - for a very simple
move, this is the best we can get without having to grind, cut, move, and re-weld bracketry & shock absorber mounting points.
As my new static rear camber is -1.5degrees, when in roll, the outer rear wheel will now still have and remain in negative camber by 1.1degree.
Not driven in anger yet - as it was fairly dark when driving home, and only had my jet-black visor on... jumping on the M6 Northbound instead of
Southbound wasn't my greatest idea as it added 20mins onto my journey - d'oh!
Another highly positive review for ProComp from me, a very happy customer.
Rob55 - 11/10/13 at 07:13 PM
Matt is a gentleman and I only wish a bit closer to me! Supplied my shocks and an endless steam of friendly advice, glad to hear you were able to make
the trip and benefit of it first hand.
yellowcab - 11/10/13 at 10:15 PM
Next up is to make some boot space storage, just don't know where to start, unfortunately because my fuel tank is quite big, it will only be
about 6 inches deep which is a bit of a pisser, but can't get my head around how to start it off
ReMan - 11/10/13 at 10:17 PM
Ive got a couple of Tupperware boxes you can have?
yellowcab - 11/10/13 at 10:25 PM
Brilliant, thanks chum!
ReMan - 11/10/13 at 10:26 PM
Have you not seem my luxury Tupperware boot box?
yellowcab - 12/10/13 at 04:17 PM
Thought I'd update with a few photos thats been going on over the last couple of weeks - nothing too interesting, but everyone likes pics
don't they lol
Wing mirrors on the car have always been useless, as all you can see is the rear tubs, so I went about moving them high up onto the cage
This is where they were originally, mounted on the side of the scuttle
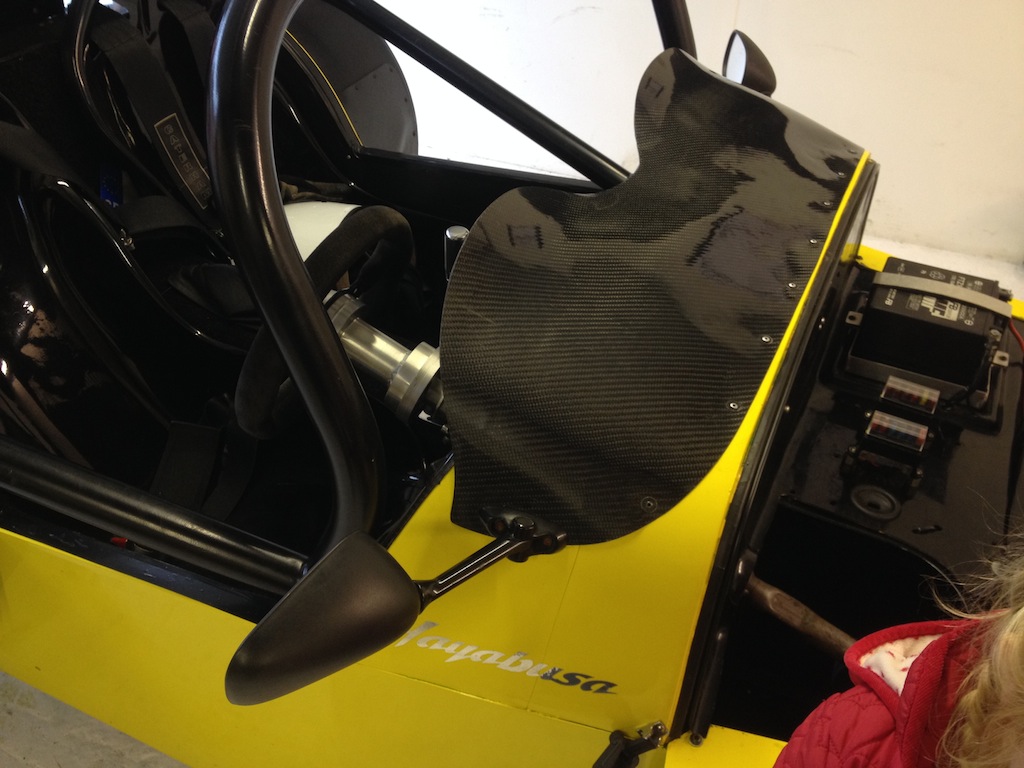
Oh, my little Miss Stig jumped in when I wasn't looking
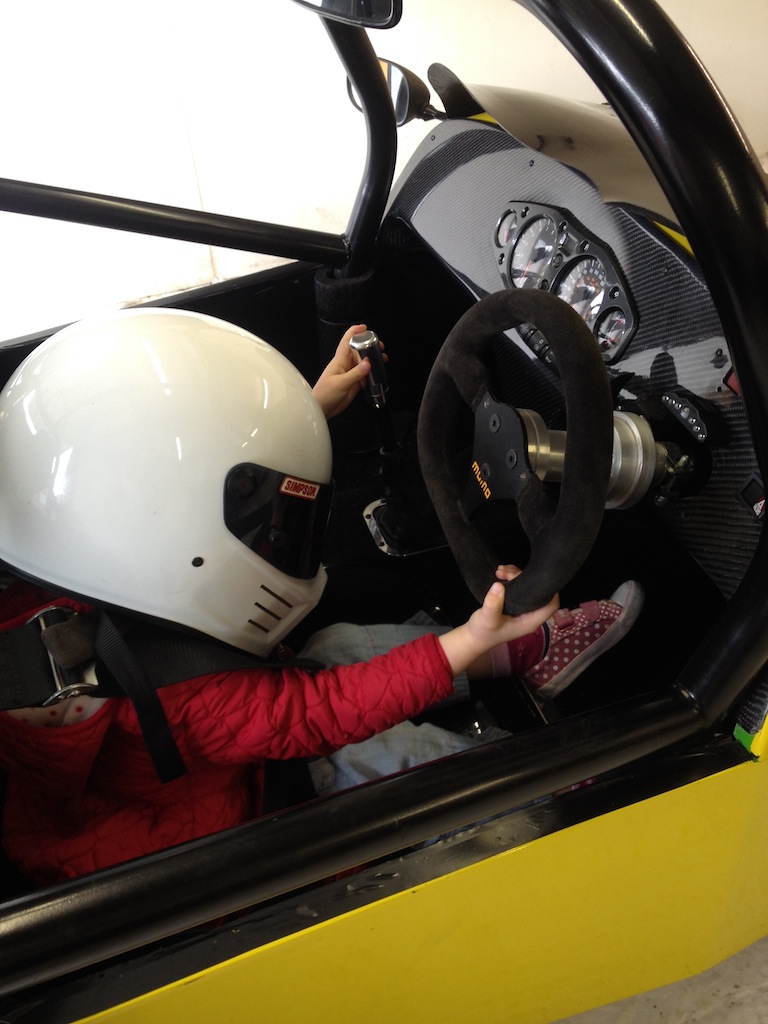
Drilled & tapped the cage, rather thick metal, possibly about 2.4mm walls?
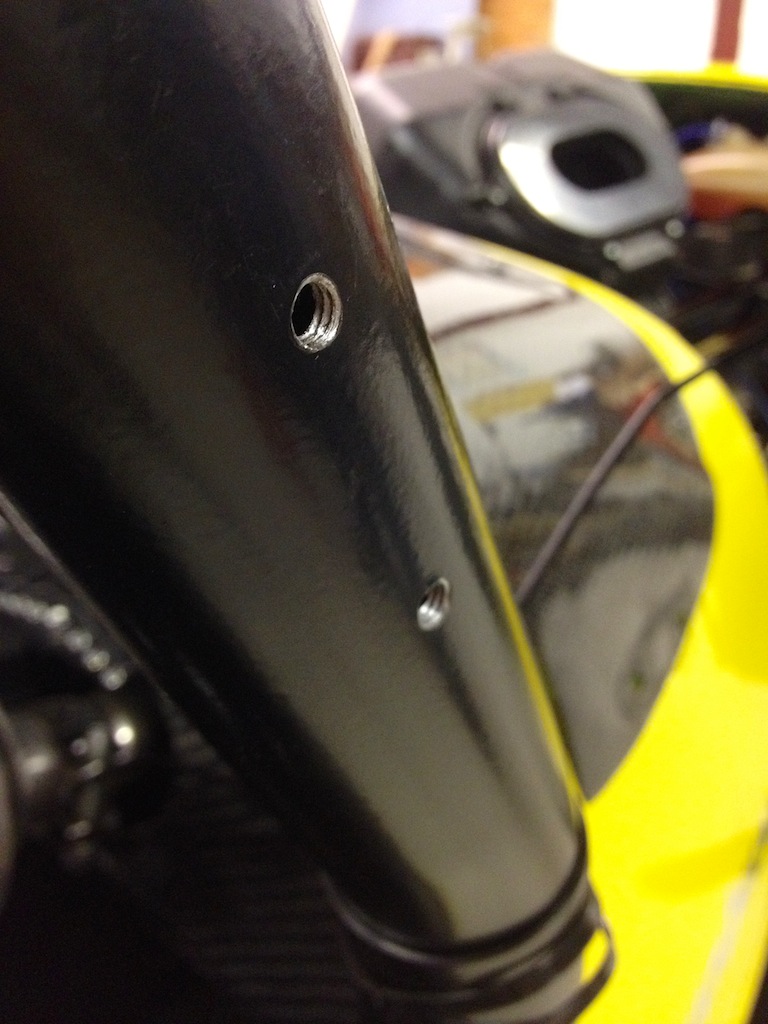
Dry sump belt decided to snap whilst I was out playing with a mate on his R1...
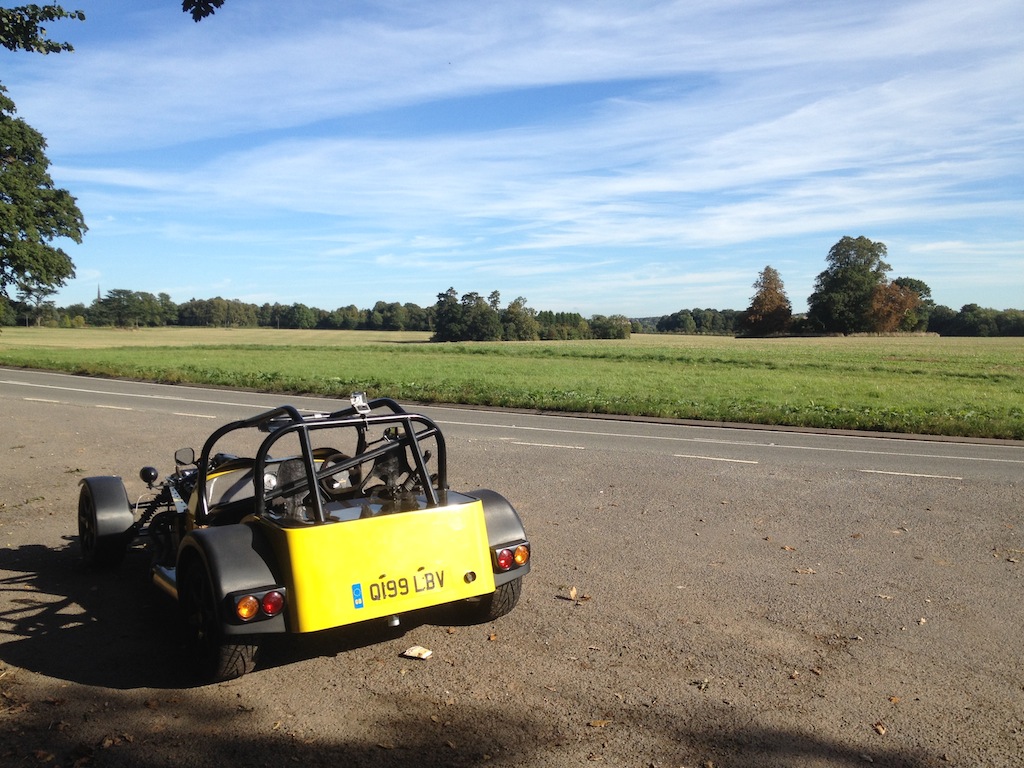
More help from my two mini's
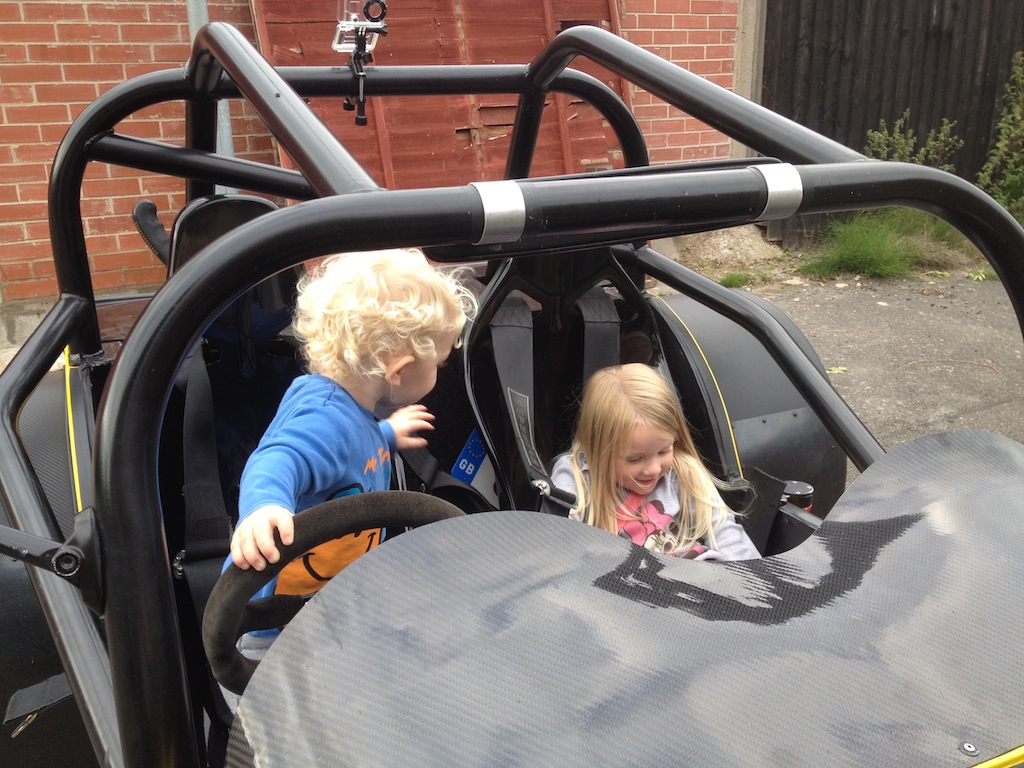
"Dad I think you'll need this next time you go out"
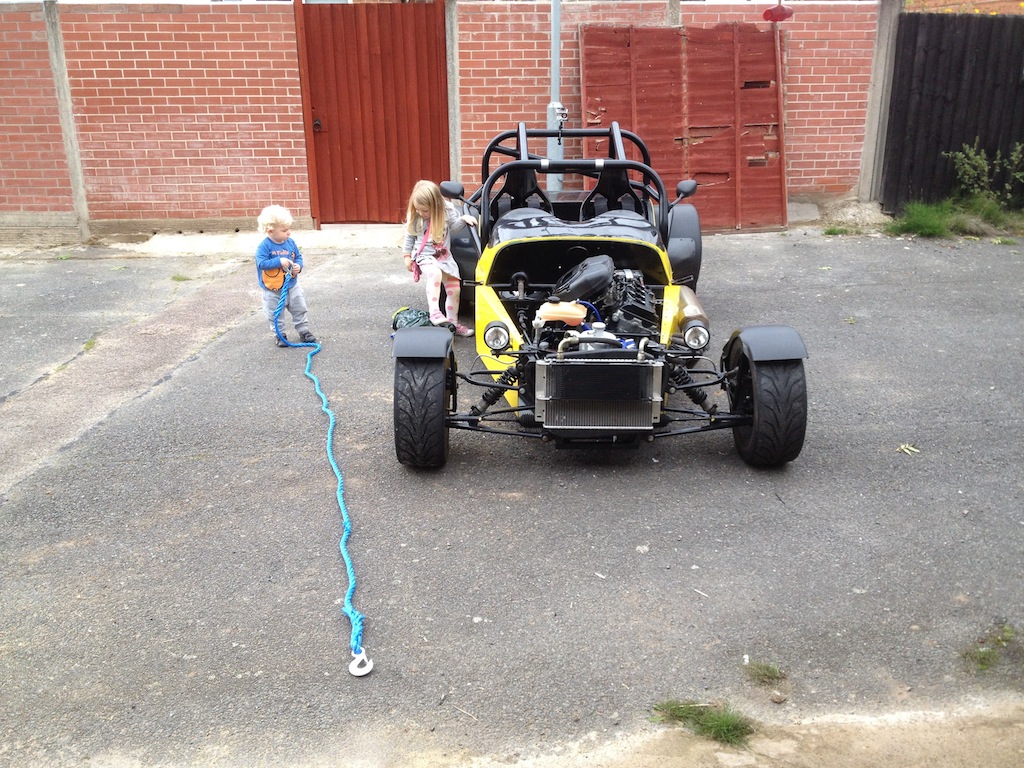
yellowcab - 12/10/13 at 04:21 PM
Then off to ProComp, not a great deal of photos taken, I was too busy listening to their advice and trying to remember it all...
But there are a couple:
Mat dyno'ing my shock absorbers
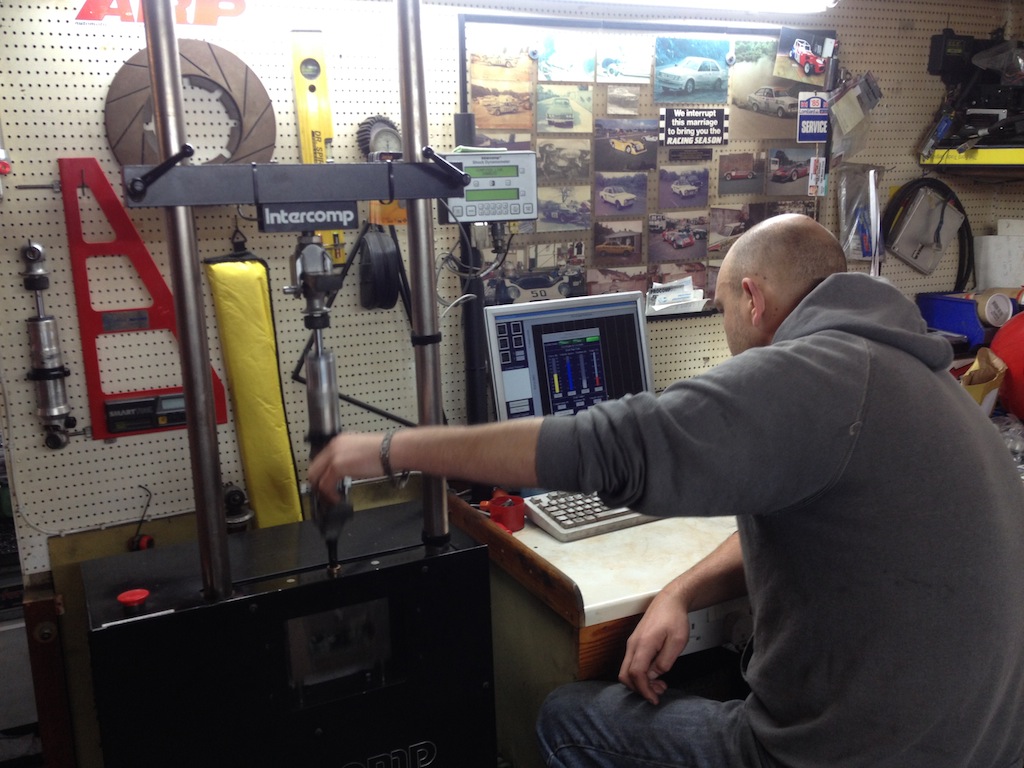
Ivan tinkering with tyre pressures I think
More tinkerage
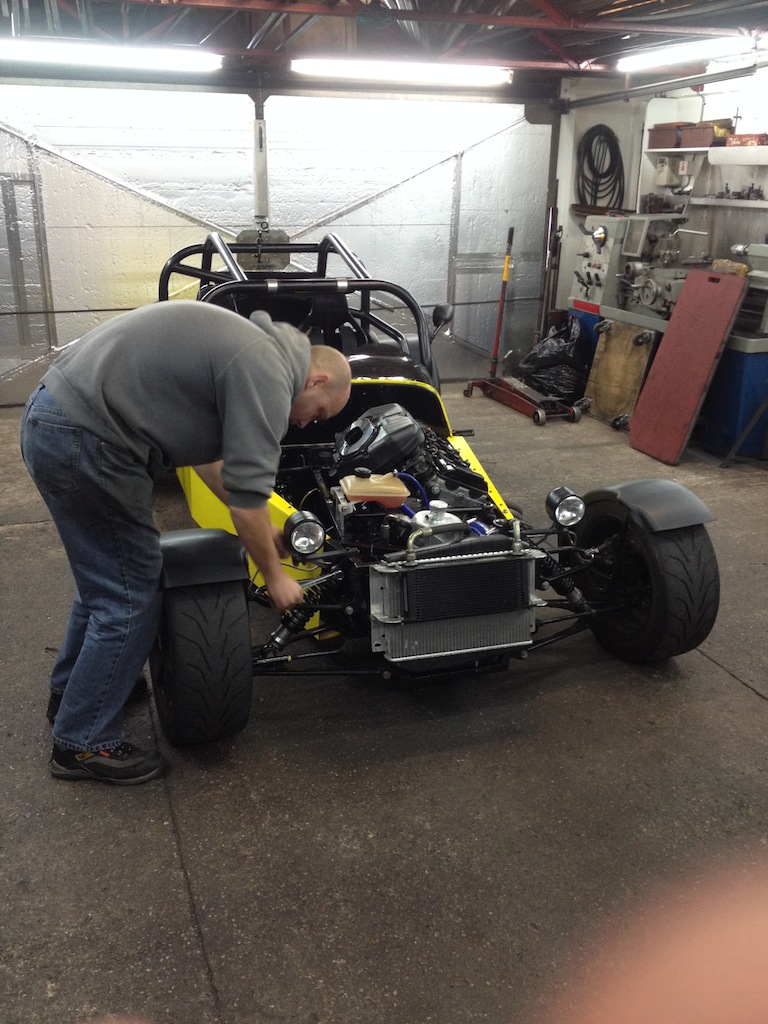

Corner weighting
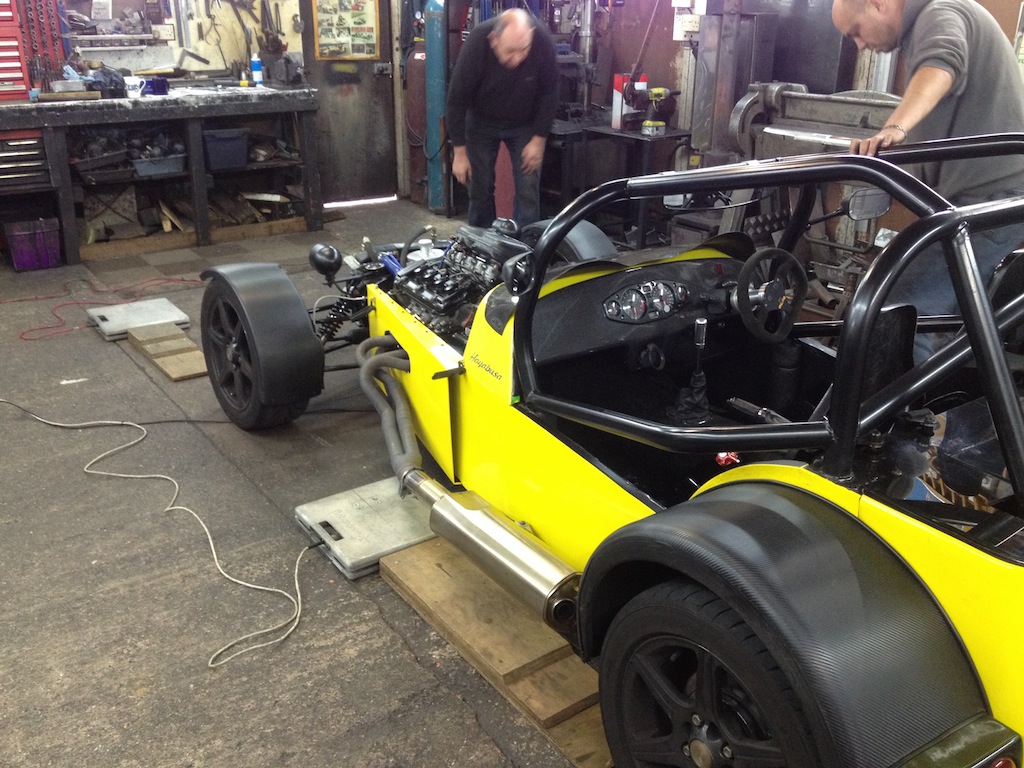
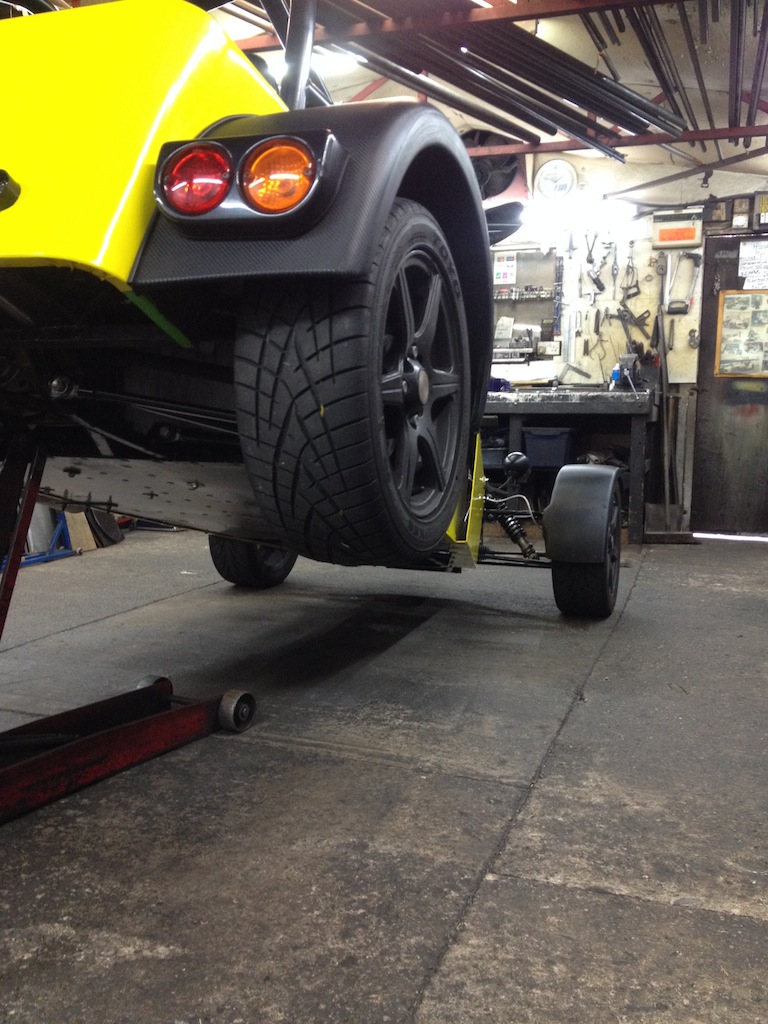
Tracking & castor measurements
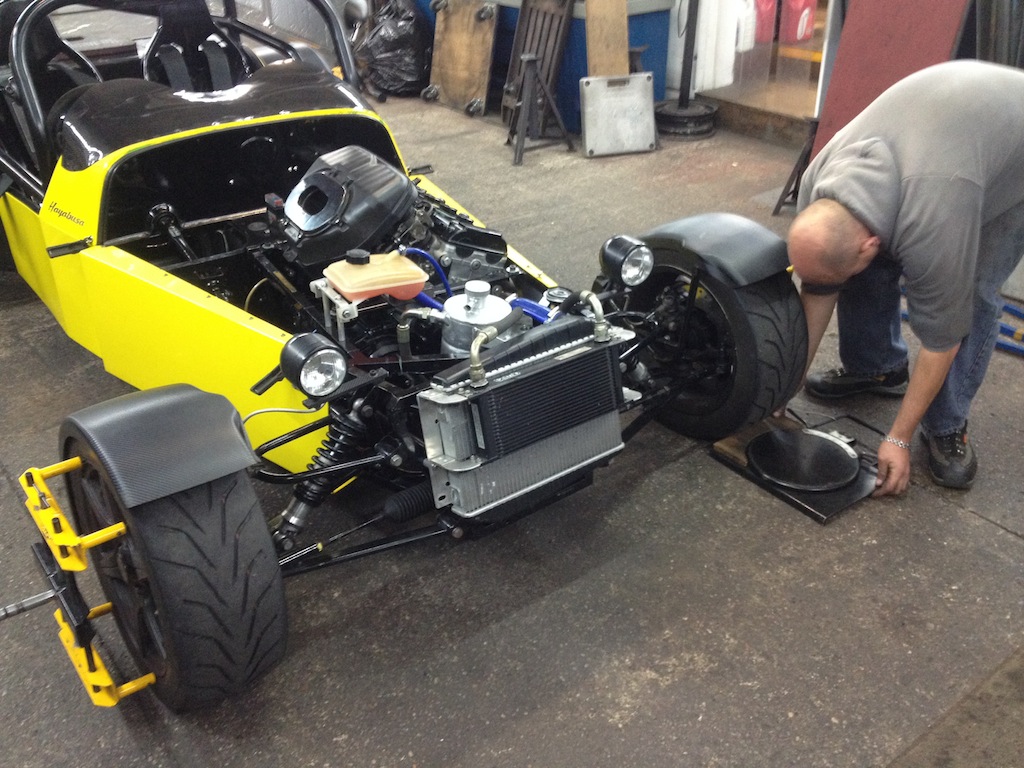
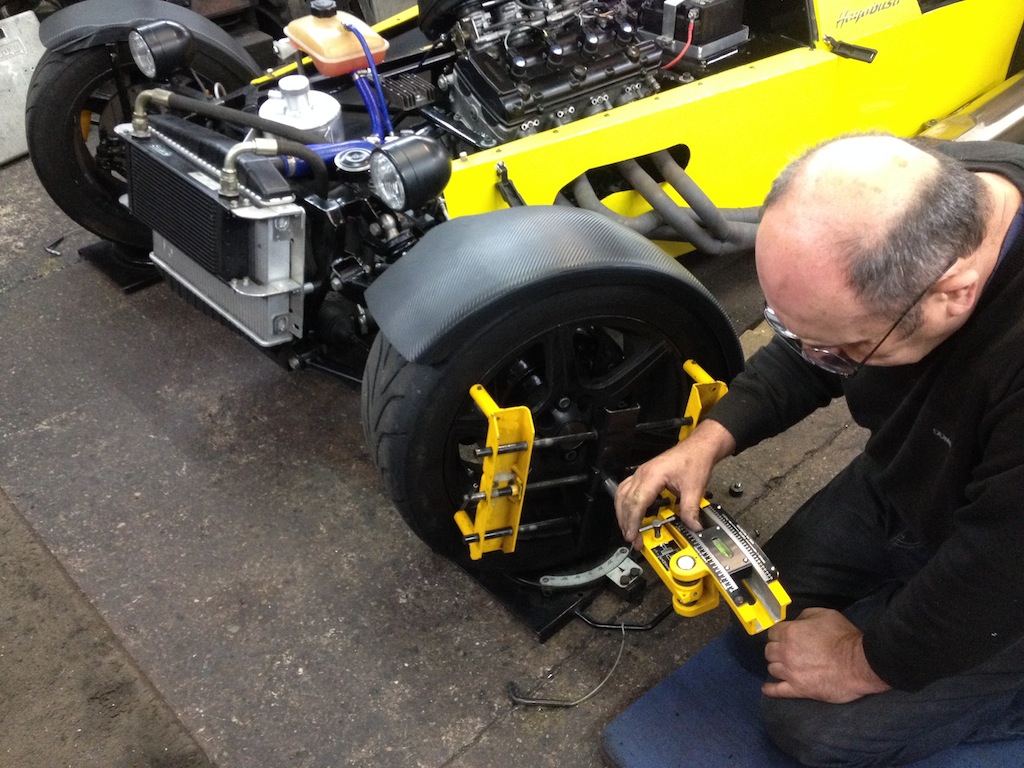
Rear upper wishbone mounted up alongside the shock absorber inside the original upright
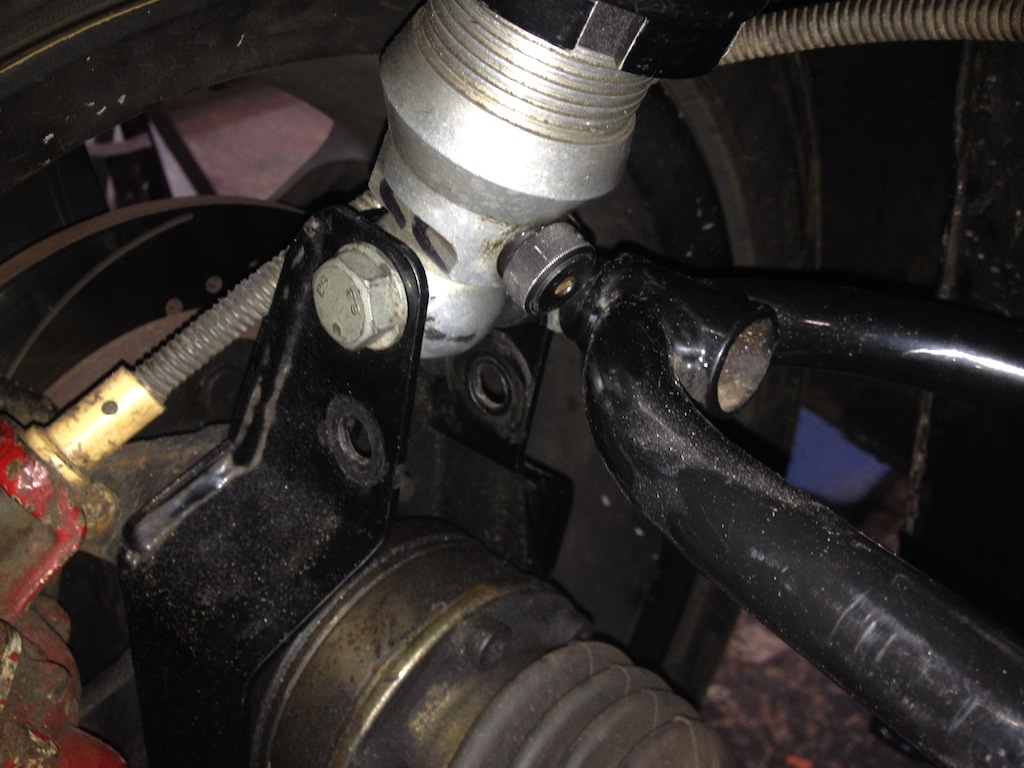
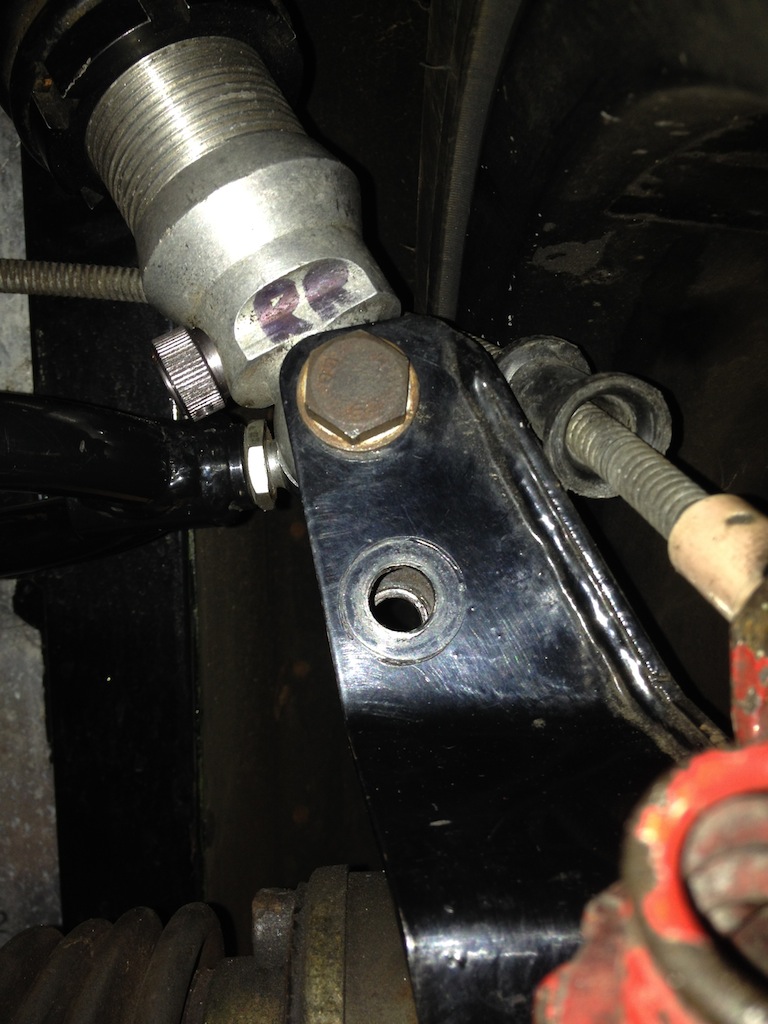
Weight:
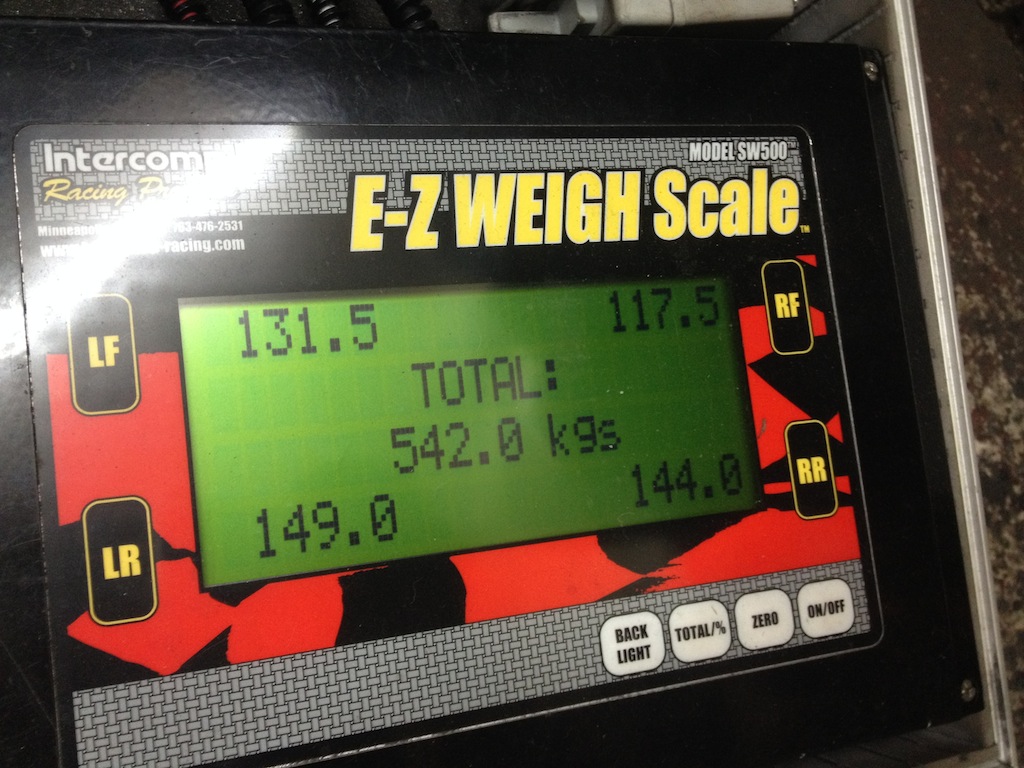
yellowcab - 12/10/13 at 04:27 PM
Decided I really need a trailer in order to enjoy my car at further afield trackdays - so I bought an Alko galvanised caravan chassis this morning,
which looked a right state.
Huge thanks to Colin/ReMan for helping me getting it back home, and thanks to cosmick for finding it for me!
Colin and I looking like pikeys trying not to get pulled over

All set for shortening/ customising and making it look pretty
yellowcab - 12/10/13 at 04:30 PM
In the process of making my rear bootlid a little neater as its currently shocking
This is a rather thick MDF version but not as heavy as it looks, but more than likely will be replaced with ally at a later date
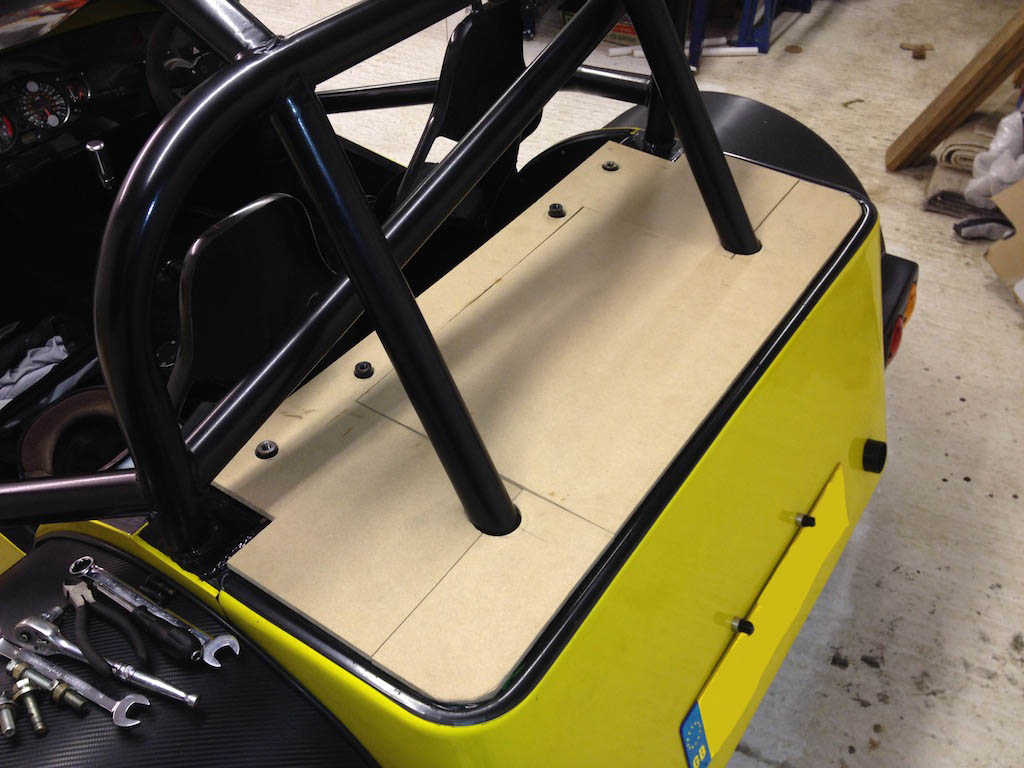
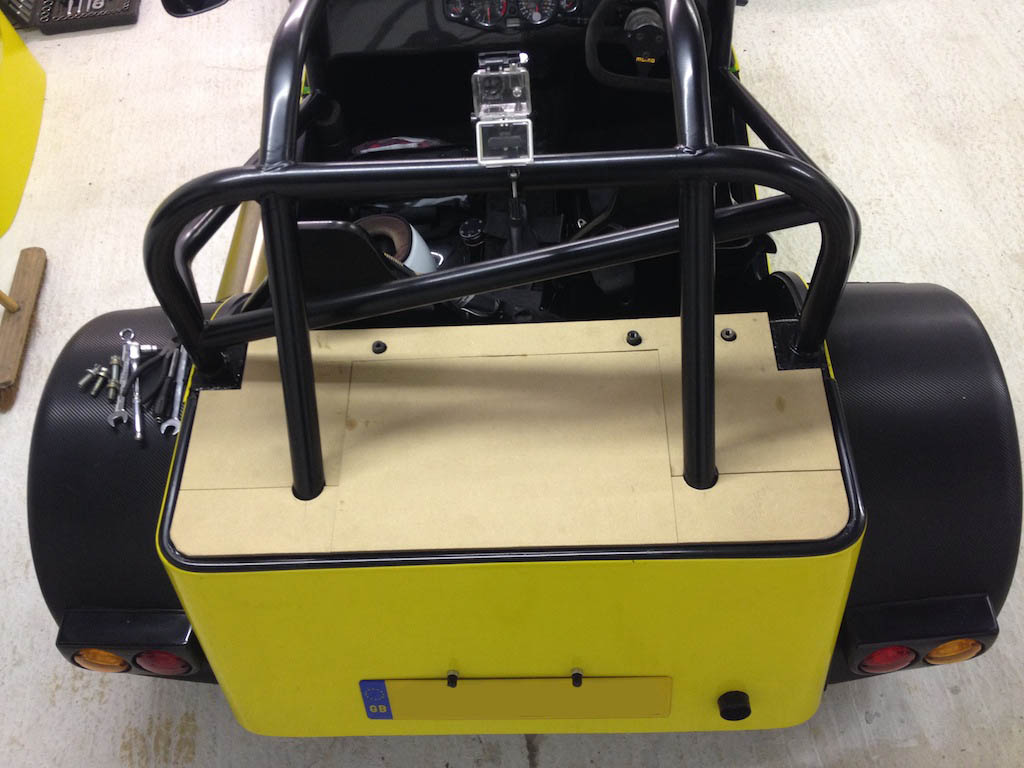
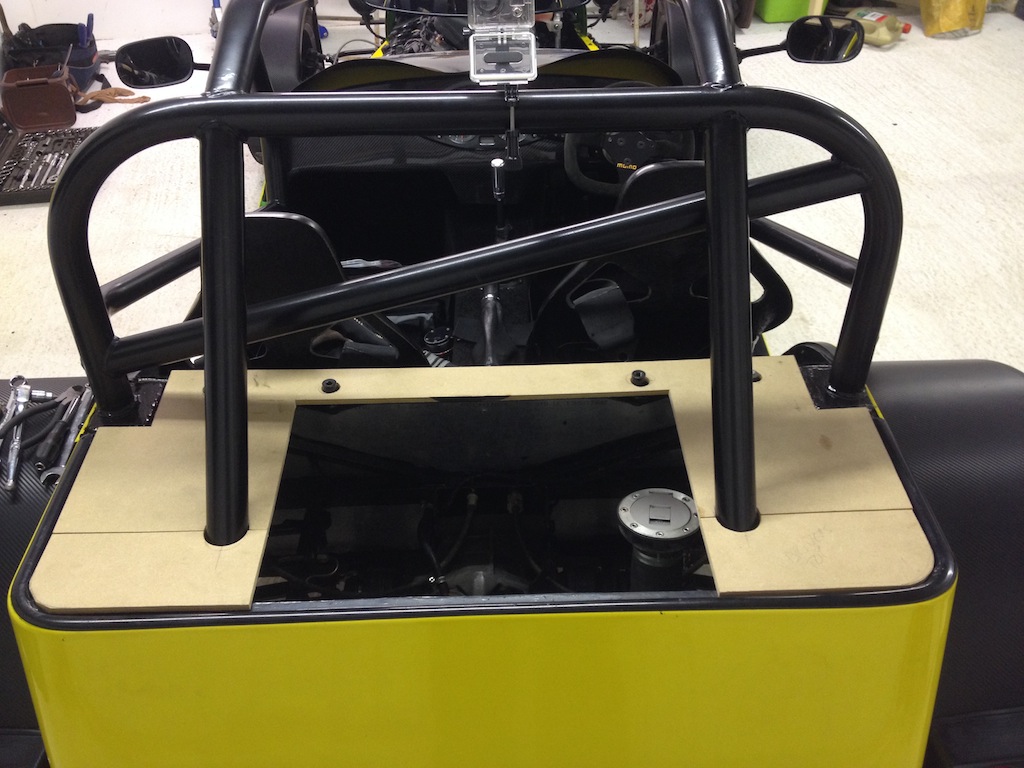
Ben_Copeland - 12/10/13 at 08:08 PM
Too work as always 
yellowcab - 13/10/13 at 07:21 PM
My speedo has never worked since fitting the Hayabusa clocks due to needing a Healtech Speedohealer etc, so for now I've downloaded a GPS Speedo
iPhone App... bang on accurate to TomTom speed
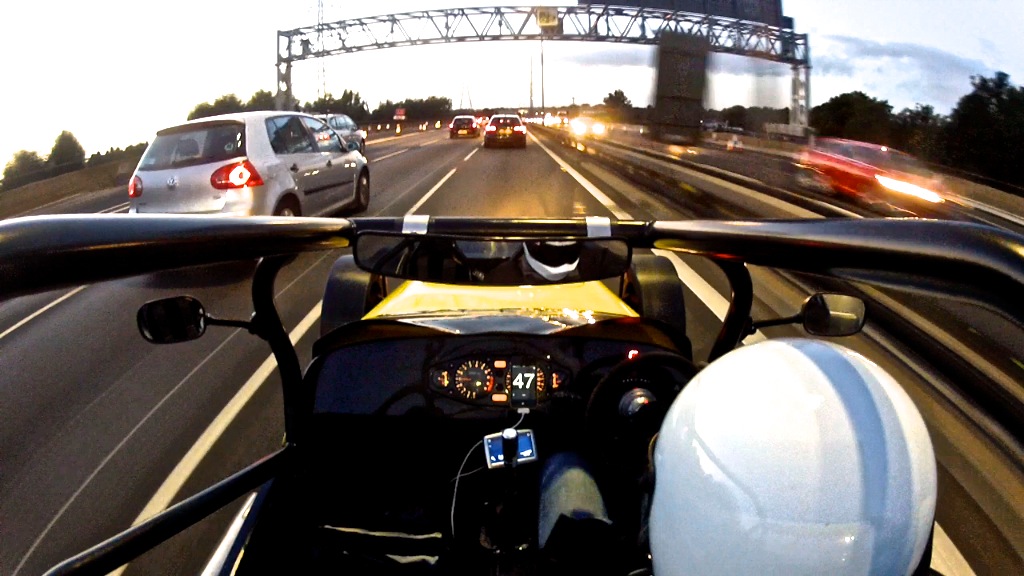
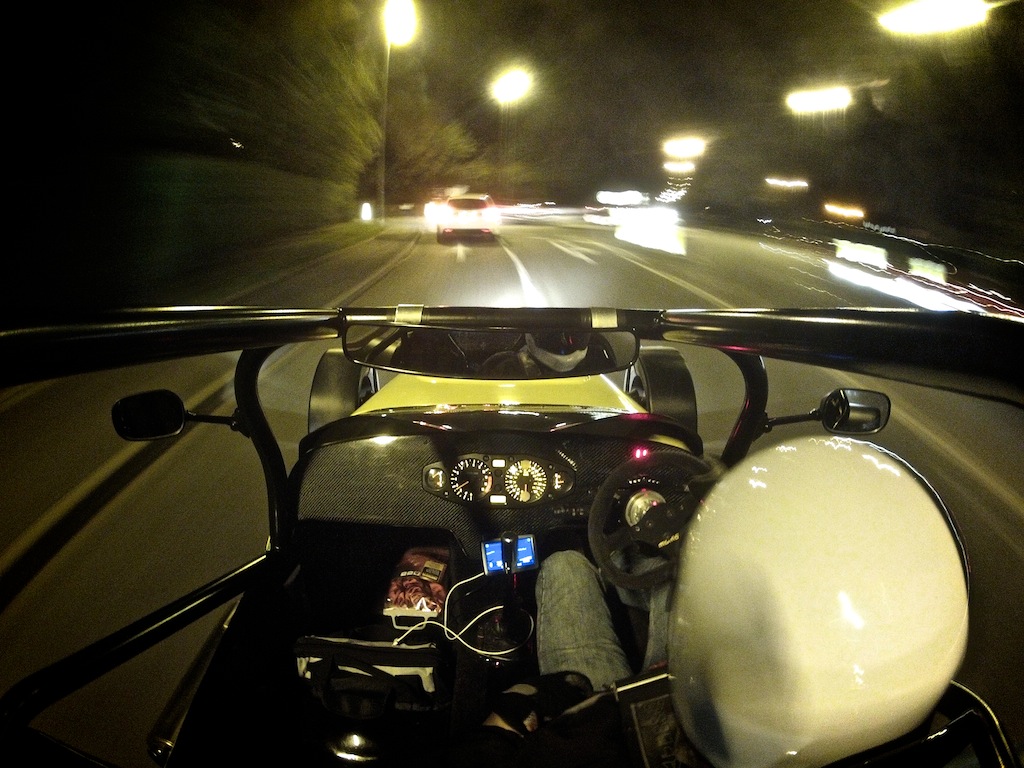
yellowcab - 13/10/13 at 07:27 PM
Oh hello Mr R1 
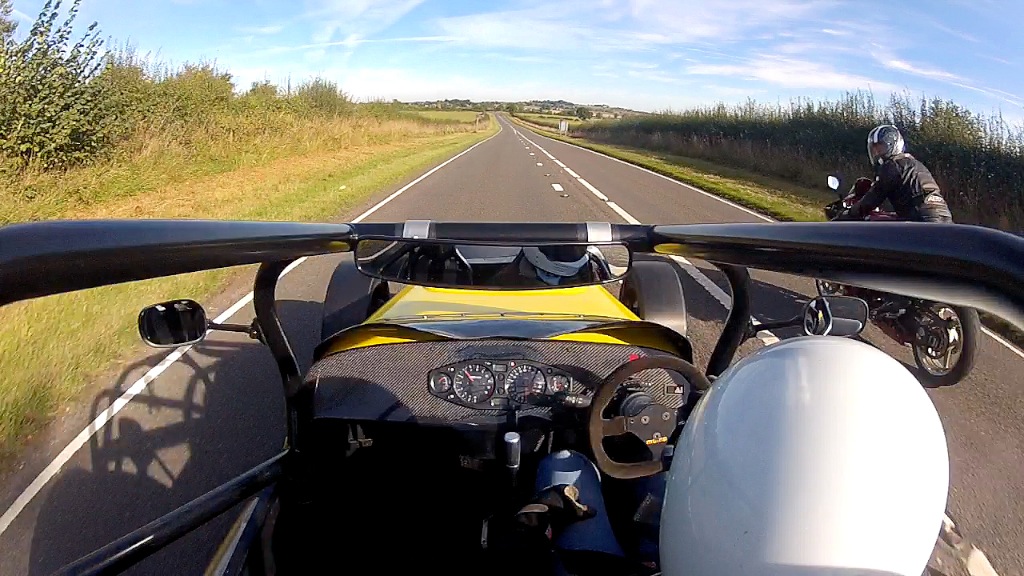
yellowcab - 15/10/13 at 07:34 PM
Some footage from Mallory Park earlier on in the year
http://www.youtube.com/watch?v=6cgPMhHJL5c&feature=youtu.be
stevio73 - 16/10/13 at 06:12 AM
Just taken me two days to read through all your posts. Fantastic work, given me plenty to think about on my build.
I'm still fairly new to this building thing despite having rebuilt a few escorts and the likes 'back in the day' when I was younger and
dafter.
Points I can think of that May or may not be useful to you going forward from a complete outsider view.
On numerous videos you've posted you appear to drive 'one handed' ie one hand on wheel and one on gear stick. Might I suggest a paddle
shift or maybe button shift. I get the feeling you'd enjoy the 'feel' better.
I'm not über convinced your rear uprights are ideal in the 'post procomp' setup. Can I suggest a solid spacer and bolt in the hole
where the upper wishbone was, now it's up with the lower shock mount. Remember when you had the old upright crack, a spacer etc would stiffen and
provide support.
Either that or a redesign along the fabricated 'Haynes' route.
Like I said, it's just a layman a point of view and in no way criticism. I'm a long way behind you on my build but I've picked up a
whole load of ideas.
One question though...... Why when you had all the front end down and messing with the clutch master etc didn't you go for an adjustable pedal
box?
yellowcab - 16/10/13 at 07:49 AM
Good morning Stevio, thanks for your reply and some very good points to bring up on each subject!
You're observant, I like it.
You're bang on the money with my rear upright, Matt @ ProComp had also advised me to put a spacer in where the wishbone used to be to maintain
the rigidity & strength, I'm the spacers up tonight!
You're not the first to notice my one hand on the wheel driving, it's just a bad habit which I could do with losing lol
There is no need for it, nor should I do it lol I considered paddleshift but not had enough seat time to get 'used' to it as yet.
When I had my car stripped down, I was talking to Andy Bates quite a bit, I asked about pedal box & bias, and we came to the conclusion that even
if I was to have the adjustability, you'd end up setting it in the standard 70/30 split anyway. So other than not spending unnecessarily
that's the main reason.
stevio73 - 16/10/13 at 09:04 AM
Good point about the pedal box, I just went that way because it seemed a quicker fix. (Not that it's made anything move quicker with my build.
Time and money are the biggest limiting factor)
As far as bad habits go, there's a lot worse. Perhaps wire the lever to a coil just to spark a reminder!
loggyboy - 16/10/13 at 09:09 AM
The gear stick habit stems from the Nova days - its the natural position for any Boyracer! :p
scudderfish - 16/10/13 at 09:15 AM
quote:
Originally posted by stevio73
As far as bad habits go, there's a lot worse. Perhaps wire the lever to a coil just to spark a reminder!
And a switch on the clutch so you can actually change gear 
stevio73 - 16/10/13 at 09:22 AM
I was going to post a pic of how little progress my build has made just to make you feel better, but iPhone copy and paste doesn't appear to
work. Any ideas?
yellowcab - 16/10/13 at 09:57 AM
LOL about Nova days, it's just a really comfortable position to drive in with one hand on the stick lol
Don't think I ever did it my nova looking at the videos lol
daveb666 - 16/10/13 at 10:06 AM
quote:
Originally posted by yellowcab
Some footage from Mallory Park earlier on in the year
http://www.youtube.com/watch?v=6cgPMhHJL5c&feature=youtu.be
Ha, so glad you can't tell in the video how scared I was 
yellowcab - 18/10/13 at 09:43 PM
Went out for a spirited drive to test the mic... the GoPro sticky mount came off the cycle wing, smashed the case on the floor, camera flew possibly
100 foot up the road, was well chuffed when I found both items, until the camera read 'NO SD CARD'
Spent an hour looking, can't find it anywhere, so decided to get my camera out instead lol
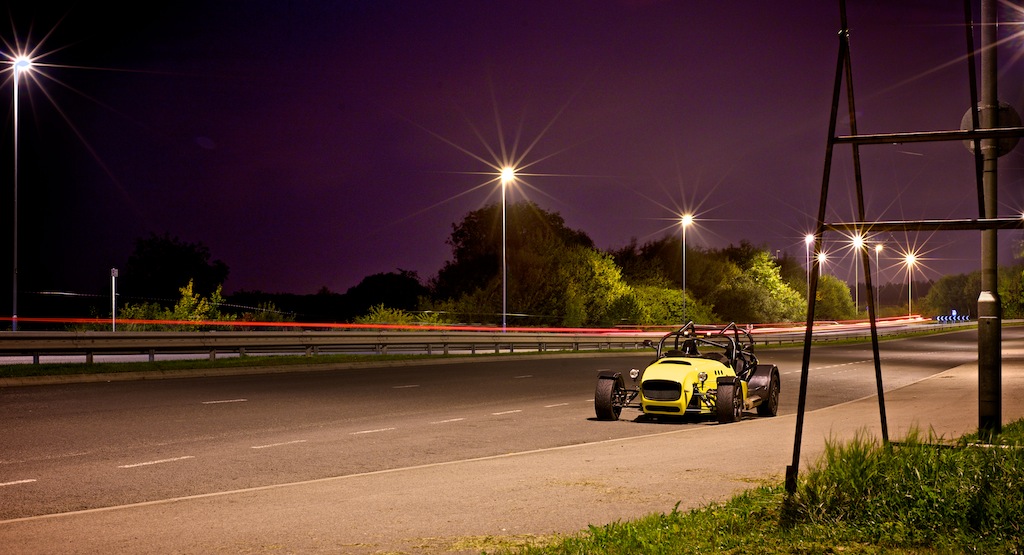
[Edited on 18/10/13 by yellowcab]
yellowcab - 19/10/13 at 05:37 PM
Just testing new external mic...
http://www.youtube.com/watch?v=PQQuI3v-ZZQ&feature=c4-overview&list=UUCpP5dFARRhF0vlmAKtEF4A
yellowcab - 19/10/13 at 05:42 PM
More trailer progress... just cleaning it up a little
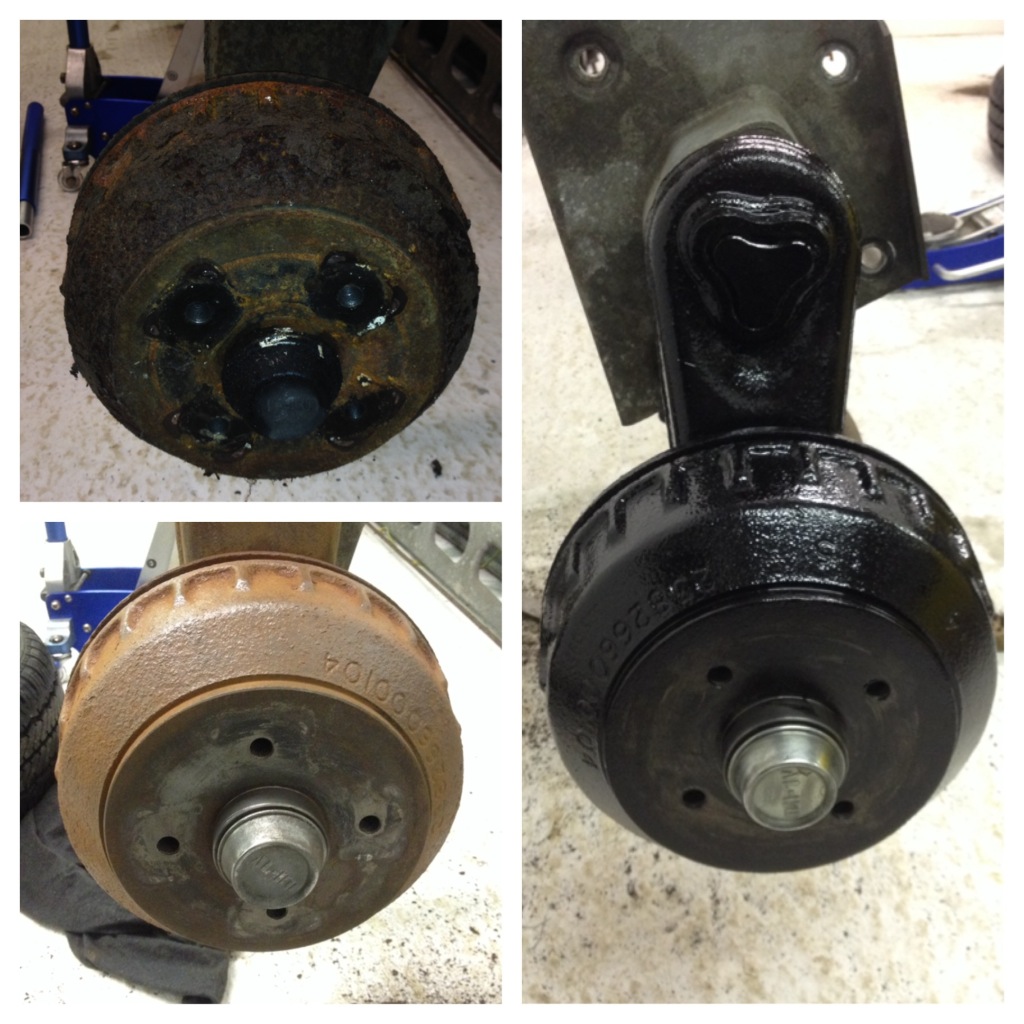
I'm lying, I didn't do any of the work 
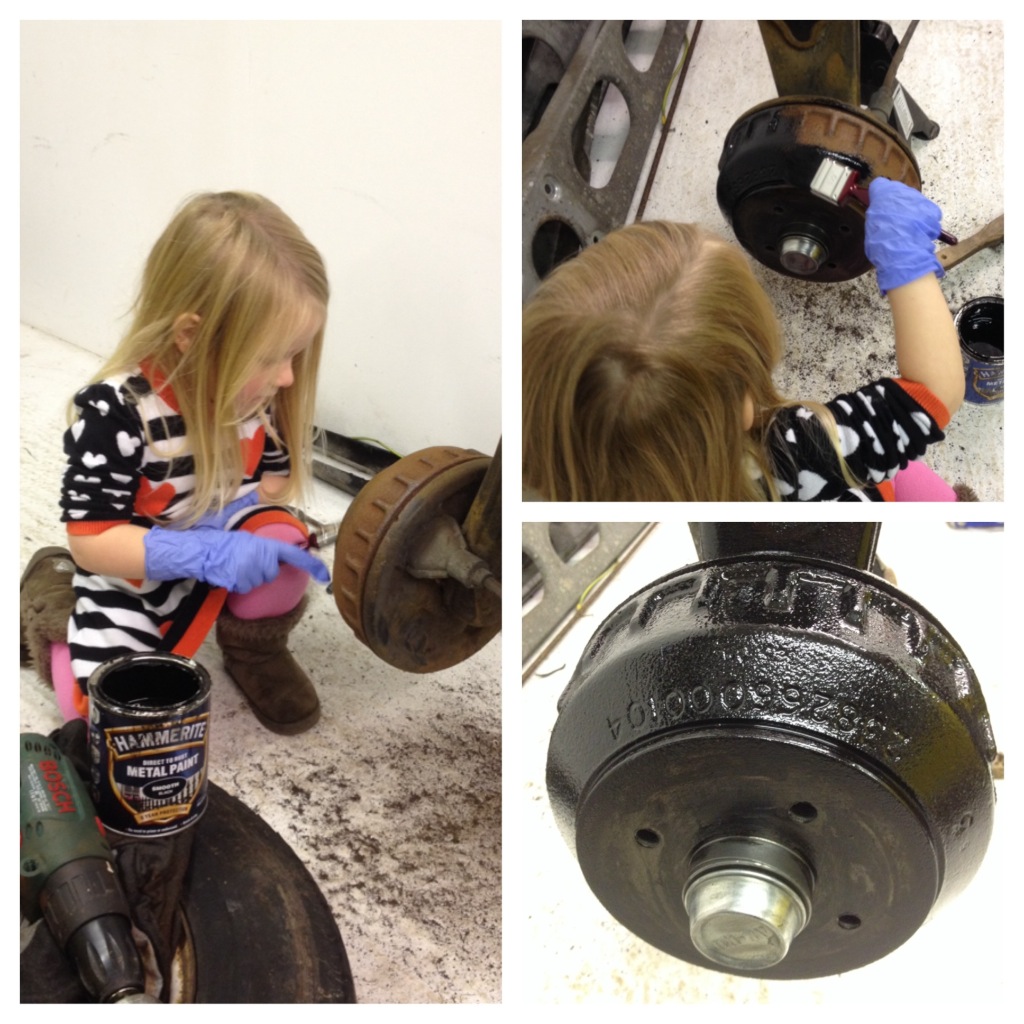
New mic from Amazon for £9.12
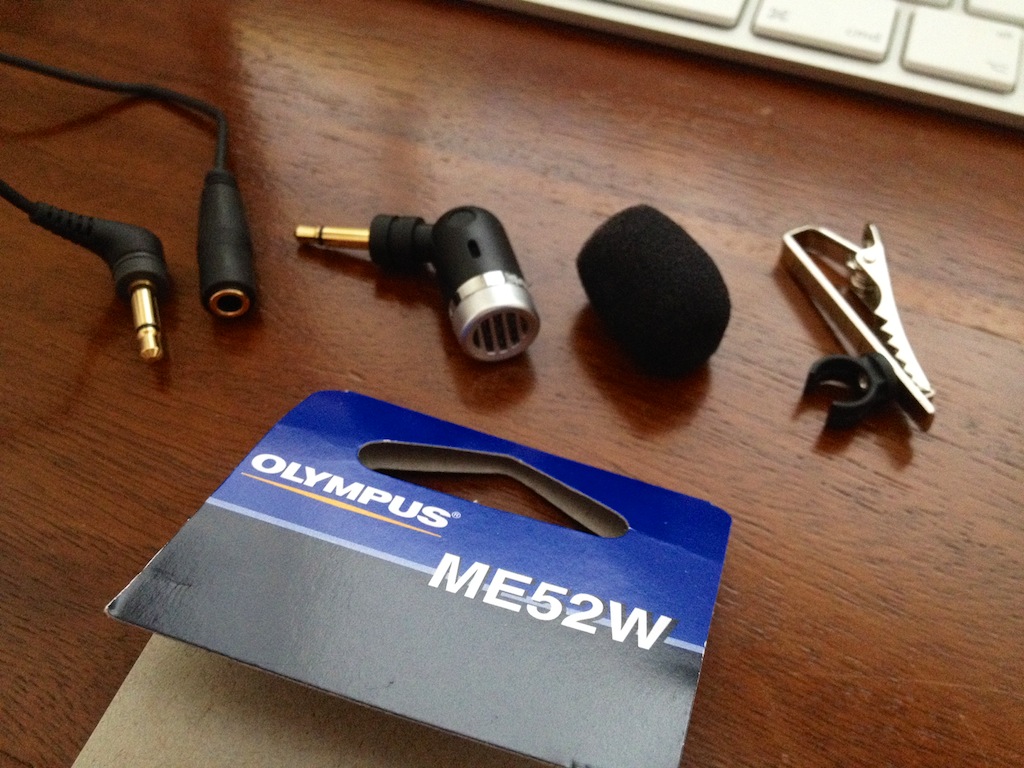
New skeleton front case with side removed so it can be plugged in
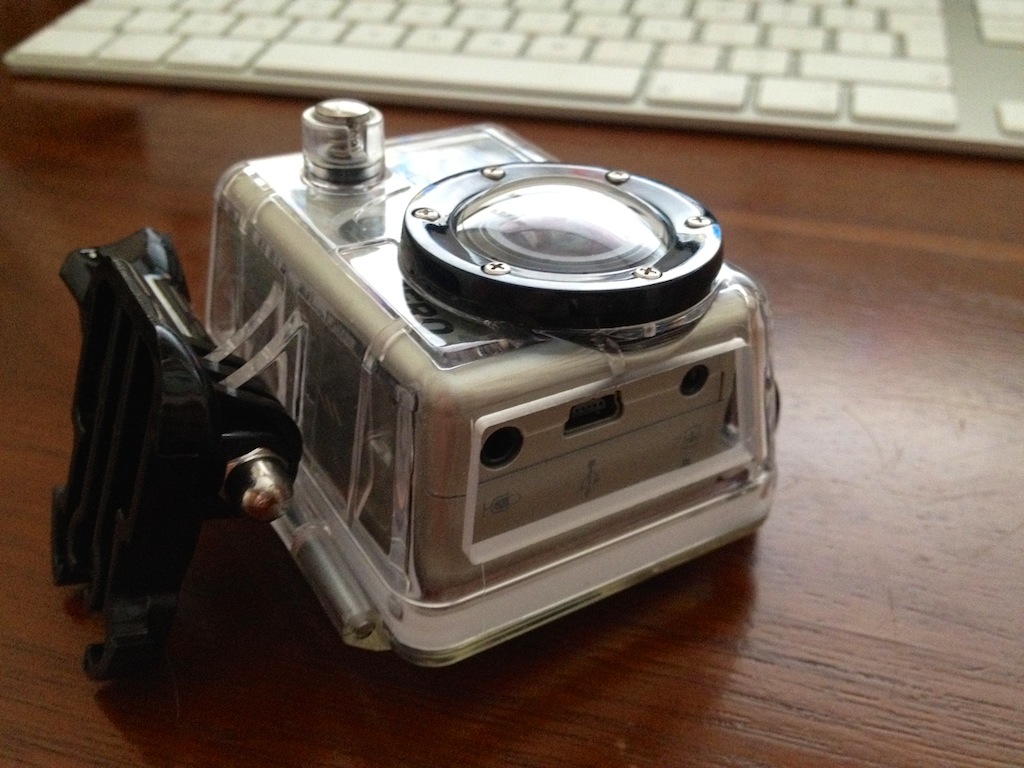
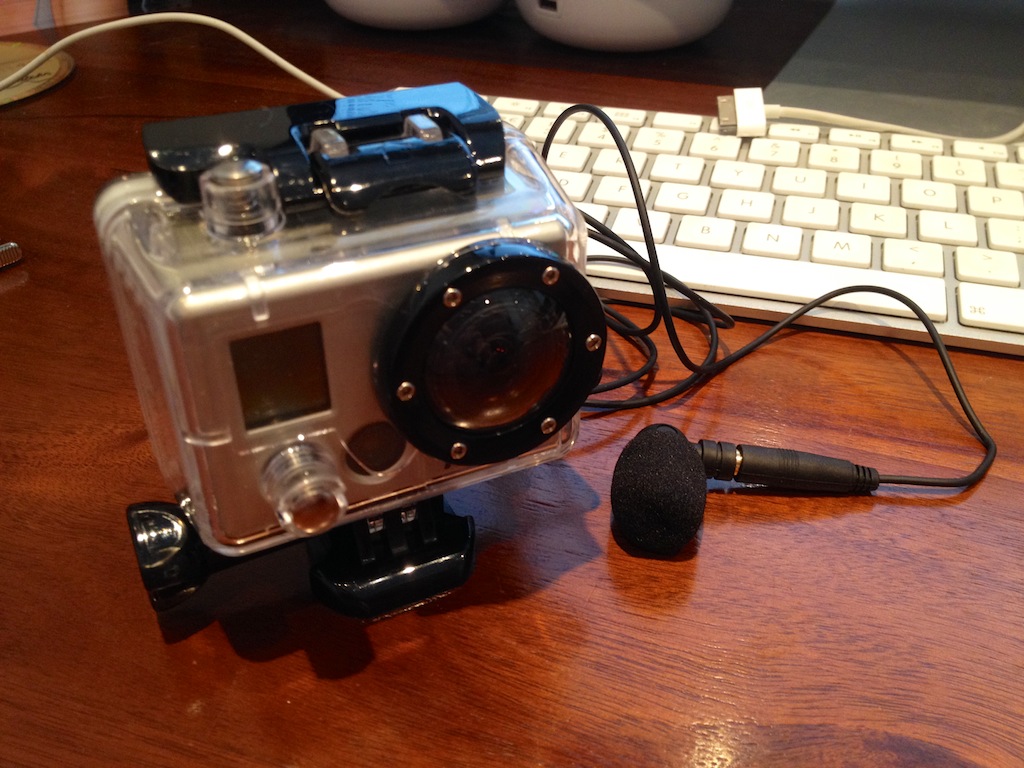
Picked up a Healtech Speedohealer
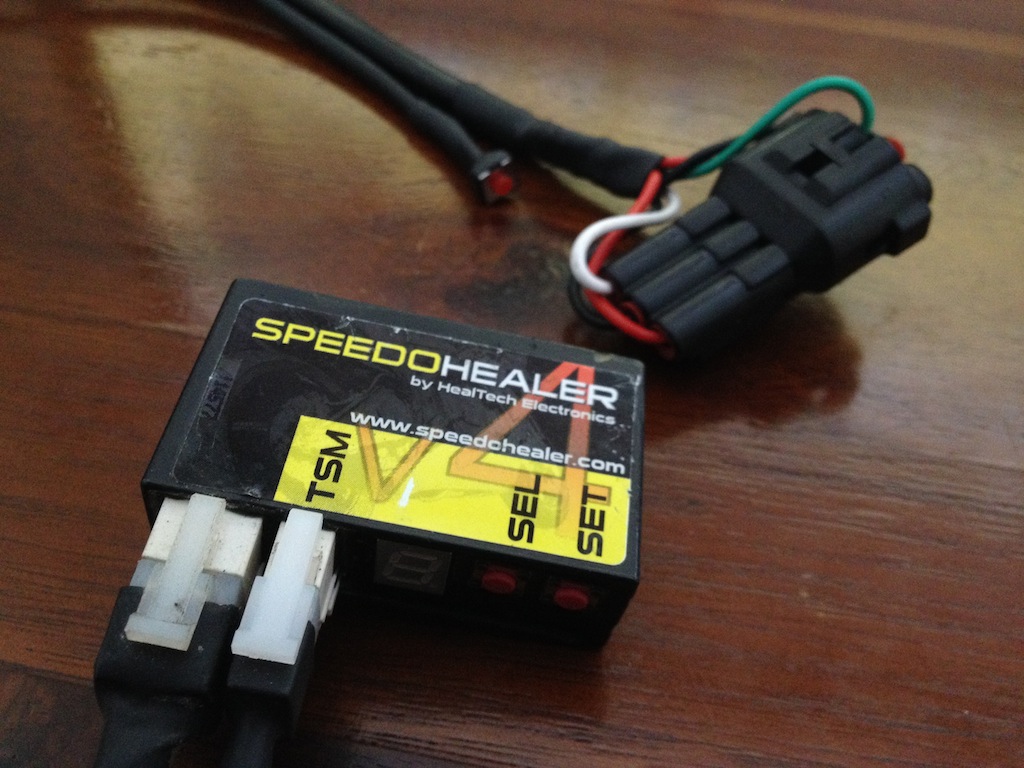
Popped in to see Pat_T and his ultra sexy carbon fibre prop shaft and sequential box to bolt to his 200bhp XE (well jell!)

Pat_T - 20/10/13 at 03:45 PM
good vid footage mate.
In the last camera angle though (from 5min onwards), your helmet is not far off bumping on your roll cage bar! I would deffo recommend fitting some
padding around the closest areas, especially for trackdays.
yellowcab - 20/10/13 at 03:51 PM
Good point - never realised just how close it is!
I might infact remove my seat runners, thus making me about 3 inches lower (not to mention the weight saving...)
Yes I know its not a race car 
yellowcab - 25/10/13 at 04:34 PM
So I took the trip up to see the lovely Jon Ison and nab his 13" Laser wheels & Yokohama A021R wets, whilst I was there I decided that I
needed some carbon in my life, so took them away too.
Got back home, and unfortunately wheels didn't fit as straight forward as one would like, despite knowing the offset was et19, instead of the
ideal et35, I thought with the rims being only 6J, I thought my current 15s were 7.5J, so I thought the difference would be negligible, however my 15s
are 6.5J - doh!
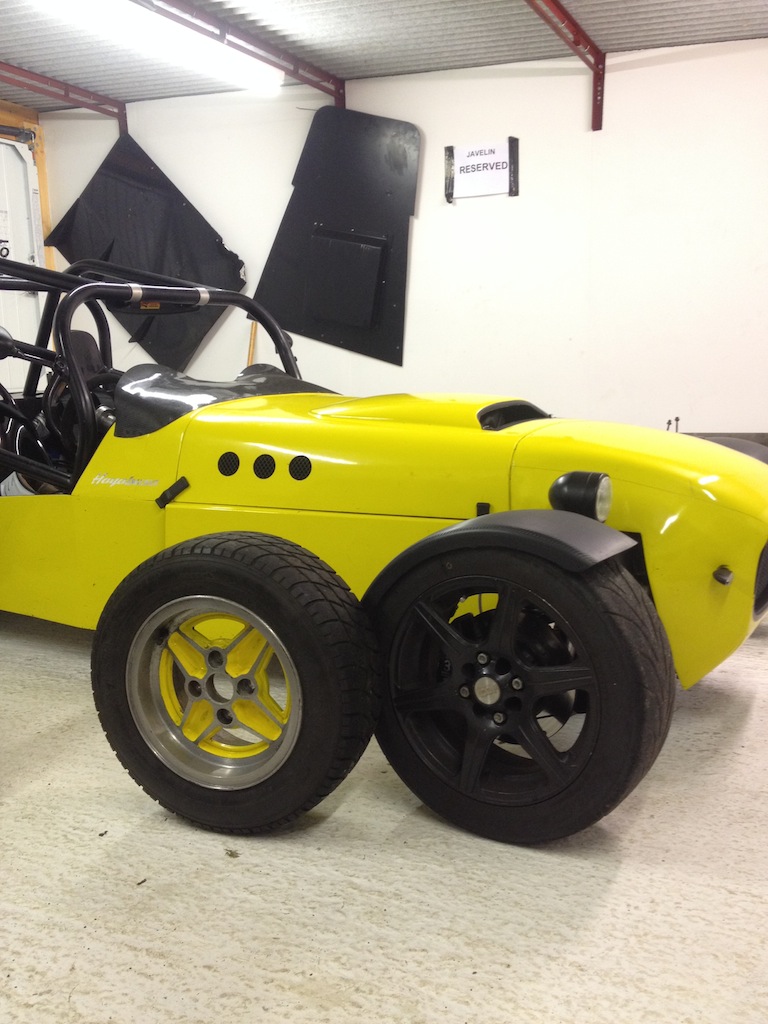
They 'appear' to bolt on, however they aren't - they foul the brake caliper, and even with 5mm spacers on (and losing the self centring
hub nut) they still caught
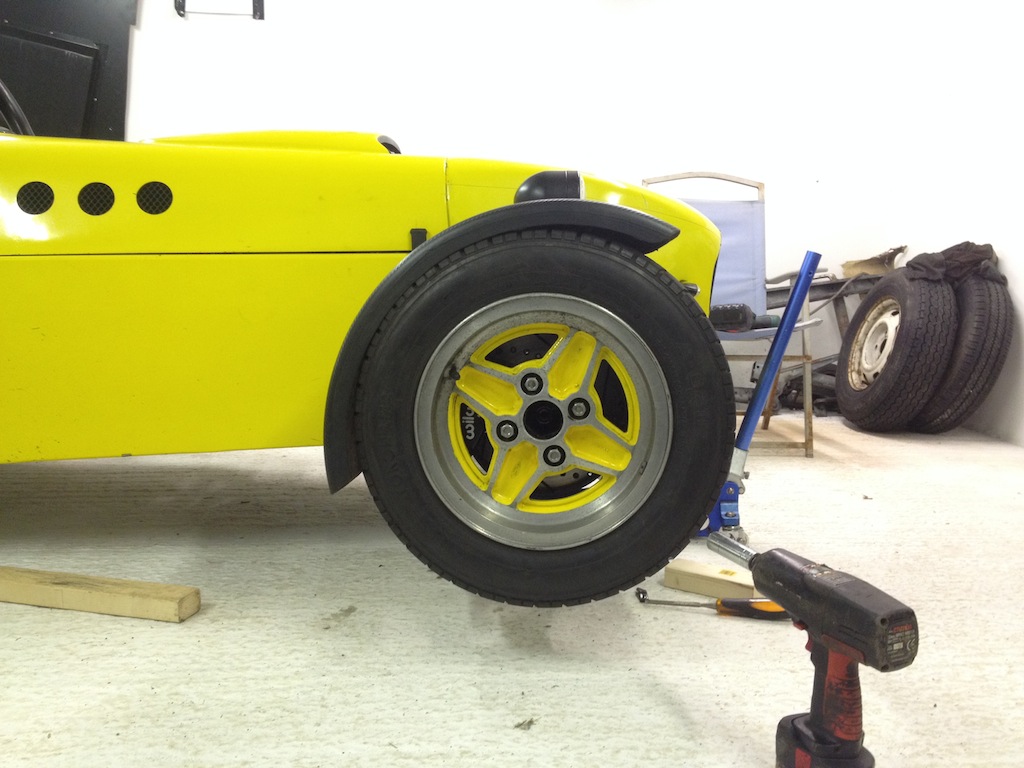
Offset being over an inch sticking further out...
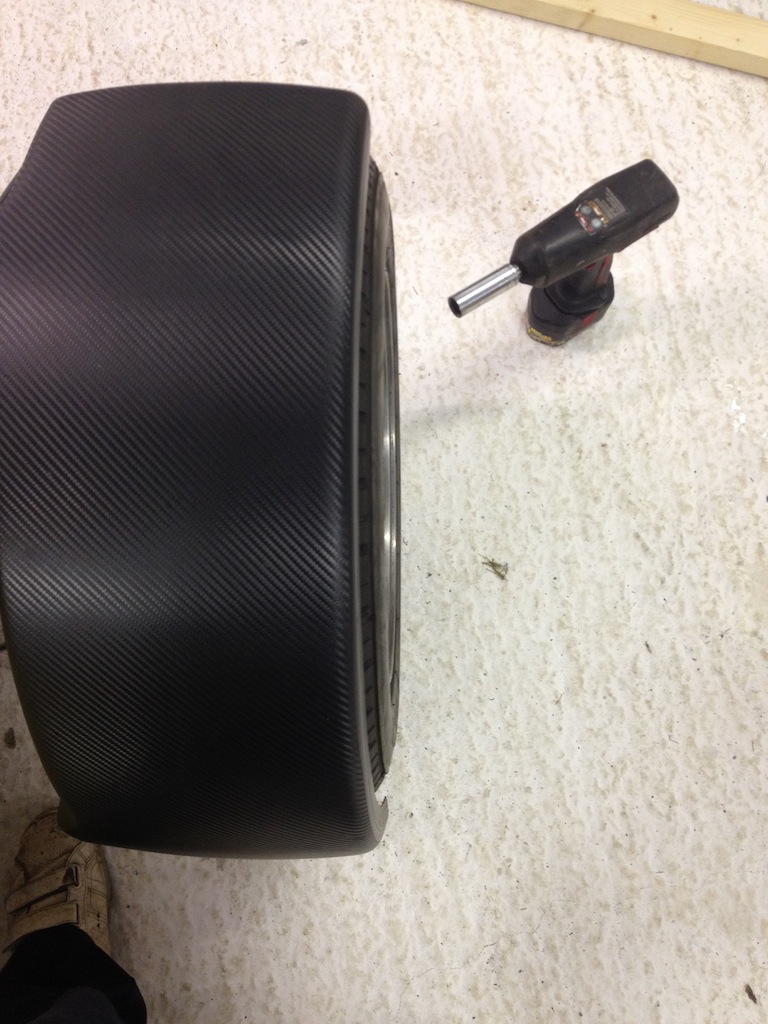
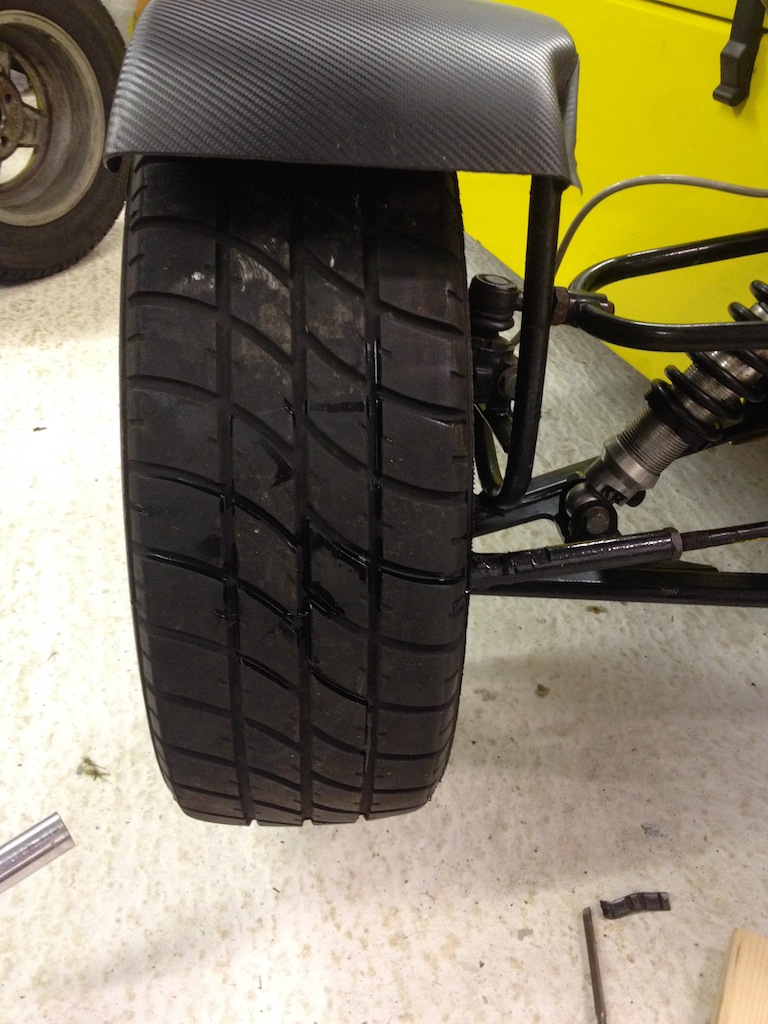
Peekaboo
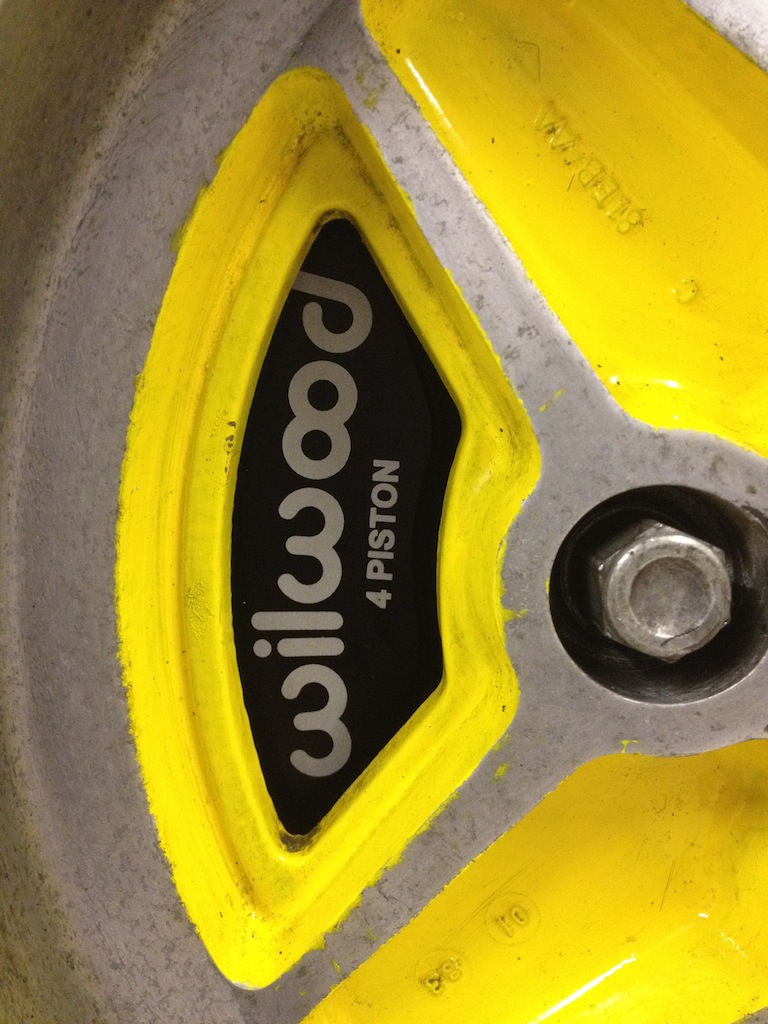
On the upside, they were going to weigh less - the Lasers with 185/60/13 weighed in at 13kg, and with 205/60/13 weighed 14kg, so would have saved me a
total of 10kgs across the car of unsprung weight.
All is not lost however, as I'm keeping the tyres
Laser with 185/60/13

Laser with 205/60/13
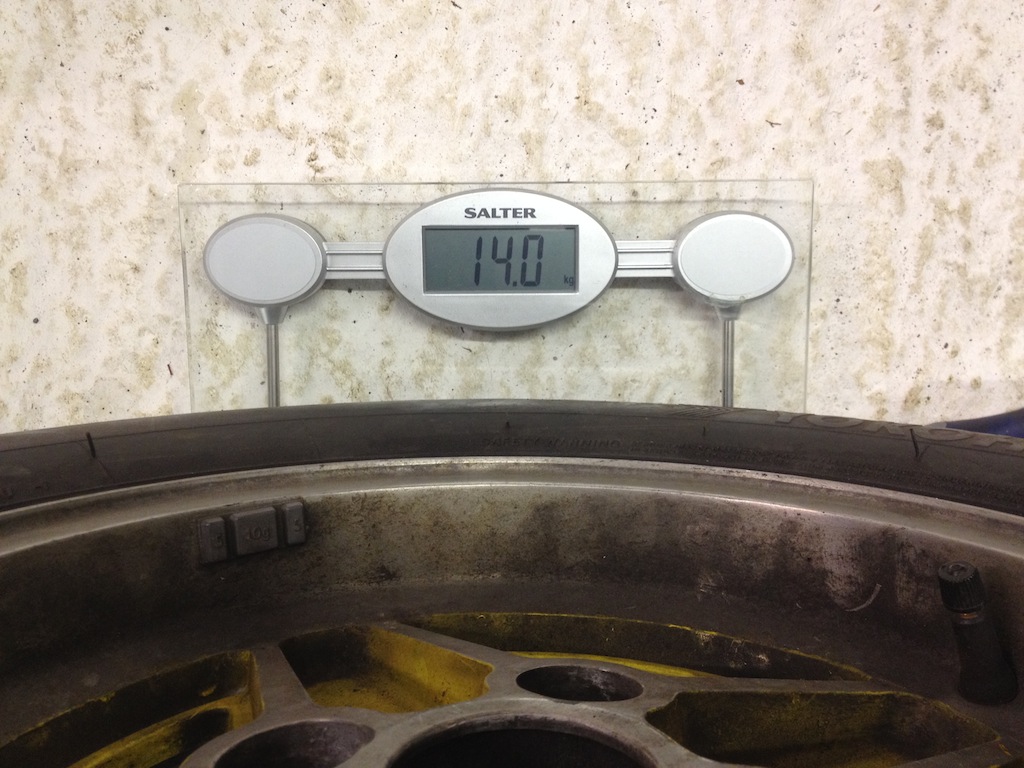
15" rim with 195/50/15
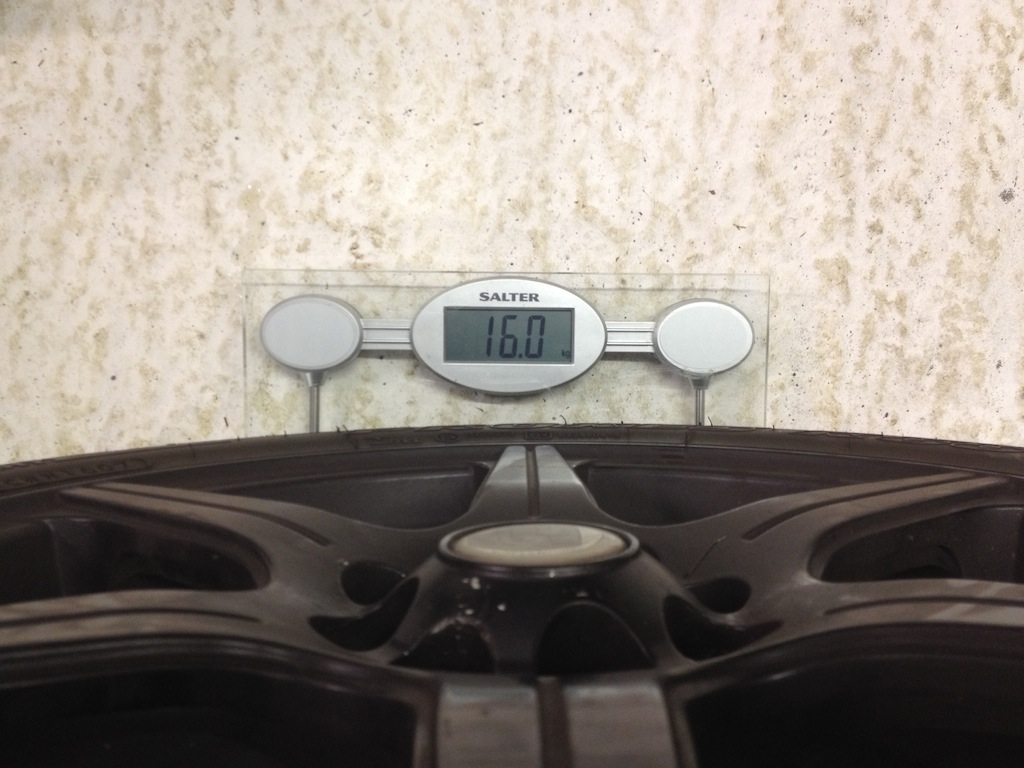
Carbon CSR front wings, the right ones this time lol
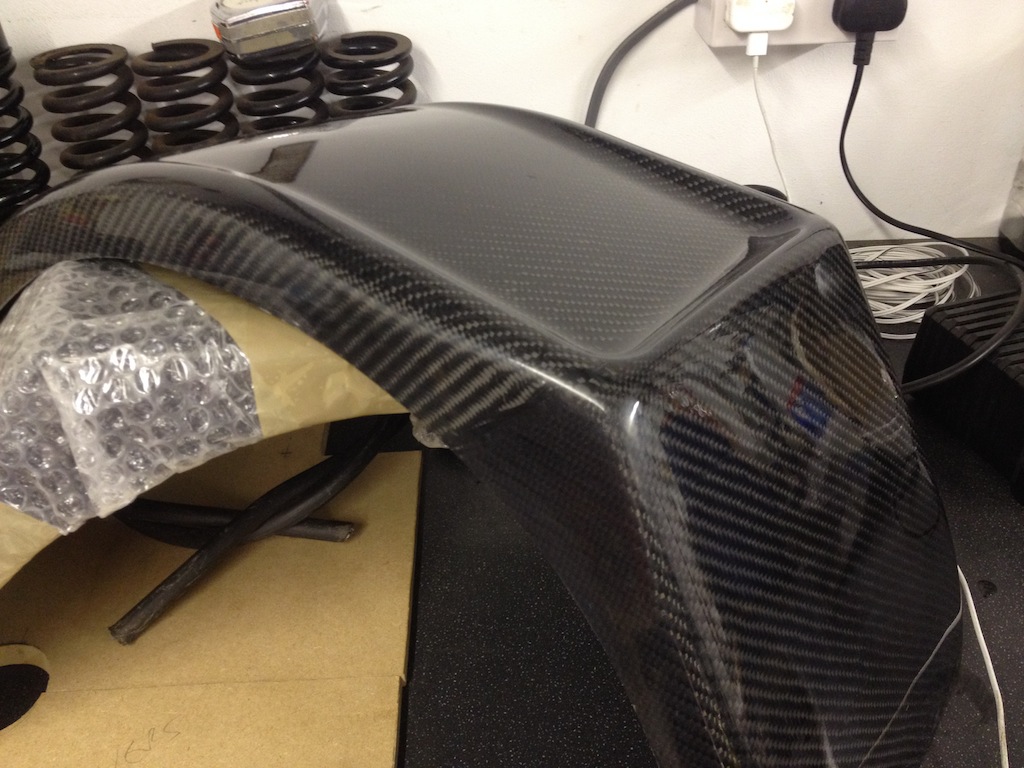
yellowcab - 25/10/13 at 04:37 PM
Oh hello cheeky, bit the bullet and bought new lol

Much betterererer
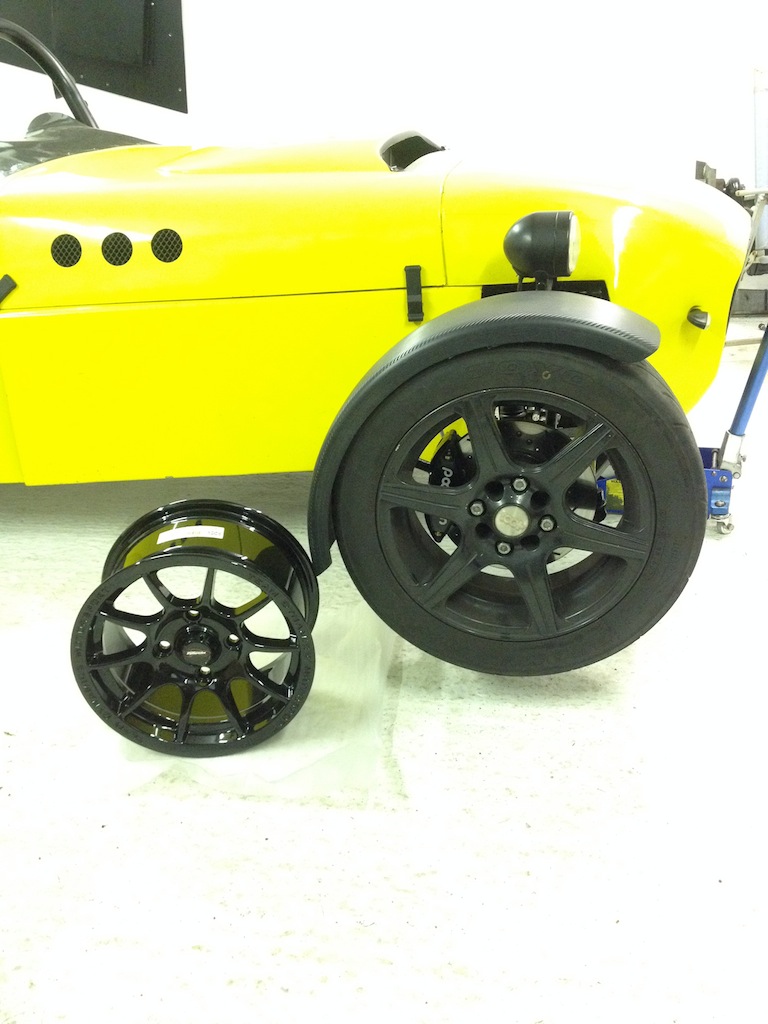

Clear with not alot of space, but a gap is a gap lol
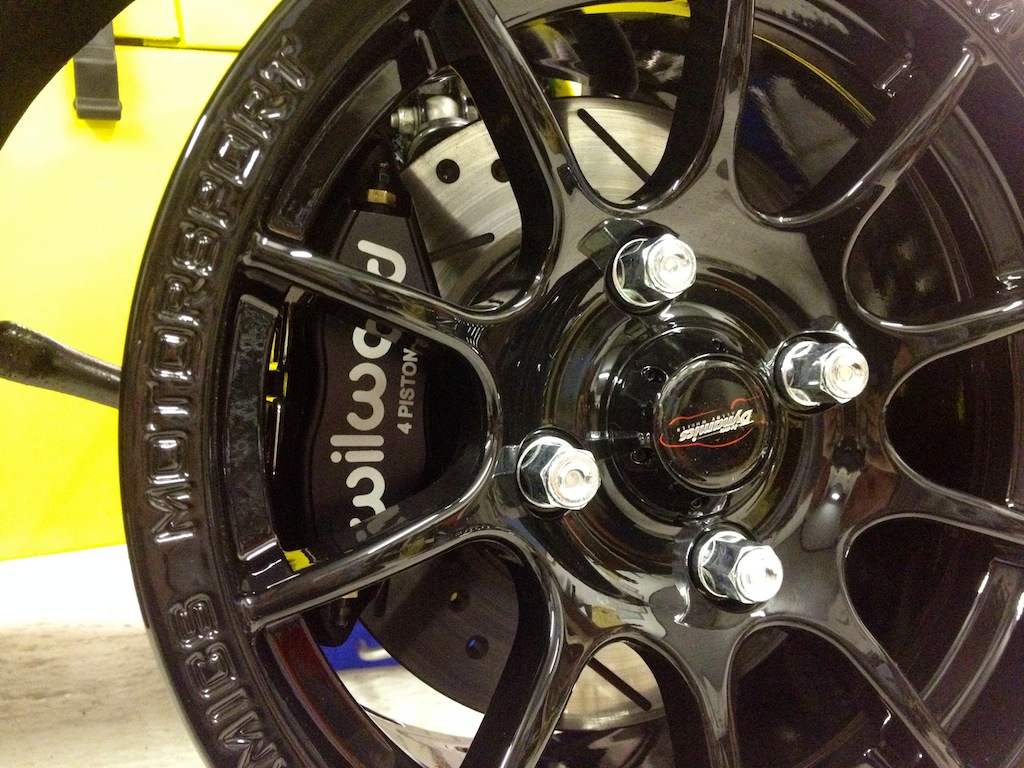
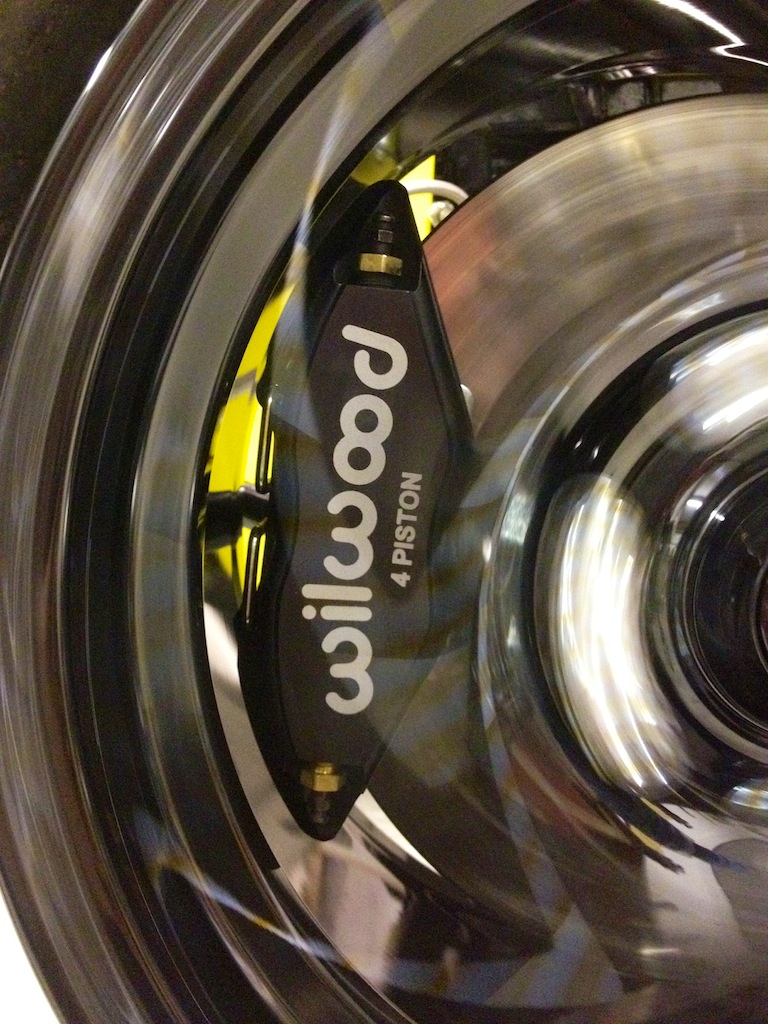
Not without a slight (but expected) hitch... the rears don't go straight on... lol
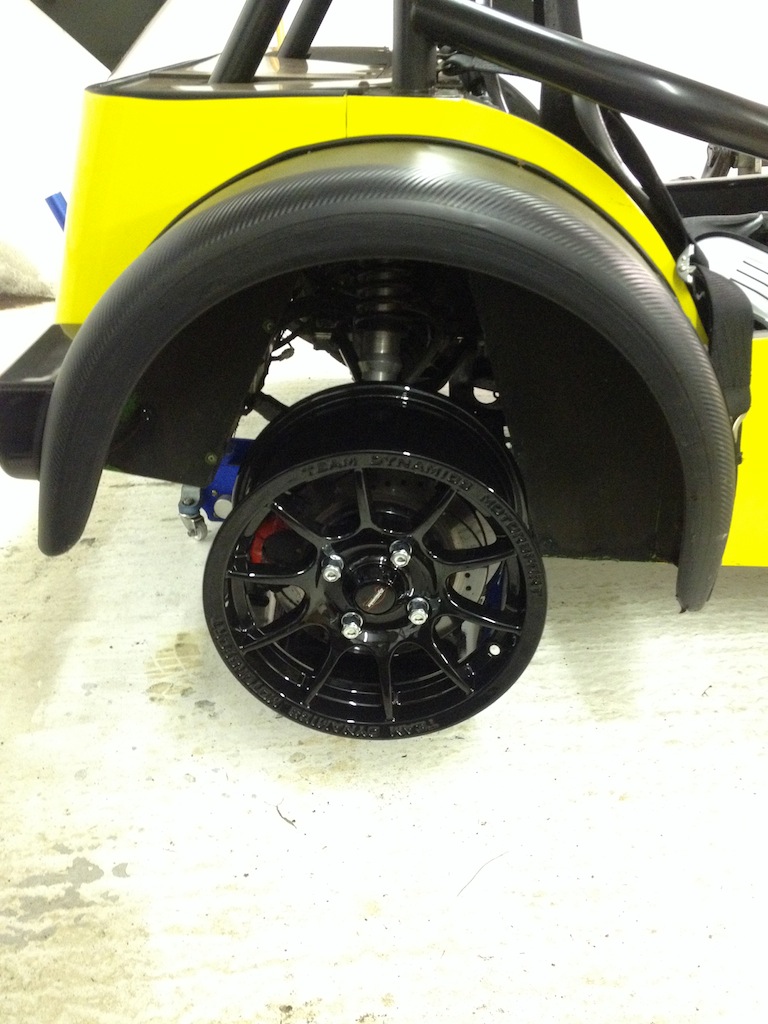
I need new rear calipers anyway, as these have seen better days, but the hook that holds the end of the handbrake cable fouls the inside of the
wheel
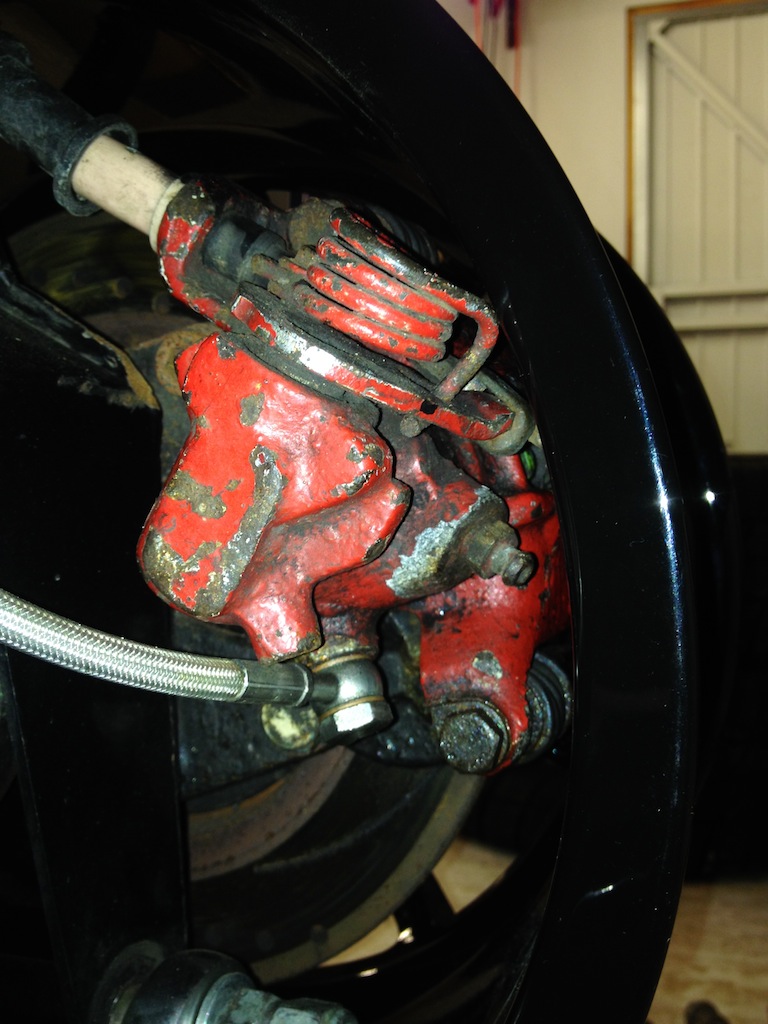
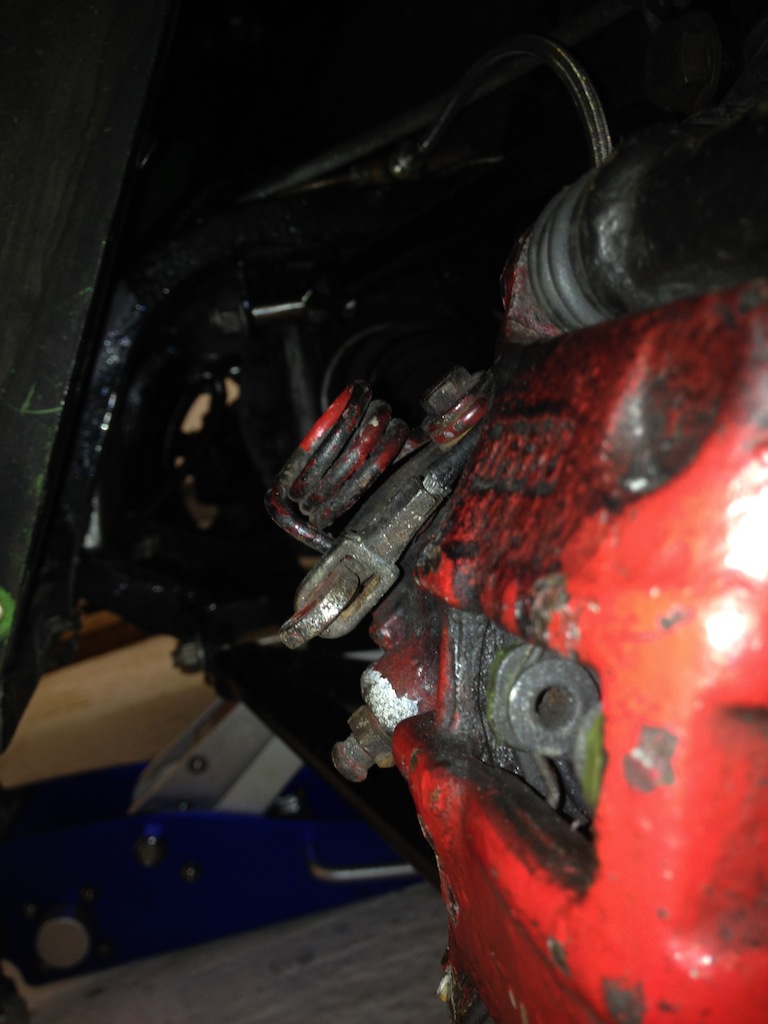
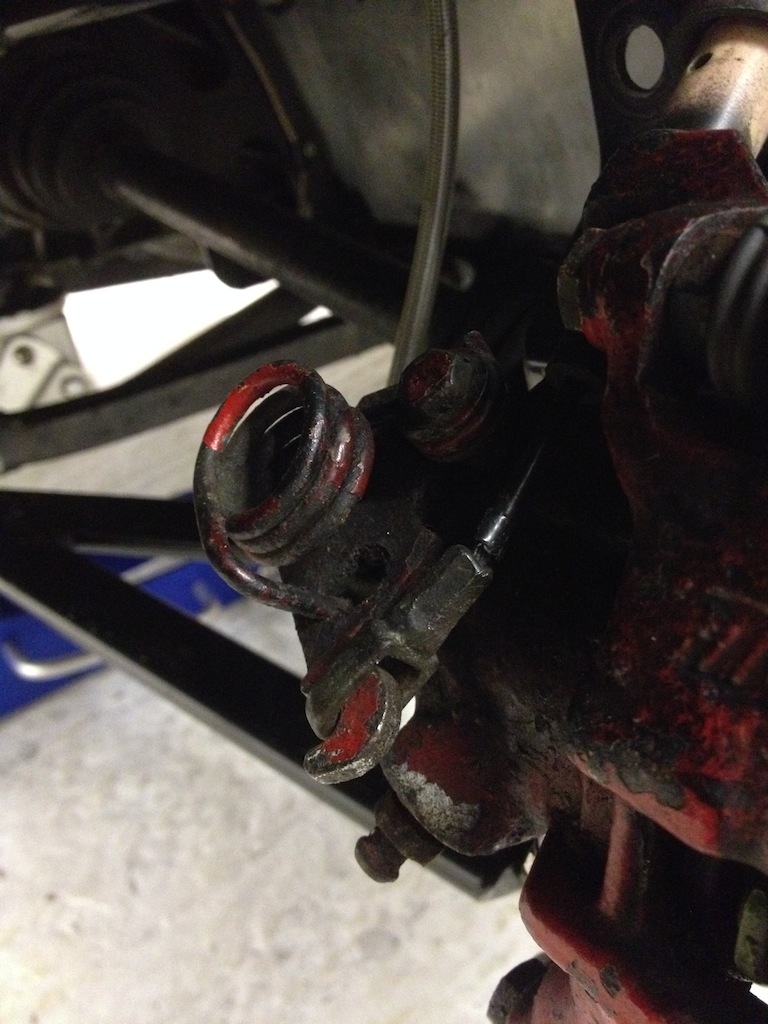
Pat_T - 25/10/13 at 04:56 PM
are you sure it's the hook and not the spring itself mate?
I had to buy smaller springs from a guy on here to get the 13s over Sierra callipers. I'll try and dig out his details...
wheels look good though! just a reminder you will need to calculate the change in ride height/gearing! 
yellowcab - 25/10/13 at 05:12 PM
It seems to be both hook and sprung that fouls :-(
Thankfully the rolling radius of the 205/60/13 tyre is 180cm which is the same as my old 195/50/15, that's on te rear obviously.
The front 185/60/13 rolling radio us is 174.5cm
I actually think the centre cap is te same distance from the floor too come to think of it, around 27/28cm from the ground
fege - 25/10/13 at 06:29 PM
Both the spring and the hook fouled my rims as well.
I simply removed the springs, cut the hook off and rewelded it a bit further forward.
yellowcab - 25/10/13 at 06:40 PM
Ahhhh thanks for the tip mate :-)
I'll have a lookie
daniel mason - 25/10/13 at 07:39 PM
always take 1" off the wheel width measurement. they dont allow for the bead on a rim when measuring. eg a 6" wide rim will be 7" wide
yellowcab - 12/11/13 at 02:28 PM
I've now received my shortened rear Sierra caliper handbrake springs from RJK350, thanks pal.
Now all I need is a pair of rear calipers as mine have seen better days
yellowcab - 13/11/13 at 05:54 PM
Bit of an situation this morning.... I went to my car to put my camera kit in the boot... to find that someone has left me some wheels?! Haven't
a clue how they got there.
Well, thats what I've told the misses, whether she believes me or not is a different story
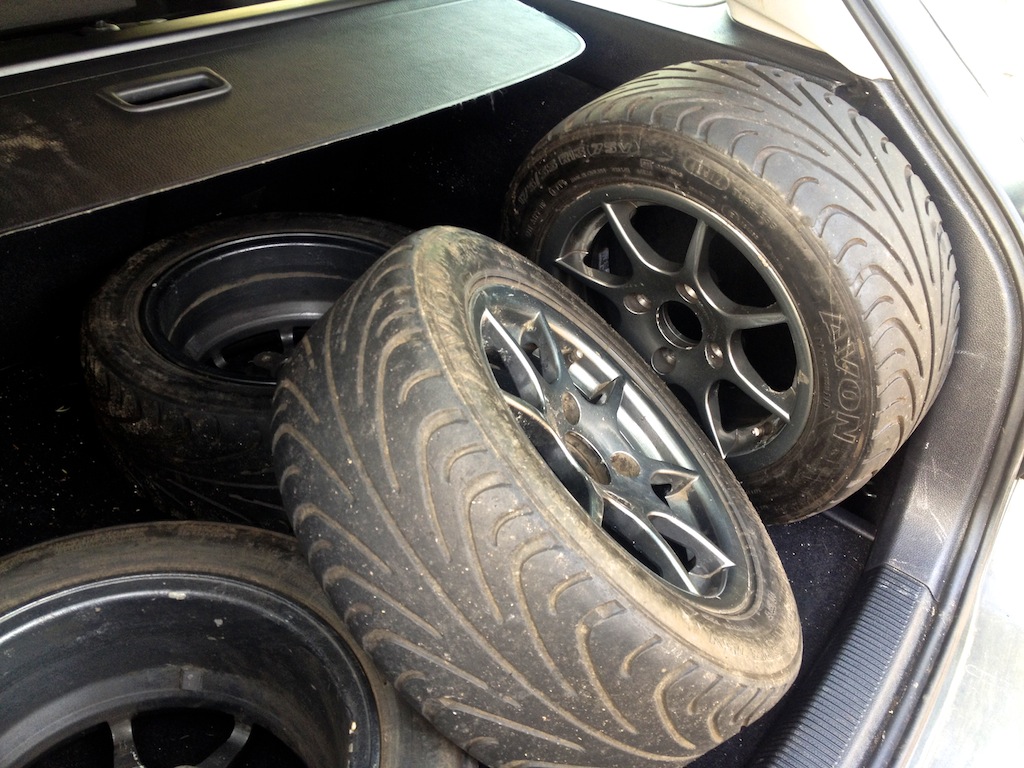
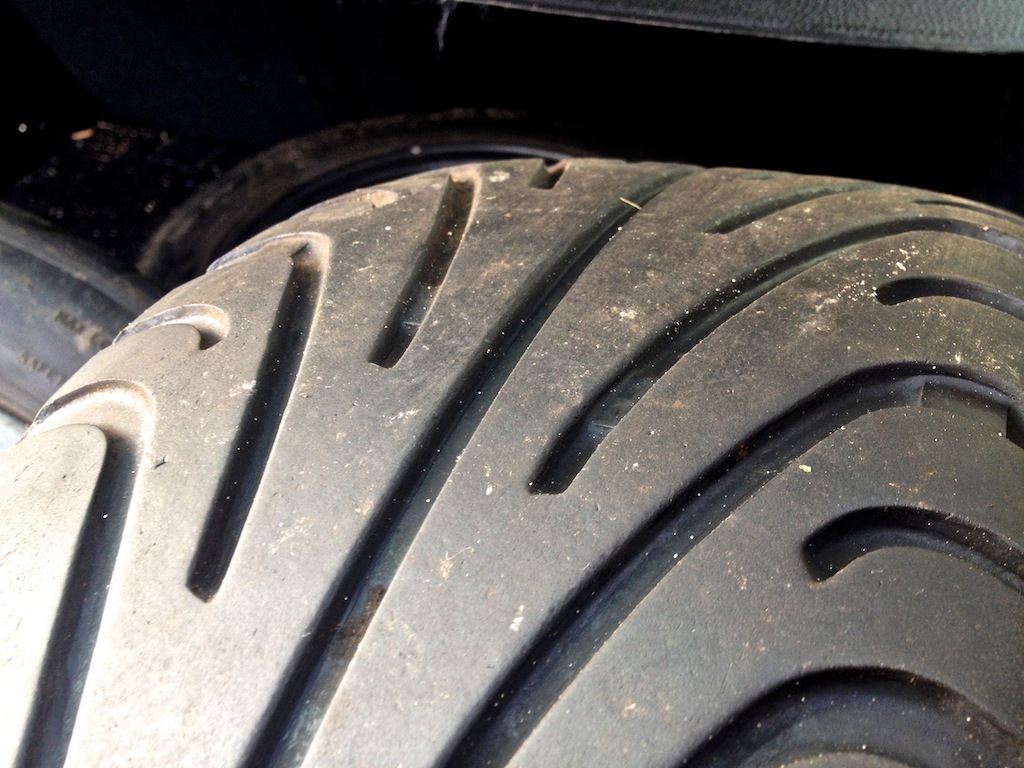
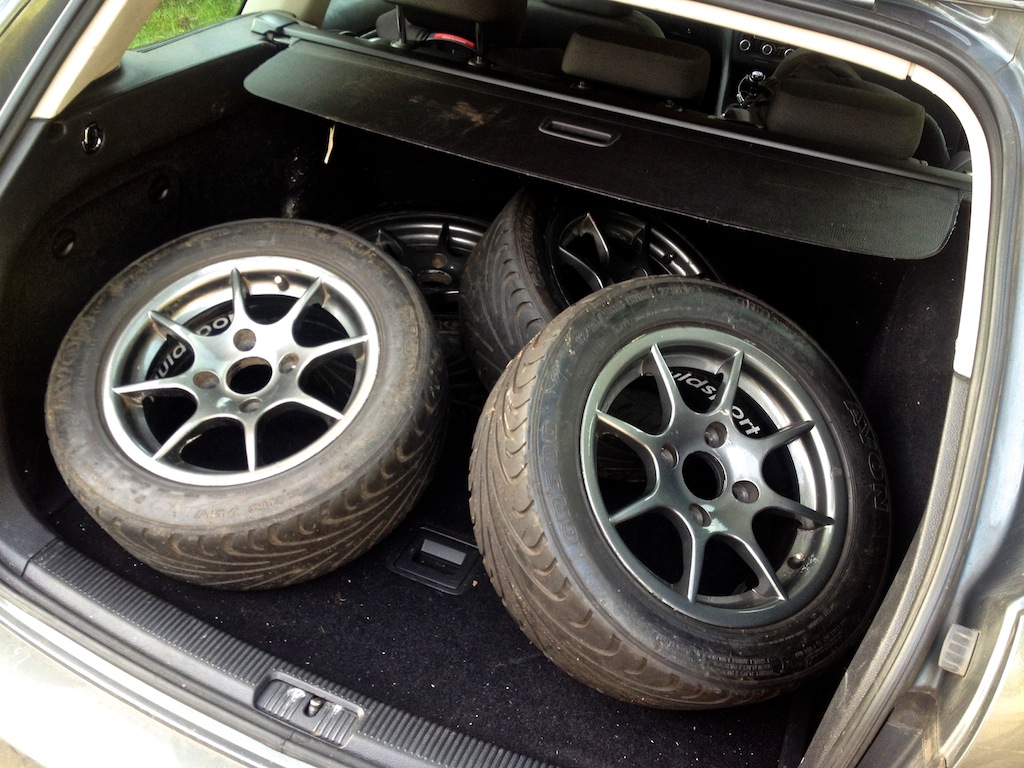
Ben_Copeland - 13/11/13 at 06:02 PM
Not a chance!
yellowcab - 13/11/13 at 06:03 PM
Divorce for yellowcab *raises hand*
ReMan - 13/11/13 at 09:18 PM
Take it from me, you can never have too many wheels, tyres, or engines 
DavidW - 13/11/13 at 09:45 PM
quote:
Originally posted by ReMan
Take it from me, you can never have too many wheels, tyres, or engines 
Well said that man!
yellowcab - 14/11/13 at 05:28 PM
Col - I now have 5 sets of wheels in total (2 sets of 15s, and 3 sets of 13s)
I'll be selling them off & getting rid, only need two sets ideally, wet & dry.
yellowcab - 14/11/13 at 05:40 PM
Will be swapping the tyres from the Ford Laser 13s (Yoko A021 Wets) over to the Pro Race 1.2s
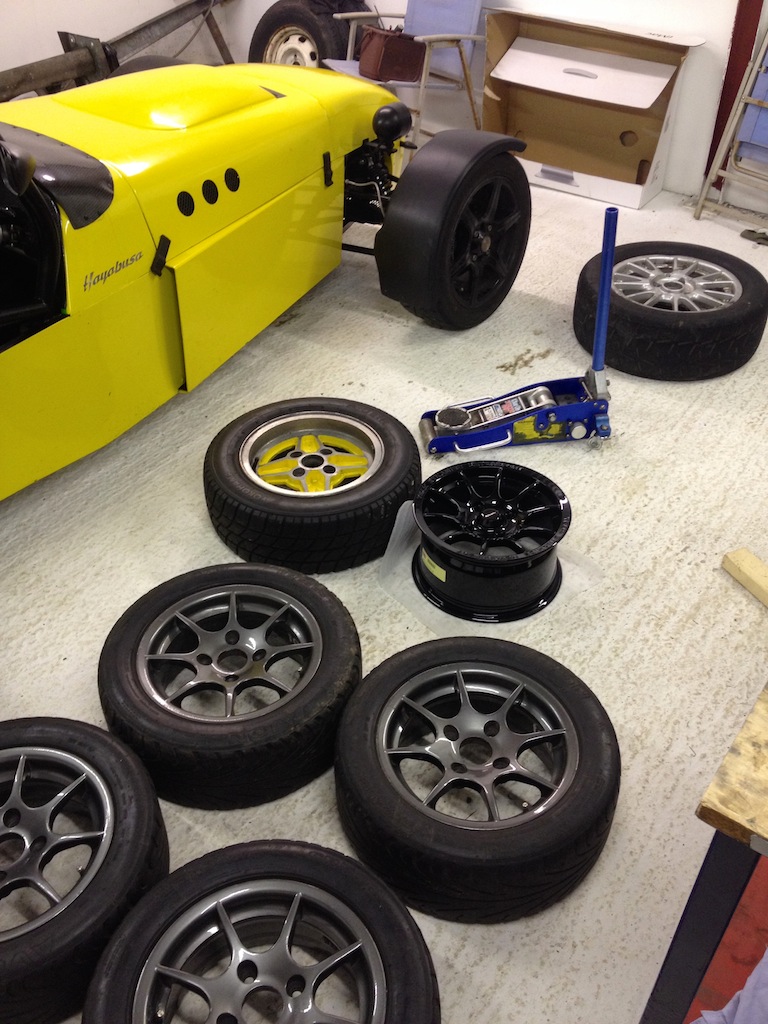
Weight of a Caterham CSR 6x13 wheel with Avon CR500 175/55/13 tyre is 10.2kg (40.8kg all four)
This coming from my 16kg per wheel & tyre combo of the 15s, saves me a total of 23.2kg of unsprung weight.
Bring car total down from 542kg to 518.8kg unladen
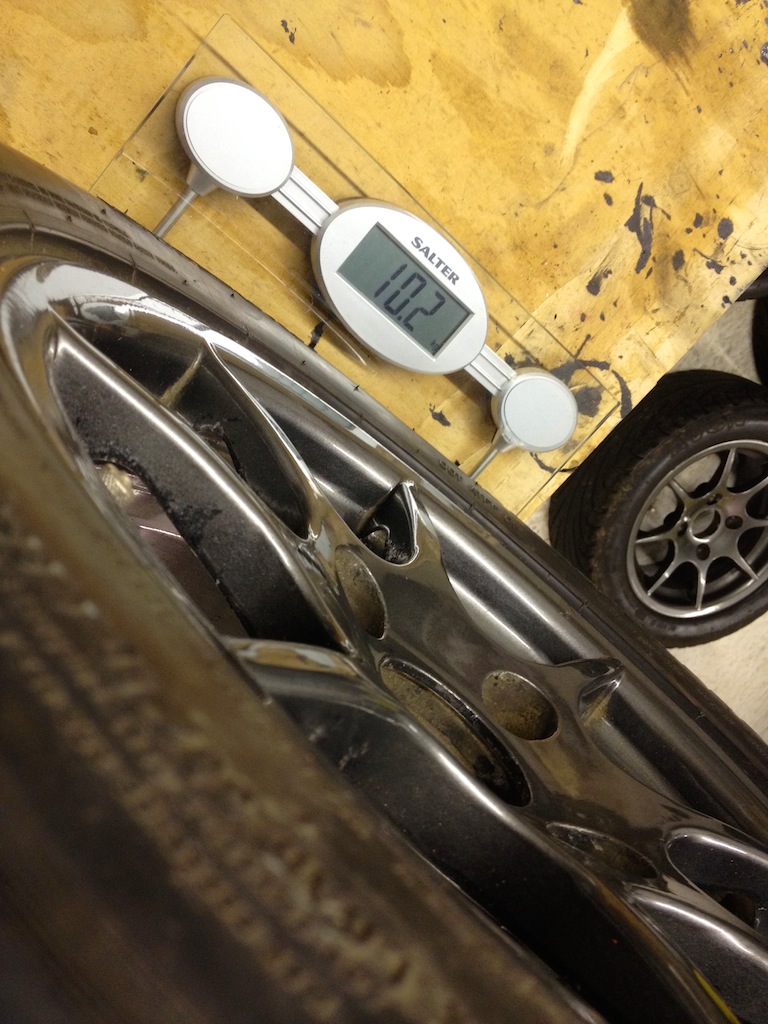
New rear Sierra caliper spings from RJK350
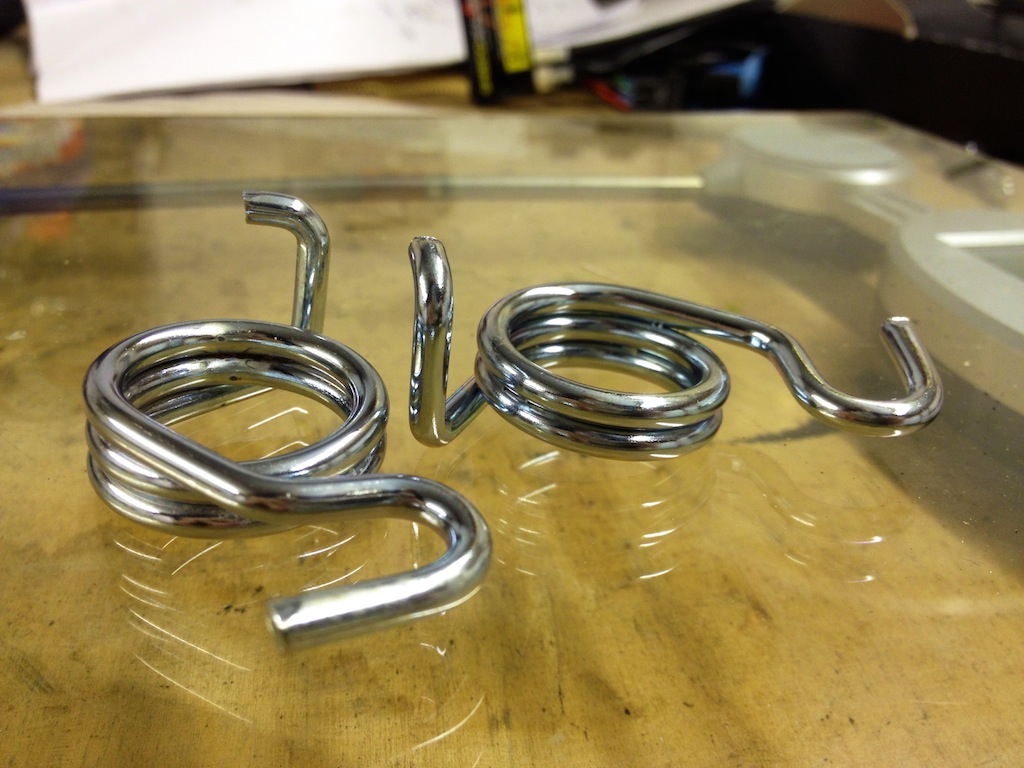
Fronts fit OK, despite gappy cycle wings (due to be changed anyway)
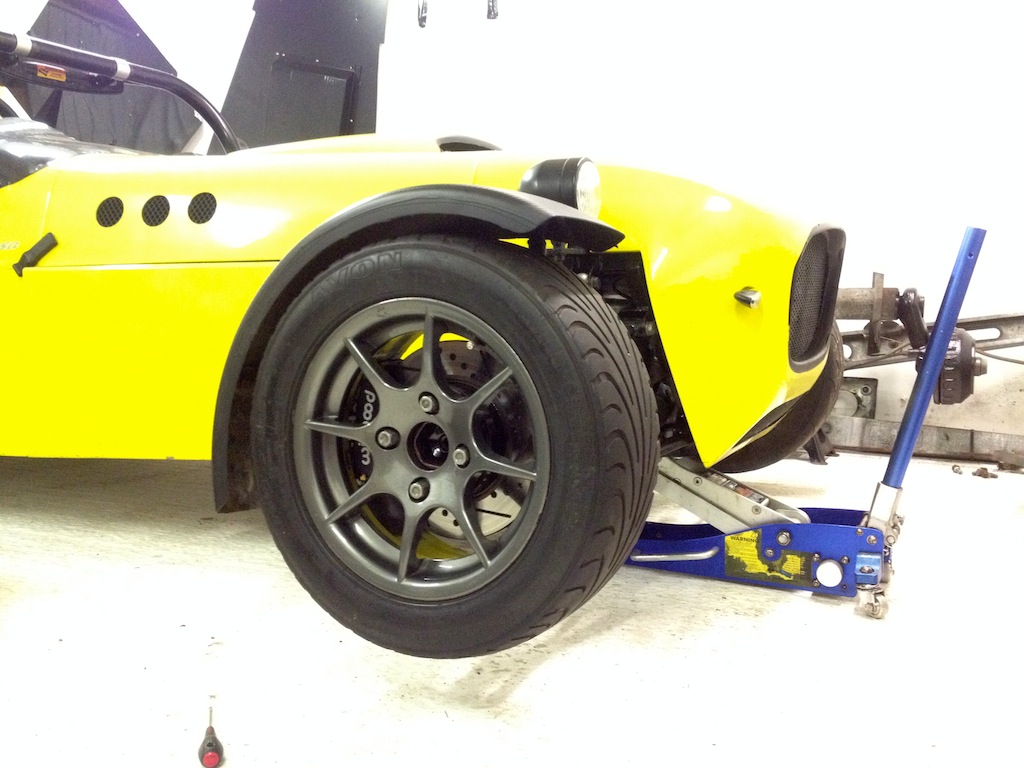
Rears foul as expected, same problem as with the Pro Race 1.2s, the handbrake hook itself, not the spring this time
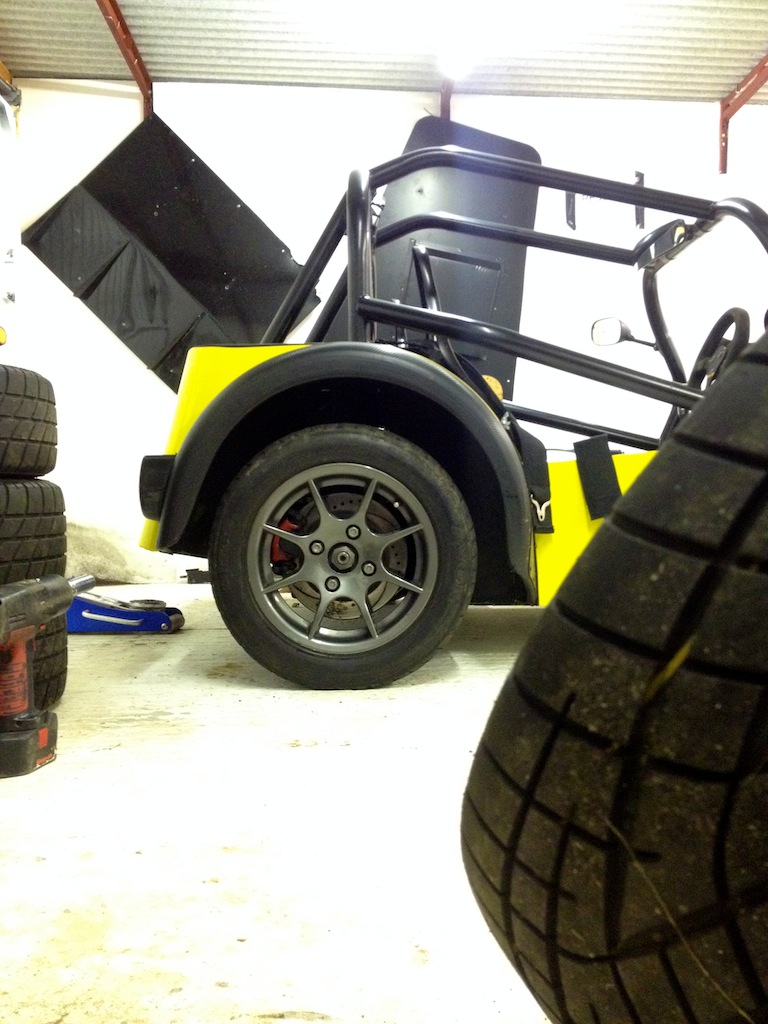
Not that I'll be keepng the 175/55/13 tyres, but the rolling radius is 160cm, as opposed to 180cm
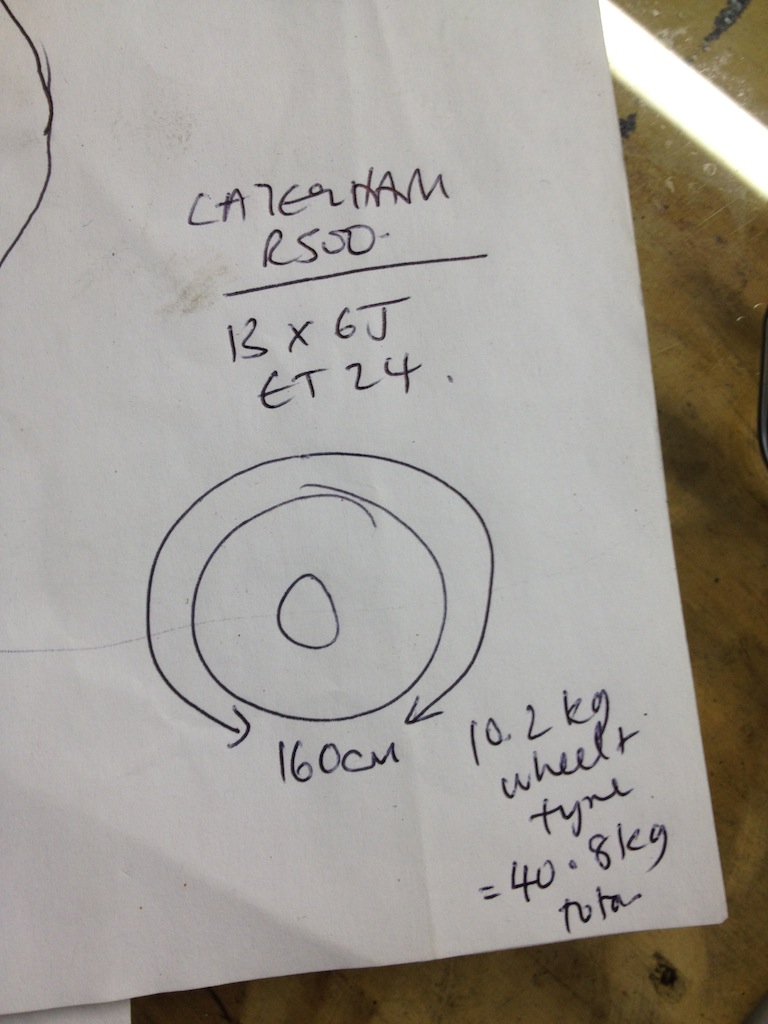
[Edited on 14/11/13 by yellowcab]
hkp57 - 15/11/13 at 03:24 PM
YellowCab
Great post but I would like to hear some feedback on your brakes, from what I see you have standard Sierra rear brakes and master cylinder and Wilwood
Powerlites on the front.
How do they perform in stopping power and feel?
Does this get rid of the wooden feel with standard sierra front calipers?
yellowcab - 15/11/13 at 03:30 PM
Yes hugely - going from the Sierra fronts, to the Wilwoods was probably one of the biggest physical 'feeling' changes I made to the car.
Despite not having a bias setup, it brakes incredibly flat without any particular wheel looking up prematurely.
yellowcab - 16/11/13 at 11:49 AM
Whilst in Egypt I was using my GoPro to record my 3year old daughter driving the quads, once finished I put the GoPro in my pocket with the mic still
plugged in, no bother I thought... well... it turns out the 3.5mm mic jack socket is only held to the motherboard by 4x teeny tiny blobs of solder, so
please please please be careful if anyone uses a GoPro when plugging in, and removing an external mic.
Took my GoPro to bits, and they're manufacturered in a way where the two motherboards cannot be disassembled from each other, therefore I have
bridged the points on the motherboard so I have an internal mic back, it means I can no longer use an external mic of any kind - but its better than
nothing
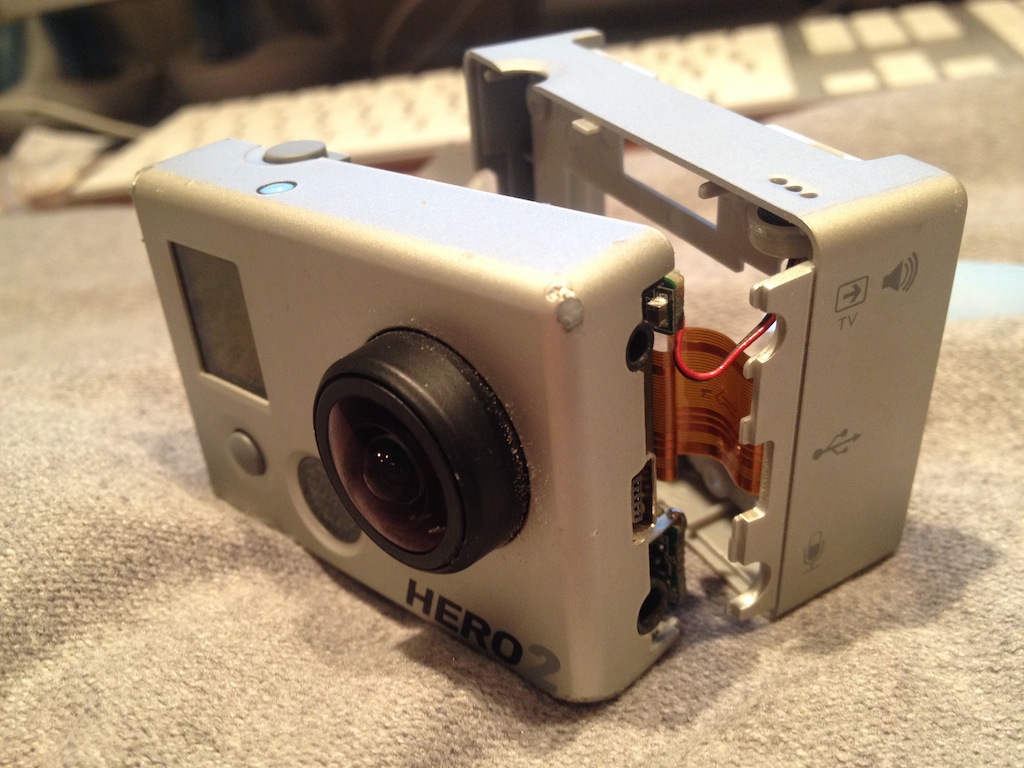
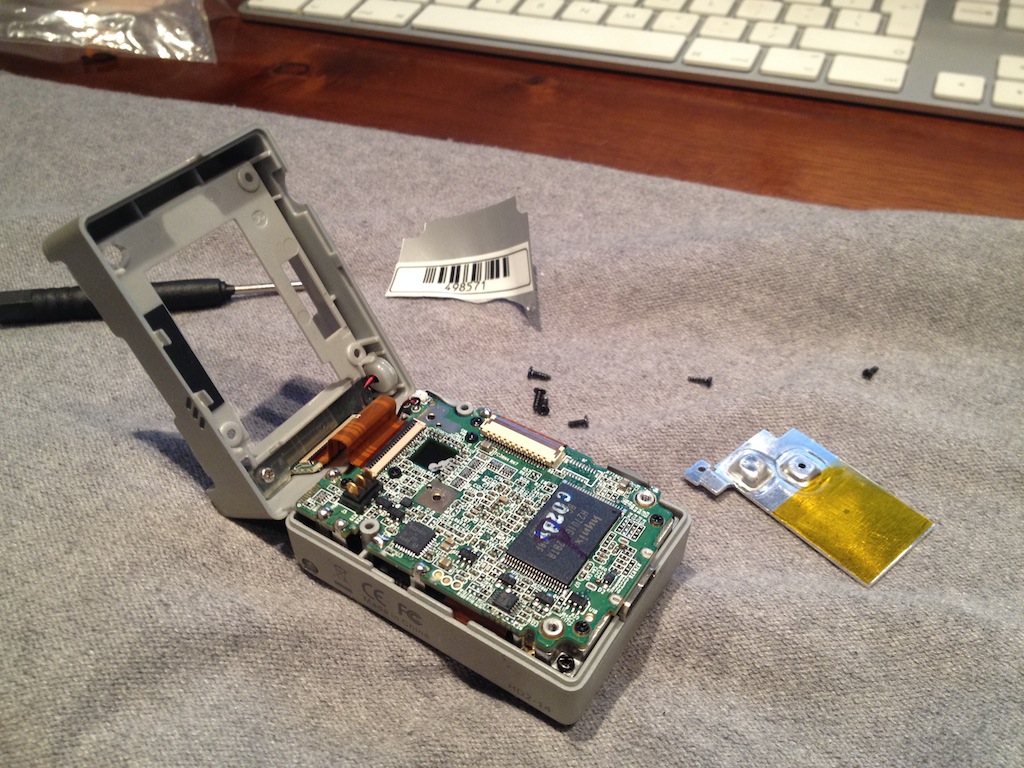
I seem to have found some traction, although the tyres in the first pic are too wide for my car & wheels, these are 245/45VR13, lol they're
perfectly suited to a 8-9J rim, so slightly too wide for me to catch the bead when fitting them to either sets of my 6 & 7J wheels
Said tyres - to suit 8J - 9J rims if anyone is interested?

Colin - I took your advice and got spares lol the slightly shorter set are 200/50VR13 which are a perfect fit for anything between 6J and 8J wheels
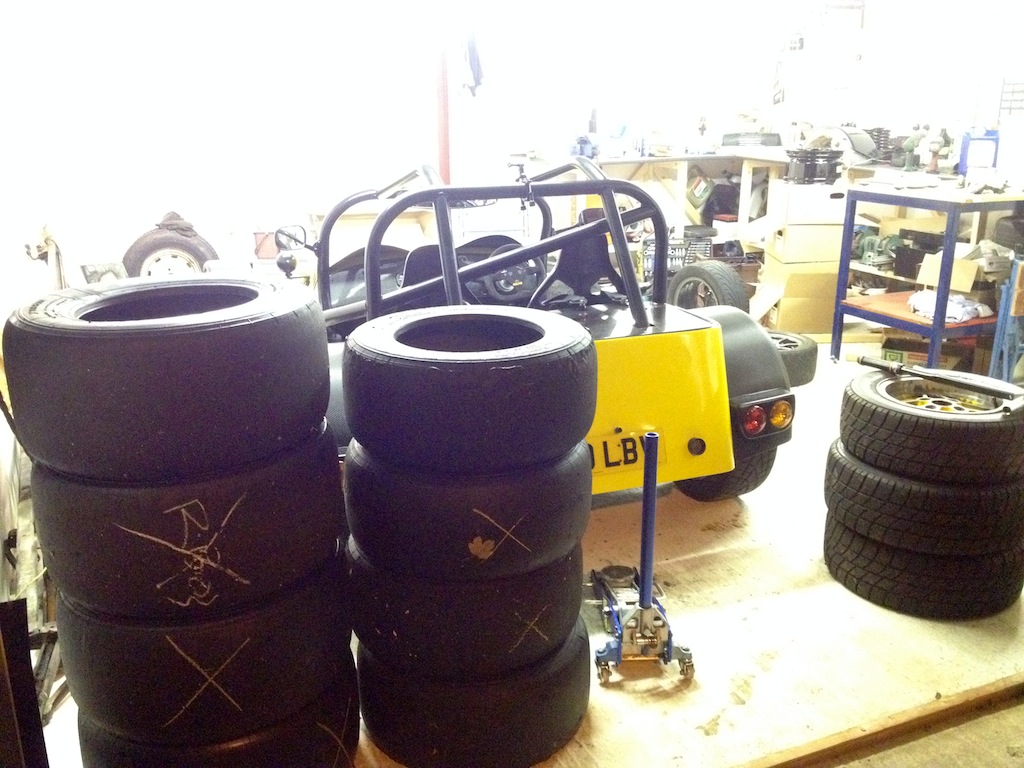
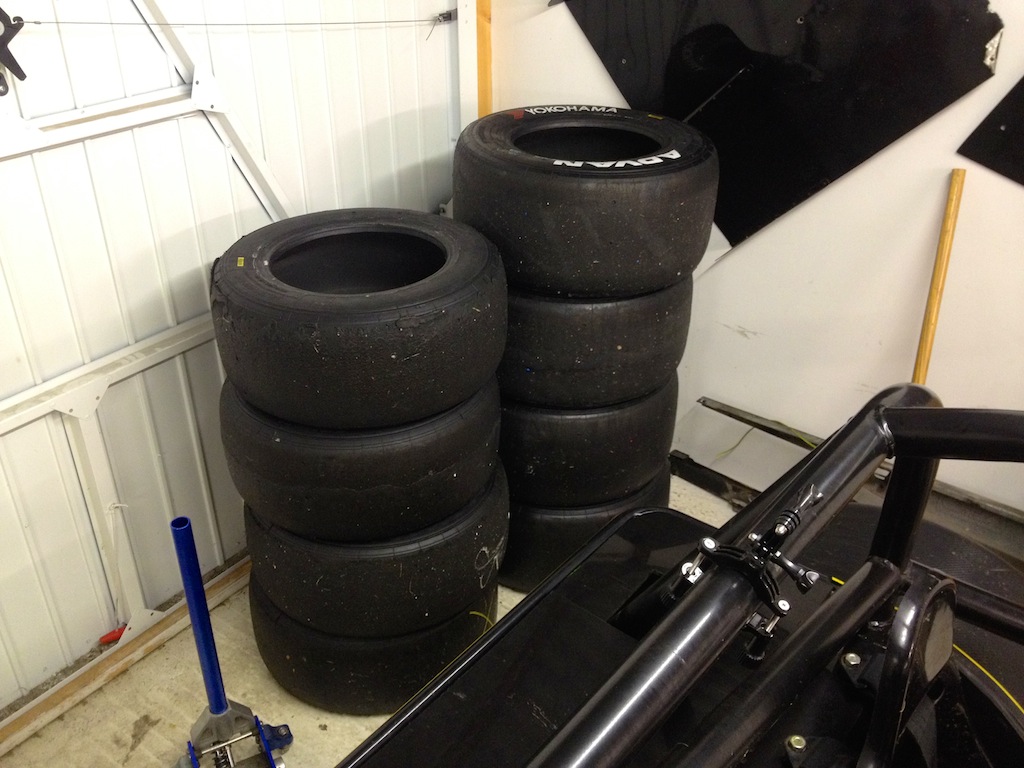
Let the chopping any changing commence, only took me an hour to remove, strip, valve, refit, inflate & balance all 8 wheels, and dispose of 4
tyres, and bring home the 4x bare Laser alloys
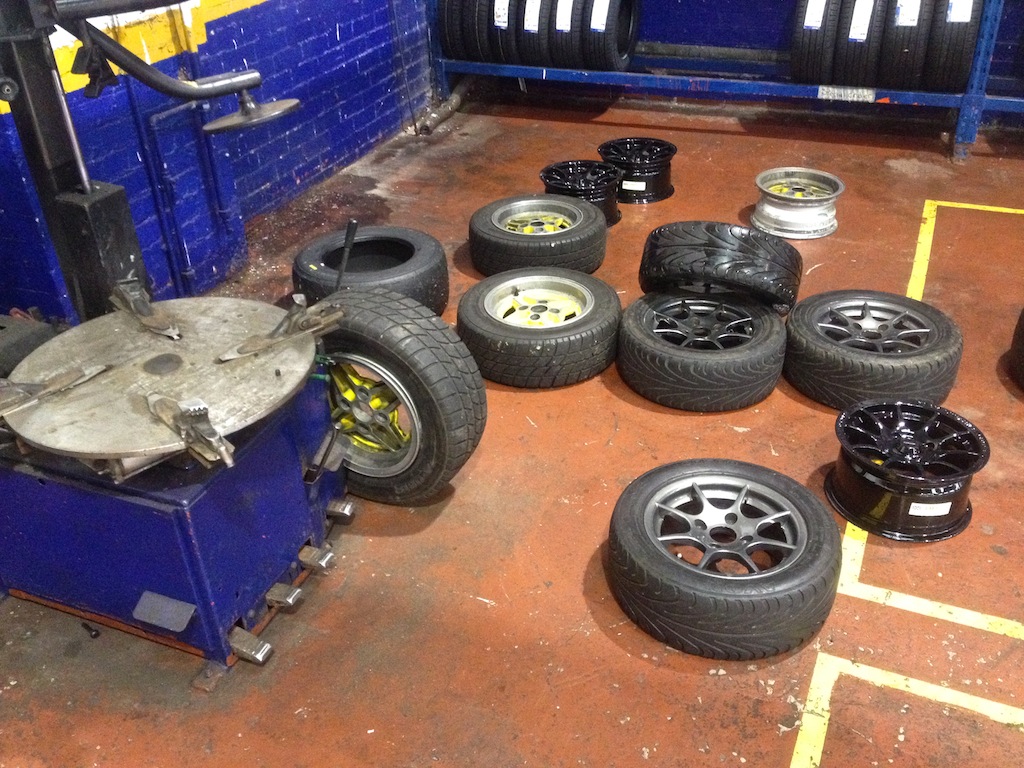
These are my two dry rears 6J Caterham CSR wheels with 200/50VR13 Yokohama Advan a005
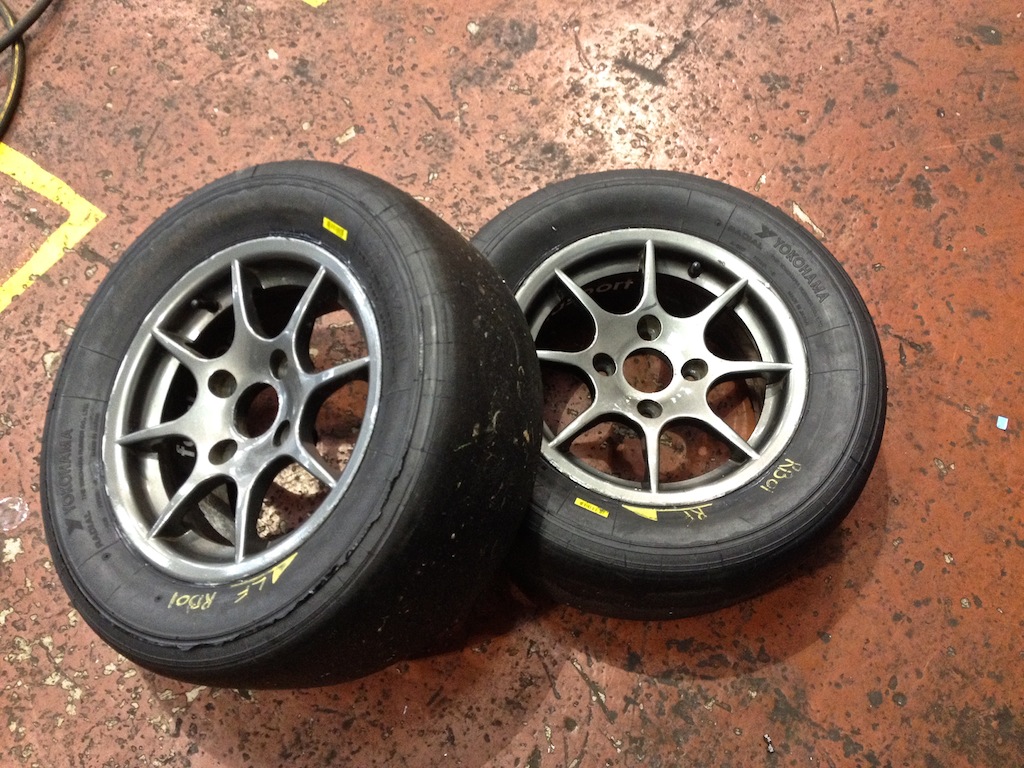
Wouldn't fit on anything less than 6J

All loaded up for the journey home
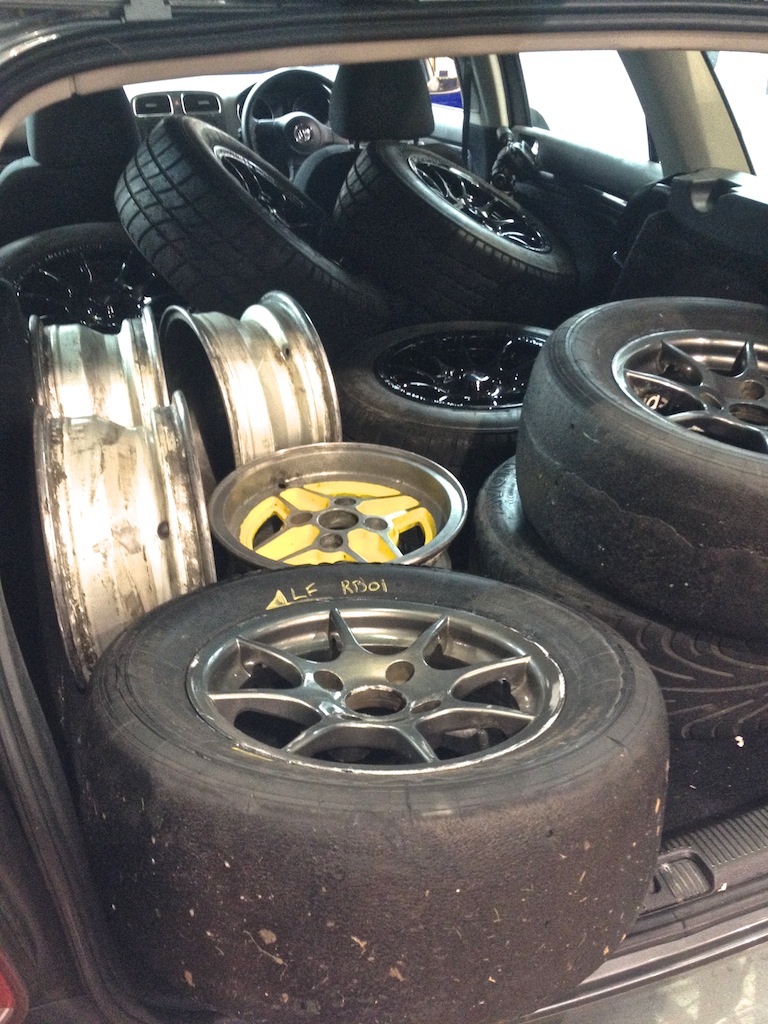
These will now be sold on
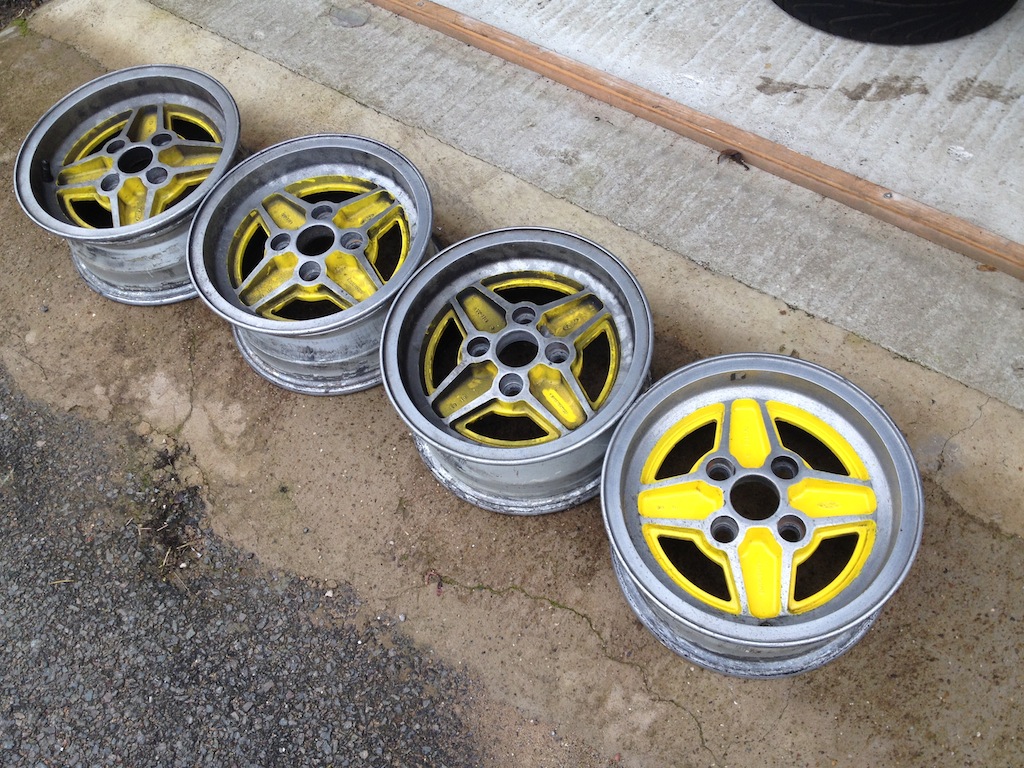
Wheel & tyre combo weights
Caterham 6J wheels with Avon CR500 175/55/13 tyre - 10.2kg (my dry fronts)
Caterham 6J wheels with Yoko Advan A005 Slick 200/50VR13 tyre - 11.6kg (my dry rears)
Total dry weight: 43.6 kg
Team Dynamic Pro Race 1.2 with Yokohama A021R 185/60/13 tyre - 12kg (my wet & every day fronts)
Team Dynamic Pro Race 1.2 with Yokohama A021R 205/60/13 tyre - 13kg (my wet & every day rears)
Total wet weight: 50.0 kg
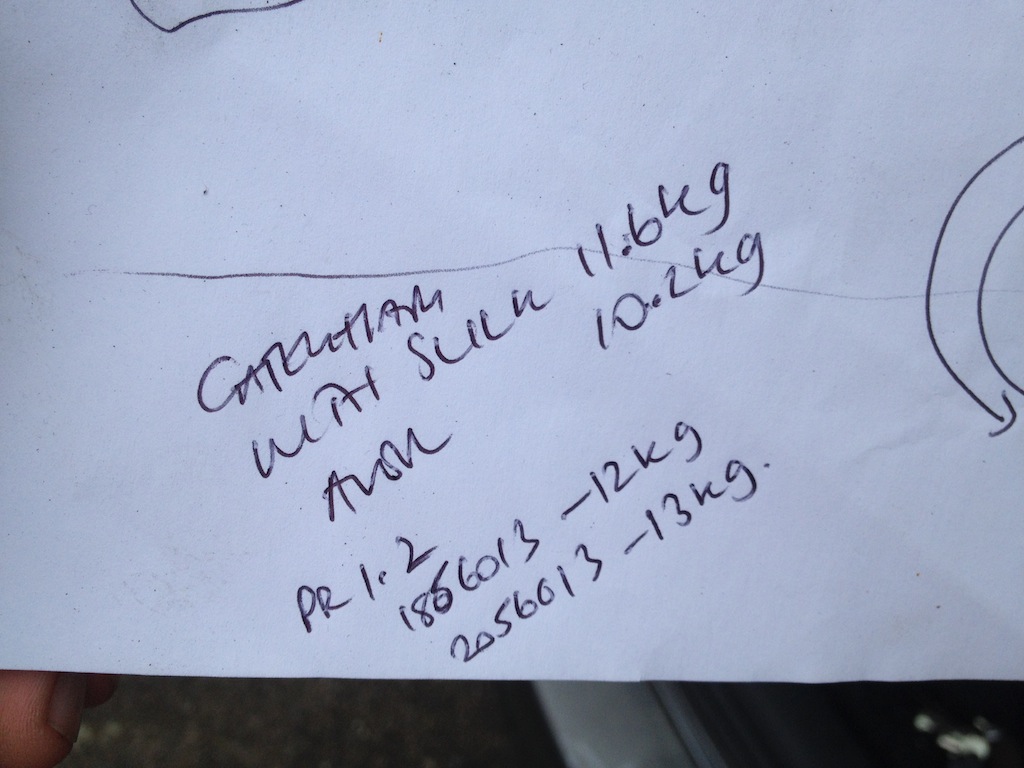
yellowcab - 17/11/13 at 04:05 PM
Lasers now sold 
Pat_T - 17/11/13 at 06:46 PM
Olly,
love all the various wheel/tyre combos!
The road/wet set up looks spot on 
Am I reading this right though, for the dry trackday set up you're going to run a 175 Avon CR500 fronts and a Yoko slicks on the rear?
I would have thought this will lead to massive understeer? Isn't there a slick front available in a size that would suit?
yellowcab - 17/11/13 at 07:55 PM
LoL, I've since changed my mind on the dry setup.
I'm going for slicks allround now I've found a dirt cheap supplier of CR500s and A048r in Hinckley.
I will now ditch the 175/55s in favour of 185/60, or the same Yoko slicks as I'm using at the rear, although maybe slightly overkill
Hugovdb - 17/11/13 at 08:40 PM
Great project! Read all the pages and loved it. Would love to know the differance in tires on track, keep it up!
bobinspain - 18/11/13 at 09:13 AM
I am simply awestruck by your ingenuity, technical ability and sheer 'nous.'
The thread's a great read and a salutary lesson as to how things should be done and the lengths one needs to go to, to get things
'right.'
You put some 'professional builders' in the shade.
Keep up the good work.
Best regards, Bob.
daveb666 - 19/11/13 at 01:35 PM
Wow massive wheel and tyre day! Good job you have an estate daily-driver huh?
Any outside photos of the car with its new shoes on, or is it blocked it with all your spare sets of tyres? 
yellowcab - 19/11/13 at 01:51 PM
lol cheers, last night I popped down garage, removed rear calipers as drivers rear was leaking, to find that handbrake mechanism had been locked on
the drivers rear clamping the pad to this disc permanently, and the pads hadn't been located on the piston of the caliper correctly so
wasn't using the full pad, just the outer edge, I'm now mildly excited at the thought of being able to stop.
Also replaced the bronze steering bush to remove the 8thou of play I had as it was annoying me.
Removed the fuel tank to replace it with a Caterham race fuel bag which didn't fit, so putting my ally tank back in, but not before making a boot
box and new boot lid.
Despite not having any rear brakes on, I will stick the rear wheels on got some photos in both guises later :-)
yellowcab - 19/11/13 at 07:52 PM
So remember when I had my car setup by ProComp, and we moved the upper rear wishbone up alongside the shock absorber which left the bottom hole free,
like so:
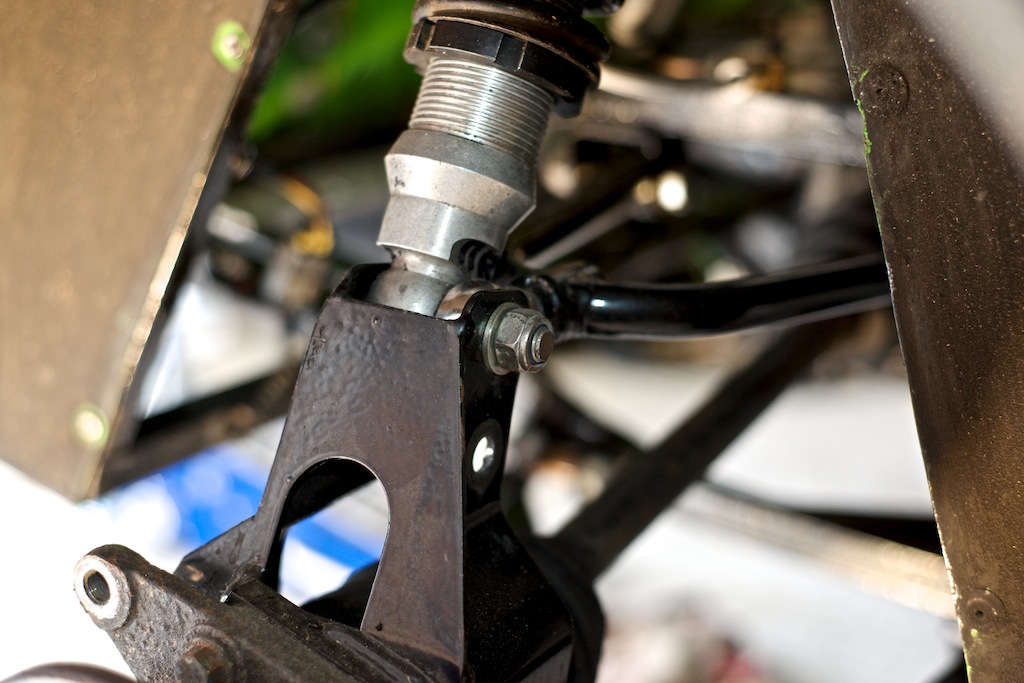
Had some 42mm aluminium spaces made up so I could clamp up the lower hole to maintain the strength & rigidity of the upright
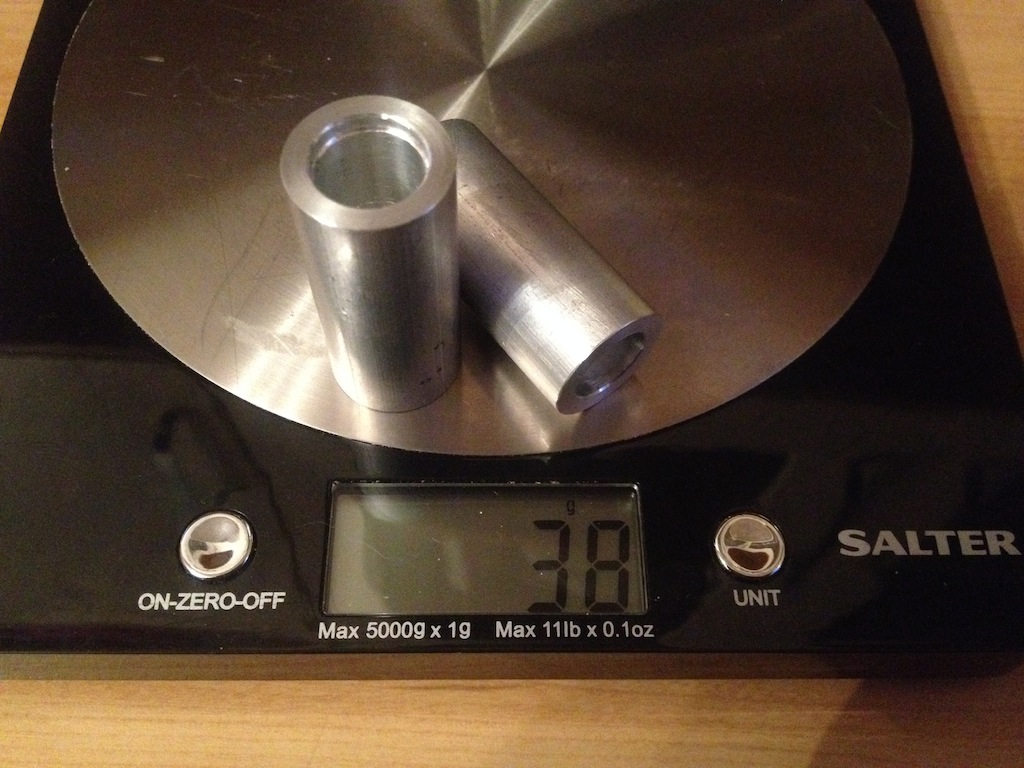
As above, I removed my rear calipers in hope to replace all the seals in them, but they're pretty bad, so decided to cut my losses and buying
some new reconned ones from BigReddRacing from eBay, and these will go back to them as a part of the deal and £100 cash back
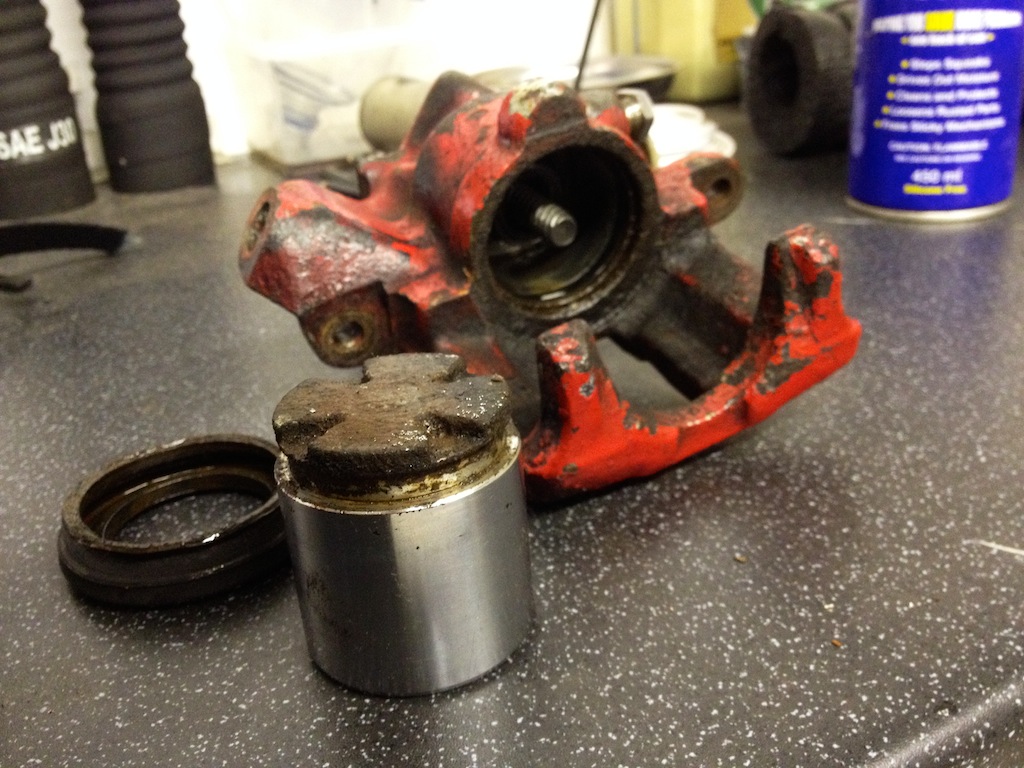
Here you can see the small amount of disk that was being used because of the pads not being located on the caliper piston correctly
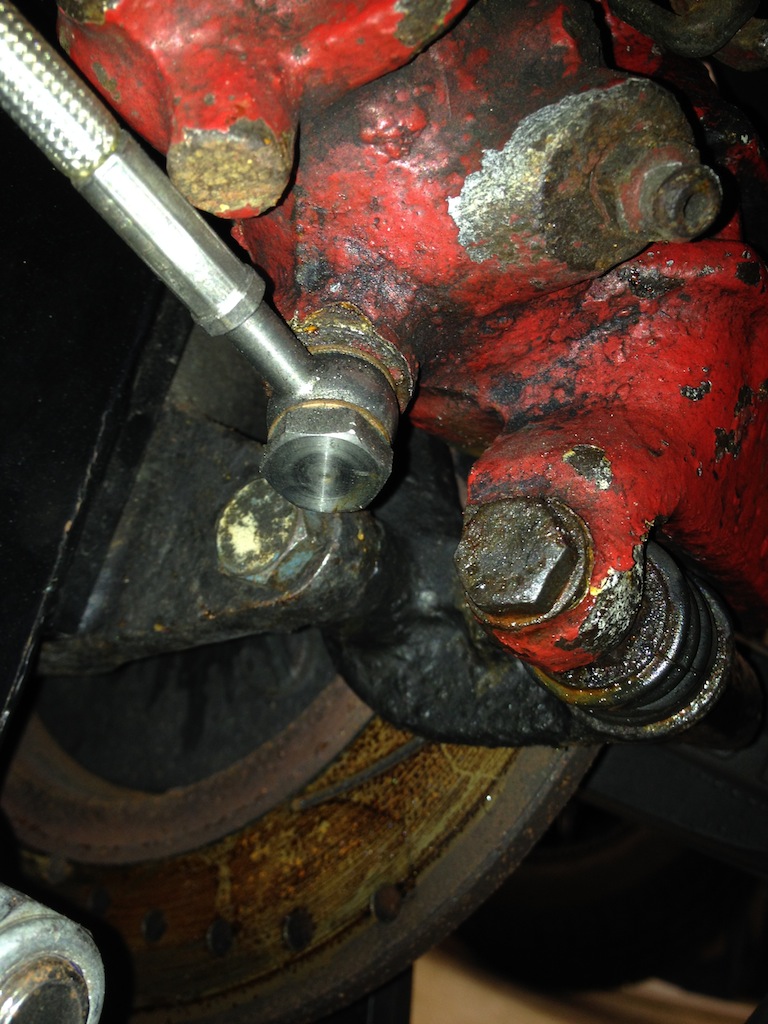
Thought I may have had to replace the disks aswell, but upon removal there was no signs of wear, no hairline cracks and more importantly no lip on the
edge and the thickness was still that of new, so I cleaned them up and painted the bells
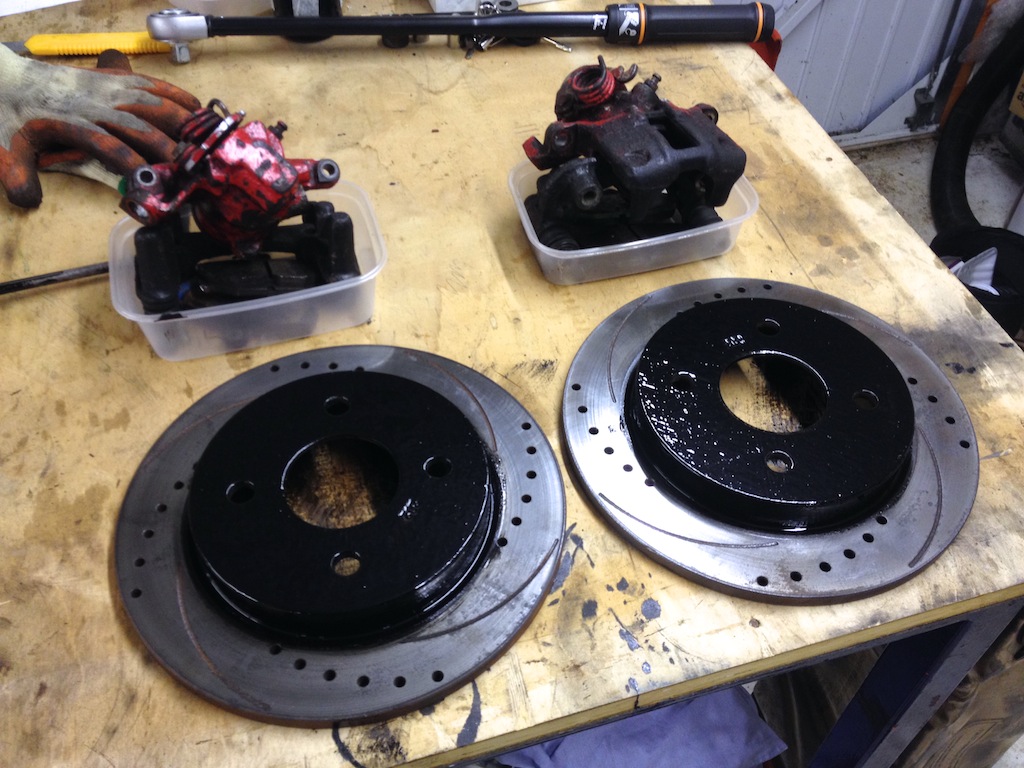
Lastly - to complete my 'upsprung' weightloss journey, a single wheel nut weighs 61g, a set of four weighs 244kg, which means I have a kilo
of rotating mass that I could easily reduce, so on my Xmas list goes a set of lightweight wheels nuts (not to mention they look beaut lol)
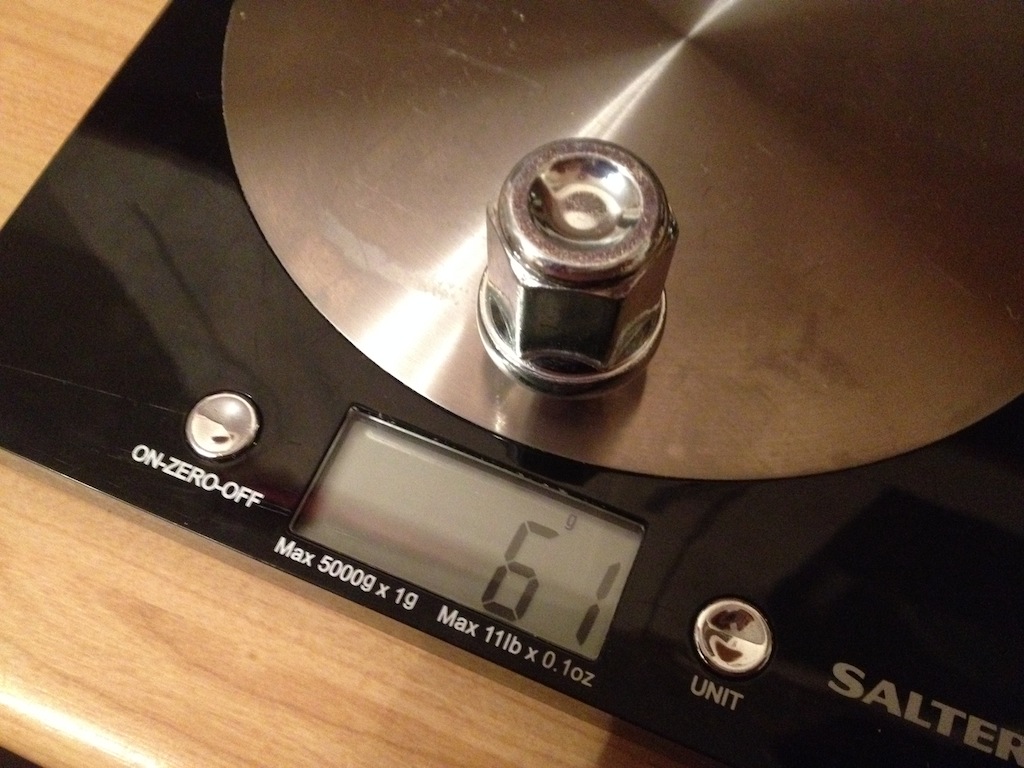

yellowcab - 19/11/13 at 07:57 PM
And spent a good hour just having a general tidy up - sifting through my 'bits to sell' and taking photos of necessary bits for advertising
them
Some general workshop/ garage shots
Awaiting new callipers, new shortened springs, new pads & old disks to go back on so it can go back on the wheels

Dave - it was too dark to get the car out when I finally got down to the shed - so this is the best I could do in order to show the new wheels on the
front end of the car, soz!
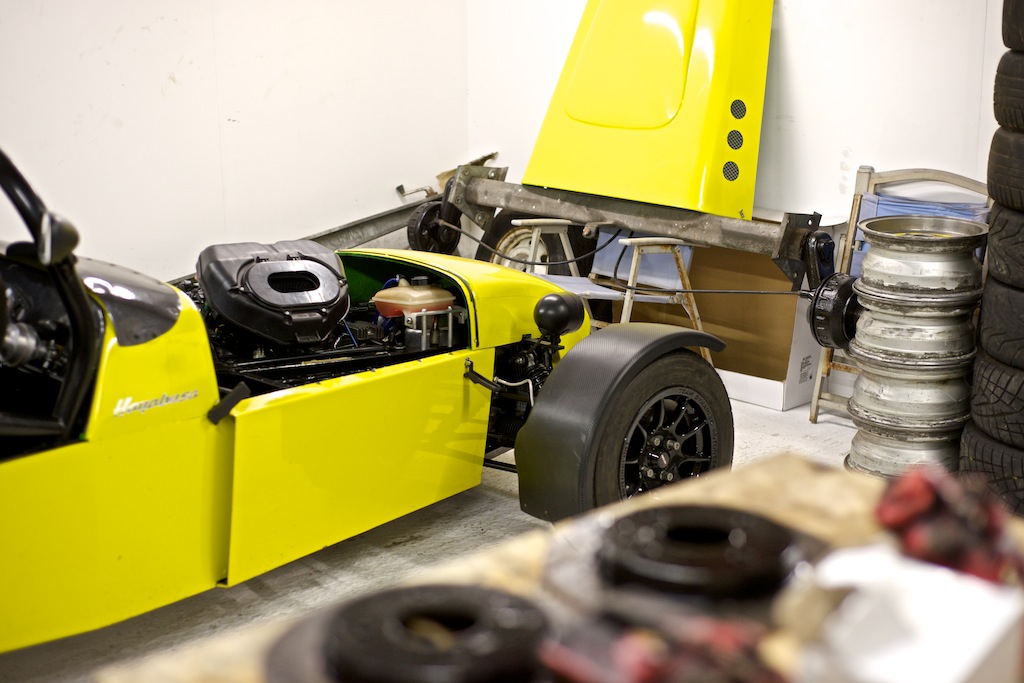
Rear end still bare

Hiding under the towel are the wider 245 slicks that are for sale, the fuel tank is sat ontop, as they was out to try the Caterham fuel bag which
didn't fit
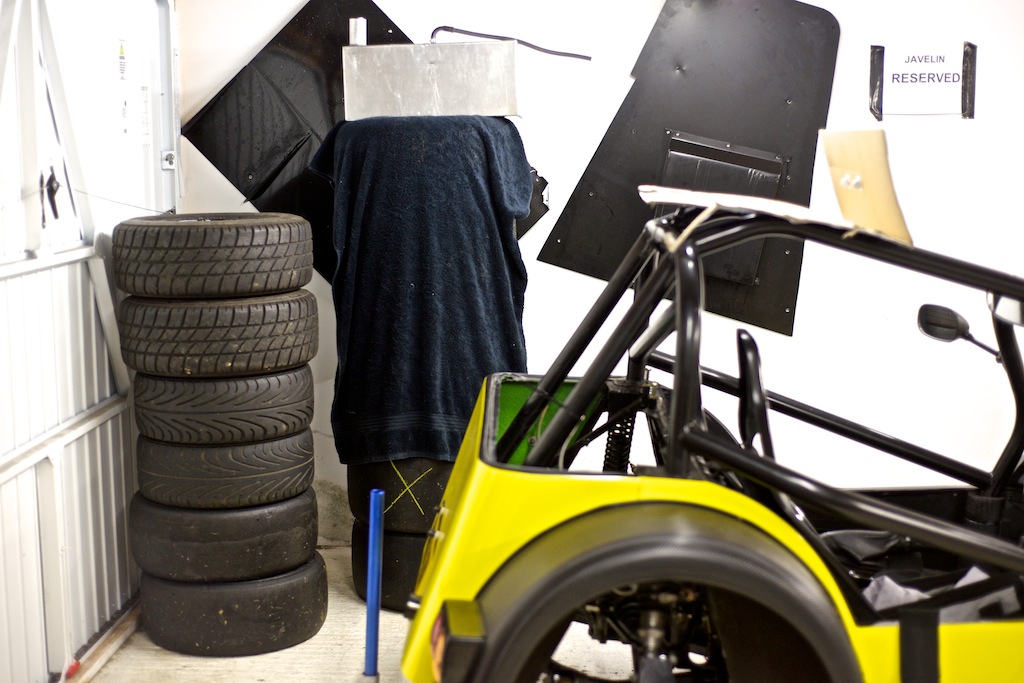
Still need to fit my Healtech Speedohealer, so I can get rid of my velcro sticky pads on my dash which holds my phone to show the speed lol
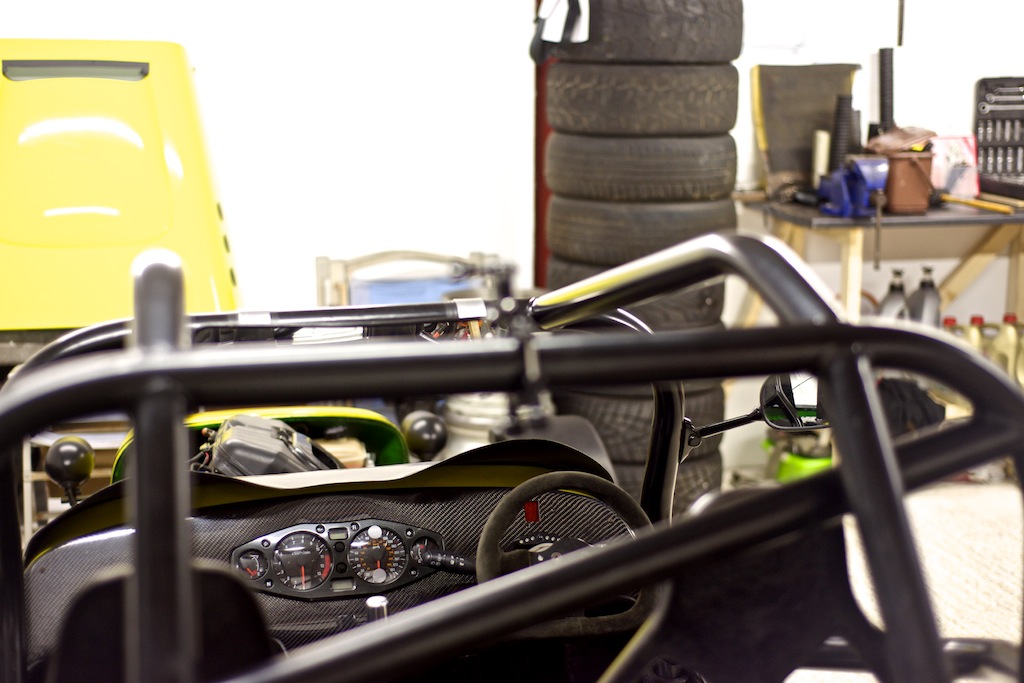
15" wheels & tyres for sale - to be advertised in a mojo
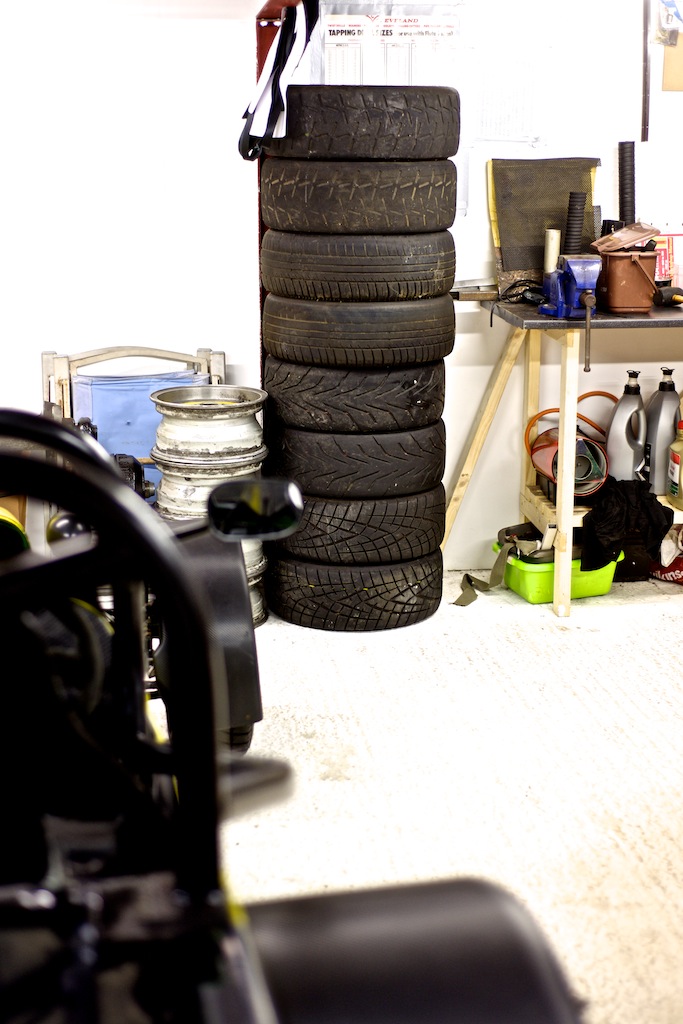
Will be making a boot box before everything goes back in, so I have somewhere to put things
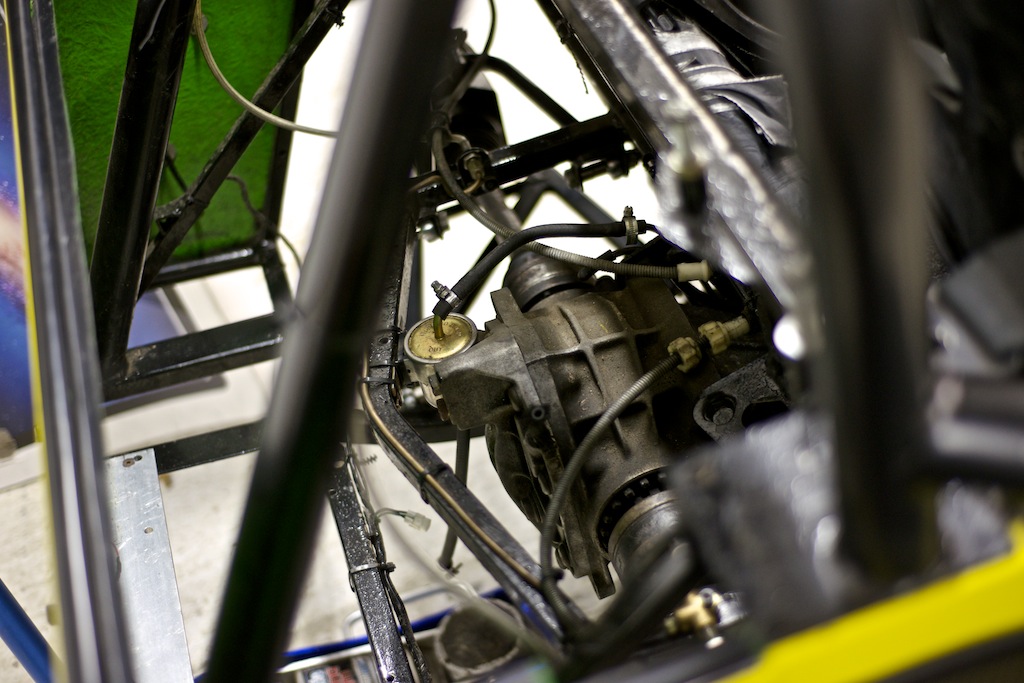
Sploshed a load of paint on the bells of my rear discs - but I have a feeling I've already told you that lol
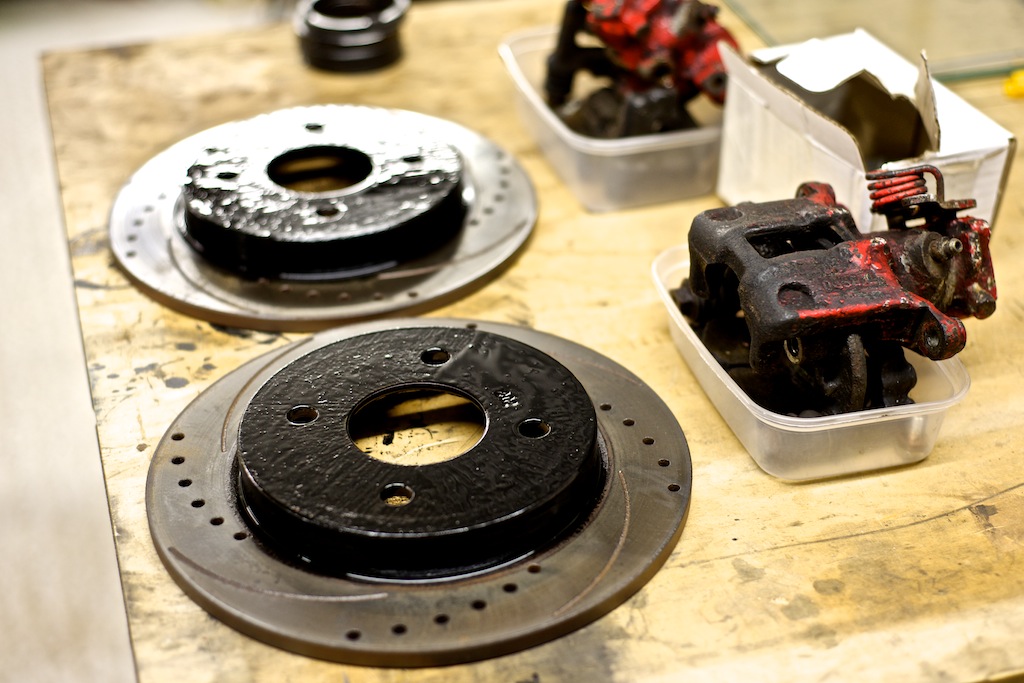
[Edited on 19/11/13 by yellowcab]
Ben_Copeland - 19/11/13 at 08:08 PM
Very nice mate. Might need some pictures of your rear wishbones so I can make me some rosejointed ones ;-)
yellowcab - 19/11/13 at 08:12 PM
From earlier on in my thread.... 
quote:
Originally posted by yellowcab


Yes, 7 photos of exactly the same thing - because they're that sexy
40inches - 19/11/13 at 08:49 PM
Well Olz, for someone who put his car up for sale, I think you are going about it the wrong way 
yellowcab - 19/11/13 at 08:54 PM
haha, kinda had a change of heart, and it's funny y'know - I've just literally saved all your 'boot box' photos, in order to
copy it - however, please forgive me for my poor poor fabrication skills compared with your masterpiece that is 
However, in my defence (excuses already) I have a rollcage to contend with, which makes it an arse of a job to do - as the floor of the box will need
to be 2-piece, as it will not fit as one single piece.
Secondly, I wrongly had my fuel tank made slightly too tall (being greedy on the range per tank), which means the floor of my boot will be stepped, as
it will go down about 2 inches when it goes over the diff (and incredibly shallow over the tank)
Thirdly, need I go on? I will anyway, my fuel filler (due to poxy cage again) is way more central to the car than yours - so I dunno what to do about
that either
Now, enough excuses out the way - feel free to chip in at any point during me trying to make it lol
40inches - 19/11/13 at 09:02 PM
Naw! It will turn out fine, the main thing is that it's usable, and I won't criticise your fabrication skills one bit. Not in public anyway

yellowcab - 20/11/13 at 04:55 PM
So despite only ordering them yesterday afternoon - we had a delivery at 11am this morning - my new rear Sierra brake calipers courtesy of
BigReddRacing on eBay - cannot recommend this company enough... the deal is you send them your old ones and get a staggering £100 cashback (simply
because of how rare they are getting)
I removed my old ones with the intentions of replacing all the seals on them, but it just wasn't worth it financially - so opted for
reconditioned items instead.
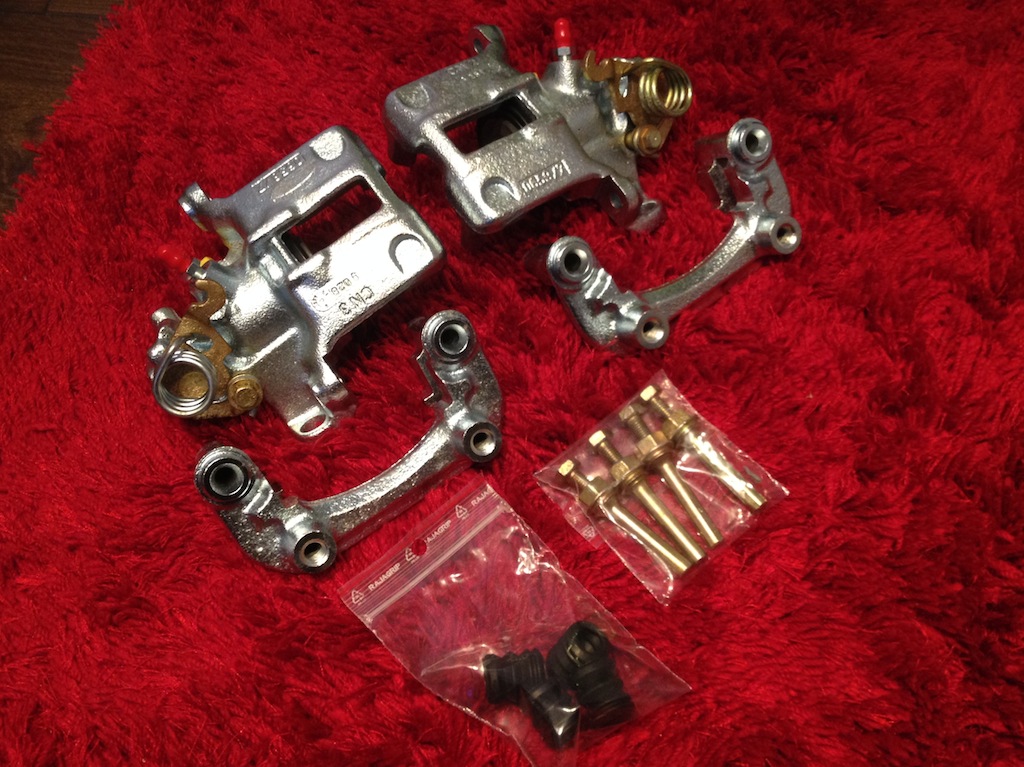
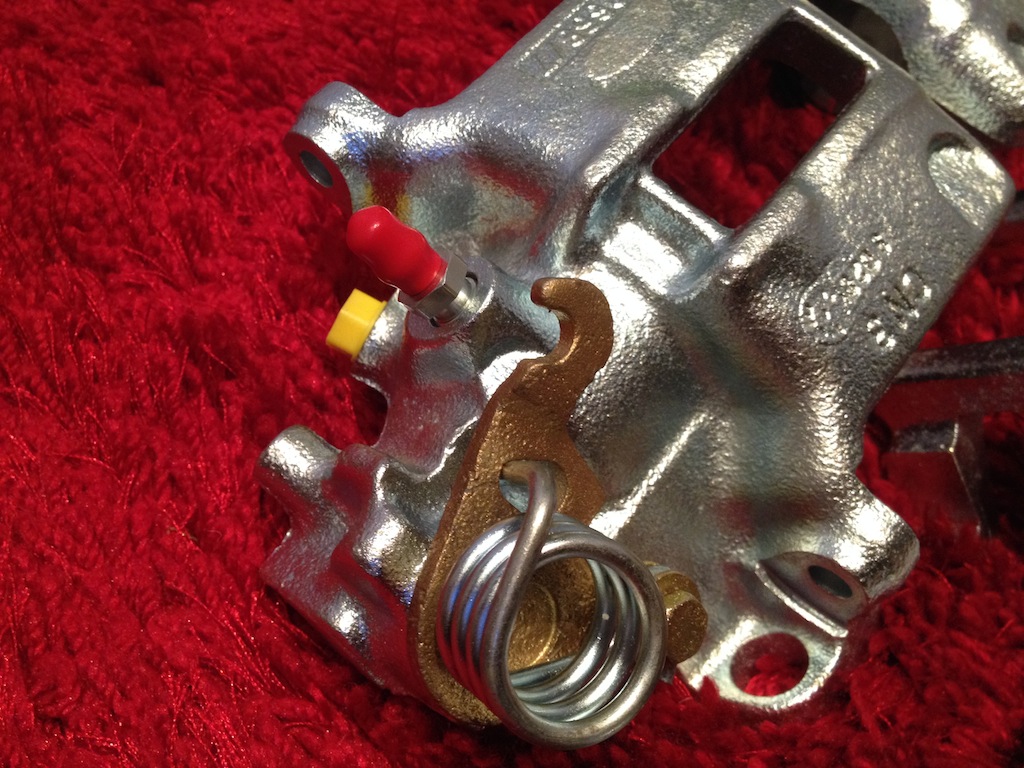
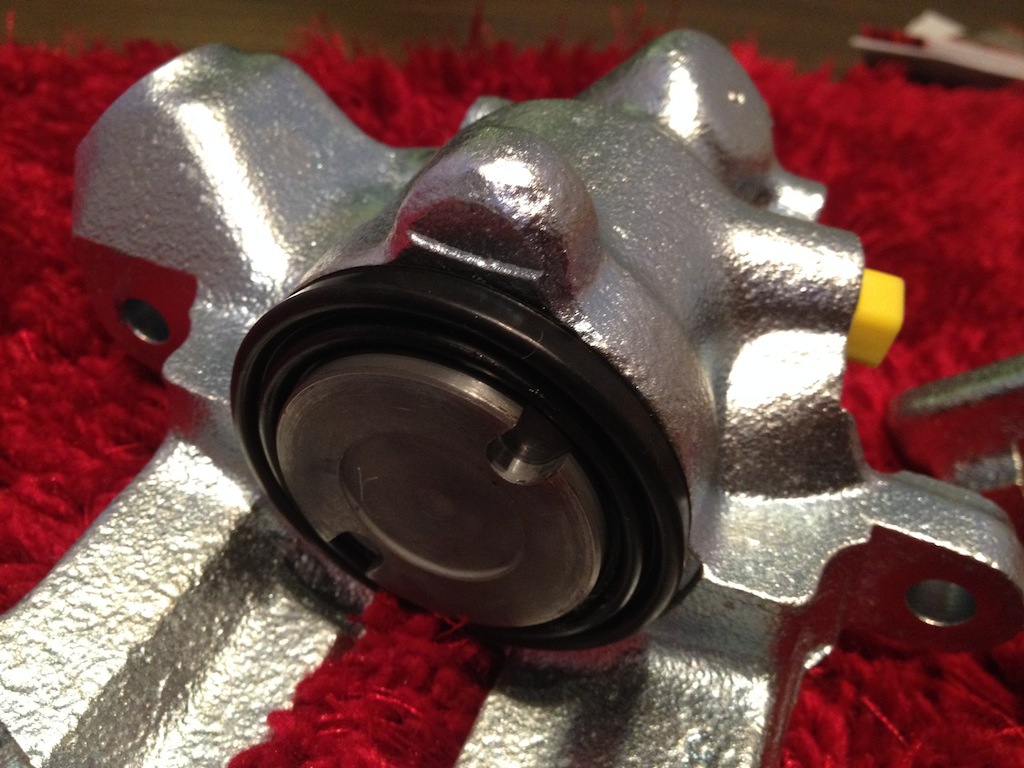
Ordered some new pads too which again I got for a bargain price, some Pagid items down to £15 instead of £90 for the set (not that I believe they were
ever for sale at £90 mind lol)
ludobenc - 20/11/13 at 08:02 PM
wonderful thread! 
you are a genious!
thanks again 
[Edited on 20/11/13 by ludobenc]
yellowcab - 20/11/13 at 11:04 PM
As if it would go smoothly, haha, all lovely though working with new parts...
Replaced standard spring for RJK350 ones
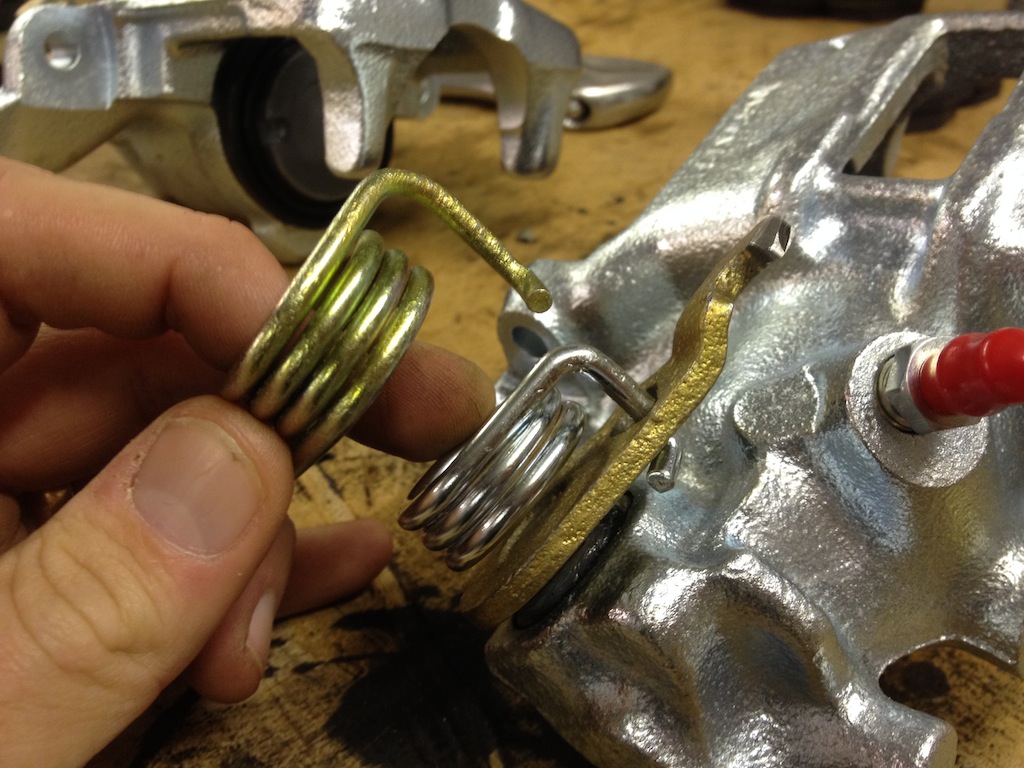
Ground down handbrake mechanism hook, to make more clearance
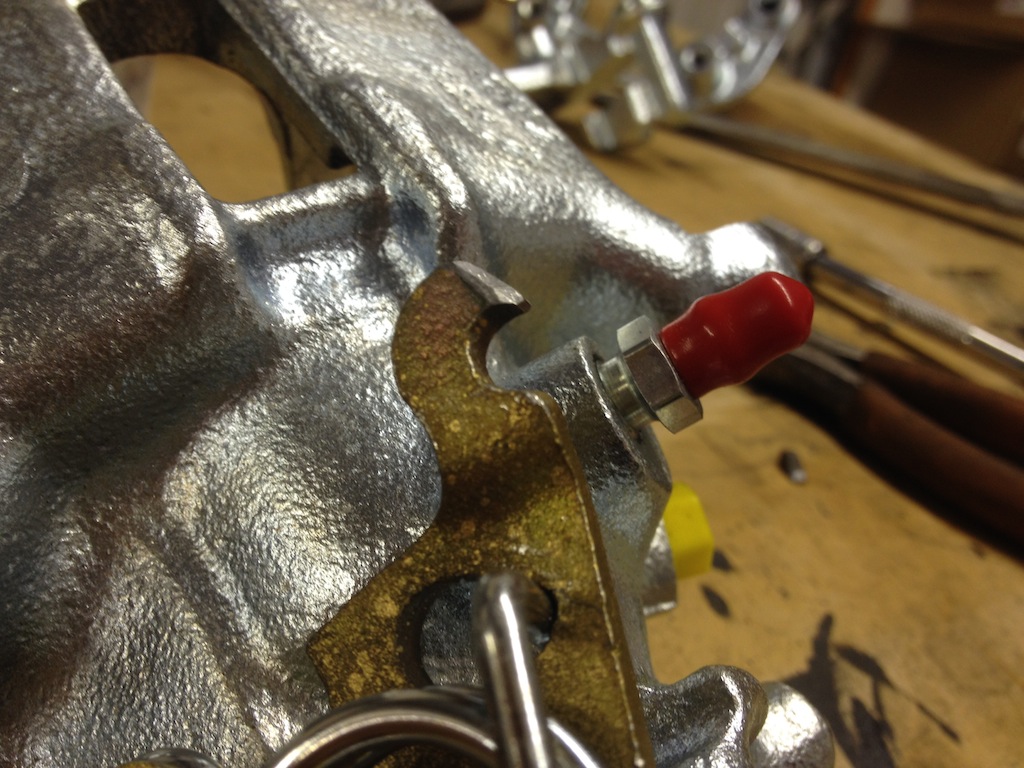
They look nice at least, disks painted, callipers on, shortened springs fitted, handbrake 'hook' ground down a little, handbrake cable
clevis ground down a little
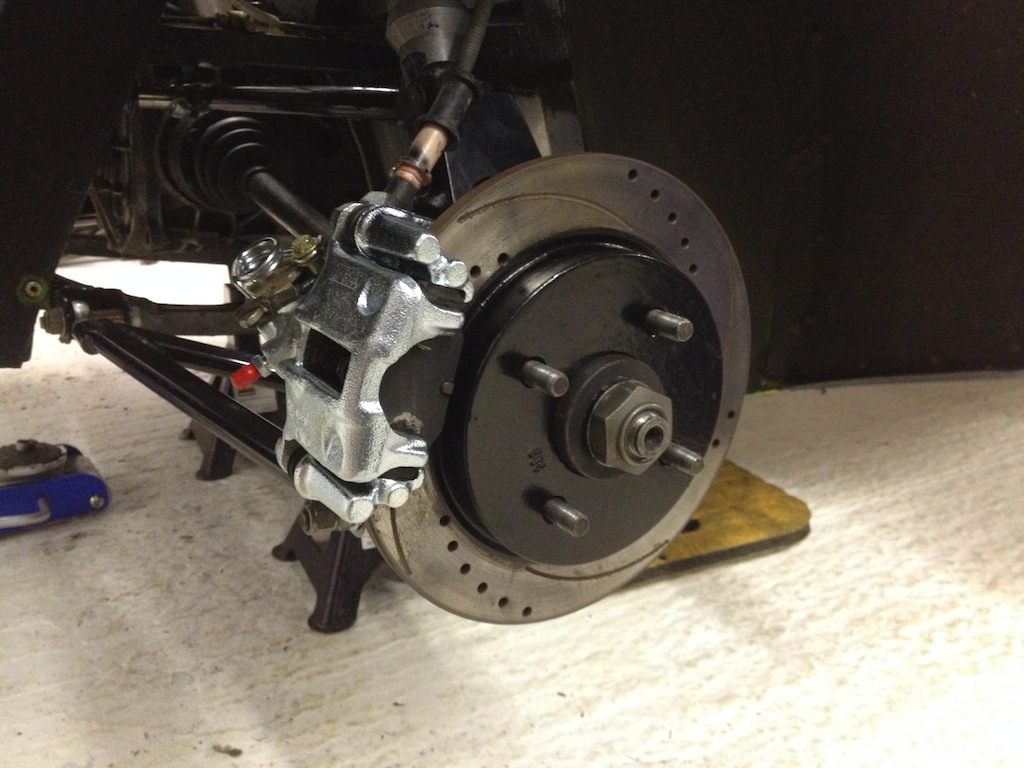
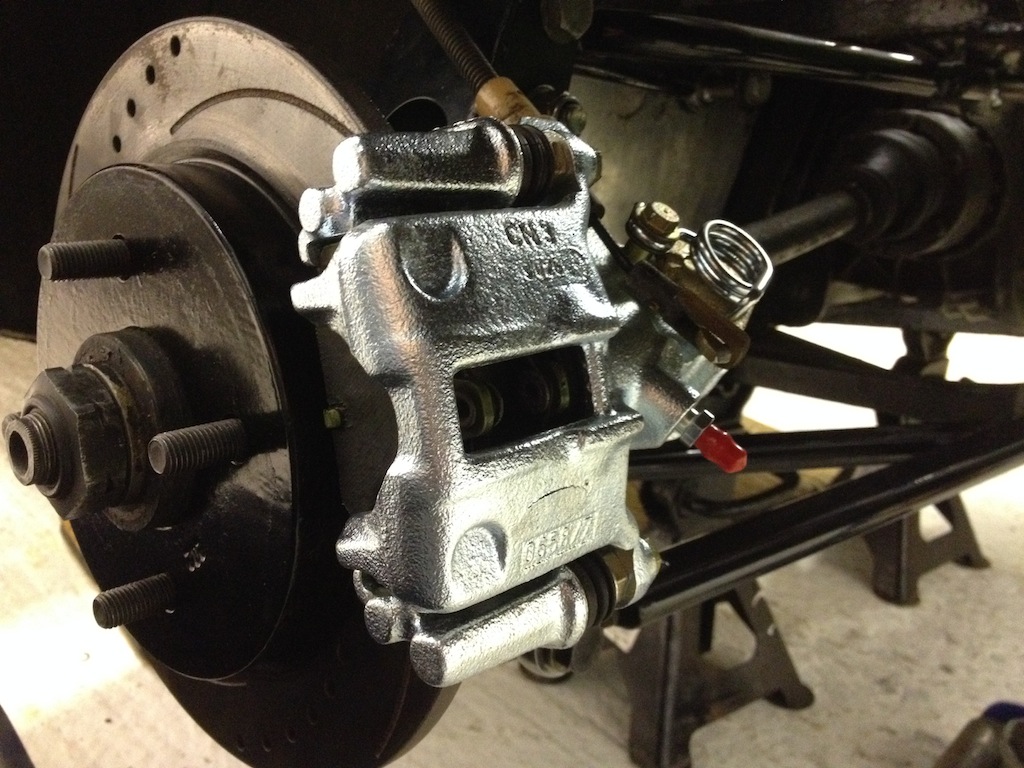
But they still foul the stick on slim wheels weights, so in frustration i just ripped the weights off so they fit... but obviously thats not the
answer, I forgot to bend the handbrake hook down 5mm, to clear, I'm not even sure bending the hook down will make the spring clear anyway - will
it? - doh!
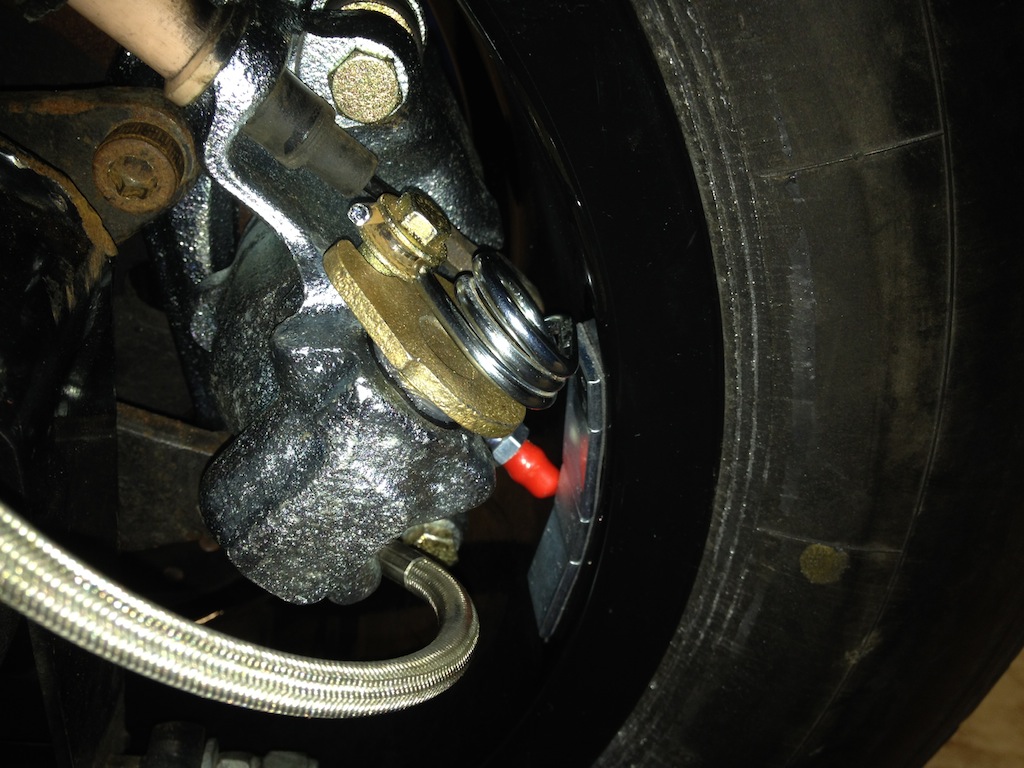
And Dave, just for you although still not quite on the floor lol
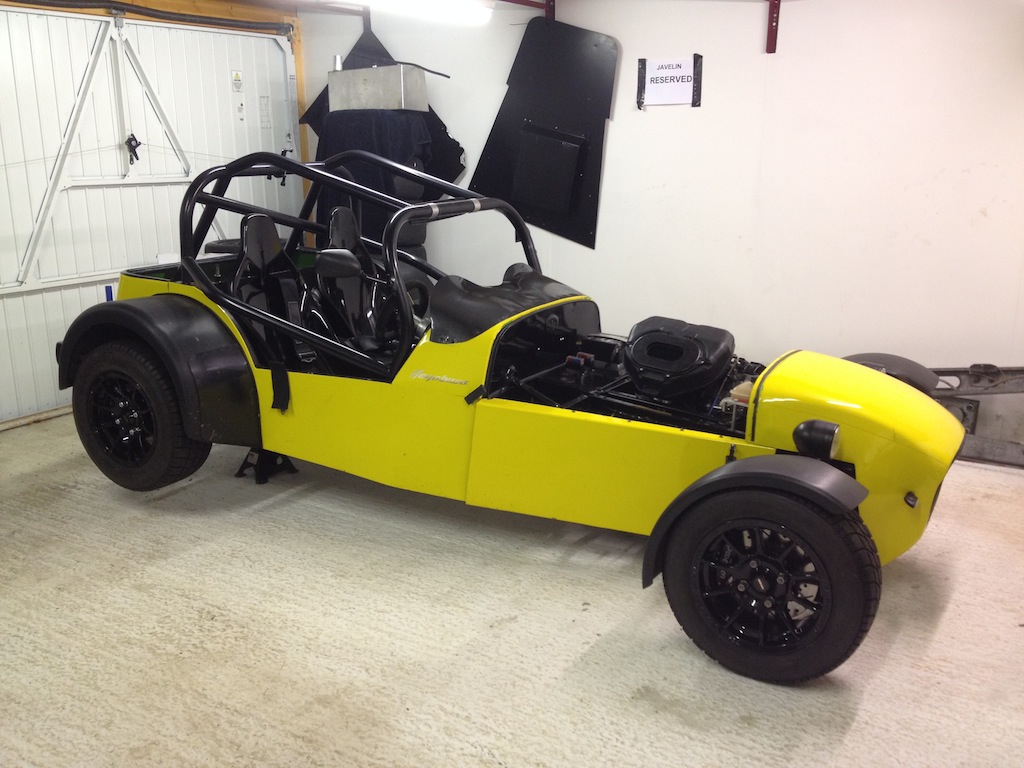
[Edited on 20/11/13 by yellowcab]
daveb666 - 21/11/13 at 10:55 AM
Wow, new wheels are a big improvement.
Can't believe you stole the Javelin reserved sign!
yellowcab - 21/11/13 at 11:10 AM
Was only thinking to myself last night that it's hard to tell that I have new wheels lol, but then thought it wasn't done for aesthetic
reasons anyway
Javelin sign was accidentally stolen, I sat my toolbox on it, which stuck to the bottom, didn't realise until I got home lol
New pads has arrived before I left for work, so will fit them and get the brakes bled up tonight
Pat_T - 21/11/13 at 01:15 PM
careful sposhing the paint on the brake disc bell faces thick like that mate. The disc gets hot, re-melts the paint and you lose the clamp load
keeping your wheels on!
if you are going to paint them best to use spraypaint as it goes on thinner...
shame about the Caterham bag tank, how many litres was it? did it have an internal fuel pump?
yellowcab - 21/11/13 at 01:45 PM
Thanks for the advice on the brakes pal, I'll be sure to scrape it off 
Caterham tank is a big 35litre bad boy, internal pump, long and shallow, but my cage legs are too narrow for it to fit
yellowcab - 23/11/13 at 01:14 PM
So finally bled up new brakes and pedal is now firmer than ever, so looking forward to bedding them in and having some decent braking power at last,
back down on its wheels, and its still very hard to tell the new wheels.
Fitted the new wheel bolts, but too bling, so I'll be replacing the 61gram items for some 16gram black ones 
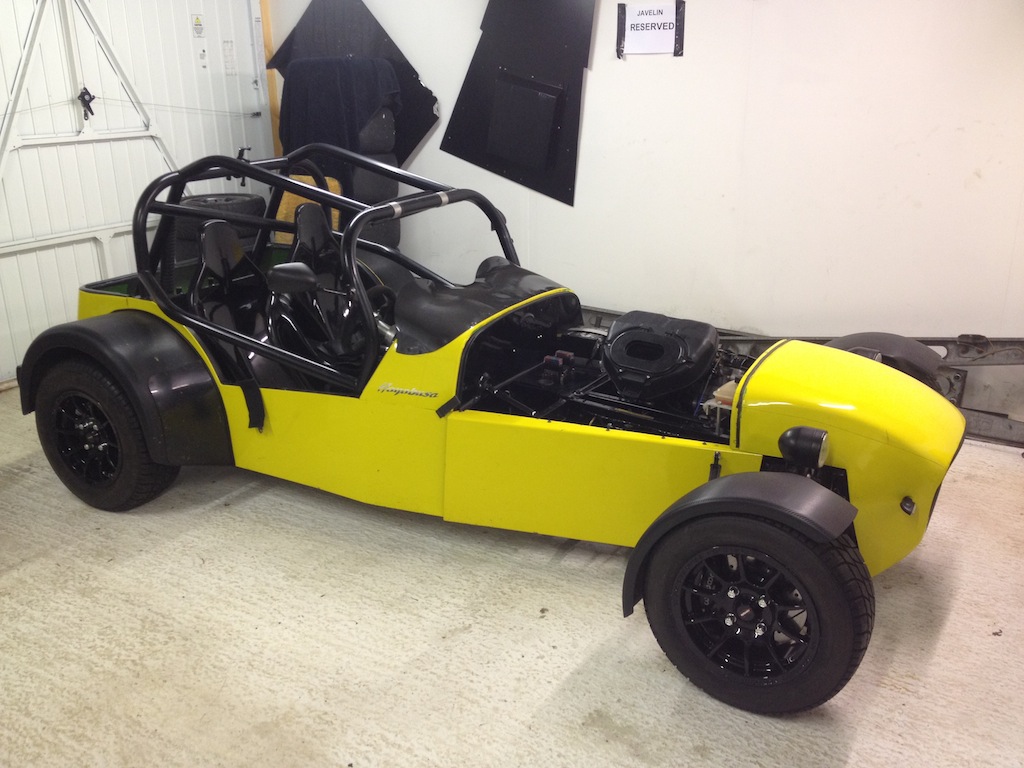
Next up, fuel tank is back in, straps have been relocated to the front edge of the tank, so my boot box can be another 1.5inch deeper, and the ally
neck of the filler has been cut down, so the bend on the rubber filler can start lower down
This is what I had to work with, and the space
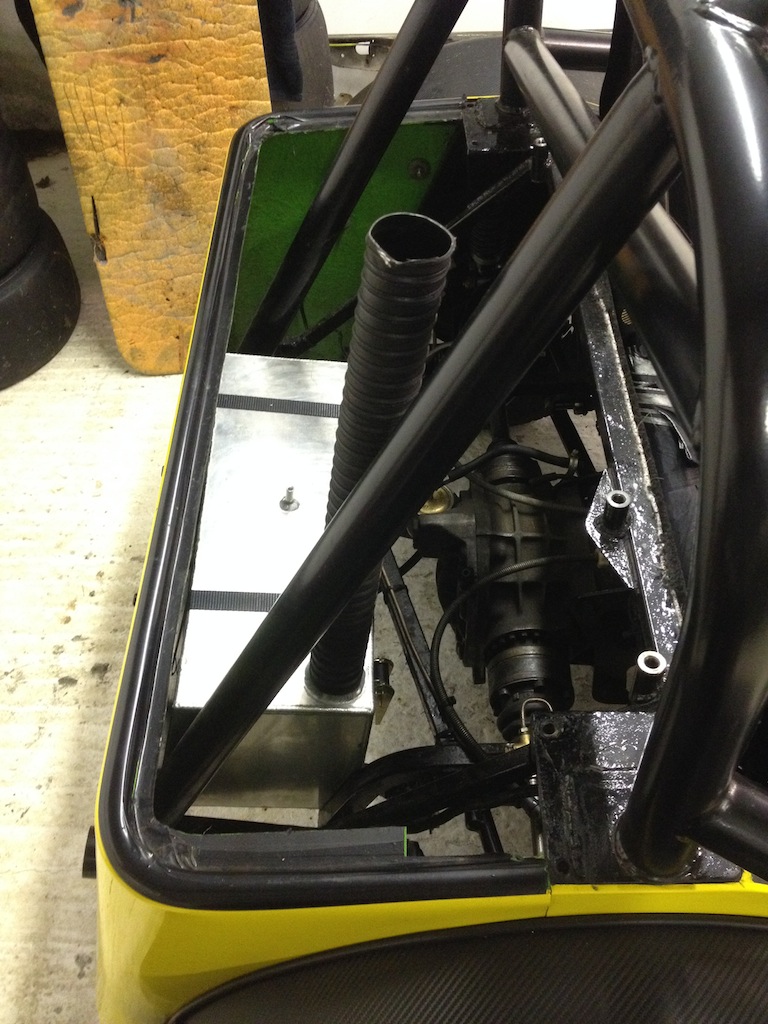
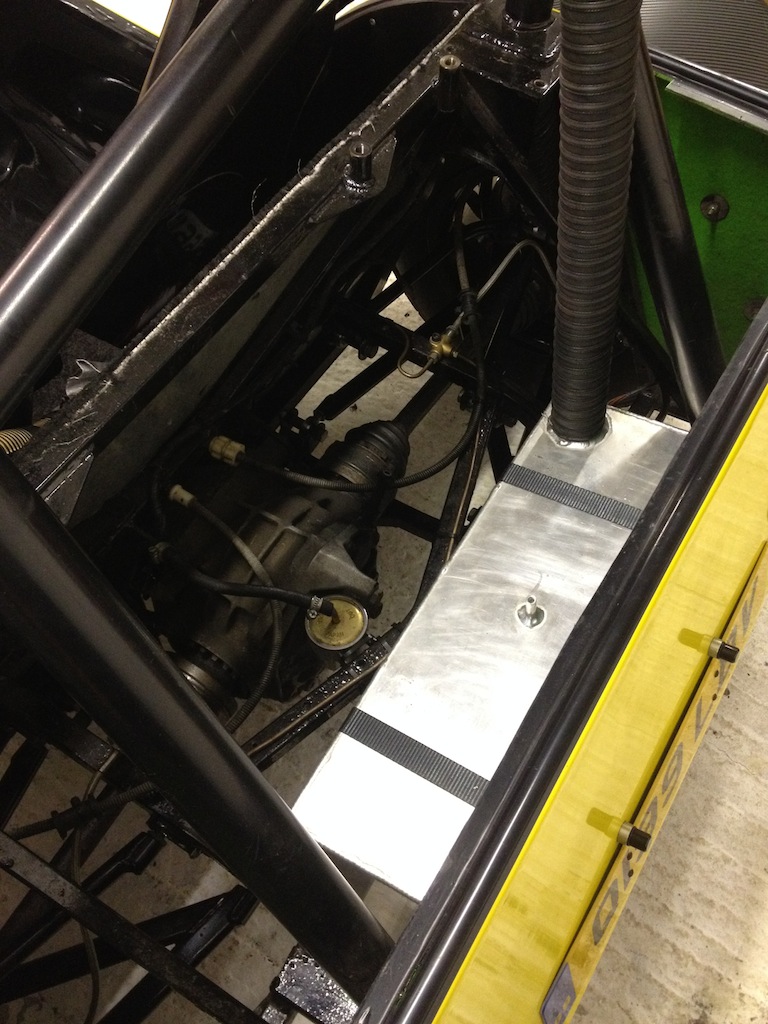
The MDF is now only a template, and it will be made in ally now I have found a supplier of some free bits
The opening or 'boot lid' cannot be made any wider, as my rear rollcage legs get closer together the further up the cage they go - so should
I have the opening wider, the boot lid wouldn't be able to open all the way
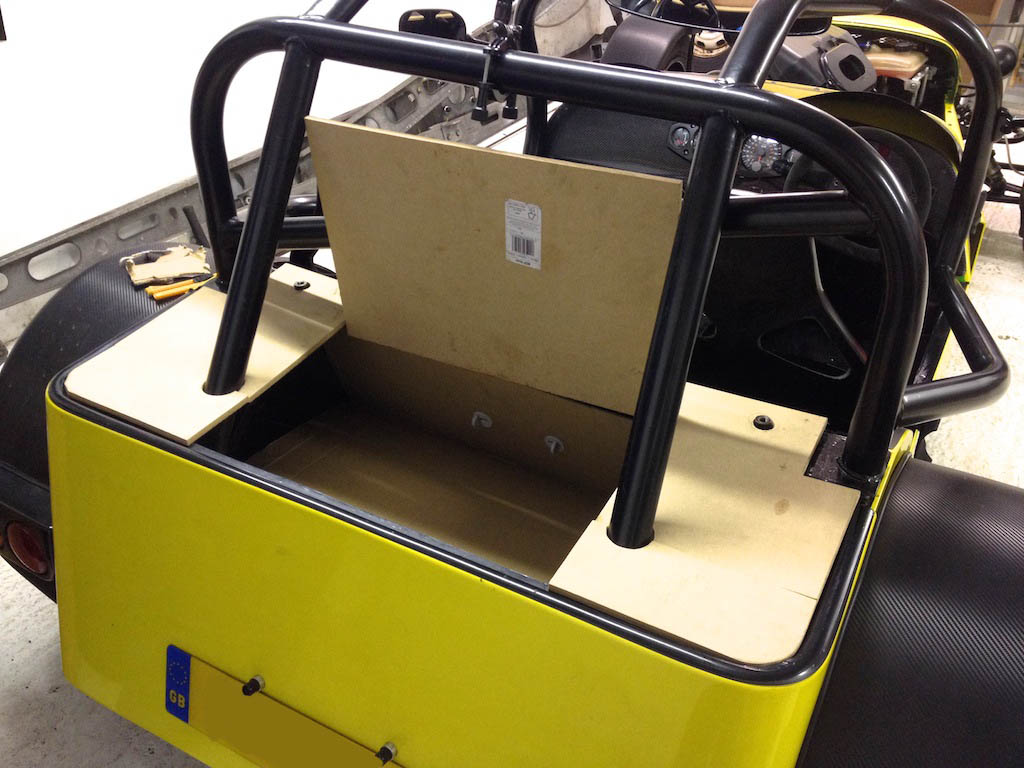
Started out by making a template for the floor, originally I was going to have it stepped, but decided against this as too much faffing, for zero
gain
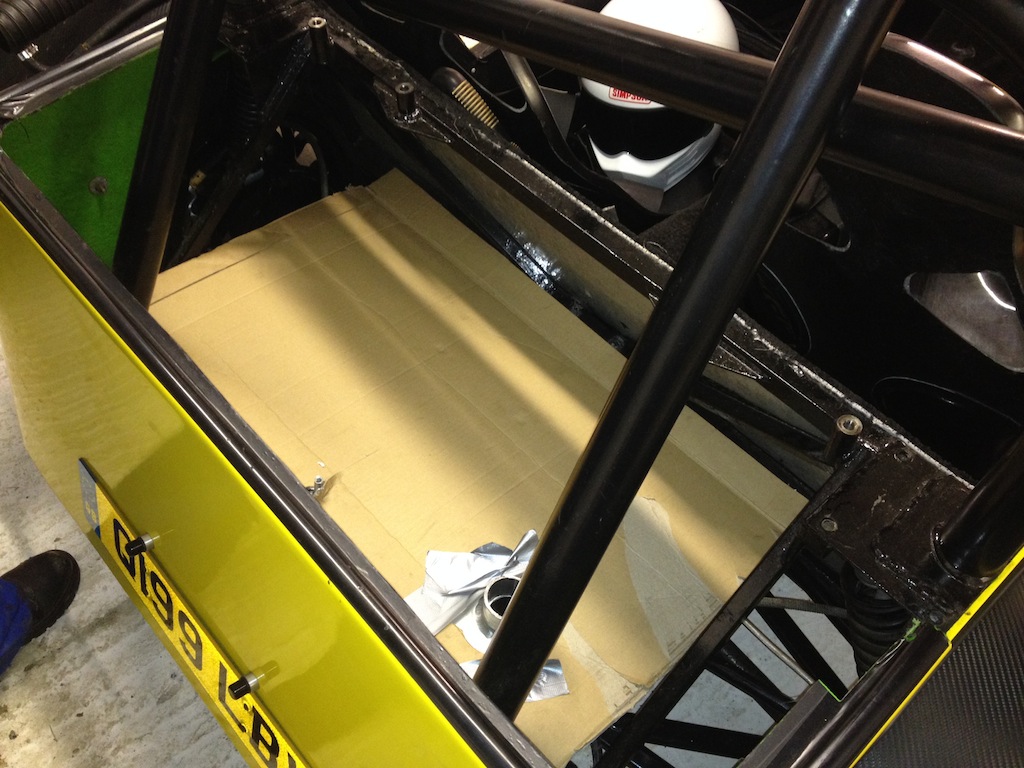
Added some extra bits on on the front edge, so it could sit on the bracing of the rear bulk head to its sitting on a shelf

I was going to incorporate the rollcage within the boot, but then felt it'd look stupid, and leave the floor gappy around the rollcage legs
The side walls of the boot box, will be riv-nutted to the bracing, which dictates to me the width of the box
I have not got the patience, skill nor engineering ability to do a "Legend 40inches" 'cubby hole', so this will have to
do
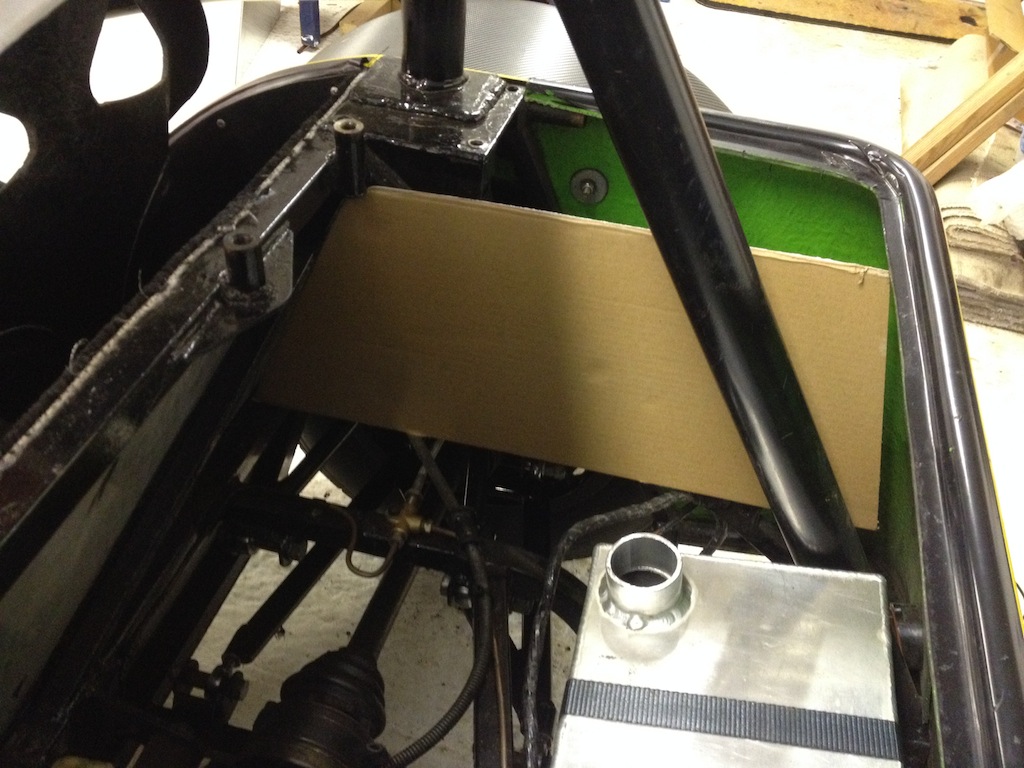
So after a while of working out angles, measuring, measuring, getting it wrong, more measuring, cutting, taping, cutting wrongly, taping back up, I
decided to box off the cage legs, so when you look in the boot, they cannot be seen, this took longer than anticipated, as the boot gets shallower the
further towards the rear clam it gets, so the angles are always changing & reducing
You can just see the diagonal bracing its being fastened to
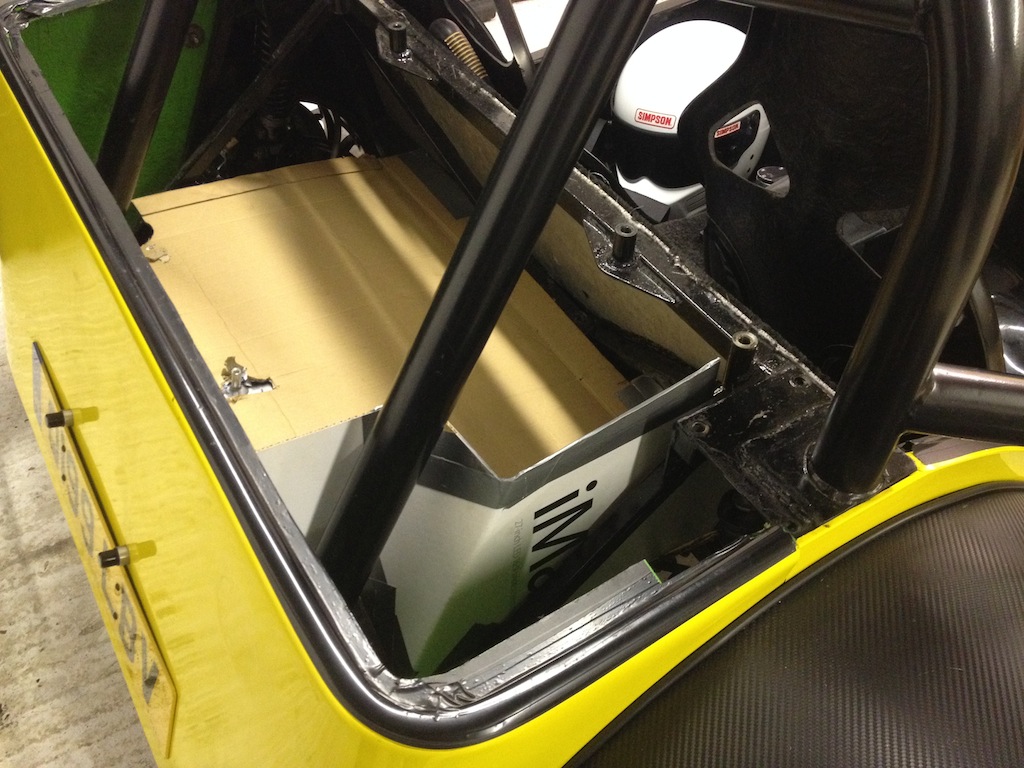
Next up is the filler, this will have to enter the boot box, but its no great shakes, I just want it to look as nice as possible, so the filler is
going to be on the outside of the box, and the rubber pipe will enter the side of the boot, and exit the bottom, this is a compromise due to the size
and shape of the fuel tank that I had made
The side of the box has been slotted so we could remove the fuel pipe and fit it easily, but in the ally version there will just be a hole for the
fuel pipe to pass through, once its found its natural angle
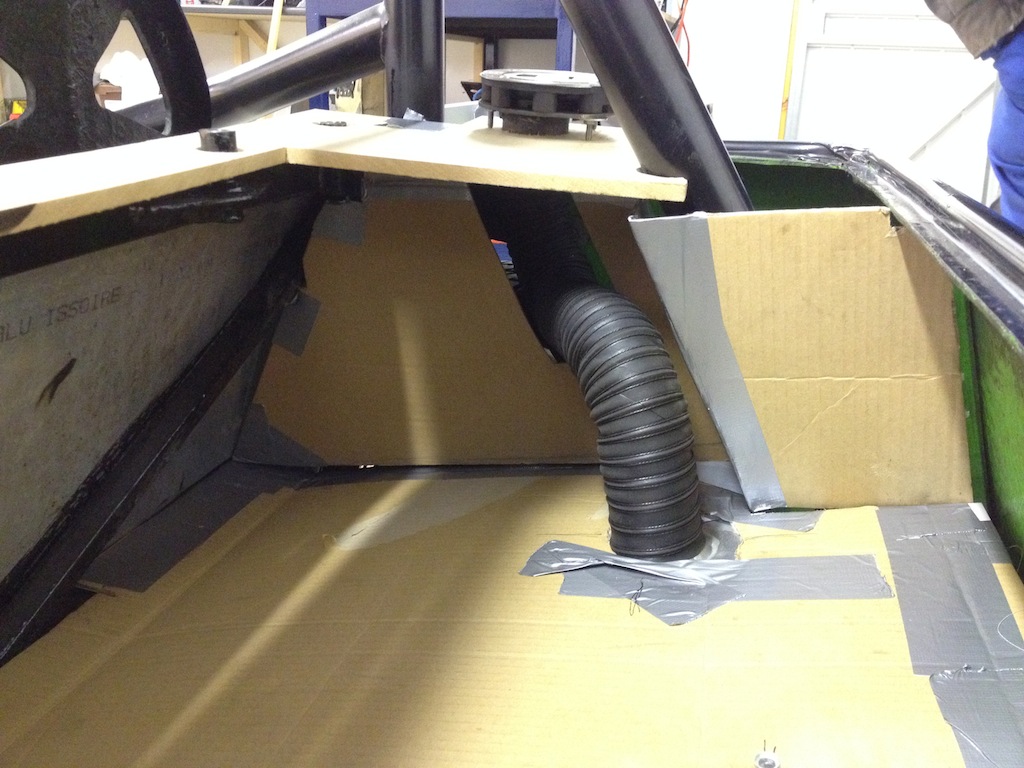
[Edited on 23/11/13 by yellowcab]
[Edited on 23/11/13 by yellowcab]
Ben_Copeland - 23/11/13 at 01:38 PM
Be careful of having bends in the fuel filler pipe. You end up with clicky fuel pump syndrome mate
Try to keep the pipe as straight as possible.
yellowcab - 23/11/13 at 01:42 PM
The decision to have the filler on the outside was because I didn't want to have to unlock the boot lid, then to unlock the filler just to fill
up with fuel - but this may be quicker than having clicky petrol pump syndrome lol
The photos above are a little bit misleading, as the rubber hose is actually too long at present and will need cutting down, which will reduce the
kink a little, and also, how about if I move the fuel cap itself over moreso, so its as close to being above the tank as possible, will that help I
presume?
Like so...
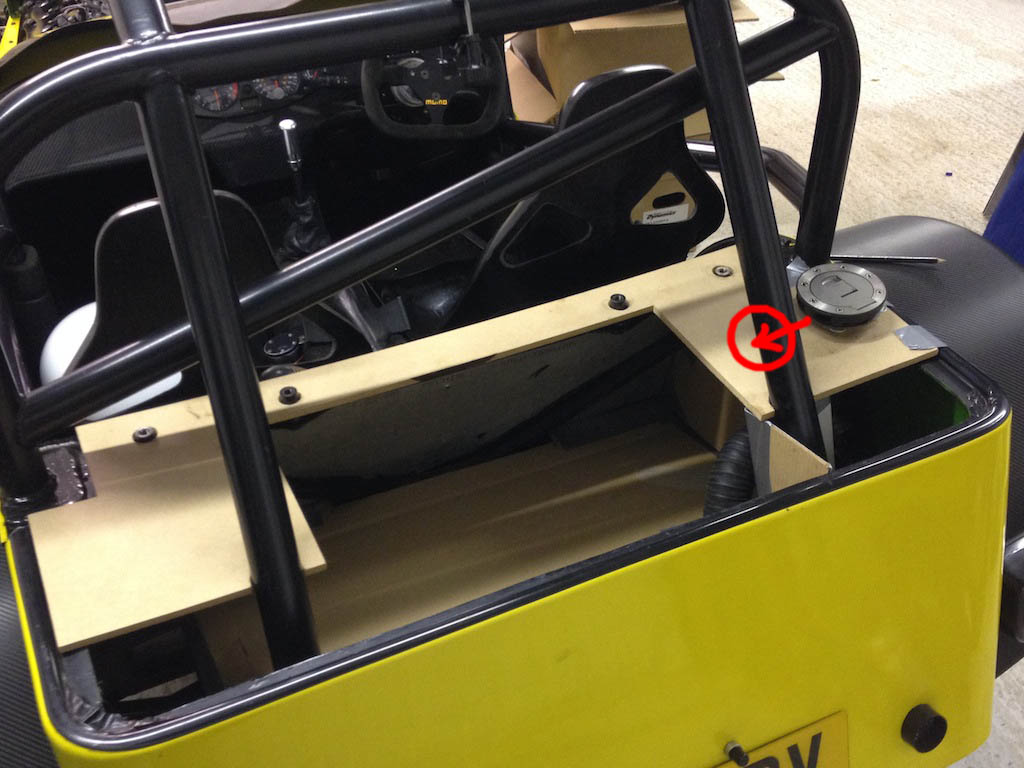
I suppose I could have the filler inside the boot box itself, leaving the top looking flush... you think i'd be better off with that?
yellowcab - 23/11/13 at 01:43 PM
Ignore that idea about moving the filler cap more inwardly - I cannot do this due to the diagonal bracing under the bootlid.
Balls
It's either, put up with slow filling at the pumps, orrrrrr having the filler inside the box itself
Ben_Copeland - 23/11/13 at 01:45 PM
Fix it so you can drive to the petrol station and try it out!!!
yellowcab - 23/11/13 at 02:00 PM
Can't really get that far, it's SORN, and by the time I've made the boot box - I wouldn't want to then change it.
I'm just gonna have to make a decision and stick with it, lol
Not down the shed anymore, but having looked at this photo, it can be moved over a considerable amount
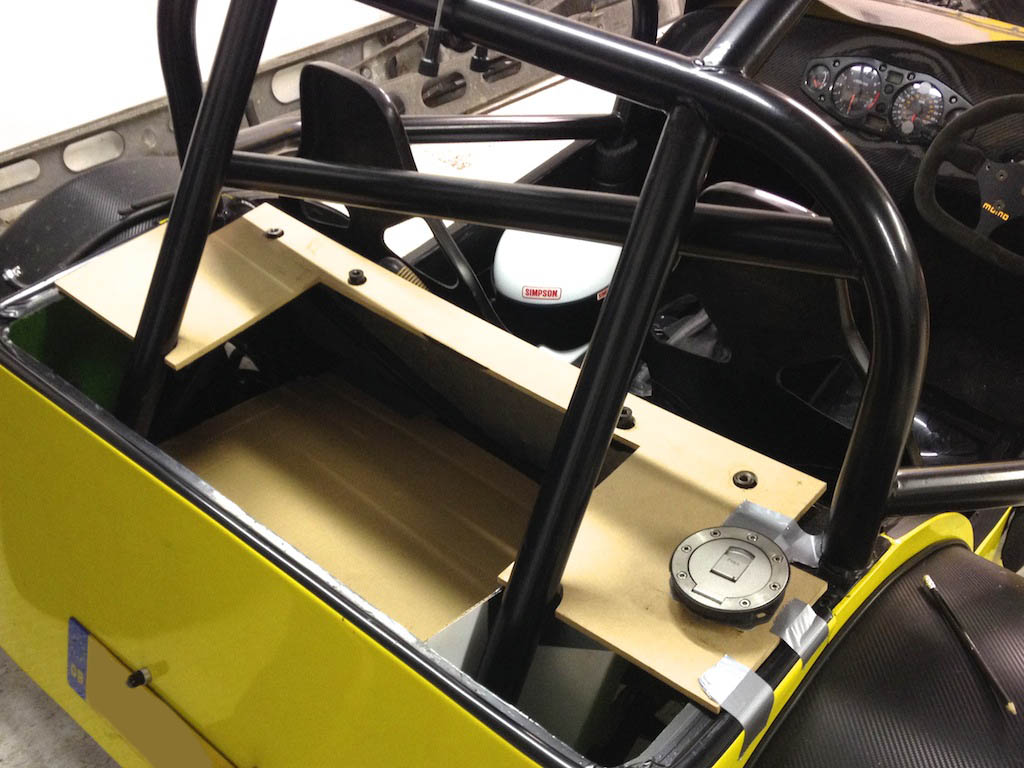
Ben_Copeland - 23/11/13 at 02:05 PM
Move it over as much as possible and keep your fingers crossed. It might be ok as there's not a big bend in it
daveb666 - 23/11/13 at 02:47 PM
Put the filler where mine is?
sebastiaan - 23/11/13 at 03:43 PM
I had mine in the rear panel with a metal bend to connect it to the tank. No real problems filling up, just could bot go full speed once it was almost
full.
You can just about see the filler location here: ;-)

Description
sebastiaan - 23/11/13 at 03:44 PM
This is actually a better shot. Boot box was very similar to yours.

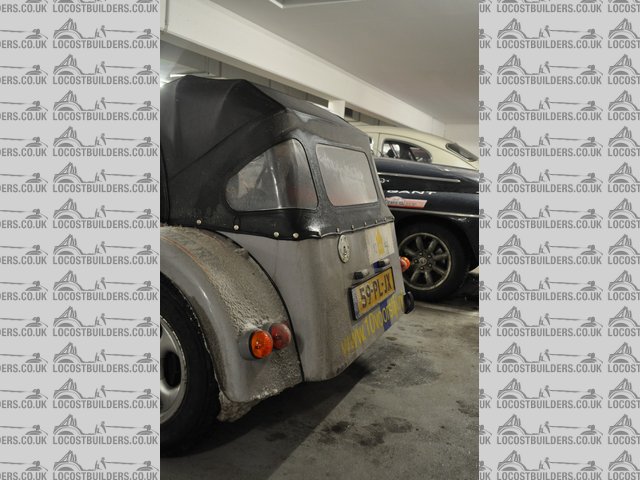
Description
ReMan - 23/11/13 at 05:52 PM
You won't have a clicky problem with the vertical filler even if you put the dogleg bends in it
Its only on the back panel like mine that it can be a bit slow, but then it still depends how the bend sits, I live with mine OK
yellowcab - 23/11/13 at 06:05 PM
Just got back from being down shed again, and opted to have the filler inside the boot box itself.
The pro's of having a straight piece of pipe outweighed the cons
I like the fact it's currently straight so I can see directly inside the tank to see how inch fuel I have in, even when my fuel gauge reads
empty, nothing beats physically being able to see how much fuel you have in it.
Secondly should the pipe work have a kink in it as drastic as mine was, the petrol pump would only cut when the fuel hits the nozzle, by which time
the rubber pipe itself will have fuel in it, which is liable to then leak into my boot, not keen on that idea.
There are no real cons to having the filler inside the boot itself, it doesn't take any more space, simplicity is best for me personally.
Not for everyone, some might not like the idea, but suits me 
40inches - 23/11/13 at 06:19 PM
You can have the filler pipe straight without the filler being in the boot. Fit the filler cap on a bracket on the back edge of the back panel and cut
a horse shoe shaped piece out of the boot lid to clear the filler cap 
You are doing a good job, take your time and do it how you really want it to end up, you don't have a time limit, winters on it's way
This is how Hellfire did it:


Finished Boot
You can do it with the split boot lid.
[Edited on 23-11-13 by 40inches]
yellowcab - 23/11/13 at 10:56 PM
Cheers for all the comments and replies chaps - much appreciated 
A couple more pics of when I popped back down, you can see how much the side panels evolved from our very first cuts, but taking this time in the
templates will hopefully reap benefits within the final ally product fitting perfectly
A lot of messing, fettling - but like above, I'm under no time restraints, so it'll take as long as it takes 

I chanced it and hoped that the passenger side would be a complete mirror image replica, so all the time it took doing the first one, paid of even
further, I drew around it, obviously folded the other way...
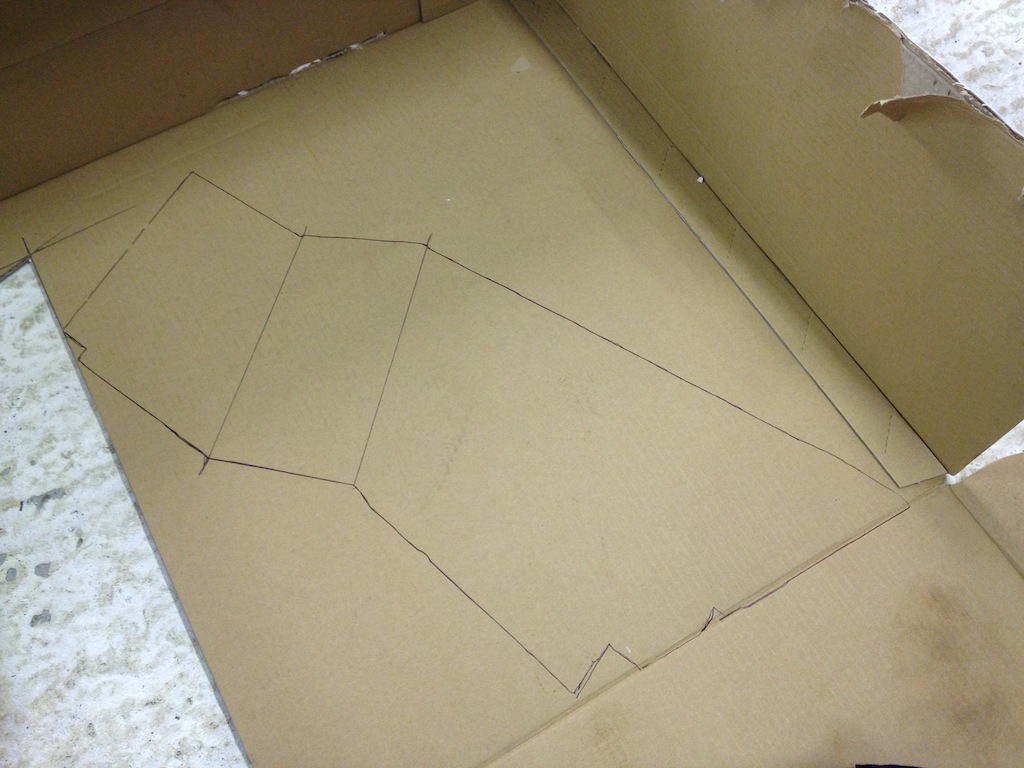
Low and behold, first time, snug as a bug in a rug!
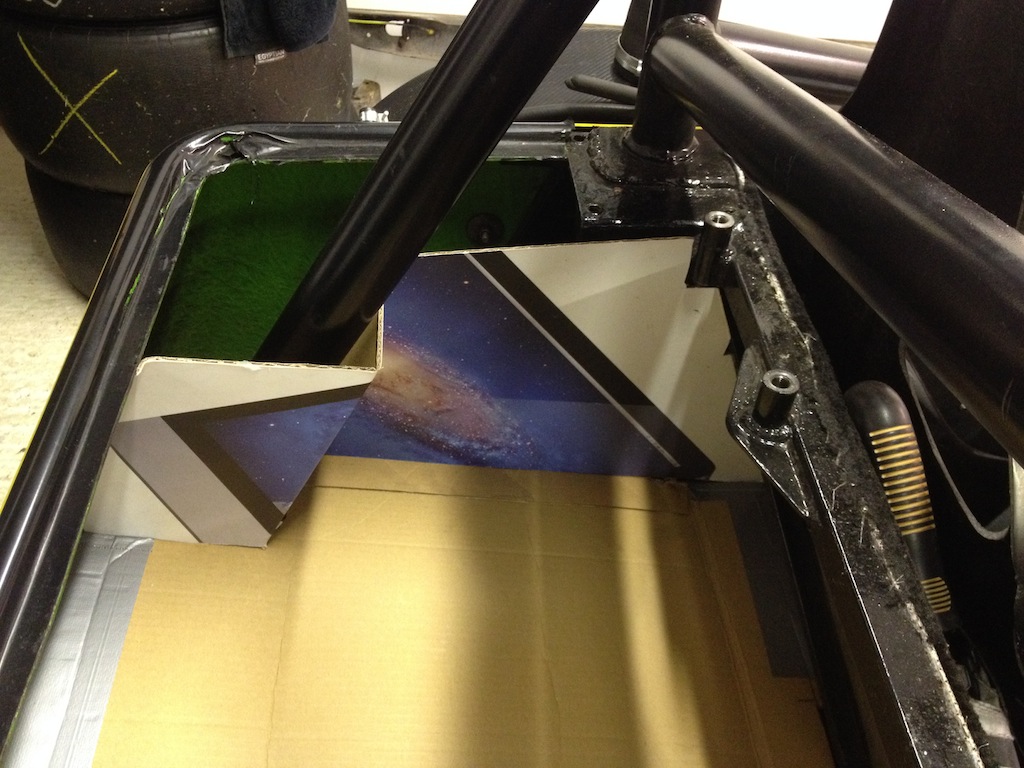
Starting to take (slow) shape now, happy with the size, depth and general finish so far of the templates
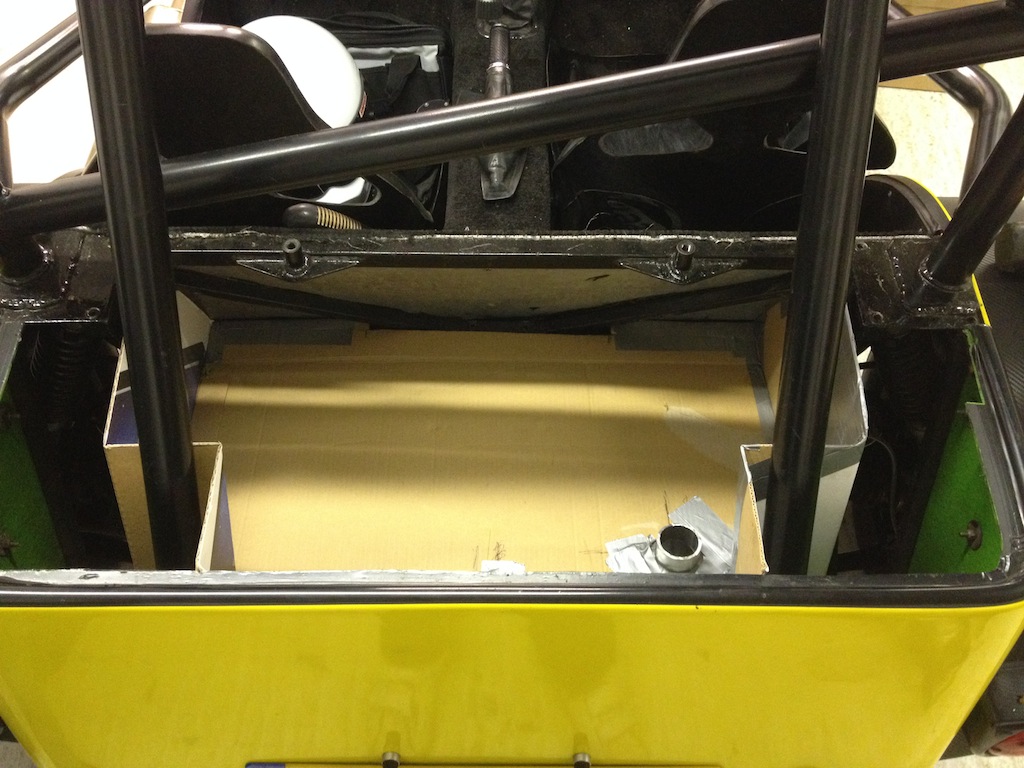
Used a piece of 1mm angle, 'sat' it on the rear bulk head bracing, and rivetted to the diaggonal, this will support the edges of the floor,
and give something for the sides to fasten to
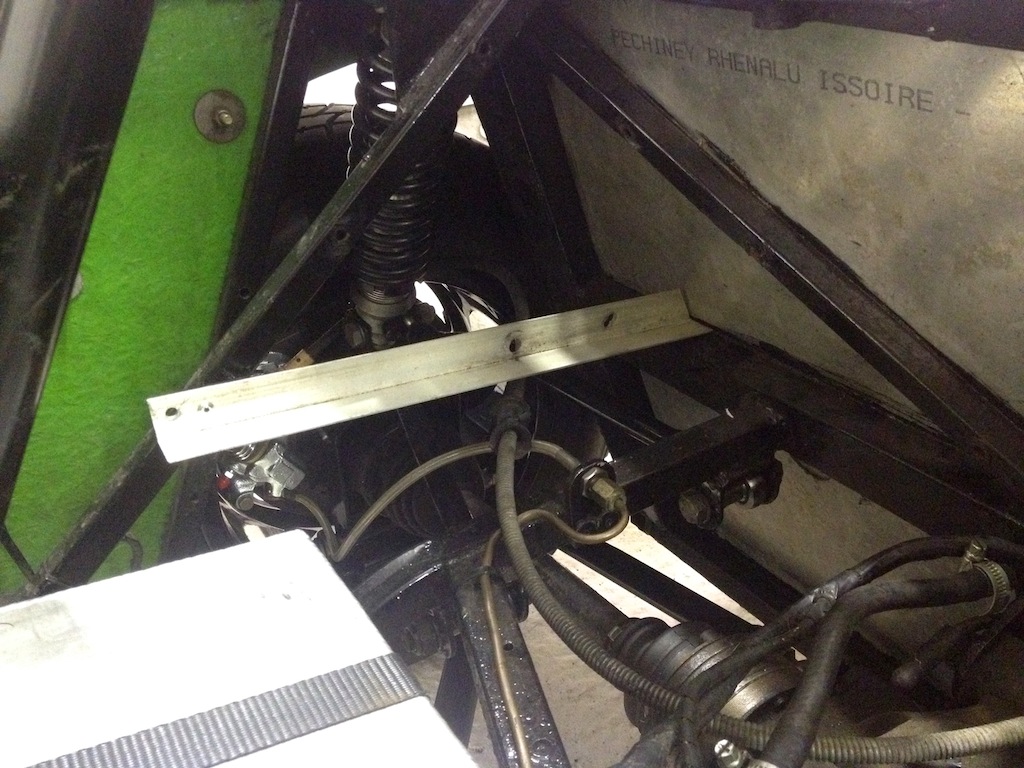
Thats all for now folks
Ben_Copeland - 23/11/13 at 11:04 PM
Like !
yellowcab - 24/11/13 at 01:49 PM
More boring boot progress, but incredibly satisfying nonetheless, 40inches is totally right, taking the time and being a perfectionist really does the
make the job rewarding 
So the cardboard template was spot on in terms of size, so I drew around it onto the aluminium sheet that I got FOC, and hole cut the filler hole,
and the breather hole
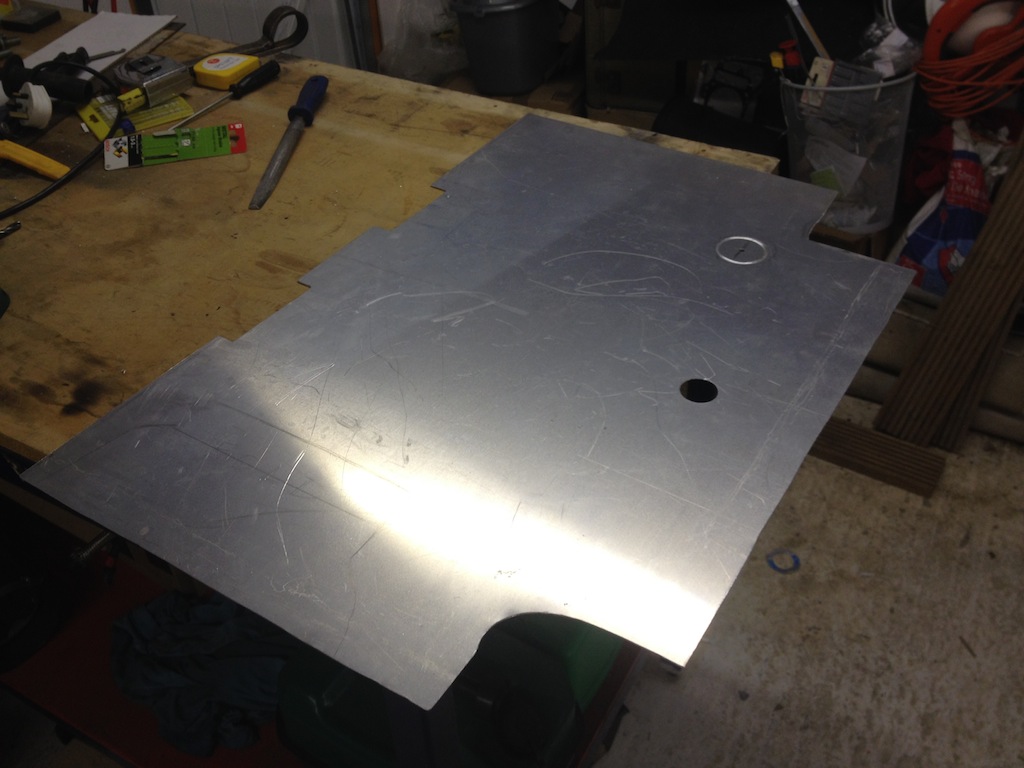
Then cut the sides out of the ally using an angle grinder, alot easier to get die-straight lines over a jigsaw (in my opinion lol)
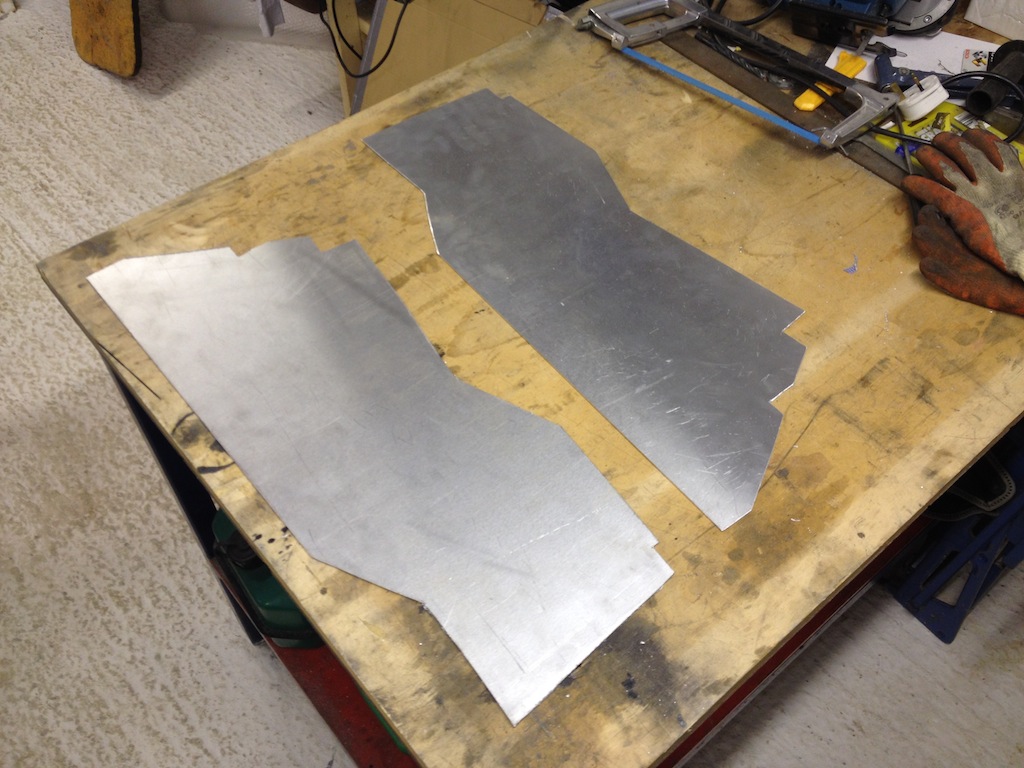
Tried the boot floor in the car, has to go in a certain way due to rollcage legs, but ones its mastered, its easy
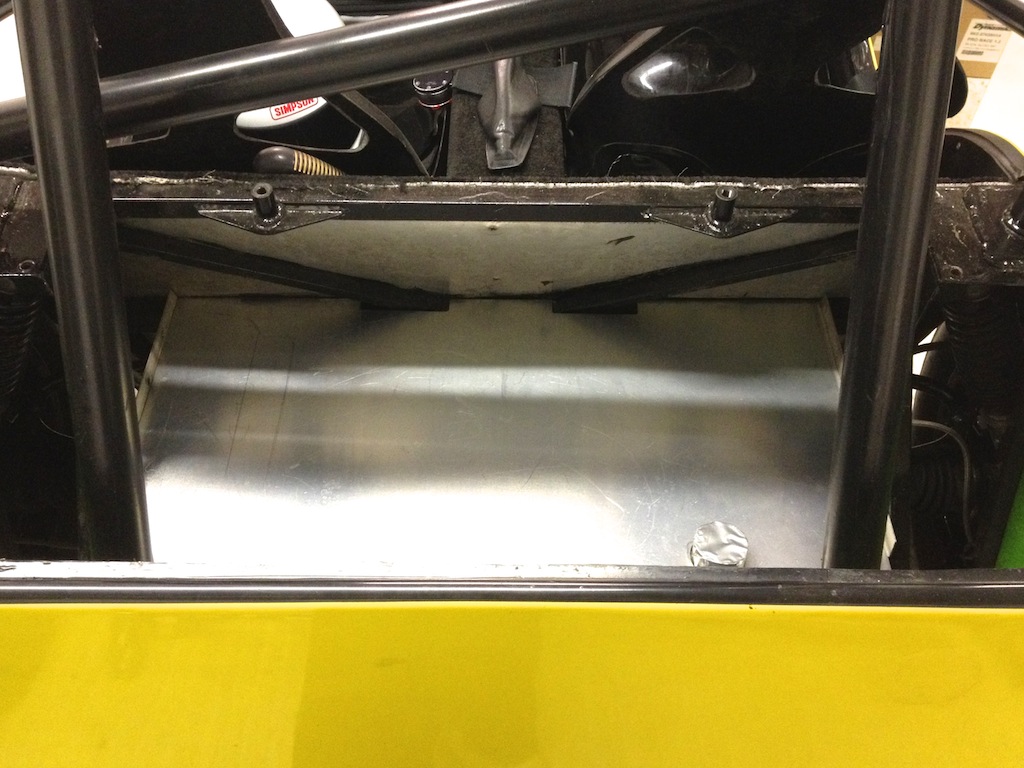
Butts up nicely to the rear bulkhead, and sits onto of the angle
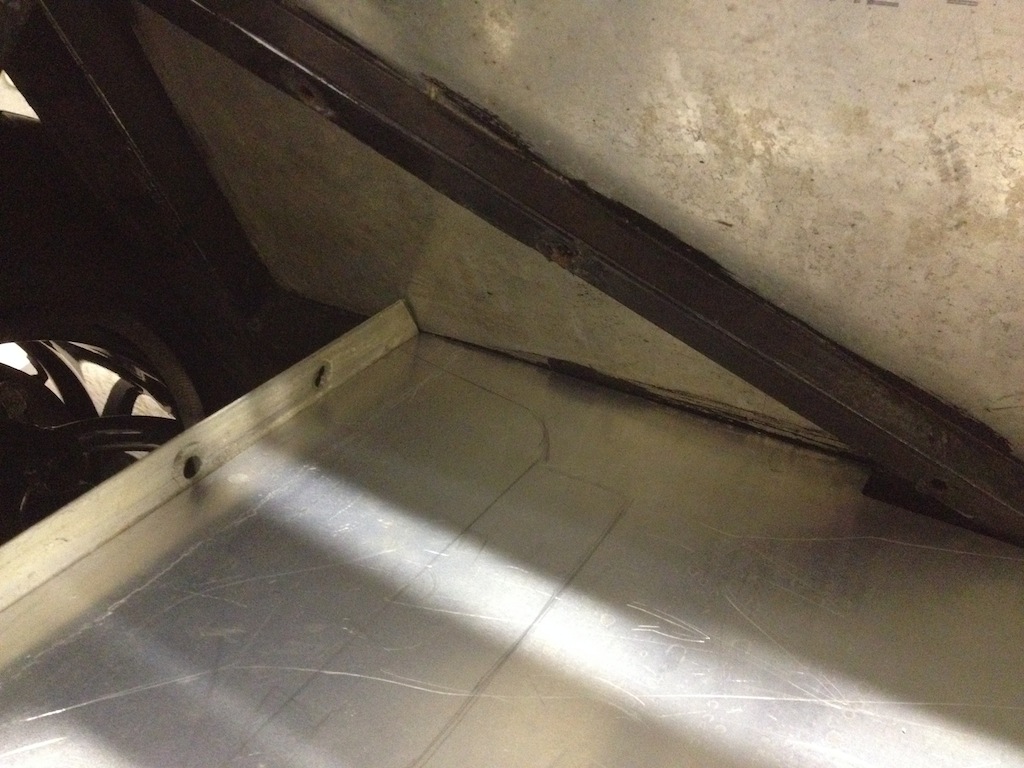
Then removed to de-burr the edges, here is the template for boot floor and sides
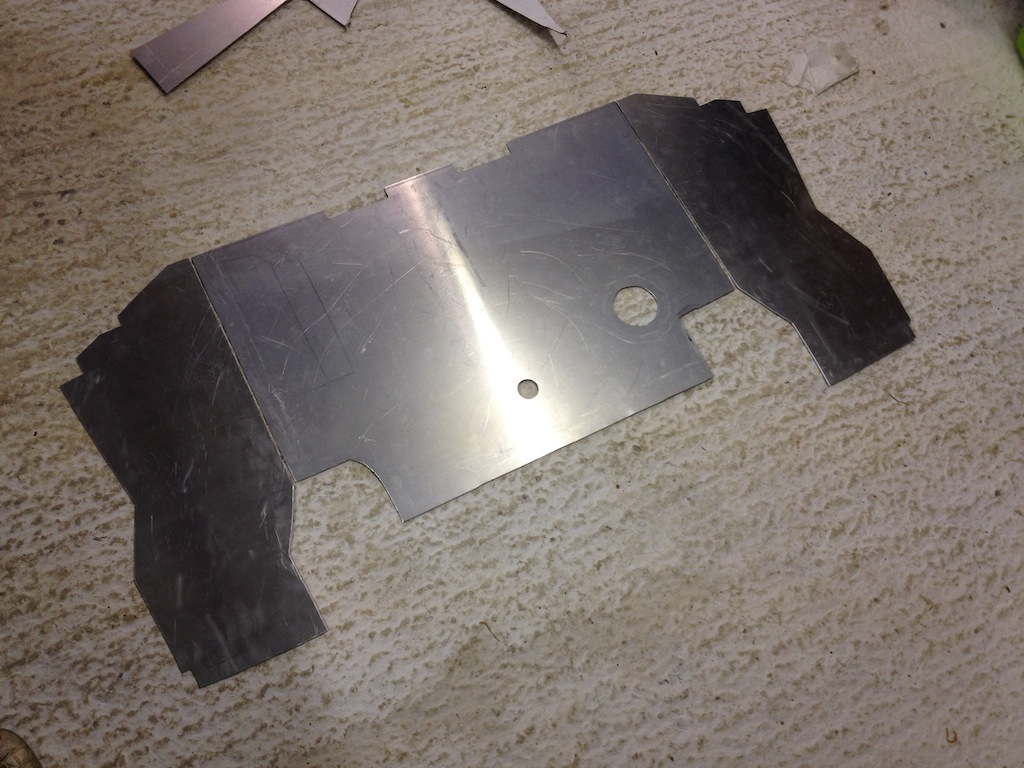
Next up to fold the sides, using a clamp and a vice to get a nice straight edge
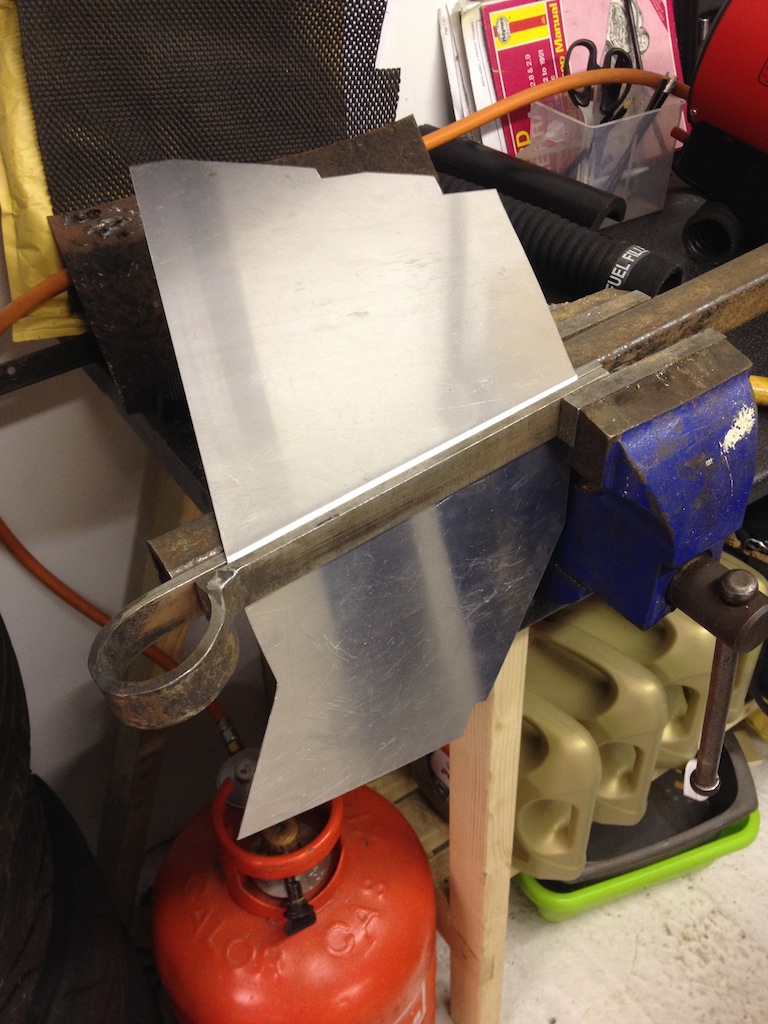
Being sure not to bend the further most back bend first, otherwise you cannot then get it in the vice to make the further forward bend, you end up
with something like this, drivers side done

Just slots in place, I've decided that each panel will be individually carpeted first, then fastened in, so you'll see the head of the bolt
holding each panel in, but that suits me, so should I need to remove them to access shock absorbers or remove the boot altogether, I can do without
having to rip off the carpet to access said fastening bolts
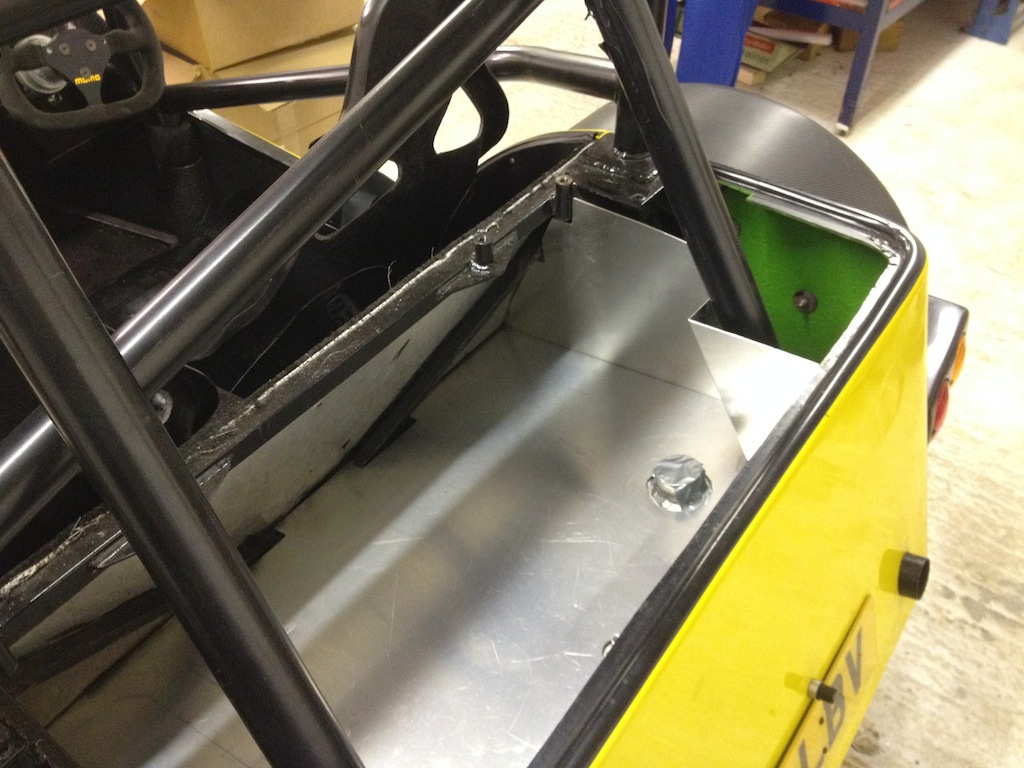
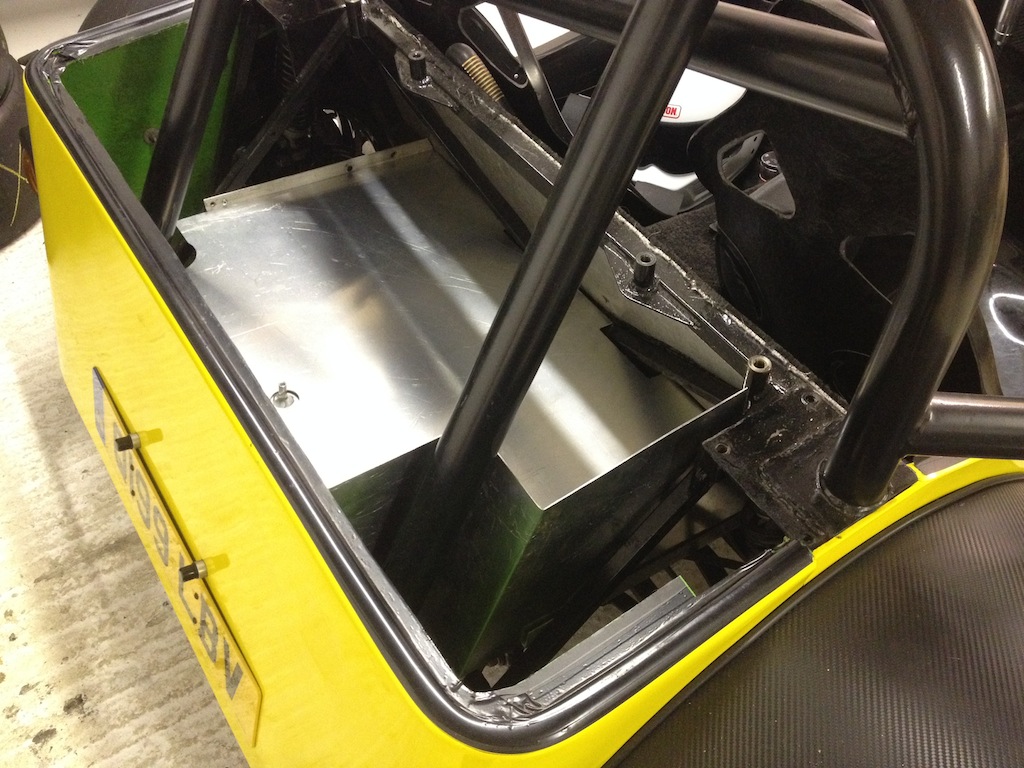
Passenger side was just as easy as the drivers
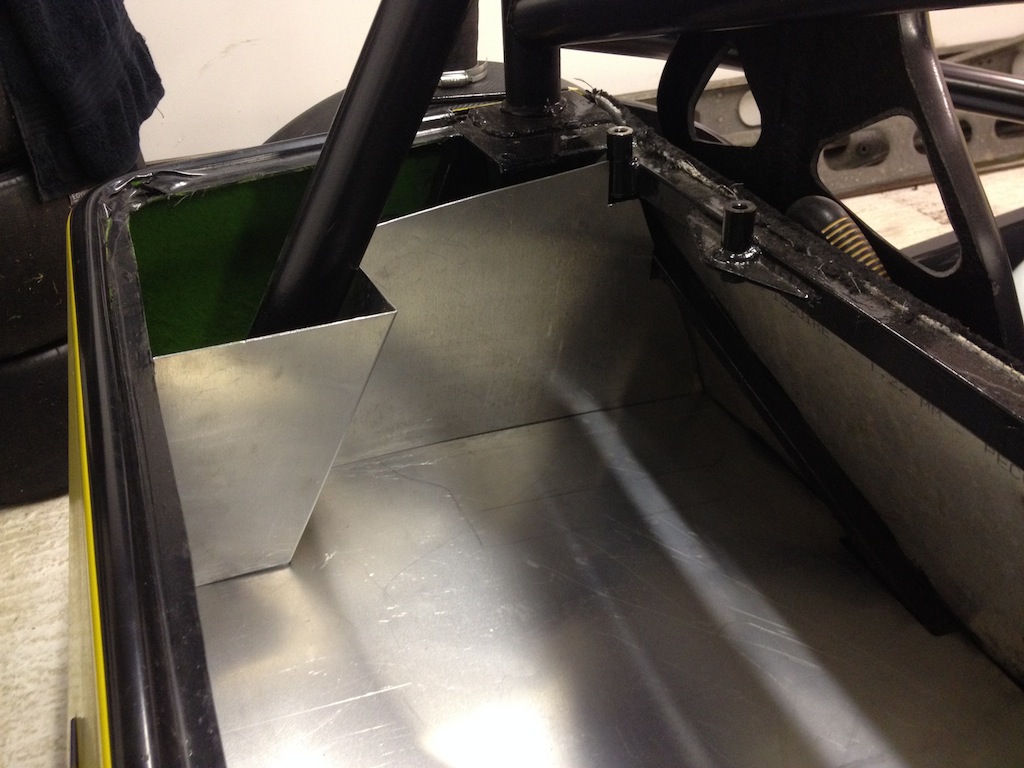
This is where I left it for today

[Edited on 24/11/13 by yellowcab]
Ben_Copeland - 24/11/13 at 02:21 PM
Excellent progress mate. It's looking good. Just wish I had time to work on my car!!
yellowcab - 2/12/13 at 07:30 PM
Sorry it got a bit stagnant in here - had other bits & bobs going on.
Firstly, must say a big thanks to daveb666 for collecting and delivering my new lightweight Donkervoort nose cone - really appreciate it pal
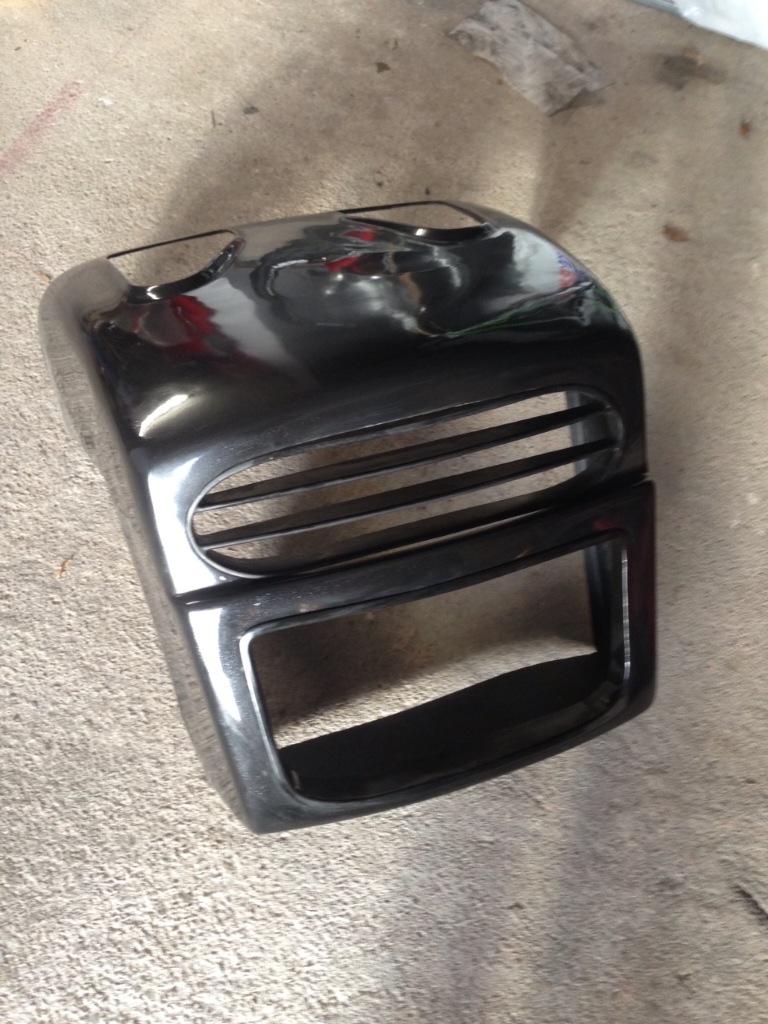
Slow progress on the boot box, as started building the trailer with Mike
To add stability to the box itself, I riveted some angle so the sides met the floor
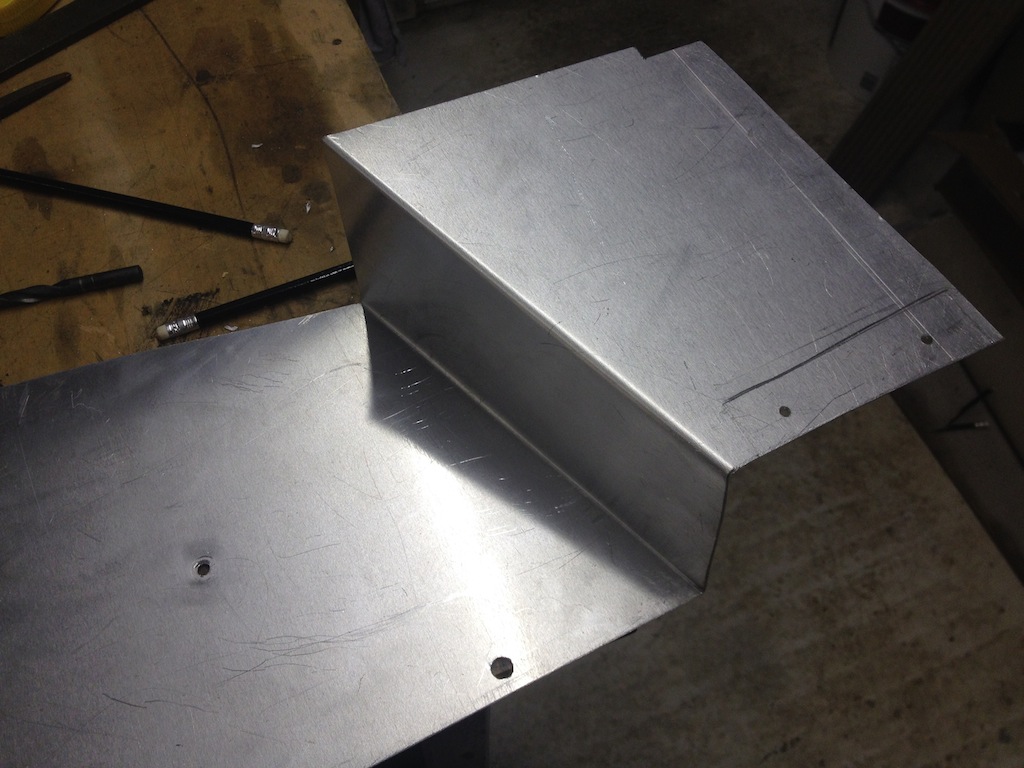
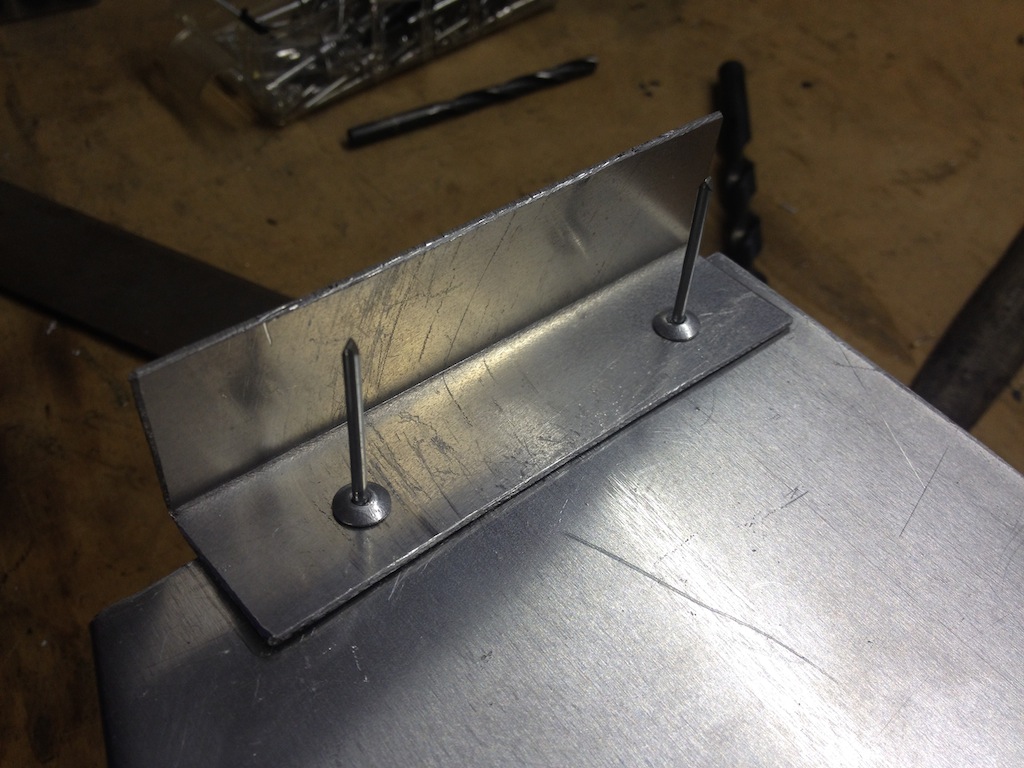
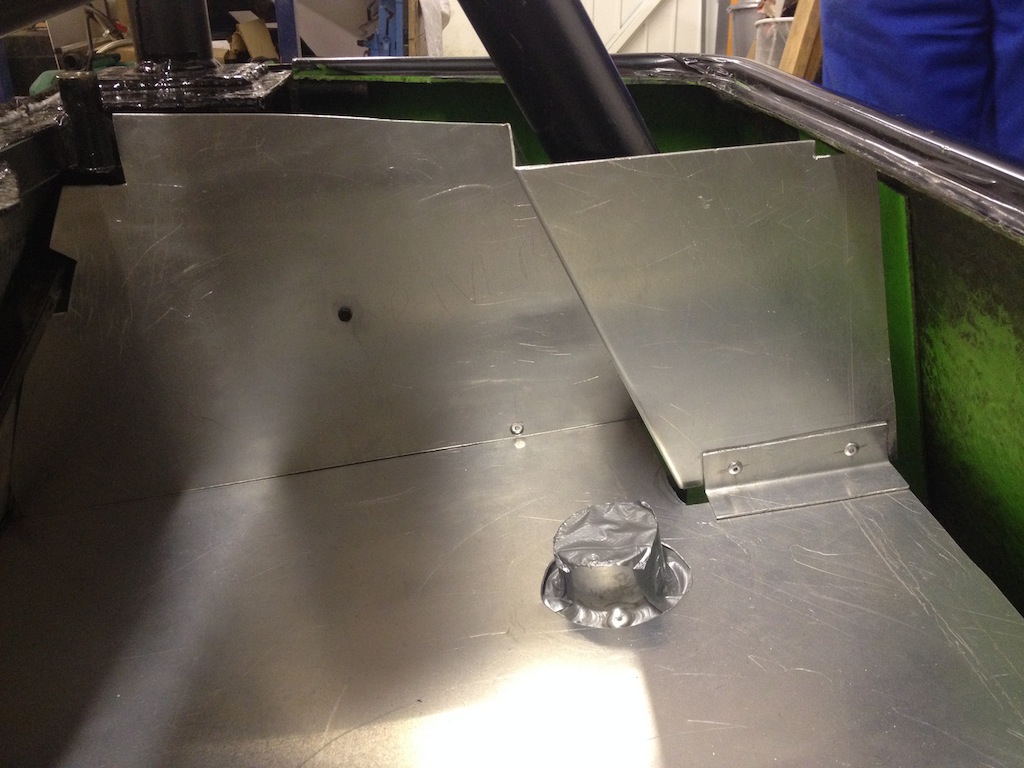
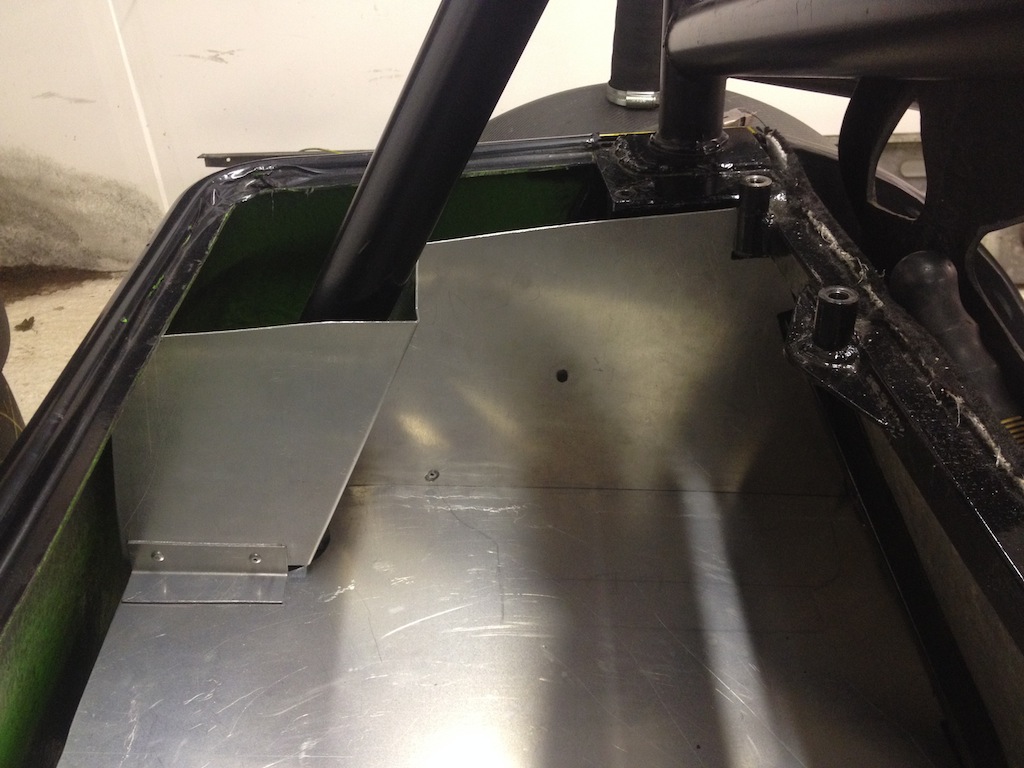
Next up, trailer goodies
Removed 3ft from the back of the trailer, and 3ft off the front of a trailer, making a 21ft caravan, now a 15ft trailer, from tow-hitch to rear
Swapped the positioning around inside the garage
Made up some crush tubes, so the trailer will pull straight, and no drag to one side, some 100mm bolts will pass through this section, straight
through the tow hitch
yellowcab - 2/12/13 at 07:34 PM
Here is the basic framework, whilst the rest of the 3mm galv is being cut & bent
Will need a long jockey wheel, wheels to be painted, and the rest cleaned up but you get the idea
Random shot of car with 13s on with new tyres
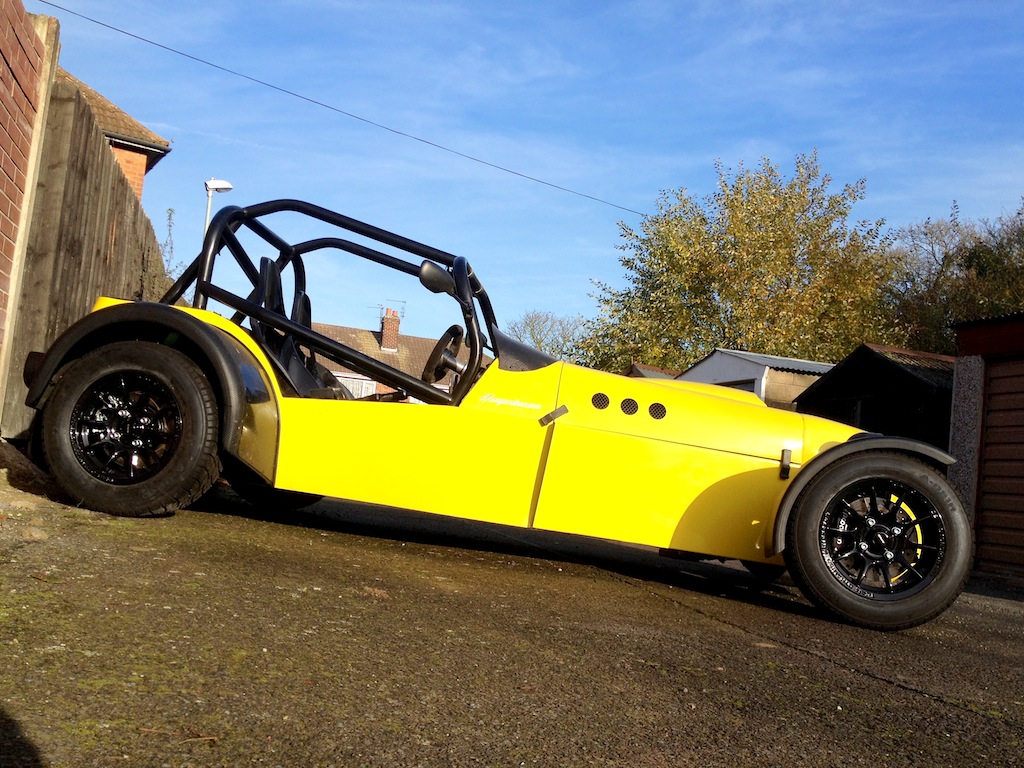
Used some old caravan ducting so I could run car inside garage without getting smoked out by fumes lol
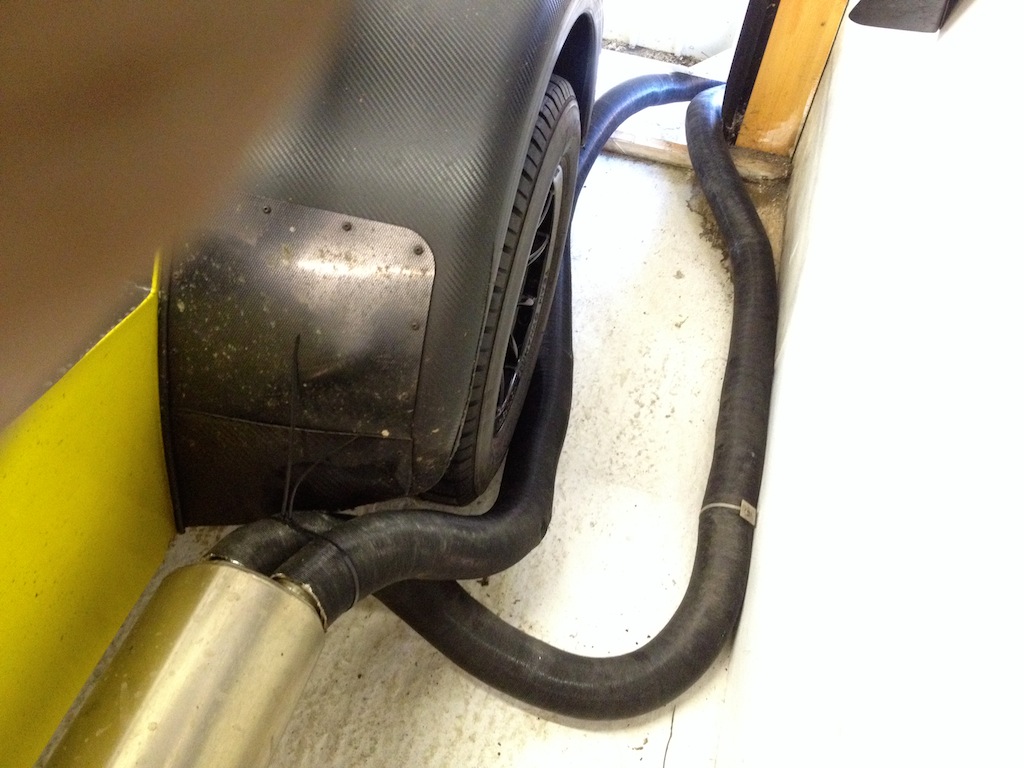
Ordered some carpet, and made some templates for when I get the carpet
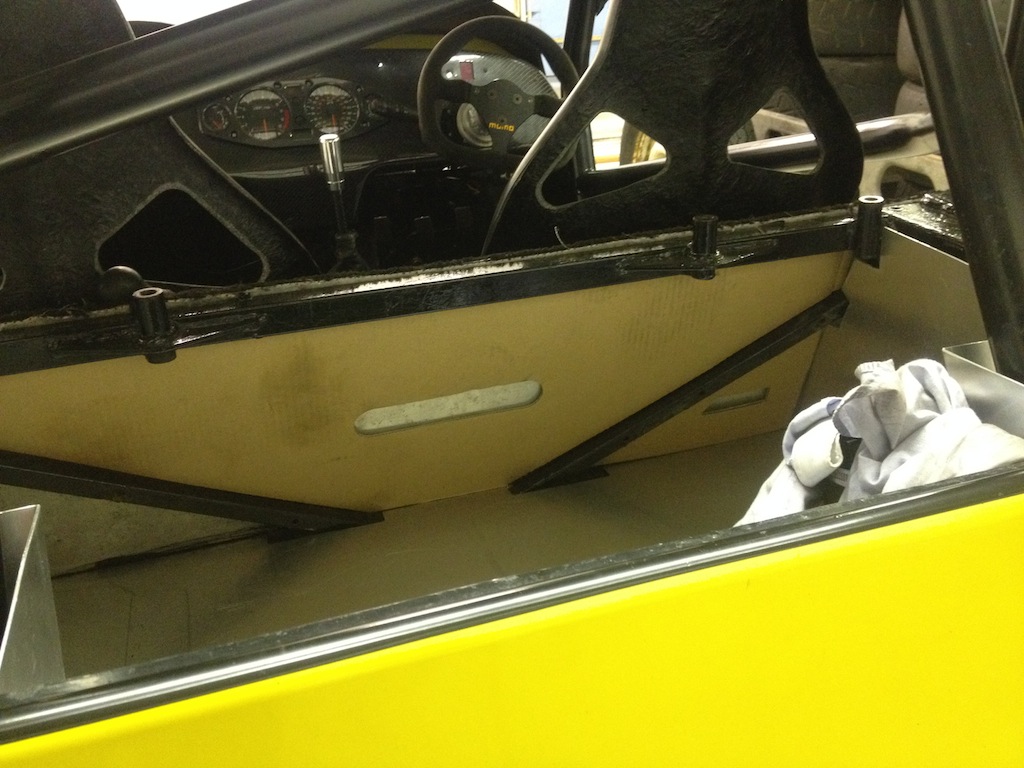
yellowcab - 8/12/13 at 08:45 PM
A small useless update, but photos none-the-less, we all love photos huh 
Grubby but who cares, a couple of 3.14 diffs, they'll clean up magnifique!
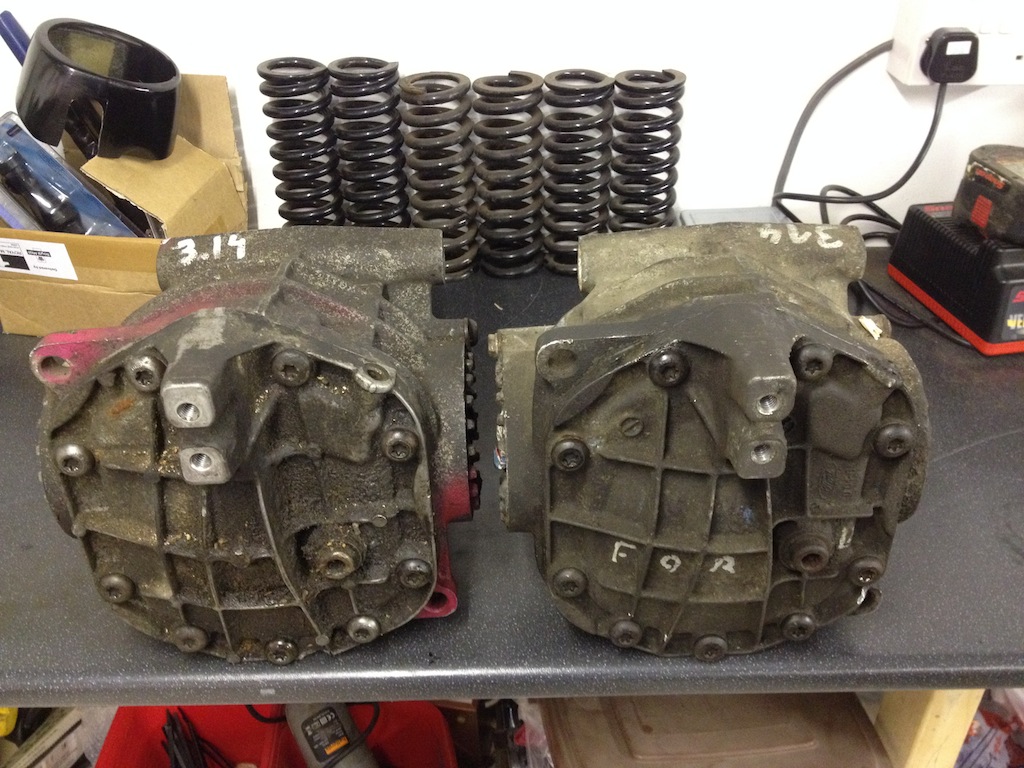
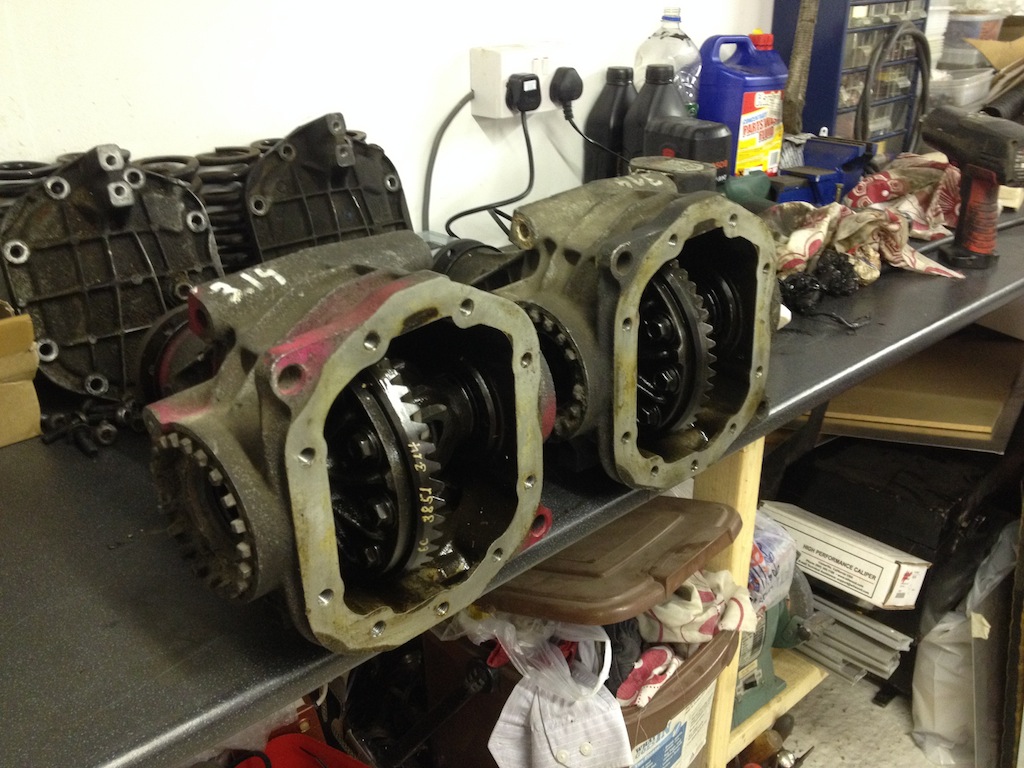
Diff number 1
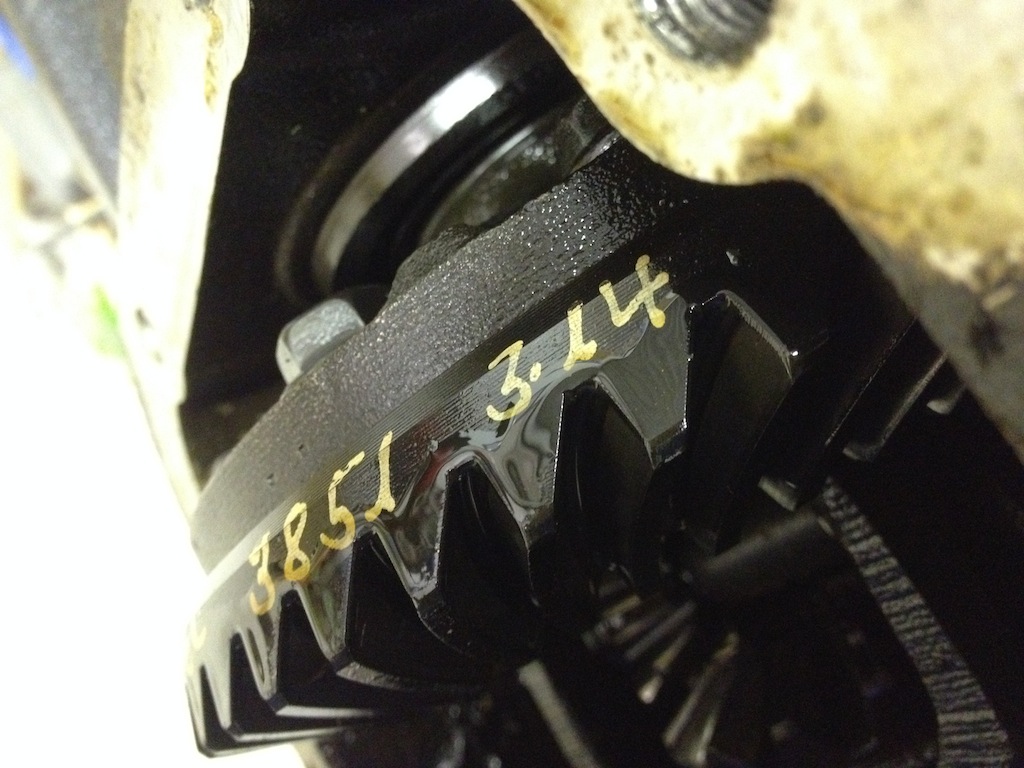
Diff number 2
So my new Donkervoort nose cone that daveb666 picked up for my 'felt' light in comparison to my current one.
Not exactly a 'fair' weighin, as my current yellow nose has mesh on it, and the small indicators, but still interesting nonetheless, current
nose cone - 3.6kg
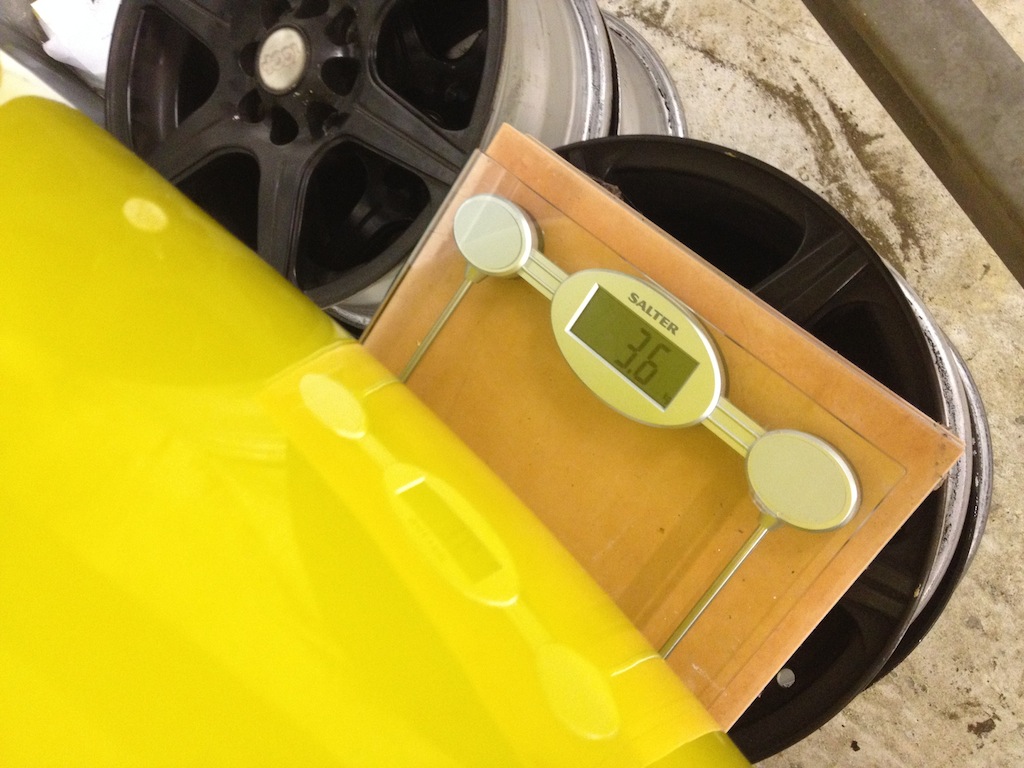
Then my new item was too light for the scales to recognise, so had to weigh something heavier then minus one from the other, 16.5kg - 18.1kg = 1.6kg -
so less than half, happy with that 
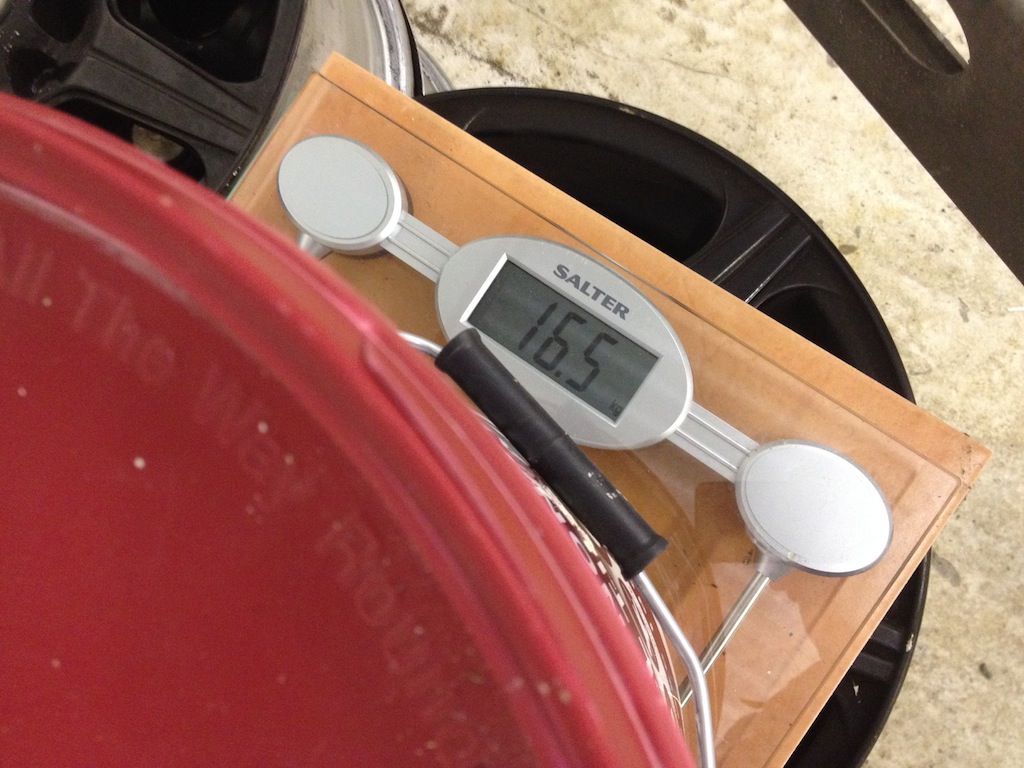
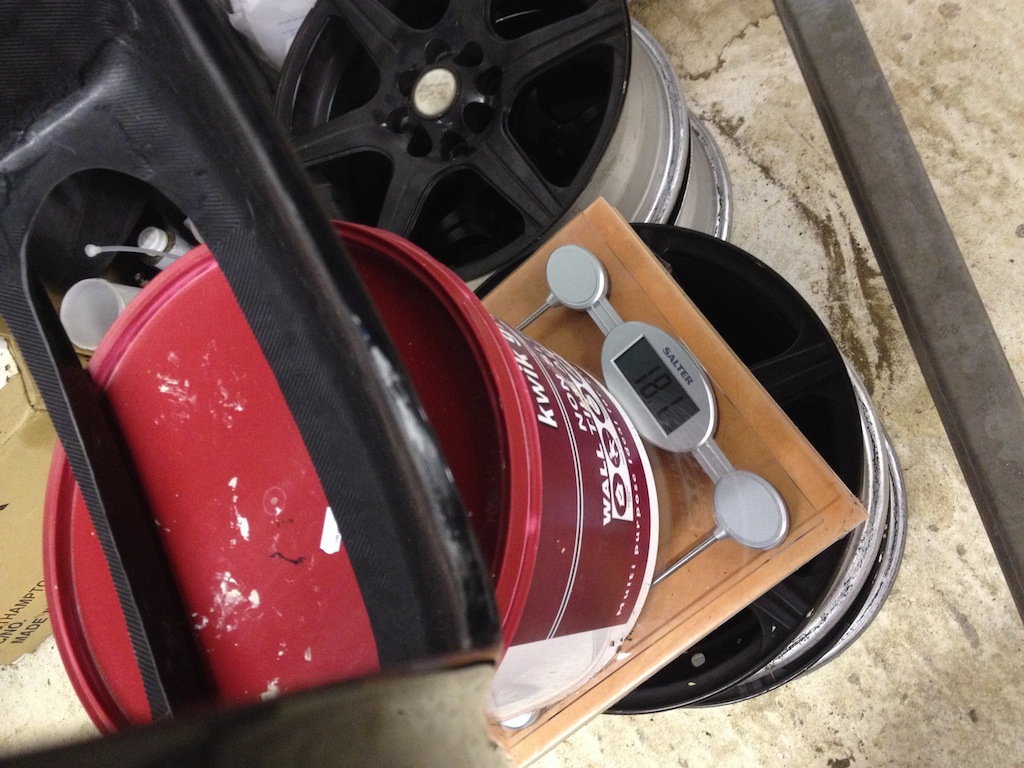
Not fitted at all, as needs trimming to fit around oil cooler, but its just offered up for now
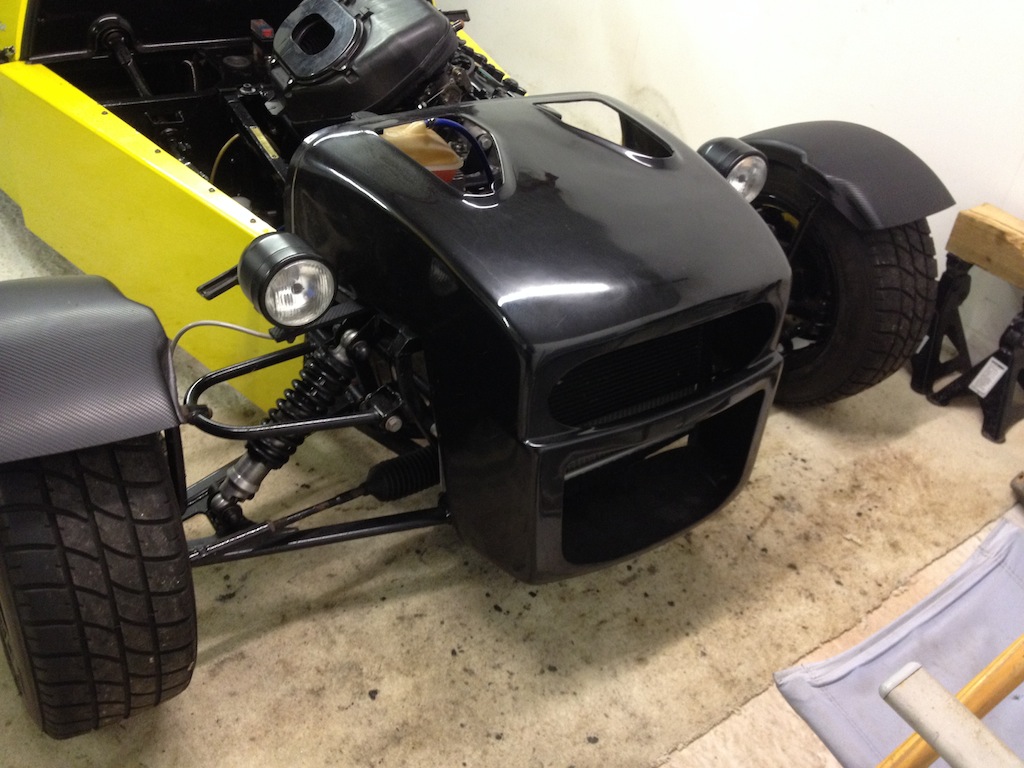
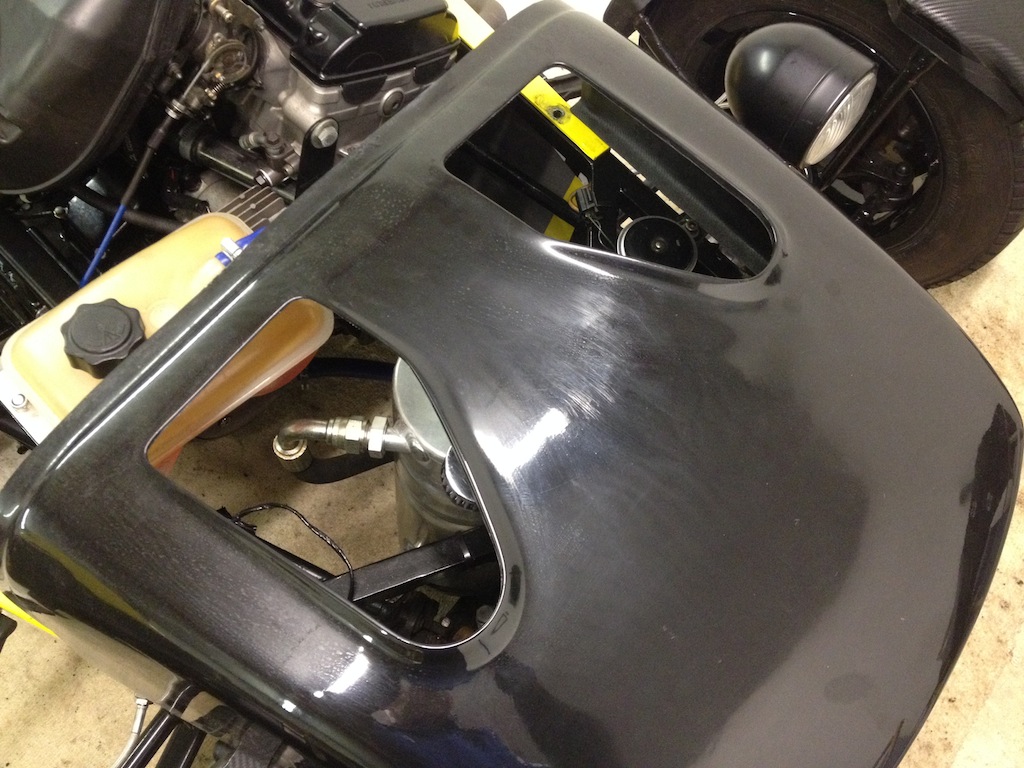
[Edited on 8/12/13 by yellowcab]
[Edited on 8/12/13 by yellowcab]
yellowcab - 8/12/13 at 08:59 PM
http://www.youtube.com/watch?v=o_pGPYRQ3Nc&feature=youtu.be
Ben_Copeland - 8/12/13 at 09:04 PM
What's the video all about? Showing off lol?
yellowcab - 8/12/13 at 09:39 PM
Nah the video is for Mike who I've bought one of the diffs for, so they can see no adverse noises, and turns freely.
[Edited on 8/12/13 by yellowcab]
daveb666 - 9/12/13 at 09:57 AM
Really like the look of the new nose-cone, especially with the top vent holes. I need more vents in my life I think.
yellowcab - 9/12/13 at 12:26 PM
I concur!
More vents, less weight, win/win.
(until you add mesh) LOL 
PAUL FISHER - 9/12/13 at 03:32 PM
Its good to see my old Donkervoort nose cone being fitted to a MK at long last, looks the dogs dangles


yellowcab - 10/12/13 at 06:24 PM
Yes Paul, it finally goes on a car after being passed around, for what, 6 years did I hear?
It's sooo light too, it needs a few tweaks, but I'm confident it'll look awesome when in place.
Its a marmite nose though, some will hate it, which is the main attraction for me 
yellowcab - 29/12/13 at 06:18 PM
First time down the garage in a few weeks - finished off my boot & lining.
I was putting off completing this as I was going to be changing the diff over to the 3.14, but I've decided to do that next winter instead.
I don't feel as though I've had enough use of the car with the current diff, and I've been very lucky and got an all expenses paid open
pit trackday at Silverstone circuit with a garage/pit too, booked for Sunday 23rd March... so I don't want to dismantle the car too much and put
myself under unnecessary pressure.
Heated up the aluminium and sprayed it with adhesive

Dropped in and checked of size & over hangs

Then carpeted the rear panel in between the bracing

Then added the sides, and bolted, everything is removable without any tools

View of the back panel - I may carpet the green section for aesthetics, not sure yet

Job done - now just the lid to sort

yellowcab - 30/12/13 at 12:15 PM
So todays objective was to try and get the Donkervoort nose fitting nicely.
A time consuming job again, as its a lot of fitting, marking, removing, chopping bits out, refitting, remarking, realising you'd done it wrong,
trying to correct what you'd done wrong, re-removing more stuff, and repeat... several times... over, and over.... and probably over again.
The annoying thing about photos, as the first one below shows it just resting on with it not fitting at all, no where, with no modifications done to
it... and the final result, looks exactly the same lol
This is it just resting in place whilst I marked it out for where it fouled

First off, was my home made oil cooler brackets that I made to make the cooler stand proud of the radiator needed slimming down, as the new nose at
the front is slightly narrower than the original item
How they were made to begin with:


And how they needed modifying to allow the nose to fit on snug

In order for the nose to fit nicely up to the box seciton, space the for two front lower wishbone bolts needed nibbling out, aswell as the the
headlight stay bars

Fast forward several faffing and hours, and here is the (semi) finished article
You'll notice that where the back of the nose, meets the bonnet, it needs pulling out slightly, but thats no biggie

Job jobbed, just needs black mesh & wrapping... along with the rest of the car at some point lol


[Edited on 30/12/13 by yellowcab]
ReMan - 30/12/13 at 02:05 PM
Good work, fits better than I expected and goes well
yellowcab - 30/12/13 at 06:03 PM
It won't look so odd when its the same colour as the car I presume lol
yellowcab - 3/1/14 at 05:15 PM
Bootlid making tonight, followed by fitting carbon front cycle wings 
yellowcab - 5/1/14 at 06:49 PM
So more fettling with the new nosecone, where the nose overlapped the wider ally panels of the engine bay, the nose cone obviously lifted off the
chassis box section, leaving a slight gap that I wasn't chuffed about, so I marked and cut off the overlap, and cut a section out so the nosecone
sat flat agains the black box section
This obviously left the whole bare where it was being mounted to, excuse the rucked up wrap lol

So I 90degree bent some ally, and put a little return fold on it so it folds around the ally panel nicely leaving no sharp edges

Offered it up, and put the original finger bolt back in - looks alright

Same goes for the other side, just need tigersealing in place, as I don't want any rivets seen on the outside as it'll show under the new
wrap

Then attention turned to the bootlid, but immediately got fed up and bored, so left it and locked up


yellowcab - 5/1/14 at 10:33 PM
So I said to the misses, just "popping" down the garage, won't be a minute, well that was 3 hours ago - you know how it is? Surely its
not just me?
Anyway, progress - I went down to start and finish the boot lid, did I? Did I heck. Can't bare the thought of such a mind numbing job.
So I decided to take the car to bits, and use an angle grinder instead - yes. That'll work.
So the job in hand, front plastic cycle wing swap over to Carbon CSR style ones...
This is the carbon one sat on top, again, I may aswell say - here you go, job done - as this is pretty much what it'll look like anyway lol

I'm actually going to miss the harder looking plastic 'dry-look' carbon wrapped ones, as they're not as pretty, they look more
mean...
Here is new & old side by side...

First off, operation cover up, I've learnt my lesson with grinding fibreglass away and the sheer amount of dust it produces!

Once removed, first thing - weigh them... 1 plastic MK cycle wing guard is 867grams x2 = 1.734kg

One new carbon CSR cycle wing is 455grams x2 = 910grams (total saving of 824grams, another kilo near as damn it)

Here is the new one offered up, and how I tend on fitting it - but could do with some advice...
I presume the idea is to have the 'flat top' as horizontal as possible (obviously when car is on the ground)

They will be Tiger Sealed on like so

Would you say this is enough, or too much clearence over above the tyre itself, it measure about an inch


From the rear, and side they look OK (dont forget front end is in the air, hence top of CSR wing not horizontal)


But from the front, they seem to be too far inward, would you have the tyre mounted centrally? or off centre, and why?

yellowcab - 5/1/14 at 10:36 PM
Remember what I said about learning my lesson with the dust, well I clearly didn't... didn't cover up the disk & calliper etc lol
I did this time though

Back down on the wheels, carbon cycle wings just resting on the stays as I have no tiger seal yet, and I want to be sure they're fitted correctly
so need some advice before I do so

This is about as horizontal as they can get, I cannot roll them forward anymore as the back lower bracket is already on the bottom edge of the cycle
wing - is this enough? or would you advice me start chopping & re-welding the brackets?

New front end is starting to take shape slowly... I think I'm liking the look

[Edited on 5/1/14 by yellowcab]
sam919 - 6/1/14 at 02:59 AM
Youll still be able to take some off the rear part of the cycle wing, only problem is the stay is at a low position:
5.2.6. With the exception of racing cars or cars of
periods A to D be equipped on all wheels with
mudguards which present no sharp edges and cover
the complete wheel (flange+rim+tyre) around an arc of
120 degrees. This minimum coverage must:
a) be achieved with a continuous surface of rigid
material within which ventilation louvres may be
fitted. The tyre must not be visible when viewed
from above. When viewed from the rear, the tyre
must not be visible above any point 50mm or
more above the axle centre line
This might shave some weight of , but you axle line compared to the bottom most part of the wing might be near this already?
Edited: you might find with the lack of support at the front you get vibration, can you swap each wing stay over from hub to hub, i.e. right one to
the left and left to right, this would mean you foremost stay would be at the front of the wing and the rear most would be at the square part. The
flatter the top surface in essence the better the air flow across it will be, and the less turbulent it will get behind the wing.....just think banned
Volvo Esate in the touring cars, its square shape gave it less drag.
[Edited on 6/1/14 by sam919]
ReMan - 6/1/14 at 08:38 AM
Don't they want rolling back further anyway.
The more guard at the back th better.
MNRs are not just for looks!
yellowcab - 6/1/14 at 09:12 AM
After a bit of mooching, I searched Google Images for 'Caterham CSR'
It seems the flats want to be completely horizontal, unless anyone else knows different?
yellowcab - 6/1/14 at 09:14 AM
Sorry Colin, didn't see your reply.
I'm not familiar with MNR cycle wings, do they have the aero flats on too?
40inches - 6/1/14 at 09:25 AM
I set mine up with a spirit level along the top, they do hang over the front a lot, but I think it looks ok that way. I will be fitting
some mud flaps though, stones hit the rear arches above the stainless guards.
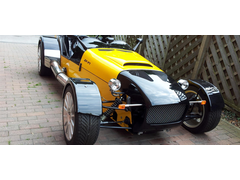

Description
Don't know if it makes any difference as regards aerodynamics, but that's how Caterham fit them, notice the extra large stone guards.

sam919 - 6/1/14 at 09:35 AM
quote:
Originally posted by yellowcab
After a bit of mooching, I searched Google Images for 'Caterham CSR'
It seems the flats want to be completely horizontal, unless anyone else knows different?
The more mudguard at the back the less air will escape making the drag greater.
sam919 - 6/1/14 at 09:37 AM
quote:
Originally posted by ReMan
Don't they want rolling back further anyway.
The more guard at the back th better.
MNRs are not just for looks!
Sorry wrong person:
The more mudguard at the back the less air will escape making the drag greater, depands if you want an efficient car or a practical car i suppose
ReMan - 6/1/14 at 10:01 AM
mnr
daveb666 - 6/1/14 at 10:05 AM
I'd set them up flat as per the photos, but that does leave a large gap at the rear so prepare to get wet/stonechipped.
I prefer the ones in the link above that show the full wrap-around arch at the rear.
yellowcab - 6/1/14 at 10:40 AM
I used to have some mudflaps hanging off the back of my old ones, but removed them, think it's because they scraped the floor and annoyed me
lol
I'll fit them rolled as far forward possible to make flat top spirit level horizontal, if i get battered with stones and soaking wet, then I can
always rivet some mudflap material onto them at the back 
yellowcab - 6/1/14 at 10:44 AM
Oh regarding the left to right fitting (when viewing from the front)
I'll fit them so my widest slicks fit comfortably, at least that way I know both wet & dry setups will have no problems 
CosKev3 - 6/1/14 at 12:15 PM
Looking good the work your doing.
Boot install looks spot on.
How did you go about 'stepping' out your side panels to create the gap? 
quote:
Originally posted by ReMan
Don't they want rolling back further anyway.
The more guard at the back th better.
MNRs are not just for looks!
Deffo not for the looks,they look awfull imo!!!
yellowcab - 6/1/14 at 12:28 PM
Hi pal, thanks for post.
The wider side panels are just bits if aluminium wrapped in yellow, so just a case of hacksawing your old fibreglass ones off
Alternatively, have a look at Ben_Copelands post called 'Z20LET into a Haynes' he's recently done it simply by cutting his fibreglass
and moving them outward and re-riveting it, they're not 'as' wide, but it's free 
sam919 - 6/1/14 at 02:40 PM
Out of interest do my previous posts come up? I'll take a non reply to this as confirmation that they don't get seen? Or perhaps I'm
not allowed to comment?
daveb666 - 6/1/14 at 02:47 PM
quote:
Originally posted by sam919
Out of interest do my previous posts come up? I'll take a non reply to this as confirmation that they don't get seen? Or perhaps I'm
not allowed to comment?
I can see this one, but didn't see your previous one that Olly has obviously responded to.
yellowcab - 6/1/14 at 02:54 PM
quote:
Originally posted by sam919
Out of interest do my previous posts come up? I'll take a non reply to this as confirmation that they don't get seen? Or perhaps I'm
not allowed to comment?
This is the only reply I can see from you Sam 
yellowcab - 6/1/14 at 05:20 PM
Going back to the gap around the front wings, in comparison to the top of the tyre... I'm happy with how high mine sit considering the Caterham
R500 CC, and the 620R both sit around an inch above the tyre too... I guess it's not guess work for them, also gives me an idea of the angle of
the nose conards 

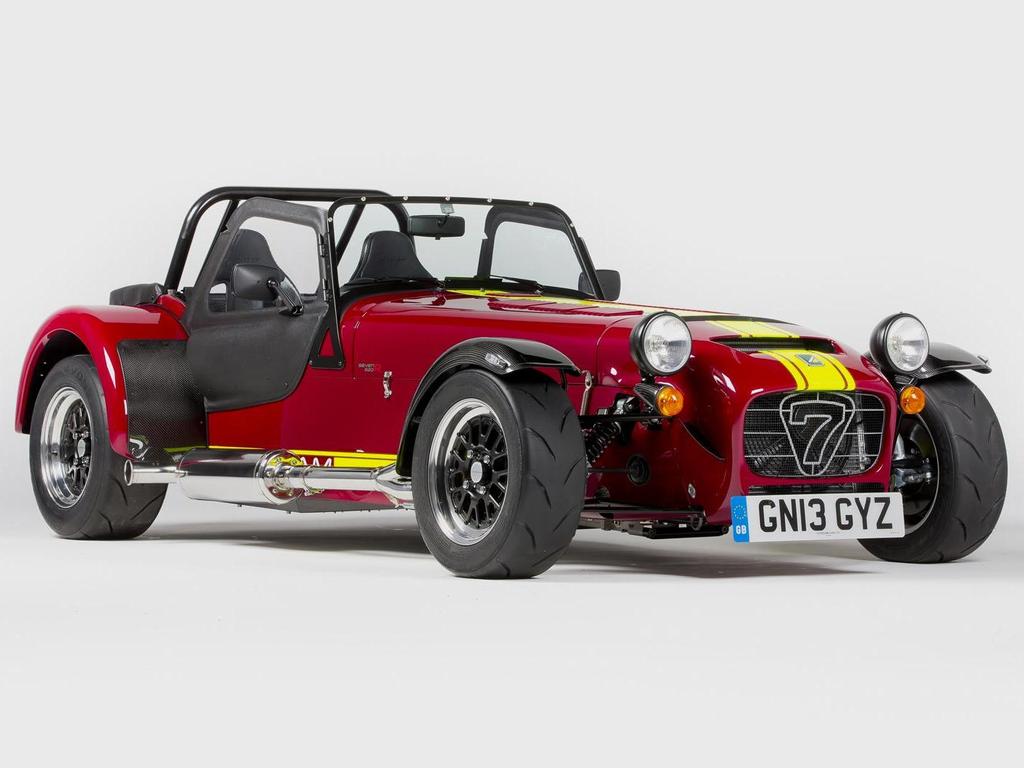
[Edited on 6/1/14 by yellowcab]
sam919 - 7/1/14 at 12:49 AM
The closer they are the better, Caterham do this to accomodate 15" rims, you get lowered wing stays for the 13" rims. Ill pm you for your
email address, i have a document you might like.
yellowcab - 7/1/14 at 04:41 PM
Thanks for the clarification, I'll stick my slicks on the front, and see how much air there is between cycle wing and tyre 
Ben_Copeland - 7/1/14 at 05:30 PM
Horizontal on the flat and as close as possible. But in the end it's what you think looks best. I've hung rally mudguards from mine as the
tyres kick up so much crap I was getting covered, now it's not so bad but still get a few stones.
Sure whatever you do will look fine
kingster996 - 7/1/14 at 10:25 PM
Not long been on this forum, must say that I'm loving this thread.
Been grazing over the pages for last couple of days and just wanted to thank yellowcab for his inspirational work.
Looking forward to starting my own project (BEC 7 on the cards) as soon as funds allow and will be back here for ideas and pointers!
Nice one.
yellowcab - 7/1/14 at 10:34 PM
What a nice guy and nice post.
Cheers pal, hope I make little jobs easier with all the photos 
Keep checking back, trying to get trailer built over the next couple of weeks, along with bootlid (bore off), and other bits & bobs
kingster996 - 8/1/14 at 08:06 AM
quote:
hope I make little jobs easier with all the photos
That's what makes this thread so good tbh - keep it up mate!
yellowcab - 8/1/14 at 07:28 PM
Interesting reads... *goes off to find cardboard & fibreglass mix*


yellowcab - 8/1/14 at 07:30 PM
Front cycle wing change changes a front lift of 77.1lb @ 100mph, down to 28.6lb lift! 
[Edited on 8/1/14 by yellowcab]
[Edited on 8/1/14 by yellowcab]
Ben_Copeland - 8/1/14 at 09:14 PM
Written in 2001 don't think I've ever seen the aero caterham they said they were going to make?
Interesting article tho, but you'd have to put your car into a wind tunnel to replicate it tho 
yellowcab - 9/1/14 at 12:17 AM
You'd only have to put it in a wind tunnel to 'prove' to people that it makes a difference.
Despite when it was written, albeit 12 years ago, I think should you make any of the changes above, it will be for the better.
And I love over the top radical looking aero cars anyway 


Love the front cycle wings, and side panelling & exhaust cover... and the front nose splitter 
Ben_Copeland - 9/1/14 at 05:59 AM
I think the vents in the cycle wings have always been a good idea. I might mould a set into mine 
sam919 - 9/1/14 at 09:34 AM
The big thing that caterham did achieve was using the air pushed through the nose cone for radiator cooling, instead of it cooling the
radiator.....then the warm air then going into the engine bay and creating a parachute effect, forcing it back up through the nose again using a
deflector made it more efficient for both cooling and aero.
The space between the hoops as well on the cage was filled in as well giving a little less drag.
Canards tend to get quoffed at but they do make a difference as well as make the car look a little more contemporary.
Some of the aero tweeks made it to the Levante although not a true caterham in the sense of it being manafactured by Russell Savory, but squared off
rear arches, front wing, inboard suspension (used on other models), smoother headlights, build in aero screen lumps, although it has rather large roll
cage hoops and if you being totally picky some matt finish paint (not good for aero) haha
Its an intersting subject, but done years ago with the black brick to a more extreme level, if probably not as efficient as modern findings:
http://www.ten-tenths.com/forum/showthread.php?t=129950&page=2
At the bottom of the page
yellowcab - 9/1/14 at 09:41 AM
Cheers Sam, also for the doc.
My new nose cone has two holes at the top which will aid in getting rid of the hot air, and less parachute effect.
Will buy some foam for either side of rad too (as per doc) to divert all air through it
Ben_Copeland - 9/1/14 at 09:46 AM
Olz. Give me a shout when you get foam. I need some for mine
sam919 - 9/1/14 at 10:05 AM
No worries see here:
http://www.caterhamparts.co.uk/product.php?id_product=1999
40inches - 9/1/14 at 11:52 AM
I filled in the gaps with ally sheet, works very well.
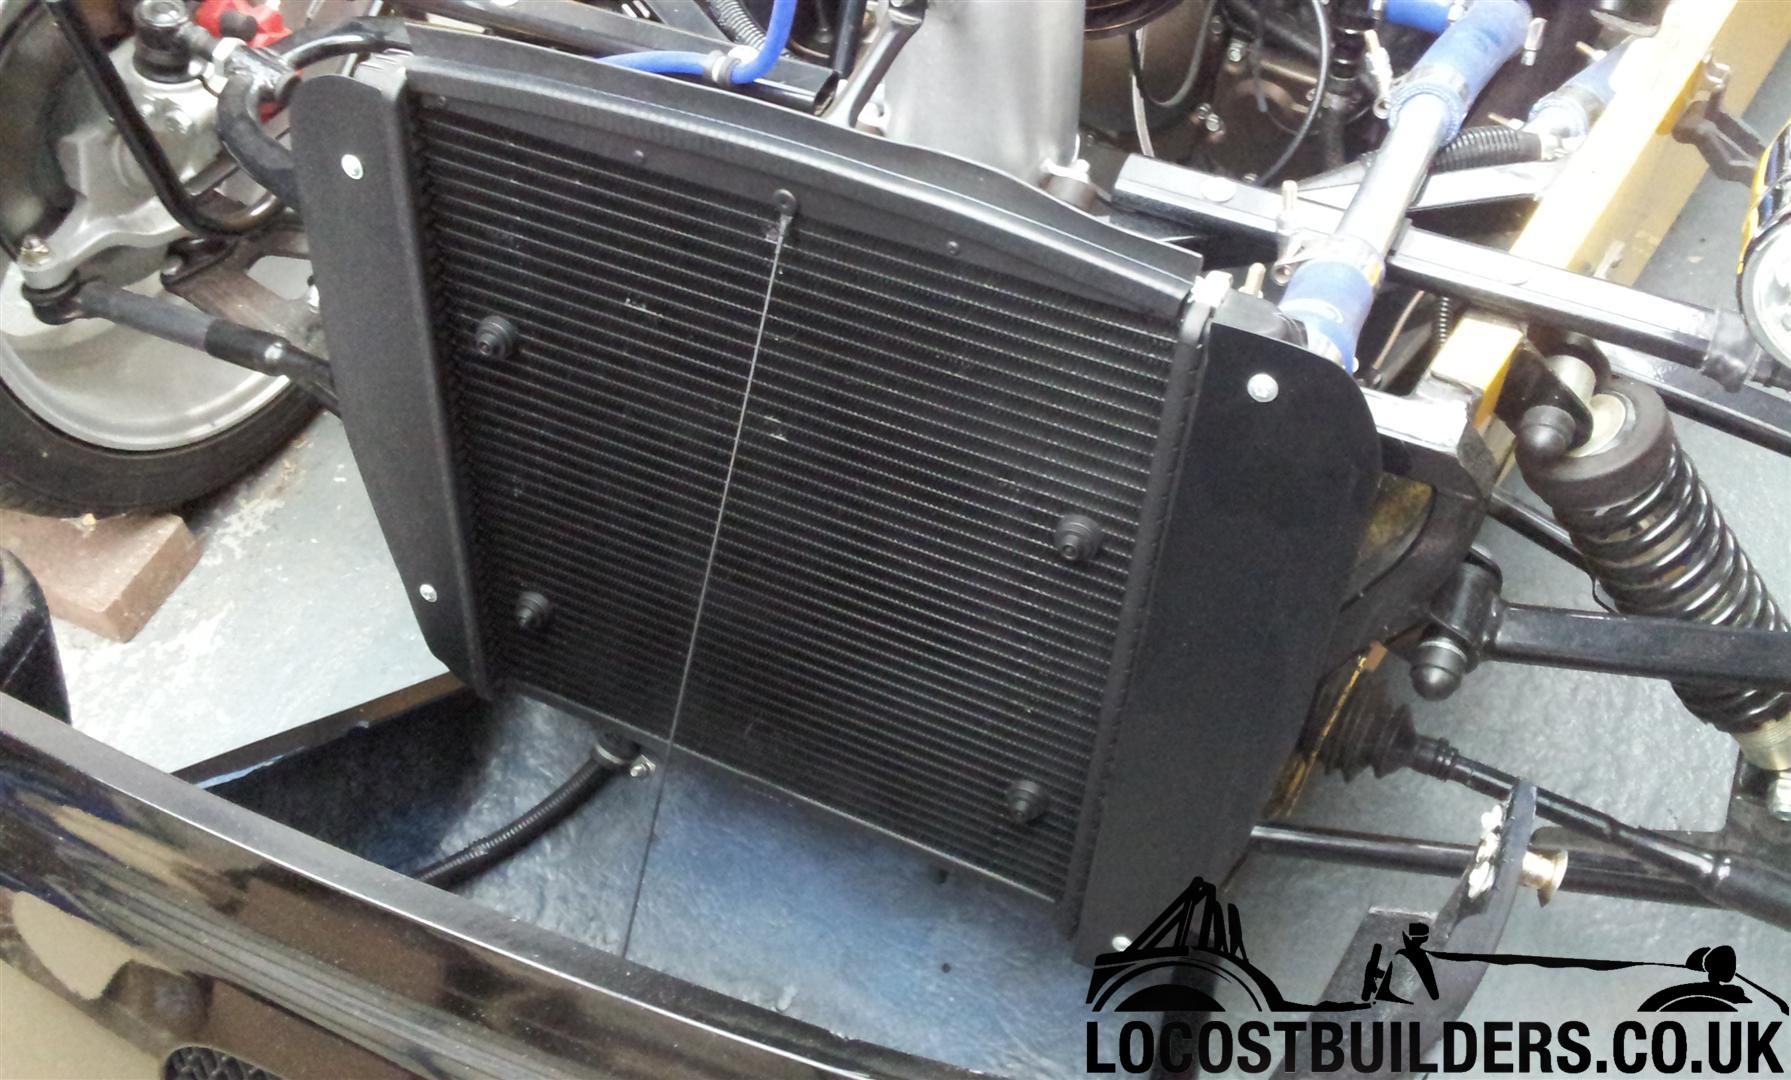
yellowcab - 9/1/14 at 12:06 PM
Aye that's more like it, cheers for the photo! none of this hundred quid stuff! lol
Just an observation, on that Caterham Article I posted above, they put a Formula 1 style front splitter attached to the cycle wings to begin with,
lol, straight lines only then I take it lol
40inches - 9/1/14 at 03:56 PM
quote:
Originally posted by yellowcab
Aye that's more like it, cheers for the photo! none of this hundred quid stuff! lol
Just an observation, on that Caterham Article I posted above, they put a Formula 1 style front splitter attached to the cycle wings to begin with,
lol, straight lines only then I take it lol
Just a tip: Use the old cardboard template thingy, going in through the nosecone before you fit the mesh

yellowcab - 9/1/14 at 04:08 PM
Cock on Rodders, cheers for the advice, already had that bit sorted!
Made the mistake of rushing things too many times lol
Oh, got the black mesh but that's not going in until car is re-wrapped 
daveb666 - 9/1/14 at 04:28 PM
quote:
Originally posted by 40inches
quote:
Originally posted by yellowcab
Aye that's more like it, cheers for the photo! none of this hundred quid stuff! lol
Just an observation, on that Caterham Article I posted above, they put a Formula 1 style front splitter attached to the cycle wings to begin with,
lol, straight lines only then I take it lol
Just a tip: Use the old cardboard template thingy, going in through the nosecone before you fit the mesh

I'd quite like to do this mod but already have mesh in my nose-cone. A lot of forward/back testing required I think
yellowcab - 9/1/14 at 04:43 PM
Yus alot of refitting and removal, thankfully the nose cone is probably the easiest panel to remove and refit
40inches - 9/1/14 at 04:46 PM
quote:
Originally posted by yellowcab
Yus alot of refitting and removal, thankfully the nose cone is probably the easiest panel to remove and refit
Especially when it's hinged 

loggyboy - 9/1/14 at 04:49 PM
This is my plan for duct, rather than vertical faces that could cause buffeting, I want some sort of flexible sheet (PU, thin rubber) that can
effectively skirt the inside of the nose cone and give an (almost) velocity stack style entry to the rad.

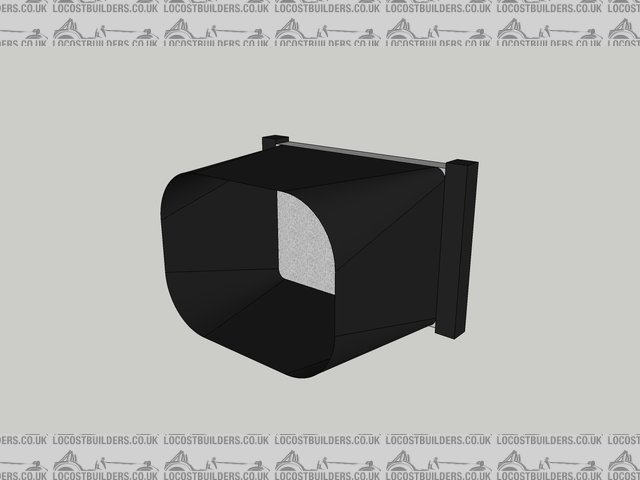
Radiatorduct
[Edited on 9-1-14 by loggyboy]
yellowcab - 9/1/14 at 05:03 PM
PU foam covered in duct tape would be ideal for this (race car seat style)
loggyboy - 9/1/14 at 05:09 PM
That would work, i did plan on having it loose in the nose cone so it could be slid on and off, but If you formed it in to the nose cone then it would
be just as easy to gain access to the front of the car.
yellowcab - 9/1/14 at 05:13 PM
Lovely carvable stuff with a sharp knife too
Hellfire - 9/1/14 at 07:31 PM
We used expanding foam on ours. We made a template for the nose cone and a similar one for the radiator and then boxed it in using MDF before wrapping
in cling film and filling the void in the nosecone with expanding foam. Once dried, remove the MDF and job done.
Phil
yellowcab - 11/1/14 at 06:15 PM
Cheers for all the advice & experiences chaps - I've today bought a can of expanding foam, so this poo could get messy lol
So a couple of nights ago, I went down the garage to complete the boot lid top... this is my progress
Before I even opened up the garage, I got bored (just at the thought) of doing the bootlid, so I turned my attention to a hammer, a vice, and about 4
hours of painstaking too'ing and fro'ing... much more enjoyable 
The front cycle wings, I didn't like how off-centre they were due to the big gap inboard (over an inch clearance on the wing stays on the wall
of the tyre)


Aswell as the overly large gap on the tyre treads


Whipped my wet wheels off, and stuck on the dry Caterham wheels, with my rear slicks (as they're much bigger than I'd ever expect to run on
the front, but just incase I come into strife, I could always stick one of these on with clearance, to limp it back onto trailer etc)

First of all, without moving the cycle wing stay main tubular section, I bent in the 90degree part to get it a little closer, but it didn't
really make a great deal of difference to how far it sat away from the 'tread'

So I bent the tubular section in a vice, and kinked it towards the inner tyre wall so my carbon arches could sit outer more, and more centrally to the
tread, straightened out the flat section, and re-curved it around the tyres profile

But the wing stay was too long, it came too far over the tread, leaving the cycle wing itself sticking up towards the outer most edge, like so:

I cut them down so they sit nice and flush and evenly across the thread

Got them back to bare metal ready for powdercoating or painting

Nice and close with a 2-3mm gap (on the biggest wheel & tyre combo I have)


So I will be drilling, tapping a thread in the flat section, & grub screwing with thread lock as there is not enough room to put a nut on the
underside... this will make my tops removable, as its so much easier to remove the cycle wing stays with the top removable, otherwise if I Tigerseal
bond the tops on, you have to disconnect brake lines & wishbones to remove cycle wings otherwise, which is a faff
yellowcab - 11/1/14 at 06:18 PM
Just to re-iterate... the car will not be driven in anger on the above front tyres, its just to get me out of trouble when pushing the car around

Oh, and because I want to tinker with aero stuffs, I've bought an aero front splitter like this so I can pop it on for trackdays 
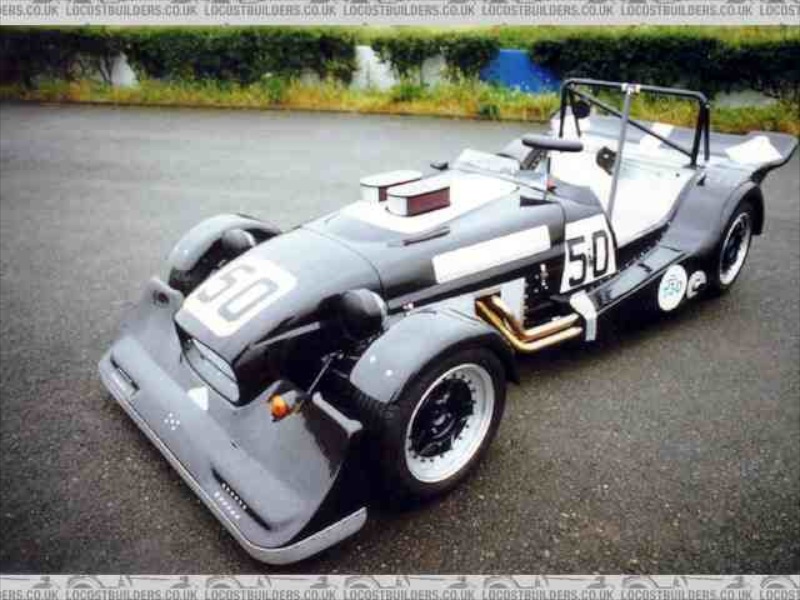

And a half width nose cone, instead of the connards

[Edited on 11/1/14 by yellowcab]
sam919 - 12/1/14 at 05:05 AM
You might find them too close, remember the tire will expand quite a bit and centrifugal force will push the tyre out as it rotates. Slicks like those
should be around 18 psi cold a few times round the track then all set to 21psi, if your using air, but they will get slightly bigger none the less.
The cycle wing will also act downward probably pushing the outer edge closer to the tyre as well as there is more flex towards the non support end.
Another thing to bare in mind is trying to get the wheel on and off, if the stay/ cycle wing is too close the outer edge of the cycle wing wont allow
the the wheel on, you can fit them all in place then use a air sander to shave off under the outer edge untill the tyre fits, you do end up with much
less cycle wing than you started with when your trying to get it as close to the tyre as possible without fouling.
Remember with the front wing in place generating downforce the rear will become lighter so you might have to think if you havent already about
stiffening the front up, this will then generate understeer in lower speed corners it all becomes a trade off ......as with more aero, the lower your
top end will be.
Worth an experiment none the less 
Ben_Copeland - 12/1/14 at 07:29 AM
That's why he put this ;-)
quote:
Just to re-iterate... the car will not be driven in anger on the above front tyres, its just to get me out of trouble when pushing the car around
sam919 - 12/1/14 at 08:30 AM
I thought that was in refference to tyre condition, rather than tyre profile.
yellowcab - 12/1/14 at 08:33 AM
Yeah Ben is spot on.
I'd never run these tyres at the front of the car, as the equate to something like 215-65-13 or something daft. 
sam919 - 12/1/14 at 09:43 AM
Nice and close with a 2-3mm gap (on the biggest wheel & tyre combo I have):
This is why i mentioned it.
yellowcab - 12/1/14 at 09:54 AM
Gotcha Sam, it's more for me pushing the car around, on and off the trailer and around the workshop, didn't want to become a time where the
wheels didn't even fit on, hence why I used these as clearance wheels, all my other front wheels are smaller in circumference.
Front wets: 185/60/13
Front dry: 175/60/13
Rear wets: 205/60/13
Rear dry: 215/65/13 (slick equiv) (the aboves)
[Edited on 12/1/14 by yellowcab]
yellowcab - 12/1/14 at 10:04 AM
These are my dry fronts fitted with the old cycle wings, where the original gap on the big slicks was about an inch, you can see on my proper front
tyres it's about 1.5-2inches, so now with only 2-3mm clearance on my big slicks, I have a feeling the gap will still be too large on my proper
fronts 
quote:
Originally posted by yellowcab
Fronts fit OK, despite gappy cycle wings (due to be changed anyway)

waggy - 12/1/14 at 01:08 PM
Fantastic thread! I just spent my Sunday morning reading it from start to finish.
I'm right at the start of my live axle, probably fireblade but definitely bike engined Locost build and I managed to get a few fantastic ideas
and tips from your thread, thanks. 
CosKev3 - 12/1/14 at 01:22 PM
quote:
Originally posted by yellowcab
Hi pal, thanks for post.
The wider side panels are just bits if aluminium wrapped in yellow, so just a case of hacksawing your old fibreglass ones off
Alternatively, have a look at Ben_Copelands post called 'Z20LET into a Haynes' he's recently done it simply by cutting his fibreglass
and moving them outward and re-riveting it, they're not 'as' wide, but it's free 
ah right cheers.
something to look into if I go for a colour change.
yellowcab - 12/1/14 at 09:19 PM
Cheers for the comments Waggy - glad it kept you semi entertained lol
Oh - before I forget, here is a short video clip of the gaps I have inside my nose cone, whilst fitted, around the bottom, sides & top of radiator
and oil cooler...
As aerodynamics go, I know its important to let the air escape through the top of the nose cone, so I'm not wanting to blank that off, but would
you guys say it was worth me doing the bottom and sides, or not really?
Video: http://www.youtube.com/watch?v=6geVal4yHSA&feature=em-upload_owner
Not a very entertaining update unfortunately, just more fettling with the passenger side cycle wing stay... and of course it didn't go to plan

So despite the cycle wing stays being rather close the the tyre tread, it still 'appears' that they sit miles off the tyre once they're
going to be fitted...

21mm to be exact at the front leading edge

Nice and close to the inside tyre walls which I wanted

So to now show how much more clearance I have with my 'correct' front wheel & tyre setups, here are my wets - Yokohama A021R 185-60-13,
with around 6-7mm clearance (28mm gap to front leading edge of carbon)

However I really dislike (due to correct offset) how they sit quite far inwards, but if I mount my cycle wings any further inwards, then my largest
tyres would scrub on the outside, so this is the compromise


Onto my dry fronts, currently 175-55-13 Avon CRB500, but have the capability to go larger (especially in width), rather large gap, over an inch to the
metal cycle wing stay, and probably 45mm gap at carbon leading edge once fitted


So there is my reason for using my biggest wheel & tyre combo that I own, because if had made them fit snug to the above, I'd have been
stuffed with either trying to fit my wets
Whoever wanted a pic of the stay in place, without a wheel or cycle wing - here it is 

In order for the cycle wings to house the wheel centrally left to right, I just kinked the uprights on the cycle wings like so

Passenger side didn't quite go as smoothly, but thanks to Colin and the loan of his welder, all got sorted in the end, and it was a damnsite
easier just welding the angle at the correct height, rather than trying to bend the curve around the tyre precisely!

[Edited on 12/1/14 by yellowcab]
yellowcab - 13/1/14 at 01:36 AM
Can't be arsed with two sets of cycle wings just for a trackday bit of fun and weekend blats lol
40inches - 13/1/14 at 02:36 PM
Looking at the video it looks like you are almost there, as far as ducting is concerned, you just need to try to seal all around the radiator core
with ally sheet. Air like water and, I suppose, electricity, will take the line of least resistance, you need to force the air to go through the rad
rather than around it. Sealing the top of the rad to the nose cone will let the two top vents work by creating low pressure.
The only problem is with the large openings in the nose cone, ideally they should only be around a third the size of the radiator matrix, you could
try it as it is then cover one up and see what effect it has on cooling.
Have found this on the Interweb, it explains far better than I could. Sections 2,3 and 4 are
what we need.
[Edited on 13-1-14 by 40inches]
yellowcab - 13/1/14 at 03:52 PM
I would like to take the crown for the most crude drawing ever... however I hope you get the idea I'm suggesting.
Rather than my pieces of aluminium 'framing' my radiator, which could cause pockets of air, could I not have forward facing bits of
aluminium (the green bits) blocking off an easy way for the air to get to the holes at the top of my new nose cone, and the only way for the air to
get to them, is through the cooler & rad
Please say if I'm completely wrong lol

[Edited on 13/1/14 by yellowcab]
40inches - 13/1/14 at 04:07 PM
Don't see why that wouldn't work, it would be much better than all the air bleeding around the rad 
yellowcab - 13/1/14 at 04:13 PM
So when I go back down the garage tonight to finish the bootlid top, I'll do these instead 
Deal!
40inches - 13/1/14 at 04:22 PM
quote:
Originally posted by yellowcab
So when I go back down the garage tonight to finish the bootlid top, I'll do these instead 
Deal!
Focus! That's all it takes 
I did something similar when I built the 2B, dropped the temp by about 10degrees. image taken from a scan of a scanned photo
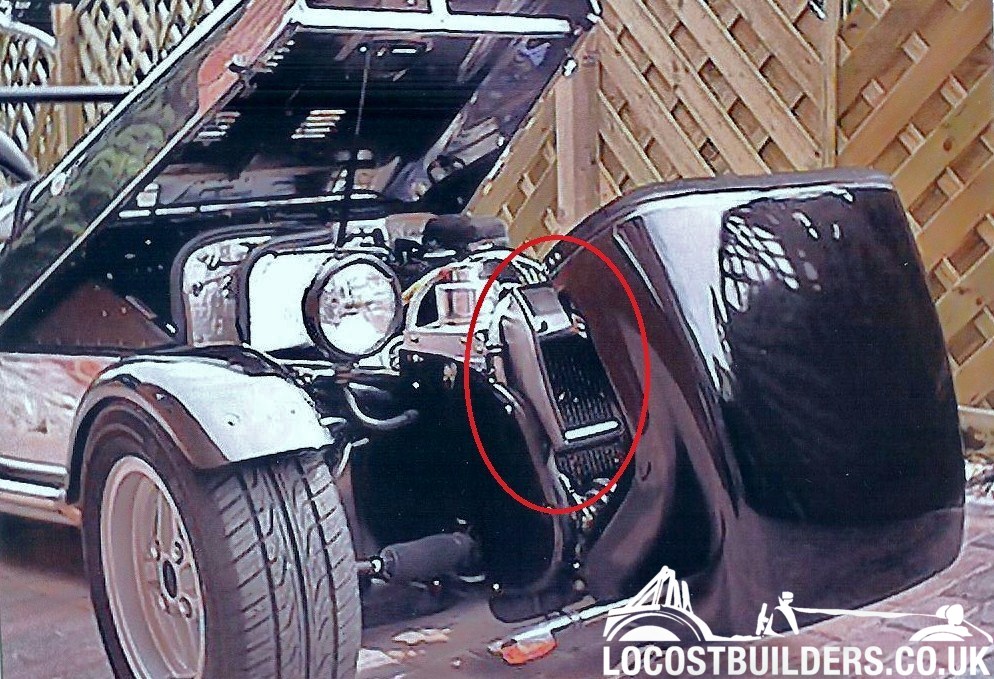
yellowcab - 13/1/14 at 04:25 PM
It also take patience, and I've looked high and low, even in my sock drawer, and nope, I don't have any left.
Think I ran out when I had kids, and never bothered getting any again.
Cheers for the pic... wing stays are also on hold until I get some small grub screws to fasten the tops on with from Stevio73 
yellowcab - 13/1/14 at 07:09 PM
LOL this made me giggle...
The mate who collected my aero bits for me said that there is no way it'd fit... I think he's right...

yellowcab - 13/1/14 at 10:44 PM
So the ongoing joke would say, I went down the garage to finish my bootlid, and here is the progress, but it's kinda wearing thin now...
Whilst I wait for some grub screws to fix my carbon tops on my cycle wings, my attention turned to aerodynamics, ducting, being sure engine temp is as
cool as possible, along with hot air being sucked out the back of my nosecone, now it has the holes to do so...
This is what we started with:

The oil cooler position is really going to help the whole ally ducting really, as I'll be using the little m6 bolts on either edge to hold it all
together, as the ducting (like Dave mentioned) only needs to be the size of the rad core itself

Also, I need to block this off, so the cool air doesn't "hit" the cooler, then just take its easiest route, which would be straight out
the top

First off, measure the width of the rad, and make it become narrower as the nose gets narrower otherwise it'll foul

Offer it up, and mark where its going to be mounted and how

Do the necessary, being sure it tucks under the lip of the rad, and i'll be using the cooler brackets to hold it tight

This is the underside of the top section, tight up against the oil cooler

Nose on, first time, bang on, this piece protrudes 140mm (all are different so don't take any notice of my actual measurements) my photos are
purely to show how I went about doing it, so there is the first job jobbed...

Next up, the sides, the front edge of the new Donkervoort nose is actually vertical, yet my rad follows the angle of my chassis so its leaning back
everso slightly, so we have 125mm protrusion at the top edge of the rad, and 100mm at the bottom edge of the rad


Again, ignore the measurements written here, a few fettles were done, passenger side done, but needs a little adding to it

Remember my top seciton I said needed narrowing towards the front of the car, for his nose style, it doesn't it can be square, so those corners I
cut off, I taped back on lol, you gotta love evolution in these templates lol

So here is the 'new' top and side sections on, again, right to the edge of the core


Nose back on, fits - bonus, as you can just see the edge of the side piece, I will be contouring this to the inside shape of the nose, as it will also
give the nosecone some added strength too

Excure Mr.Air - you have to pass through the rad if you want to get out... win/win

Bottom piece is going to be roughtly a 45degree angle facing down towards the ground, which is good, as the nose hangs beneath the bottom of the rad
core, and the shape looks a little something like this

Fits like so, tucks under the rad core edge again

Here you can see where it will evolve slightly, the side panel will have a sharper angle at the bottom, and shaped on the front edge to mimic the
inside of the nose, so I will tape a bit extra on here at the bottom to meet the bottom piece


Here is where I finished for the evening, but it's beginning to take shape, once I have all my cardboard templates, I'll put those onto
aluminium and have them powercoated black
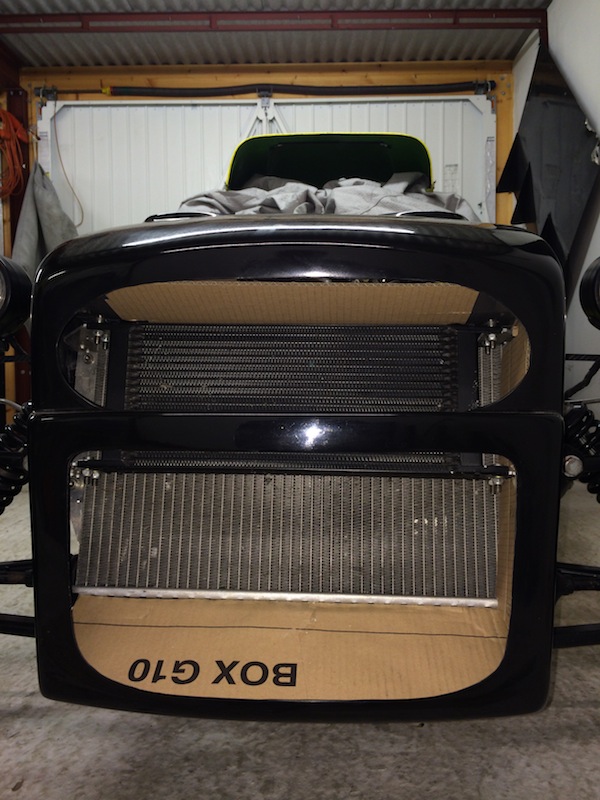
[Edited on 13/1/14 by yellowcab]
yellowcab - 14/1/14 at 07:56 AM
Cheers for the reply, however behind the radiator is staying as is, I have so many holes in my engine bay, top of bonnet, side of bonnet, nose cone
now and wider side panels that I'm pretty sure that the hot air will escape lol
Ben_Copeland - 14/1/14 at 08:58 AM
Sam, I think we all appreciate your input into this, but maybe your taking things a bit too seriously.
He's not making a race car and I think it's more a bit of fun then chasing 10th of a second. It's not really necessary what he's
doing as his coolings fine and it doesn't need over cooling.
I'll be doing something similar on mine but I couldn't fit anything behind my radiator either.
sam919 - 14/1/14 at 09:18 AM
quote:
Originally posted by Ben_Copeland
Sam, I think we all appreciate your input into this, but maybe your taking things a bit too seriously.
He's not making a race car and I think it's more a bit of fun then chasing 10th of a second. It's not really necessary what he's
doing as his coolings fine and it doesn't need over cooling.
I'll be doing something similar on mine but I couldn't fit anything behind my radiator either.
I dont take things seriously, perhaps you should up your game though and stop assuming others have the same view. All i have suggested is what
caterham have done to improve the efficiency of their design, its not about chasing 10ths of seconds.Its about trying to gain a full knowledge of your
subject. Buying some aero for the front is taking things relatively seriously,hence my enthusiasm for this project.
The beauty about over cooling is you can control the cooling by restricting it or having it fully open when the weathers too hot, if you read into it
in more detail its about 'air flow' and drag.
Your last statment is a contradiction though. But as you apparently want to speak for others and think everyone only wants to think about this subject
at the same level you do,ill take you worldy advice and refrain.
Olly, good luck.
40inches - 14/1/14 at 09:41 AM
quote:
Originally posted by Ben_Copeland
I know olly very well so I know what he wants
Anything except finishing the boot lid?
Ben_Copeland - 14/1/14 at 09:48 AM
I think someone else will have to do the lid lol
yellowcab - 14/1/14 at 09:49 AM
I'm not taking anything seriously Sam 
Being totally honest, I'm not doing it to aid cooling, I have never even looked at temp gauge whilst driving. LOL
It's more just something to do, and the front edge tipping down will aid downforce (lol)
The aero stuff is for shits & giggles, bought it on a whim, wasn't looking for the stuff, it just happened to come up the other night and
impulse bought it, it's a road car at the end the day with tax, insurance and MOT, with the occasional trackday thrown in.
Having different cycle wings and stays for different offset and width tyres doesn't interest me, and if I can be bothered to get the front aero
stuff to fit (as it's for a Westfield) then I'll only plonk it on, on a track day lol of it doesn't fit, I'll cut them up and use
the bits of fibreglass as brackets for stuff
sam919 - 14/1/14 at 09:51 AM
quote:
Originally posted by Ben_Copeland
There you go my point is proven. Too serious.
I know olly very well so I know what he wants
Too serious in your eyes. As said up your game.
sam919 - 14/1/14 at 09:59 AM
quote:
Originally posted by yellowcab
I'm not taking anything seriously Sam 
Being totally honest, I'm not doing it to aid cooling, I have never even looked at temp gauge whilst driving. LOL
It's more just something to do, and the front edge tipping down will aid downforce (lol)
The aero stuff is for shits & giggles, bought it on a whim, wasn't looking for the stuff, it just happened to come up the other night and
impulse bought it, it's a road car at the end the day with tax, insurance and MOT, with the occasional trackday thrown in.
Having different cycle wings and stays for different offset and width tyres doesn't interest me, and if I can be bothered to get the front aero
stuff to fit (as it's for a Westfield) then I'll only plonk it on, on a track day lol of it doesn't fit, I'll cut them up and use
the bits of fibreglass as brackets for stuff
Fair enough, but the detail you have gone into represented an element of interest that i thought was higher than you have explained you wish to go.
Apologies for getting this wrong, but you have posted a lot of photos which doesnt nessesarily indicate someone who isnt just
mildy intersted
[Edited on 14/1/14 by sam919]
40inches - 14/1/14 at 10:04 AM
Not far off the Donkervort 

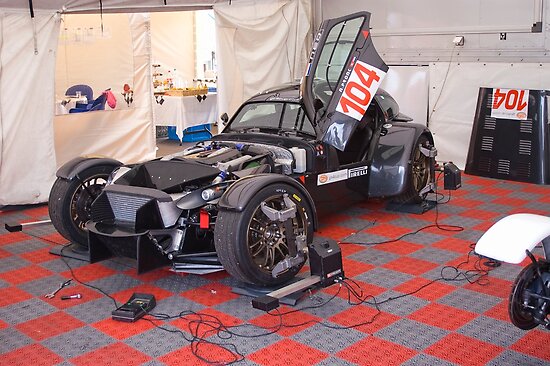


yellowcab - 14/1/14 at 10:07 AM
I wouldn't fart without taking a photo of it, lol, it's just what us photographers do. haha I do nothing withou photos.
Infact, if I didn't take photos, maybe all this would have been done by now, but not the bootlid (yawn)
Y'see, it pisses me off when people do things to their car, they only post a finished photo, and THEN are too a moke & mirrors as to how they
went about it, on fear of someone 'copying', all a bit childish that, in my opinion.
Reason for pics is to help others along the way  which by reading peoples comments, has done so, so happy chappy
[Edited on 14/1/14 by yellowcab]
sam919 - 14/1/14 at 10:10 AM
quote:
Originally posted by Ben_Copeland
quote:
Originally posted by sam919
quote:
Originally posted by Ben_Copeland
There you go my point is proven. Too serious.
I know olly very well so I know what he wants
Too serious in your eyes. As said up your game.
Wasn't necessary. Olly didn't need it.
Perhaps he should be the judge of that, or perhaps your a bit miffed at your own knowledge not being upto scratch
Ben_Copeland - 14/1/14 at 10:11 AM
Love it!!
quote:
Originally posted by 40inches
Not far off the Donkervort 


sam919 - 14/1/14 at 10:23 AM
quote:
Originally posted by Ben_Copeland
quote:
Originally posted by sam919
Perhaps he should be the judge of that, or perhaps your a bit miffed at your own knowledge not being upto scratch
I know all about aero and I've seen many race car cooling solution, so don't assume I don't know anything. As said several times but
your not listening very well. I know oly very well. I speak to him in the phone at least once a week and have hour long text conversations through out
the day. So wind your neck back in because it's you who don't have the knowledge.
That hit a nerve! well if you know all about aero, why is your 'best' mate Olly questions about it online? your nose is out of joint as
someone knows and is willing to share more knowledge than yourself, your attitude is one that restricts knowledge being shared. Im not assuming
anything im going on your input into the topic, which is not all that great at a level your uncomfortable with.
sam919 - 14/1/14 at 11:36 AM
This is what you don't get, its not about you, your friendship with the OP is nothing to do with the thread yet you have taken it upon yourself
to dictate its content and what other peoples contributions should be. The beauty about forums is people can discuss and share.
Poor darts.
DavidW - 14/1/14 at 02:32 PM
I've been enjoying the thread for months - Please don't ruin it.
Thanks
David
Mods - feel free to delete this post (and maybe soime others?)
40inches - 14/1/14 at 02:37 PM
quote:
Originally posted by DavidW
I've been enjoying the thread for months - Please don't ruin it.
Thanks
David
Mods - feel free to delete this post (and maybe soime others?)
I agree, draw a line under and walk away 
sam919 - 14/1/14 at 02:42 PM
I'm out
yellowcab - 14/1/14 at 03:24 PM
Goodness me, seems as though we need a tidy up. I've just come back to WW3.
Not sure if any mods look in here, but it'd be good to have a clean up, or just leave it. Whatever suits
I'll continue with my progress later once I've had a tinker.
Ben_Copeland - 14/1/14 at 03:38 PM
Await the update!
Ps. Done my bit for ya ;-)
Fozzie - 14/1/14 at 03:42 PM
I have been following of late.....
Did think about a 'prune' but decided against it, as it would be too easy to
ruin the flow of the progressions whys and where-fors so I will leave it as is.
However .... to some out there, everyone is entitled to a point of view, we all have
a 'take' and or experience on what may/maybe/not a problem, so alternative points of view should be encouraged and
discussed to give the minds of the wider populous something more to think about.
I am sure that the OP/yellowcab is more than capable of explaining his informative thread to any
enquiring minds without 'others' jumping in.
To those, please do not clutter or detract from the thread and let the OP answer any questions
about his work himself.
Fozzie (Admin) 
Edit to add....I see that one detractor has already done a bit of 'clearing up' ..thus making it slightly nonsensical, whilst I was writing
the above......Hmmmmm!
[Edited on 14-1-14 by Fozzie]
CosKev3 - 14/1/14 at 06:00 PM
Keep up the good work B)
Great thread.
yellowcab - 14/1/14 at 09:36 PM
So I was only allowed 10 minutes down there tonight, lol, and I finally completed my bootlid - yay!!!
OK, OK, no I didn't but I wanted to finish of this ducting so I had my templates for ally
So I finished off last night with a gap at the bottom of the side panel, first thing was to add some to my template to get rid, done.

I also didn't like the fact my ducting didn't remotely follow the contour of the inside of my nose cone, I know its never seen, but I know
its there, so I did my best to mimic it, you can see I added 2 triangular 'wings' onto the forward most edge

Comparison of before and after, minimal, but I know its done now

Much better 

Then I removed the template thus far, and pushed my luck and drew around the side panel to create the drivers side, so this will test my brackets are
level, and the Donkervoort nose is symetrical...

Driver side, straight off

Didn't fit perfect, but it was as close as I could have expected, so after a trim - we finally have the full template

The nose can be fitted and removed with these in place - so it ends my want for a tilting nose cone lol

Couple of other random shots, and I need opinions please - would you risk making this out of one section of aluminum with folds in each corner (would
look the neatest, but the hardest to do) or just make 4 seperate section, and think about mounting them to each other at a later date


[Edited on 14/1/14 by yellowcab]
Ben_Copeland - 14/1/14 at 09:42 PM
I think it's quite exceptable to make it from 4 pieces, it's not as if it's on show and your powdercoating them black anyway
yellowcab - 14/1/14 at 09:44 PM
Cheers pal - its the arse of then fastening the sides & bottom, the top is easy... the sides will have slots in...
Unless I make the bottom three out of a single piece, held by the side slots...
johnny chimpo - 15/1/14 at 10:52 AM
If you can make this out of one section of aluminium I would be well impressed. As mentioned above, I would go with making it from a few pieces,
nobody will see it and it will still do the same job!
yellowcab - 15/1/14 at 04:51 PM
I'm going to give a single piece of aluminium a go, there is nothing to lose other than some ally - well worth the attempt.
40inches quite rightly pointed out that the 'real' Donkervort has a horizontal plane of aluminium separating the airflow to their water rad
and intercooler... I know mine is an oil cooler, but the same principle - so Cheers Dave for pointing it out to me  I'll be sure to add a fin

yellowcab - 15/1/14 at 05:00 PM
So todays adventure lead me to collect my front aerodynamic pieces that I got from Scutter - cheers Nick for doing the middle man and storing these
for me... a half width aero nose wing, and a full width genuine Westfield nose wing

Then my second visit of the day was over to Strakka Racing @ Silverstone to get the bits I'd won on eBay and my addiction to carbon fibre is now
almost complete, some visual aero dynamic porn for you to ogle at



All the bits came to a price I couldn't really refuse, so I bought it all to mess around with, cut up and make fit - those bits that don't
fit will be sold on, or cut up to be used as brackets elsewhere on the car
I managed to get the following all from a Strakka LMP2 LeMan car all in carbon fibre: Rear Floor Pan, Rear Diffuser, Front Splitter, Legality Boxes,
Wing End Plates, Conards, Rear Bumper flick ups
[Edited on 15/1/14 by yellowcab]
yellowcab - 15/1/14 at 05:06 PM
Here is the rear floorpan & diffuser at over 2metres wide, and 1.6m tall, it weighs around 2kilos

Here is the smaller piece, the front splitter, only just fits!

Trying to figure out how to make it all fit

It wouldn't fit, rear floor far to big... so at his horror, I asked him to cut the top off the rear floor pan so it'd fit in my car, to
which he replied 'you want me to cut the top off a £10k carbon fibre floor' lol, made him wince a little... so here he is, he did it -
cracking sport.

Legality Boxes

All in, just!


yellowcab - 15/1/14 at 05:16 PM
So after wiping up my dribble from their workshop floor, I landed back down to earth and got back in my shack
First off - this is too narrow for my track, as its a genuine Westfield item, so presumably a 'narrow body'

My new rear diffuser lol


Front Splitter out... slightly heavier due to complexity I presume


Stuff


Rear bumper flick ups...? lol

In two minds about these Legality boxes, either will use one as a passenger foot plate, or I'll plonk them on my rear panel to use as downforce,
like the one on the left is sitting, or I'll mount them upside down on my rear tubs to create flat-tops, as they're the same contour

LOLLing at this

Construction of them twin carbon with micro ally corrugation

Pat_T - 15/1/14 at 09:32 PM


how much did that little lot set you back?
I used to work with stuff like that when I worked at Juno, its going to be interesting to see if you can get it to fit on the MKdonvervoort as I am
now going to call it 
PAUL FISHER - 15/1/14 at 09:48 PM
The first picture with the westy front spoiler, it is designed to fit a wide bodied westfield not narrow bodied, the reason its too narrow for your
Indy is because your car is wider track, Westfields are narrow track as standard, it would fit on my Westy a treat , but I think they do look better
with that smaller spoiler you have bought
[Edited on 19/05/04 by PAUL FISHER]
yellowcab - 15/1/14 at 09:55 PM
Thanks chaps, I'm going to enjoy fettling and modding it, it'll be a bit of fun
I may use the bits of carbon for my rad ducting now I have some to mess with, but unsure how to join the corners, so I'll try ally first,
don't think I have a long enough single piece of ally to go all the way around? But hopefully the sides and bottom as one, then the top seperate,
easy to work on and remove then.
After all the faffing with the ducting and stuff, I hope I decide to keep the Donkervoort nose.
Paul, I'll be selling on the Westfield full width jobbie, I'll offer up the half width and see how that works. I'm certainly not
interested in cutting and widening it to fit my car, too much faffing for me and I'm not too good and making things look pretty lol
I got in touch with the previous owner who still has a roll of yellow vinyl which is obviously the same colour, so I'll be wrapping the new nose
to suit, for now, rather than the whole car 
40inches - 16/1/14 at 04:26 PM
I f your going for the full Donk look, the front wing looks about the right size 

yellowcab - 16/1/14 at 04:35 PM
Dave pack it in, you know what you're doing and I don't appreciate it (lol said with a smile)
daveb666 - 16/1/14 at 04:40 PM
quote:
Originally posted by 40inches
I f your going for the full Donk look, the front wing looks about the right size 

That looks bad-ass. Olly, it needs to be done.
40inches - 16/1/14 at 04:41 PM
quote:
Originally posted by yellowcab
Dave pack it in, you know what you're doing and I don't appreciate it (lol said with a smile)
I'll not show you this one then 


yellowcab - 16/1/14 at 04:44 PM
I do love the rear spoiler 


yellowcab - 16/1/14 at 04:45 PM
Ah, the first one turns me on more, as its more 'alike' my car, the second one is too far removed from mine to even attempt any of the
modifications lol
PAUL FISHER - 16/1/14 at 05:02 PM
How about this one, I think its the small spoiler you have fitted to a westy, could even be the actual one
[img]

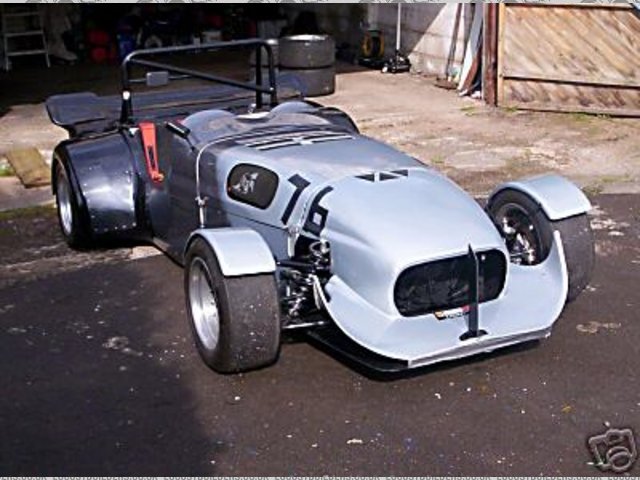
Rescued attachment e2_1.jpg
[/img]
yellowcab - 16/1/14 at 06:03 PM
Paul, that is uncanny
I'll update later when I have some time, but for now - this is what I got up to earlier on before your post lol
You're correct, it is 'the' one as I have the bolt holes from where his beam-breaker was from his sprinting days, 10 points as to what
else is alike 

PAUL FISHER - 16/1/14 at 06:23 PM
I think the small one looks just right, the big one would just get knocked off on the first speed bump, if you could get the small one made up by
someone in carbon fibre or fibreglass I am sure you could sell a few.
yellowcab - 16/1/14 at 06:44 PM
Yeah it's quite gappy currently, as expected.
I used the legality boxes at the back to imitate a rear spoiler for added rear downforce (lol), they look quite nice 
The front aero stuff I was gonna just stick on for trackdays, not necessarily for every day, we'll see 
Gagging to make use of the carbon stuff lol
yellowcab - 16/1/14 at 09:12 PM
So I popped down earlier, but only for 10minutes as had prior engagements, spoke to previous owner of the car, I'm meeting him tomorrow to
collect the roll of yellow vinyl, so going to give wrapping the nose myself a bash, hopefully with the gentle hand of Pat too 
I dropped my wing stays at the powder coaters, and chuffed they only wanted a fiver to do them, it'd have cost me more than that in Hammerite,
Primer and paintbrushes, not to mention the expletives when they run, and react, and bubble up because I've rushed them so I'm collecting
them on Monday

With the Donkervoort nose cone I got from Paul Fisher (ack, can't remember who I bought it off now, but I know it was originally yours) there
were the 'mouth' inserts which I wasn't going to use, but I actually think I prefer the look of it with them in... here is before &
after (after is without flash), it certainly reduces the intake size mind


After with flash below, the bottom section would still need meshing, so I don't know if it'd look odd if the top section is the horizontal
bars, and the lower section mesh - unsure as yet
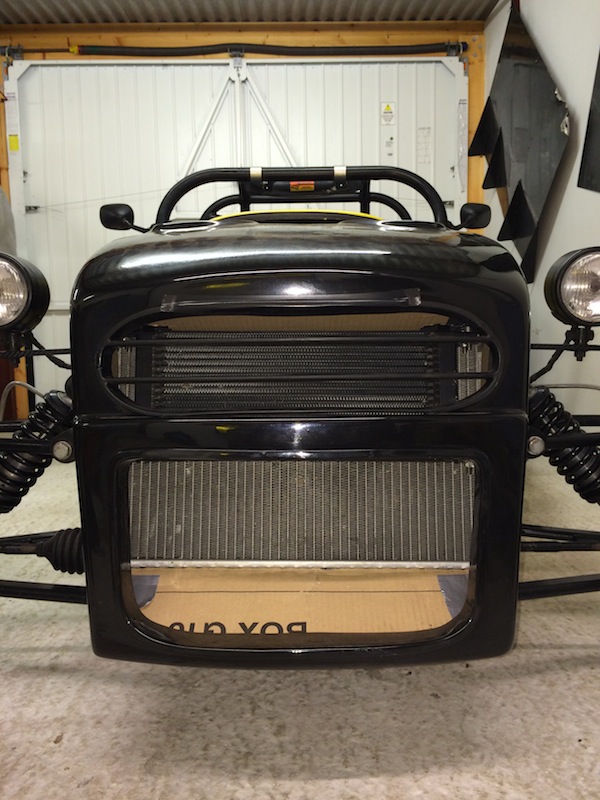
Please someone for god sake shed some light on this stupid thing for me, and tell me if this is the best way of me making it... I'm not overly
keen on the little sections I'm going to have in the corners, but not sure how else to do it.
The boot 'lid' itself must be hinged, as I'll be lifting it up to fuel up etc, so i do not want it removable top. I can't think of
how else I can make the 'sides' one piece, they seem to have to be made from two pieces


Then I had a play with all the stuff, to see where it could be used, and how

The carbon front wheel arch fenders I could cut the edge off to make the edge of my rad ducting, like so, thats a nice size

This is what they are

Think they'd have gone like this, with the brake ducting inside the wheels
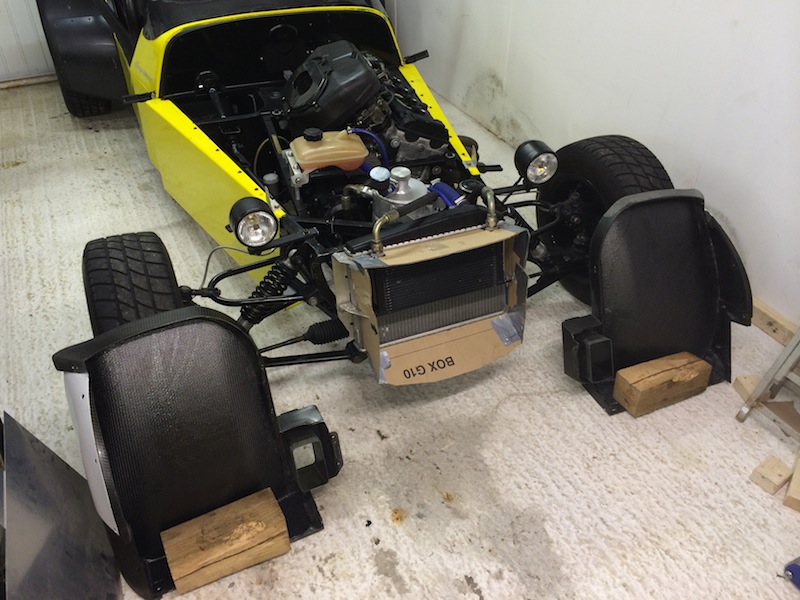
The bits that attached to the above, I could use as the bottom section, I have two of these so I could make one out of the top section, problem with
this - is this piece isn't flat, it has a slight curve to it, which may ruffle my feathers

Then things went to my head, and I started playing


Carbon scoops now at the back on the rear panel

Pretty


[Edited on 16/1/14 by yellowcab]
Ben_Copeland - 16/1/14 at 09:33 PM
quote:
Carbon scoops now at the back on the rear panel

[Edited on 16/1/14 by yellowcab]
If they were mounted flush to the wings that would look pretty awesome
Ben_Copeland - 16/1/14 at 09:40 PM
You could do the boot cover like I did mine.
yellowcab - 16/1/14 at 10:00 PM
quote:
Originally posted by Ben_Copeland
If they were mounted flush to the wings that would look pretty awesome
They'd need to be higher than the level of the top of the rear
tubs to make any difference, so they need to be as high as the rear clam, if not higher 
Ben_Copeland - 16/1/14 at 10:02 PM
quote:
Originally posted by yellowcab
quote:
Originally posted by Ben_Copeland
If they were mounted flush to the wings that would look pretty awesome
They'd need to be higher than the level of the top of the rear
tubs to make any difference, so they need to be as high as the rear clam, if not higher 
I know but I prefer them on top of the wings 
yellowcab - 16/1/14 at 10:11 PM
I think this is the neatest way of doing it, which leaves no gaps around the rollcage legs, as my current one has gaps inbetween the boot lid, and the
inside of the rollcage legs which I really dislike...
quote:
Originally posted by yellowcab
The MDF is now only a template, and it will be made in ally now I have found a supplier of some free bits
The opening or 'boot lid' cannot be made any wider, as my rear rollcage legs get closer together the further up the cage they go - so should
I have the opening wider, the boot lid wouldn't be able to open all the way

yellowcab - 17/1/14 at 04:50 PM
Going to be selling on the two genuine Westfield items, full width and half width aero front.
Julian @ AeroDynamix has first refusal as he asked to buy them before I even got my hands on them, but I know he's currently unwell -
they'll go for sale once I've heard from Julian
yellowcab - 19/1/14 at 08:49 AM
Friday night led me here 
http://www.locostbuilders.co.uk/viewthread.php?tid=188202
yellowcab - 20/1/14 at 10:51 PM
Cycle wings back from the coaters, looking fresh

Managed to get my hands on some 4mm foamex to do the rad ducting, incredibly easy to cut with a jigsaw, and easy to bend once heated up.... I really
wanted to try and do it in a single piece, but I realise the bit I had got for free wasn't deep enough as it obviously has a curve in when linear
due to the corners.
It's quite flimsy stuff in a long piece, but once cut down the right size, and bent, it becomes very rigid which is perfect for what I wanted.
I weighed the 2mm ally I was going to use, and it was 744grams, and this stuff weighs 198 grams, so incredibly light too
Used my template, but had to do it in two parts. booooo


Well chuffed how this fitted for a first go, however this nearest corner isn't quite a 90degree, which I wanted it to be

So I thought I'd just bend it a little to make it 90degree, but forgot to heat it up, heavy handedness leads to this

Rather than sulking, just cracked on with MK2, and we all know that MK2's are better than MK1s anyway, right?
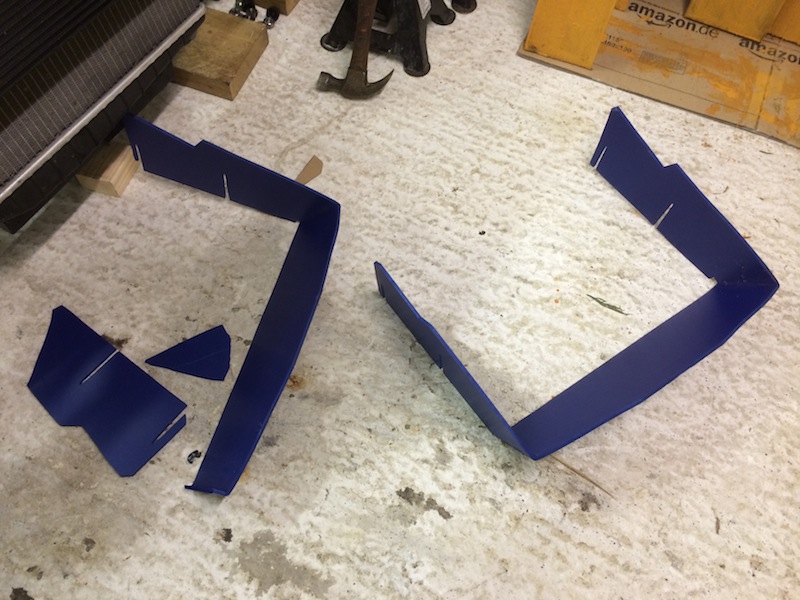
Follows the contours nicely, and fits very snug


Top piece now has extra 'wings' either side, which will be folded over 90degrees and riveted/ bolted... but I dropped my heatgun, and
daren't try and bend it or manipulate it without heating it up - so I have to buy another heatgun first

Goes without saying it'll be wrapped in 3M Dinoc Carbon, and won't be blue, and just waiting for Pat to finish wrapping my nose cone which
he kindly said he'd do as he's a damn good wrapper
[Edited on 20/1/14 by yellowcab]
daveb666 - 21/1/14 at 09:26 AM
Looks like a spaceship 
Top jobbing, used foamex loads of times but never thought about bending it.
Ben_Copeland - 21/1/14 at 09:39 AM
Nice, think I prefer the blue ! make a feature of it 
Digimon - 21/1/14 at 12:02 PM
That looks brilliant, I can see this being my next mod for my car
Nice work 
yellowcab - 22/1/14 at 10:38 PM
No real update other than the rad ducting is wrapped, I wish someone had mentioned to me how harmful it is to your health, talk about stressful lol
Never used the stuff before with difficult angles, and my god - I never wanna do it again!
So the top piece went relatively straight forward, and turned out nice

Top section resting on check the fit & holes

Bent over the 'wings' so I could drill straight through and the side sections to bolt them together

The sides & bottom U section was a complete pain the bum, so it's not very pretty, but it'll do the job - a couple of creases bits &
bobs, but hey ho

So this is the final article & complete unit as it'll stay, can be fitted and removed as one piece too

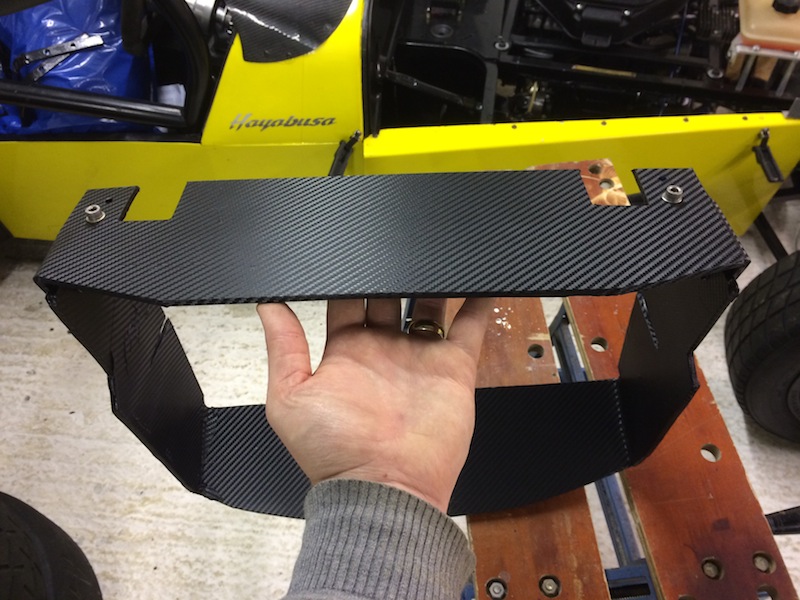
Little M5 nuts & bolts holding them together (can see a wee crease in the side section here)

Here it is all bolted on the car, looks exactly as I had hoped to be honest


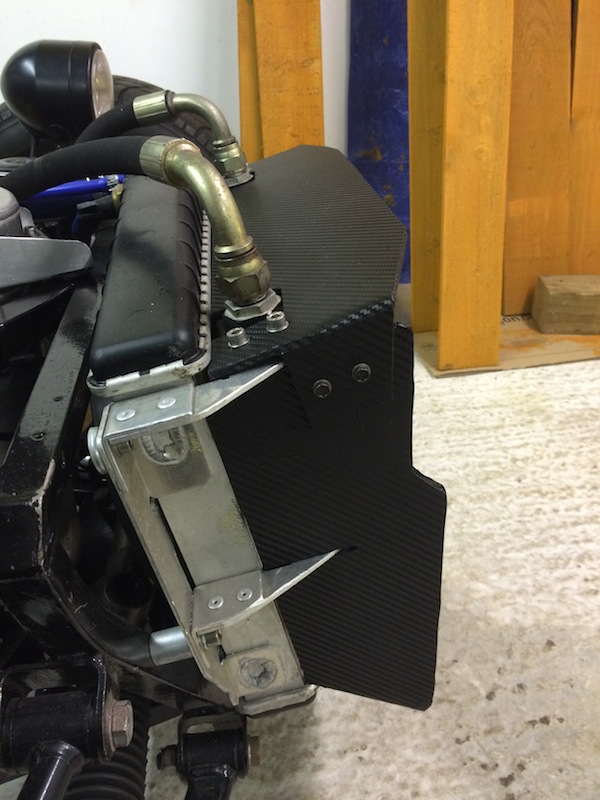

Nose on - still black at the moment... you can only actually currently see the bottom section, but I wouldn't have wanted to leave the rest
unwrapped as I know its there lol... infact, after it has mesh on, I doubt you'll see any of it lol

daveb666 - 23/1/14 at 10:45 AM
Looks a good job as always. I'm looking forward to seeing it out and about again!
Proby - 23/1/14 at 02:11 PM
Top job again that man!
40inches - 23/1/14 at 06:21 PM
Nice tape measure! Bet that came in handy for the boot lid
DavidW - 23/1/14 at 06:34 PM
That looks great, good work!
yellowcab - 25/1/14 at 10:02 PM
So I got back nose cone back last night after having it wrapped, ended up costing me £50 as the wrap wasn't proper vehicle wrap and not
conformable enough to DIY, doesn't easily allow air to escape etc.
There are a few join lines - but its good enough until I decide to change the cars colour, then Pat will be doing the whole shebang, he just
doesn't know it yet 
Appreciate its not everyones cuppa tea, it doesn't need to be - I like it, I like the fact its a marmite nose 
Wrapped

Once fitted - one last check for ducting fitment, the carbon looks nice against the yellow, despite it not going to be see after meshing


This is with the extra plastics, that site in the mouths, which slightly reduce (and improve the look) of the openings, tidies them up rather than
looking like rough carbon/ fibreglass

Rolled the car outside for the first time in months, and plonked my new carbon wings ontop of the tyre just for a few shots...


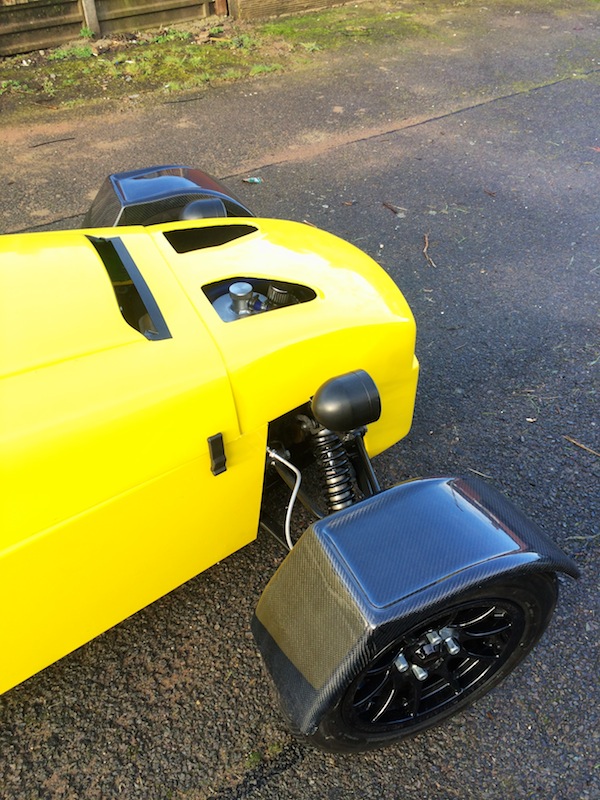
40inches - 25/1/14 at 10:31 PM
Now that looks nice I was going to say "Whats wrong with a black nose cone"

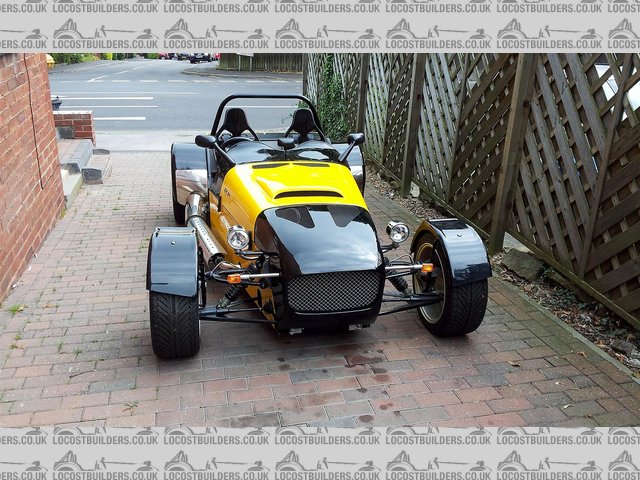
Description
But I think you are right, your shape of nose cone looks much better body colour
You are doing a cracking job Olly.
ReMan - 25/1/14 at 10:38 PM
I think the black nosecone look was 10 times better that this
 Just kidding, better as it is.
Guess what I have a spare black nosecone in my "shed" in case I fancied that look, but have always resisted :-)
yellowcab - 25/1/14 at 10:38 PM
Just looking back through old pages, so the last time I drove the car was 25th October 2013... 3 months ago today... during that time...
> Bought & fitted a Healtech Speedohealer - so I'll have an accurate speedo, such a luxury! (adding 87 grams)
> Changed from heavy 15" wheels, down to light 13" wheels, saving 24.4kg dry, and 18.0kg wet of unsprung weight
Wheel & tyre combo weights
Caterham 6J wheels with Avon CR500 175/55/13 tyre - 10.2kg (my dry fronts)
Caterham 6J wheels with Yoko Advan A005 Slick 200/50VR13 tyre - 11.6kg (my dry rears)
Total dry weight: 43.6 kg
Team Dynamic Pro Race 1.2 with Yokohama A021R 185/60/13 tyre - 12kg (my wet & every day fronts)
Team Dynamic Pro Race 1.2 with Yokohama A021R 205/60/13 tyre - 13kg (my wet & every day rears)
Total wet weight: 50.0 kg
> Removed old stuck seized rear callipers, and shafted pads - with new ones (no weight change)
> Made a boot box (adding a 1.3kg)
> Sold old fuel filler & steel connecting pipework (saving 1.2kg)
> Bought trailer bits - still WIP
> Bought 3.14 rear diff, but decided to wait until next winter to do the swap to eliminate anymore 'down time'
> New Carbon CSR cycle wings (currently fitting) (saving 824grams)
> Swapped from MK Indy nose cone, to Donkervoort (saving 2kg)
> Carbon wrapped foamex rad ducting (adding 198 grams)
> Most importantly, having my car setup at ProComp 
Sooooo... 542kg start weight, came off the road, 3 months later... going back on the road at 517kg (25kgs down)
With 13" wheels, and having been setup, and rear brakes that actually work... I'm rather excited about taxing it on Saturday (1st
February!)
yellowcab - 25/1/14 at 10:41 PM
quote:
Originally posted by 40inches
Now that looks nice I was going to say "Whats wrong with a black nose cone"


Description
But I think you are right, your shape of nose cone looks much better body colour
You are doing a cracking job Olly.
Dave - you already have Donker-holes... never noticed that before 
Cheers for the comments & continued support.
Next up is cycle wing stays & bootlid (i actually fell off my chair typing that)
40inches - 25/1/14 at 10:42 PM
quote:
Originally posted by ReMan
I think the black nosecone look was 10 times better that this
 Just kidding, better as it is.
Guess what I have a spare black nosecone in my "shed" in case I fancied that look, but have always resisted :-)
Yellow and Black. The colour of choice for the discerning gentleman. lol
40inches - 25/1/14 at 10:44 PM
Boot lid? Boot lid? No, rings a bell but can't place it 
yellowcab - 25/1/14 at 10:44 PM
Oh, the eagle-eyed amongst you will notice the Donkervoort nose doesn't go down as far as the original Indy nose, so in the close up shot of the
front in my garage, you'll see the box section chassis is exposed.
Thinking my plan is to refit my front splitter, and as it exits the front of the car, it'll cover this lip 
However - I'm gagging to get an angle grinder to this carbon LMP2 front splitter to get that to fit lol
40inches - 26/1/14 at 10:45 AM
I have to say that looks the dogs dangly bits Olly  I'm beginning to think that mine looks too pretty by comparison, especially now it has
the full screen
  Perhaps I should fit a front wing
yellowcab - 26/1/14 at 02:58 PM
haha, different strokes for different folks Dave 
I love the hardcore home made look personally, I'm not a fan of pretty, bling or silver... but everyone has their own personal tastes 
If I could make something, that isn't off the shelf, I'd much rather do that, than buying something ready made - its all apart of the fun

Radical aero wings front and rear wings are right up my street - function over form...
Ben_Copeland - 26/1/14 at 03:10 PM
Definitely needs a front wing!
yellowcab - 26/1/14 at 03:17 PM
It won't necessarily change the aesthetics too much, as I'm replicating the Caterham Levante front wing...
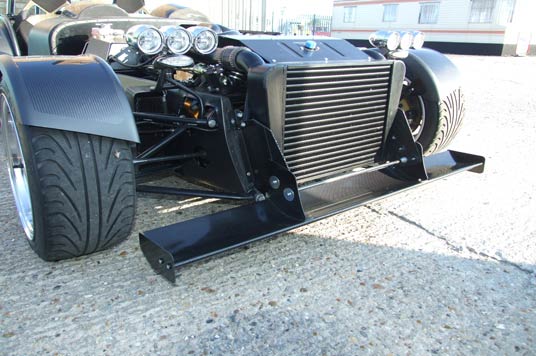
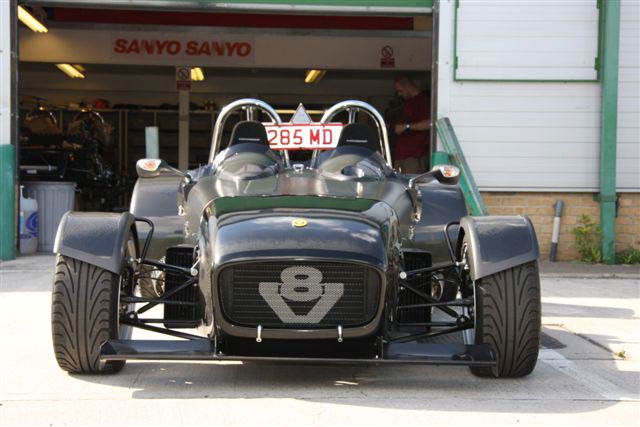
Unless I take my angle grinder to this...


Ben_Copeland - 26/1/14 at 04:02 PM
That nose needs a wing. It's begging for one. The caterham one looks functional
yellowcab - 26/1/14 at 07:43 PM
Not a great update, but I searched and searched on how is best to do the cycle wings without drilling in the wrong place and I couldn't find it
anywhere - so I hope this will help other people.
By no means am I saying this is correct, but it's how my mind figured it'd be the easiest... all of this was done with the car on the floor
with the wheels on...
Firstly I offered the wings over the wheels, and roughly felt where the stay bars were, and put masking tape on thicker (obviously I didn't
know exactly by this point

Once masking tape was on, I managed to mark only the edges of where the cycle wing stay bar started, and finished, then drew a straight line once they
were upside down
I've seen some with just a single bolt holding on some wings, but I didn't want them to 'rock' left and right, so I opted four two
per stay bar

Drilled the carbon from inside to outside, only small to begin with so it wouldn't splinter out - once the preliminary hole was drilled I did the
rest from the outside in, once the hole were in the carbon, I rested it ontop, and marked straight through onto the wing stay

Job jobbed, not really much else to say, tapped a thread in the stays, and put the stainless dome headed bolts in after I cut them down so they
didn't protrude the other side of the wing stay bar

But, being anti bling, these shiney bolts stood out like a sore thumb, which I wasn't overly keen on, didn't want to change to black as
these were perfect for the job

So I put a nut in a vice, and put a bolt in, cut a piece of carbon wrap, heated it up so it wrapped around and then whilst it was warm I put the allen
key in, to stretch the wrap


Despite the wrap being matt carbon as opposed to gloss, and the weave not going the same way, blar blar, I'm still very happy that the fixings
are more incognito than before

yellowcab - 26/1/14 at 07:54 PM
Onto nose cone, wanted to mesh it all at the same time to not risk the Tigerseal jamming up in the tube, but couldn't so done the tops today
Cut a template from the inside the hole, and added 10mm on each edge

Over sized it

Checked the mesh looked horizontal

Then I struggled finding anything heavy lol, so I left it like this 
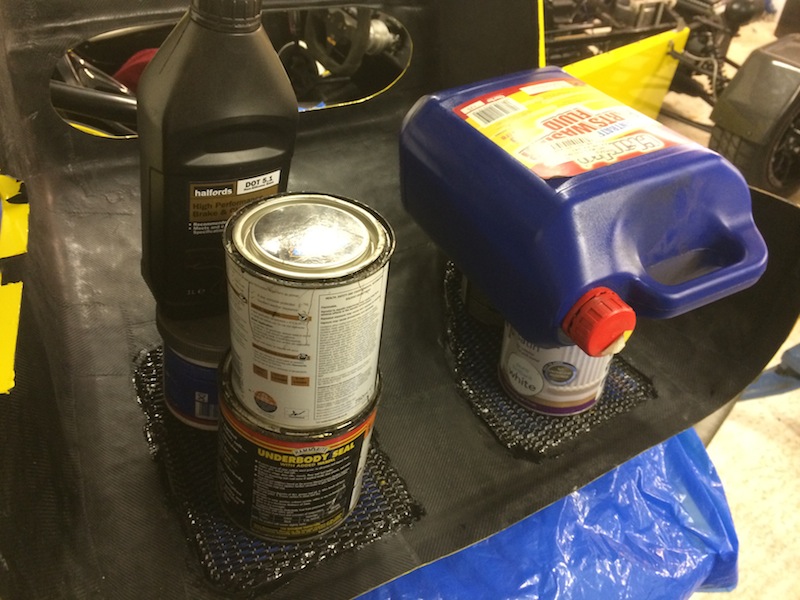
Ben_Copeland - 26/1/14 at 07:56 PM
Same mesh as mine 
Love the carbon on the bolts top idea.
[Edited on 26/1/14 by Ben_Copeland]
wylliezx9r - 26/1/14 at 07:58 PM
I think the nose looks excellent, really makes your car look different. I wish I had your motivation, Ive got a load of jobs to do on my car before
the summer.
yellowcab - 26/1/14 at 08:26 PM
Cheers for the comments...
Wyllie, for motivation I book a track day when your car is years off being done, just the thought of losing the trackday money is motivation enough
for me! lol
So I'm taxing it on Saturday, then I have several trackdays lined up, fed up of not using it enough and going through engines like there is no
tomorrow.
Now I have (or will have) a trailer, there is no excuse for me not to go further to Brands, Anglesey, Oulton, Cadwell etc 
CosKev3 - 26/1/14 at 10:33 PM
Nosecone looks loads better than I pictured it would tbh, looks spot on. 
Excellent write up and pics on fitting the cycle wings, carbon topped bolt heads are a really good idea.
daveb666 - 27/1/14 at 08:17 AM
Love the look of the new nose-cone and very impressed with the carbon bolt idea.
For my boot-lid I bought some black cap-head bolts on Ebay but, disappointingly they're already starting to rust 
Are you buying Tax this Saturday for the sake of it or will the car be all back together and working by then?
yellowcab - 27/1/14 at 08:50 AM
It'll all be back together by then, got a hall pass down the garage every night this week to get it sorted, she's a goodun!!
Tonight's job is bootlid, no really...
After I finish the meshing and tiger sealing anyway
40inches - 27/1/14 at 09:00 AM
quote:
Originally posted by yellowcab
Tonight's job is bootlid, no really...


yellowcab - 27/1/14 at 07:29 PM
A year ago today  lol
lol
.jpg)
yellowcab - 27/1/14 at 11:30 PM
So then, wanted to finish sorting this nose cone out, before starting the beautiful job of the boot lid
Didn't particularly like the aesthetics of the bare fibreglass edges of the 'mouths' once I had offered up some mesh, so decided I
prefer the right shot here, as it neatens the edge up no end

But I didn't like how odd it looked having one on, and one not... and how forward the mesh sat
So again, I offered up the other surround that came with the nose cone, which doesn't have mesh in admittedly, but again, it neatens up the
fibreglass edge of the mouth, not to mention gives it some rigidity, so I opted for the right one here...

Tigerseal came out, and the edging wasn't a great fit, it was quite loose, so cut some wood up to brace it out to all four edges, wasn't
enough

Added a centre piece, to push the edges out, wasn't enough, as now it was pushing it out the hole lol

So this is how its ended up lol  all the wedges are obviously keeping it in

Couldn't do the top one until the Tigerseal had gone off - so that'll be tomorrow night lol
yellowcab - 27/1/14 at 11:35 PM
Cheers to daveb666 for the tip on how to do this - decided to scrap my MDF template, was it was crap, and a bad idea with too many fiddly bits, I
think this pretty much mimics what Dave has done...
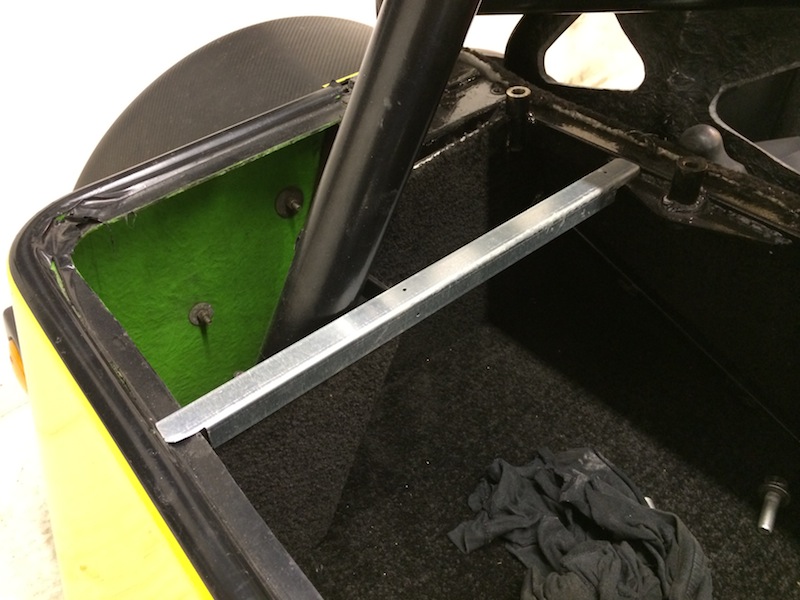


Want some advice, because my roll cage legs get narrower the further up the cage they go, I no longer want the centre piece on a fixed hinge,
I've got the hinge position set so far forward on the car (ie on the rear bulkhead), the rollcage diagonal does not allow the lid to open
vertical...
I would like some clips of some kind that will allow me to hinge it to a certain point, but then pull it out/ off...
So when I'm putting it back on, I hold it diagonally, slot it in the forward behind the seats, then close and lock it on the rear clam
Does anyone know what I'm going on about? lol
yellowcab - 28/1/14 at 07:15 PM
Think I've fell in aerodynamic love...
http://www.ebay.co.uk/itm/Dax-Rush-MC-Hayabusa-Turbo-Track-Day-Race-Caterham-Westfield-Ariel-Atom-Kit-Car-/161199226291?pt=Automobiles_UK&hash=ite
m258838fdb3
[Edited on 28/1/14 by yellowcab]
yellowcab - 29/1/14 at 06:22 PM
Bottom mouth piece done, next up is the upper bit - so I tigersealed this in

So I used my template to transpose onto this 3mm Dibond - bloody brilliant stuff to work with, and so much lighter & more rigid that normal
aluminium

Spot the accidental error when making the hinged or removable piece lol

Lock mechanism in, and this shows the construction of the composite material too
Slotted the removable lid, not going to have a fixed hinge, it'll just tuck nicely under the harnesses
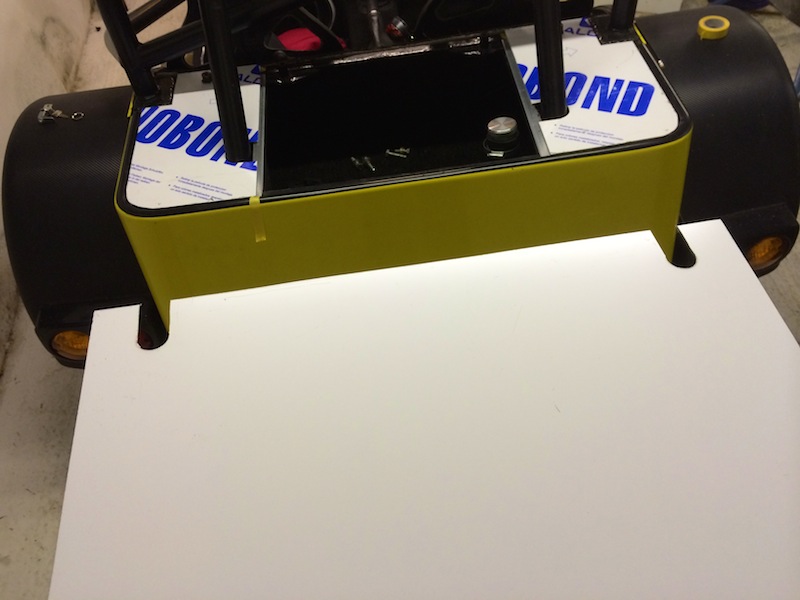

Sorted, ordered some more carbon wrap, which'll be done


Just for my running total... last bootlid weighed 3.1kg

New bits together (without drill holes) weighs 1.0kg, saving 2.1kg 

Oh and my other new harness turned up

keithjardine - 30/1/14 at 03:47 PM
Bit more aero to encourage you along with the project


NTDWM but for sale;
http://www.pistonheads.com/classifieds/motorsport/track-day-cars/track-only/race-developed-westfield-for-circuit-racing-or-trackdays/1727205?isexperim
ent=true
Ben_Copeland - 30/1/14 at 03:48 PM
Careful, Oliver will mess himself !
PAUL FISHER - 30/1/14 at 04:11 PM
This one could
[img]

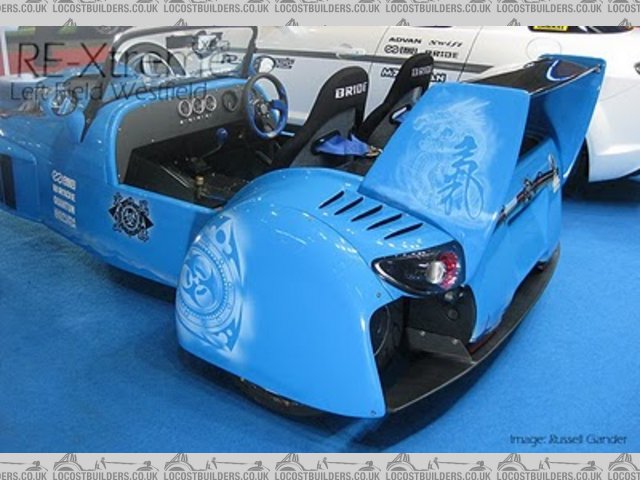
Rescued attachment RE-Xtreme_Ex_RE_WFf.jpg
[/img]
PAUL FISHER - 30/1/14 at 04:13 PM
And
[img]


Rescued attachment RE-Xtreme_Ex_RE_WFa.jpg
[/img]
yellowcab - 30/1/14 at 04:52 PM
Cheers Keith - exactly what I'm looking for on both front and rear ends... it'd be nice to know the reason for the effort to mount the rear
wing on such large (and heavy) alloy stays, protruding out the back of the car, as opposed to using the rollcage as the stays - unless it's FIA
racing regulation of course (I wouldn't know)
Paul - someone put that in the microwave for far too long lol
PAUL FISHER - 30/1/14 at 05:59 PM
Paul - someone put that in the microwave for far too long lol
I think you have a point there Olly it might be a bit over the top
yellowcab - 31/1/14 at 09:11 PM
Please help for anyone that knows much about harnesses lol
http://www.locostbuilders.co.uk/forum/30/viewthread.php?tid=188554&page=1?#pid1586518
Meanwhile - this little beauty turned up, so I'm looking forward to the clutchless up and down changes with throttle blipped
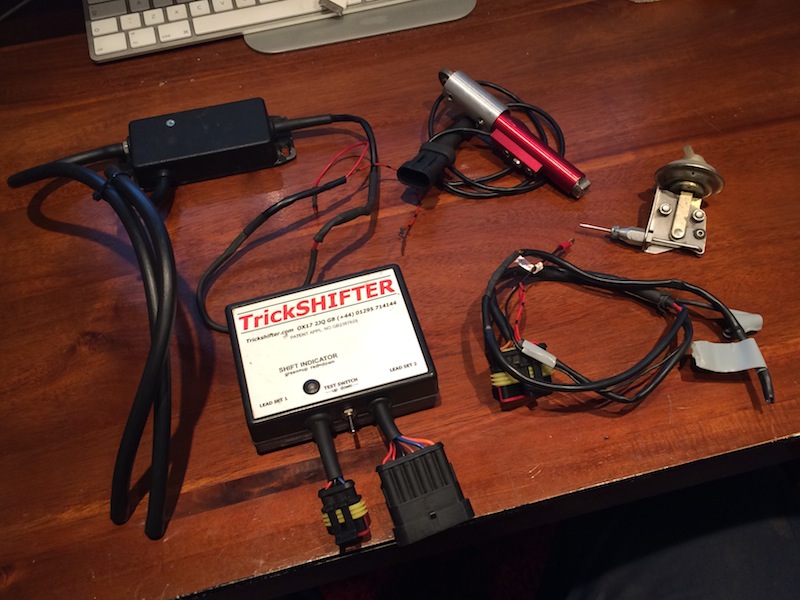
Drivers seat was removed last night with daveb666 as he had my Caterham harnesses off me, I wanted to lower it down anyway, as it was pointed out how
high I sat and how close my helmet was to my rollcage, I had forgotten about how much crap was bolted to the underside the seat (including runner)

All of it removed, obviously weighed, 3.9kgs of crap!!! now considering the seats themselves are only 3kg, I couldn't believe they'd been
unnecessarily doubled (plus a bit) in weight lol

Also, the front edge of my seat from the floor was raised up 70mm previously, and the rear up 50mm (tilting back slightly)

I've now opted for the smallest I could get away with, to get me as low as possible, and now level... these ally spacers weigh 13grams each... so
52grams, down from 3900grams - saving 3.85kgs
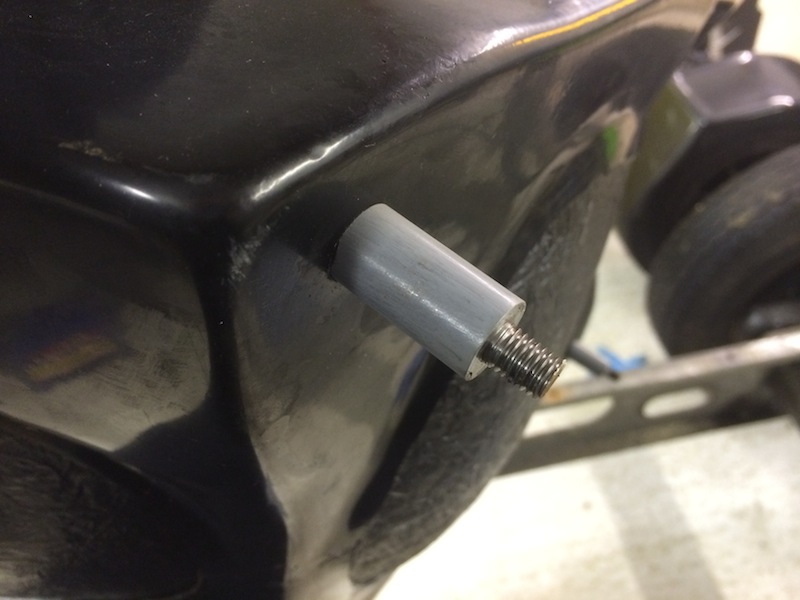
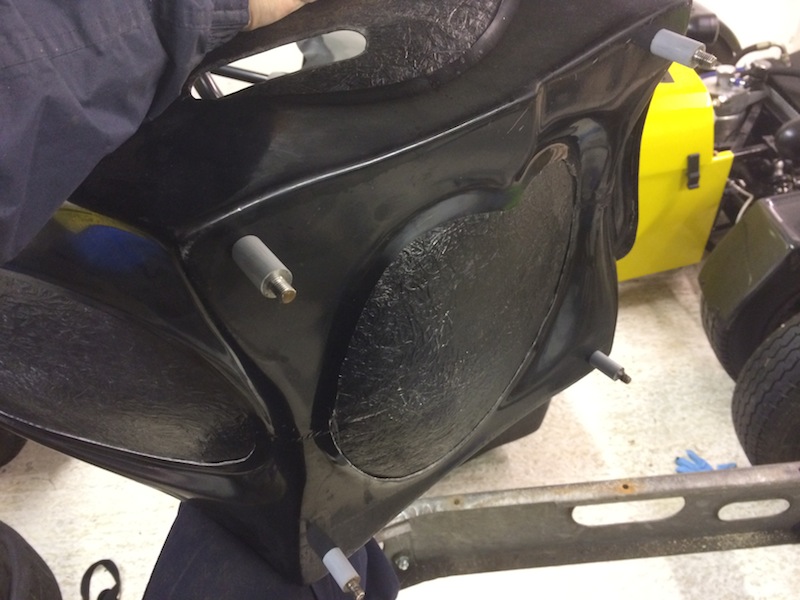
daniel mason - 31/1/14 at 09:31 PM
any issues fitting the shifter then let me know!
yellowcab - 31/1/14 at 09:36 PM
Thank you pal  Cannae wait!
yellowcab - 4/2/14 at 07:44 PM
Hallelujah! Update for Dave Mr.Inches.

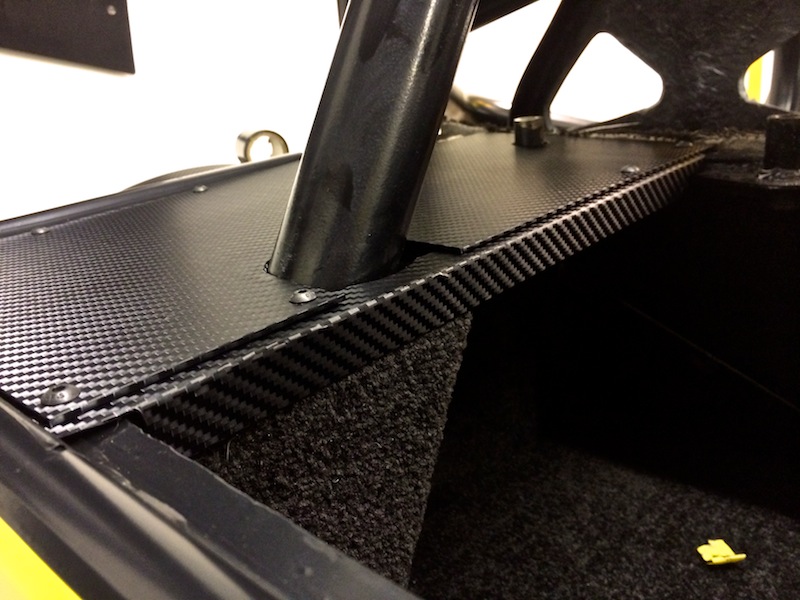
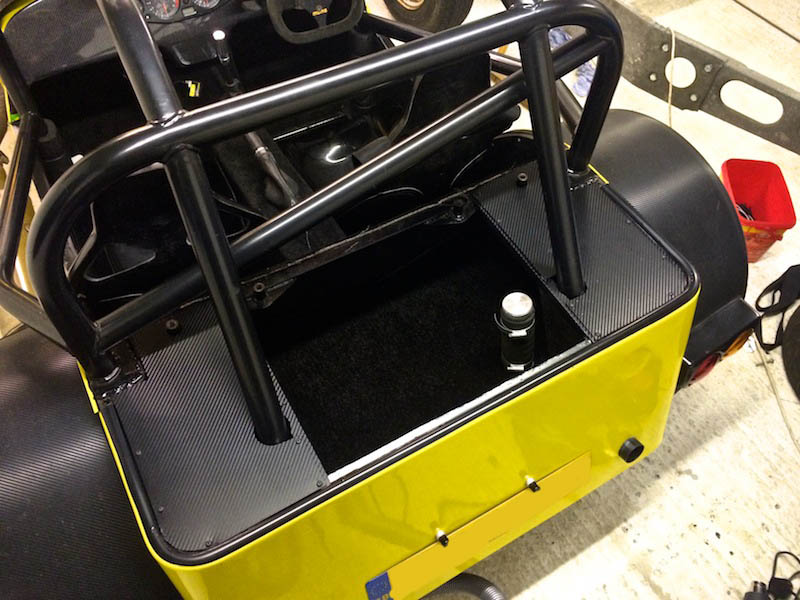
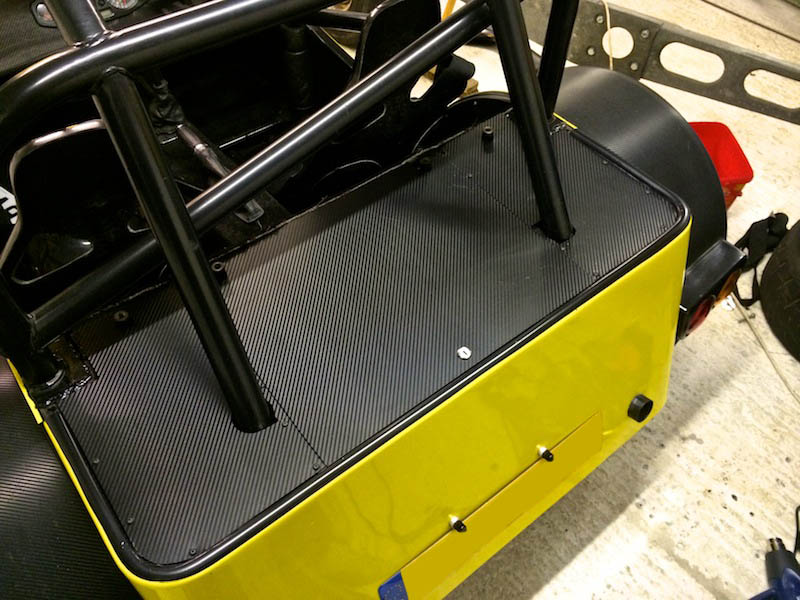
A metre special of £1.19 black plastic 25mm angled edging to finish the back edge off, where the carpet stops, and my bootlid starts, it'll give
the removable part of my bootlid something to tuck under, and hold it down 

And a pic of my other decent harness which I'm well chuffed with


johnny chimpo - 4/2/14 at 08:31 PM
where did you get the angled edge from?
yellowcab - 4/2/14 at 08:58 PM
B&Q 
40inches - 4/2/14 at 10:05 PM


 You finished the boot lid?
  A nice job it is too
Ben_Copeland - 5/2/14 at 10:30 AM
Top job as always.. about time you start driving it?
yellowcab - 5/2/14 at 07:25 PM
Only managed to get 10minutes or so last night, so just whacked on the edging, a metre is the perfect length which means it didn't even need
to be cut lol

Just drilled a couple of holes, and screwed it down using the dome headed bolts that are holding the side pieces down, neatens it up no end, can no
longer see the edge of the carpet, and gives my bootlid something to tuck under and hold it down nice and firm
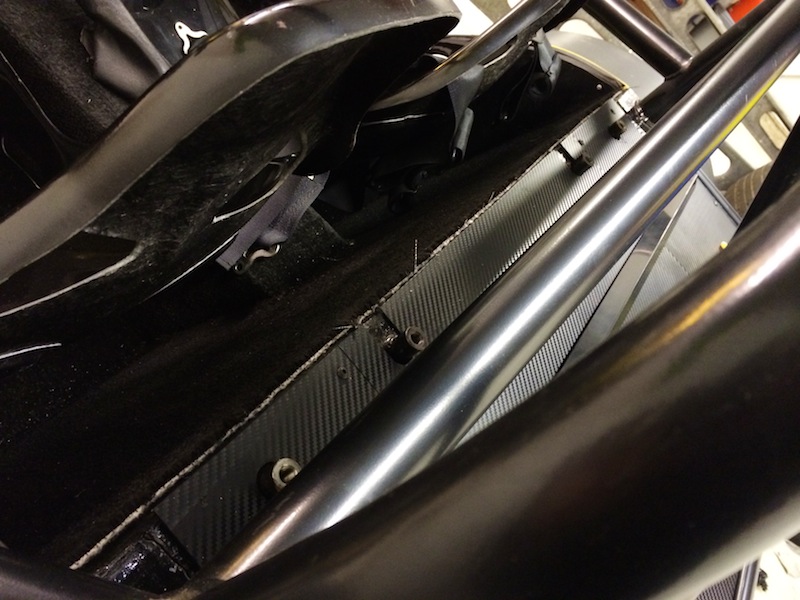

So I've used the easily adjustable lap straps (pull away from buckle) from one pair, with the shoulder straps from the other pair - as my
passengers will vary in size quiet considerably, from my 4 year old daughter up to 6ft 3inches of daveb666
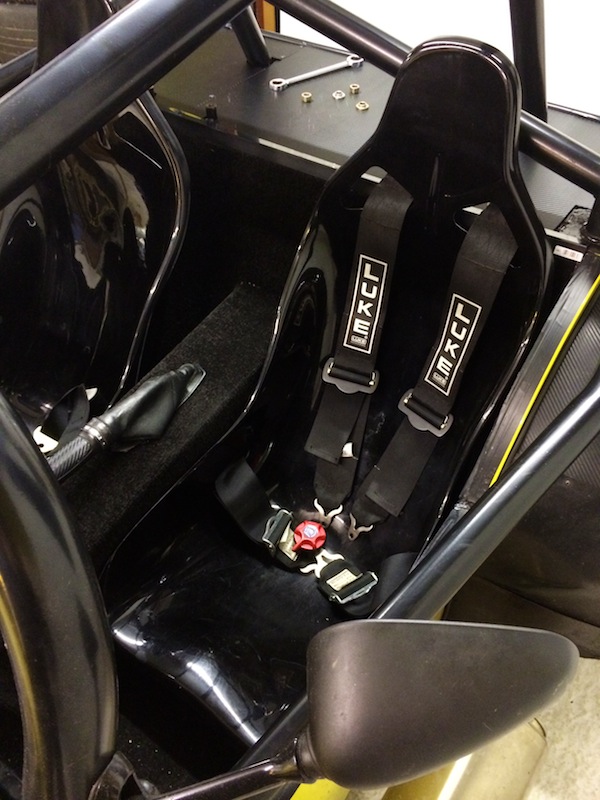

Bought some threaded bar from B&Q for a costly £1.29, in order to make my seat mounts for my drivers seat
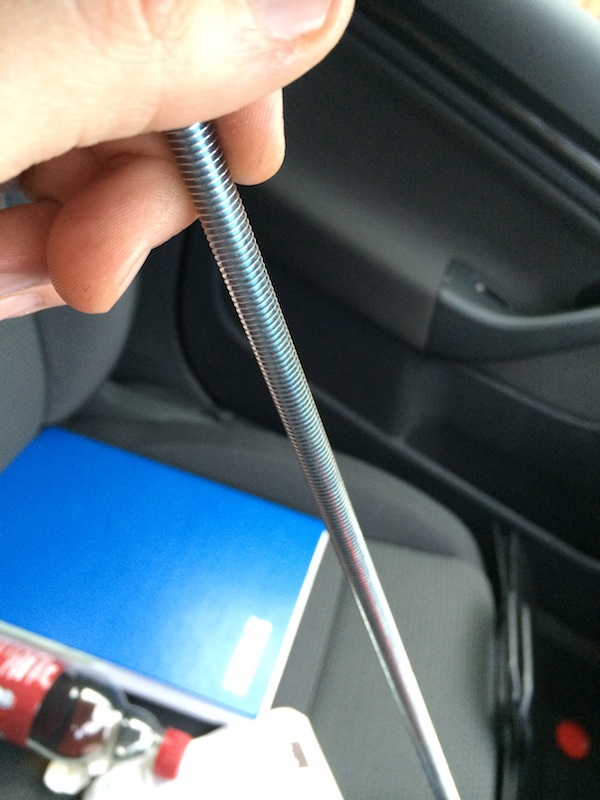
Got four of these aluminium things, which I'll drill through to create the 25mm spacer that I need
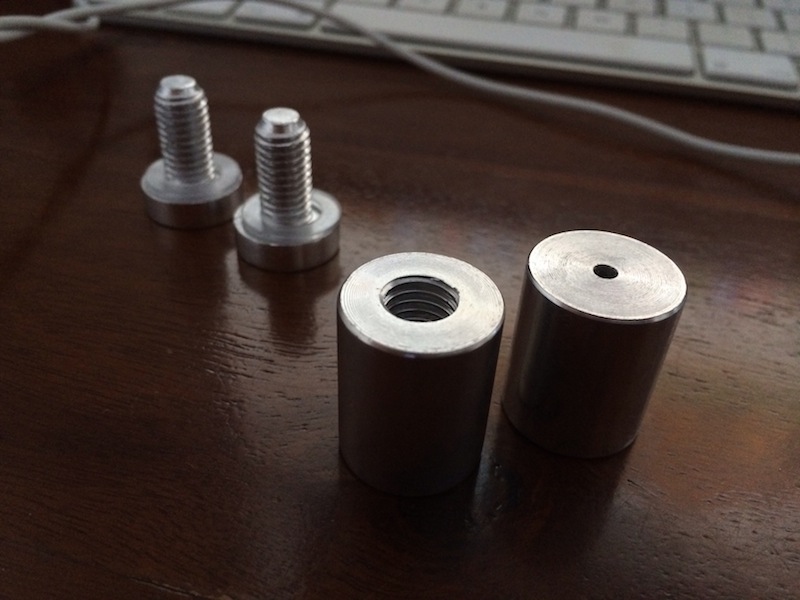
And my adjuster buckles for my drivers lap belt have arrived which means we're back on the road (after I've put it back together)
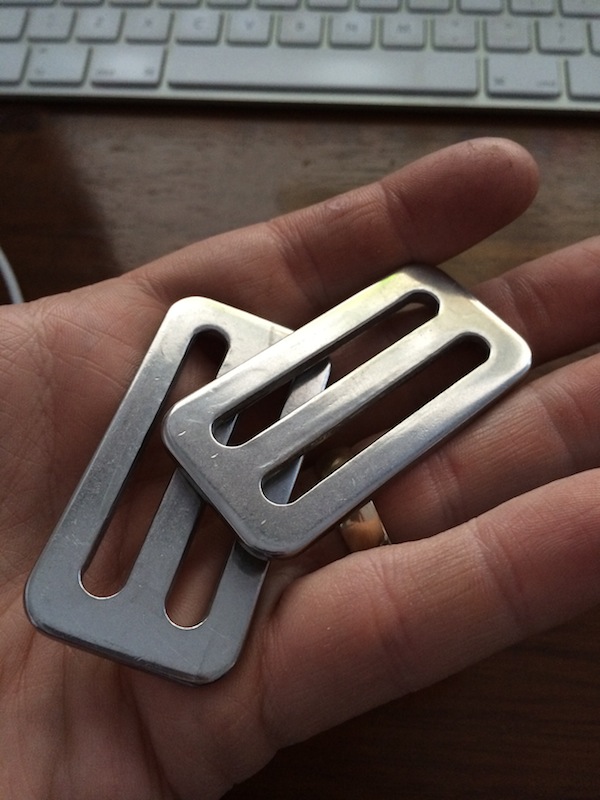
Oh, and just rolling the car forwards and backwards, the front drivers cycle wing stay catches lol lol lol 
yellowcab - 5/2/14 at 11:24 PM
So I used the 25mm ally things, drilled them out and tapped them with an M8x1.25 thread
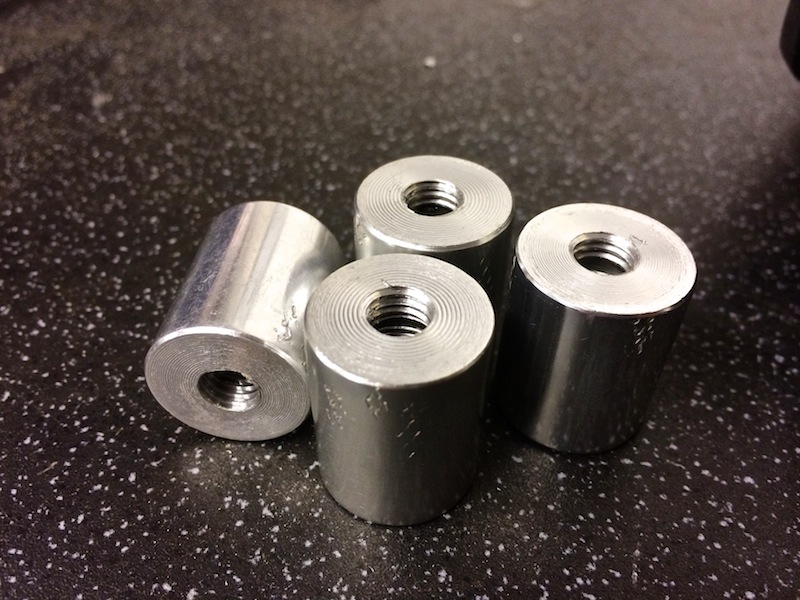
Cut some brass nuts in half, just to lock them into the seat nice and tight, aswell as thread-lock, as I didn't want the threaded bar to spin
when trying to do the nyloc nuts up under the car


Ready for the seat
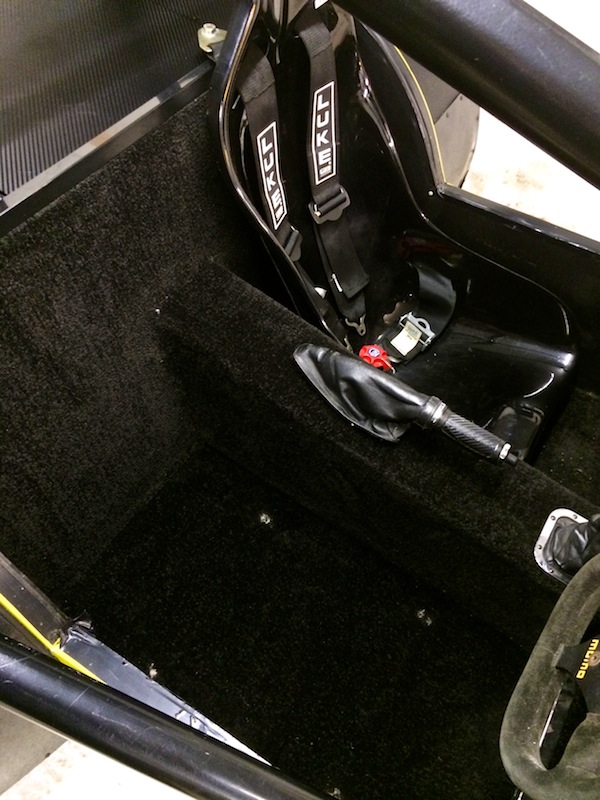
Harness locking buckles fitted to the existing lap belt of the 'single seater' harness


All sorted, just guessed the length and it was spot on...
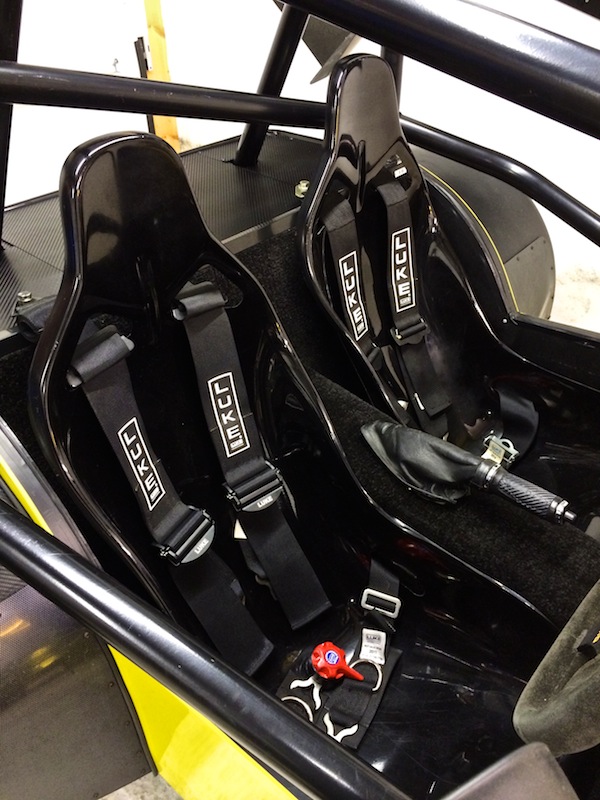
Next up - whilst on track, my helmet rattles on my seat which pisses me off, so bought some black eva foam to make some head & bum protection (to
prevent submarining and general movement)
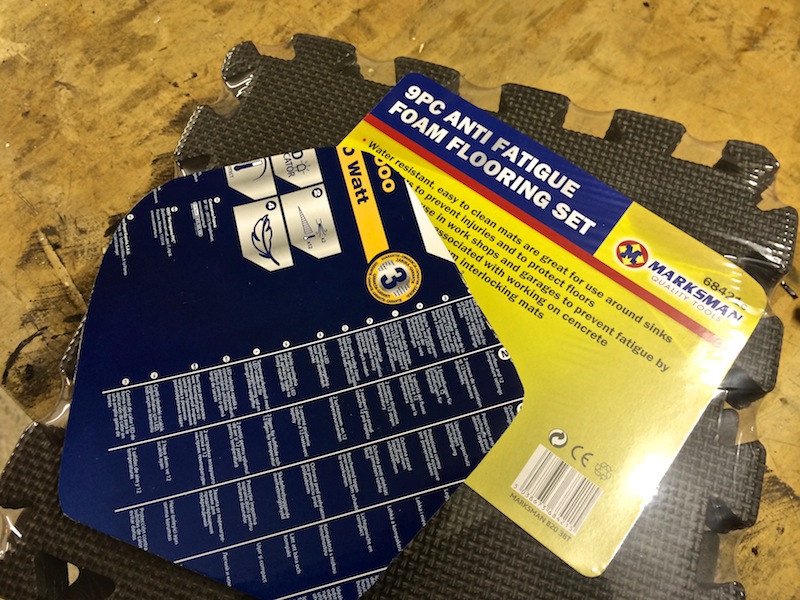
But thought they looked shit, so I removed them, and made them from the black carpet that Dave got for me - cheers pal

Also some kidney shaped bum/leg pieces

yellowcab - 5/2/14 at 11:27 PM
Next up - I got cutting up some of the carbon goodies I had bought - I had my eye on a carbon passenger footrest on eBay which ended up selling for
£132 eeeeek  , so decided to make one from the bits I got
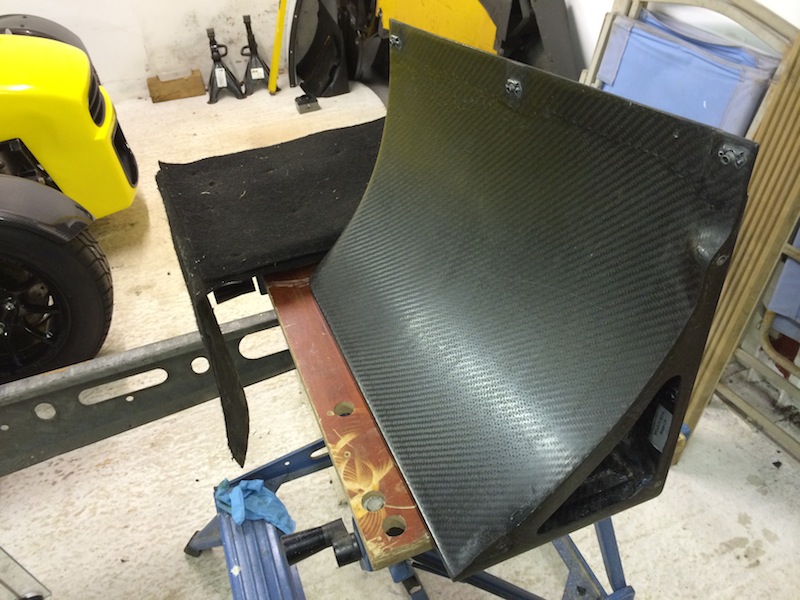
Got the saw out

Then the grinder, so it slots over the box section as the outside of the footwell gets narrower towards the front of the car

Job jobbed, proper happy with how easy it fitted in... all in all, a productive night for once 

[Edited on 5/2/14 by yellowcab]
yellowcab - 5/2/14 at 11:38 PM
Ouch - £178
http://www.rallynuts.com/co-driver-hardware/obp-carbon-fibre-navigators-footrest.html
Ouch - £165
http://www.jjcraceandrally.com/race/pedal-extensions-footrests/sparco-co-driver-carbon-footrest
Ouch - £150
http://www.carbongoodies.co.uk/Universal-Carbon-Fibre-Footrest-for-use-with-Carbon-Footwells
CosKev3 - 6/2/14 at 04:06 PM
Looks spot on and a big bonus when you see the price of those ready made ones! 
yellowcab - 7/2/14 at 04:51 PM
Bit of a breakthrough finally, with having my trailer steels delivered.
An inpromptu visit from Mike up from Eastbourne, lead us to doing a late-nighter until 0100am this morning getting this little beauty built up.
As you'll probably remember myself and Colin (ReMan) buying a caravan Alko galvanised chassis and ripping the top off, and you'll probably
have noticed the chassis being in the background on alot of the photos recently, so no anymore!
Maybe a lot of pointless photos here - but I'm documenting for my own benefit aswell as others also building a trailer
Front capping I/D matches the outer wall over the troughs O/D so it slots inside

The inside of each trough is only half the height, in order to be no where near the wishbones when driving the car, so a 50mm ally spacer made to
bridge the gap, and tighten adequately

Again, for testing only - we got the widest of tyre combo I have, to checkout the trough width
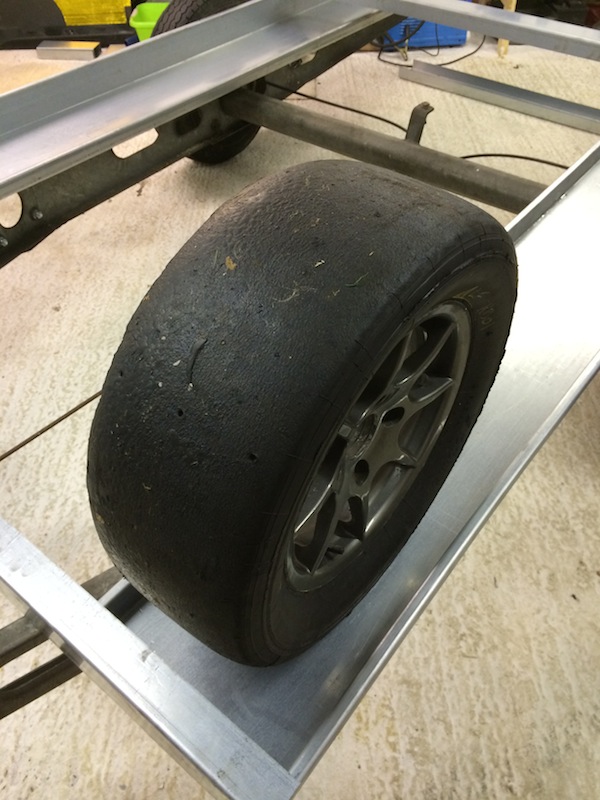
Old jump lead ends are a handy mole grip for temporary fixing, this is the back of the trailer, with a wider box section, to allow room for the lights
and number plate

So with the ramps just mole gripped to the chassis, and some make shift ramps (proper ones being dropped off tomorrow) we pushed the car up - to check
the tow hitch weight
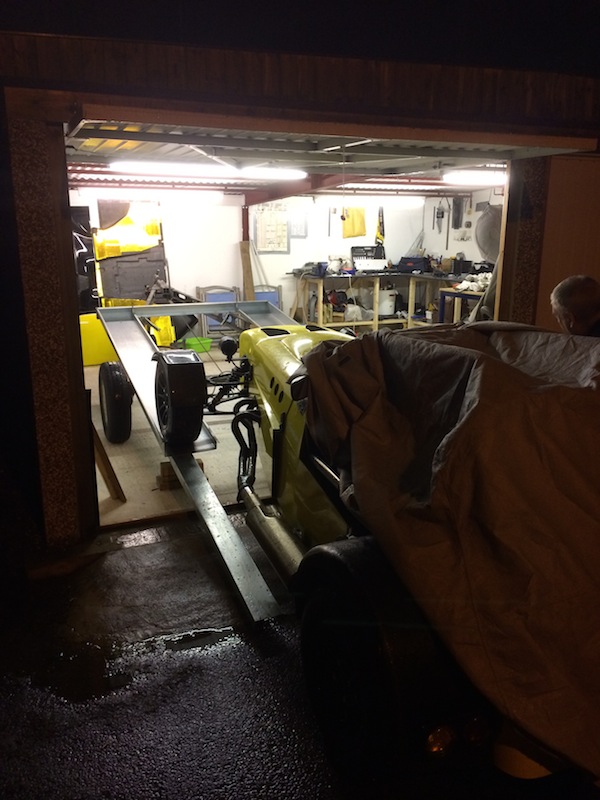
Still not bolted other than at the front to the box section, the car is resting on

Checking internal and external track width - perfect


Not trusting the handbrake too much, we temp rachted it down to the front chassis to prevent it rolling back
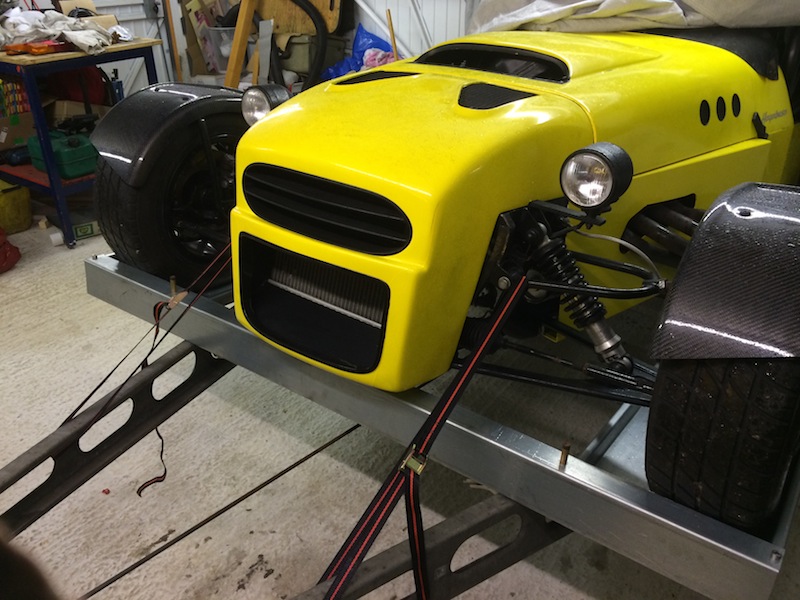
So we eyeballed it to begin with, but the hitch weight was too much for my liking, at 84.6kg

So we rolled the car back 6 inches, to imitate moving the troughs too, just to shift the weight, a perfect 50.9kg

However, I want a tyre rack, so we stacked the tyres as if the rack would be over the nose cone... but this left us overweight on the hitch again...
75.9kg
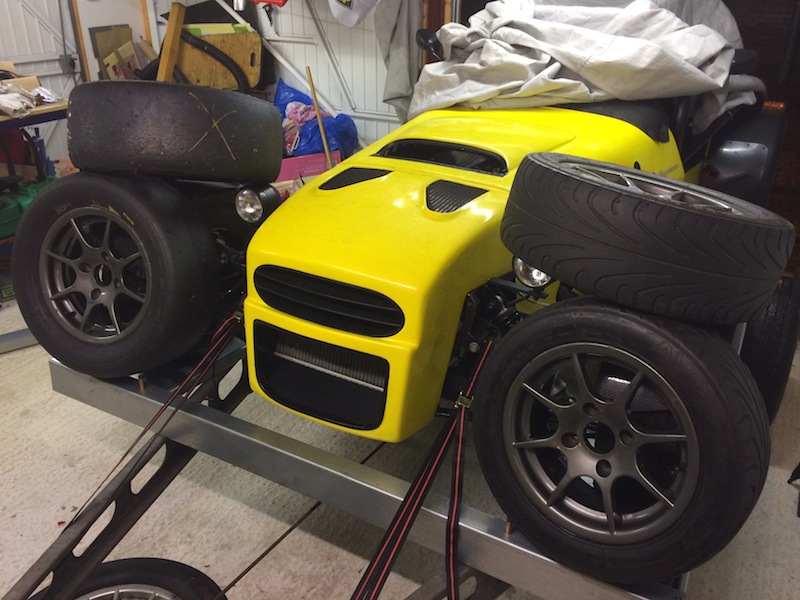

So to reduce hitch weight moreso, we opted to build the tyre rack over the bonnet, as opposed to the nosecone, which got our hitch weight down to
48.9kg, pretty cock on

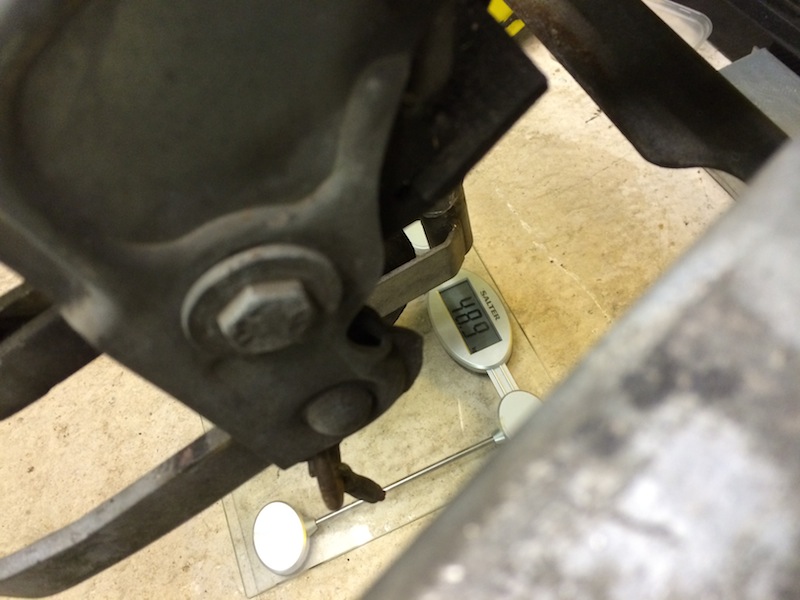
But i want to make a lockable tool box to sit on the trailer to put all my straps in, tool bags, and general crap, so again we imitated this weight by
using a couple of tool bags either side, and a slick tyre... aswell as the tyres sitting over the bonnet, hitch final weight of 63.3kg... perfect


[Edited on 7/2/14 by yellowcab]
yellowcab - 7/2/14 at 05:01 PM
So once we had our position, we used the original bolting & mounting holes in the Alko chassis to mark the underside of each trough, and
thankfully my OCD will be OK - as the bolts & holes run dead centre up each trough - WIN/WIN
To allow trailer tyre clearance, we whipped the overhang off where the mudguards will be fitted
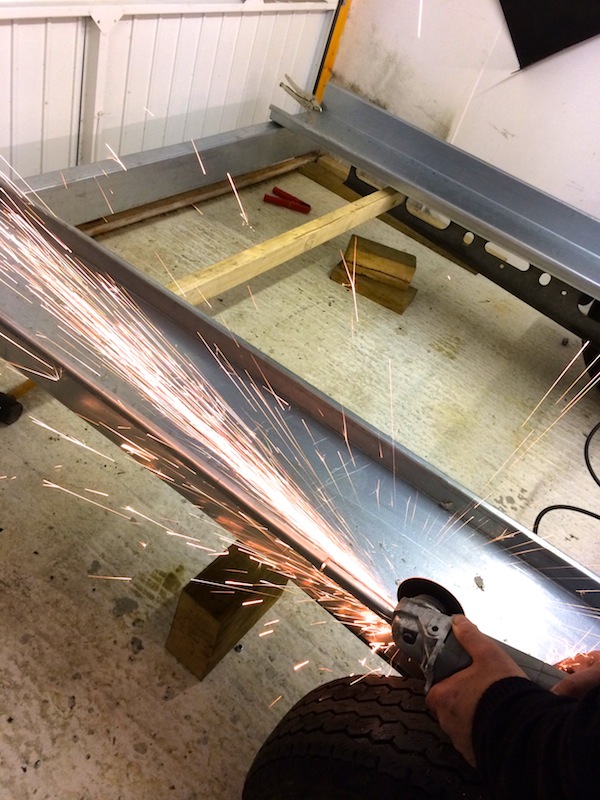
Cut two bits of wood the same length and temporarily jammed them in to make sure the parallels are bang on parallel and upright - they are

Bolted the front and back capping & number plate/ light board to the troughs, flipped it upside down, then drilled through where the marks are
from the Alko chassis

Two slots in the Alco chassis enables this cross section to go in, to add mid-trailer rigidity, aswell as something to bolt the mudguards to to stop
them flapping around

Box section back on, and bolted down

Cut out for the mudguards

The nuts & bolts of it all done and complete

Swap time

We've decided to reduce the length of the 'A' sections by a couple of foot, just need to finalise some bits & bobs, tart it up a
little, paint the wheels, put the front mudguard stays on, edge trim, warning triangles etc..

Huge thanks again to Mike for coming up, and helping me out with the mammoth task, and then driving home to Eastbourne from Leicester at 0100am
you're bonkers... but adamant he'd prefer to make the journey at that time rather than peak.
Thanks once again pal - appreciate it all.
daveb666 - 7/2/14 at 05:29 PM
Some proper progress on the trailer, well impressed.
Puts my proper one to shame lol
daveb666 - 7/2/14 at 05:52 PM
quote:
Originally posted by yellowcab
So I've used the easily adjustable lap straps (pull away from buckle) from one pair, with the shoulder straps from the other pair - as my
passengers will vary in size quiet considerably, from my 4 year old daughter up to 6ft 3inches of daveb666
6ft4 I'll have you know 
Ben_Copeland - 7/2/14 at 10:26 PM
Trailers looking awesome. 
cosmick - 8/2/14 at 08:18 AM
Looks just like a bought one.
This is MK3 as I have built 2 others to the same design. This one has all the advantages of a few problems ironed out in MK1 and MK2. The joy of this
one was in the preparation, everything was ready to just bolt it together on the night. It will look absolutely superb when it is completely
finished.
yellowcab - 9/2/14 at 12:27 PM
So spent a couple of hours this morning finishing off one of the mud guards
Where the mudguards do not fall 90degrees to the ground, you have to mimic the angle of the stay for it to sit nice and flush, its around
80-85degrees,
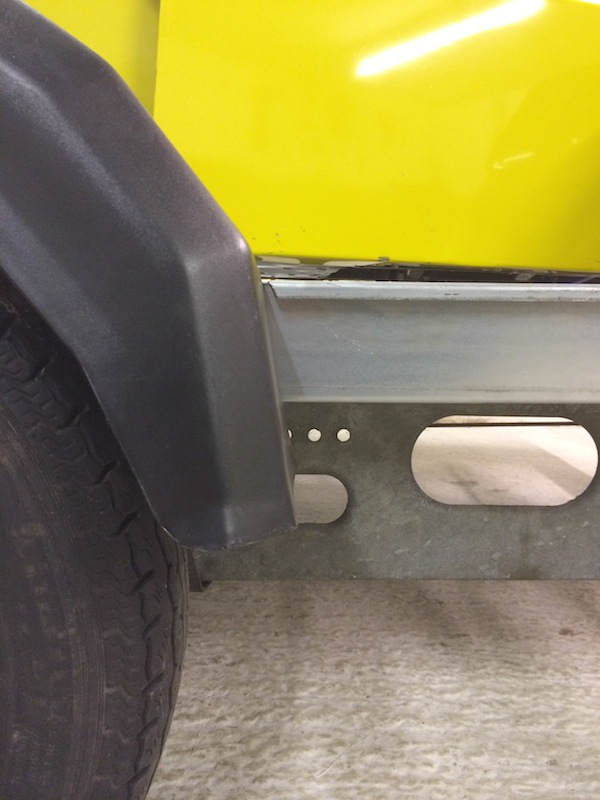
So bent one edge in a vice, to match this

Measured up and drilled through the stays and the troughs
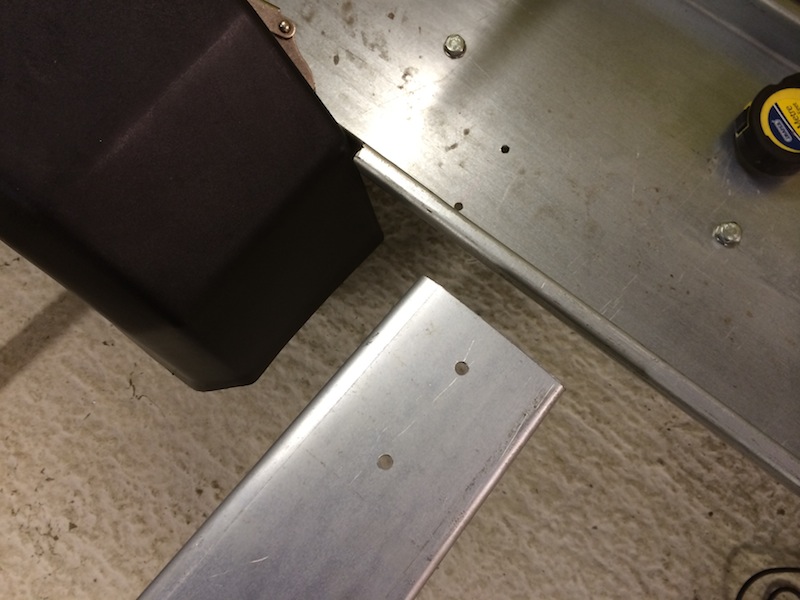
Perfect mating angle

Ran the bottom of the mudguard along the bottom of the stay, so they're equal both front and back

Whipped off the guard, and offered up how i'll fix it to the side of the troughs

Insides of the mudguard all marked up

M8 bolted it to the troughs, then trusty M10 to the stays both front and back, these can now be stood on, and even driven over should I have to tow a
wider car than mine

Next up, is to complete the infill

Seen alot of cars on trailers get absolutely filthy on the outside due to spray coming up in the wheel arch of the trailer, so wanted to fill this
in
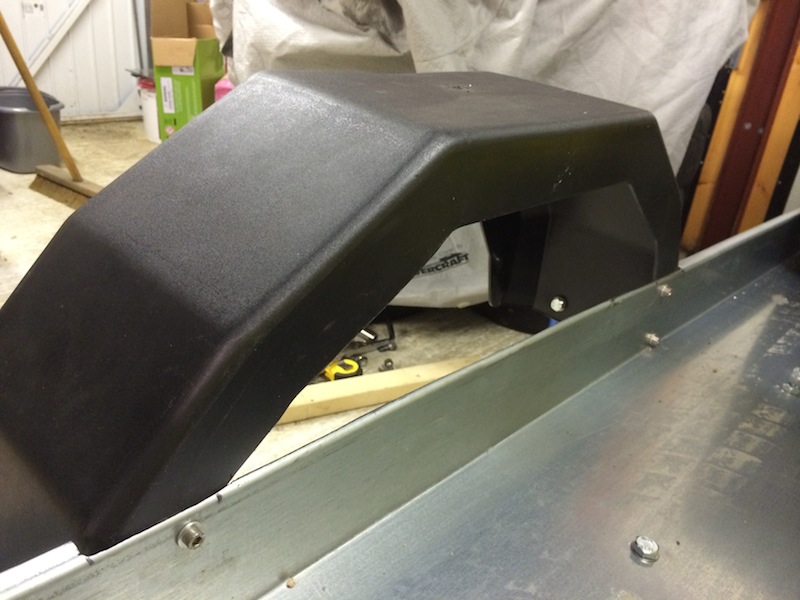
Template made - thanks to kids christmas presents
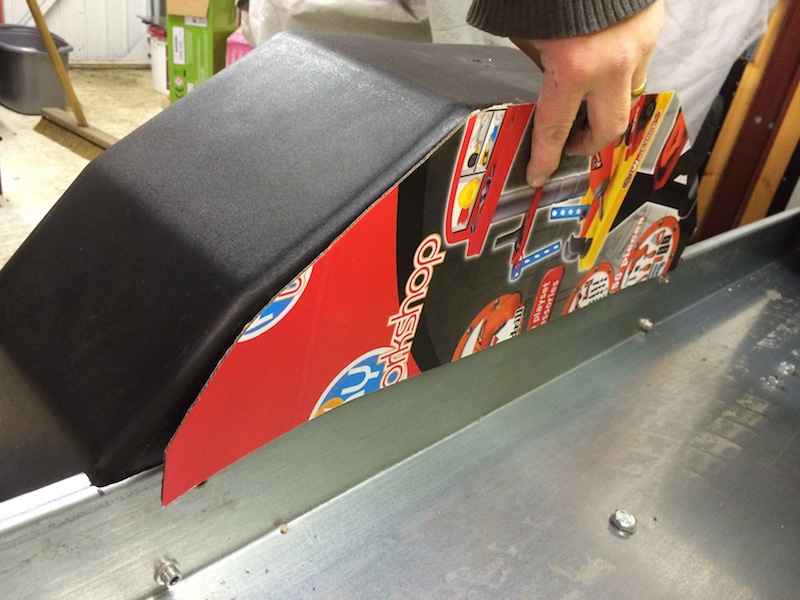
1.6mm ally cut out, and dome headed M6 bolted, which will also add a little more rigidity... I will be replacing the 4x M8 bolts for dome head too, so
my should my tyre touch, they will just scrub by them
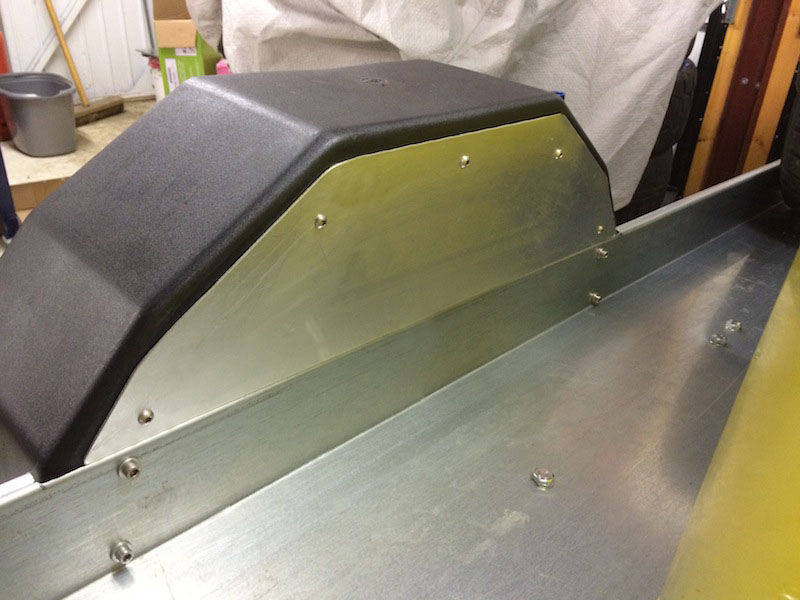
No splash getting through there now!

Thats it for today - family time.
gavink - 9/2/14 at 10:12 PM
More great work
yellowcab - 10/2/14 at 04:34 PM
Thanks Gavin, I know its slow progress but all is a step closer
Took the car out the garage on the trailer, and flipped it around so I wasn't working up against the wall
So the kids are growing up now, and now old enough to hurt themselves when they fall, so I've nicked their soft play mats, to save my ever
aging knees from the concrete floor

No WIP shots - as it was the same as the other side, but the nearside mudguard fitting, exactly the same way was the offside
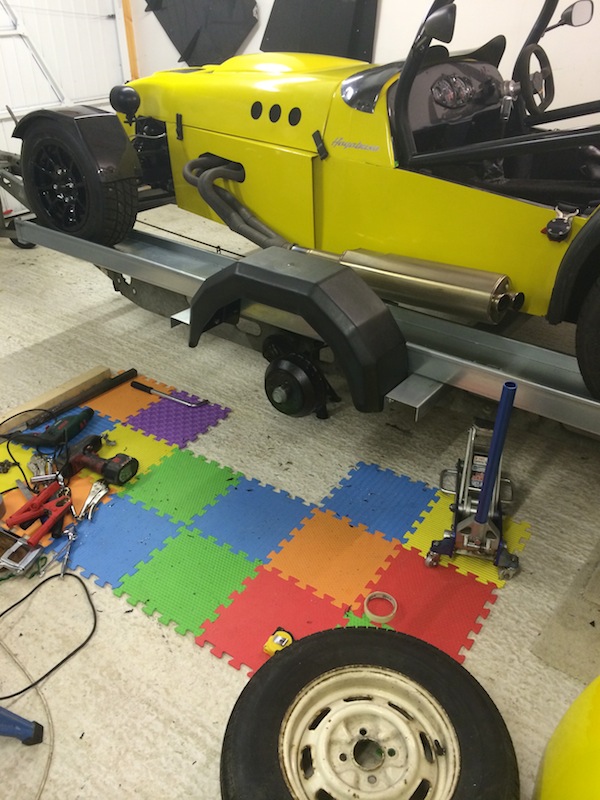
Complete with poo catcher


Front splitter/ under tray needed trimming under the sump guard now I have a dry sump, the pipework wasn't allowing me to fit it flush with the
underside of the body, so I whipped off the removable access panel, and made the hole larger
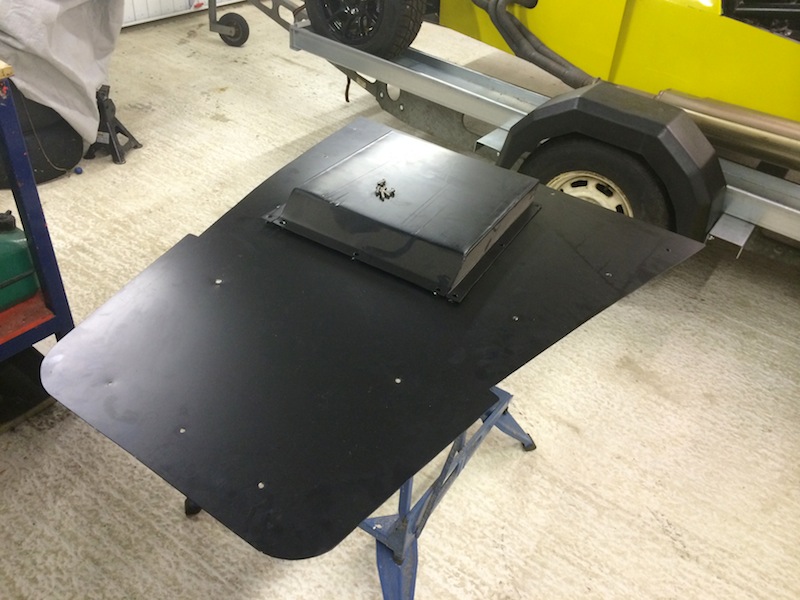

Before and after
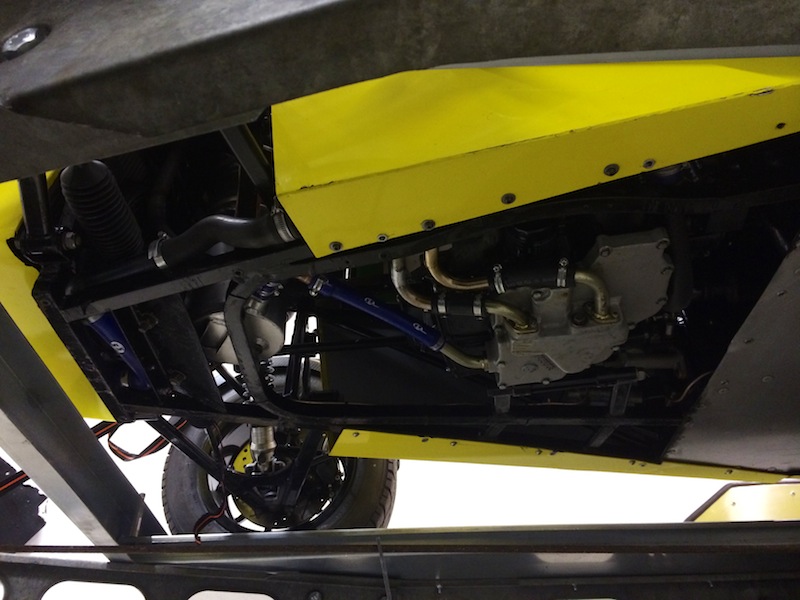
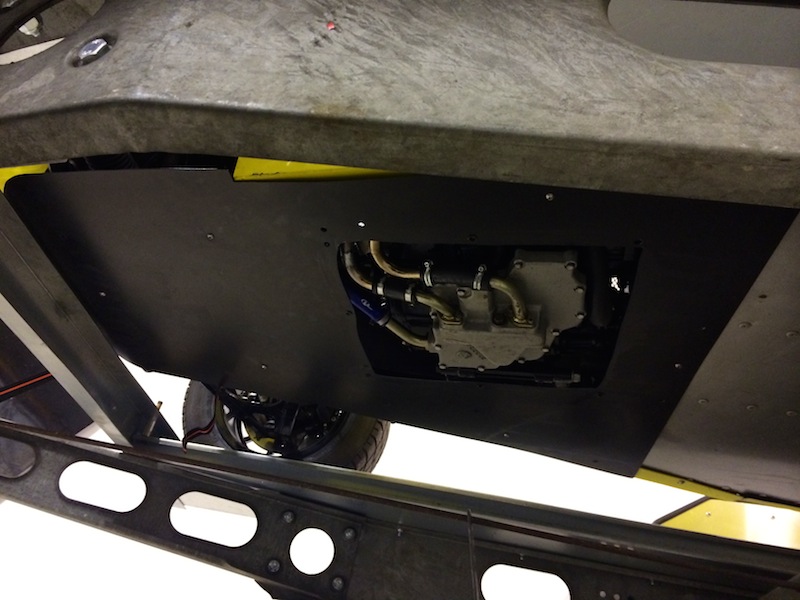
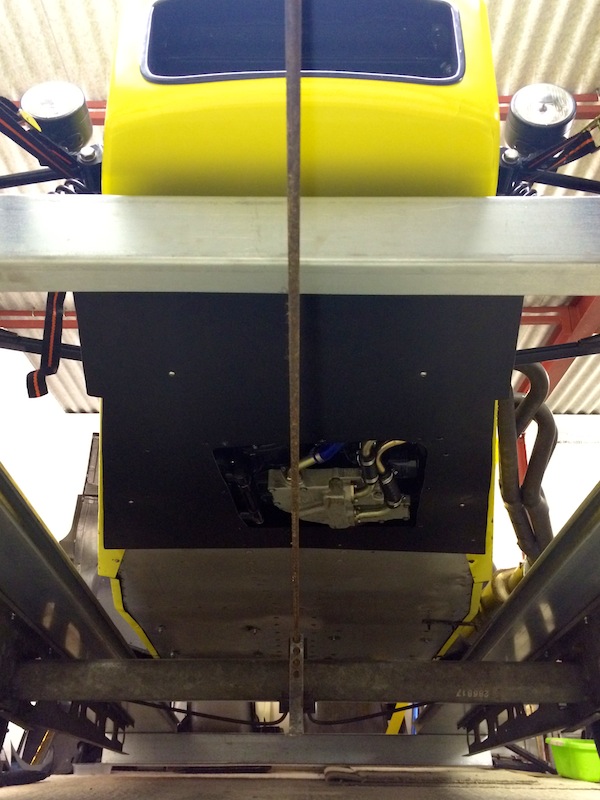
Just the sump guard to refit.
This one will actually be for sale, for anyone interested in buying it - as I'll need to make a new one due to the new nose cone sticking out at
the bottom about 8inches further
[Edited on 10/2/14 by yellowcab]
Matt21 - 10/2/14 at 05:24 PM
looks great!
Loving the trailer, I think I'll be making myelf one of the same design sometime this year. Just need to measure up to see if it will fit in the
garage! 
daniel mason - 10/2/14 at 06:18 PM
did you try reversing the car on but with tyre rack at hitch end?
yellowcab - 10/2/14 at 06:20 PM
I don't have a reverse Daniel, so forwards is the only way for me - then free wheel off, which is why I raise the hitch end so high 
CosKev3 - 10/2/14 at 09:38 PM
Nice work.
Bit disappointed no carbon fiber has been used on the trailer................
yellowcab - 10/2/14 at 09:46 PM
Yet 
Trailers need aerodynamics too y'know lol
mccsp - 10/2/14 at 10:08 PM
Hi
Wish I had this much commitment and motivation.
Liking the nosecone, how did you find it?
Any idea what the black trim around the top of the rear panel is, pic below:
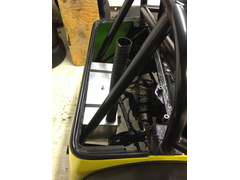

Description
Keep up the hard work
[Edited on 10/2/14 by mccsp]
yellowcab - 10/2/14 at 10:18 PM
Hi pal,
Thanks for the reply, it's just 2inch wide black insulation tape from eBay, heated up with a heat gun as you apply it, to make it more
conformance and stretches nicely
Hope this helps, good luck 
CosKev3 - 11/2/14 at 08:15 AM
quote:
Originally posted by yellowcab
Yet 
Trailers need aerodynamics too y'know lol
Lol 
As I was reading I really expected the inner wheel arch crap stopper was going to be carbon!
yellowcab - 11/2/14 at 08:19 AM
I was going to wrap them in carbon, but they'll get scrubbed up against lol
Not much of that carbon I have is 100% flat panels, they have slight curves in
40inches - 11/2/14 at 10:07 AM
"to save my ever aging knees from the concrete floor" 


What a wuss 
hkp57 - 11/2/14 at 11:16 AM
Yellowcab, your trailer looks great.
I am in the middle of drawing up some plans for a home made tilt bed trailer and I am ver interested in the balance pont you got for the nose weight.
I know I can't expect like for like results but it is a starting point.
Can I ask where you got the pressed steel sections for your bed?
Also could you give me the width

Along with where the center point of your trailer axle was in relation to the wheelbase?
Thanks

yellowcab - 13/2/14 at 05:31 PM
Hiya mate,
Got the galvanised steel all from a 'sheet metal' place - on the local industrial estate 
As for measurements - I'll by all means u2u you them - the reason I haven't made the public, as I'd hate for someone to naively use my
measurements expecting their car to just roll on… there are some many different variables…
I'll measure up tonight and let you know - but please bare in mind mine is a BEC with not a lot of nose weight, so take this into consideration
if you're CEC… the easiest way I could advise, is just like we did - roll the car up onto the ramps that were only temporarily fixed, lift jockey
wheel onto scales, and move car forwards & backwards accordingly 
Furthermore, from centre line of trailer wheels, to centre line of car front & rear wheels is completely irrelevant, as it all depends on length
from end of troughs, to hitch - mine will be shortened even more than it already has been 
yellowcab - 14/2/14 at 12:24 AM
Didn't get up to much tonight, was feeling kinda crap, so I just did some tarty bits 
Trailer handbrake looked sorry for itself
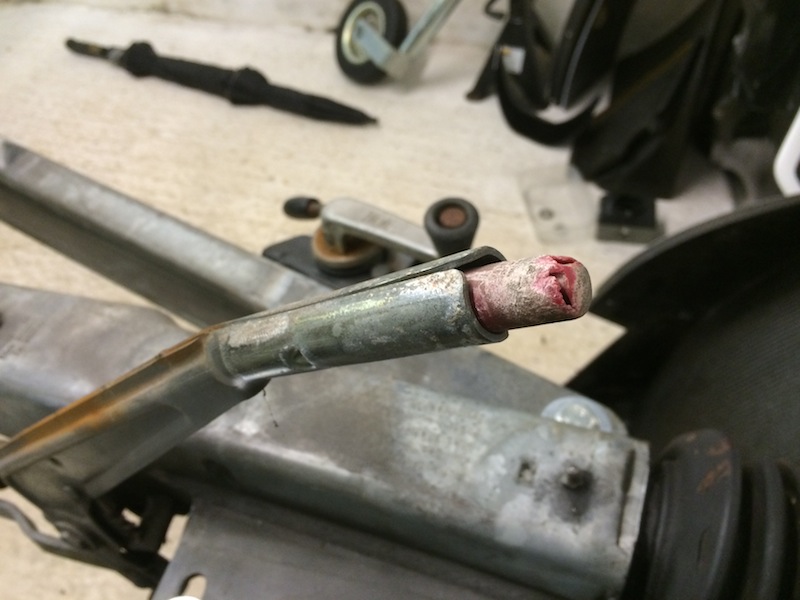
So I treated it to a new Alko grip, and some wrappage lol
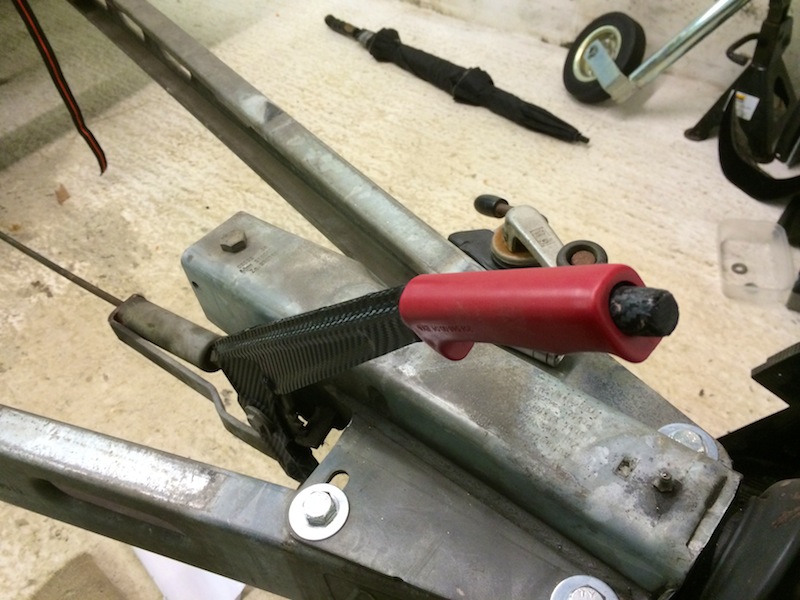

New taller jockey wheel ready to go on after I've shortened the A-section
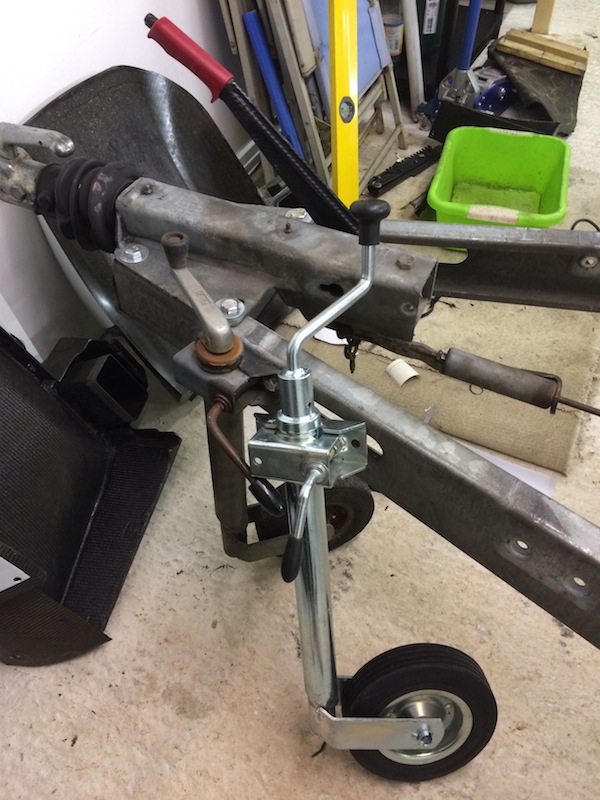
Put some rubber edging on all the bare metal edges on the outside of the trailer, waiting for some end caps too

Then the next carbon cutting up culprit got marked up for its death, this shall be my rear diffuser, unless I cut it wrong and it all goes tits up
lol
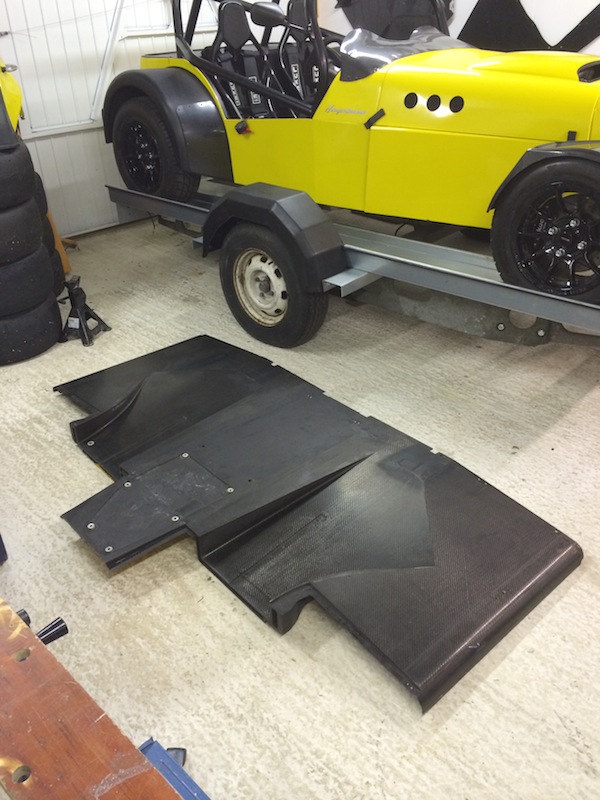
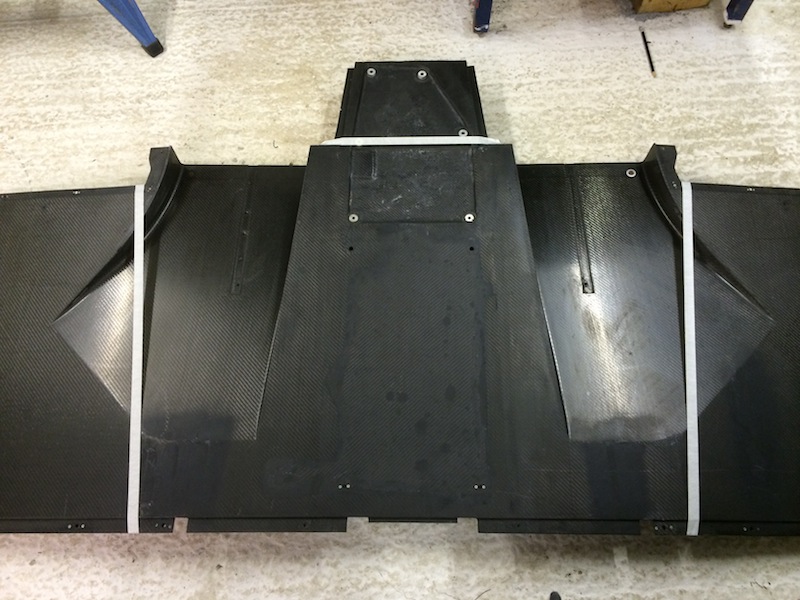

[Edited on 14/2/14 by yellowcab]
hkp57 - 14/2/14 at 10:47 AM
quote:
Originally posted by yellowcab
Hiya mate,
Got the galvanised steel all from a 'sheet metal' place - on the local industrial estate 
As for measurements - I'll by all means u2u you them - the reason I haven't made the public, as I'd hate for someone to naively use my
measurements expecting their car to just roll on… there are some many different variables…
I'll measure up tonight and let you know - but please bare in mind mine is a BEC with not a lot of nose weight, so take this into consideration
if you're CEC… the easiest way I could advise, is just like we did - roll the car up onto the ramps that were only temporarily fixed, lift jockey
wheel onto scales, and move car forwards & backwards accordingly 
Furthermore, from centre line of trailer wheels, to centre line of car front & rear wheels is completely irrelevant, as it all depends on length
from end of troughs, to hitch - mine will be shortened even more than it already has been 
Thanks, Mine is BEC also
yellowcab - 15/2/14 at 09:15 PM
Bit of a long winded and tedious post - but worth it for those looking at making a trailer for themselves…
When I had the sections cut & bent by the sheet metal factory, I didn't let on what it was for, just the dimensions, so they just supplied me
with bent ramps, no cuts… so that was todays task… to make them 
New longer jockey wheel will now be positioned onto the hitch itself as it already had bolt holes the correct spacing
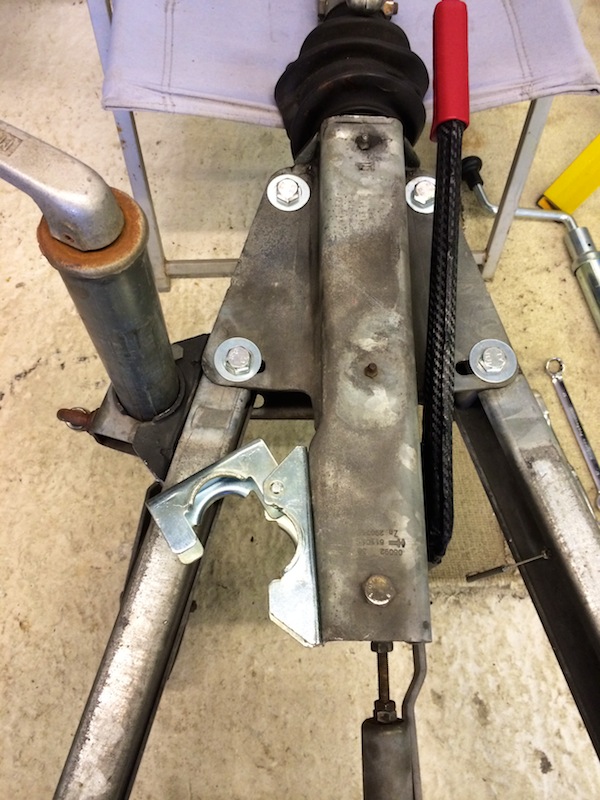
With a problem that I knew was going to happen, couldn't be tightened
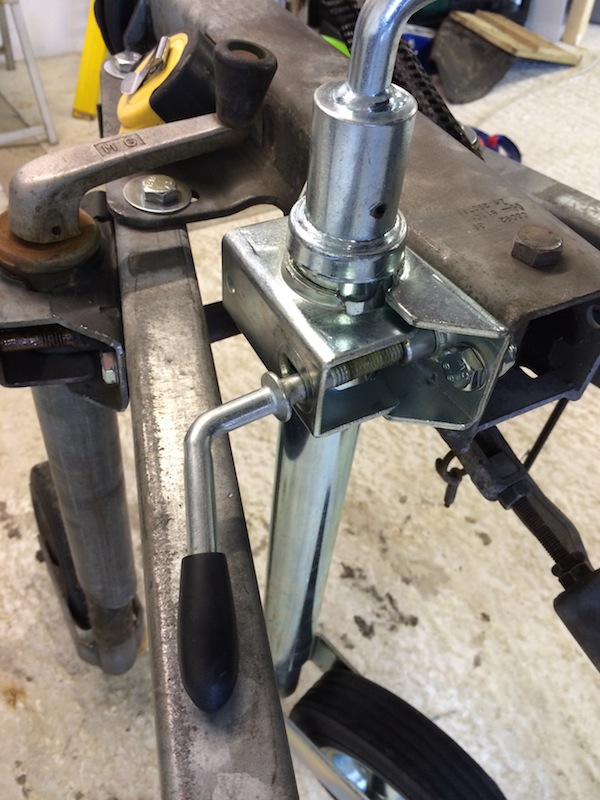
Whipped if off, stuck it in the vice, and wrapped it as it snarled up the metal a little, job jobbed
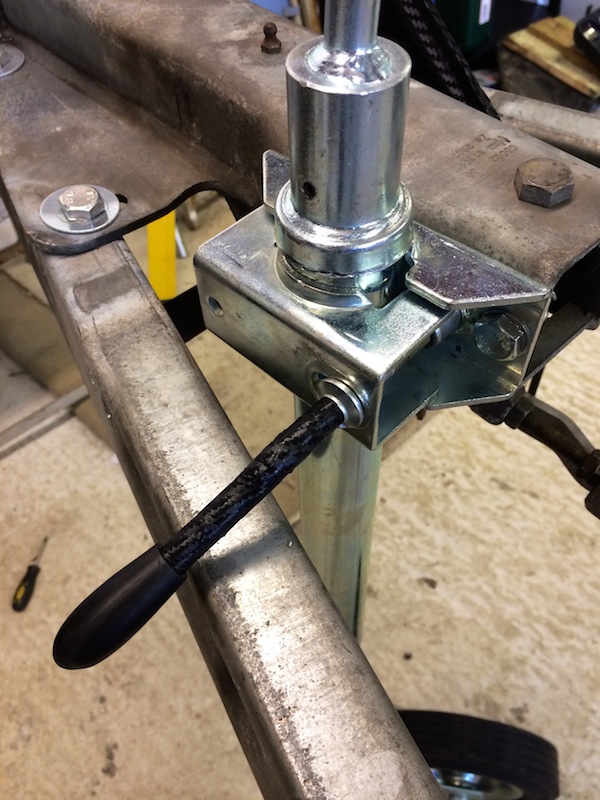
Something rather bright in the sky today, think it was the sun, which gave me the opportunity to make the ramps on level ground, I couldn't do
this inside the garage, it's sat on a 4inch base, so the angles would have been wrong with them hanging out the garage door
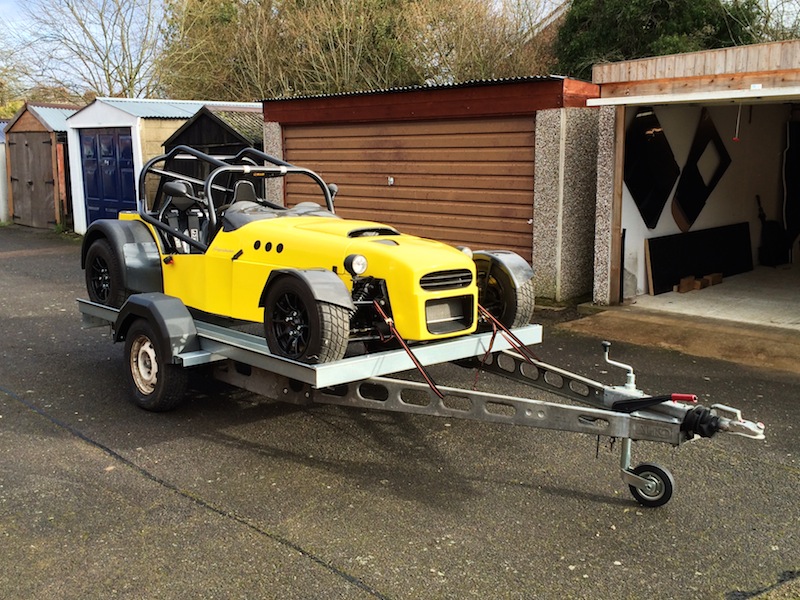
So with the jockey wheel up all the way, we have a very slight angle, however we are shortening the A-section, which will bring the jockey wheel 2ft
further towards the trailer wheels, which may or may not eliminate this slight angle change
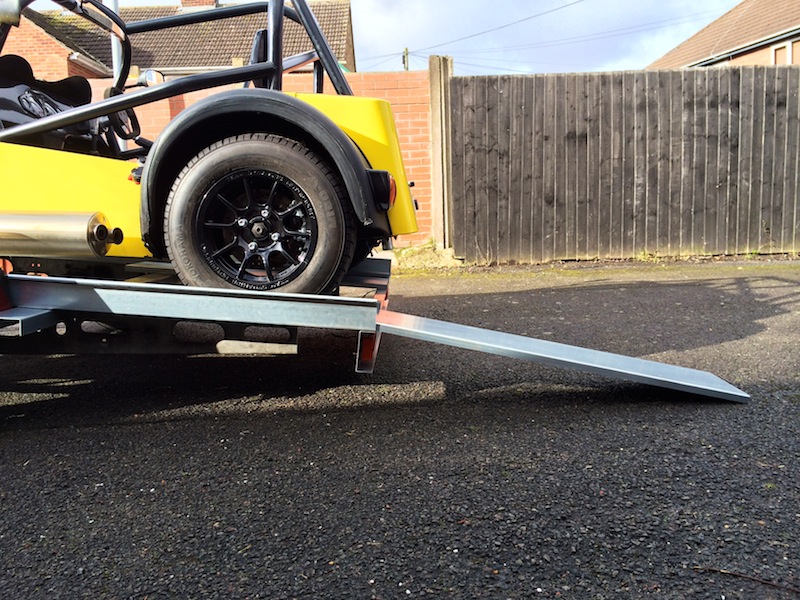
You can see here the ramps are just crude bits of metal, with folded 25mm edges, nothing else done them… so this is how I went about it
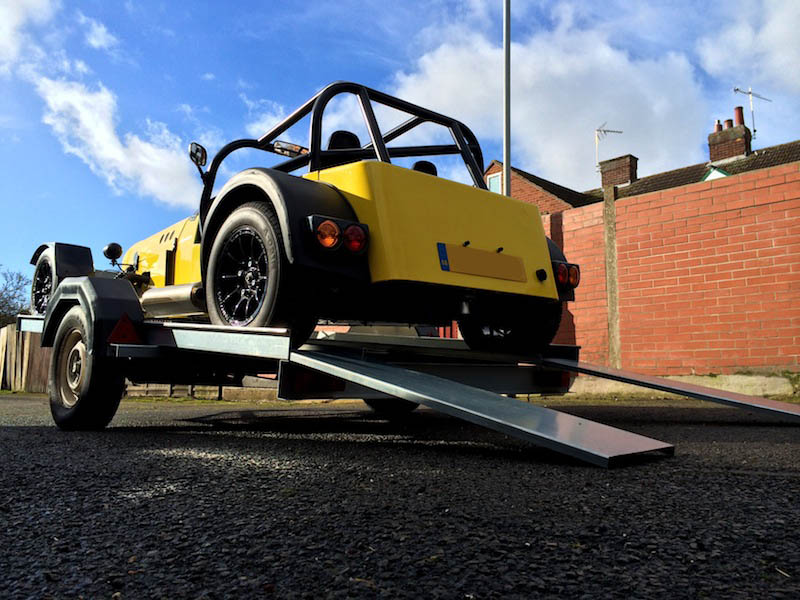
Marked the overlap, where I wanted the ramp to overlap the troughs, and I didn't want a securing bolt to have to turn upside down when the ramps
are in use, as I wanted to use the bolt heads that were bolting the numberplate/light metal, to the troughs

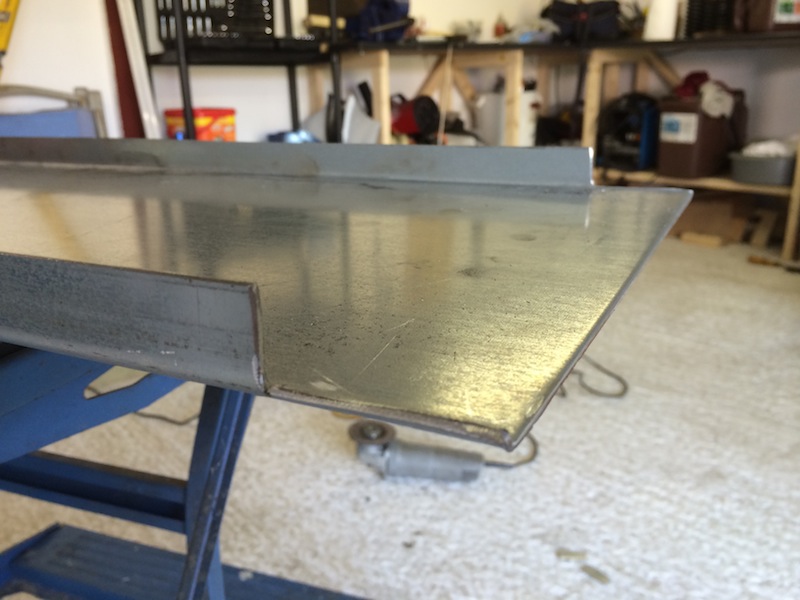
Got a piece of ally in the vice, and used a straight edge to put a nice neat kink in it
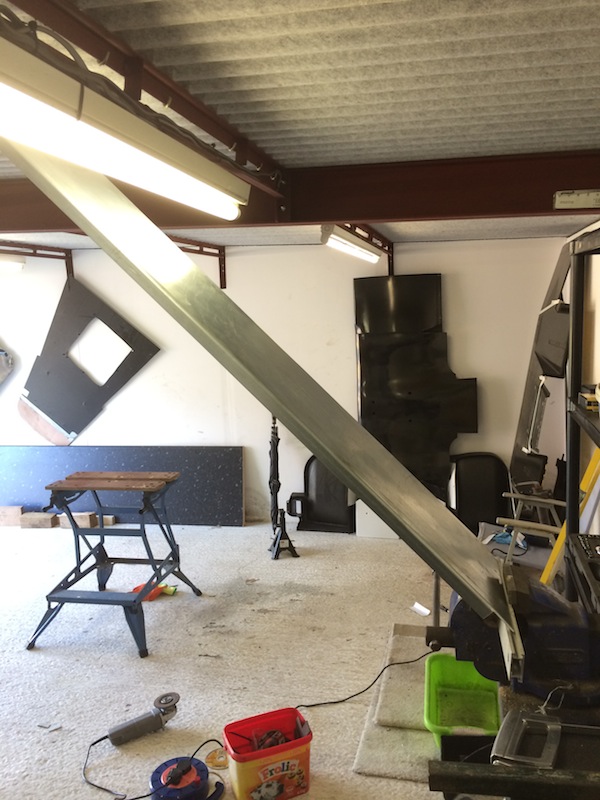


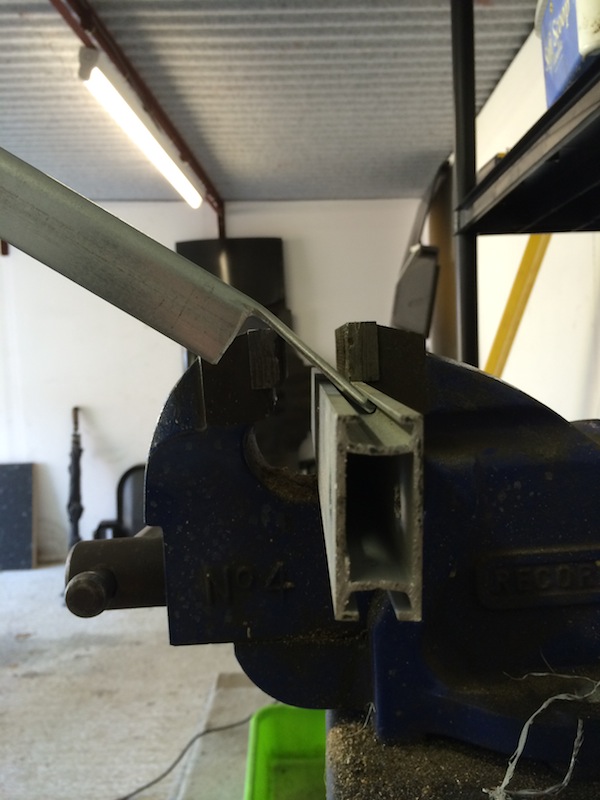
Happy with the angle, now to mark out meticulously, for the bolt heads
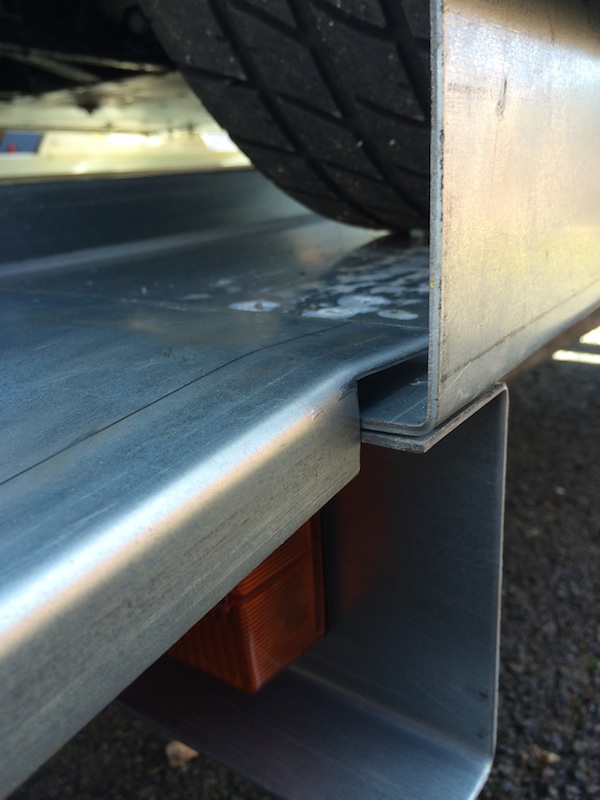

Drill a pilot hole to begin with, the mark through, to check we're in the right place
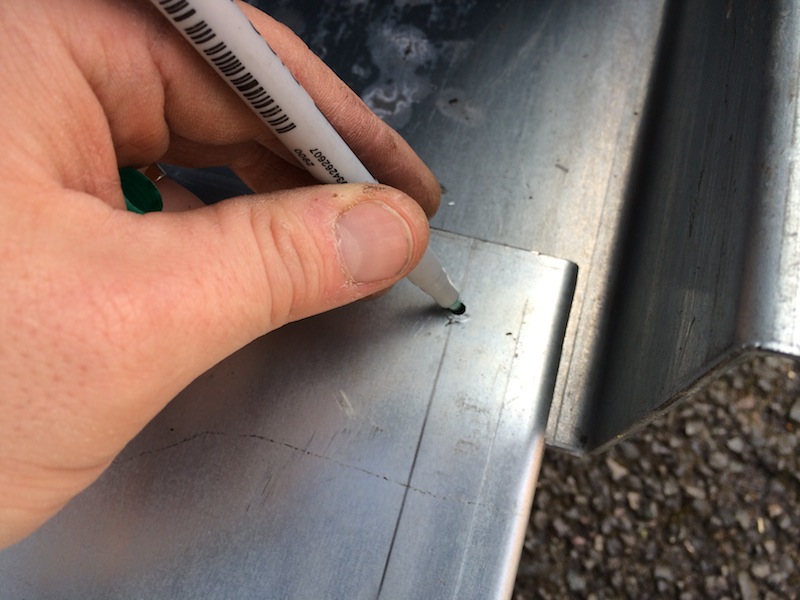
Happy with that

As the largest drill bit I had was 10mm, and these were 17mm bolts, I had a lot of hand filing to do, took me about 4 hours all told, but a well
worthy job… my holes saws weren't up to the job, and I didn't want to have to go out and buy kit for this one job
So three hours later, I couldn't be happier with the result

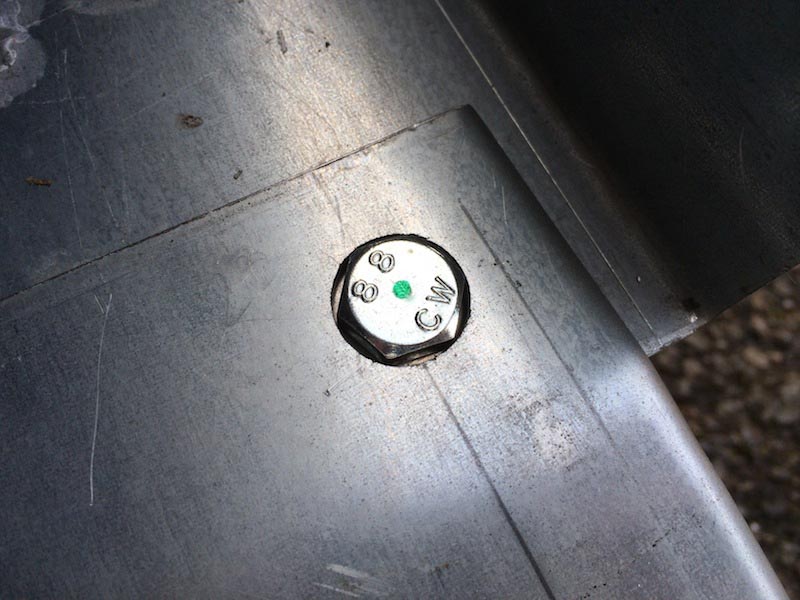
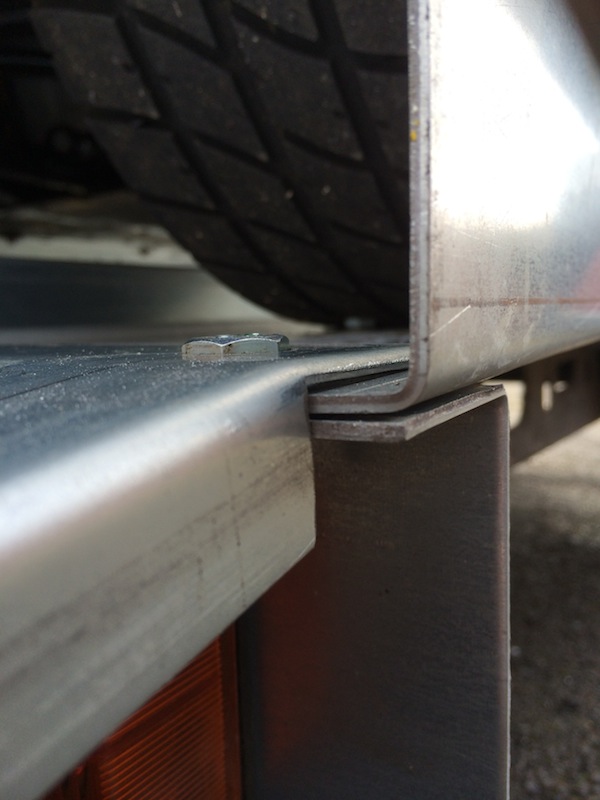
yellowcab - 15/2/14 at 09:21 PM
Other end of the ramps is self explanatory, just put a straight edge along the ground to get the correct angle, mark and cut
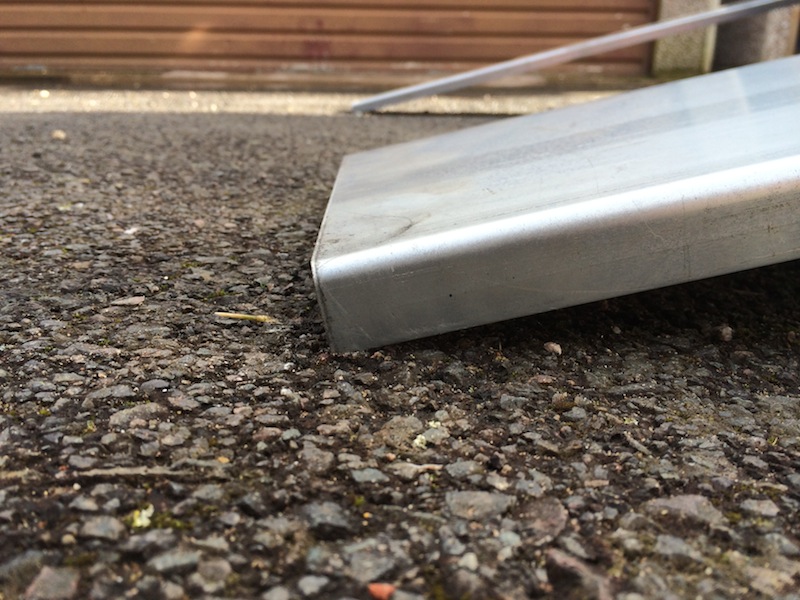
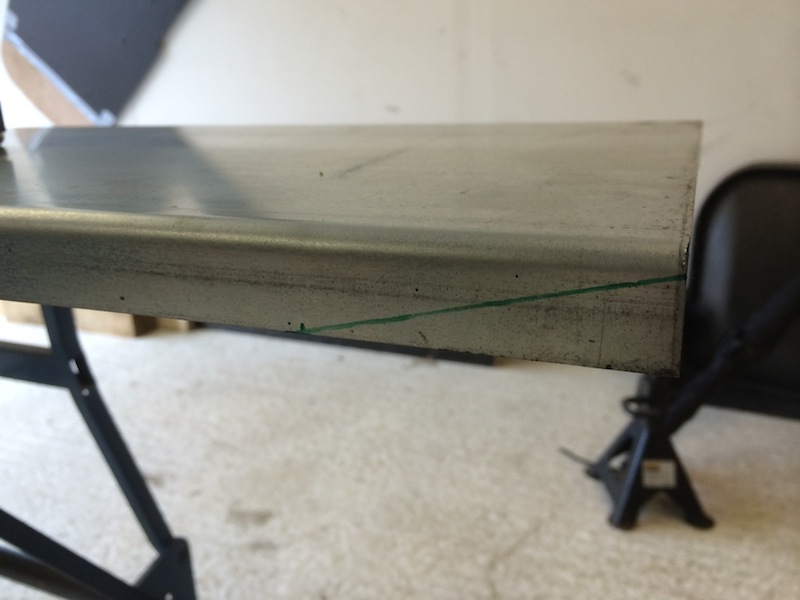

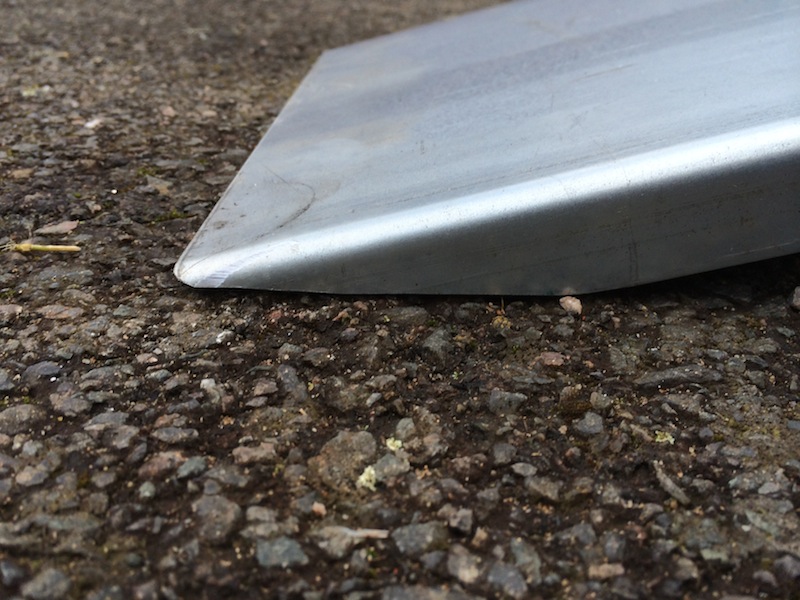
My idea of for legs to stop it tipping, as I don't want them seen, is using this ally box section that I've had for ages, and put a catch
& bolt thought it, so it can pivot 90 degrees
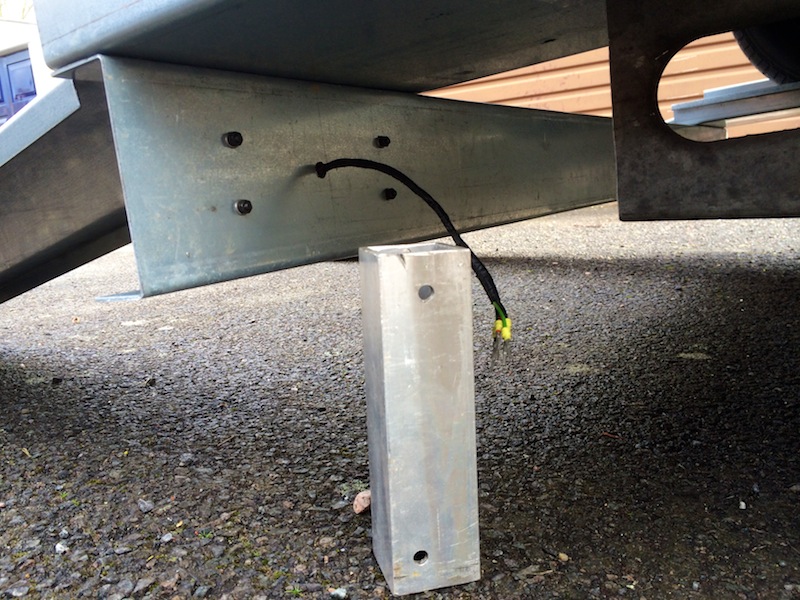


Got my end caps today, to neaten up the trailer to make it look not so 'home made' to to speak… which covers up the bare ends nicely, before
& after


Neatening up the rear end with more edging, ready for number plate & lights now
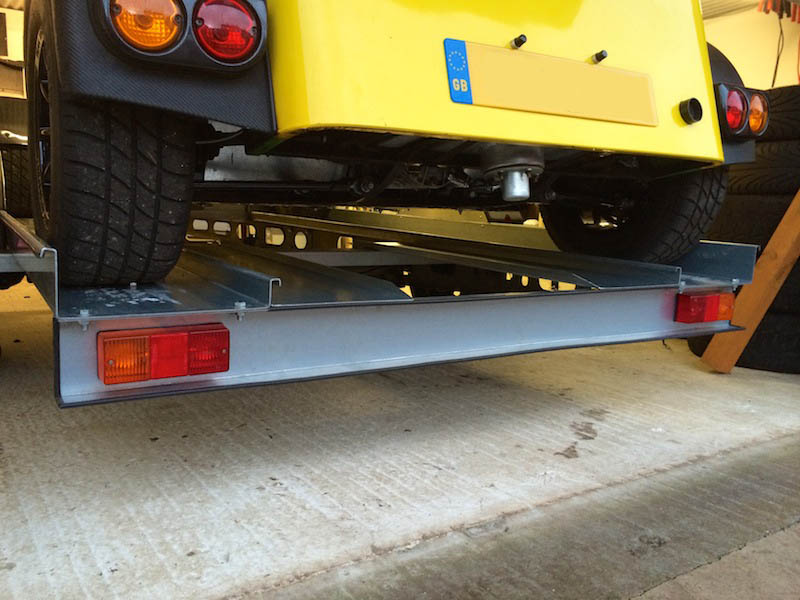
Bought some cheap amber reflectors for the sides, and clear for the front edges of the trailer
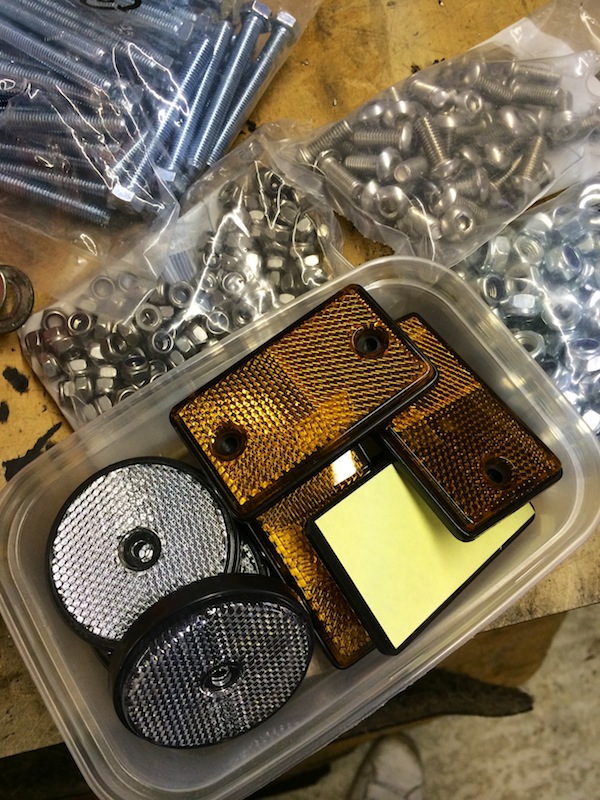
Three ambers down either side, front, mudguards, and rear… and the two clear/ white on the front edges
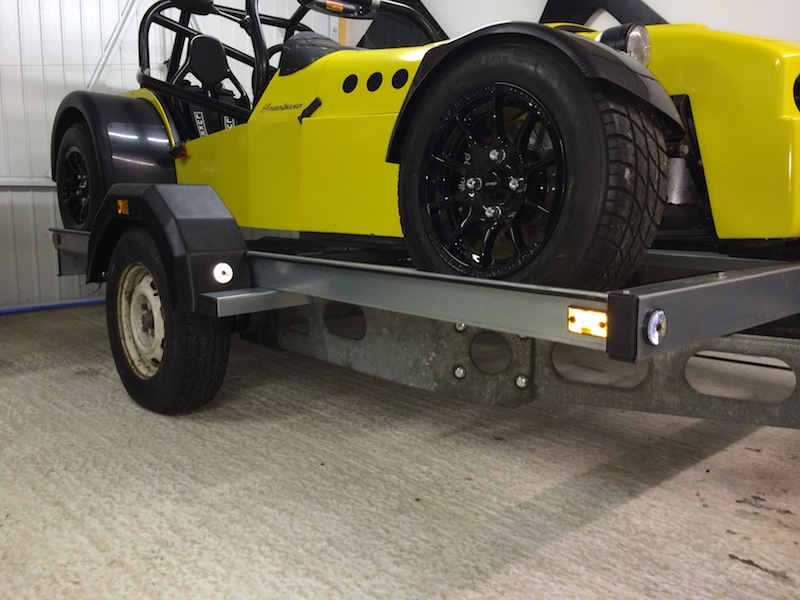
Ending today on the harness tie downs, put them either side of the bolt holding it all together, as I can imagine there is a lot of stress being
pulled up on here, so will not bend
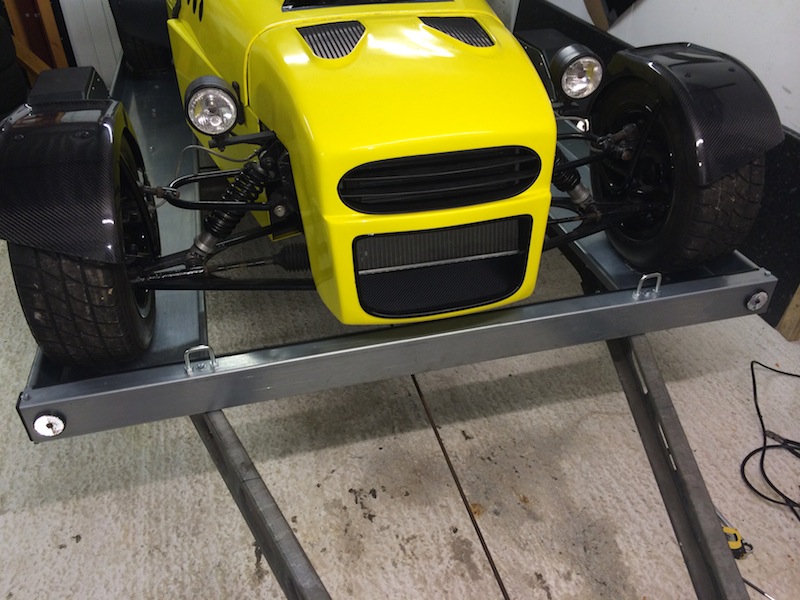

Thats all folks...
yellowcab - 16/2/14 at 10:11 PM
hkp57 - u2u sent with measurements that you asked for 
So I spotted a bargain on eBay this morning, and drove up to Lincoln, and snapped up a Brian James tyre rack on a whim, hoping it would fit, and
wouldn't be too wide nor narrow
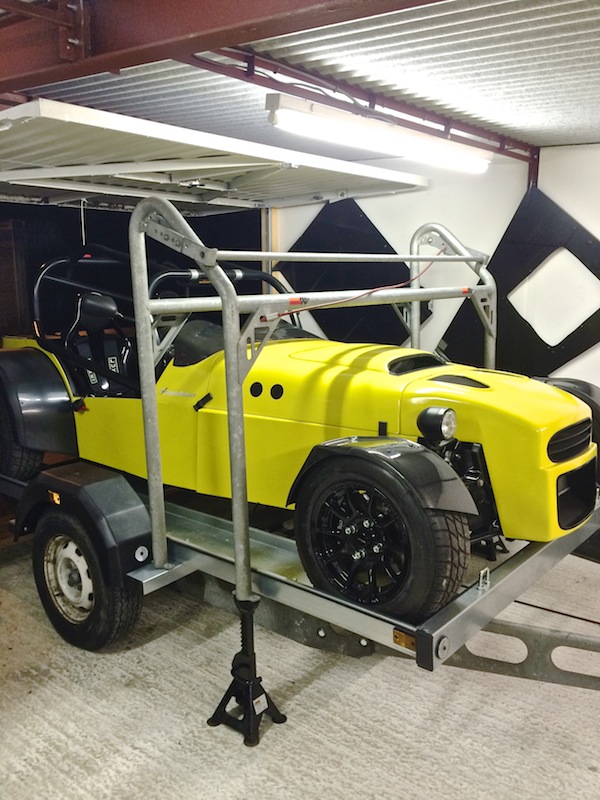
Pretty spot on, all I need to have made up, is two more U sections of galv, similar to those that hole the mudguards, then job jobbed!

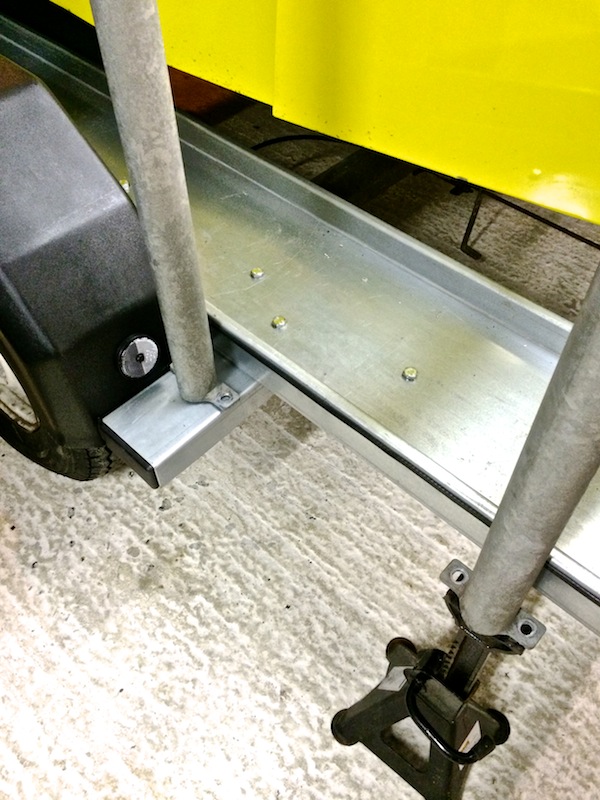
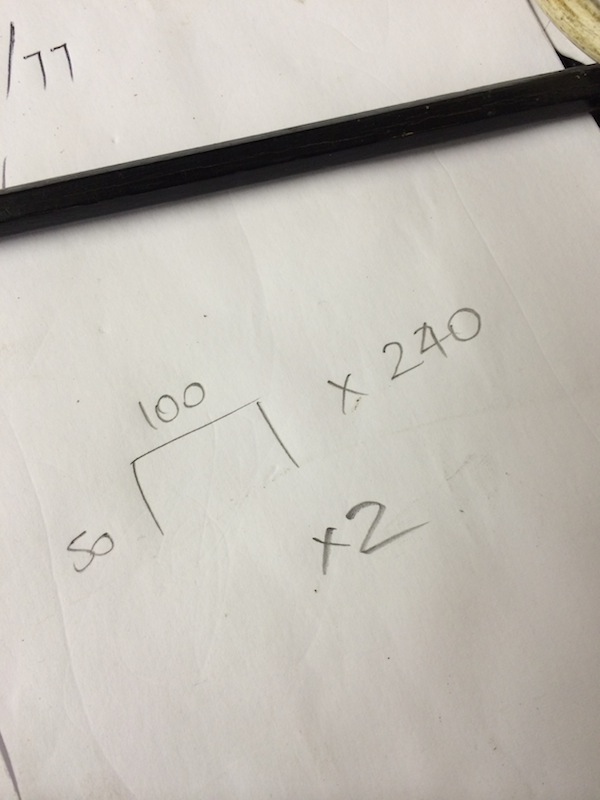
Put a couple of wheels & tyres ontop to check for heights, and fits with no problems, the pivot bar needs extending to the next holes to make it
longer, which means it'll sit further around towards the front of the tyres, and not stick up in the air
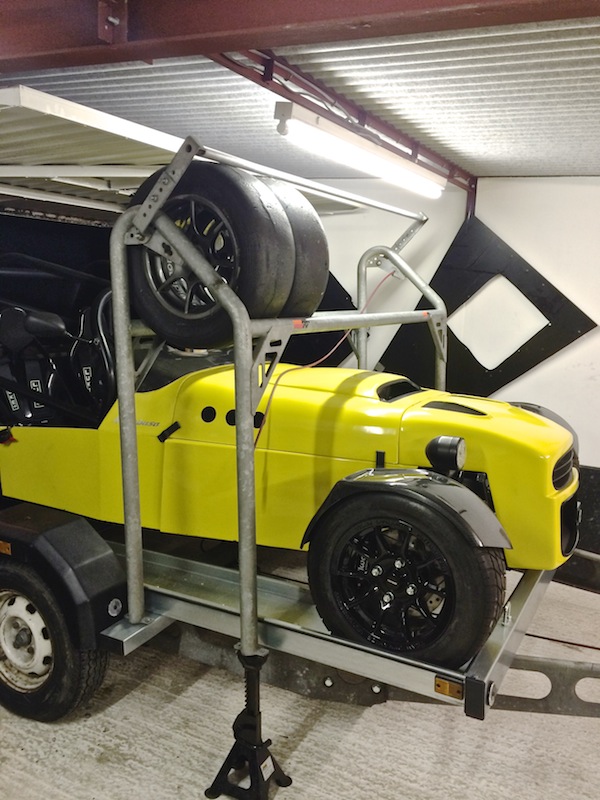
Attention turned back to ramps, not wanting to make too much noise, I had some kitchen door handles that we never used lying around for ages, so I dug
them out, to make handling the ramps a damn site easier, looks and works very well, when removing and putting them under the car, nearest to the
ground has to be 5.5inches up from the bottom in order to clear the floor when sat at the correct angle
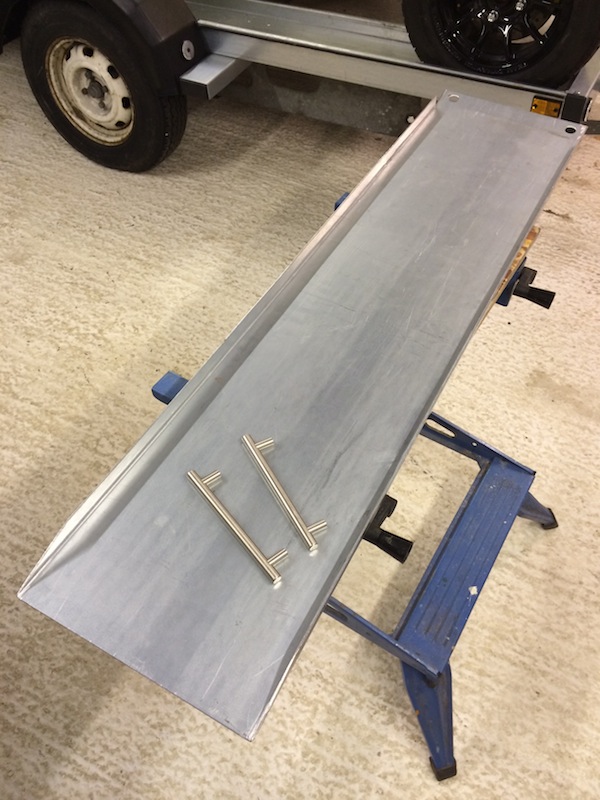
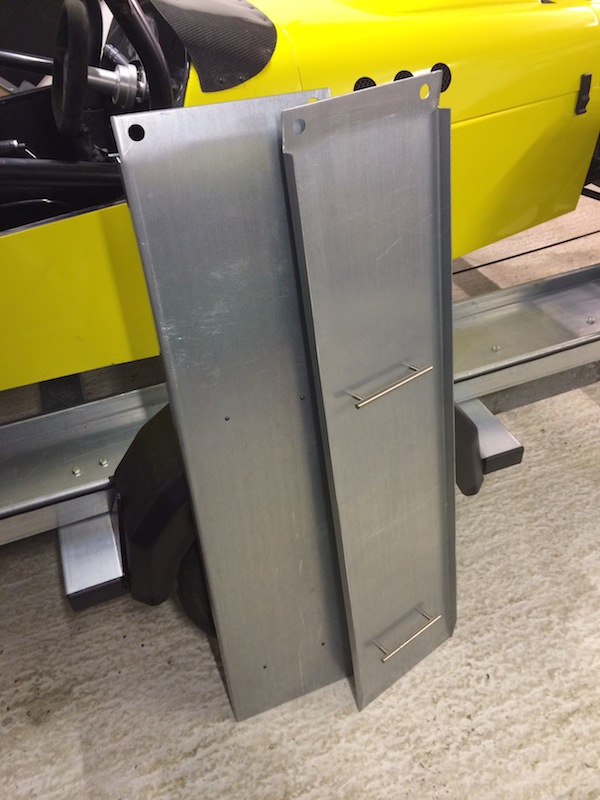

Matt21 - 17/2/14 at 02:46 PM
looks great 
whats that on the back of your car in the last pic?
femster87 - 17/2/14 at 02:52 PM
Fuel pump and sender assembly?
yellowcab - 17/2/14 at 03:23 PM
Yep, bang on.
Suzuki Hayabusa fuel pump & sender, in the integrated swirl pot inside the fuel tank.
yellowcab - 18/2/14 at 07:39 PM
No real update, but my antics nonetheless
Trailer number plate bolt lights turned up, and just waiting for a number plate… then we're ready to rock n roll!
Might do a cheeky trackday at the weekend to celebrate 
It's so easy to pop car outside now, when I want the garage clear, much easier to manoeuvre the trailer than it is the car itself lol
Undecided on trailer wheel colour, not sure whether to go silver, or black to match the car
Thought it may rain whilst I was working in the garage, but it actually stayed dry
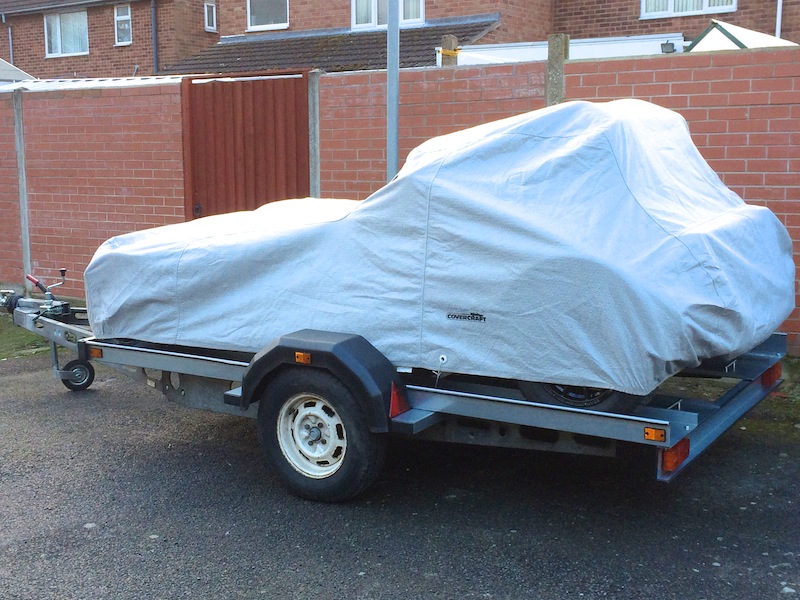
Great service for a tow bar & electrics from P.F.Jones, thanks to daveb666 for doing all the research for me, relatively simple task - not done
the wiring yet - but just the metal work
My next day delivery from PFJones
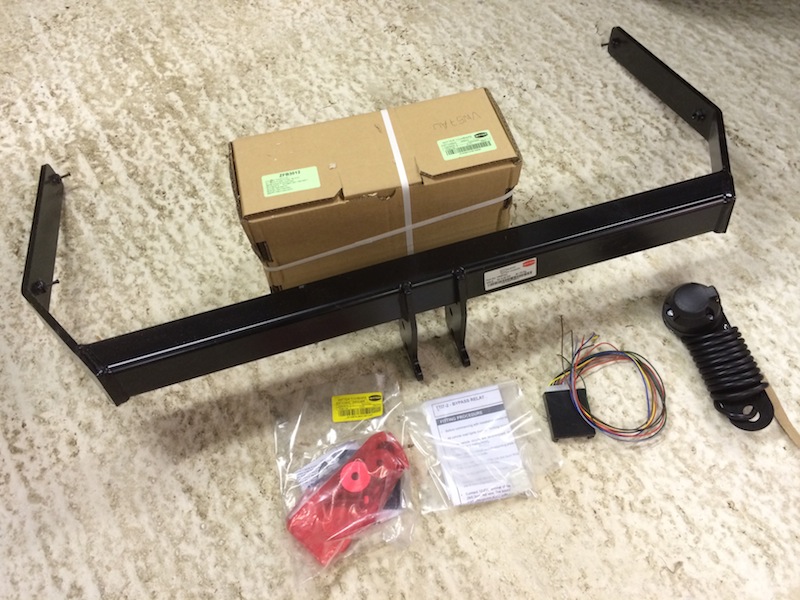
Took about 45 mins to figure out how the rear bumper came off without ripping it off completely, after that it was a breeze and only took a further
20mins to complete the rest of the job lol
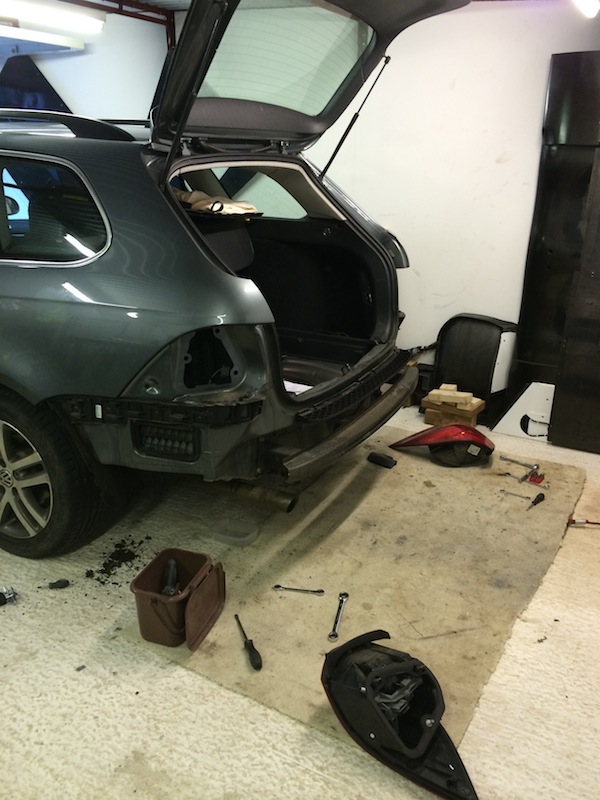
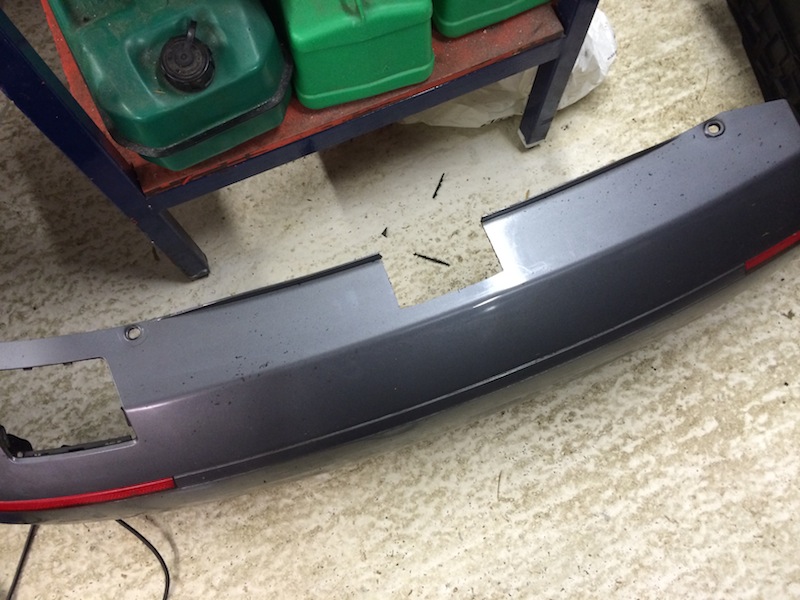
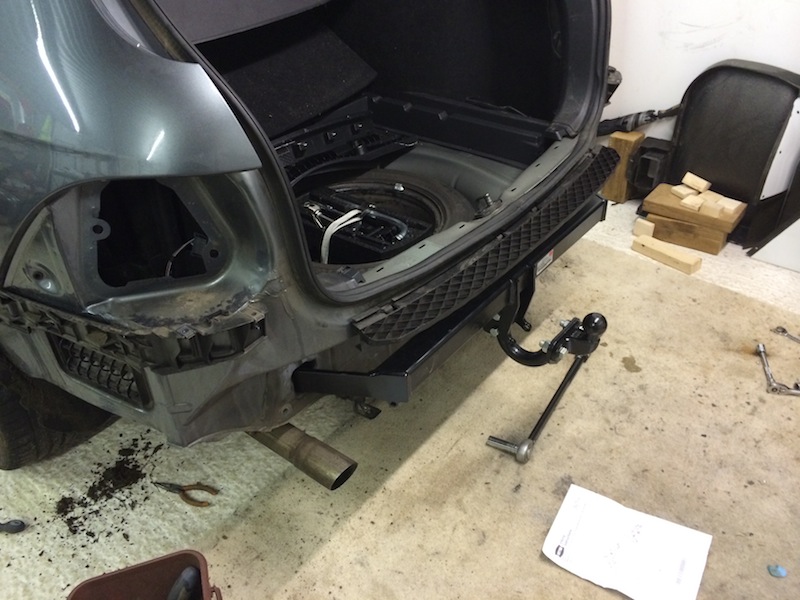
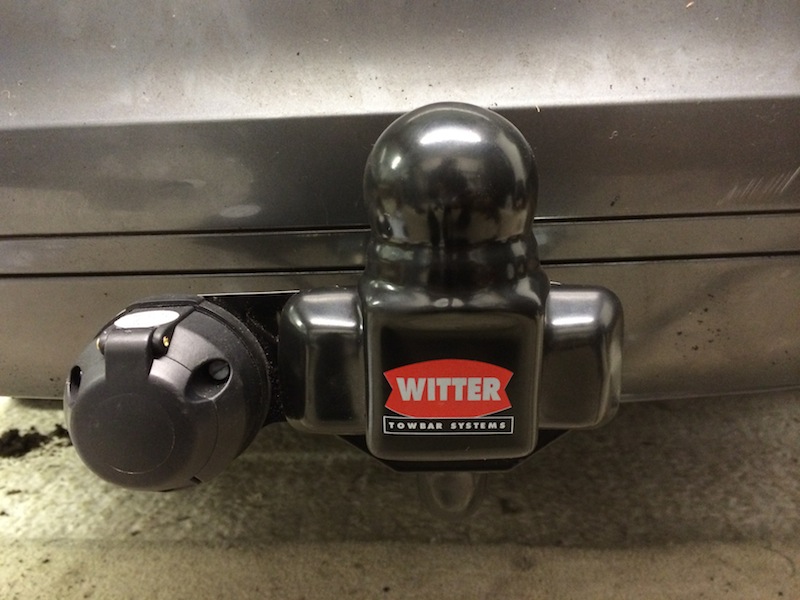
jamesd - 18/2/14 at 08:22 PM
Great thread and car, an absolute inspiration.
Can I ask what model the car cover is for? And make?
yellowcab - 18/2/14 at 08:31 PM
Cheers for the reply & comments 
It's a 'CoverCraft Noah (Block-It Fabric)' specifically made for a Seven 
http://www.covercraft.com/carcovers/noah.html
(video is interesting to explain why they're so good)
rdodger - 19/2/14 at 06:42 PM
I have been lurking on your thread for a while and thought it about time I commented. 
You have inspired me to find a caravan chassis and get busy.
I have discounted them in the past as a lot I have seen have been very rough and not well though out at all.
I am looking forward to the next carbon update, especially the diffuser as I am looking at making one for mine at the moment.
Keep up the good work. 
fostrike - 19/2/14 at 08:52 PM
Wait a second, are you seriously telling me that you can build a trailer out of a trashed camper and install by yourself a tow bar in you garage?
And it's all road legal????
Damn, I live in the wrong country 
mccsp - 19/2/14 at 09:26 PM
I may be being an idiot, but I can't find the seven version on their website. Did you buy it direct?
If you didn't mind, it would be very interesting to see a cost break down of the trailer.
[Edited on 19/2/14 by mccsp]
yellowcab - 23/2/14 at 08:10 AM
rdodger - cheers for looking, always feel free to ask any questions along the way - its how we all learn… and more importantly - tell me when I'm
doing it wrong! lol
fostrike - I've never heard that expression before about England being the 'country to be in'
mccsp - I cannot remember where I got the cover from, but I'll have a mooch, I think its 'made' for a Caterham specifically 
yellowcab - 23/2/14 at 08:17 AM
Update time, nothing car related - just trailer 
Picked up some bargain 60degree LED marker lights after being persuaded by daveb666 that I should make the sides & front more visible… all four
cost £13.50 delivered, thats not even £3.50 each!
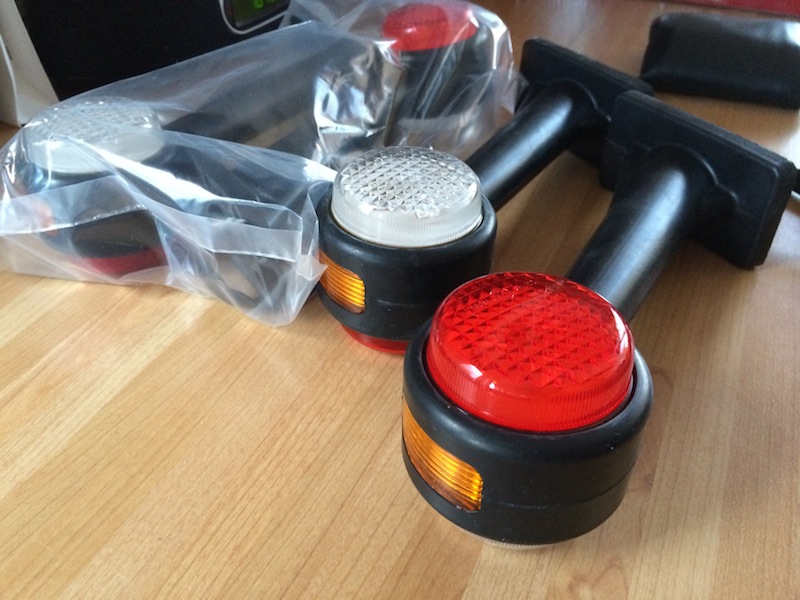
I had the two profiles made by Nat @ RetroPower - thanks pal, for the front feet of my tyre rack to sit onto
All marked, drilled, bolted & end capped
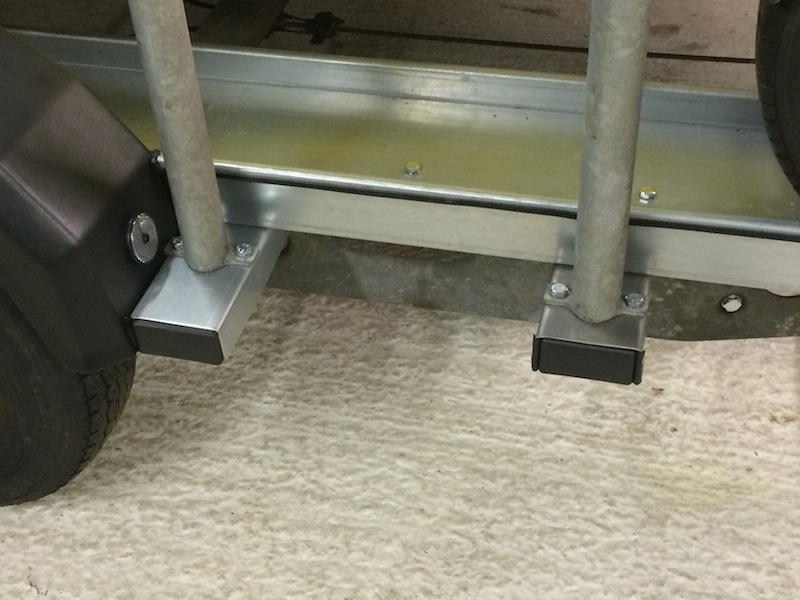
So with the car on, tyre rack over the bonnet with 4 dry wheels & tyres on - the hitch weight couldn't have possibly been any more accurate

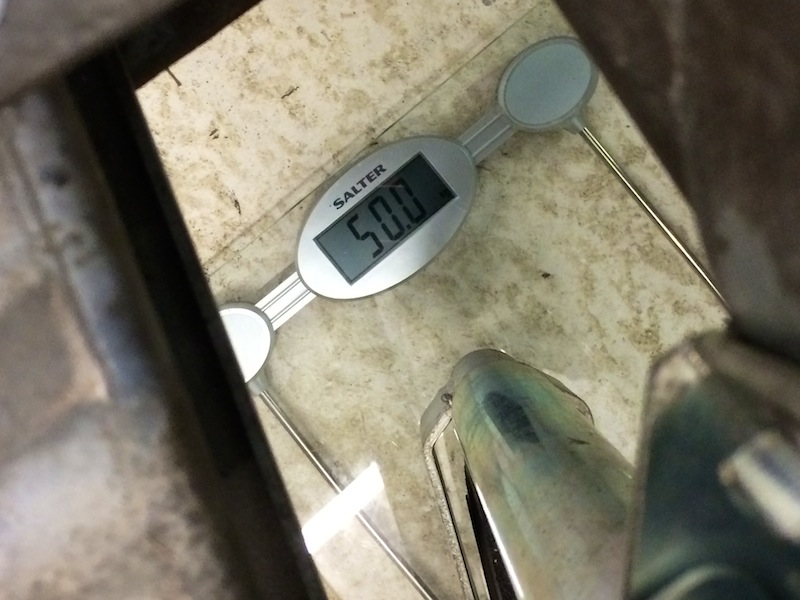
More tarting, bought some bargain £2.99 LED number plate lights, to mount either side of the plate shining inwards to give a more even spread
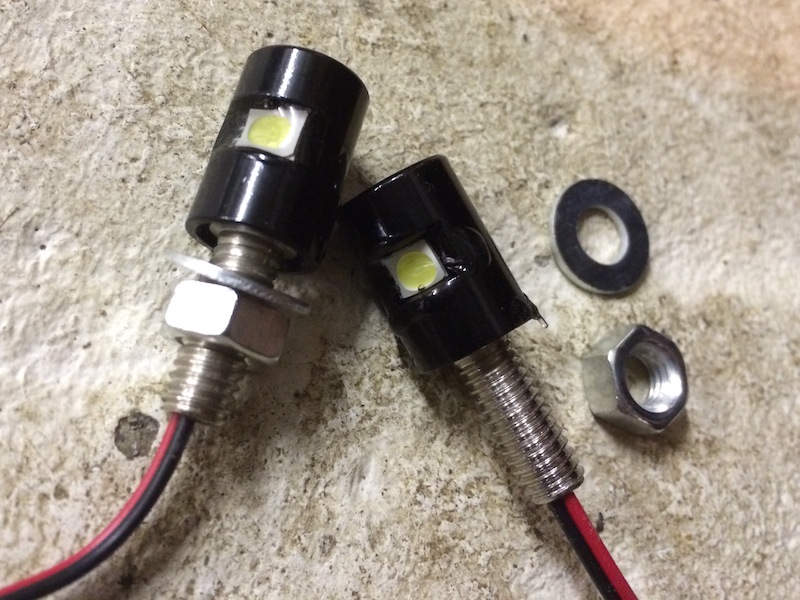
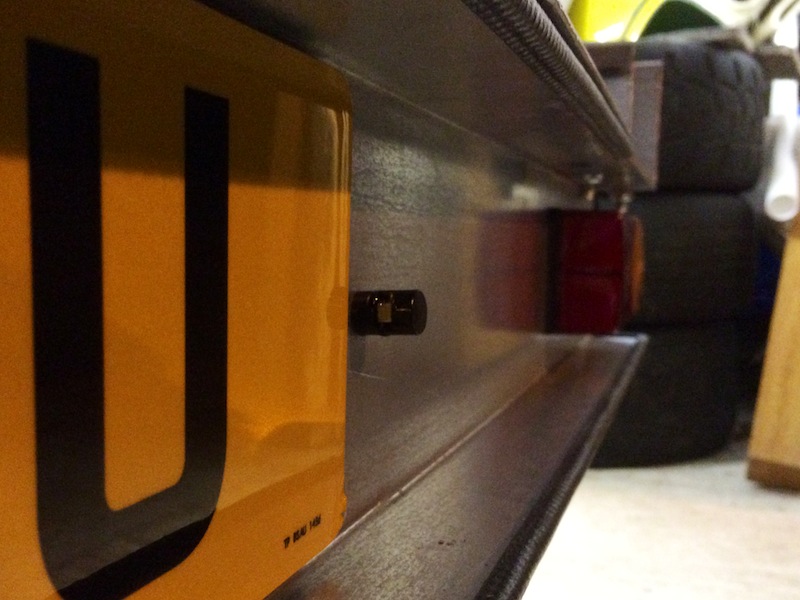
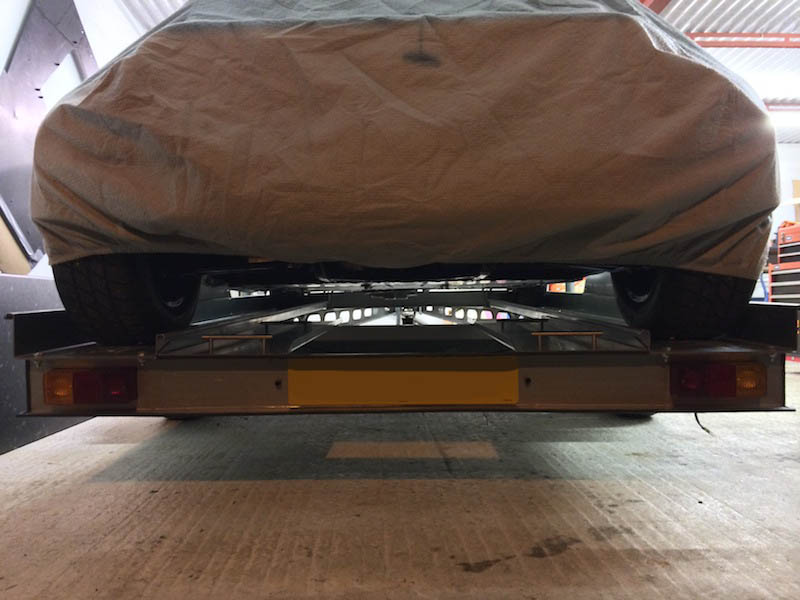
Next up was shortening the A-frame, as it always needed doing but was putting it off, as it was over 2metres in length, hitch off
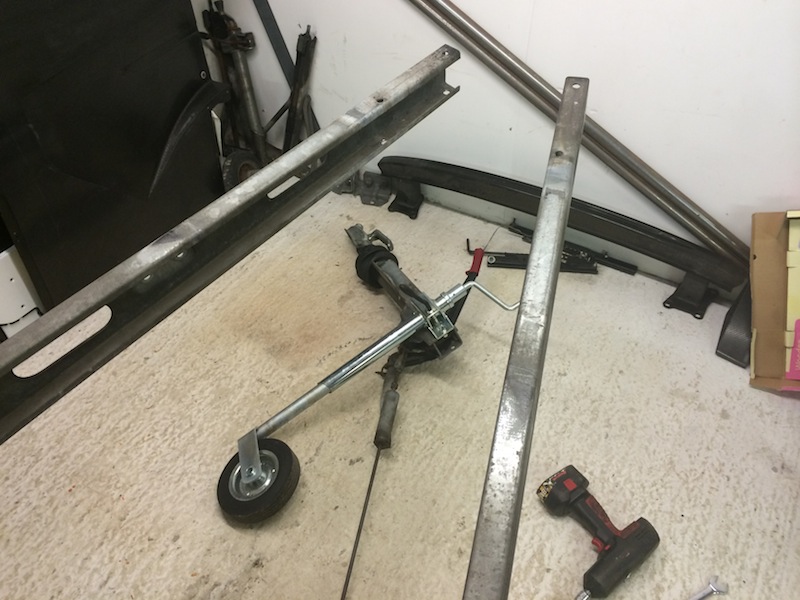
Strap it up to increase the angle - I hadn't bolted the troughs to the A-frame yet for this exact reason
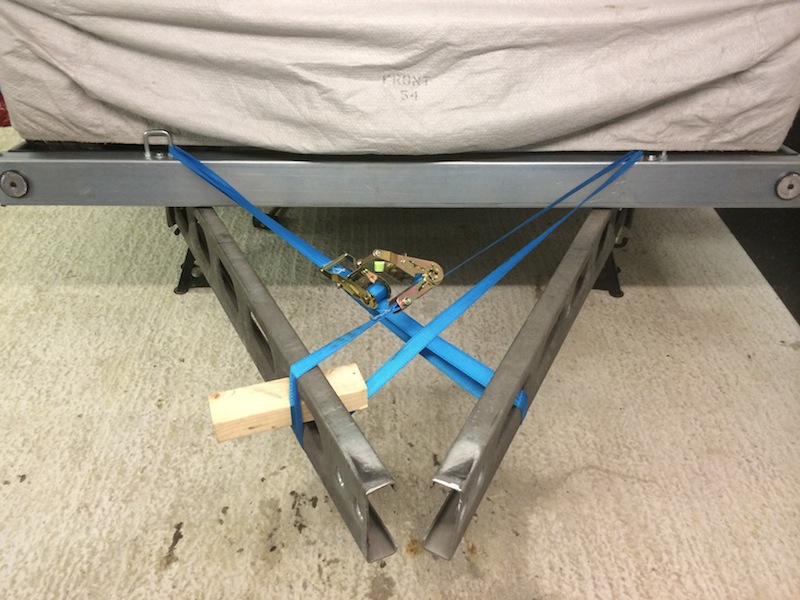
All drilled & bolted through, now from front of trailer to hitch tip is 115cm
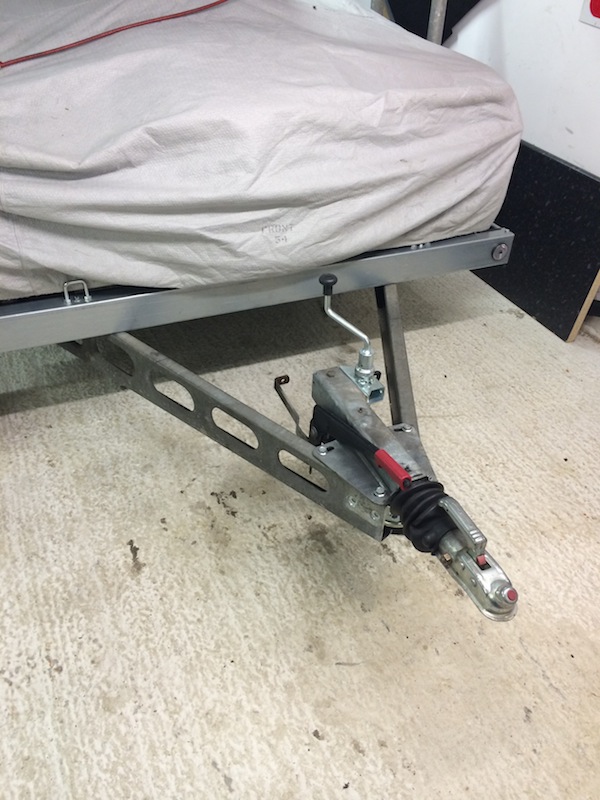
yellowcab - 23/2/14 at 08:30 AM
So the marker lights are going to be mounted at the rear, on the sides of the troughs but don't want the wiring to enter where the wheel &
tyre sits, so channelled out the rubber backing for the wiring to run on the outside of the trailer and tuck under nicely
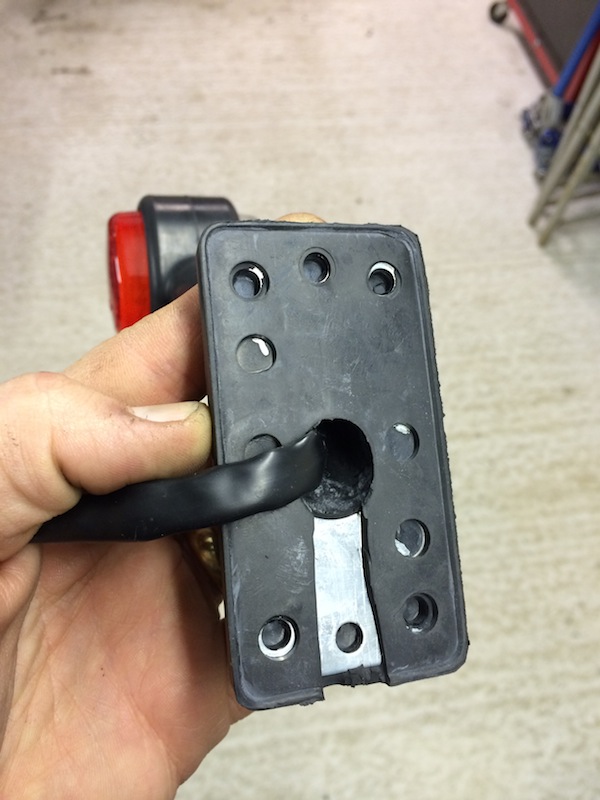
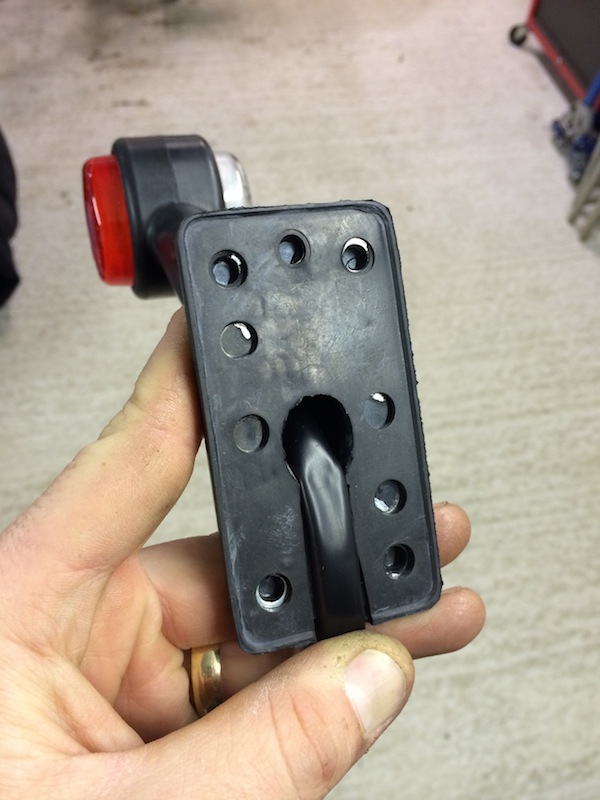
Early start yesterday, sun was shining so the car got some warmth - pootled up and down the street a little just to have a feel, first time in nigh 4
months, felt great 
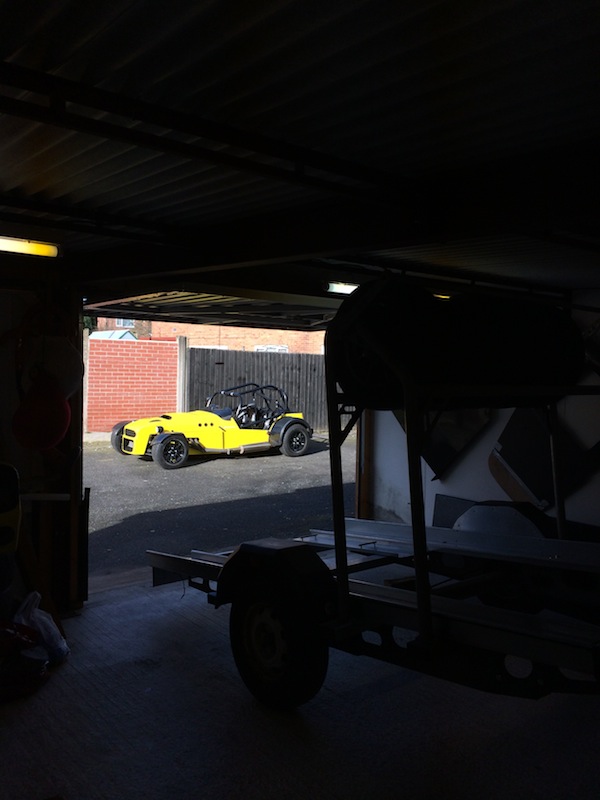
Where the hitch had moved back, the size of the Alko chassis where the hitch bolts to obviously increases, as it starts off small and gets bigger the
further back towards the wheels it goes, so popped down B&Q (instead of Colin Williams AutoSpares) and picked up some M12 threaded bar, and some
M12 nyloc-nuts

Then Mr.CW Auto Spares popped in to say hello 
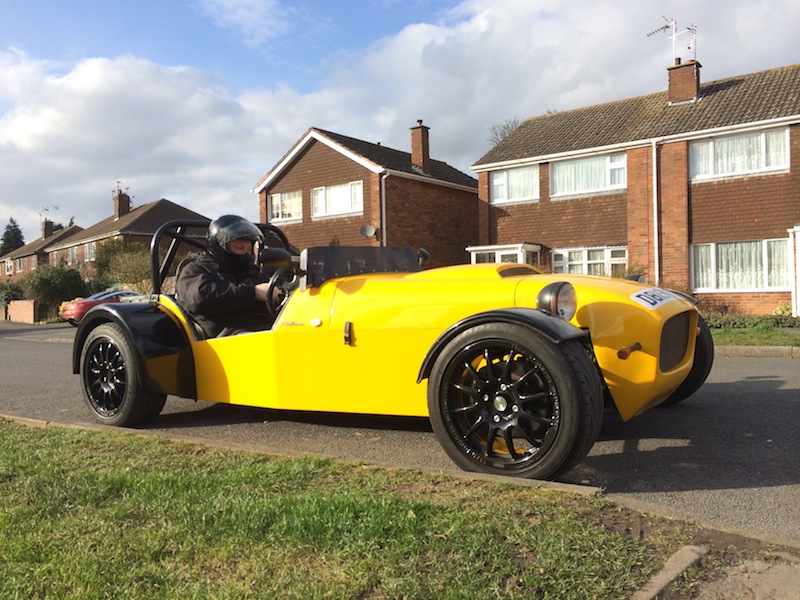
Back to it that evening, testing the markers, look really quite smart for their price tag
Here is the back end of the trough, and the wiring not coming through, you'll notice that there are only two dome headed bolts holding them on -
because more luck than judgment but they just fit snug up inside the turnover on the outside of the trough which held them steadier than I could ever
hope for
Front one wired up with no visible sign of wiring, these do pass through the trough, and then run up under the from box section, because it
doesn't encroach on the car wheels or tyres
Testing testing


Not keen on rattles, cut some carpet, and Tiger-sealed it onto where the ramps are going to be mounted, to make them silent and easier to slide on and
off the trailer
And on the rear too, drilled through the ends, and the number plate board to put the eye bolts in which double up to hold the ramps down
So for in the middle of the car
Cut a spacer the same height as the edge of the ramps, and passed an M12 bolt straight through with an incorporated washer, to use the head as a way
to slide the ramp in and it'd hold down… the outside of the ramps is tucked under the inside roller over of the trouhs
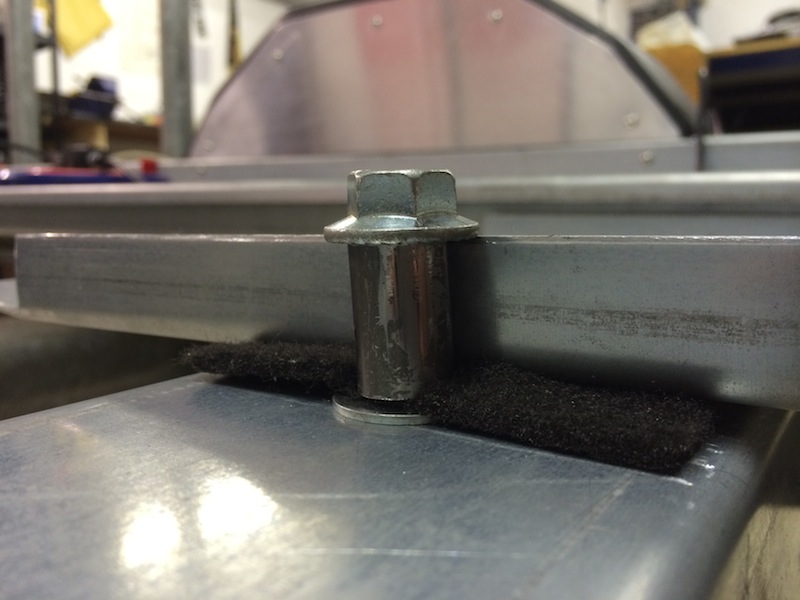
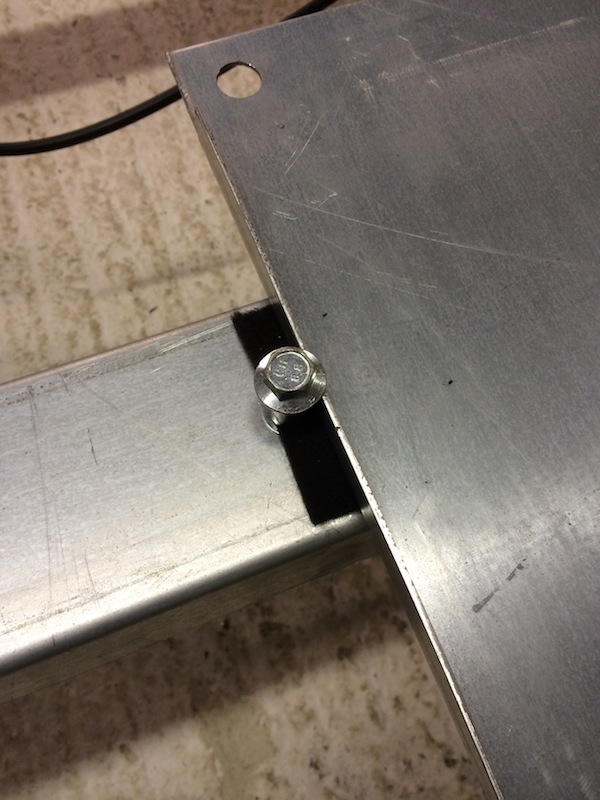
Job jobbed - trailer (almost) complete… now just need to wire the car up!
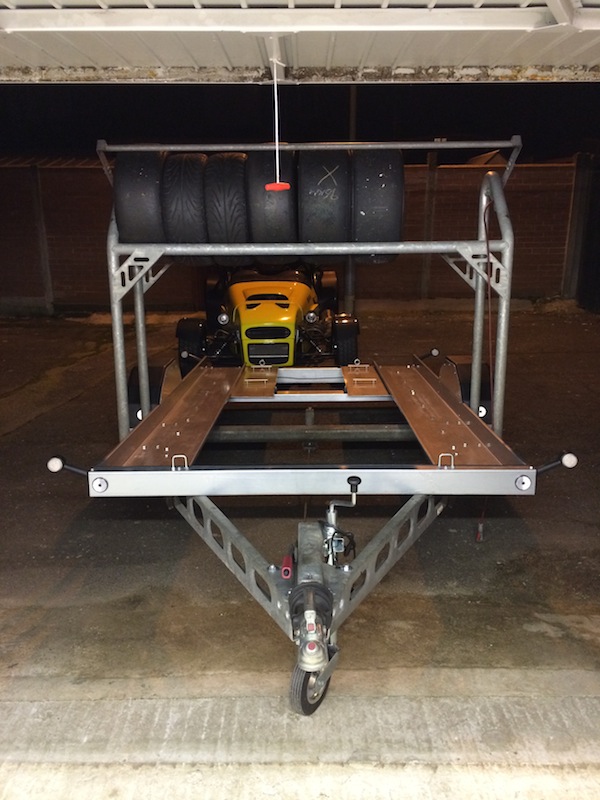
I can load and unload the car off the trailer with the ramps down and they stay in place, and closer the garage door, which is a good thing to have
such short (1.2m ramps)

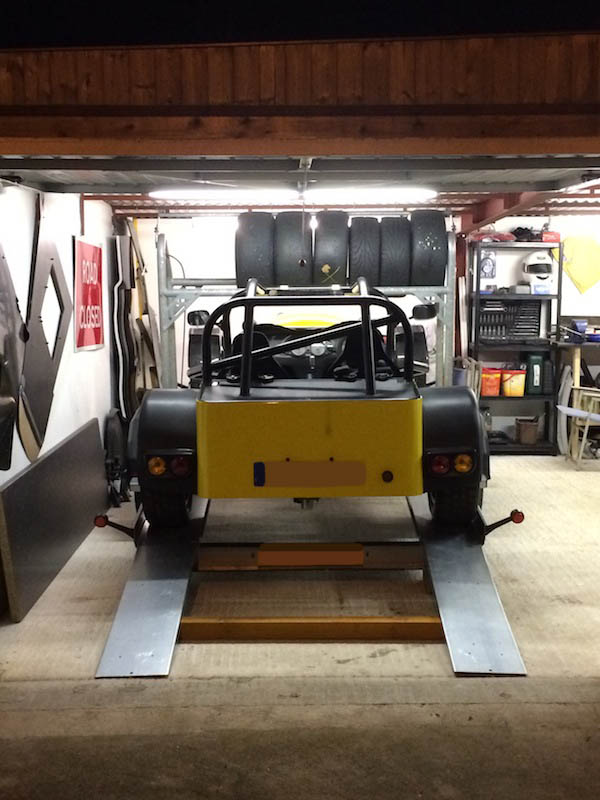
[Edited on 23/2/14 by yellowcab]
Ben_Copeland - 23/2/14 at 09:21 AM
Definately a good idea to have side markers. Makes it much easier to tow in the dark
40inches - 23/2/14 at 12:16 PM
Blimey! It's almost as if you know what your doing 

yellowcab - 23/2/14 at 01:58 PM
Not a clue Dave, not a clue 
yellowcab - 23/2/14 at 04:50 PM
So here is the maiden voyage, no rattles, brakes work well, tows nicely (albeit need wheel balancing and tyre pressures inflated after I've
painted the wheels)
Yes there are 5 photos of the same thing, thats how chuffed to bits I am 
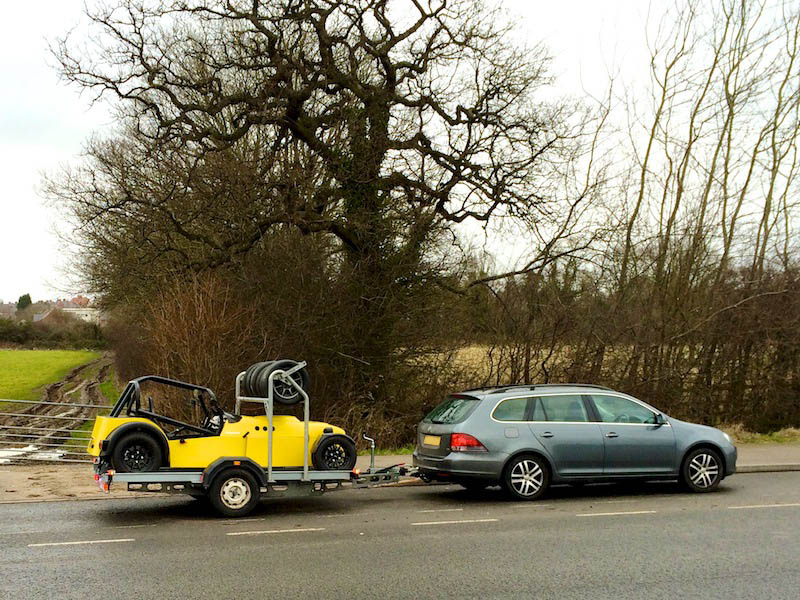

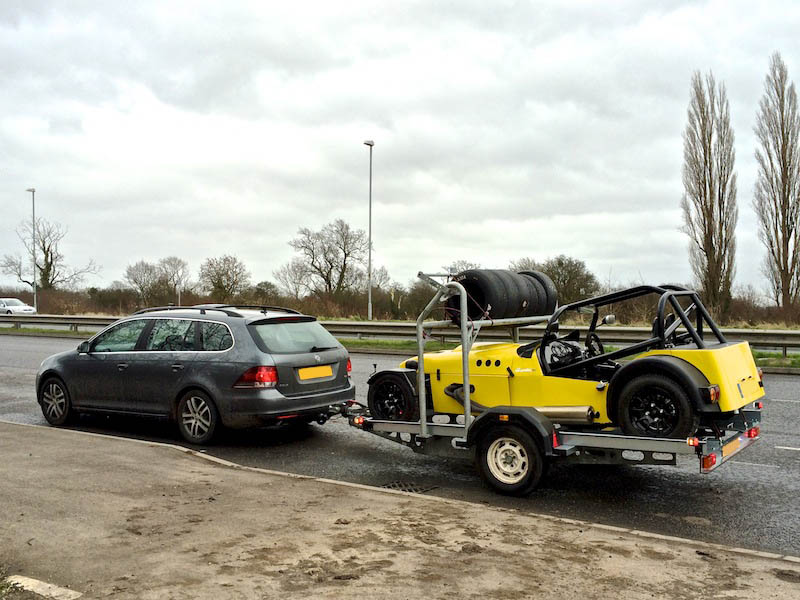
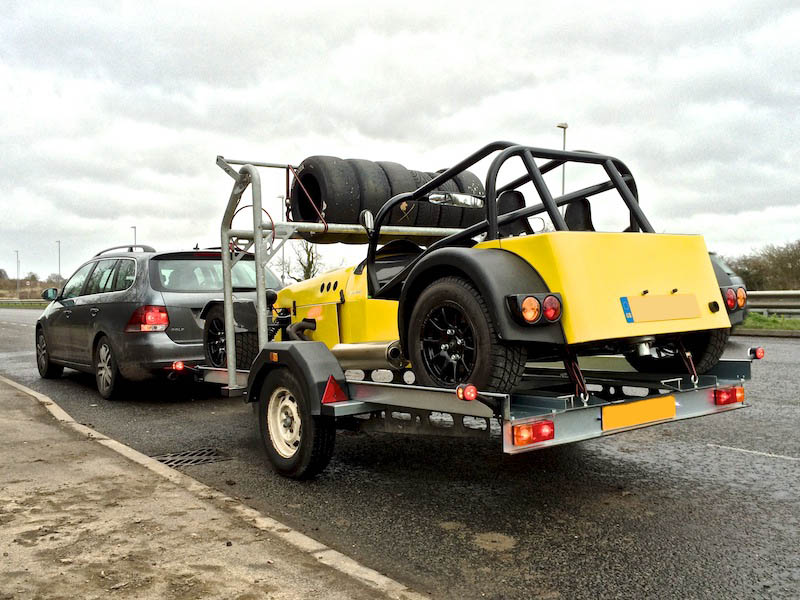
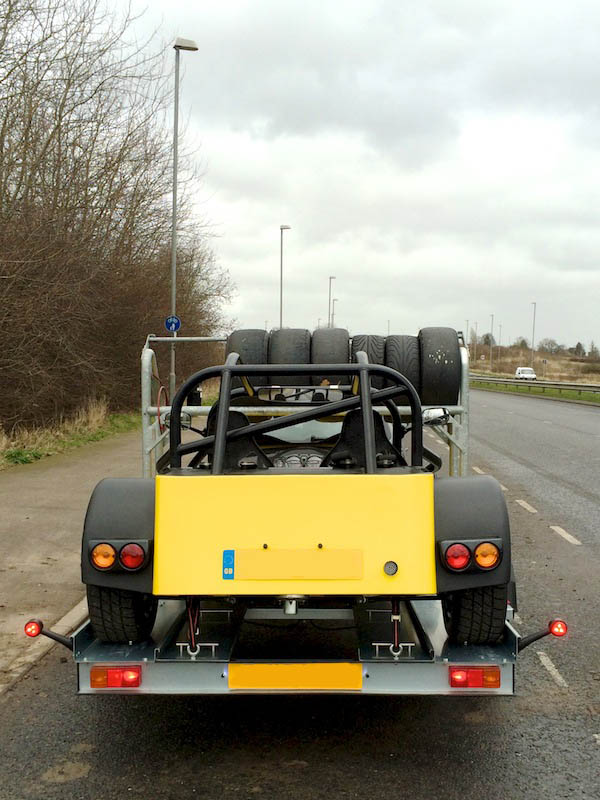
Ben_Copeland - 23/2/14 at 05:29 PM
If you ever stop photography, you could go into trailer manufacturer!
rdodger - 23/2/14 at 06:04 PM
Fantastic. Great to see it finished.
Have you tied the car down form the chassis to the trailer?
I ask because I thought the preferred option was to tie the wheels down so the suspension on the car still worked over bumps and didn't try and
stretch the straps?
yellowcab - 23/2/14 at 06:10 PM
I hear ya and I probably would for any usual road car, but to think this weighs as little as it does I can't see it giving me any problems.
daveb666 - 24/2/14 at 09:36 AM
Trailer looks great as I said over the weekend 
In regards to strapping the car down I would strongly recommend either getting straps that hold down each tyre on each corner or alternatively straps
that go through the wheels.
By tying the chassis down rather than just the wheels - your trailer and car are becoming 'one' - so when you go over a bump both the
trailer, and car (750kg) will be going up and down as a single unit as opposed to the trailer and car moving in isolation of each other.
If you hit a dip or bump on the motorway you do risk the trailer fish-tailing or, just generally making towing a pain.
When I look out the rear window when towing mine you'd be surprised how much the car bobs about on its own suspension even on what feels like a
very smooth road.
P ? - 24/2/14 at 09:59 PM
Loving this...... Keep building !!!
P ? - 24/2/14 at 10:04 PM
2nd post :-p
daniel mason - 24/2/14 at 10:32 PM
i tie the 2 fronts pulling forward.and the 2 rears pulling backwards. never had an issue other than a snapped cheapo wratchet strap on the way back
from mallory!
yellowcab - 26/2/14 at 06:00 PM
So the finishing touches to the trailer are now done… until of course I decide to take that to bits aswell, however the good thing is, I
can't possibly blow the engine up on my trailer - so I'm safe there!
Whipped wheels off, gave them a scrub, and some Hammerite Smooth Silver, totally expecting it to react like most things do whenever I do anything
paint related lol
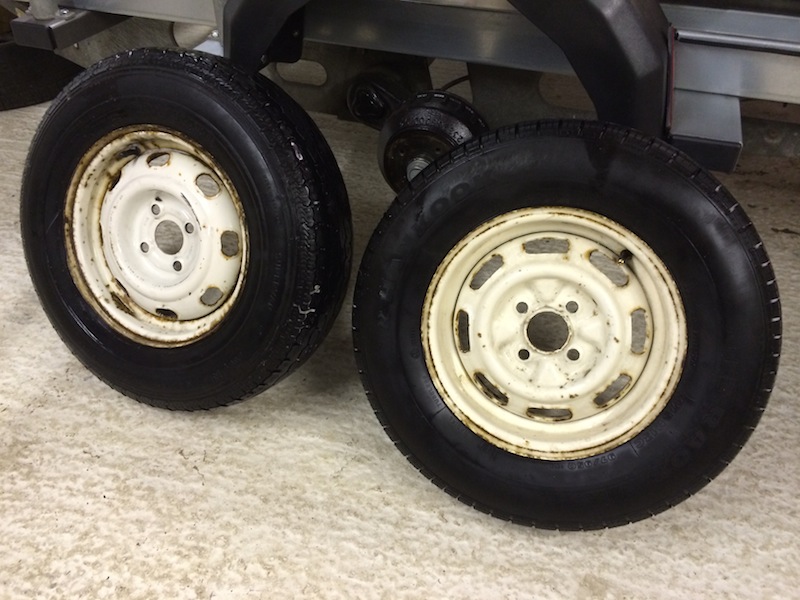
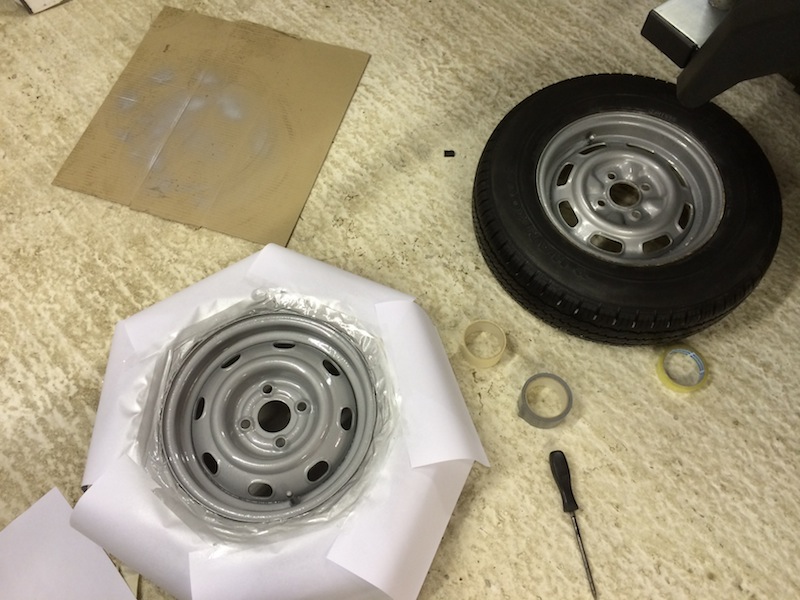
Surprisingly took well 
Job jobbed, off down to Kwik Fit to have them inflated and balanced
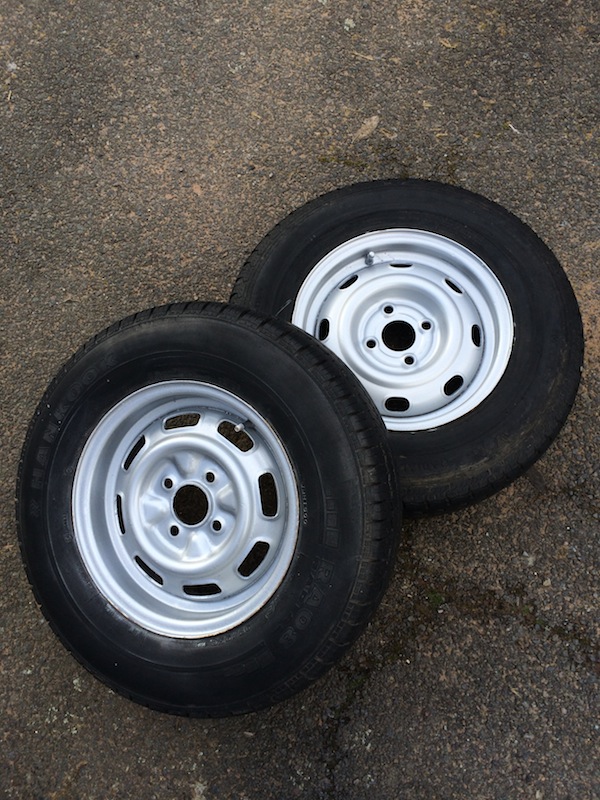
Before refitting them, didn't want rusty bolts holding them on lol so I sprayed them matt black
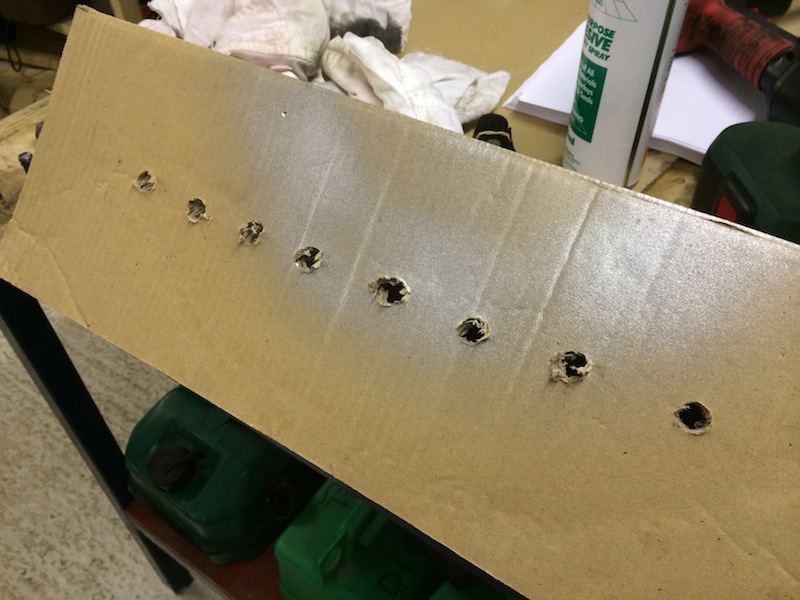
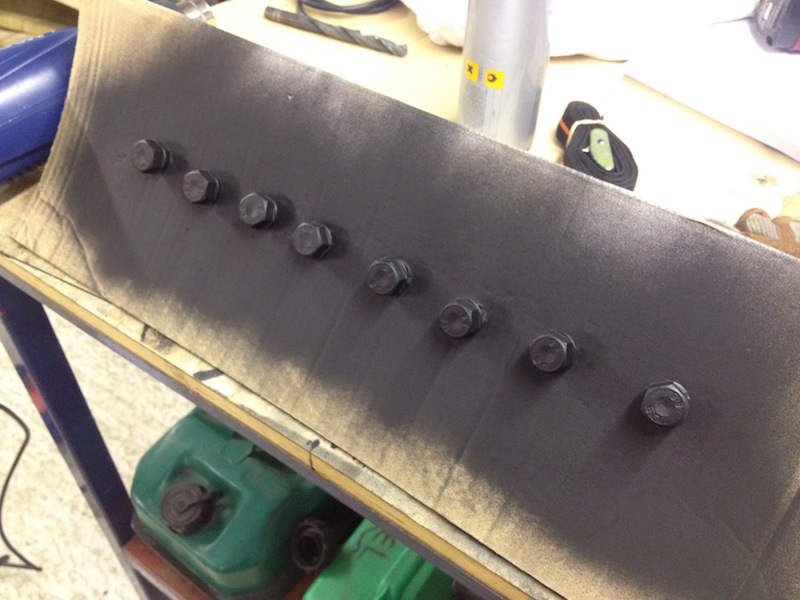
Bosh, happy with the result, considering the lack of prep on every part
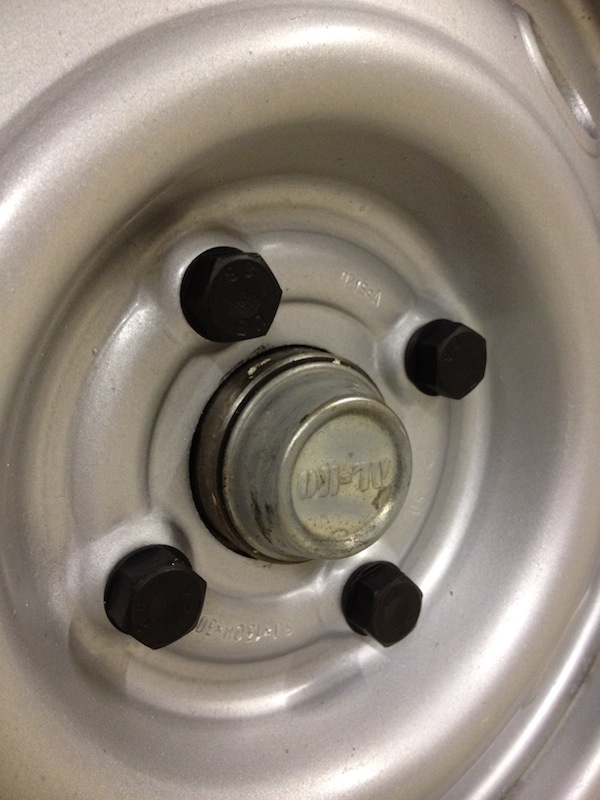
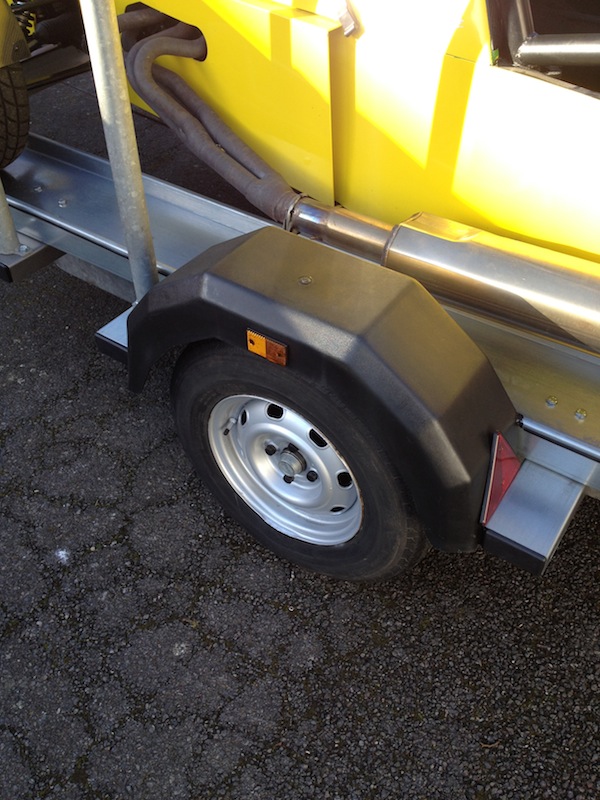
Now 'complete'
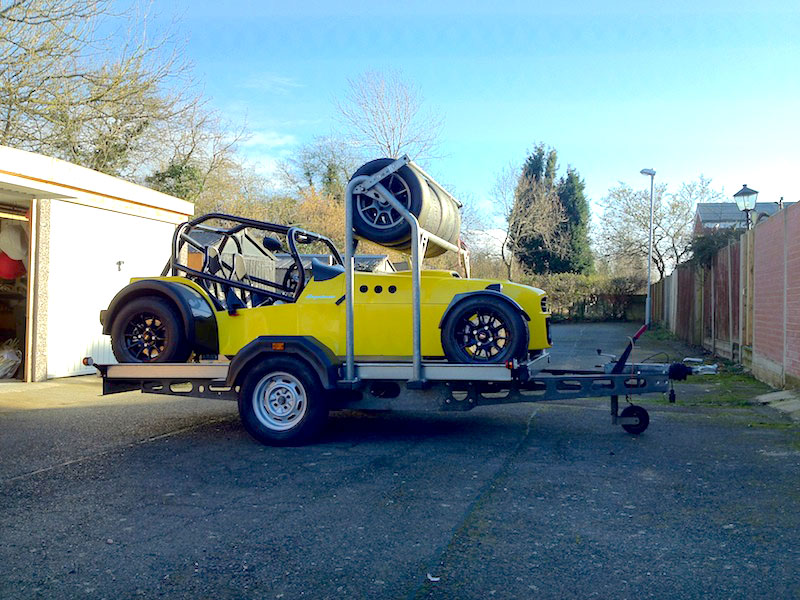
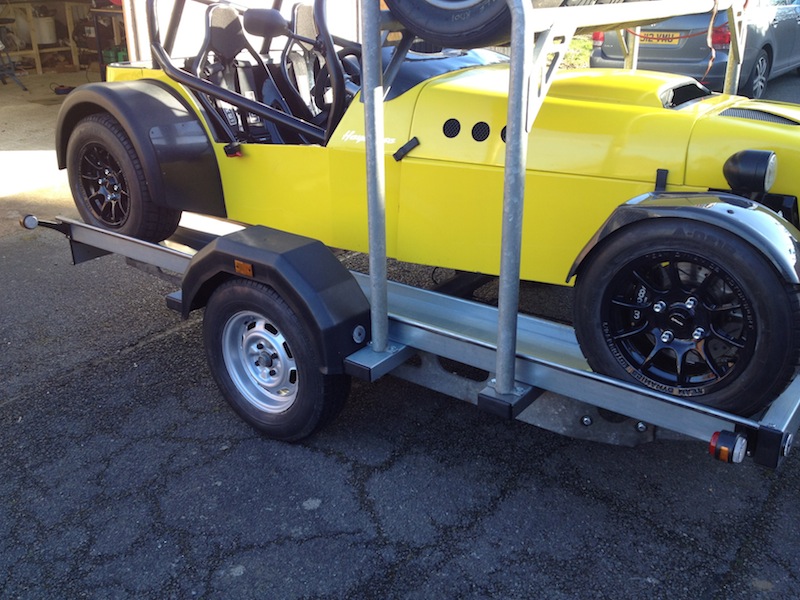
yellowcab - 26/2/14 at 06:06 PM
OK here goes, built up the courage to cut up the carbon, so out comes the angle grinder
Love working on the car on the trailer, perfect height and can roll under it easily

Decided that I wanted the diffuser to go behind the whole back of the car, not just the clam, so behind the cycle wings too, so here is the cuts
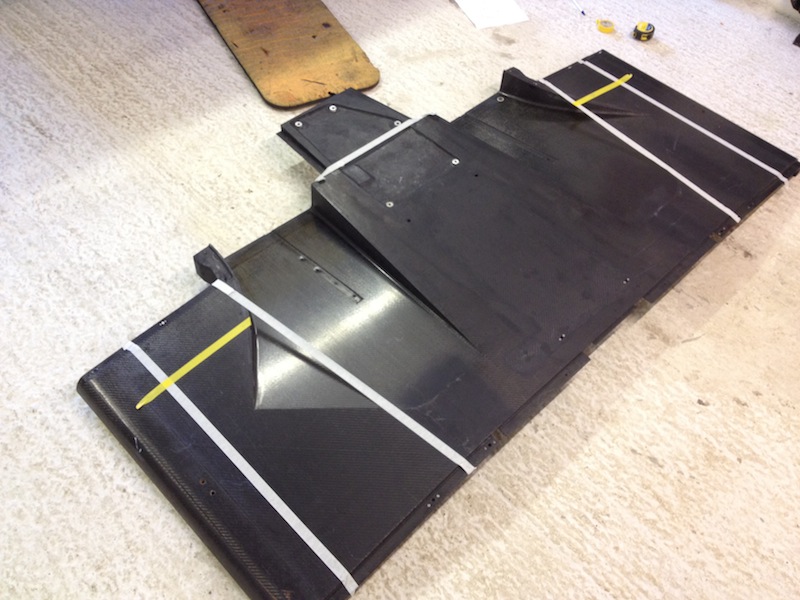
Snippy snippy
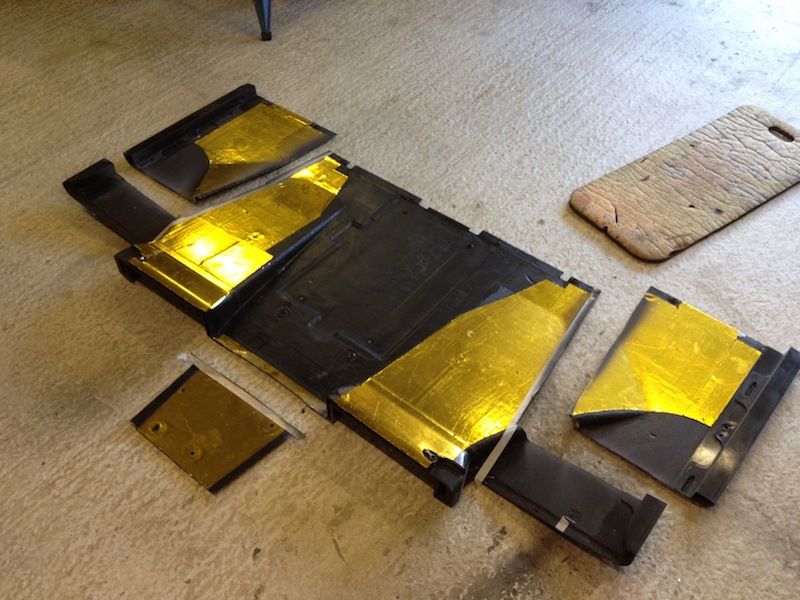
Offered it up, this thing is so wide, it would have fitted the trailer perfectly on width lol
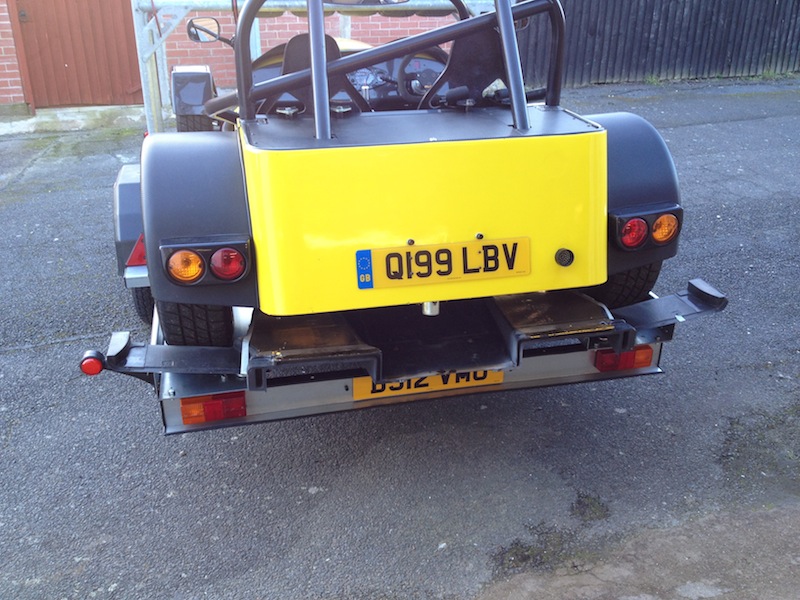
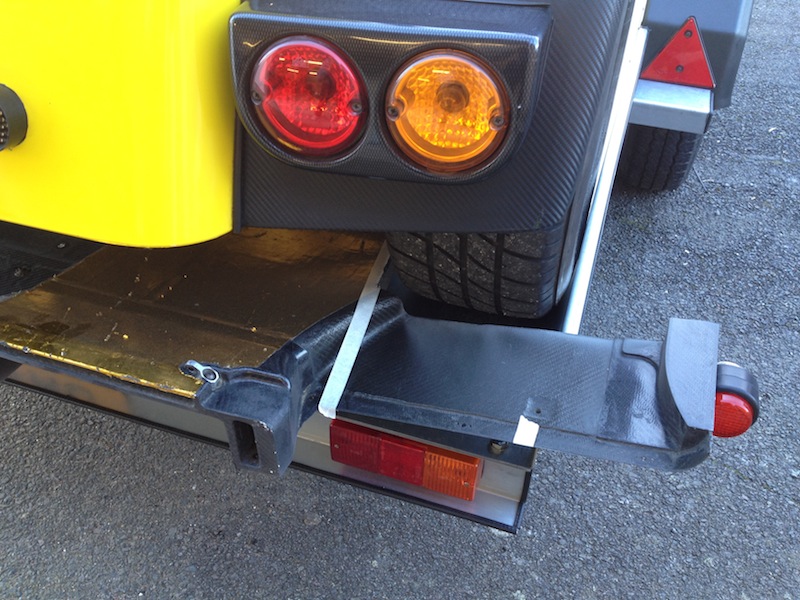
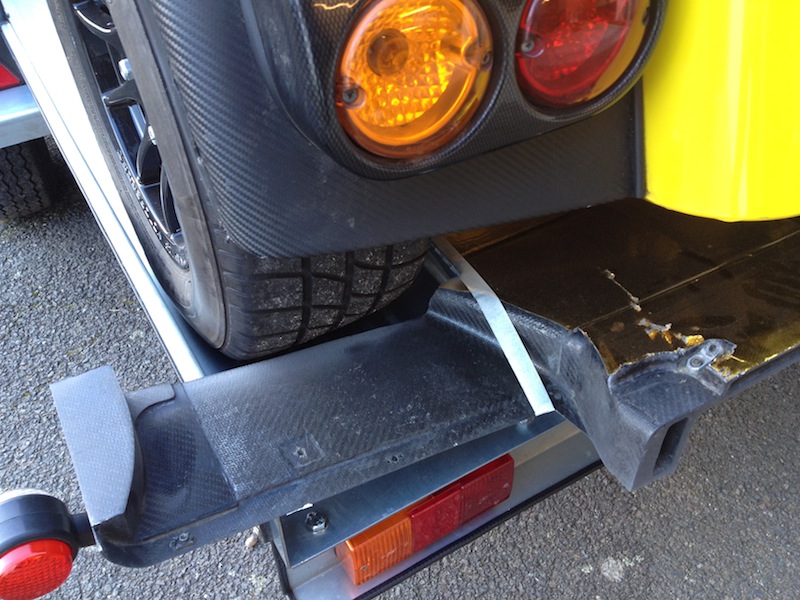
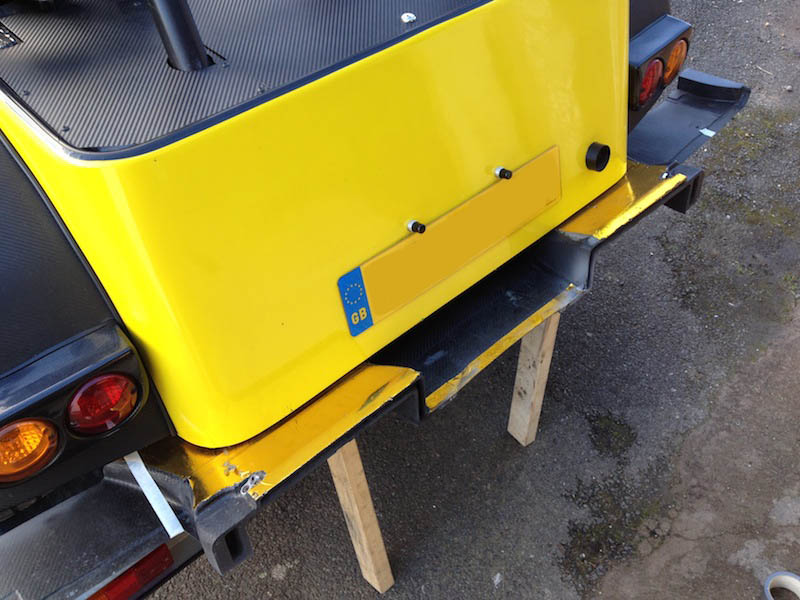
It seems that Strakka racing team know I wanted to mount my Hayabusa fuel pump out the bottom of the tank, as the pre-preg carbon had a little dip
especially made lol
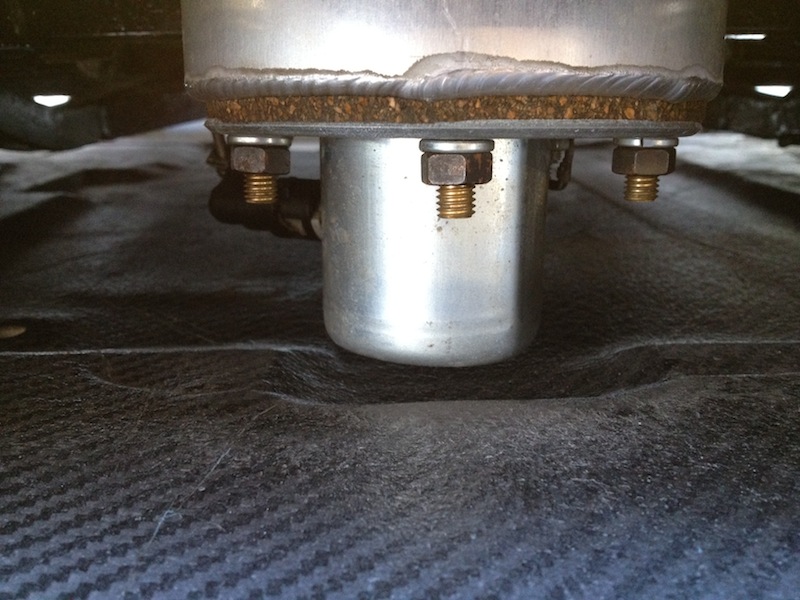
But because the wishbones need to be able to go full droop, the only way it will fit is not fixed to the bottom of the rear clam, so I'll make up
some ally stays, and wrap them in carbon… this is how it'll sit… slutty!
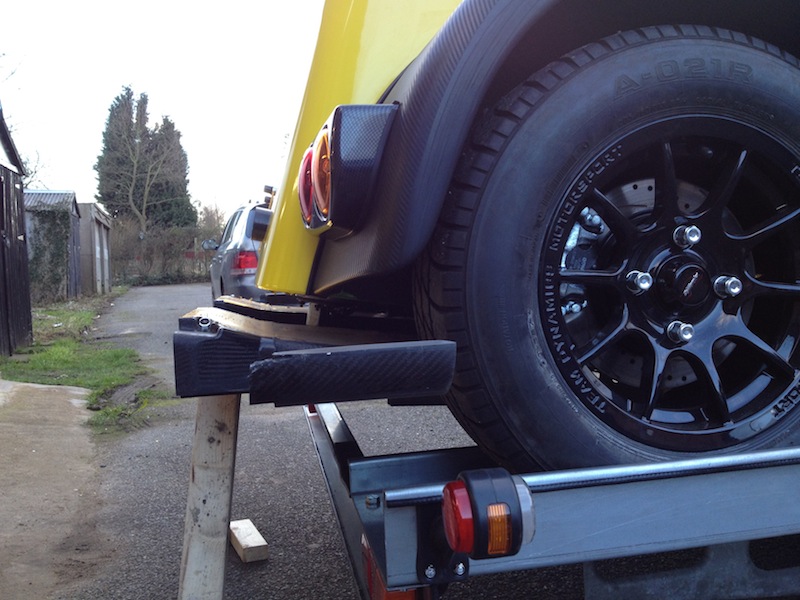
Oh and decided that the 'wings' would do nothing but look sh!t, and more hassle than its worth, so I lopped them off too
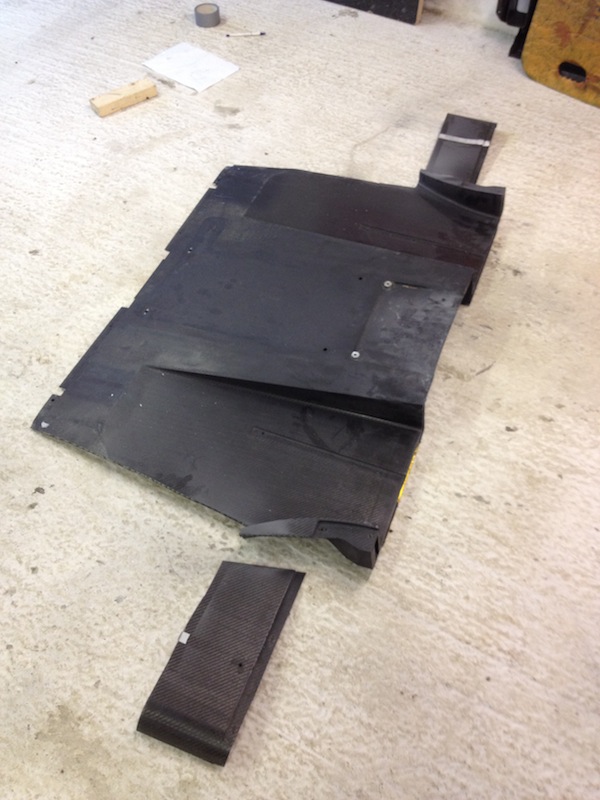
yellowcab - 26/2/14 at 08:23 PM
quote:
Originally posted by yellowcab
Just looking back through old pages, so the last time I drove the car was 25th October 2013... 3 months ago today... during that time...
> Bought & fitted a Healtech Speedohealer - so I'll have an accurate speedo, such a luxury! (adding 87 grams)
> Changed from heavy 15" wheels, down to light 13" wheels, saving 24.4kg dry, and 18.0kg wet of unsprung weight
Wheel & tyre combo weights
Caterham 6J wheels with Avon CR500 175/55/13 tyre - 10.2kg (my dry fronts)
Caterham 6J wheels with Yoko Advan A005 Slick 200/50VR13 tyre - 11.6kg (my dry rears)
Total dry weight: 43.6 kg
Team Dynamic Pro Race 1.2 with Yokohama A021R 185/60/13 tyre - 12kg (my wet & every day fronts)
Team Dynamic Pro Race 1.2 with Yokohama A021R 205/60/13 tyre - 13kg (my wet & every day rears)
Total wet weight: 50.0 kg
> Removed old stuck seized rear callipers, and shafted pads - with new ones (no weight change)
> Made a boot box (adding a 1.3kg)
> Sold old fuel filler & steel connecting pipework (saving 1.2kg)
> Bought trailer bits - still WIP
> Bought 3.14 rear diff, but decided to wait until next winter to do the swap to eliminate anymore 'down time'
> New Carbon CSR cycle wings (currently fitting) (saving 824grams)
> Swapped from MK Indy nose cone, to Donkervoort (saving 2kg)
> Carbon wrapped foamex rad ducting (adding 198 grams)
> Most importantly, having my car setup at ProComp 
Sooooo... 542kg start weight, came off the road, 3 months later... going back on the road at 517kg (25kgs down)
With 13" wheels, and having been setup, and rear brakes that actually work... I'm rather excited about taxing it on Saturday (1st
February!)
> Removed driver seat slider & lowered seating position (saving 3.9kg)
> Replaced old perspex boot lid, with new Di-bond carbon wrapped item (saving 2.1kg)
> Carpet pieces added to seats to stop submarining & general sliding about when driving hard
> Carbon passenger foot rest (adding 750grams)
517kg from the last update, minus 3.9kg, minus 2.1kg plus 750grams… makes running total around 511kg
sdh2903 - 26/2/14 at 08:31 PM
Reckon you'll get down to the magic 500kgs?
yellowcab - 26/2/14 at 08:35 PM
Not without removing the cage to be honest, which I'm not interested in doing…
I have lightweight wheels now, Wilwood front brakes with solid disks, light nose cone, I don't have a reverse box anyway
I suppose I could by removing certain comforts out the car, again, not really wanting to do that to be honest…
The only way I could shed more unladen weight would be to remove carpet, get ally front uprights, get rid of the boot box, rid the passenger footrest
that I've just put in, remove passenger seat… all of which I'm not fussed about doing…
Something I could do without more carbon panels, is to replace my exhaust can which is around 11kg at the moment, a nice carbon one from Julian is
3.3kg...
ReMan - 26/2/14 at 10:14 PM
11kg!
No idea what mine are bit that sounds a lot?
sdh2903 - 26/2/14 at 10:29 PM
So that would be 7.5 kg loss for the exhaust. That would only leave 3.5kg to lose! Think you need some nice carbon rear arches to match the fronts
yellowcab - 26/2/14 at 10:31 PM
Colin, the Aprilia RSV Mille can is known as 'the anchor' in the bling world simply because it's stupid weight.
Carbon fibre rears are generally just grp with carbon over, which makes them no lighter than FG items 
daveb666 - 27/2/14 at 08:34 AM
Top work as usual Olly.
Can I make one last observation on the trailer - the ramps and wheel troughs on factory trailers usually have holes down their length - these holes
act as:
- Drain Holes
- Weight Reduction
- Strap Mounting Points
If/when you ever get caught in a rain shower you will be amazed at the amount of water that your troughs will hold. I'd really suggest taking a
hole-saw to them:

It may something you wish to consider 
yellowcab - 4/3/14 at 05:11 PM
Cheers for the ideas Dave - my trailer is currently so light that I wouldn't really want to be reducing the weight any more… furthermore, I
certainly wouldn't ever make a good enough job by hand of hole sawing it all…
The ramps I had made from 2.5mm, wasn't man enough and bent slightly whilst taking the car on and off, mainly due to the turnovers only being
25mm either side (ideally should have been 50mm)
So I've beefed these up, and I need some way of locking them on whilst I'm using them, as putting the car on last night, the rear wheel span
whilst half way up, and it spat one of the ramps across the road lol
The car is taxed now and back on the road, and I'm breaking myself in gently (before I break the engine again), so far I've been out each
evening since the 1st, if only for half an hour at a time 
Went for a slow drive around 7am on the 1st, and pulled over it there was some lovely sunrise cloud cover, so took a couple of shots sporting its
first time back on the road with new 13" wheels, carbon front cycle wings and new nose
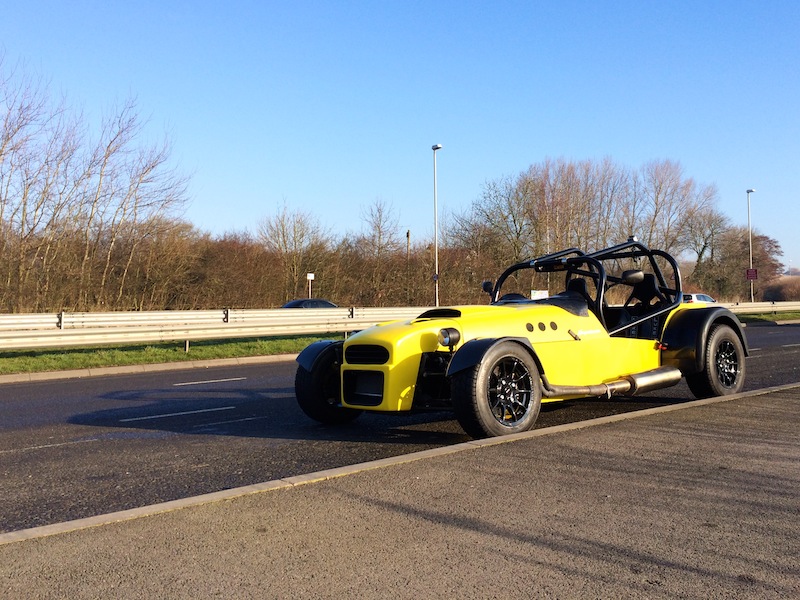
Attention then turned back to the carbon diffuser, more fettling done (no photos) this time with a mask on - after being told off by Nat (NSDev) for
cutting carbon with a grinder without mask on (oops)
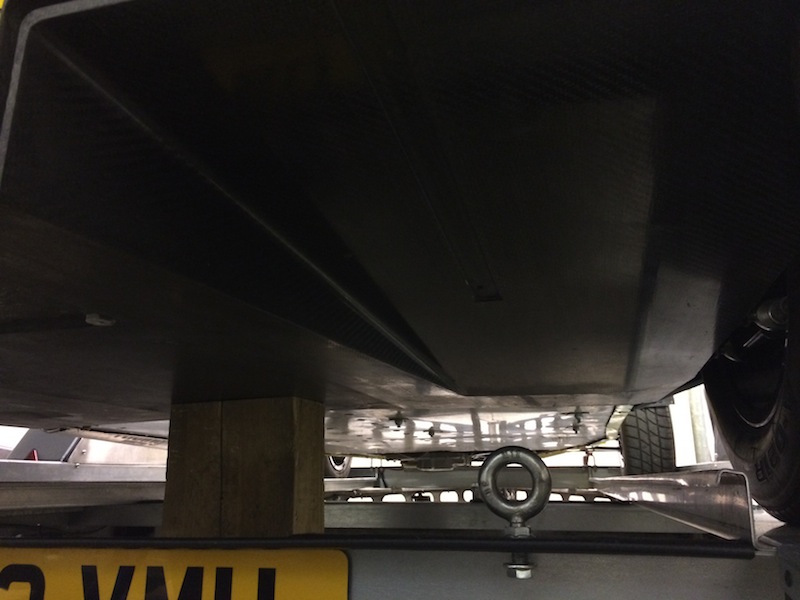
Removed the heat resistant stuff where the diffuser (may) stick out the back of the car
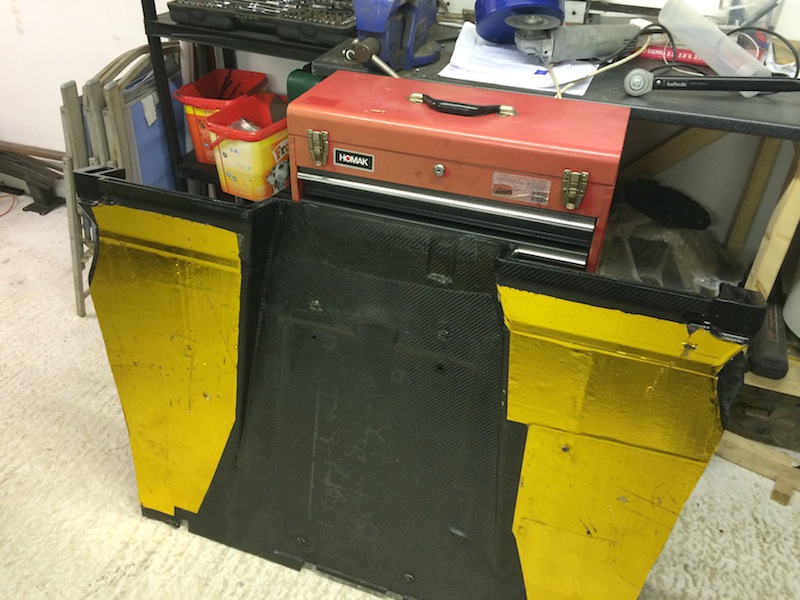
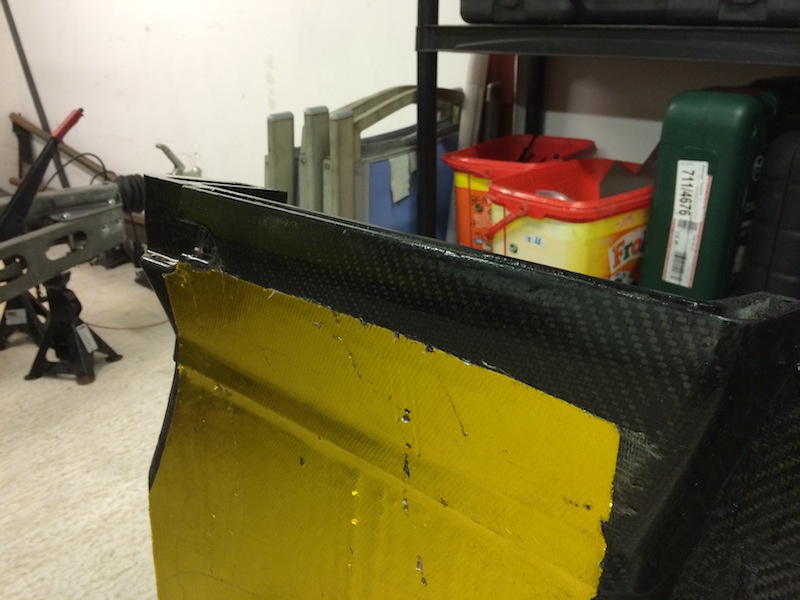
Beefed up ramps
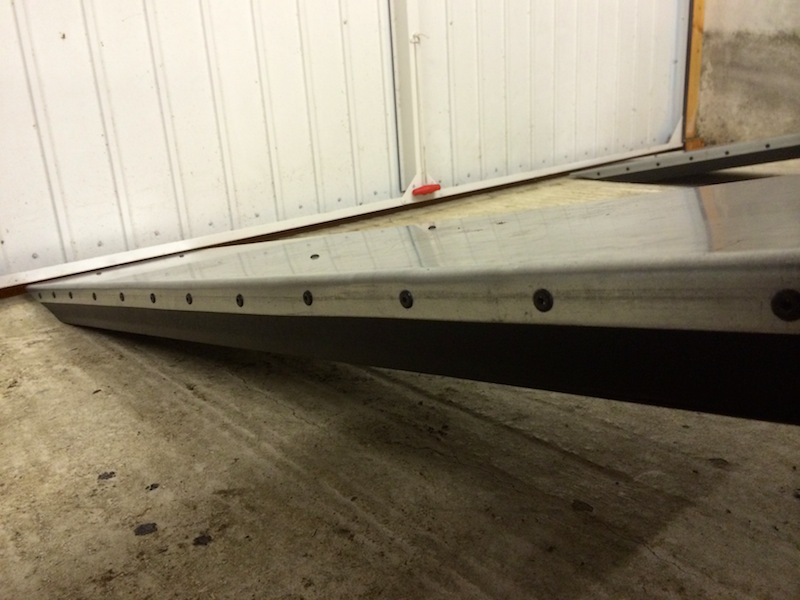
Any last nights midnight drive
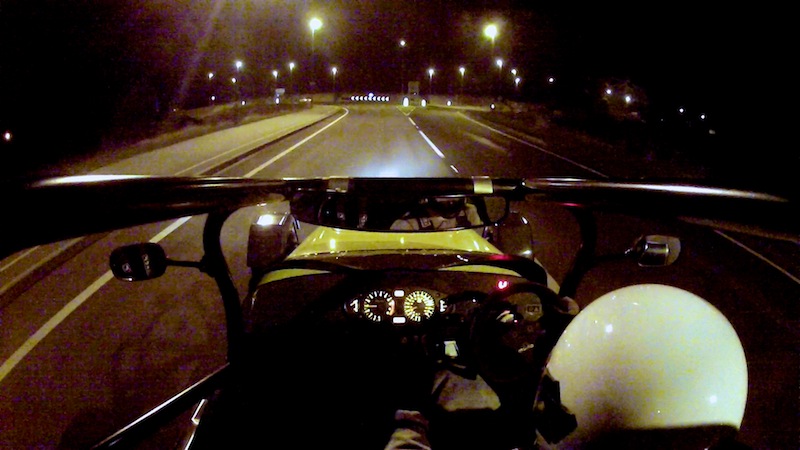
[Edited on 6/3/14 by yellowcab]
Ben_Copeland - 4/3/14 at 05:16 PM
Midnight???
Your neighbours must of loved that lol
yellowcab - 5/3/14 at 12:42 AM
Another midnighter…. What do you mean that everybody doesn't have a spring clean at midnight?!?!
It's that time of year again where I wanna give it a spruce up, and decided tonight was pretty decent conditions to do so… a tub of cheap crap
10litres white paint for £8, and an hour of my time, possibly the most rewarding job ever lol
Not perfect, but better than it was  this hasn't been done since the garage was put up back in 2012 actually, so its been a couple of years,
and a full car rebuild, a lot of grinding, engines, oil, welding and general rubbish etc
Probably didn't expect this on a project thread lol
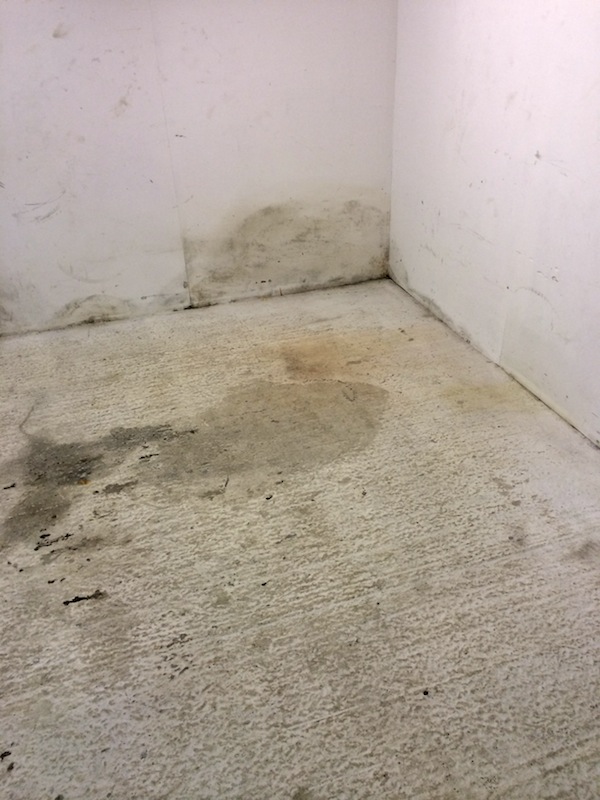
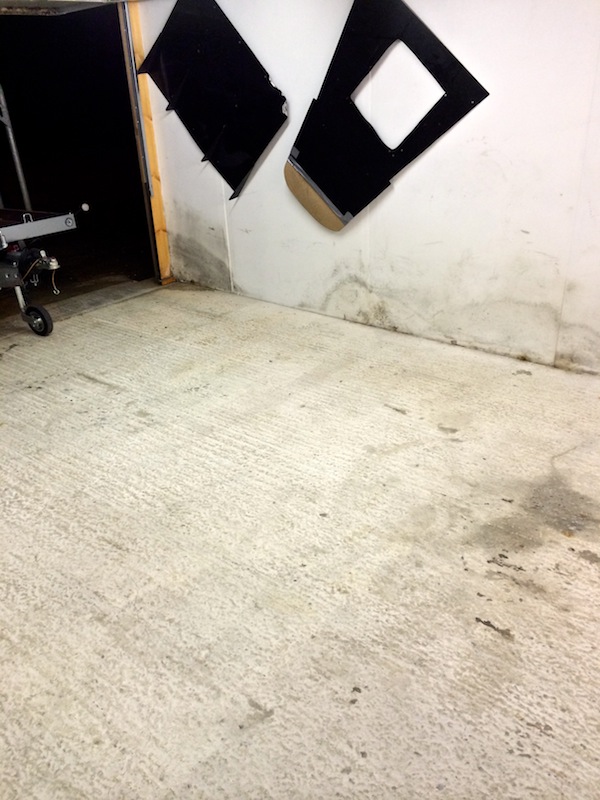
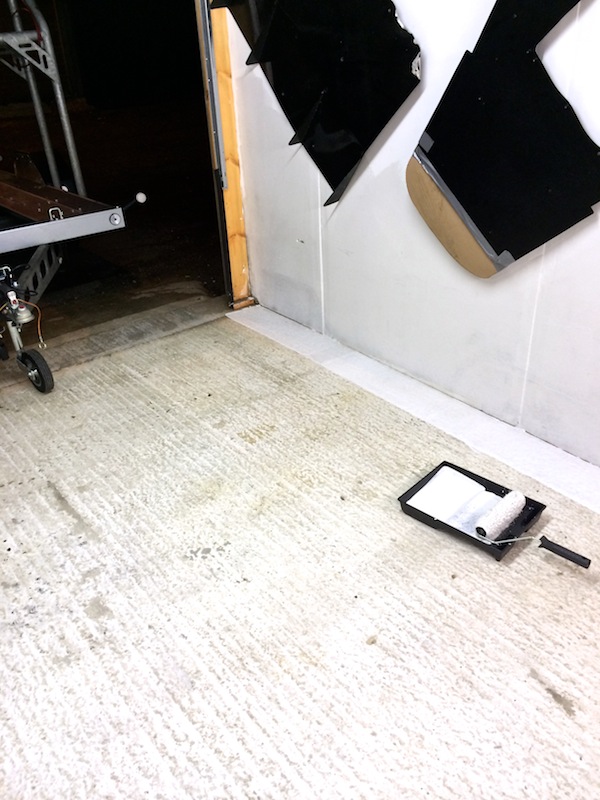
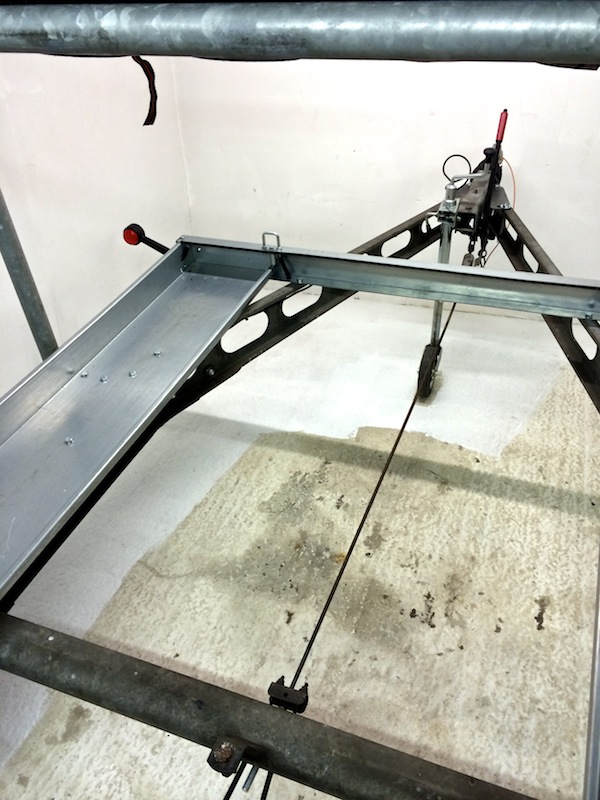
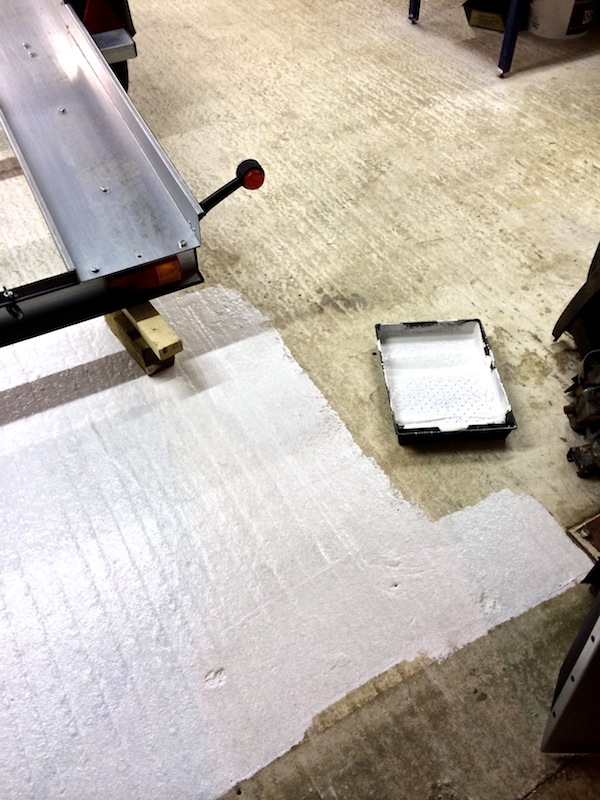
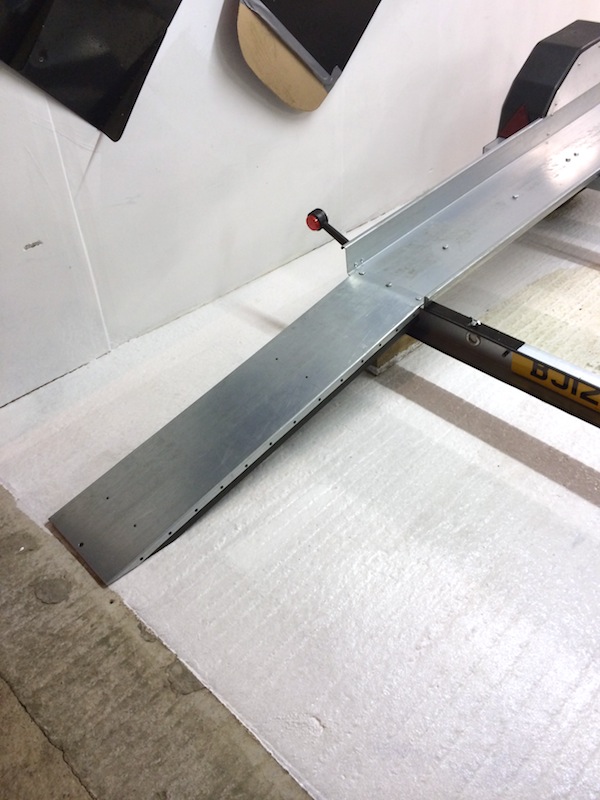
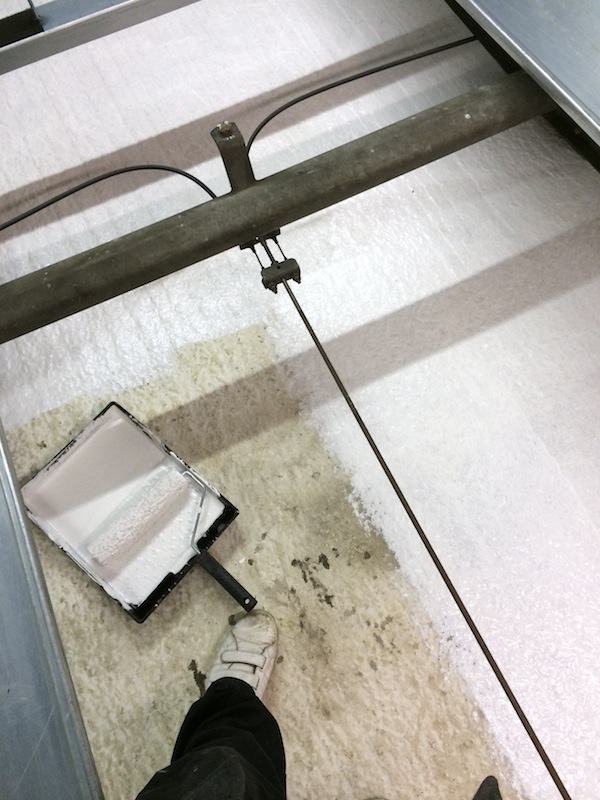
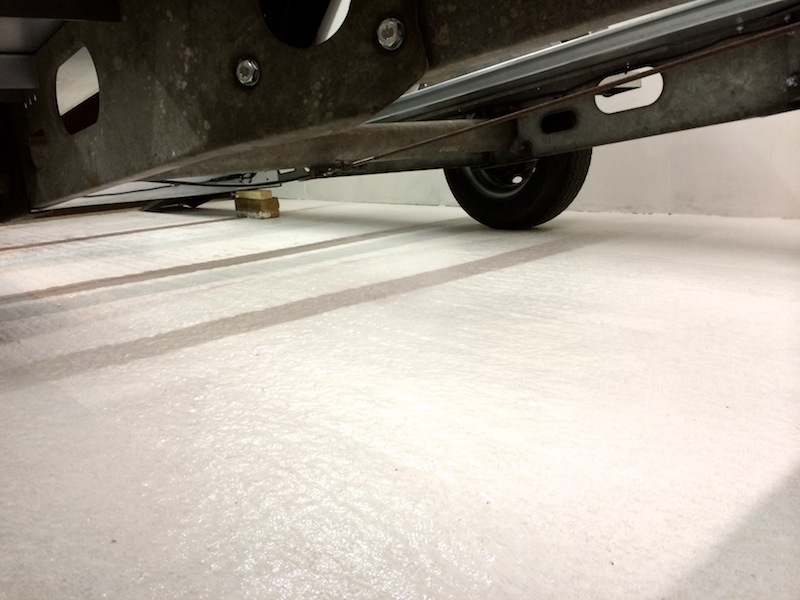
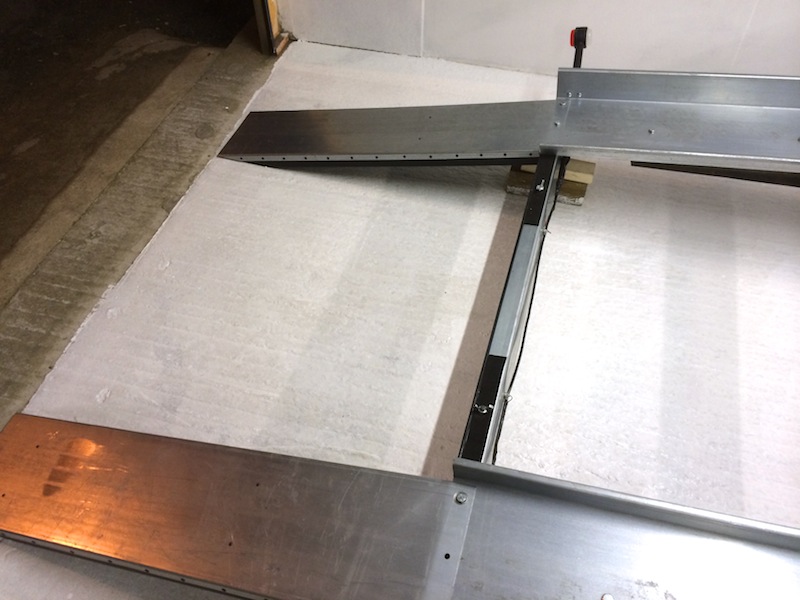
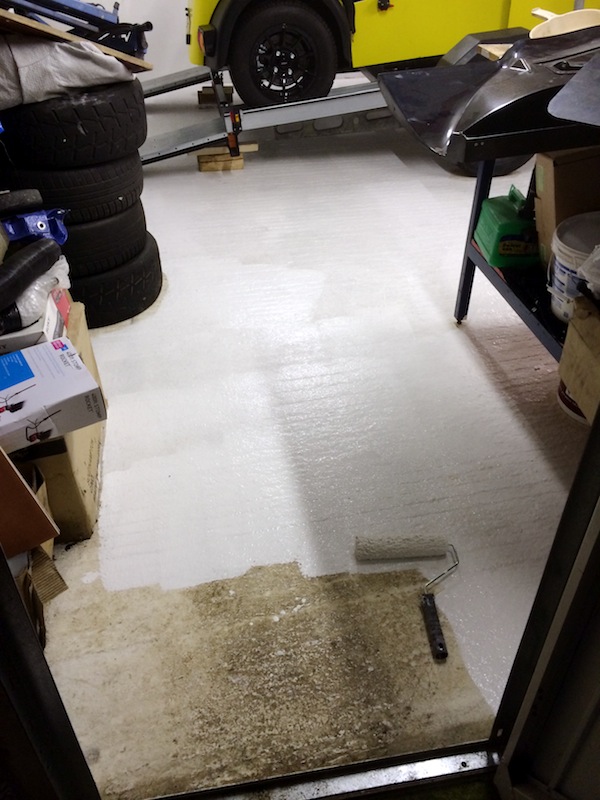
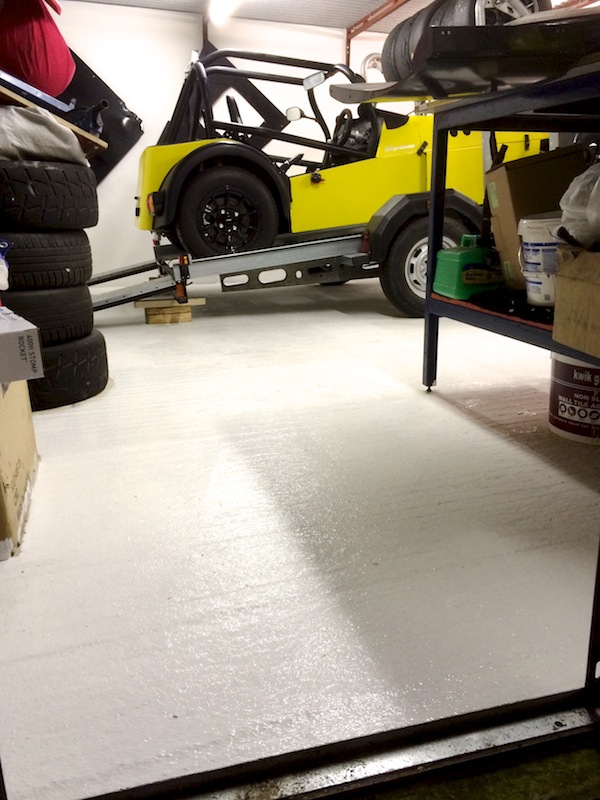
I actually did some stuff on the car & trailer, but that was boring in comparison to the above 
Under where the trailer wheels are, will be sprayed red (or black) so I know where it should sit in order for me to get the car on and off, ramps in
situ and being able to close the garage door 
[Edited on 5/3/14 by yellowcab]
[Edited on 5/3/14 by yellowcab]
yellowcab - 6/3/14 at 12:14 AM
Neeeeeeommmm
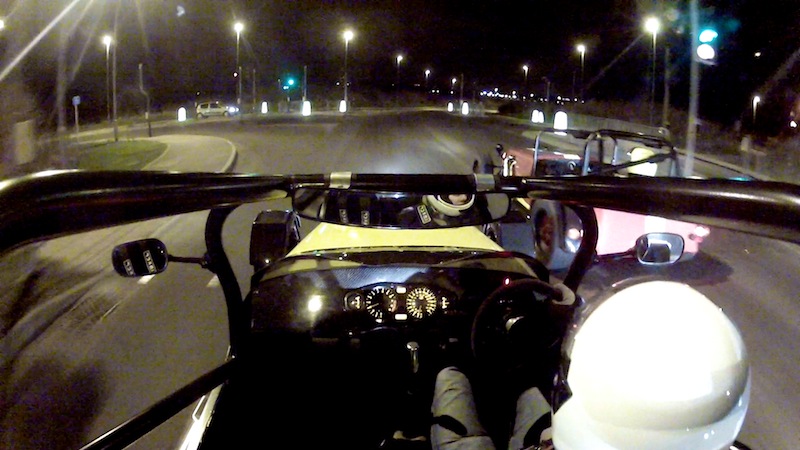
.jpg)
.jpg)
welderman - 6/3/14 at 09:49 AM

daveb666 - 6/3/14 at 10:37 AM
The red one looks quicker 
yellowcab - 6/3/14 at 10:45 AM
It can't be, it's a CEC... snarf snarf
Ben_Copeland - 6/3/14 at 11:23 AM
quote:
Originally posted by yellowcab
It can't be, it's a CEC... snarf snarf
Only cos you sabotaged his flywheel 
yellowcab - 6/3/14 at 12:22 PM
I tell ya something, I ain't half glad it gave way when I was in front!
For how close behind I was following him it could have ended worse
Ben_Copeland - 6/3/14 at 12:39 PM
Yeah, bloody hell. Did it hit something or just break up? It seems really close to the floor from that video you sent me
yellowcab - 6/3/14 at 12:47 PM
Not sure until Pay investigates further
It's protected frontwards by the bell housing so nothing could have hit it, seems like a weak fracture or something, I know it was new when he
put his seq in!
Ben_Copeland - 6/3/14 at 01:06 PM
Scary, good job it didn't go through the side panel into peddle area!
yellowcab - 6/3/14 at 01:12 PM
Just glad he didn't run an inspection plate, otherwise it would have kept the debris inside the already spinning fast flywheel at 8krpm, ouch!
Glad it exited when it did and caused no further damage!
yellowcab - 7/3/14 at 12:27 AM
Not much of an update tonight, just preparing for Cadwell Park track day, first one for me of 2014… on Saturday 8th March  followed by Blyton the
following Saturday (15th March) providing it doesn't blow up
So as I'm selling my original MK Indy nosecone tomorrow, I took some side by side photos of both so people can see the difference should
another Donkervoort style one come up for sale, the biggest difference for me is that the original MK Indy nose has bulges either side just behind
where there indicators sit, which cover the front of the chassis. The MK Indy nose also sticks out further by another inch at the top, but obviously
it slopes away to nothing as it goes down, whereas the Donkervoort sticks its chin out lol
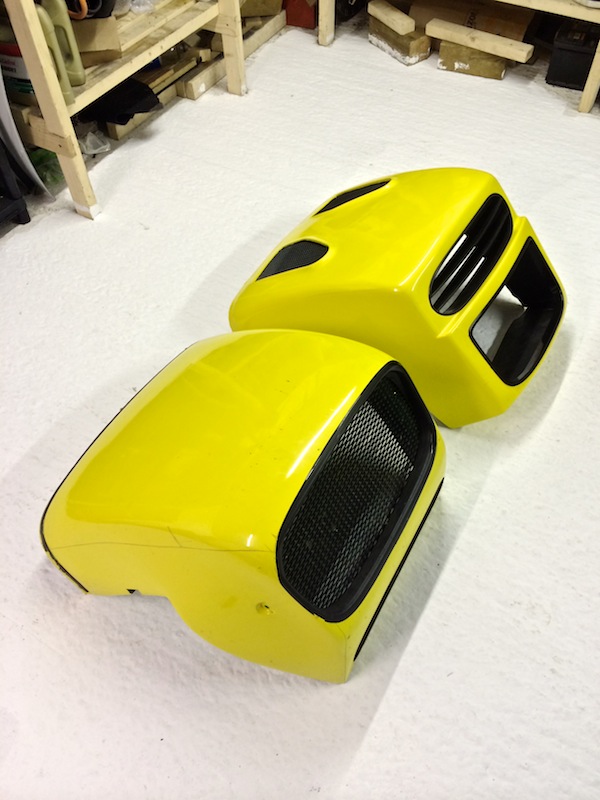
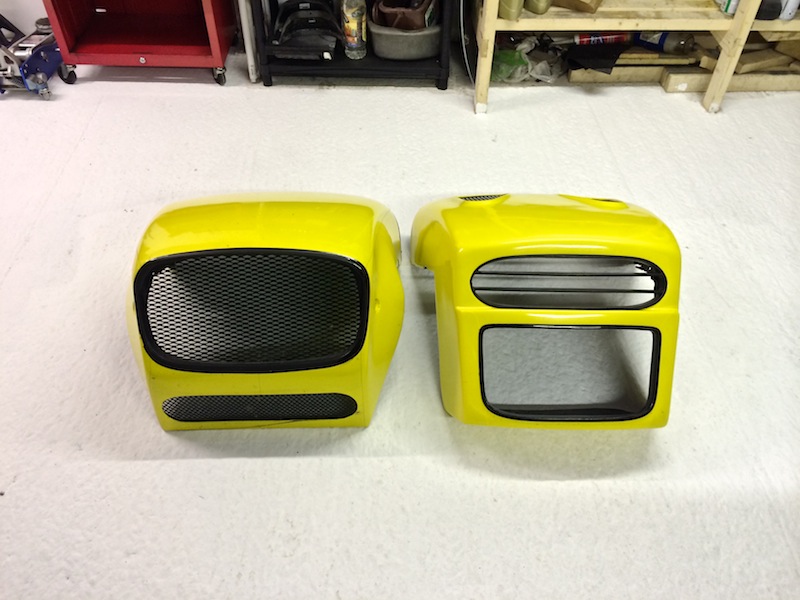
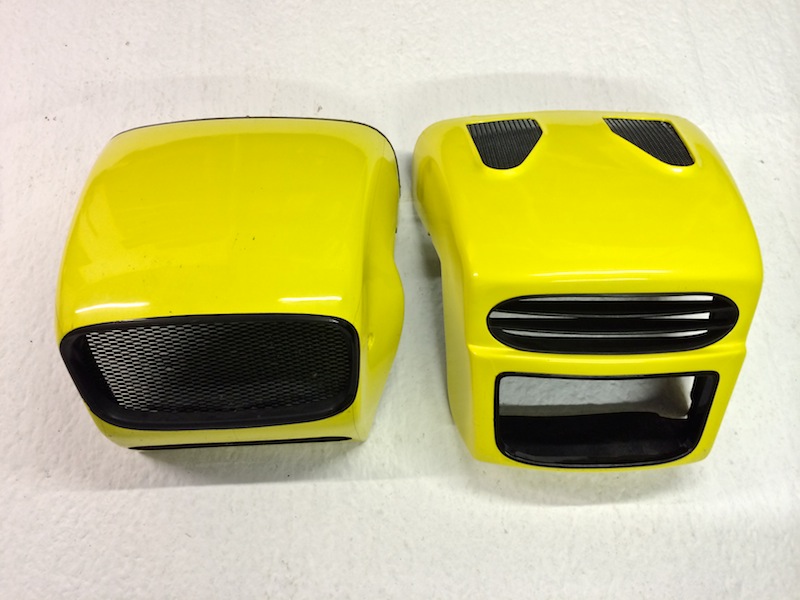
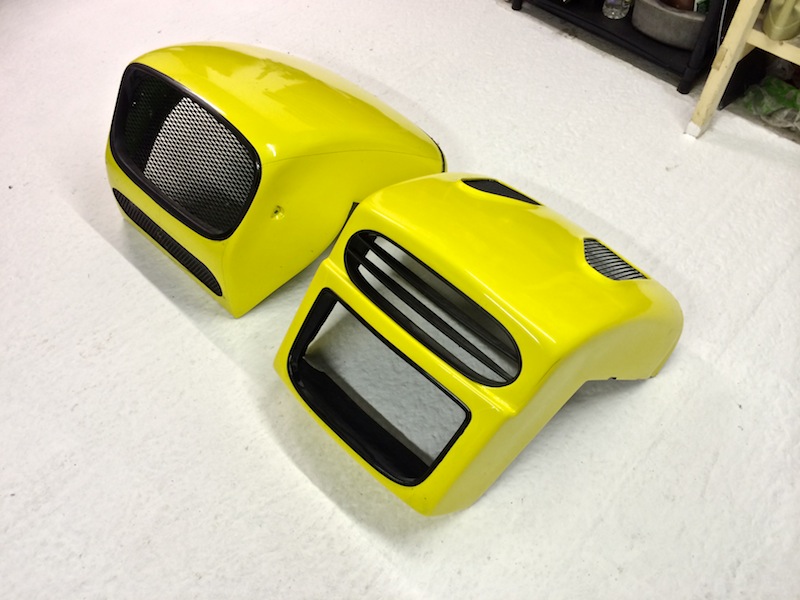
Swapped over my bike indicators, and rewired them up
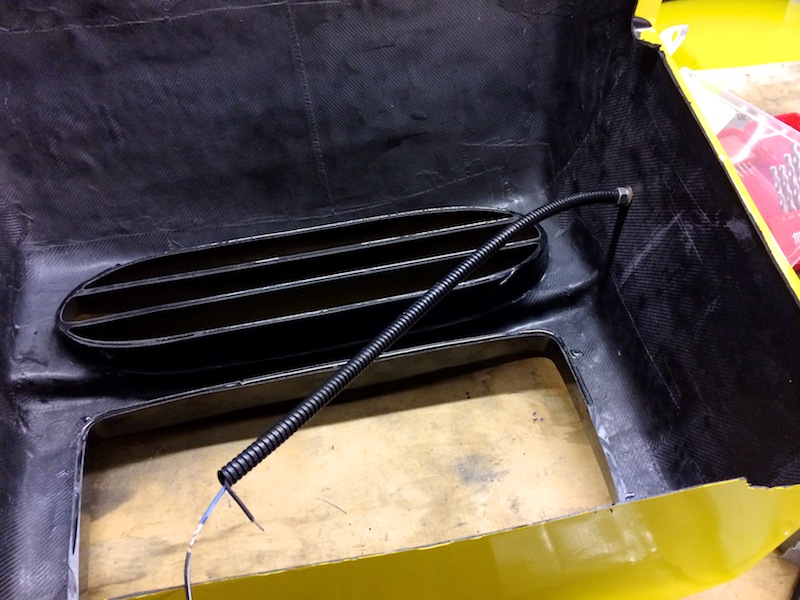
As my theme is yellow & carbon, or yellow & black, my homemade Longacre mirror mounts have always bugged me in photos as (imo) they stick out
like a sore thumb being the only visible thing externally that is bare ally/ silver
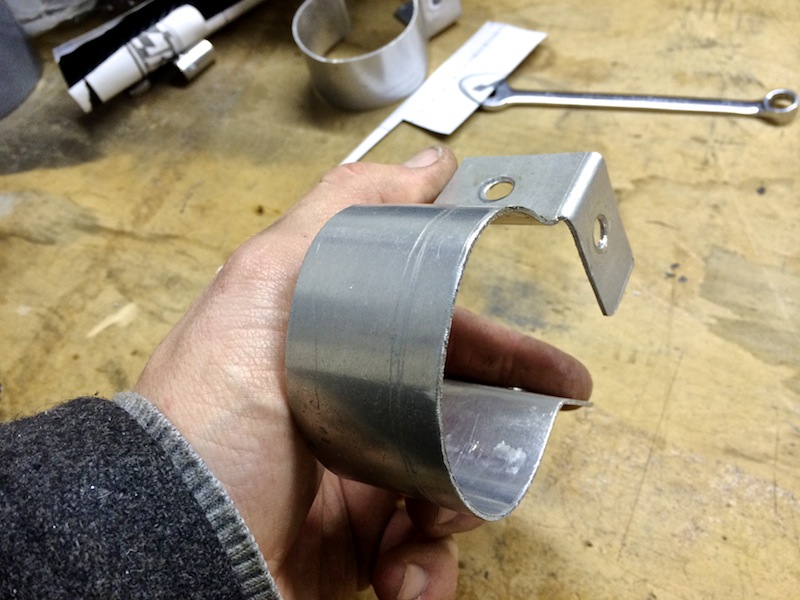
Wrapped em up
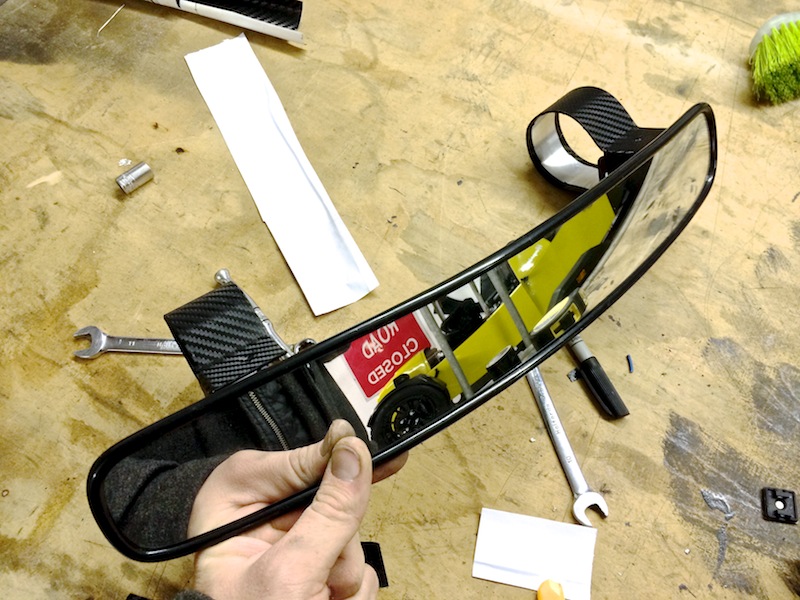
Much better… but I don't like that ally thing in the background

Sorted
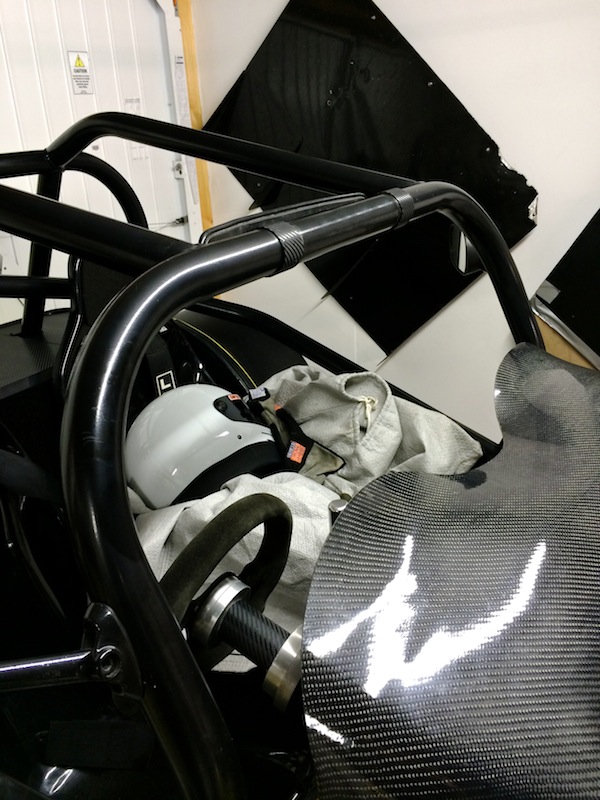
Thanks to daveb666 I've bought some carbon seats too  I'll be removing the cushioning stuff, and just doing carpet like I've done on
my current seats

Any in view of my track day, I've stuck my front diffuser back on with sump guard just incase of any mishaps onto the bumpy grass
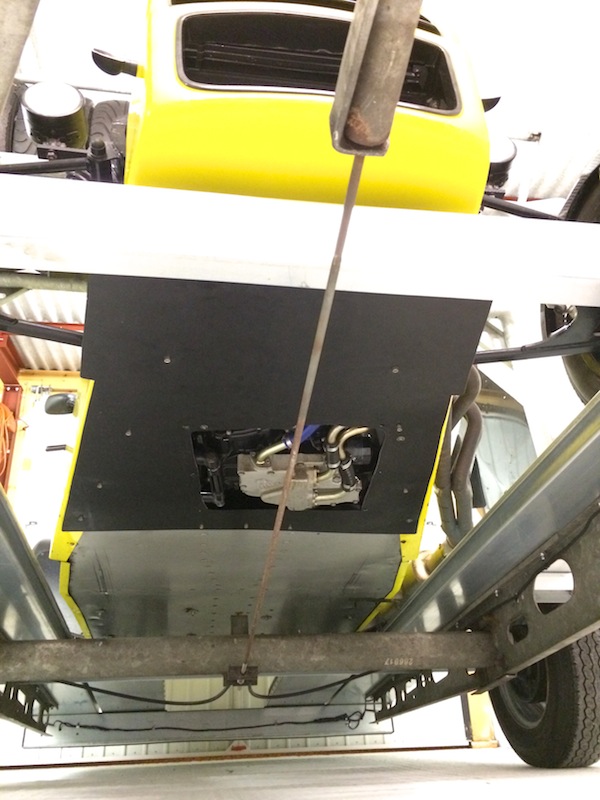
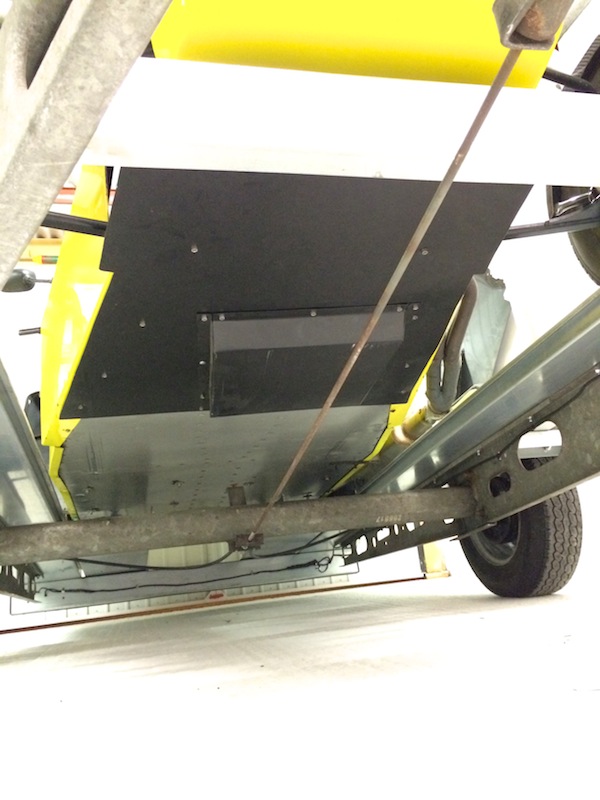
daveb666 - 7/3/14 at 07:50 AM
More than happy to help Olly 
keithjardine - 7/3/14 at 11:49 AM
These any good to prevent ramp flinging (not the prettiest granted)
http://www.ebay.co.uk/sch/i.html?_sacat=0&_nkw=trailer+antiluce&_frs=1
yellowcab - 8/3/14 at 06:50 PM
Cheers Keith - thats precisely what I'm after! 
So today was Cadwell Park, the first track day of mine for 2014… now Cadwell Park holds a few memories for me - mainly being my personal favourite of
the country from back in my Nova days, suited my driving style along with the old XE with Quaife straight-cut gearbox…. however I stacked it into the
barriers at Park Corner… so there were little demons today….
Lets rewind, last night in my preparation for today - I decided to check my oil level, with it being midnight (what other time would you do such a
thing?!) I didn't want to start the car, so I stupidly checked my dry sump tank and realised it was low on oil… so in my bleary eyed way… what
did I do? Yes of course, I topped it up….  I thought - good job I checked, I thought…
So my trailers maiden voyage went completely without a hitch (sorry, couldn't resist) and was perfect all the way there, despite only being 90
miles from us, its completely across country up the A46 so took about 2 hours there abouts
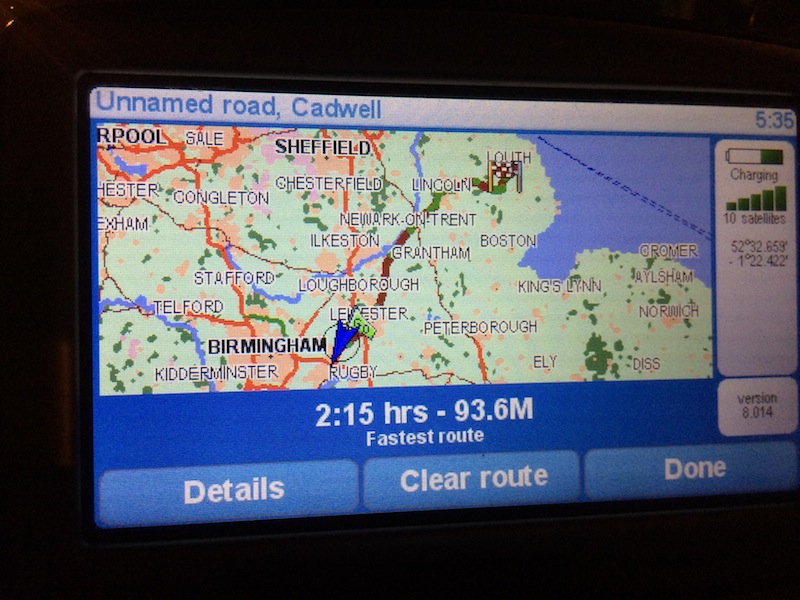
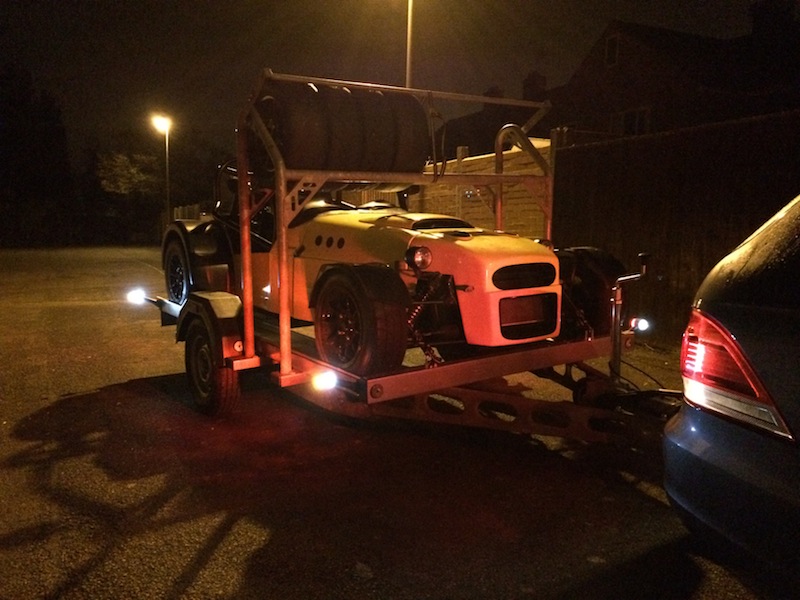
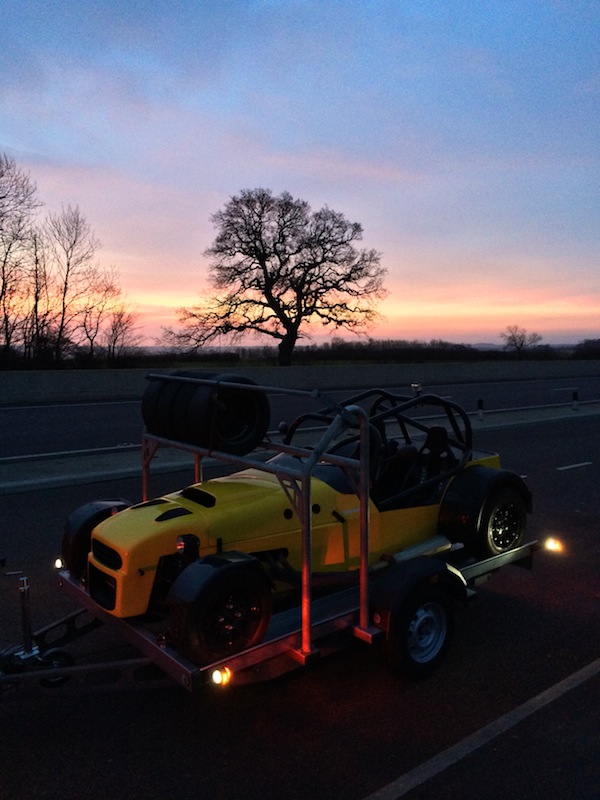
Got the Cadwell, got car off trailer - sorted. Noise check… they spotted it was BEC, they spotted it was 11k/12k rev limit, so they asked me for
7krpm… so up I go, 103dB, thats cool with me - I'm there.
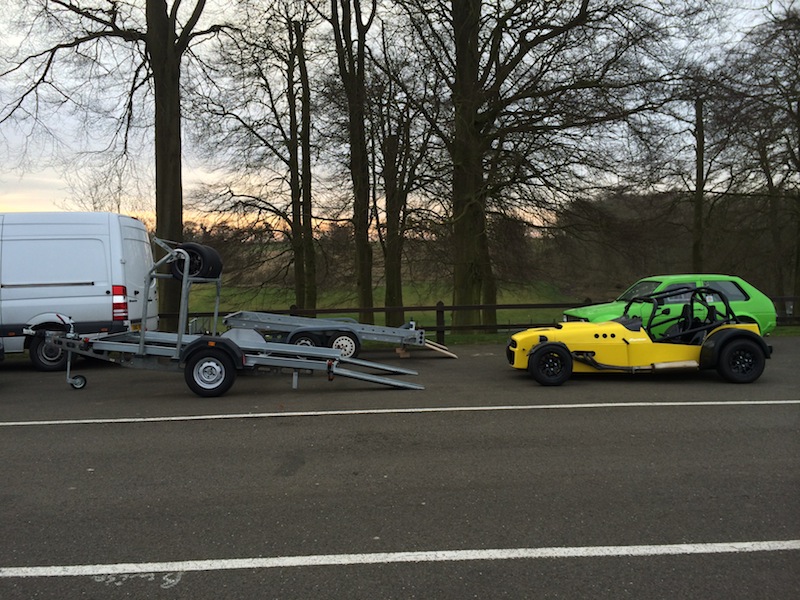
Got back to my parking space next to my trailer, to what can only be described as the Exorcist scene of oil, instead of blood… absolutely everywhere -
couldn't think for the life of me where it was gushing from.
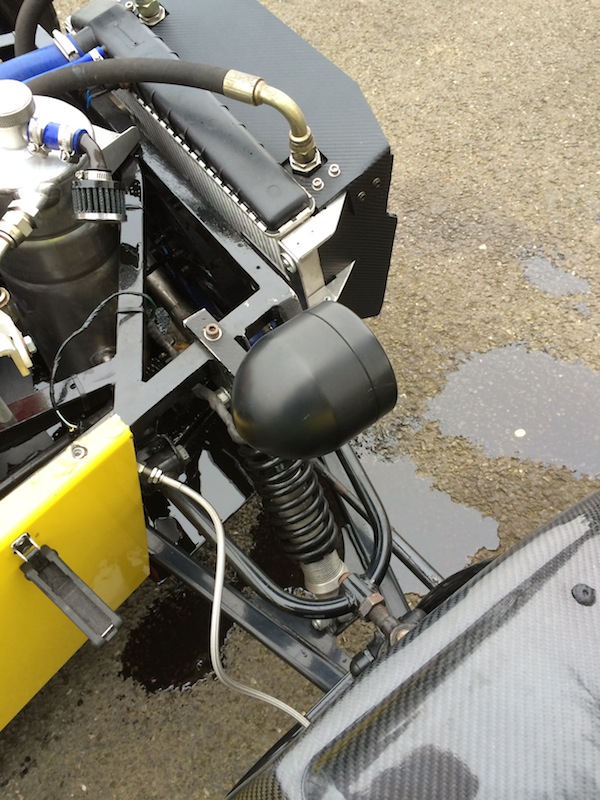
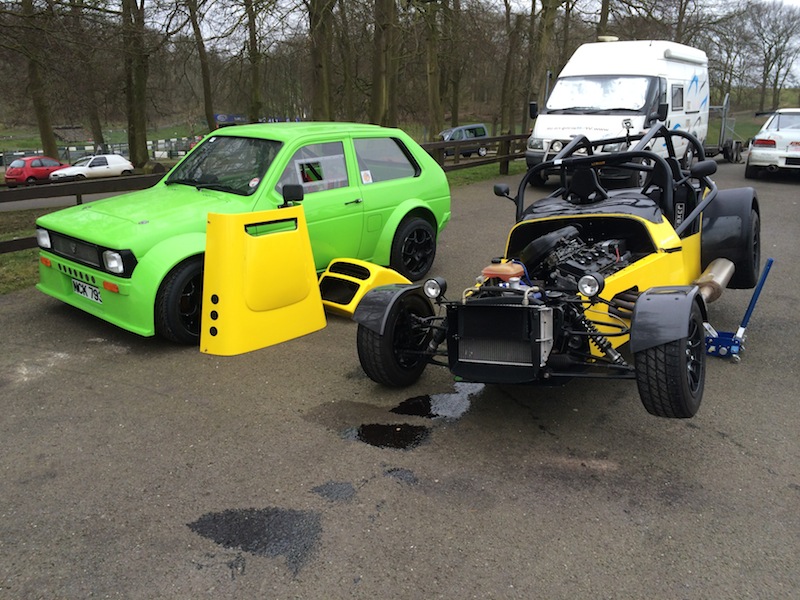
Whacked the engine off, checked the time, brilliant, not even 08:30am and we have problems, grrr.
So I was about to grab my spare t-shirts to start mopping up, but thanks to Andrew (unijacko67) he went and told the marshals who came over and did it
all for me - couldn't have been better, they mopped up, put sand down, gave me a load of absorbent rally pads, and then offered to jet wash my
engine bay to save it being spread about, which we did. Spot on. Thats better.
From there on in, the car ran perfectly, many thanks for the journey that my car has been on - mainly thanks to cosmick for his constant help and
assistance, but equally so to Mat Gilmore @ ProComp - him and his Dad have single handedly turned my car from being a jalopy to drive, to a machine.
Cannot recommend and thank them enough for their hard work last October… sorry its took so long to see the proof in the pudding, but Andrew
(unijacko67) will vouch for how it handles despite everything else…
Anyway - enough of my ramblings, top day, cool, warmed up in the afternoon, no rain, put my slicks on - they were also awesome - in the process now of
getting the photos up, and videos onto YouTube
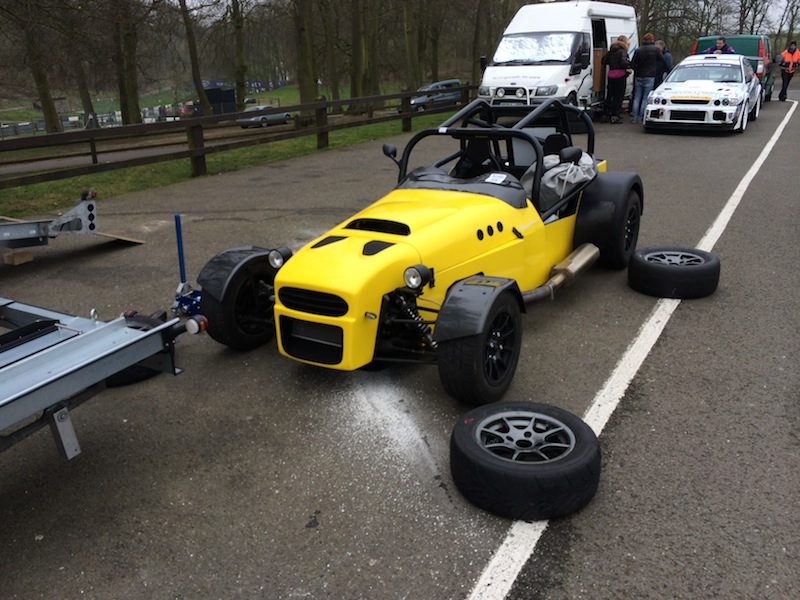
My brother in law turned up, and he managed to get a cracking shot of my with my front wheels off the floor at the top of the mountain  he's
gone away until Monday, so I took a shot of the back of his camera - cracking catch this - I know Jon Ison has a very similar shot, but his front
wheels are much further off the tarmac
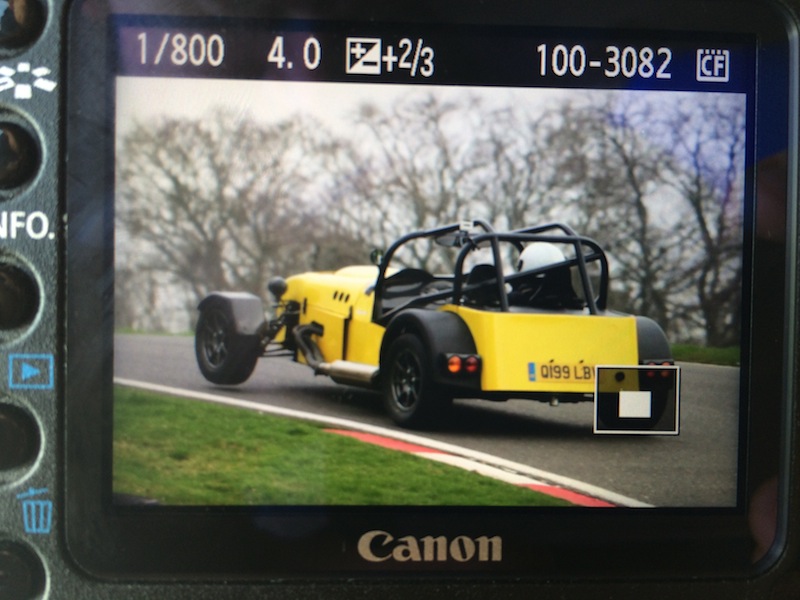
[Edited on 8/3/14 by yellowcab]
yellowcab - 8/3/14 at 07:00 PM
Some of Nicks photos from xtremesportsphotography
Cracking panning shot this, love the new nose from this angle
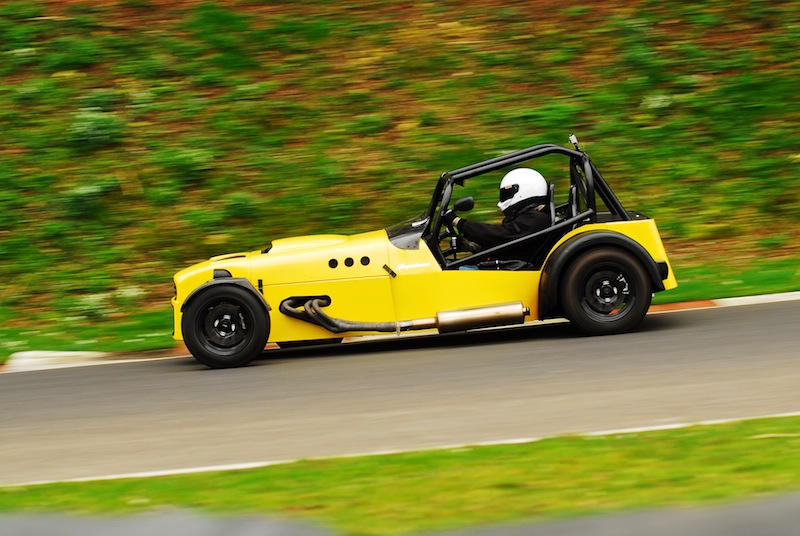
Through the woods
.jpg)
Uh ho, up Park straight towards Park Corner
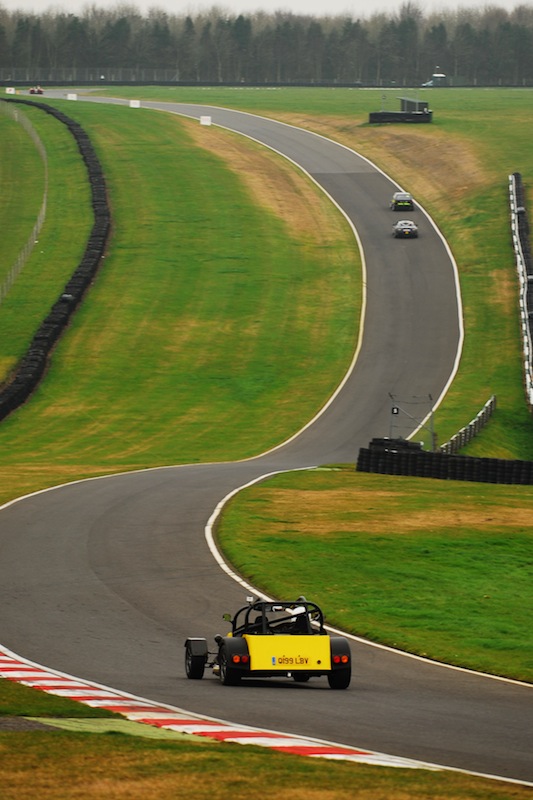
Coming out of Barn Corner
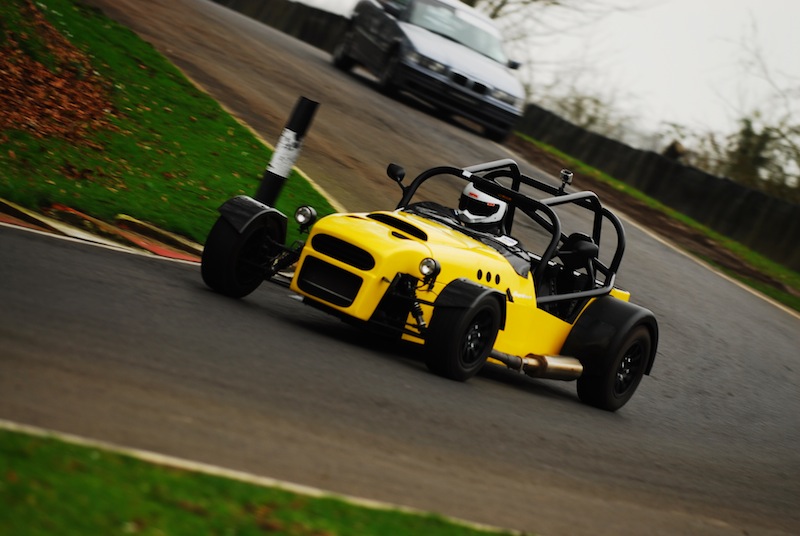
Switching on my GoPro…
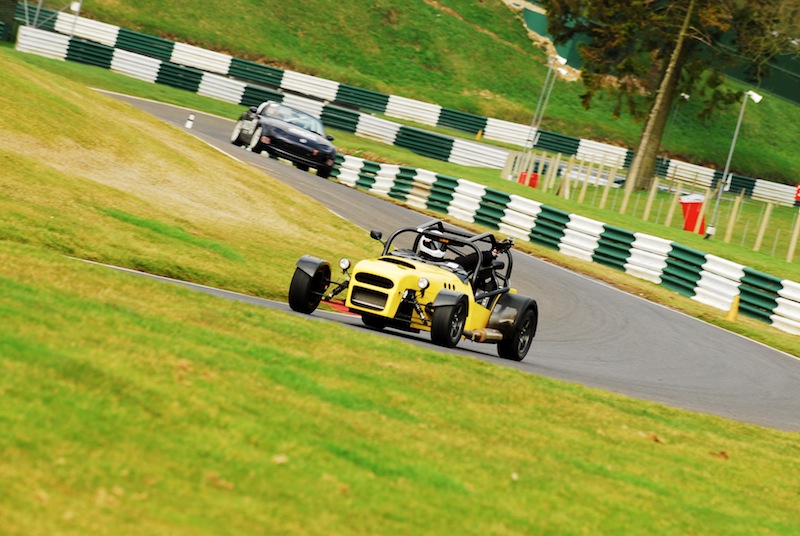
In between Barn & Coppice
.jpg)
Hall bends
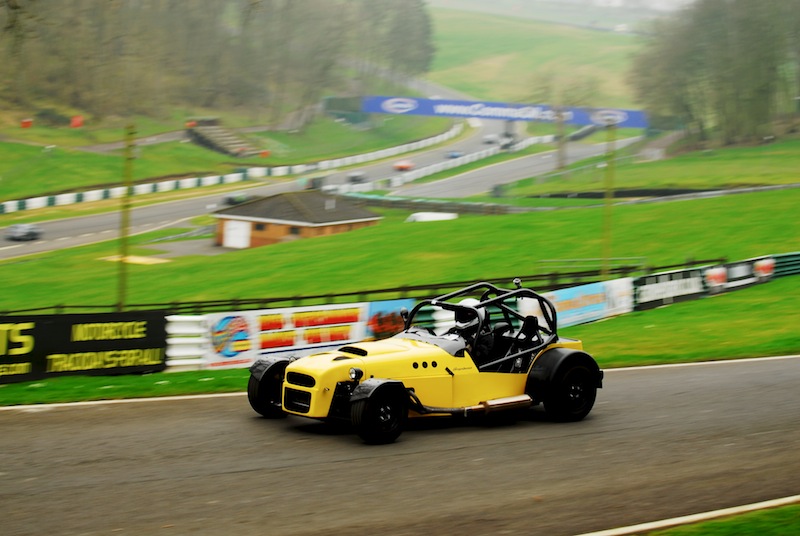
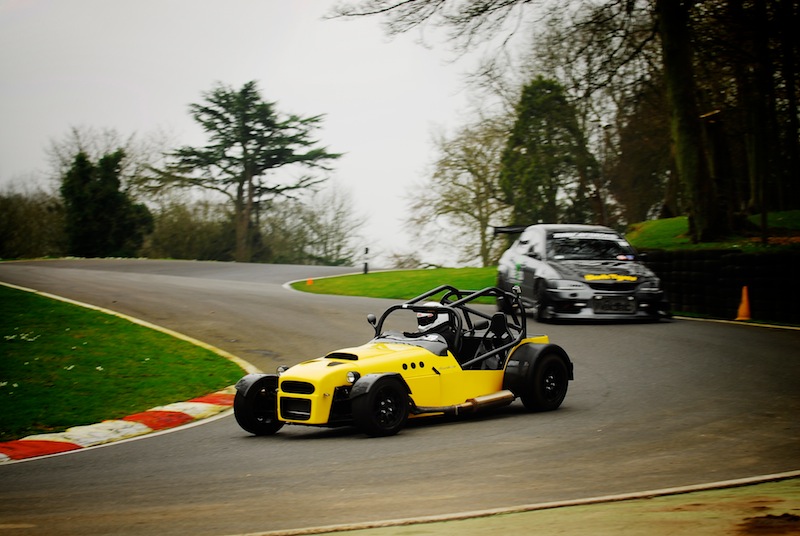
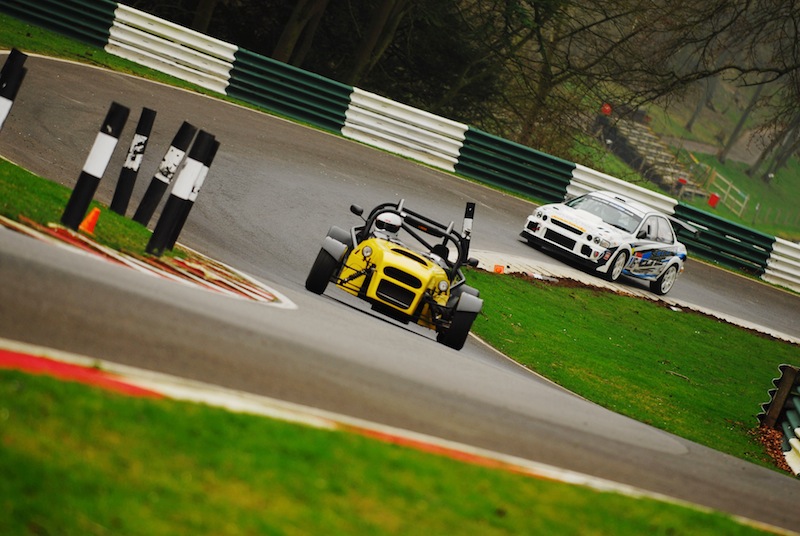
cosmick - 8/3/14 at 08:39 PM
Hi Olz,
Now you know that you check the oil level on a dry sumped engine after you have started it and not before, Lol.
Congratulations on your first track day of 2014. Even more praise for driving your new trailer to the circuit. The car has worked well, the trailer
looks and works brilliantly, and it was a beautiful day to top it off. Apart from the full race Scuby, it was the fastest thing out there.
Our hard work and literally burning the midnight oil has paid off. Well done. A pat on the back for both of us.
Cosmick
daniel mason - 8/3/14 at 11:01 PM
nice work mate. trailer looks great! see you at blyton on saturday. im going friday night and stopping in car. pm me if your thinking of doing the
same and ill meet you there! cheers
yellowcab - 9/3/14 at 03:09 AM
First time at Cadwell Park for me in the Busa, last time I was here I was driving the Nova!
Worth a full watch for those loving bike engine'd cars... Speakers up, for some reason the first two laps remind me of greyhound racing, letting
me out the stocks to catch the bait, the Civic and the two MX5's… on freezing cold slicks mind, hence slow to begin with...
Then 2m 12s is awesome… MX5, MX5, Golf GTi, Megane & Clio all on the start/finish straight heading into Coppice…
Then wait for the fastest Saxo I've come across to make an appearance, fantastic tussle, albeit I was naughty to chase on a trackday, all in the
name of fun.
Brilliant trackday by Javelin, recorded on a GoPro HD Hero 2
Get sharing people
http://youtu.be/pCpuIh9ZLCA
yellowcab - 9/3/14 at 06:16 PM
Some photos took by my brother in law, love the shots through the woods…
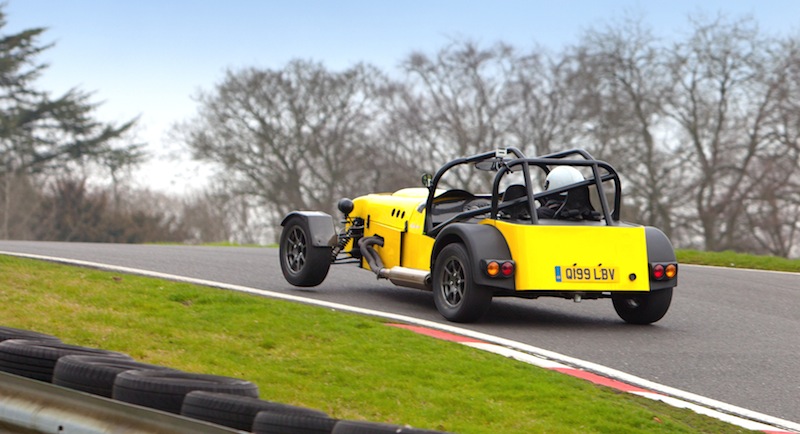
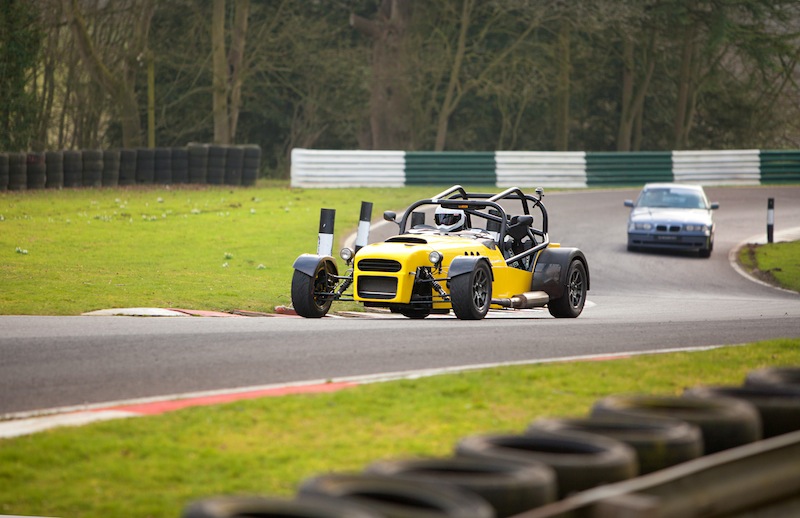
My fave

Some GoPro screen grabs
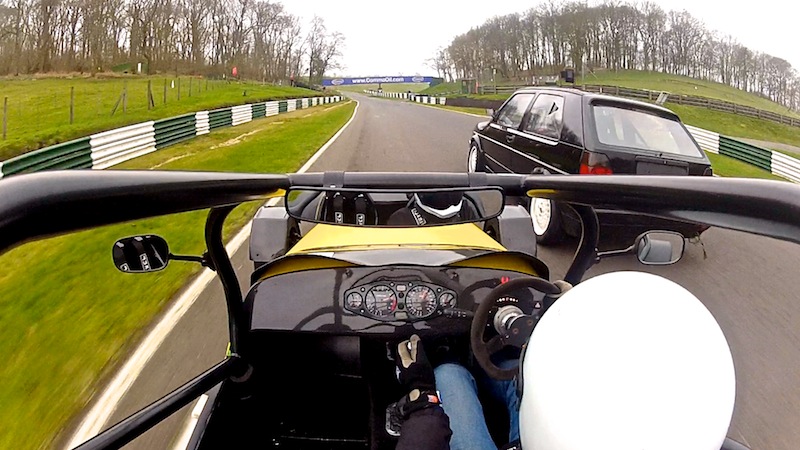
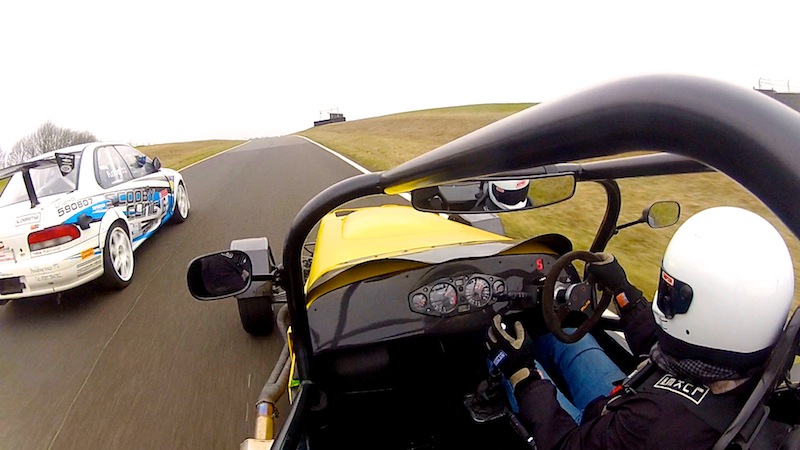
rdodger - 9/3/14 at 06:20 PM
Nice to see the golf giving you plenty of room.... NOT!
Digimon - 9/3/14 at 07:30 PM
Brilliant video
p.s the car trailer looks really good 
CosKev3 - 9/3/14 at 08:33 PM
Great pics and vid 
You make it look pretty easy passing all those cars, is it the slick tyres that make it so easy? 
yellowcab - 9/3/14 at 08:34 PM
Once the slicks are warm, they certainly help keep the loud pedal in without fear of breaking traction…
I was only on the slicks for 2 outings, the rest of the time I was on the wets which are Yokohama A021Rs
Thanks for the replies guys 
daniel mason - 9/3/14 at 08:48 PM
what battery do you have oli? i run a li-ion at 1kg with a seperate jump start battery and cable so its not having to keep starting the car. saves 6
or 7 kg easily over even a lightweight bike battery. if you fit an electric whinch to your trailer,you can use the starter battery to power that
too!
Magic Beans - 10/3/14 at 08:21 AM
I've been following this thread for some time, since I was looking to buy something as a first foray into Locosts. I'm still kicking myself
for not buying this from you, instead opting for a Westfield which has become a PITA..
Amazing build. I love the attention to detail, even on the smallest things. I was very much the same way with my old car, so fully get the mindset
when approaching the various tasks.
Needs to find me a Megabusa for sale now... 
Phil
yellowcab - 10/3/14 at 04:06 PM
Dan - I have a Suzuki Hayabusa motorcycle battery on mine - not sure how much it weighs? My biggest unnecessary weight (after my stomach) is now my
exhaust can, the Aprillia RSV Mille can must weigh around 11kg I believe, as its known in the bike world as 'the anchor'
My sound test at Cadwell on Saturday was 103db @ 7krpm, which is far far too close to limit for me, so I'm keen to get it quieter, and a lighter
(possibly carbon) exhaust can.
I've noticed from my photos that the manifold looks sh!t too, but I don't want to go and spend a lot of money on one when before then end of
2014 is out, I'll have a turbo lol 
yellowcab - 10/3/14 at 04:07 PM
Phil - thanks for your kind words, I had a lot of interest in my car when I put it up for sale, but I was reluctant to budge on price as I was only
50/50 about selling it anyway.
I'm glad I kept it, with how it was handling on Saturday, it was far better than I ever imagined it could be… so happy chappy over here.
Thanks again for your reply & interest 
yellowcab - 10/3/14 at 07:52 PM
Some fantastic pics from Dave Carter - it's amazing what you learn about your car from external photos whilst 'on it'
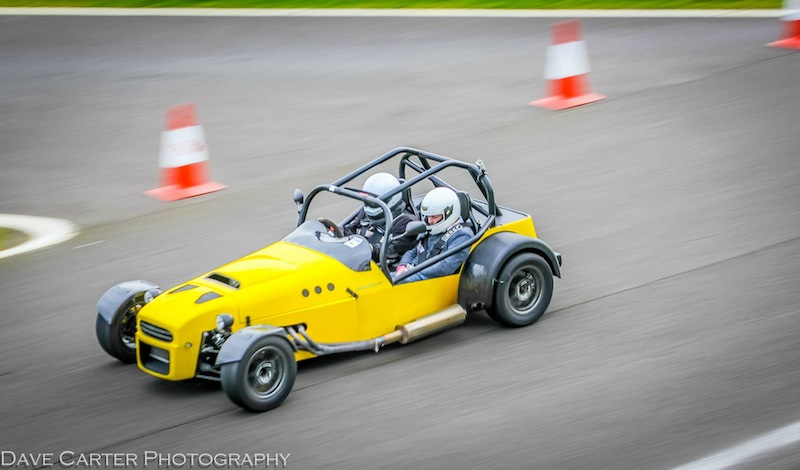
My rear arches now need tiding up as the Kawasaki green is coming out, and my exhaust can needs replacing as its burning the carbon lol
Also, my drivers front wheel I think has a bit too much negative camber
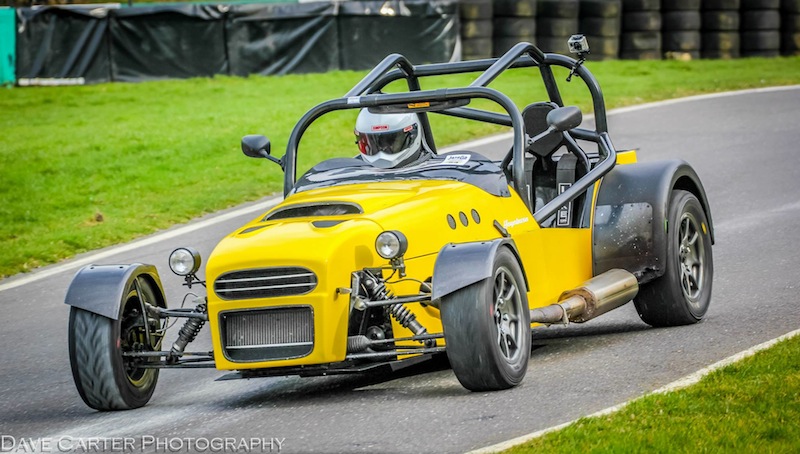
Squatting going up the mountain
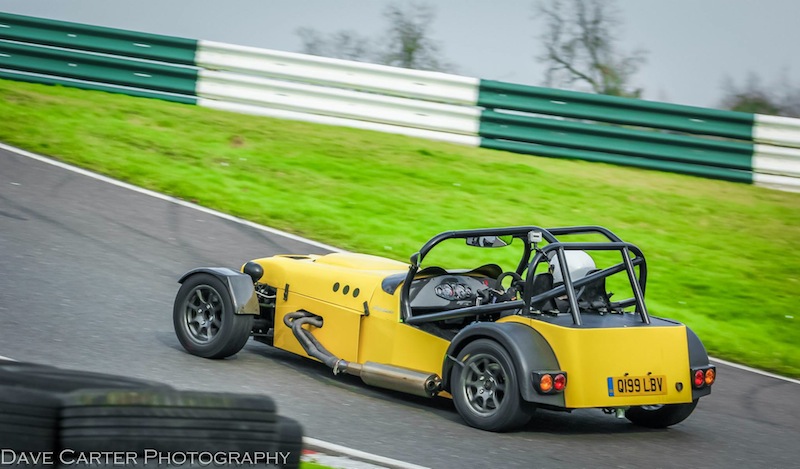
Stewarts 244bhp Saxo chase heading up the mounting
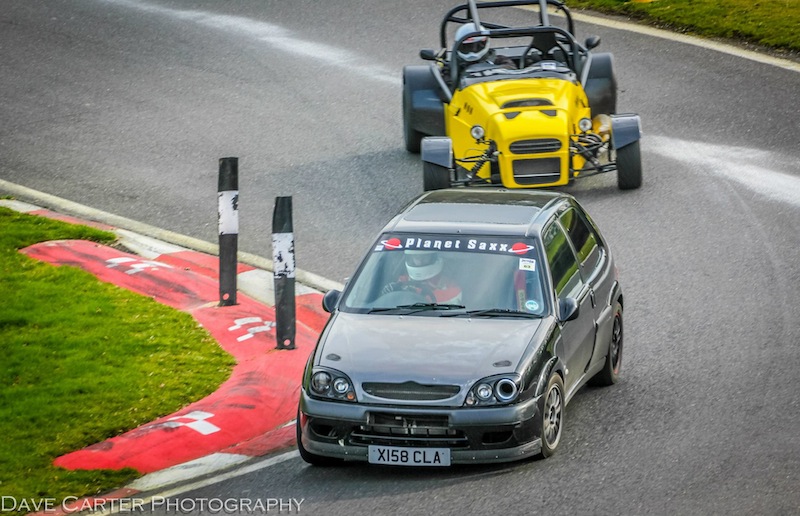
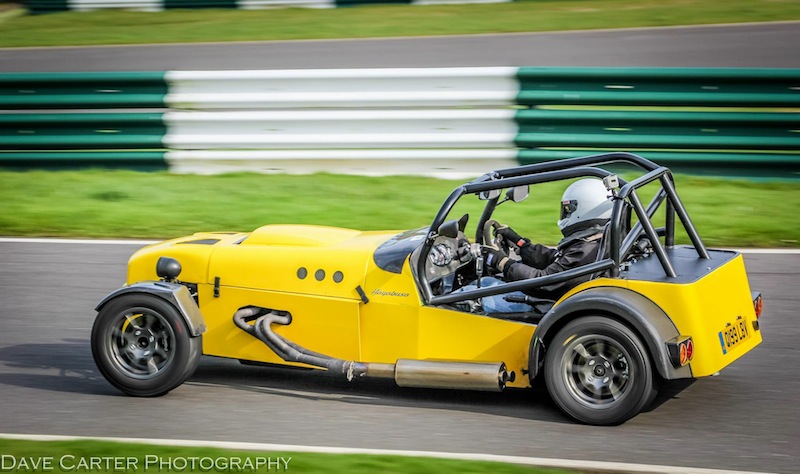
yellowcab - 16/3/14 at 11:03 AM
Best viewed in 1080p HD in full screen with speakers up 
https://www.youtube.com/watch?v=5weX0k4WLYQ&list=UUCpP5dFARRhF0vlmAKtEF4A
Digimon - 16/3/14 at 04:03 PM
Nice video, that tiger goes well 
CosKev3 - 16/3/14 at 04:50 PM
Great vids 
Nearly ended in tears chasing that orange kit car!!! 
yellowcab - 17/3/14 at 04:06 PM
The view from laptoprob's Tiger… I seem to have a lot of roll… maybe something to do with being two up?
https://www.youtube.com/watch?v=KesNpmtwJcw
yellowcab - 17/3/14 at 05:47 PM
So Cadwell was last weekend, Blyton was this weekend… here are a couple of pics 
As per my Cadwell thread… a similar route from my home town of Hinckley, Leicestershire…
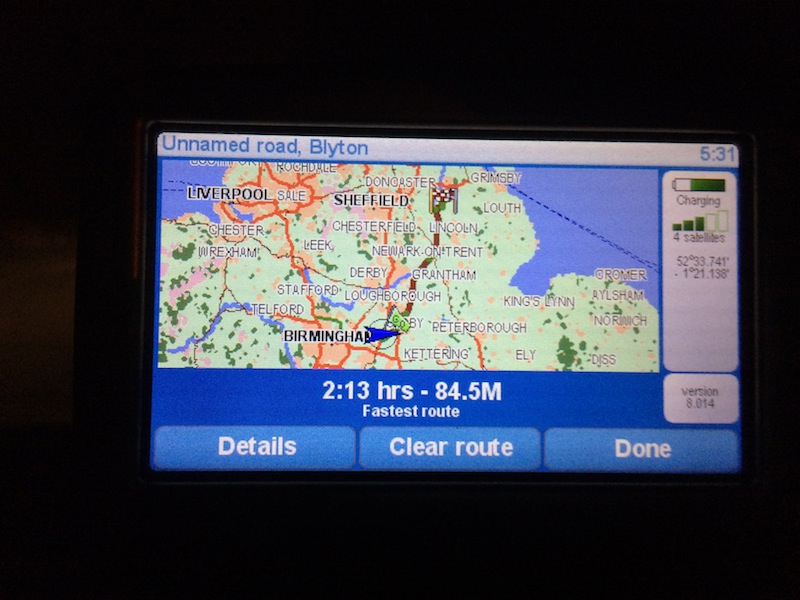
Some paddock shots, daniel mason, laptoprob, yellowcab & Davey D
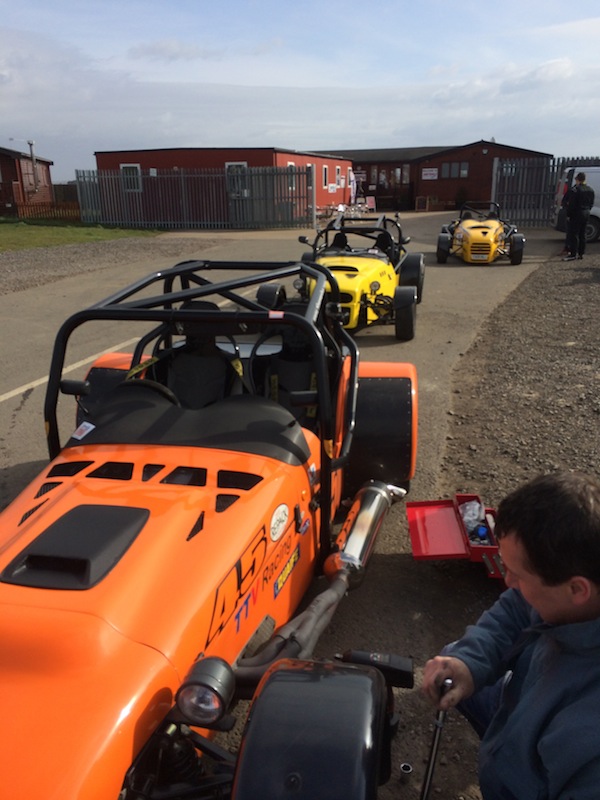
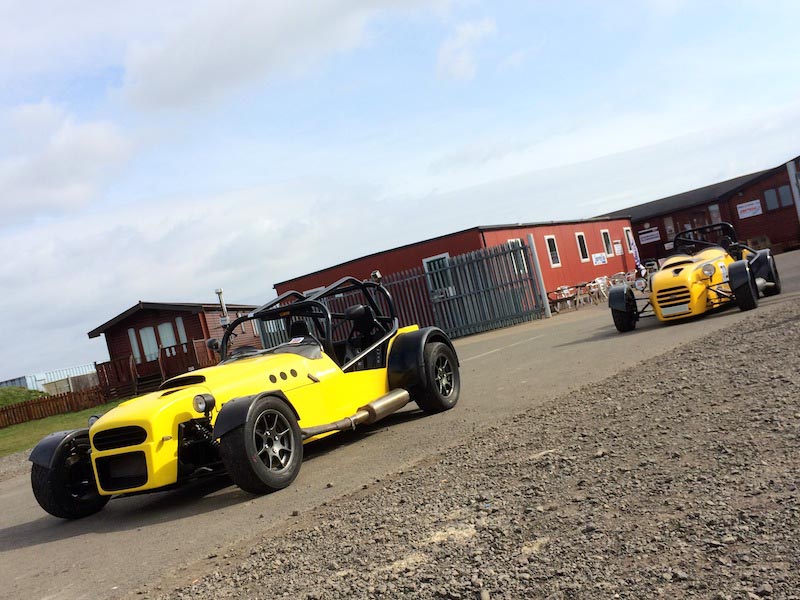

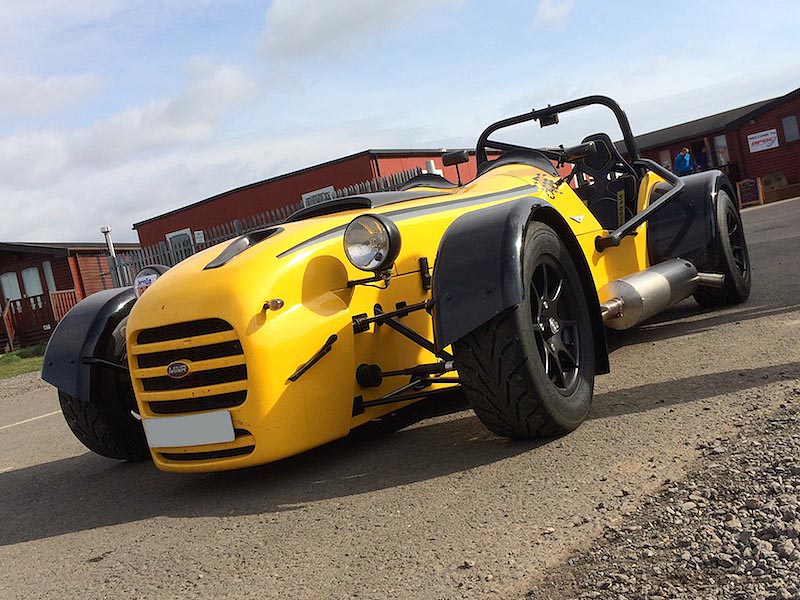
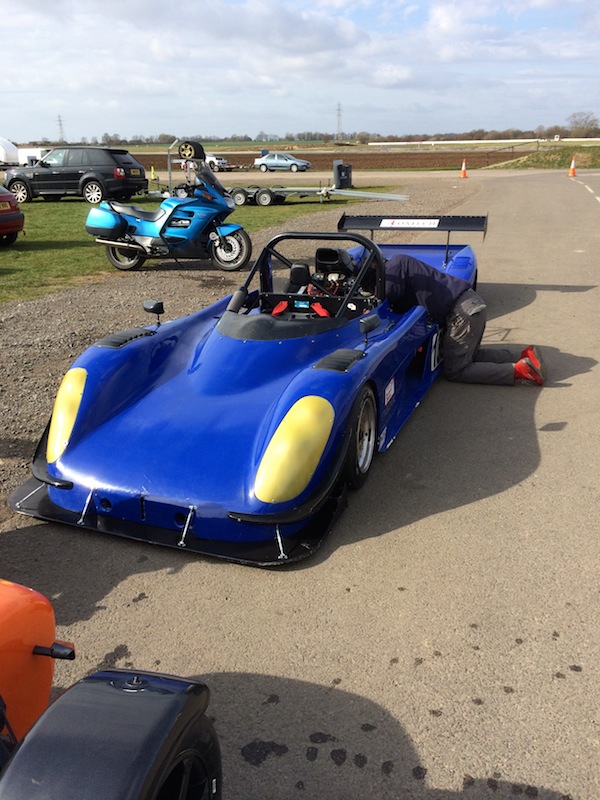


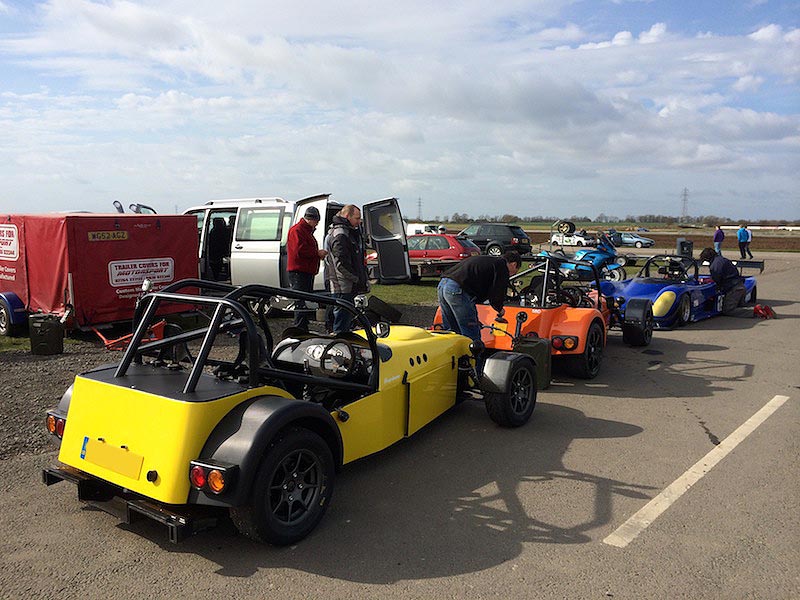
Couple of photos of my carbon diffuser fitted that we fitted the night before
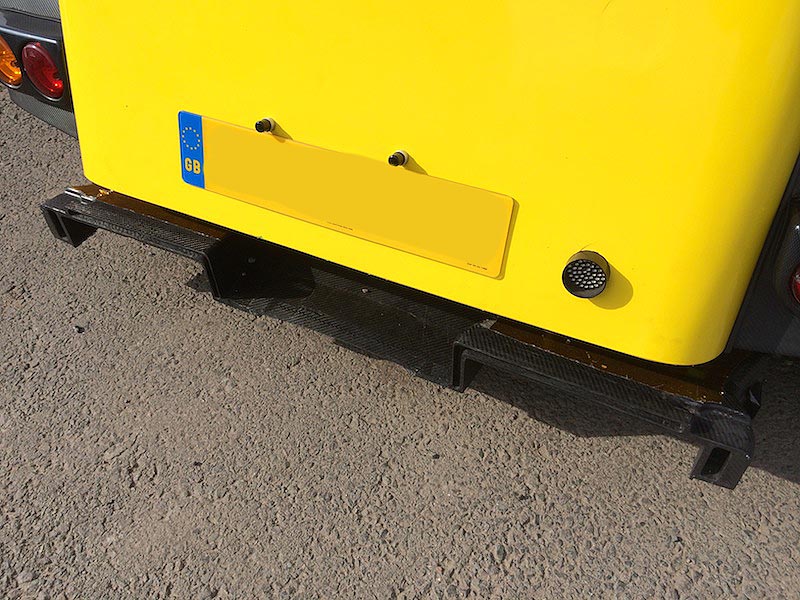
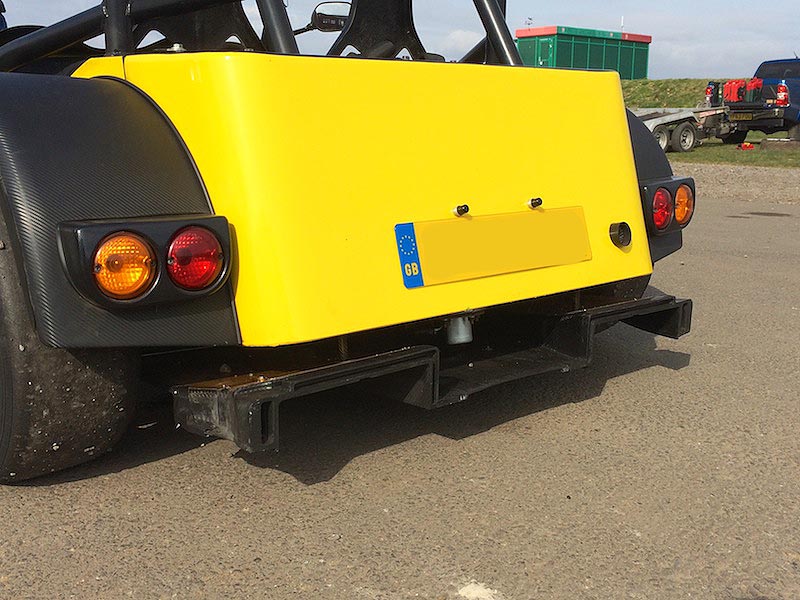
Some GoPro screenshots from the some of the footage…
Chasing Andy D & laptoprob

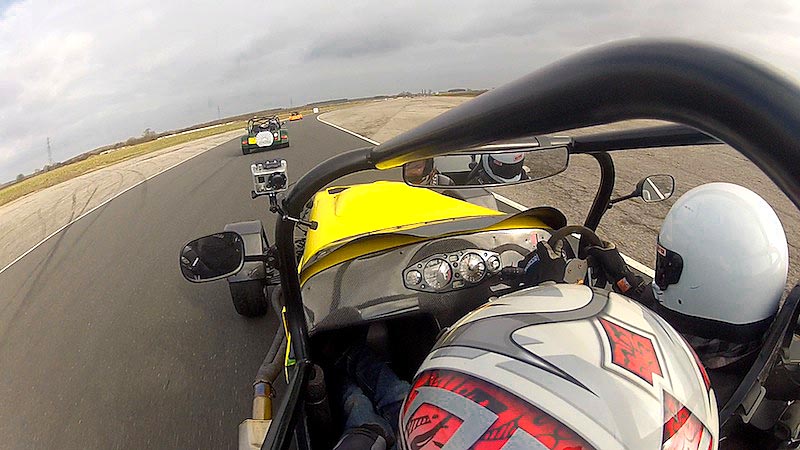

laptoprob coming to get meeeee
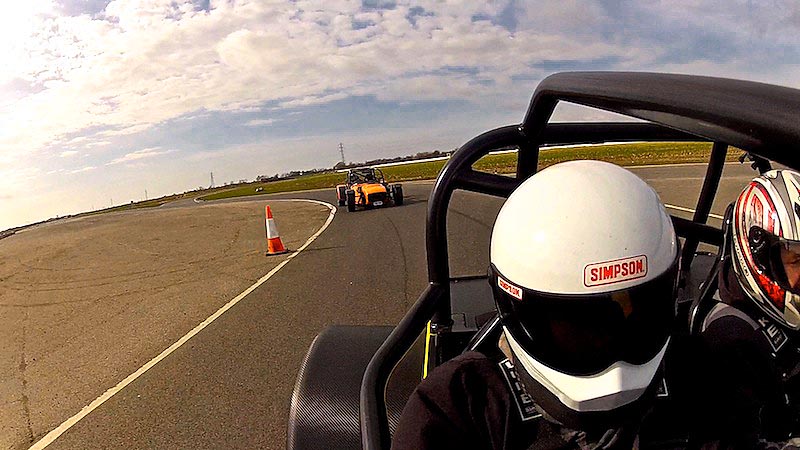
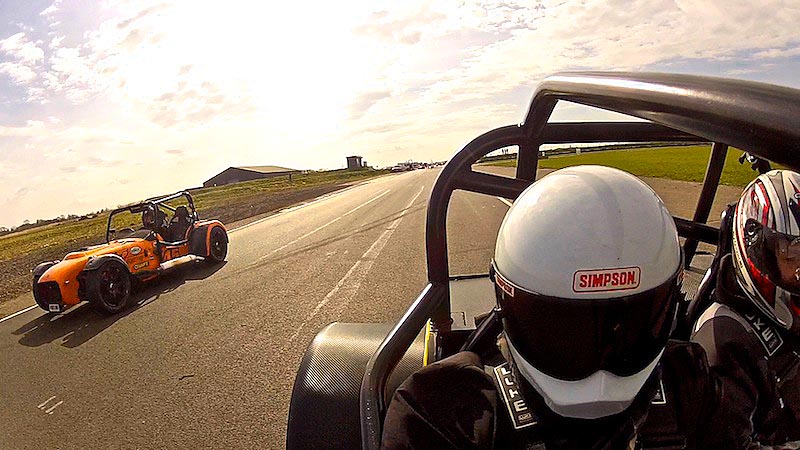
Side by side racing on a track day 
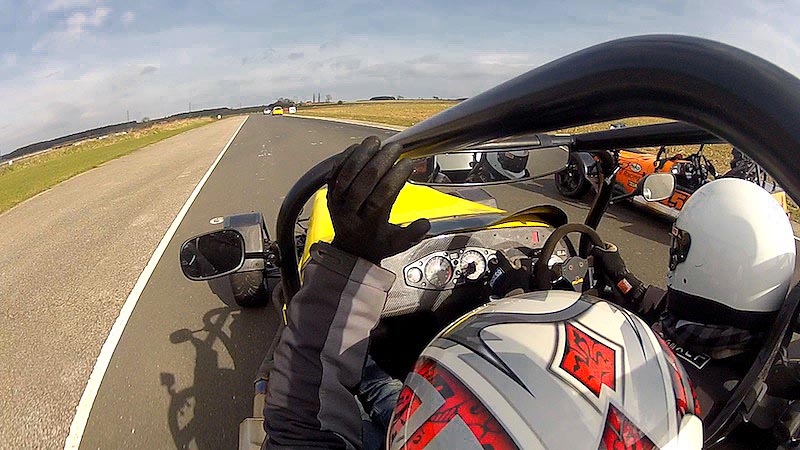
Rob locking up
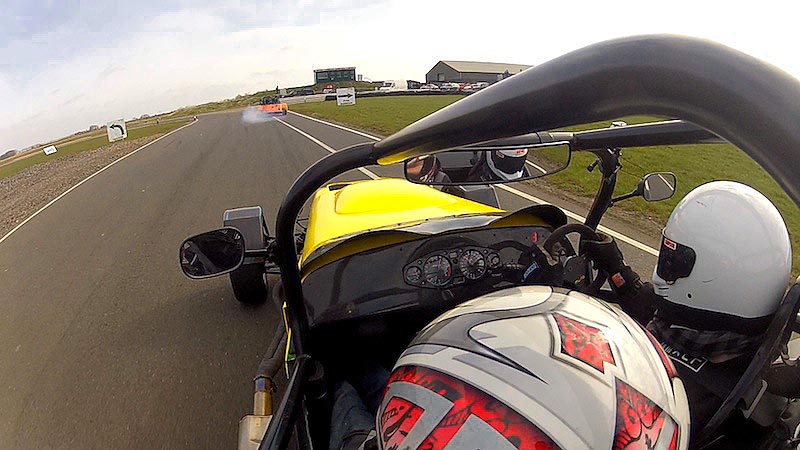
Ben_Copeland - 17/3/14 at 05:51 PM
Awesome, still makes me smile. Lovely day for it and fun had all round.
yellowcab - 17/3/14 at 06:25 PM
A photo from Andy D's son..
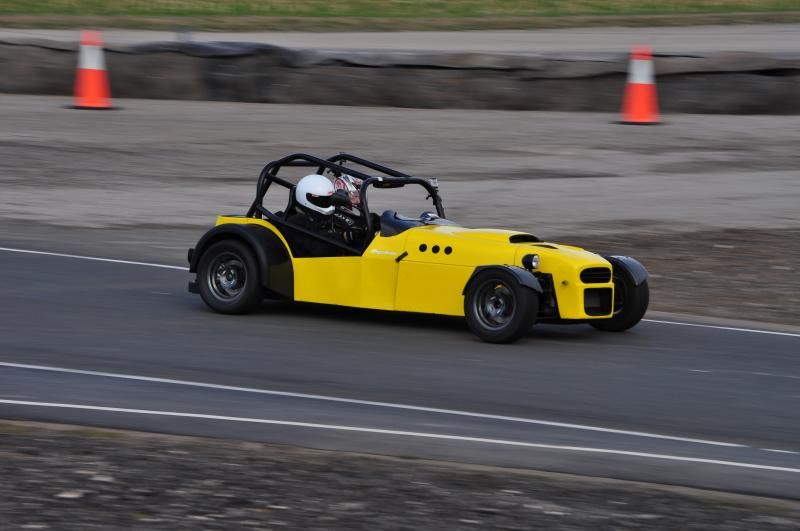
gaz_gaz - 17/3/14 at 06:47 PM
looks like you boys had a great day.
Some super pictures and videos. very jealous!
yellowcab - 17/3/14 at 07:00 PM
Chasing Andy D in his Westfield Pinto, and Rob in his Avon XE
https://www.youtube.com/watch?v=mIc0w47VF_E&list=UUCpP5dFARRhF0vlmAKtEF4A
yellowcab - 17/3/14 at 08:46 PM
Just popped around to see Paul from MotorsportInFocus who were the 'official' photographers from the day and bought a DVD…
Here are some of my favourite shots… excuse the positive camber on my NSR wheel, as the day goes on lol


My exhaust can seems to be a mere inch from the tarmac!


[Edited on 17/3/14 by yellowcab]
Andy D - 18/3/14 at 01:24 PM
The last one's a cracker! 
yellowcab - 18/3/14 at 06:13 PM
Lovely isn't it Andy! Could almost be classed as a racing shot, but ohhhh no, You, I and Rob would never race at a track day, oh no no no…
keithjardine - 18/3/14 at 06:27 PM
You can see the intent in Rob's eyes!
Must get booked on the next track outing.
Dare I ask what changed your NSR camber Oli?
yellowcab - 18/3/14 at 06:29 PM
Just flicking back through old photos, and found these from 6 years ago… in my Nova was my first every time at Cadwell and I ended up in the barriers,
limped it into the paddock, got a hammer, hammered out all the arches, and I was out for the next session 40minutes later 


Andy D - 18/3/14 at 06:44 PM
quote:
Originally posted by yellowcab
Lovely isn't it Andy! Could almost be classed as a racing shot, but ohhhh no, You, I and Rob would never race at a track day, oh no no no…
No racing on trackdays is something I've never really understood.
I usually do trackdays with a bunch of mates, and we regularly belt around three of four cars in a train, every now and again swapping places. We
aren't diving up the inside on brakes or anything daft like that, but we are trying to get away from the car behind, or keep up with the car in
front? We sometimes get a bit close to each other, but to my knowledge no ones been black flagged for it??
For example, Croft last year:
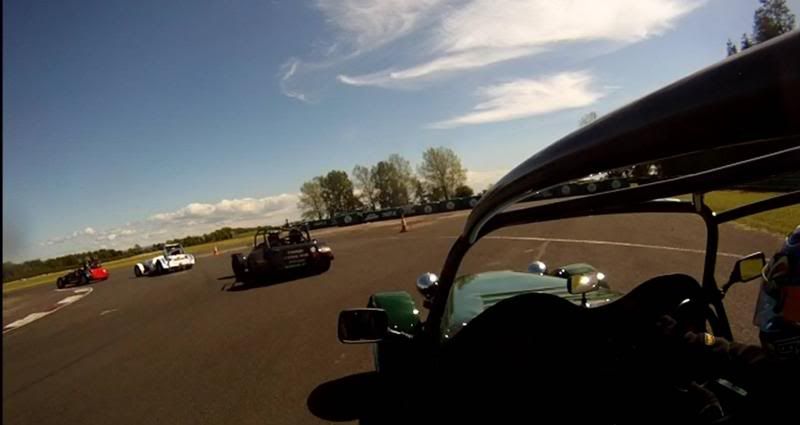
yellowcab - 18/3/14 at 07:10 PM
Can't agree with you more Andy, as long as the people participating in such close driving, and there is trust that neither is going to do
anything stupid (i.e.: stamp on brakes, or make a dangerous move) then I can't see the problem with driving incredibly close.
Gets the heart pumping, and makes for awesome viewing 
We've paid just as much money as the novices' so we should be able to have just as much fun as the novices' imo.
[Edited on 18/3/14 by yellowcab]
Andy D - 18/3/14 at 07:31 PM
Incidentally, and sorry a bit O/t, I had a look at the Blyton photographer's website you mentioned. He's got some great photos.. and loads
of them! Have a look at my album, among the last ones, how close is that Evo!  If you look in the evo's album, there are a couple of me
sniffing his exhaust too.
yellowcab - 18/3/14 at 07:36 PM
Already been through MotorsportInFocus' website and smiled at you and the Evo 
Nothing is off topic in here - anything goes as long as we're talking cars, track days, women, booze, boobs, cars, boobs, women, racing or boobs
Matt21 - 20/3/14 at 08:39 AM
arghh i wish mine was working 
so excited to get my first track day this year! 12th april at blyton!
hopefully some of you guys go and i can put some faces to names 
great photos too!
femster87 - 20/3/14 at 09:17 AM
quote:
Originally posted by keithjardine
You can see the intent in Rob's eyes!
Must get booked on the next track outing.
Dare I ask what changed your NSR camber Oli?


yellowcab - 20/3/14 at 09:41 PM
Too much grip I suppose you could say 
yellowcab - 21/3/14 at 06:11 PM
No real updates to speak of, at Blyton Park my big slicks managed to rip the bulbs, bulb holders and plugs from the back of my lights, so a perfect
excuse to change them for LED items - cheers to BenC for the heads up on which ones to get 
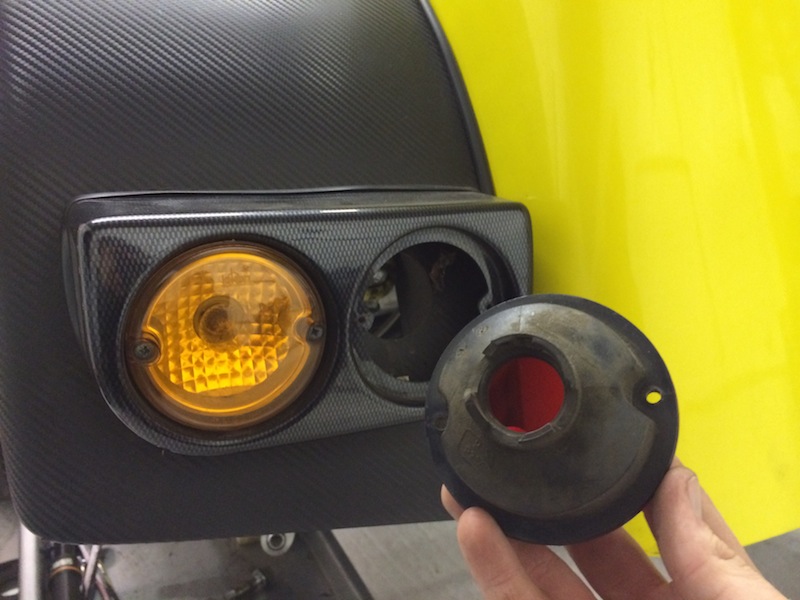
Decided to whip the whole lot off because as you can see the previous owner had used rusty self tappers to hold them in
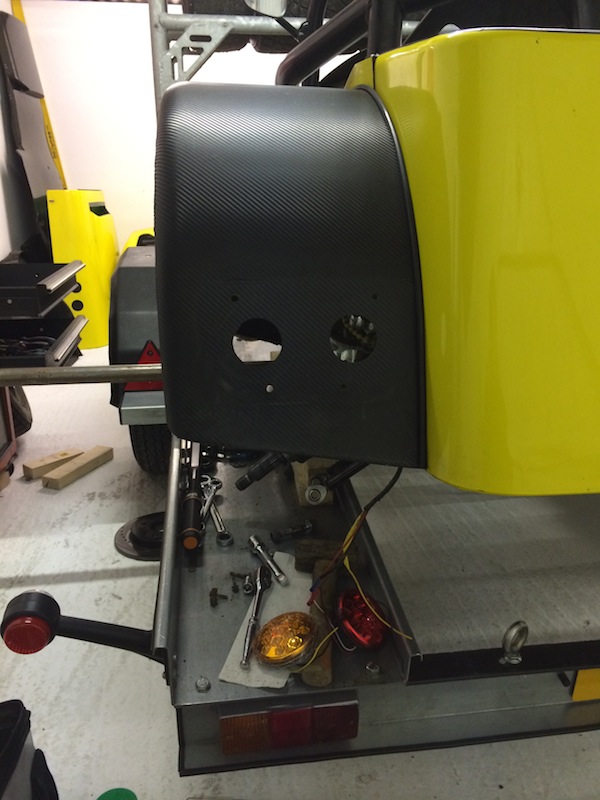
Nothing really to show WIP lol but here they are - removed the rubber edging around the mount too, as it looked untidy
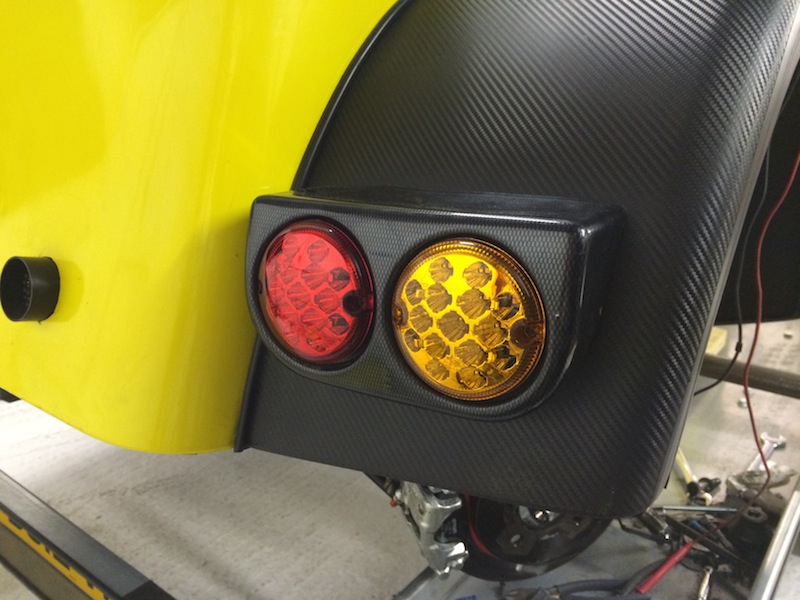
Also I seen this for a bargain on eBay earlier today, so went and collected it
Stainless steel manifold with repack able silencer, although is only 4.75inches in diameter, it is 34inches long… whereas my current can is 6inches
diameter, but only 20inches long… so hoping this one will be quieter?
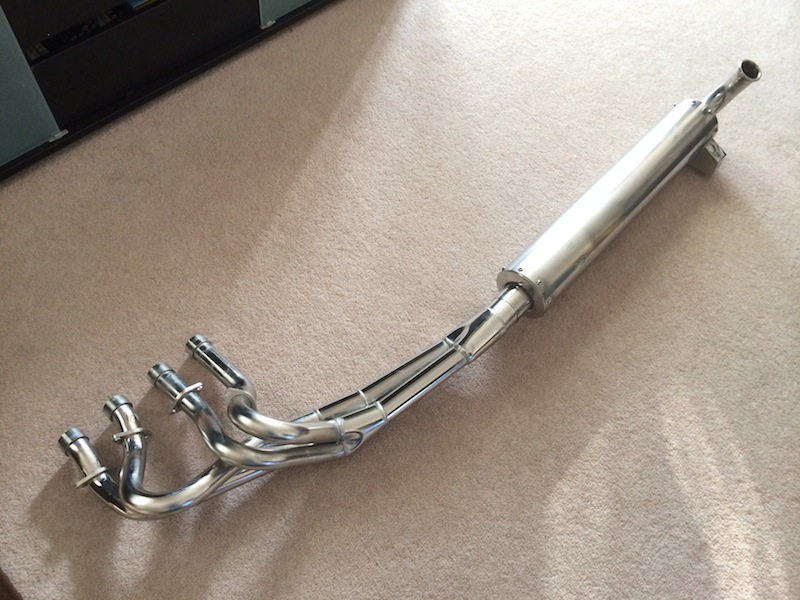
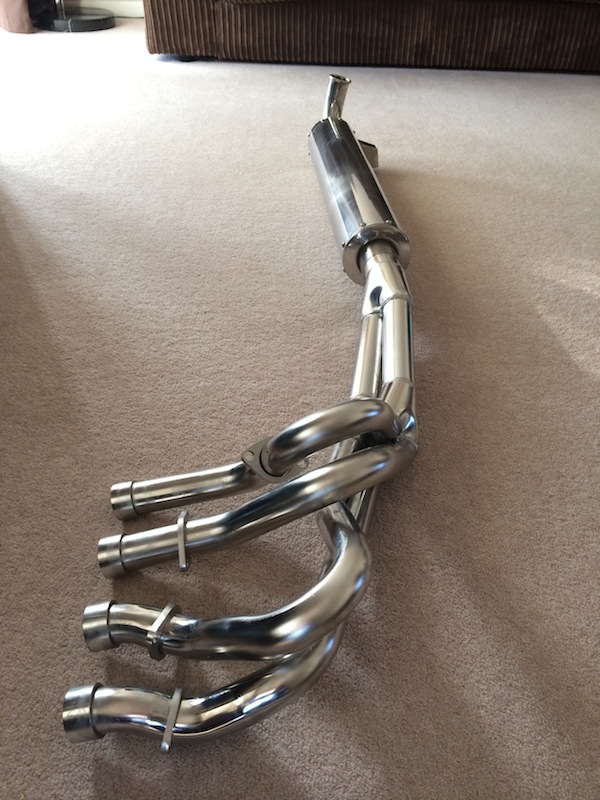
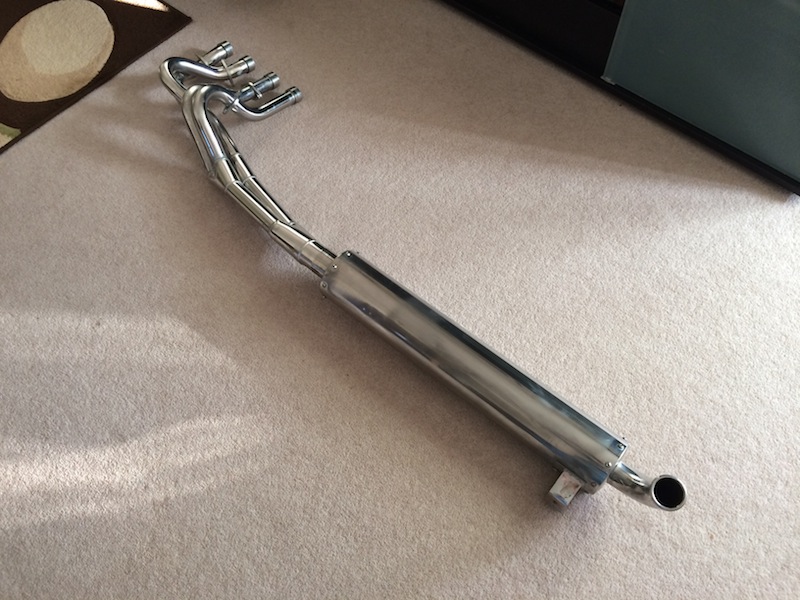
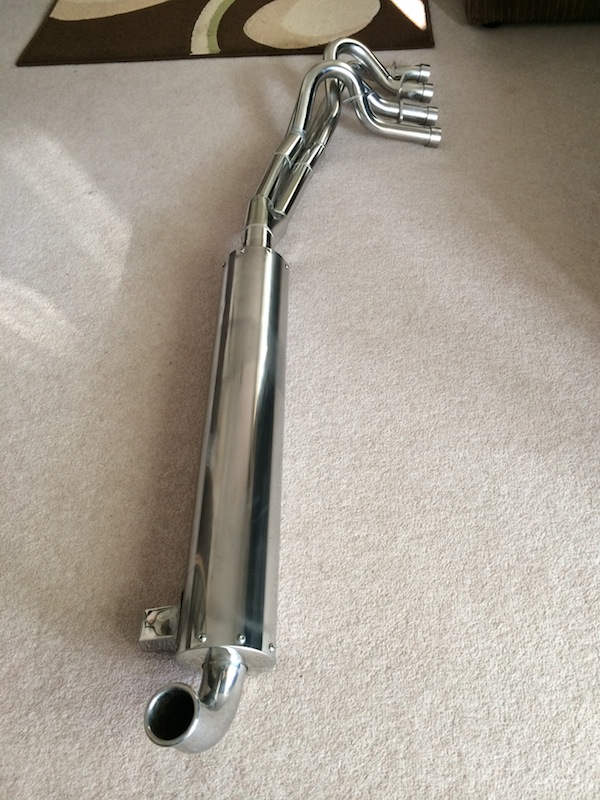
daniel mason - 21/3/14 at 06:25 PM
bet that cans loud!
what diamiter is the silencer inlet? ill bring my spare quiet can to blyton in case you have issues!
yellowcab - 21/3/14 at 06:32 PM
For those that remember this thread from July 2012…. I bought new uprights because of a positive camber issue on my passenger side...
quote:
Originally posted by yellow cab on 7/7/12 at 19:40
strange height difference between old bent one... and the other two...

seems to be shorter and fatter than the other two... and slightly not straight

ahhh right, so thats where my positive camber come from lol

Well, at Blyton those of you that were there will know exactly the same thing happened, with absolutely side or harsh impact at all, which is
strange…
This is how my Blyton track day ended so early last week - after a hard tussle with laptoprob, and losing it at the Wiggler, we came in to see
this…


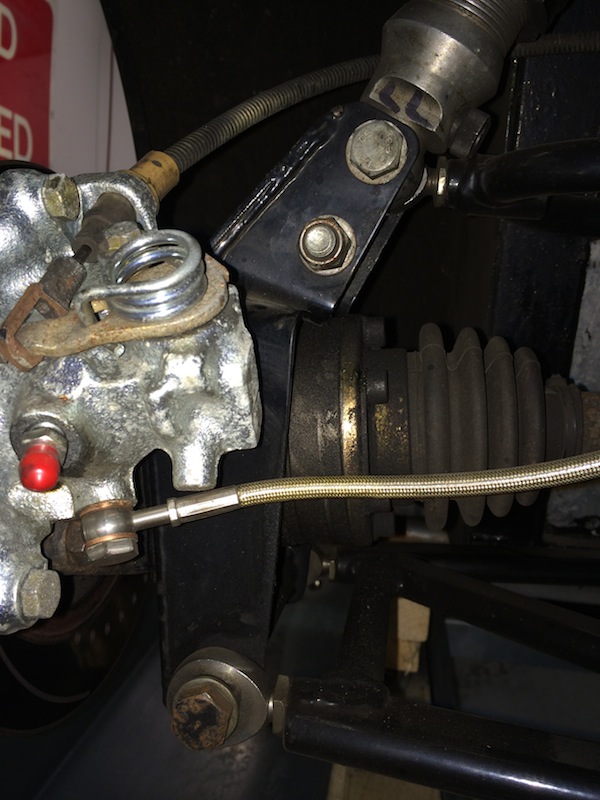
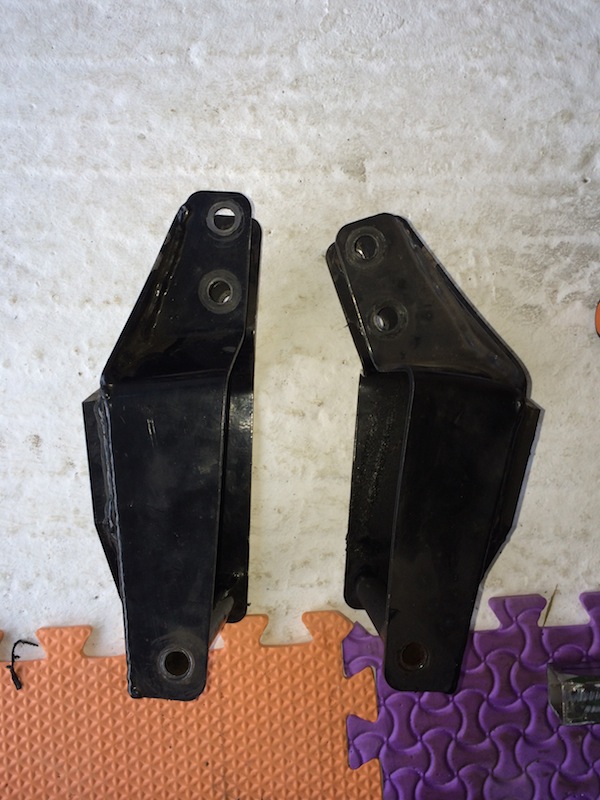
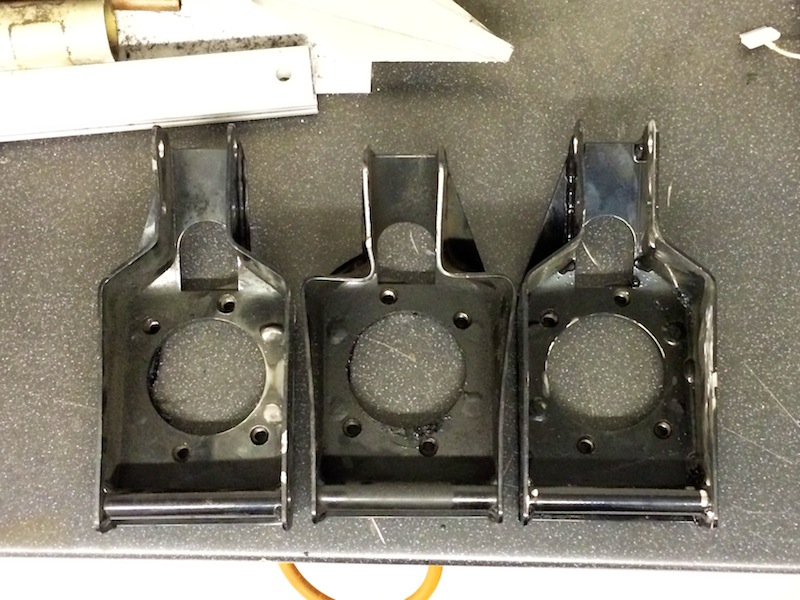
Danny has been great about the situation and replaced the uprights for me, and huge thanks to Steve Bell (Stevio73) whose reinforcing them, and
strengthening them so they won't happen again 
The original plan was to full plate the backs, but we both deemed this to be overkill
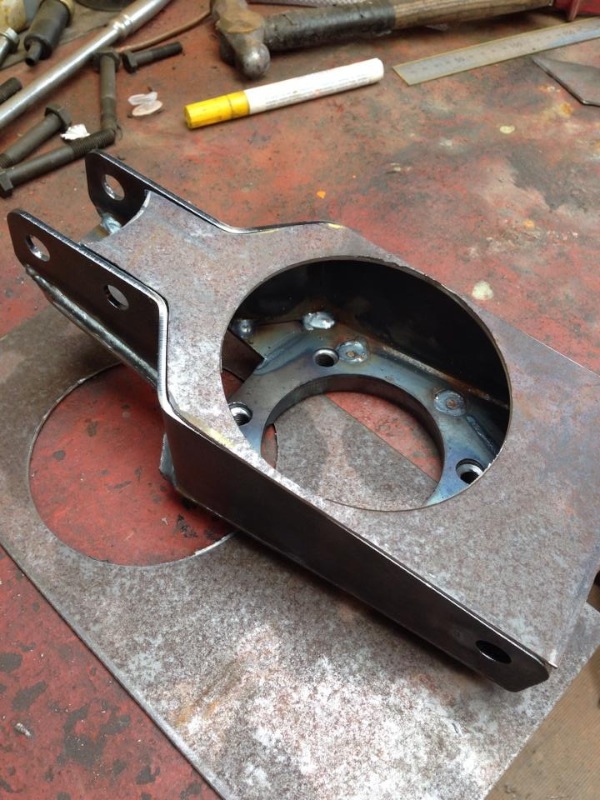
So instead we're plating the vulnerable part of what keeps giving way, by welding the back plate on - it will stop the sides from 'splaying
out' which intern will stop the top from folding over
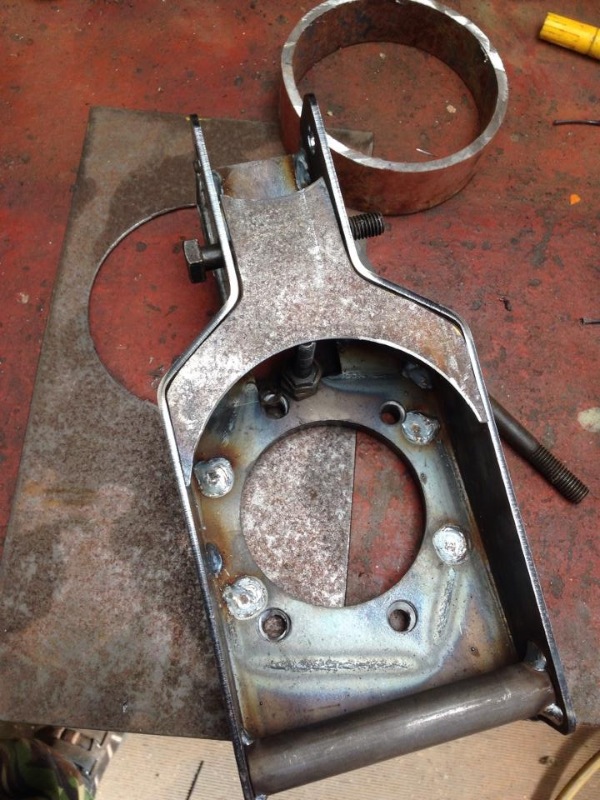
[Edited on 21/3/14 by yellowcab]
yellowcab - 21/3/14 at 06:33 PM
quote:
Originally posted by daniel mason
bet that cans loud!
what diamiter is the silencer inlet? ill bring my spare quiet can to blyton in case you have issues!
Hi Dan - the inlet is 2.5"… what
makes you think it'll be loud?
I got black flagged a couple of times at Blyton for breaking the 105db drive by with my current 6inch diameter, 20inch long can….
Thought this repackable item being 34inches long will be much quieter no?
sdh2903 - 21/3/14 at 06:44 PM
where's the carbon?
daniel mason - 21/3/14 at 06:45 PM
it depends on the design of the can and how much acoustifil you can squeeze in! but in my experience cans like that are very loud. take a look at
davey d's can from the blyton pics.thats how they silence them!
yellowcab - 21/3/14 at 06:48 PM
sdh - carbon?! who mentioned carbon?! where??!!!
Daniel - yes Davey D's can was huge wasn't it… I'll take both cans to Blyton - just in case, thank fully the manifolds are the same -
so I can chop & change…
Would you mind bringing your 'quiet' can please Daniel?
40inches - 21/3/14 at 07:10 PM
Bling! Your adding bling to the Taxi? Looks nice though
Do you want to borrow my decibel meter to do a comparison check?
yellowcab - 21/3/14 at 07:17 PM
Dave I downloaded an app on the iPhone, but I simply don't trust it - so yes please, that'd be fantastic 
I don't like the bling, I'm hoping it will turn a golden/ bronzy colour once warmed up…
Otherwise, I'm getting it coated black 
laptoprob - 21/3/14 at 07:20 PM
quote:
Originally posted by keithjardine
You can see the intent in Rob's eyes!
Must get booked on the next track outing.
Dare I ask what changed your NSR camber Oli?
I was giggling at the tea-trolley wheel he was using on the rear Keith!
daniel mason - 21/3/14 at 07:34 PM
will do mate. but hopefully youll be ok with the new setup! see you next week guys
yellowcab - 21/3/14 at 07:39 PM
quote:
Originally posted by laptoprob
I was giggling at the tea-trolley wheel he was using on the rear Keith!
Leave my castors alone!
I knew you'd seen it, you just decided not to tell me, thats not very nice thats not, not one bit 
Andy D - 21/3/14 at 07:52 PM
I also think that silencer will be a bit loud. You need length and girth! 
yellowcab - 21/3/14 at 07:59 PM
Balls 
yellowcab - 23/3/14 at 06:45 PM
So Steve Bell (Stevio73) made the trip down from Selby today to reinforce my new uprights for me, to be sure that no bendage goes on again, to which
we strongly believe it'll no longer happen
Huge thanks to Steve - his knowledge & fabrication skills are second-to-none, a very clever chap in deed! 
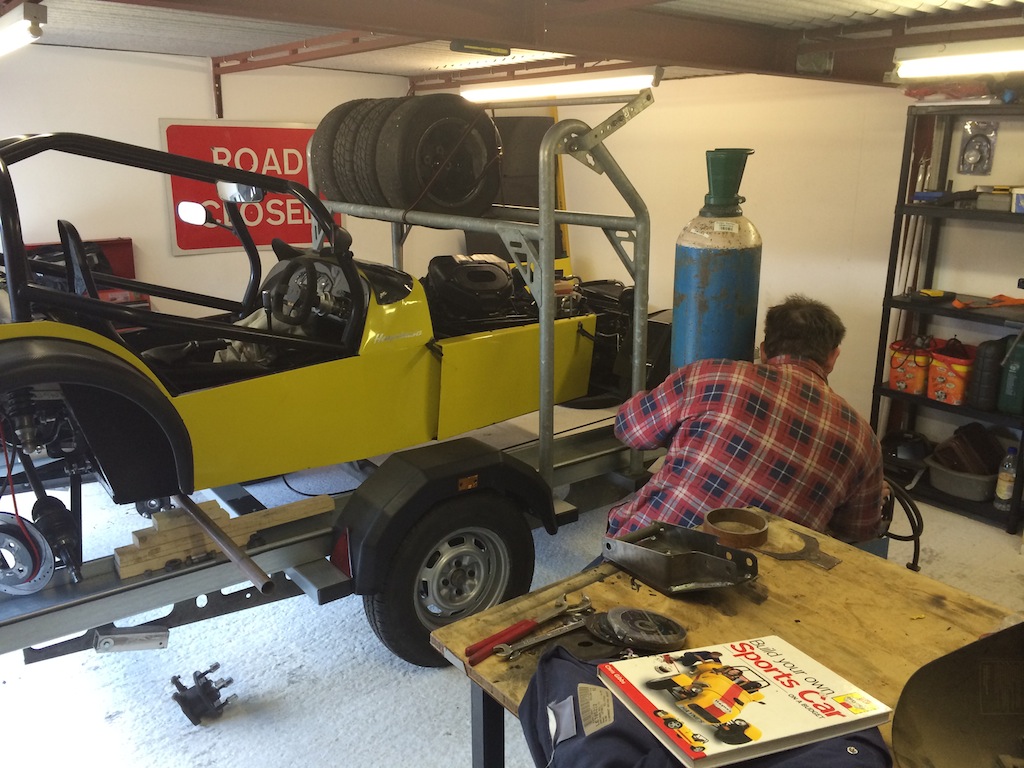
Steve at work 
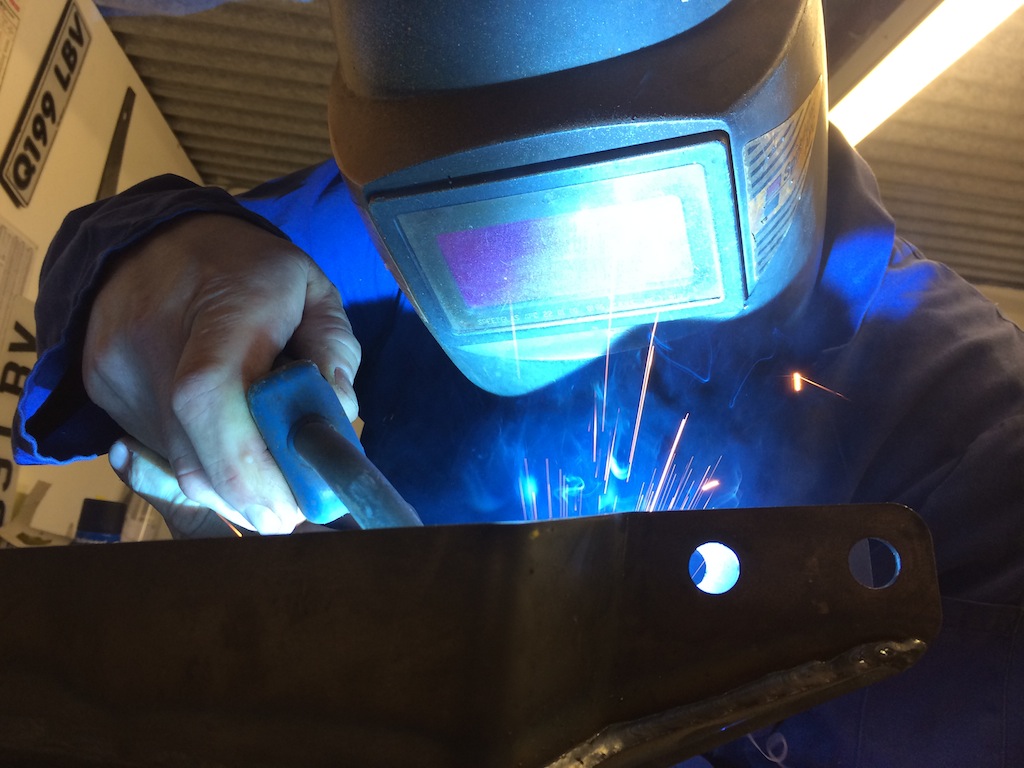
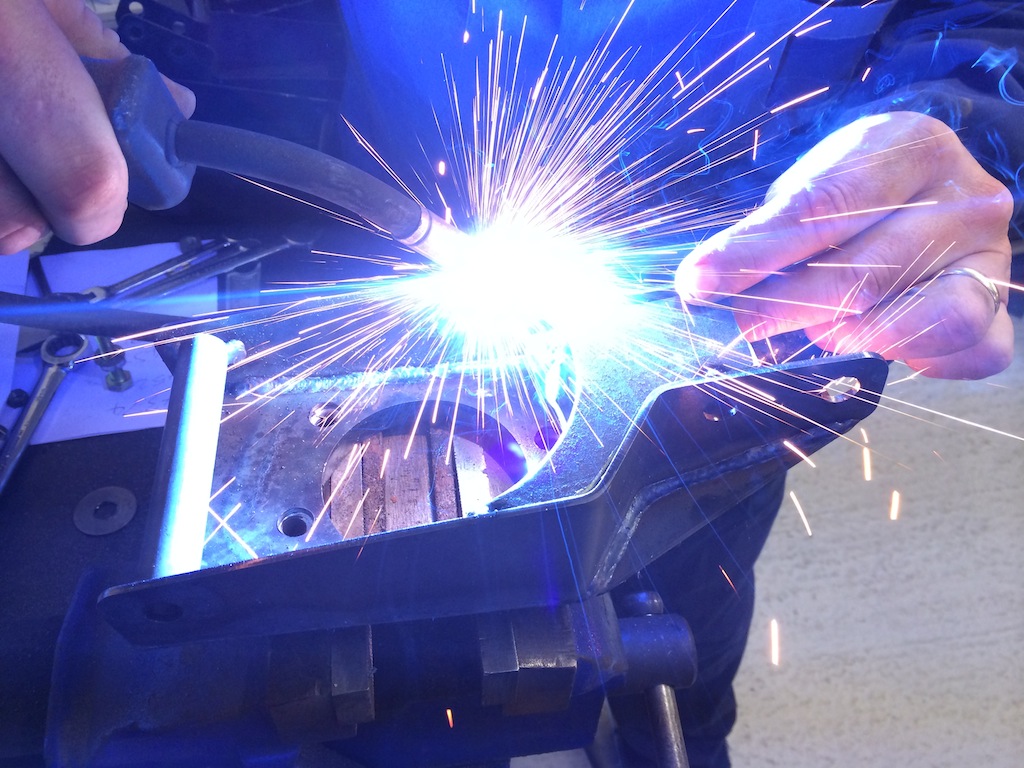
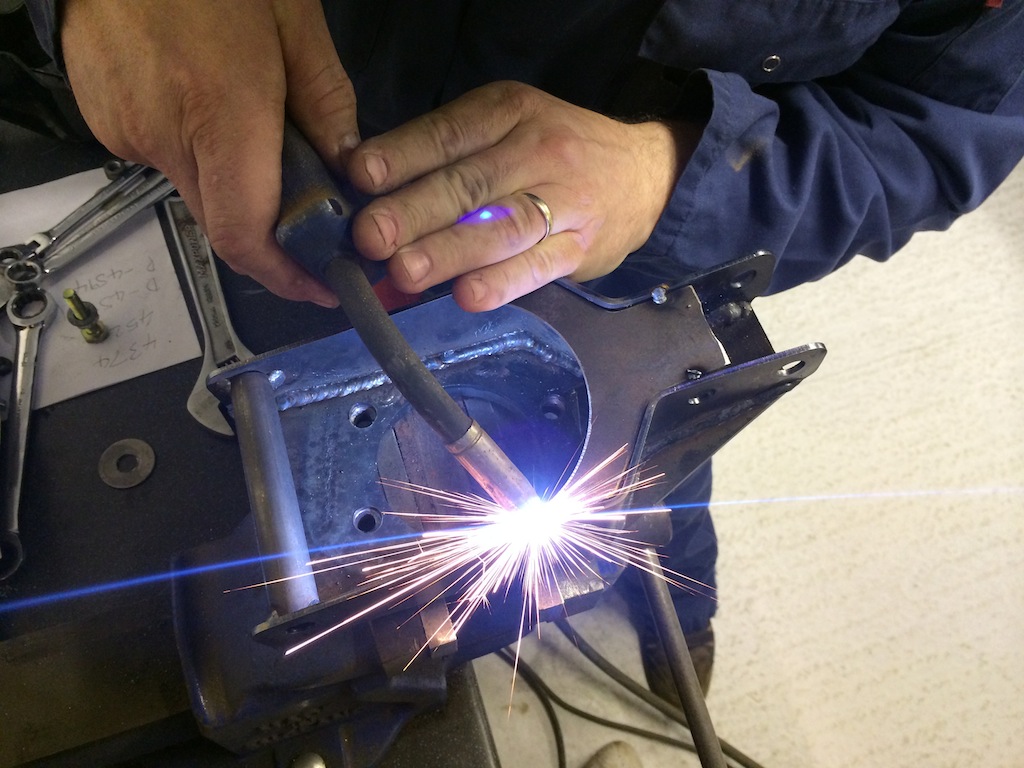
Gussets welded in (cracking welding imo) - now try and splay out ya bastards! 
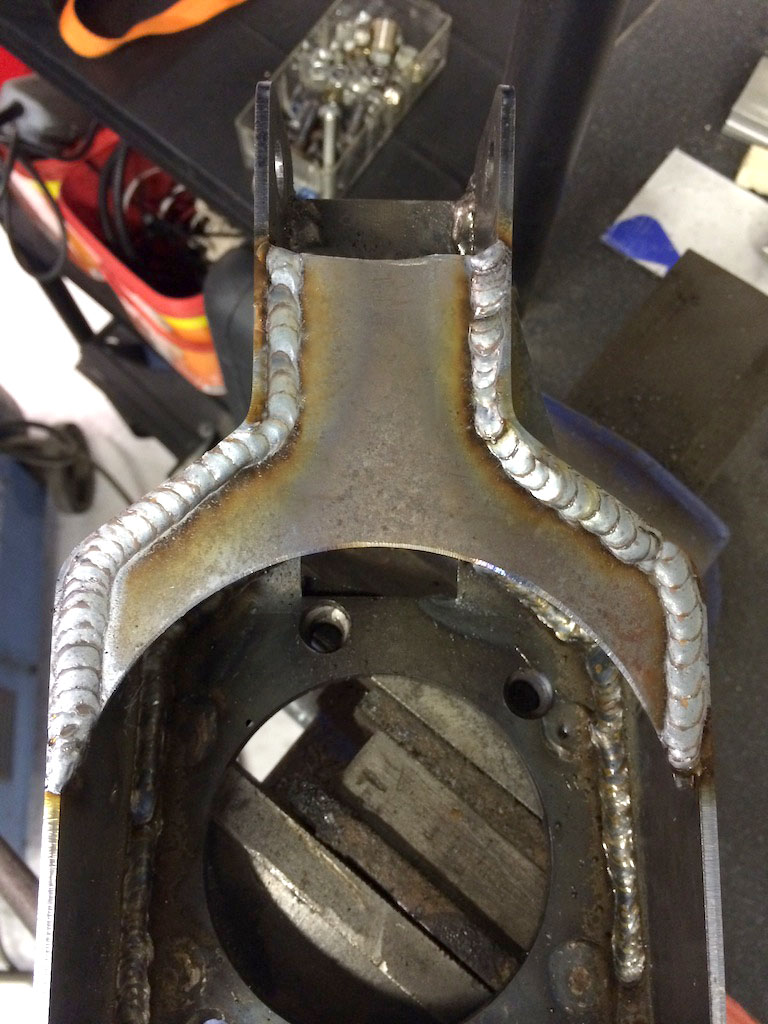
All painted up ready for refitting
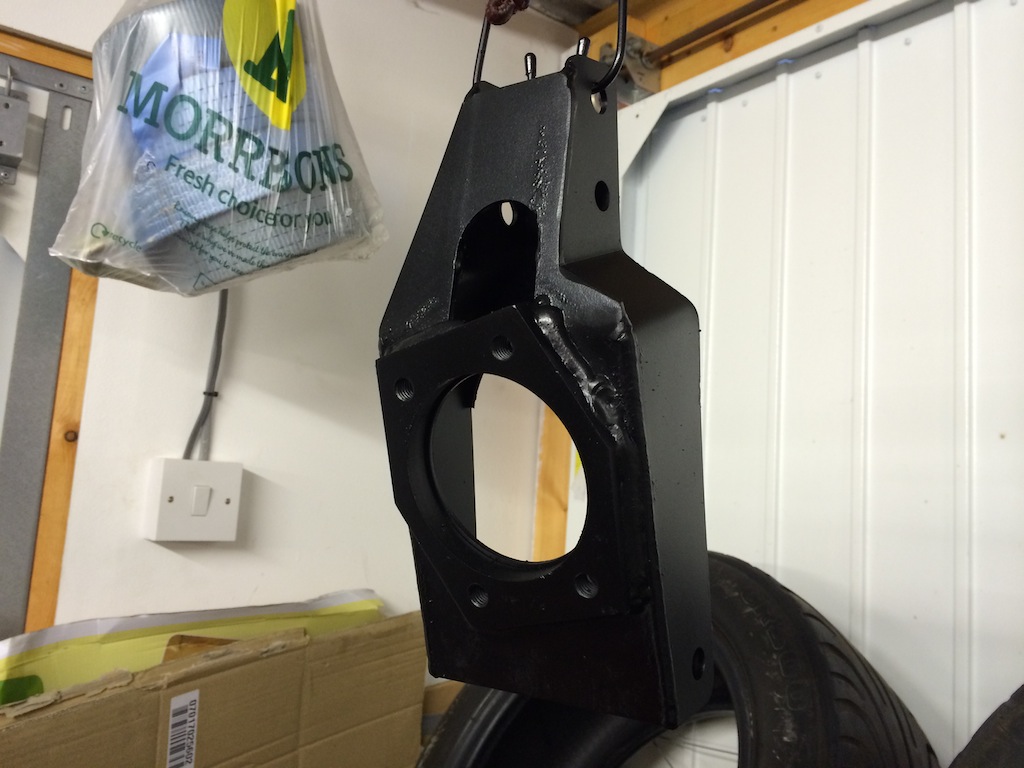
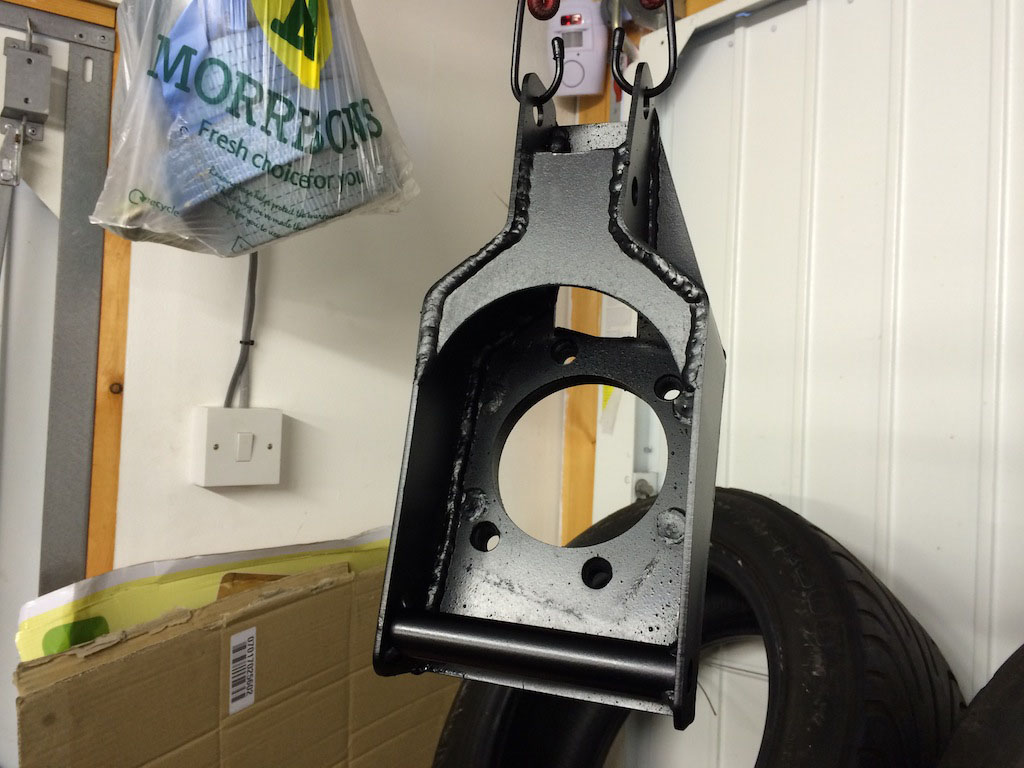
ReMan - 23/3/14 at 07:05 PM
So theres nothing wrong with my welder then! 
Nice job BTW :-)
[Edited on 23/3/14 by ReMan]
yellowcab - 23/3/14 at 07:07 PM
We didn't use your welder Col'
90amps just isn't enough for 3mm, Steve's was a 155amp
sdh2903 - 23/3/14 at 07:53 PM
Bet he's got sunburnt fingers tonight
I really wish I could consistently weld that neatly. I get it to look that good maybe 1 in 3. 
DavidW - 23/3/14 at 07:53 PM
Was thinking about your rear upright every time I went through the bomb hole at Snettertton today. Do you think it's just the slicks causing
this?
David
yellowcab - 23/3/14 at 07:57 PM
I believe that slicks play a huge part, as they offer too much grip in some cases. (the lateral G force)
For instance, I don't believe this would happen on road tyres, or 888s, as you'd break traction before you start to bend metal (imo)
But either way… strengthening the uprights will just locate where the next weak spot is - probably the 10year old chassis  lol
lol
Come winter - I'll have a new chassis to transfer everything over onto 
CosKev3 - 23/3/14 at 09:25 PM
Looks a good quality and simple mod 
Will MK be doing the rear uprights like this/similar strengthening in the future now?
yellowcab - 23/3/14 at 09:40 PM
Nope, don't think so...
ReMan - 23/3/14 at 09:49 PM
quote:
Originally posted by yellowcab
We didn't use your welder Col'
90amps just isn't enough for 3mm, Steve's was a 155amp
I guessed that from the humungous cylinder in the pic! 
CosKev3 - 23/3/14 at 10:18 PM
quote:
Originally posted by yellowcab
Nope, don't think so...
Just telling buyers not to use slicks instead!!!! 
Matt21 - 24/3/14 at 07:19 AM
now that theyre tougher.... something else will break next time 
good work though, nothing better than porno welds! 
yellowcab - 24/3/14 at 07:48 AM
Yup! It'll just find the next weak point. 
Think Steve is planning on bring some G-clamps and his welder in preparation lol
sdh2903 - 24/3/14 at 07:54 AM
You would have thought that Danny would have encountered this during his racing exploits and strengthened the production ones accordingly? It does
look very flimsy in standard guise. The rear uprights on my old GKD would have survived nuclear Armageddon they were that beefy!
yellowcab - 24/3/14 at 08:48 AM
Chatted to Danny on the phone the other day, only too happy to help and get to the bottom of it.
Infact he's the one who encouraged me to post up and share the journey as that's what threads like this are all about.
Refinement and development, I'm happy to share a U2U conversation that I had with another member:
quote:
Hey look, don't delete anything
It's nothing to do with MK or the build of their cars to be honest, I've spoken to Danny about posting my problems and he told me to go
ahead.
At the end of the day, I'm totally honest, and I always like to show what problems I encounter, and how I overcome them.
Too many people on forums, I've noticed, post up how brilliant and perfect their cars are, yet when they run into difficulties, they shy away and
don't say anything.
Probably because when they come to sell their cars, they don't want people digging up old dirt on what problems its been through.
Anyone with any head on their shoulders will know what kit cars are like, and I think it reads much better for someone to know whats happened to a
car… and how I've dealt with it.
Slicks are a factor, that, and I drive like a complete c*nt… and with how much grip those slicks offer, something is bound to give.
Its all cool mate - no can of worms here
Danny reads this thread as he follows it, so I hope he'll pop in to say hello.
Please remember though, my chassis was registered in 2004, it could have taken two years for the builder to build it , so this isn't an Indy-R or
Indy-RR we're talking about.
sdh2903 - 24/3/14 at 08:57 AM
Does the r have a different setup? Not fishing or nit picking just curious.
Are you going for a standard chassis or an R/RR For your winter swappage?
yellowcab - 24/3/14 at 09:08 AM
I'm not too au fais with the Indy R and Indy RR to be honest, Danny will explain more.
I want to remain outboard at the front as that's my preference
yellowcab - 24/3/14 at 09:10 AM
But of course I won't be swapping chassis willy nilly, I'll see how mine fatigues over this year of all the track action it's going to
get, I'm mindful it's at least 10years old
DavidW - 24/3/14 at 10:34 AM
quote:
Originally posted by yellowcab
But of course I won't be swapping chassis willy nilly, I'll see how mine fatigues over this year of all the track action it's going to
get, I'm mindful it's at least 10years old
How are you planning to asses this? I guess eventual fatigue failure of something like a suspension pickup would be be noticeable but not sure how
you'd predict this in the real world?
David
yellowcab - 24/3/14 at 10:53 AM
Exactly that, I've never hidden the fact my car has had it's problems before me lol
But I feel the car been stripped back so far that all previous problems have been ironed out and corrected by me last winter.
Of course I'll keep an eye out for hairlines appearing around, have a good poke around after each trackday, just go from there and be
vigilant.
A mate has a 2011 built car which has already encountered fatigue cracks, so age isn't the only factor.
Obviously I wouldn't go on track if I thought at any point anything would fail as that wouldn't be cricket.
yellowcab - 24/3/14 at 04:19 PM
Can't remember if I've posted these before before, but it's amazing how different a car can look…
Kawasaki Green
No roll cage
Big headlights
Standard side panels (not flared)
Green rear arches
Perspex screen
Overfuelling like a bitch
Leatherette seats and seat belts


Andy D - 24/3/14 at 04:46 PM
Is that the same car as your present yellow one? I used to see the green one regularly at Croft around 2005.
yellowcab - 24/3/14 at 05:04 PM
Yep - exactly the same car… just been wrapped in yellow with carbon wrapped rear arches, and all the rest of the changes 
I bought it from Bedfordshire
Andy D - 24/3/14 at 05:26 PM
Just been through my vast collection of pics. It was at Croft in May, June, Aug and Sep 05, and then I think it had a new owner the next time I saw it
in 07.
This was May 05
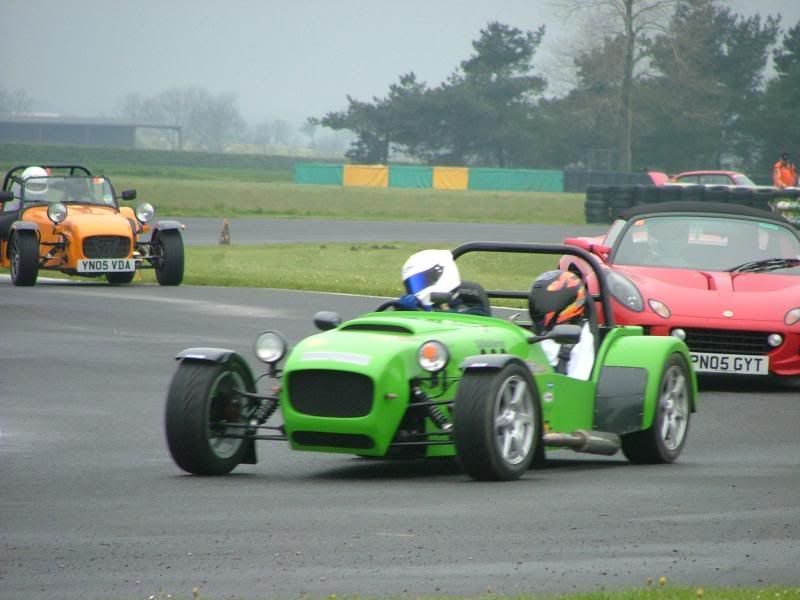
yellowcab - 24/3/14 at 05:29 PM
Lovely positive camber in roll - thats GOT to be my car…!!! LOL
Would you mind fishing any others out? I see the black wheels used to be silver too 
It was registered in September 2004, so I presume it was 'relatively' new back then lol
Mega impressed Andy!
Andy D - 24/3/14 at 05:33 PM
If you PM an address I'll mail you some, I've not much hosting space left. (They're all taken on a Fuji camera, so not huge)
21st Aug 05. My pal in the orange Megabusa in hot pursuit! He's still using the orange car now, more or less unchanged.

yellowcab - 25/3/14 at 08:03 AM
So popped down the garage last night to fit new manifold & rear can all went smoothly, but realised the original manifold had been slightly cut,
so I can't chop & change cans quite as easily without moving the original cans rear bracket, which I'll do before Blyton.
Optimistic I know, but I still hope my new repack able can will be slightly quieter than my old Aprillia can… as long as its not physically louder,
I'm happy.
30 inches instead of 20 inches…. but only 4.75inches diameter instead of 6inches
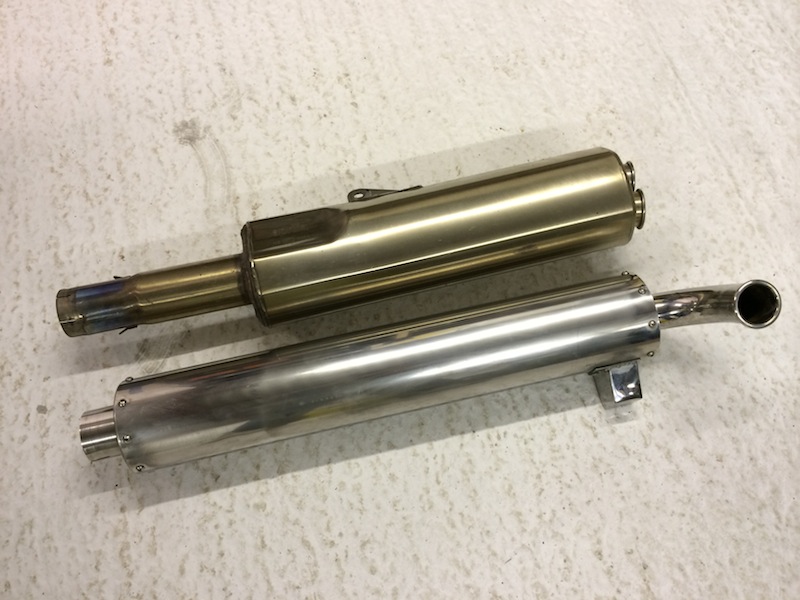
This genuine Westfield item seems to have a CAT at one end
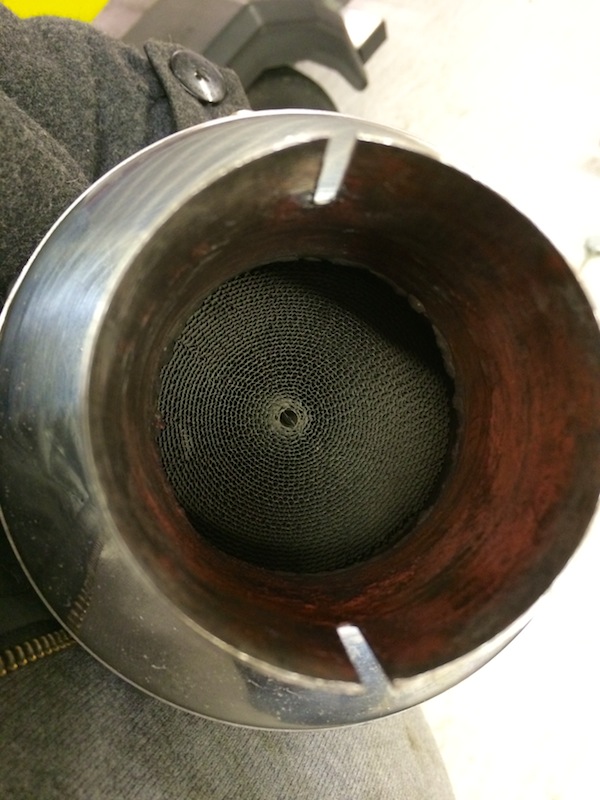
Whipped off the end cap where the tail pipe is, and it seems rather packed, so I didn't bother messing around with it
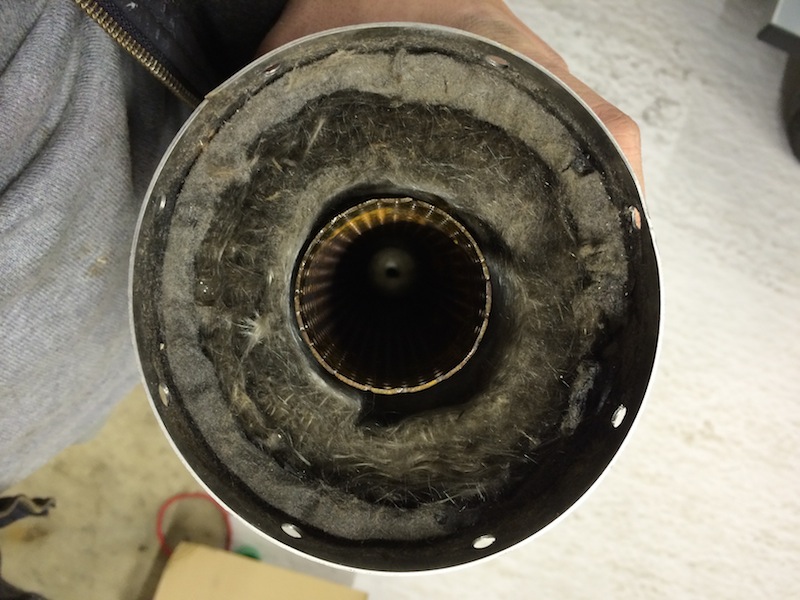
You can see the end of the old manifold had been cut about an inch off it
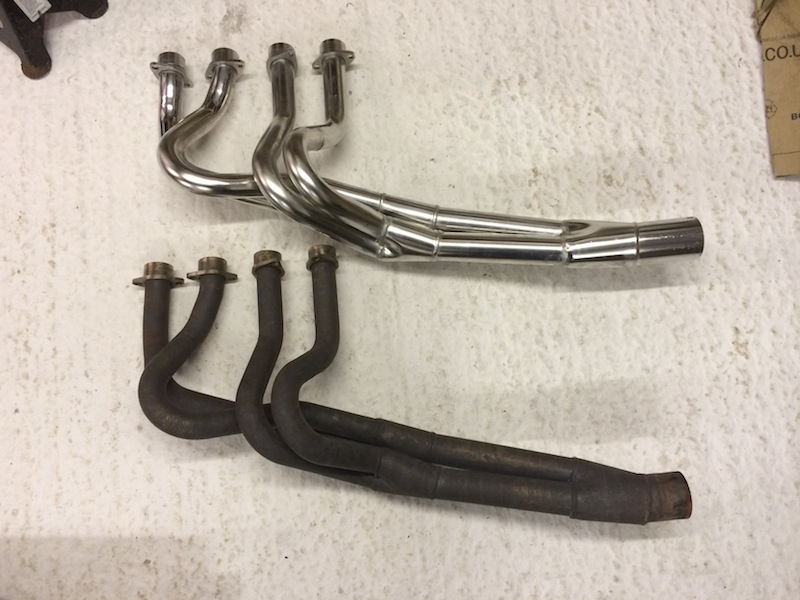
Old setup weighed a total of 12.2kg

New setup weighs 8.3kg… saving 3.9kg… I believe this puts me around the 507kg
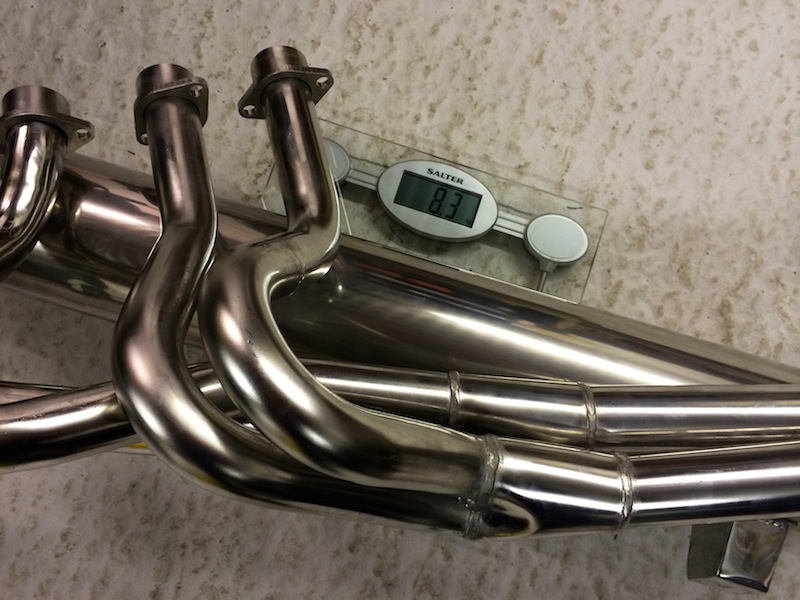
You can see the natural line of the Westfield items, the can gets further and further away from the bodywork, so I pushed it close and made a bracket
in hope that the heat would allow the manifold to bend a little… but I've been told its more than likely going to crack 
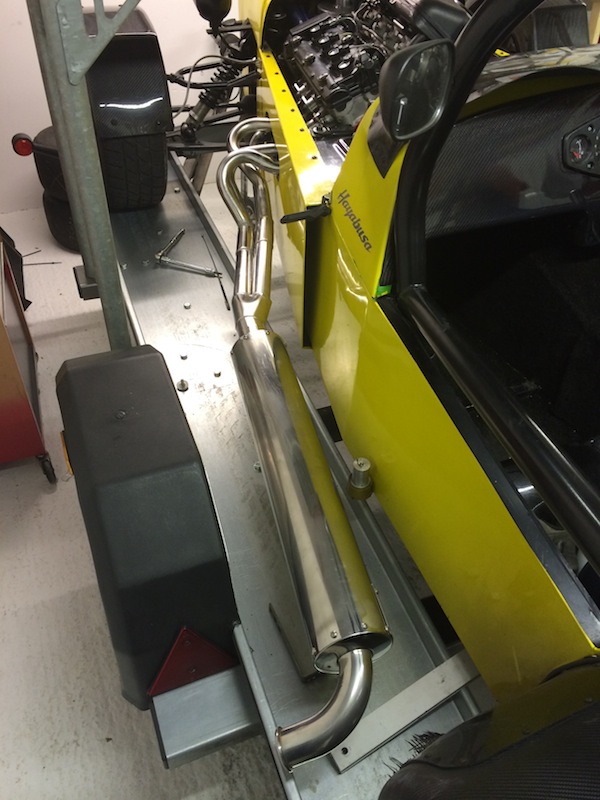
Bits of wood against the side of the trailer, meant I could get the box to run true down the side of the car
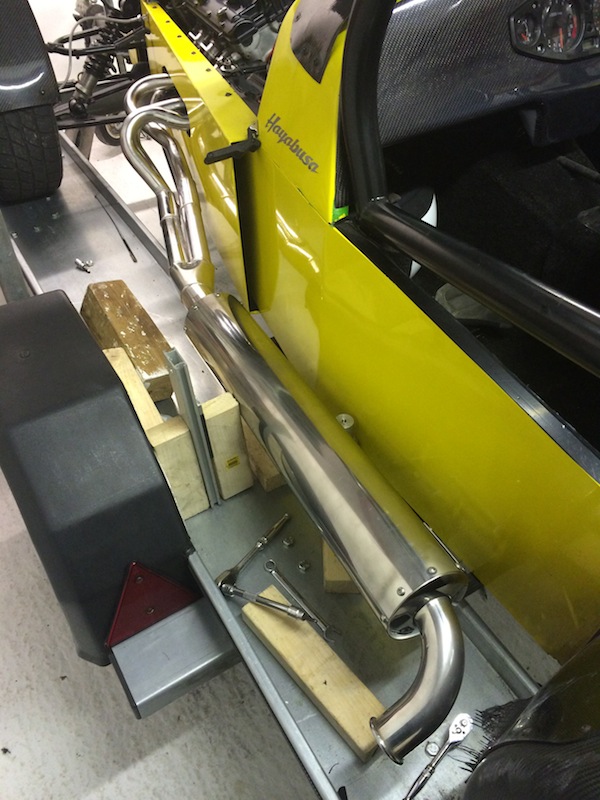
All done and dusted with nice shiny new clamp too, until it all discolours
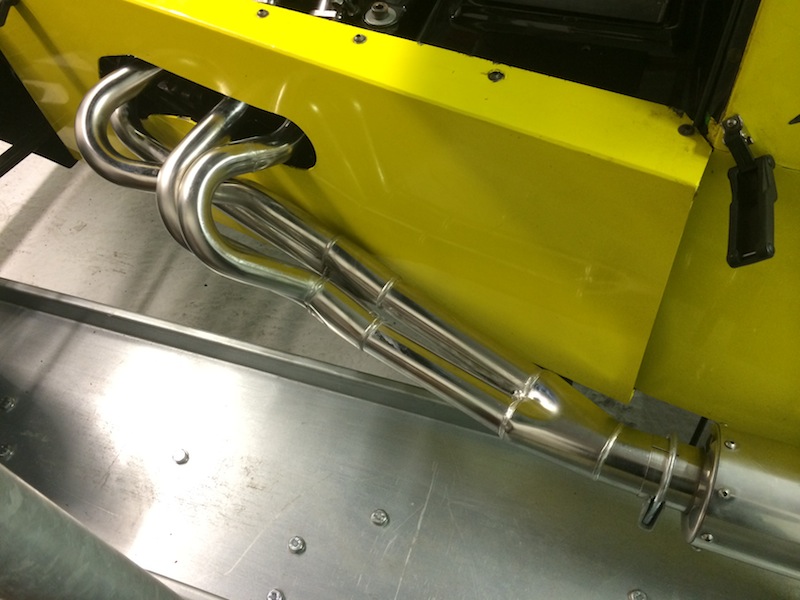
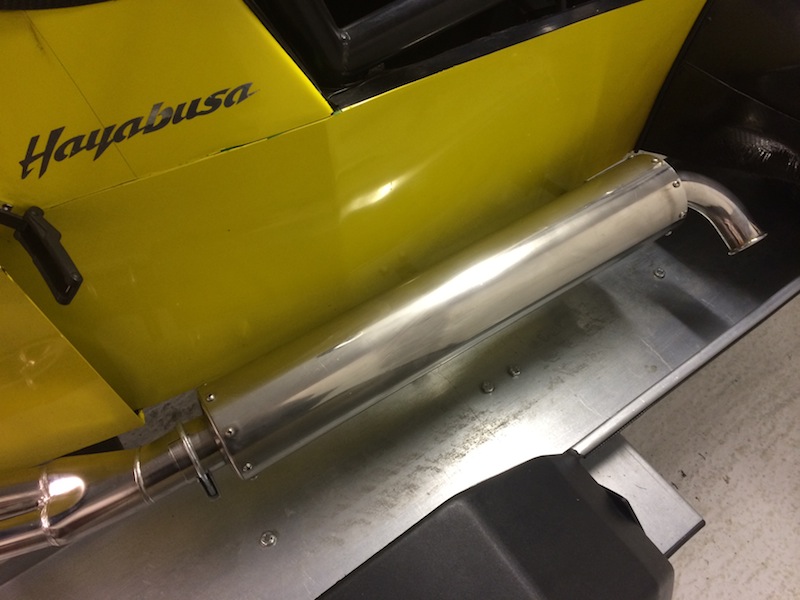
Oh, and for those that have messaged me about the upright, here it is in situ, bit of a rubbish shadowy shot mind
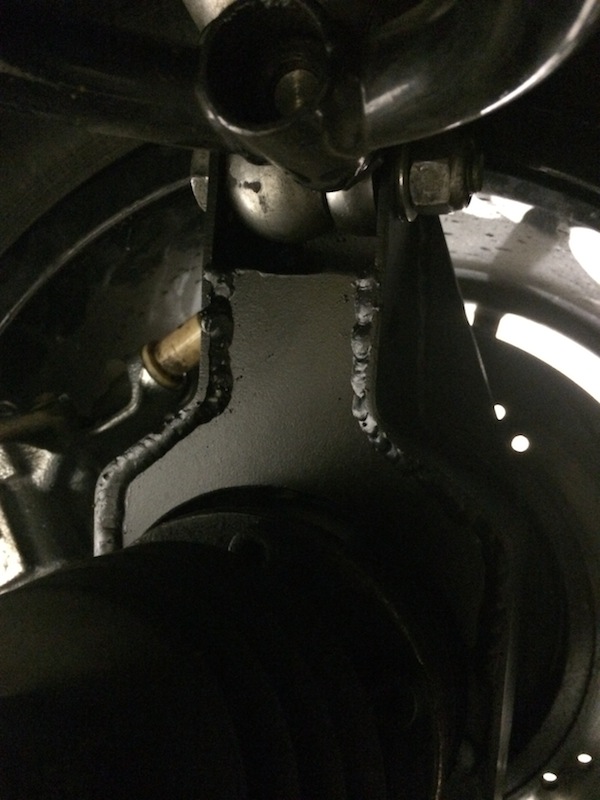
40inches - 25/3/14 at 09:40 AM
Bling! Where are my shades  Ah! that's better
I think you would be better repacking the silencer with Acoustifill (sp) It looks a bit thin at the bottom right.
Shouldn't be any gaps really.
Did you remove the Cat?
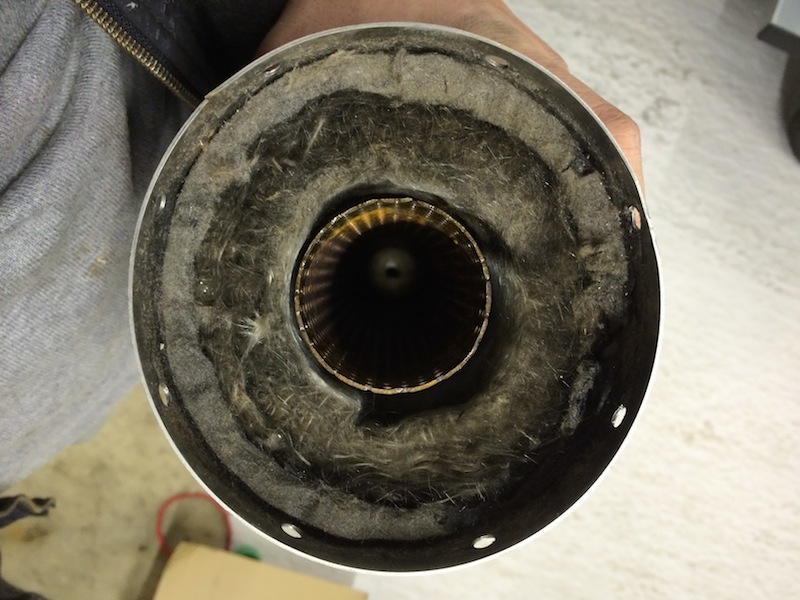
yellowcab - 25/3/14 at 10:19 AM
Cheers Dave
I didn't know the etiquette with packing, I heard you can overfill them which makes them louder like a straight through exhaust?
I guess that's not true?
If not Acoustifil, I presume loft insulation works too?
I left the CAT in , in hope it would also reduce the noise furthermore?
Please advise....
yellowcab - 25/3/14 at 10:25 AM
Just checked the pic again, the gap on the very bottom right was a sticky putty that cap off with the end cap
The gap around the perforated pipe though I can see
40inches - 25/3/14 at 10:33 AM
Acoustifil has to be the way, but not as much as they say in the calculator. Loft insulation will last a couple of minutes!
"Do it once and do it right" 
I think I would leave the Cat in for the time being, a test drive will tell how restrictive it is/isn't. But if you take it out it will leave an
expansion chamber, I good thing, or so I believe.
yellowcab - 25/3/14 at 11:59 AM
Expansion chamber sounds noisy lol
jwhatley - 25/3/14 at 02:29 PM
New exhaust looks a load better, hope it will be quieter.
Regarding the Indy R chassis. Its a completely different rear end design.
There is far more triangulation on the rear especially around the pick ups. Plus the suspension pickup isn't connected to the top of the upright
anymore, it is connected to the rear of the lower wishbone.
This changes the way the load comes through the rear upright. Id find it unlikely that the problem you have encountered with your indy chassis would
happen on a R. Hence why Danny has probably never seen it on track.
What people forget about these chassis is that the indy was designed for an engine like a x-flow or pinto engine. Low power units, built for the road
not the track. Not for high revving higher power output engines, which is probably why you have seen some failures. Pushing the design to its limit is
the only real way you will find its weaknesses.
Anyway, better get on with mine so I turn up in it at Silverstone!
John
mjb199 - 28/3/14 at 03:27 PM
I see you've done a huge amount to improve your MK Indy. I wondered what camber, castor and toe you are running front and rear as judging by
your track day videos you've got your Indy handling really well. Also of all the mods you've done which have improved the handling and
stability the most?
yellowcab - 28/3/14 at 07:49 PM
Hi pal - thanks for the reply.
My geometry was all setup by Mat Gilmore @ ProComp over in Birmingham.
Front:
> Camber: -2.0 degrees
> Castor: 4.5 degrees
> Tracking: 1.4mm toe in (at rims)
Rear:
> Camber: -2.0 degrees
> Tracking: 2.0mm toe in (at rims)
By a clear mile, the best 'modification' I've done to get it handling the way it is, is the above.
The setup by the guys at ProComp, without a shadow of a doubt. Best money spent.
mjb199 - 28/3/14 at 08:11 PM
Thanks for the info. Much appreciated
40inches - 28/3/14 at 08:40 PM
quote:
Originally posted by yellowcab
Hi pal - thanks for the reply.
My geometry was all setup by Mat Gilmore @ ProComp over in Birmingham.
Front:
> Camber: -2.0 degrees
> Castor: 4.5 degrees
> Tracking: 1.4mm toe in (at rims)
Rear:
> Camber: -2.0 degrees
> Tracking: 2.0mm toe in (at rims)
By a clear mile, the best 'modification' I've done to get it handling the way it is, is the above.
The setup by the guys at ProComp, without a shadow of a doubt. Best money spent.
I am going to reinforce the rear uprights and lift the upper wishbones, as you have done So this will be my starting settings. Ta
As a matter of interest, what ride height are you running Olly?
Do you run the same settings on slicks?
[Edited on 28-3-14 by 40inches]
yellowcab - 28/3/14 at 09:01 PM
Wahhooo - another converted customer 
Yes - I don't mess with the settings regardless of tyres, nor wet/dry, nor passenger or flying solo 
yellowcab - 28/3/14 at 09:02 PM
Dave - not to clutter up the Silverstone thread - when do you want me to do some bench presses with your axel etc?
40inches - 28/3/14 at 09:07 PM
Will text tomorrow Olz.
yellowcab - 28/3/14 at 10:23 PM
Just for those readers out there, I attended Blyton today as a part of the PPC day organised by Frank, here is my view on today:
Firstly, a hooooooooge thanks to Frank for organising it, and inviting us all to join in such a fantastic day.
From start to finish, nothing but good atmosphere in the Paddock, fantastic etiquette on track, good times, great slides, lots of laughs and even
better (adithorp) tank slapper.
Really enjoyed the warm welcome considering I'm a newbie to this event - already looking forward to the next outing.
Great meeting new faces, putting names & usernames to them… sorry Ian, I just couldn't call you 'Oddified' in real life, felt
strange.
I'll be putting my photos in here, along with my video footage. Yes Adi, including the last tussle between Jon Ison, You & I.
May I just announce, I hearby declare this is the first track day since kit car ownership started in 2012, that my car has come home, running,
working, all wheels pointing the correct direction ever. Very happy Olly.
Looking forward to seeing other peoples footage, and reading their take on (what I thought) was a fantastic day.
Cheers all 
PS: this update was brought to you by 7 espressos, 2 litres of Redbull, 5 ProPlus, 2 Twix bars, and a Jacket Potatoe @ Lunch (cheers Steve!)…. I was
dying of manflu 24 hours ago!
What I learned from this set of photos… no positive camber in roll - yeeeeehaaaaaa and my front brakes work
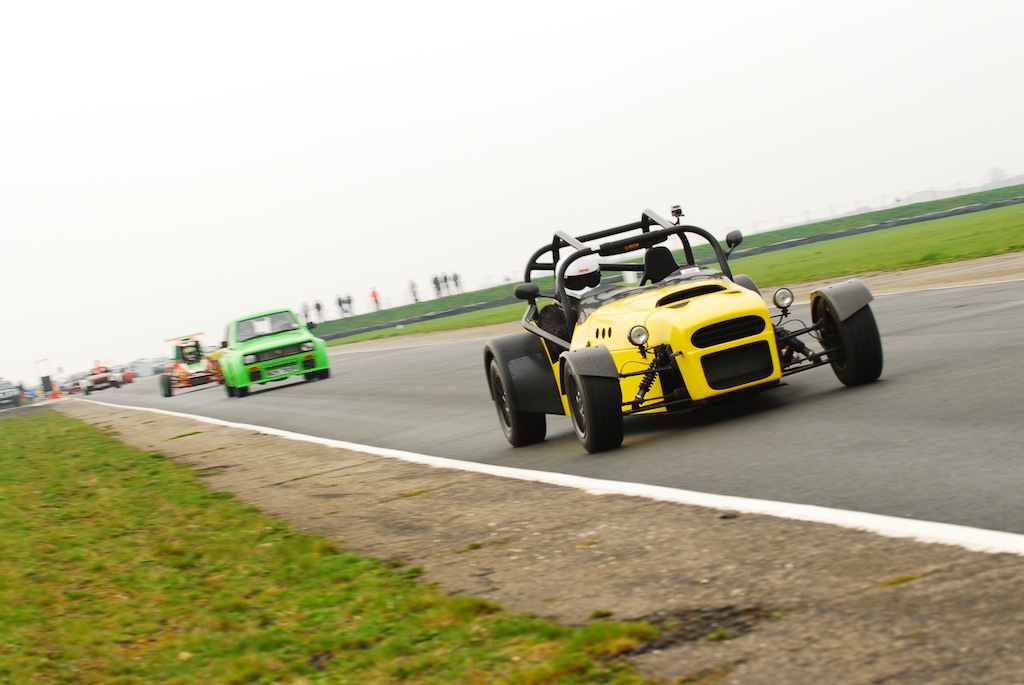
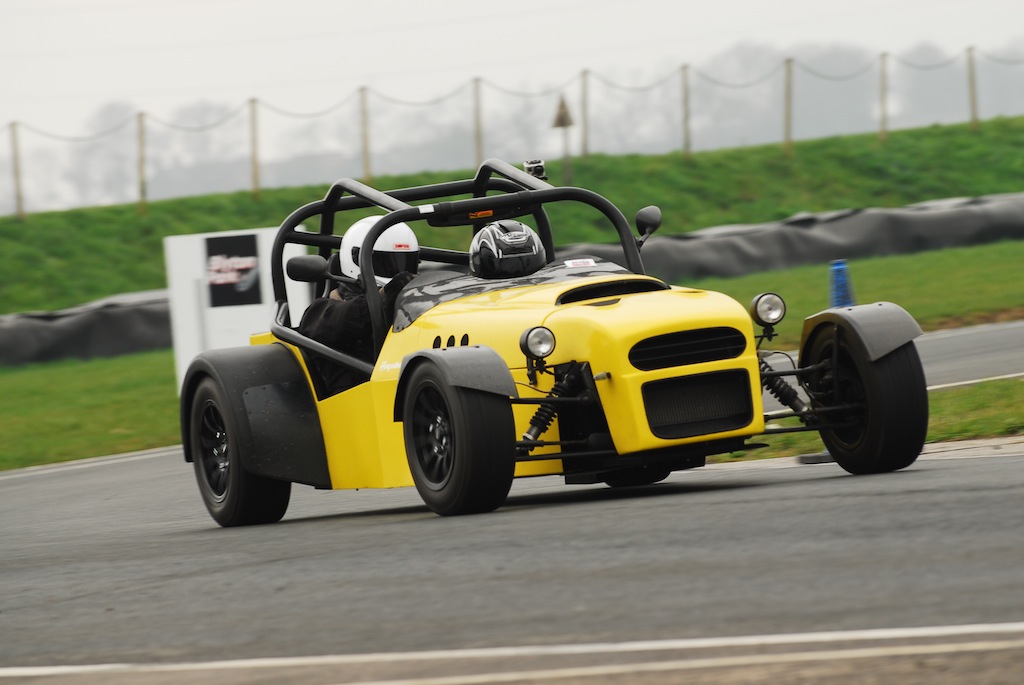
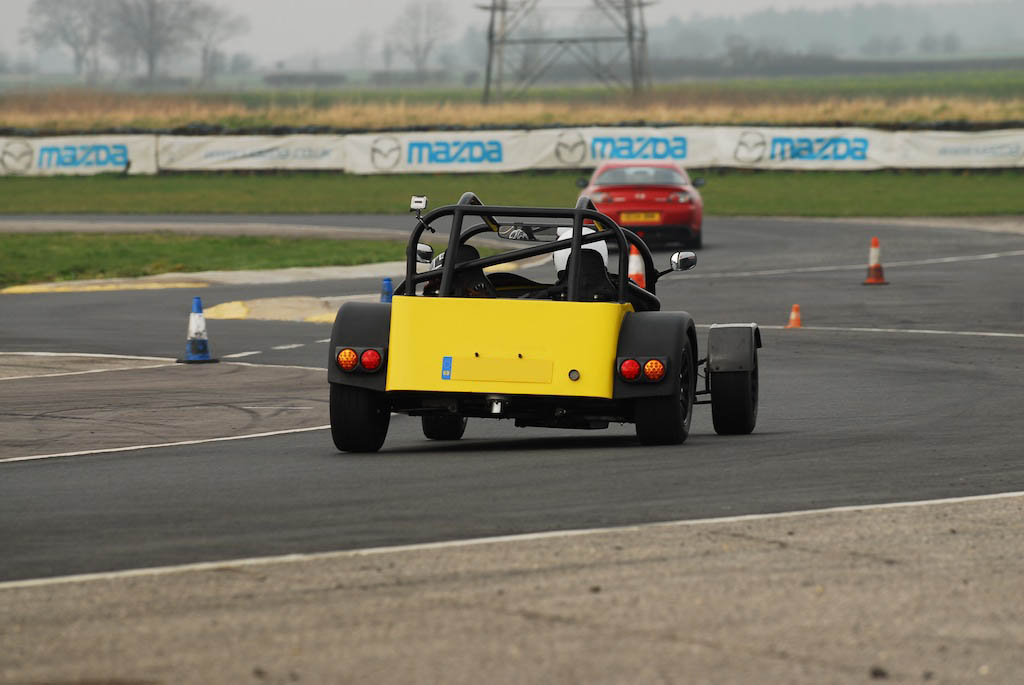
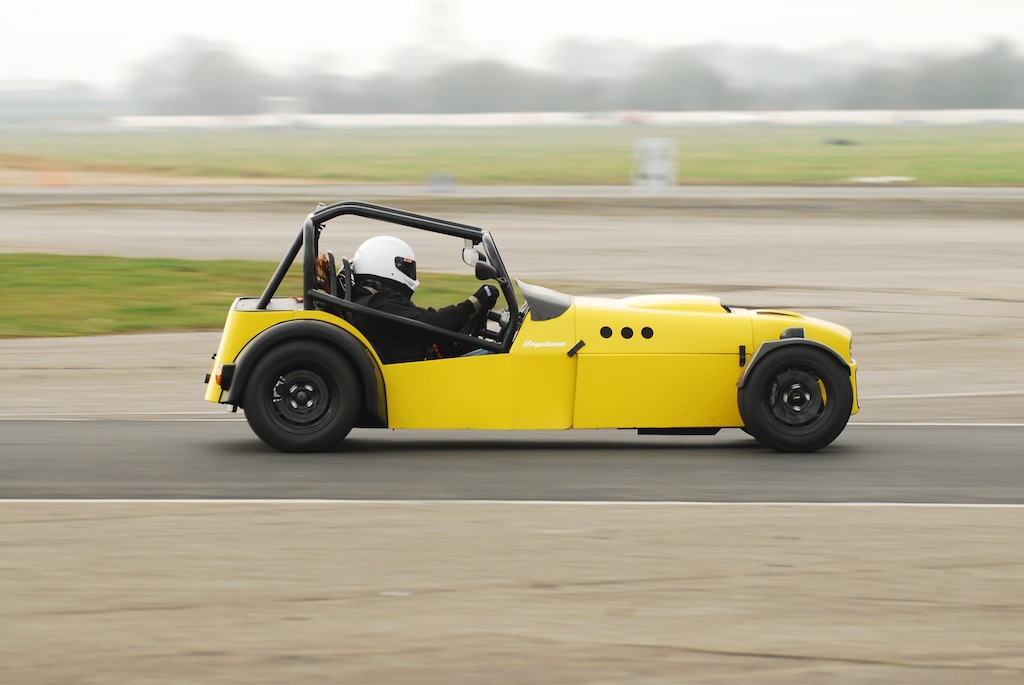
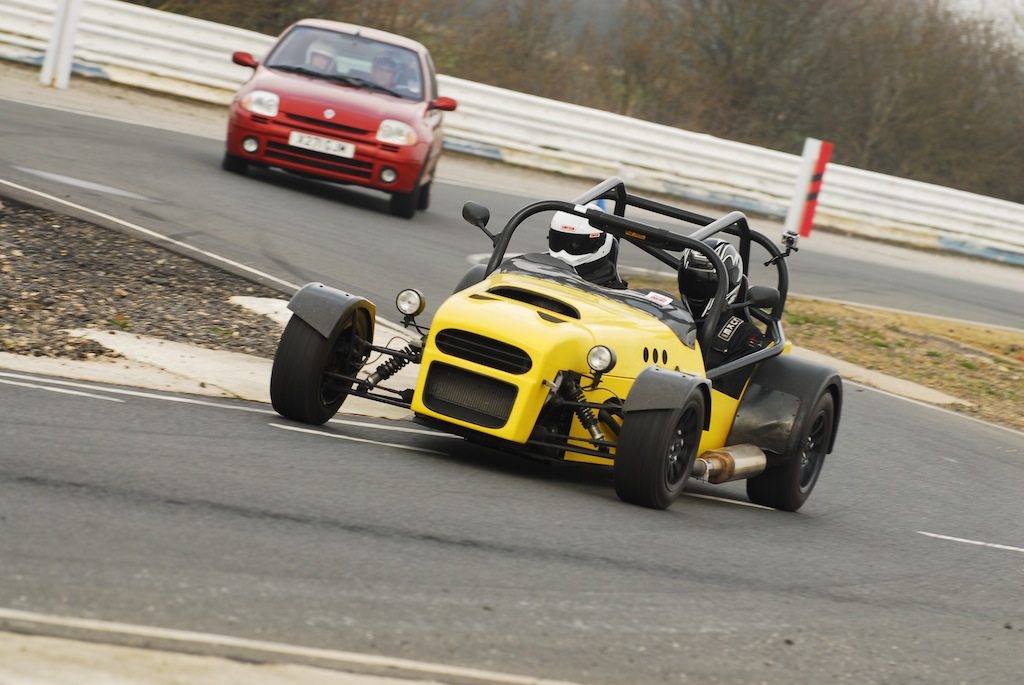
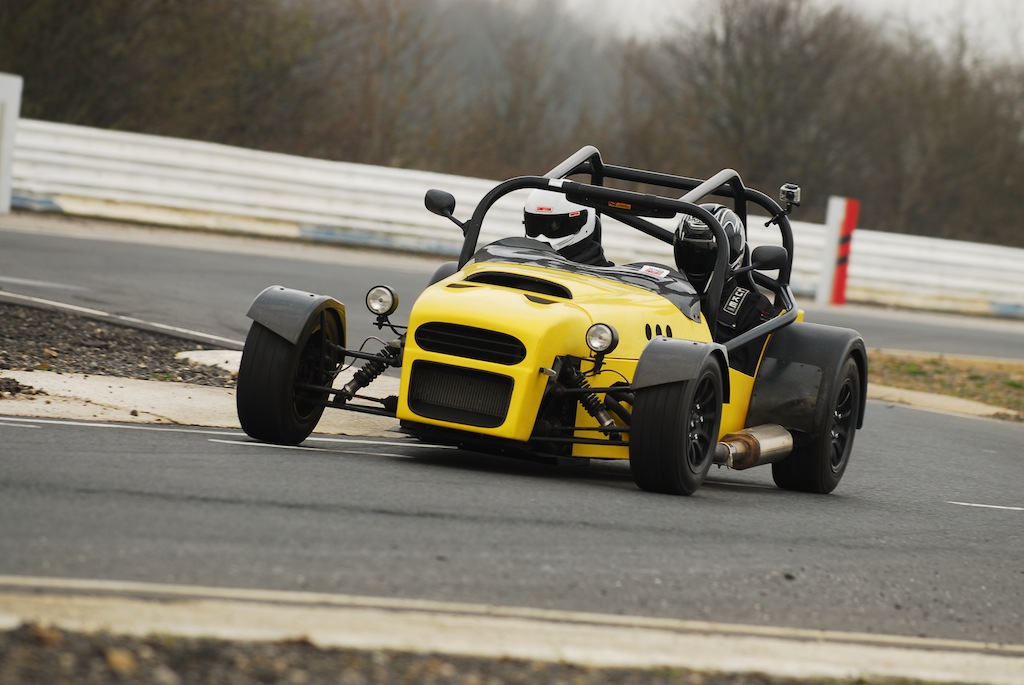
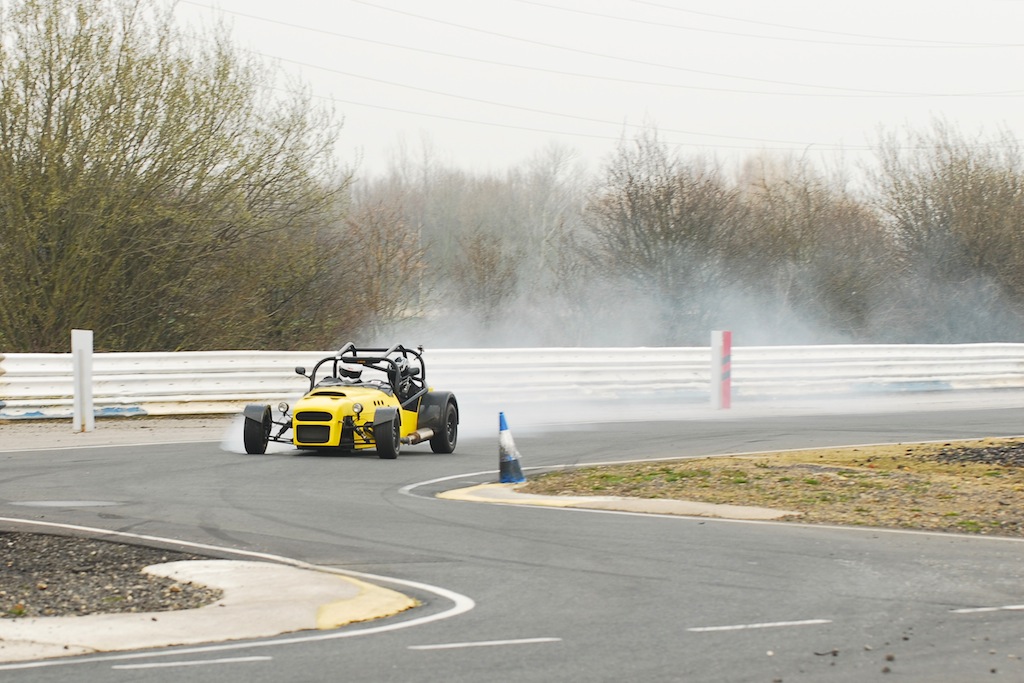
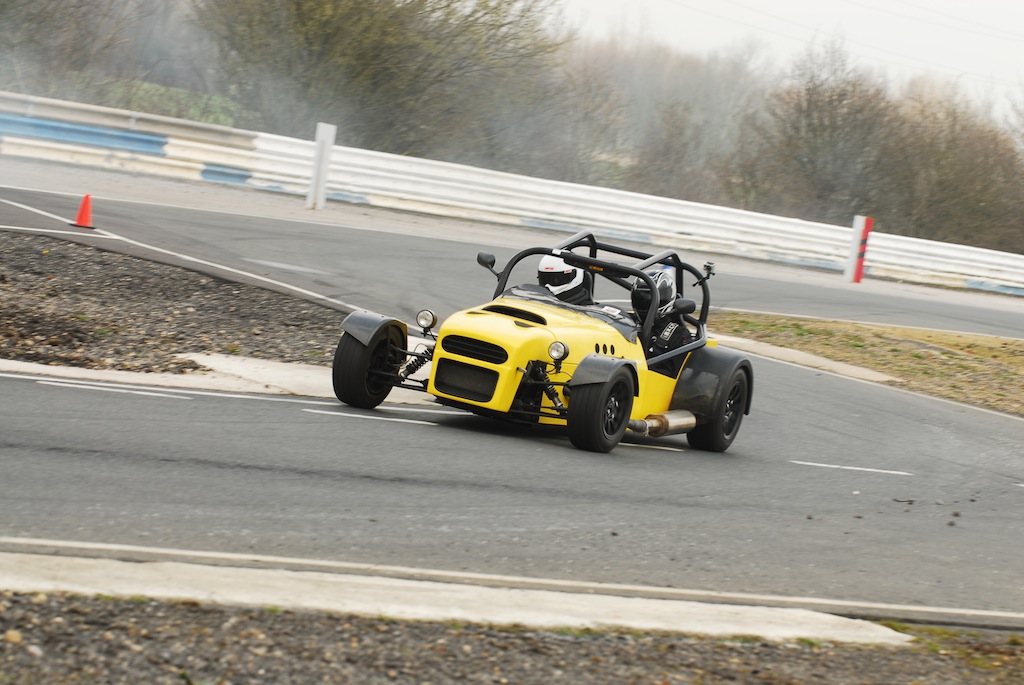
OK so here are some screen grabs from my GoPro footage for now - kinda sums up the day… tried to capture as many LCBers as possible, but never seem to
be out at the same time as Daniel Mason or laptoprob
Trying to brake, and turn using these guys in front of you just simply doesn't work
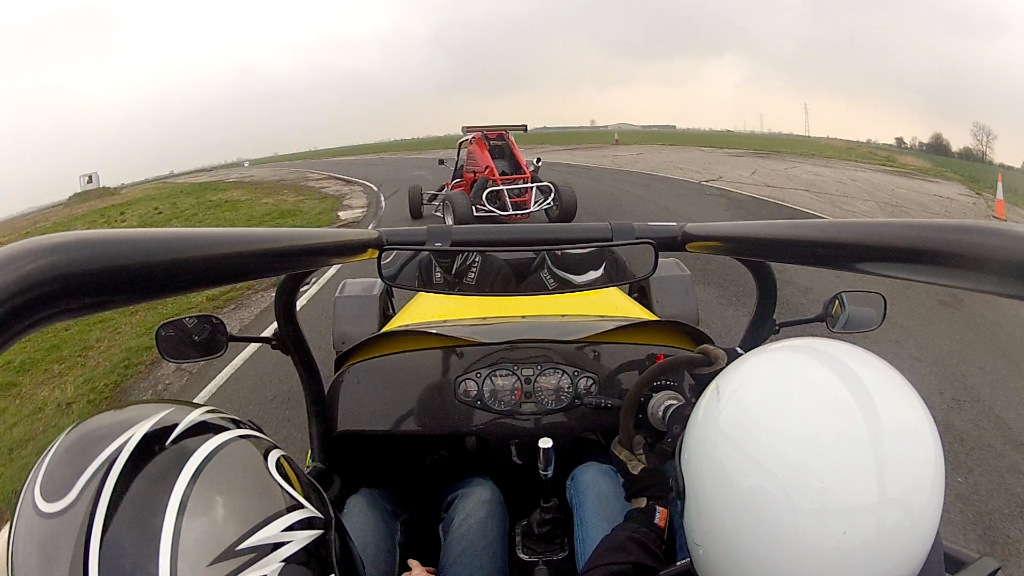
As above… this blue cone is just a figment of your
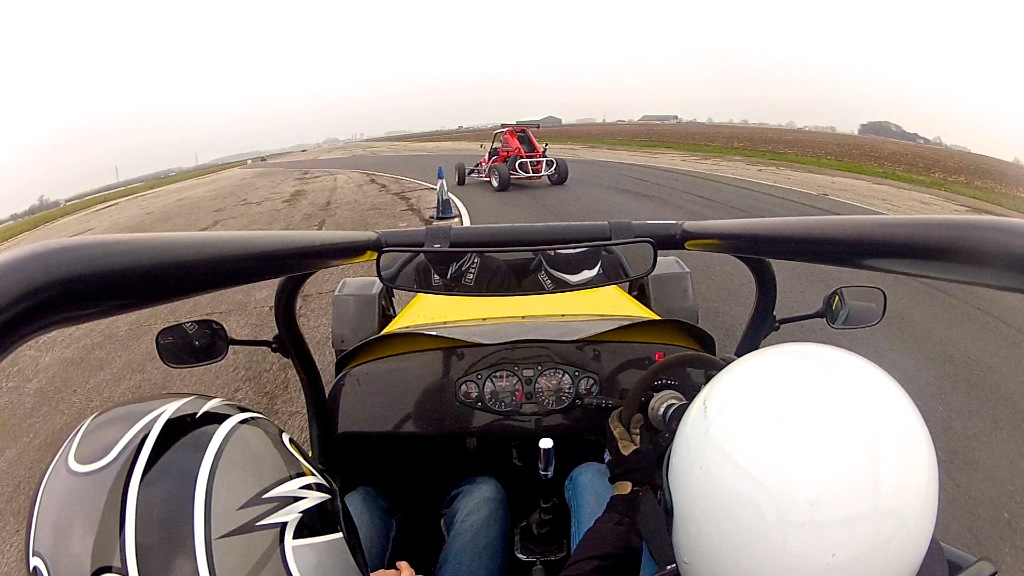
OK no its not
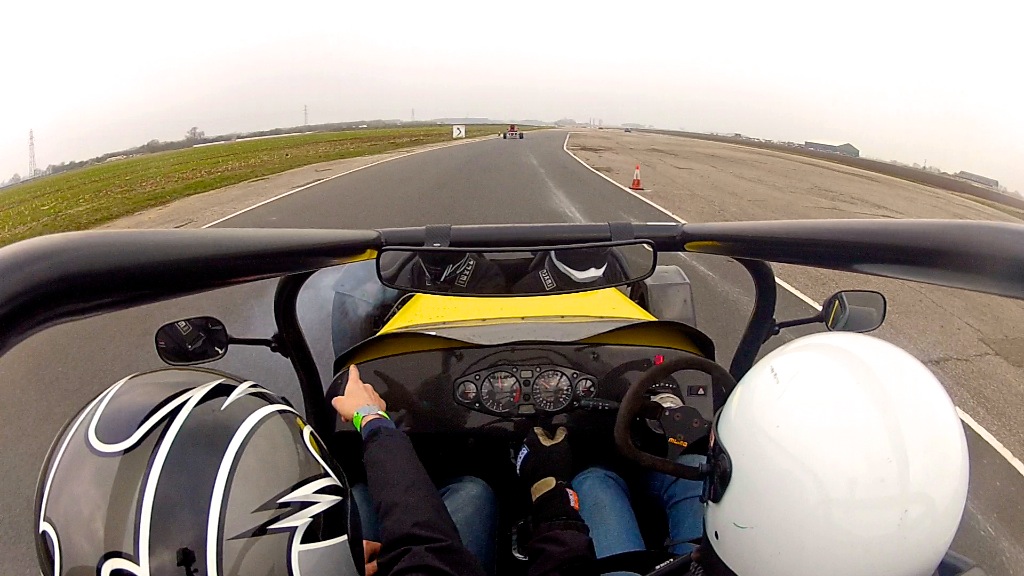
Andrew in his s2000 Kitten, I marked him for a few laps to get some decent footage
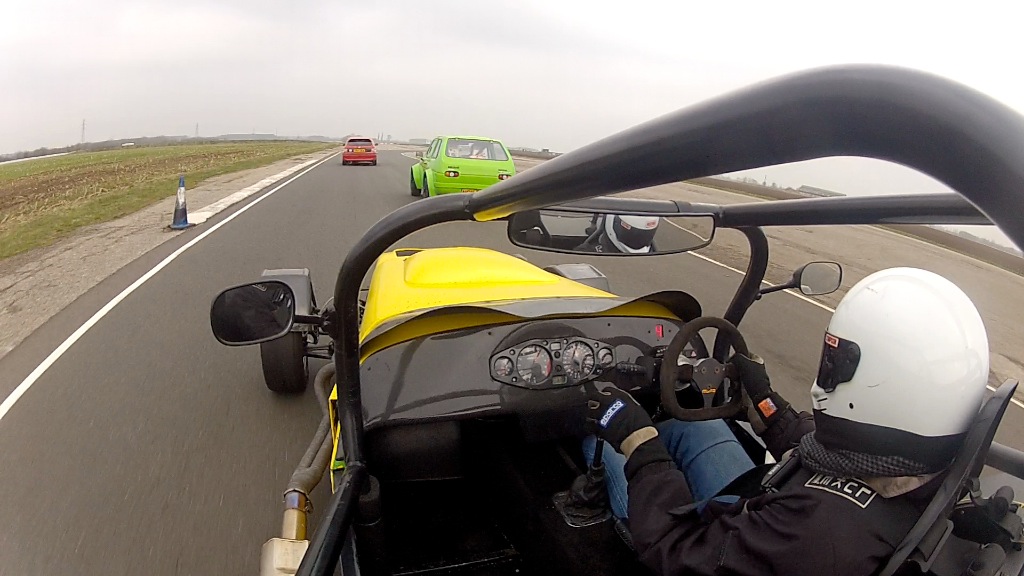
rdodger in his Thruxton
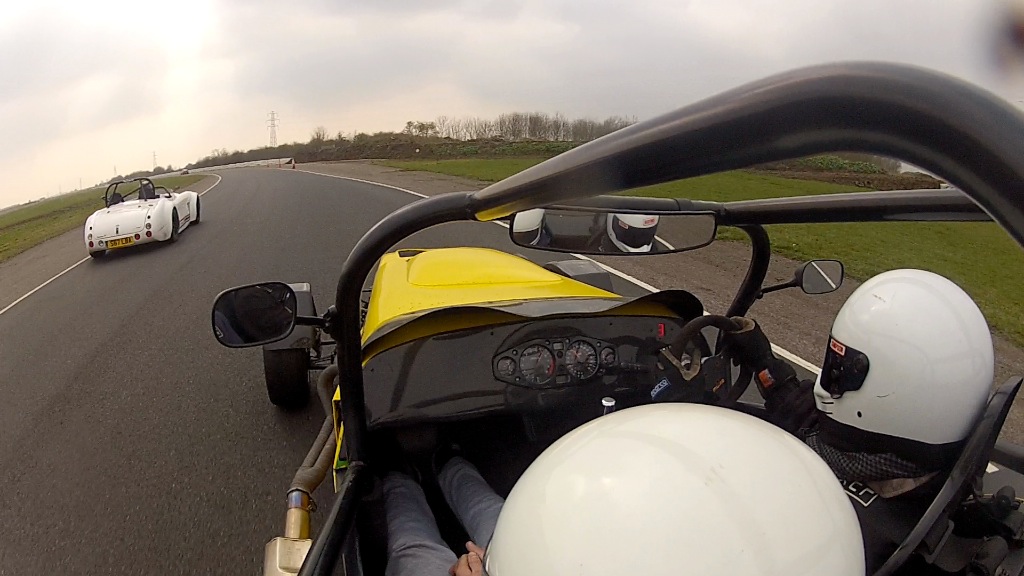
Is this the way to Amerillo?
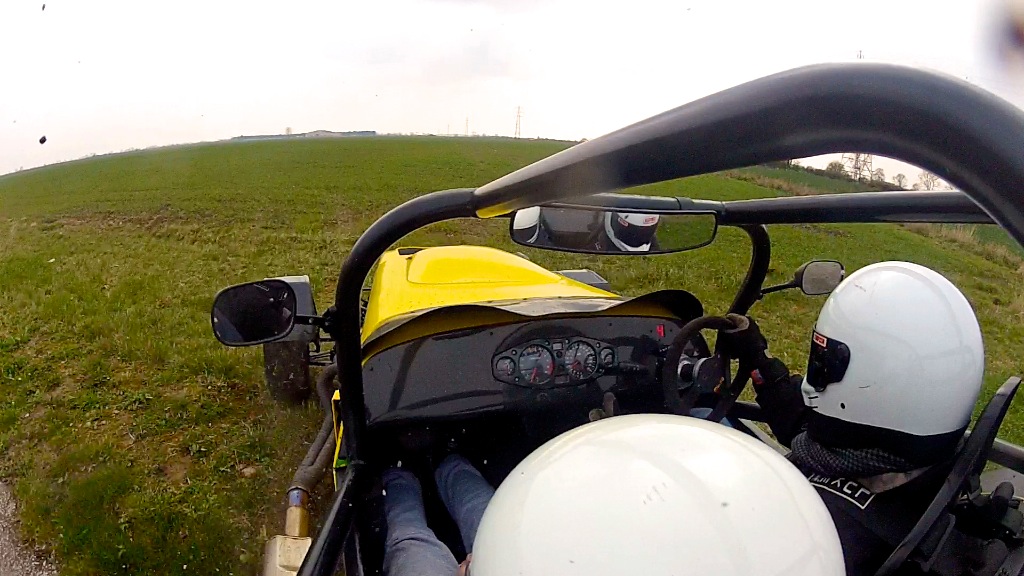
This is what warp speed looks like in the IsonBusa, there are 15 cars in this photo, but we're going so quick you cannae see em
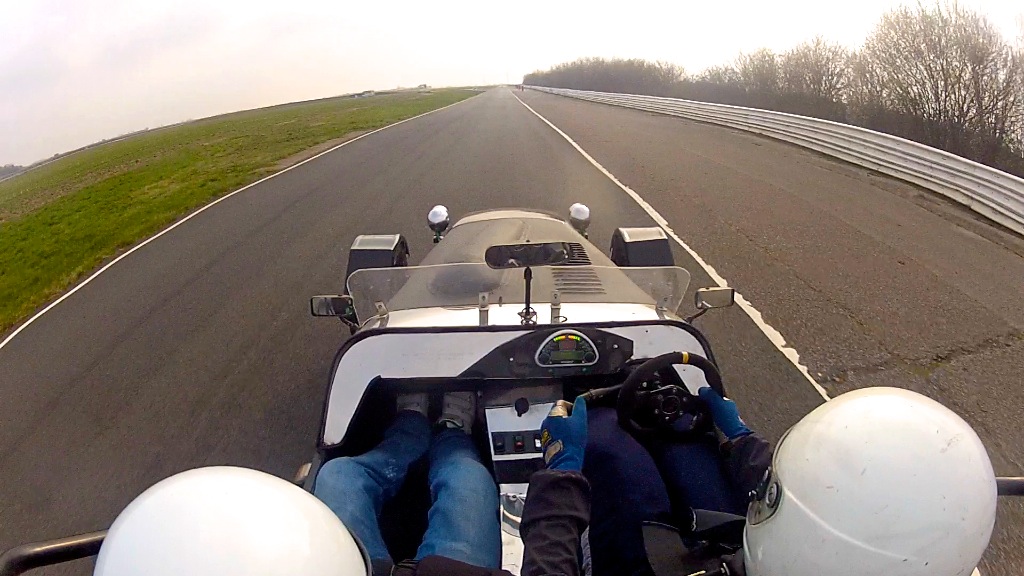
Behind laptoprobs mate Graham in his C20LET
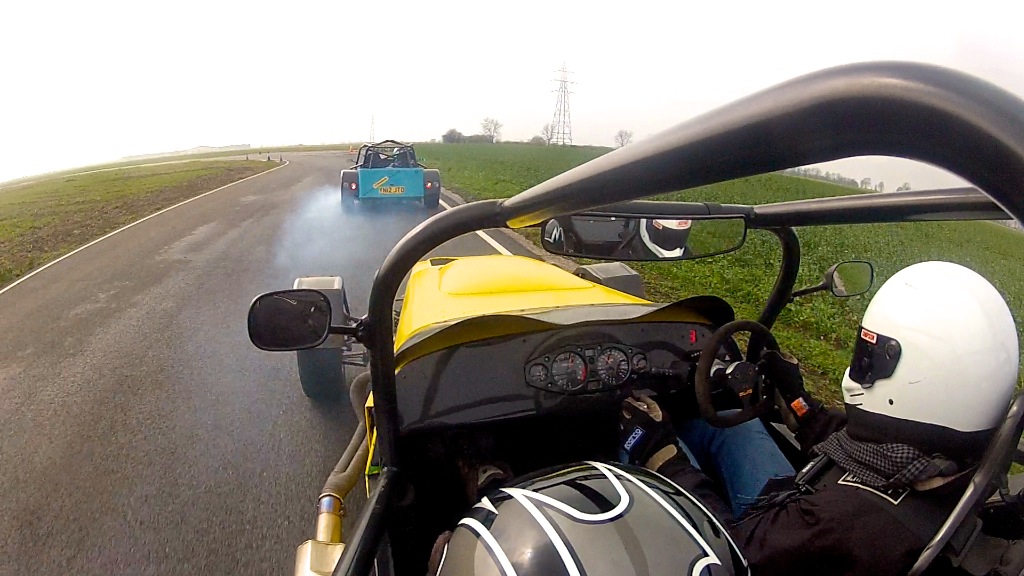
Mr Jon Ison himself
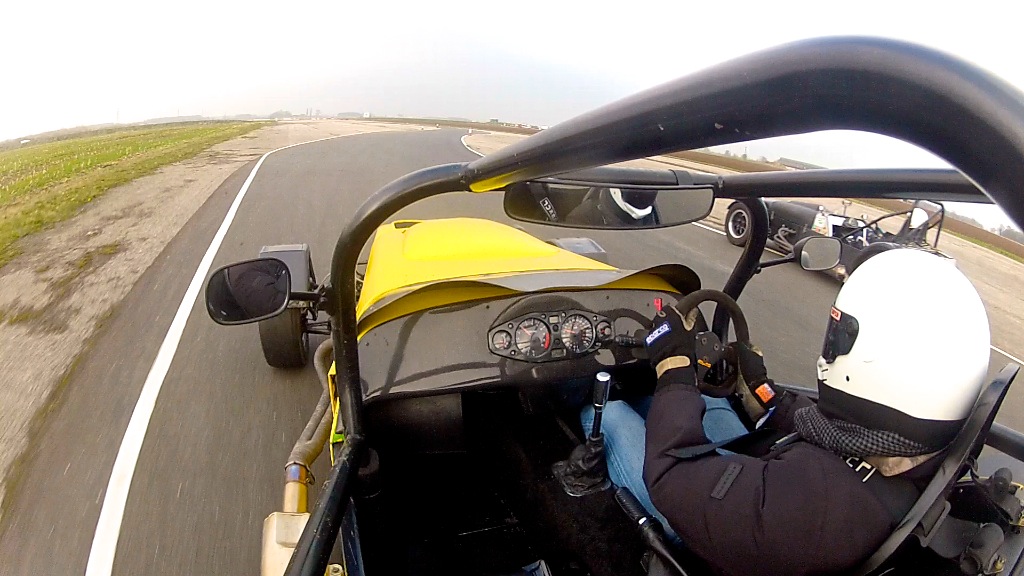
Precision driving, didn't even touch the cone (this time)
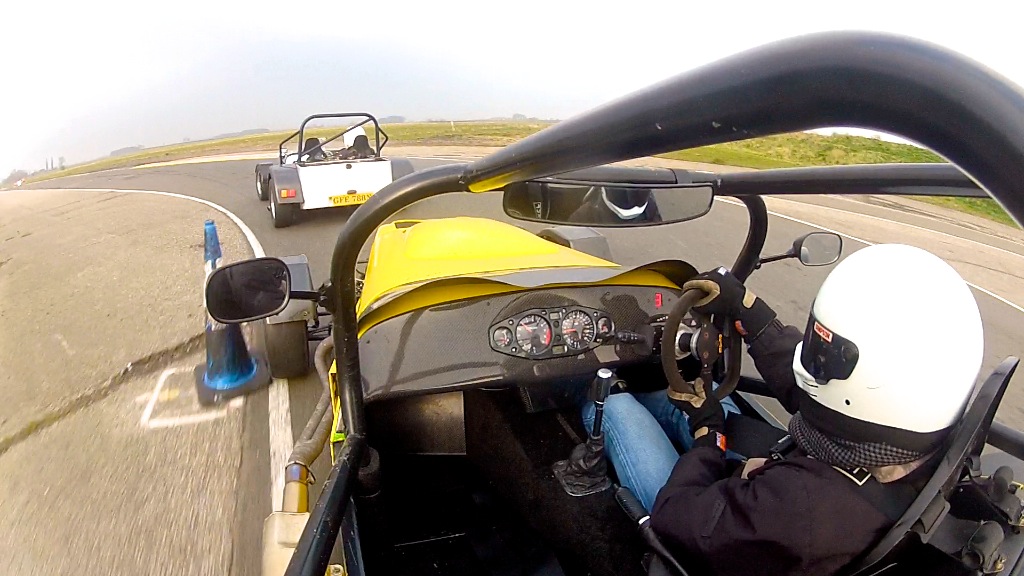
And the finalé goes to adithorp (tank slapper trophy winner), who didn't really know which way he wanted to go… I was travelling at 115mph on the
first screen shot… and the rest are in sequence
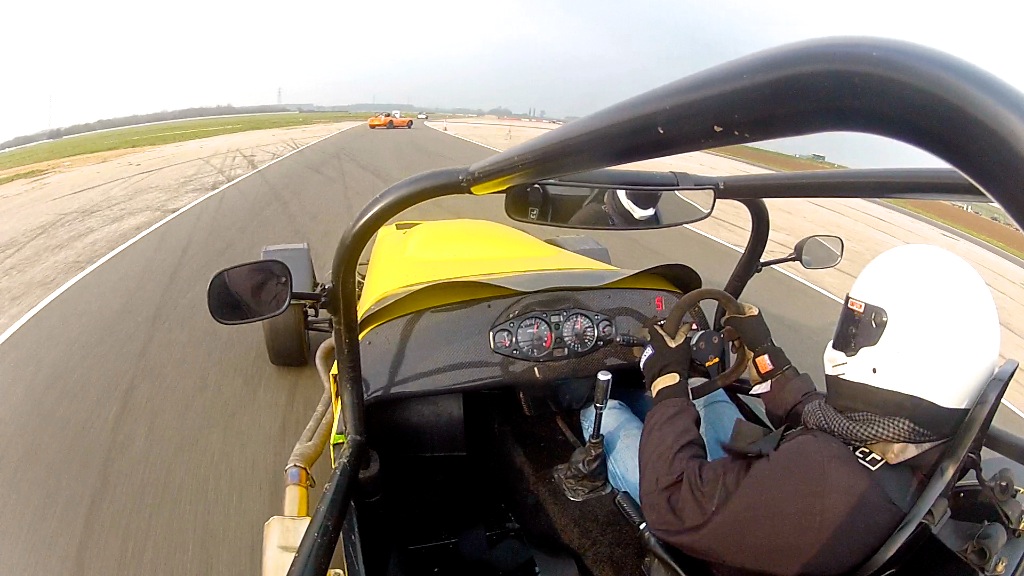
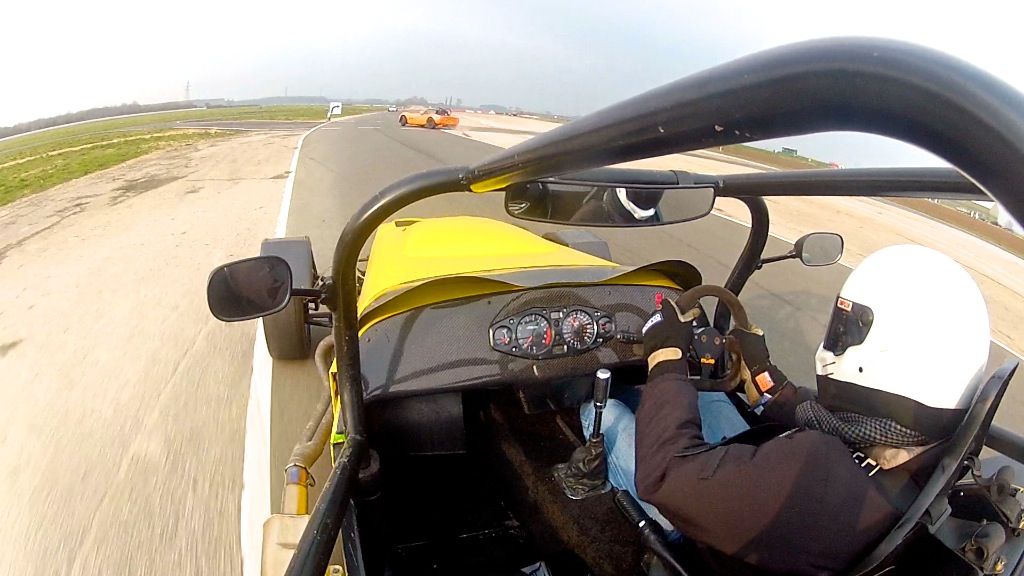
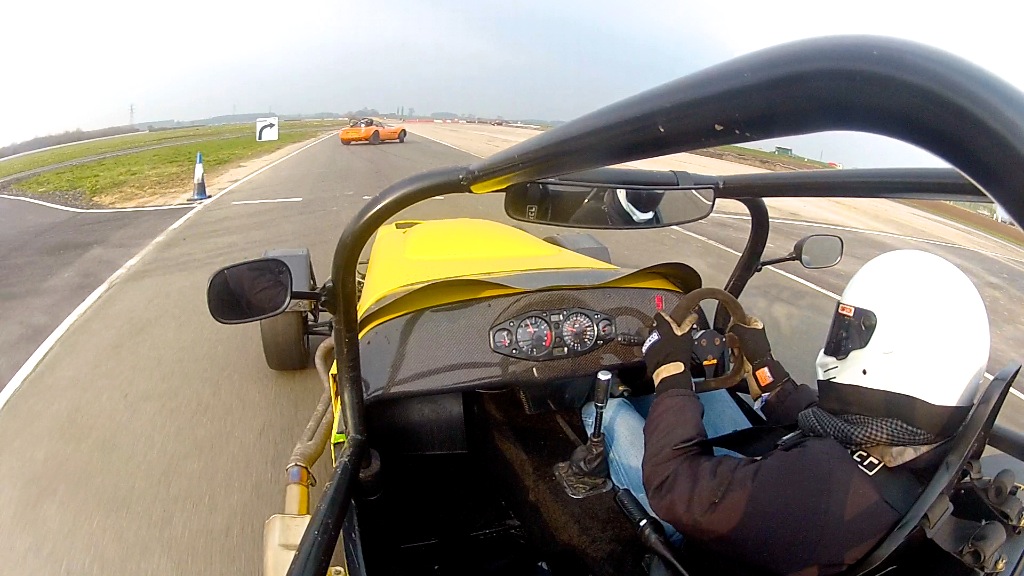
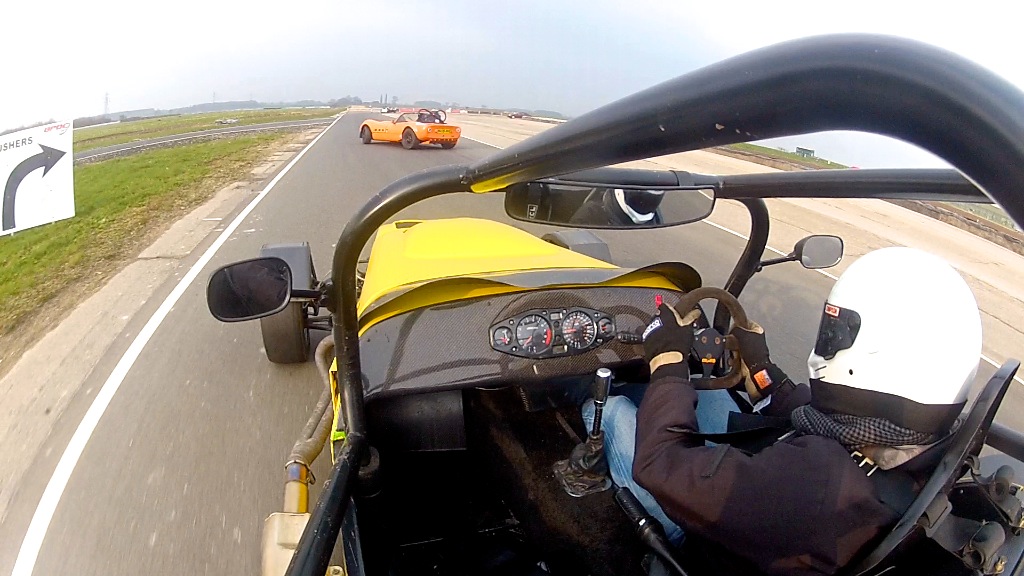
DavidW - 29/3/14 at 12:12 AM
Impressive breaking in the last few!
Count me in for next year, it looks like proper fun.
David
yellowcab - 29/3/14 at 08:11 AM
Looking forward to rendering the videos!
yellowcab - 29/3/14 at 07:35 PM
My first video rendered & uploaded, takes bloody forever in 1080p HD…
Nothing really ground breaking, this is just me marking/ following Grayme Lidster (laptoprobs mate) in his Tiger 2.0 16v Turbo C20LET (blue one), and
in front of him, is a Tiger 1800 Zetec I think… before I get by
Full screen, speakers on, change quality to 1080p HD
Enjoy
https://www.youtube.com/watch?v=L-0t23uHiSw&list=UUCpP5dFARRhF0vlmAKtEF4A
yellowcab - 29/3/14 at 07:43 PM
OK second video is live, a little more interesting than the first (imo)
Just marking Andrew for him as he asked for some footage for a few laps… after we passed the Astra MK3 with the Saab Turbo engine, Andrew had some
difficulties with some gears heading into Bishops.
Again, speakers up, change quality over to 1080p and full screen it baby!
https://www.youtube.com/watch?v=a-6AG3Zu5XY
yellowcab - 29/3/14 at 10:27 PM
OK, so now we're getting serious, mid afternoon it seemed a chunk of people either had gone home, or just simply wasn't on track, so I went
out as a lone-ranger and decided to fly solo having warmed my tyres up a little (albeit still not enough)
First time on my own of the day - had passengers the rest of the time - added a stopwatch to these 5 fast laps, and I'm incredibly happy with my
'1m 9.250sec' time… considering I thought I was quick last time with a bent upright doing 1m 14s laps
Using 6th gear more regular, aswell as staying in 4th through Bunga Bunga & Bishops (thanks to a passenger lap with Jon Ison)
You know the drill, full screen, speakers up, change quality to 1080p… and enjoy 
https://www.youtube.com/watch?v=_1zoIQmjmDE
yellowcab - 30/3/14 at 11:28 AM
The final tussle of the day between Me, Jon Ison & Adi Thorp…
First lap was with Jon hunting me down - and pushed me to do a 1:09.000s (cheers pal)
Then Jon went in front to show me how it was done
Then Adi joined in the fun towards the end.
Quality for some reason not so good, but good enough to see whats going on, and the speed & gear I'm in
Enjoy - possibly the best video of them all… (I encourage you to watch it to the end… eh Adi…)
https://www.youtube.com/watch?v=so_i3ZaEtHY
rdodger - 30/3/14 at 11:36 AM
Well held Adi!
daniel mason - 30/3/14 at 11:48 AM
epic tank slapper!
yellowcab - 30/3/14 at 04:17 PM
So here we have 'yellowcabs Blyton Bloopers'…
Starring rdodger, femster87, unijacko67's wife, daughter & son in law, daveb666, Jon Ison 
Change quality to 1080p & enjoy!
https://www.youtube.com/watch?v=c4Yfvbi26e0
sdh2903 - 30/3/14 at 04:26 PM

Car stood up very well with all that action
Nick DV - 30/3/14 at 05:09 PM
quote:
Originally posted by yellowcab
So here we have 'yellowcabs Blyton Bloopers'…
Starring rdodger, femster87, unijacko67's wife, daughter & son in law, daveb666, Jon Ison 
Change quality to 1080p & enjoy!
https://www.youtube.com/watch?v=c4Yfvbi26e0
Love it  Plenty of 'bloopers' and haven't tried to hide 'em
  Good stuff
yellowcab - 30/3/14 at 05:15 PM
Cheers pal, yep you gotta know your limits, or find them at least...
Then hone down on getting lines, corners, entrance & exit speeds right 
Nick DV - 30/3/14 at 05:22 PM
quote:
Originally posted by yellowcab
Cheers pal, yep you gotta know your limits, or find them at least...
Then hone down on getting lines, corners, entrance & exit speeds right 
Dead right  That's why airfield circuits are good, plenty of safe run off without the fear of hitting a tyre wall!
daniel mason - 30/3/14 at 05:30 PM
great vids them! whats jaynes leg doing?
yellowcab - 30/3/14 at 05:39 PM
Daniel Mason you pervert!  I wouldn't have a clue as I wasn't looking at Andrews wife's leg!!!
yellowcab - 2/4/14 at 08:17 PM
Getting a bit stagnant in here isn't it… need stuff to do!
Exhaust & manifold need sorting… could do with a new carbon front arch, unless I reinforce old one…
Could do with some maintenance bits, might throw the 3.14 diff in, and get some new driveshafts…
Also need a guard making for my dry sump belt…
Without a track day booked, nothing is urgent, therefore nothing gets done lol
wylliezx9r - 2/4/14 at 09:45 PM
Great Videos !
samjc - 3/4/14 at 02:11 AM
Olz how wide are your current carbon arches and where are they from as after something similar to suit my project but struggling to find anything wide
enough to suit 205width tyres.
yellowcab - 5/4/14 at 04:19 PM

CosKev3 - 5/4/14 at 04:21 PM
Lol 
bit late to be trying April's fool jokes!!! 
theduck - 5/4/14 at 04:31 PM

rdodger - 5/4/14 at 04:36 PM
What's next then Olly?
yellowcab - 5/4/14 at 05:43 PM
Hi chaps, so yes the car is sold and going to it's new owner shortly.
After 13years of trackdays it's become the time where I want to 'battle' the car in front.
I get deflated where I rush up behind someone, for them to indiciate and wave me on by... I want them to fight me off, or I wanna (try) outbrake them,
(try) overtake in the corners, all the things I'm not 'allowed' to do on a trackday.
So being quick in the places I'm not allowed to overtake, and then the faster cars leave me for dead on the straights, gets a little tiresome.
Not just talking about my Seven ownership, this is trackdays in general.
I'm entering Class R of the RGB Race Series in a Spire GTR or GT3, been over to see Paul & Tim today both such nice guys, just need to move a
few pennies around hopefully.
I will keep this thread alive with my race progress, and I hope you'll all enjoy following my trials & tribulations.
I offered for the new owner to take over this thread, but he encouraged me to continue.
Must say a huge huge thank you to everyone that has helped me through this journey, and offered advice, really appreciated.
Learnt a lot, and together with meeting a loads of decent people.
daniel mason - 5/4/14 at 06:08 PM
this year or next? have you done your ARDS and found a car yet? or are you gonna wait till end of season and get a well sorted one from someone
moving up to bikesports?
yellowcab - 5/4/14 at 06:28 PM
Will have car this time next week, and will be doing ARDS in May (exchanging trackday with Silverstone)
 hoping to so a couple of race meetings soon, but not as early as a Silverstone on 3rd May lol
daniel mason - 5/4/14 at 06:39 PM
whos car did you get? let me know when and where your racing and ill come along with you if iv not got a sprint! nice cars them spires. very very
quick but need to be very smooth with the aero cars. will suit your ultra smooth style perfectly
I think youll do pretty well mate!
Andy D - 6/4/14 at 11:30 AM
Congratulations on your move to the serious stuff! 
Re, the frustration on trackdays, I think you just have to get in a bunch of similar paced (or preferably slightly quicker) cars, so you can stretch
yourself. True, you can't go diving up the inside on the brakes etc, but I get satisfaction from just trying to keep up with a car on a similar
(or faster) pace.
I took my ards back in 2010, and did a couple of races in my son's Honda with the Scottish saloons.. more or less just to say I'd done it. I
enjoyed it, and came away with two class wins, (Not a lot of class opposition tbh!) So thought I'd retire, and quit while I was ahead. Too old
mainly, and couldn't really afford to..
Strangely, my son Pete, who's raced on and off since 09, still quite enjoys the more relaxed approach to trackdays. Racing is all about
monumental highs, and suicidal lows. 
yellowcab - 6/4/14 at 03:30 PM
Cheers Andy - I'm glad we managed to meet up on the occasions we did 
I agree about matching yours & cars capabilities with a similar paced bunch of people on a track day, but even then, anything closer than 50yards,
the marshals tend to accuse you of 'racing' like they did with myself & laptoprob when we were almost the only ones on the circuit (roll
eyes)
Tim said yesterday, you'll only ever become a better driver when you are chasing people faster than you, with better lines, braking later and
learning race craft.
Congratulations on the class wins - wins are wins, regardless of opposition huh  and I love your thinking of quitting whilst you're the
unbeaten champion, lol, sounds nice huh
I anticipate I will have far more lows than highs in racing, especially my first season, but I'm going in with a completely open mind and will do
my best, without expecting too much 
Andy D - 6/4/14 at 05:46 PM
quote:
anything closer than 50yards, the marshals tend to accuse you of 'racing' like they did with myself & laptoprob when we were almost the
only ones on the circuit (roll eyes)
I think you've just been a bit unlucky there.. I've been in loads of high speed "pursuits", pretty close at times, and it's
never been a problem. (yet!)
quote:
Tim said yesterday, you'll only ever become a better driver when you are chasing people faster than you, with better lines, braking later and
learning race craft.
Aint that the truth!
brookie - 6/4/14 at 06:07 PM
love to do a track day in the midi
yellowcab - 8/4/14 at 06:09 PM
Would the new owner like to step forward now the deal has been done 
yellowcab - 8/4/14 at 06:13 PM
So the car had its finish wash and scrub up ready for the new owner to take her away… so here are the final photos within my ownership… didn't go
very far for the photoshoot, as once a car is sold and money has exchanged hands, I believe the car to be no longer mind and therefore will not drive
it.
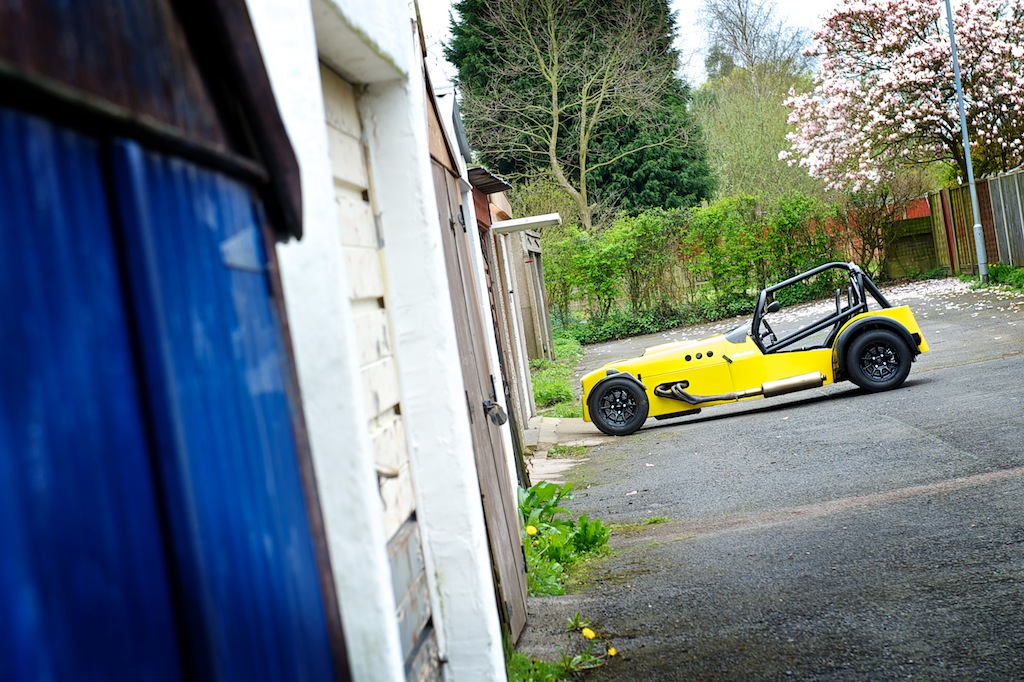
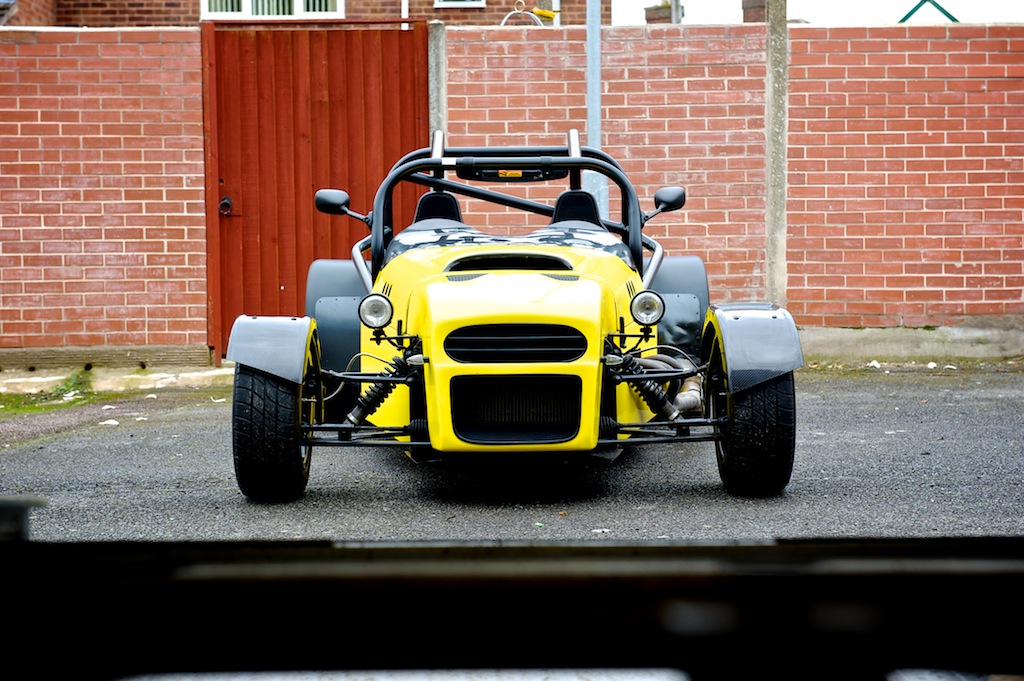
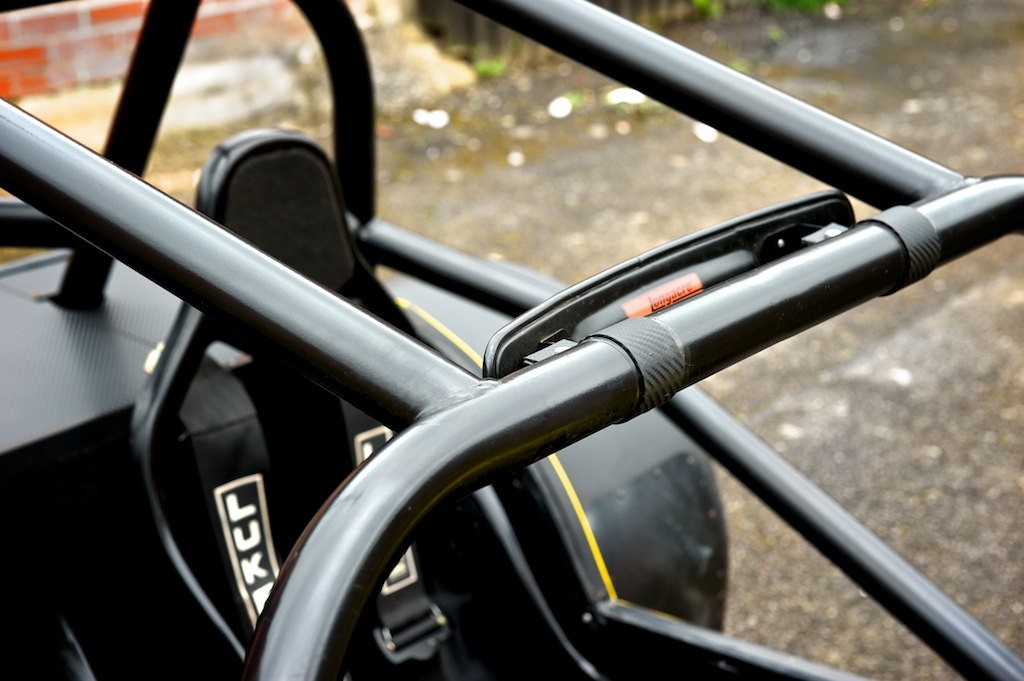

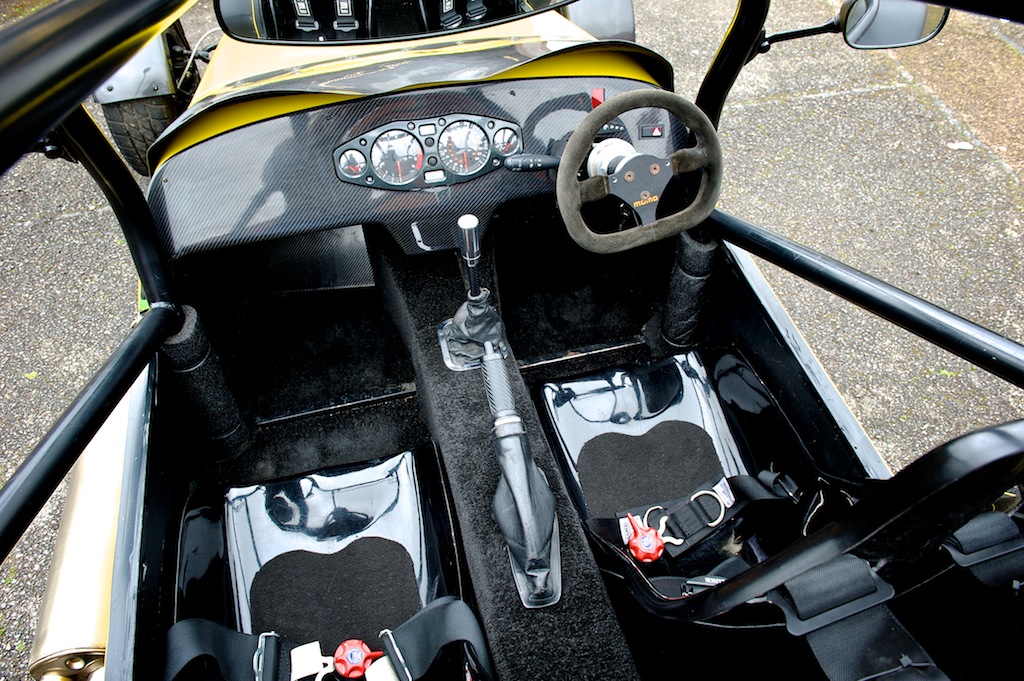
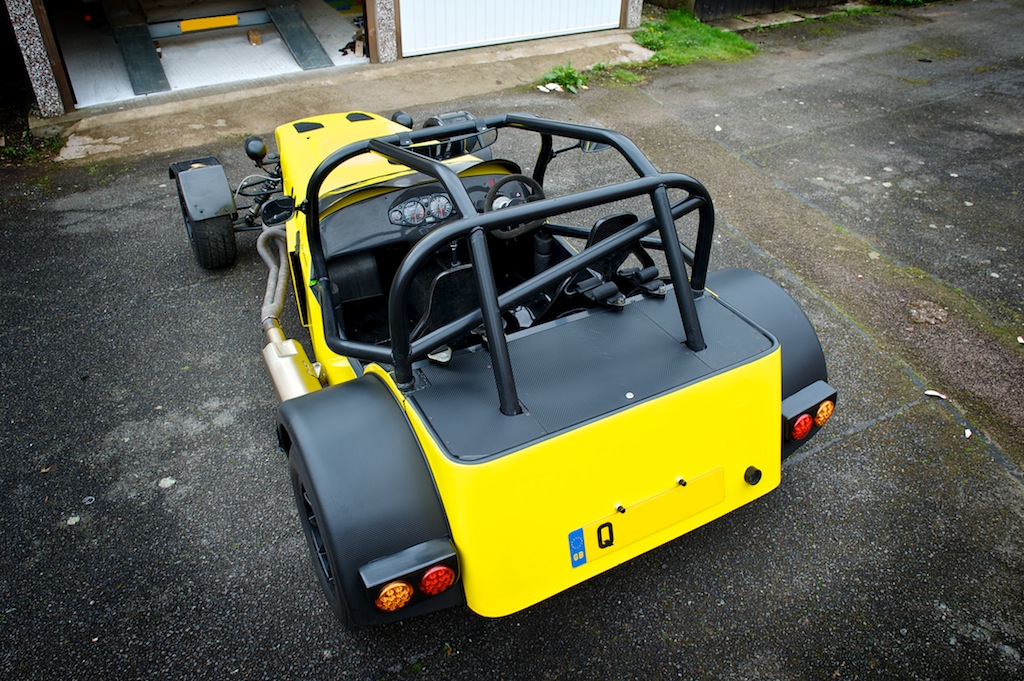
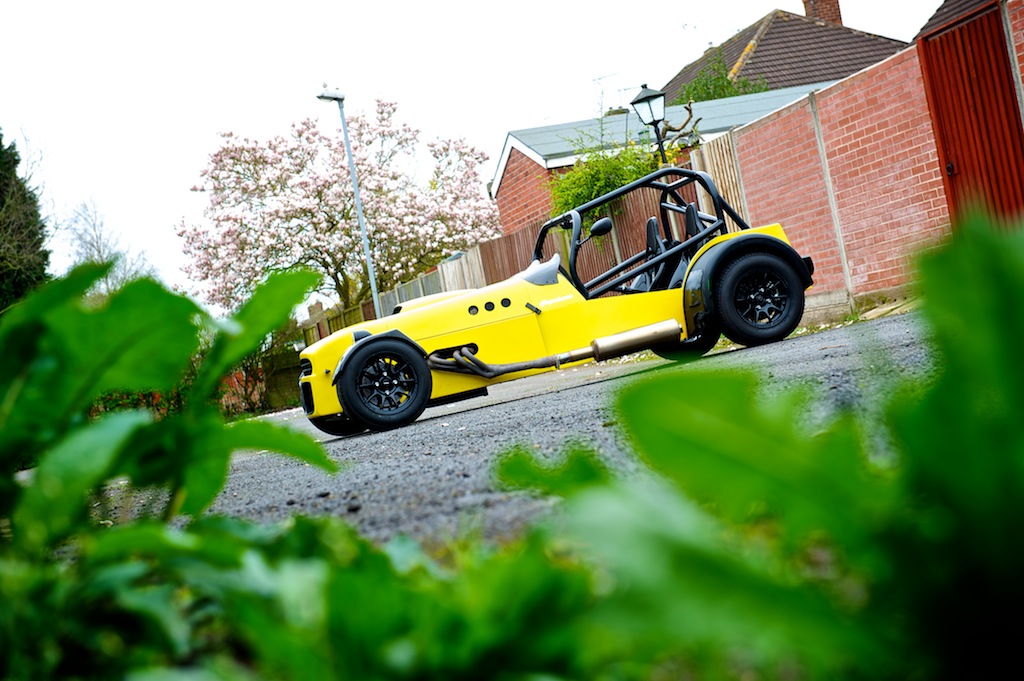
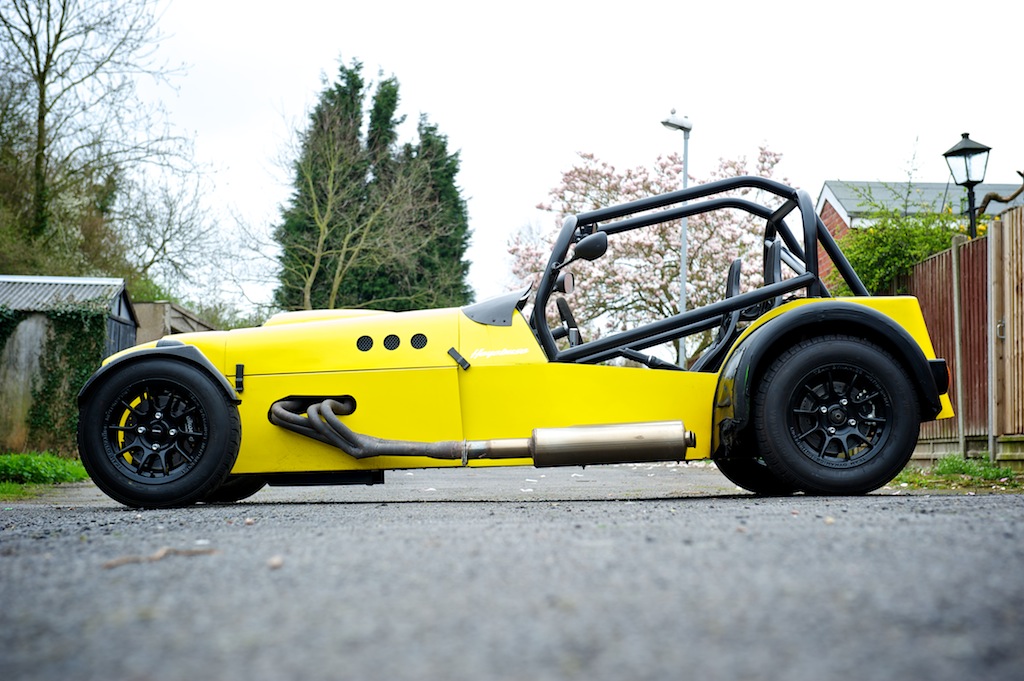
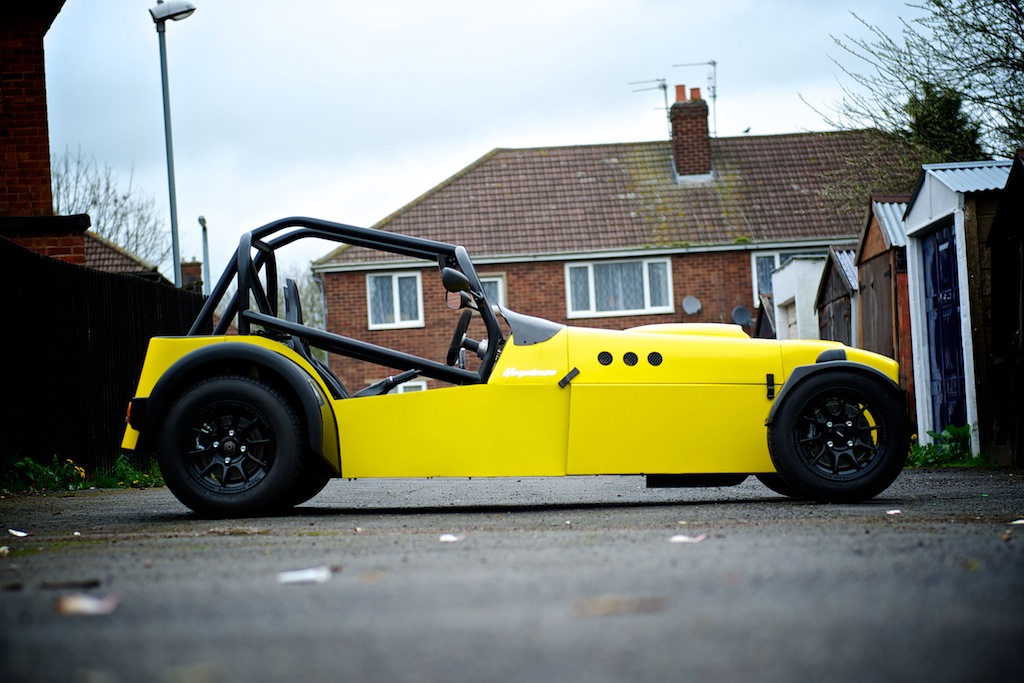
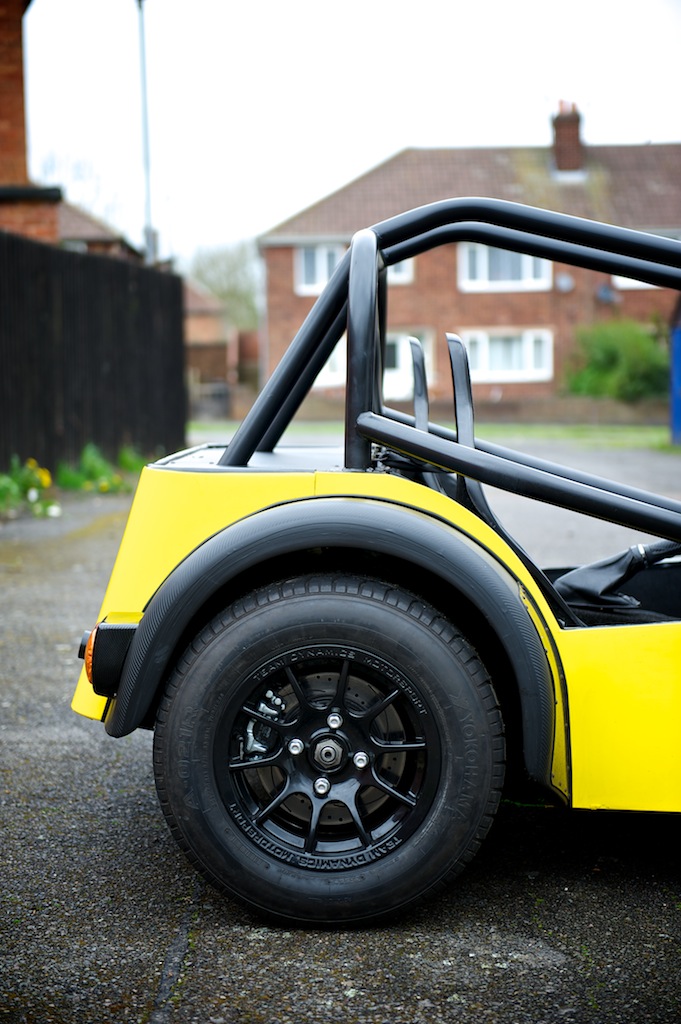
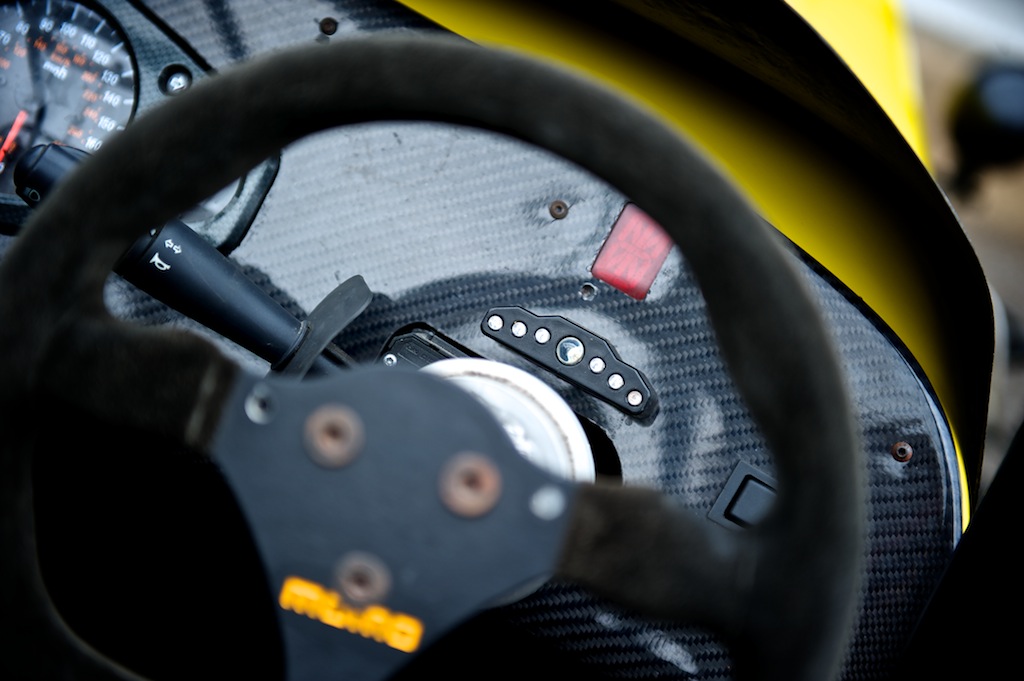
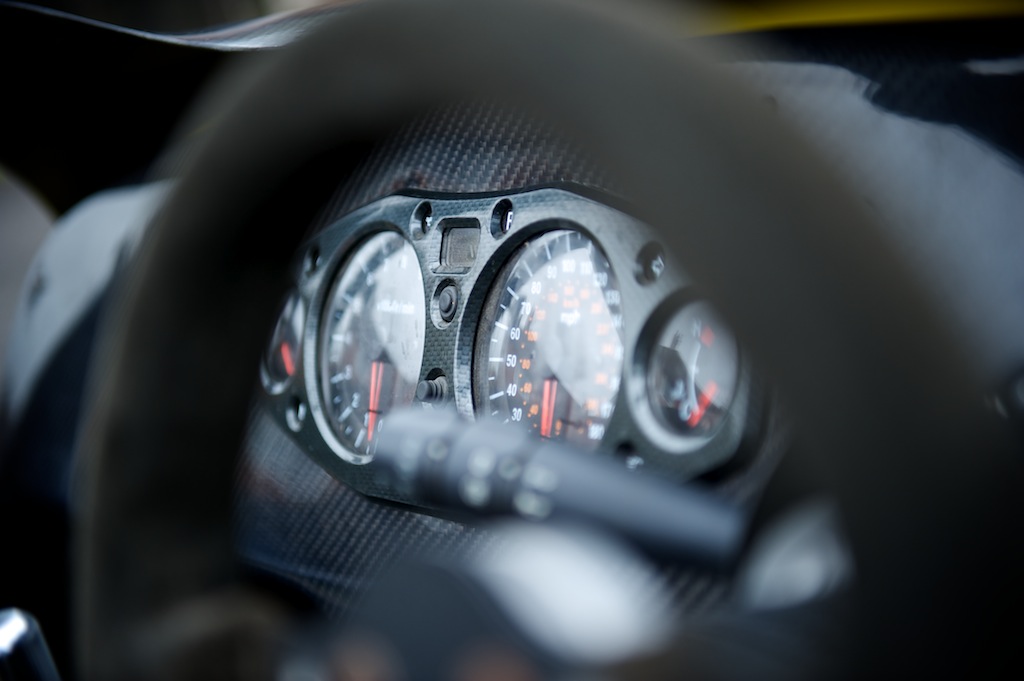
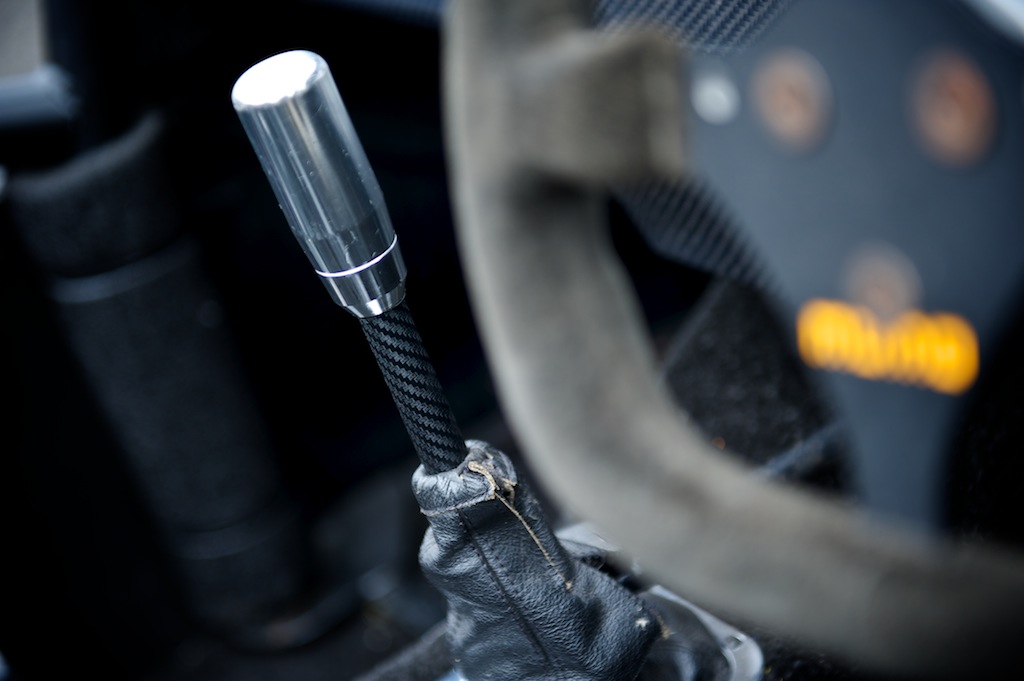
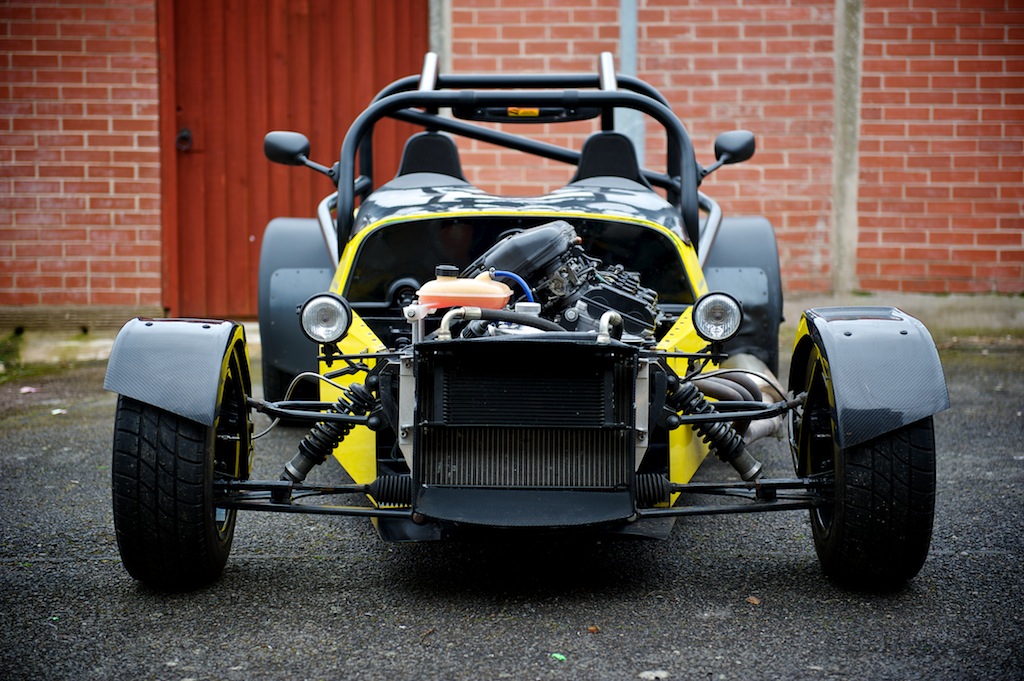
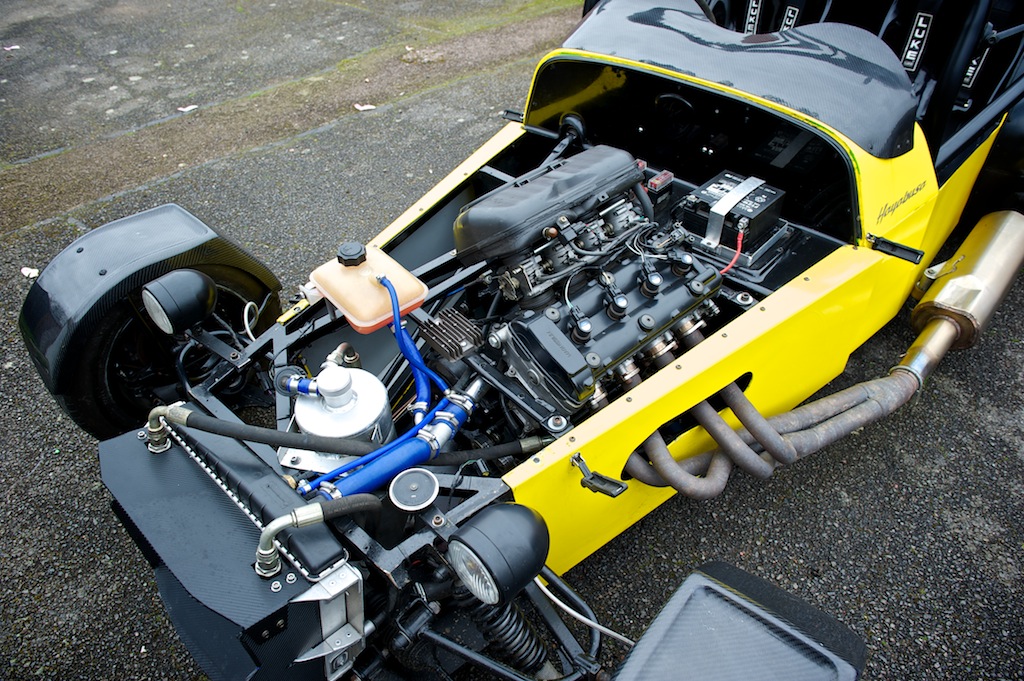

ludobenc - 9/4/14 at 07:51 AM
wonderful car and pics, i'm looking forward to see yuor next project! 
Andy D - 9/4/14 at 08:03 AM
quote:
Originally posted by brookie
love to do a track day in the midi
Cadwell next Thursday.. 
yellowcab - 16/4/14 at 03:49 PM
Here is the Busa replacement… 
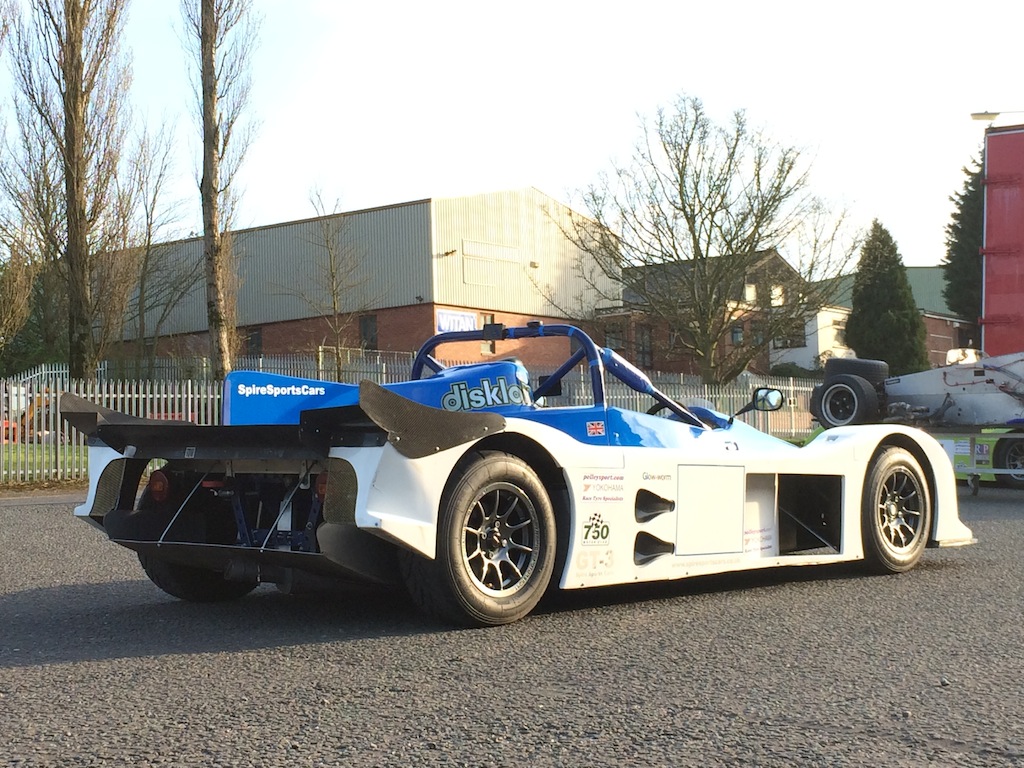
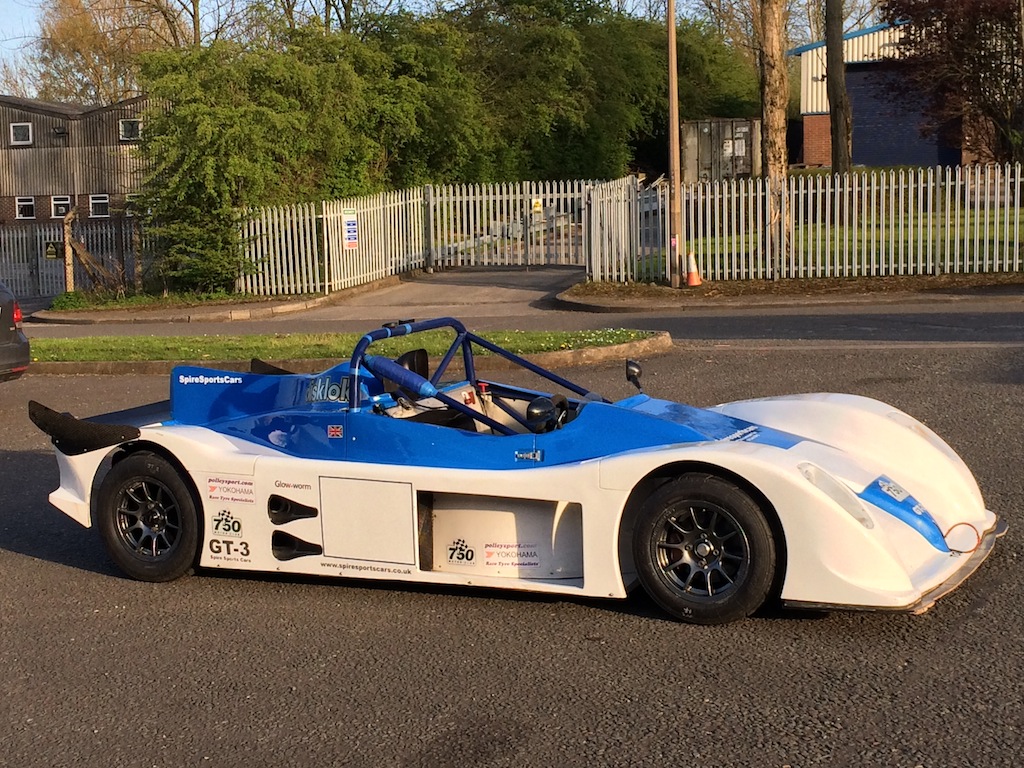
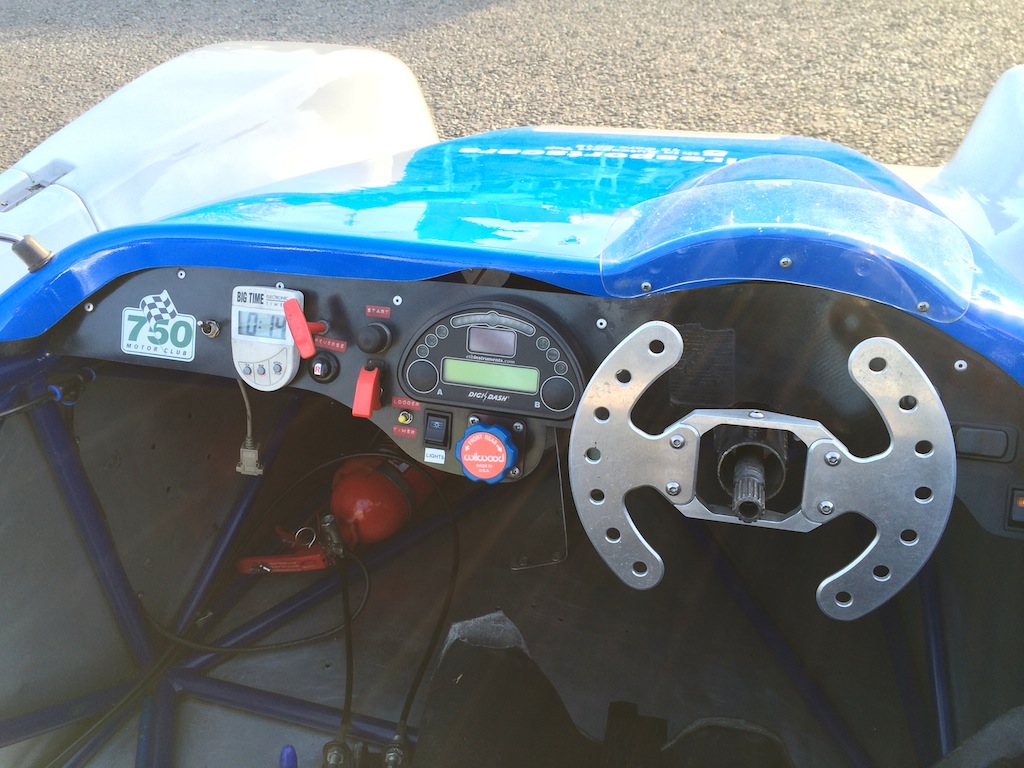
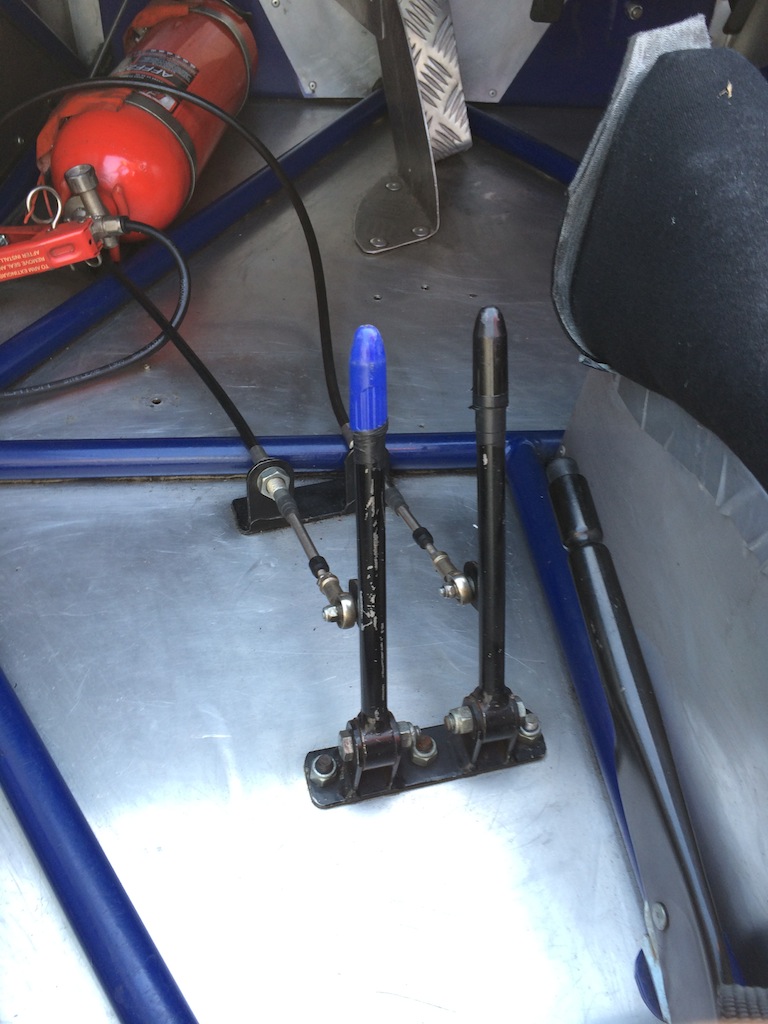
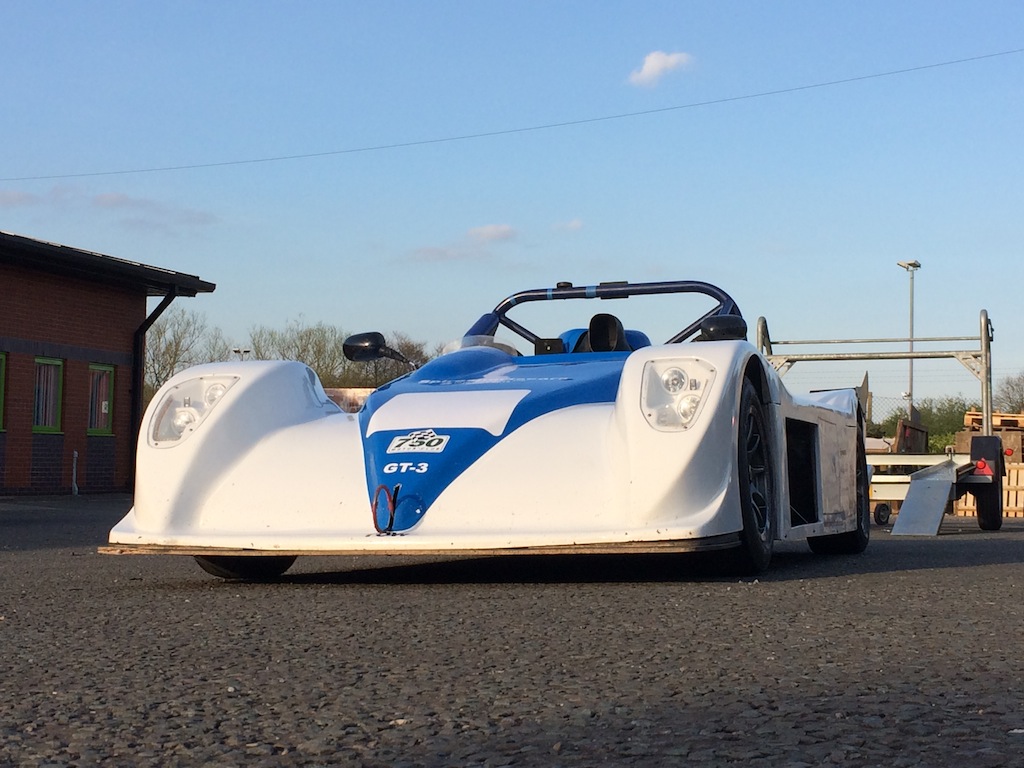
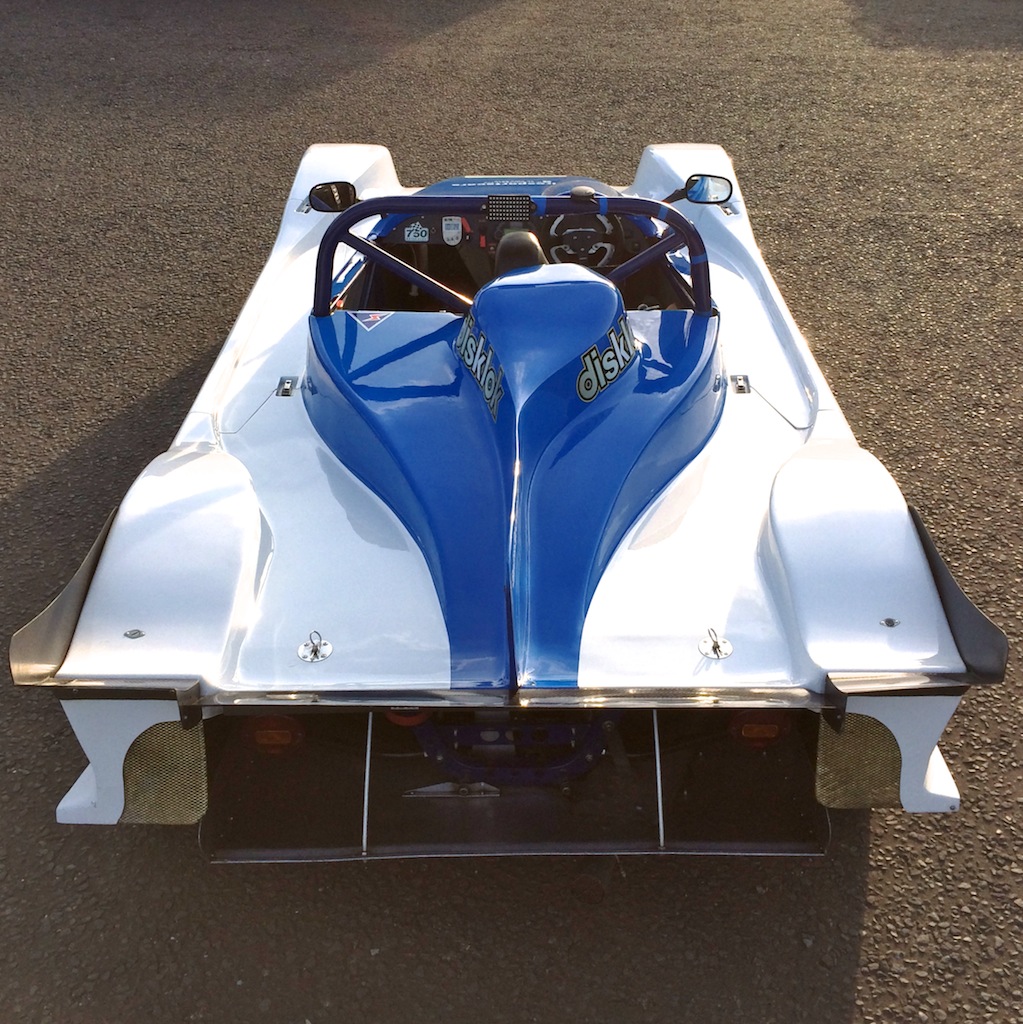

Andy D - 16/4/14 at 04:04 PM
Purposeful looking beast! Have you driven it yet, and what are the two "gear levers" on the floor?
yellowcab - 16/4/14 at 04:08 PM
Yes only driven it up and down the private road at Spire, and the induction noise of your brain being sucked out of your left ear is phenomenal
They are cockpit adjustable antiroll bars front & rear 
Paddle shift will certainly teach me to keep both hands on the wheel eh 
gaz_gaz - 16/4/14 at 04:25 PM
looks well.
bet you can't wait to have a go. 
yellowcab - 16/4/14 at 04:31 PM
Cheers pal - yes thoroughly looking forward to my first trackday/ seat time 
Davey D - 16/4/14 at 04:52 PM
Looks nice! What engine is it running?
yellowcab - 16/4/14 at 05:02 PM
CBR1000 
Andy D - 16/4/14 at 05:58 PM
Looks a bit like this one? Cadwell 2012. (From my extensive picture library  )
)

yellowcab - 16/4/14 at 06:03 PM
That's the kitty 
You and your photography archive  and photographic memory!
[Edited on 16/4/14 by yellowcab]
Andy D - 16/4/14 at 06:10 PM
I remember it being really really slow! .. I think he was second. 
yellowcab - 6/5/14 at 03:00 PM
So I've been tinkering with the new car, and holding off posting about it due to it not being a yellowcab any more, but might still continue
updating with my progress anyway as I kinda enjoy documenting the journey.
sdh2903 - 6/5/14 at 03:39 PM
keep the updates coming!
Although maybe start a new thread as the thread title isn't really relevant anymore??
Magic Beans - 7/5/14 at 12:26 PM
quote:
Originally posted by yellowcab
Would the new owner like to step forward now the deal has been done 
I completely missed this part! 
I keep meaning to put a thread up on her for her but where to start?! Plus I've been too busy offering diet advice to a certain chunky future RGB
racer  She's already doing the rounds in my existing 114 page thread on another sites, so I'll decant the newer bits onto here and start
from there.
Phil 
yellowcab - 9/5/14 at 05:38 PM
I would start a new thread about my Spire - but there isn't really anything that needs doing to it - so it'd be pretty boring lol
Andy D - 9/5/14 at 06:52 PM
Have you had a proper go in it yet, or when are you planning to have a proper go... 
yellowcab - 9/5/14 at 07:43 PM
Hi Andy, not yet, the first ever drive will be at the test day at Snetterton, two week tomorrow, followed by the race the following day lol
Andy D - 9/5/14 at 08:10 PM
quote:
Originally posted by yellowcab
Hi Andy, not yet, the first ever drive will be at the test day at Snetterton, two week tomorrow, followed by the race the following day lol
Nowt like jumping in at the deep end eh! Can you not find a little Blyton day or similar to get some extra seat time in?
yellowcab - 9/5/14 at 08:42 PM
LOL my pockets have no money left in them this month after HANS, helmet, suit, gloves, boots & ARDS lol
yellowcab - 18/5/14 at 10:32 PM
With 874 replies and 86'109 views... I'm incredibly proud but I'm now leaving this thread 
Thank you to each and everyone one of you that has shown an interest, replied, asked questions, gave advice, told me where I'm going wrong,
helped me out, leant me tools… It's been a good 2 years...
Meanwhile… for those that want to follow my journey into competitive racing, please show your support and interest here >>>
http://www.locostbuilders.co.uk/forum/23/viewthread.php?tid=191381
I've made a small start on the first 5 weeks into ownership already, with a couple of photos  , no really...
[Edited on 18/5/14 by yellowcab]
yellowcab - 28/2/15 at 08:16 PM
From 86'000 views upto 112'000 without an extra post?
How's that?
Ben_Copeland - 28/2/15 at 08:33 PM
quote:
Originally posted by yellowcab
From 86'000 views upto 112'000 without an extra post?
How's that?
Google search bots mainly
yellowcab - 15/6/15 at 04:02 PM
Rumour has it - he's selling up...
pistol pete - 8/2/16 at 08:34 AM
He has indeedy...........
yellowcab - 8/2/16 at 08:42 AM
Congrats on having a fooooken awesome car 
pistol pete - 8/2/16 at 08:57 AM
And its going to be sprinted this year at javelin sprint days..
Won last two years in toyota sprint seires... now to try something new
Cant wait
[Edited on 8/2/16 by pistol pete]
Nathsx - 14/1/17 at 08:57 PM
I know it was a few pages ago but which garage floor paint did you go for??
Howis it standing up to the time test ??
yellowcab - 7/2/17 at 06:50 PM
It was just regular ebay special 'Grey Garage Floor Paint' cheap as chips, and perfect use for what I needed it for! 
You've actually reminded me, I could do with doing it again, its been a couple of years now!
f27 - 16/3/17 at 03:22 PM
Just thought I would throw my hat into the ring here as the current owner of this car.
I am also Olly, and have had my Formula 27 for the past 6 years. Ive been through hell and back with it, and have loved every minute of it having
recently put a ZZR1400 engine in it. It's fast as hell, but it's one of those cars where there are a lot of little things needing to be done
to it to bring it up to the standard I would want it at. I have a 'build' thread of my own here
http://www.pistonheads.com/gassing/topic.asp?t=1521364
When Olly was writing this very thread you are now reading, I was lurking and secretly wishing that my car was up to this standard. Sure, the ZZR1400
is quicker than a Hayabusa, but the quality of Ollys build blew me away.
Fast forward to early Summer 2016, and I was at a sprint day with my F27, and bumped into my mate Pete, who was the current guardian of the 'Olly
'busa'. In passing, I mentioned to him that if he ever wanted to sell, to give me first refusal, thinking nothing would come of it.

Fast forward a few weeks, and the roof on Petes house collapsed, and true to his word, he texted me asking if I wanted it. Of course I did. A deal was
done, and we met at a motorway services in the rain for the handover.
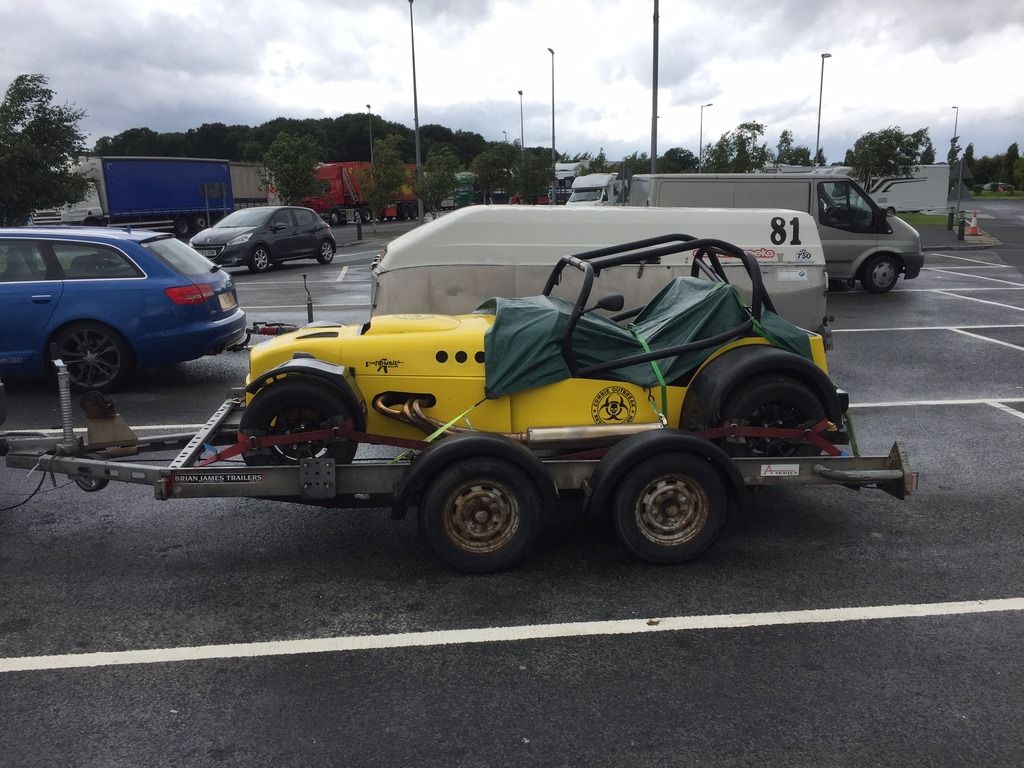
It only just fitted in my trailer with about 1mm either side
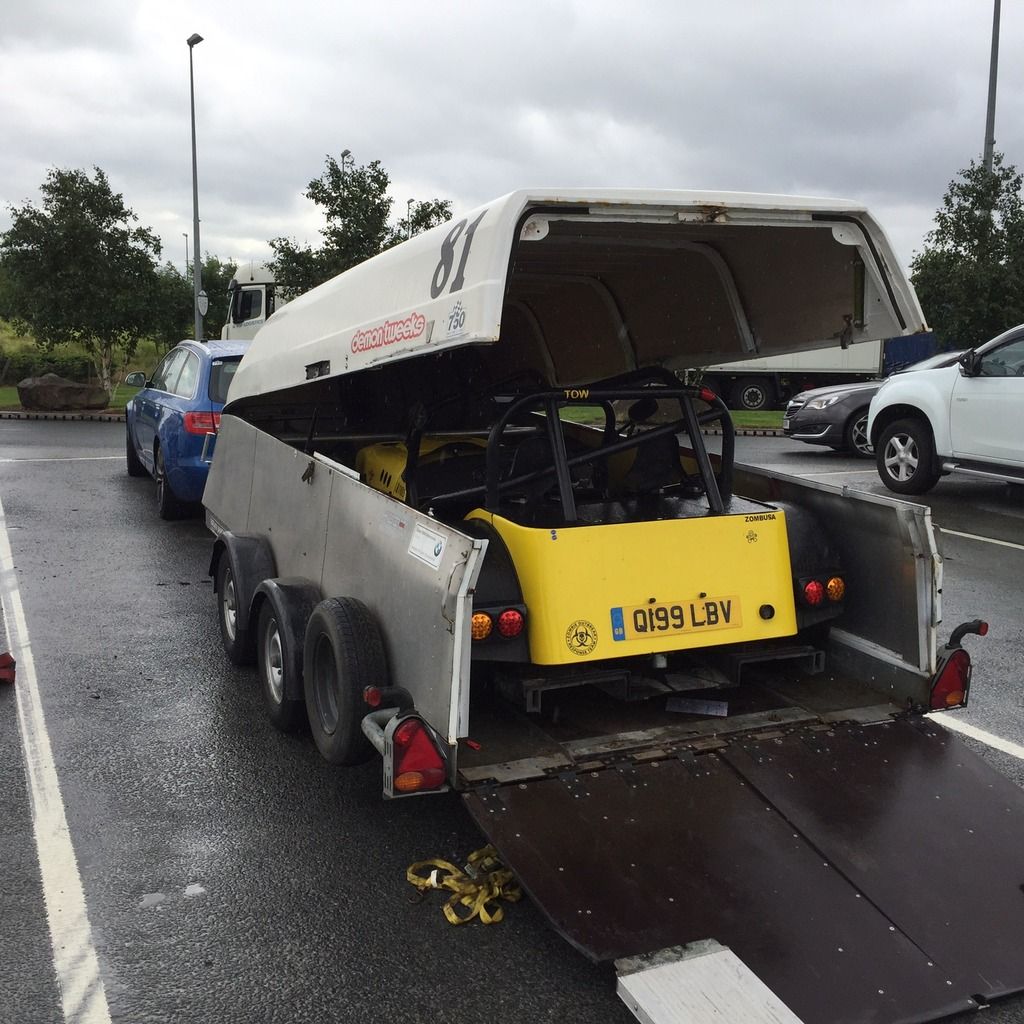
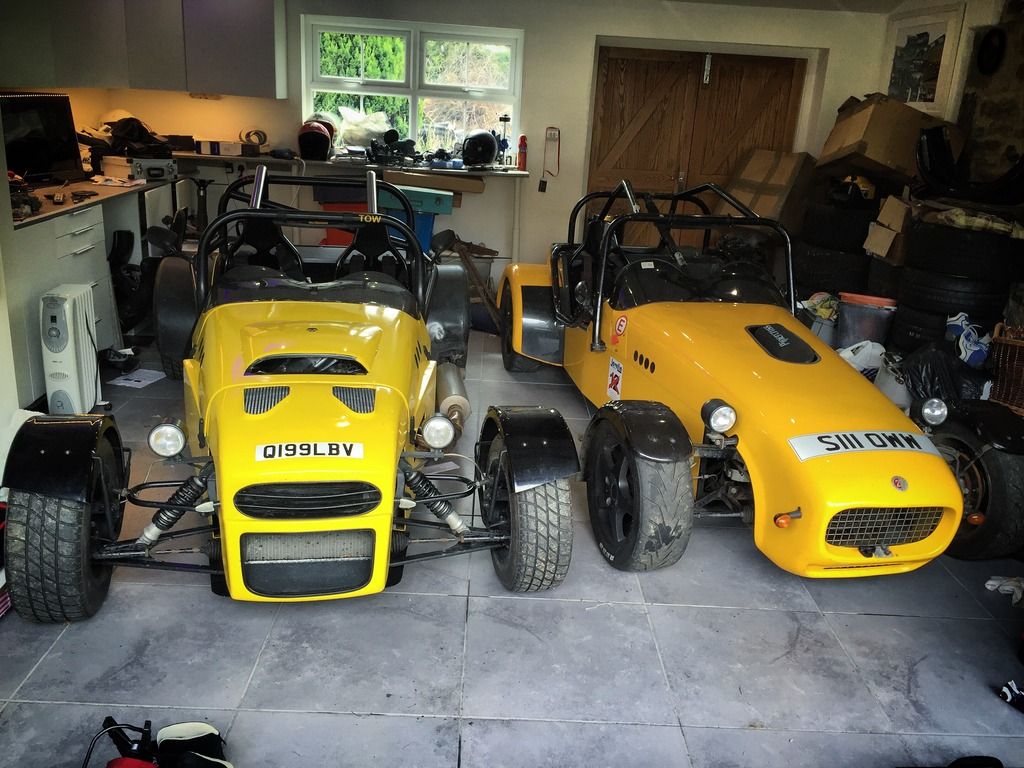
I got it home, and the first thing I did (after removing all Petes Zombie stickers!) Was replacing the exhaust with a genuine MK silencer I had laying
around. The one that came with it had a cat in, and I figured was probably a bit restrictive.
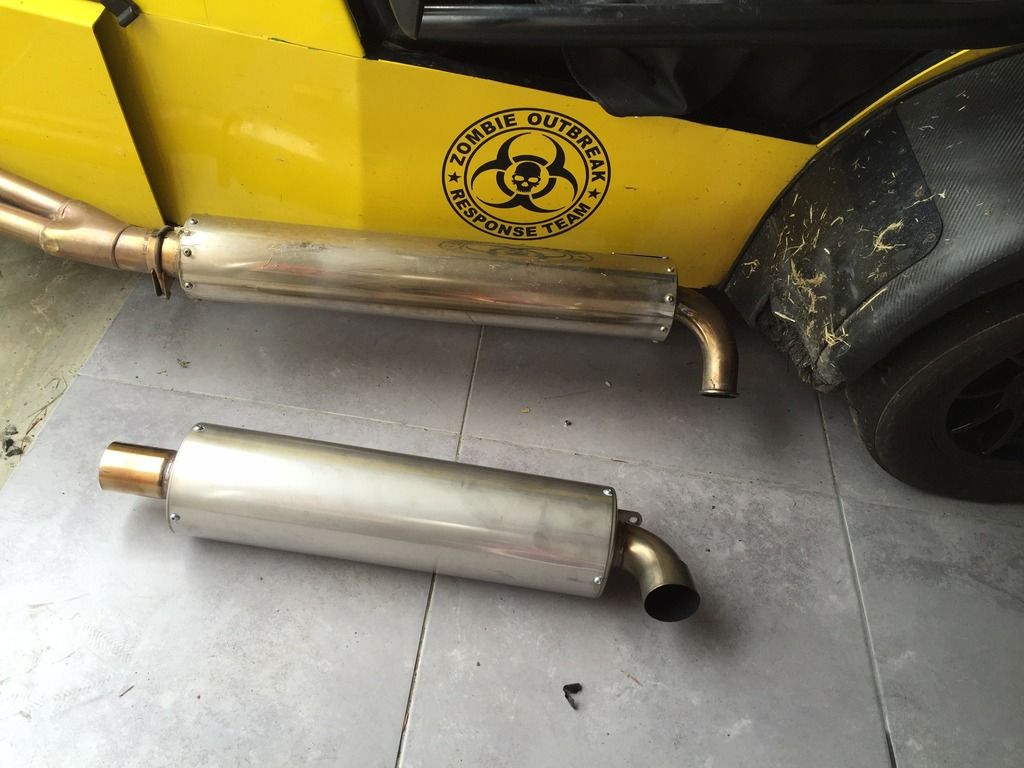
Literally the next day I was going up to the North of Scotland to do the NC500 with a group of friends. I could have gone the safe route and taken the
car I knew inside out, that I had been developing over 6 years, but where would the fun in that be!? Naturally I took the MK. over 1,000 miles in 3
days would be a good way to break it in, and besides, I had breakdown cover 
My buddy brought his Zetec MK, and another friend was using a Caterham
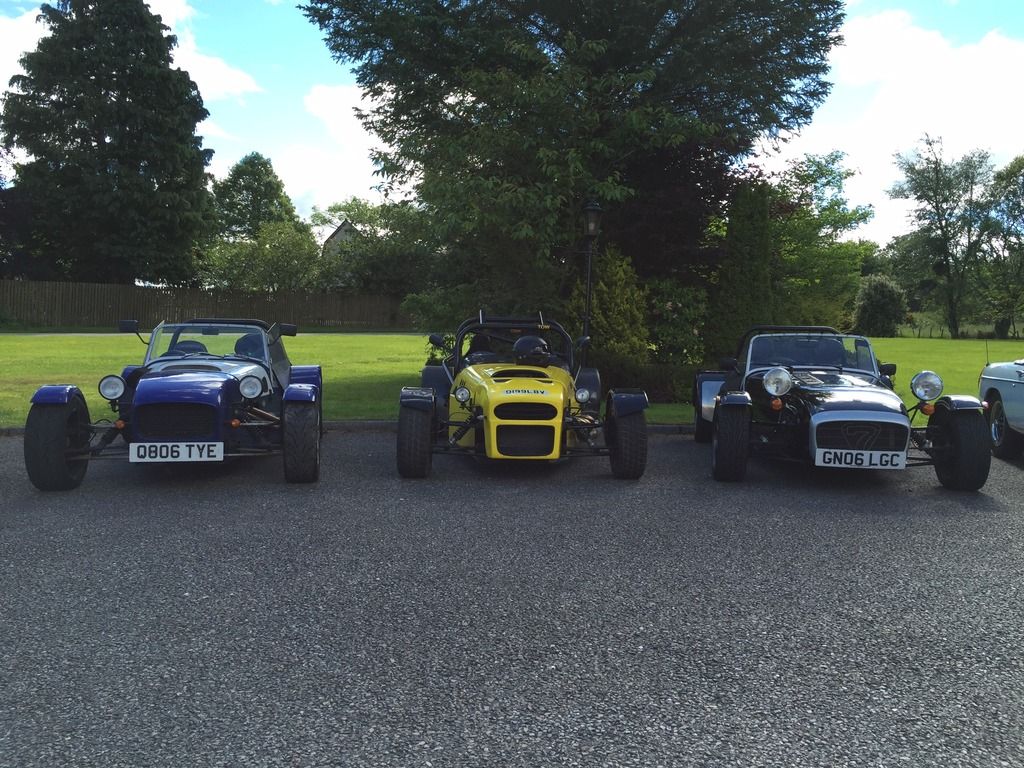
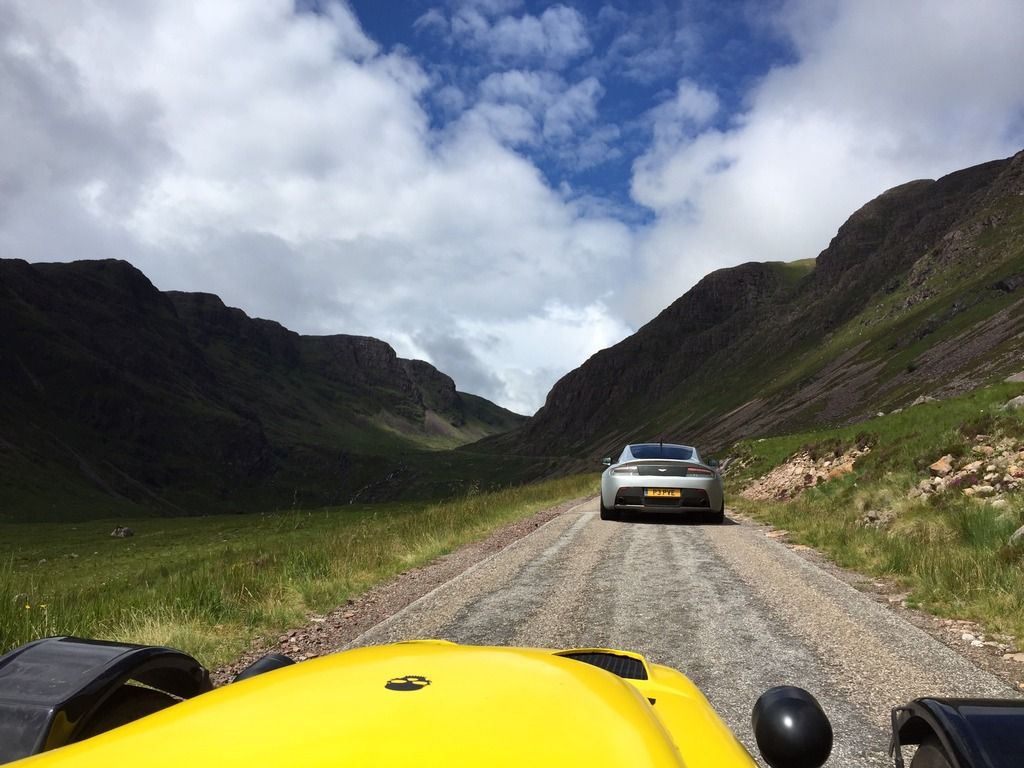
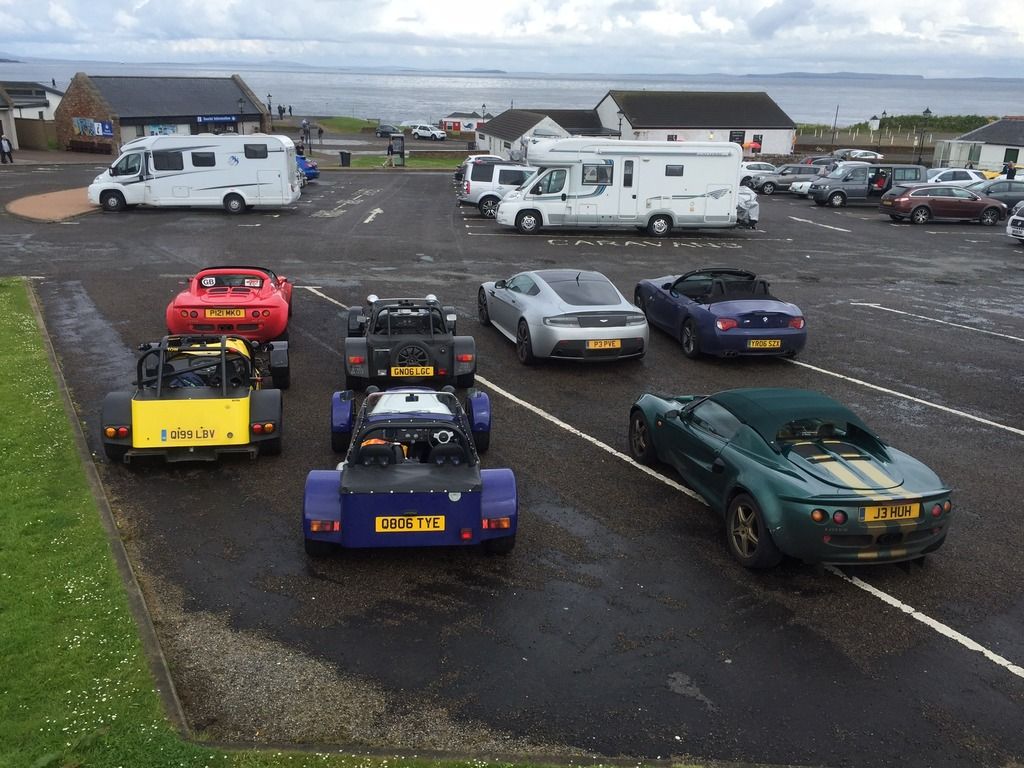
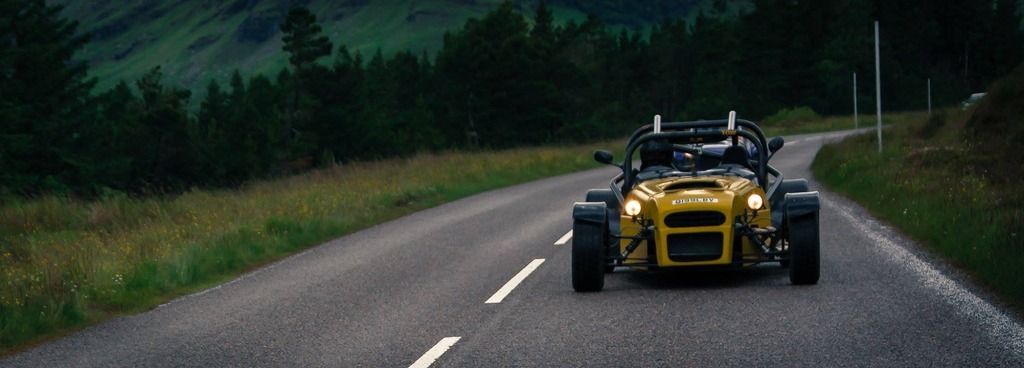
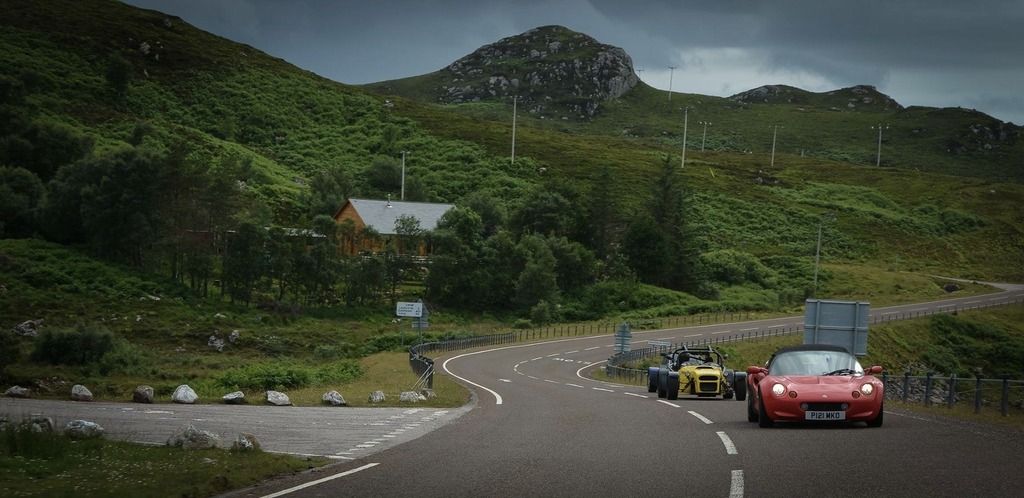
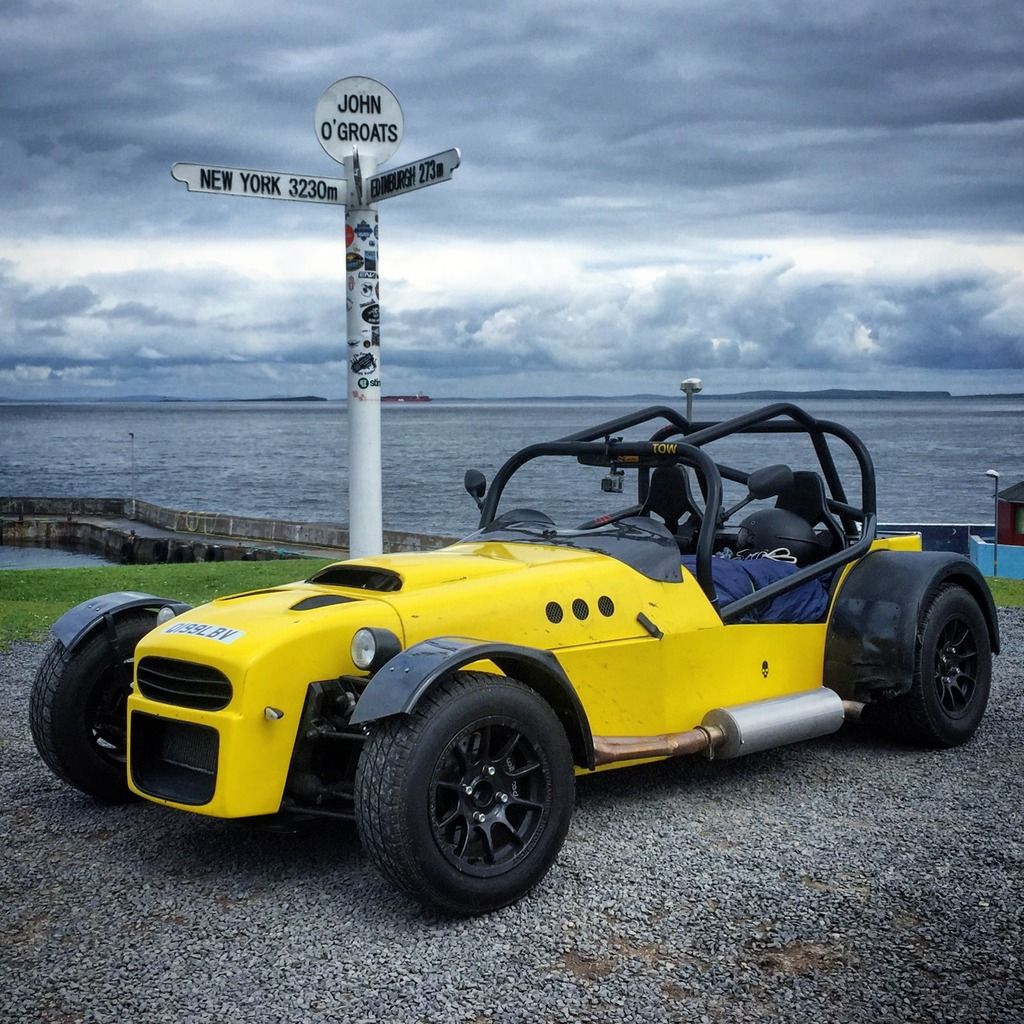

My mistake, was that the car was still set up for the guys who had had it before me, and I hadn't thought about the fact I am 6'4 and weigh
115kg. This, along with the fact I had all my luggage, spare fuel etc meant that the car was sitting pretty low to the ground.
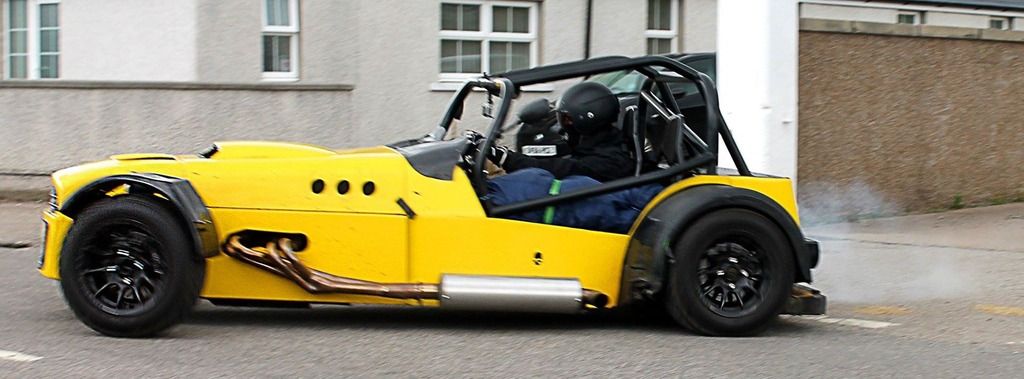
This, combined with the fact that the roads along the NC500 are pretty rough, meant that I kept scraping the sump guard. Until 60 miles from the end
of the trip (we left our trailers in Aberdeen so we didn't have to drive up there in the kit cars) I hit a particularly nasty bump and bottomed
out, causing the sump to crack, and all the oil to pee out 
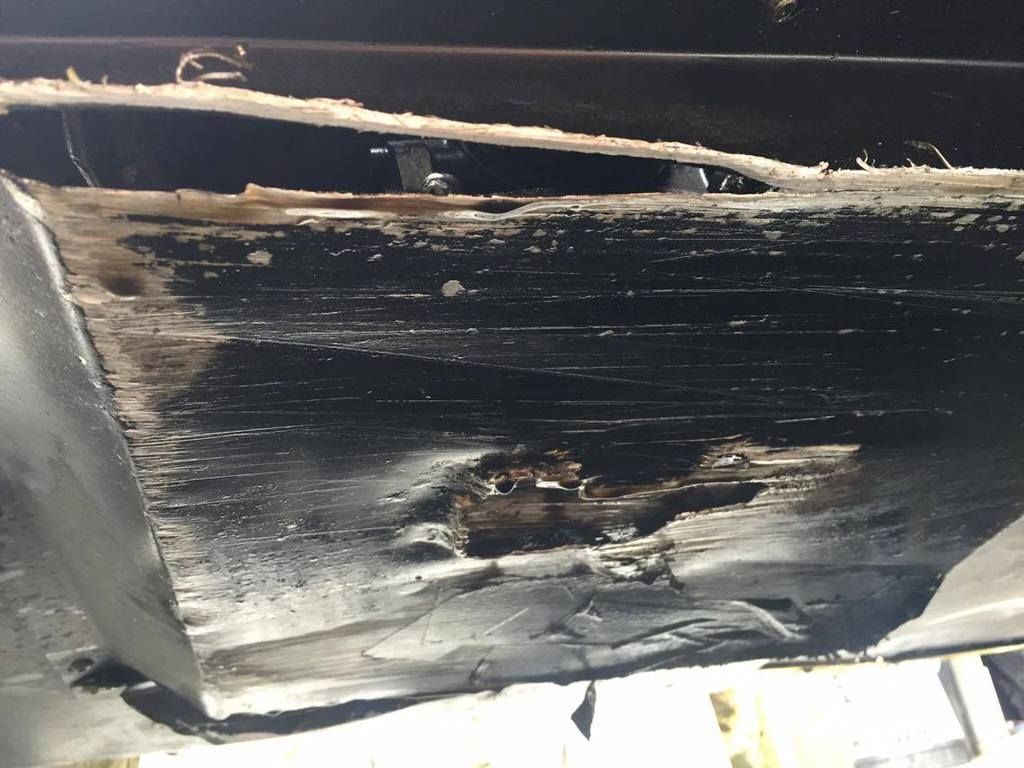
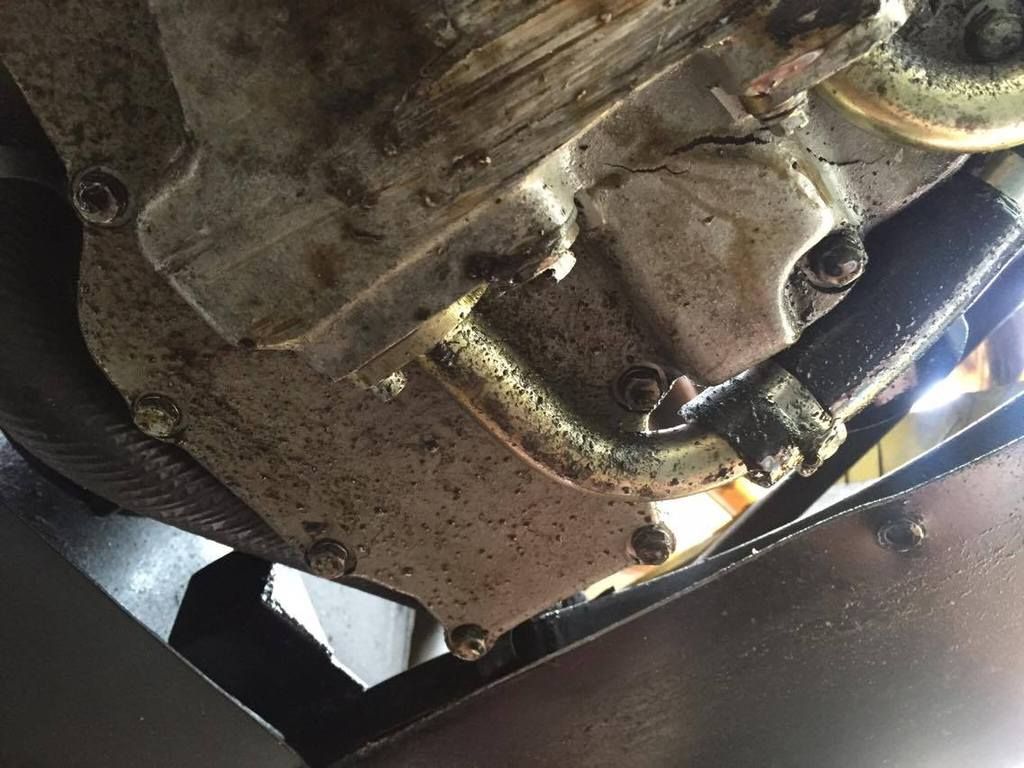
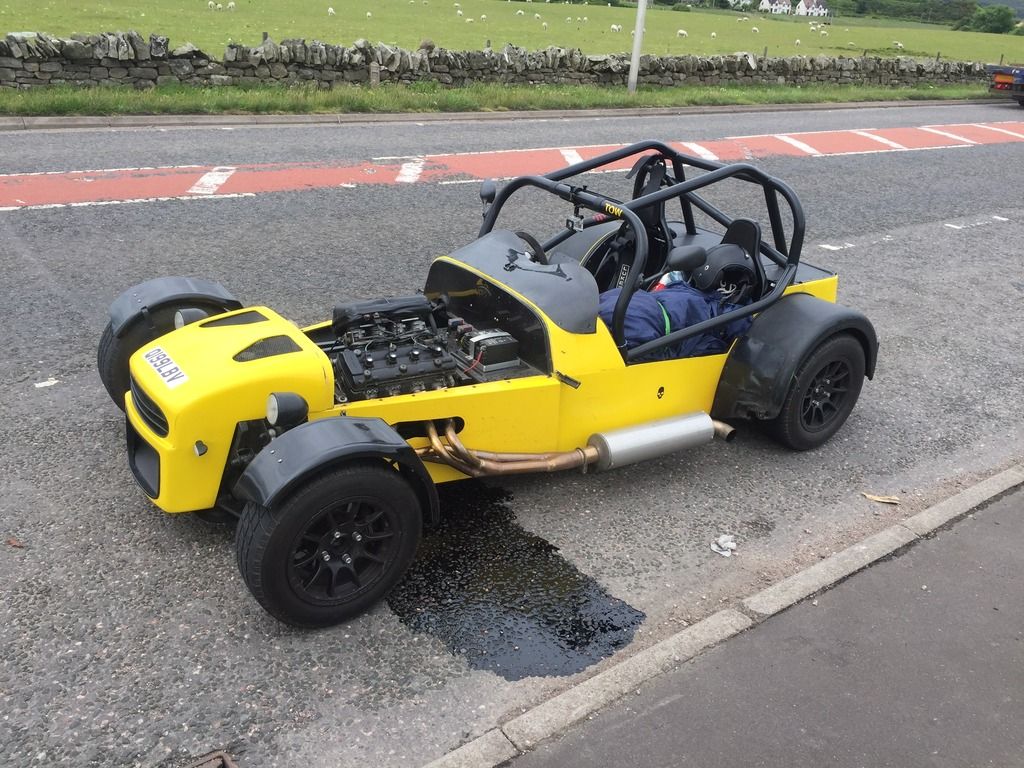
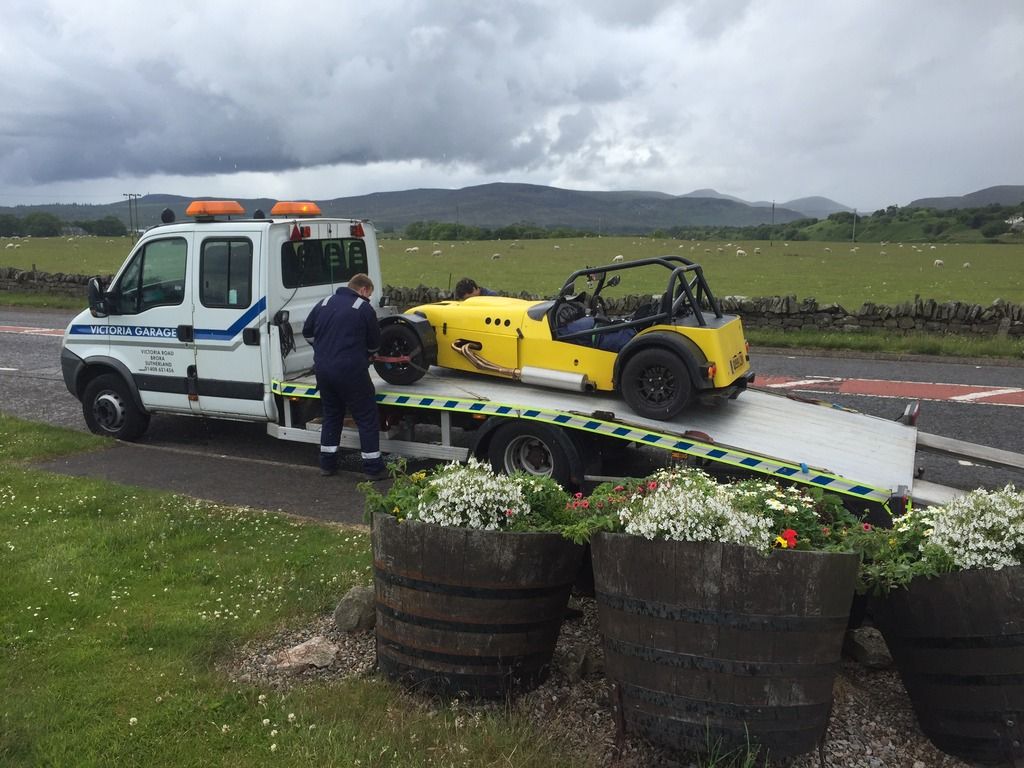
So I got it flatbedded back to the trailer in Inverness and took it home. A chance email to Olly found he had two spare sumps, which I bought from him
and fitted. Luckily Ollie and I both race under the same motor club - him in his fancy RGB, and me in the slightly less quick Locost championship. We
were both racing Anglesey so I was able to collect the sump from him there, which has now been fitted, and I have made a new sump guard out of steel
rather than ali, (which has probably added a few extra grams and undone some of Olli's hard weight saving work) 
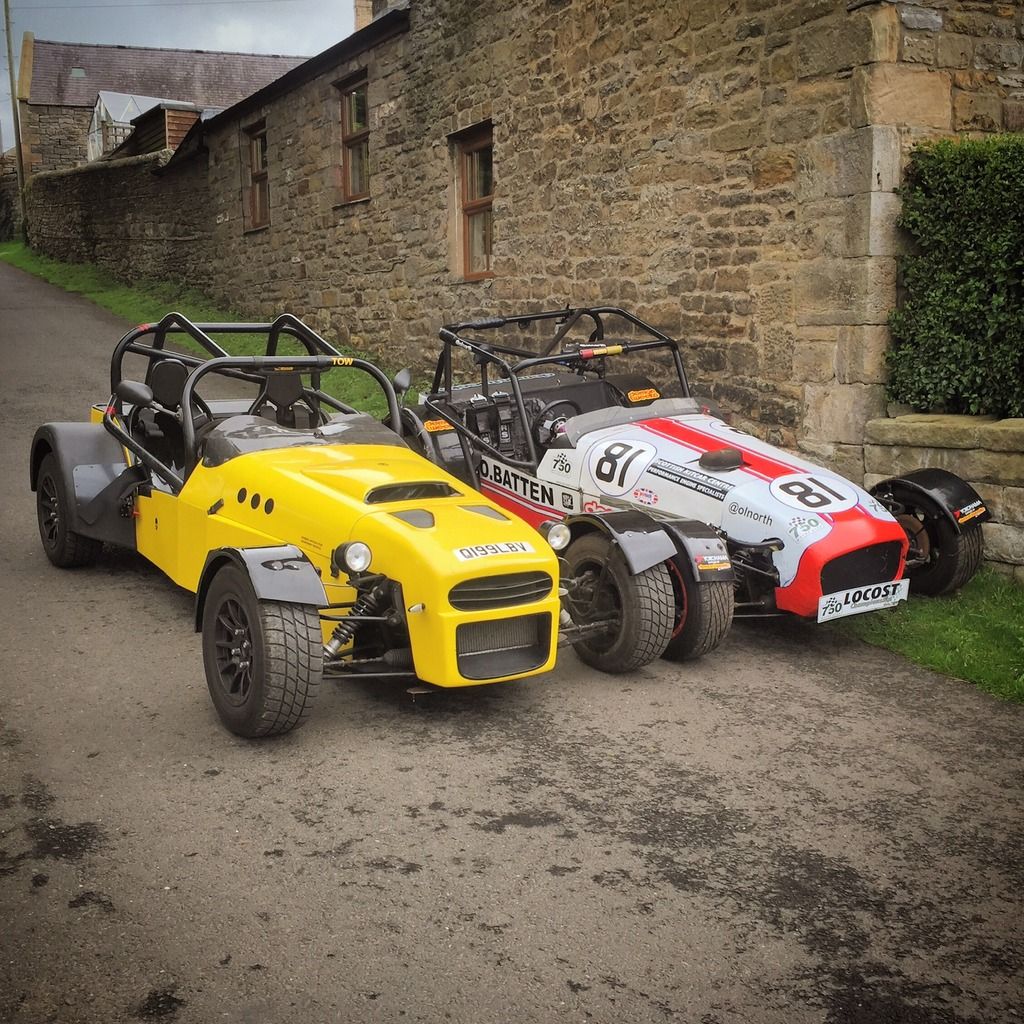
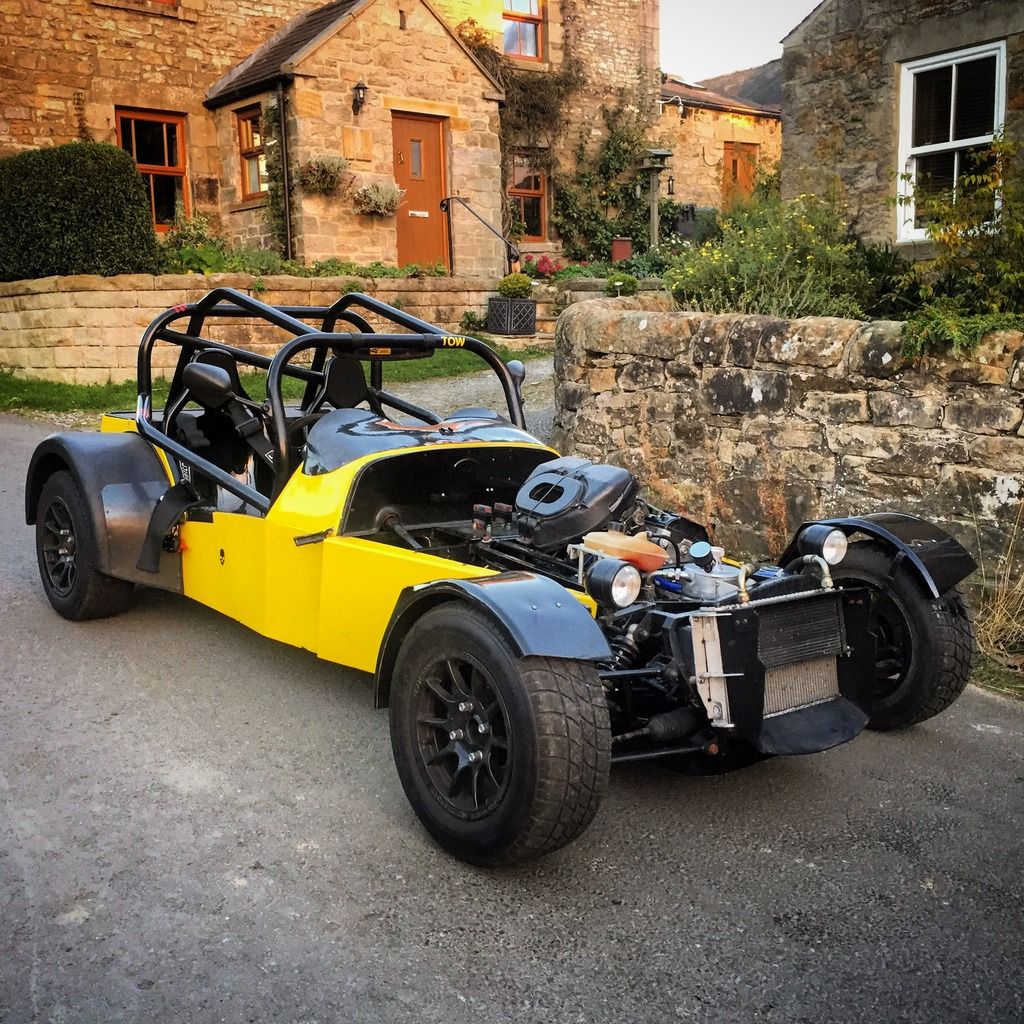
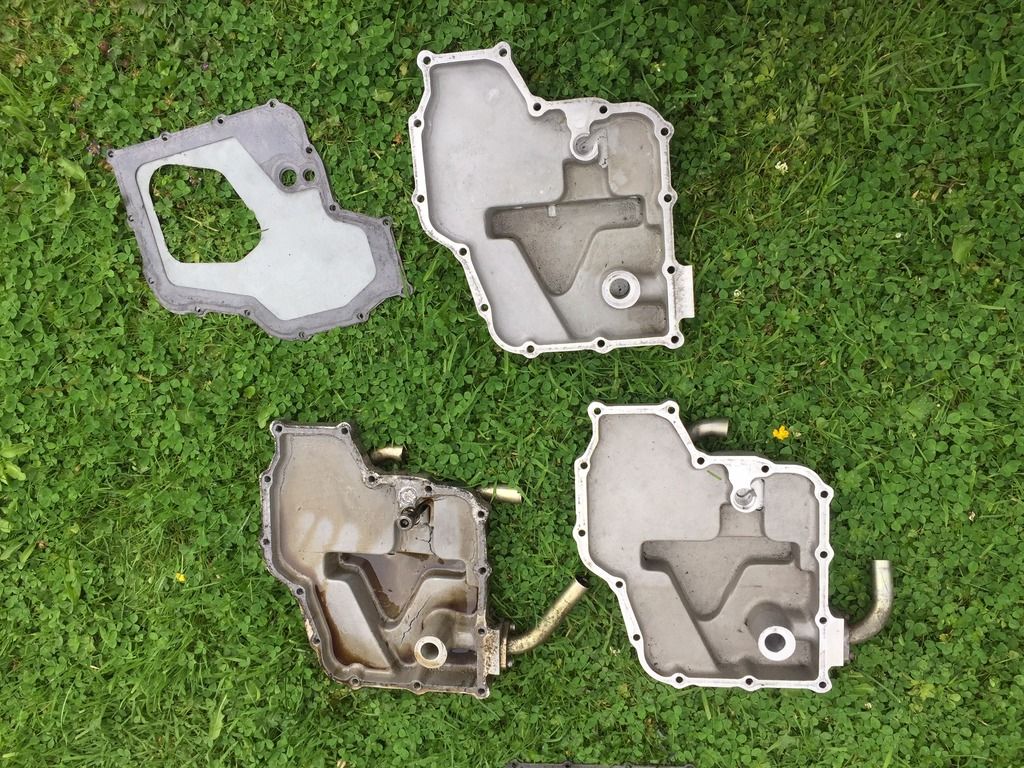
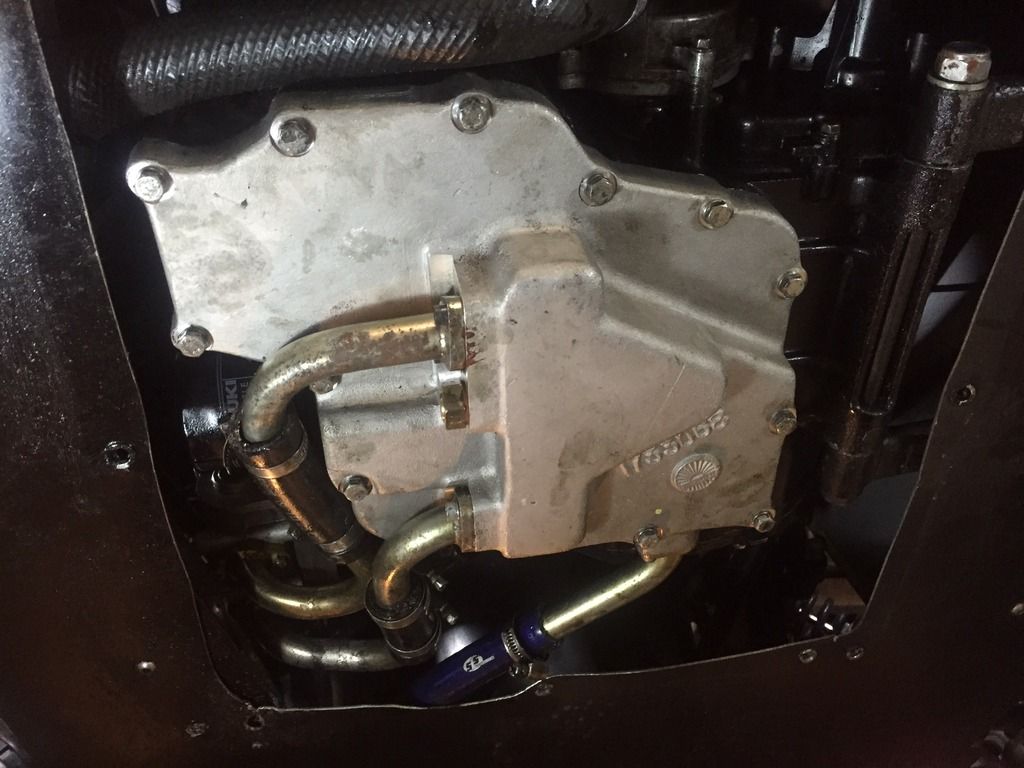
At the end of the racing season, I bought a different racing car, so it was probably time to start selling cars, as I had now accumulated 4 kit cars.
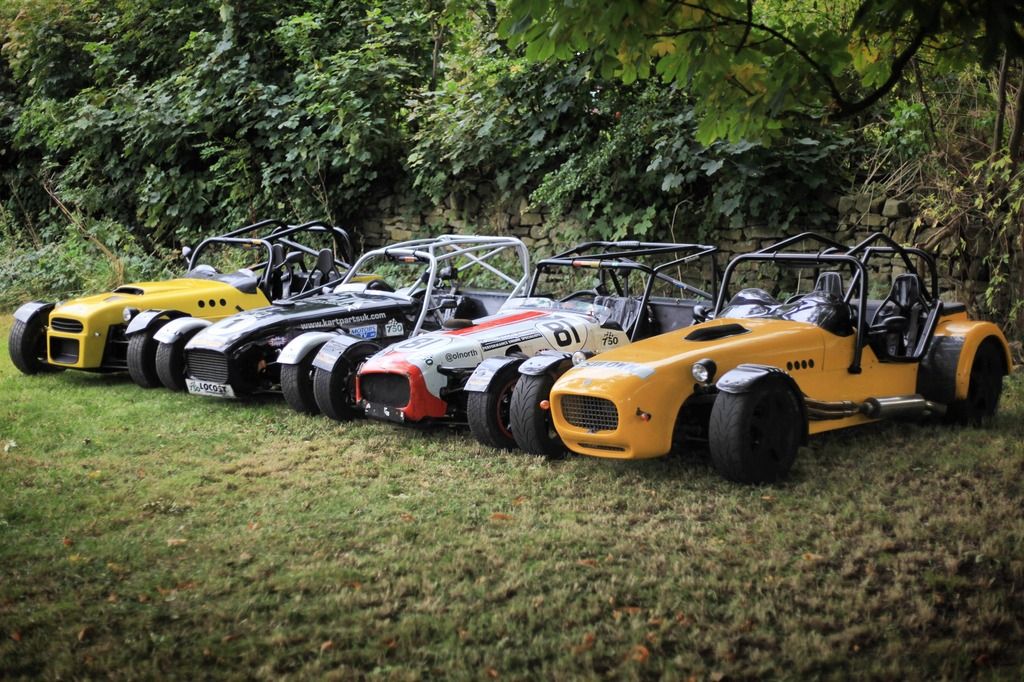
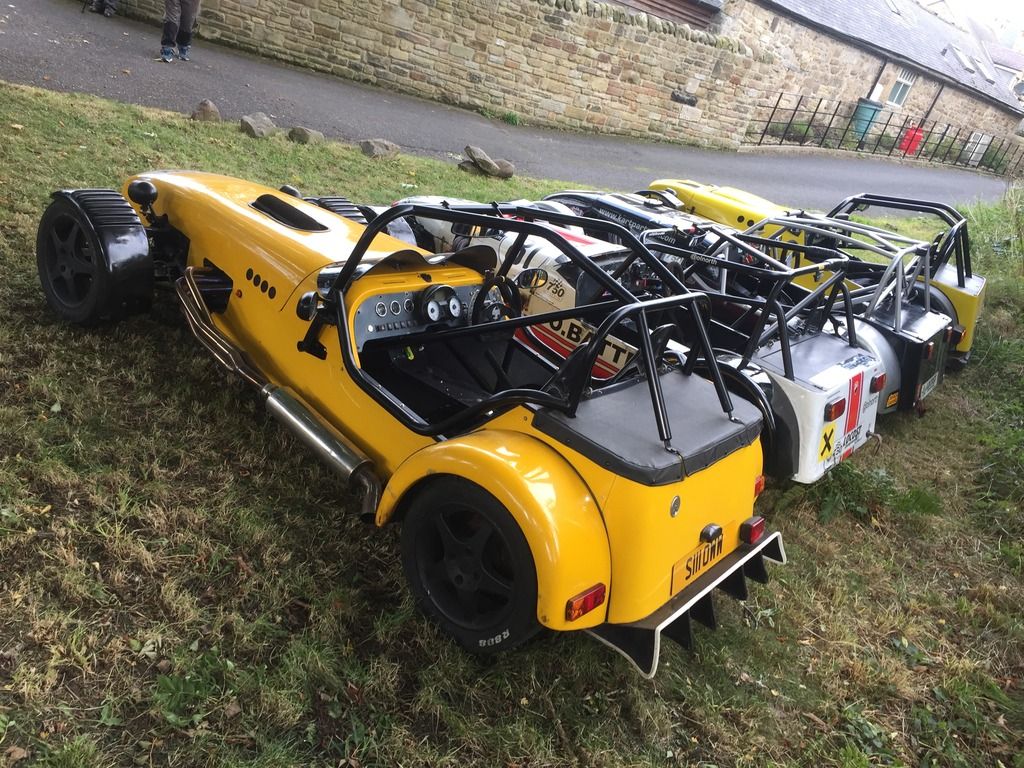
So the white Locost was sold, and the F27 was put up for sale. It wasn't a good time to sell over winter, so I still have the F27 to this day,
but someone is coming this weekend to buy it, which will just leave me with the MK and the new Locost. As you can tell, I love sevens, and plan to
keep the MK long term. I don't plan to do much to it, until the time I can afford a 1500cc bore, or a turbo, but I'll try to keep this
thread updated as to the progress of the car.
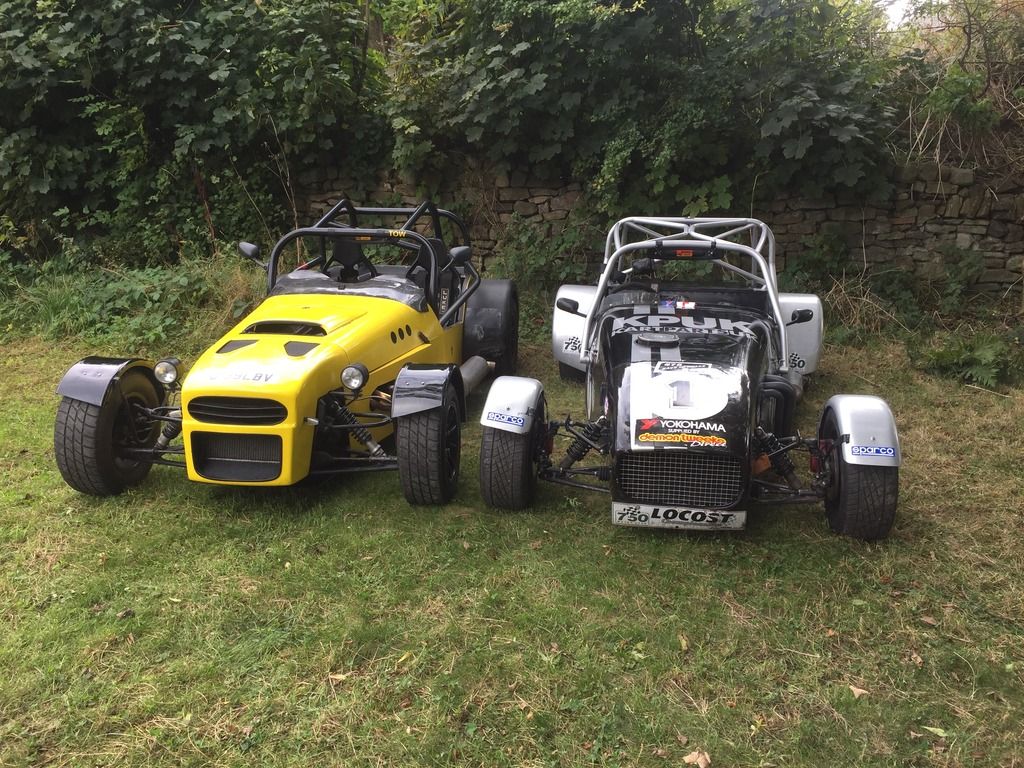
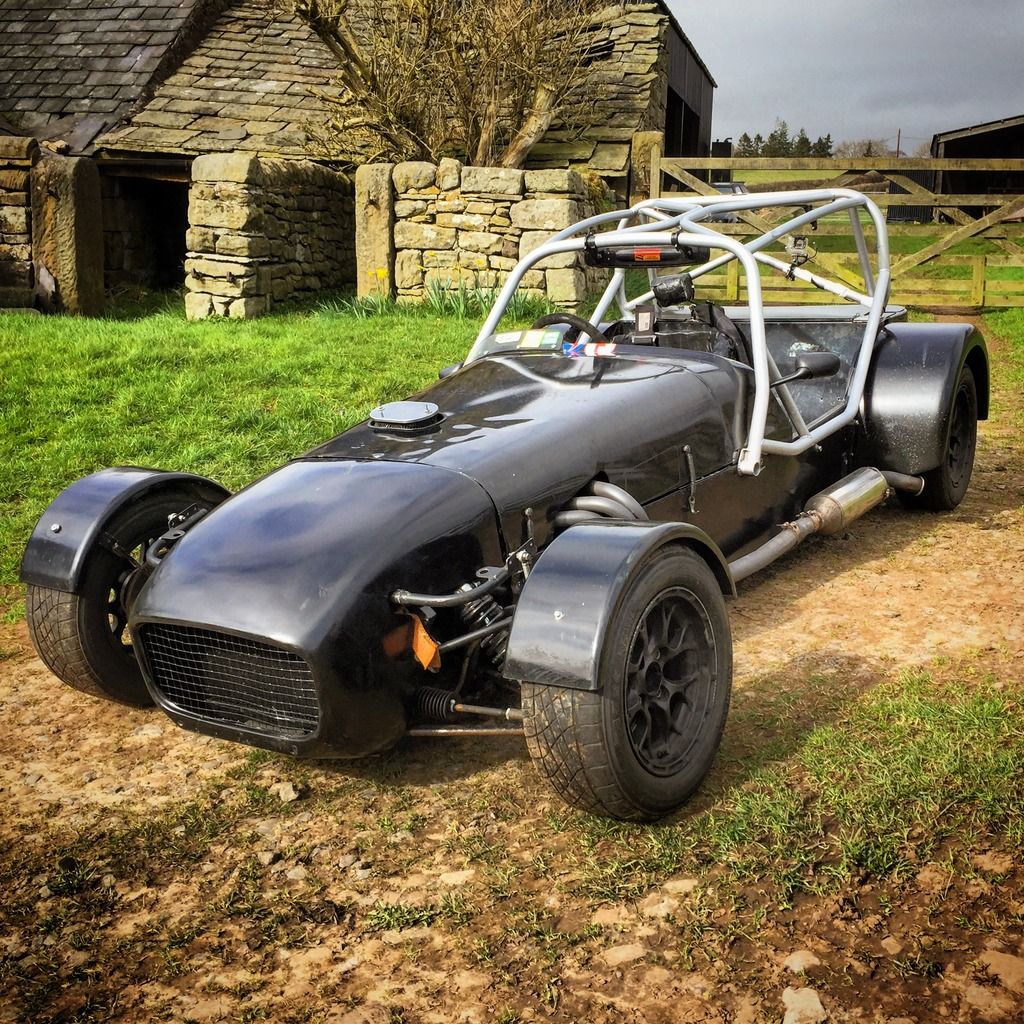
The car was wrapped yellow, and it looked pretty scruffy, so the other day I decided to take the plunge and have now started stripping it to paint it.
(This wrap is horrible stuff to remove!) The question now is, do I stick with yellow, or after 6 years of yellow kit cars, do I go for a change?
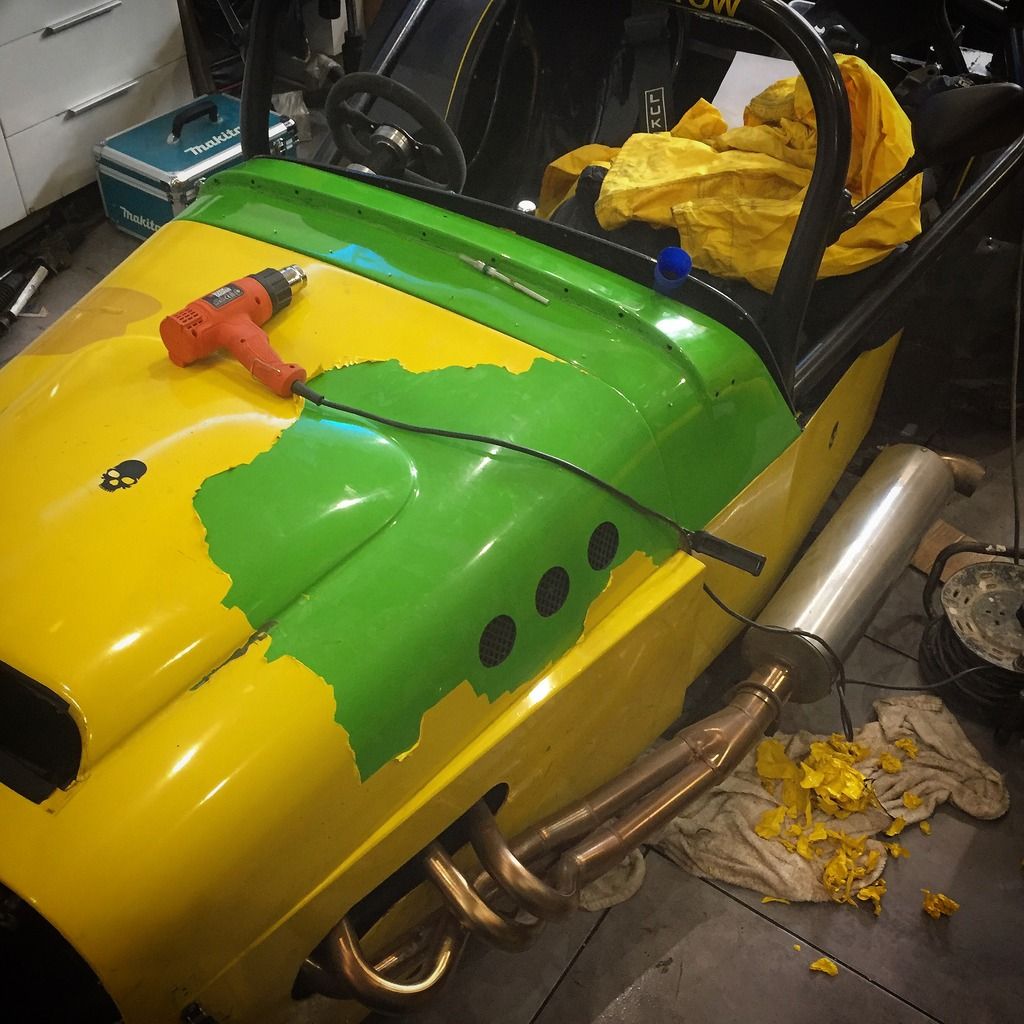
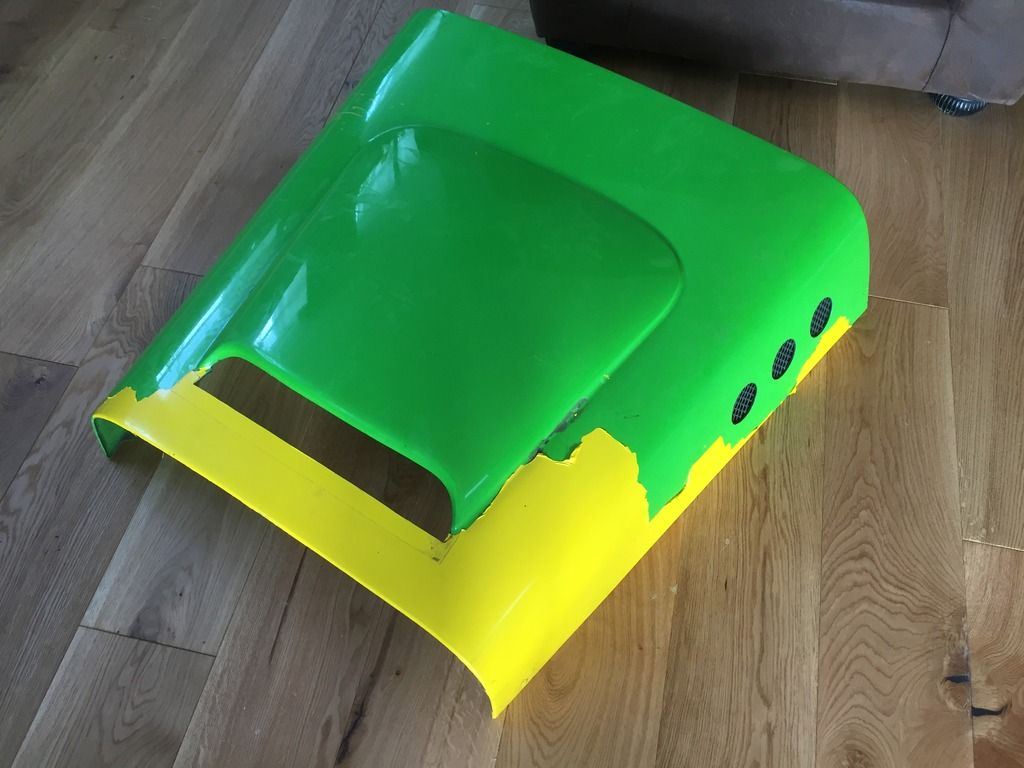
[Edited on 16/3/17 by f27]
MsD - 17/3/17 at 01:28 PM
I thought I was brave with 2 kits!
Good to see the Busa back on the forum, Id be fancying a different colour whilst you can though!
Mark.
f27 - 9/4/17 at 11:10 AM
quote:
Originally posted by MsD
I thought I was brave with 2 kits!
Good to see the Busa back on the forum, Id be fancying a different colour whilst you can though!
Mark.
I've just sold the F27, so now back down to a more manageable 2 
Definitely going to change the colour now. I have decided what to do, and hopefully should find some time over the next few weeks to get it painted.
Got a Nurburgring / Spa trip organised for the end of May, and I'm hoping to go in this. We have a Euro / ring trip every summer, and I've
always wanted to take the kit car but never dared. Think this is the year to do it 
Ian2812 - 4/7/18 at 04:14 AM
WOW, where has that nightshift gone!!!!! 

Just went though that full thread! Left a little cliff-hanger like at the end of a film.
I am now wanting to know how the trip went and what have you done with the busa...... 


 )
) 


.jpg)


.jpg)
.jpg)


.jpg)


.jpg)


