I was thinking about building a BBQ (grill) using an 205 litre steel oil barrel, but a little digging around the web turned up the UDS (Ugly Drum Smoker). It's a form of BBQ that cooks at a low temperature for a long period of time. It's ideal for larger cuts of meat – pork shoulder, ribs, chicken. And it appears to be easy to make and performs better than most commercial smokers at a fraction of the cost. These are starting to take over the US Competition BBQ scene, and those guys are picky!
http://www.bbq-brethren.com/forum/showthread.php?t=23436
That's a link to a BIG thread on BBQ Brethren (560 pages long!) where a lot of folks started building these things. Almost all the info you could ever want is in there somewhere!
The basic theory is it's almost airtight - but you are able to adjust the amount of air going in (caps & a valve at the bottom) and the air going out (adjustable holes on the lid). With less air the charcoal burns slower at a lower temperature.
http://www.bigdrumsmokers.com/album/photos.htm
This is a link to a a pic gallery of the food you can hope to get out of your UDS.
It's ideal to get a barrely with a detachable lid – it'll save youa lot of work – but alas I was unable to find any of these in Northern Ireland. I would up buying a drum that held mineral oil for Ł10.
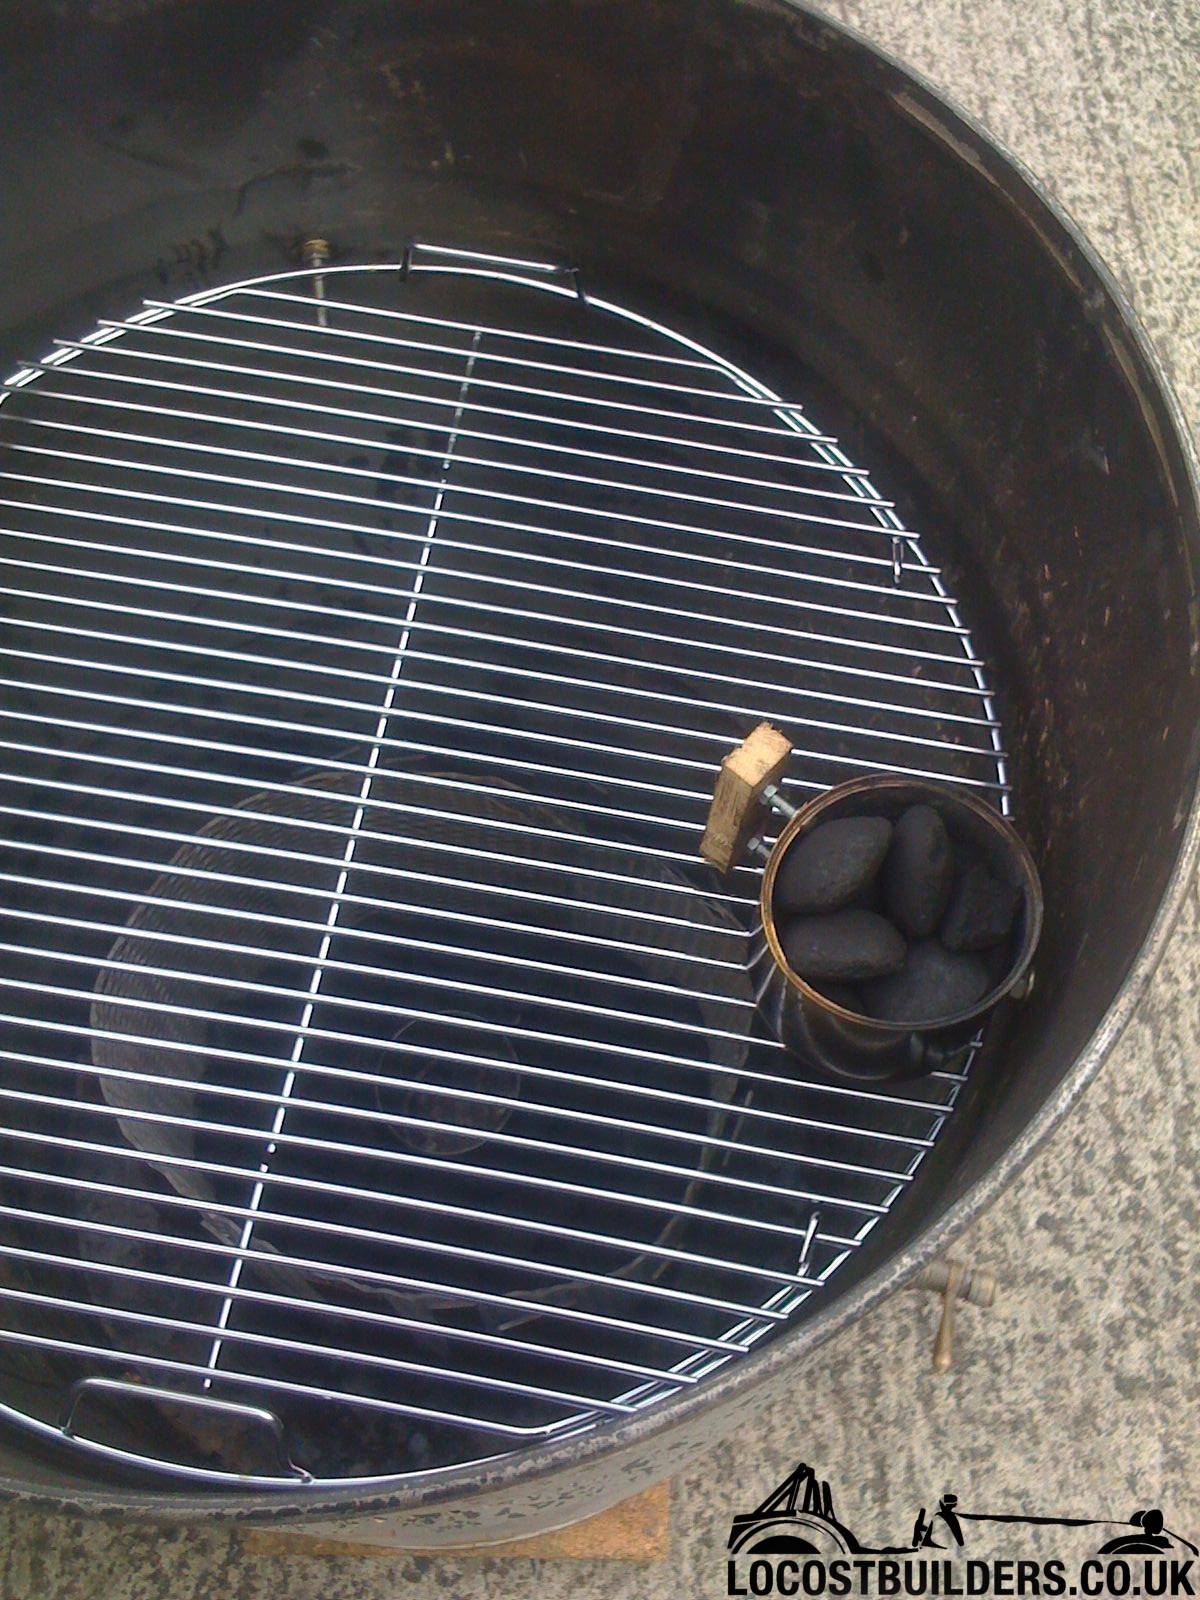
A lot of folks in the US us an old Weber 57cm BBQ grill as a basis – the food grill from these is a perfect fit, and the lid can be easily adapted to fit too.
http://www.youtube.com/watch?v=6UXEAoIOPKE
That's a link to a video wherea guy shows you round his UDS.
Again in NI I couldn't find an old Weber for sale, so I ordered a new Weber food grill (57cm) from Gardens4less.co.uk - Ł29 in P&P – I couldn't find anywhere selling 1” raw steel grill until a couple of days after I'd ordered the Weber one! D'Oh.
DO NOT USE GALVANISED STEEL – the zinc is EXTREMELY bad for you – always use stainless, raw steel or aluminium. I have seen some folks talk about burning off the zinc, but I'm not so sure...
So I filled my barrel with water & some fairy liquid, tried to clean it out a couple of times, ground the lid off (leaving the rim at the top intact for strength) then got a big sponge a bottle of fairy liquid and a hose, climbed inside and scrubbed it all clean!
Be careful of the sharp edges your angle grinder might leave!
The next step is to cut some air intake holes at the bottom. Most recommend 2 x ľ inch nipples (and caps to close them off) and 1 x 3/4" ball valve to control the air. I had a big brass valve of similar size so just needed the 2 nipples and caps. My advice is avoid B&Q as they stuck me for Ł16 for the 2 nipples, caps and backing nuts. These were brass items from their plumbing/central heating system area.
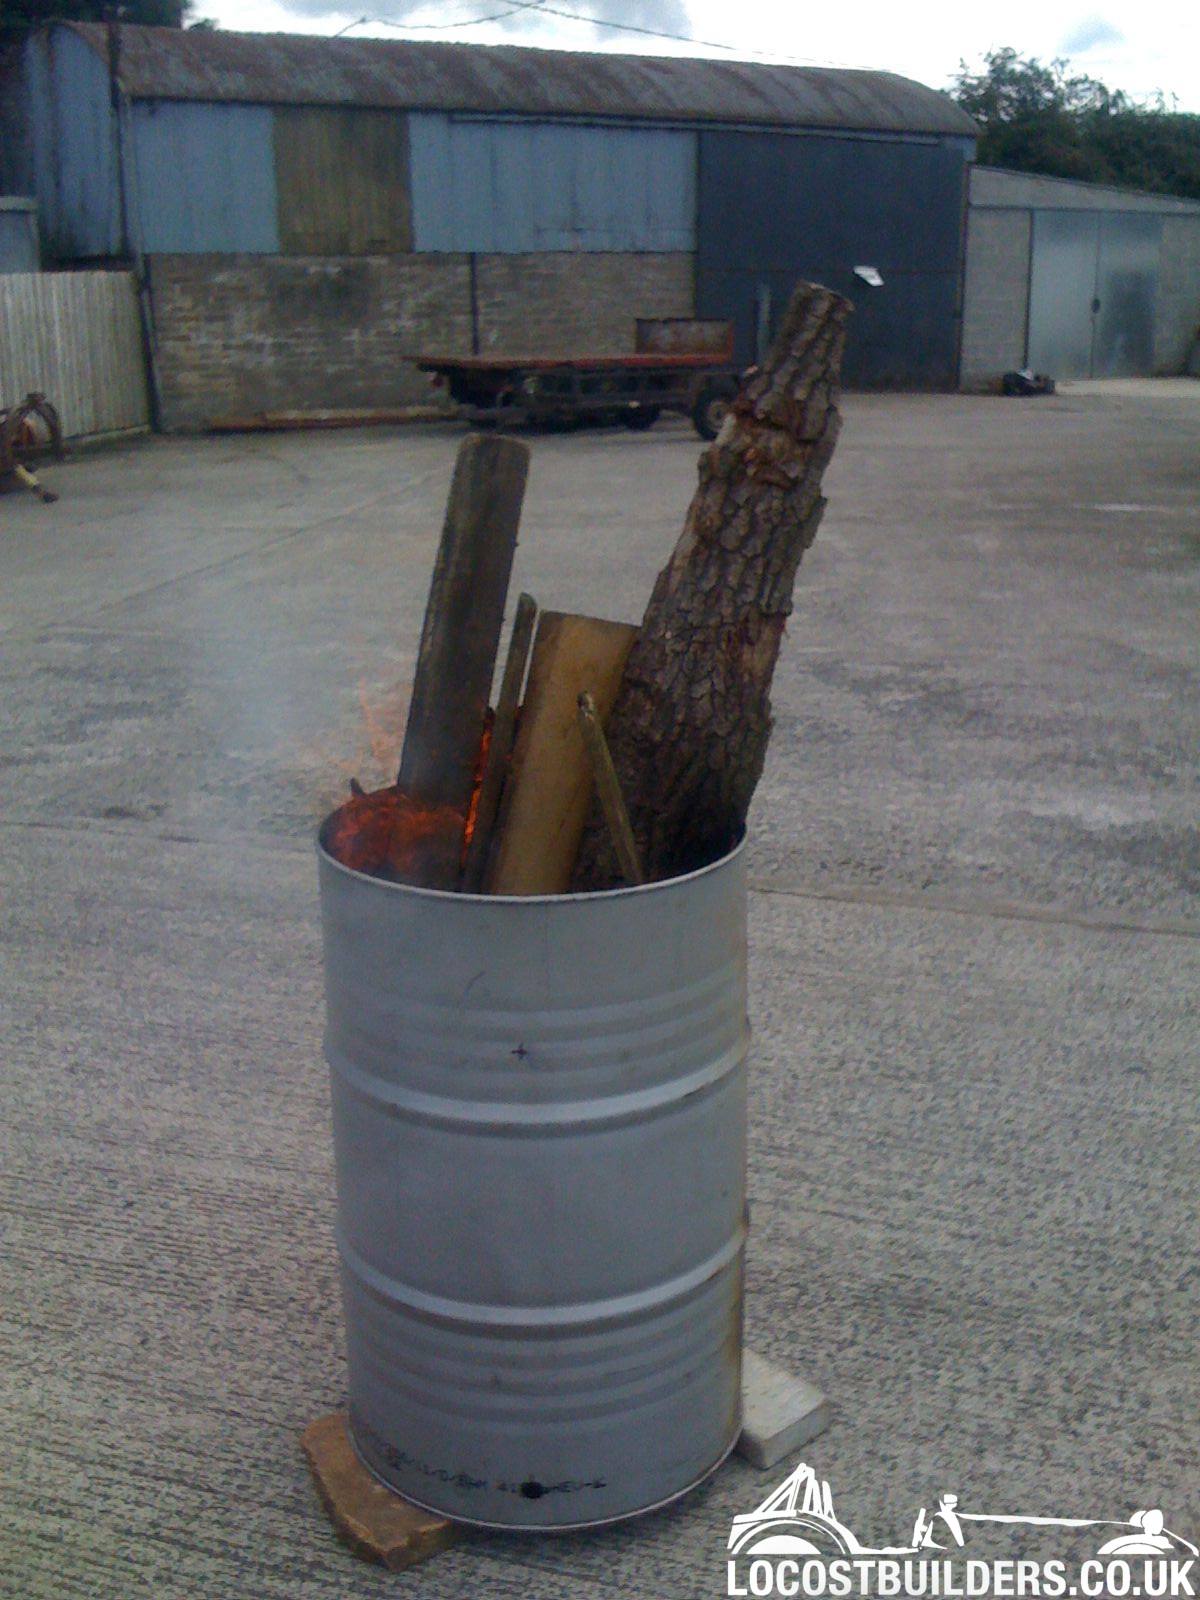
These require 1” holes cut about 2-3” up from the bottom of the barrel – and will be used to regulate the air going into your firebasket. However they're also useful for allowing air into your barrel for a burn out. I loaded my barrel up with sticks, broken planks and clean wood I could find then lit it. I got a stong fire going – this was to ensure the inside was free from oil residue. Food grade barrels seem to have a plastic coating on the inside (oil is usually just raw steel) and a burn out will be needed to remove this plastic coating. This also should take the paint off the outside too.
Once this is done you'll need to make a firebasket. This is a raised basket that sits near the bottom of the barrel and holds the charcoal. It needs to be off the floor of the barrel and have plenty of holes so it's not choked by ash. The 1” raw steel grill that you have left over from your food grill would do well, but I made one up from some strips of steel we had about, and 3 stainless (remember try to stay away from galvanised steel) steel bolts out the bottom for 'legs'. The firebasket should be narrow enough to get it in and out of the barrel past the grill supports and the thermometer probe – mine is about 15” wide. Square designs work well, and someoen apparently made one out of the drum of a washing machine! I reckon this is probably the trickiest bit of the build.
I fitted my grill about 7” down from the top to leave room for a chicken, so folks fit 2 grills or just have one closer to the top, but with a flat lid I needed a little clearance. As long as your grill is roughly 24” above the bottom of your firebasket that's ideal, apparently. Mind is pretty close to 24”. It's fitted by drilling 3 (3 legs – no wobble!) holes evenly spaced around the barrel at the height you want I had some stainless bolts and nuts lying around, so I used these. The tail of the bolt sticks into the barrel a couple of inches and supports the food grill.
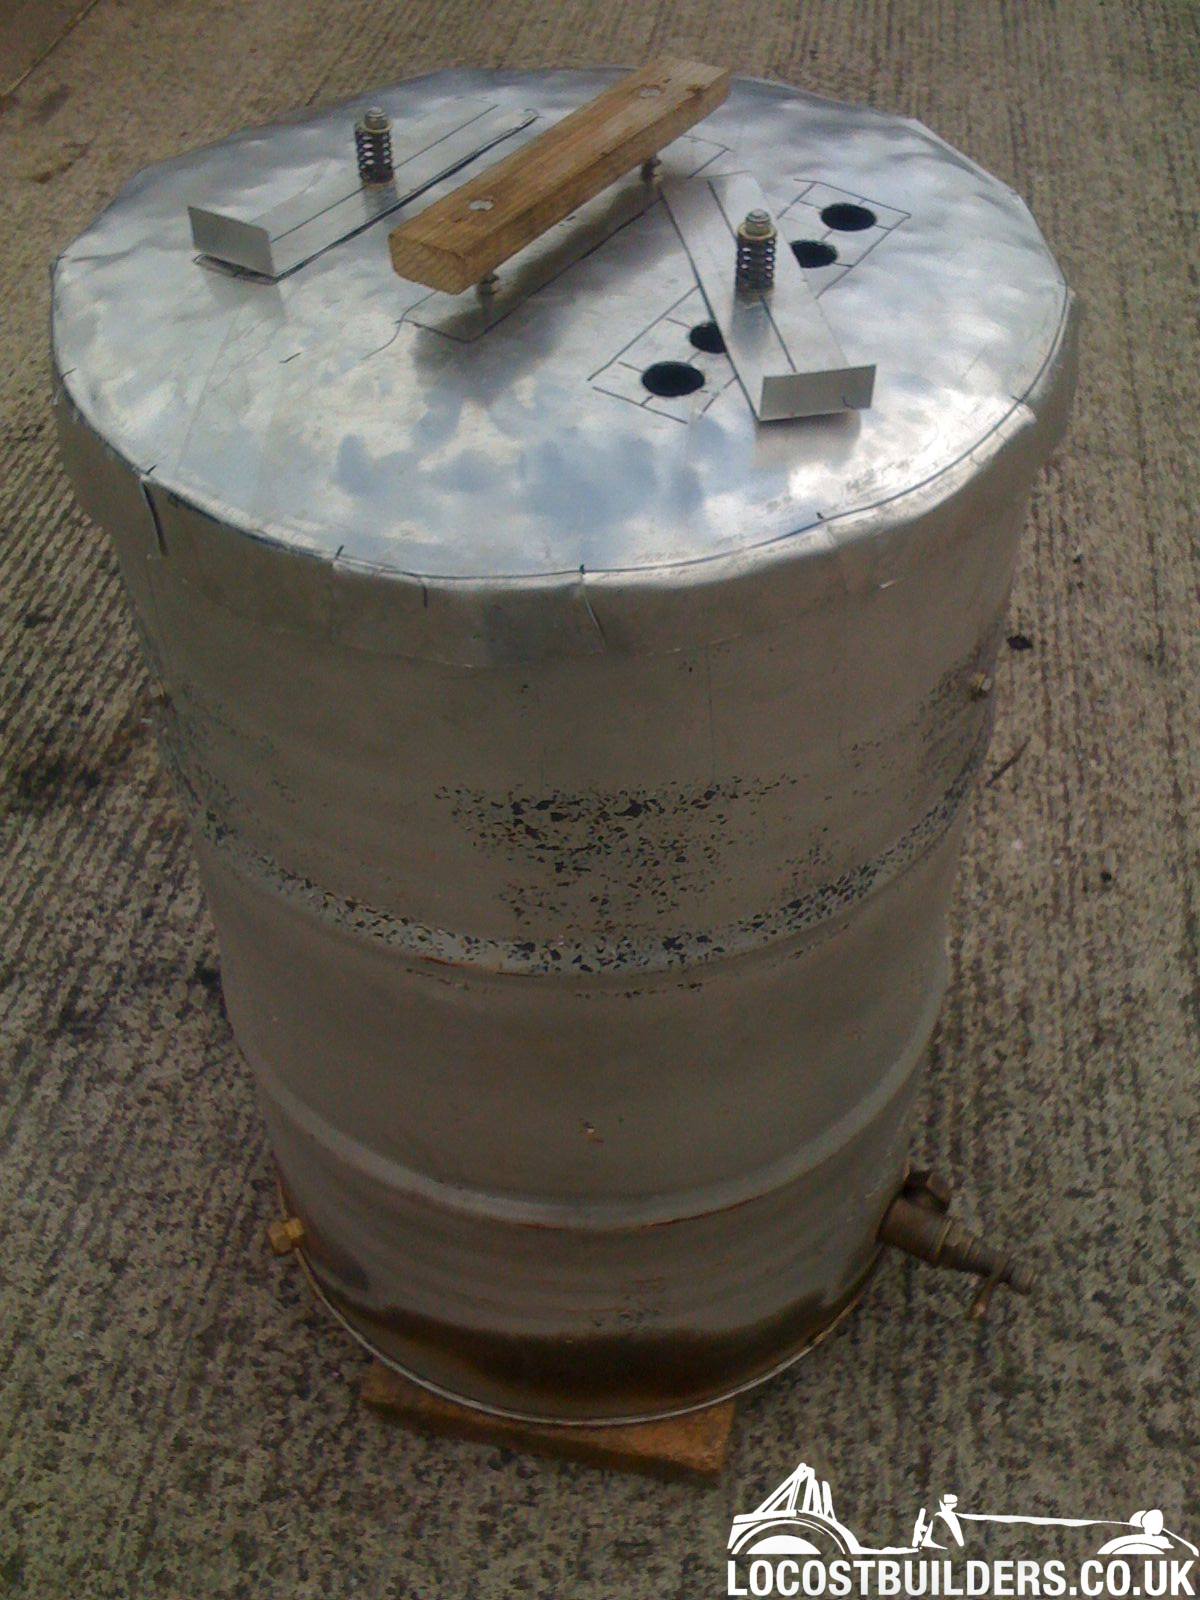
I made a lid out of 1.5mm aluminium, mainly because it's easy to work with. I started by fitting it on the top of the barrel and hammering a slight bow in it it (a curved surface allows condensation to run down the side away from the food & gives a little more clearance. I then marked the drum top outline on it, cut a few inches out from this then made a series of cuts inwards. I turned it over (so the lids bows upwards in the middle) and hammered the 'flaps' at the outside downwards to make a lip. It kinda resembles a (badly!) homemade bin lid!
To this I added a wooden handle and 8 x 1” holes with 2 swiveling covers. This allows me to adjust how much air gets out. An even simpler system for folks with steel lids is to use sheet magnets to cover the holes (I'd have thought they'd have melted, but apparently they work OK!). Again I used stainless bolts through a couple of old valve springs to provide a swivel that holds without loosening. I made care as well that no locknuts (with plastic inserts) were on the inside of the barrel.
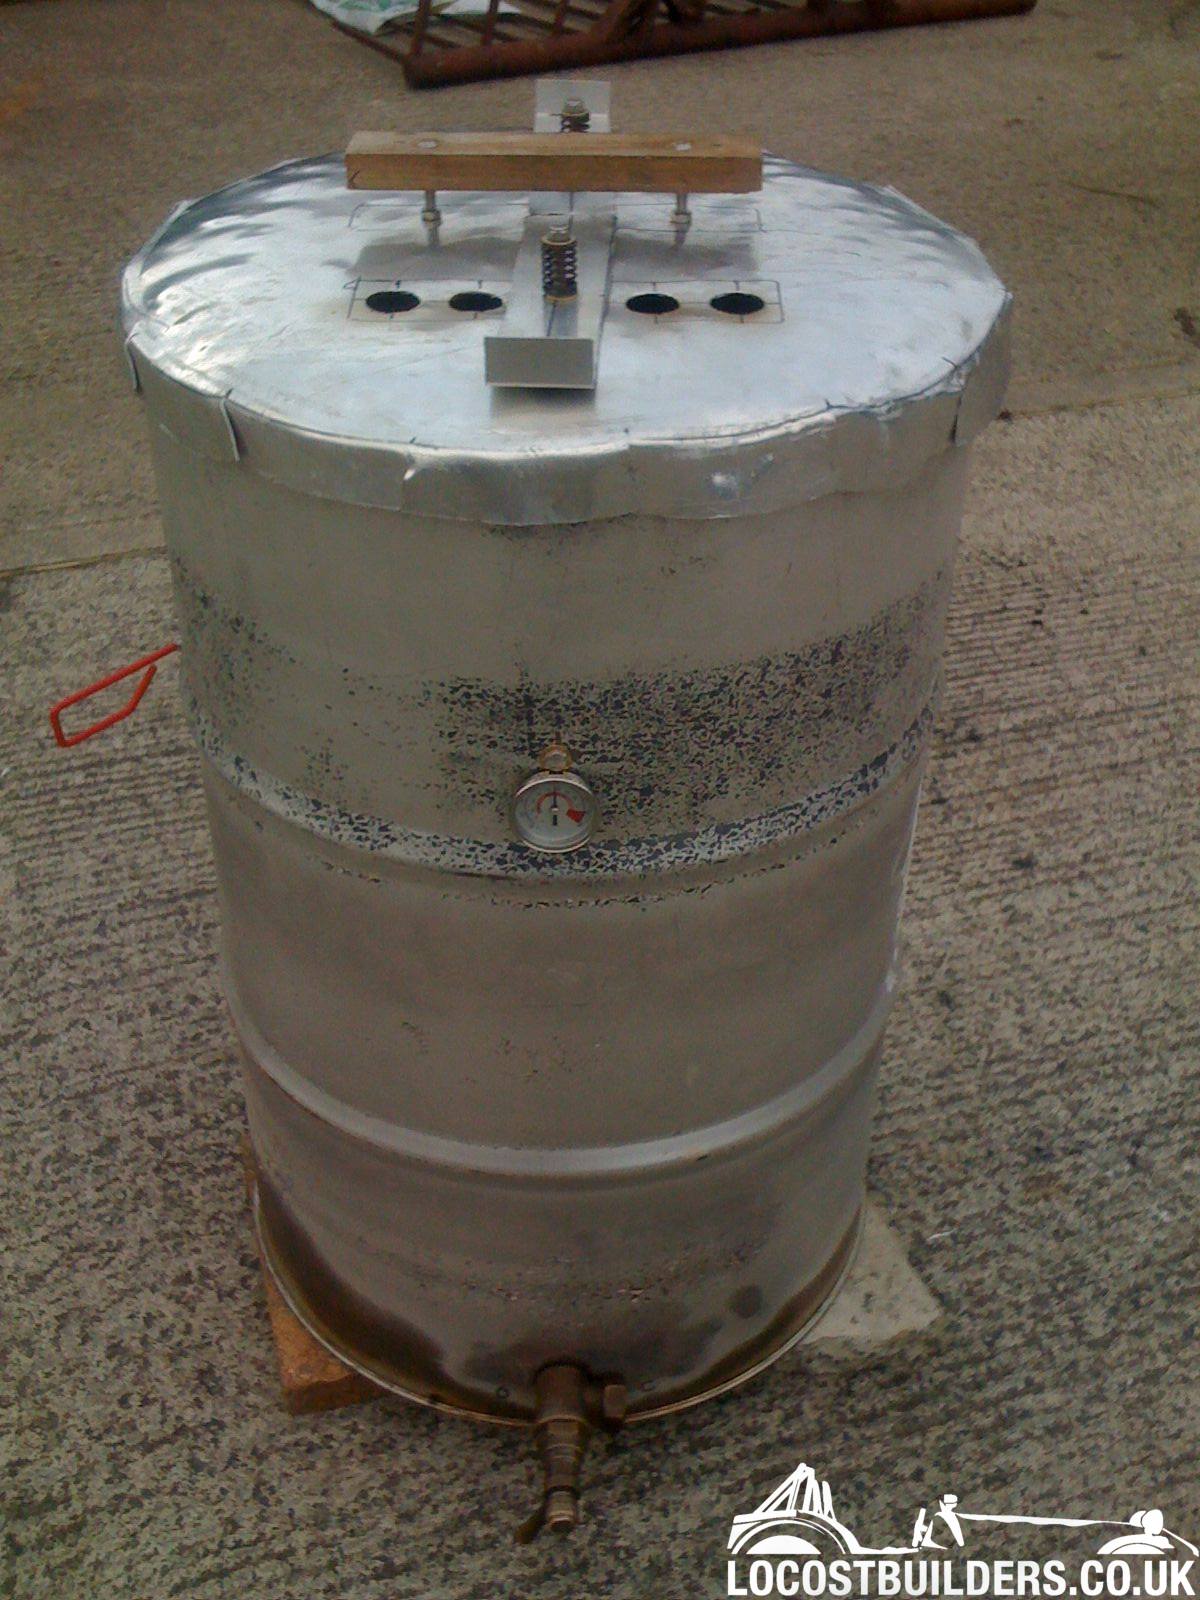
The last bit I fitted was a thermometer -
http://www.ebay.co.uk/itm/Barbecue-BBQ-Pit-Smoker-Grill-Thermometer-Gauge-300-C-/260828000317?pt=UK_Home_Garden_BBQ_Utensils_Access ories_LE&hash=item3cba8f703d
I got one from Fleabay for less than Ł5 – works well enough – I checked it against some boiling water and it was about right! I drilled a hold in the side of the barrel just below the grill support at the front (where the valve is at the bottom) and s slots in and is supported by a butterfly nut. Some folks fit them to the lid of they are too long or interfere with taking the firebasket in and out. I think it's good to see what the temp is at the grill where the food itself is, but you will use the thermometer to work out your own cooking method.
And that's about it. For the first run you need to 'season' it (a bit like you do with a wok) coat it in veg oil (I used a paper towel) then run it very hot (caps off and holes open on the lid). This prevents corrosion on the inside.
There's a nice system for lighting the UDS too – it's called the Minion Method – I used a big can (open both ends) in the centre of my firebasket, I filled the required charcoal around the can. I then lit some charcoal in another can (with a bottom but lots of holes). Once it was lit and running well for about 10 minutes I poured it into the can in the middle of the firebasket then removed the can from the firebasket. This allows the fire a good start and to burn evenly outwards and upwards inside the basket.
The Minion Method demonstrated.
http://www.youtube.com/watch?v=fcTxPMdMXN8
You can, of course, paint it – engine/manifold paint recommended – or leave it as it is (it is called an UGLY drum smoker).
For more info type UDS into Youtube or Google there's a TON of info out there.
I've only just done my first seasoning run / cook in mine, but I have to say it works well and in true Locost tradition it's a device that you can build yourself for a fraction of the cost of a commercial product that can often outperform it! I cooked a chicken in it – and didn't have any wood to 'smoke' it and I have to say it was pretty damned good! I'm looking forward to some pork shoulder soon and ribs will be next up. I also fitted an aluminium coat hook to the outside of mine so I can hang tongs/grill/lid on it.
I ran it hot (for seasoning) over 400F for a couple of hours (all air holes open) then dropped the temp to 250F and cooked a chicken for 4 hours. It used about 3kg of charcoal briquettes for that run. The chicken was good with no odd tastes, which I was half expecting from the first run.
I reckon one can be built for about Ł75. Less if you can use parts from an old Weber 57cm BBQ grill. Mine cost about Ł60 because I had a few bits lying around (brass valve, stainless bolts etc).
Comparable Weber Smokey Mountain (smaller, but less ugly!) Ł320
Barrel Ł10
Grill & firebox 1” raw steel mesh Ł20 for 8ft x 4ft sheet.
Brass air intake fittings Ł25
Stainless bolts Ł10
Aluminium for lid Ł5
HT Paint Ł10
Finally Tescos round by us seem to be clearing out their BBQ stuff half price at the moment – sure you'd be mad NOT to build one!!

If I can help with any questions don't be afraid to ask, but again, I'm no expert! I have a few iphone pics of my own build, I'll try to bung 'em up!
All the best
Ali