yellowcab
|
| posted on 26/1/14 at 07:43 PM |

|
|
Not a great update, but I searched and searched on how is best to do the cycle wings without drilling in the wrong place and I couldn't find it
anywhere - so I hope this will help other people.
By no means am I saying this is correct, but it's how my mind figured it'd be the easiest... all of this was done with the car on the
floor with the wheels on...
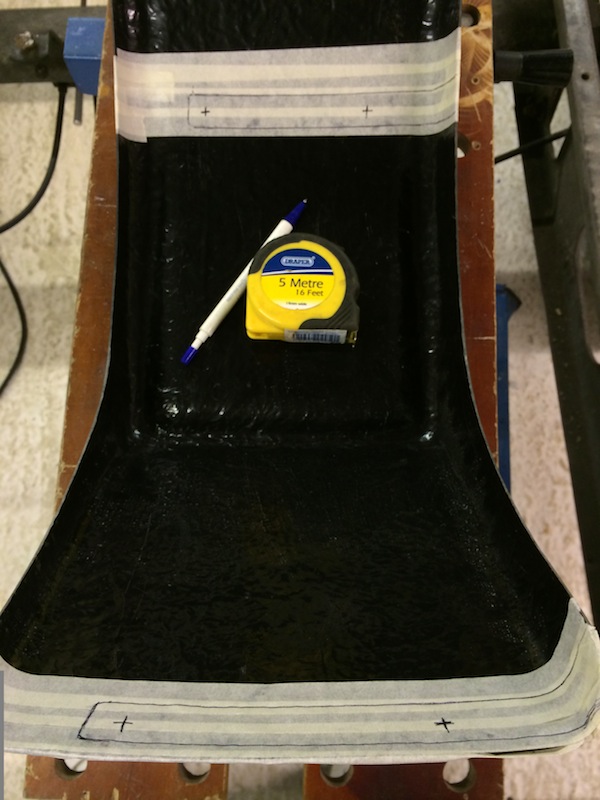
Firstly I offered the wings over the wheels, and roughly felt where the stay bars were, and put masking tape on thicker (obviously I didn't
know exactly by this point
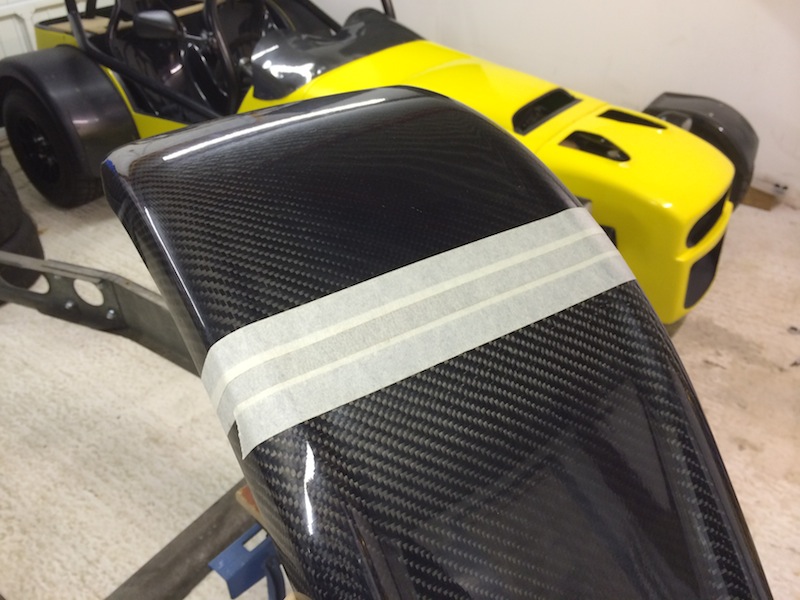
Once masking tape was on, I managed to mark only the edges of where the cycle wing stay bar started, and finished, then drew a straight line once they
were upside down
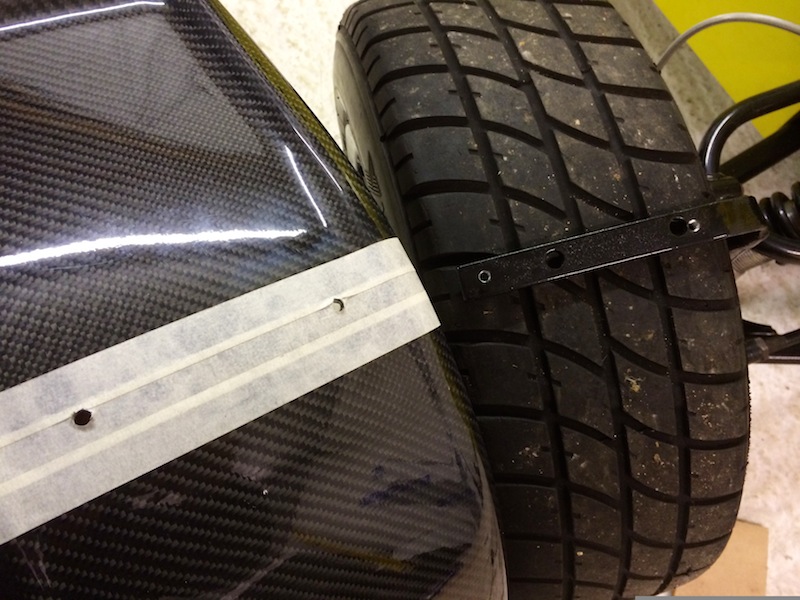
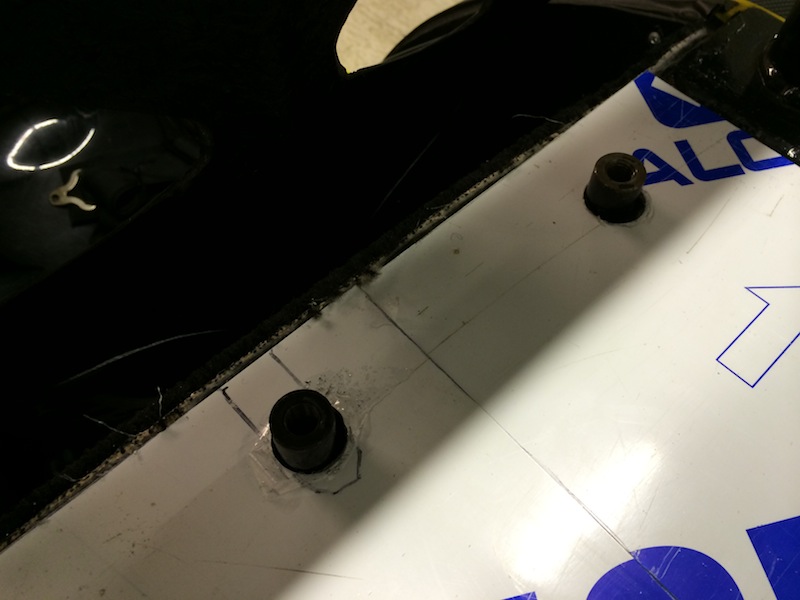
I've seen some with just a single bolt holding on some wings, but I didn't want them to 'rock' left and right, so I opted four
two per stay bar
Drilled the carbon from inside to outside, only small to begin with so it wouldn't splinter out - once the preliminary hole was drilled I did
the rest from the outside in, once the hole were in the carbon, I rested it ontop, and marked straight through onto the wing stay
Job jobbed, not really much else to say, tapped a thread in the stays, and put the stainless dome headed bolts in after I cut them down so they
didn't protrude the other side of the wing stay bar
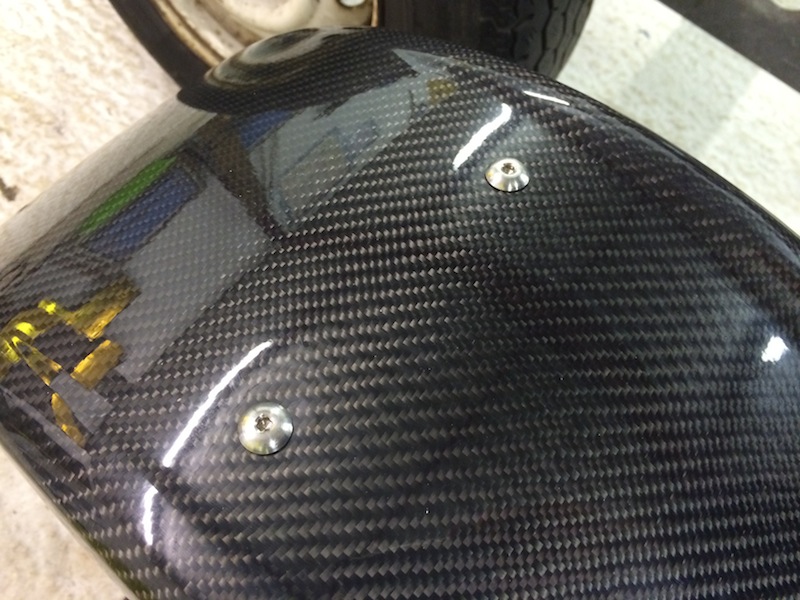
But, being anti bling, these shiney bolts stood out like a sore thumb, which I wasn't overly keen on, didn't want to change to black as
these were perfect for the job
So I put a nut in a vice, and put a bolt in, cut a piece of carbon wrap, heated it up so it wrapped around and then whilst it was warm I put the allen
key in, to stretch the wrap

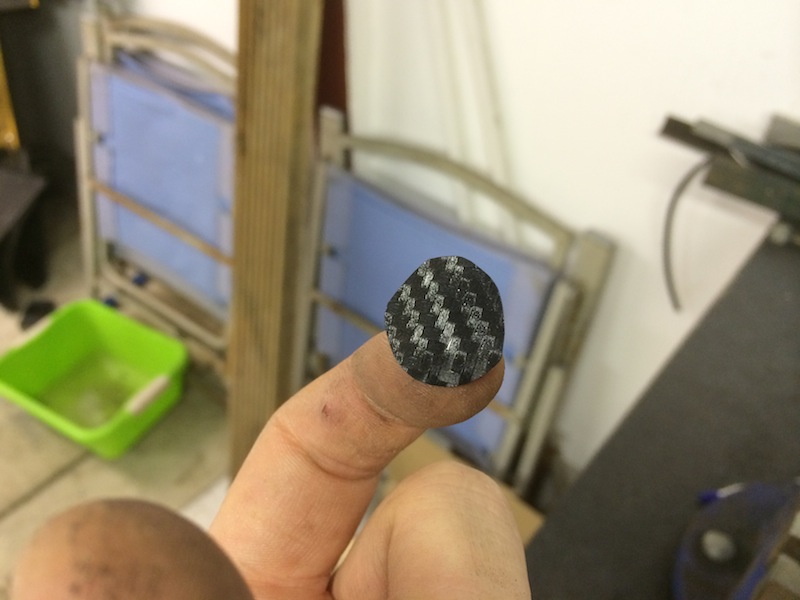

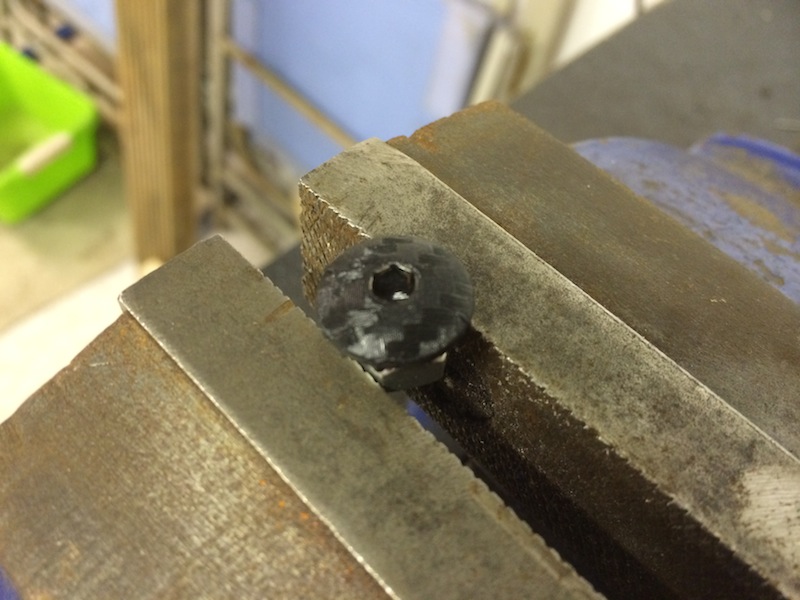
Despite the wrap being matt carbon as opposed to gloss, and the weave not going the same way, blar blar, I'm still very happy that the fixings
are more incognito than before
|
|
|
|
|
yellowcab
|
| posted on 26/1/14 at 07:54 PM |
|
|
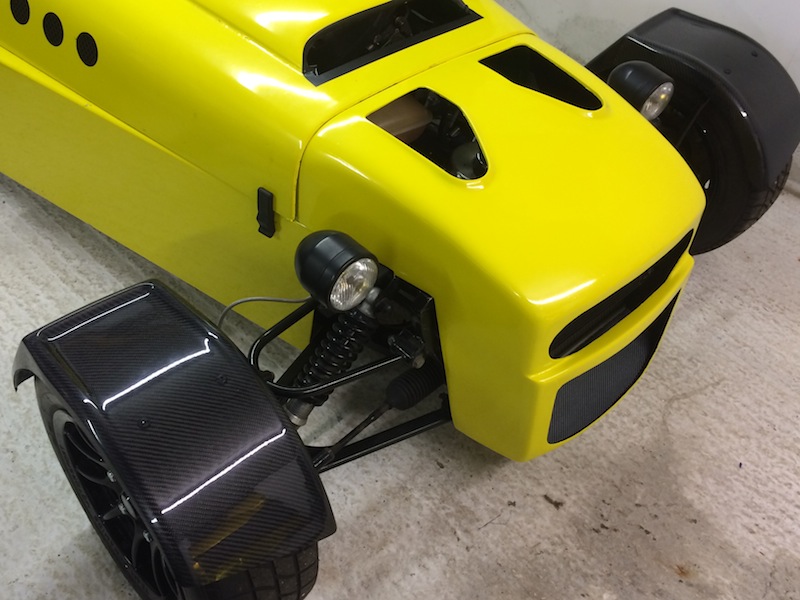
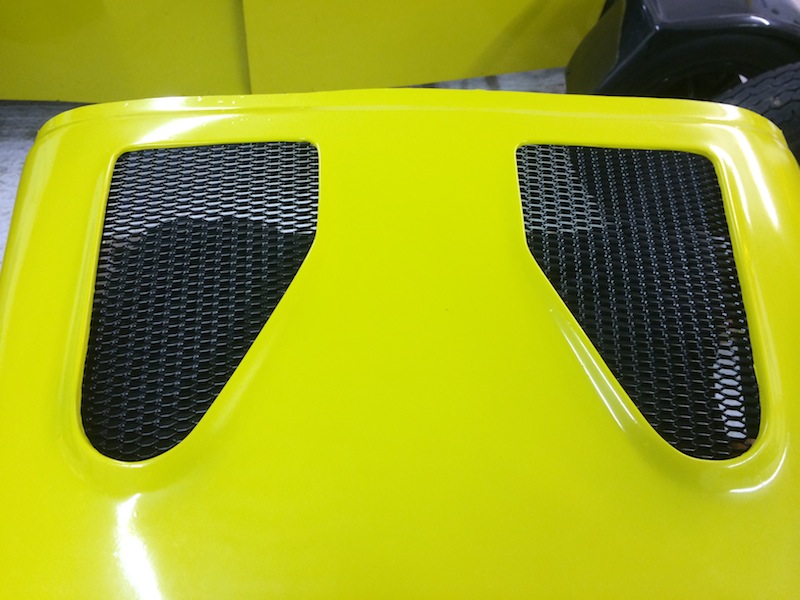
Onto nose cone, wanted to mesh it all at the same time to not risk the Tigerseal jamming up in the tube, but couldn't so done the tops today
Cut a template from the inside the hole, and added 10mm on each edge
Over sized it
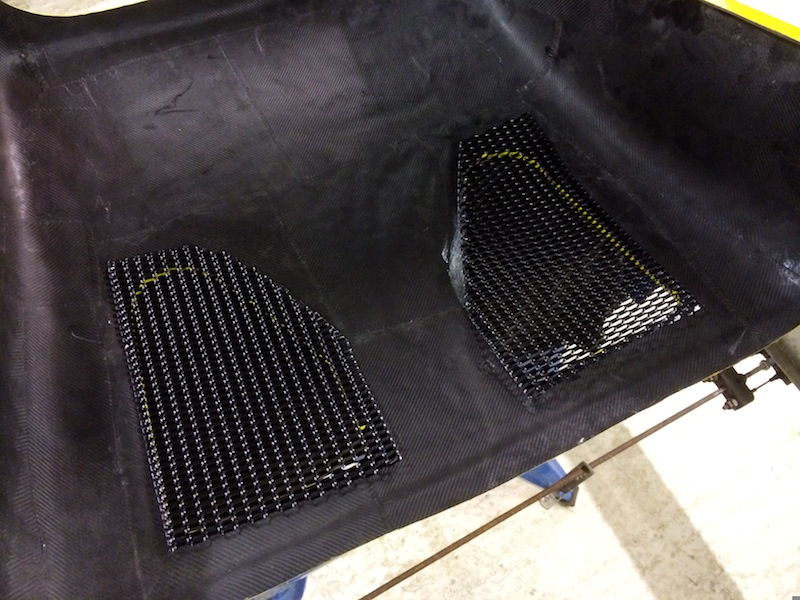
Checked the mesh looked horizontal
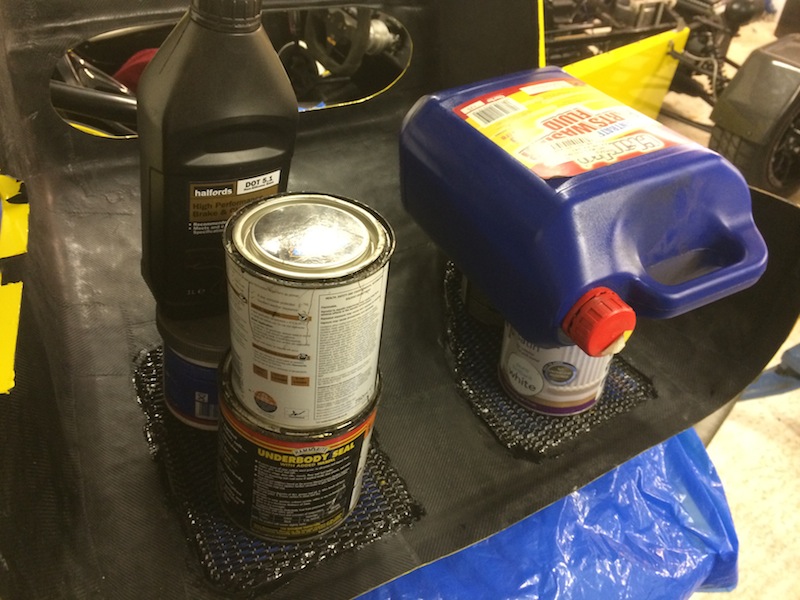
Then I struggled finding anything heavy lol, so I left it like this 
|
|
|
Ben_Copeland
|
| posted on 26/1/14 at 07:56 PM |
|
|
Same mesh as mine
Love the carbon on the bolts top idea.
[Edited on 26/1/14 by Ben_Copeland]
Ben
Locost Map on Google Maps
Z20LET Astra Turbo, into a Haynes
Roadster
Enter Your Details Here
http://www.facebook.com/EquinoxProducts for all your bodywork needs!
|
|
|
wylliezx9r
|
| posted on 26/1/14 at 07:58 PM |
|
|
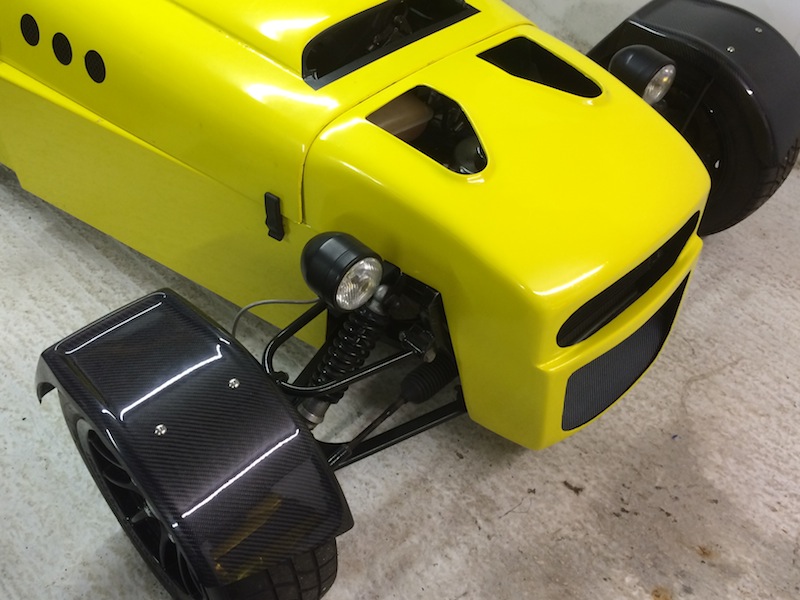
I think the nose looks excellent, really makes your car look different. I wish I had your motivation, Ive got a load of jobs to do on my car before
the summer.
I spent a lot of money on booze, birds and fast cars. The rest I just squandered.
George Best
|
|
|
yellowcab
|
| posted on 26/1/14 at 08:26 PM |
|
|
Cheers for the comments...
Wyllie, for motivation I book a track day when your car is years off being done, just the thought of losing the trackday money is motivation enough
for me! lol
So I'm taxing it on Saturday, then I have several trackdays lined up, fed up of not using it enough and going through engines like there is no
tomorrow.
Now I have (or will have) a trailer, there is no excuse for me not to go further to Brands, Anglesey, Oulton, Cadwell etc
|
|
|
CosKev3
|
| posted on 26/1/14 at 10:33 PM |
|
|
Nosecone looks loads better than I pictured it would tbh, looks spot on. 
Excellent write up and pics on fitting the cycle wings, carbon topped bolt heads are a really good idea.
|
|
|
daveb666
|
| posted on 27/1/14 at 08:17 AM |
|
|
Love the look of the new nose-cone and very impressed with the carbon bolt idea.
For my boot-lid I bought some black cap-head bolts on Ebay but, disappointingly they're already starting to rust 
Are you buying Tax this Saturday for the sake of it or will the car be all back together and working by then?
2007bc Photography - Commercial and Wedding Photographer based in West Yorkshire
http://www.2007bc.co.uk / http://www.huddersfieldcommercialphotographer.co.uk
|
|
|
yellowcab
|
| posted on 27/1/14 at 08:50 AM |
|
|
It'll all be back together by then, got a hall pass down the garage every night this week to get it sorted, she's a goodun!!
Tonight's job is bootlid, no really...
After I finish the meshing and tiger sealing anyway
|
|
|
40inches
|
| posted on 27/1/14 at 09:00 AM |
|
|
quote:
Originally posted by yellowcab
Tonight's job is bootlid, no really...
|
|
|
yellowcab
|
| posted on 27/1/14 at 07:29 PM |
|
|
A year ago today lol
.jpg)
|
|
|
yellowcab
|
| posted on 27/1/14 at 11:30 PM |
|
|
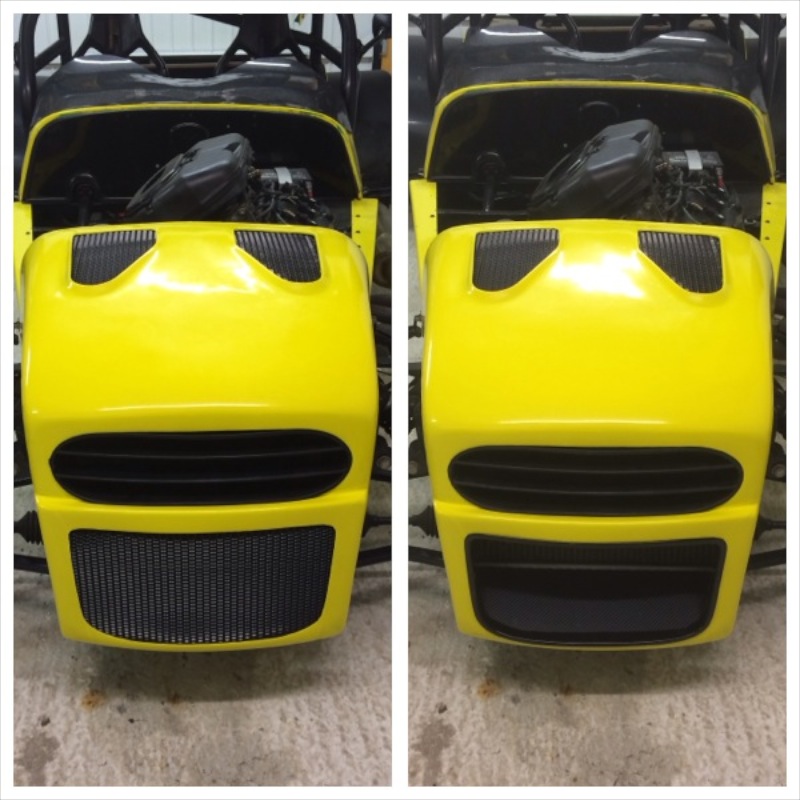
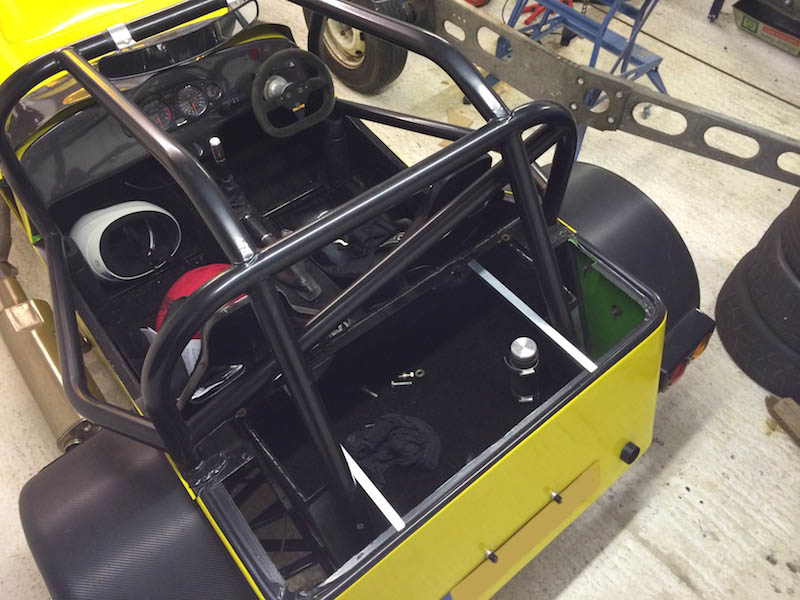
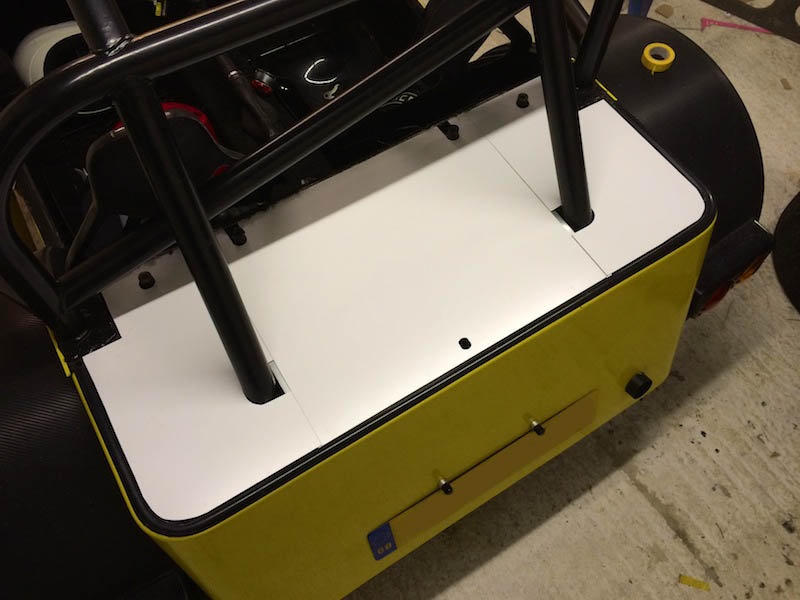
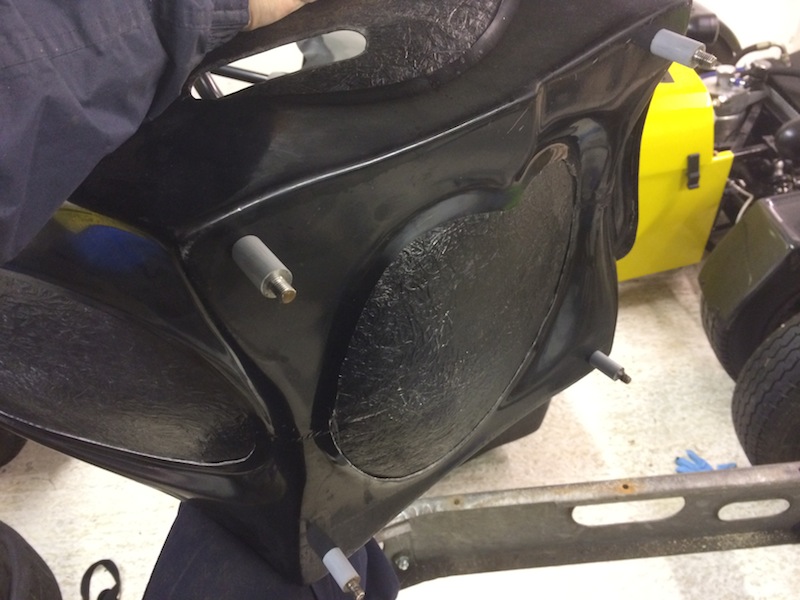
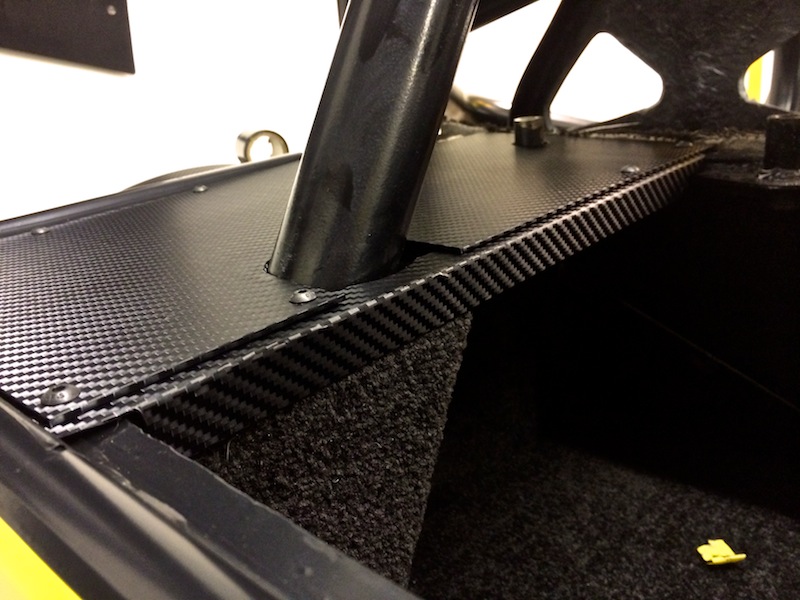
So then, wanted to finish sorting this nose cone out, before starting the beautiful job of the boot lid
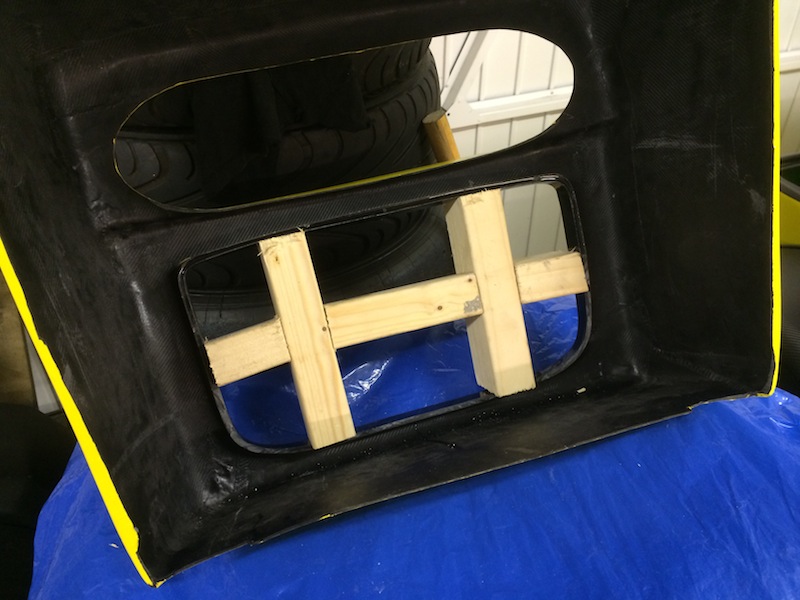
Didn't particularly like the aesthetics of the bare fibreglass edges of the 'mouths' once I had offered up some mesh, so decided
I prefer the right shot here, as it neatens the edge up no end

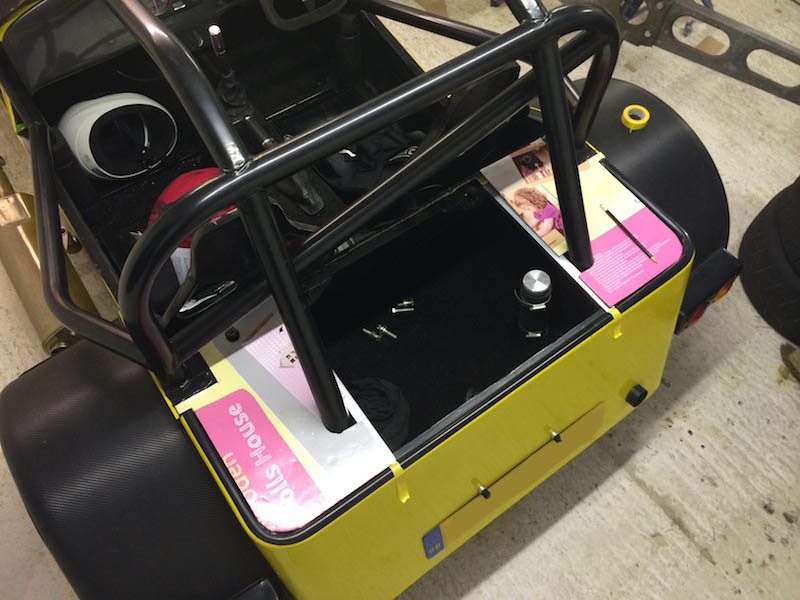
But I didn't like how odd it looked having one on, and one not... and how forward the mesh sat
So again, I offered up the other surround that came with the nose cone, which doesn't have mesh in admittedly, but again, it neatens up the
fibreglass edge of the mouth, not to mention gives it some rigidity, so I opted for the right one here...
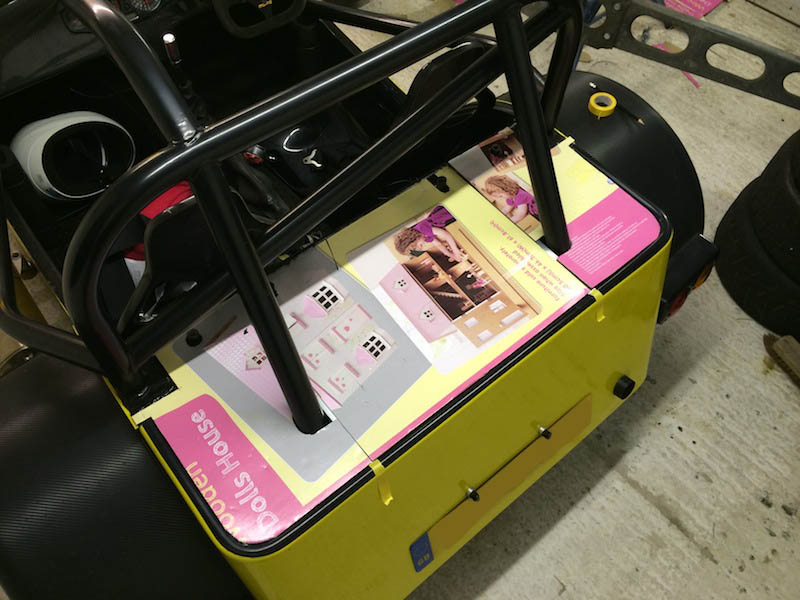
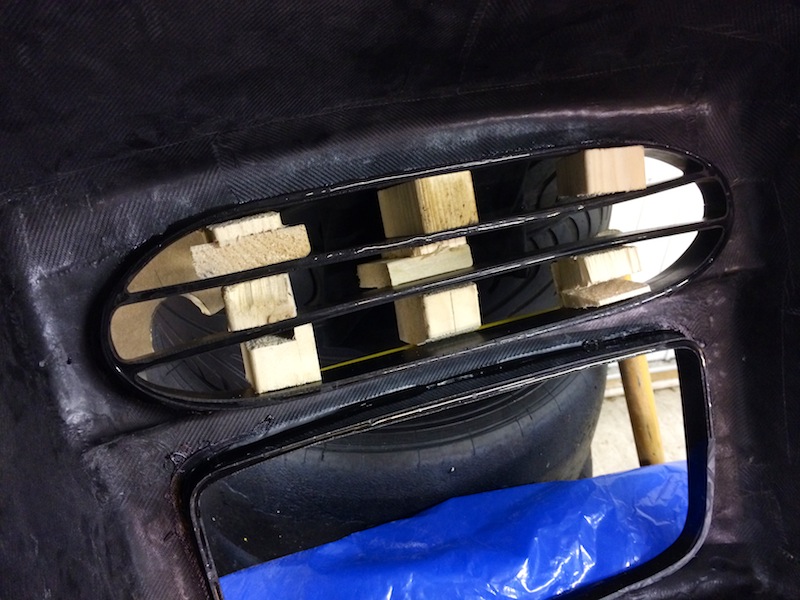
Tigerseal came out, and the edging wasn't a great fit, it was quite loose, so cut some wood up to brace it out to all four edges, wasn't
enough
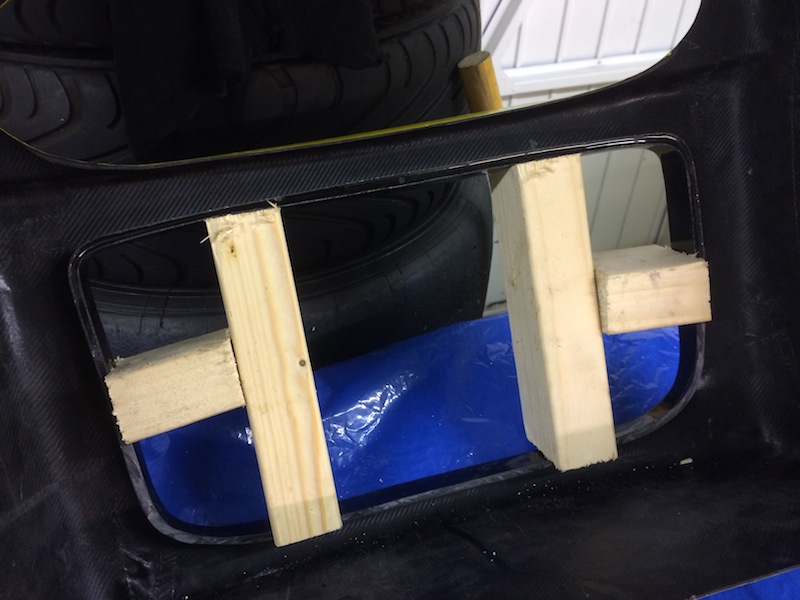
Added a centre piece, to push the edges out, wasn't enough, as now it was pushing it out the hole lol
So this is how its ended up lol all the wedges are obviously keeping it in

Couldn't do the top one until the Tigerseal had gone off - so that'll be tomorrow night lol
|
|
|
yellowcab
|
| posted on 27/1/14 at 11:35 PM |
|
|
Cheers to daveb666 for the tip on how to do this - decided to scrap my MDF template, was it was crap, and a bad idea with too many fiddly bits, I
think this pretty much mimics what Dave has done...
Want some advice, because my roll cage legs get narrower the further up the cage they go, I no longer want the centre piece on a fixed hinge,
I've got the hinge position set so far forward on the car (ie on the rear bulkhead), the rollcage diagonal does not allow the lid to open
vertical...
I would like some clips of some kind that will allow me to hinge it to a certain point, but then pull it out/ off...
So when I'm putting it back on, I hold it diagonally, slot it in the forward behind the seats, then close and lock it on the rear clam
Does anyone know what I'm going on about? lol
|
|
|
yellowcab
|
| posted on 28/1/14 at 07:15 PM |
|
|
Think I've fell in aerodynamic love...
http://www.ebay.co.uk/itm/Dax-Rush-MC-Hayabusa-Turbo-Track-Day-Race-Caterham-Westfield-Ariel-Atom-Kit-Car-/161199226291?pt=Automobiles_UK&hash=ite
m258838fdb3
[Edited on 28/1/14 by yellowcab]
|
|
|
yellowcab
|
| posted on 29/1/14 at 06:22 PM |
|
|
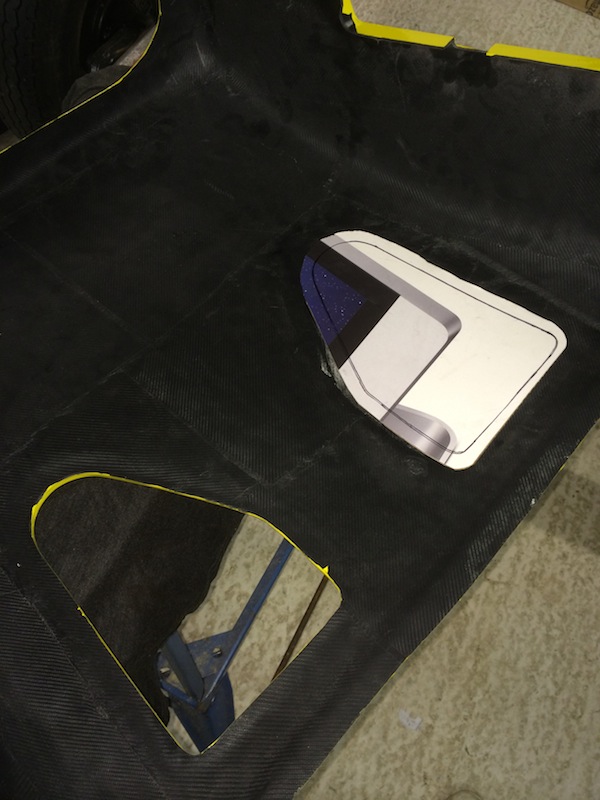
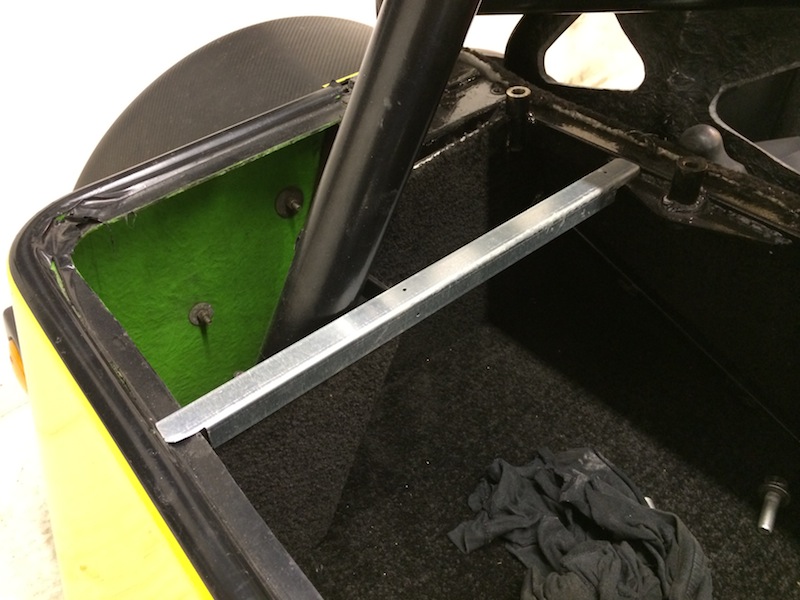
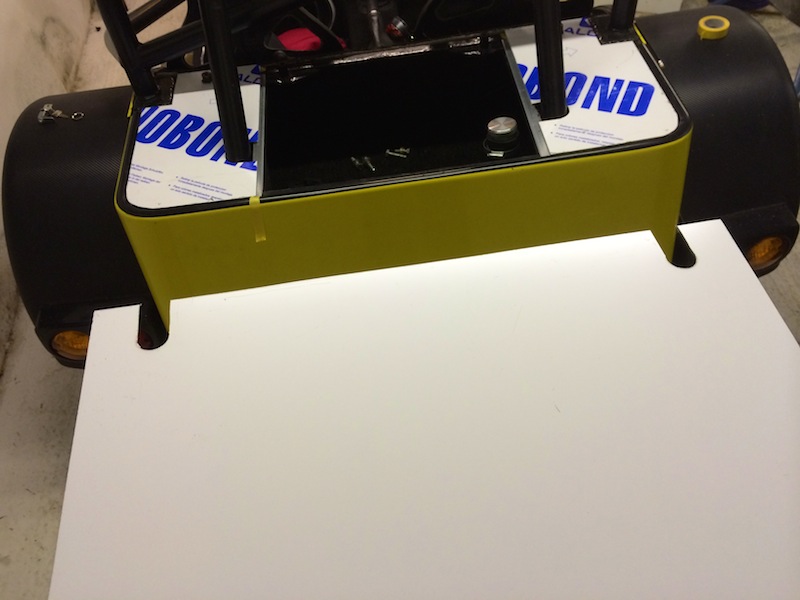
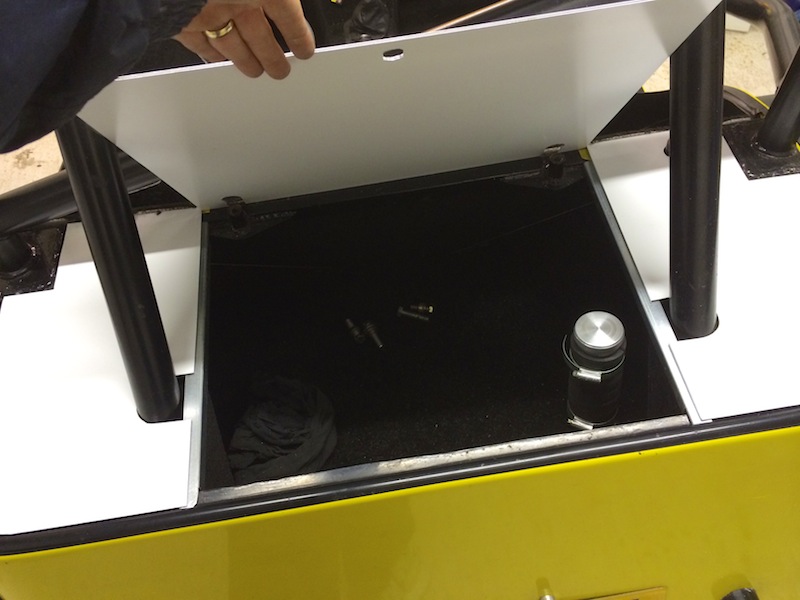
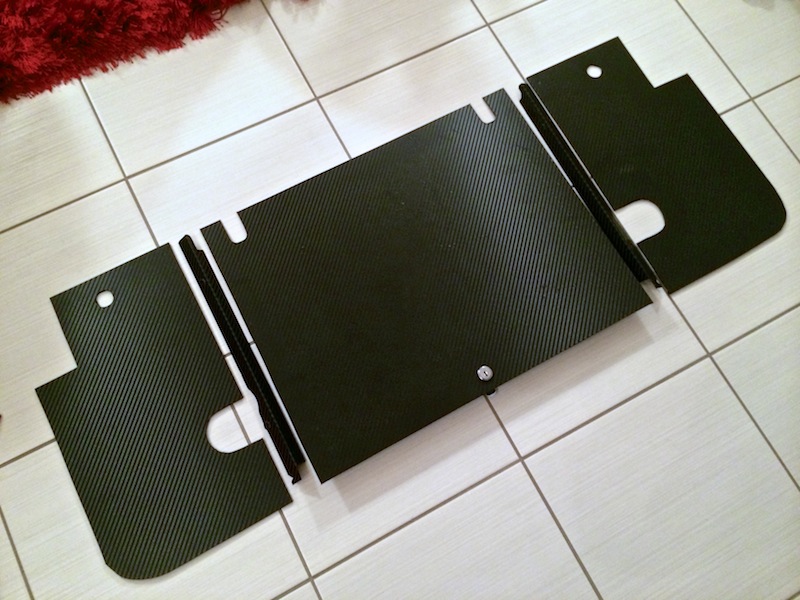
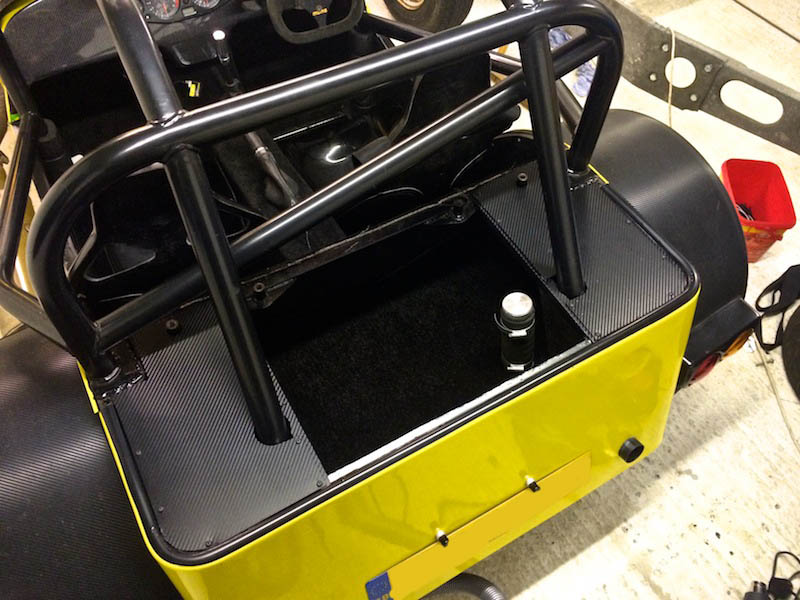
Bottom mouth piece done, next up is the upper bit - so I tigersealed this in
So I used my template to transpose onto this 3mm Dibond - bloody brilliant stuff to work with, and so much lighter & more rigid that normal
aluminium
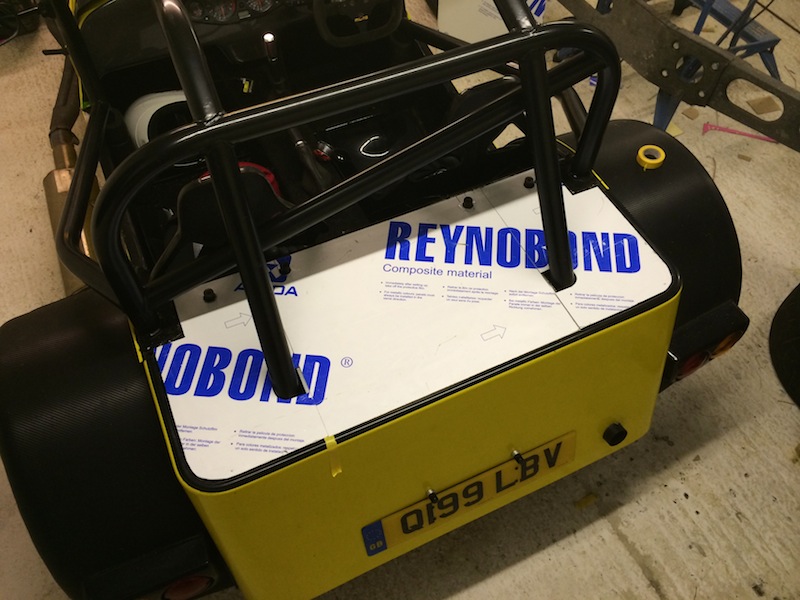
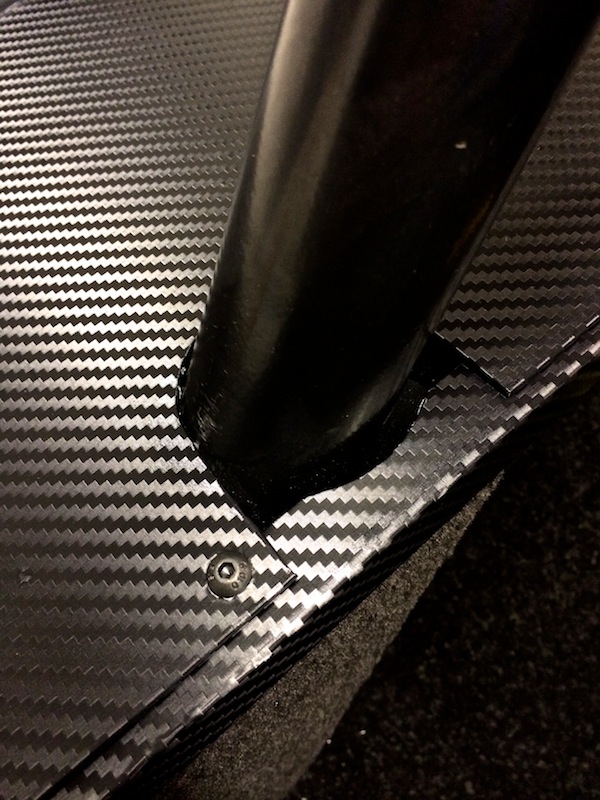
Spot the accidental error when making the hinged or removable piece lol
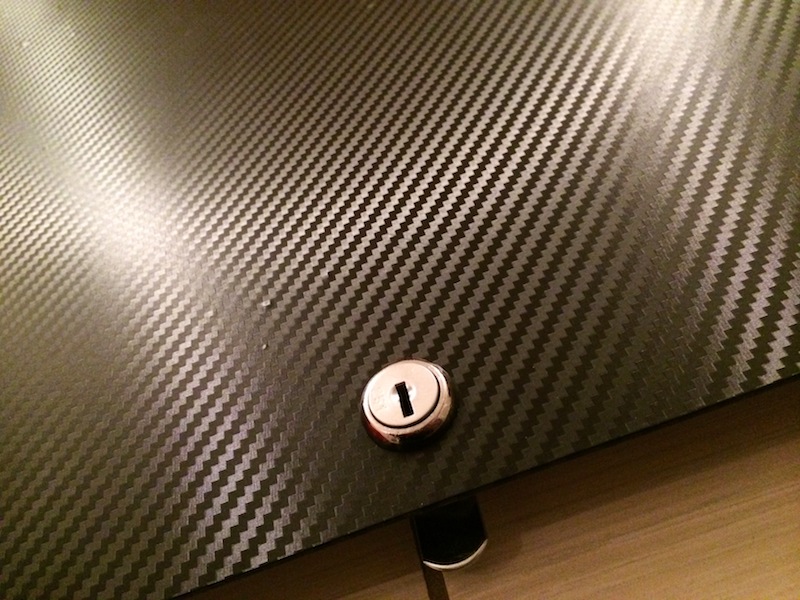
Lock mechanism in, and this shows the construction of the composite material too
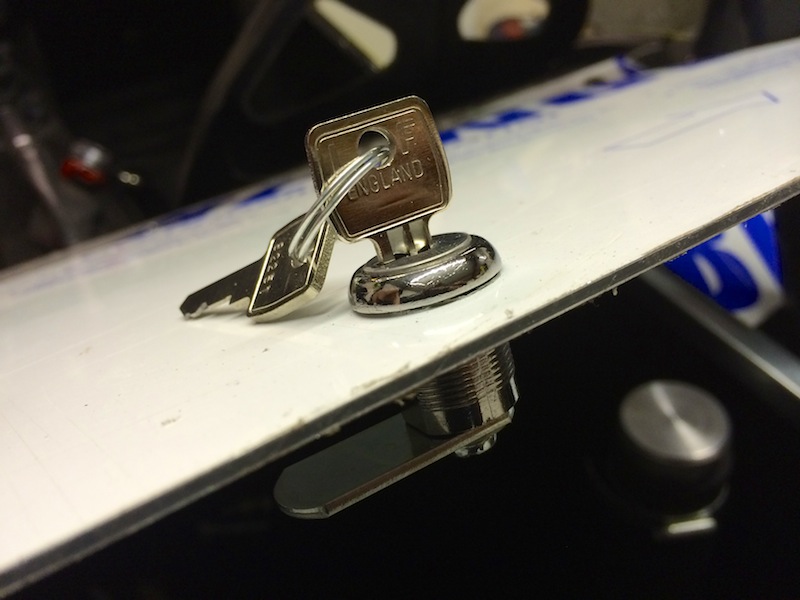
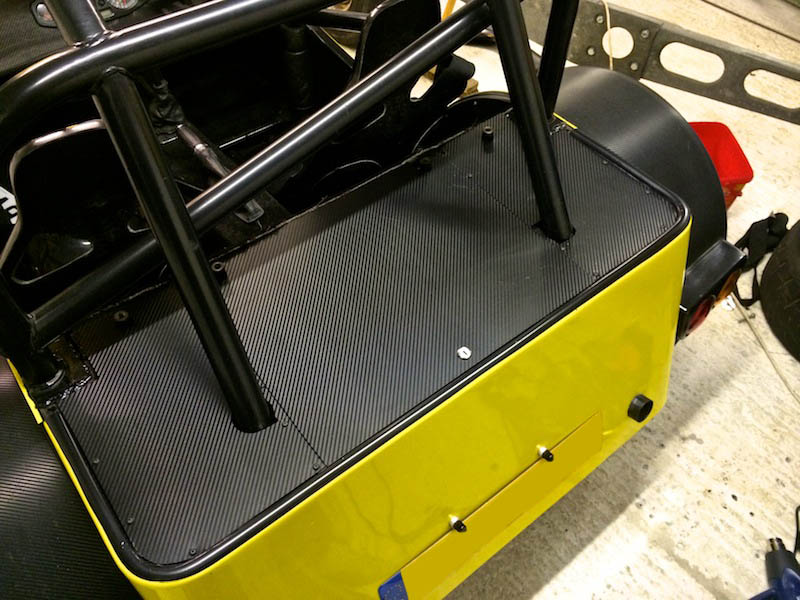
Slotted the removable lid, not going to have a fixed hinge, it'll just tuck nicely under the harnesses

Sorted, ordered some more carbon wrap, which'll be done
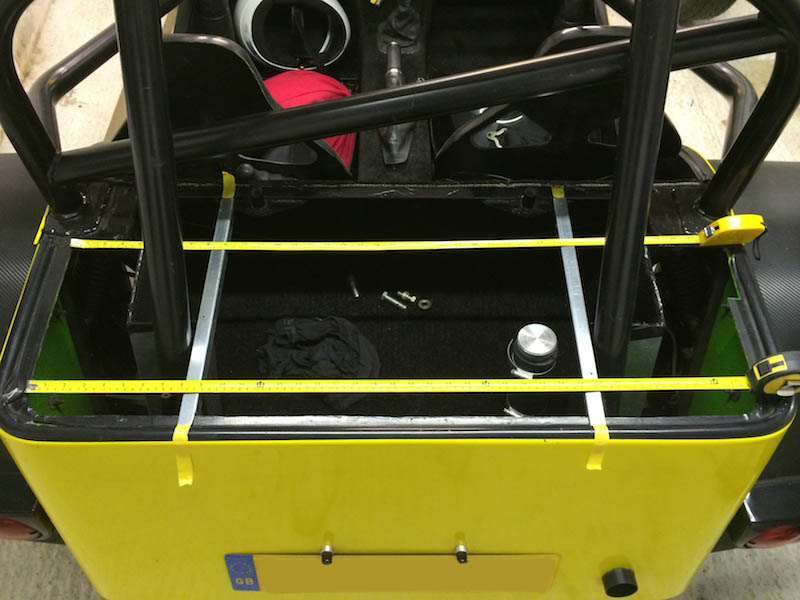
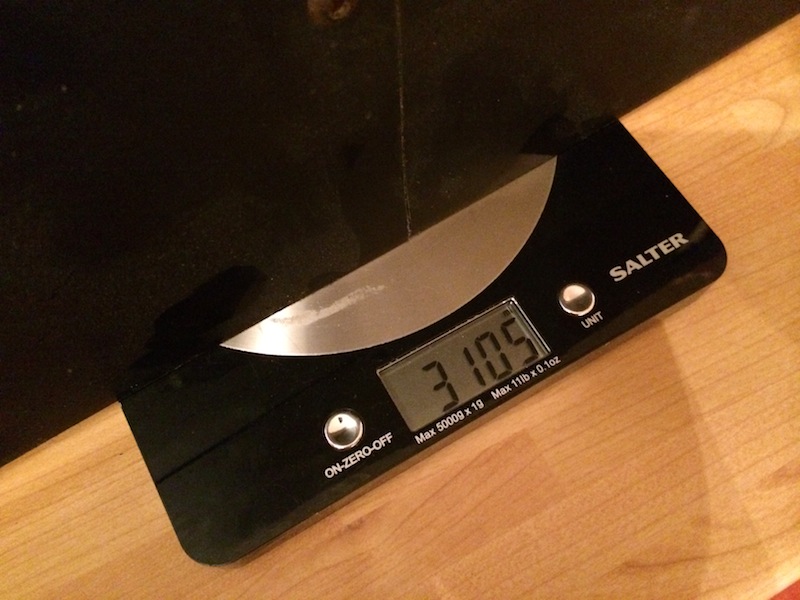
Just for my running total... last bootlid weighed 3.1kg
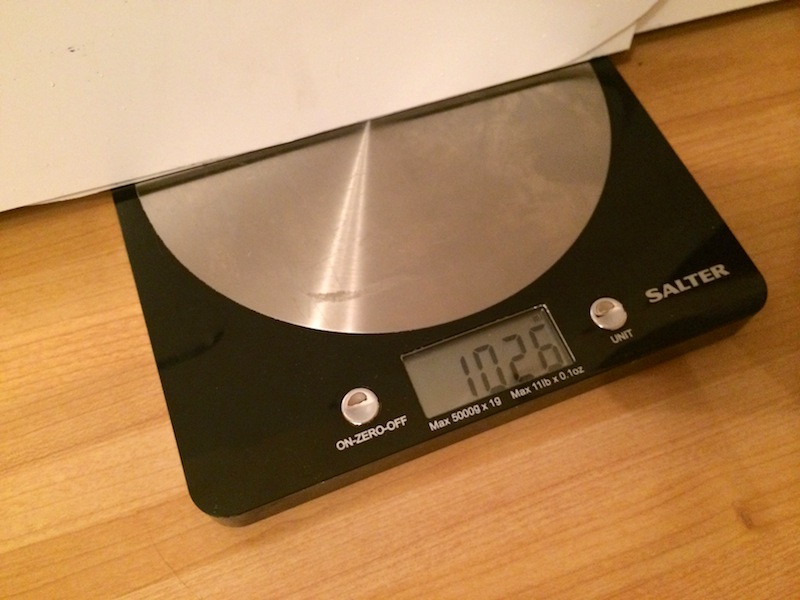
New bits together (without drill holes) weighs 1.0kg, saving 2.1kg
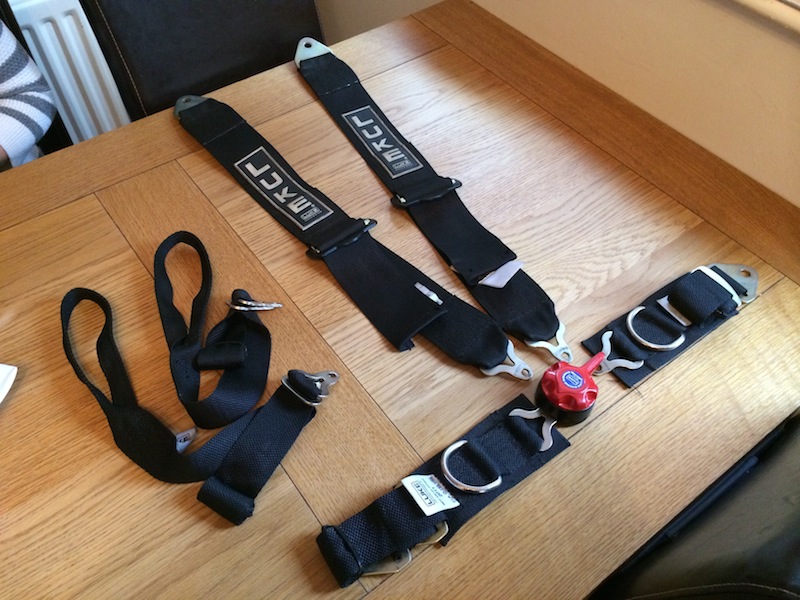
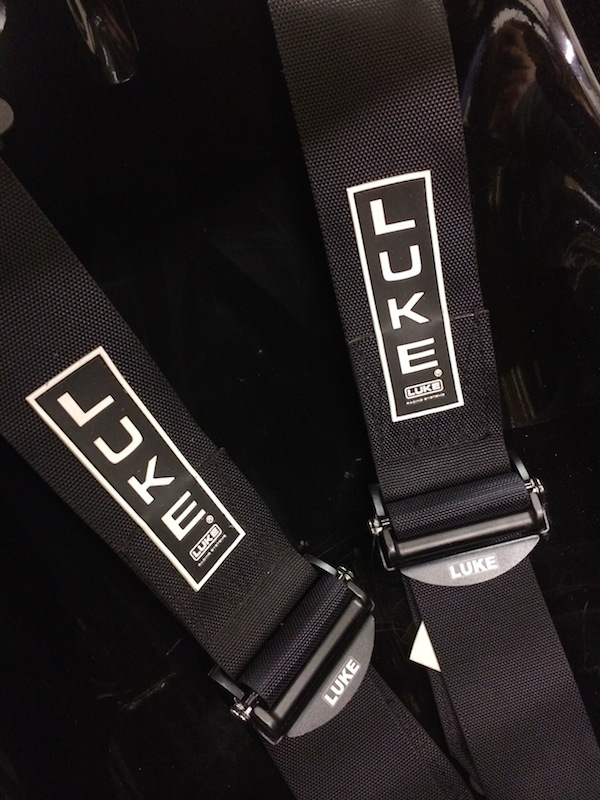
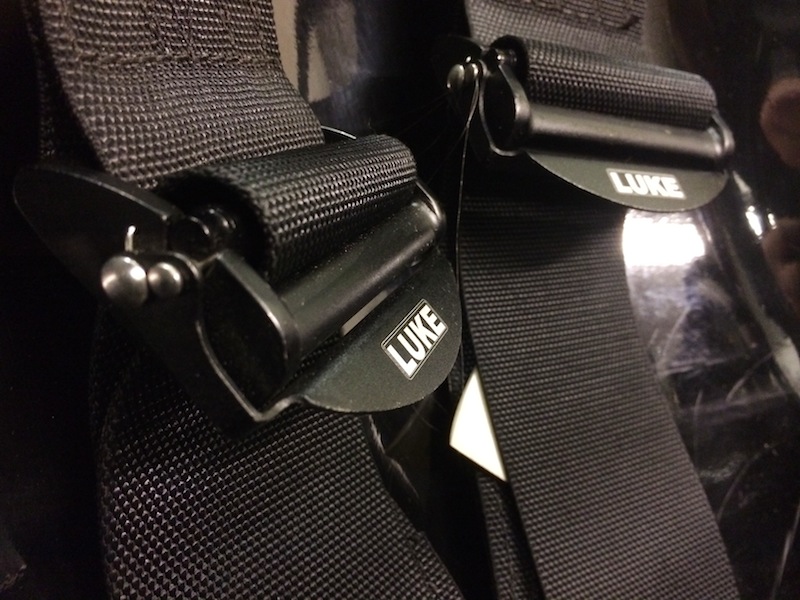
Oh and my other new harness turned up
|
|
|
keithjardine
|
| posted on 30/1/14 at 03:47 PM |
|
|
Bit more aero to encourage you along with the project


NTDWM but for sale;
http://www.pistonheads.com/classifieds/motorsport/track-day-cars/track-only/race-developed-westfield-for-circuit-racing-or-trackdays/1727205?isexperim
ent=true
|
|
|
Ben_Copeland
|
| posted on 30/1/14 at 03:48 PM |
|
|
Careful, Oliver will mess himself !
Ben
Locost Map on Google Maps
Z20LET Astra Turbo, into a Haynes
Roadster
Enter Your Details Here
http://www.facebook.com/EquinoxProducts for all your bodywork needs!
|
|
|
PAUL FISHER
|
| posted on 30/1/14 at 04:11 PM |
|
|
This one could
[img]
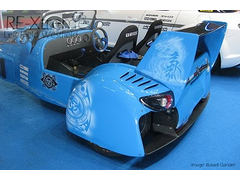 
Rescued attachment RE-Xtreme_Ex_RE_WFf.jpg
[/img]
|
|
|
PAUL FISHER
|
| posted on 30/1/14 at 04:13 PM |
|
|
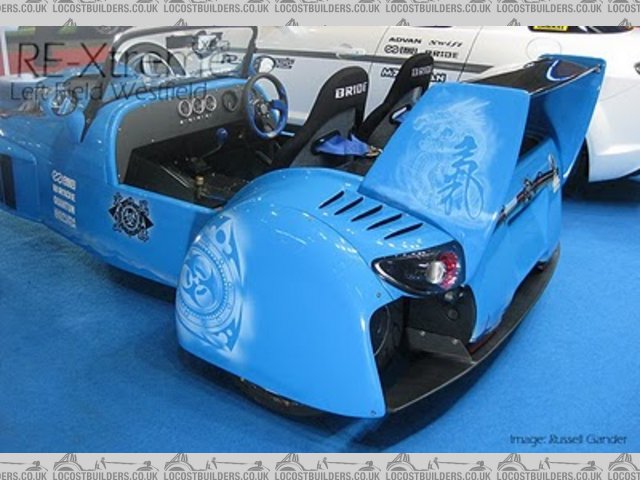
And
[img]
 
Rescued attachment RE-Xtreme_Ex_RE_WFa.jpg
[/img]
|
|
|
yellowcab
|
| posted on 30/1/14 at 04:52 PM |
|
|
Cheers Keith - exactly what I'm looking for on both front and rear ends... it'd be nice to know the reason for the effort to mount the
rear wing on such large (and heavy) alloy stays, protruding out the back of the car, as opposed to using the rollcage as the stays - unless it's
FIA racing regulation of course (I wouldn't know)
Paul - someone put that in the microwave for far too long lol
|
|
|
PAUL FISHER
|
| posted on 30/1/14 at 05:59 PM |
|
|
Paul - someone put that in the microwave for far too long lol
I think you have a point there Olly it might be a bit over the top
|
|
|
yellowcab
|
| posted on 31/1/14 at 09:11 PM |
|
|
Please help for anyone that knows much about harnesses lol
http://www.locostbuilders.co.uk/forum/30/viewthread.php?tid=188554&page=1?#pid1586518
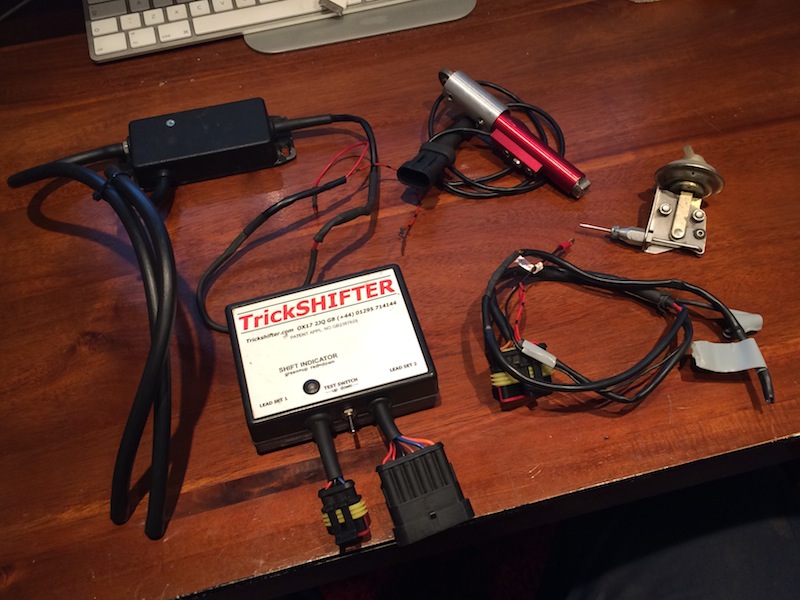
Meanwhile - this little beauty turned up, so I'm looking forward to the clutchless up and down changes with throttle blipped
Drivers seat was removed last night with daveb666 as he had my Caterham harnesses off me, I wanted to lower it down anyway, as it was pointed out how
high I sat and how close my helmet was to my rollcage, I had forgotten about how much crap was bolted to the underside the seat (including runner)
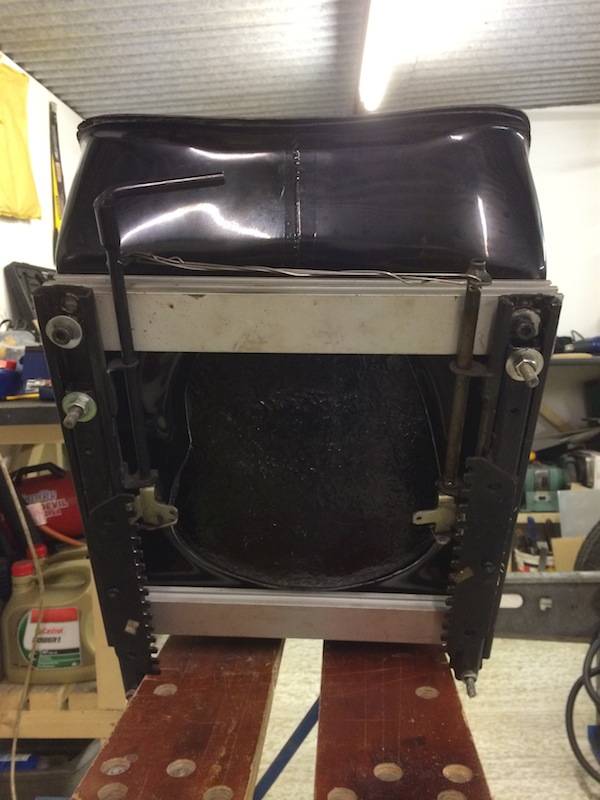
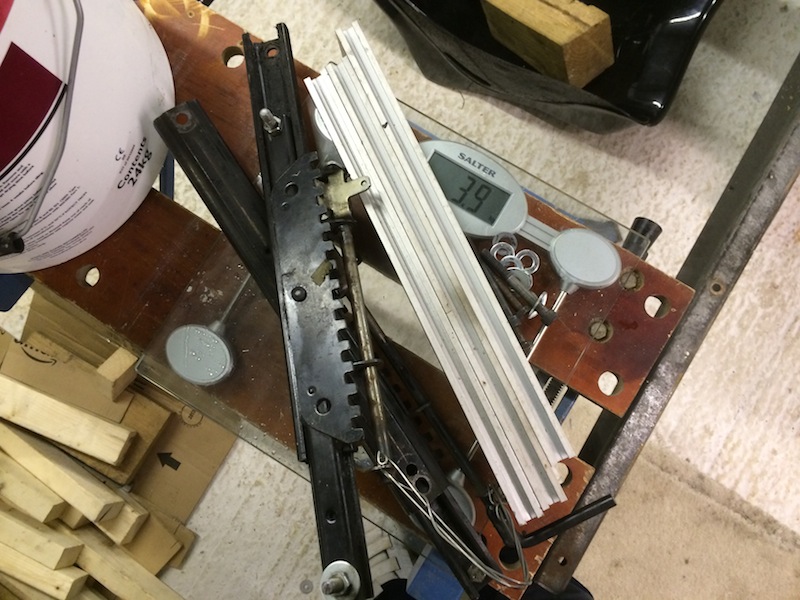
All of it removed, obviously weighed, 3.9kgs of crap!!! now considering the seats themselves are only 3kg, I couldn't believe they'd been
unnecessarily doubled (plus a bit) in weight lol
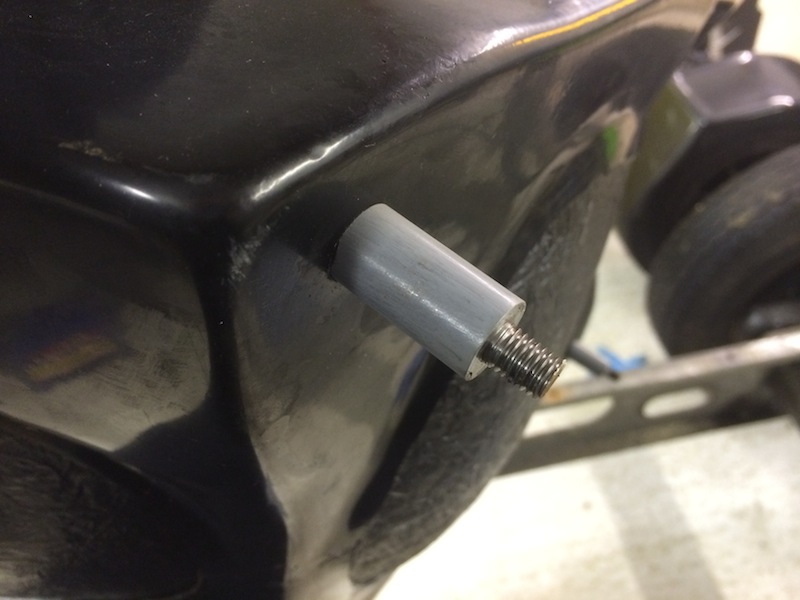
Also, the front edge of my seat from the floor was raised up 70mm previously, and the rear up 50mm (tilting back slightly)
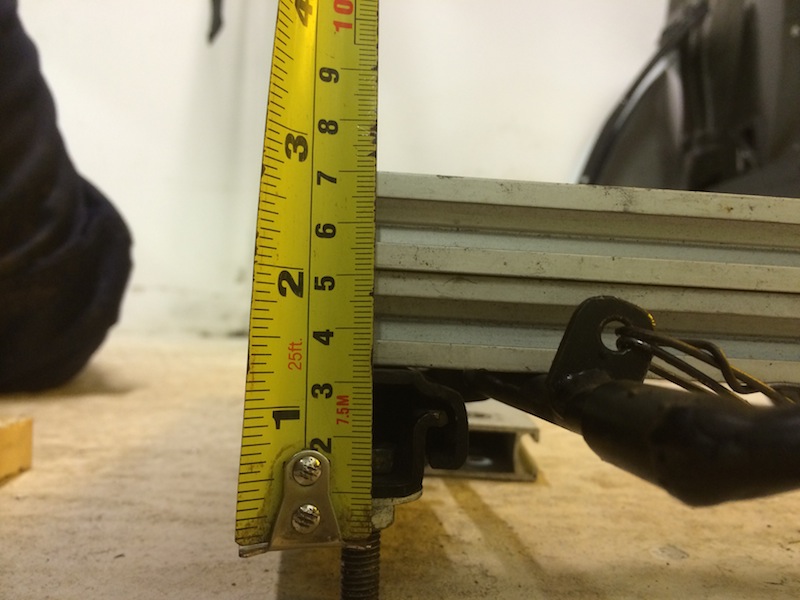
I've now opted for the smallest I could get away with, to get me as low as possible, and now level... these ally spacers weigh 13grams each...
so 52grams, down from 3900grams - saving 3.85kgs
|
|
|
daniel mason
|
| posted on 31/1/14 at 09:31 PM |
|
|
any issues fitting the shifter then let me know!
|
|
|
yellowcab
|
| posted on 31/1/14 at 09:36 PM |
|
|
Thank you pal Cannae wait!
|
|
|
yellowcab
|
| posted on 4/2/14 at 07:44 PM |
|
|
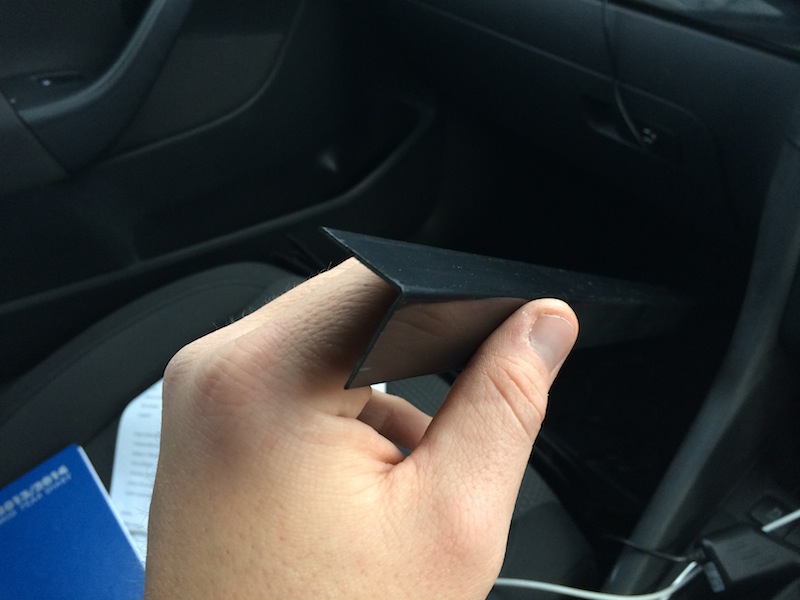
Hallelujah! Update for Dave Mr.Inches.
A metre special of £1.19 black plastic 25mm angled edging to finish the back edge off, where the carpet stops, and my bootlid starts, it'll give
the removable part of my bootlid something to tuck under, and hold it down
And a pic of my other decent harness which I'm well chuffed with
|
|
|
johnny chimpo
|
| posted on 4/2/14 at 08:31 PM |
|
|
where did you get the angled edge from?
|
|
|