kev R1
|
| posted on 4/4/06 at 06:09 PM |

|
|
indy R1 nose cone
right so the nose is in place and i can see perfectly how to bolt into place where it meets the top chassis rail, just wondering how people go about
fastening at the bottom( behind where number plate eoould go!) if at all, your thoughts and ideas would be greatly appreciated,cheers, kev. oh and a
couple of pics wouldn't go a miss!!!
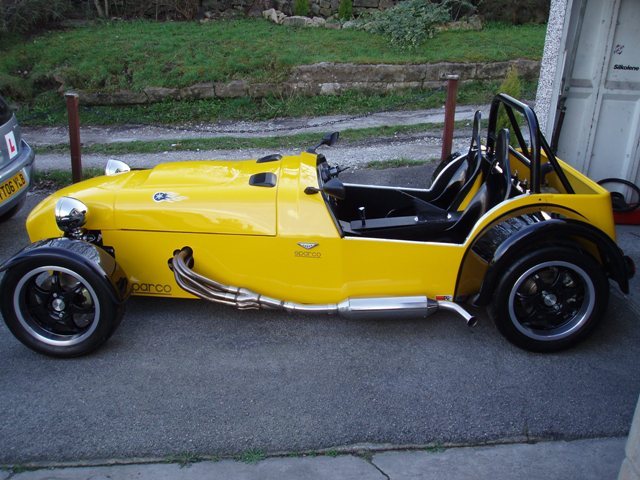
Rescued attachment nose 1.JPG
|
|
|
|
|
mandbsheldon
|
| posted on 4/4/06 at 06:15 PM |
|
|
Kev,
Mine has a ally plate bolted under the bottom of the front chassis rails. It then turns up at the front, just enough to bolt the bottom of the nose
cone to. Sorry no pics
Car looks great by the way!
|
|
|
theconrodkid
|
| posted on 4/4/06 at 06:17 PM |
|
|
mine was "fully floating" at the bottom,no probs.
btw,nice looking car,what mirrors are they and any more pics of them?
who cares who wins
pass the pork pies
|
|
|
ned
|
| posted on 4/4/06 at 06:19 PM |
|
|
they look like long stem yamaha bike (r1?) mirrors to me jon 
beware, I've got yellow skin
|
|
|
kev R1
|
| posted on 4/4/06 at 06:20 PM |
|
|
they are r1 mirrors i believe! thanks for feedback, have you had it at serious speeds with a fully floating bottom cheers,kev cheers,kev
|
|
|
theconrodkid
|
| posted on 4/4/06 at 06:24 PM |
|
|
mine were both an interference fit as it were,it wont go anywhere
who cares who wins
pass the pork pies
|
|
|
kev R1
|
| posted on 4/4/06 at 06:29 PM |
|
|
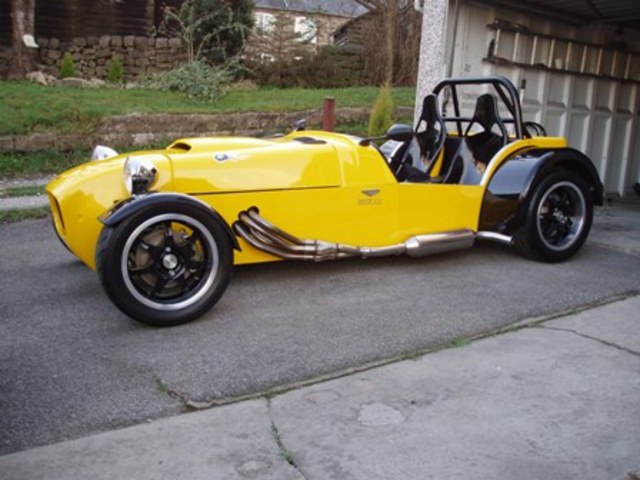
only pics i've really got with mirrors in them,
Rescued attachment mirrors 1.JPG
|
|
|
kev R1
|
| posted on 4/4/06 at 06:29 PM |
|
|
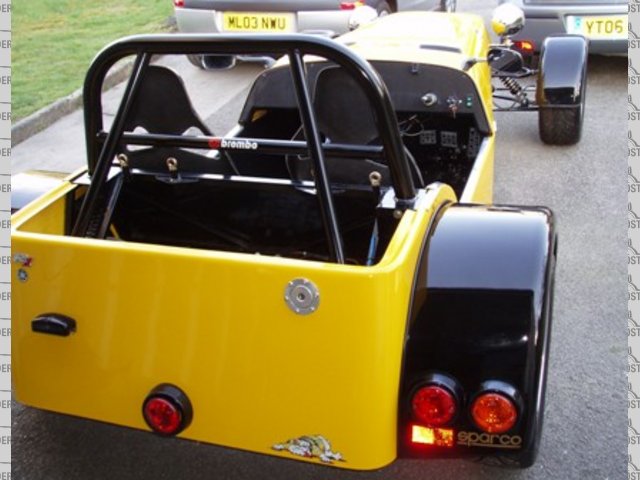
Rescued attachment april 1.JPG
|
|
|
theconrodkid
|
| posted on 4/4/06 at 06:36 PM |
|
|
cheers mate,maybe sp3 would look better in yellow/black?????
who cares who wins
pass the pork pies
|
|
|
fesycresy
|
| posted on 4/4/06 at 06:52 PM |
|
|
Where did you get the mirrors from ?
-----------------------------------------------------------------------------------------------------
The sooner you fall behind, the more time you'll have to catch up.
|
|
|
olv
|
| posted on 4/4/06 at 07:06 PM |
|
|
you've forgotten to put on a steering wheel
looks great though. sva ready nearly?
|
|
|
Guinness
|
| posted on 4/4/06 at 07:06 PM |
|
|
Here is how I fixed the bottom of my nose cone. Hopefully you can see two zinc plated hinges, riveted to the underside of the chassis rail and then
bolted to the return on the nose cone. The top is bolted down into the top of the chassis rails.
 
Hinge Indy Nose
Hope that helps.
Mike
Nice Mirrors BTW!!!
|
|
|
kev R1
|
| posted on 4/4/06 at 08:49 PM |
|
|
thanks for the help, nearly sva ready now just want to get it totally finished before i take it, thanks again,kev
|
|
|
mike smith1
|
| posted on 5/4/06 at 08:16 AM |
|
|
I hinged mine as well, i used slightly different hinges but same principle, cant post picture on here coz it wont work lol
but there is a pic in my archive
P.s Looking good!
Mike
|
|
|
Hellfire
|
| posted on 5/4/06 at 11:47 AM |
|
|
This picture shows the first stage of how we fitted the nosecone. The second stage was to cut the aluminium just before it meets the GRP and fit a
piano hinge (unfortunately no picture)

|
|
|
kev R1
|
| posted on 5/4/06 at 05:21 PM |
|
|
cheers guys.kev
|
|
|


.JPG)

