yellowcab
|
| posted on 25/1/13 at 10:06 PM |

|
|
Thanks for the reply, I did wonder how it would stand up over the years, it looks like it was never powder coated in the first place... So it's
been 8 years to get in its current condition...
The only way of powder coating it would be to strip it back to bare bare, which wasn't an option as I want to get it back on the track within 4
weeks lol
|
|
|
|
|
chris mason
|
| posted on 26/1/13 at 09:05 AM |
|
|
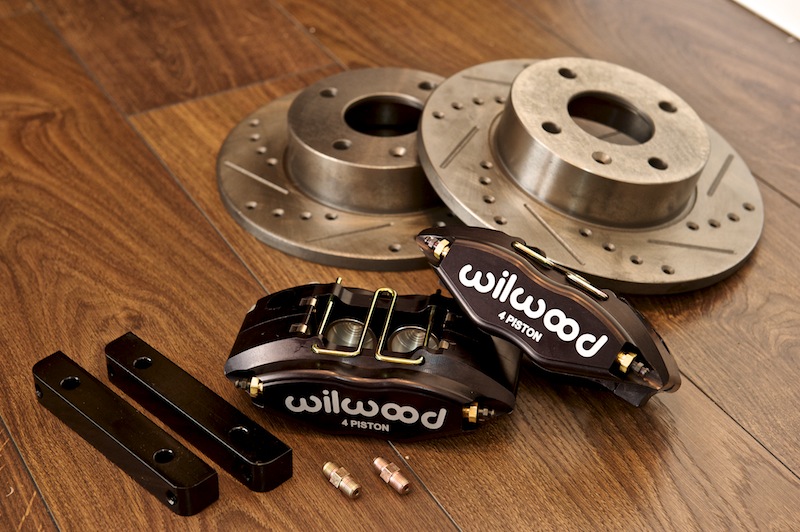
iirc, Jon's car runs cortina hubs, your using sierra, neither the calipers or discs will fit. The callipers may be useable with a fabricated
bracket, but the discs, probably not so.
|
|
|
yellowcab
|
| posted on 26/1/13 at 05:28 PM |
|
|
Chris you're totally right, and I now remember Jon telling me this - so I know its completely my error...
They're now up for sale for someone else to take advantage of  ) )
|
|
|
yellowcab
|
| posted on 27/1/13 at 06:51 PM |
|
|
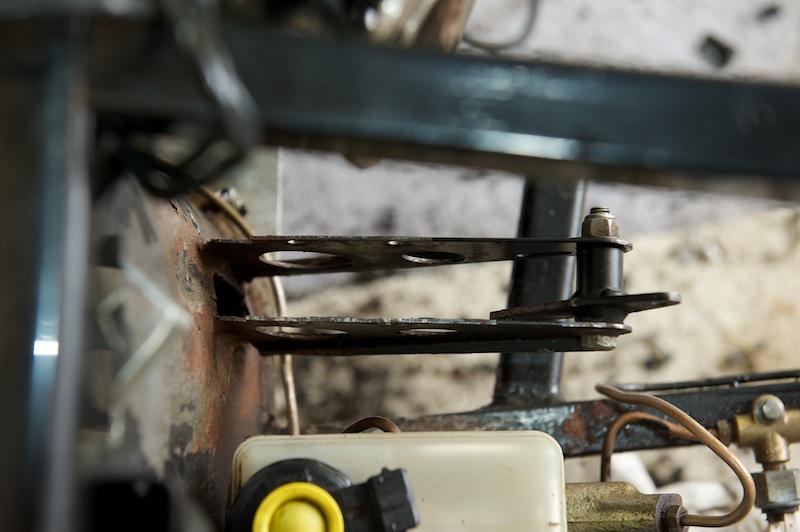
Never liked my current gear mechanism setup with the rod, as it was always very clunky operation because of the bracket
Looks grotty, so was time to remove the last bits to finish prepping the bay for a tidy up
Anyone that can offer any better advice, maybe by going gear cable route - please share your experience and opinions
The offending item which was always hit & miss
With that removed, it was time to look at the clutch mechanism setup, very grotty - and well in need of some TLC, again, think its way over
complicated - so would appreciate any advice, or suggestions on how to get a neater setup
All removed, wiped down, de greased, ready for Nitromors before prepping, priming & repainting
Please say if you can see anything that can be improved
Thanks in advance for any opinions, help, advice or suggestions!
|
|
|
yellowcab
|
| posted on 30/1/13 at 09:31 PM |
|
|
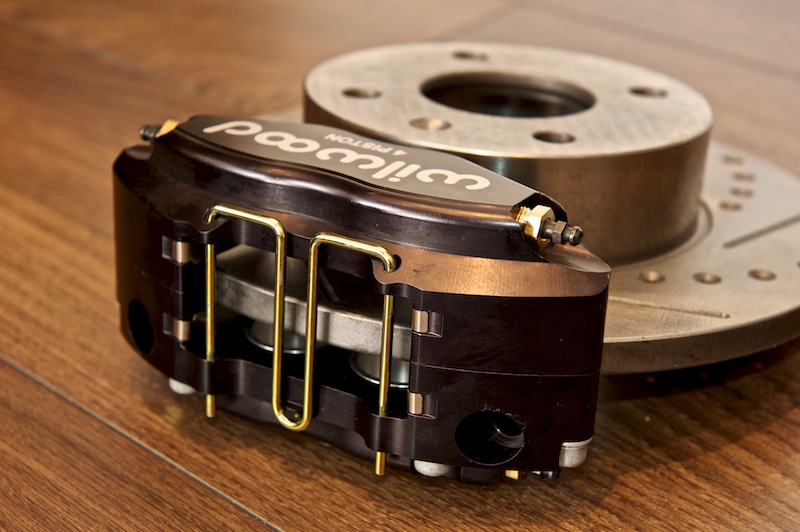
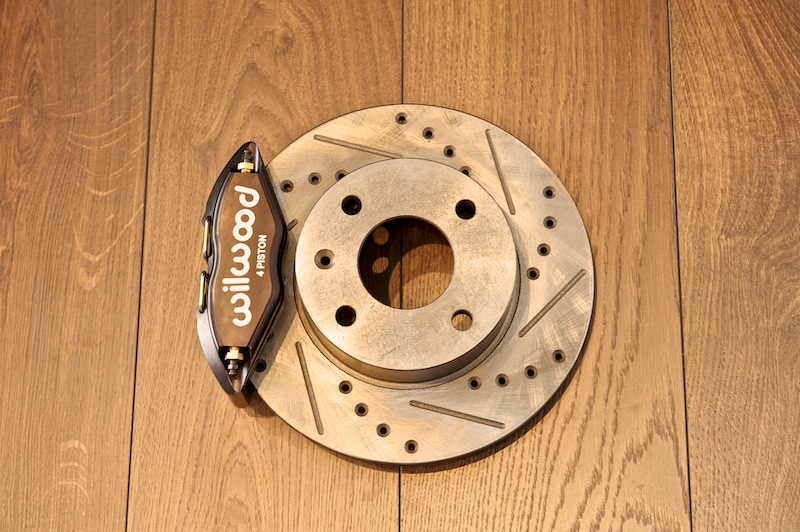
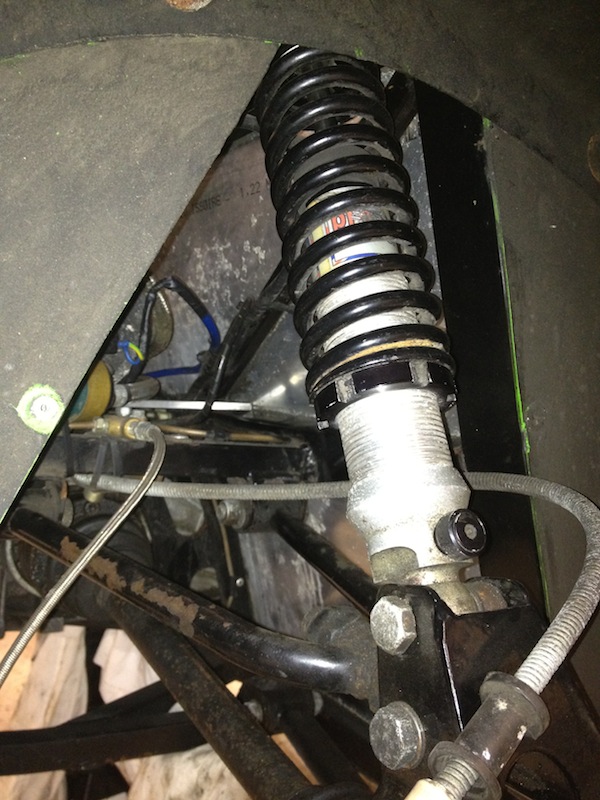
Massive thanks to Danny @ MK Sportscar for yet again fantastic customer service & delivery... here are my new goodies to sort my rear end geometry
out...
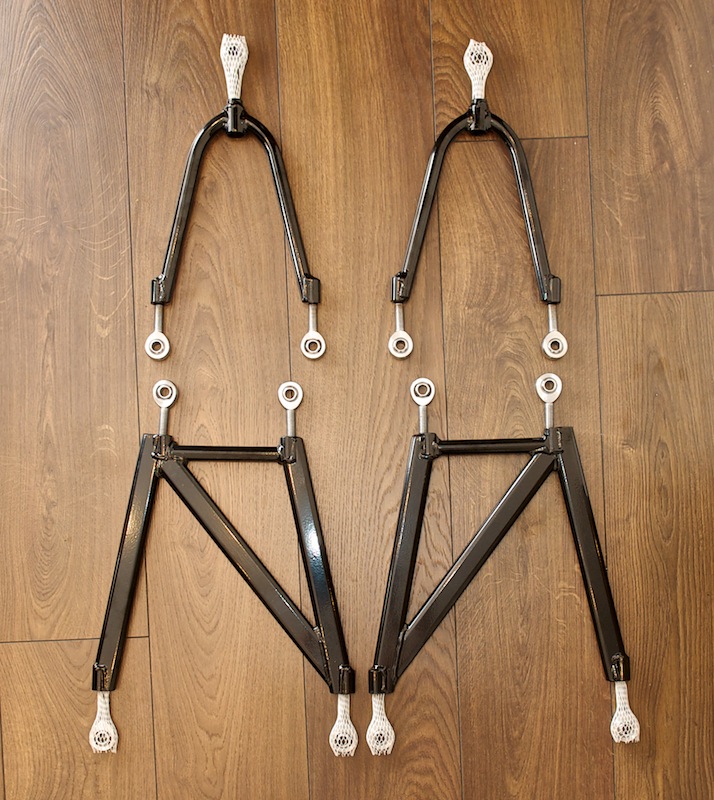
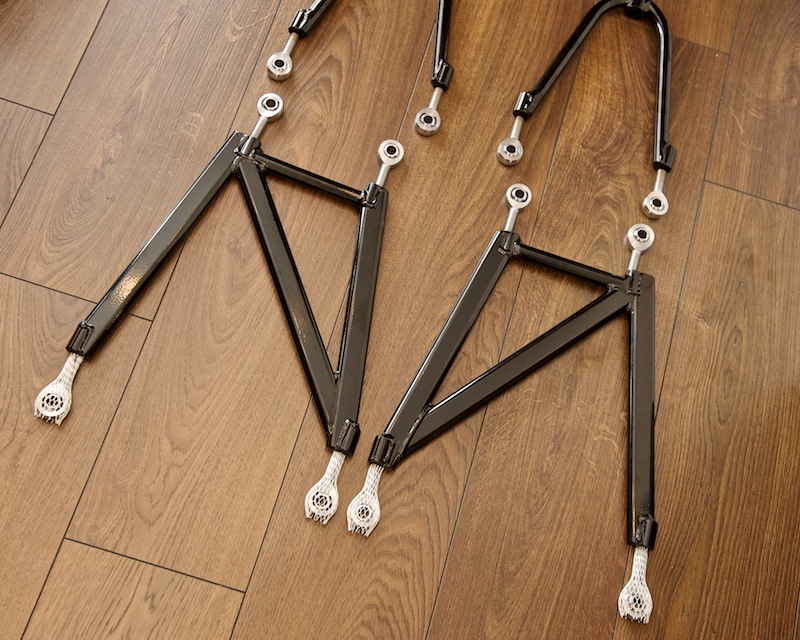
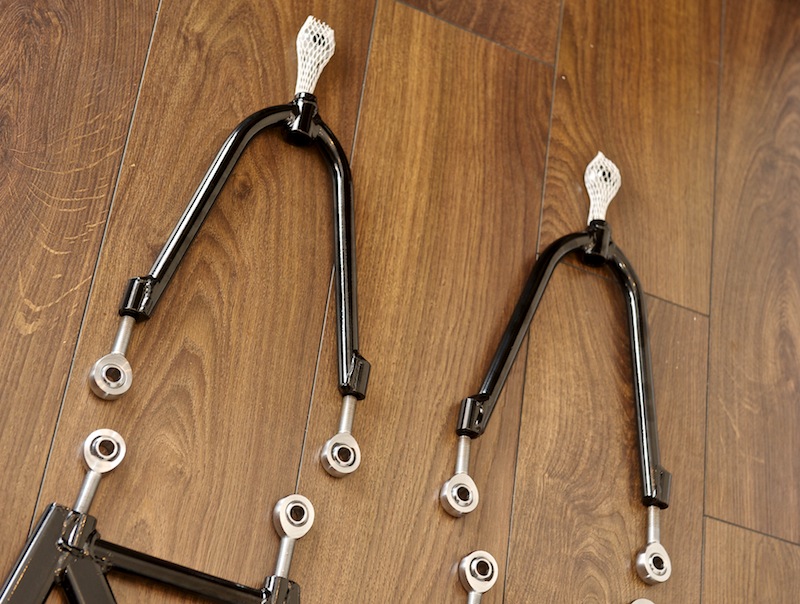
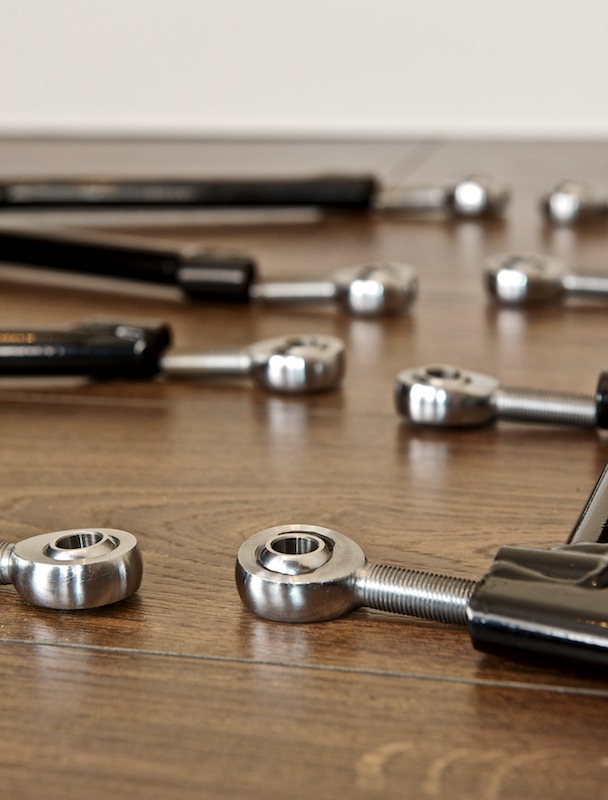
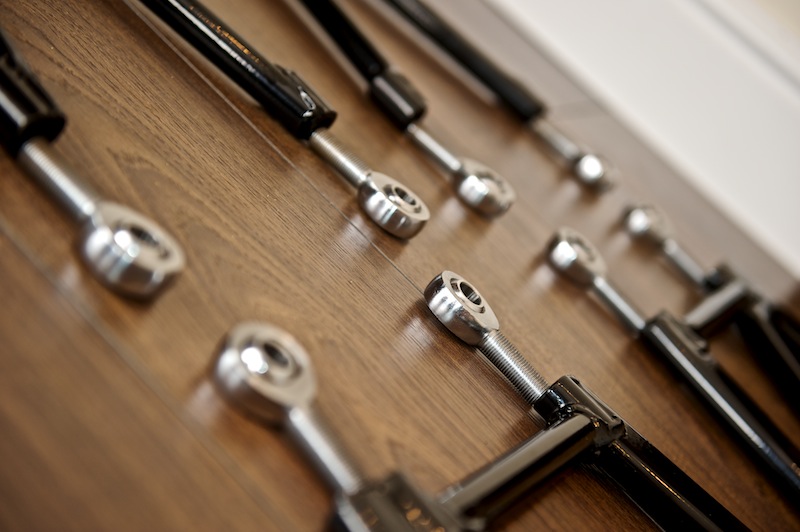
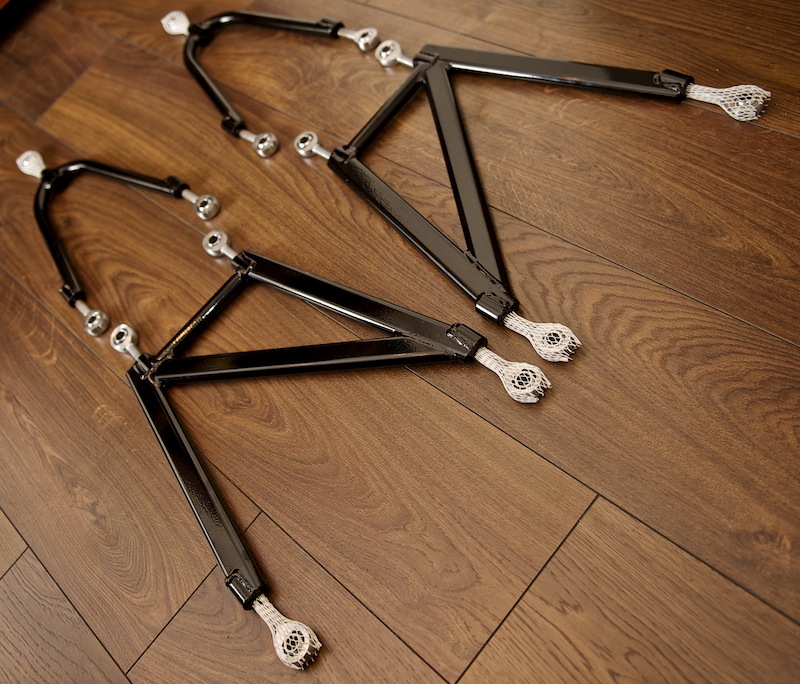
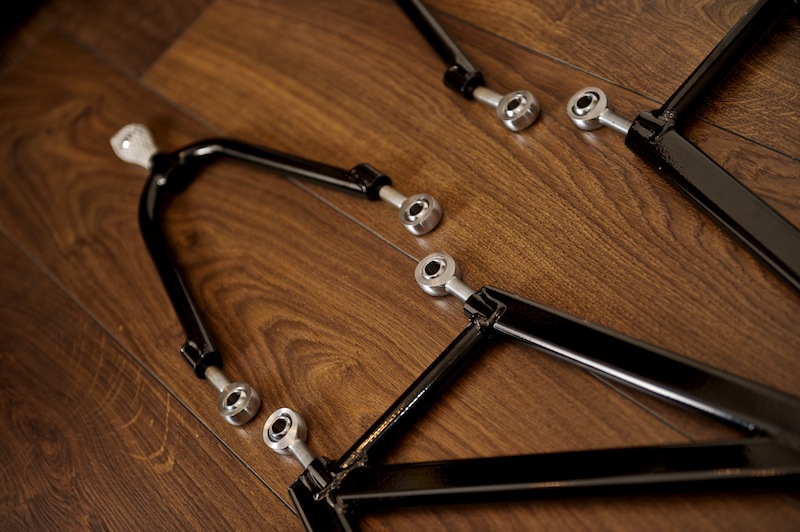
Yes, 7 photos of exactly the same thing - because they're that sexy
|
|
|
ceebmoj
|
| posted on 30/1/13 at 11:09 PM |
|
|
Floor looks nice as well
|
|
|
snakebelly
|
| posted on 31/1/13 at 02:08 AM |
|
|
Those bones should definitely give you some room for tweaking! Boy is it going to be a harsh ride at the back though, mostly track miles I'm
guessing/hoping?
[Edited on 31/1/13 by snakebelly]
|
|
|
yellowcab
|
| posted on 31/1/13 at 02:49 PM |
|
|
Indeedy, once its up and running... along with reliable - I would say its predominantly just a track toy - I only keep it taxed & insured for the
odd good weekend weather blat... (last good weather on a Saturday was back in 1984 by all accounts)
So yeah - probably a good 75% track, with 25% road... but that ratio hasn't been achieved yet due to the unreliability of it lol
|
|
|
yellowcab
|
| posted on 1/2/13 at 11:28 AM |
|
|
More bits for the rebuild... thanks to Mike & Lee @ RPE for his little parcel
|
|
|
yellowcab
|
| posted on 1/2/13 at 05:43 PM |
|
|
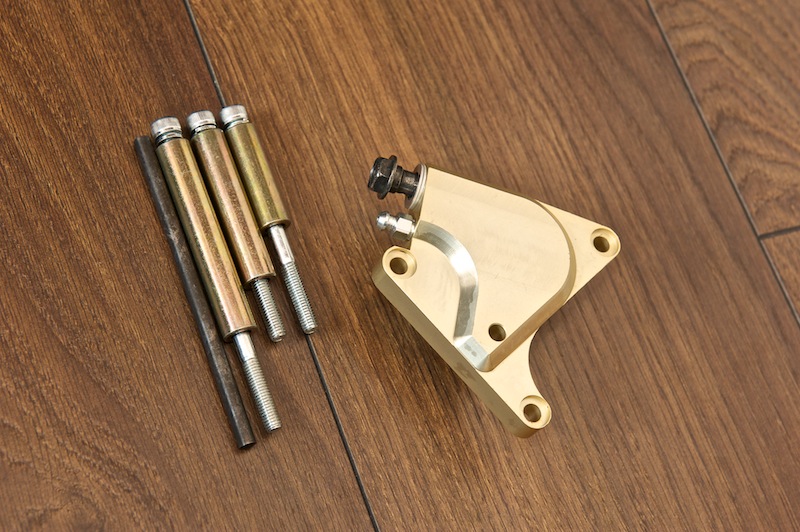
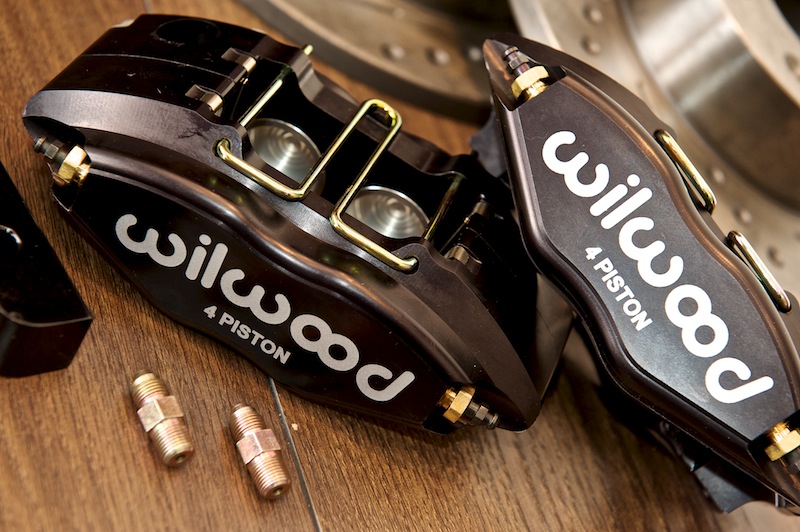
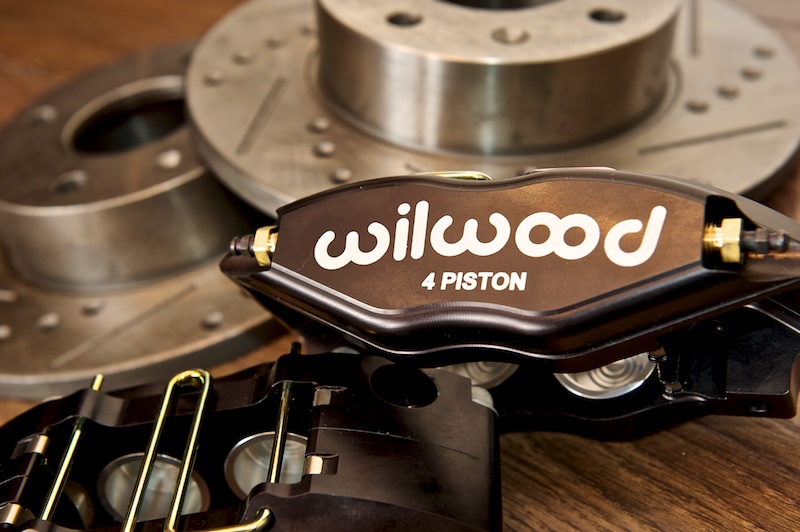
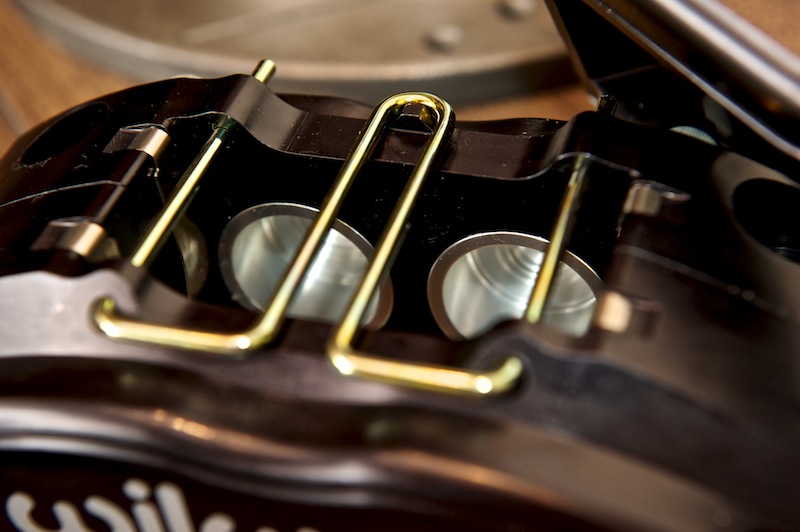
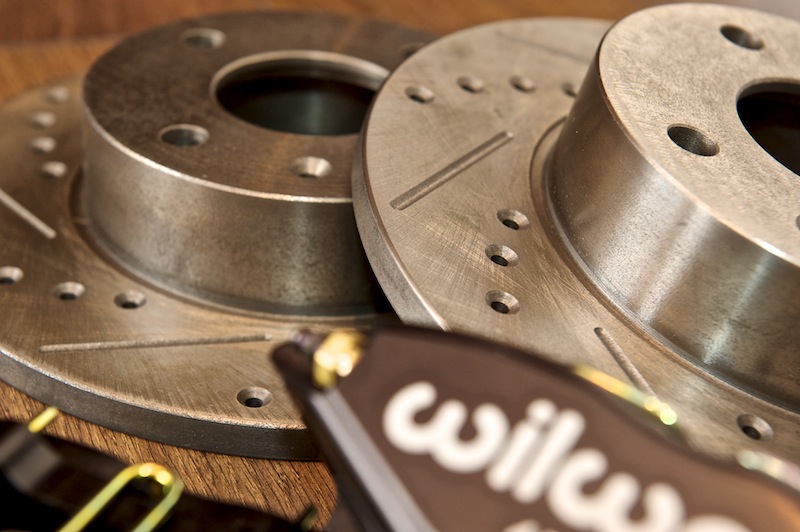
Massive massive thanks to Ben for this little arrival - very happy with these badboys (beware: more product shots)
|
|
|
parkiboy
|
| posted on 1/2/13 at 06:33 PM |
|
|
I'll be very interested to see your dry sump fitted, mine was done by day tuners and they put it through the fibreglass bulkhead into the
passenger footwell. Said that was the only place they could get it to fit however it way be a different tank to which you are using, which tank is
it?
If you get yours nice and tidy there I may have to rethink my current dry sump setup, it works but isn't the prettiest thing.
|
|
|
yellowcab
|
| posted on 1/2/13 at 06:39 PM |
|
|
It's a standard Westfield Megabusa item that we won from eBay - was only about £22 I think, has a little ding in it, and could do with some
metal polish - but it already has the cut out so it fits around the box section...
It's where it would sit in a Westfield, which is why I presumed mine would go there too - lol
Any pics of your setup?
|
|
|
parkiboy
|
| posted on 1/2/13 at 06:47 PM |
|
|
Nah I haven't as of yet, I shall take some this weekend and see people's opinions on it, I do believe my tank is a sbd motorsports one, it
was designed specifically for the busa apparently but it was around £300 and it is bloody massive to be honest!
It is a possibility they only put it where it is so they didn't have to mess around with some wiring that would be in the way, for some reason
the guy who built it put the Ecu there.. I'm wanting to redo all the wiring but it looks scary lol.
|
|
|
yellowcab
|
| posted on 1/2/13 at 06:55 PM |
|
|
tell me about it mate, i was disconnecting wires left right and centre the other day absolutely crapping myself as I have no idea how it all goes back
together!
i'm advising you now, if your car currently works, then keep it like that!
wish i hadn't bothered with what i have done to mine already... however needs must!
|
|
|
yellowcab
|
| posted on 1/2/13 at 07:03 PM |
|
|
for those that read this post regularly... I need you opinions & advice please lol
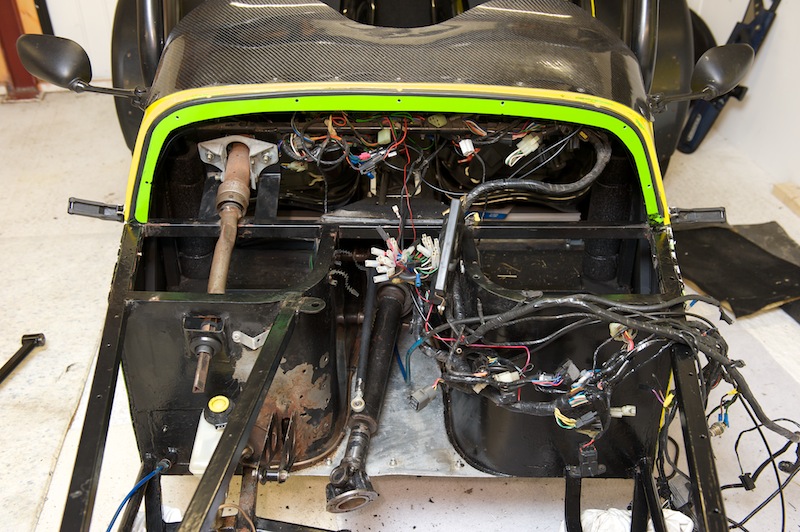
So the stripdown and clean up continues, and the wiring needs redoing whilst I'm at it - I'm sure I can shed a few kilos in unwanted
wires, and plugs that are just taped out the way!
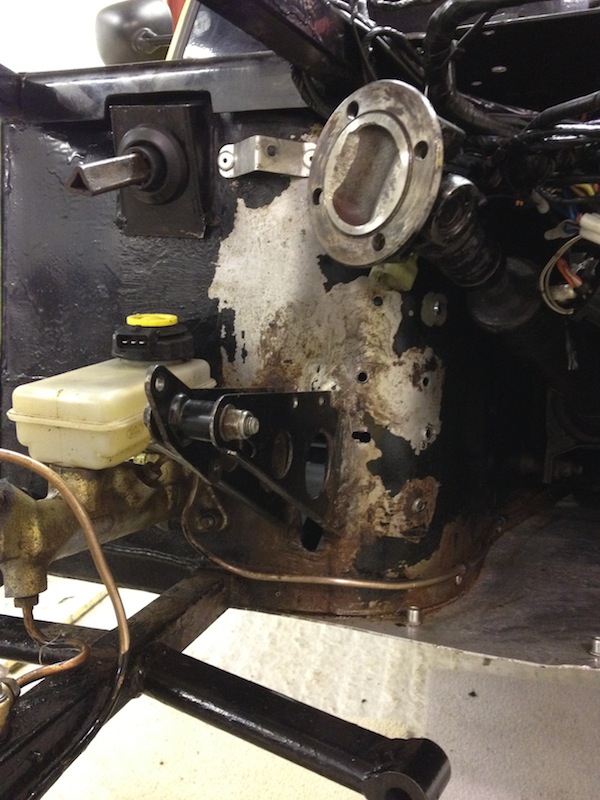
On the MK, the bulkhead leading into the tunnel is curved, which, it might have looked pretty one day - or rather Ben pointed out is probably for a
Type 9...
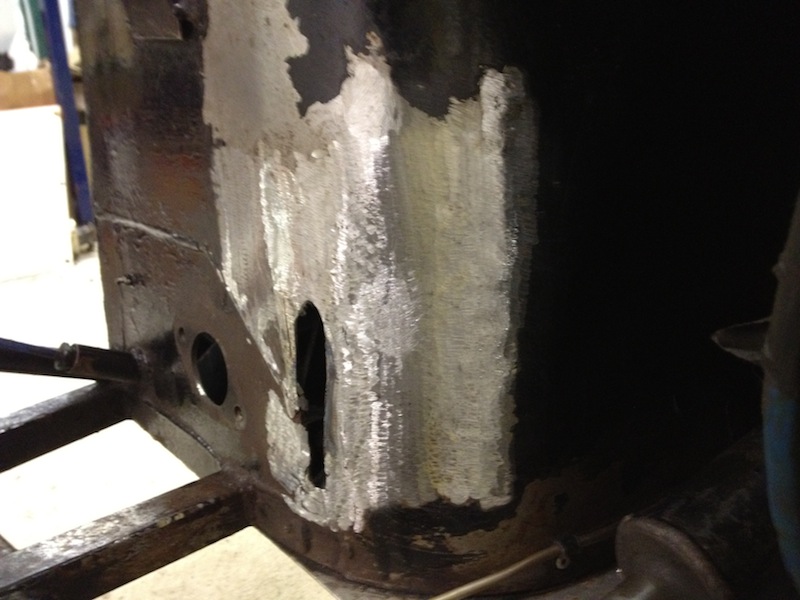
You can see the grotty bulkhead on the left hand side, probably not as bad as it looks, just needs a good lick of paint
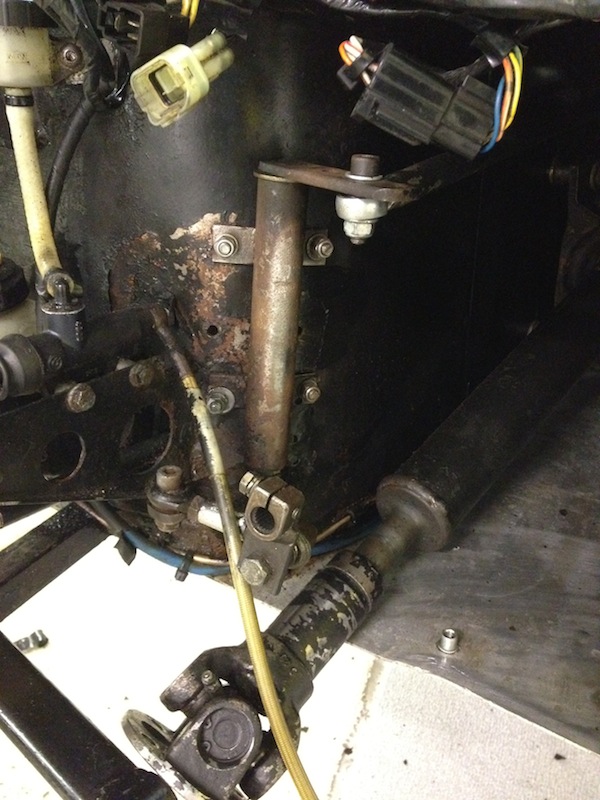
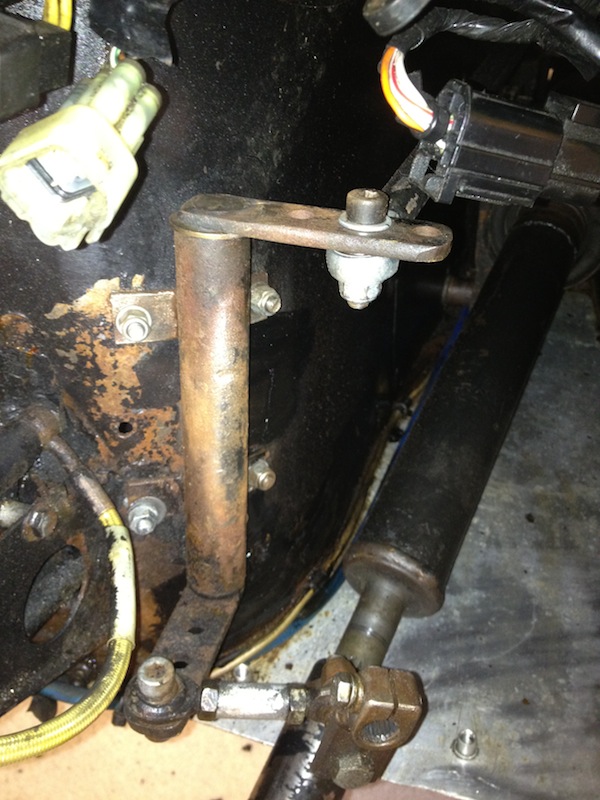
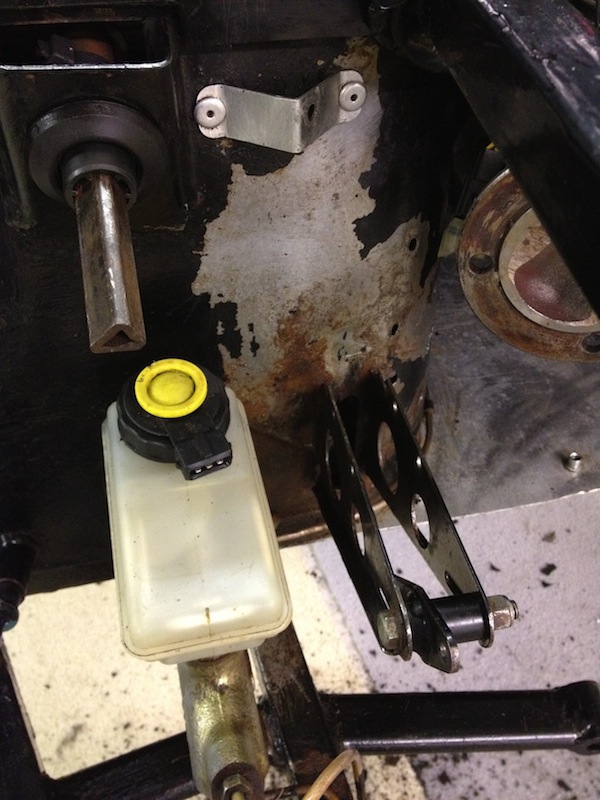
Here is a close up of the mess, the random holes which looks like a cross between a cheese grater, and a sieve... these were holding the gear shift
mechanism onto the bulkhead lol the clutch bracket is welded on as you can see, but it is done so as it enters the curve to the tunnel
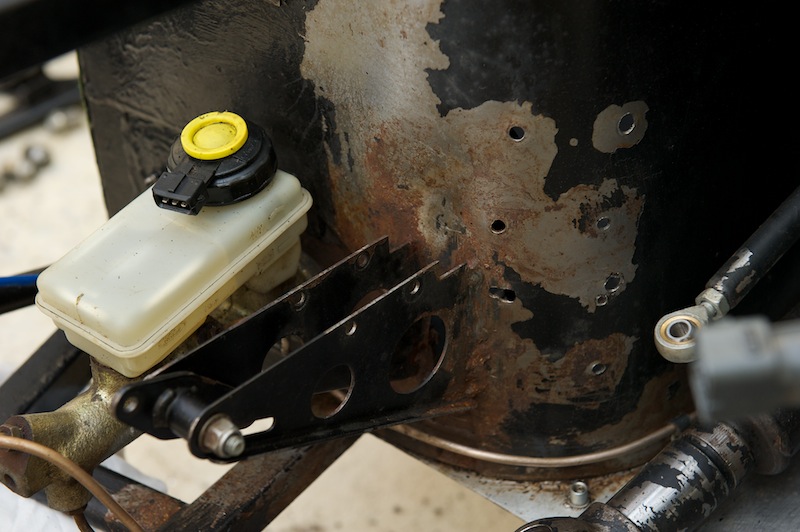
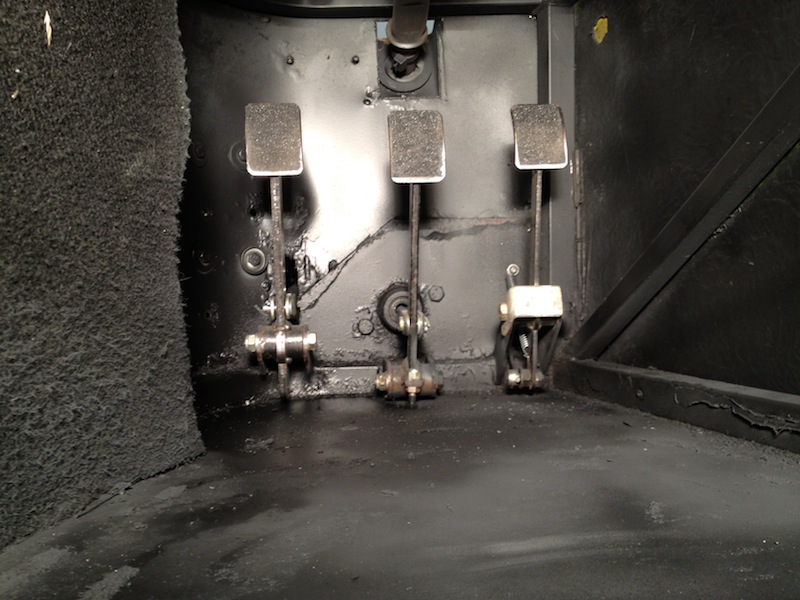
I wanted to cut it off and replace it anyway, and get a Wilwood clutch 0.625 master cylinder with an integral reservoir, but my problem is below, the
master cylinder obviously has to exit the pedals and bulkhead at a 90degree angle, which means it cant be bolted straight on, also - the slotted hole
of where the old clutch pedal rod would also cause an issue.
Would you advise me just to get the angry grinder out, cut the whole lot out, re-weld a new piece in... without a curve... I'm aware i'd
have to then replace the front to rear copper brake line...
Or do I just put a section in where necessary?
Answers on a postcard sent by pigeon please.
[Edited on 1/2/13 by yellowcab]
|
|
|
yellowcab
|
| posted on 1/2/13 at 07:08 PM |
|
|
Oh, and its probably worth mentioning that the bulkhead has previously been patched up...
|
|
|
sdh2903
|
| posted on 1/2/13 at 07:27 PM |
|
|
While you've got it stripped cut it all out and do it proper. Gets rid of all the botch bits and makes clutch cylinder mounting easier. If you
don't, You will look back at it in a few months and wish you had.
Won't cost much, tenner for sheet metal, tenner for some copper/nickel brake pipe and an afternoons work.
[Edited on 1/2/13 by sdh2903]
|
|
|
yellowcab
|
| posted on 2/2/13 at 01:01 PM |
|
|
I agree - I think if it don't do it - i'd regret it!
|
|
|
yellowcab
|
| posted on 3/2/13 at 06:31 PM |
|
|
So a big thanks to Col today who lent me a couple of hours, and some kit so I could get cracking.
Sometimes all you need is a fellow LCBer to tell you to stop fannying around and get on with it... so we did...
We lopped off the old clutch mount, and welded up the cheese grater holes from the old gear linkage bracket
Looks better than I had imagined already, and gone back to bare metal, and will prime & repaint it
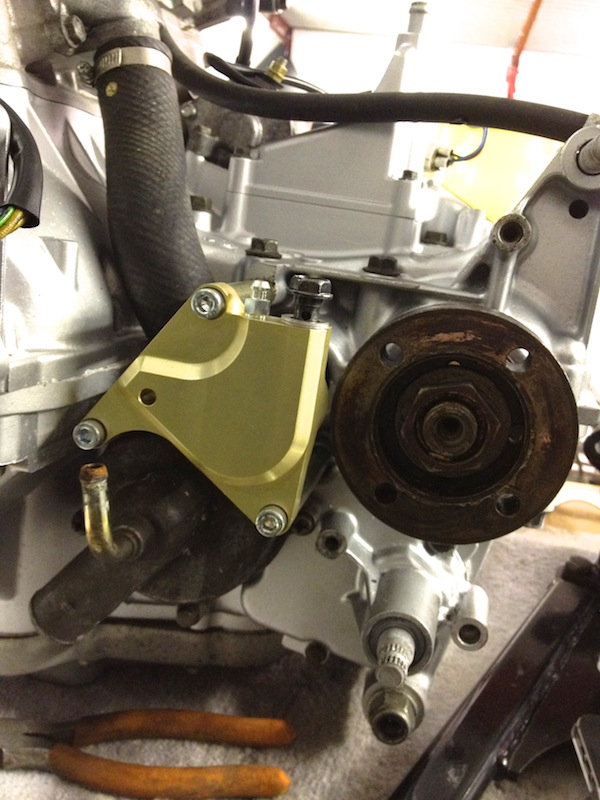
Secondly - fitted the Clutch Slave Cylinder to the engine, so its another thing out the way
At that point, turned attention to the rear, whipped off the rear wheels and had a mooch at the pickups etc
Also removed the fuel tank, high pressure pump, to measure up for a new tank
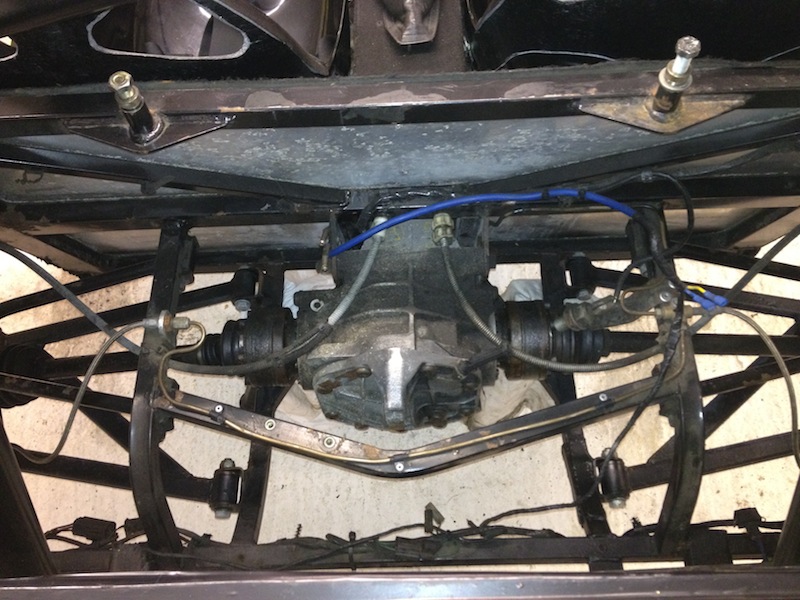
The measurements I have for the new tank is 19cm deep at the bottom, 12cm at the top, 40cm high, and 53cm wide... my concern with this is that it fits
snug under the lip of the rear clam, and I'm pretty sure I won't have enough height for the inlet pipe...
|
|
|
Relph
|
| posted on 3/2/13 at 08:22 PM |
|
|
Hi mate, great thread. Do you mind me asking where you got your clutch slave cylinder from ? And how much ?
Thanks
|
|
|
yellowcab
|
| posted on 3/2/13 at 08:32 PM |
|
|
You can get them direct from SBD for £190 for the whole fitting kit, or Danny @ MK Sportscars for the same amount.
Extreme sell them, as do Nova.
I happened to get mine from a friend, it was surplus to requirements
|
|
|
Rob55
|
| posted on 4/2/13 at 12:18 AM |
|
|
When you have it stripped back as far as this would you not consider putting in a brake bias pedal and separate master cylinders? Seems an ideal time
to do it!
[Edited on 4/2/13 by Rob55]
|
|
|
yellowcab
|
| posted on 5/2/13 at 05:41 PM |
|
|
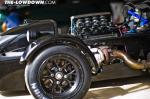
Having got my engine cradle back from the powder coaters in gloss black, and how nice it looks and smooth - it's made me decide to strip back my
newly painted chassis back to bare metal, and I've placed an order today with Frosts for some POR Paint Stripper, POR Marine Clean, POR Prep
& Ready, POR Rust Preventative and POR15 Blackcote lol lol lol 
Should have it looking a damn site nice than the Hammerite/ Smoothrite currently does, and more permanent!
|
|
|
yellowcab
|
| posted on 5/2/13 at 06:35 PM |
|
|
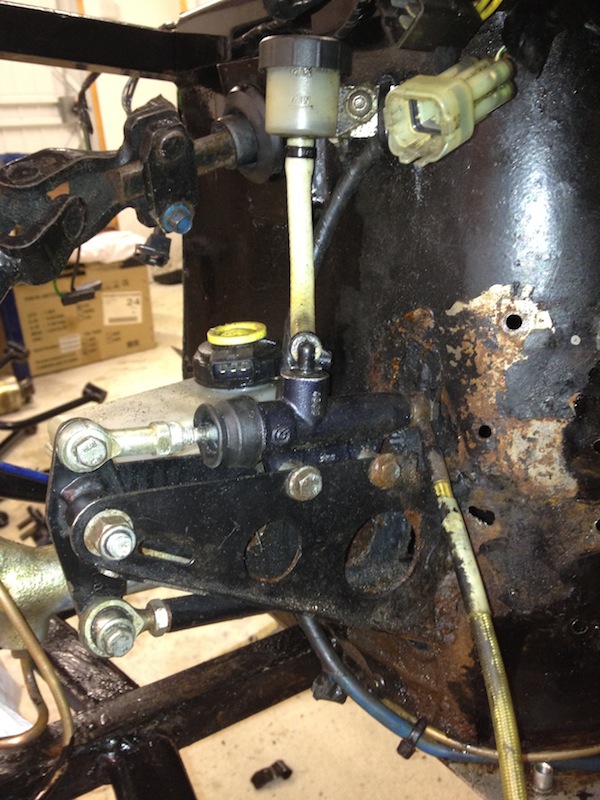
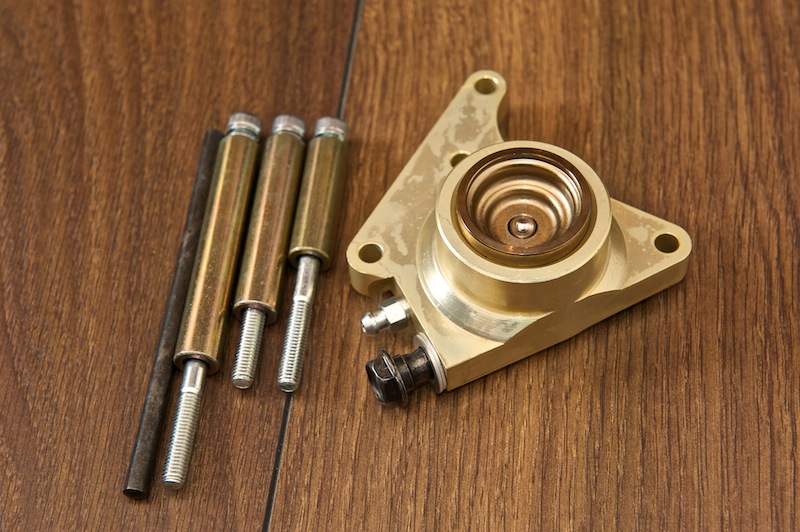
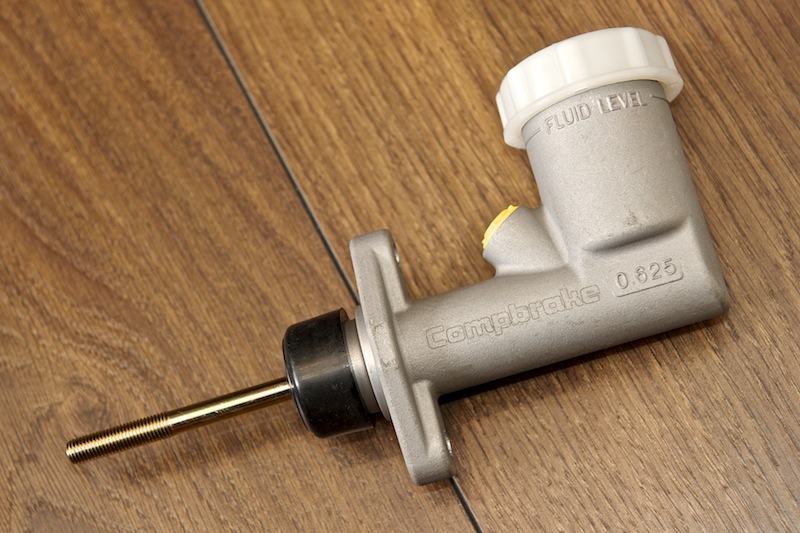
Almost went a whole post without a photo - jeeeeez whats up with me!
Anyway - the reason I wanted away with the standard clutch MC and bracketry was because of the 3 little rods, 4 rose-joints, and a pivot all might
have had the slightlest play in them, add all the bits of play up - and you get a sloppy pedal (ohhh errr) that together with the remote reservoir
that I wasn't keen on visually...
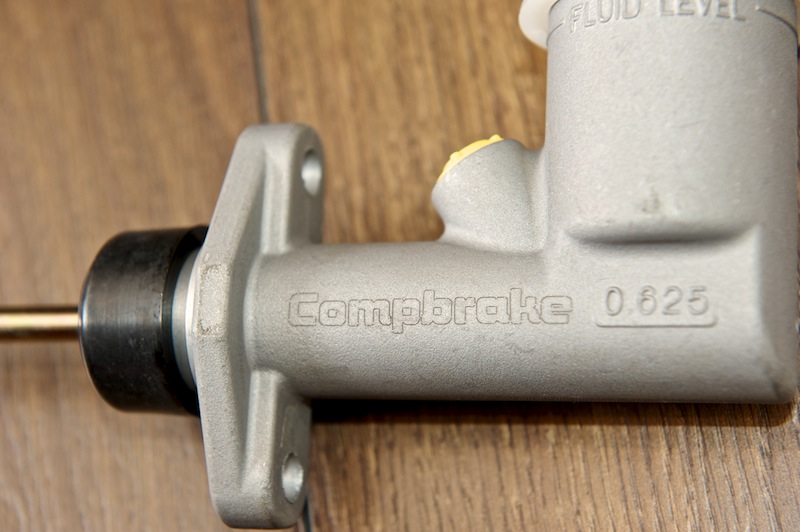
Searched eBay for the cheapest 0.625 Integral MC I could find, which was £24.99 free delivery, and this little beauty turns up, very happy - as
I've had CompBrake components before on previous cars, pedal box in my Nova, eccentric top mounts etc.

|
|
|
perksy
|
| posted on 5/2/13 at 07:31 PM |
|
|
quote:
Originally posted by yellowcab
Having got my engine cradle back from the powder coaters in gloss black, and how nice it looks and smooth - it's made me decide to strip back my
newly painted chassis back to bare metal, and I've placed an order today with Frosts for some POR Paint Stripper, POR Marine Clean, POR Prep
& Ready, POR Rust Preventative and POR15 Blackcote lol lol lol
Should have it looking a damn site nice than the Hammerite/ Smoothrite currently does, and more permanent!
Good Man 
If your going to all the trouble your going to you might aswell do the best job with the best materials you can.
Like i said before Hammerite won't last long for your application and is better suited to garden gates.
Please make sure you follow the safety instructions with POR 15 as it can be nasty stuff.
|
|
|