yellowcab
|
| posted on 4/2/14 at 08:58 PM |

|
|
B&Q 
|
|
|
|
|
40inches
|
| posted on 4/2/14 at 10:05 PM |
|
|
 You finished the boot lid? You finished the boot lid?  A nice job it is too A nice job it is too 
|
|
|
Ben_Copeland
|
| posted on 5/2/14 at 10:30 AM |
|
|
Top job as always.. about time you start driving it?
Ben
Locost Map on Google Maps
Z20LET Astra Turbo, into a Haynes
Roadster
Enter Your Details Here
http://www.facebook.com/EquinoxProducts for all your bodywork needs!
|
|
|
yellowcab
|
| posted on 5/2/14 at 07:25 PM |
|
|
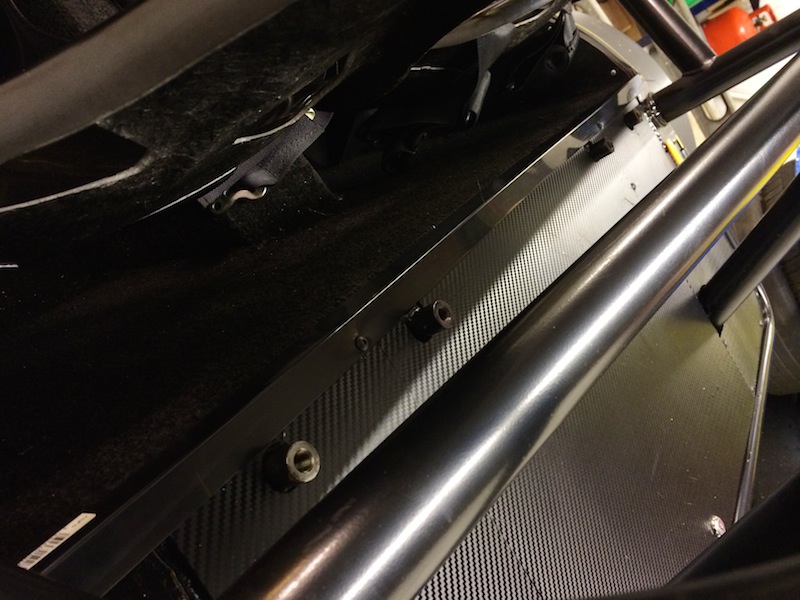
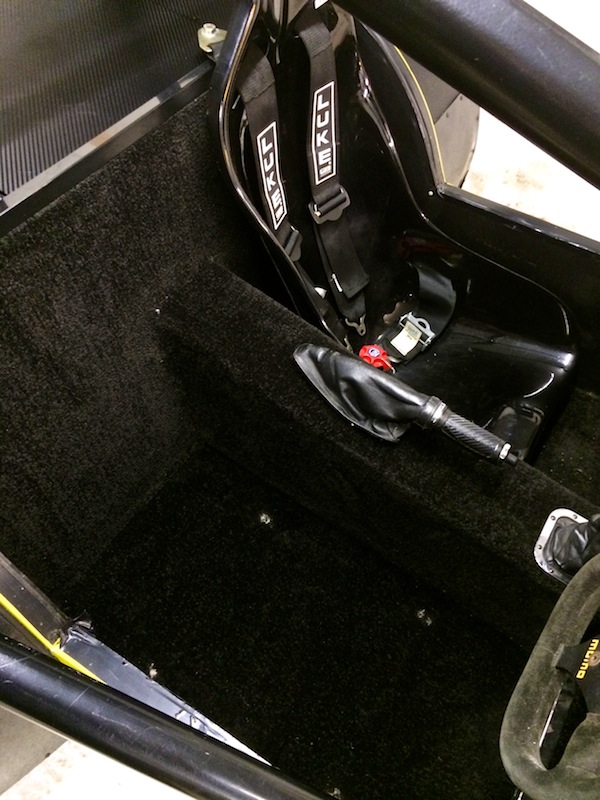
Only managed to get 10minutes or so last night, so just whacked on the edging, a metre is the perfect length which means it didn't even need
to be cut lol
Just drilled a couple of holes, and screwed it down using the dome headed bolts that are holding the side pieces down, neatens it up no end, can no
longer see the edge of the carpet, and gives my bootlid something to tuck under and hold it down nice and firm
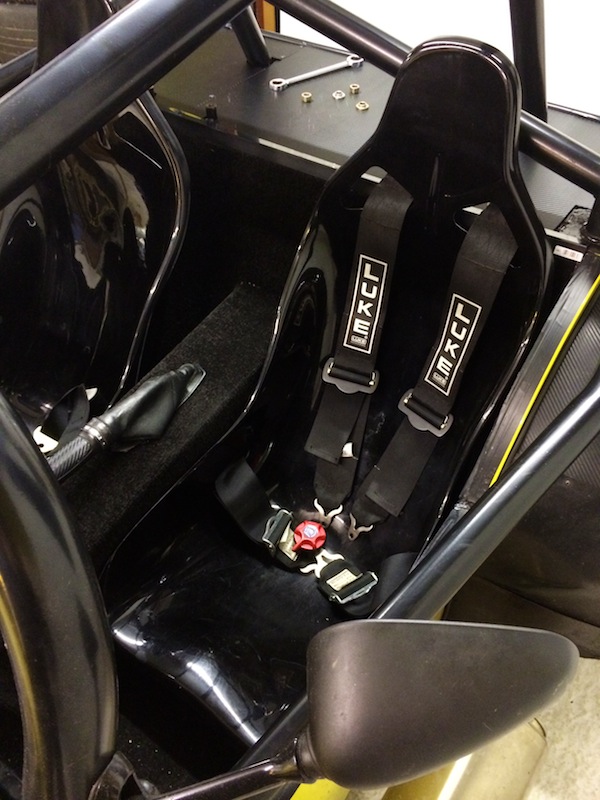
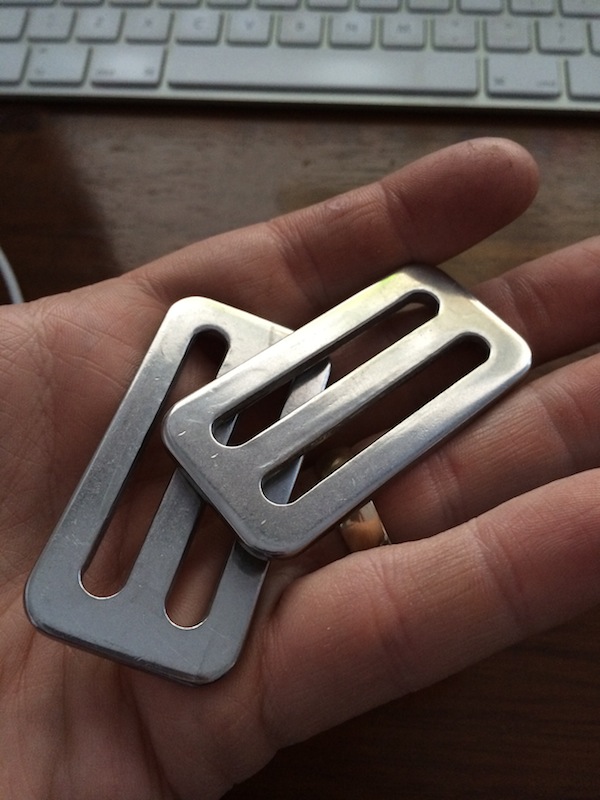
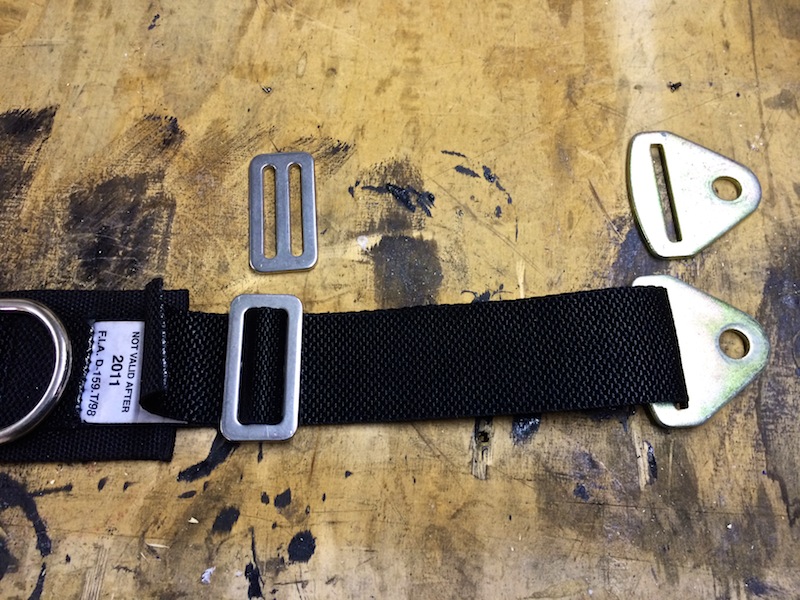
So I've used the easily adjustable lap straps (pull away from buckle) from one pair, with the shoulder straps from the other pair - as my
passengers will vary in size quiet considerably, from my 4 year old daughter up to 6ft 3inches of daveb666

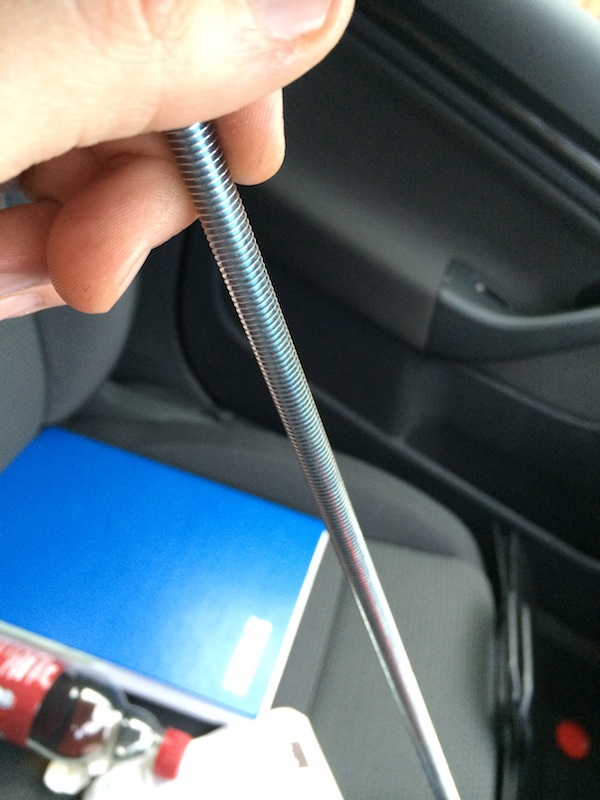
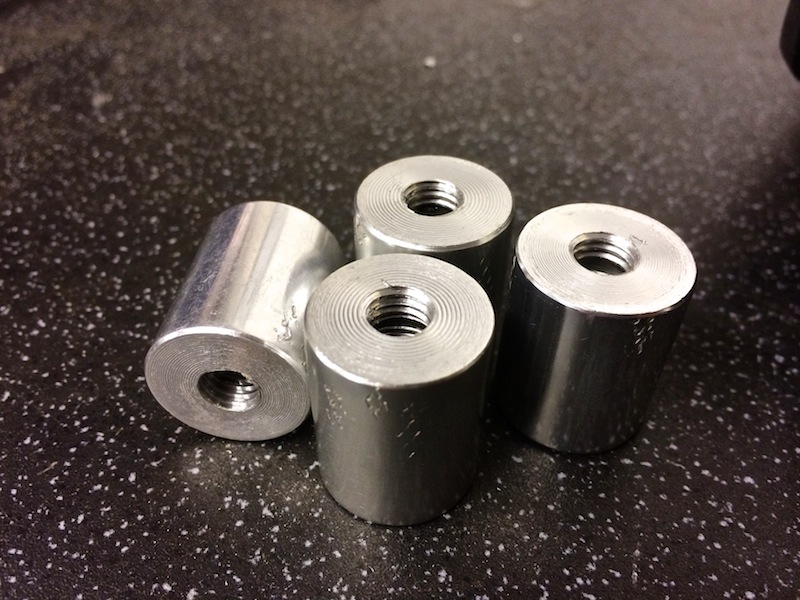
Bought some threaded bar from B&Q for a costly £1.29, in order to make my seat mounts for my drivers seat
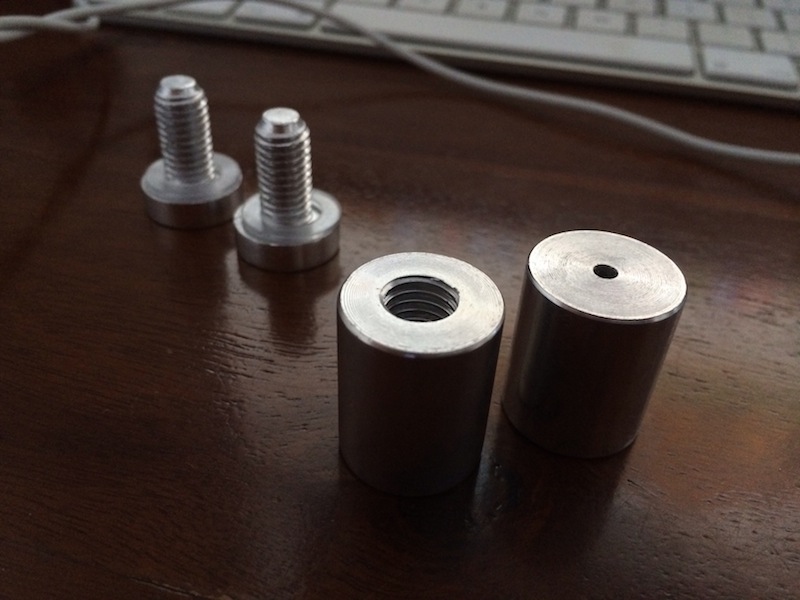
Got four of these aluminium things, which I'll drill through to create the 25mm spacer that I need
And my adjuster buckles for my drivers lap belt have arrived which means we're back on the road (after I've put it back together)
Oh, and just rolling the car forwards and backwards, the front drivers cycle wing stay catches lol lol lol 
|
|
|
yellowcab
|
| posted on 5/2/14 at 11:24 PM |
|
|
So I used the 25mm ally things, drilled them out and tapped them with an M8x1.25 thread
Cut some brass nuts in half, just to lock them into the seat nice and tight, aswell as thread-lock, as I didn't want the threaded bar to spin
when trying to do the nyloc nuts up under the car
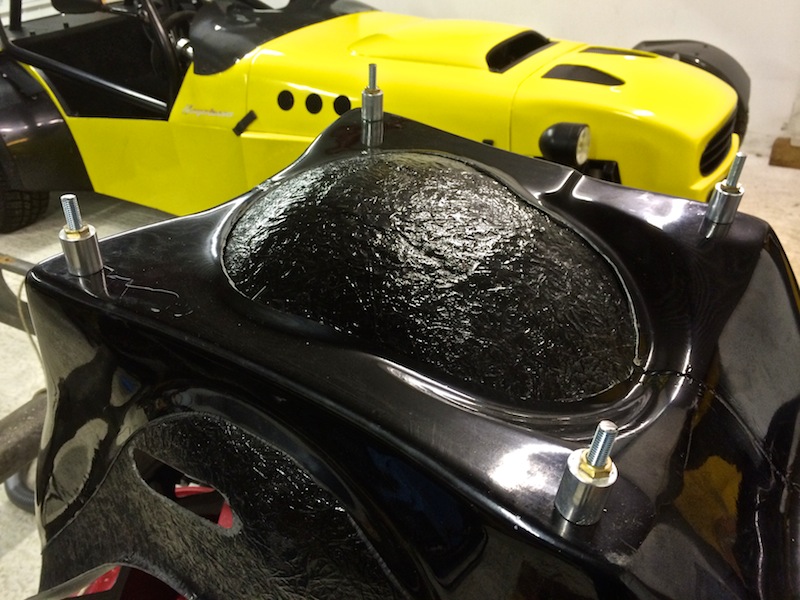
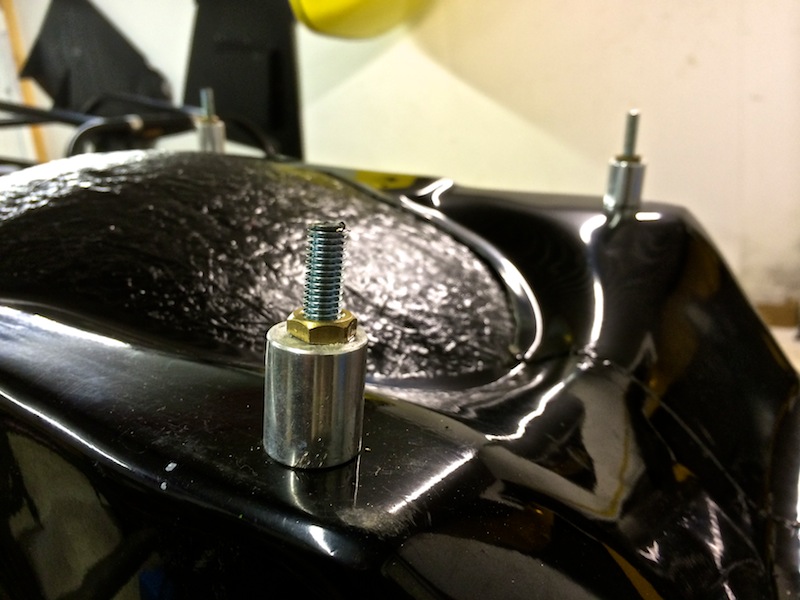
Ready for the seat
Harness locking buckles fitted to the existing lap belt of the 'single seater' harness
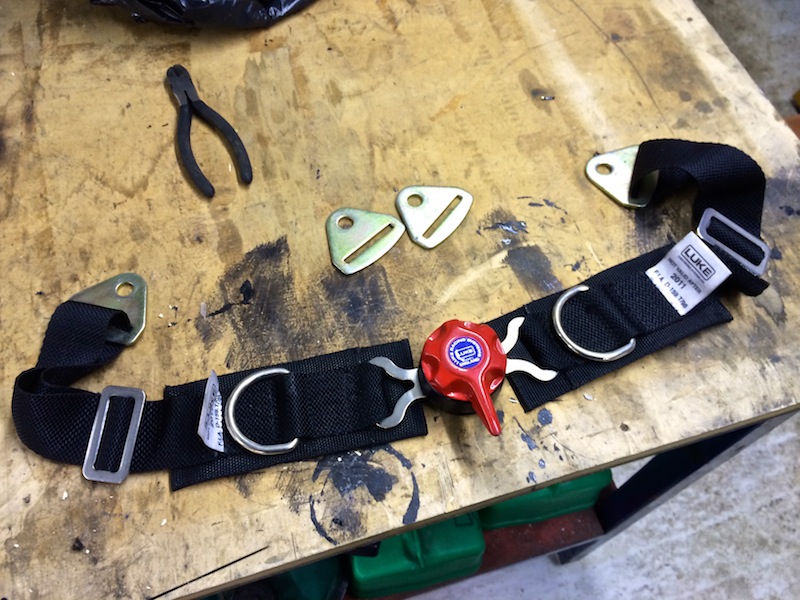
All sorted, just guessed the length and it was spot on...
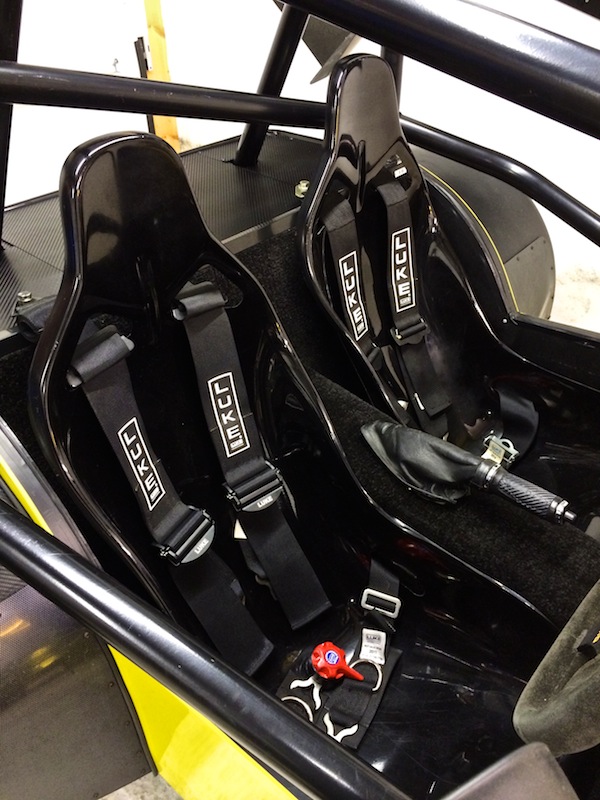
Next up - whilst on track, my helmet rattles on my seat which pisses me off, so bought some black eva foam to make some head & bum protection (to
prevent submarining and general movement)
But thought they looked shit, so I removed them, and made them from the black carpet that Dave got for me - cheers pal
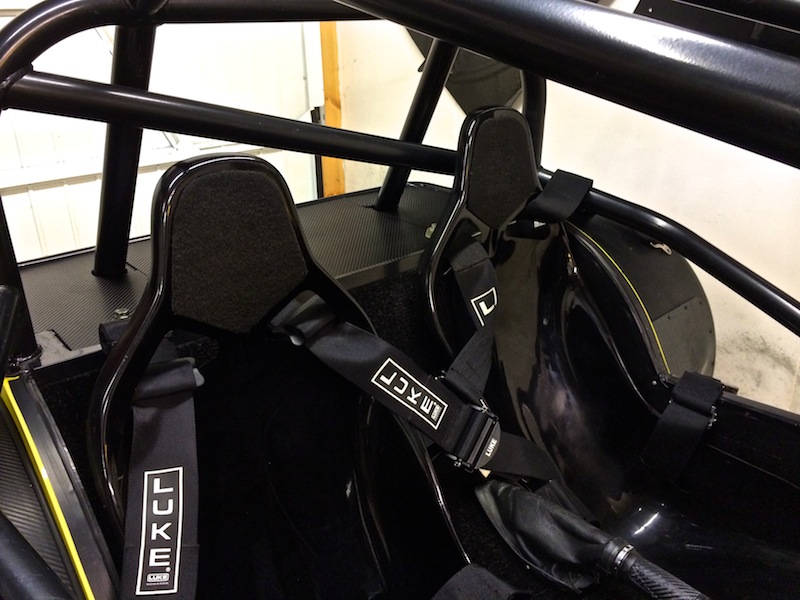
Also some kidney shaped bum/leg pieces

|
|
|
yellowcab
|
| posted on 5/2/14 at 11:27 PM |
|
|
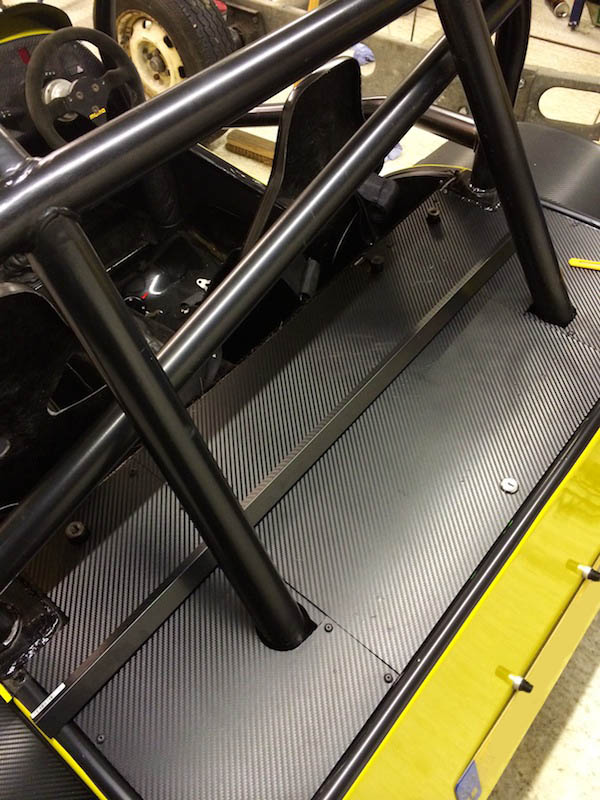
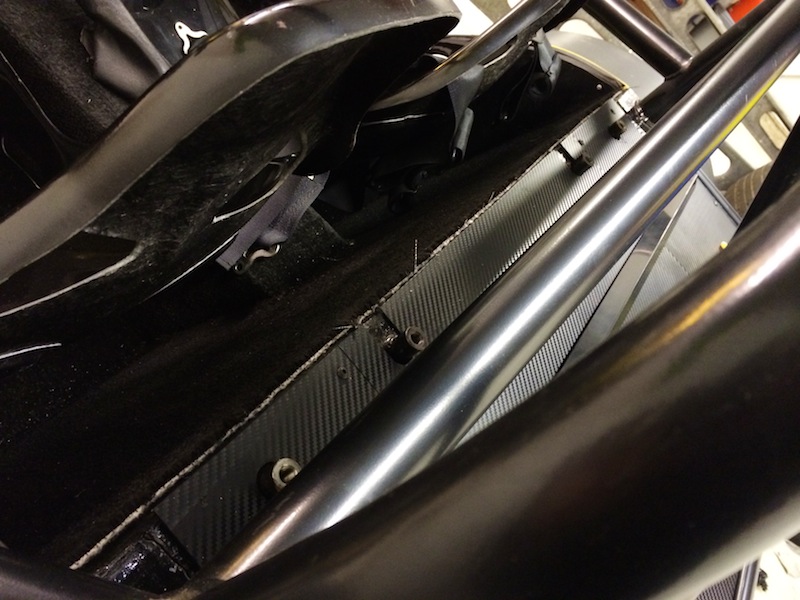
Next up - I got cutting up some of the carbon goodies I had bought - I had my eye on a carbon passenger footrest on eBay which ended up selling for
£132 eeeeek , so decided to make one from the bits I got

Got the saw out
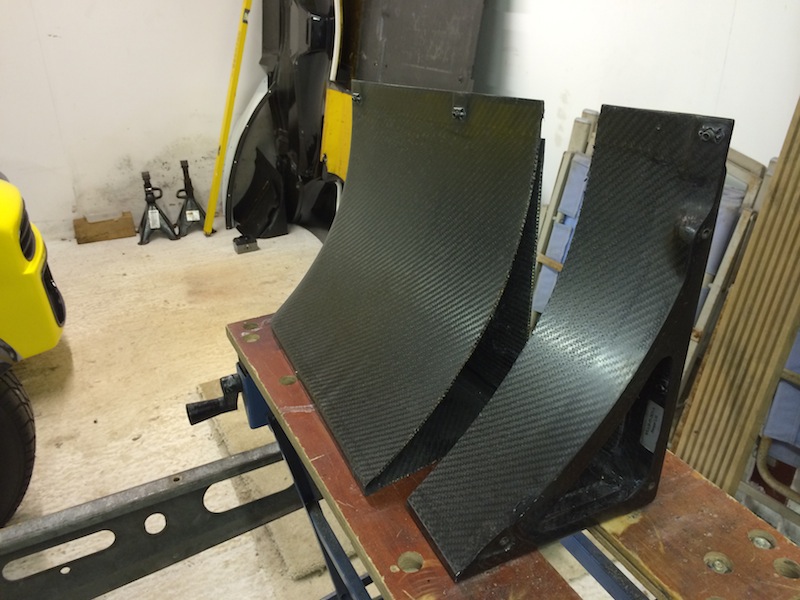
Then the grinder, so it slots over the box section as the outside of the footwell gets narrower towards the front of the car
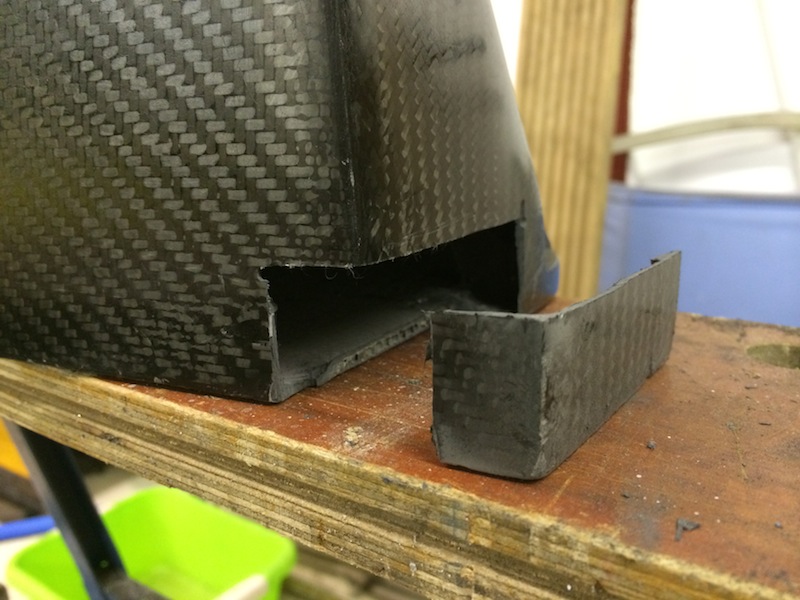
Job jobbed, proper happy with how easy it fitted in... all in all, a productive night for once
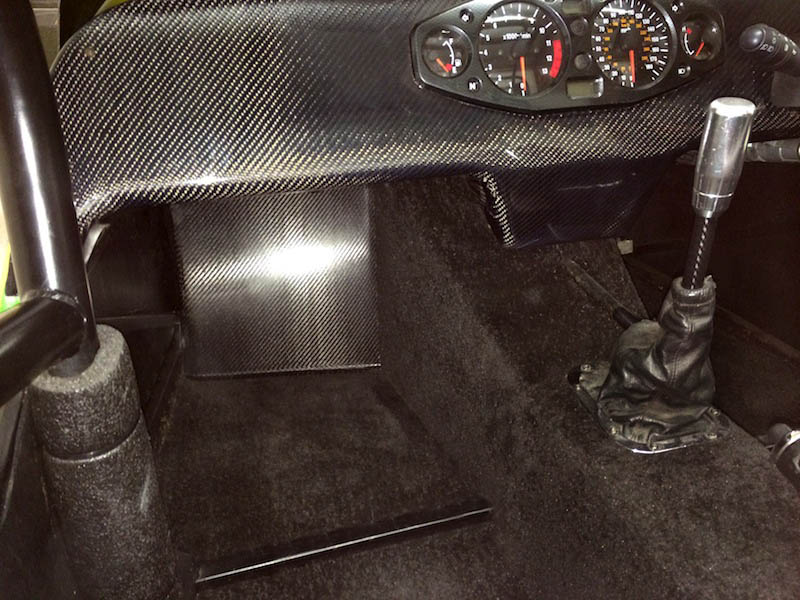
[Edited on 5/2/14 by yellowcab]
|
|
|
yellowcab
|
| posted on 5/2/14 at 11:38 PM |
|
|
Ouch - £178
http://www.rallynuts.com/co-driver-hardware/obp-carbon-fibre-navigators-footrest.html
Ouch - £165
http://www.jjcraceandrally.com/race/pedal-extensions-footrests/sparco-co-driver-carbon-footrest
Ouch - £150
http://www.carbongoodies.co.uk/Universal-Carbon-Fibre-Footrest-for-use-with-Carbon-Footwells
|
|
|
CosKev3
|
| posted on 6/2/14 at 04:06 PM |
|
|
Looks spot on and a big bonus when you see the price of those ready made ones!
|
|
|
yellowcab
|
| posted on 7/2/14 at 04:51 PM |
|
|
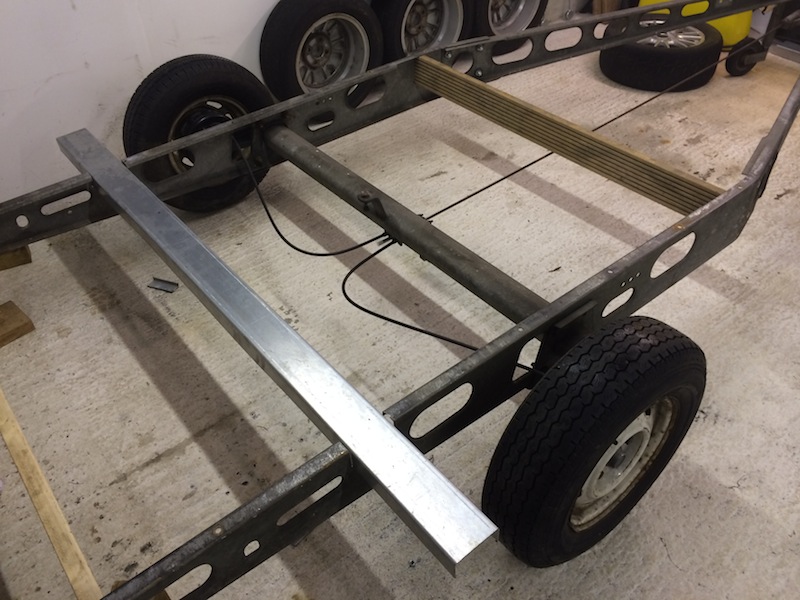
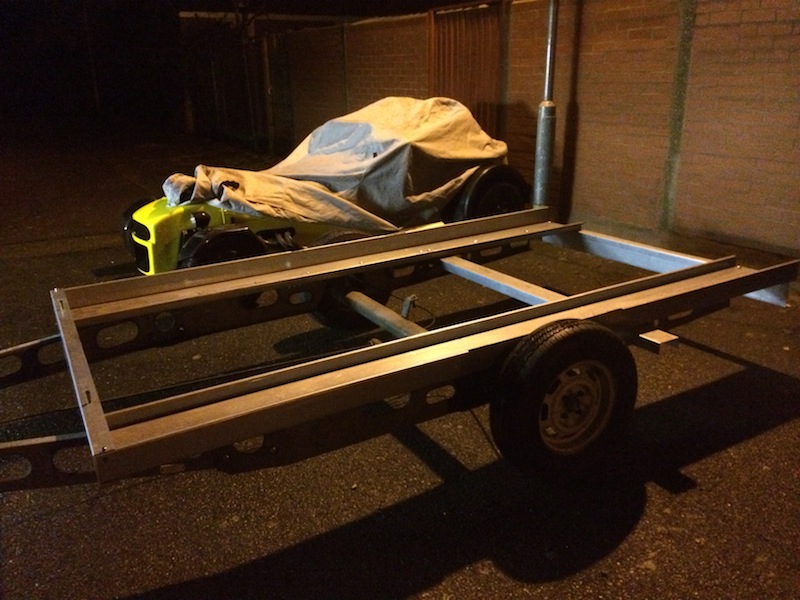
Bit of a breakthrough finally, with having my trailer steels delivered.
An inpromptu visit from Mike up from Eastbourne, lead us to doing a late-nighter until 0100am this morning getting this little beauty built up.
As you'll probably remember myself and Colin (ReMan) buying a caravan Alko galvanised chassis and ripping the top off, and you'll probably
have noticed the chassis being in the background on alot of the photos recently, so no anymore!
Maybe a lot of pointless photos here - but I'm documenting for my own benefit aswell as others also building a trailer
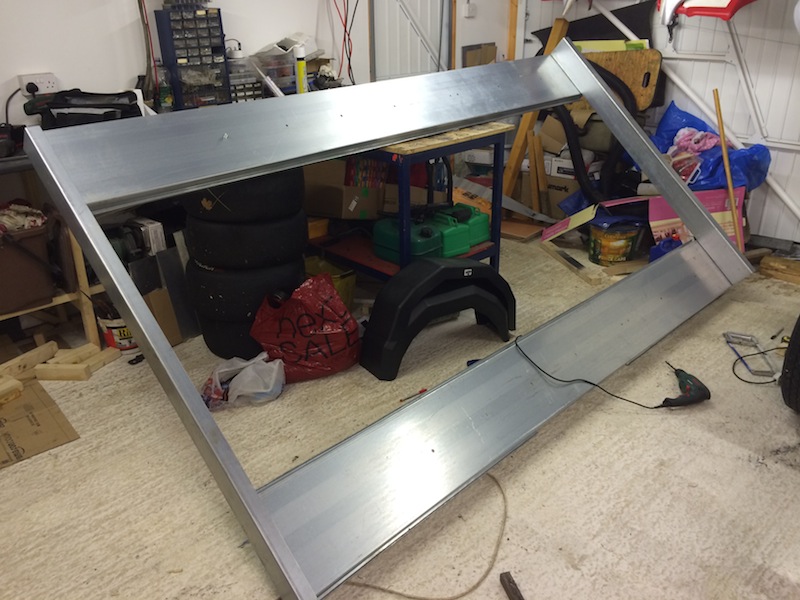
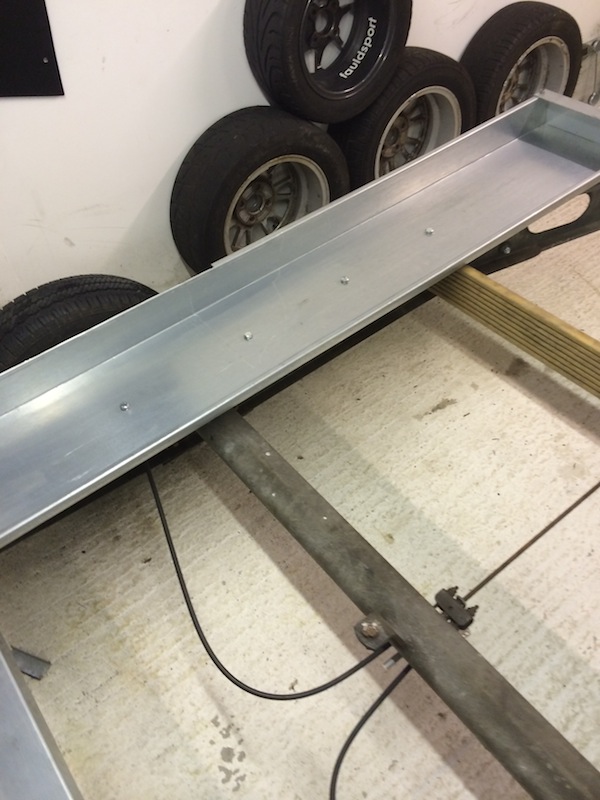
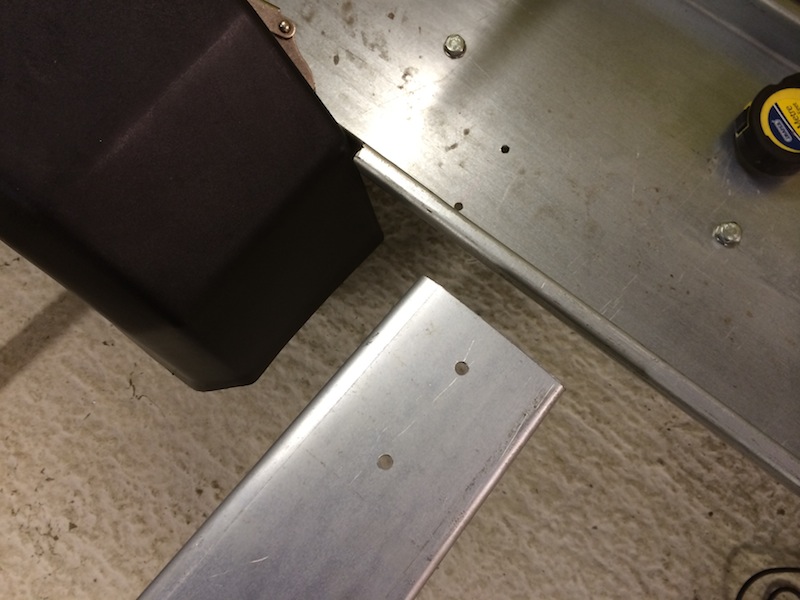
Front capping I/D matches the outer wall over the troughs O/D so it slots inside
The inside of each trough is only half the height, in order to be no where near the wishbones when driving the car, so a 50mm ally spacer made to
bridge the gap, and tighten adequately
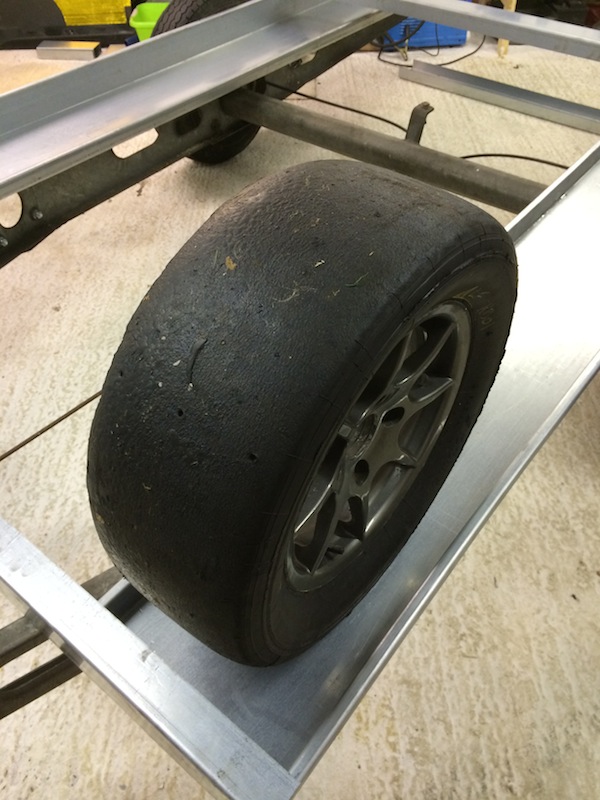
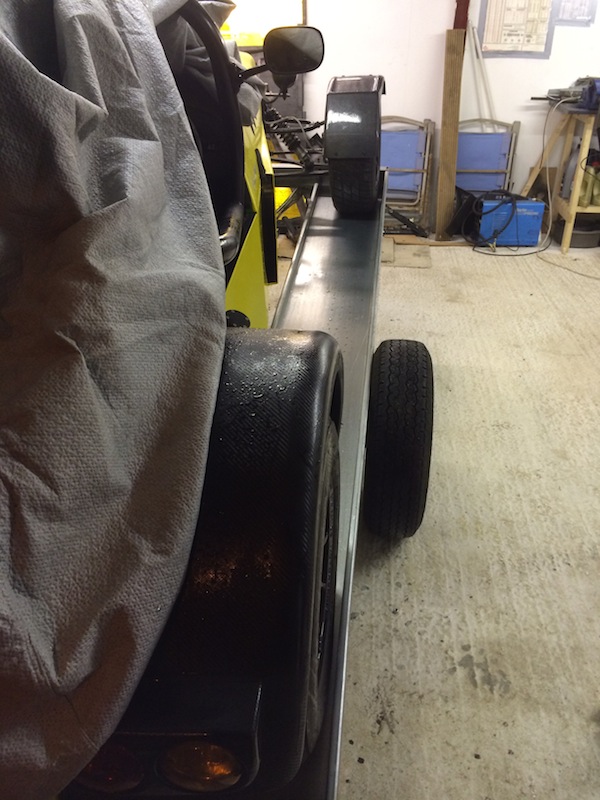
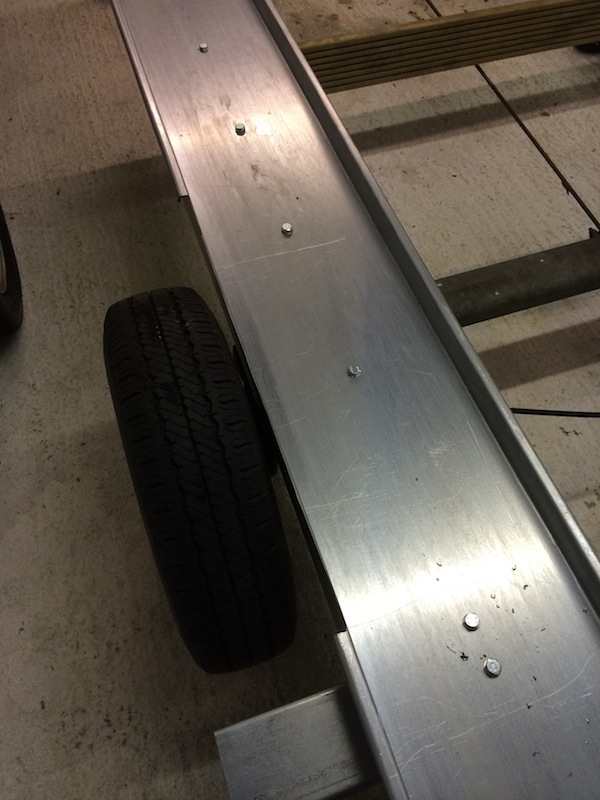
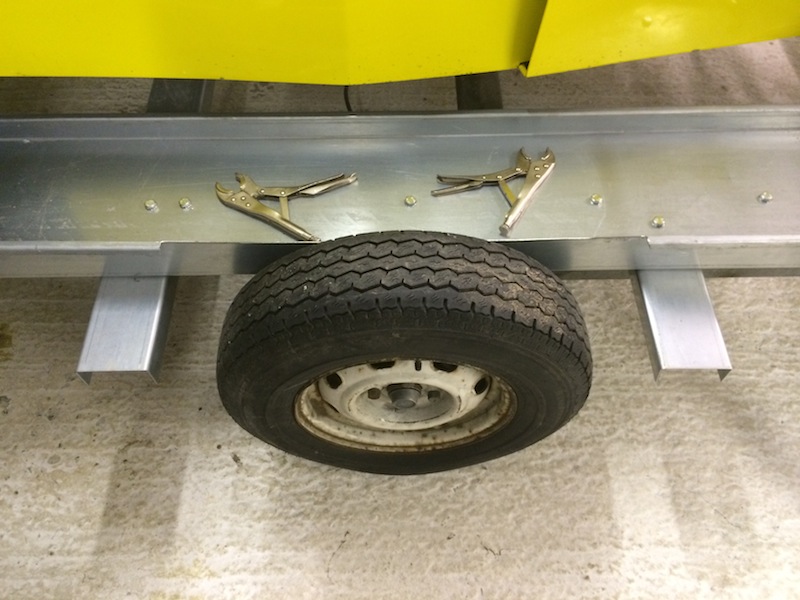
Again, for testing only - we got the widest of tyre combo I have, to checkout the trough width
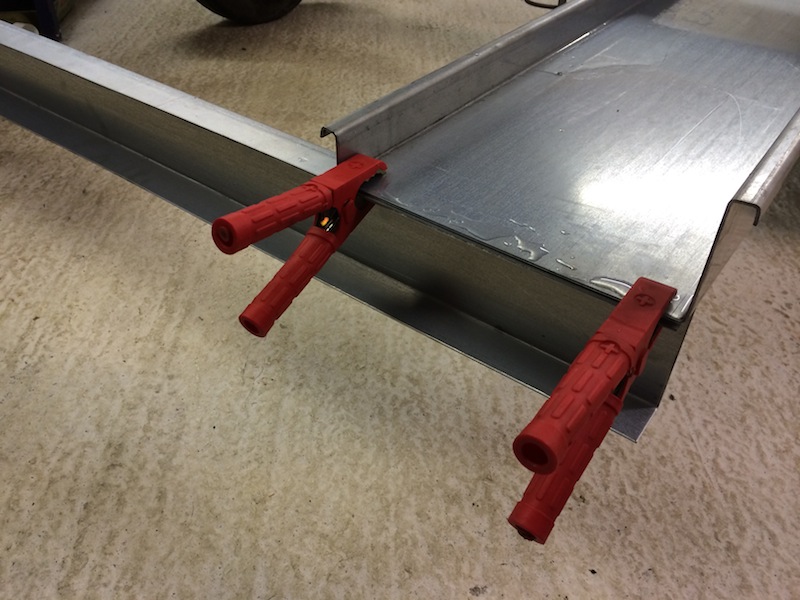
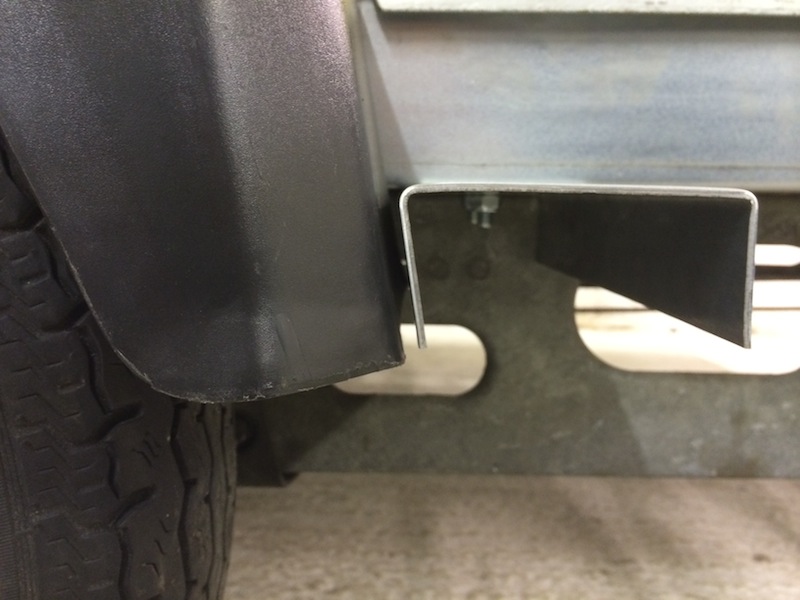
Old jump lead ends are a handy mole grip for temporary fixing, this is the back of the trailer, with a wider box section, to allow room for the lights
and number plate
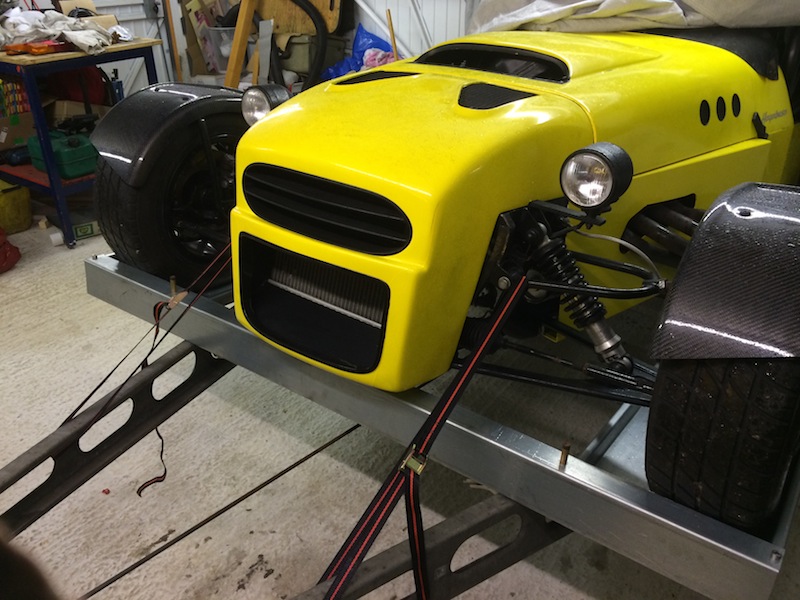
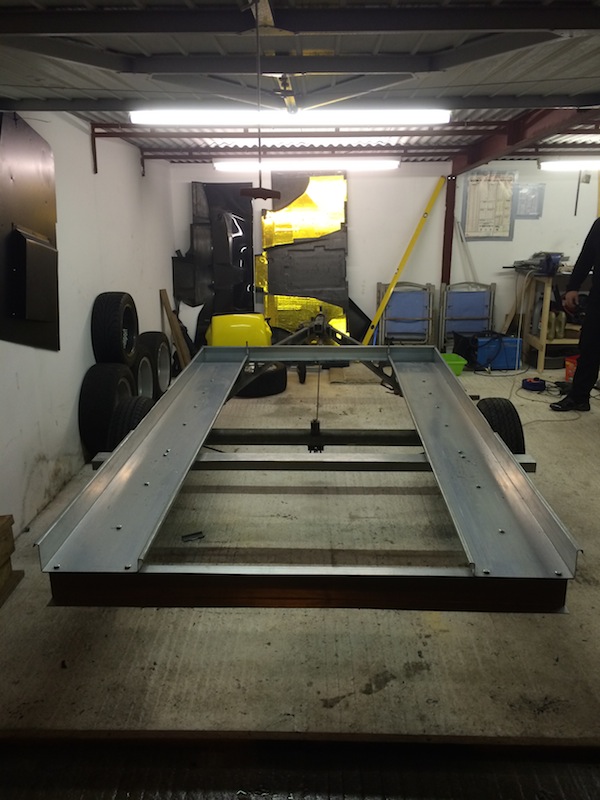
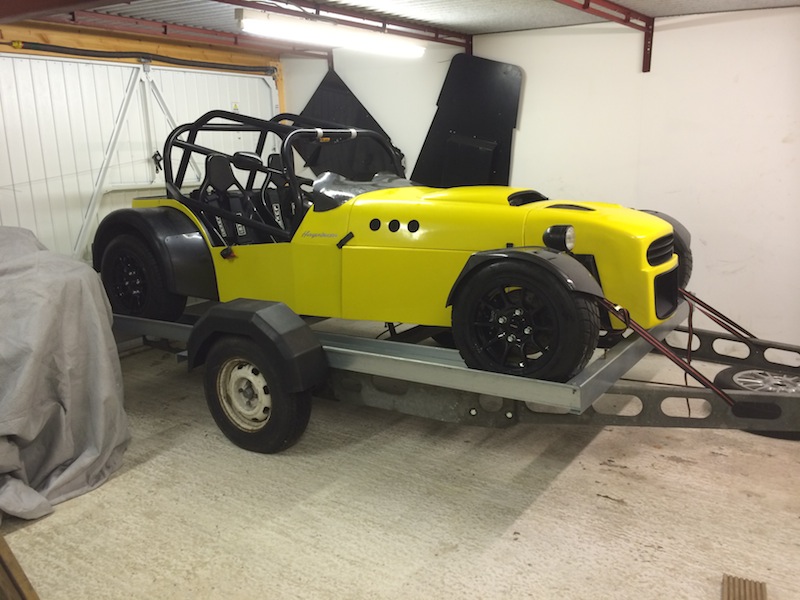
So with the ramps just mole gripped to the chassis, and some make shift ramps (proper ones being dropped off tomorrow) we pushed the car up - to check
the tow hitch weight
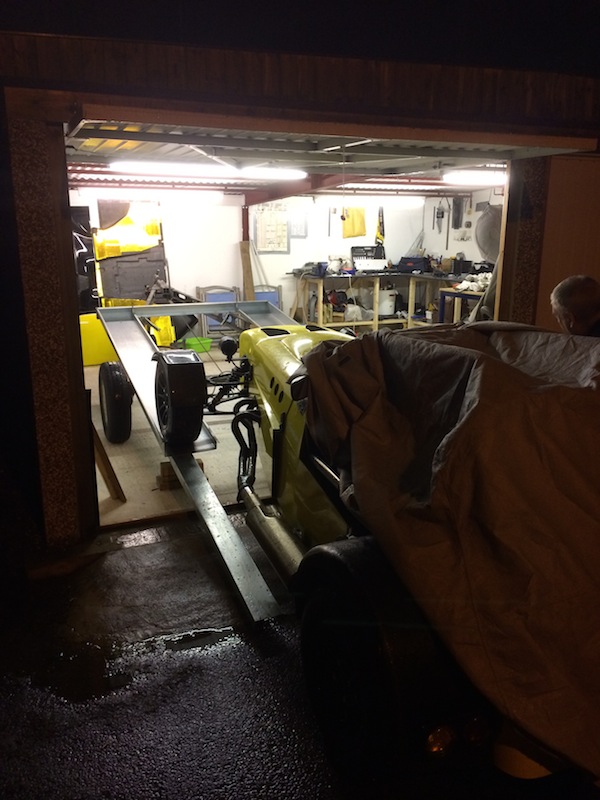
Still not bolted other than at the front to the box section, the car is resting on
Checking internal and external track width - perfect

Not trusting the handbrake too much, we temp rachted it down to the front chassis to prevent it rolling back
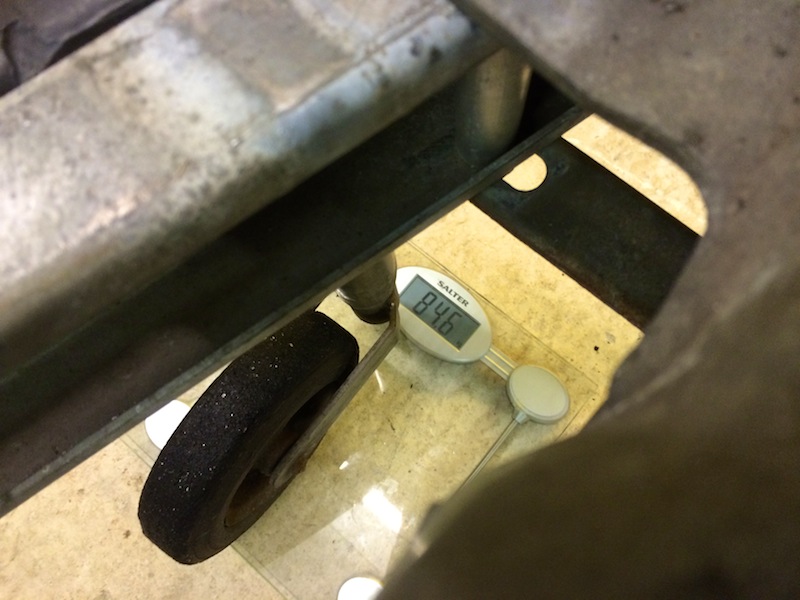
So we eyeballed it to begin with, but the hitch weight was too much for my liking, at 84.6kg
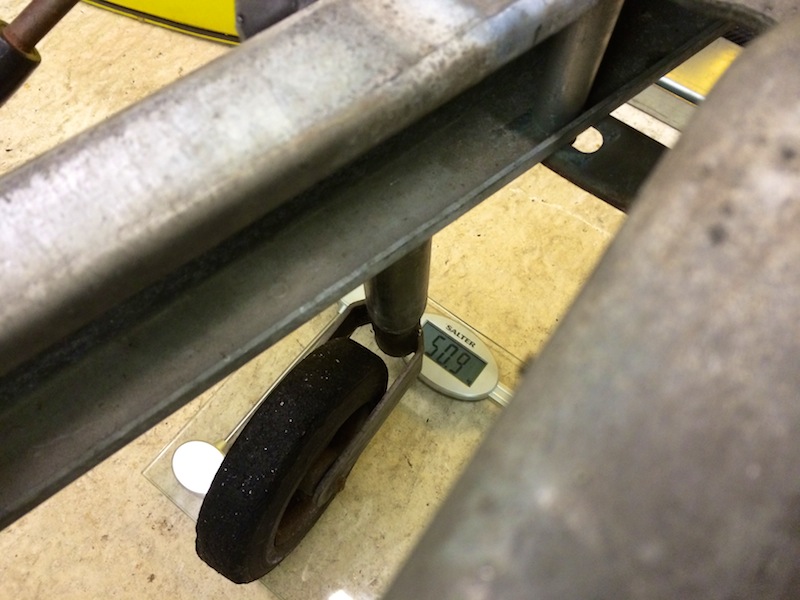
So we rolled the car back 6 inches, to imitate moving the troughs too, just to shift the weight, a perfect 50.9kg
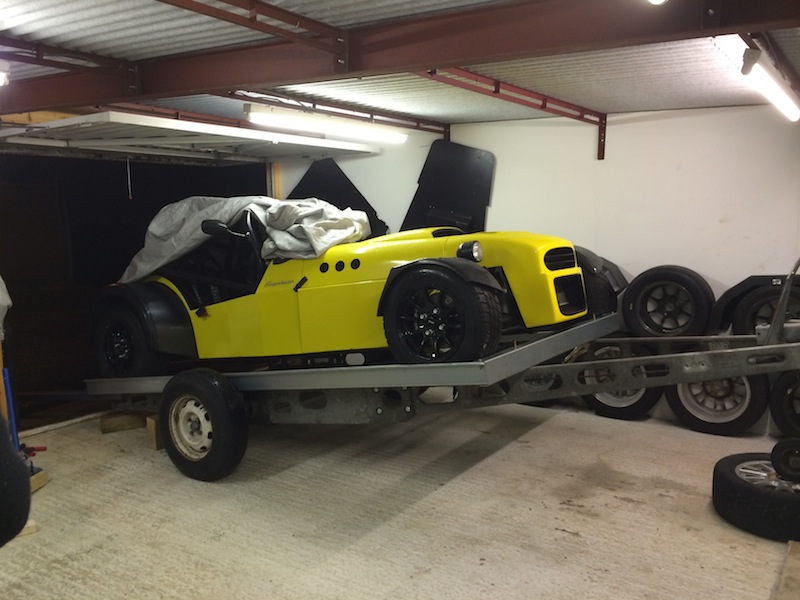
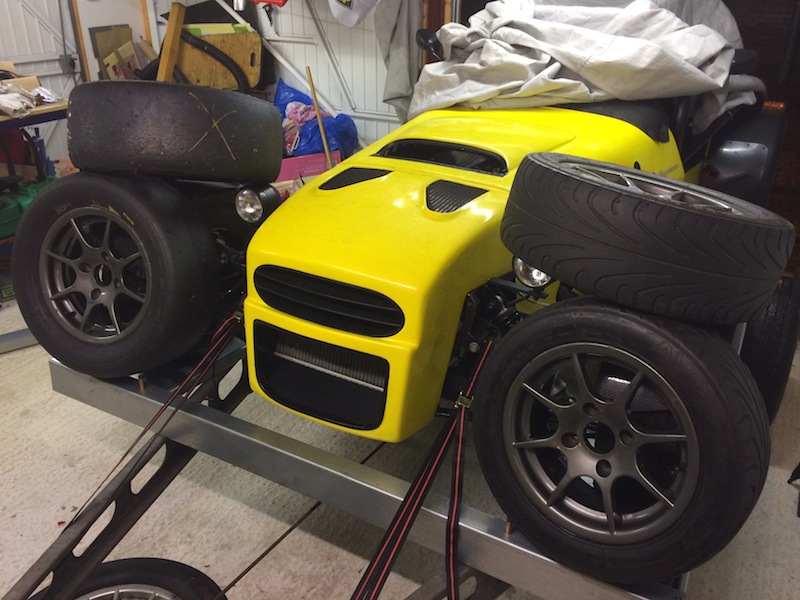
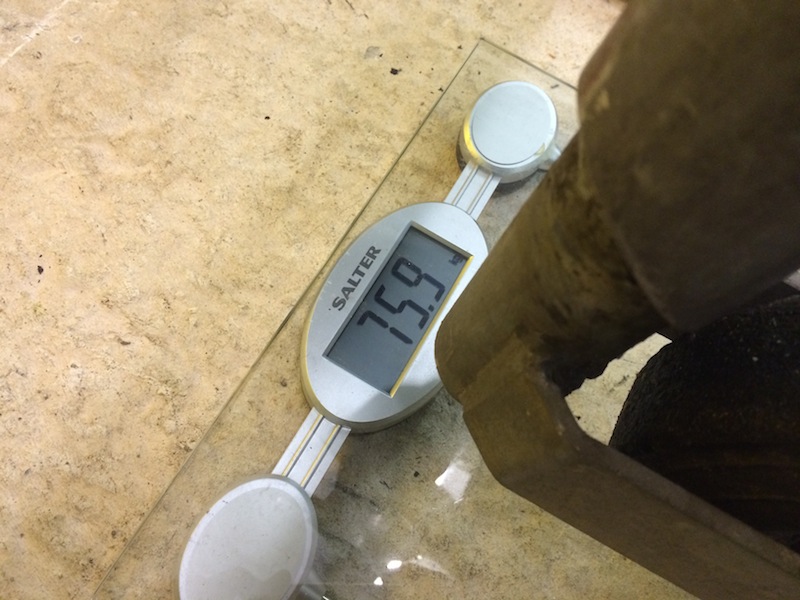
However, I want a tyre rack, so we stacked the tyres as if the rack would be over the nose cone... but this left us overweight on the hitch again...
75.9kg
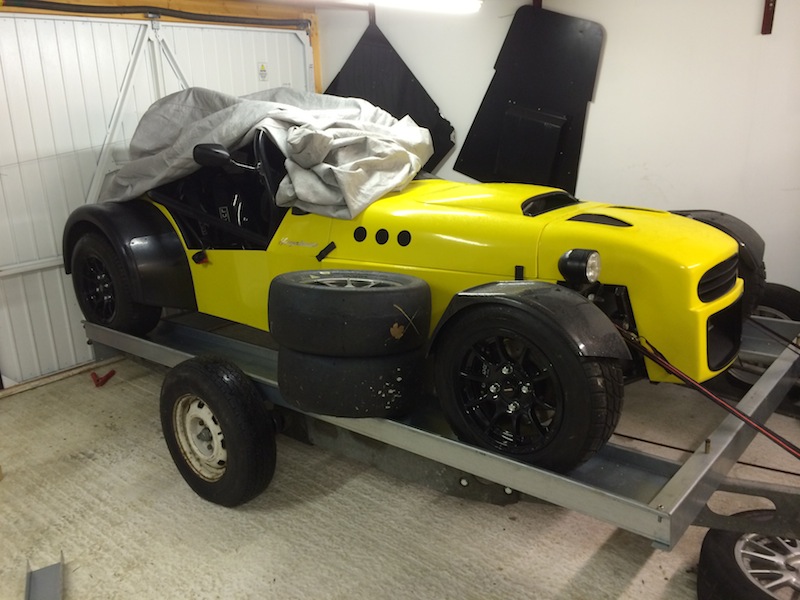
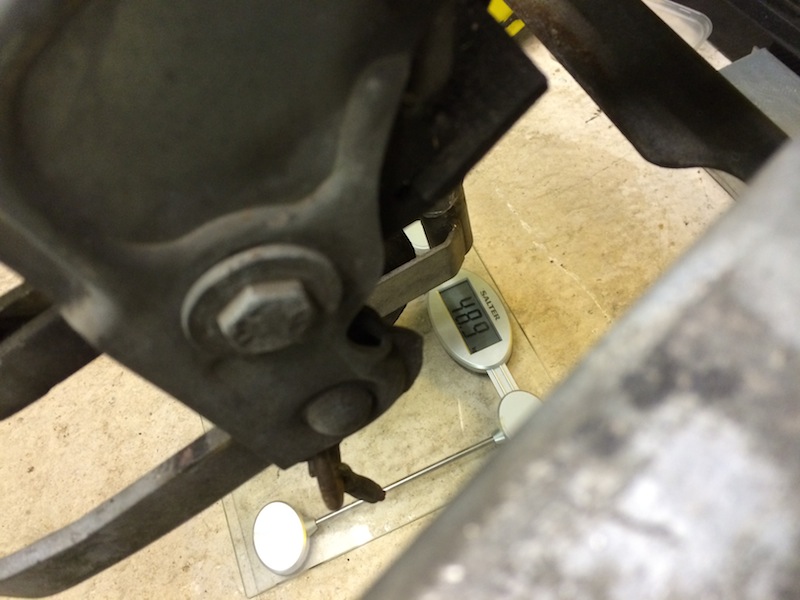
So to reduce hitch weight moreso, we opted to build the tyre rack over the bonnet, as opposed to the nosecone, which got our hitch weight down to
48.9kg, pretty cock on
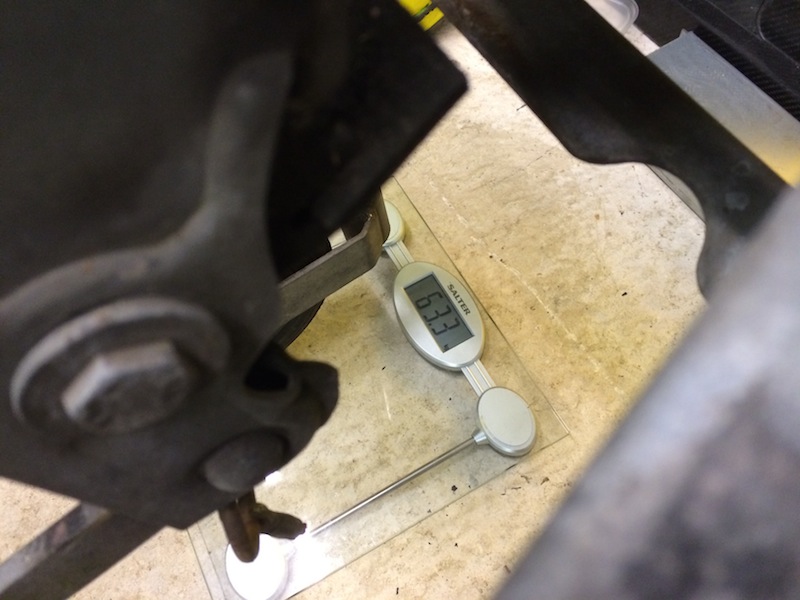
But i want to make a lockable tool box to sit on the trailer to put all my straps in, tool bags, and general crap, so again we imitated this weight by
using a couple of tool bags either side, and a slick tyre... aswell as the tyres sitting over the bonnet, hitch final weight of 63.3kg... perfect

[Edited on 7/2/14 by yellowcab]
|
|
|
yellowcab
|
| posted on 7/2/14 at 05:01 PM |
|
|
So once we had our position, we used the original bolting & mounting holes in the Alko chassis to mark the underside of each trough, and
thankfully my OCD will be OK - as the bolts & holes run dead centre up each trough - WIN/WIN
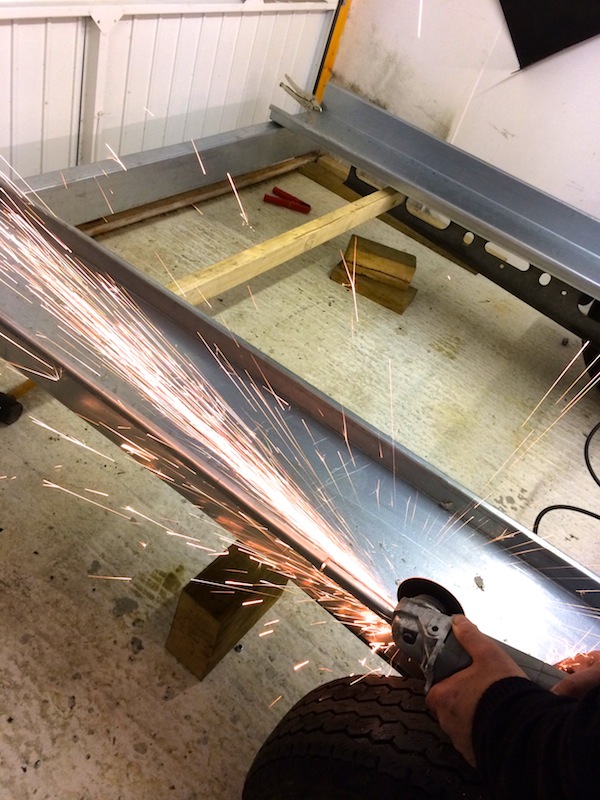
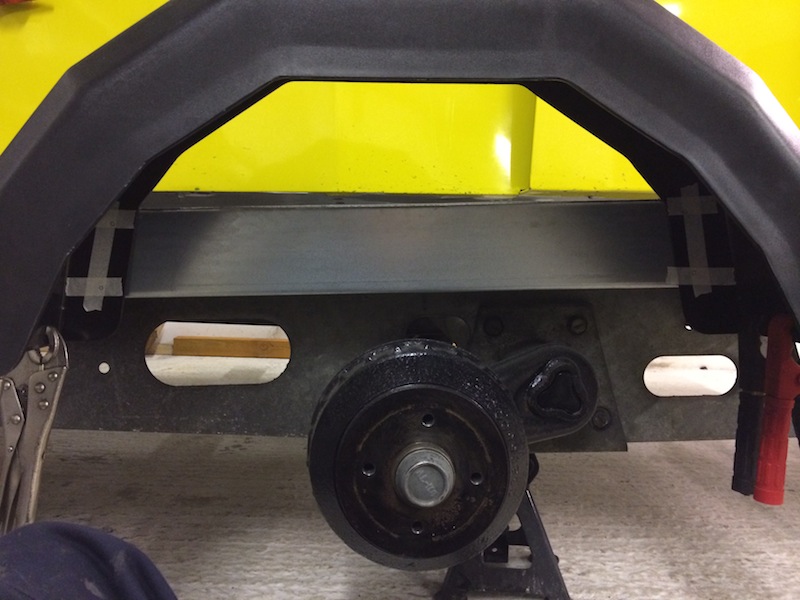
To allow trailer tyre clearance, we whipped the overhang off where the mudguards will be fitted
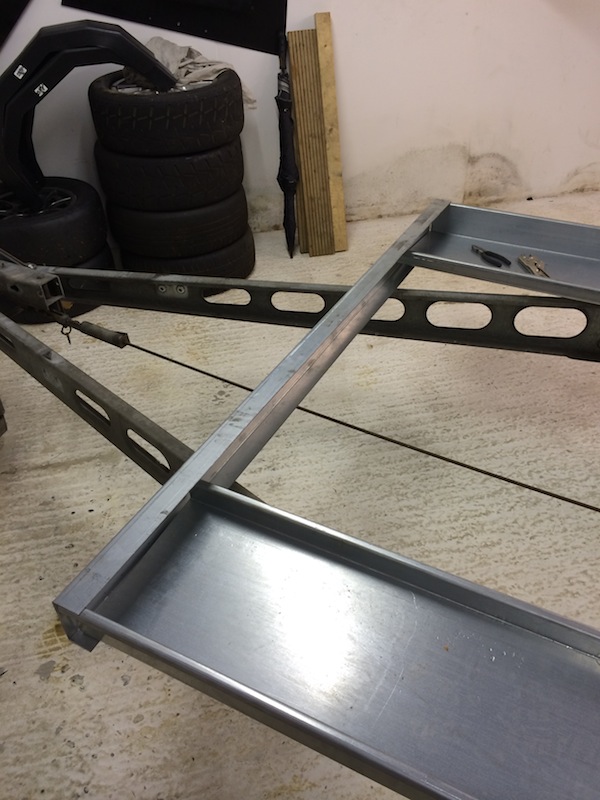
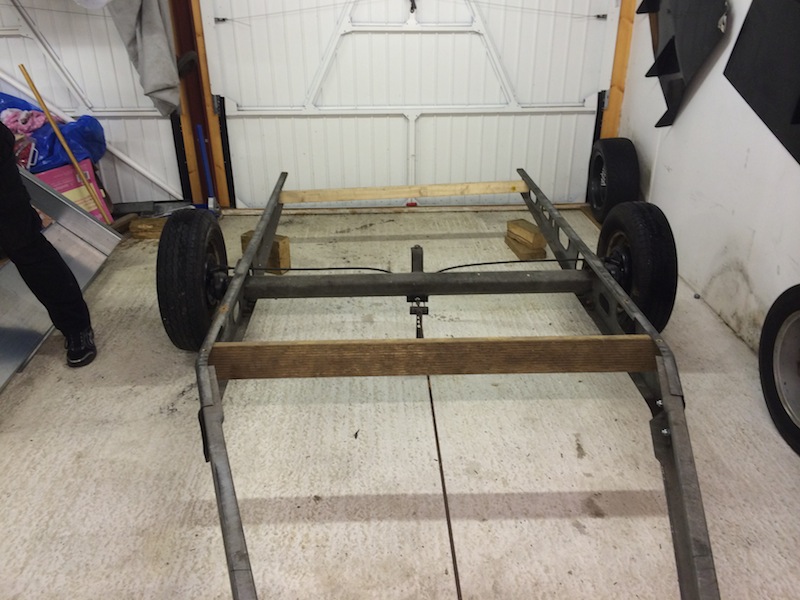
Cut two bits of wood the same length and temporarily jammed them in to make sure the parallels are bang on parallel and upright - they are
Bolted the front and back capping & number plate/ light board to the troughs, flipped it upside down, then drilled through where the marks are
from the Alko chassis
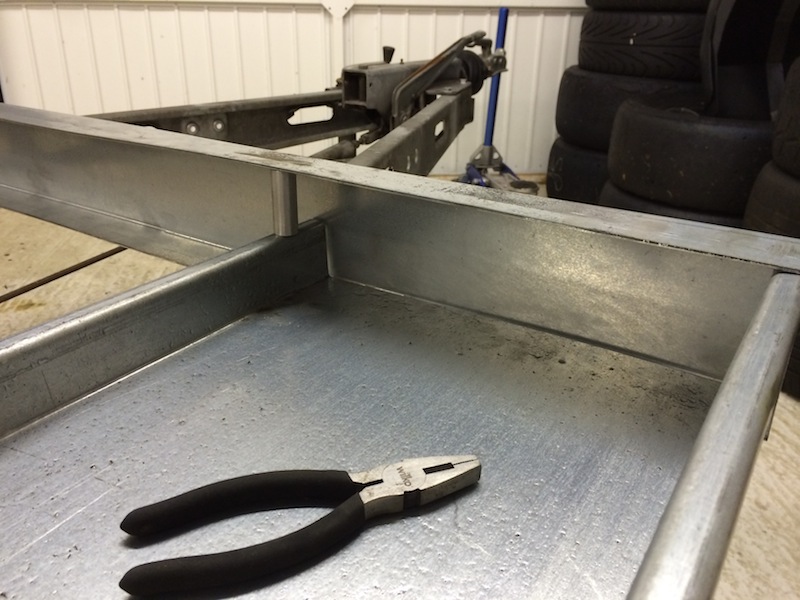
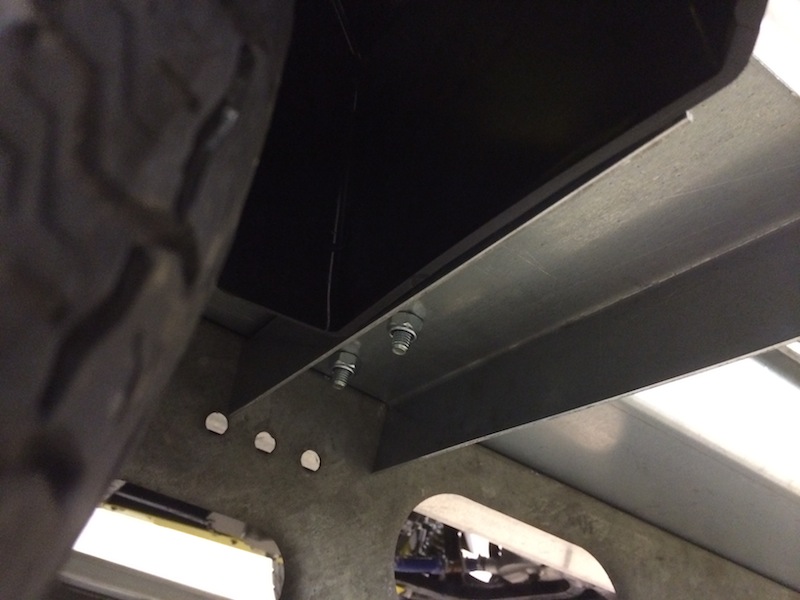
Two slots in the Alco chassis enables this cross section to go in, to add mid-trailer rigidity, aswell as something to bolt the mudguards to to stop
them flapping around
Box section back on, and bolted down
Cut out for the mudguards
The nuts & bolts of it all done and complete
Swap time
We've decided to reduce the length of the 'A' sections by a couple of foot, just need to finalise some bits & bobs, tart it up a
little, paint the wheels, put the front mudguard stays on, edge trim, warning triangles etc..
Huge thanks again to Mike for coming up, and helping me out with the mammoth task, and then driving home to Eastbourne from Leicester at 0100am
you're bonkers... but adamant he'd prefer to make the journey at that time rather than peak.
Thanks once again pal - appreciate it all.
|
|
|
daveb666
|
| posted on 7/2/14 at 05:29 PM |
|
|
Some proper progress on the trailer, well impressed.
Puts my proper one to shame lol
2007bc Photography - Commercial and Wedding Photographer based in West Yorkshire
http://www.2007bc.co.uk / http://www.huddersfieldcommercialphotographer.co.uk
|
|
|
daveb666
|
| posted on 7/2/14 at 05:52 PM |
|
|
quote:
Originally posted by yellowcab
So I've used the easily adjustable lap straps (pull away from buckle) from one pair, with the shoulder straps from the other pair - as my
passengers will vary in size quiet considerably, from my 4 year old daughter up to 6ft 3inches of daveb666
6ft4 I'll have you know 
2007bc Photography - Commercial and Wedding Photographer based in West Yorkshire
http://www.2007bc.co.uk / http://www.huddersfieldcommercialphotographer.co.uk
|
|
|
Ben_Copeland
|
| posted on 7/2/14 at 10:26 PM |
|
|
Trailers looking awesome.
Ben
Locost Map on Google Maps
Z20LET Astra Turbo, into a Haynes
Roadster
Enter Your Details Here
http://www.facebook.com/EquinoxProducts for all your bodywork needs!
|
|
|
cosmick
|
| posted on 8/2/14 at 08:18 AM |
|
|
Looks just like a bought one.
This is MK3 as I have built 2 others to the same design. This one has all the advantages of a few problems ironed out in MK1 and MK2. The joy of this
one was in the preparation, everything was ready to just bolt it together on the night. It will look absolutely superb when it is completely
finished.
If it can't be fixed with a hammer then its probably an electrical problem.
|
|
|
yellowcab
|
| posted on 9/2/14 at 12:27 PM |
|
|
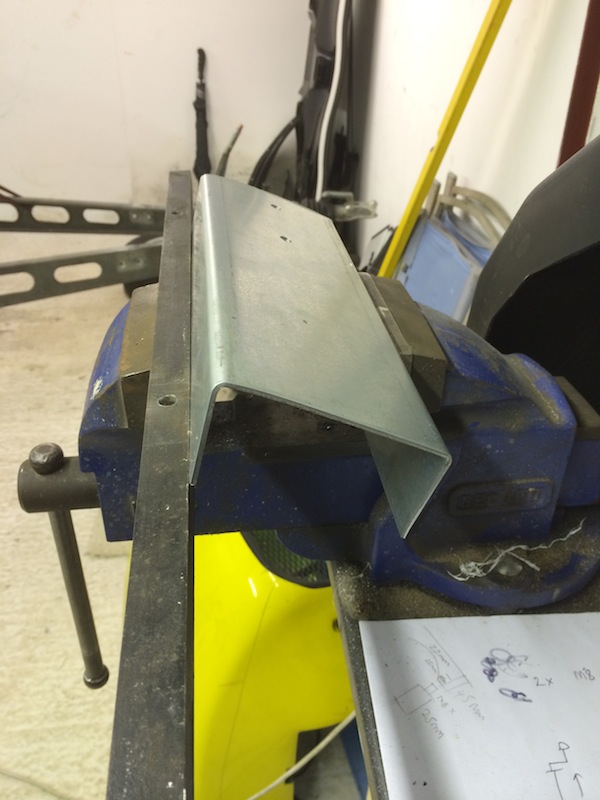
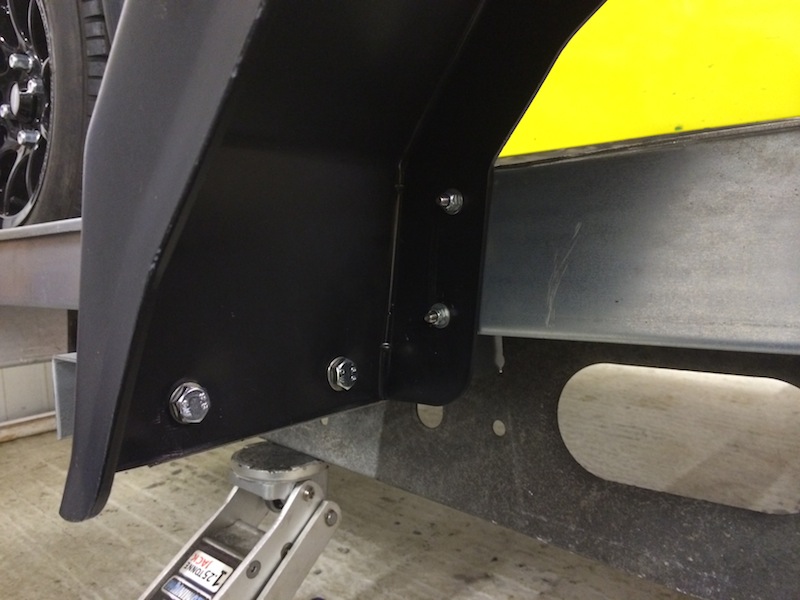
So spent a couple of hours this morning finishing off one of the mud guards
Where the mudguards do not fall 90degrees to the ground, you have to mimic the angle of the stay for it to sit nice and flush, its around
80-85degrees,
So bent one edge in a vice, to match this
Measured up and drilled through the stays and the troughs
Perfect mating angle
Ran the bottom of the mudguard along the bottom of the stay, so they're equal both front and back
Whipped off the guard, and offered up how i'll fix it to the side of the troughs
Insides of the mudguard all marked up
M8 bolted it to the troughs, then trusty M10 to the stays both front and back, these can now be stood on, and even driven over should I have to tow a
wider car than mine
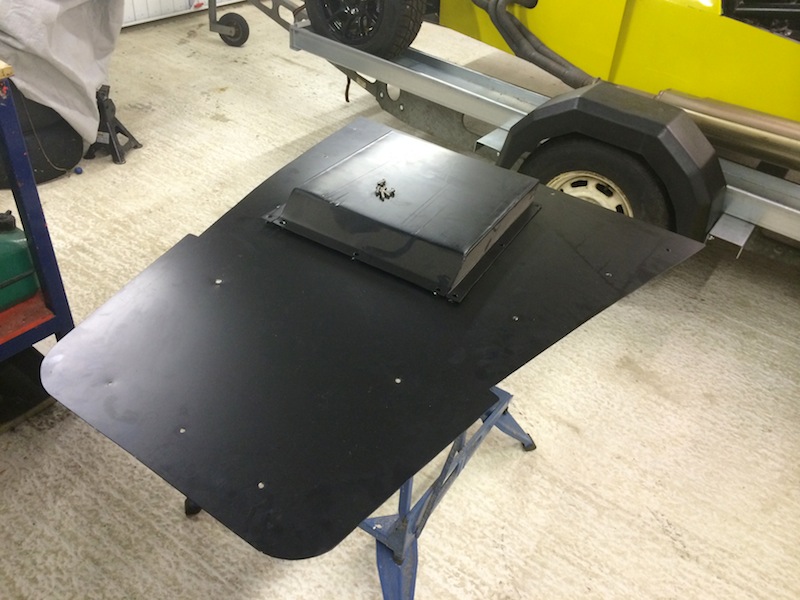
Next up, is to complete the infill
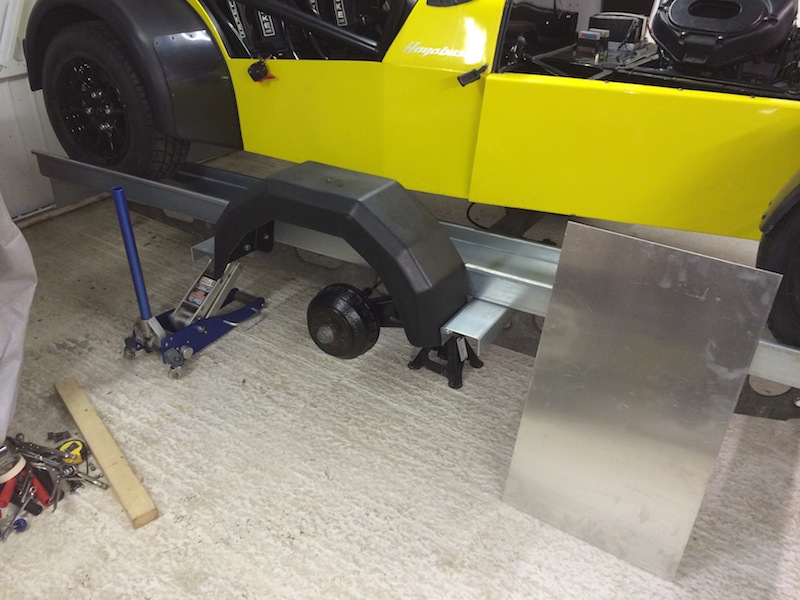
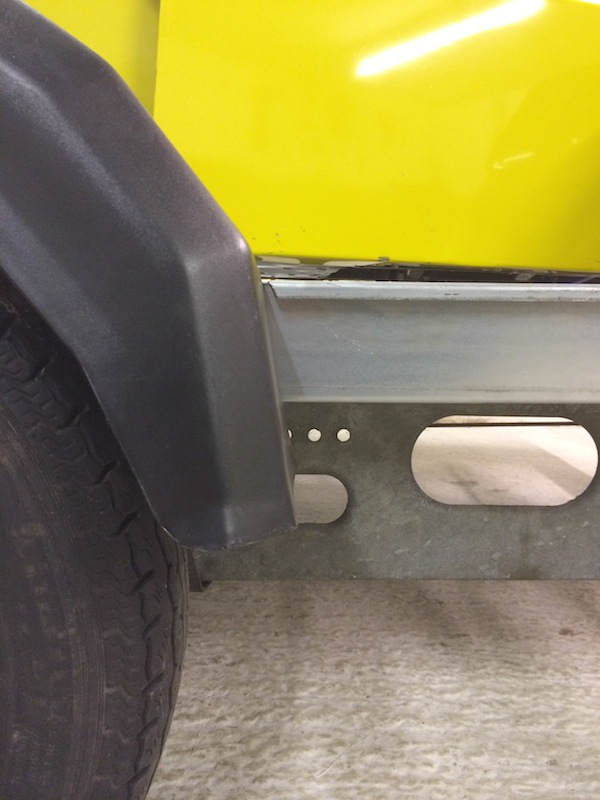
Seen alot of cars on trailers get absolutely filthy on the outside due to spray coming up in the wheel arch of the trailer, so wanted to fill this
in
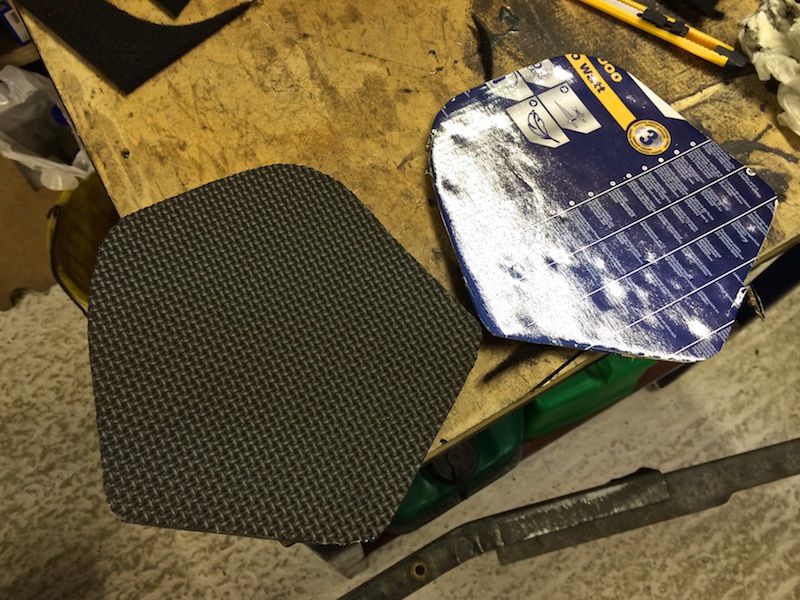
Template made - thanks to kids christmas presents
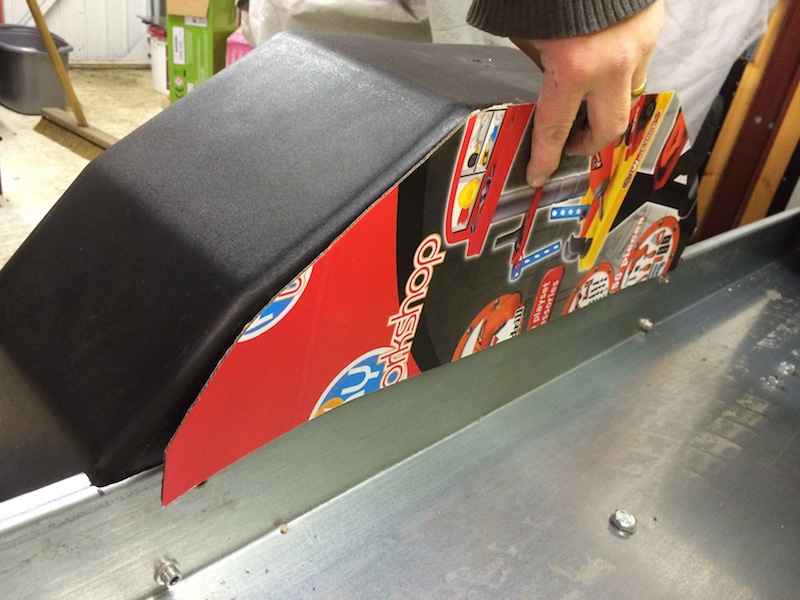
1.6mm ally cut out, and dome headed M6 bolted, which will also add a little more rigidity... I will be replacing the 4x M8 bolts for dome head too, so
my should my tyre touch, they will just scrub by them
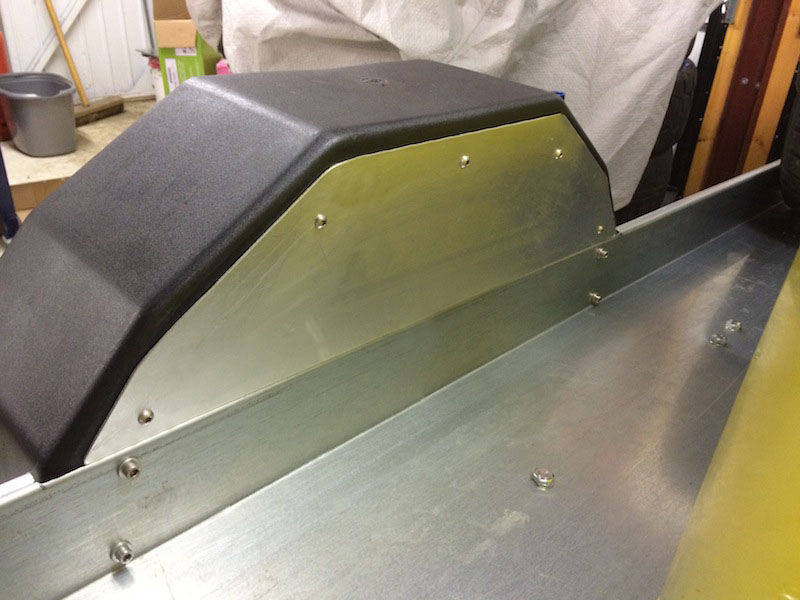
No splash getting through there now!
Thats it for today - family time.
|
|
|
gavink
|
| posted on 9/2/14 at 10:12 PM |
|
|
More great work
|
|
|
yellowcab
|
| posted on 10/2/14 at 04:34 PM |
|
|
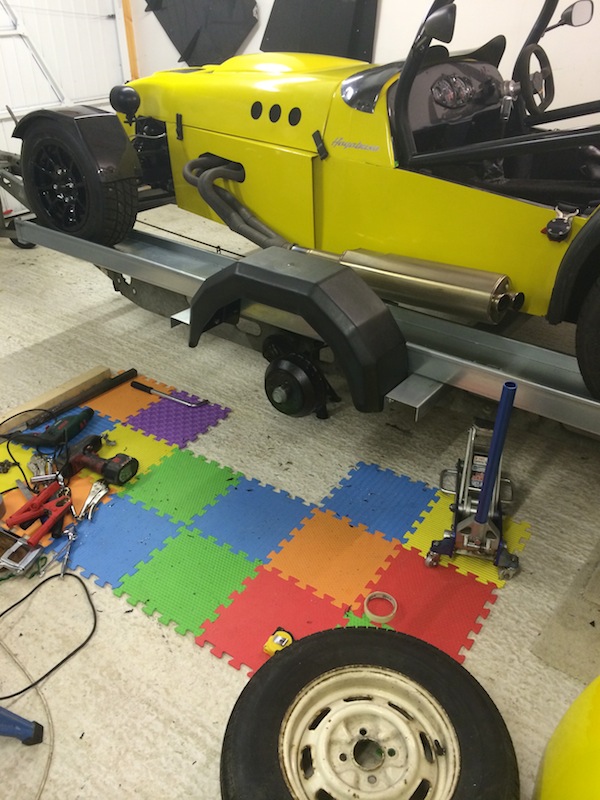
Thanks Gavin, I know its slow progress but all is a step closer
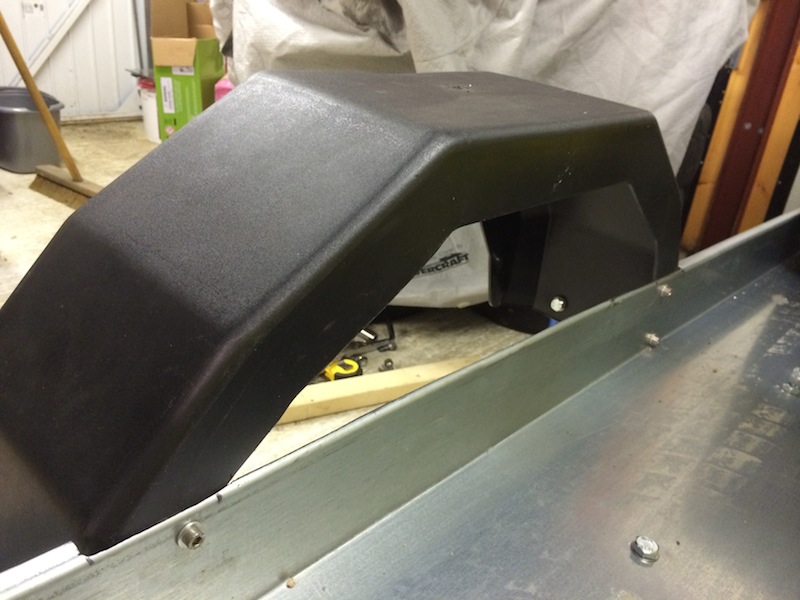
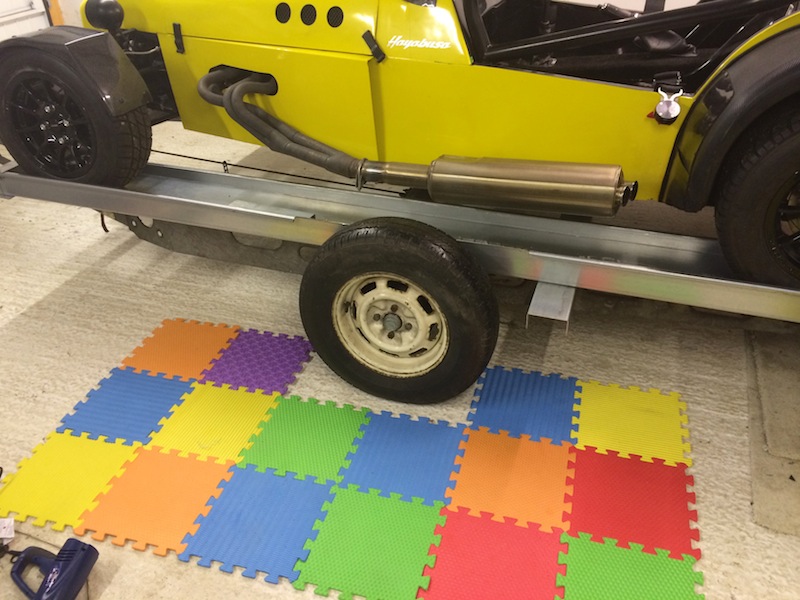
Took the car out the garage on the trailer, and flipped it around so I wasn't working up against the wall
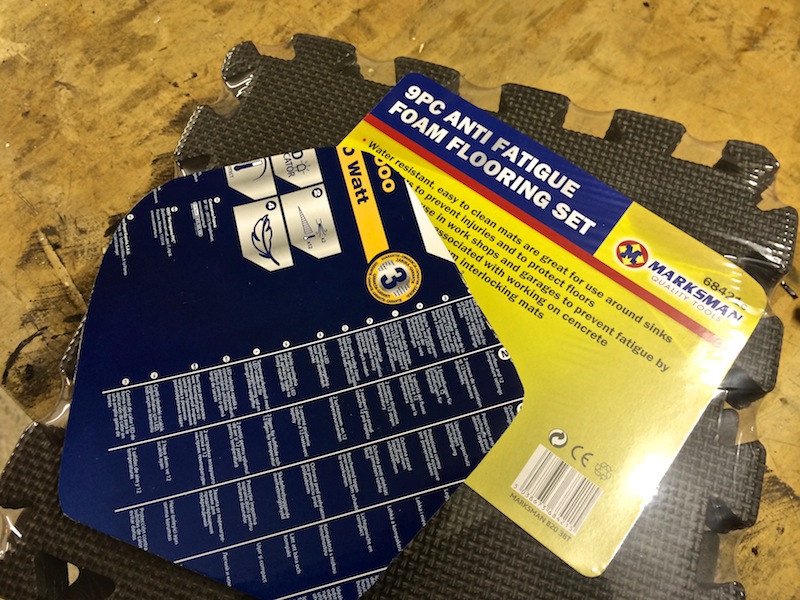
So the kids are growing up now, and now old enough to hurt themselves when they fall, so I've nicked their soft play mats, to save my ever
aging knees from the concrete floor
No WIP shots - as it was the same as the other side, but the nearside mudguard fitting, exactly the same way was the offside
Complete with poo catcher

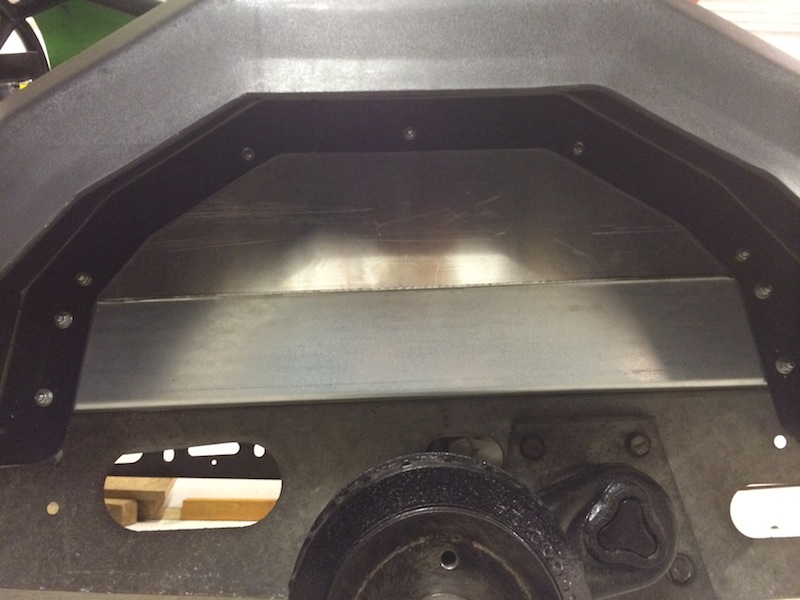
Front splitter/ under tray needed trimming under the sump guard now I have a dry sump, the pipework wasn't allowing me to fit it flush with the
underside of the body, so I whipped off the removable access panel, and made the hole larger

Before and after
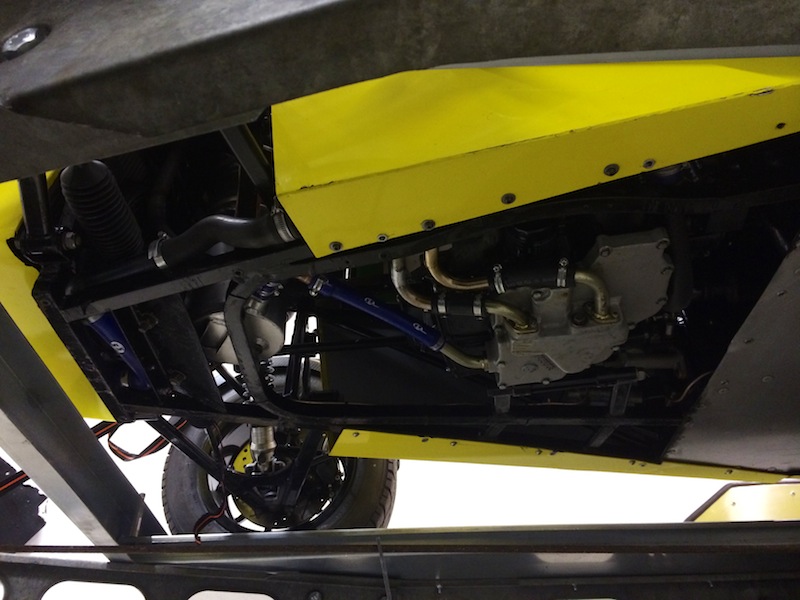
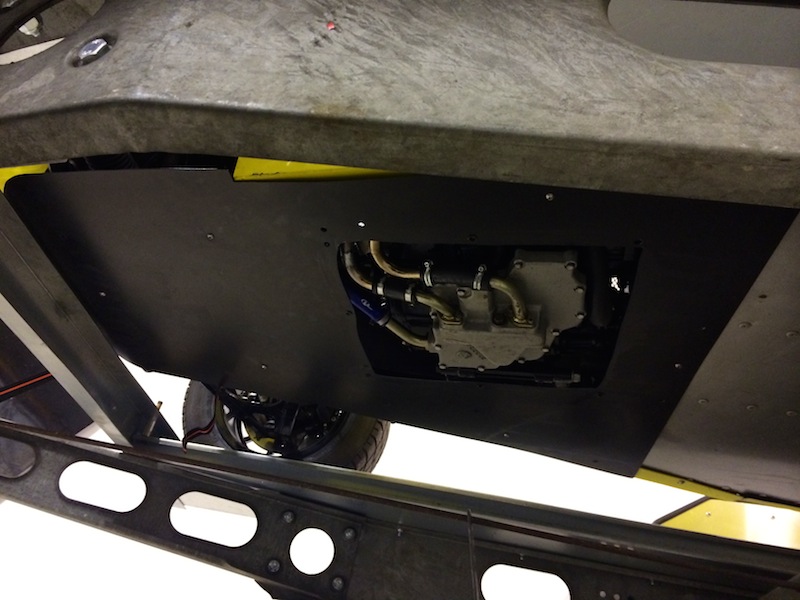
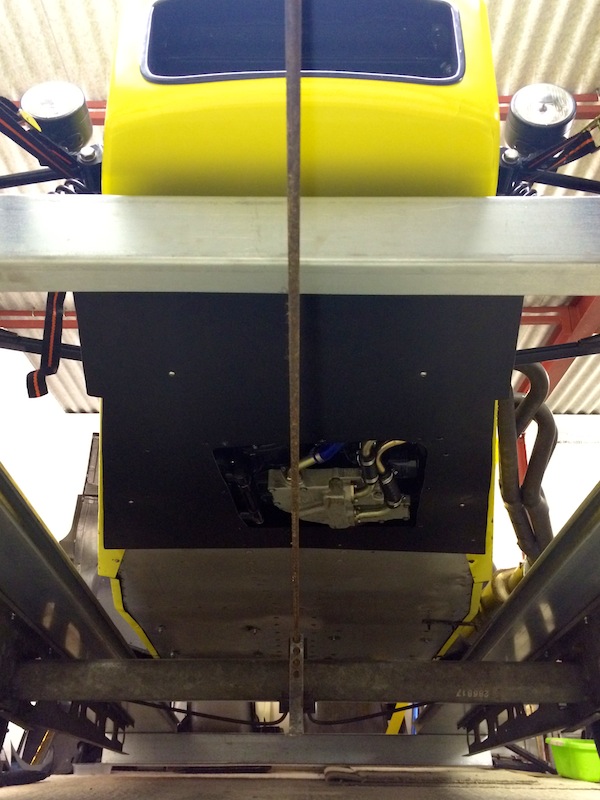
Just the sump guard to refit.
This one will actually be for sale, for anyone interested in buying it - as I'll need to make a new one due to the new nose cone sticking out at
the bottom about 8inches further
[Edited on 10/2/14 by yellowcab]
|
|
|
Matt21
|
| posted on 10/2/14 at 05:24 PM |
|
|
looks great!
Loving the trailer, I think I'll be making myelf one of the same design sometime this year. Just need to measure up to see if it will fit in the
garage!
|
|
|
daniel mason
|
| posted on 10/2/14 at 06:18 PM |
|
|
did you try reversing the car on but with tyre rack at hitch end?
|
|
|
yellowcab
|
| posted on 10/2/14 at 06:20 PM |
|
|
I don't have a reverse Daniel, so forwards is the only way for me - then free wheel off, which is why I raise the hitch end so high
|
|
|
CosKev3
|
| posted on 10/2/14 at 09:38 PM |
|
|
Nice work.
Bit disappointed no carbon fiber has been used on the trailer................
|
|
|
yellowcab
|
| posted on 10/2/14 at 09:46 PM |
|
|
Yet
Trailers need aerodynamics too y'know lol
|
|
|
mccsp
|
| posted on 10/2/14 at 10:08 PM |
|
|
Hi
Wish I had this much commitment and motivation.
Liking the nosecone, how did you find it?
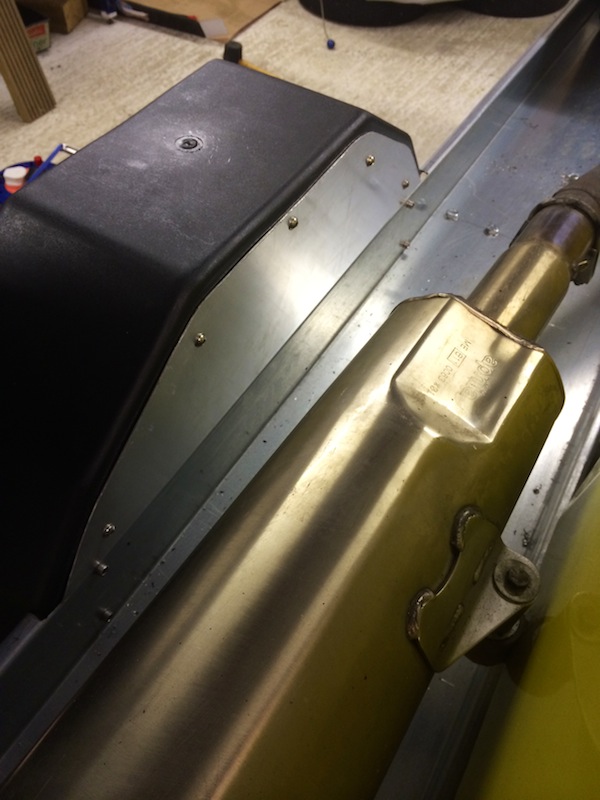
Any idea what the black trim around the top of the rear panel is, pic below:
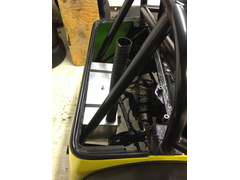 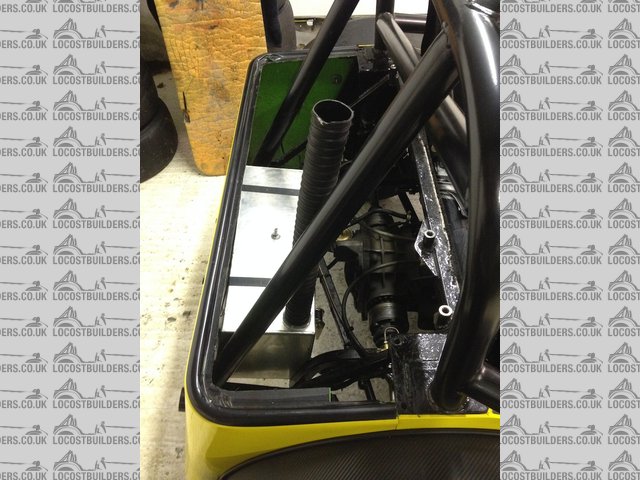
Description
Keep up the hard work
[Edited on 10/2/14 by mccsp]
Why do it the easy way, when I can do things my way!
|
|
|
yellowcab
|
| posted on 10/2/14 at 10:18 PM |
|
|
Hi pal,
Thanks for the reply, it's just 2inch wide black insulation tape from eBay, heated up with a heat gun as you apply it, to make it more
conformance and stretches nicely
Hope this helps, good luck
|
|
|
CosKev3
|
| posted on 11/2/14 at 08:15 AM |
|
|
quote:
Originally posted by yellowcab
Yet
Trailers need aerodynamics too y'know lol
Lol
As I was reading I really expected the inner wheel arch crap stopper was going to be carbon!
|
|
|